How to get your first 1k followers on Instagram (+ 2 Free Printables!)

How to grow your instagram and how to get your first 1000 followers

I've been on Instagram for about 3 years now, and have only seen any kind of noticeable growth in my following in the last 6 months. I KNOW how frustrating it is to put so much effort and time into something, and then receive the bare minimum amount of engagement (especially when you know that at least half of those likes come from family and your best friends!). It took me a long time to get where I am today (and I'm still a baby in the big bad world of Instagram!) but I want to encourage you on your journey, wherever you may be right now.

While there is no secret, overnight trick to go from 0 - 1000 over night, today I want to share with you my strategies over the past year which got me to my first 1k.

1. Start tracking your numbers

Free-Social-Media-Stats-Tracker-from-CGS.png

First things first. Grab a pen and paper (or even better, print out the free stats tracker I made just for you...it's waiting for you in The #CGScreative Resource Library) and write down exactly where you are right now. It doesn't matter if you have 5 followers on Instagram or 5000. You need to start somewhere and today is a good a day as any to begin YOUR journey.

I have also included place for you to write down your stats for Facebook, Twitter, Pinterest & your email list. It makes life easier having all your social media stats in one handy place. Then keep adding your stats every month (or even every few weeks). When I first started tracking my stats, I counted all numbers every week. It was very encouraging to see the numbers slowly creep up. I have included space for the 12 months of the year on the free printable above, but you can print a many as you need if you want to do it by week instead of month.

2. Write down your goals

As with any journey you need to know where you are going. You write down your 'dream' numbers and keep them small and easily attainable, or you can shoot for the stars and write down something outrageous. Don't get disheartened if you don't reach this number in a week, a month or even a year. The point of this exercise is to know where you are heading and where you want to be. You can put a date a date on your goals, but I find this doesn't end up motivating me, and I end up feeling like a failure if I haven't reached my goals by a certain date. I like to keep my goals open ended, as I want to keep growing and not stop what I'm doing even when I hit a target. Here's a free goal tracker printable to help you. You can write down whatever goals you have for your social media channels; things like hosting a giveaway/joining group boards on Pinterest are great goals to start growing your channels too.


3. Hashtags, Hashtags, Hashtags!

Hashtags WILL help you grow your following by making sure your photographs show up on searches. Before you tag your photo, think about what your photograph is showing/telling people. You want to make sure you use the right hashtags so that the right people find your feed. If you're little unsure of where to start, read this post on using different hashtags.

4. Be Social & Share the Love

If someone takes the time to comment on your photo, make sure to first reply to that comment, and then take a minute to head on over to their profile. If you like what you see, leave them a comment or two, or at the very least go and show their feed some love by liking some of their photographs. If you aren't actively engaging with other people, you're missing out on creating real, authentic connections with potential clients and potential business/blogging buddies. Think about your own feed. When someone simply likes one photo, how many times do you click on over to their feed? But think about when someone likes 5, 10, 20 of your images? How does that make you feel? Okay, it can sometimes feel like they are being a little spammy, but if they comment on your images as well as like them, chances are they genuinely enjoy what you are putting out there. So why not return the favor? It will increase your chances of being remembered by your followers as someone who is genuine and authentic, ie. they are more likely to then click over to your blog and read your content.

When you like an image on Instagram, that person gets a notification. If they have a big following, changes are they get so many notifications that your little like fades into the abyss. If you go and like 10 of their images, your name will appear 10 times in their notifications, making you stand out. I know that I click on profiles that leave me lots of likes (and I definitely click on profiles that leave comments). So why not use this to your advantage and make people want to click on your profile and follow you to see more.

5. Be Consistent with your brand

This step is the most important. Maintaining a consistent feed is what will help you stand out amongst the million of other users out there. Branding is a whole other kettle of fish, but on a basic level, if you want to convey your brand (whether that is the brand you are growing for your blog business or even just your own personal brand of who you are) you need to be consistent. 

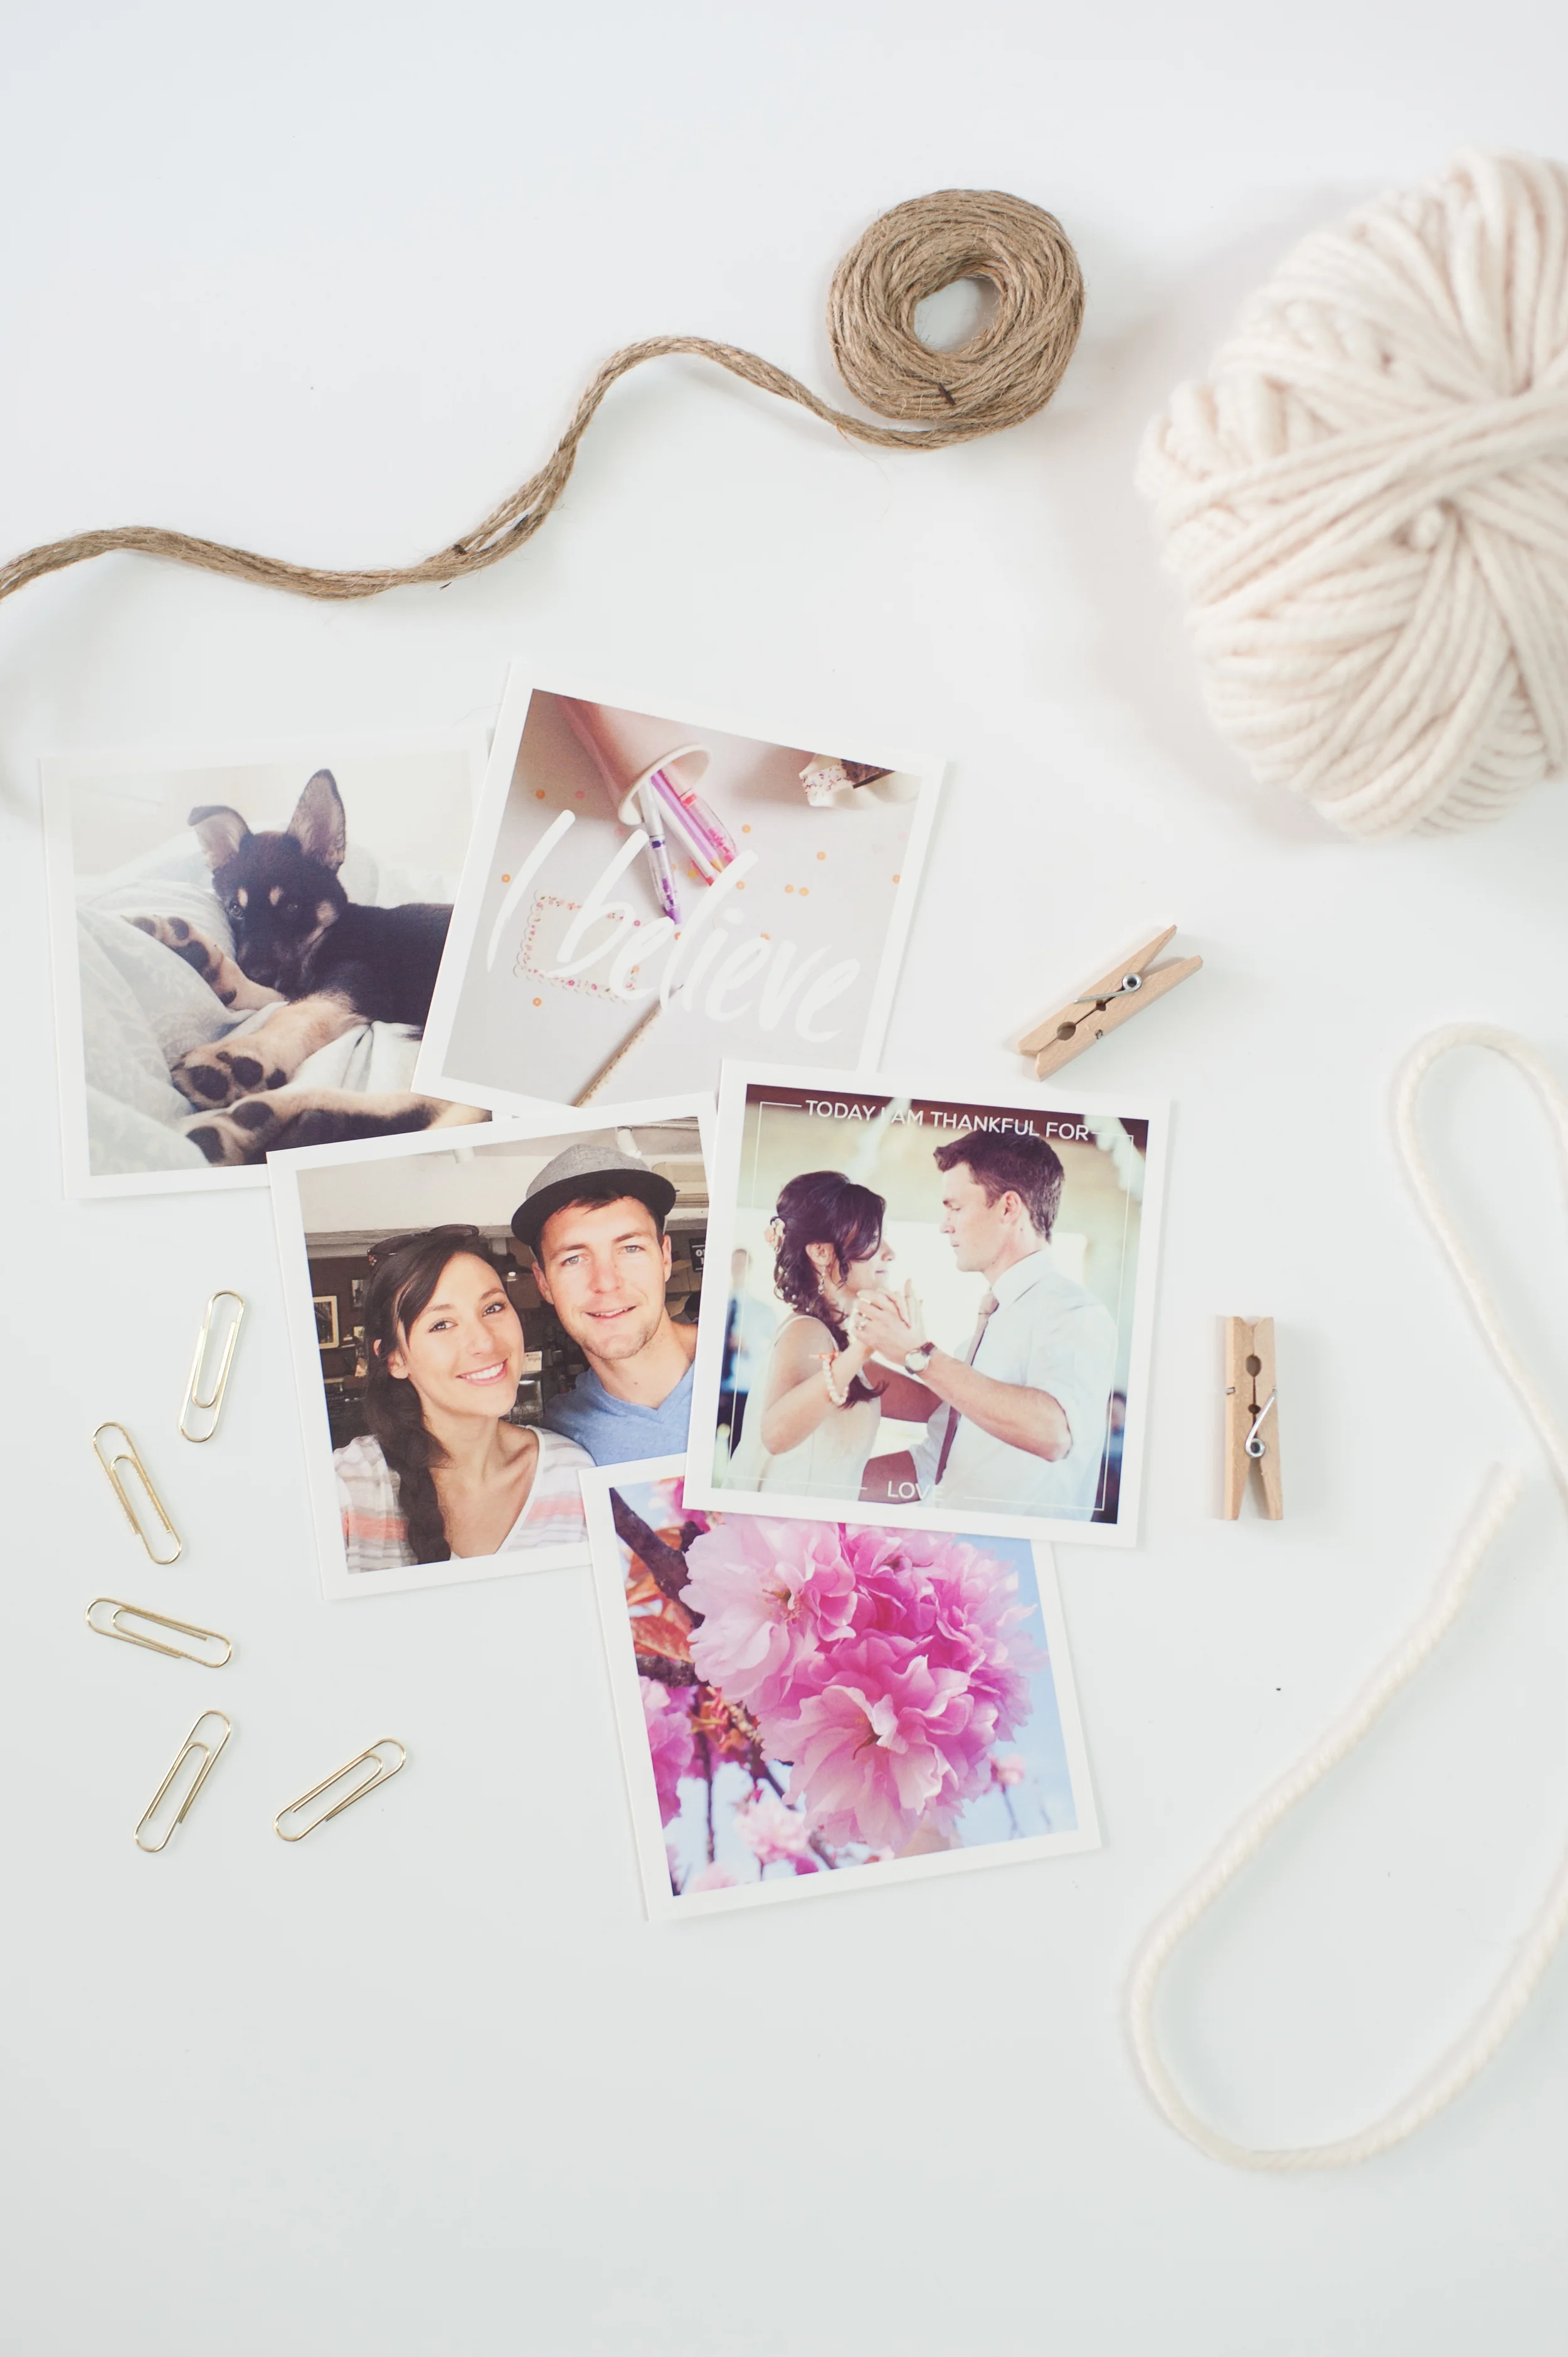
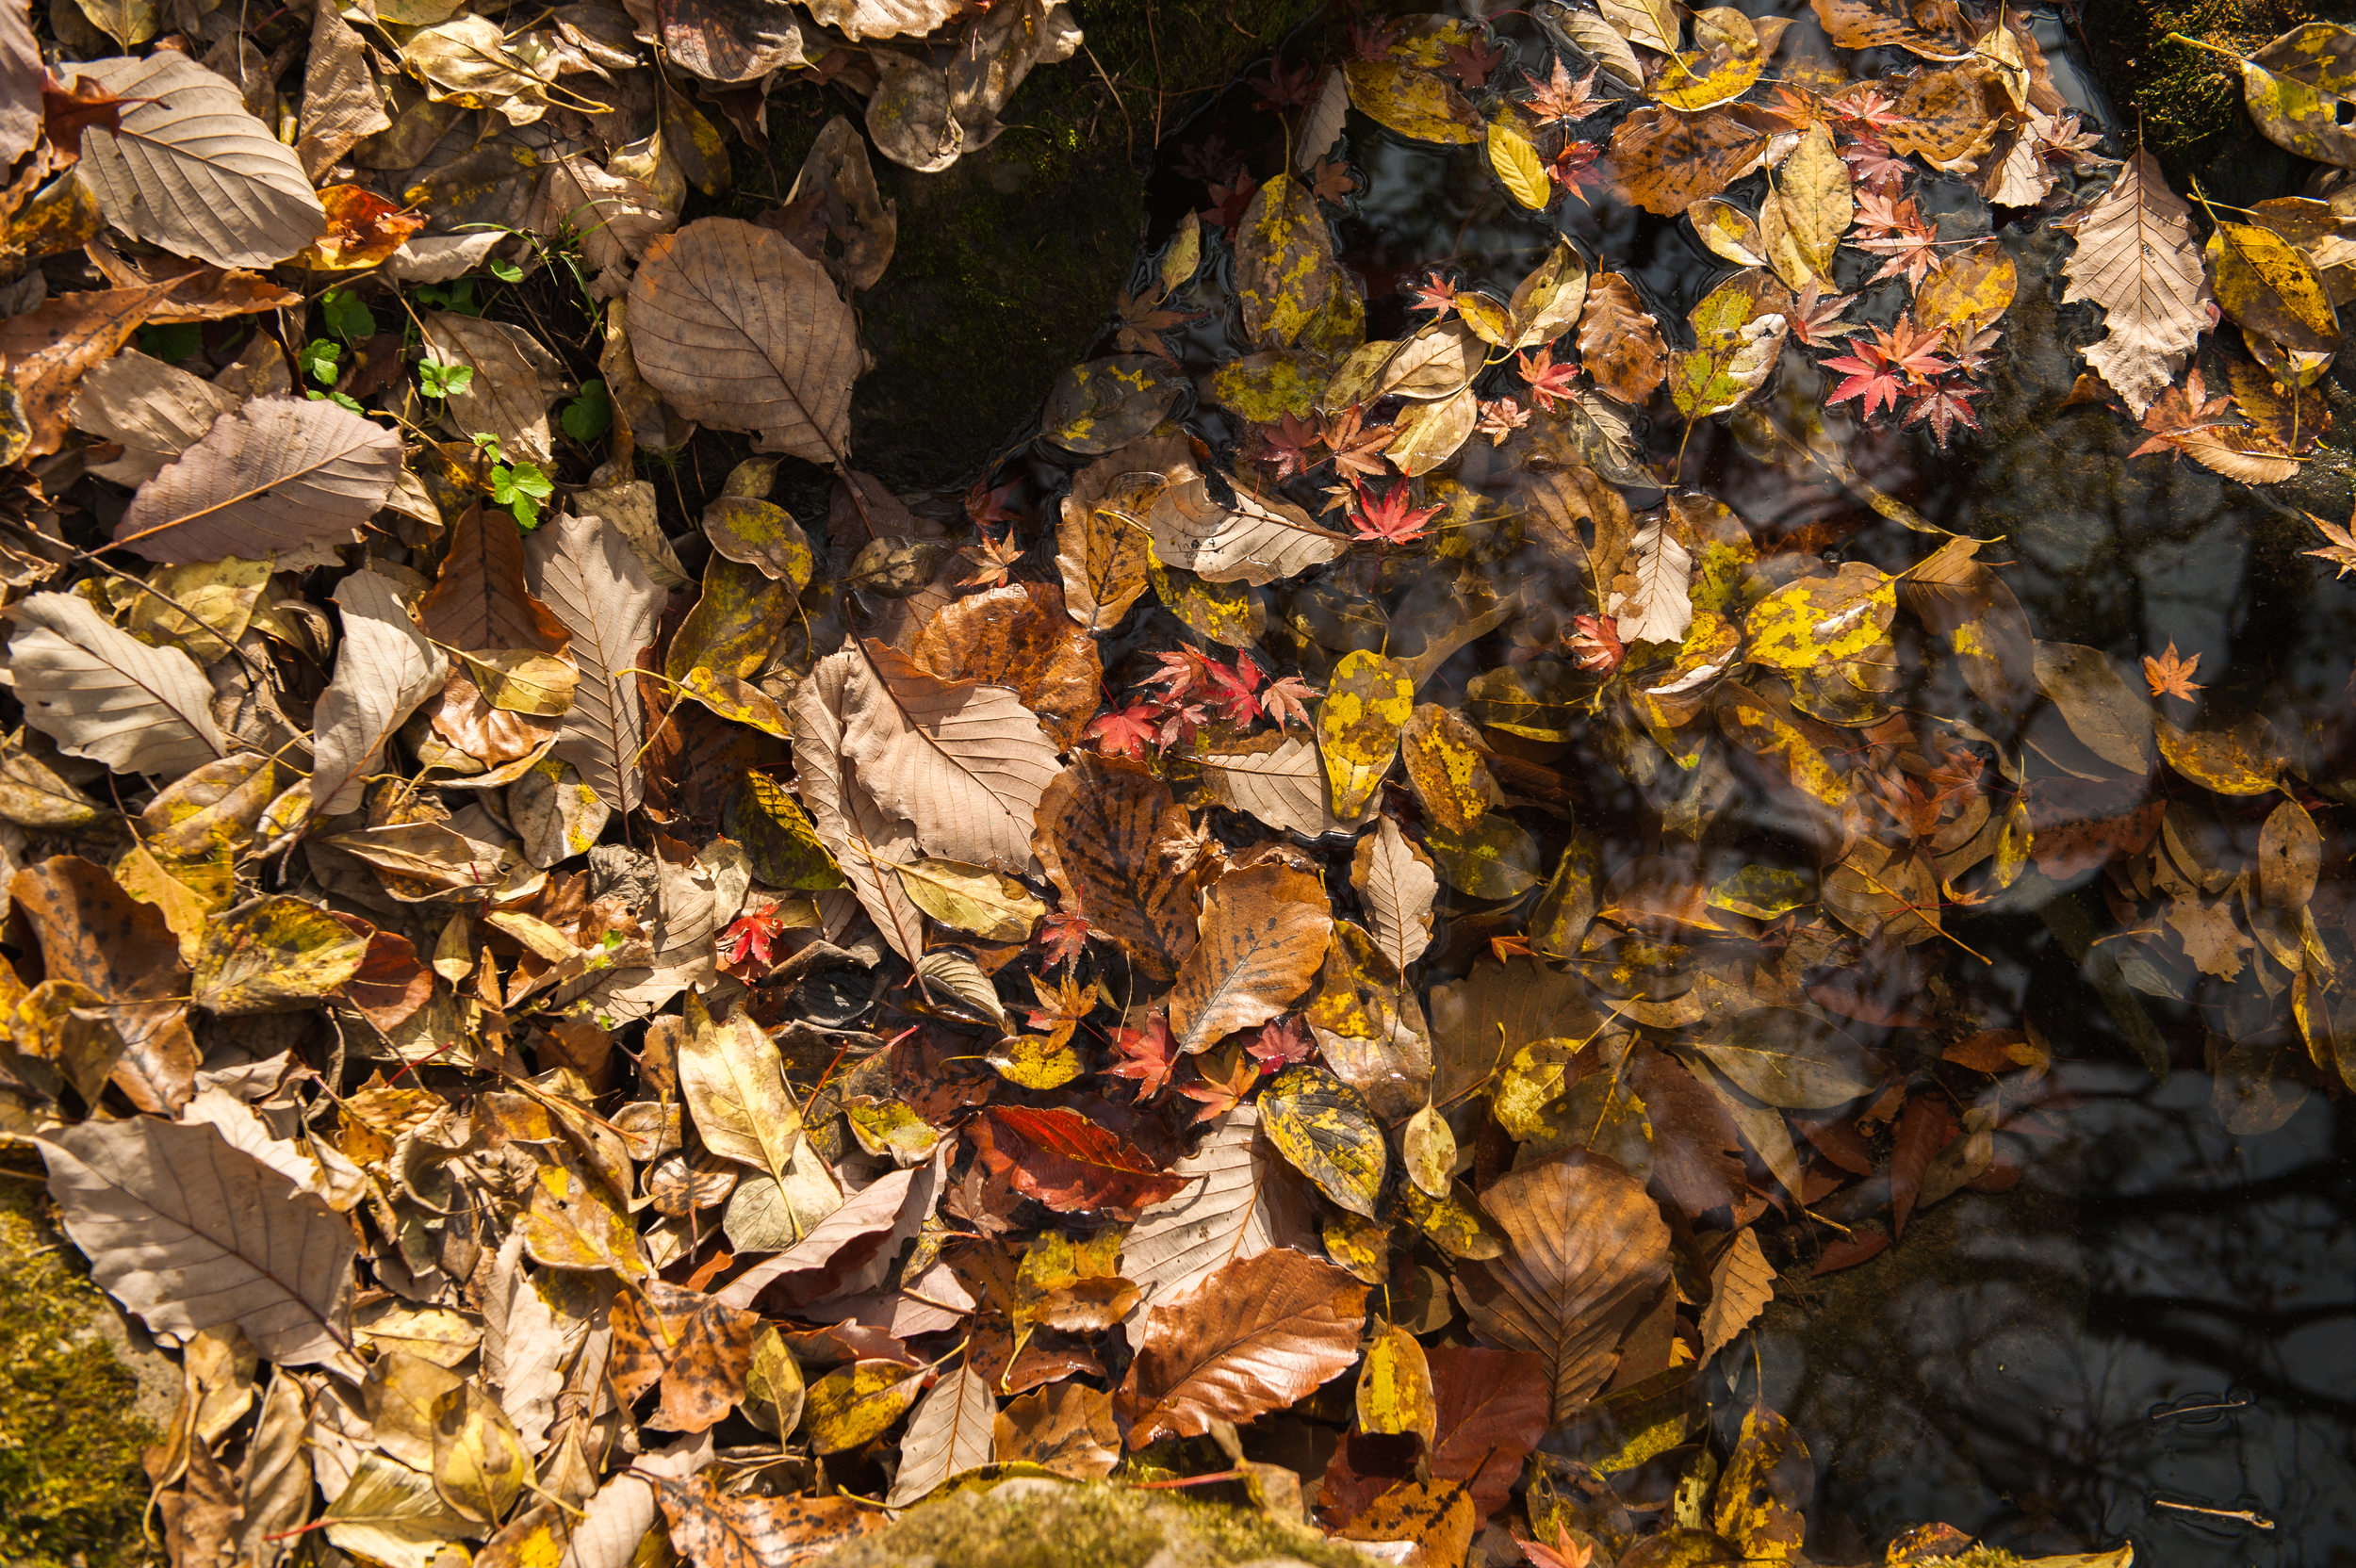
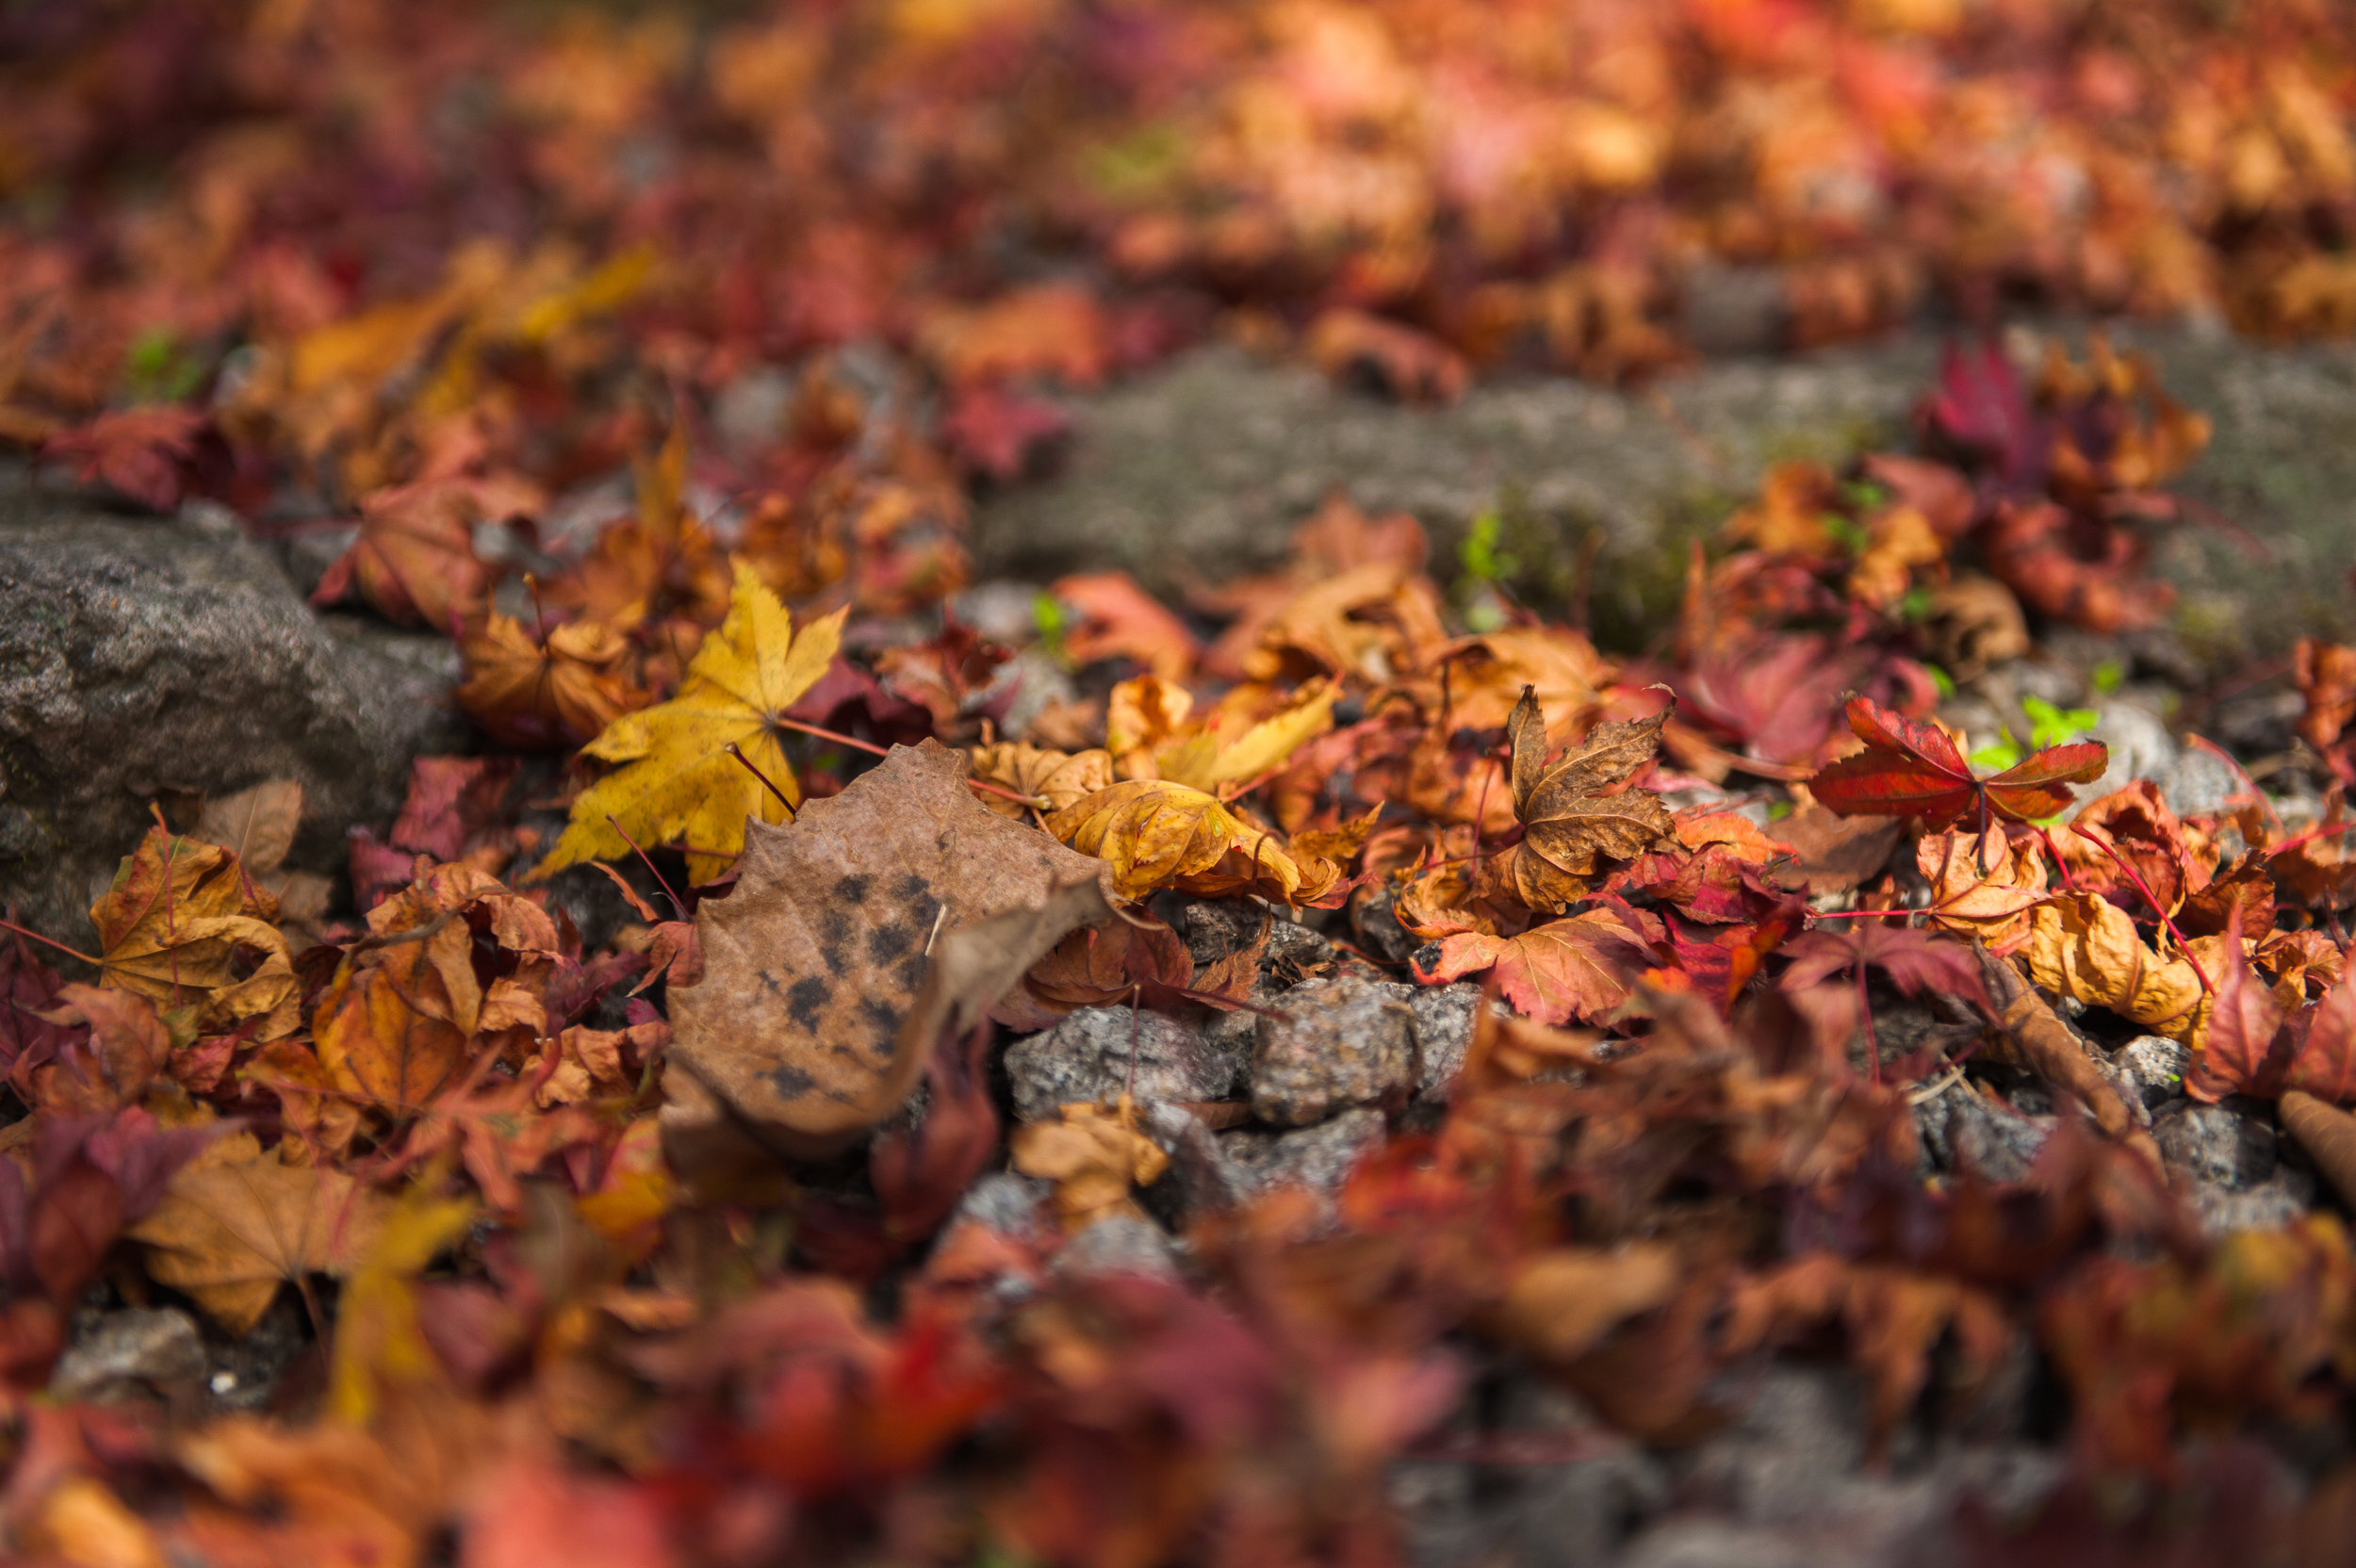
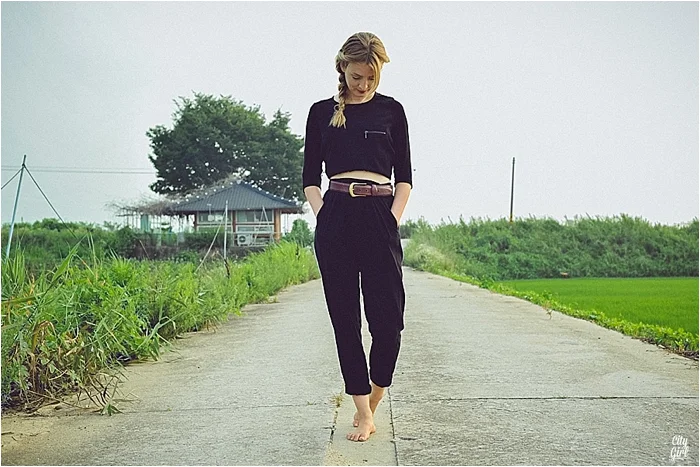
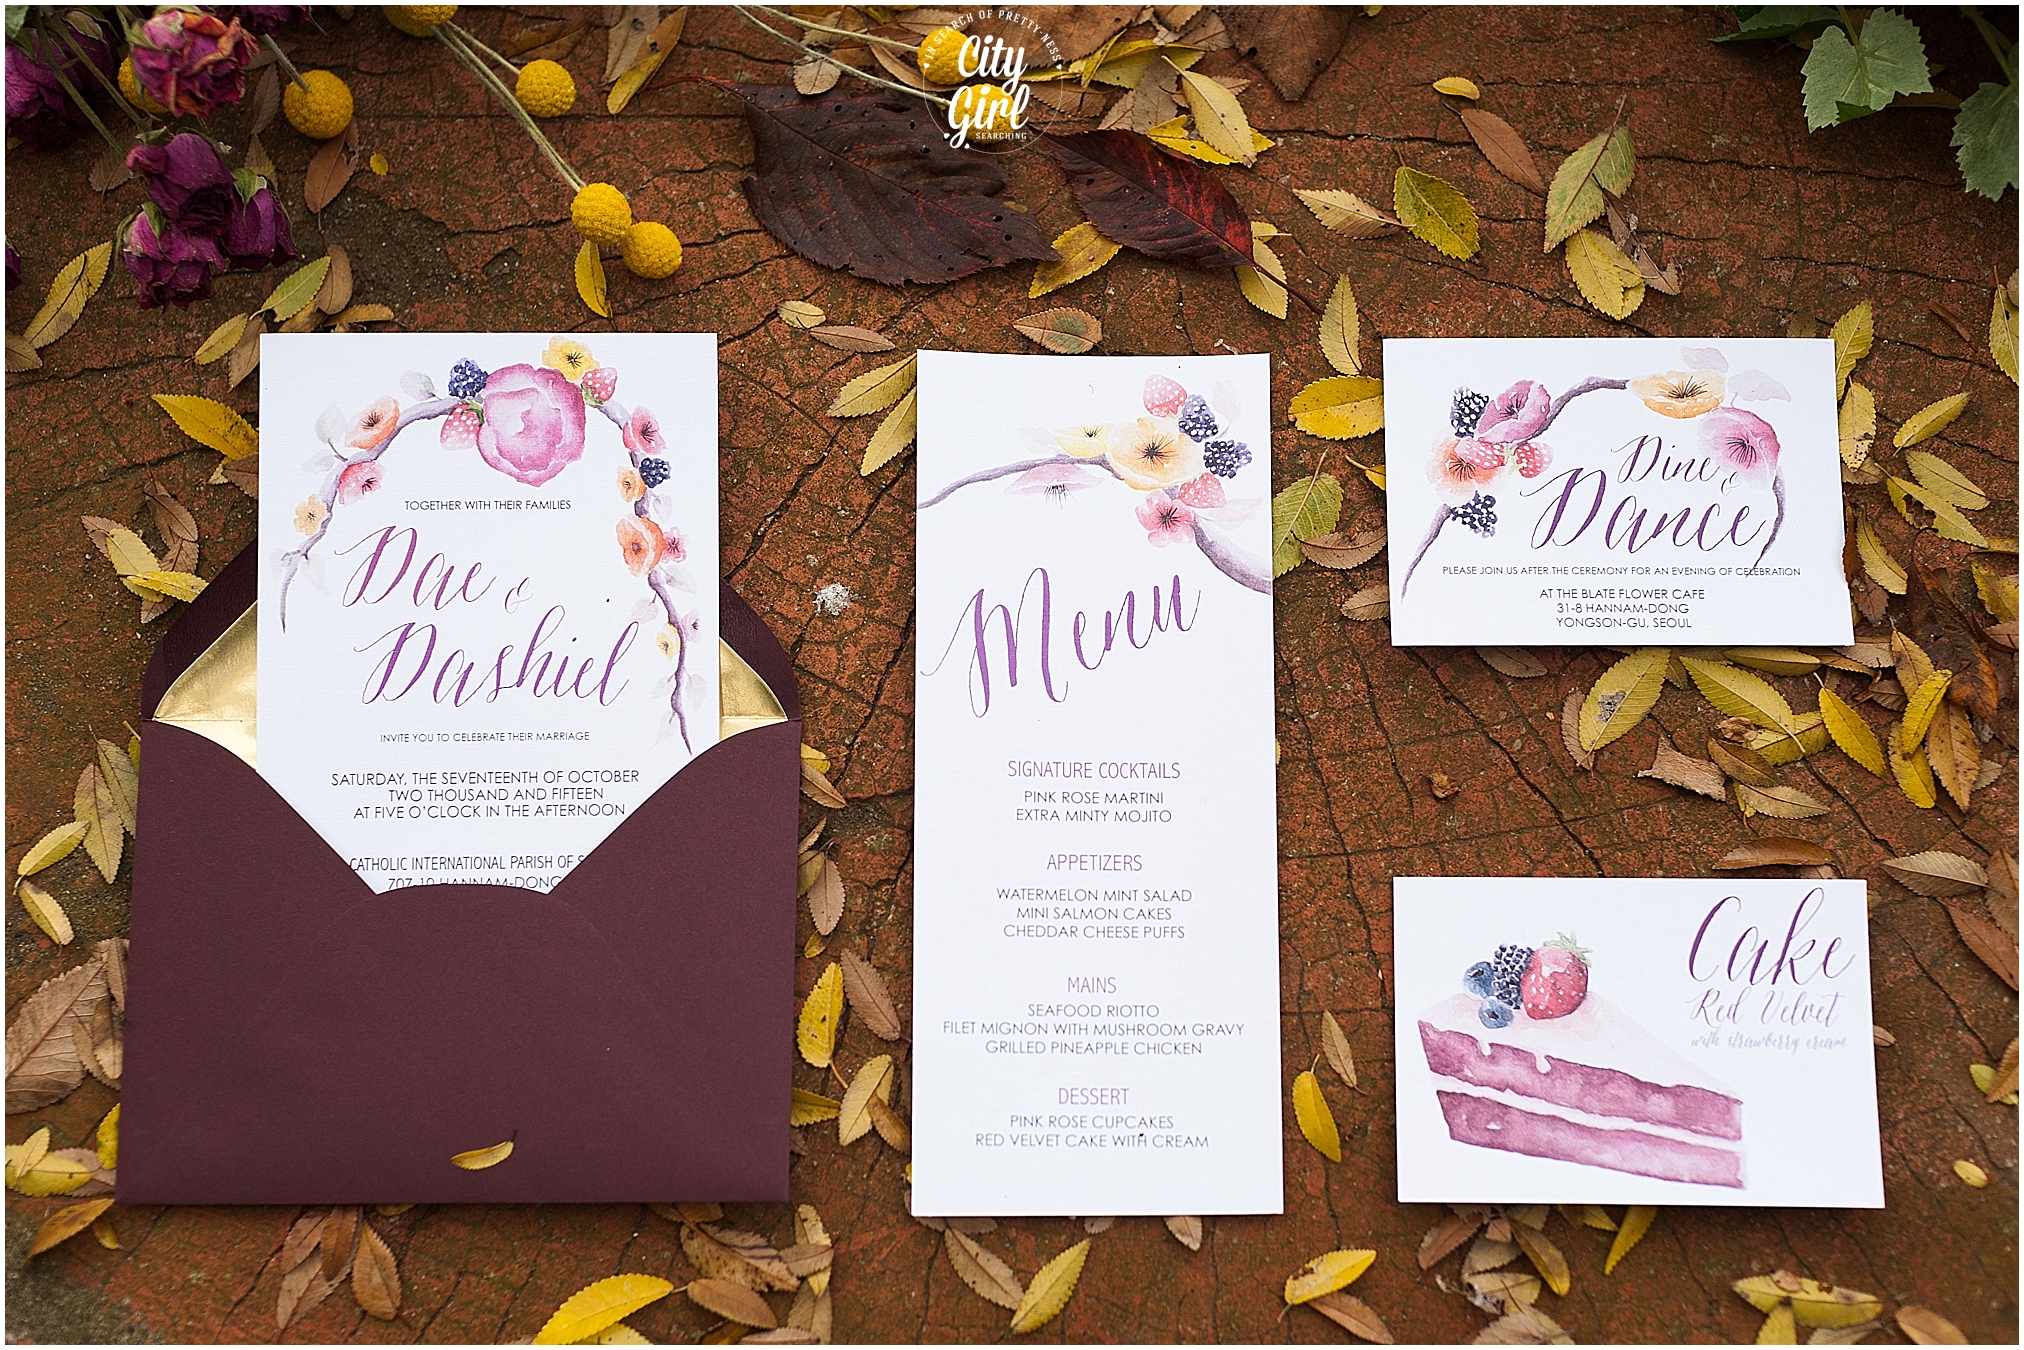
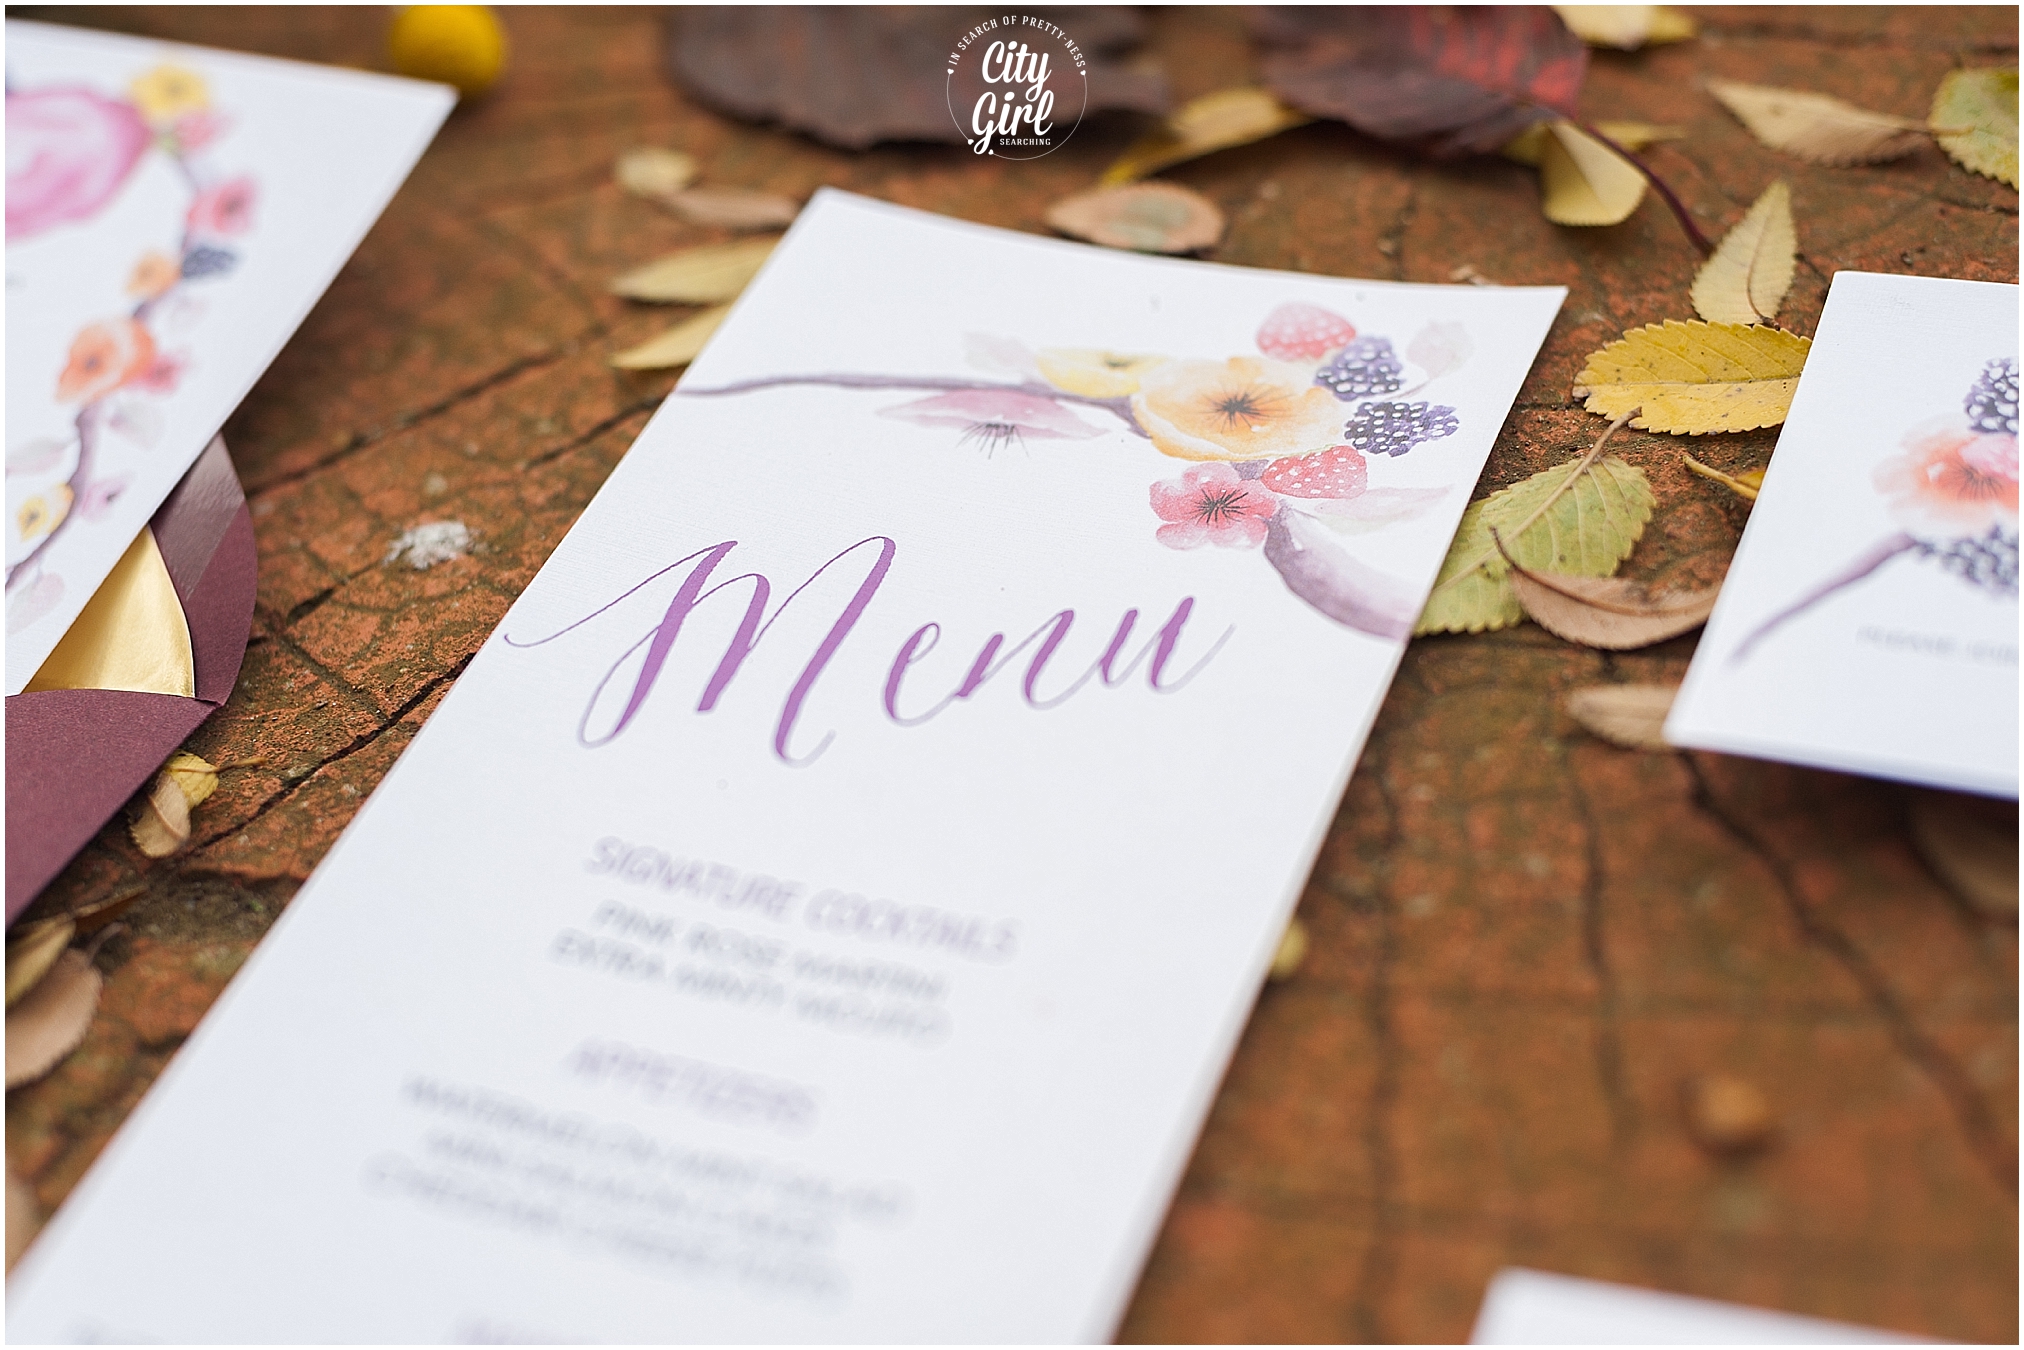
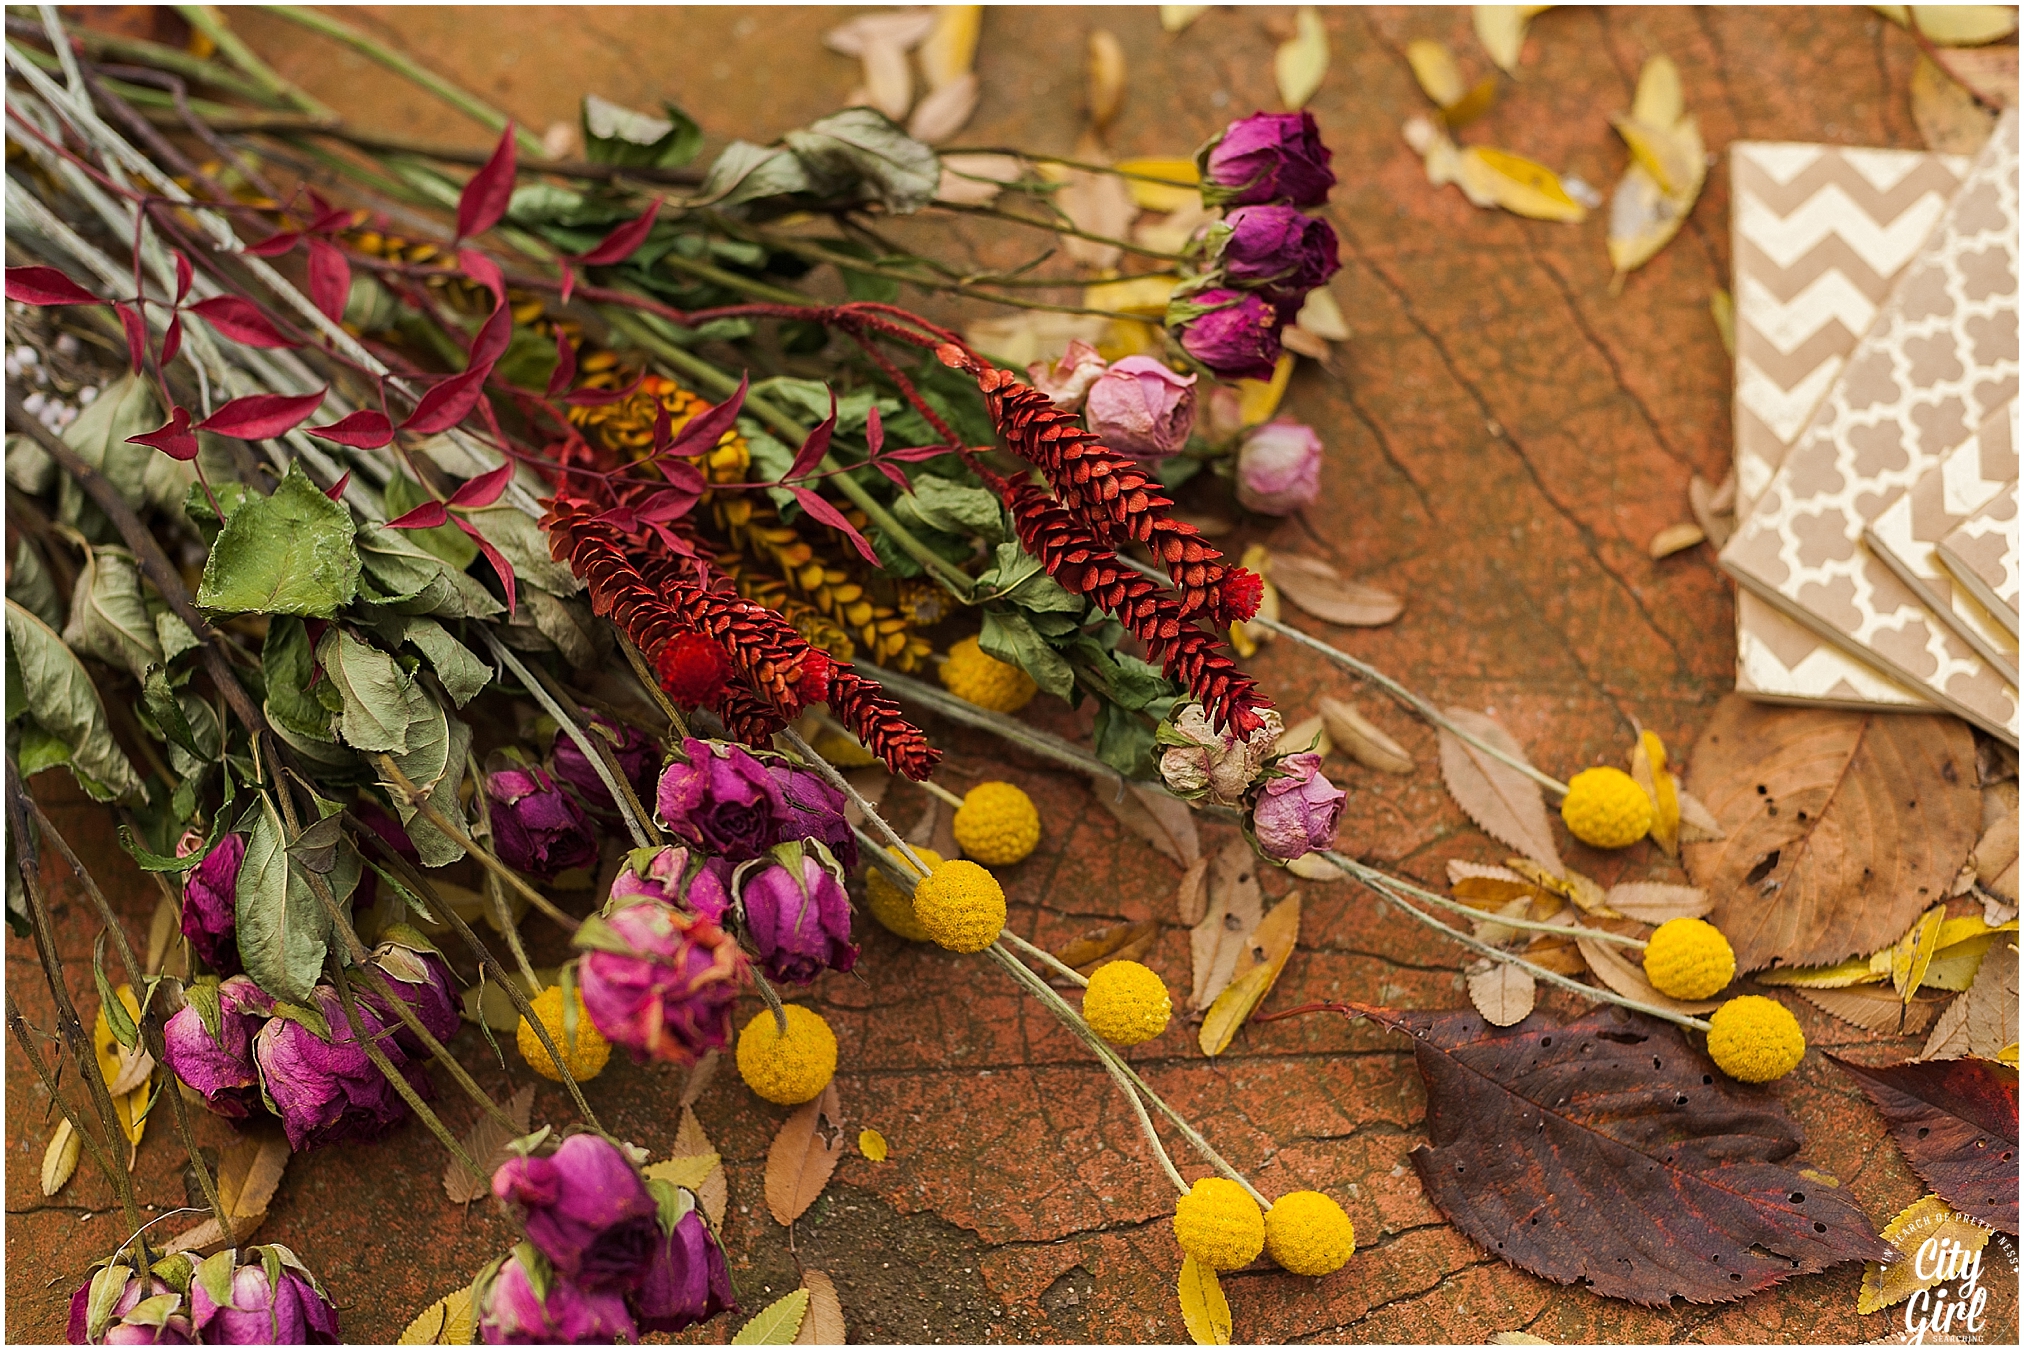
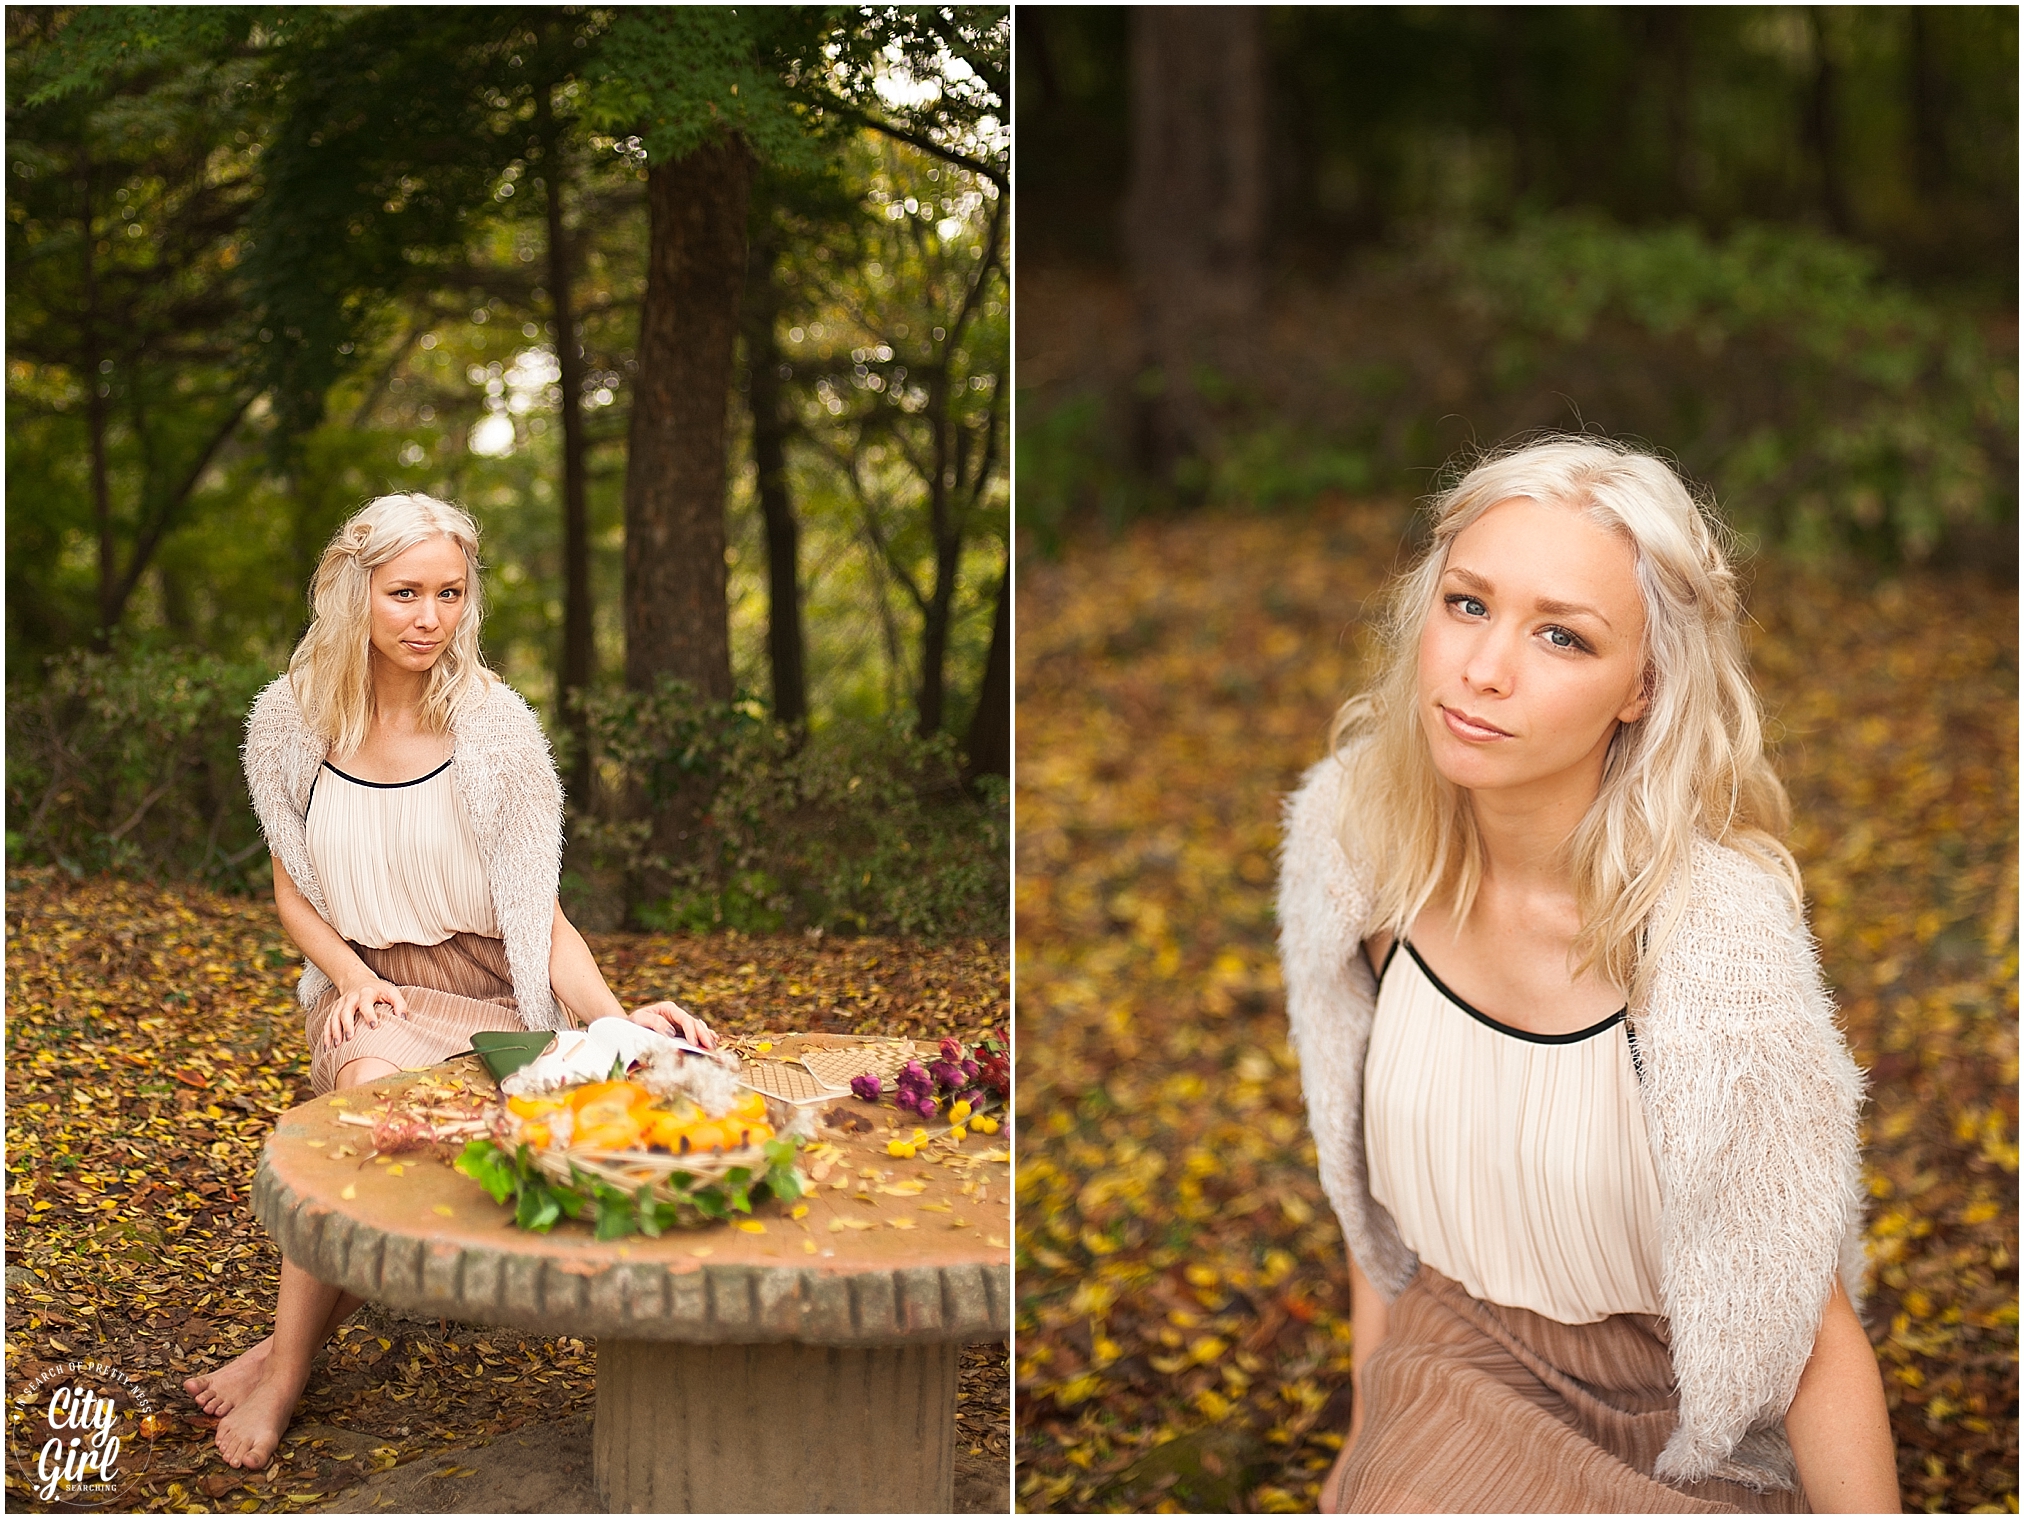
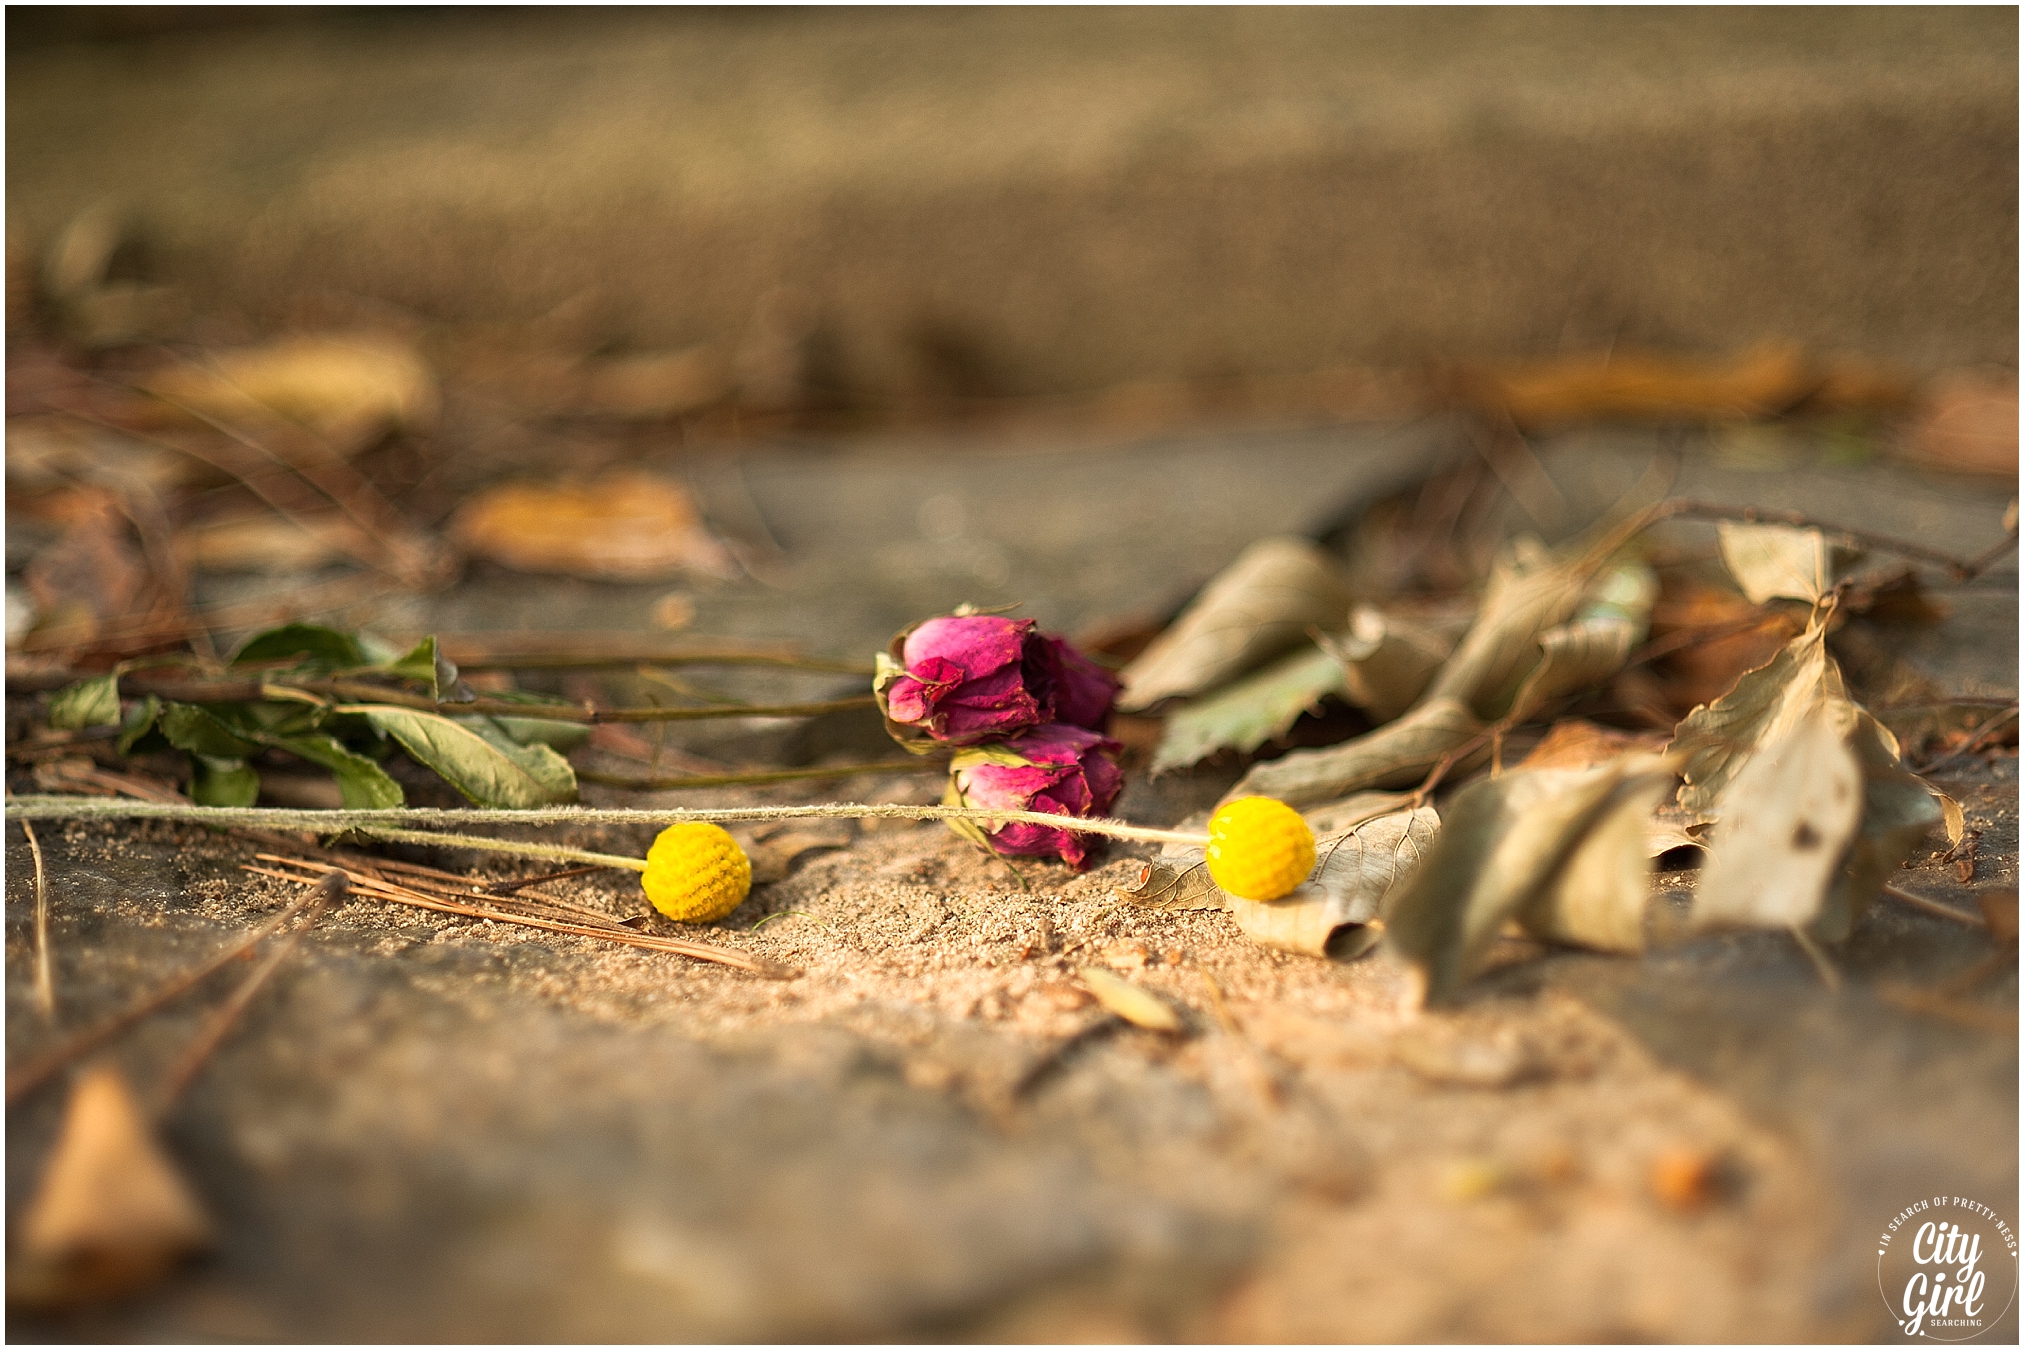
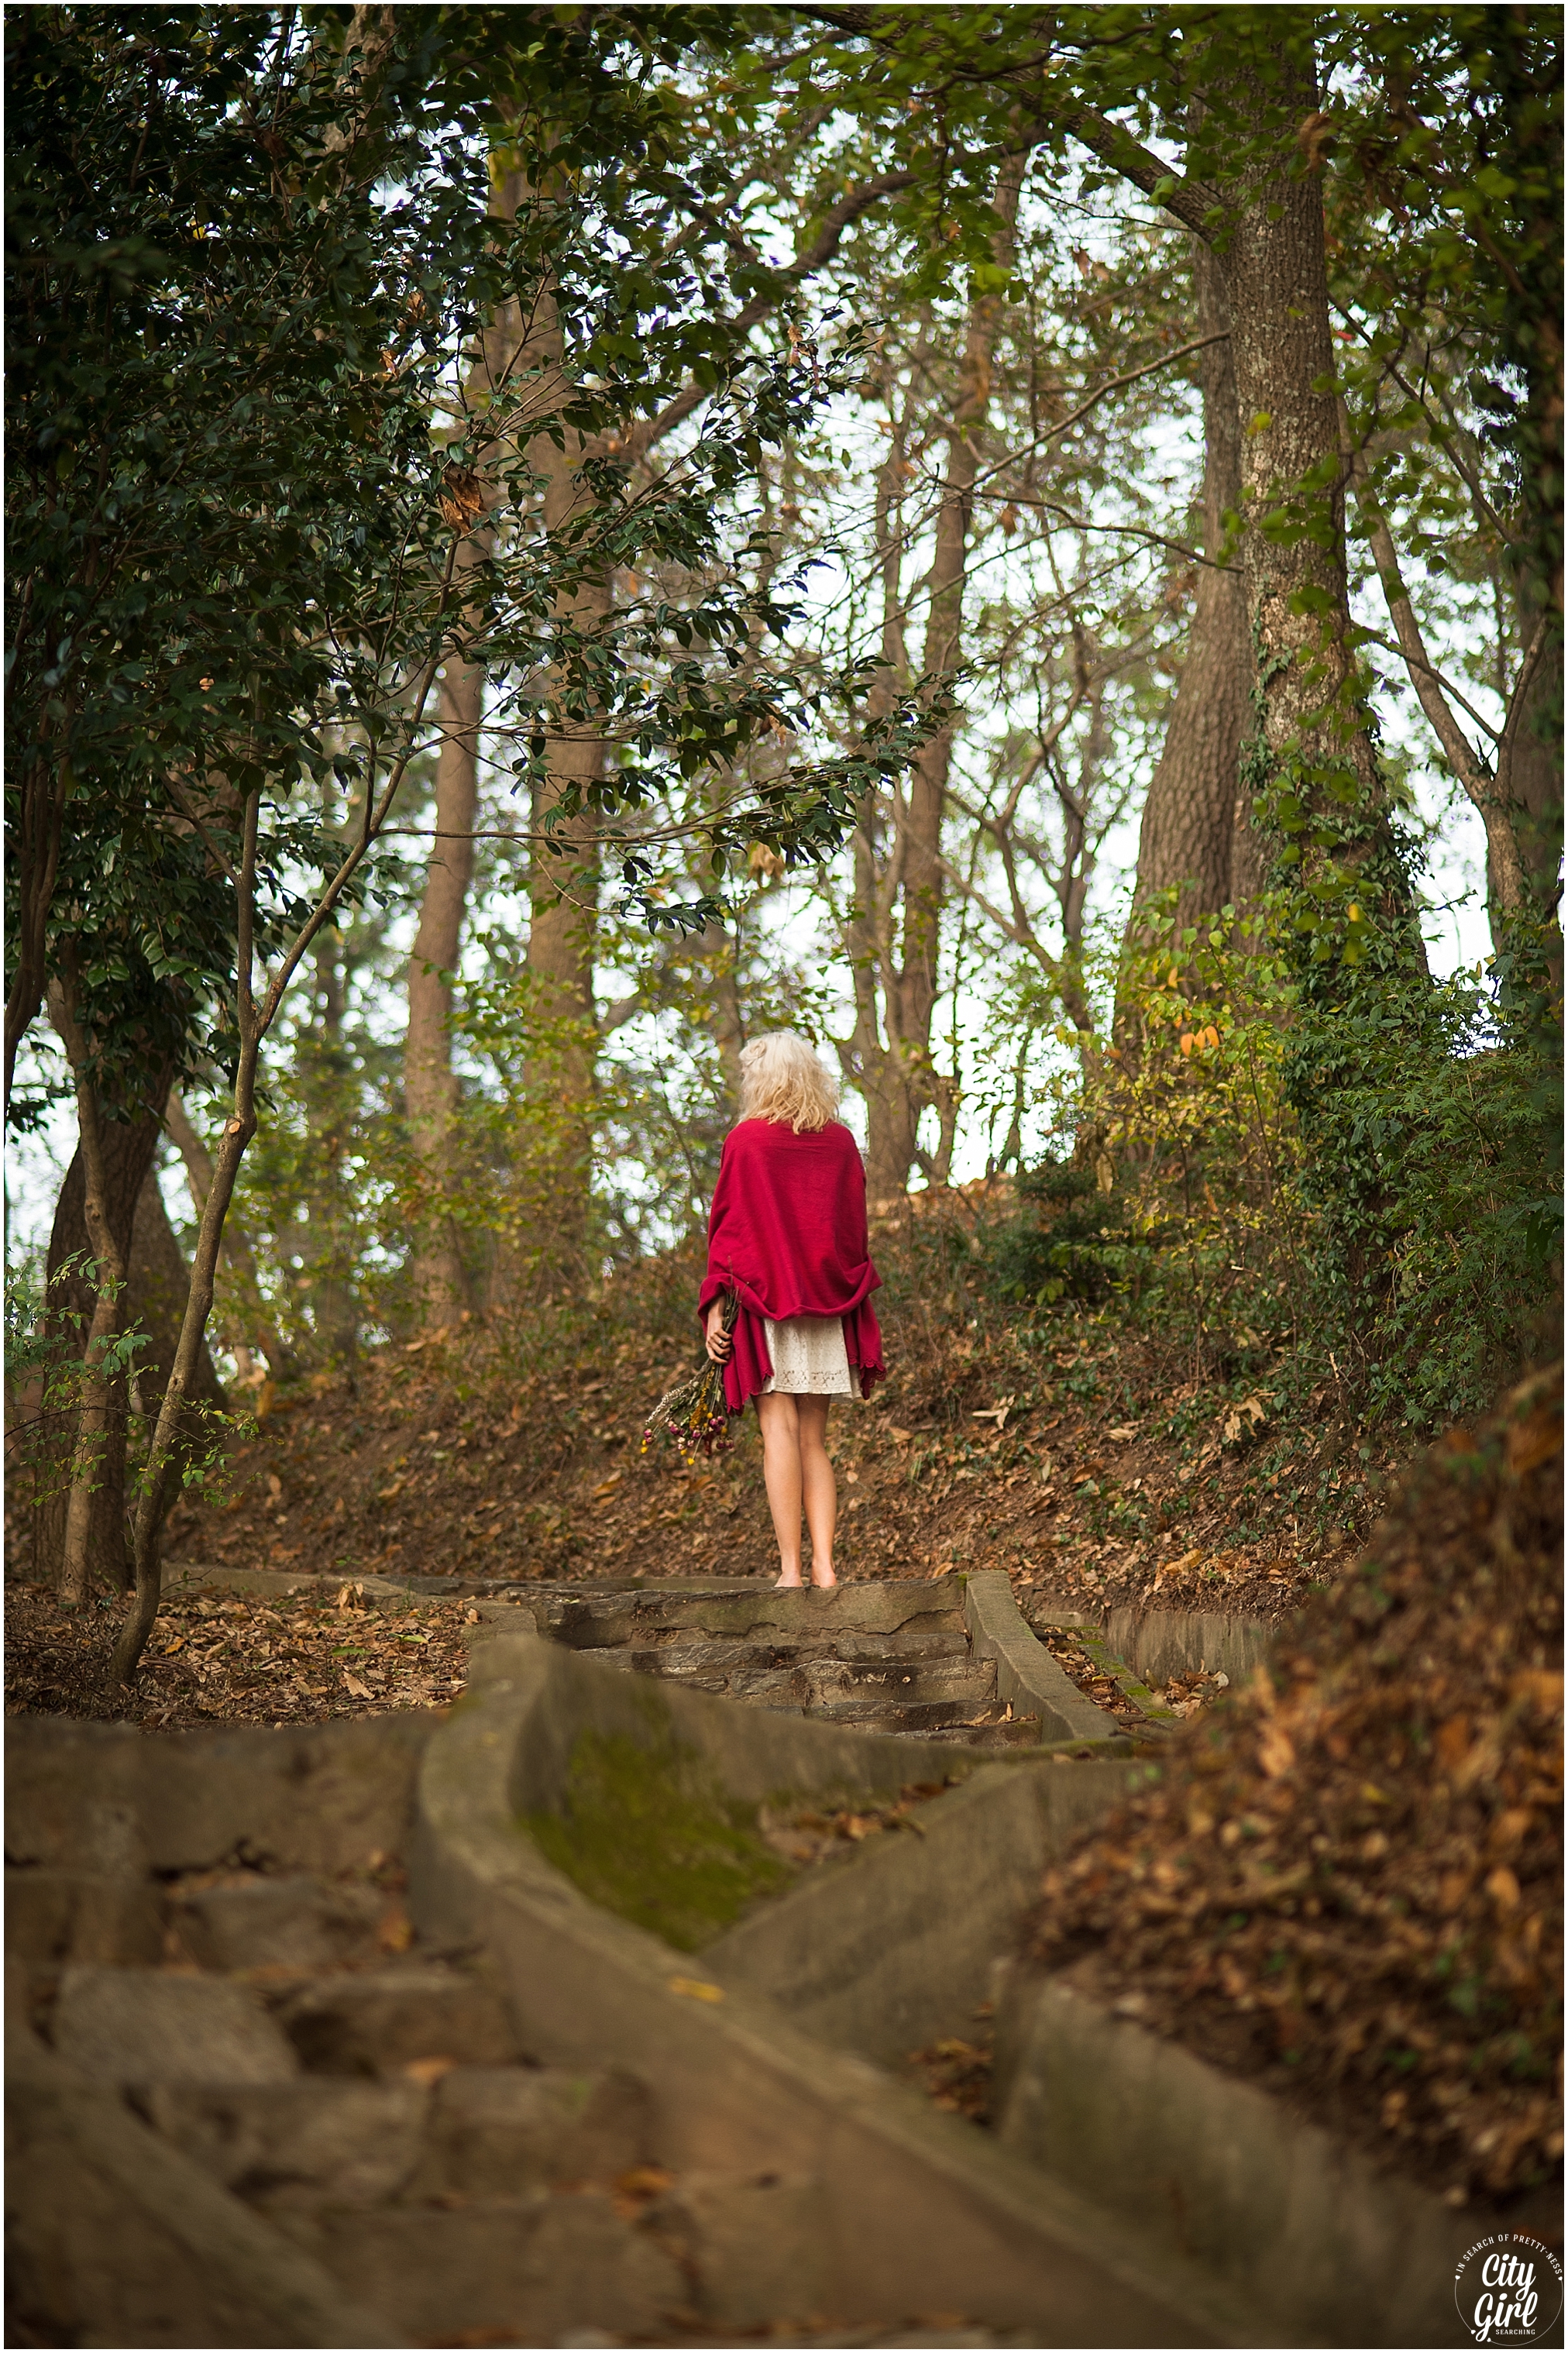
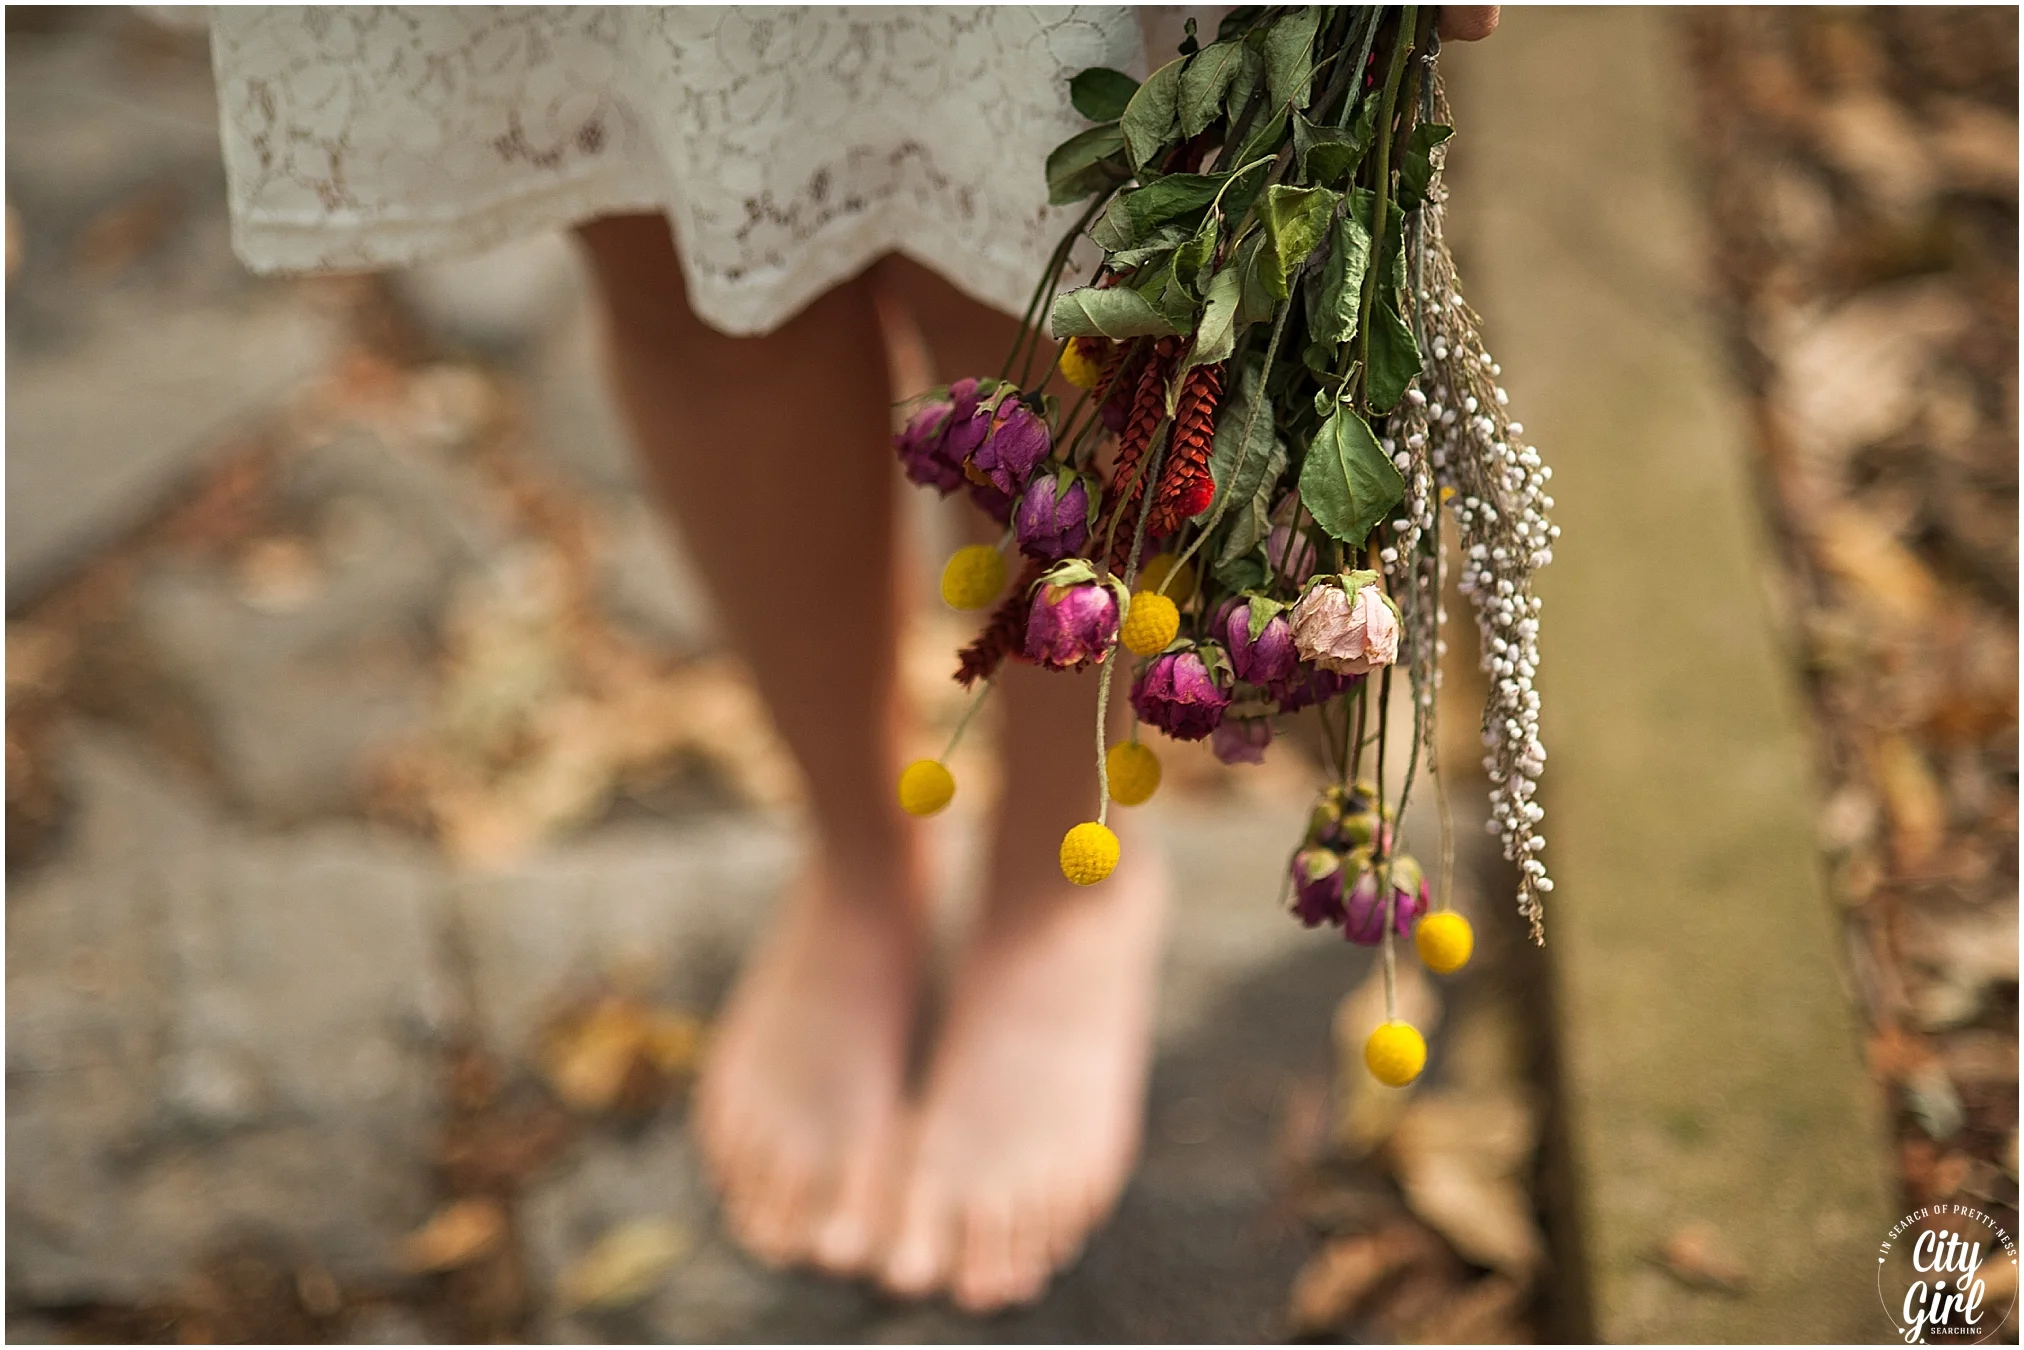
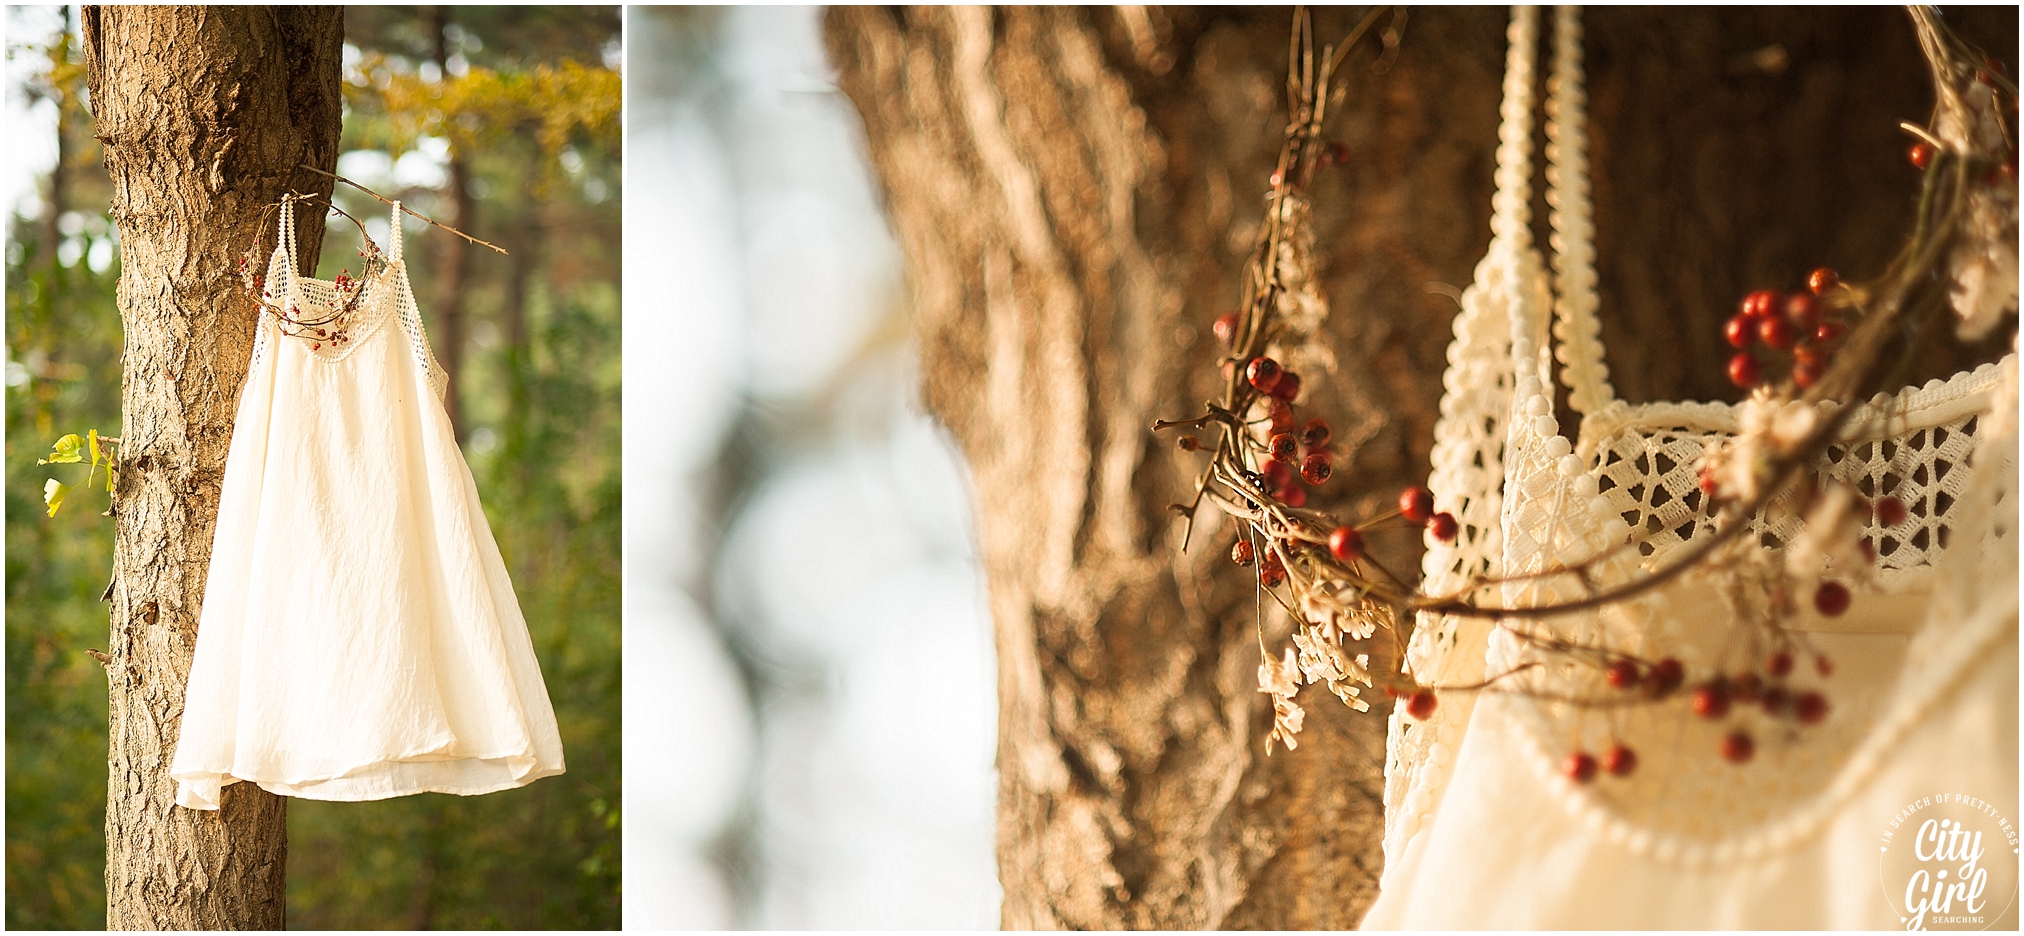
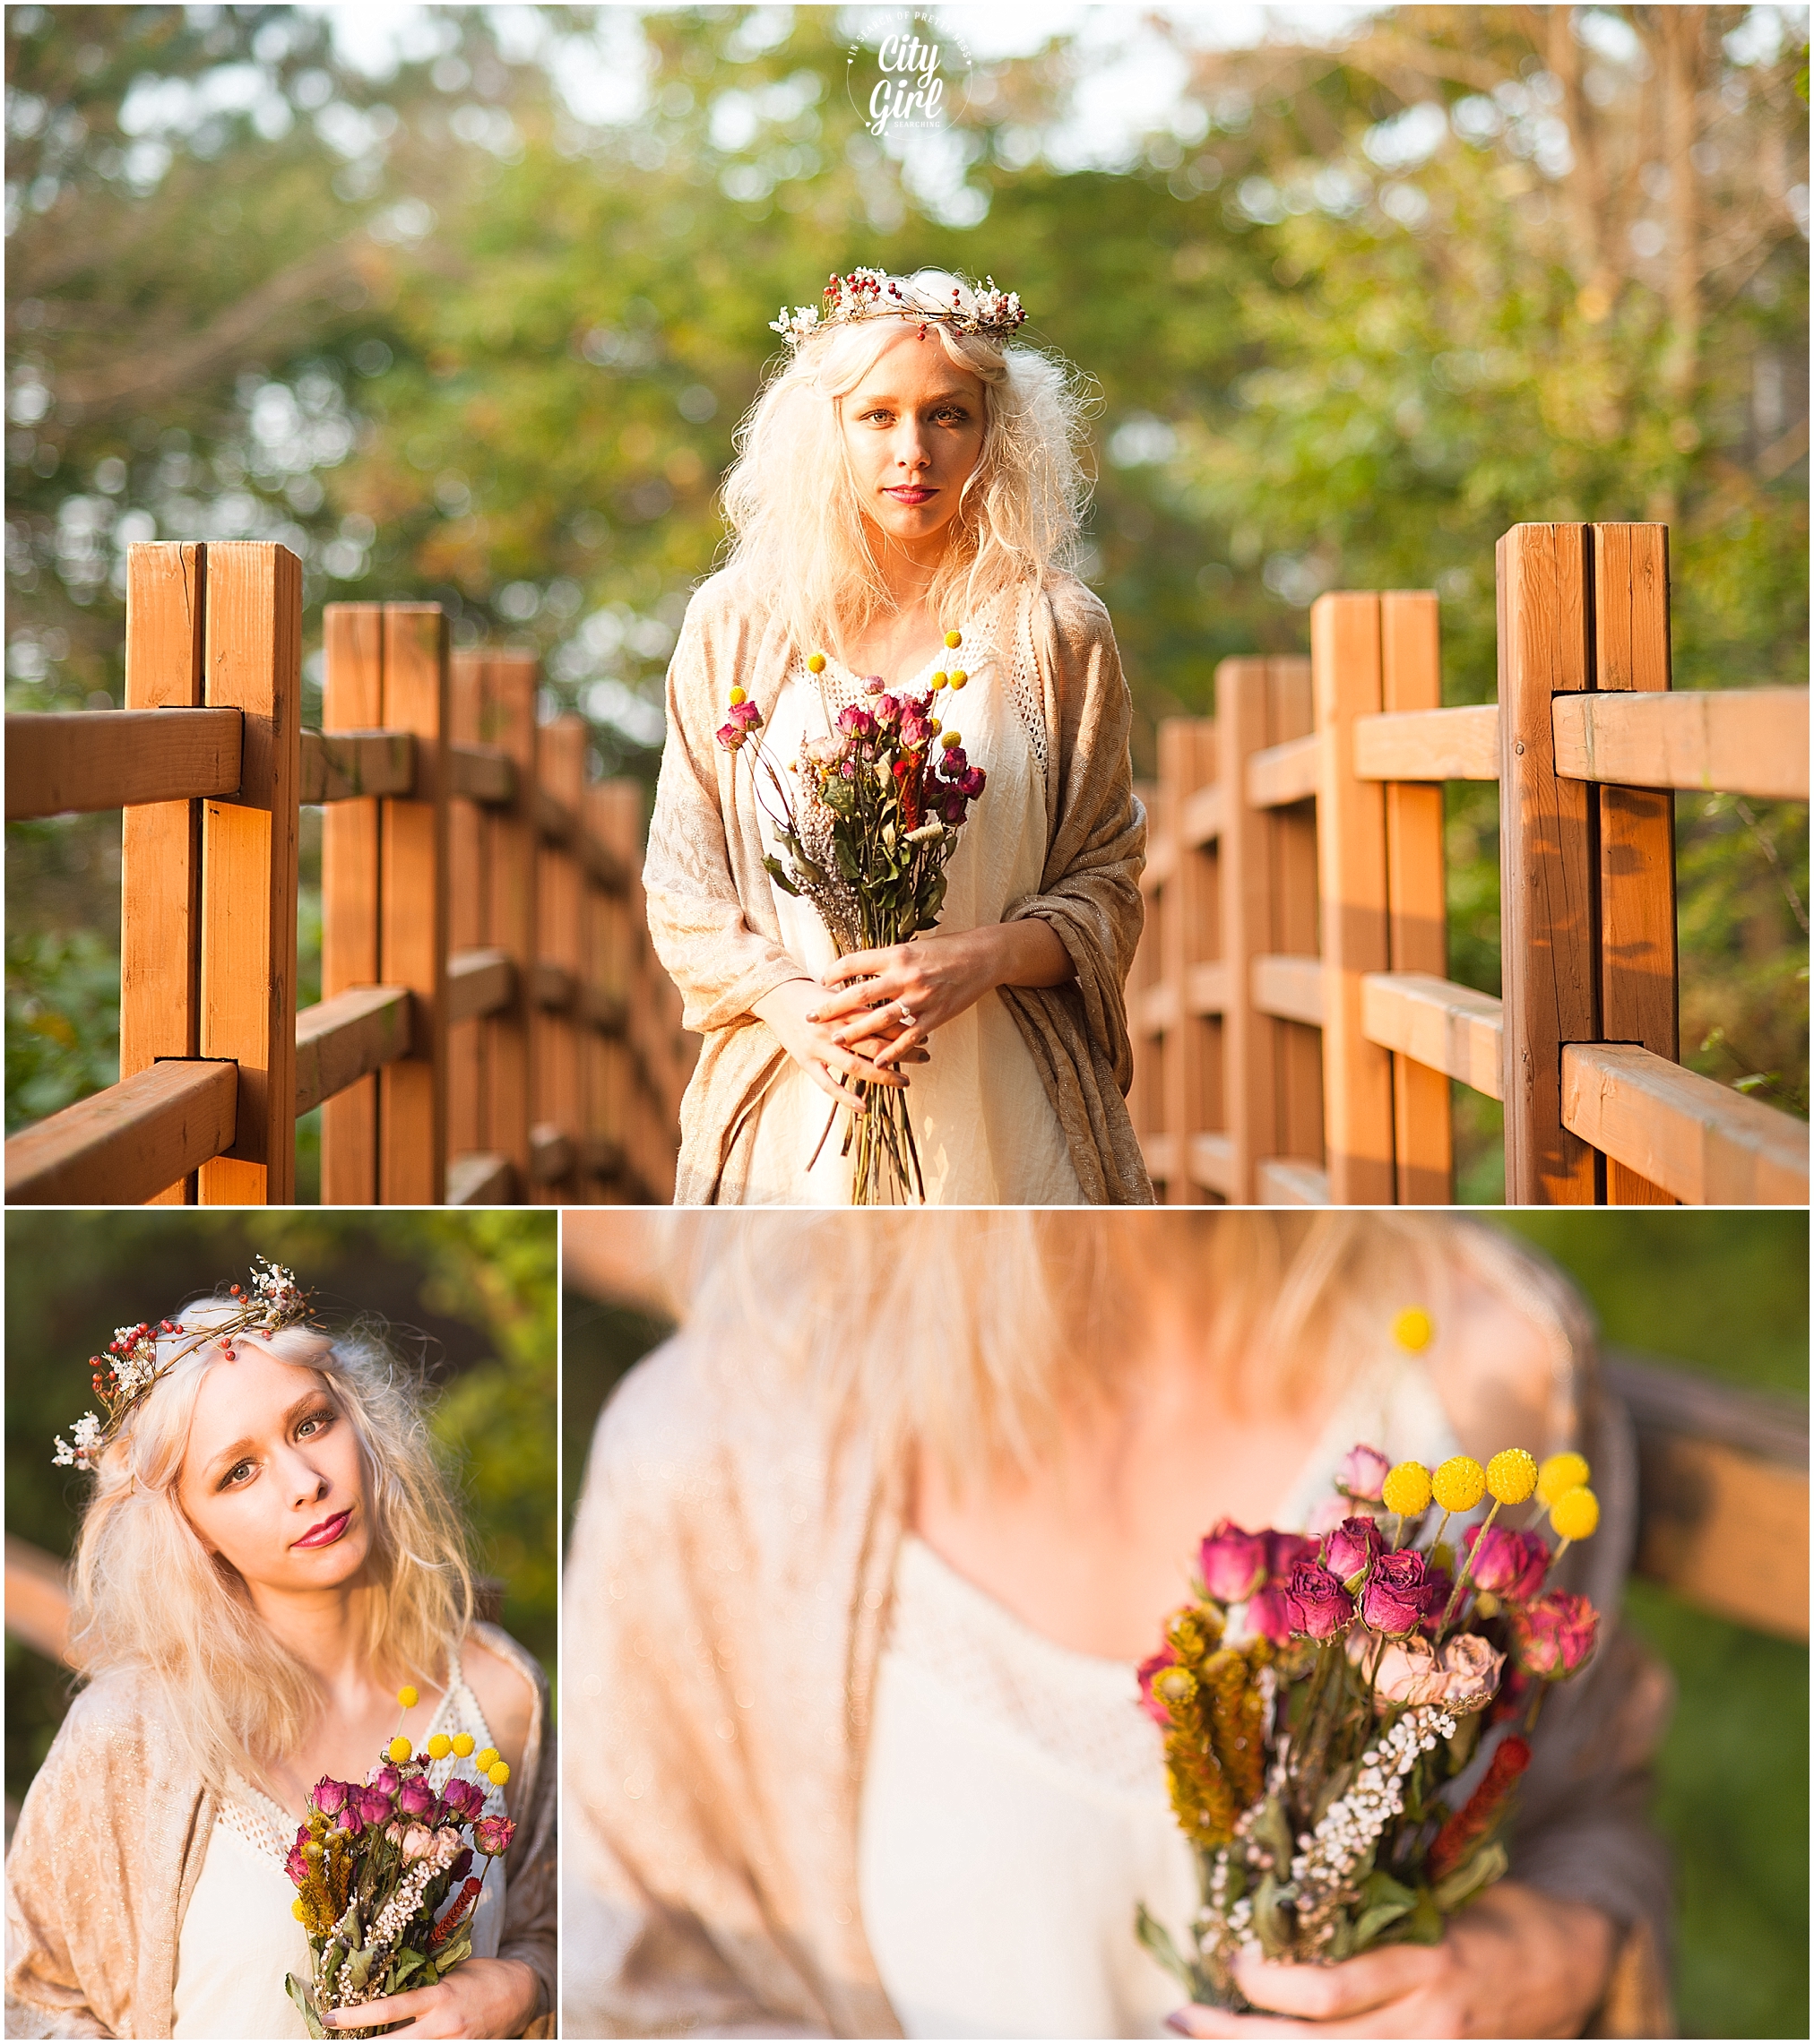
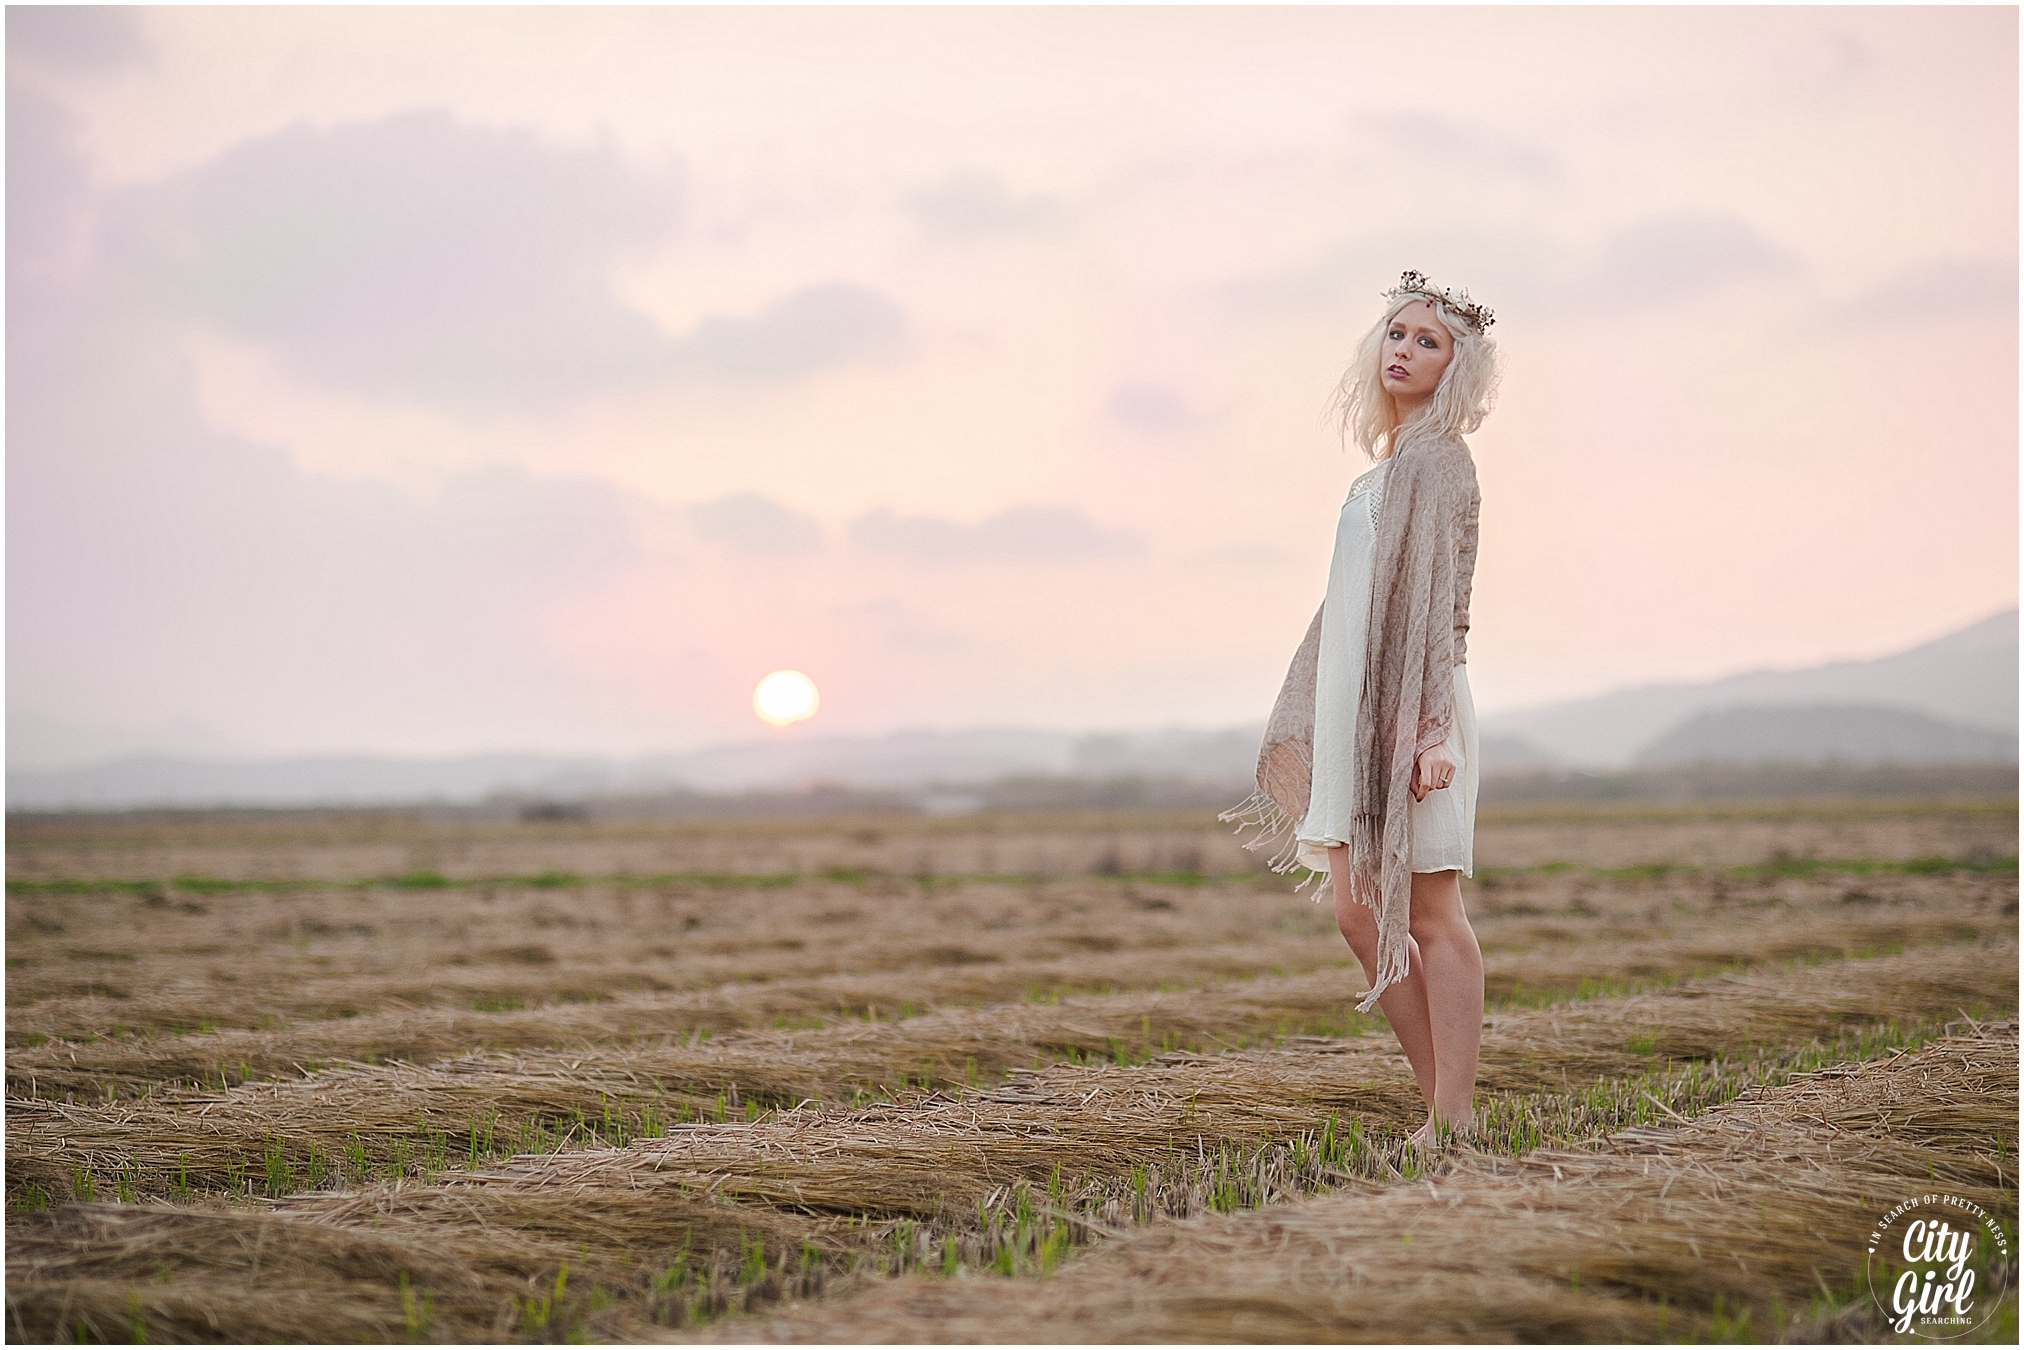
When I first started using Instagram I was all about the Valencia filter; you know that brown, sepia filter that gave a vintage edge to every photo? That was all very well and good, but since then my own style has developed into something more feminine, clean and pretty. I now use a white (or at least a light) background for all my photographs and put more thought into what I want to share. If you are serious about growing your brand, you need to think hard about the image you want to convey to your followers. 

To give you an idea of what I'm talking about I want to share with you what happened to my Instagram followers a earlier this year.


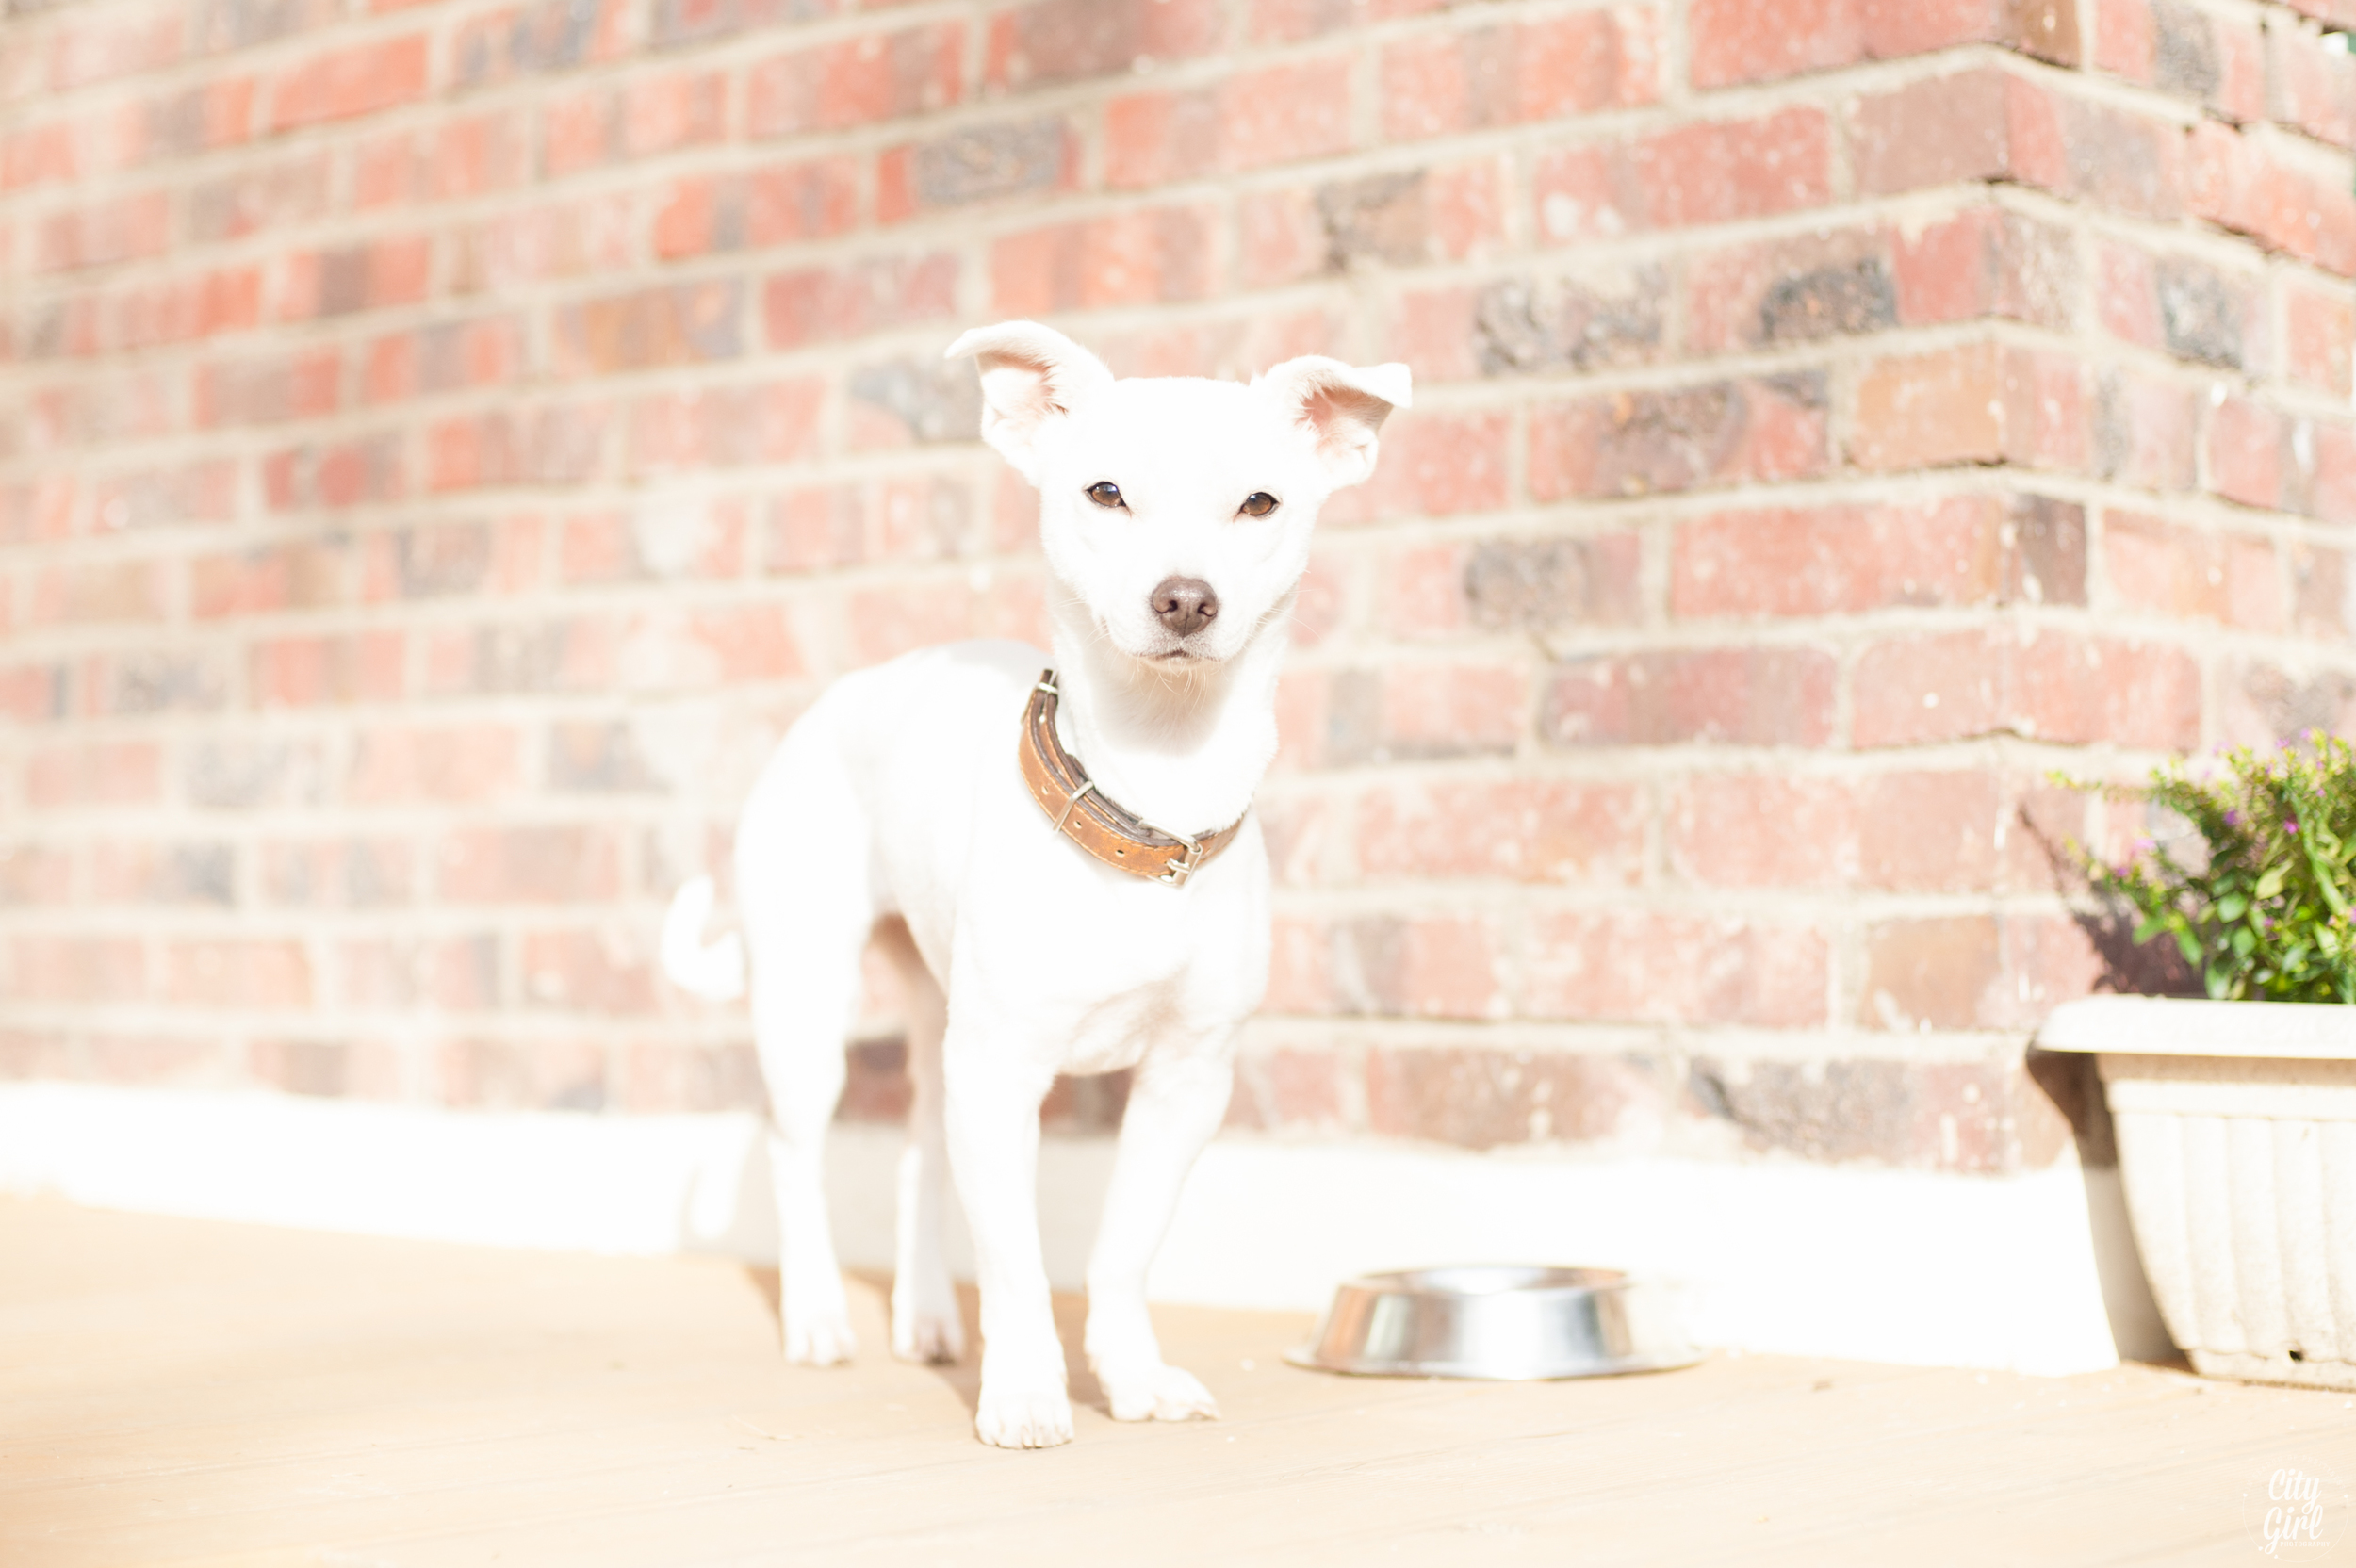
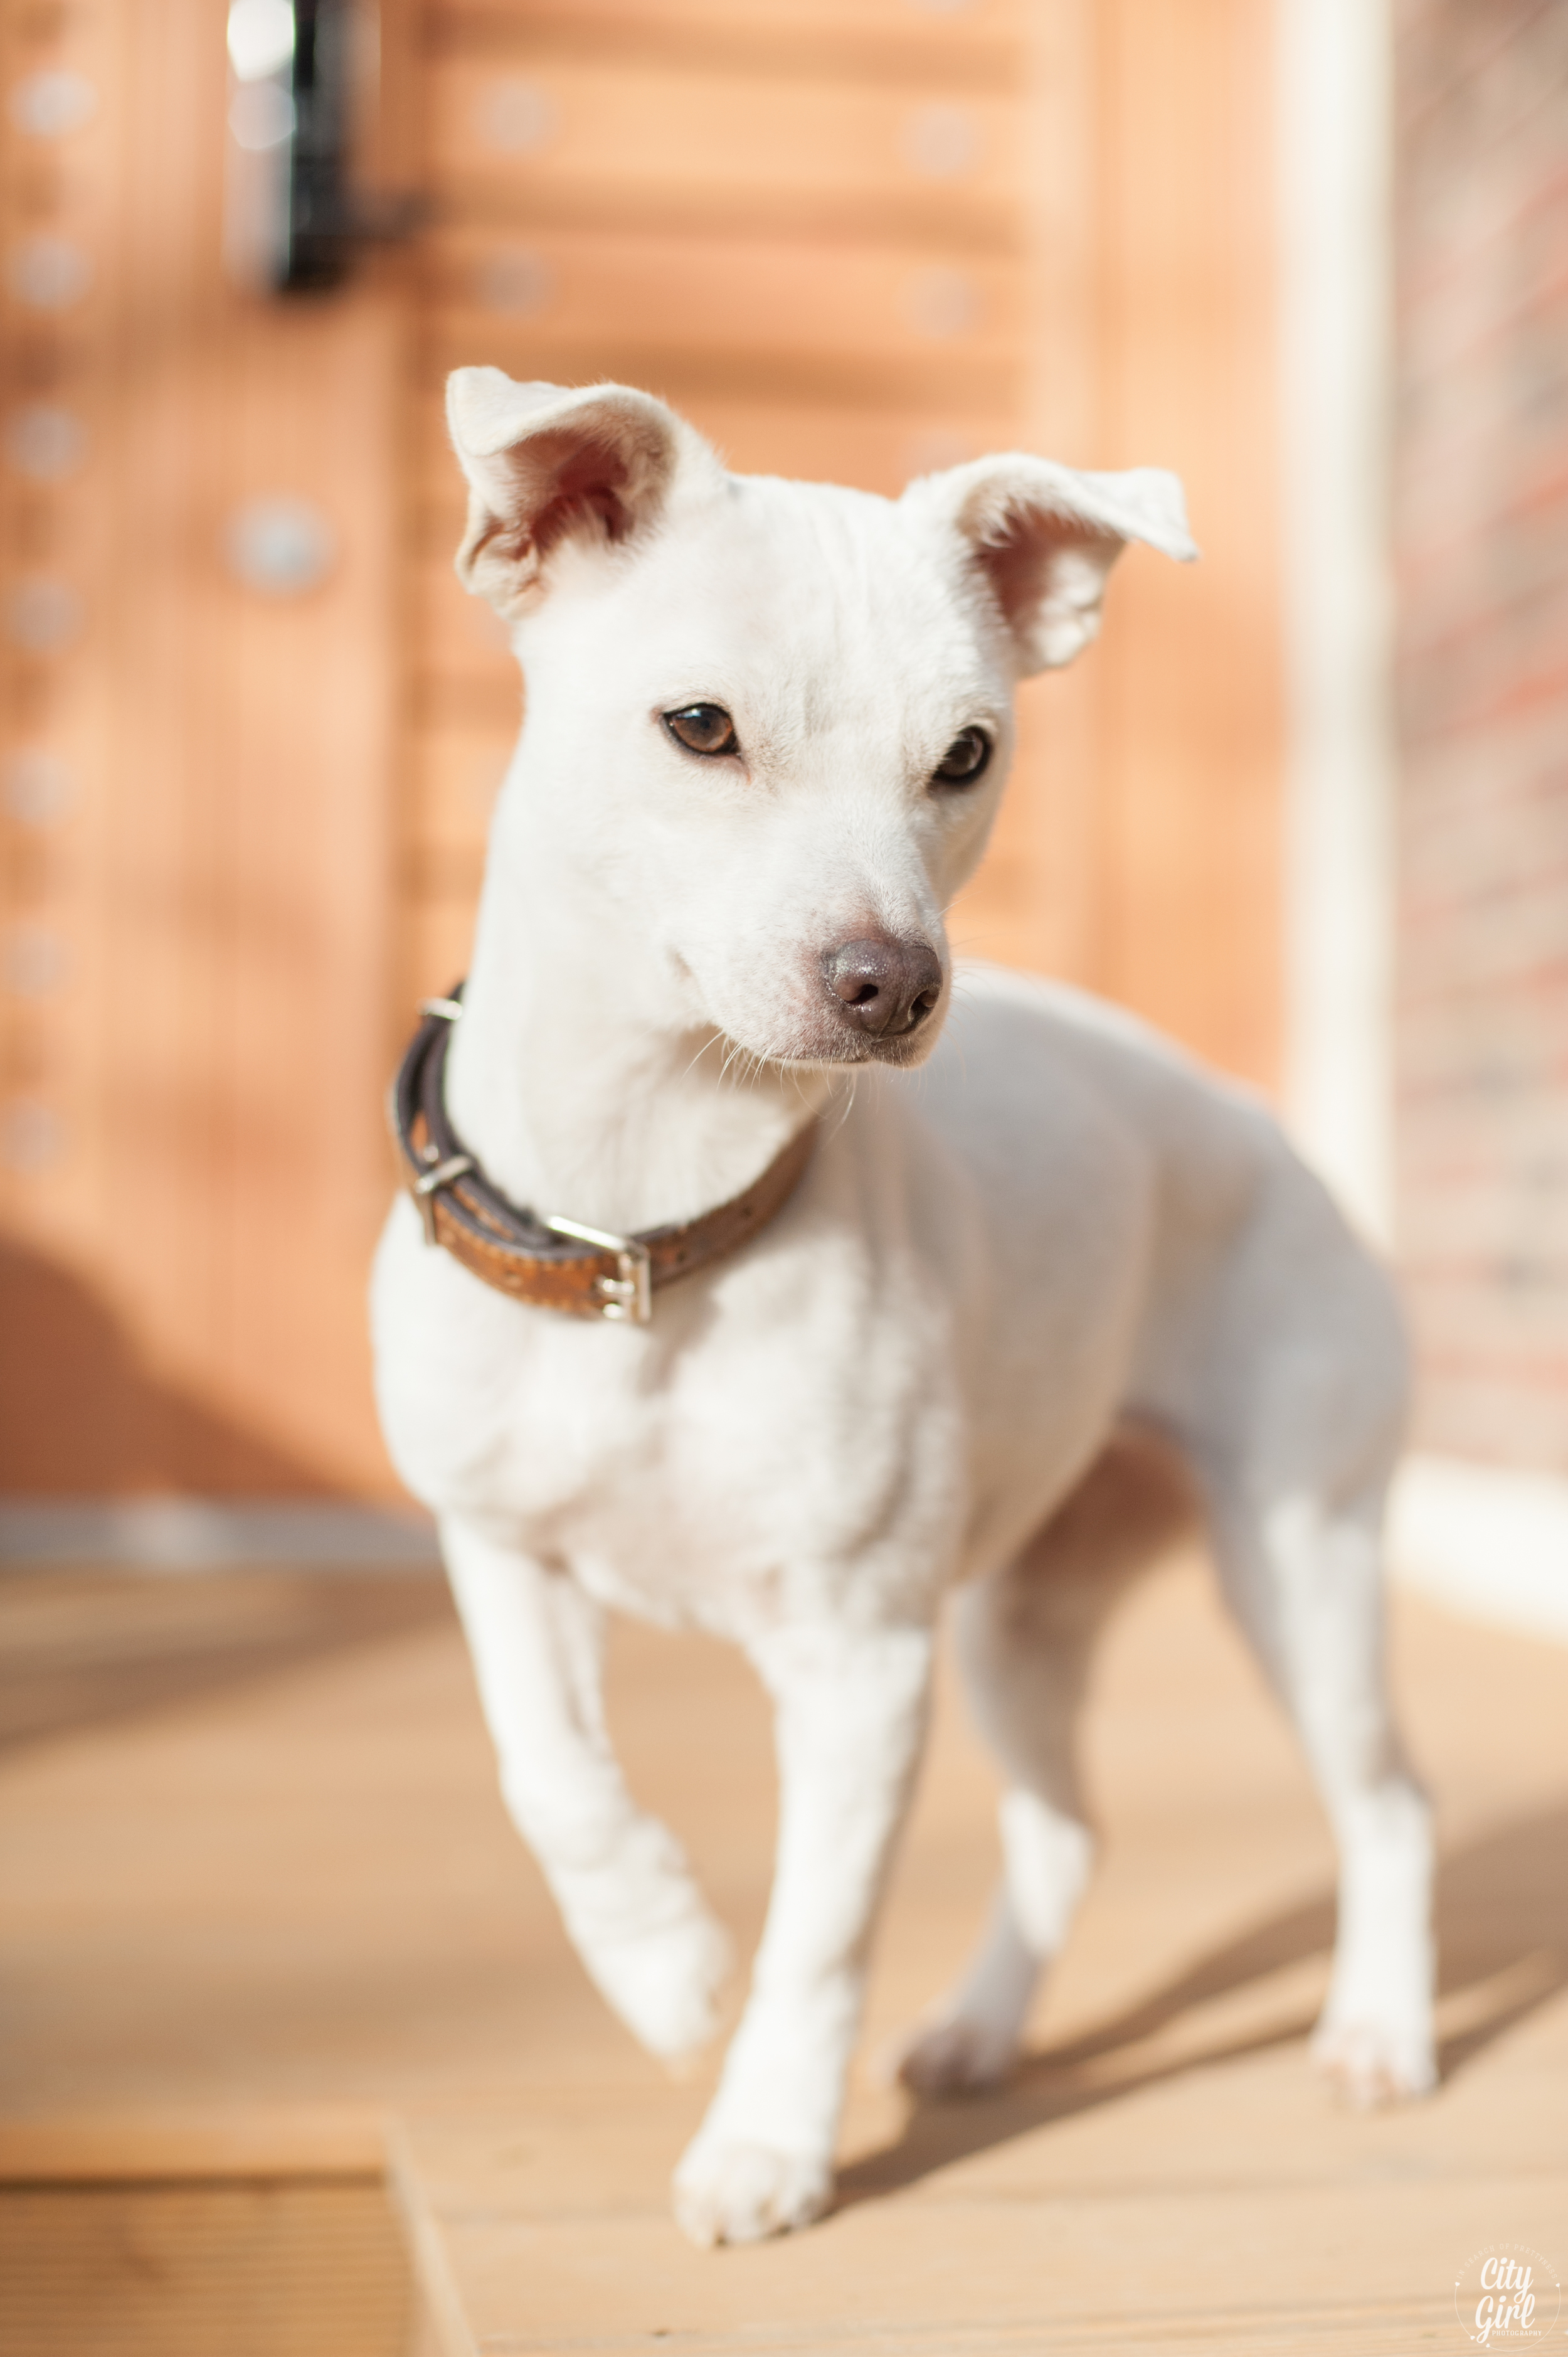
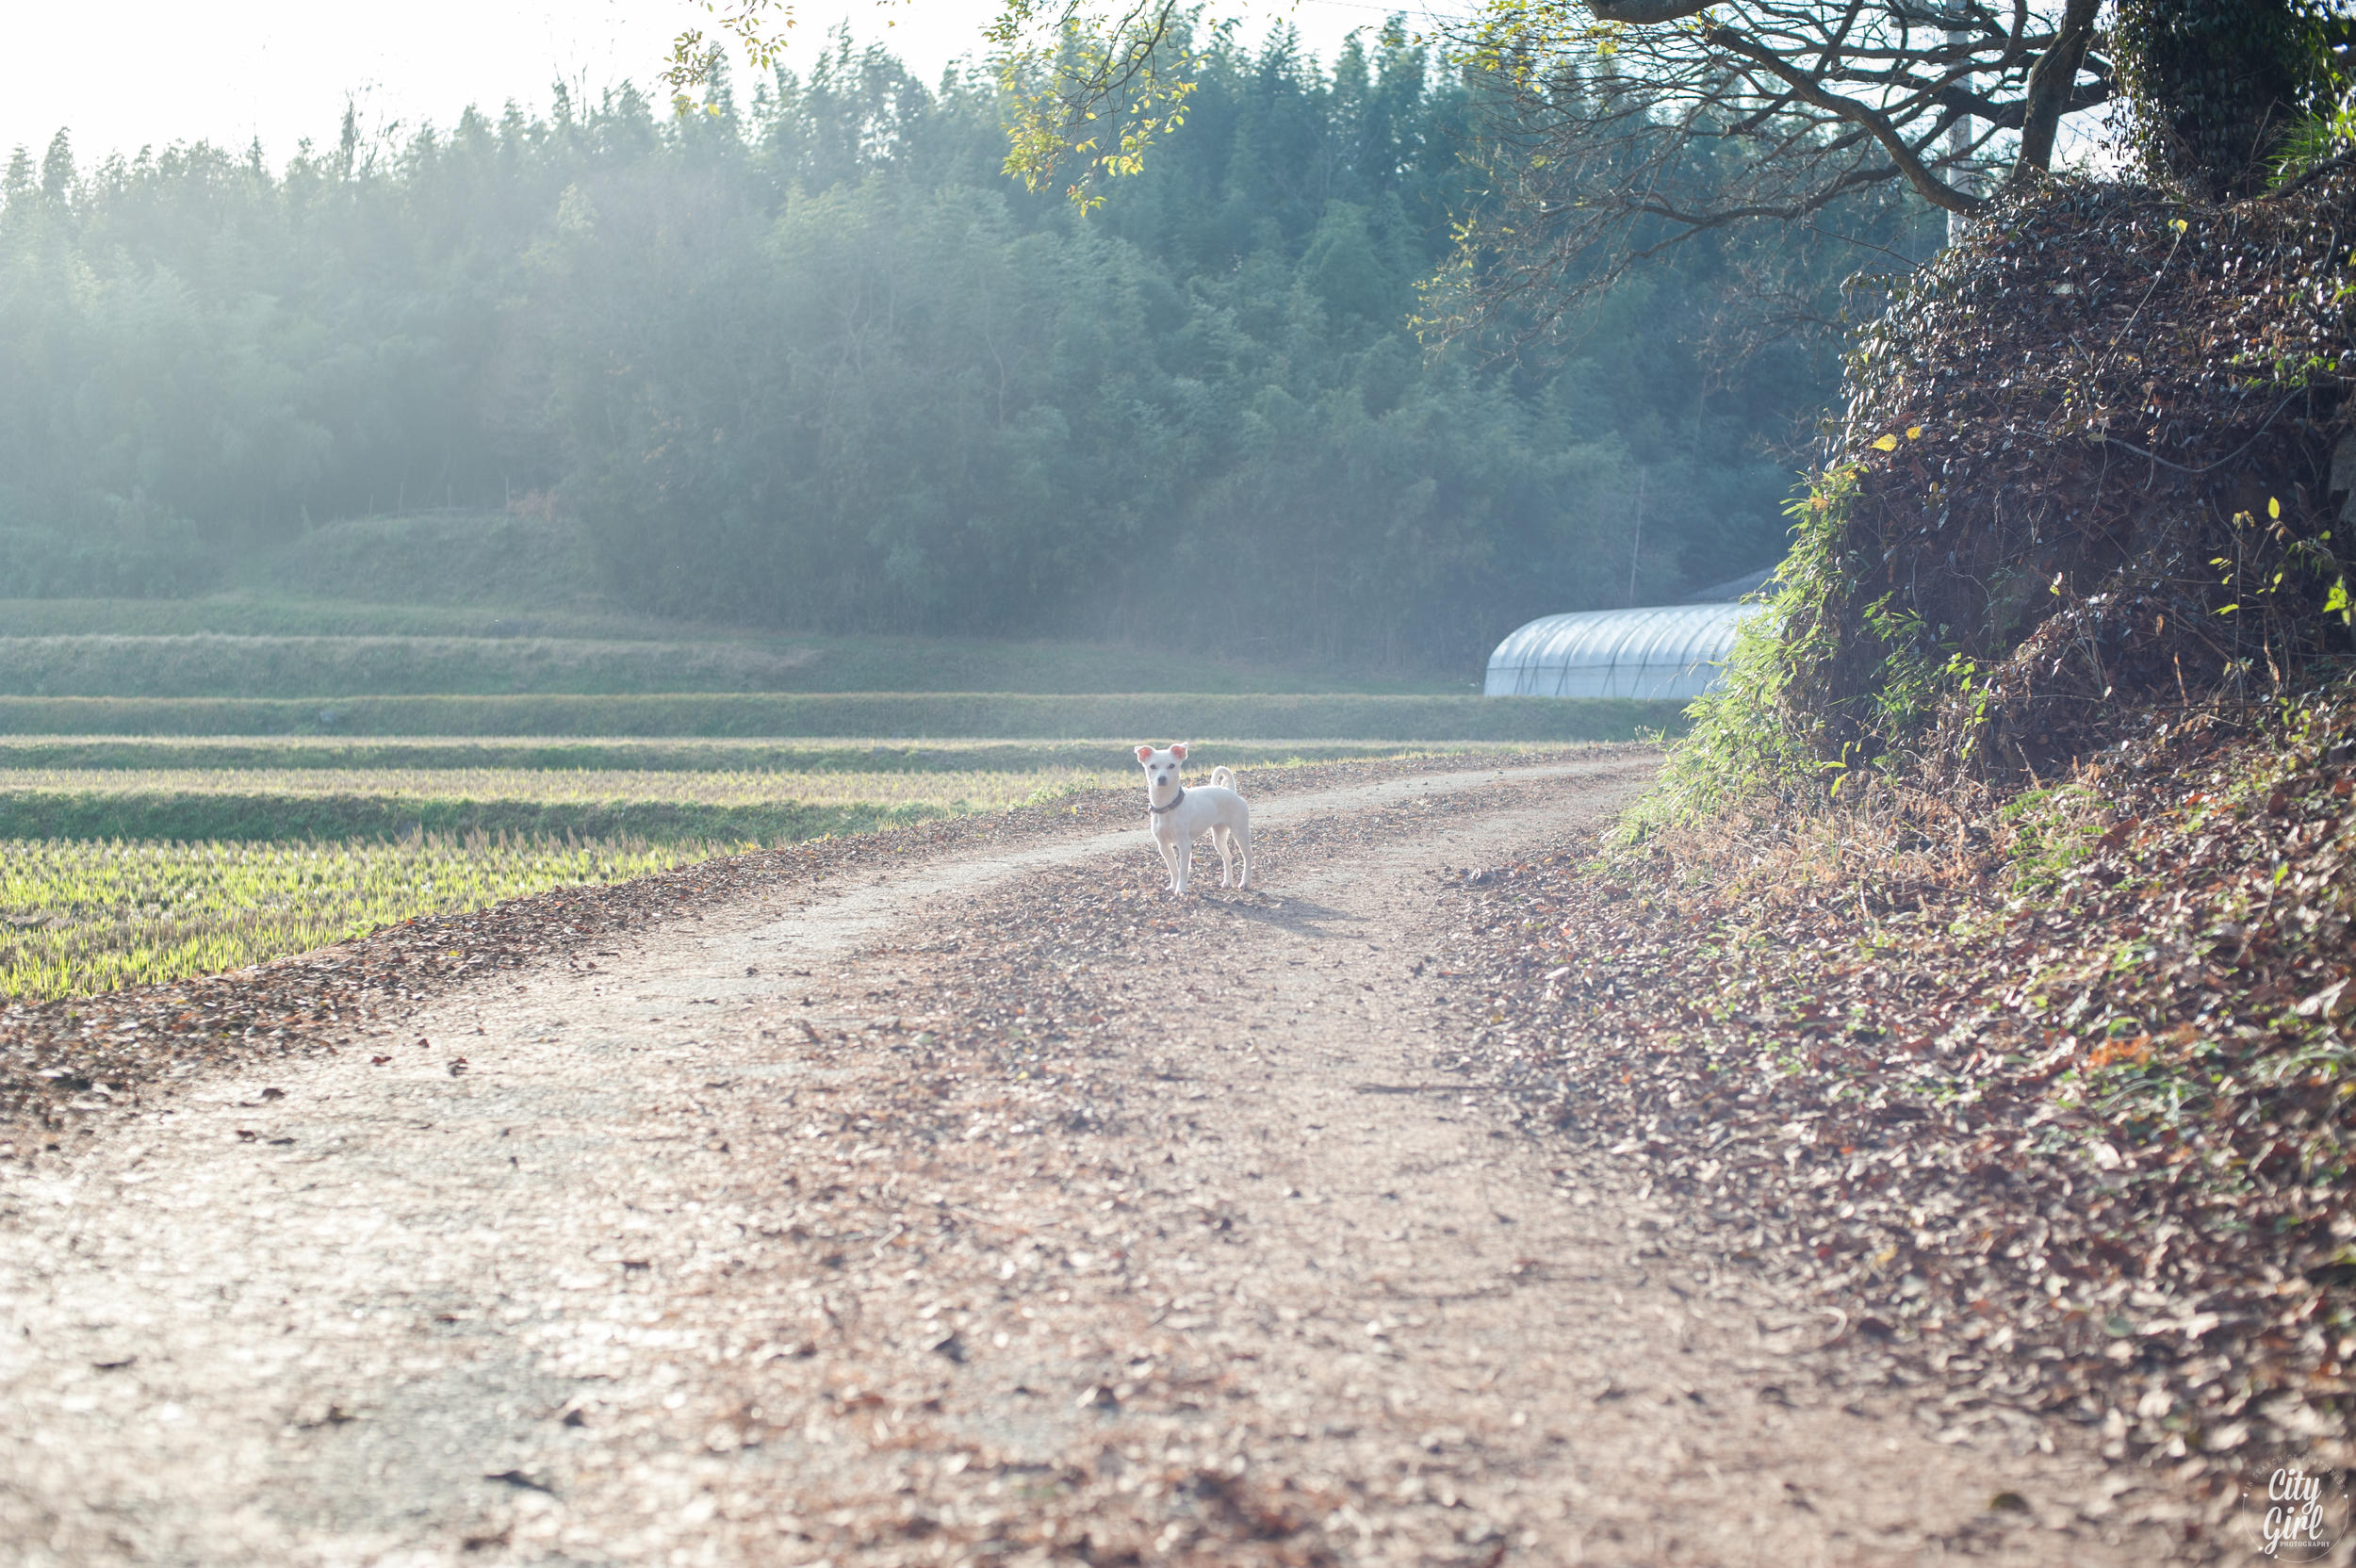
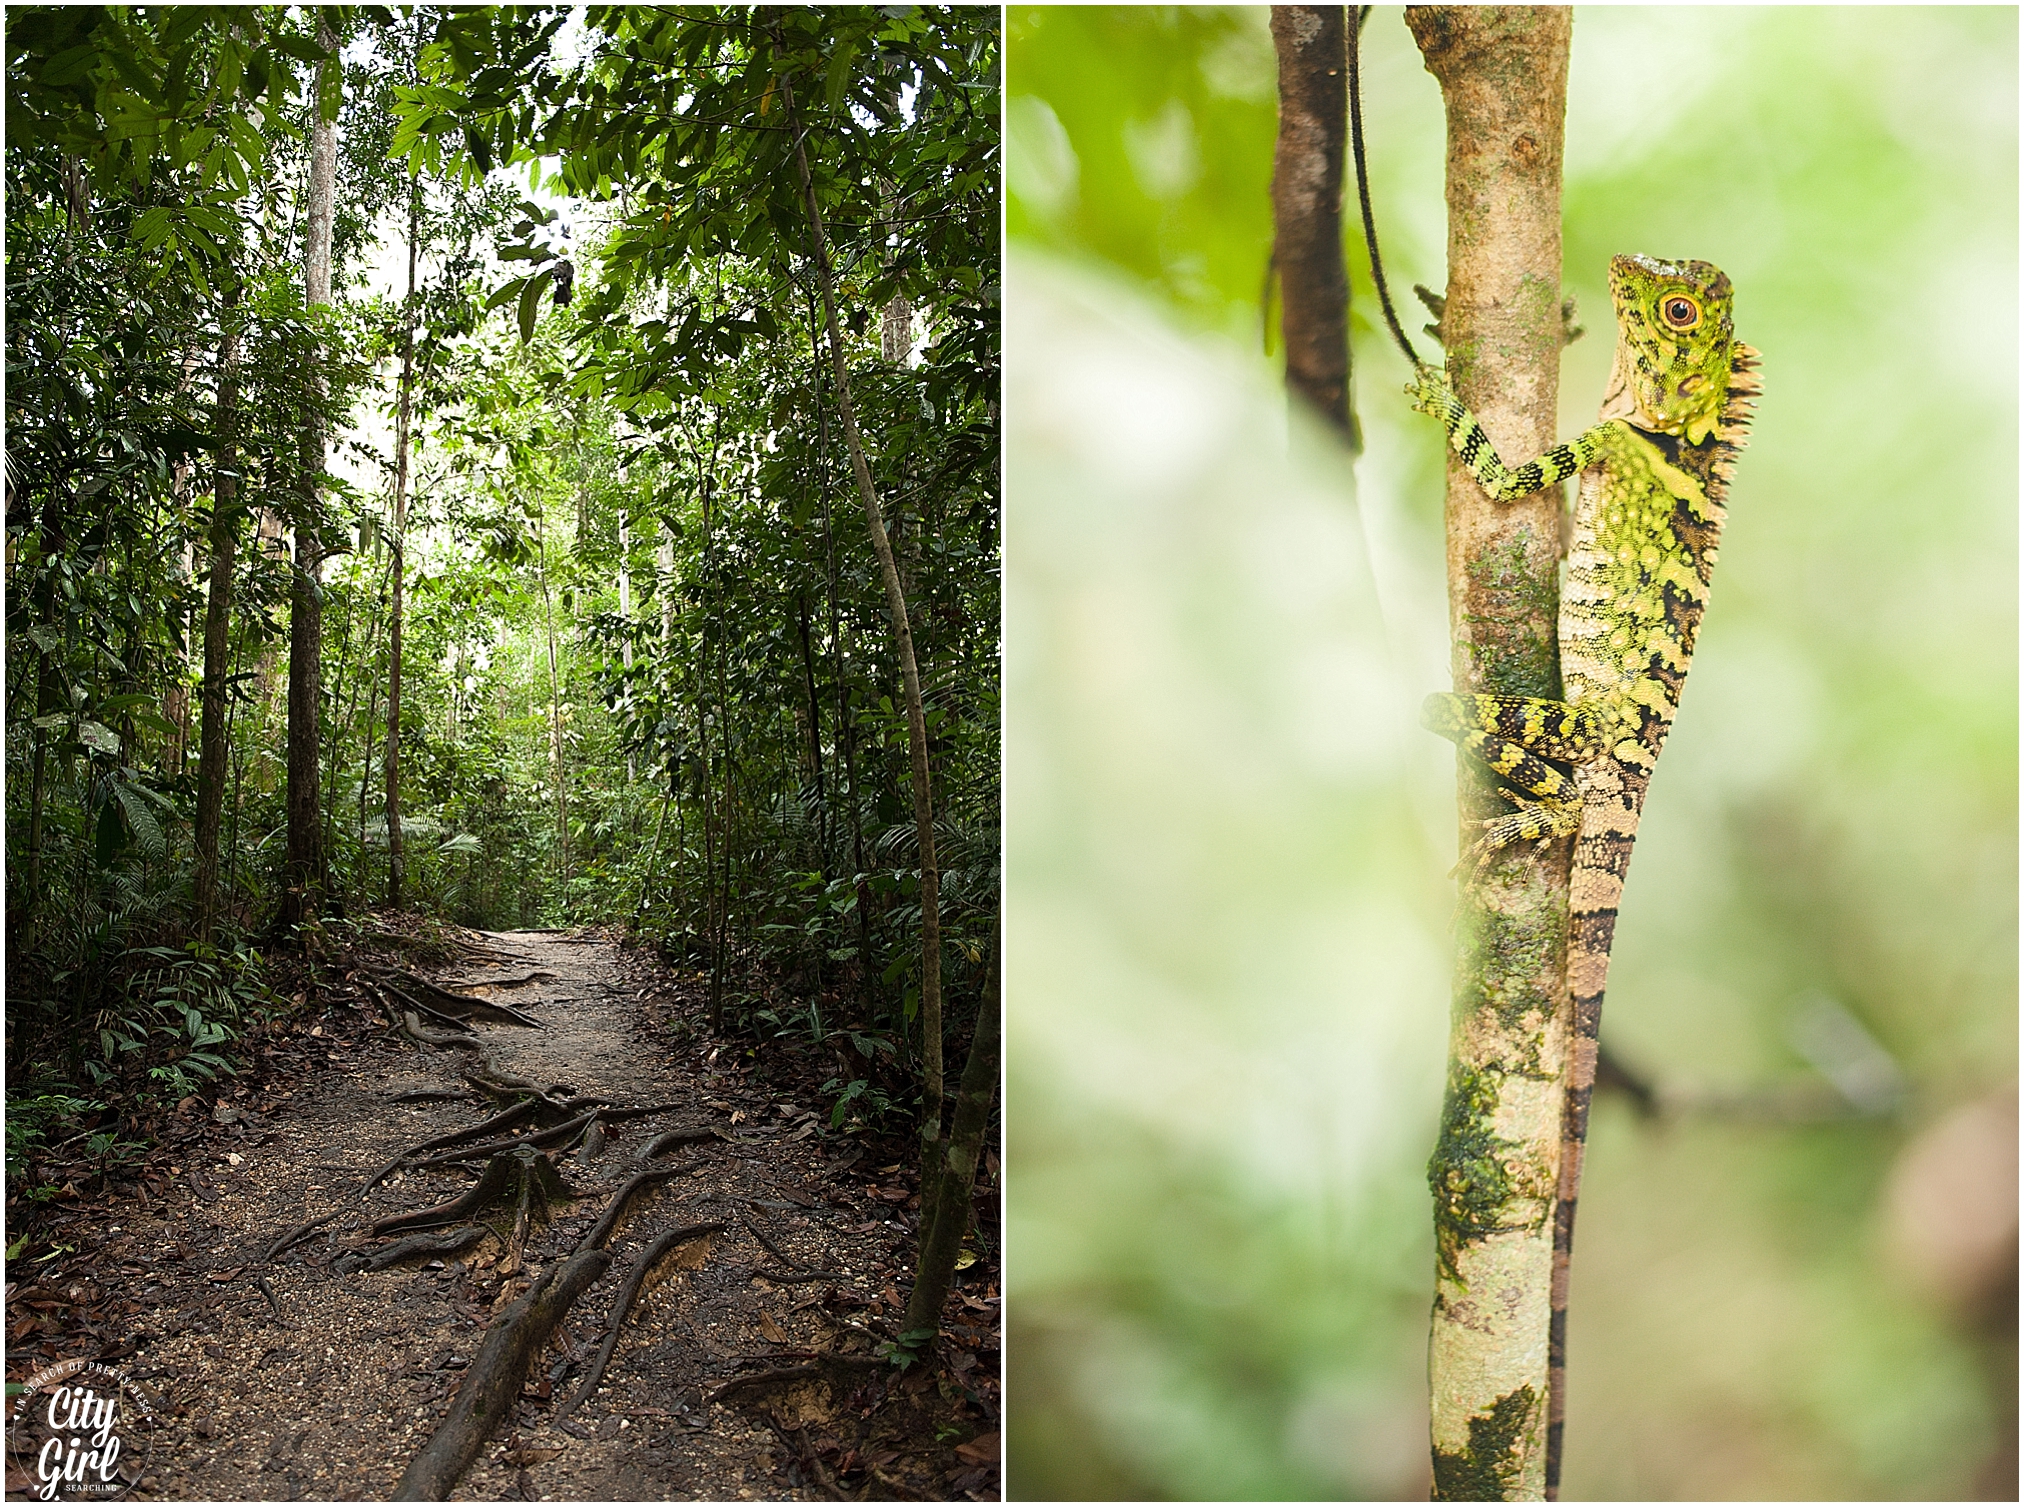
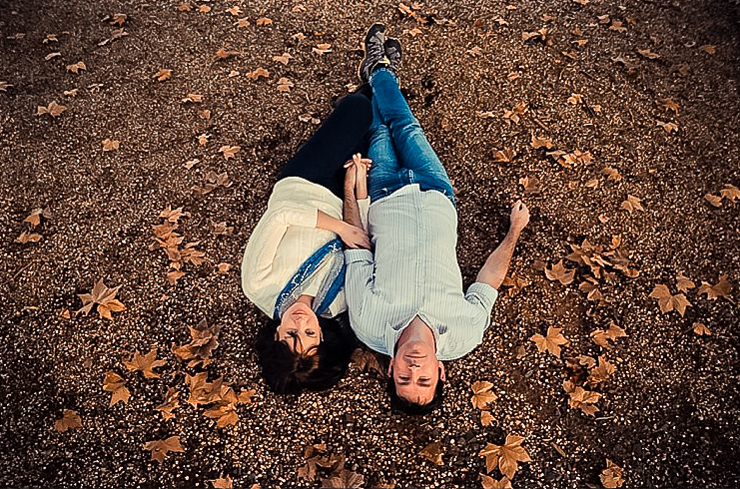
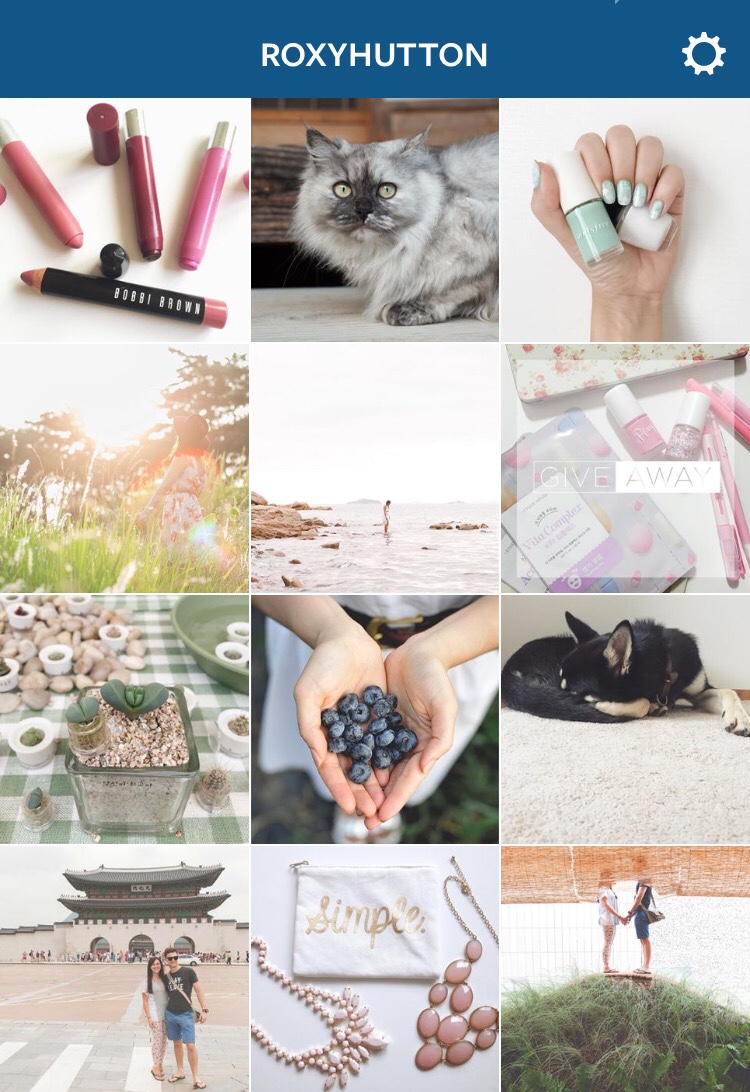
At the beginning of May this year (2015)  I decided to take Instagram seriously. I wanted to use it as a tool to grow my blog, not just as a place to share photos of my dog. I started styling my photographs, using a white background, and just putting a bit more thought into my images. I also started to introduce more of my own photography work (you can see this in below image on the left). Slowly, I started gaining lots of new followers. By the end of July I had gained about 200 new, actively engaging followers. 
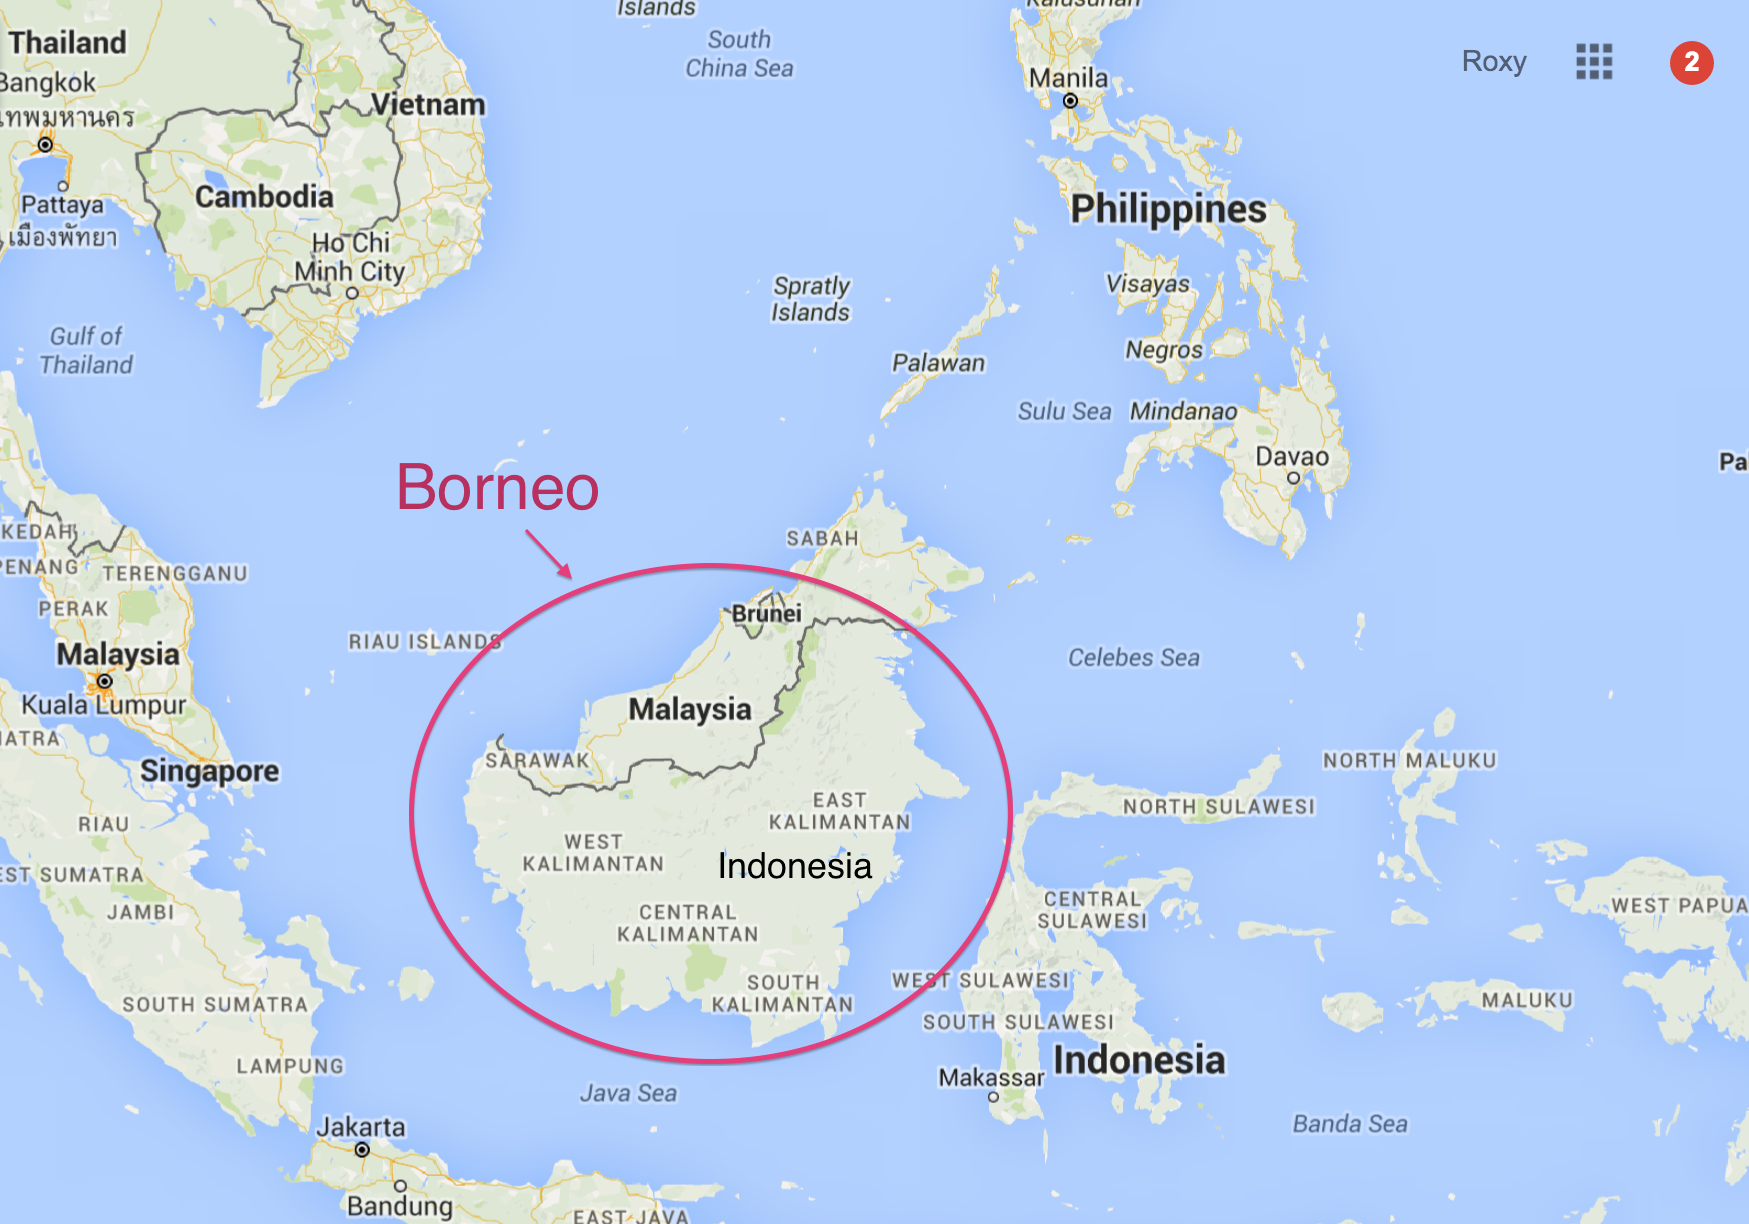
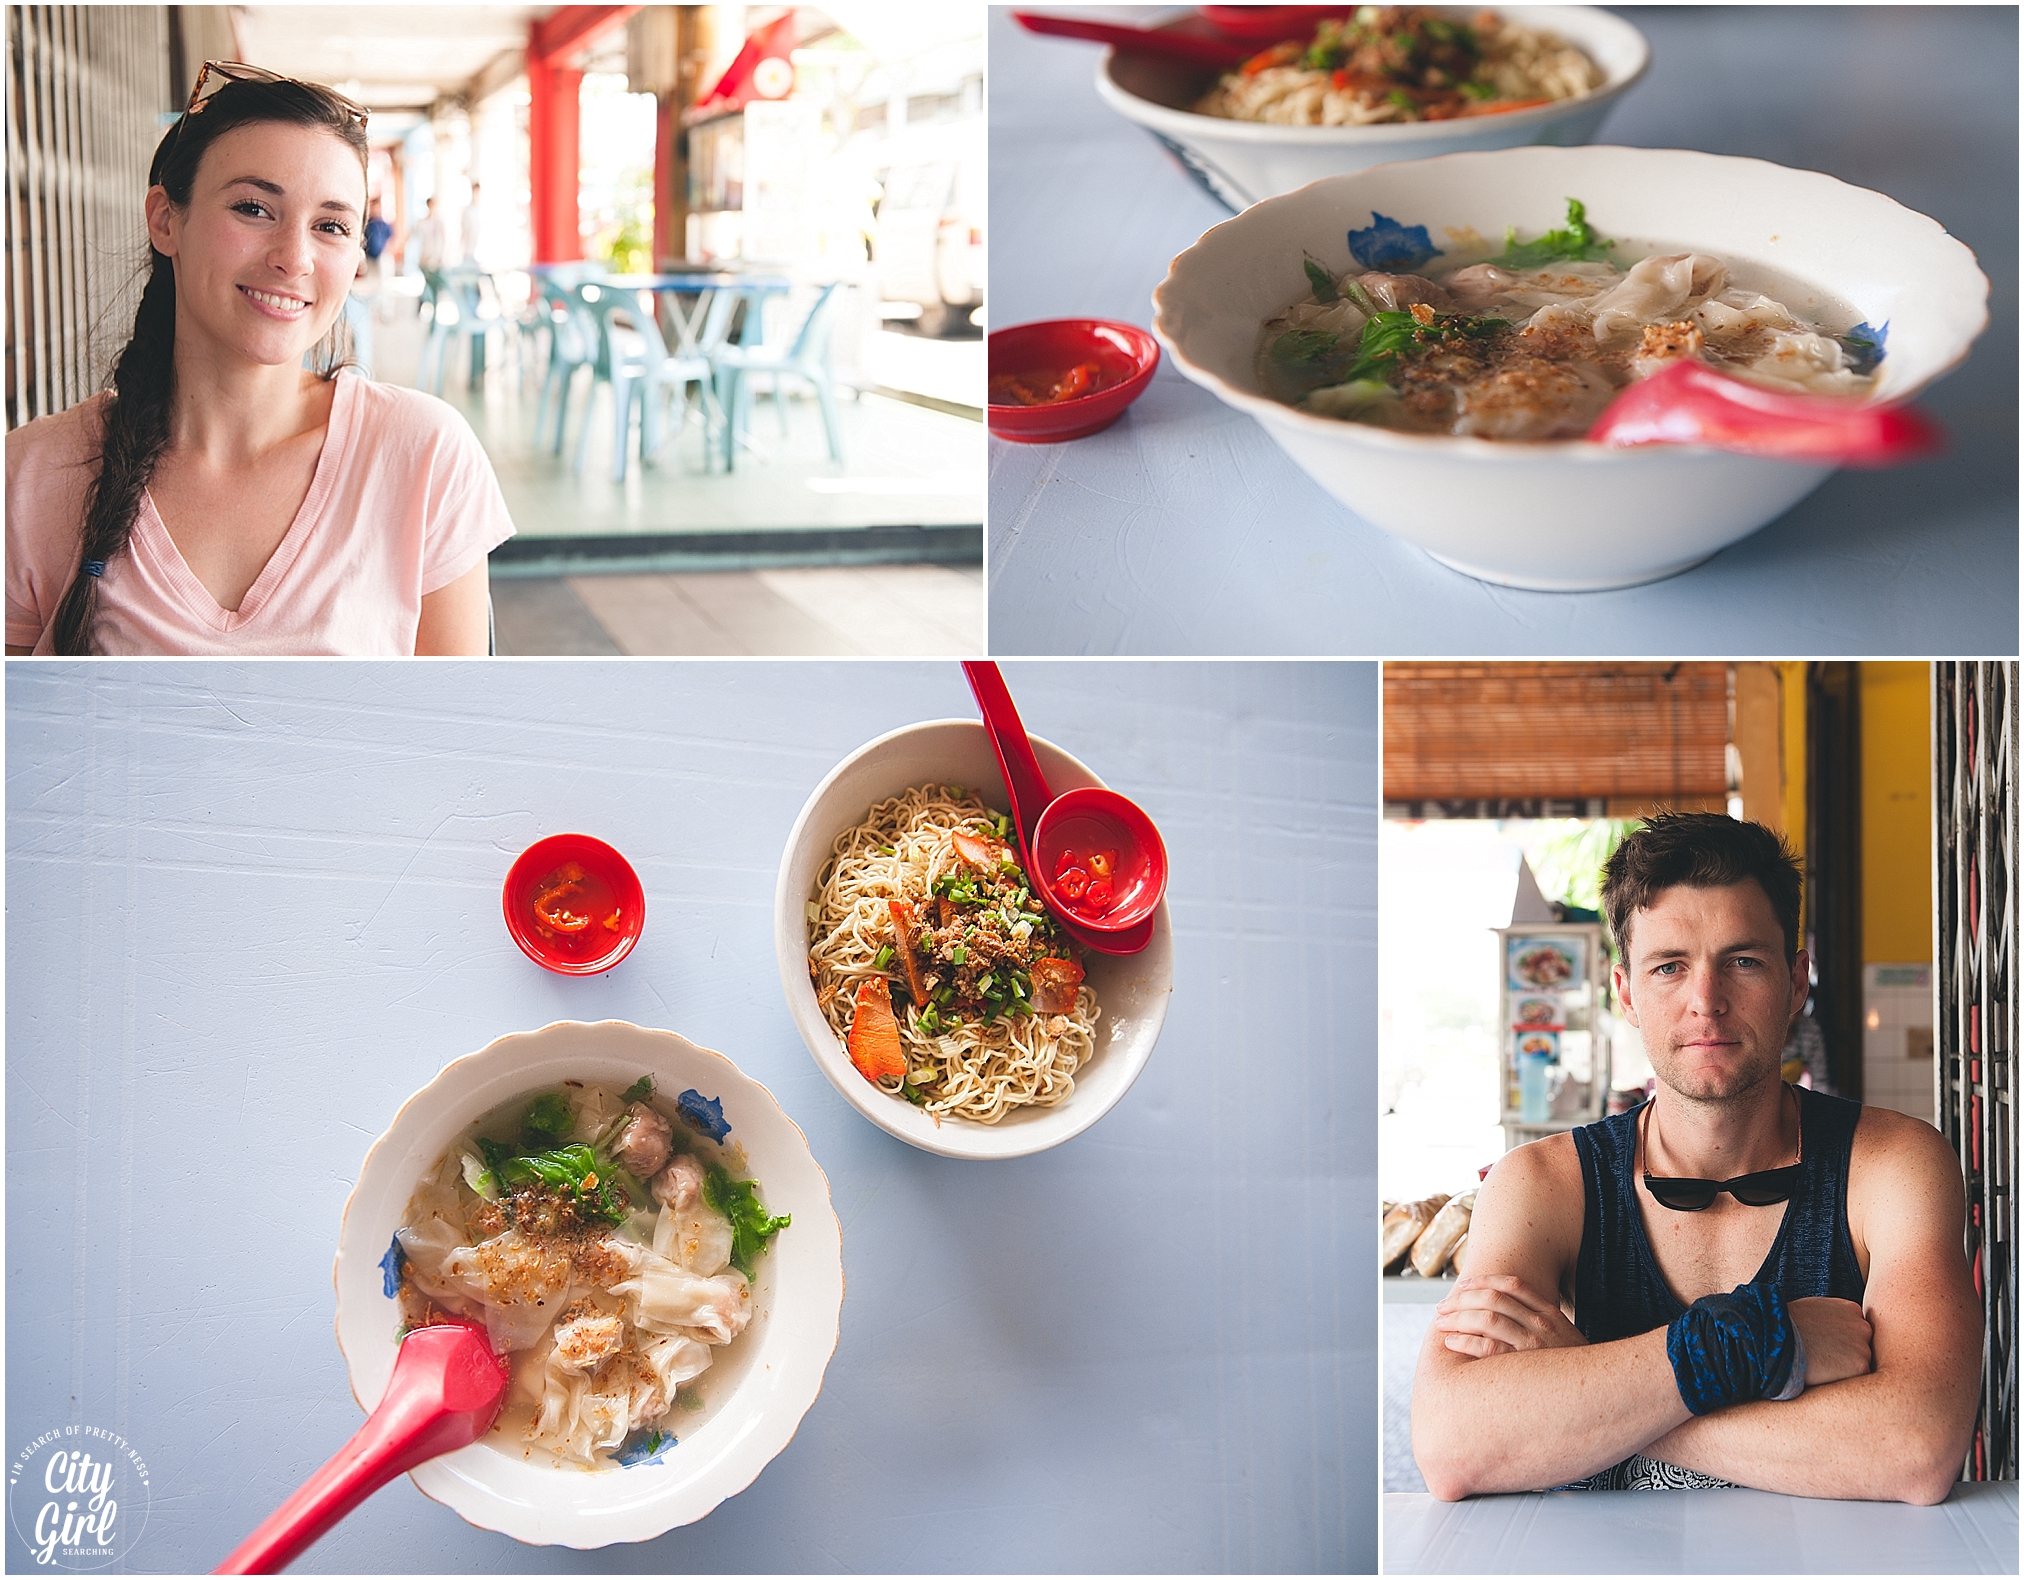
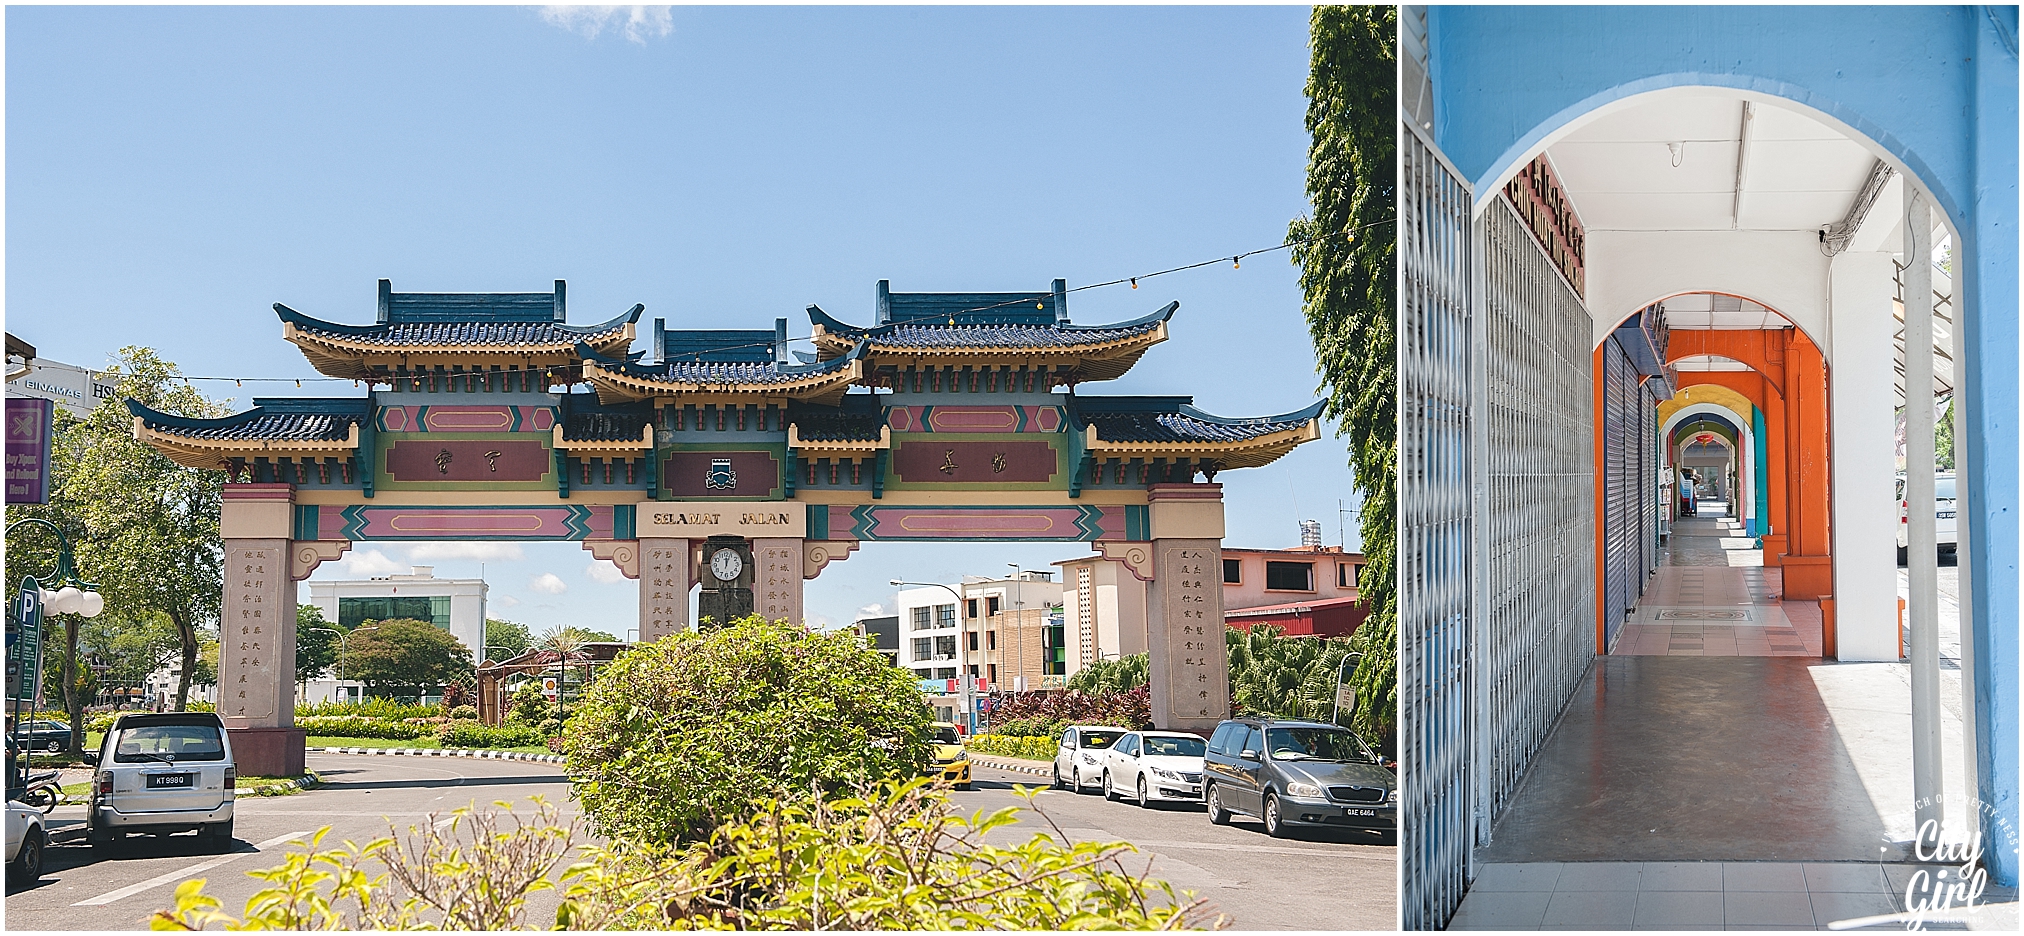
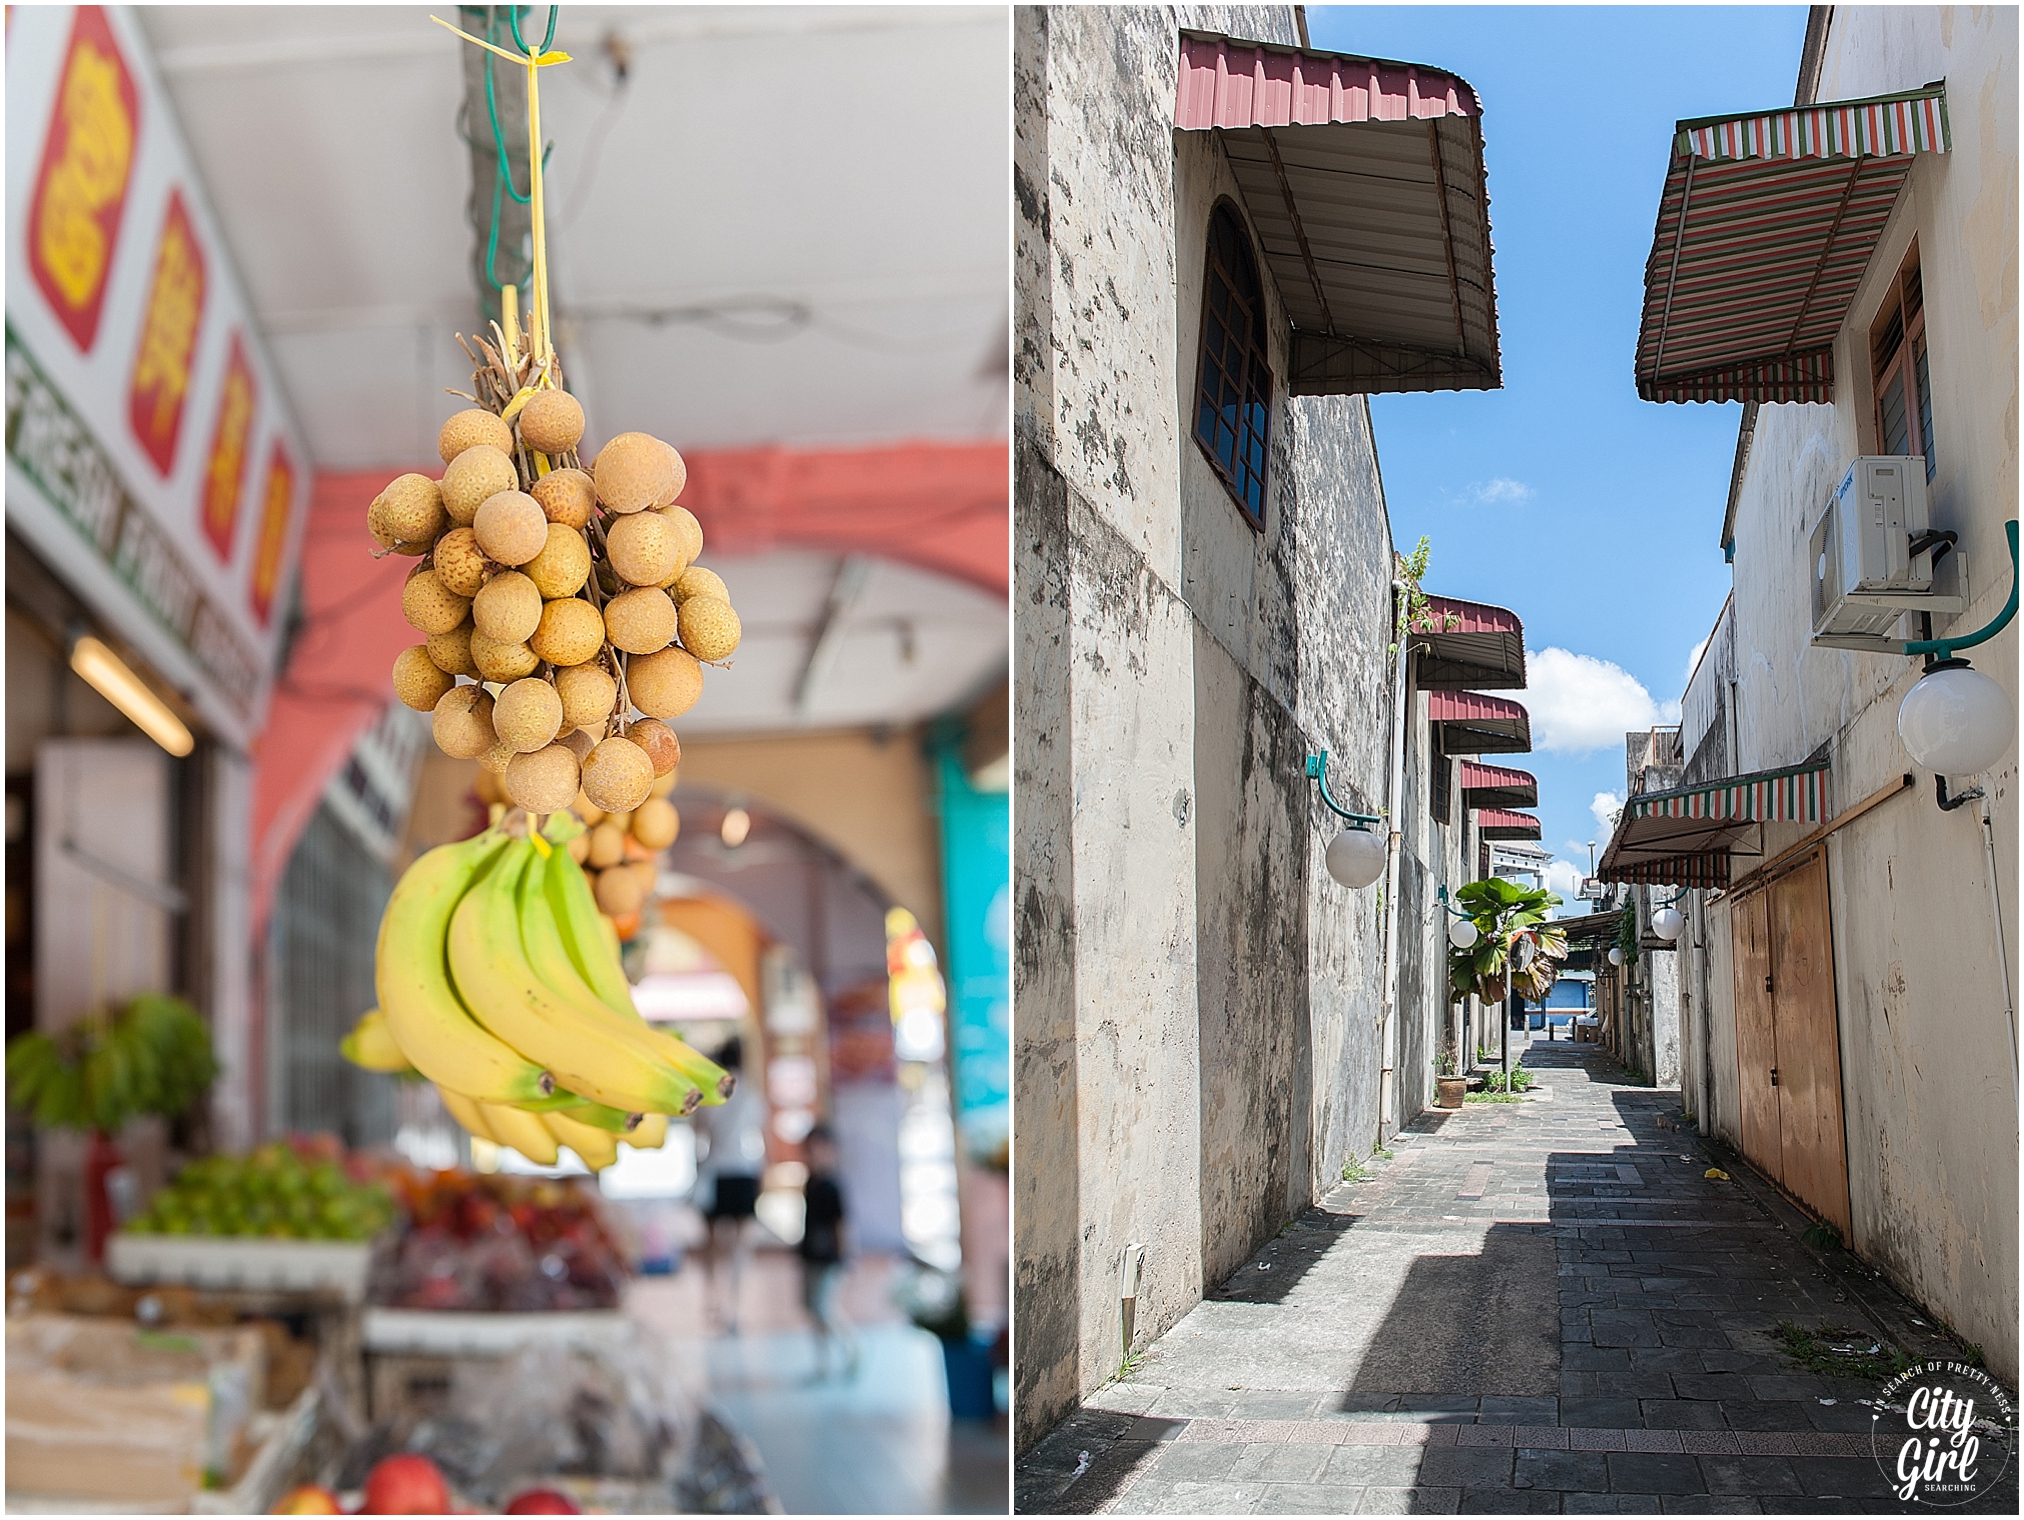
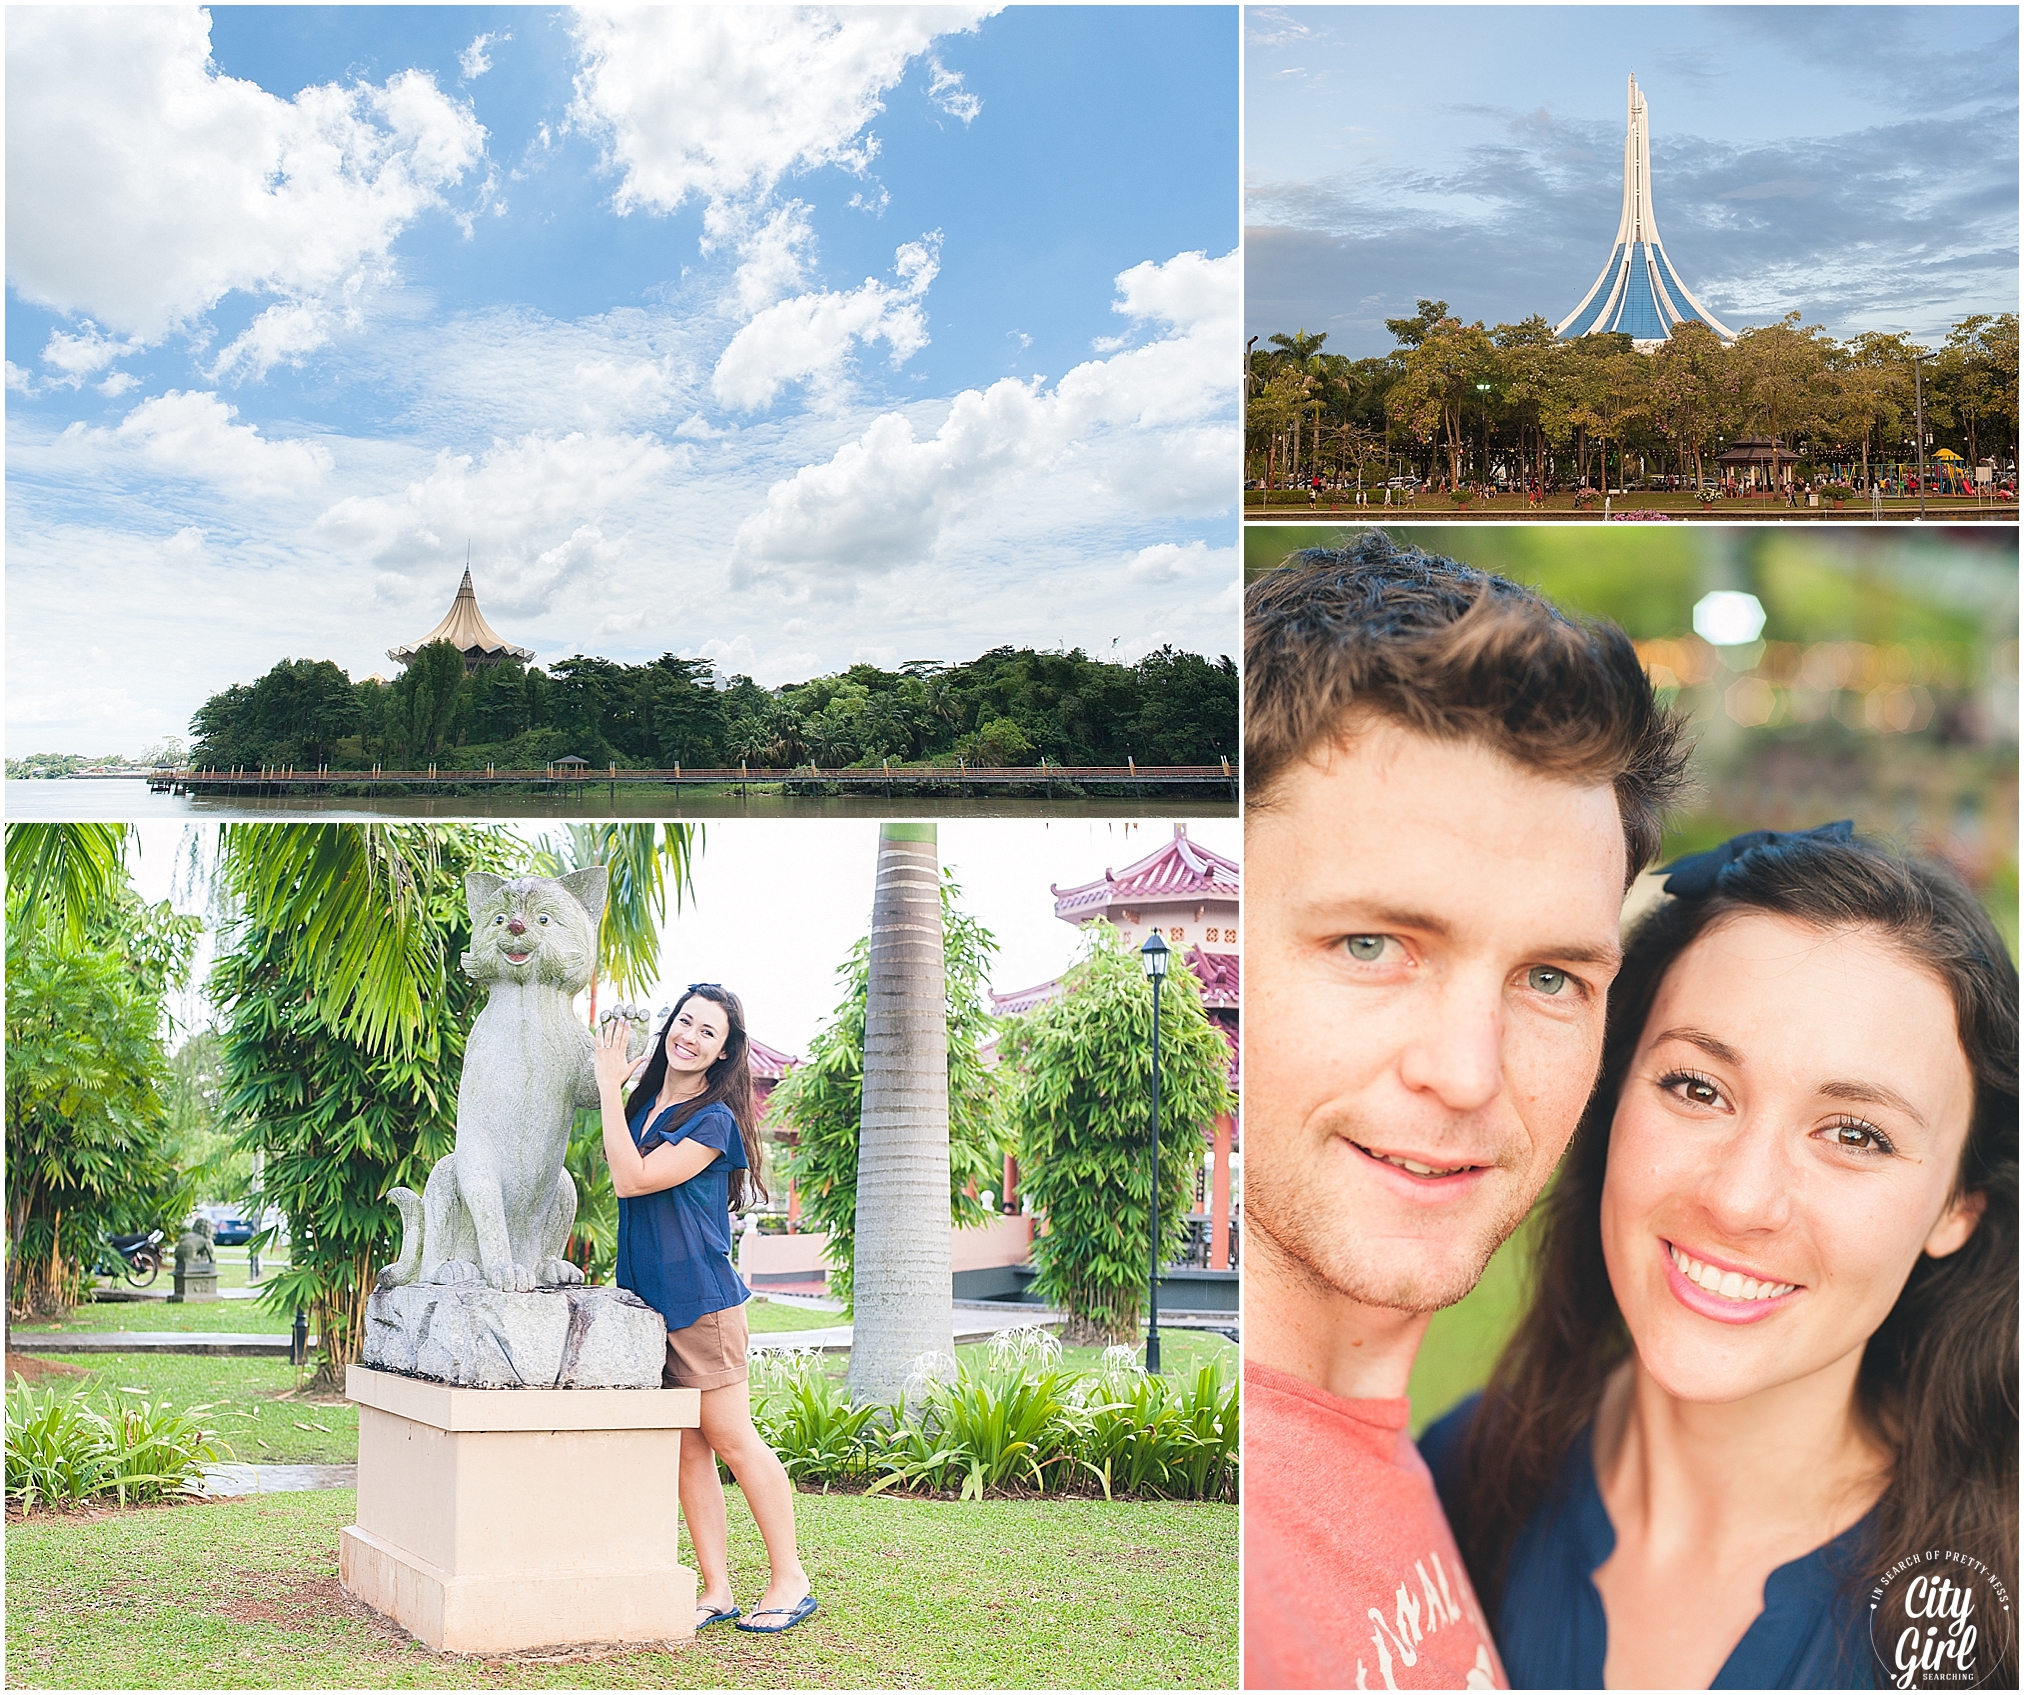
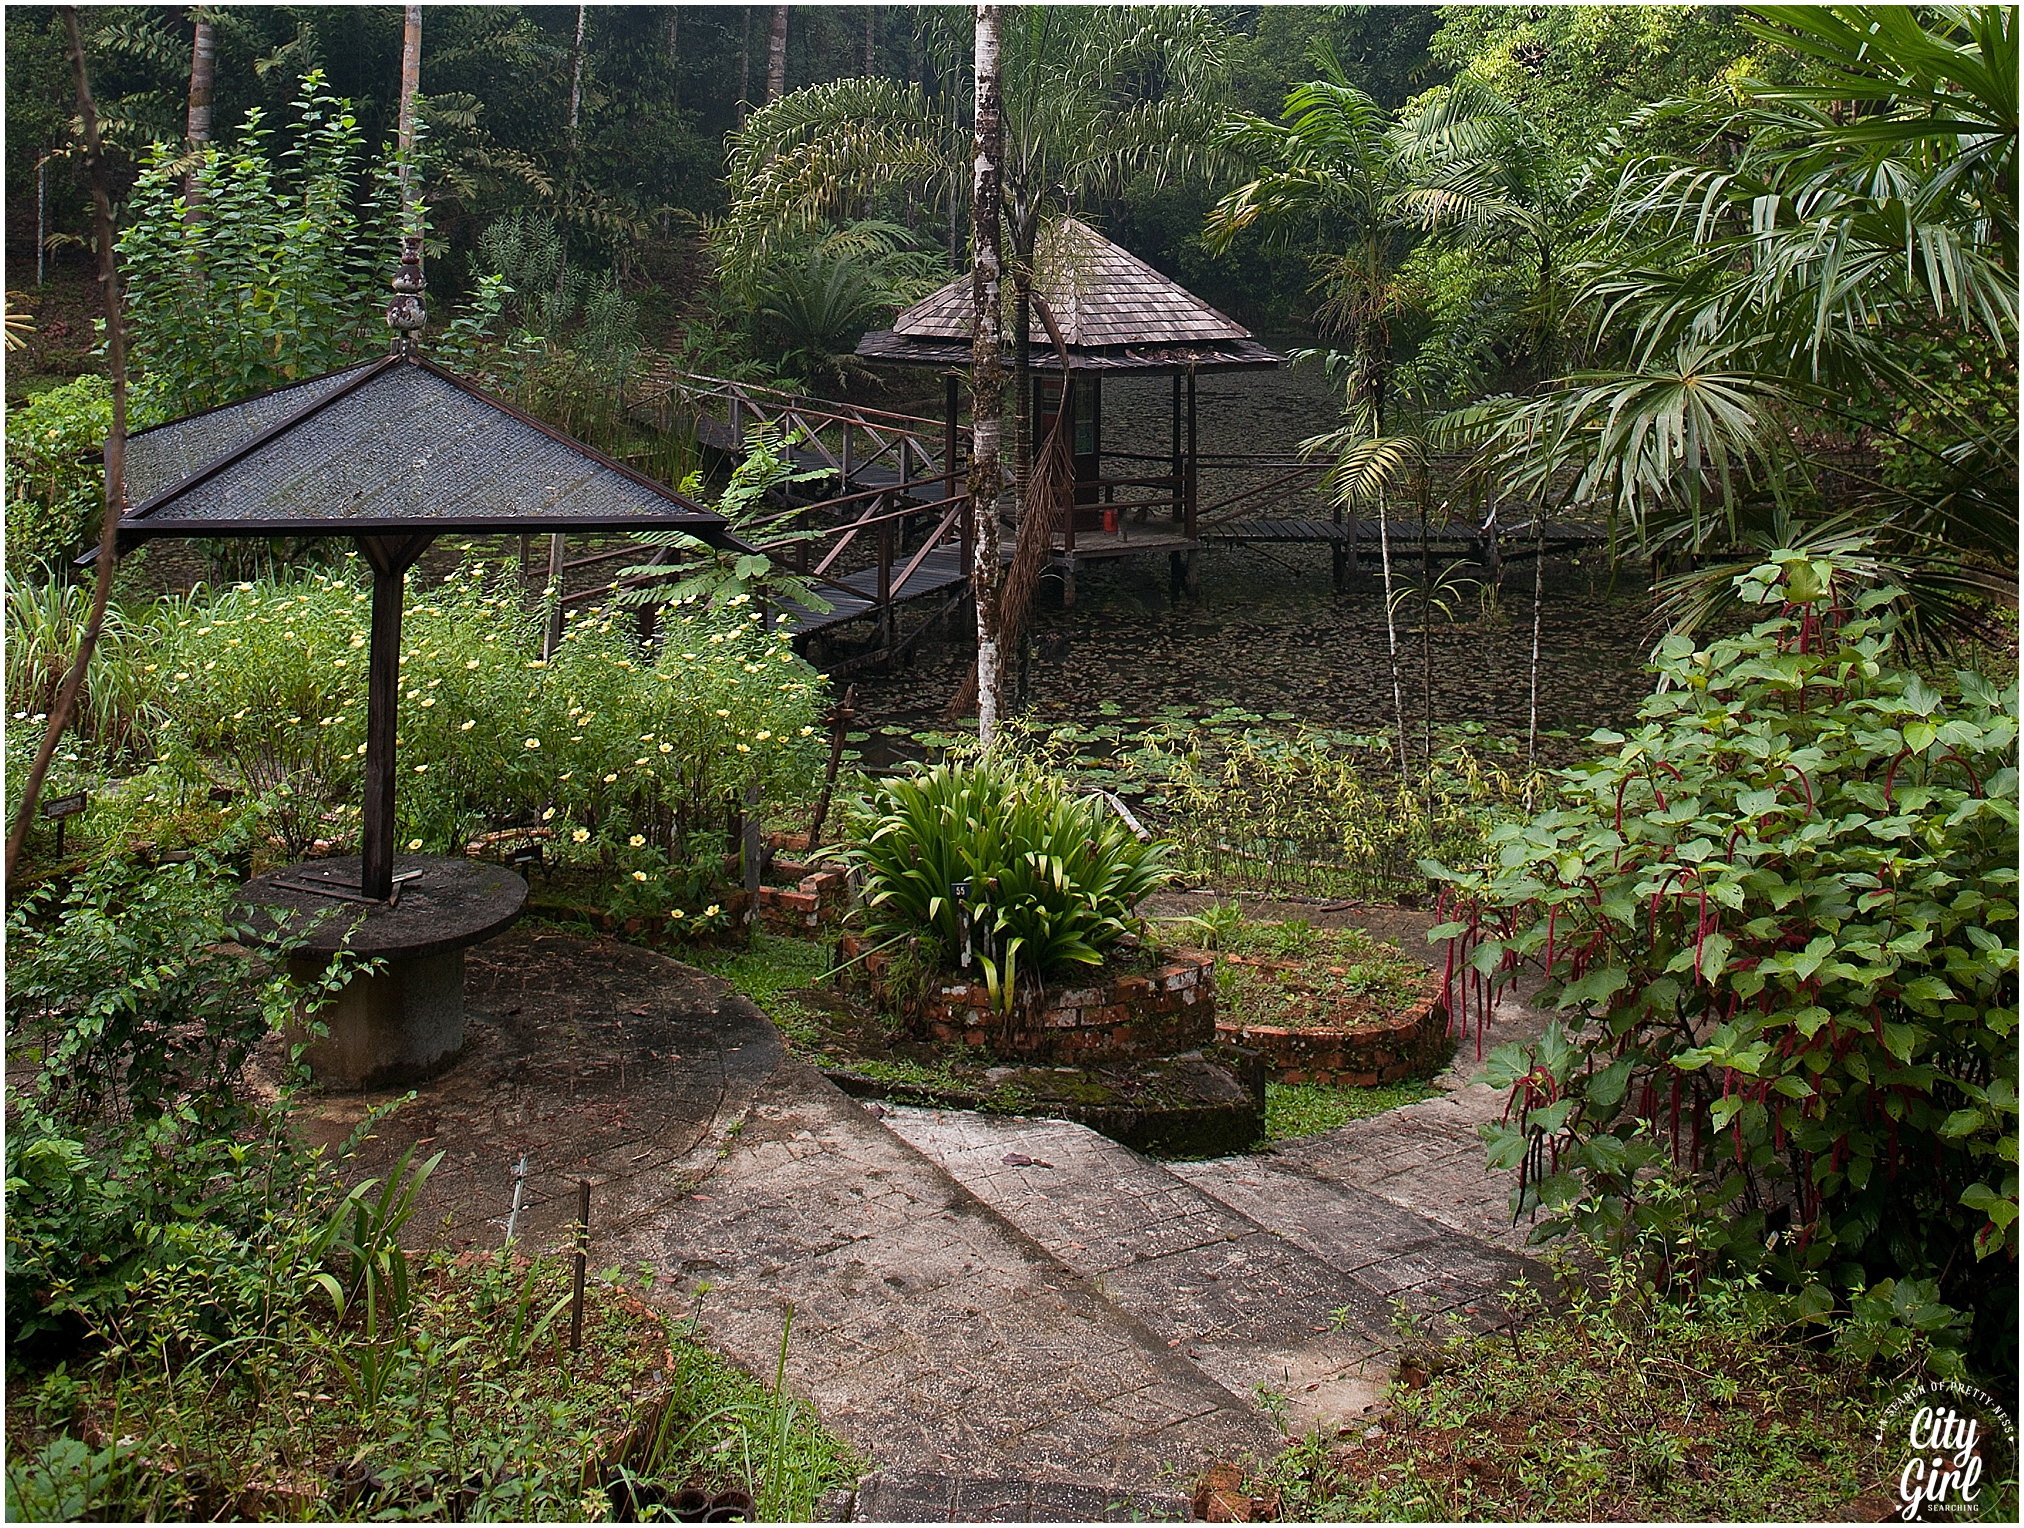
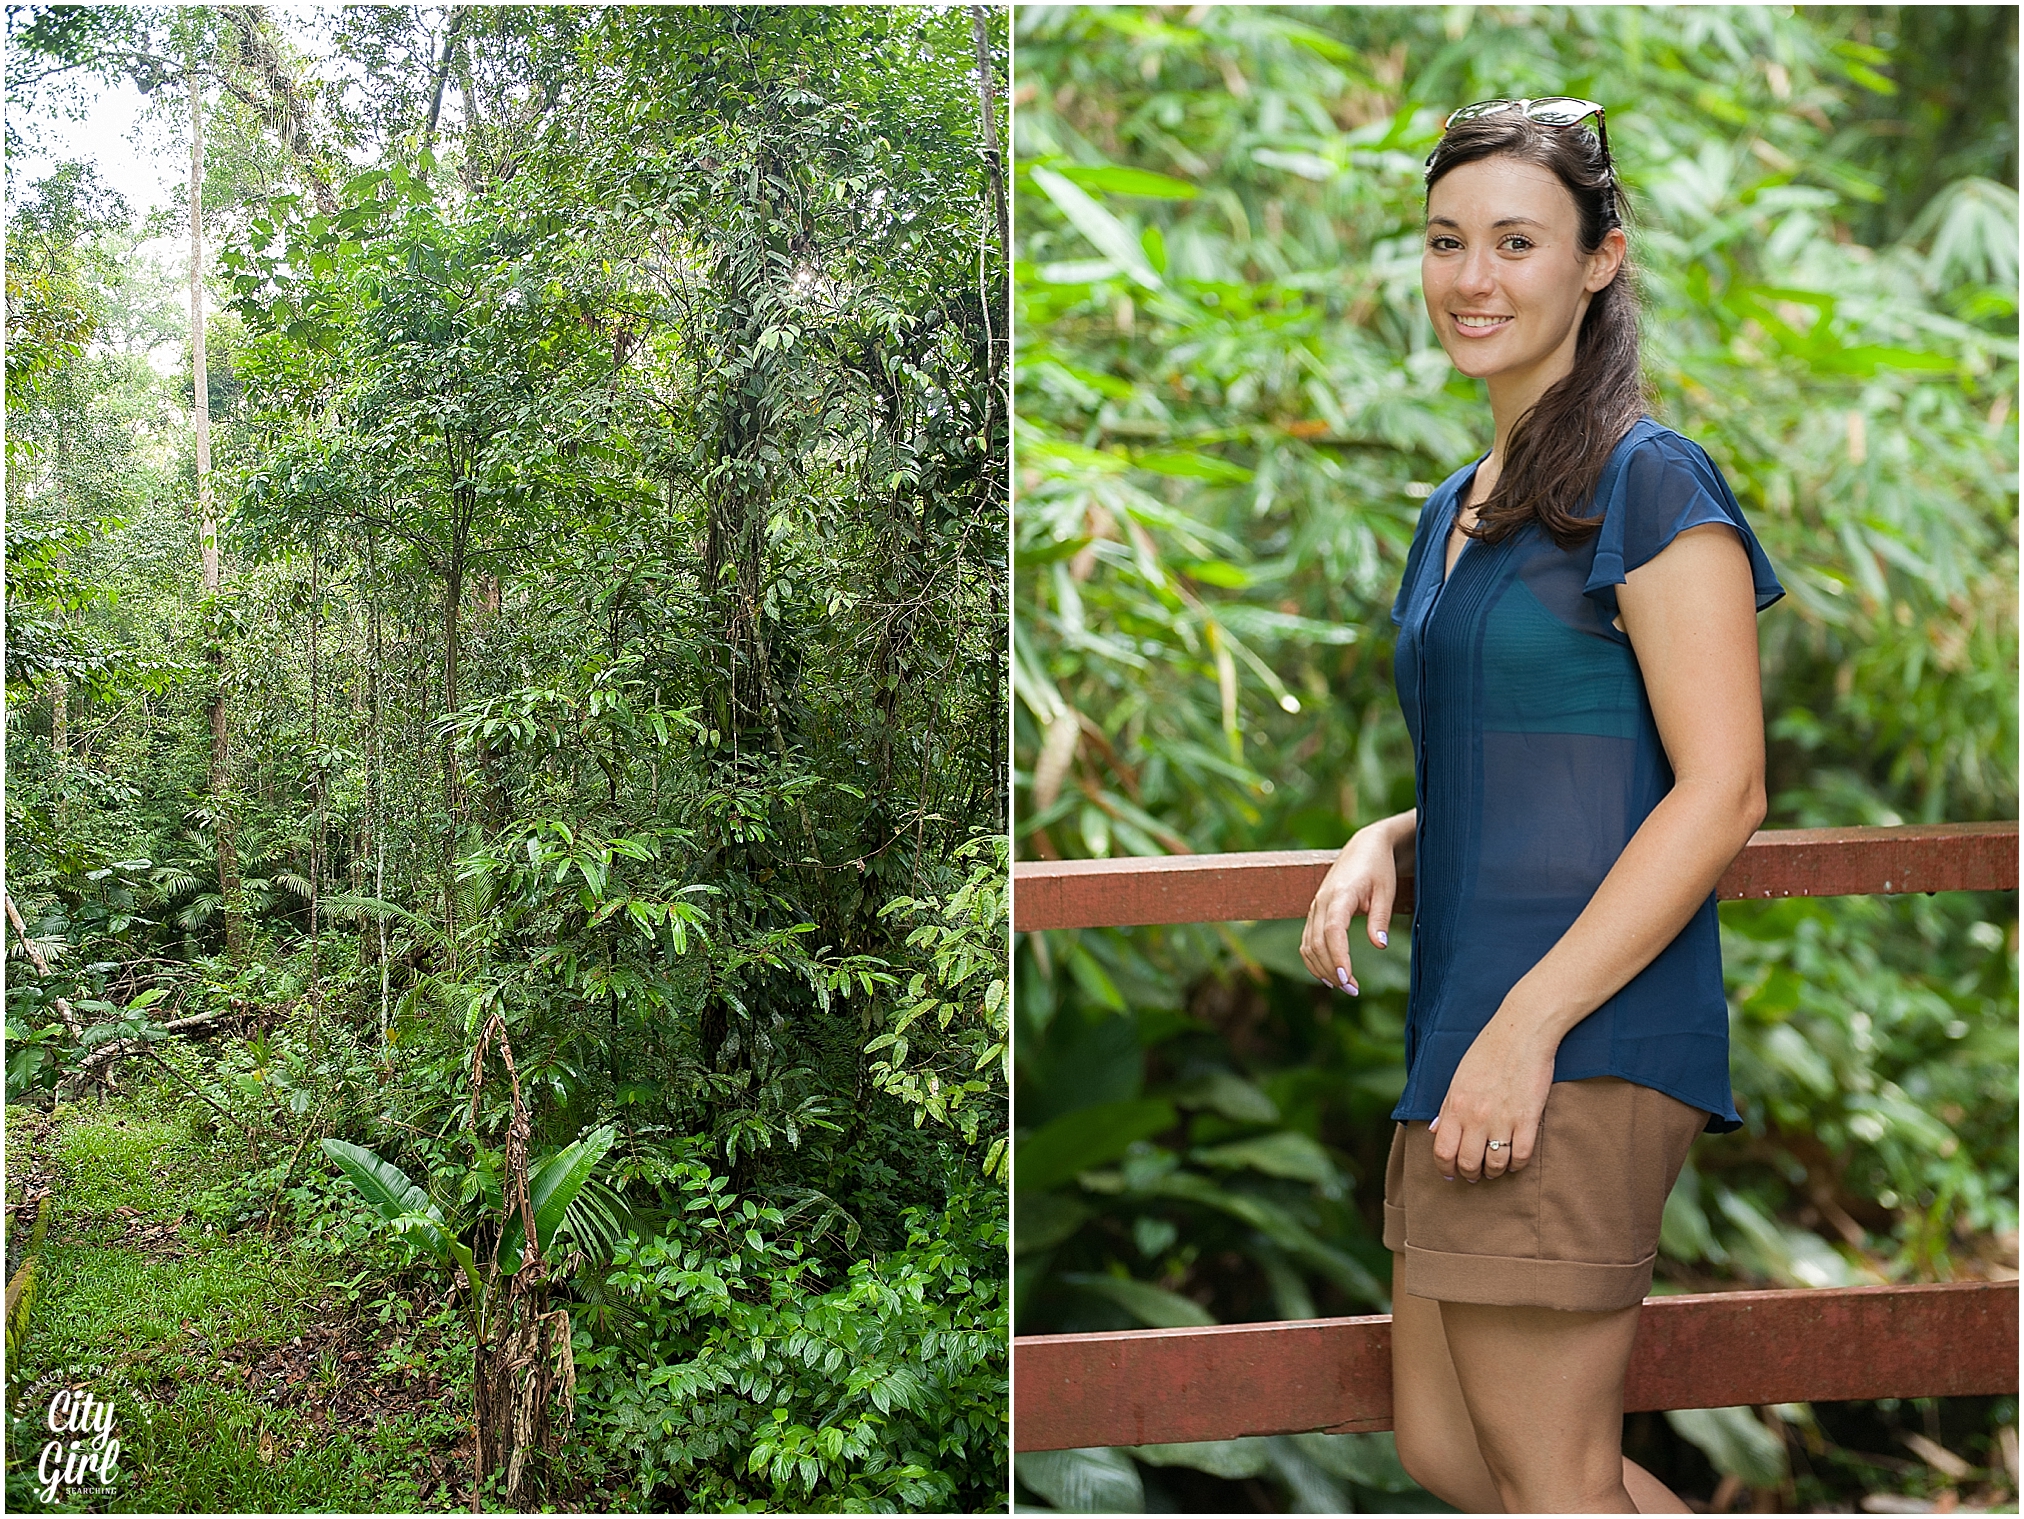
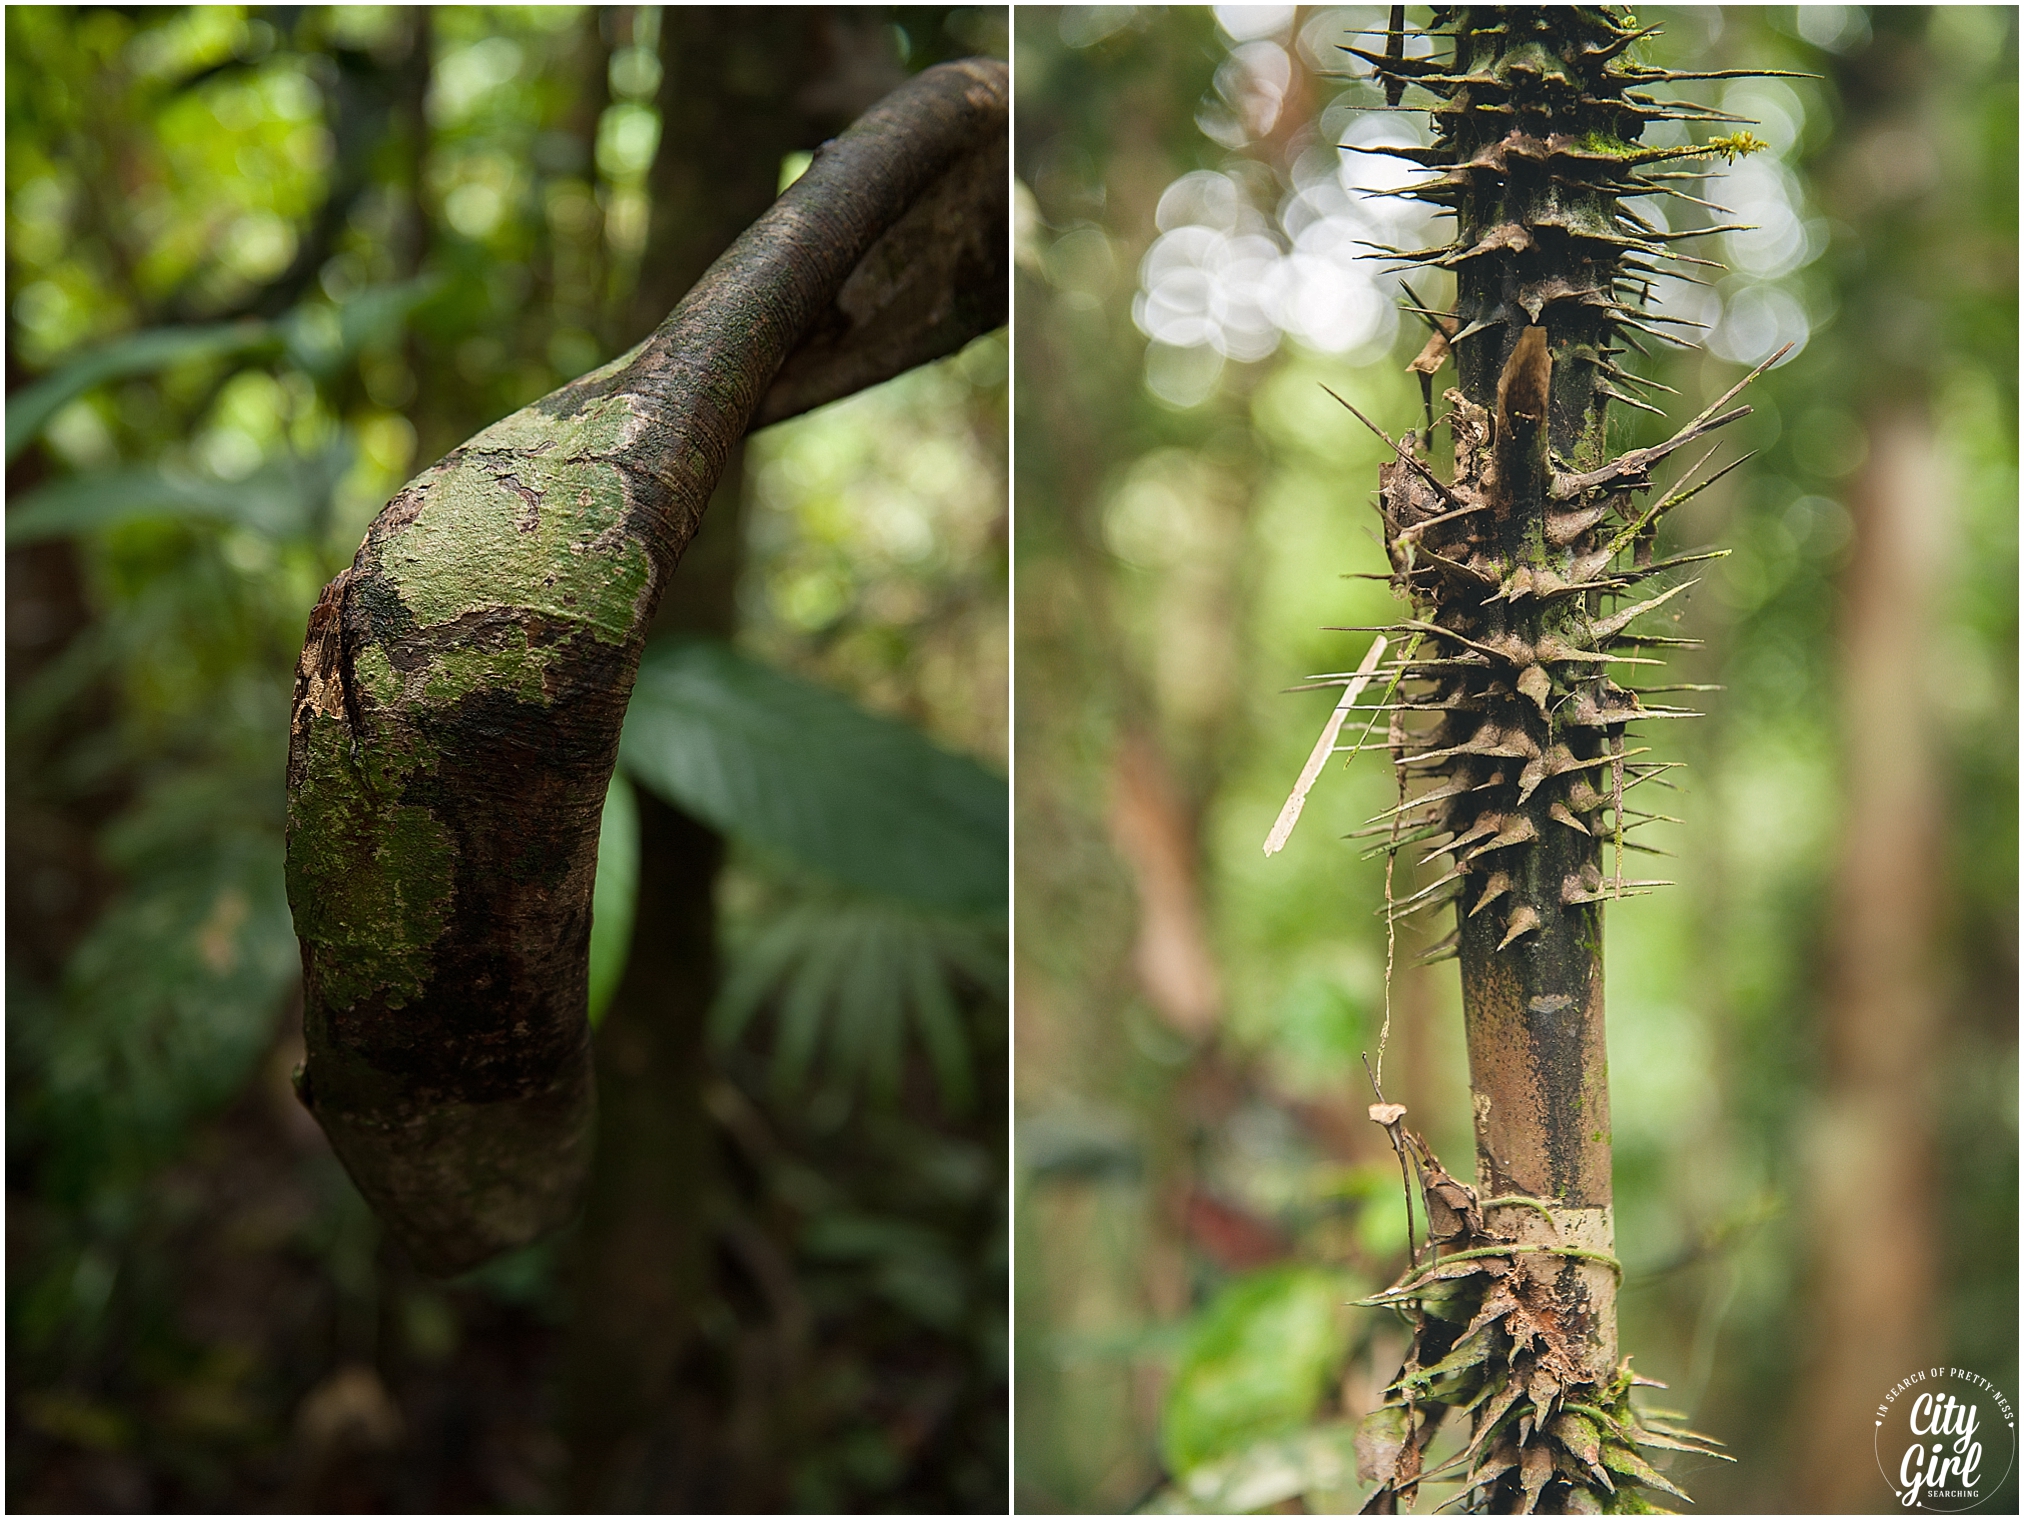
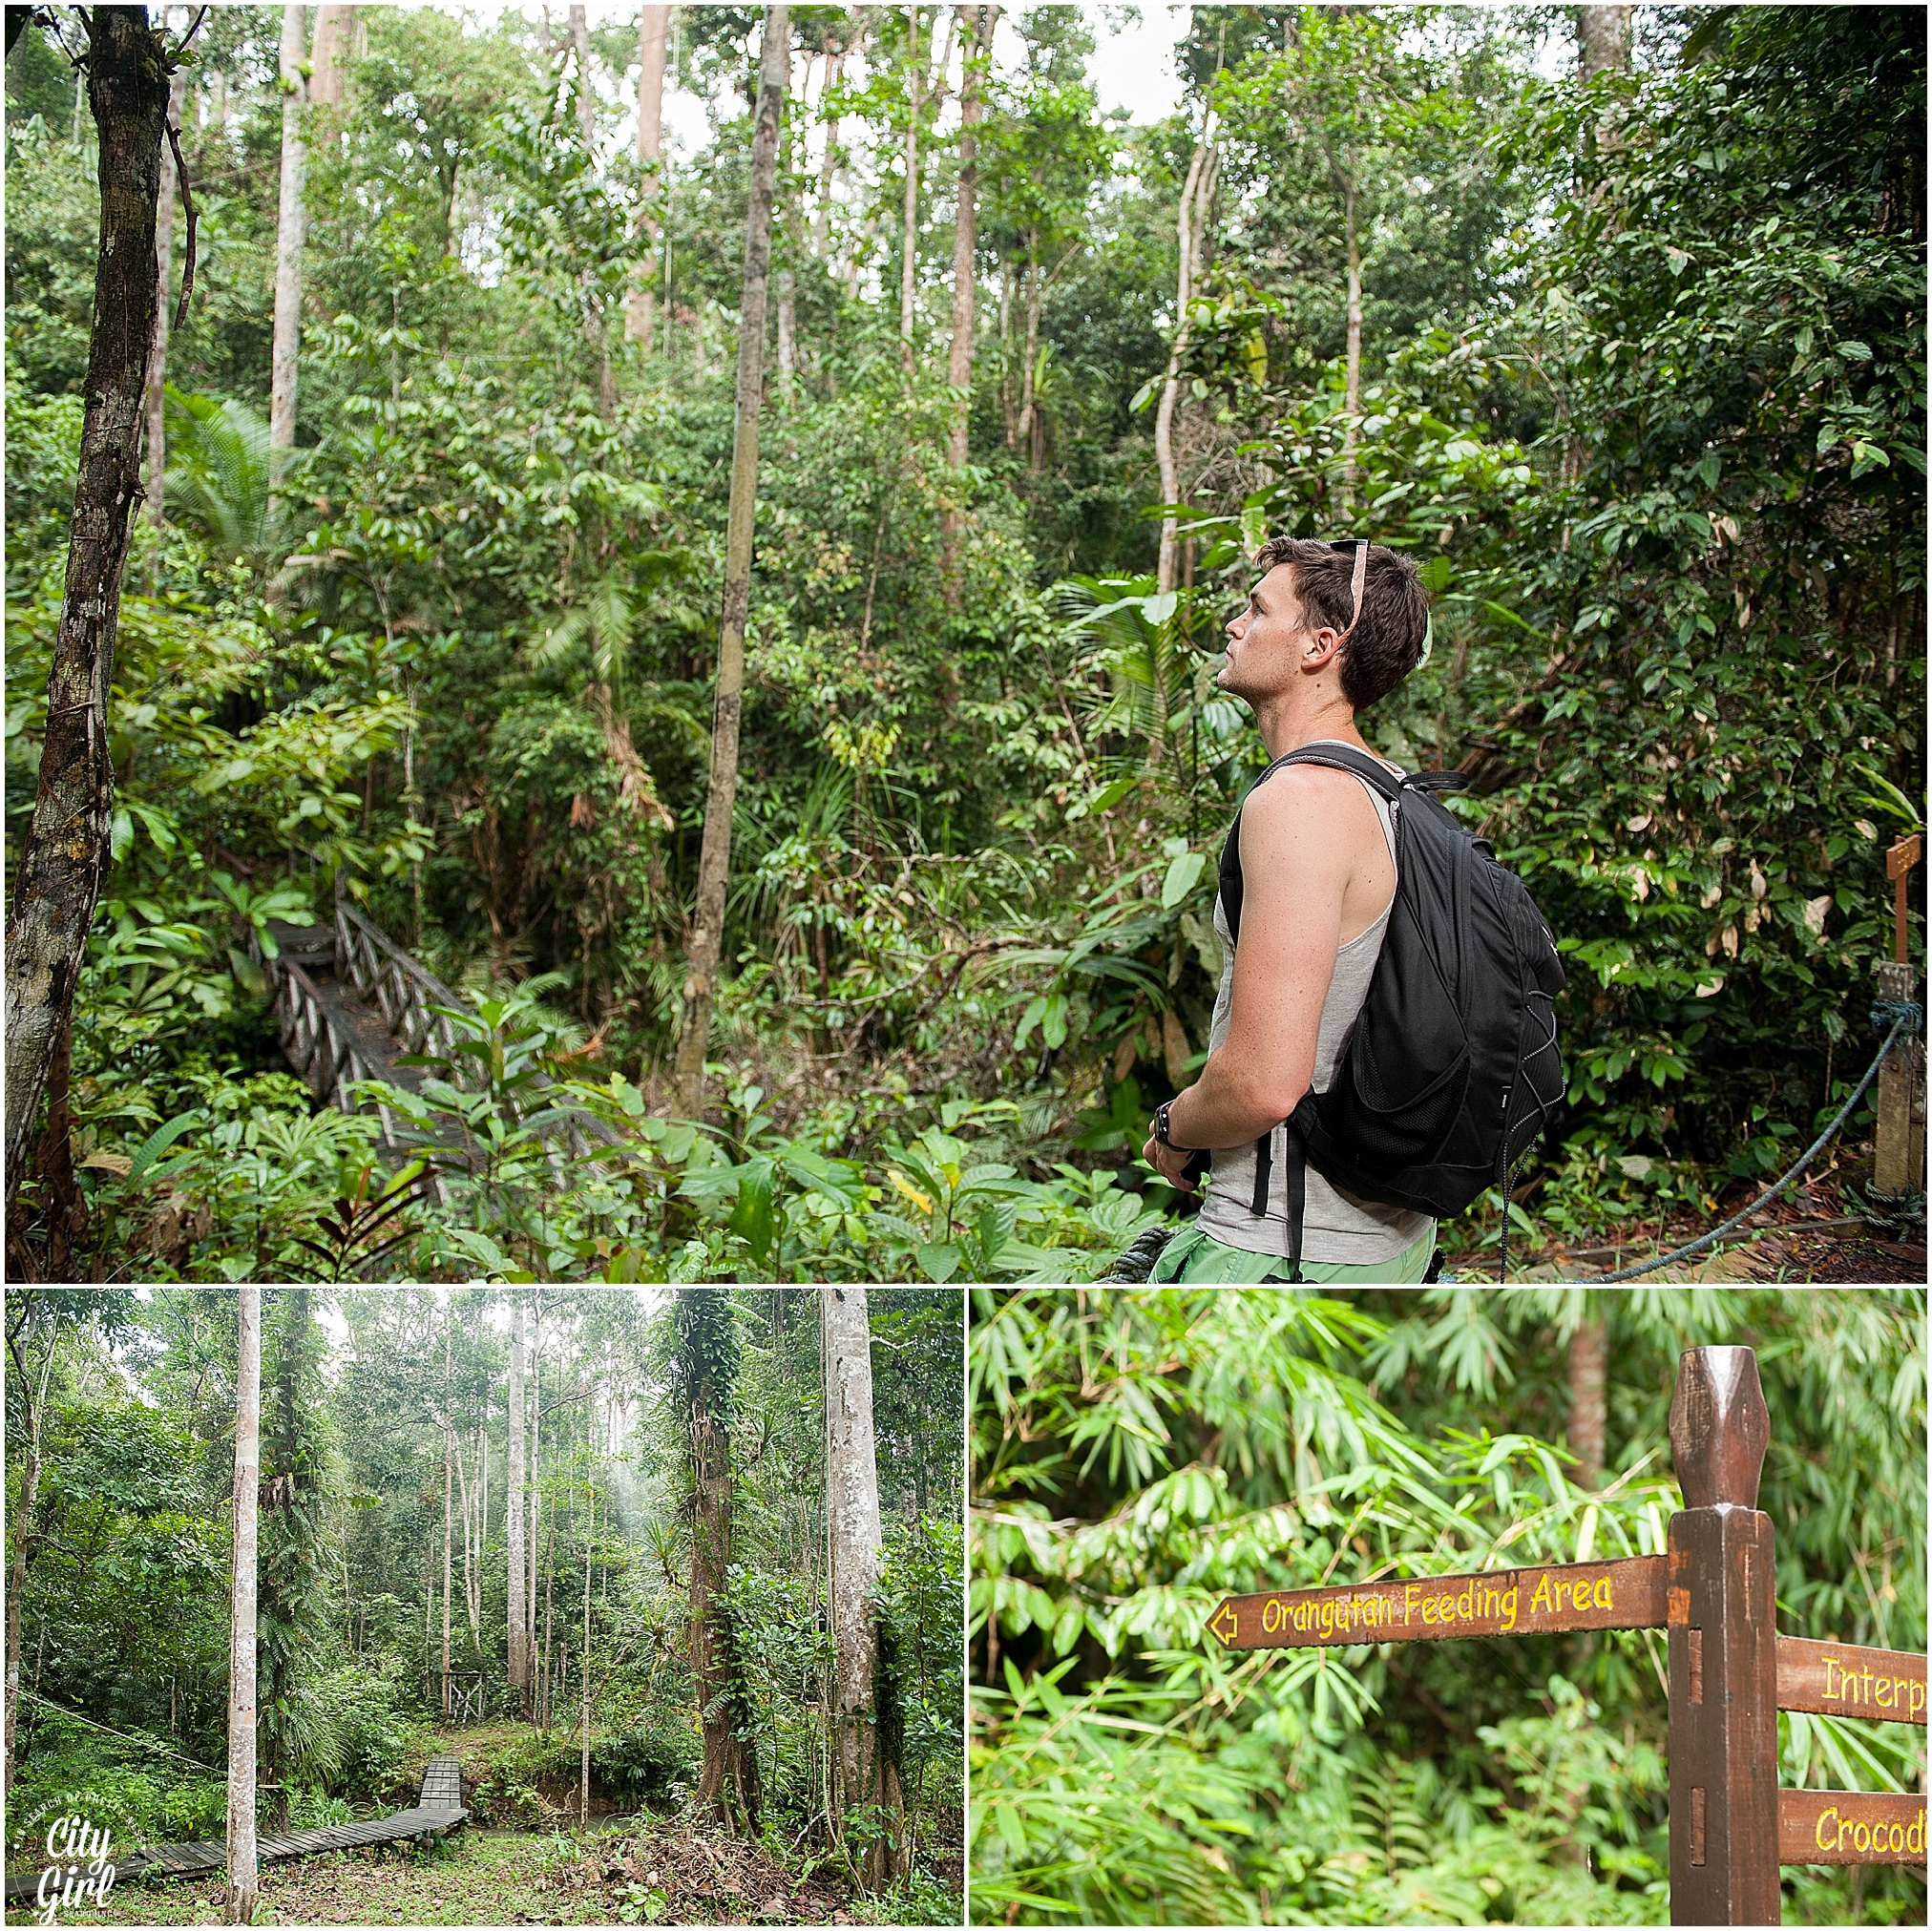
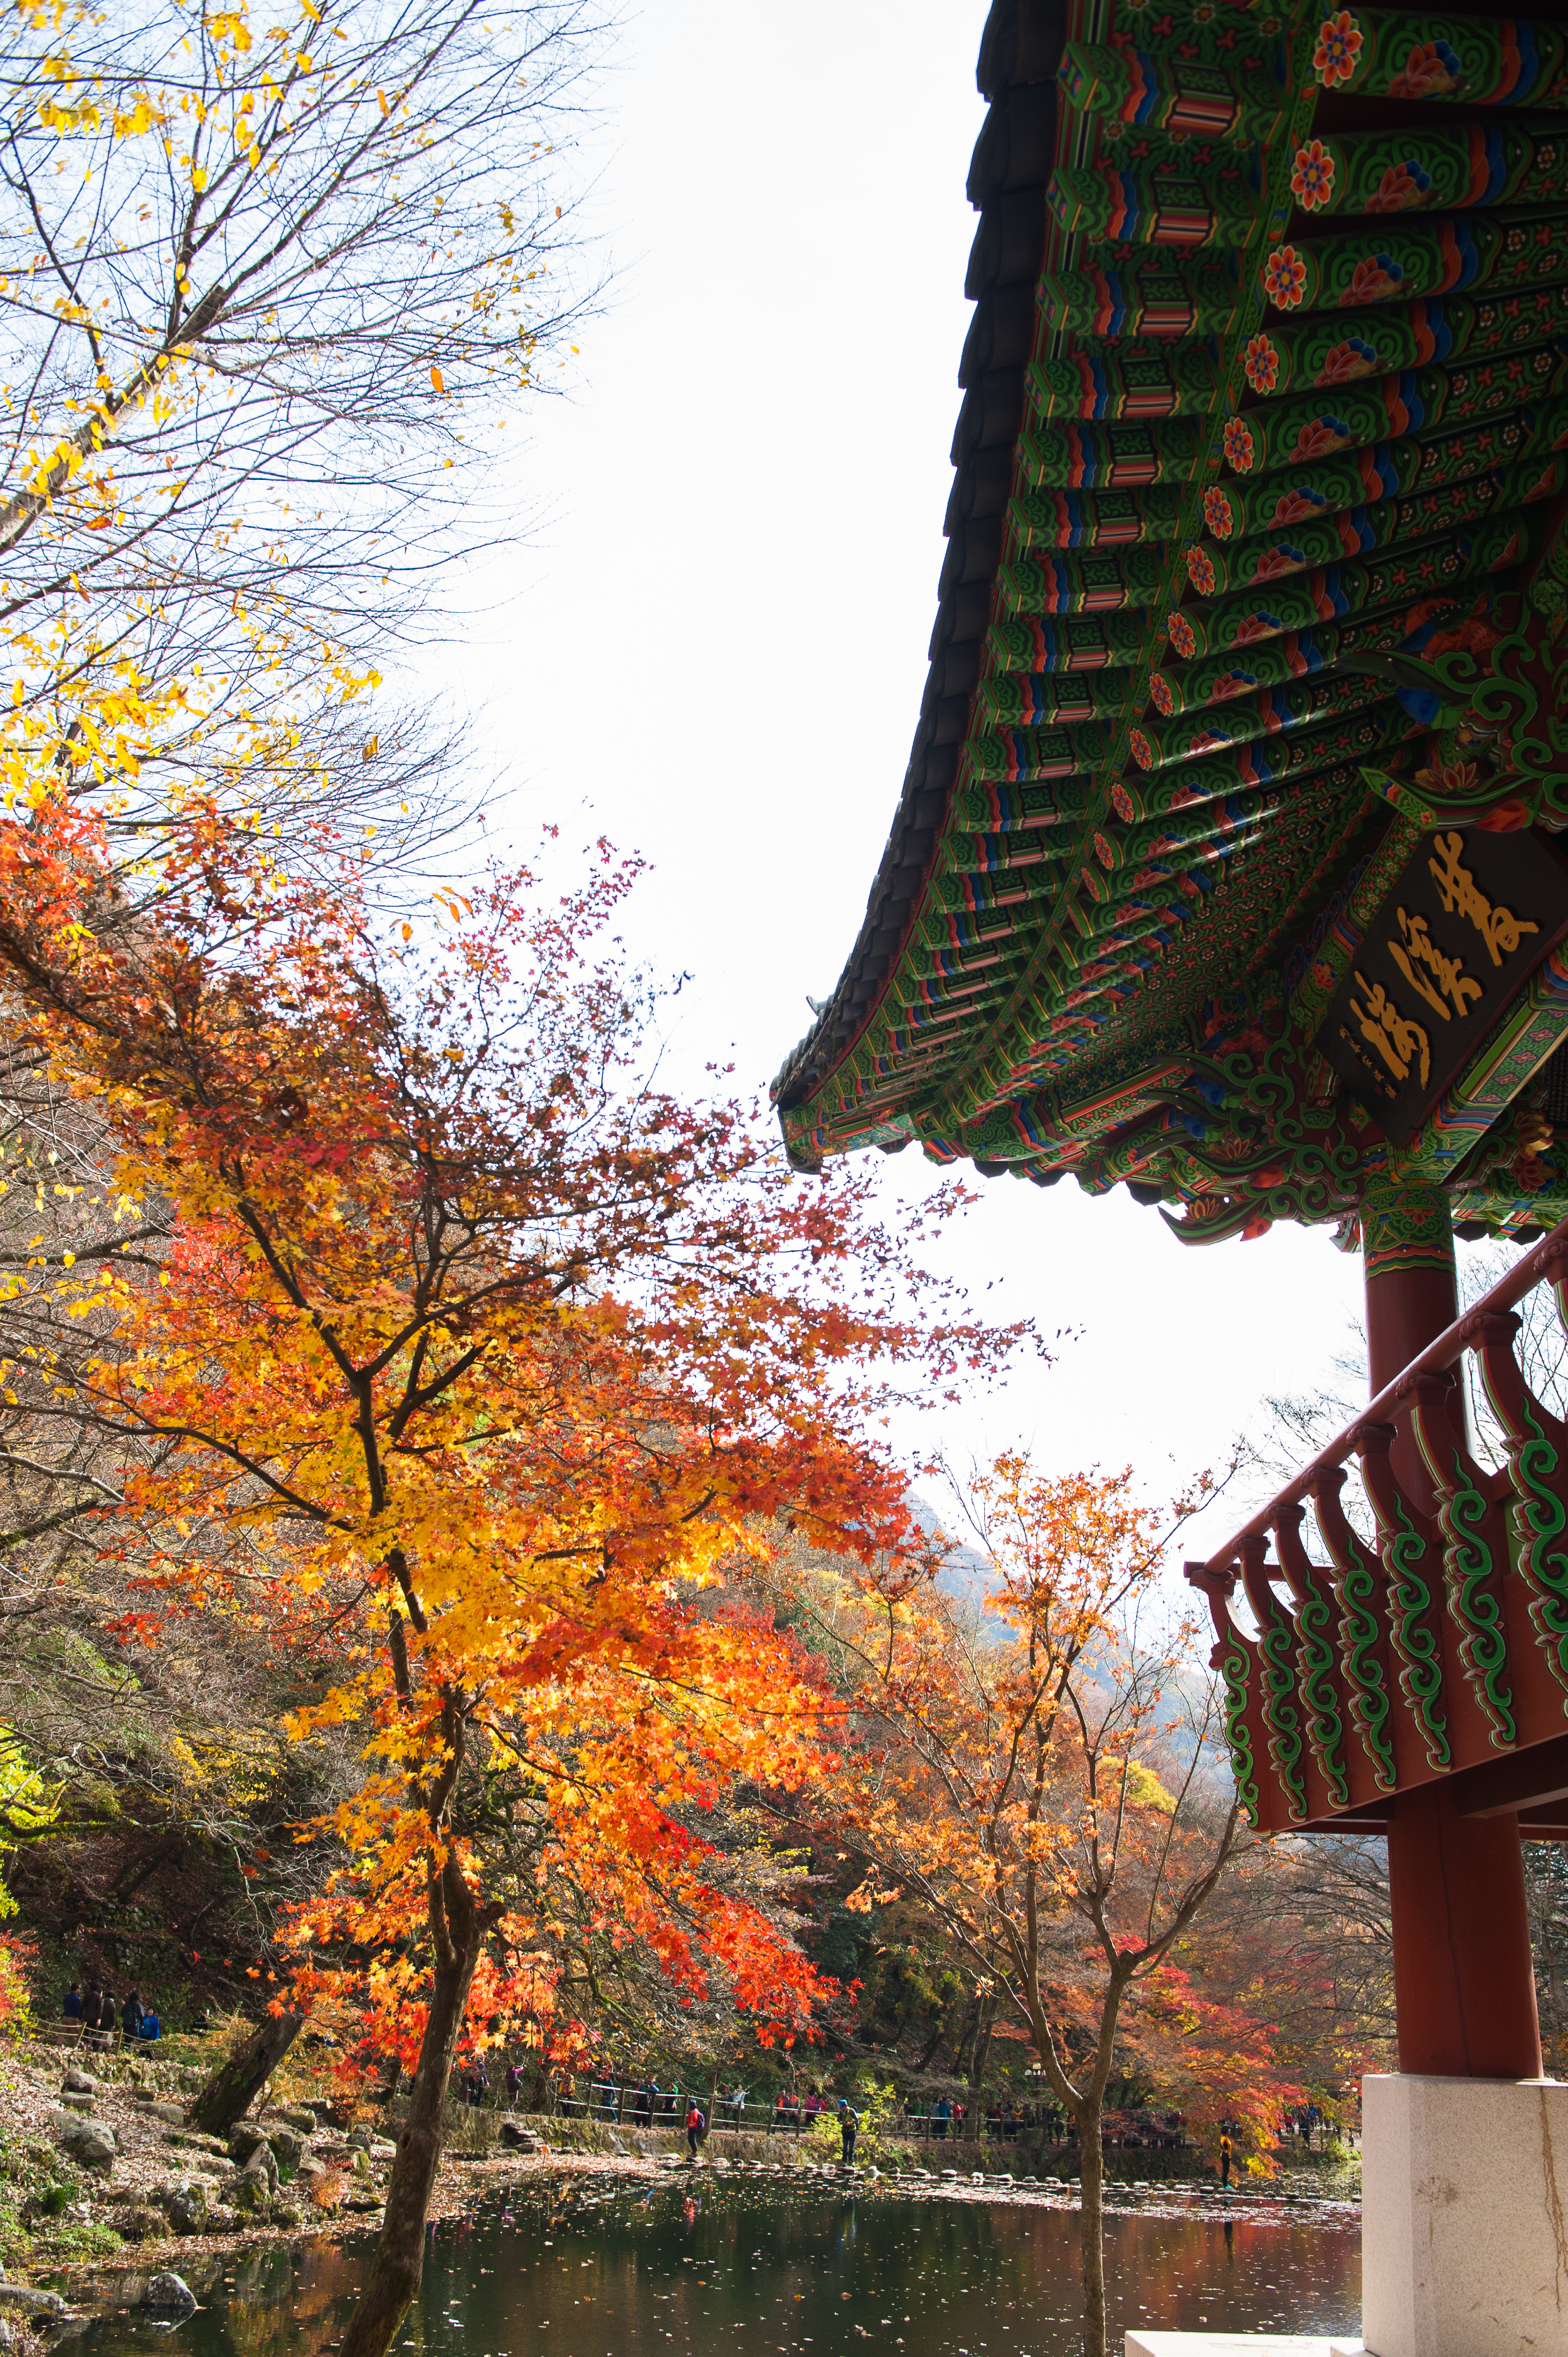
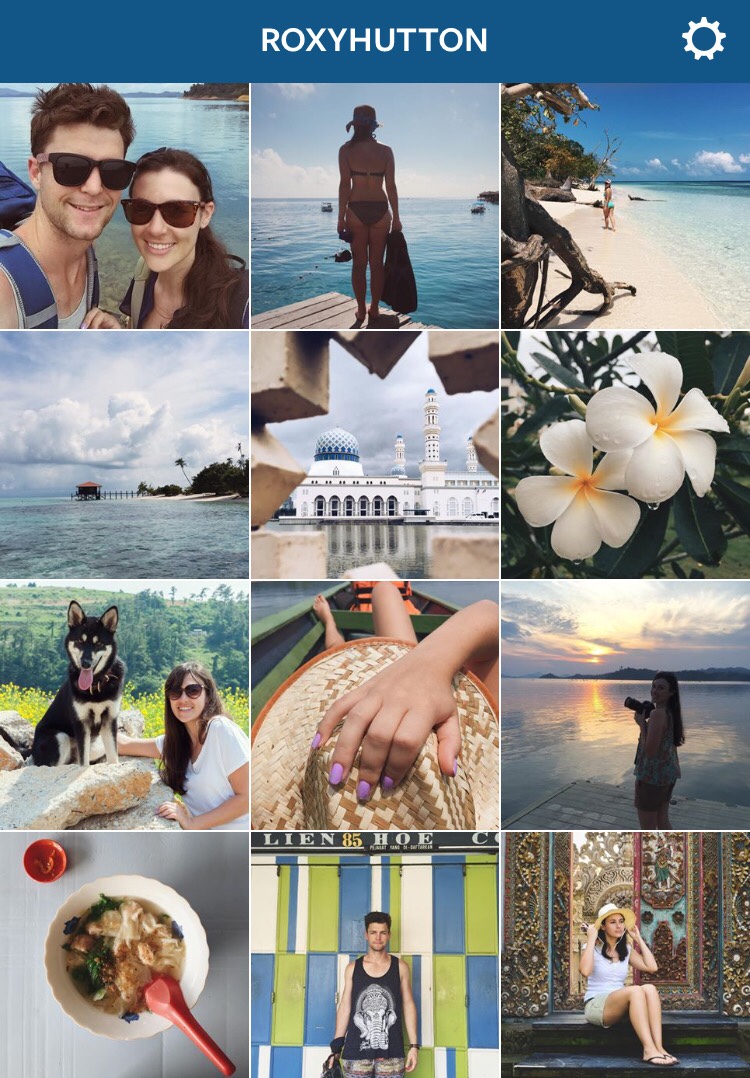
Then I went on holiday to Borneo

I wanted to share the exciting places we were seeing and things we were doing with my readers. I changed the hashtags I was using to fit in with travel, and even though I was getting more likes on my photographs, I lost nearly 50 followers in 2 weeks. I had no idea what was going on. Yes, Instagram does go through purges where they delete inactive & spam accounts, but to loose so many people had to mean that my followers weren't interested in what I was posting.

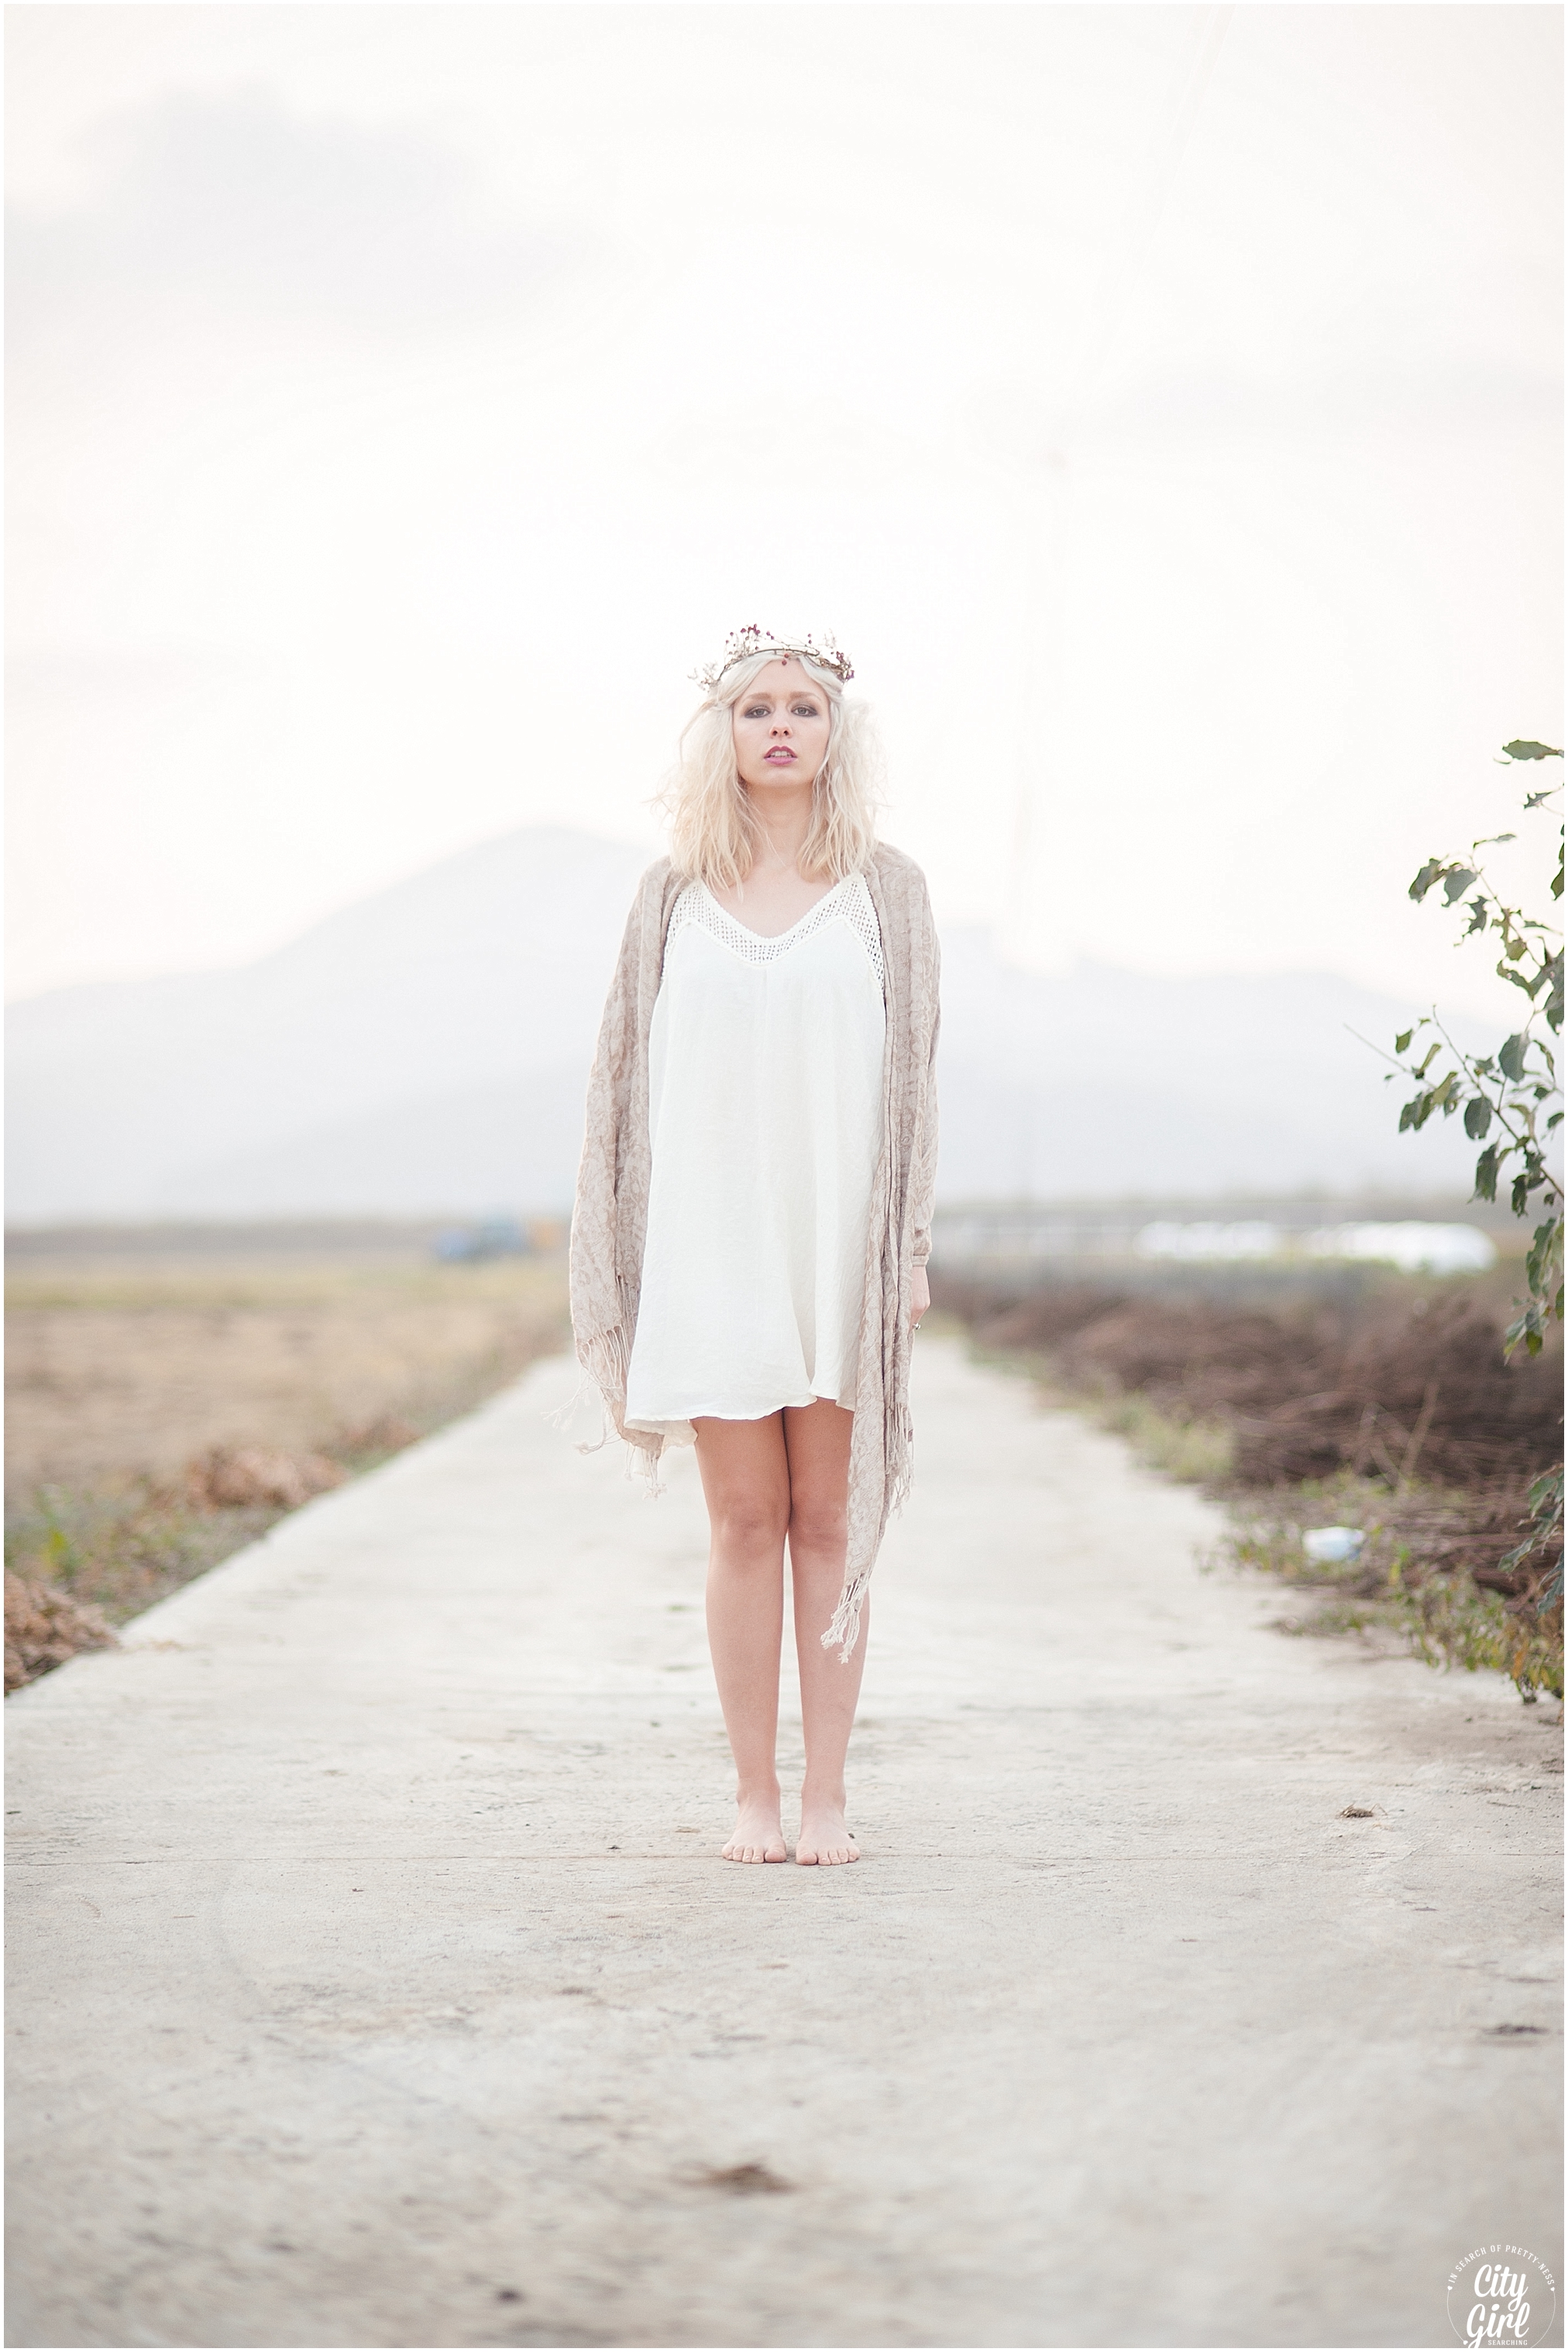
You see, people were following CityGirlSearching the lifestyle blogger who posted photographs of makeup, stationery and other pretty things. They hadn't chosen to follow CityGirlSearching the global traveler who posted photographs of beaches & exotic foods. 

It was hard to realise how fickle people can be, and to see such a decline in followers when I thought I was posting interesting new content. I realised I had to start thinking about my Instagram account as an extension of my brand, and not as a personal account. 


Lots of bloggers I follow have ended up creating multiple Instagram accounts to use for different purposes and I have been contemplating doing the same. They have one account for their blog or business, and another one to share personal photographs for family and friends. Right now I have enough social media channels to juggle without adding in a personal IG account, but it is something you may want to consider to help streamline your brand.

How to Grow your instagram following plus free printables by CityGirlSearching

There are a number of free apps to tell you how many people follow/unfollow you but I have just found they make me feel horrible about Instagram. I downloaded Trackgram which has a paid and free features, and I found it took all the love out of Instagram for me. When I actively see who has un-followed me, it makes me want to unfollow them, regardless of whether I like their Instagram account or not.It leaves a bad taste in my mouth being able to see who un-follows me, and it has made me feel very negative towards certain bloggers who I used to love and admire. So I would say us it with caution, or rather, don't use it all. You don't need to be reminded who exactly un follows you, you can get a broad overview of this yourself by looking at your Instagram numbers on your profile yourself.

I hope this post inspired you to tackle the big bad world of Instagram! If you have any questions about it, please feel free to leave me a comment below, I promise to get back to you.

An afternoon in the Damyang Countryside

Damyang House dog friendly accommodation in Gwanju South Korea

I spent the day in and around Gwangju this weekend, and ended up at the Damyang House for an afternoon stroll with a great group of fellow rescue dog owners. Sean & Jo-Jo own the gorgeous Damyang House, a beautiful (dog friendly) holiday home for rent in the surrounding Gwangju countryside. You can find out more about renting the Damyang House on Airbnb by clicking here

Sean & Jo-Jo often arrange get togethers at their dog friendly rental holiday home, and I was very happy to be able to join in this past weekend. Having a dog in Korea isn't easy, especially when your dog dwarfs 90% of the other Korean dogs, and so to be able to go a place that gave him plenty of space to run around and socialise with other dogs is a real treat. 

Sean & Jo-Jo own two rescue dogs, Soonie & Gauda (the small black and tan & the regal looking white pup) and we were joined by Meg & Ben who own Millie (the little, long haired black and white rescue dog) and their friend Ryan. I also met a lovely Korean lady, Jiseong, who brought along her two little Maltese rescues, Coco & Gucci. Of course, Shadow (the big black and tan Jindo mix) was a bit of a handful for the smaller dogs who weren't too interested in his playful advances, giving him a run for his money through the mud and farm lands. He had a ball regardless, none too phased by the barking and chasing he received when he tried to get too playful with them. 

November in a nutshell

November wizzed past in the blink of an eye and looking back at my photographs I realised it was one of my most photographed months of the year. Instead of leaving my photos sitting in digital storage, I wanted to share some of them here with you. I have posted a few of them on Facebook, but I know that a lot of what get's posted on Facebook business pages get's lost amongst everything else.

November was the month of leaves as Autumn slowly drew to a close and my mom was here visiting us and got to experience a real Korean Autumn. We also had our first snow towards the end of the month, and have yet to have any since. Let's hope it comes back so we can have a white Christmas! Having my mom visit was the highlight of the year, as was each and every single cup of tea (and boy oh boy did we drink a lot of tea!). 

So here is November in Korea, in a nutshell. 

Enjoy!

x

English Science Camp And Activities for kids - VOLCANOES

EnglishScienceCampActivitiesVolcanoKids

I taught a rather fun science English camp to different groups of students at the end of last year. I wanted something that was very hands on for the kids, while being fun and educational. I did these lessons with both elementary and middle schoolers and all my kids loved these experiments. We made exploding volcanoes and did the Egg drop experiment. This post will be focused on...

Volcanoes

I started the lesson by having my students in groups of 4. I gave each group a picture of a volcano that I had cut up into small pieces. I placed the picture facedown and then told them they had to put the pieces of the puzzle together and the first team to do it would be the winner.

Then we went over a very basic power point presentation showing the different parts of the volcano and completed a worksheet (I found the worksheet on Waygook, an incredible research, free rich website aimed at teachers here in South Korea). 

Then we set about making our volcanoes. I found all the ingredients that I needed at my local mart:

Ingredients for the Volcano

Vinegar

Oil

Flour

Dish Soap

Baking Soda

Water

Salt (try to use buy a ground salt...I learnt this lesson from the No Cook Play Dough recipe I did last year, course salt is horrible when making clay!)

Water based paints (i found these at the back of my English room)

Bottles (for the structure of your volcano)

How to Make the Volcano

For the dough a.k.a. the outside of the volcano

- In a large bowl mix together 3 cups of flour, 1 cup oil, 1 cup salt, 1/2 cup of water. Keep mixing! Add more flour, salt, oil as needed.

- Add paint and keep mixing and kneading until fully absorbed

Building your Volcano

-Tape down your bottle onto a plastic plate or piece of cardboard (this is very important and the volcano will make a lot of mess when you ignite it).

-Using bits of clay, build up your volcano. Make sure to leave the top open for the volcano to explode out of.

Making your Volcano Explode

-Now the fun part! Fill the bottle 3/4 full of hot water (be careful as the plastic bottle will melt if boiling water is used).

-Add 1/4 cup dish soap & 2 Tbs baking soda

-Add red paint/food colouring

-When you are ready, add 1 cup of vinegar and watch the volcano erupt!

It's best to do the erupting outside as these volcanoes tend to make quite a big mess. Make sure to come back for the second part of my Science camp, The Egg Drop Experiment!

Periscope & Blogging: Using Periscope to Grow your Blog

how to use periscope and using periscope to grow you blog

Hello. My name is Roxy, and I'm a Periscope addict.

I downloaded the live streaming app on Sunday night, and feel rather sheepish to say I have put myself out there, in live time, at least twice a day. It's only Wednesday and the fact that I have 11 broadcasts in 4 days is rather crazy. I had no idea that it would be so addictive, and SO MUCH FUN. I starting 'scoping' (yes, that's a thing) on a whim and hadn't put much thought into it but I have realised it's potential as a powerful tool for bloggers & business owners.

So what is Periscope?

Periscope is an app (recently purchased by Twitter) which lets you live video stream from your smart phone or tablet. It also lets your audience engage with you through a chat system, that you can respond to in real time. Viewers can also give you 'hearts', much like the Facebook 'like' button, if they agree with you or are enjoying what your are saying or doing.

Using Periscope to grow your blog

Your 'scopes are available for 24 hours before they are deleted. This means viewers can catch up anything they missed, and new viewers can watch you if they missed your broadcast. People can still give you hearts on the replay, which then get added to your overall heart count. The more hearts you get during a broadcast, the more chance you have of being featured. But please don't be that person who spends their entire time online begging for hearts, that's just not cool.

How to use Periscope to grow your blog

Here is a snap shot of my profile. Even though I only have a small following so far, I have received loads and loads of hearts...I told you there were nice people out there. Also, make sure you utilise your profile space well. When you first create your profile, you can choose to log in with Twitter. If you do this, it will automatically upload your twitter profile. Just like twitter, Periscope has a limit on the amount of characters you can use in your profile. Use them wisely and tell people what it is you do and why they should be interested in following you. 

What I have loved so much about Periscope is the fact that it's live, real, and not staged/edited/rehearsed like youtube videos. This means you literally just press a button, and you're live! There is no editing, no hours spent making a studio etc it's literally you and your phone and your viewers. This means people can ask you questions right then and there and you can answer them on the spot. 

As with any social platform, there will always be the trolls (those people who have nothing better to do than to write obscene comments and just be generally annoying) but it's super easy to block people with a swipe of the screen.

There are A LOT of Russians on Periscope, as well as many Eastern Europeans who ask me things in their language and I have no idea what they are saying, but for the most part I have had really nice people join me for my 'scopes'. 

How can Periscope Help Grow your Blog?

There are so many ways that Periscope can be used as a tool to help you grow your blog audience and readership, as well as a tool for growing the rest of your social media platforms. Here is a screen shot of my blog stats for the past month. 

Using Periscope to grow your blog

I usually hit a spike in traffic on days when I publish a blog post. I published a blog post on the 30th November but yesterday (1st December) I did not. And yet I saw a HUGE jump in traffic from my average of 377 page views a day, I got 539 yesterday. That's nearly double the amount. 

The only thing I did different? I placed a white board behind me while I was 'scoping which had my website & Instagram profiles written on it. Nothing fancy, literally a piece of white foam board with my details quickly scribbled on it. 

So you can see the potential right? 

I am really excited to delve deeper into Periscope and to start using it to grow my blog and my online stationery store.

Live streaming can be very daunting. The first 'scope I did I really had no idea what I was doing. I was in my pyjamas, in bed, with the camera facing my dog for most of the time, answering questions people were asking me about life in South Korea. The most asked questions was definitely 'Where are you from' as people were trying to work out my accent. But on that 'scope alone (ie the first one I ever did) I had nearly 300 people watch me. I had no makeup on, there was nothing interesting about my background, it was literally me in bed, drinking tea, and my dog sleeping on the floor. Now imagine I was doing something interesting like putting on makeup, walking around the streets in Korea, showing off items in my stationery store, imagine how many people would join me then?

In my third 'scope I had my husband and friend join me while we ate baked apples and drank tea. I named the broadcast  Apple Pudding & Zombie Brains as we were about to watch the latest episode of The Walking Dead (every time you go live you give your broadcast a title so people can read what your 'scope will be about...ie make it interesting!).Within 5 minutes we were TRENDING! This means that out of all the thousands of people online, our broadcast went to the top of the list! And we weren't doing anything other than eating food and talking about Zombies.

Some tips of what to talk about on Periscope.

So apart from talking about zombies and eating, there are lots of other things I'd suggest doing on Periscope. Things that can be used for actually growing your blog or business. Periscope is not like the other social media platforms. It's also not supposed to be scripted, it's supposed to be raw and real. Here are some things you can use it for if you're a blogger or business owner:

1. Q & A session.

Ask your viewers to ask you questions. Talk about where you are, what you do, what you blog about and let the conversation happen naturally. You'll be surprised how many people will be interested in knowing what you just ate/what your favorite colour is or why you chose to paint your nails electric blue.

2. Behind the Scenes

Use Periscope to show your viewers some behind the scenes footage of where you work. If you have a work studio where you put together stationery orders/take photographs/package orders/cook/teach show your viewers. It's always interesting seeing the other side of the creative scene. The side where everything is a mess, people will be able to relate to you and you'll be showing people a much more authentic side to you and your business.

3. Show off your pets

If baring your face to the whole wide world terrifies you then why not start by sharing your pets? Everyone loves animals, so why not share with the world your furry friend. I was amazed at how many people were interesting in seeing my dog, I even had requests from viewers to bring him on camera. 

4. Show off your products

Do you sell physical products? Show them to your viewers, ask them which ones they like best. Show them how they can use your products and how your products can be used around the house. This gives people a much more in depth look into what you're selling, making them more inclined to buy from you.

5. Show off your talents (or what you love doing)

Do you love baking? Are you an illustrator? Put on some music and invite people to watch you draw/cook/bake/paint your nails. It gives you something to do rather than staring into the screen blankly and people can enjoy your broadcast and still ask you questions.

Some general Periscope Tips

  • When you download Periscope, spend some time customising your profile. Include a link to your website/blog/online store and use an eye catching profile picture to help you stand out.
  • Spend a few minutes watching other people to get a better idea of what to do and what not to do.
  • The first thing you point your camera at when you start broadcasting will be the thumbnail for your 'scope. Make sure your camera is pointed at something interesting and eye catching. You can even make use of your branding/logo here to build up your brand. Your camera will, by default, be pointing away from you. This is why you should use a placeholder image (like your logo) or point your phone at something interesting rather than having it pointing at a blank wall while you wait to be able to turn the camera around. The blank wall will then be what people see when the scroll through their feed. 
  • Use interesting titles for your broadcast. Your title is super important as it is the first thing people will see when scrolling through the feed. Use emoticons and capital letters to draw attention.
  • Ask people to share your 'scope with their followers. You'd be surprised how many people will do this. It's really easy to do and just involved swiping to the right (for IOS ro swiping up for Android users).
  • Greet people as they join your stream. It's polite and helps them feel appreciated.
  • Follow other users and share the love by giving them hearts. 
  • Double tapping your screen while broadcasting changes the direction of your camera, so you can show people your face (if you want to) and you can show people what you are looking at. 

Most importantly have fun. Periscope is meant to be a fun platform for engaging with people. Don't get so caught up in trying to sell your blog/product that you forget about your audience and why they are there. People want to be entertained (and I don't mean the dodgy way here) so be real, be you and just relax. My first scope I was a shivering wreck, I couldn't even keep the phone straight as I was shaking so much. Within a few minutes I realised that it didn't matter if I said the wrong things. It takes a little while to warm up, so play some music in the background, and just have a good time.

Come and find me on Periscope (@RoxyHutton) and join in the fun.

Klairs Vitamin Drop Vitamin C Serum Review - Currently Testing

For the past few days I have been trying a very exciting new addition to the Dear Klairs range of beauty products. Dear Klairs is a Korean beauty brand established in 2010 in Seoul, South Korea, and what I love most about them is that they do not test on animals! I have tried out a number of their products (courtesy of WishTrend) and have been most impressed with them.

Here are my own (always honest) reviews for the products I have tried out so far.

Just click on the images below to see the full post:

You can shop for the Klairs range of products on WishTrend, a Korean beauty platform which stocks lots and lots of Korean Beauty brands.  A little bonus for my readers, by using this code 052313605 you'll get $5 off your first order. 

I am currently testing out the much talked about Klairs Vitamin Drop (which you can buy as a set along with my favourite BB cream, the Klairs Supple Illuminating BB Cream for only $34 on WishTrend) .

And now back to the review.

So what's all the fuss about Vitamin C I hear you say?

Now I'm no scientist, just a lowly ol' beauty blogger with a love for any and all things beauty, and so I enlisted the help of Korean Beauty Guru blogger Charlotte from Soko Glam to help me out here. 

Many studies have proved that Vitamin C (a.k.a. ascorbic acid or l-ascorbic acid) is one of the most effective ways to help fade pigmentation -- those pesky brown spots from sun damage or even uneven skin tone from acne scarring.
It also improves the overall health of your skin by protecting it from free radical damage! Think of it as an anti-aging shield for your skin so you’re not only reducing what damage has already been done, but also preventing future damage.
To understand the science behind Vitamin C, let me breakdown how and why pigmentation occurs:
UVA/UVB, pollution, and smoking create free radicals that destroy your DNA -- and skin cells. Sorry for the dramatics - but it’s true. Free radicals suck!
The result? Premature aging: mainly brown spots and wrinkles (and a bunch of other health problems besides).
Antioxidants help slow down/eliminate free radicals, so that’s why it’s important to include them in your diet and most importantly for your skin, apply them topically!
And you guessed it, the best of the best for the skin is...Vitamin C.  You can read the full article by clicking here.

I recently raved about my experience using the Innisfree Whitening Pore Serum with pretty drastic before and after photos (click here) and so have really interested in knowing more about Vitamin C. 

This Vitamin Drop serum from Klairs contains a 5% concentration of Vitamin C, meaning it is perfect for even the most sensitive of skins. As a rule of thumb, the higher the Vitamin C concentration, the more likely it will cause sensitivity. For those first time users of Vitamin C (like myself), the 5% contained in The Klairs Vitamin Drop serum is the prefect place to start. 

As Vitamin C is highly de-stablilized by Oxygen & light, it is usually kept in dark coloured bottles and it is advised to store it in a cool dark place. What is great about the Klairs Vitamin Drop is that has been stablilized and therefore has a longer shelf life. That's why it is packaged in such a pretty clear bottle. You can see the full ingredient list below:

I have only been using it for a few days so I can't speak on the effectiveness yet.

What I have noticed so far in the few days of use is a faint, warm sensation when applied to the skin. Nothing unpleasant, it actually feels like I am applying a warm towel to my skin. I have also noticed that my skin is being purged (small pimples are coming to the surface that were obviously waiting for the right moment to pop up). I was very worried about this and though perhaps I was having a bad reaction to the product, but have since realised it's normal.

I apply the serum after cleansing, toning and applying essence. I leave it on for about 10 minutes before applying my eye cream, day/night cream and sun cream. I have noticed that my skin is a lot more mattified since I added this serum into my routine, and I have also been very pleasantly surprised to notice that I no longer have flaky skin on my nose area. I am very excited to see more results and will report back after a few more weeks of use.

You can buy the Klairs Vitamin Drop serum on Wishtrend for $17.25 by clicking the button below.

I have also recently added the much talked about Misha Time Revolution First Treatment Essence & Toner to my skin care routine and will be making a video on them very soon. 

{This review and all the reviews on my blog are honest and my own personal experience with the product. Please note this post contains affiliate links which means that should you purchase something though one of these links I receive a very small commission}

Etude House Precious Mineral BB Cream Powder Fit {Video Review}

I was most pleasantly surprised when I tried out this BB cream. I had read really great things about it online, but reviews only go so far and I always worry about BB creams making my skin look ghostly pale. Luckily this is not the case for this BB cream. With a lovely powdery scent, and a wonderful powder finish, this BB cream has crept into my heart and my makeup table, finding it's way as a close contender for my favourite Klairs Supple Illuminating BB Cream

One thing (and it really is only a small gripe) is with the white tube. White and foundation don't go together vey well. I took these photographs after only using this BB cream once, and I got foundation smudges on the side of the tube. That's why my tube looks a little dirty. That problem is easily solved if you use a Foundation brush though!

Here is a little video review I made of this product, as well as a quick tutorial showing you how I made up my face after using the Precious Mineral Cotton Fit BB cream.

You get 60g of product in each tube, so it's going to last you a long, long time. As you can see, the easy to use dispenser gives you just enough product for an even application. In the photographs below you can see just how seamlessly the product glides into my skin.

I would say one layer will give you medium coverage, but this BB cream is very build-able. One more pump and you would have a high coverage foundation with all the other great properties of BB creams (sun protection, moisture & cover).

Etude House Precious Mineral BB Cream Cotton Fit Review

The Precious Mineral BB Cream Cotton Fit only comes in 3 shades; 

No. 2 Light Beige

No. 13 Natural Beige

No.25 Honey Beige

I chose the middle shade, Natural Beige and it's perfect for my Olive skin. It is currently winter here in Korea and my skintone has faded slightly, but I am usually MAC NW 25.

Have you tried this BB cream before? What did you think? I'd love to hear from you in the comments below. 

How to Make your own Dried Apples

How to make dried apples

Apples are currently in season here in Korea, which means we are able to buy them without the usual $10 a pop price tag that that comes with them at any other time of the year. The apples used in this blog post were bought from a little farm stall near Naejangsan National Park.  

These dried apples were made with a dehydrator we were given by Farmboy's school, (here is a link to buying them on Gmarket) but you can easily do the same thing using your oven. 

It takes a while for the apples to get really soft and chewy (anything from 12 - 24 hours) but it's definitely worth the wait, and using a dehydrator instead of an oven will make your life easier. If you want them to be crunchy instead of chewy, then leave them in for even longer.

So far we have dried apples, pears (these have been the best so far!) and persimmons (another fruit that is also currently in season) and I plan on trying to make doggy snacks out of chicken breasts for our pup #ShadowTheJindo. I am also going to try my hand at making Biltong (the South African equivalent of Beef Jerkey) so let me know in the comments below if you can recommend any great recipes for Biltong!

If you have a dehydrator, the process is very simple.

1. Peel your fruit.

2. Chop/Cut/Core your fruit into small pieces. If you want to make apple rings then you will need to get hold of an apple corer. I was only able to find an apple corer than also slices (the green thing pictured below).

3. Place your fruit pieces as close together as possible, without actually having any of the pieces touch each other.

4. Turn on and adjust the temperature if your dehydrator has a temperature control switch. Turn up your dehydrator the the highest temperature (the higher the temperature the faster the fruit will dry out).

5. Leave for 24 - 48 hours. The first batch of fruit (pictured in this post) was only dehydrated over nights (about 15 hours) and so the apples were still quite soft and squidgy. We made another batch using persimmons and left those over night and the following day and they came out crunchy and delicious. I definitely recommend leaving them as long as possible.

6. Place the dried fruit in airtight container. You can use an ordinary ziplock bag and a straw to suck out all the air. Store in a cool, dark place. Your fruit will keep for a good couple of months (although ours doesn't last longer than a few days as we eat it all!).

Thanks to a friends suggestion, we just finished a batch of dried apples covered in cinnamon. Out whole house smells like Christmas and those apple pieces were absolutely amazing! Experiment with different spices, you can't really go too wrong.

If you don't have a dehydrator you can theoretically use your oven, but I'm not sure whether you'd actually want to leave your oven on overnight while you're sleeping? It is possible with the oven, but using a dehydrator is much easier. You can buy a dehydrator like ours on Gmarket (click here) for about W30 000.

Borneo Travel Guide: Kuching

Borneo-Malaysia-Travel-Guide.jpg

Farmboy and I headed to Borneo for 12 days in July last year. We had a great time, and would definitely recommend it. We had a few ups and downs, mainly due to the environmental damage , it was terribly sad to see so much deforestation. I probably wouldn't have noticed it if I was traveling with anyone else, but Farmboy was an environmental consultant is his former life and so was more aware than me (I thought there was a lot of green but what I thought was natural vegetation was 9 times out of 10 palm oil plantations). We also knew very little about Borneo (apart from the fact that it is one of the last places where you can see Orangutan in their natural habitat), and actually ended up deciding to go there because it had the cheapest flights and seemed like a very unique holiday destination. 

We spent the first part of our holiday in Kuching (2 days), moving onto Bantang Ai lake (3 days), then Kota Kinabalu (2 days) and then onto Semporna (1 day) & Mabul Island (4 days). As there is so much to say about our trip I am going to breaking up these posts into different parts. In this part I will be talking about Kuching. In part two I will be talking about Bantang Ai Lake; Part 3 I will be talking about Kota Kinabalu and finally in Part 4 I will write about Semporna & the scuba diving we did on Mabul Island.


You may be thinking of heading to Borneo soon (or sometime in the future) so to help you plan your trip, I have put together this travel guide, as well as some tips from our stay. Please keep in mind that my husband and I may travel very differently to you, and have different likes and preferences for things. I prefer the more luxurious path, while Farmboy would stay in a hammock for the entire trip if it was up to him. So we plan accordingly, and of course, try to stick to the budget.

Map of Borneo

Borneo is the name given to the biggest island in Asia (it's really big!) and is actually made up of 3 countries; Malaysia, Brunei & Indonesia. Malaysia & Brunei are far more geared to tourism (this has its perks but at the same time means that places are very touristy) whereas the Indonesian side is a lot more rural and natural. As we only had 2 weeks for our holiday we decided on Malaysian Borneo. If you are looking for a more authentic Bornean experience and you have more time, look into traveling around Indonesia Borneo. Also bear in mind the different visa requirements for Borneo & Malaysia before you travel.

Borneo Malaysia Travel Guide CityGirlSearching

Kuching

We flew from Incheon into Kuching (with an overnight layover in Kuala Lumpur). If you do have more than a 4 hour layover at night in Kuala Lumpur, I highly recommend booking into the new capsule hotel in Kuala Lumpur Airport (click here). It was fully booked when we arrived and we spent a very uncomfortable 6 hours sleeping under a cold concrete bench, hanging onto our belongings for dear life. The hotels in and around the airport are expensive and get booked up fast. You can book per hour at the capsule hotel and looked like a really fun experience.

Getting a taxi at the Airport

We arrived in Kuching at 8am and got a taxi to our guesthouse in Kuching. Most of the taxis in at the airports in Malaysian Borneo are regulated. You stand in a link and tell the teller where you are going and they then issue you a taxi voucher. You then give this voucher to the taxi driver and off you go. No dealing with cash or bargaining or being taken advantage of. It was such a different experience to Bali, Vietnam, Cambodia & the Philippines.

Accomodation

We spent 1 night in Kuching at Travellers Homestay in the Chinese Quarter of Kuching. It was a wonderful place, clean and so beautifully decorated and the host, Mai, was just wonderful. Such a warm and welcoming lady and we loved our stay at her guesthouse.

*W20 000 a night for a double room with aircon

The guesthouse is above the family run restaurant, and she is in the process of opening up a cooking centre to offer cooking courses to guests. The food was great and I highly recommend staying there if you're in Kuching.

Things to do in Kuching

We spent the day wondering around Kuching. Kuching is known as the City Of Cats. We walked from Travellers Homestay into the centre of town and spent some time wondering along the harbor. That night there was a food festival in town which was fun to wonder around. 

Semenggoh Nature Reserve

Our main reason for visiting Kuching was to see the Orangutan at the Semenggoh Nature Reserve. The Nature Reserve is home to the Orangutan rehabilitation centre, where you have a high chance of seeing Orangutan. The orangutans there are semi-wild which means that they live in a large area of trees around the reserve and feed themselves. Food is put out twice daily by the staff at the nature reserve to supplement that feeding. This means that during fruiting seasons when food is plentiful within the trees, the orangutans may have no need to (and don’t) visit the platforms. There are two feeding times a day (09h00 and 15h00) but best to get there early. The Oragutan are incredibly shy animals, and it's not guaranteed that they will come out at feeding time. We unfortunately were around a very noisy group of tourists who just wouldn't keep quiet. As the Oragutan are very shy, I'm sure the noise put them off. We had terrible luck and didn't see any oragutan, but travellers we met along our trip had seen the King, Reggie and a number of females with babies. We were really sad to miss them.

The Semenggoh Nature Reserve is easy to get to from Kuching by local bus.

From Kuching town centre, you want the number K6 or 6 from bus station number 2 which is near the mosque. Mai, our host at Traveller Homestay dropped us at the bus station. The bus leaves Kuching at: 7h20am, 9h50am, 1pm & 3pm. Returning from Semenggoh Nature Reserve at 8.20am, 11.15am, 2.05pm & 4.05pm (correct in August 2015). 

Tickets are RM3 per person each way, and the bus ride is about 45 minutes (but up to 1 hour). The bus adrops you right in front of the ticket office.

If you don't mind forking out some money for a taxi, it's about RM30 per way per taxi.

Entrance is RM10 per non-Malaysian adult for a single entry ticket. There are toilets just behind the office here. From there you walk about 20 minutes to get to the feeding area. It’s a nice walk with lots of trees, plants and animal calls to keep you entertained but it is just along the main road so be careful of the cars and tour buses which wizz pass you.

Once you’ve reached the actaul entrance to the Rehabilitation Area there are more toilets, a shop selling drinks and this is where you will congregate to hear a briefing. This is a safety briefings you need to listen to as they tell you what to do and what not to do to in terms of behaviour to ensure you’re respecting the environment of the animals but also to make sure you’re not seen as confrontational or a threat by the orangutans.

After a very disappointing few hours, we walked back to the entrance to the park where we were picked up by our hotel (Hilton Bantang Ai) in their shuttle to make the 4 hour journey to Bantang Ai. Even though we didn't see Oragutans it was still a nice way to spend the morning, and walking through the lush jungle of the National park was fun. 

Look our for Part 2 of our trip where I will be talking about Bantang Ai Lake and our stay at the Hilton.

DIY Hanging Photo Display using Square prints from Sticky9 & a GIVEAWAY!!!

Welcome to the next instalment in my #DIYDaysInKorea series. These posts are about making beautiful things for your home, whether that home is in South Korea, South Africa, or any where else in the world. This post follows on from the Gold Animal Fridge Magnets and these jars are what I used to store the Fig jam I blogged about last year.

If you are based here in Korea and would like to join one of my DIY days (click here to see what went on at the previous get togethers we've had) you can pop on over to the Facebook group for more information.  It's a wonderful place to meet new friends and spend an afternoon.

I hope you enjoy this series and that you leave feeling inspired.

x


DIY Hanging Photo Display Using Square Prints from Sticky9

I recently ordered a pack of square prints from Stick9 made up from my Instagram photographs (Stick9 offers a whole bunch of products that are made up from your Instagram photographs...if you use my code FRIEND2JNT you'll get 15% off your first order!) and had been brainstorming uses for them for weeks. When the world map we had stuck up above our TV fell down one day, I decided that their square prints would fill the space perfectly. 

Farmboy and I live in South Korea in an apartment rented out to us by the Education Office, so we are unable to go about knocking new holes or nails into the walls. I made use of the existing nails (hence the very non-conforming shape that ensued this DIY) when I strung up my photographs.

This DIY is super easy, quick and completely customizeable! You can hang your photographs in any shape or form you wish! The options are endless and only limited by the number of nails you have available!

You Will Need

  • plain wooden pegs (I bought these at my local CNA stationery store here in Korea for W500 for a pack of 5)
  • newspaper/kitchen towel
  • gold spray paint (I bought this at my local DC mart, you can also find spray paint at Daiso but their colour options are limited)
  • string/wool (I had planned to use wool, but soon realised it wouldn't show up very well against my white wall)

Step 1

Order your Sticky9 prints by clicking here. Free delivery worldwide! My prints arrived in South Korea about 10 days after I placed my order.

Step 2

Cover your workspace with kitchen towel or newspaper to protect your floor. You can see clearly that I missed this step in my last DIY by the evidence in the below photograph...oops!

Step 3

Fold over the paper towel before you place your pegs to allow for even coating. Spray your wooden pegs with the gold spray paint, ensuring you keep an even distance with your spray paint to make sure the paint dries evenly. 

Step 4

Get hanging! There really is no exact science behind this, and as you can see, it doesn't really matter if you ignore all the rules of shapes and symmetry and go wild. 

Step 5

Snap a pic of your hanging photo's & and share them with me on the CityGirlSearching Facebook page so I can see them!

Win sticky9 prints with citygirlsearching

And now for the fun part! I have teamed up with Sticky9 and have 2 sets of square prints to giveaway to two lucky winners! All you have to do to enter follow the steps in the widget below.

The two winners will be chosen on Friday 27th November and will be notified via my Facebook page (click here).

Good Luck!

Current Favourite South African Youtubers

South African Youtubers

I recently added the title 'Vlogger' (video-blogger) or rather 'Youtuber' to my belt (click here to watch my videos!). As I am South African, I wanted to take some time today and share with you some creative South Africans who have their own youtube channels. Youtube is dominated by American voices, and so I am very happy to share these ladies with you. They make me proud to be South African!

I am always on the lookout for new Youtubers to follow and support, so if you also have a Youtube channel please leave me a link to your channel in the comments below so I can say hello.


MY CURRENT FAVOURITE SOUTH AFRICAN YOUTUBERS

In no particular order, here they are. Simply click on the image below to be redirected to their blogs and youtube channels. 

Cape Town based beauty & lifestyle Blogger LeChelle Taylor. You can find her blog over here: Taylor Made


Pretoria based beauty blogger Luzanne. You can find her blog here: Pink Peonies


Cape Town based beauty and lifestyle blogger Chereen Styrdom. You can find her blog here: For the Beauty Of It.


Johannesburg based beauty blogger Chantelle Bester. You can find her blog here: Not Another Poppie


Pretoria based beauty blogger Chicara. You can find her blog here Lipgloss Kisses

Am I missing out on any other awesome South African vloggers and bloggers? Please let me know in the comments below if you have a youtube channel, or if you know someone who does that deserves a mention. I am always looking for more Bloggers & Youtubers to connect with!

Baekyangsa temple in Naejangsan National Park, South Korea

Baekyangsa Temple Naejangsan National Park South Korea

Naejangsan National Park is known throughout Korea as one of the best places to see the Autumn foliage. As with all National Parks, it's huge! Even after living in Korea for over 3 years I only just found out that there are in fact two separate temples which are on different sides of the park, each falling in a different province. Naejangsan Temple is in Jeollobokdo (click here for a full post on how to get there) and then Baekyangsa Temple (featured in this post) is actually in Jeollonamdo and closer to Gwangju. 

Both temples are beautiful and offer spectacular scenery, but Baekyangsa was my favourite. They are pretty far from each other and unless you have your own car, it would be very hard to get to both in one day. Naejangsan Temple is quite a far walk from the parking lot where the bus from Jeongeup drops you off, but there are lots of food stalls and beautiful leaves to keep you occupied as you make your way up to the temple. The temple at Baekyangsa was a much shorter walk from the parking lot, and had a lot more diverse scenery, and was my favourite place to photograph.

If driving, I have posted the address below. We started at the Naejangsan temple parking lots and then drove the 35km to Baekyangsa temple. The roads weren't very well marked and the sign posts were very erratic. It ended up taking over 1.5 hours to make the 35km journey. You might have better luck by bus going from Gwangju, however as I haven't made the journey by bus I can't offer too much info on it. When in doubt, call the English Helpline (1330 from any cellphone) here in Korea, those guys and girls work magic and will help direct you where you need to go with bus times and other useful info.

There was ample free parking near the entrance to the National Park (W3 000 per person). From there the walk to the temple was beautiful, with lots of views of the mountains and streams.

Address:

26 Yaksu-ri, Bukha-myeon, Jangseong-gun, Jeollanam-do

Just a note

Dogs are not permitted in the national Park (although we did see a few little fluffy heads poking our of handbags and backpacks). #ShadowtheJindo is too big to hide in a bag and so had to stay at home for this trip. National Parks don't allow dogs, but Provincial Parks like Seounusa and Gaemsa Temple near Gochang are pet friendly as long as your dog is lead. 

Innisfree Eco Safety Perfect Sunblock 50+ PA++ {Review}

Innisfree Eco Safety Perfect Sunblock

Even though it's technically winter here in South Korea, whether you wear sunscreen (or suncream for my South African readers and sunblock for my American readers) should not be dependant on the season or weather. It should be worn every day regardless of how much sun you actually see in the sky.

For my own skin, I suffer from pigmentation (click here to read about my new wonder product from Innisfree) and one of the main causes of skin pigmentation is sun exposure. Having grown up in a country that has plenty of year round sunshine (South Africa) I was exposed to A LOT of sun growing up, and even though my parents were very cautions and made ma layer up with cream and hats when outside, I still spent a lot of my teenage years baking myself outside to achieve the perfect tan. Now that I am older and wiser (and the first few wrinkle...ahem, I mean 'laugh' lines are appearing) I have been making sure to wear a face suncream every day, without fail, and have incorporated it into my beauty regime. It's something that is just not worth missing out on. 

The Skin Cancer Foundation has the following to say about sunscreen:

Sunscreens are products combining several ingredients that help prevent the sun's ultraviolet (UV) radiation from reaching the skin. Two types of ultraviolet radiation, UVA and UVB, damage the skin, age it prematurely, and increase your risk of skin cancer.

UVB is the chief culprit behind sunburn, while UVA rays, which penetrate the skin more deeply, are associated with wrinkling, leathering, sagging, and other light-induced effects of aging (photo-aging). They also exacerbate the carcinogenic effects of UVB rays, and increasingly are being seen as a cause of skin cancer on their own. Sunscreens vary in their ability to protect against UVA and UVB.

What about SPF?

Most sunscreens with an SPF of 15 or higher do an excellent job of protecting against UVB. SPF — or Sun Protection Factor — is a measure of a sunscreen's ability to prevent UVB from damaging the skin. Here's how it works: If it takes 20 minutes for your unprotected skin to start turning red, using an SPF 15 sunscreen theoretically prevents reddening 15 times longer — about five hours.

Another way to look at it is in terms of percentages: SPF 15 filters out approximately 93 percent of all incoming UVB rays. SPF 30 keeps out 97 percent and SPF 50 keeps out 98 percent. They may seem like negligible differences, but if you are light-sensitive, or have a history of skin cancer, those extra percentages will make a difference. And as you can see, no sunscreen can block all UV rays.

Thankfully, these days, suncreams are no longer these thick lotions that turn you a ghostly shade of pale, and there are so many skin care lines that are producing suncreams with various properties. I have always been a BIG fan of the FaceShop's range of suncreams (like their Oil Cut range which is great for oilier skin and provides a matte finish) and ha been alternating between that and their Natural Sun Eco Power Long Lasting Suncream. That was until I tried the Eco Safety Perfect Sunblock from Innisfree. 

Innisfree Eco Safety Perfect Sunblock Review

As you can see this particular suncream has an SPF factor of 50+ and is PA+++. 

So what does PA+++ mean? PA is a Japanese/Korean rating system that shows how much protection you are getting from UVA rays. You will see either PA+, PA++, or PA+++ on the label, with more + signs meaning a higher level of UVA protection.  

The Eco Safety Perfect Sunblock from Innisfree combines all of my needs in a suncream. It's mattifying, non-greasy and acts as a primer for my skin, allowing my makeup to glide on top effortlessly. It sinks into my skin instantly so no waiting around for that typical suncream shine to go away. 

The Innisfree Eco Safety Perfect Sunblock SPF 50+ PA+++ is made with organic sunflower oil and organic green tea grown on Jeju island in Korea. It’s also made with their famous “5 free” formula. According to Innisfree, their products are free of parabens, artificial dyes, ethanol, animal ingredients, and mineral oil. 

I have normal to combination skin (although it is drier in Winter times and oilier in the summer) and right now this suncream is perfect for my skin type. If you have oilier skin, Innisfree does offer a formula called Eco Safety No Sebum Sunblock which absorbs sebum and provides more of a matte finish. I find currently, this formula offers the perfect makeup base for my skin and I love how soft and smooth my skin is after using it. 

The cream is a thick, white formulation which I didn't find left a white cast on my skin at all. I have an olive skin tone (which is much darker than most Koreans) and yet I didn't find that my skin had a white cast at all after application. You can see my hand in the before and after photographs below. 

I will most definitely be repurchasing this suncream when mine runs out and have been most impressed with the formula as well as what a great makeup base it is.

And incase you're still wondering whether you should be wearing suncream, maybe this video will convince you...


Are there any sun care products that you current love? I'd love to hear from you in the comments below!

Caleb Bear Honsbein - Newborn Photography in South Korea

Newborn Photographer in South Korea

World, meet little Caleb Bear Honsbein. Caleb is the happy baby boy of one of my special friends here in South Korea. Caleb's mom went to the same University as both Farmboy and myself and we've spent many happy weekends together (including for her Winnie the Pooh baby shower). It has been so wonderful being able to celebrate the arrival of her little boy.

Here are some photographs from Caleb's newborn shoot which we did at their house in Yeosu. Granny was visiting and I was able to also capture a few special moments between her and Caleb too.

If you're looking for a photographer to capture some special moments, please don't hesitate to get in touch with me. You can see more of my work by hovering over the Photography menu bar above.

Enjoy!

x

My FitBit Flex - Why I both love and hate this excercise tracker

My FitBit Flex - Why I both love and hate this excercise tracker

For anyone who may not know what a FitBit is, you've come to the right place. A FitBit is an exercise tracker, designed to put the fun back into working out, making it easier to monitor your progress. It's also one of the most unobtrusive trackers on the market, as you don't wear a chest strap like a lot of other trackers. FitBit has a range of different trackers, but I will be talking about the FitBit Flex in this post. 

The FitBit flex is not designed to be a hardcore heart rate monitor/GPS tracker but rather is meant f to track their your basic movements. It monitors your steps, calories burnt as well as being a very cool sleep tracker when you put it into sleep mode. I always forget to do this, but on the few nights that I did remember, I was able to see my sleeping pattern and how many times I moved/was awake during the night. This is really great for those people who go to bed early but still wake up feeling exhausted. You may be unconsciously moving around during the night, therefore not hitting REM meaning your body is not getting the steady soundless rest it needs. Hmmm....Interesting.

I mainly use my FitBit as a step counter, to make sure I reach my step goals. I find that when I am in the routine of checking the app and being aware of my steps, I am more motivated to exercise and more inspired to get out the house and get my body moving. Because, let's face it, we're all a little lazy deep down inside, myself included!

Read More

Bridal Inspired Fairytale Styled Photo Shoot in Buan, South Korea

Bridal Inspired Fairytale Styled Photoshoot in South Korea by Roxy Hutton of CGScreative-05.png

A few weeks ago a group of really awesome creatives arrived at my house in Buan, South Korea to work on a bridal inspired photo shoot to showcase a beautiful set of wedding stationery made by Bohemian Mint.  

This is the second styled photo shoot I have done with Marketa (the talented lady behind Bohemian Mint). Our first shoot was a wild flower, bohemian bridal inspired shoot (click here to see the photographs) with a very light and feminine feel. That shoot was so much fun and has even been featured on a number of wedding websites. After it's success we have felt inspired to continue creating more. These styled shoots are also a lot of fun and working with likeminded creatives to create something beautiful is what I love doing.

Marketa and I 'met' over Instagram, and with the help of a group of local creatives here in South Korea, we were able to bring to life our next idea of utilising the changing seasons into another bridal inspired theme. We created a Pinterest board and Marketa used all of our ideas to create the beautiful wedding stationery set pictured below. Before the stationery arrived I worked on finding a model, stylist and makeup artist who would all share our same vision.

Once the stationery had arrived from the USA, the idea behind the shoot changed slightly and Sam (our stylist) and I started leaning towards something a little more fairytale like. What we ended up with was a loose Red Riding Hood fairytale theme with a twist. After lots of brainstorming with Farmboy, he gave us the idea of incorporating a few apocalyptic shots to make use of the stunning Autumn harvest setting surrounding my town here in Korea . After a late night of creating flower crowns and persimmon baskets (persimmons are in season right now here in Korea) Sam and I created a story board for a shoot. I'd love to hear from you in the comments below if you are able to follow the story we created through my photographs!

The shoot would not have been possible without the following incredibly talented ladies. Thank you to all of you for all your help, for all your talents and for being so easy to work with:

And now the end result of our Fairytale Bridal Inspired Styled Photoshoot.

Enjoy!

x

Thank you again to each and every one of these ladies:

Autumn in Korea - Naejangsan National Park in Jeongeup

Naejangsan where to see autumn fall leaves in korea

Farmboy and I had a very exciting time last weekend as my mom arrived from South Africa to spend the next 2 weeks with us. She has been wanting to experience a Korean Autumn since we arrived here back in 2013 and so we took her to Naejangsan National Park just outside of Jeongeup so she could experience the vibrant colours for herself.

Naejangsan is one of the most popular places in all of Korea to see the Autumn (or Fall) foliage and it's easy to see why. The hillsides and pathways are covered in a multitude of red, orange and yellow leaves. We headed there on a Friday afternoon in the hopes of missing some of the crowds, but only got lucky because of the freezing cold weather and icy wind. By the time we had arrived most of the people were on their way home, racing back to their cars and tour buses to escape the wind. This was very convenient for us as we had the mountainside just about to ourselves, and were able to quickly take these photographs before it got dark.

Naejangsan is easy enough to get to by public transport. You can catch a local city bus from the Jeongeup bus station. The bus leaves from right outside the CU Convenience store (not from the usual bus platform inside the bus terminal) which is right next door to the bus terminal. If you get lost just pop into the CU and ask for the bus to Naejangsan.

The bus ride is about 40 minutes long and you'll get dropped at the parking lots at the base of the park. From there it's about a 25 minute walk to the entrance to the National Park. There is a small (W3 000) entrance fee...make sure to bring cash as they don't accept cards. From the National Park entrance you slowly make your up through the leaves and trees to Naejagsan Temple, it's about a 1.5km walk.  Along the way there are a few stalls to buy souvenirs and other trinkets, as well as a cable car  closer to the temple which you can take all the way up the mountain side. 

Once you get to the temple and make your way back down to the visitors centre, you can catch a shuttle bus back down to the entrance (W1000 per person) or you can walk the 1.5km back down. 

Here are a few photographs of some of the interesting people we saw along the way. The walk up (and down if you don't take the shuttle) can take a looonnnggg time if you enjoy taking photographs, so make sure to bring along some water and snacks to keep you going. 

Address:

Naejang-dong, Jeongeup-si, Jeollabuk-do
전북 정읍시 내장동 , 전남 장성군 북하면 백양로

Gwangju Dog Park 'Pet Theme Park' {광주애견테마파크}

Gwangju Dog Park

Socialsing a dog in Korea can be really hard. Unless you have friends nearby who own dogs, the chances of your dog being able to play with other dogs is slim. There are dog cafes in the bigger cities that allow you to bring your dogs to them (like this one in Gunsan) but cafes and parks that have outdoor space for big dogs to romp and play are few and far between. I was so happy to hear about the 'Pet Theme Park' dog cafe in Gwangju which features a swimming pool, air conditioned indoor area and a really big fenced off outside area. 

The Dog cafe is located about 20 km west of the centre of Gwangju, so isn't in the city itself so it might be harder to get to without your own car. But if you have a friend with a car or your dog is small enough to take in a carrier on a bus & taxi, the trip is definitely worth it!

Gwangju Dog Park

There is even a big swimming pool for the dogs when it's really hot. When I was there, the pool area was closed off for what looked like a private lesson for a very sweet looking spaniel. I think the pool is open to all when it's really hot.

Here's a quick video I made of Shadow having a grand old time with his new Corgi friend (as well as two Huskies). It also gives you a bit of an idea of what the inside of the cafe looks like. There are snacks and drinks available to purchase, as well as coffee and tea to order.

The whole cafe is set up in such a nice way, with lots of scented candles and soaps which really make it smell wonderful, rather than 'doggy' as most dog cafes can't help bit smell like disinfectant and wet dog. The cafe also offers a 'dog hotel' service and the accept dogs of all sizes to stay. I think the prices for overnight stays are around W30 000. For the use of the cafe it was W7 000 per dog (at least for my dog it may be less for smaller dogs) and W7 000 per person. It's a little pricier than other dog cafes, but it was worth it for the huge amount of space they have for your dog to run around safely. 

Here is their (Korean) website: Gwangju Dog

Here is their Facebook Page: Pet Theme Park

Address: 300-1, Daesan-dong, Gwangju

Tel: 062-941-5880

Christmas Gift Ideas: Goodies from my Stationery Store

There are only 8 weekend left until Christmas, an I don't know about you but I am definitely not ready. I am especially not ready to even start thinking about gifts but luckily, I own a stationery store! Guess what everyone is getting for Christmas?! Now I just need to find some manly bits of stationery for Farmboy (maybe something that ties in with his love for fishing?? Hmmm....).

To make your life easier I wanted to share some of the lovely pieces I have for sale. I offer worldwide shipping (there are some issues with shipping to SA but drop me a message if you'd like to order anything and I'll let you know about the bet way to get your your pretty goodies).

I accept payment by PayPal (you don't have to have a PayPal account) which means you can pay by credit card from anywhere in the world...yippe! Each order that leaves my store is beautifully packaged, making even the opening of the gift a lovely experience. Shipping generally takes 2 - 3 weeks for international orders so make sure to get your orders in soon.

Happy Shopping everyone!

The Hunger Games English Camp - Lesson Ideas for Teaching English in Korea

The HUnger Games English Camp ideas for teaching english in korea

If you're an English Teacher here in Korea you will have (hopefully) heard or know about the English camps you are required to teach your students during the winter & summer holidays. According to your school schedule and hoe many schools you teach at you may have 1 or 2 camps (or even more) camps. We are all supposed to teach 20 hours of camp during the vacation (you may have more/less) but 20 hour is the standard. I usually break this up into 1 week of camp with 4 hours a day. My classes have always been in the morning. 

Hunger Games English Camp Plan

In my first year at my current middle school I developed a Hunger Games English camp (thanks to this  wonderful thread and the original creator 'Marbar' on Waygook!). I have successfully done this camp 3 times now with different students. They all LOVE it! I teach at an all girls school, but the lessons would suit mixed students too. I have taught this to First & Second Grade Middle School students, and then have just slightly adapted the lessons for the higher/lower level grades.

The camp is based on the first book, with lessons and fun activities surrounding a poster they will complete by the end if the camp, leading up to the final day where the students present their poster and watch the full screening of the first Hunger Games movie.

I want to share these lessons with you in the hopes that they might help you in your camp planning. I will post a Google download link to the camp below where you will be able to download the plan, lessons I created (and be able to edit them to suit your school) as well as the workbook I created for the students to fill in as we went along (I basically just inserted the powerpoint slides and made blanks for them to write down notes etc). Here is a link to download the plan, the printables, the ice breaker for the first day, the actual power point slides and the workbook:

I don't break my schedule up into hours/lessons (although this is how the plan works) but I rather teach until I can see the students need a break and then stop to give them some time to relax. I have found on some days we only stop for a short bathroom break as the students get really into the lessons and have a lot of fun. You will have to judge the timing based on how your students respond.

I always start off my camp with an ice breaker activity, and then divide my students up into their teams. I did this following the reaping ceremony in the Hunger Games whereby my students reach into a hat and pull out their team. They stay in that team for the entire camp and the activities are based upon that team. I also use their team names to keep score of points for prizes/snacks throughout the camp. (pictured aboveO. 

I wanted my students to produce a poster by the end of the camp, and so on the first day I had my students divide their poster page into 5 sections (4 sections and a centre circle for their team name/logo). I have the section 'Homework' on the camp plan above (that is more for admin purposes as some schools will want to see you at least plan to give the students homework) but I have never given them actual homework to do. There has always been time in the lessons to finish all the work.

Here are the finished posters:

One of the activities my students loved the most was designing the costumes for the Opening Cemerony. I went to my nearest Daiso and bought a whole bunch of random supplies (bubble wrap, tinsel, gloves, ribbon, string, cleaning cloths and sponges etc) an then gave the students free reign to do what they liked. This is what they came up with:

I hope you found this camp idea useful. If you use this idea or have any other great ideas for English camp themes I'd love to hear from you in the comments below.

Happy camp planning!