The Red Shed - The letter 'i' with a focus on insects & ink

These posts document my teaching adventures with the Reggio-inspired ‘school’ I started up in my farm shed in January 2023. I’ll share more about how all this came about soon, but in the mean time, enjoy these moments & learnings.

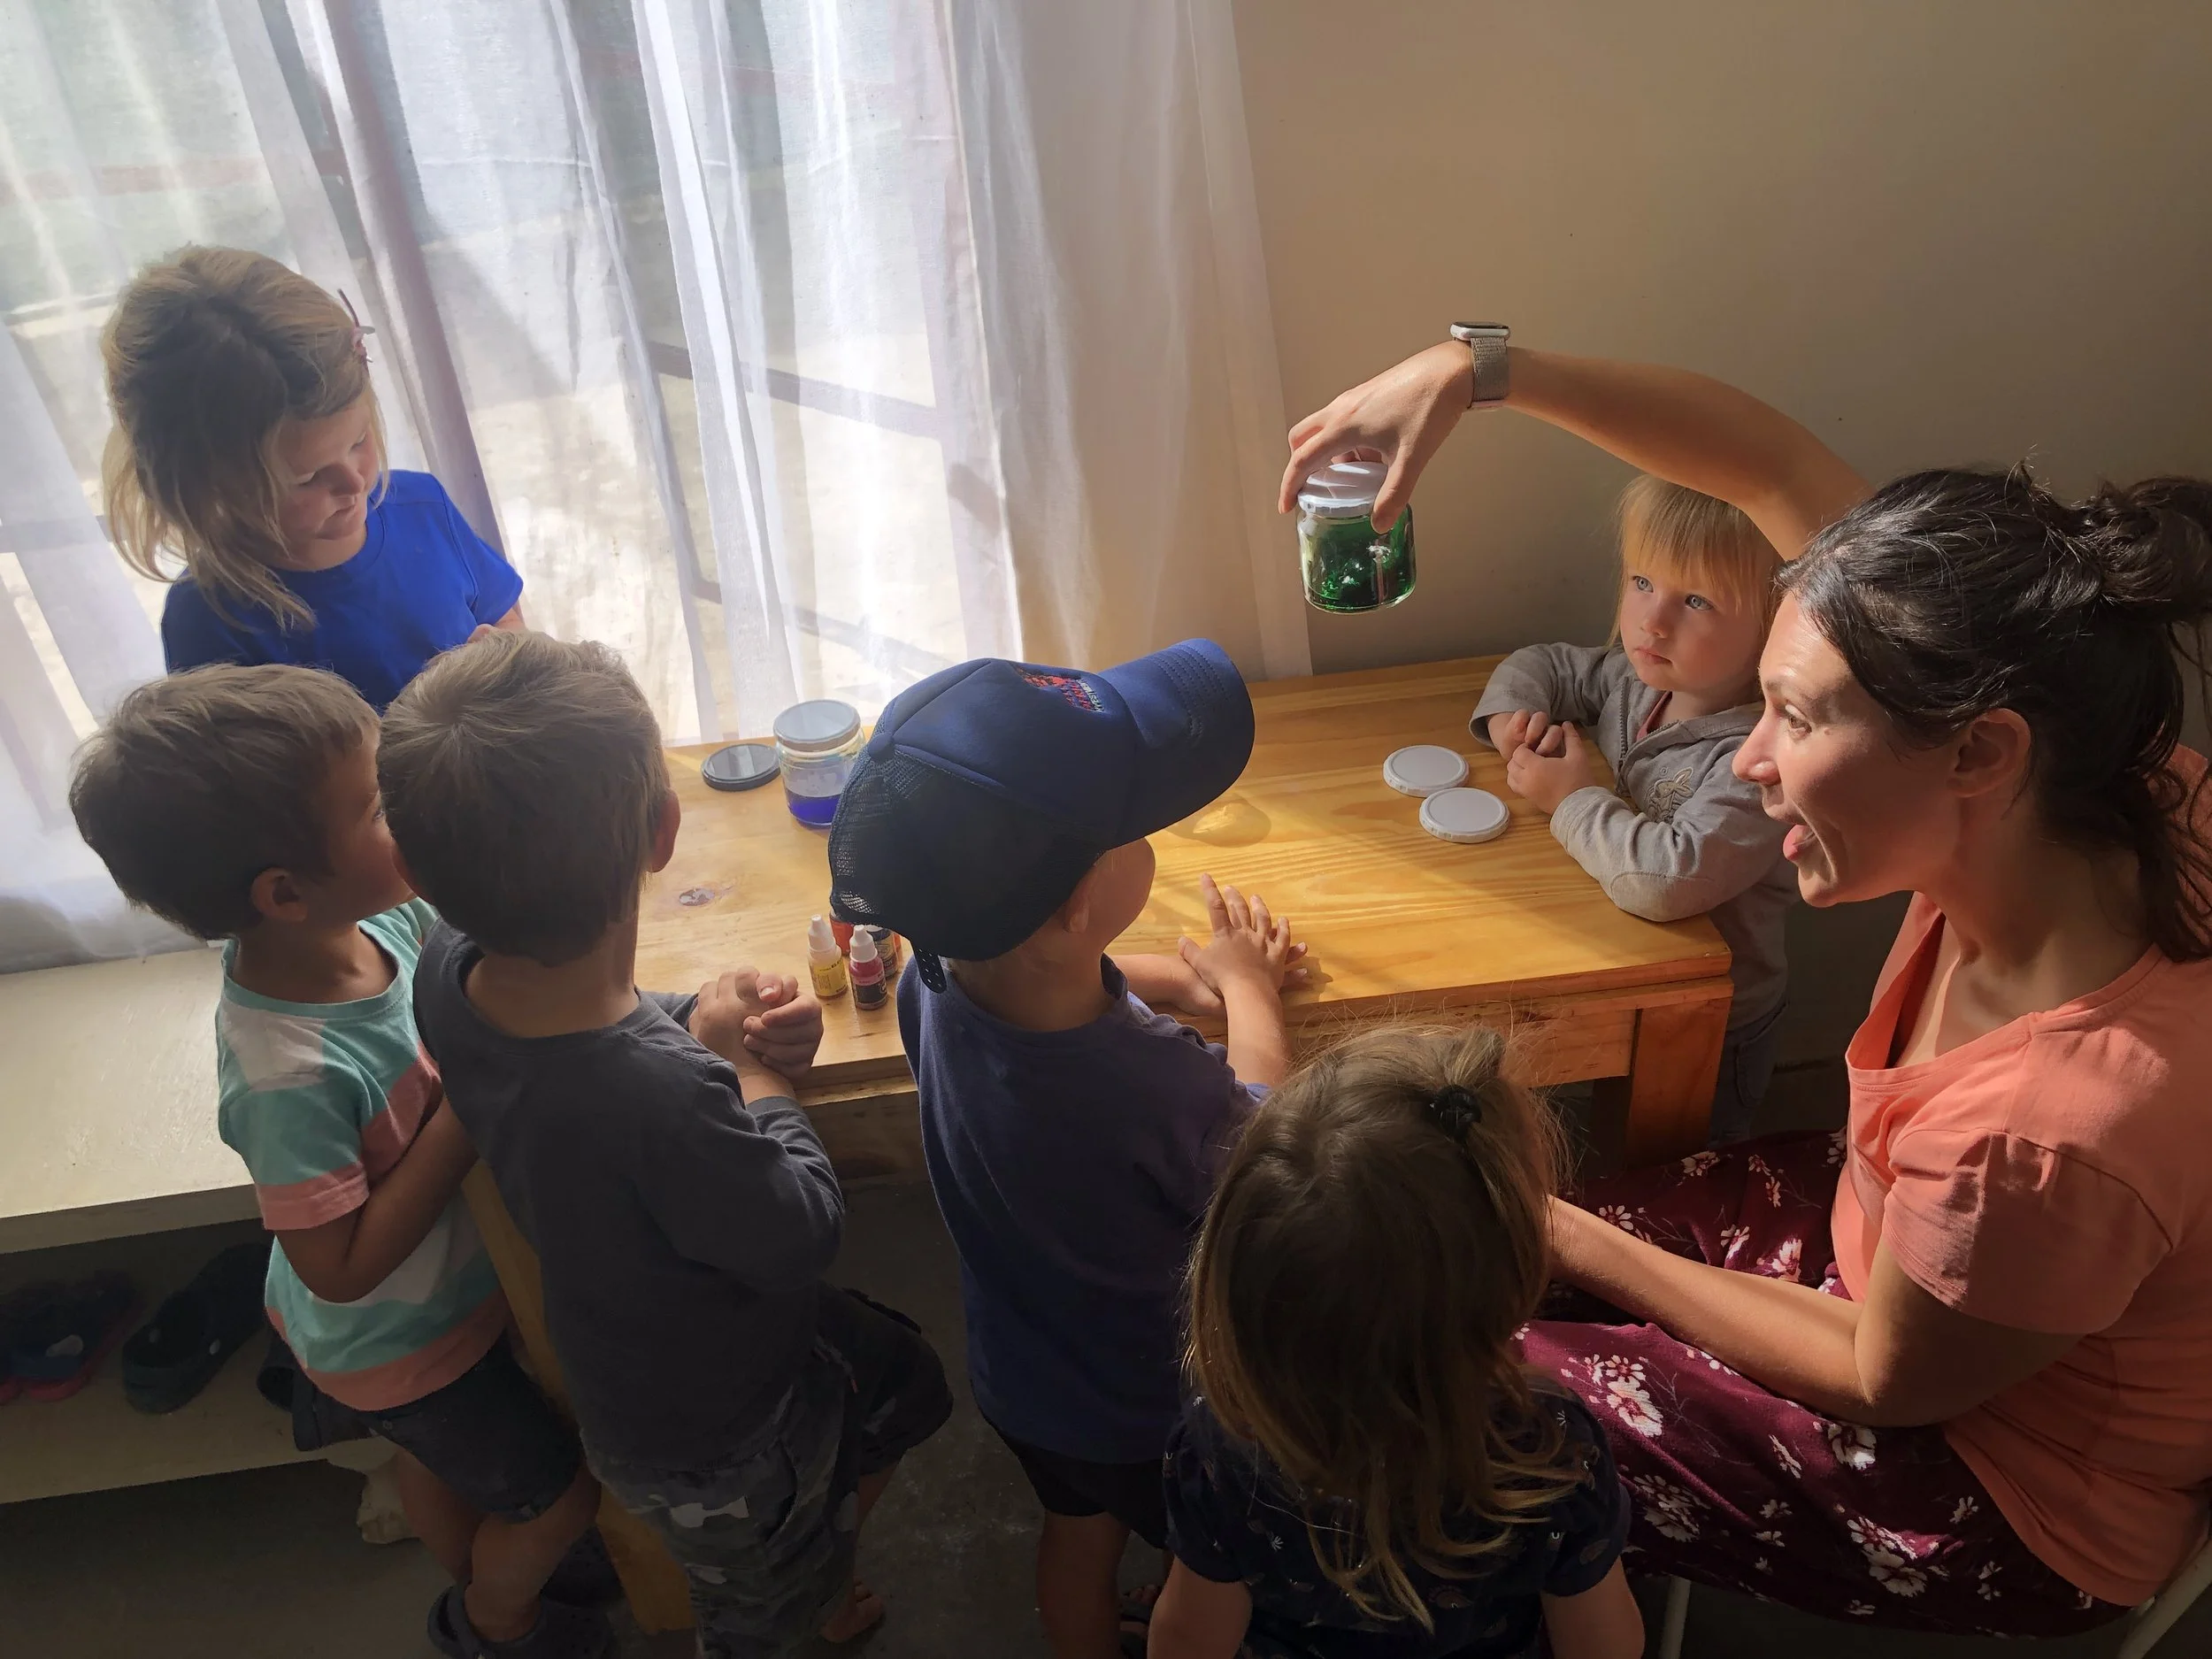
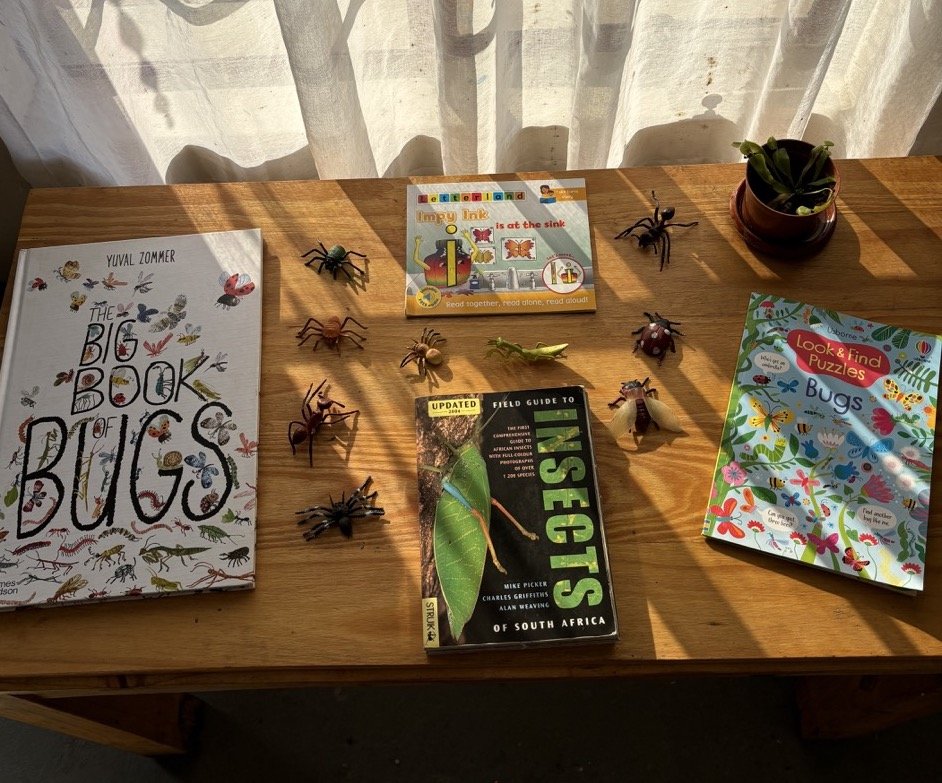
We spent the last week learning all about Impy Ink aka the letter ‘Ii’ (I love Letter Land!) which led us to learning about insects as well.

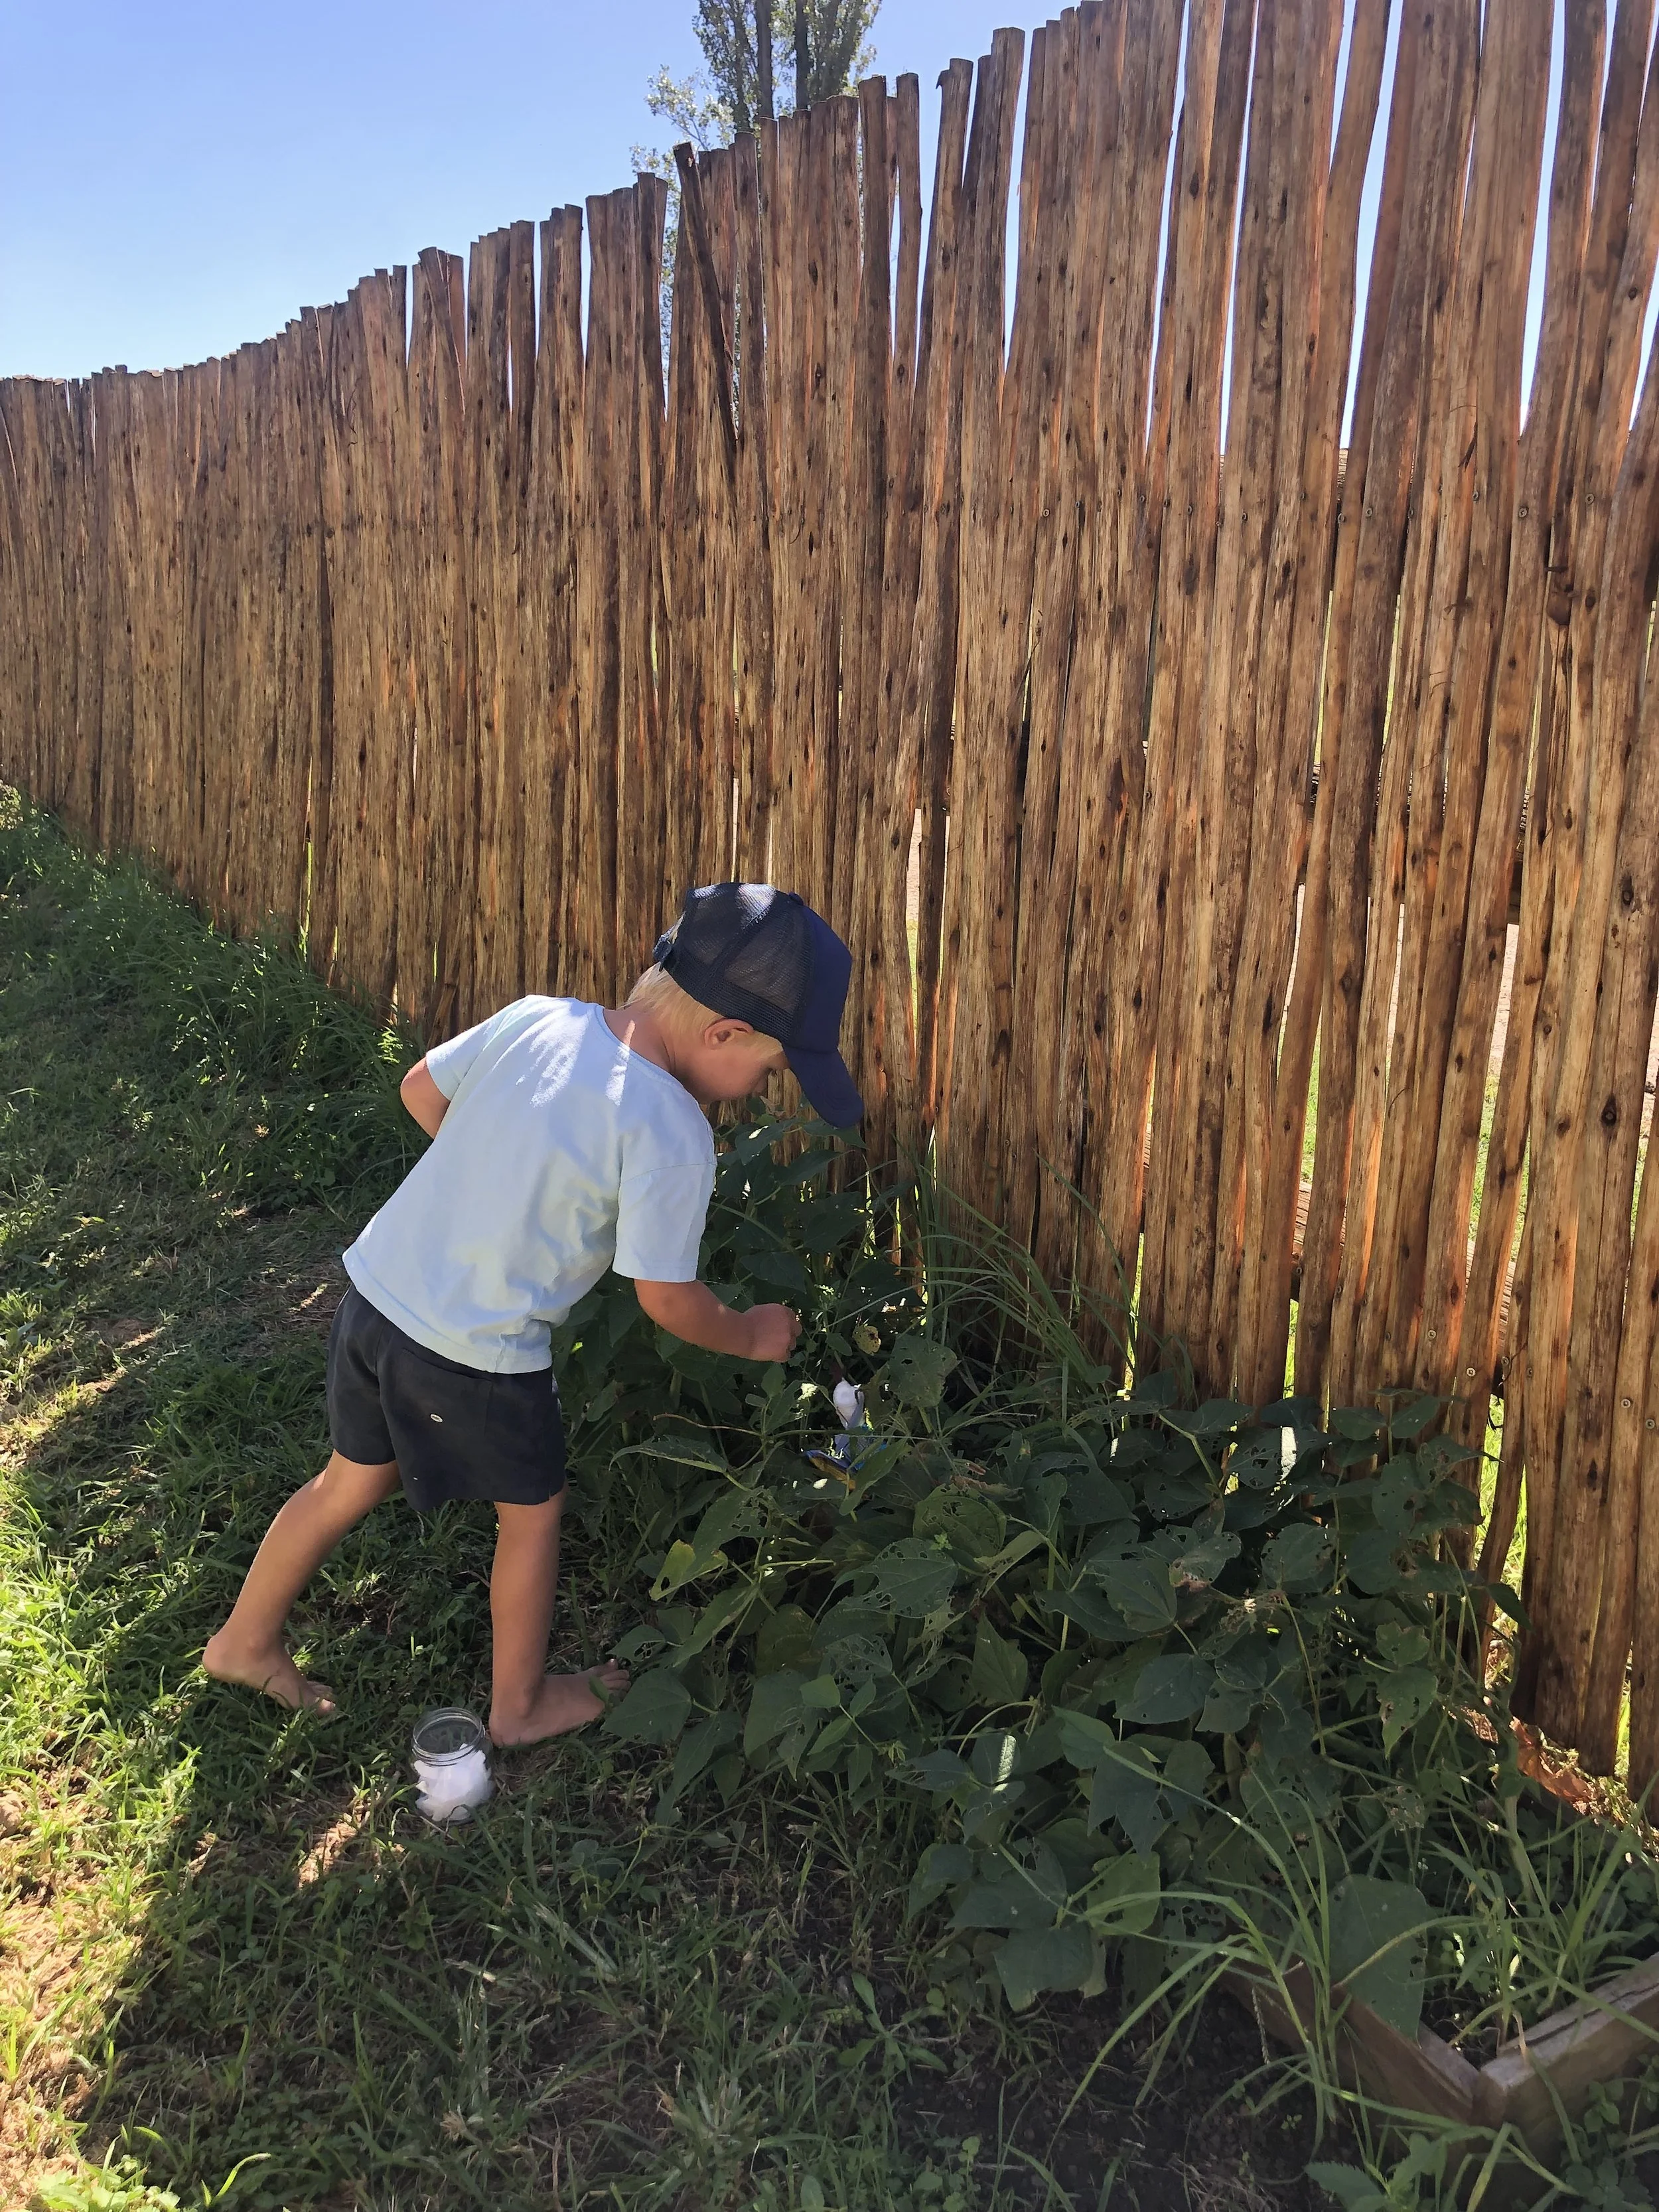
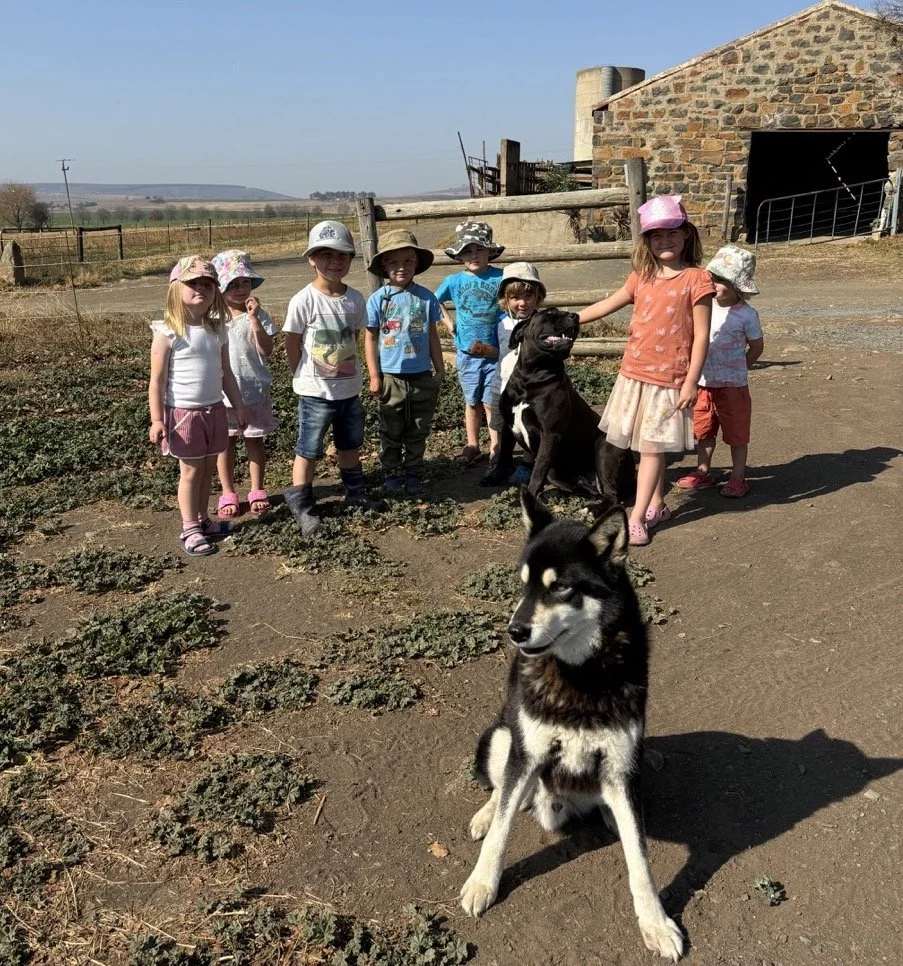
We took a lovely long walk down to the dam (accompanied by my two hounds, Zara the Boerboell and our Korean rescue pup, Shadow the Jindo). I had told the kids to collect as many feathers as they could find (I had the plan to use them as quill pens) which led to lots of discussion about all the different birds that the feathers could have come from.

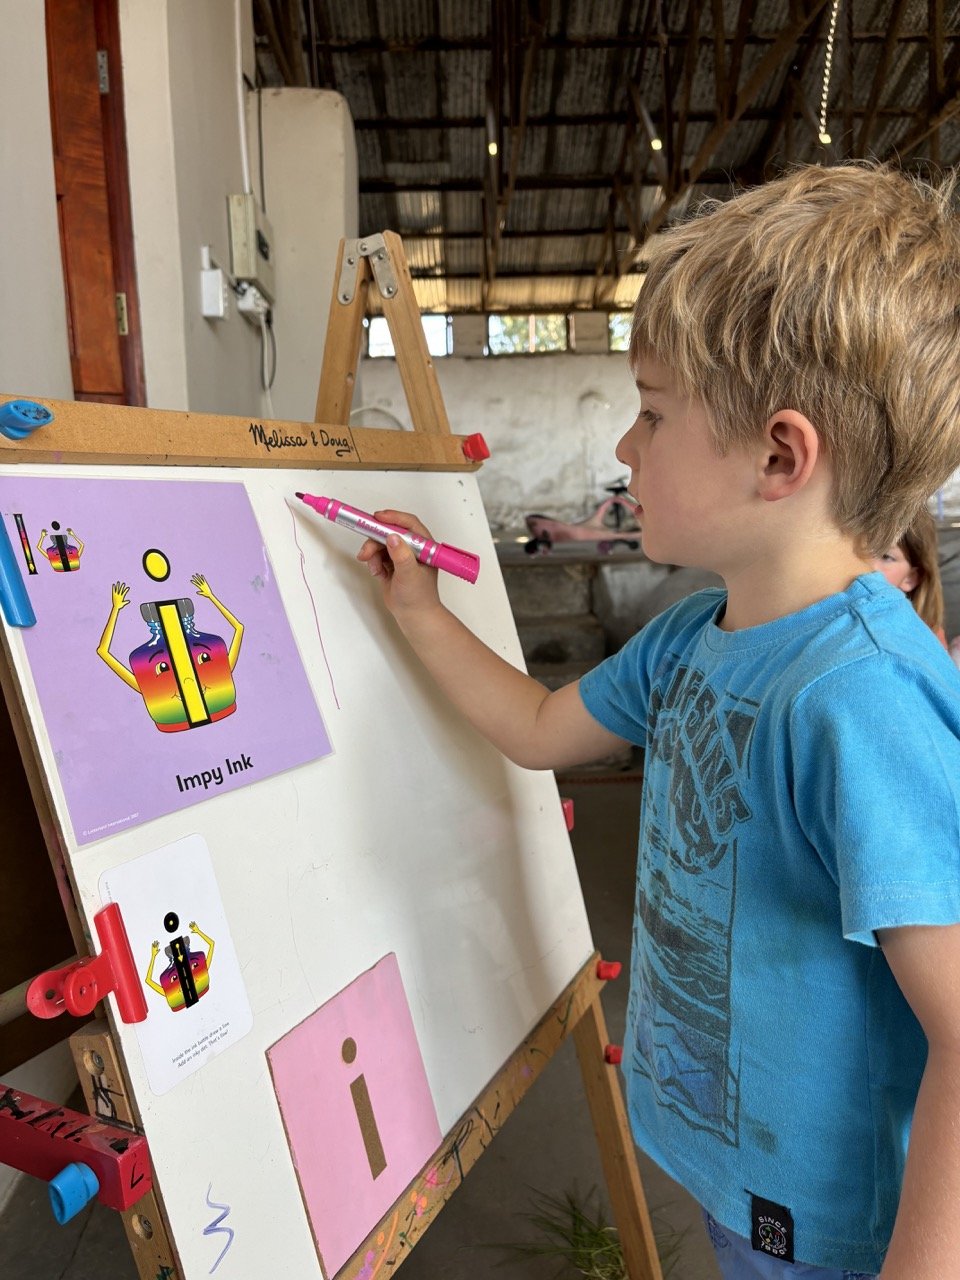
For ‘writing practice’ (I don’t believe in anything too formal in the early years) I use a big white board with lots of different sensory letters for the children to touch and trace. Then they get to have a go at writing the letter themselves with a white board marker. I always start this exercise at snack time, by reading the corresponding Letterland story that goes along with each letter, while everyone eats their snack. And then they come up one by one so I can give them some undivided attention while they practice their letter formation.

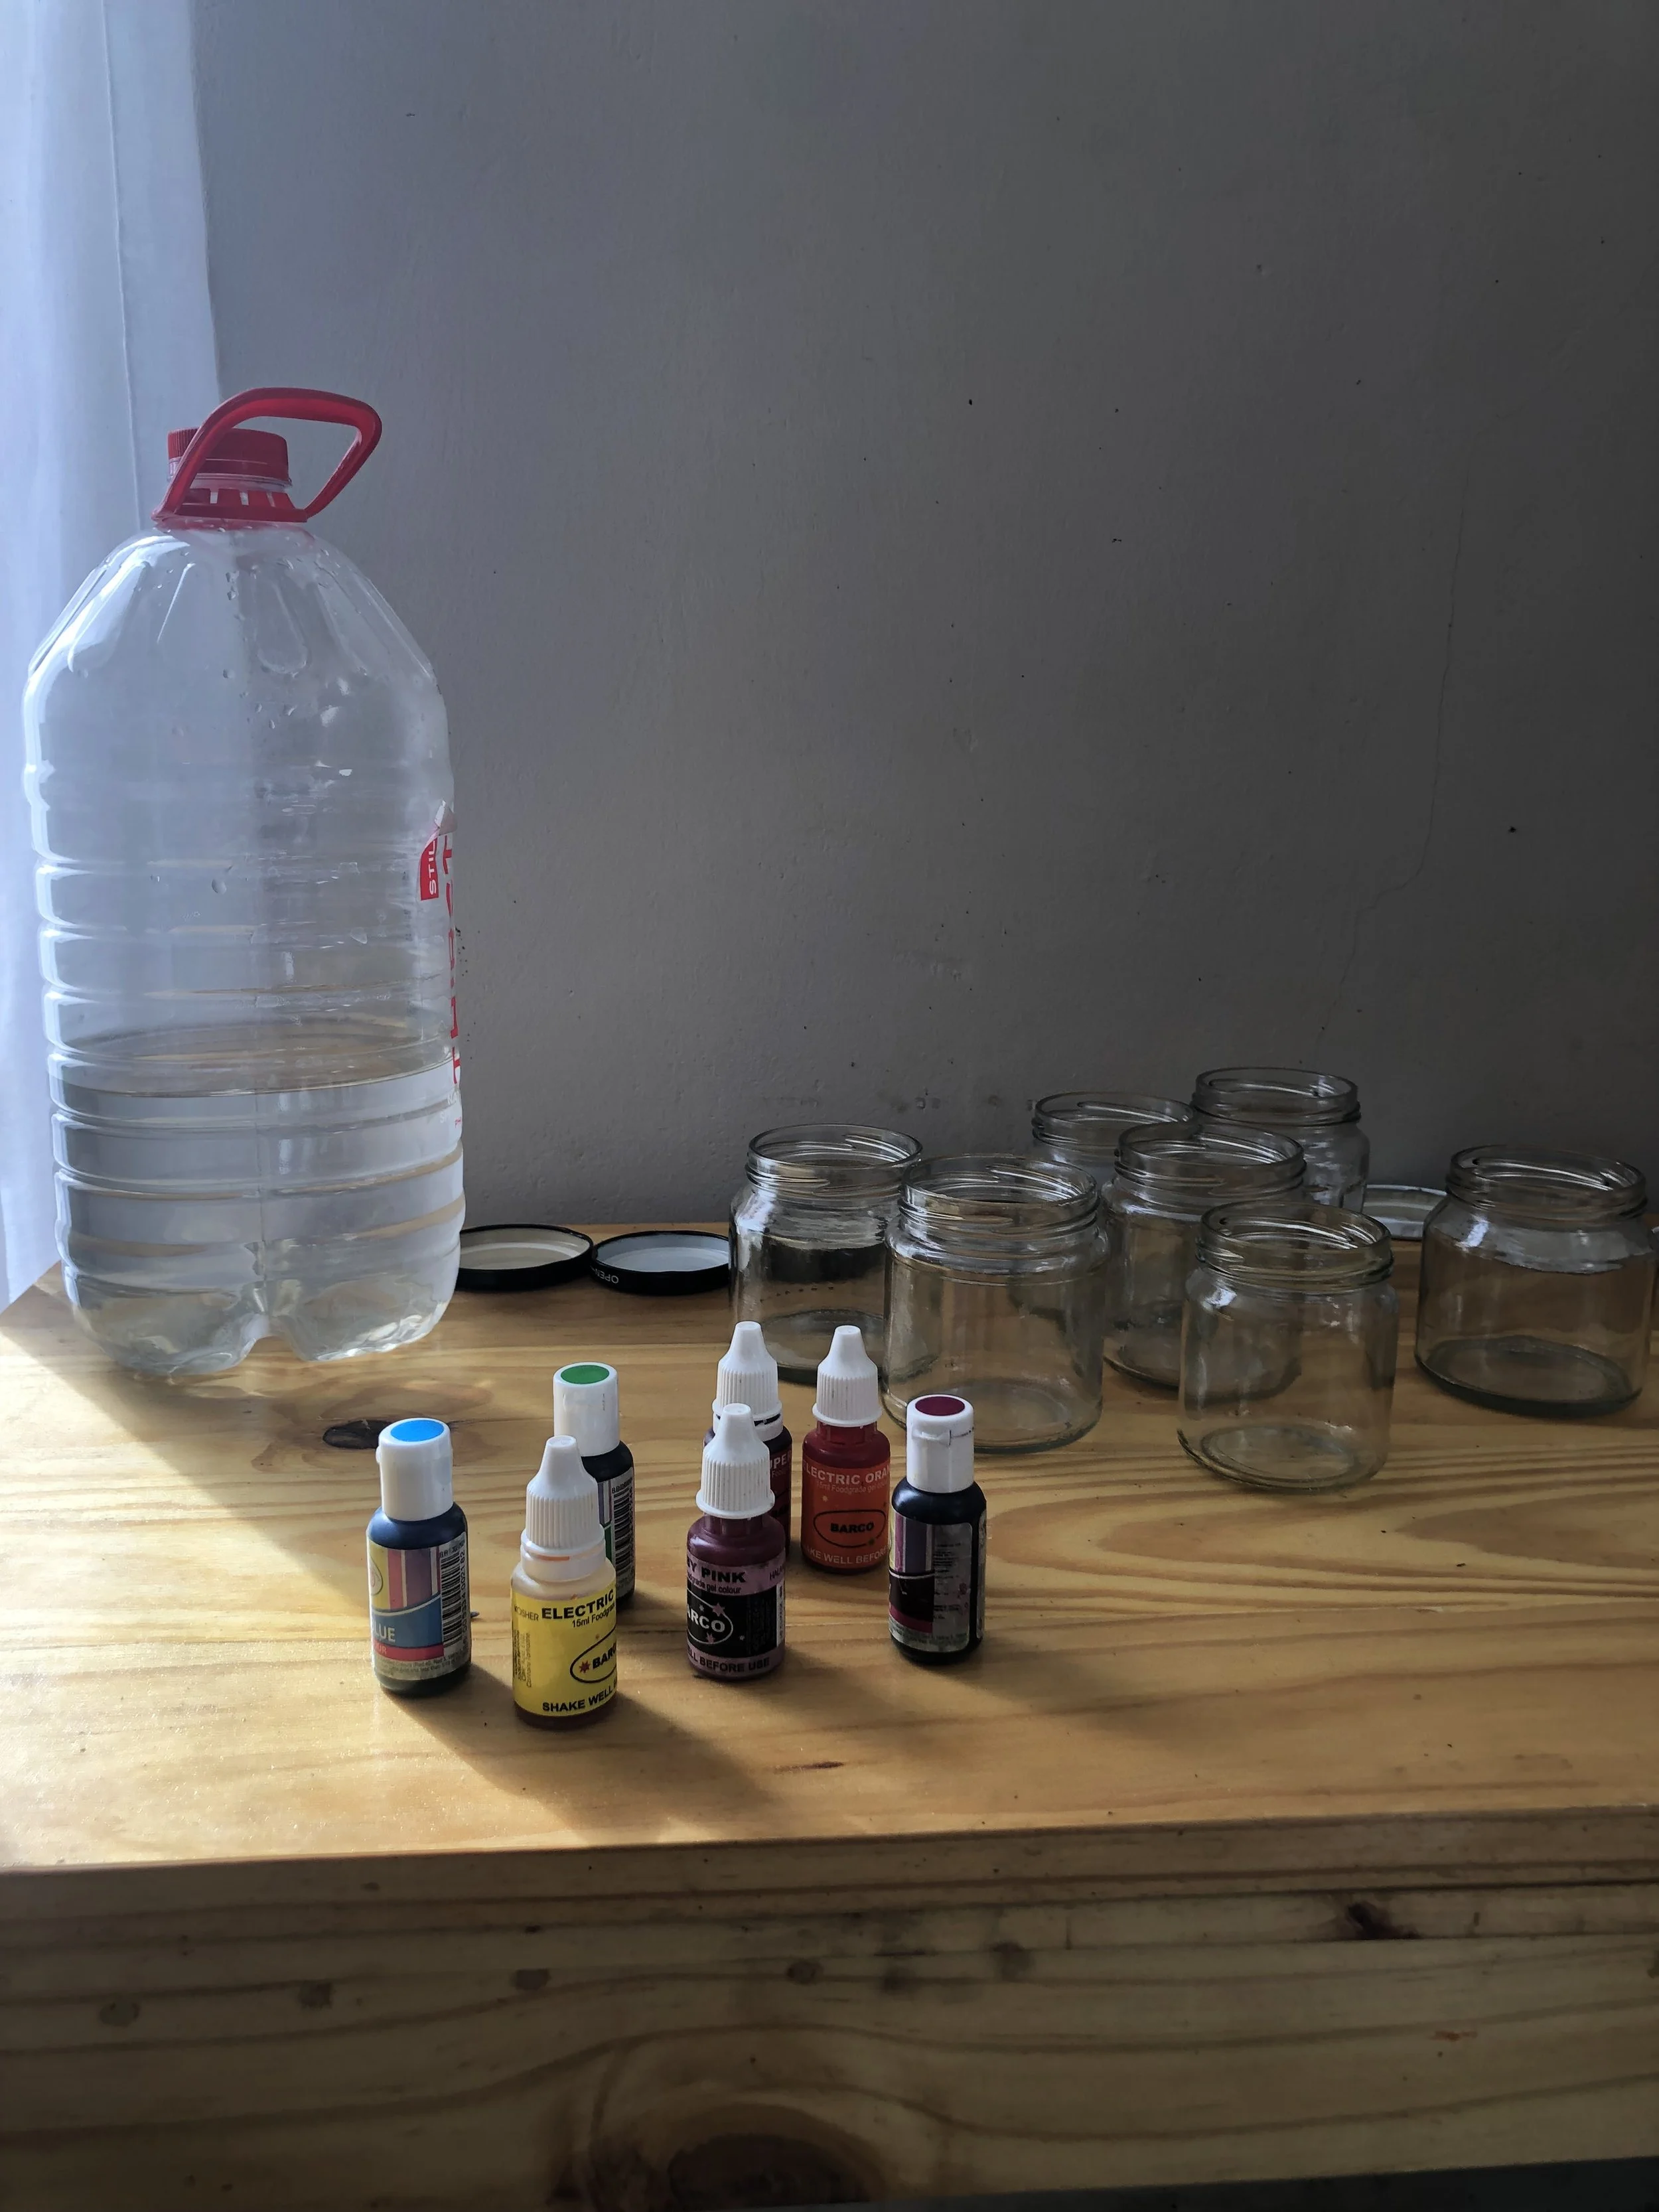
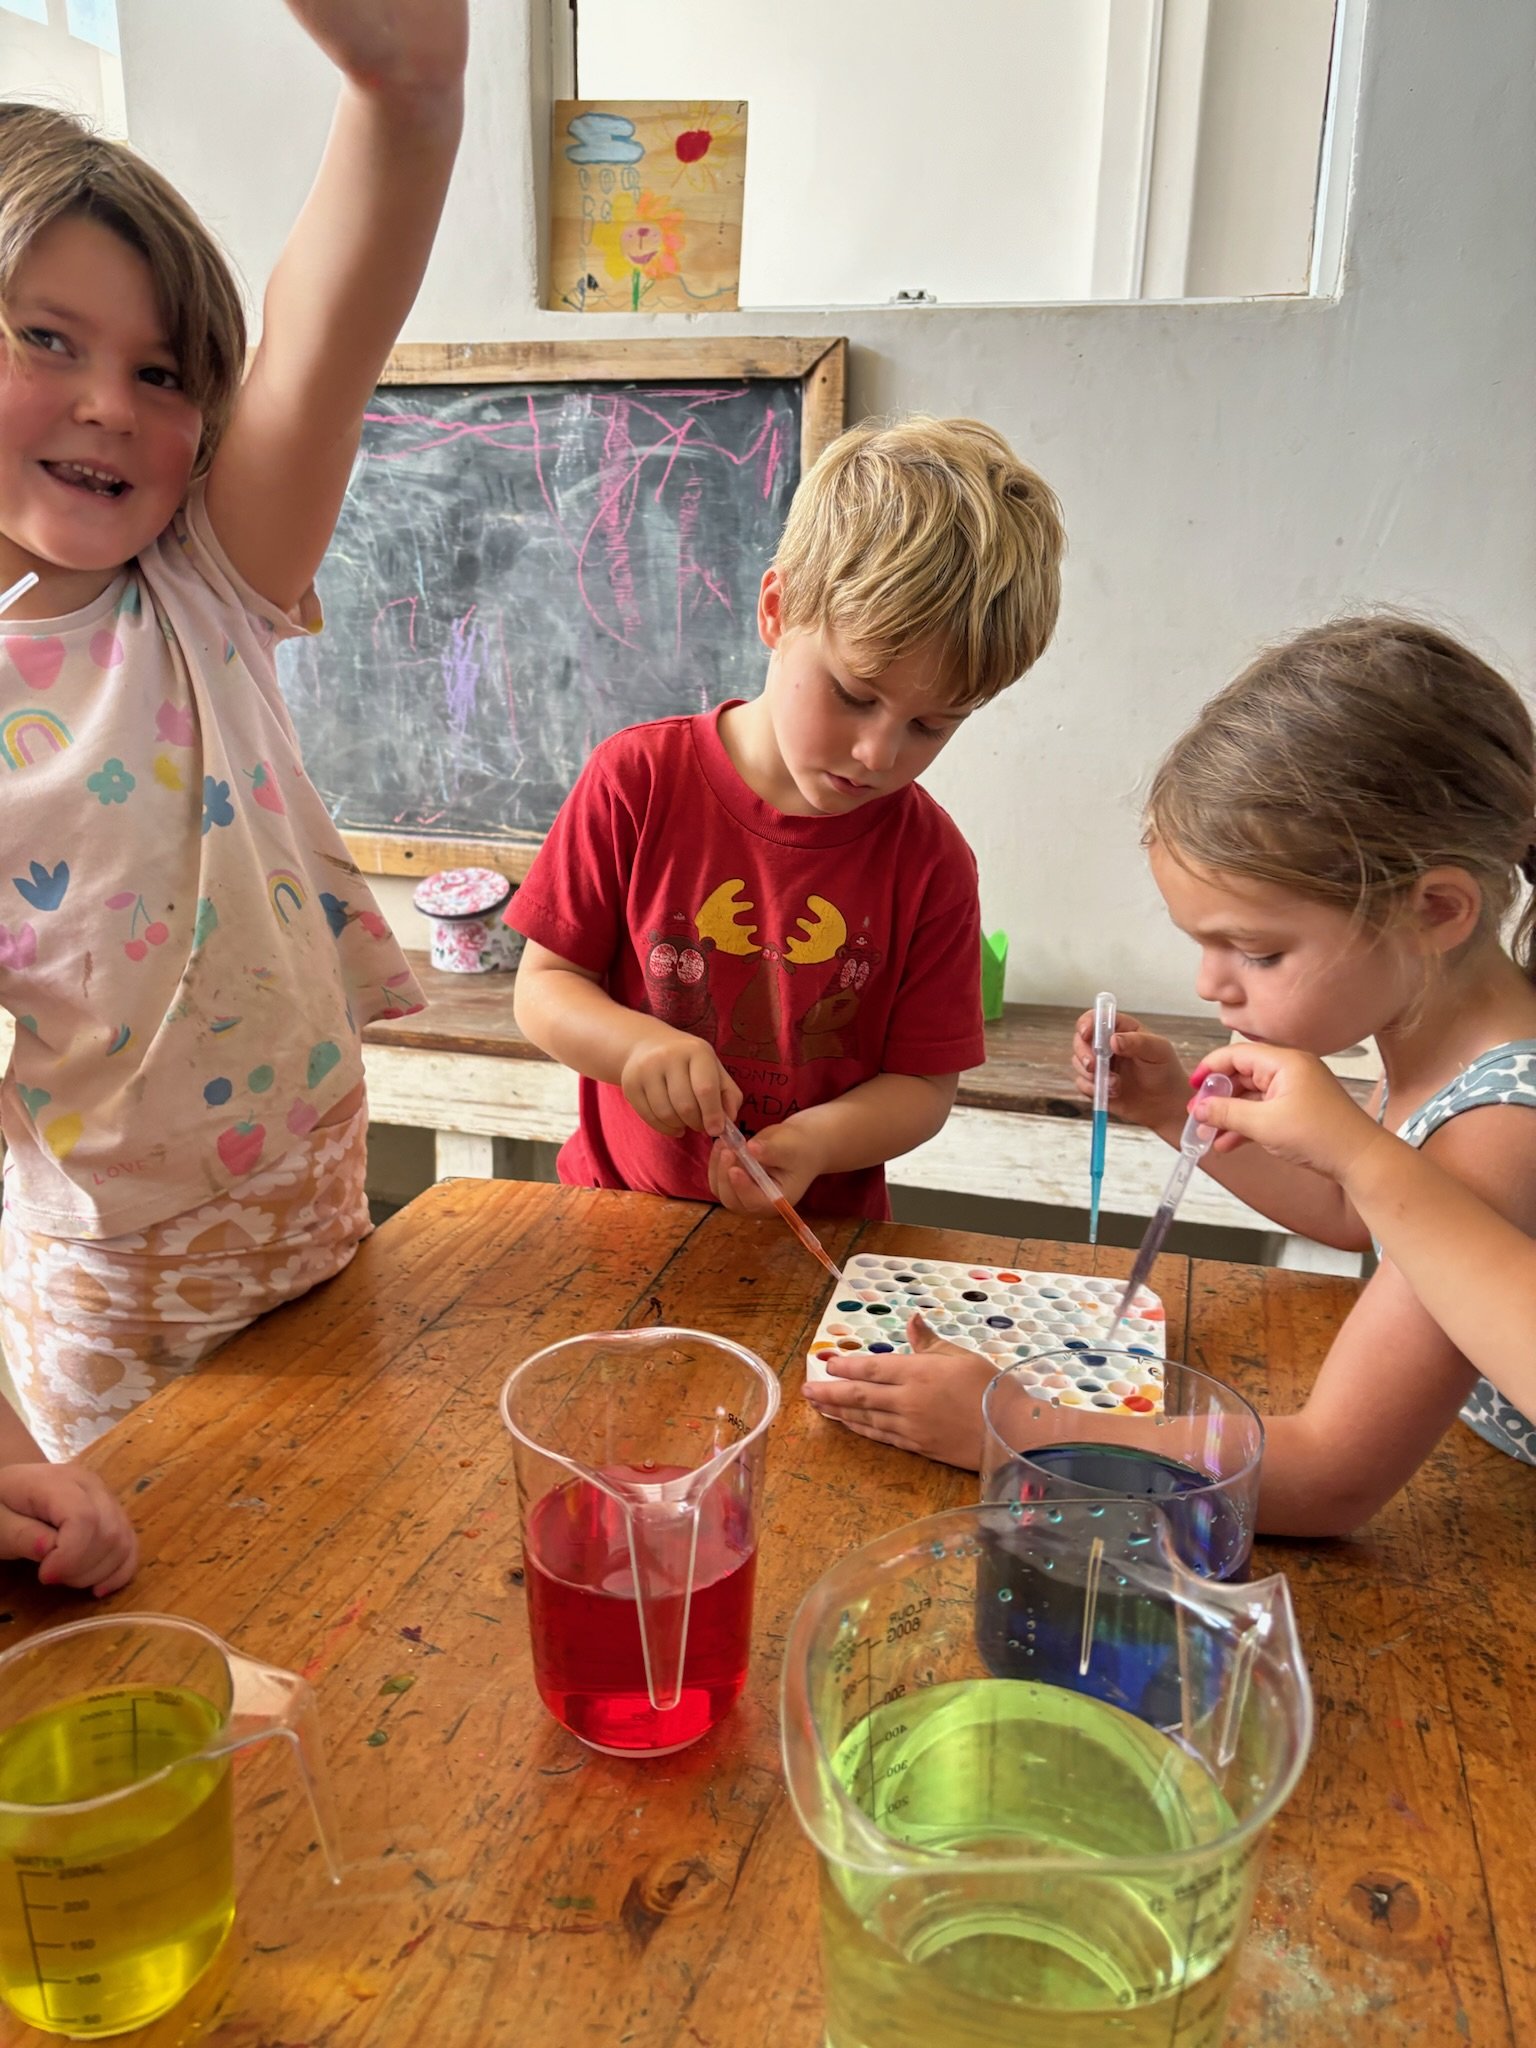
I mixed up some pots (glass are best because they are heavy & therefore harder to knock over than plastic…and the little ones really do learn how to handle and be around glass when they are given the opportunity to) of tempura paint & water. Just add more water or paint to get a nice ‘inky’ texture.

I printed out some scanned handwriting sheets (again, not to force any formal handwriting) and let them loose with their quills.

And now on to the Insects!

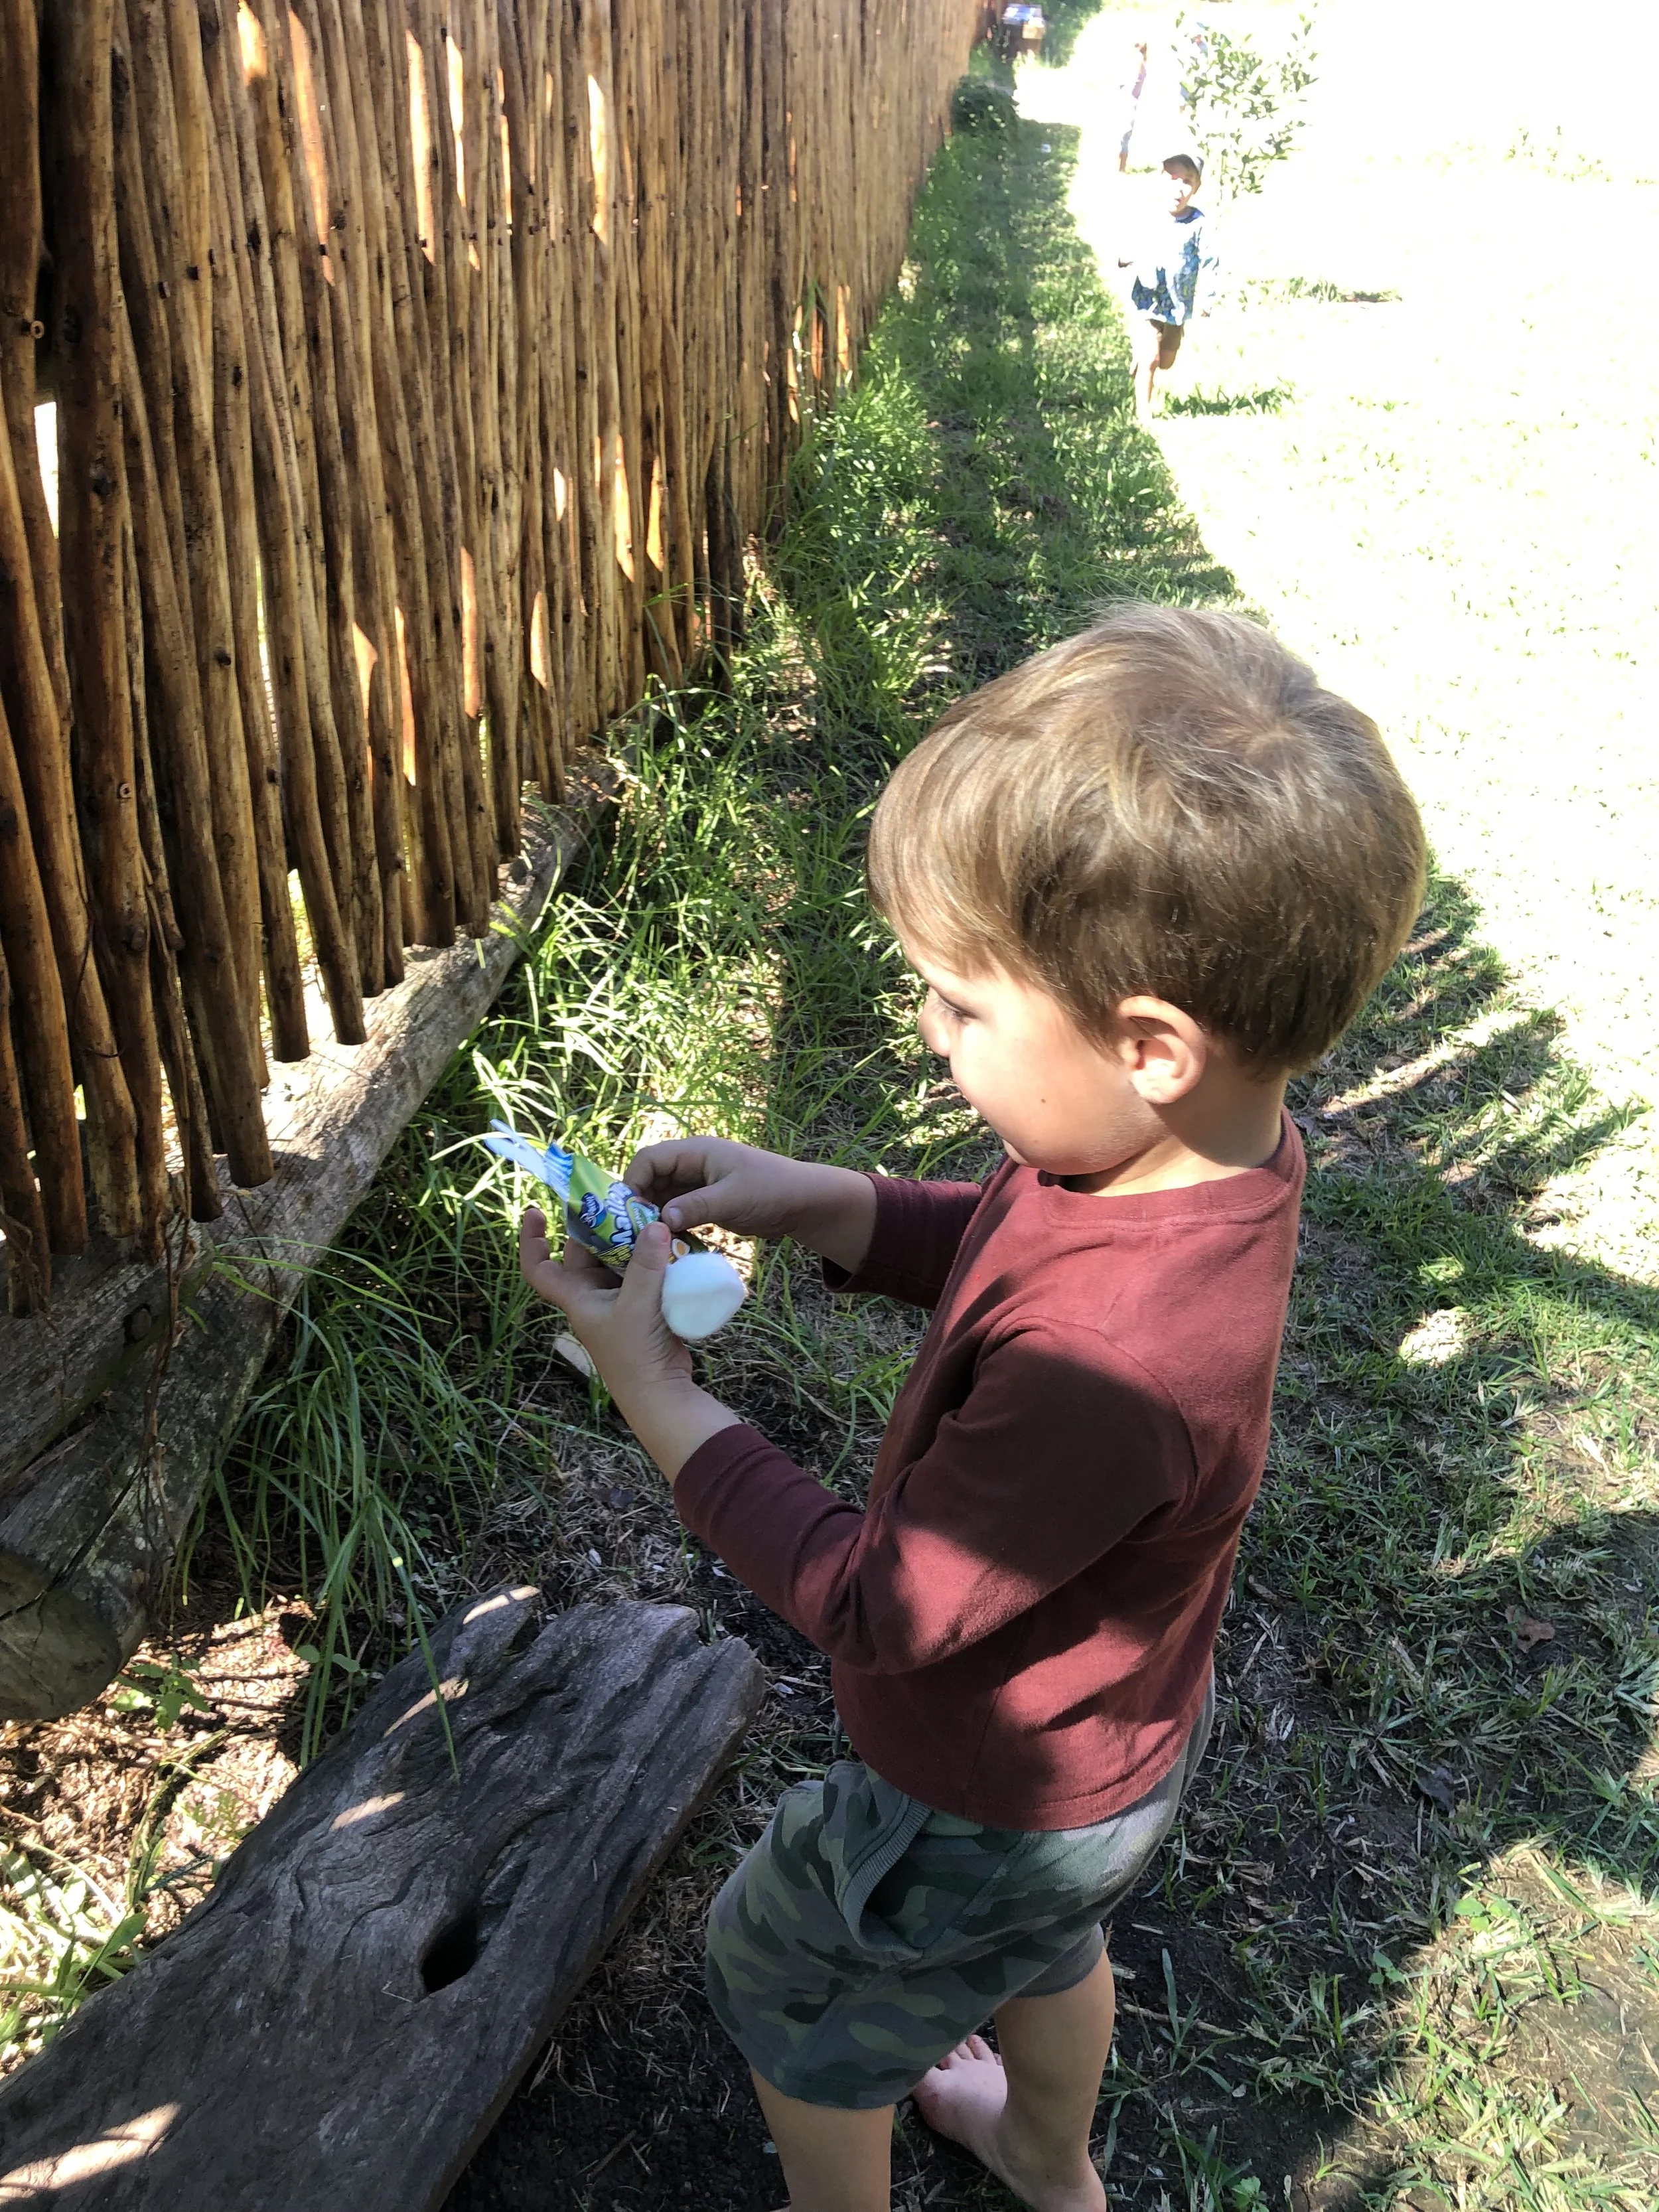
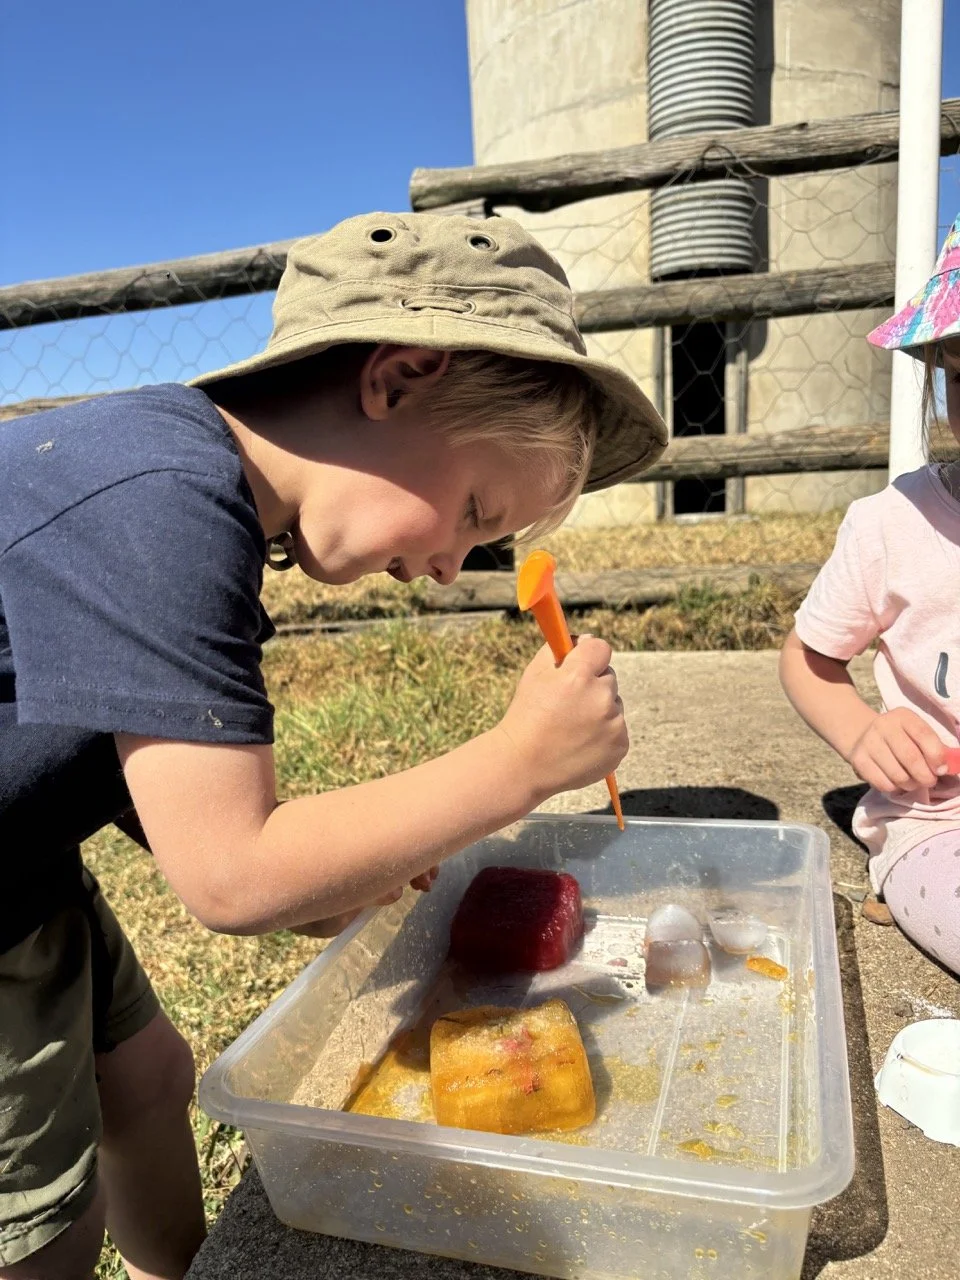
Over the week we chatted a lot about the different kinds of insects (mentioning what makes an insect an insect). I froze our plastic insect collection into some coloured water (I used liquid food colouring to colour the water) and then set everyone up into pairs with a couple of hammers/plastic knives and a small container of salt. The salt helps to melt the ice (it’s a very slow process though…so definitely take them outside for the sun to speed things up!) and let them loose to hammer and smack to their hearts content. They all loved this activity.

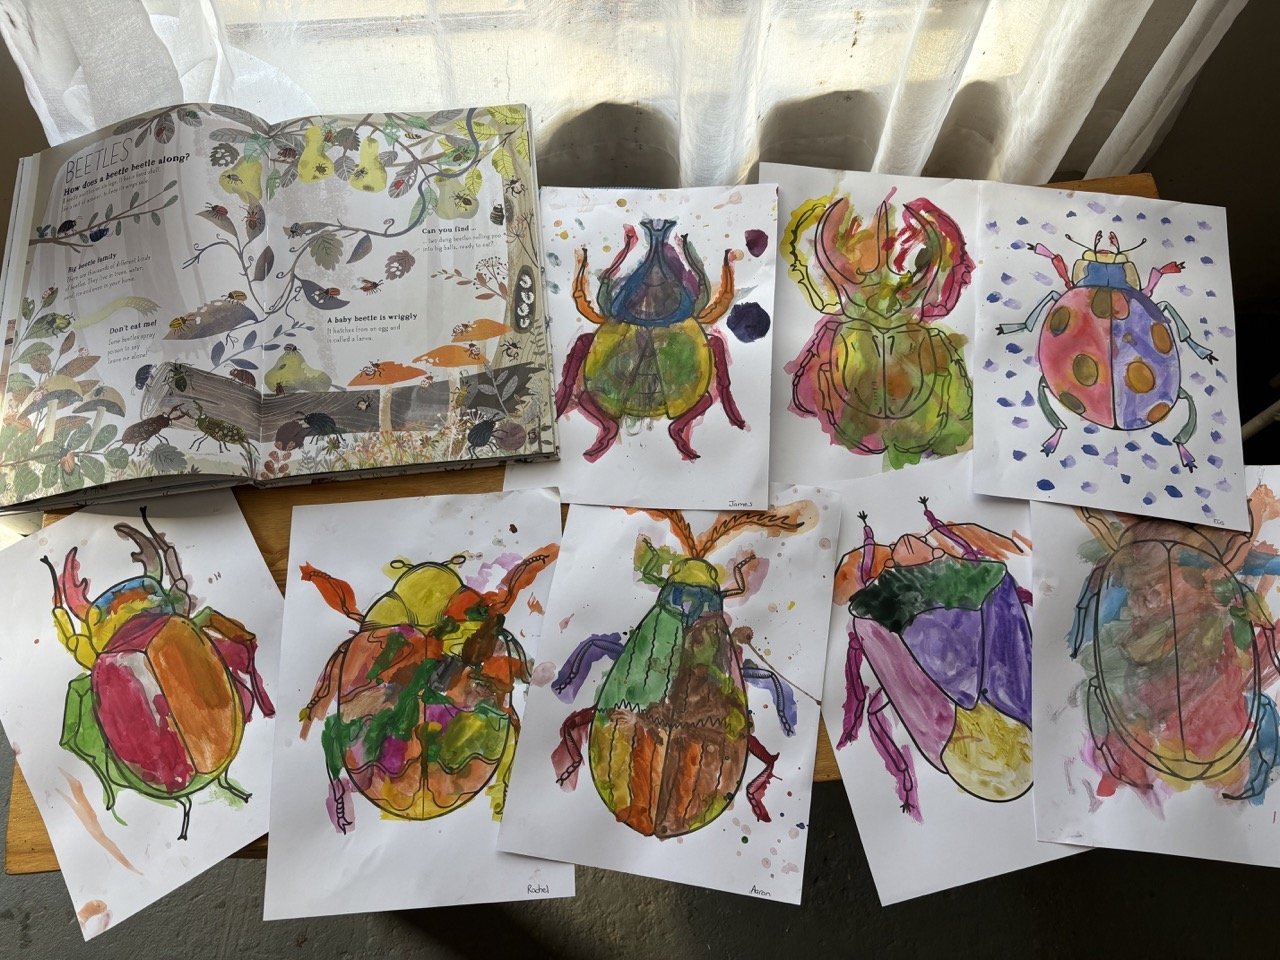
I had a vision of a particular looking piece of art in mind for this week, and I’m sure you can agree that the final product came out beautifully. I printed out an a4 sized beetle (I will attach the file below if you’d like to download a copy of the beetles to make your own) and then gave everyone some watercolours to paint with. My only instruction was to make them as bright as possible, and to try not leave any white space on the beetles.

Yuval Zommer’s Big Book of Bugs is an amazing resource for any lessons on creepy crawlies. I got my copy on Takealot a few years ago.

Then I was set with the arduous task of carefully cutting out each creature (this was much harder than it look due to all the little legs and feelers!). I then pasted them onto brightly coloured paper, trimmed them down and stuck them onto black card and finally laminated.

Here is how they turned out. I just LOVE them!

Laminating anything watercoloured really makes the colours pop (and it also helps with the longevity of the artwork which can now withstand being taken on and off the fridge by sticky little hands!).

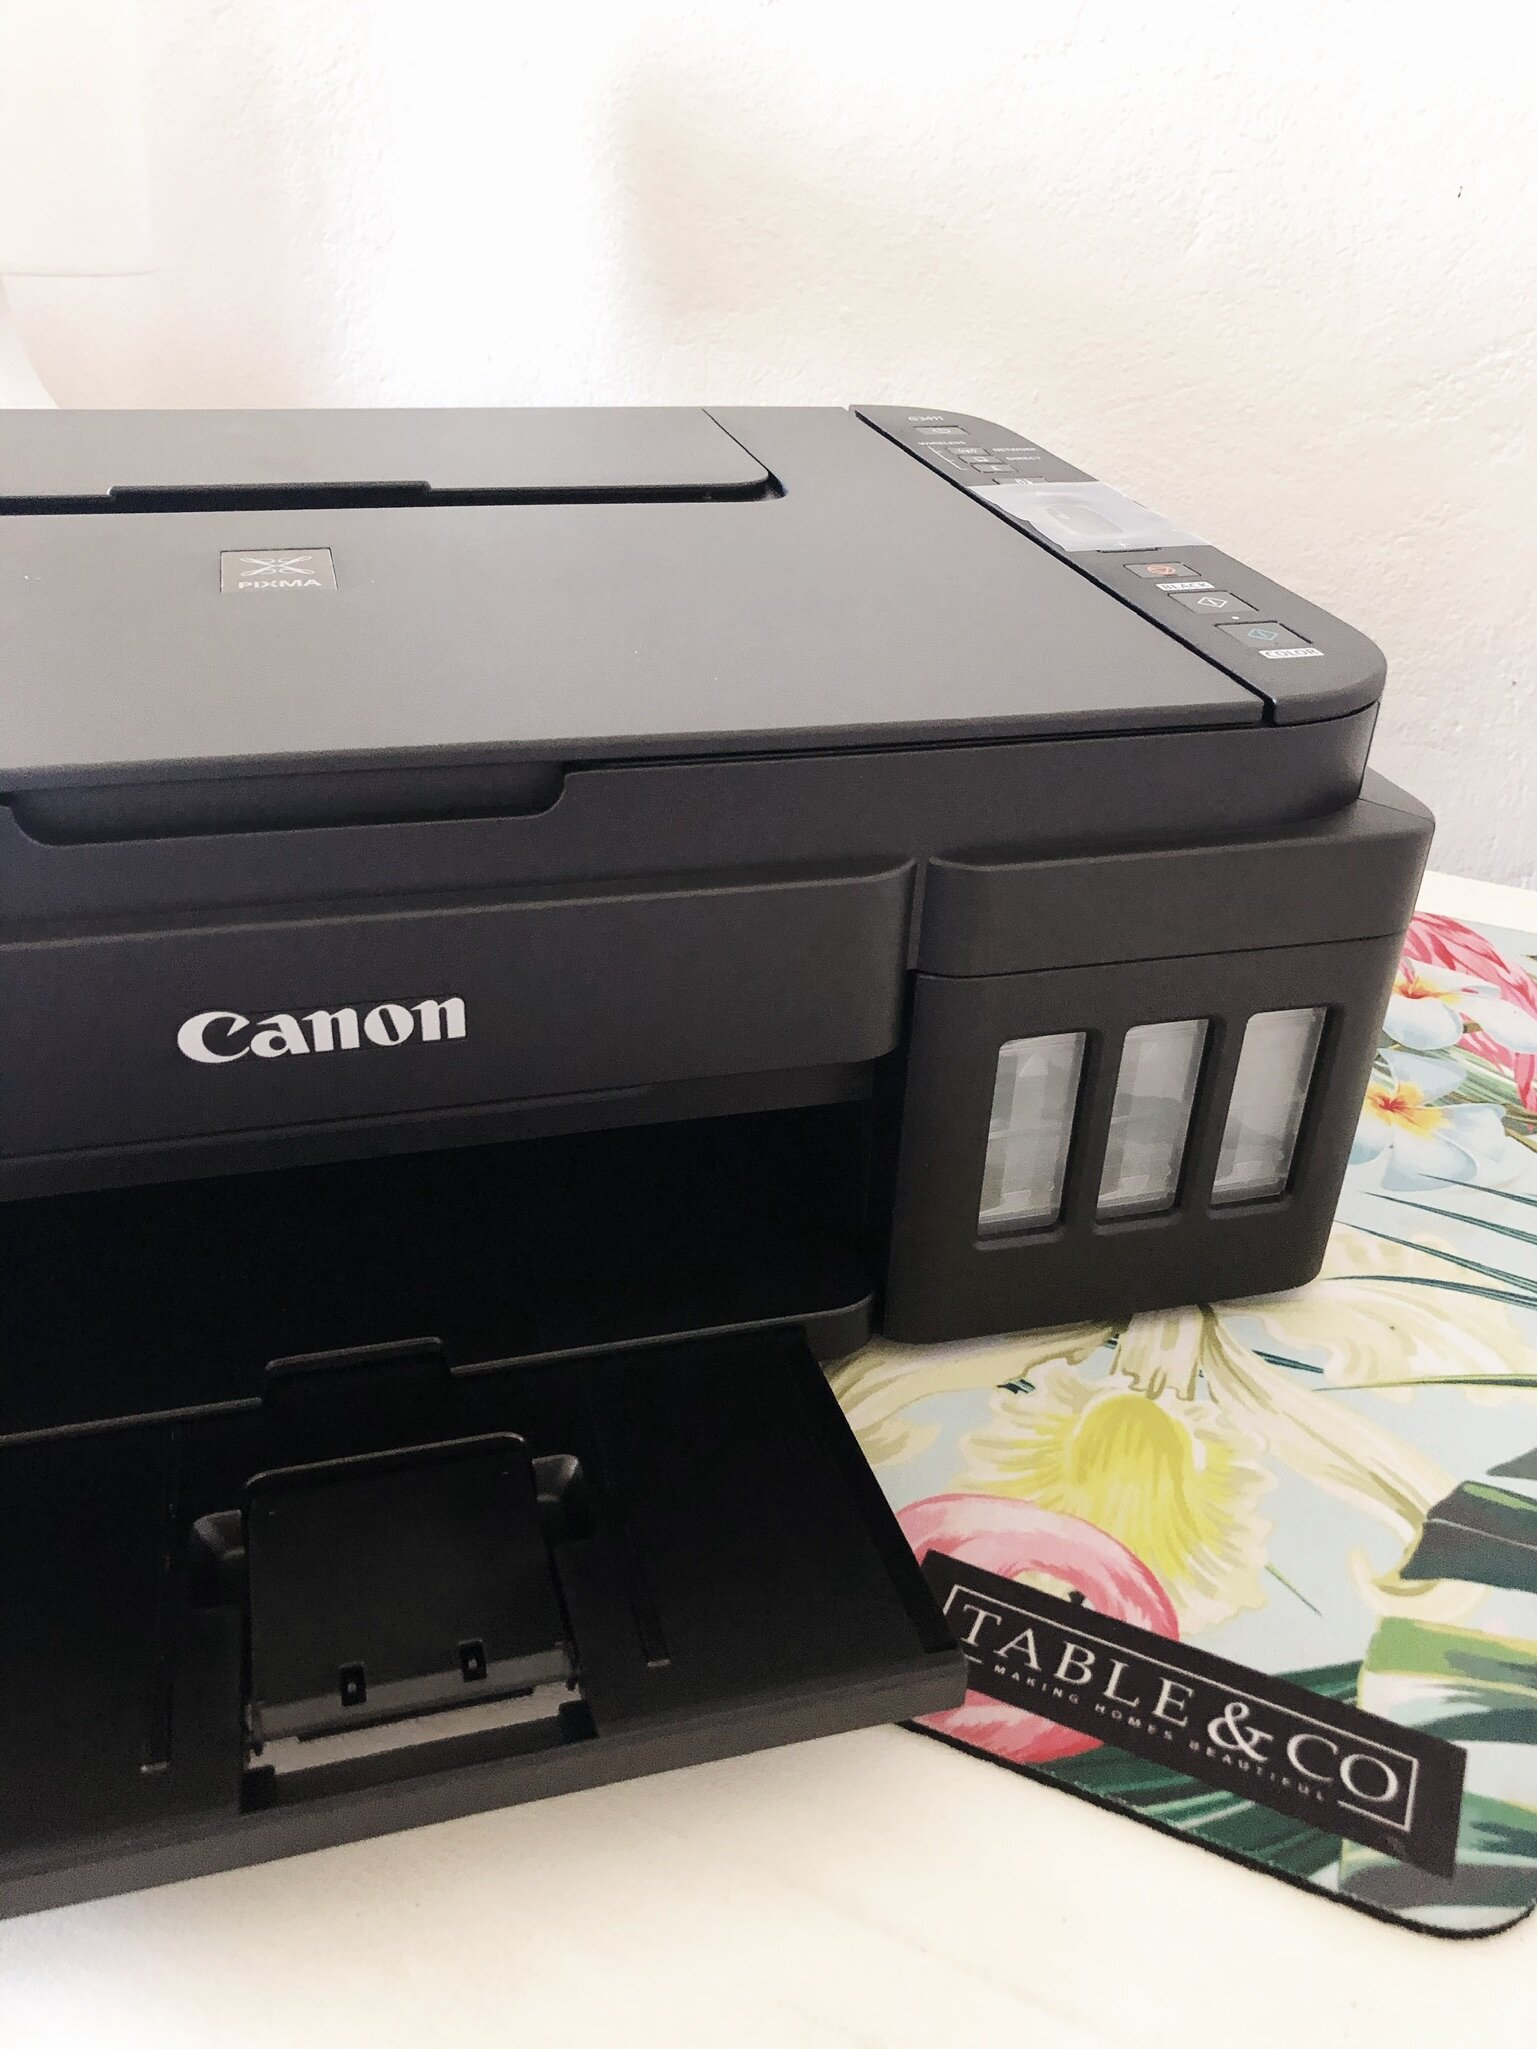
Canon Pixma G3411 Refillable Ink Tank Printer for Homeschool, Photos & Home office Use - A Review

Canon Pixma Ink Tan Printer Review refillable ink printer for homeschool office photos south africa-01.png

I have been on the lookout for a new printer for ages, something that is easy & (ideally) cheap to refill, and that does really good quality printing. I need it to be able to print worksheets and other fun activity pages for my little ones, and I also need it to be able to print really good quality photographs as we live in the middle of nowhere and getting photos printed is such a pain.

If you Google eco-tank printer, chances are the Epson Eco-Tanks will pop up. And while I was very tempted by them (and they have loads of great reviews!) unless you are going for the high end printer, it seems the photo quality isn’t that great. This was a big one for me as I want to be able to print photographs for scrapbooks, baby books and for frames around the house. And this is where the Canon Pixma comes in.

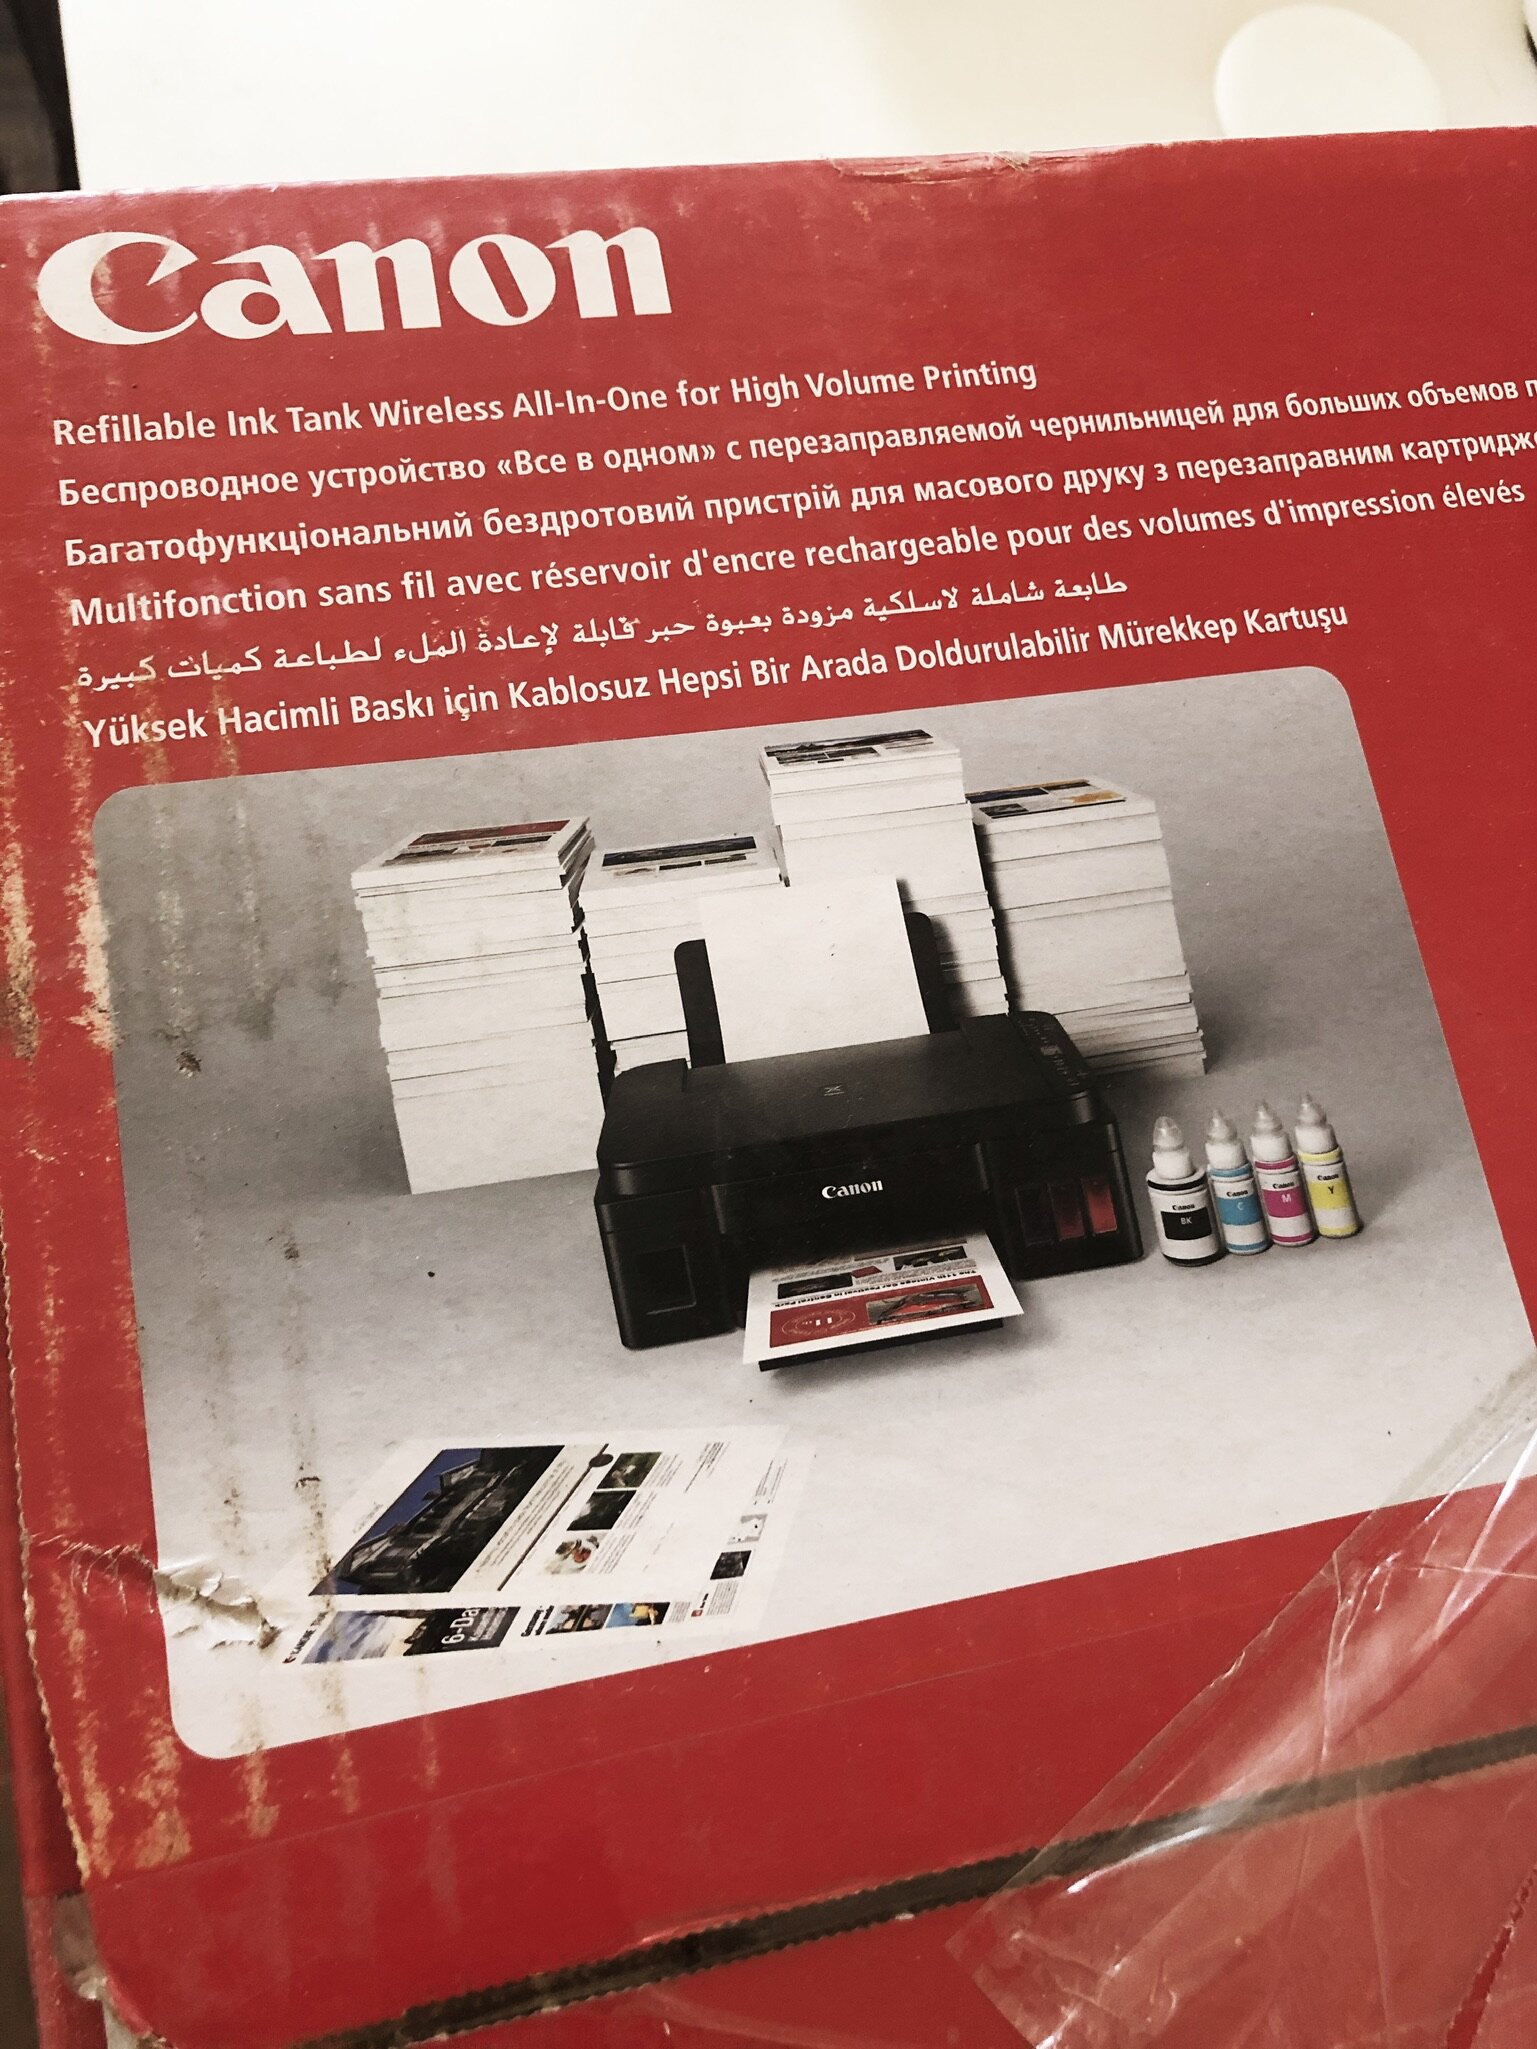
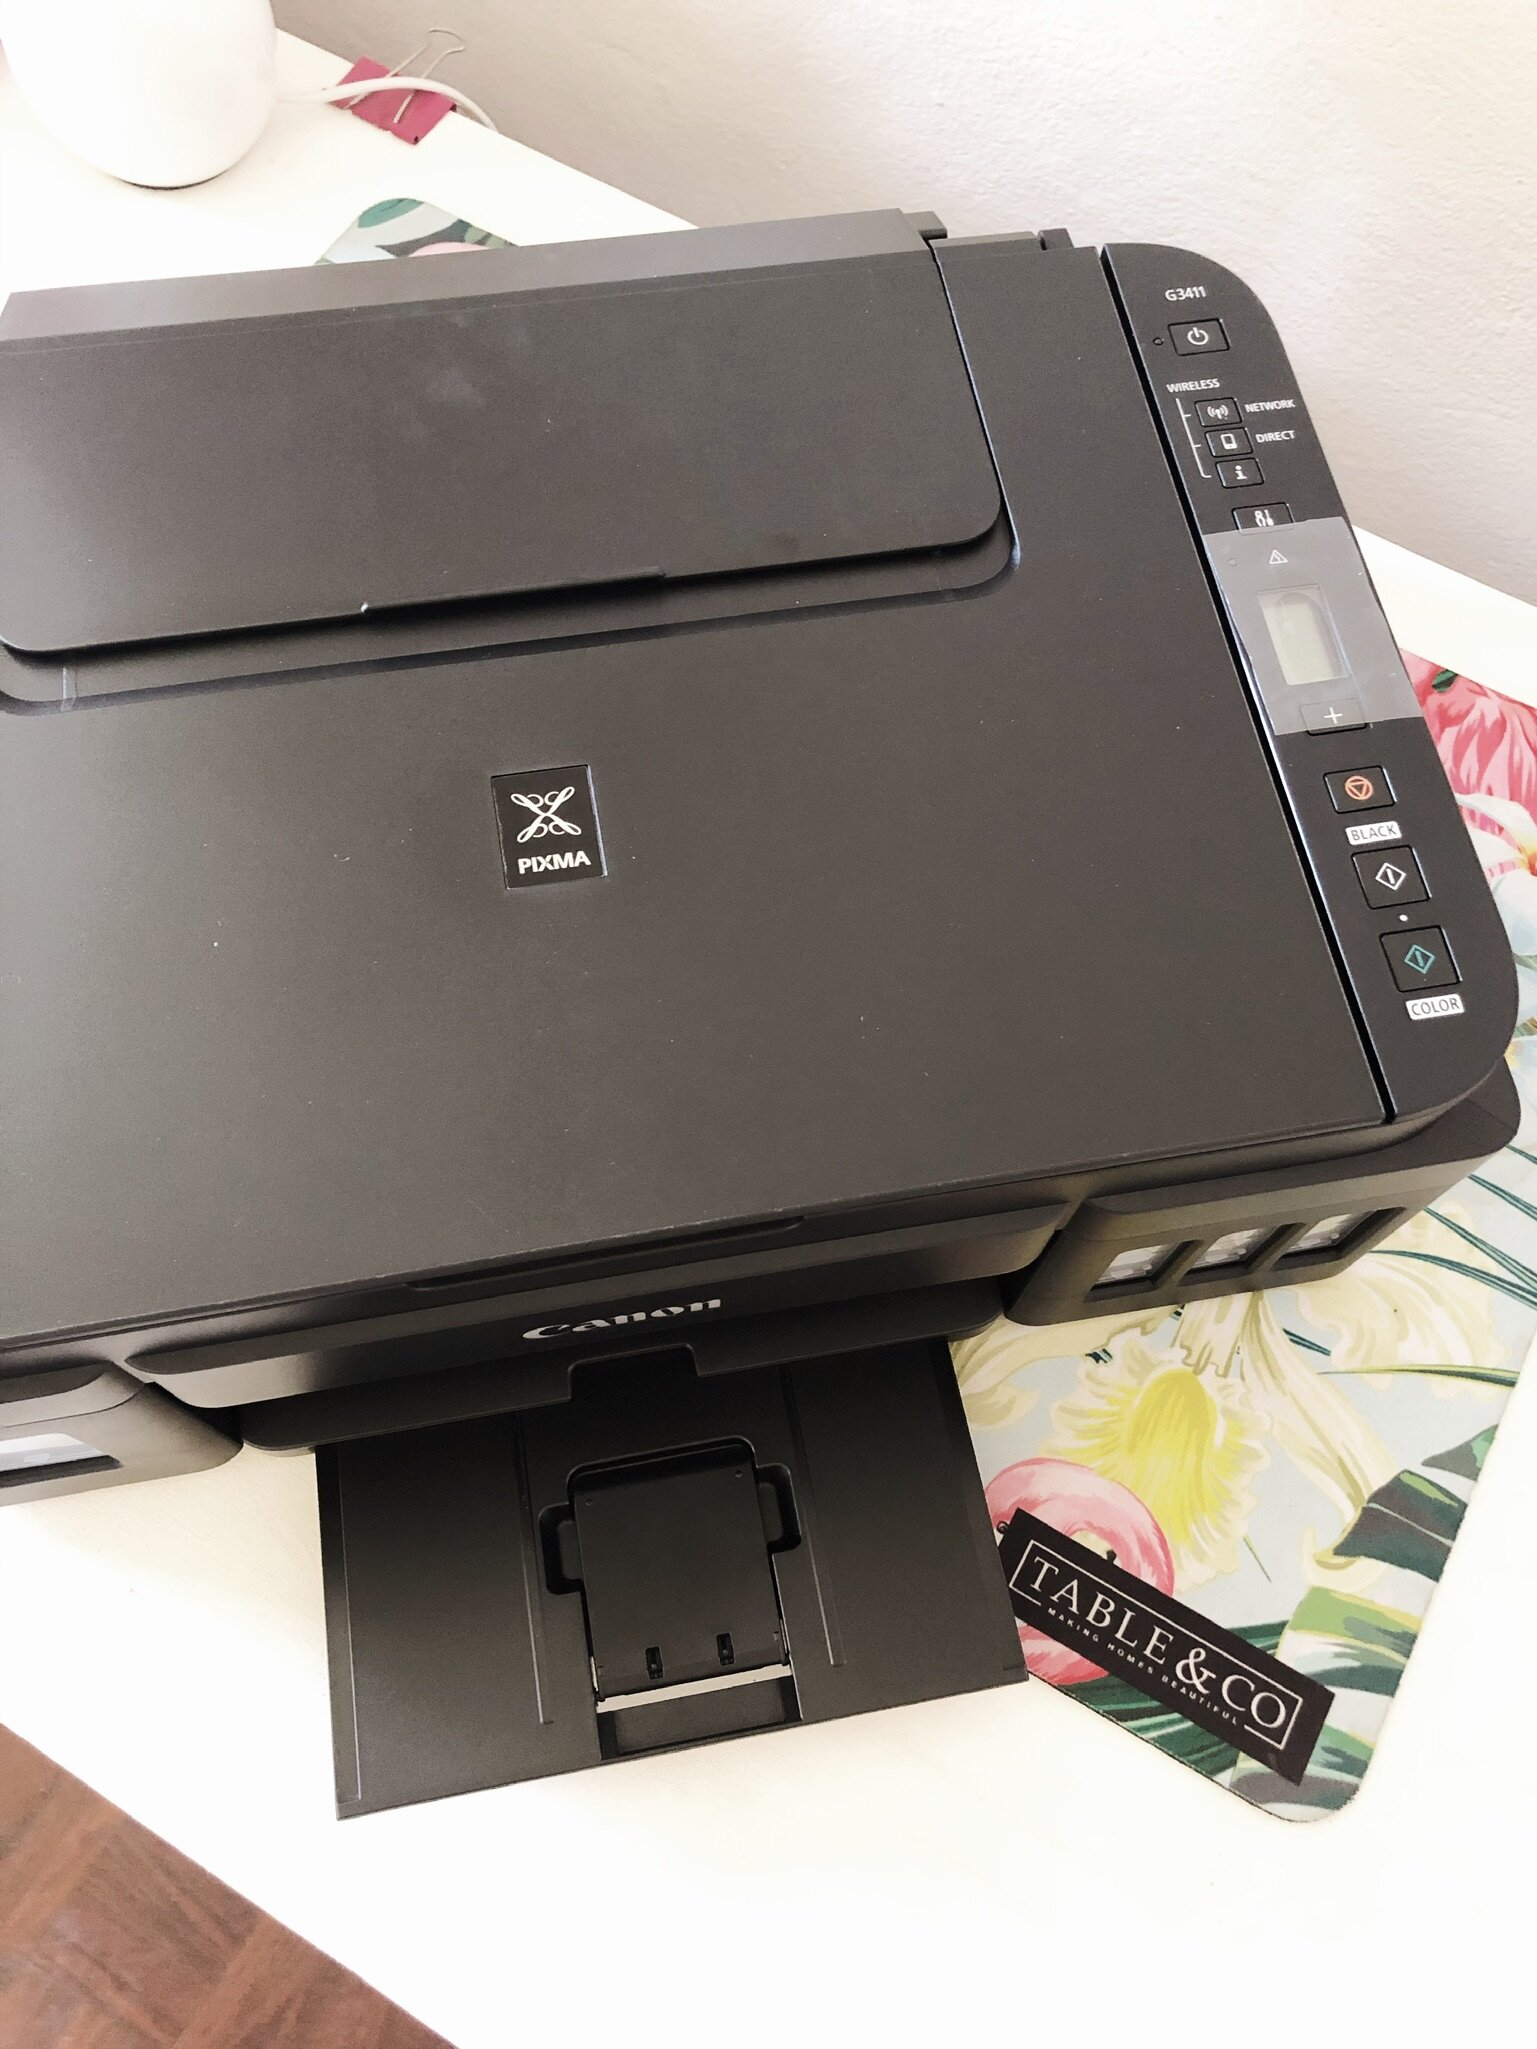
The one I eventually chose is the G3411…it does all your basic printery things (scan, copy & print), has wifi connectivity (I print straight from my iPhone and from my Mac…this has been a little tricky especially from my Mac because downloading drivers for a printer isn’t as straightforward as a PC but it’s doable!) and the best part is that the ink is refillable.

Canon Pixma G3411 Refillable Ink Tank Printer for Homeschool, Photos & Home office Use - A Review

What’s in the box?

The G3411 is a midrange priced printer (I bought mine from Incredible Connection where it was on special for R2999 and it came with free delivery…it arrived out here on the farm within 5 working days!). The box comes with:

  • actual printer & cables

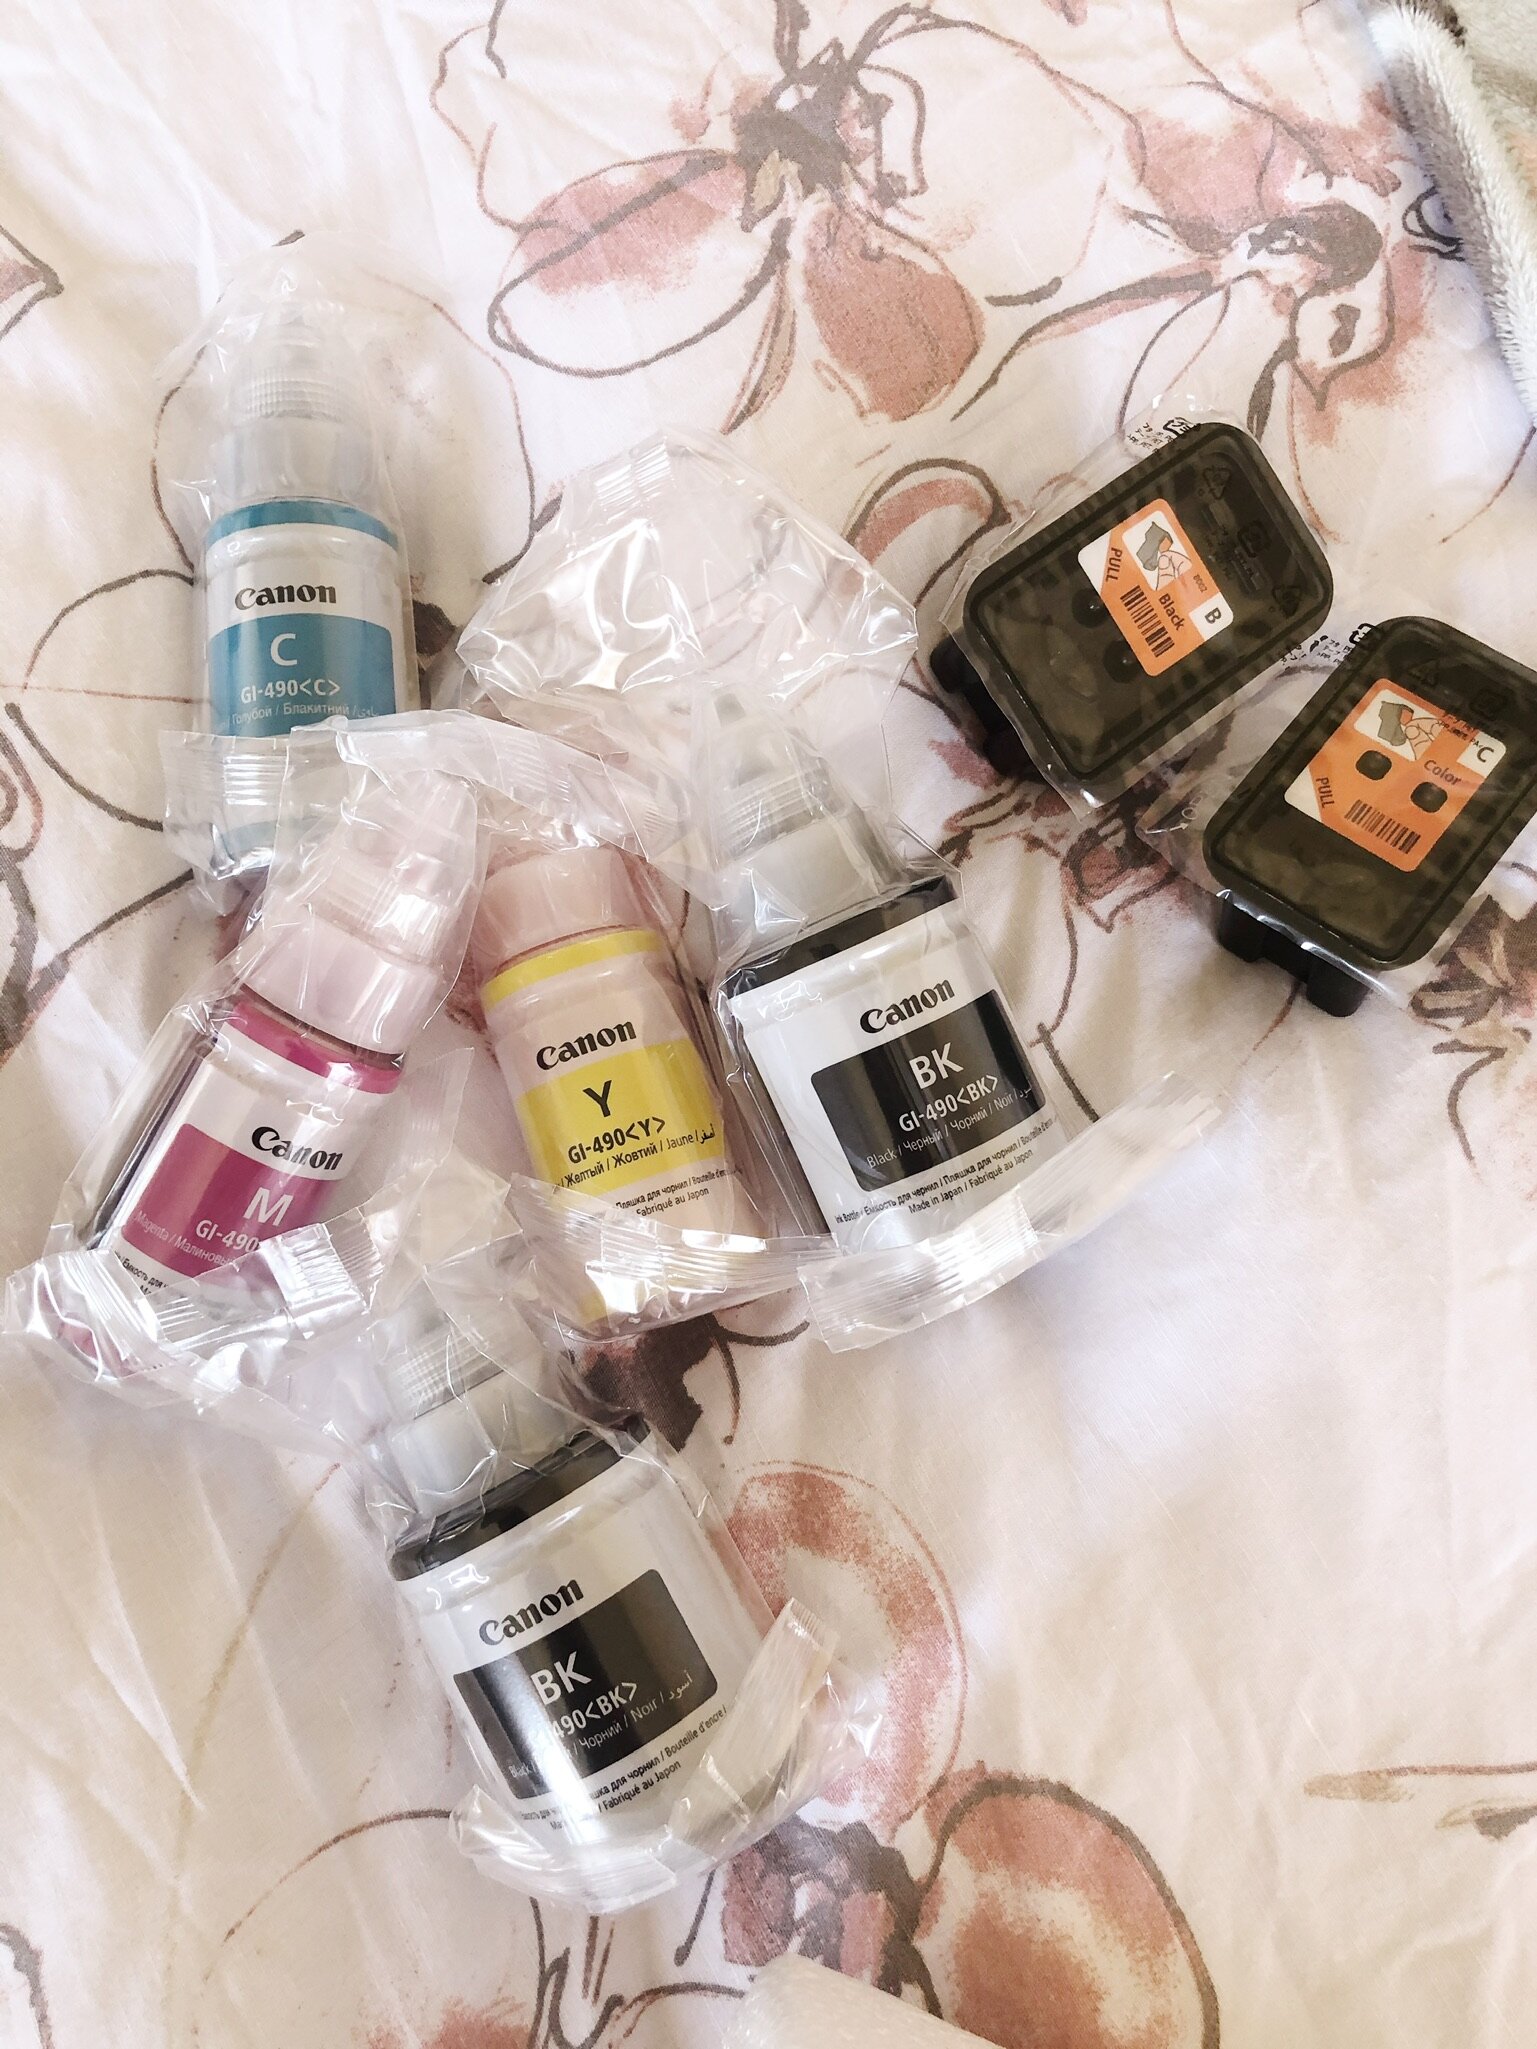
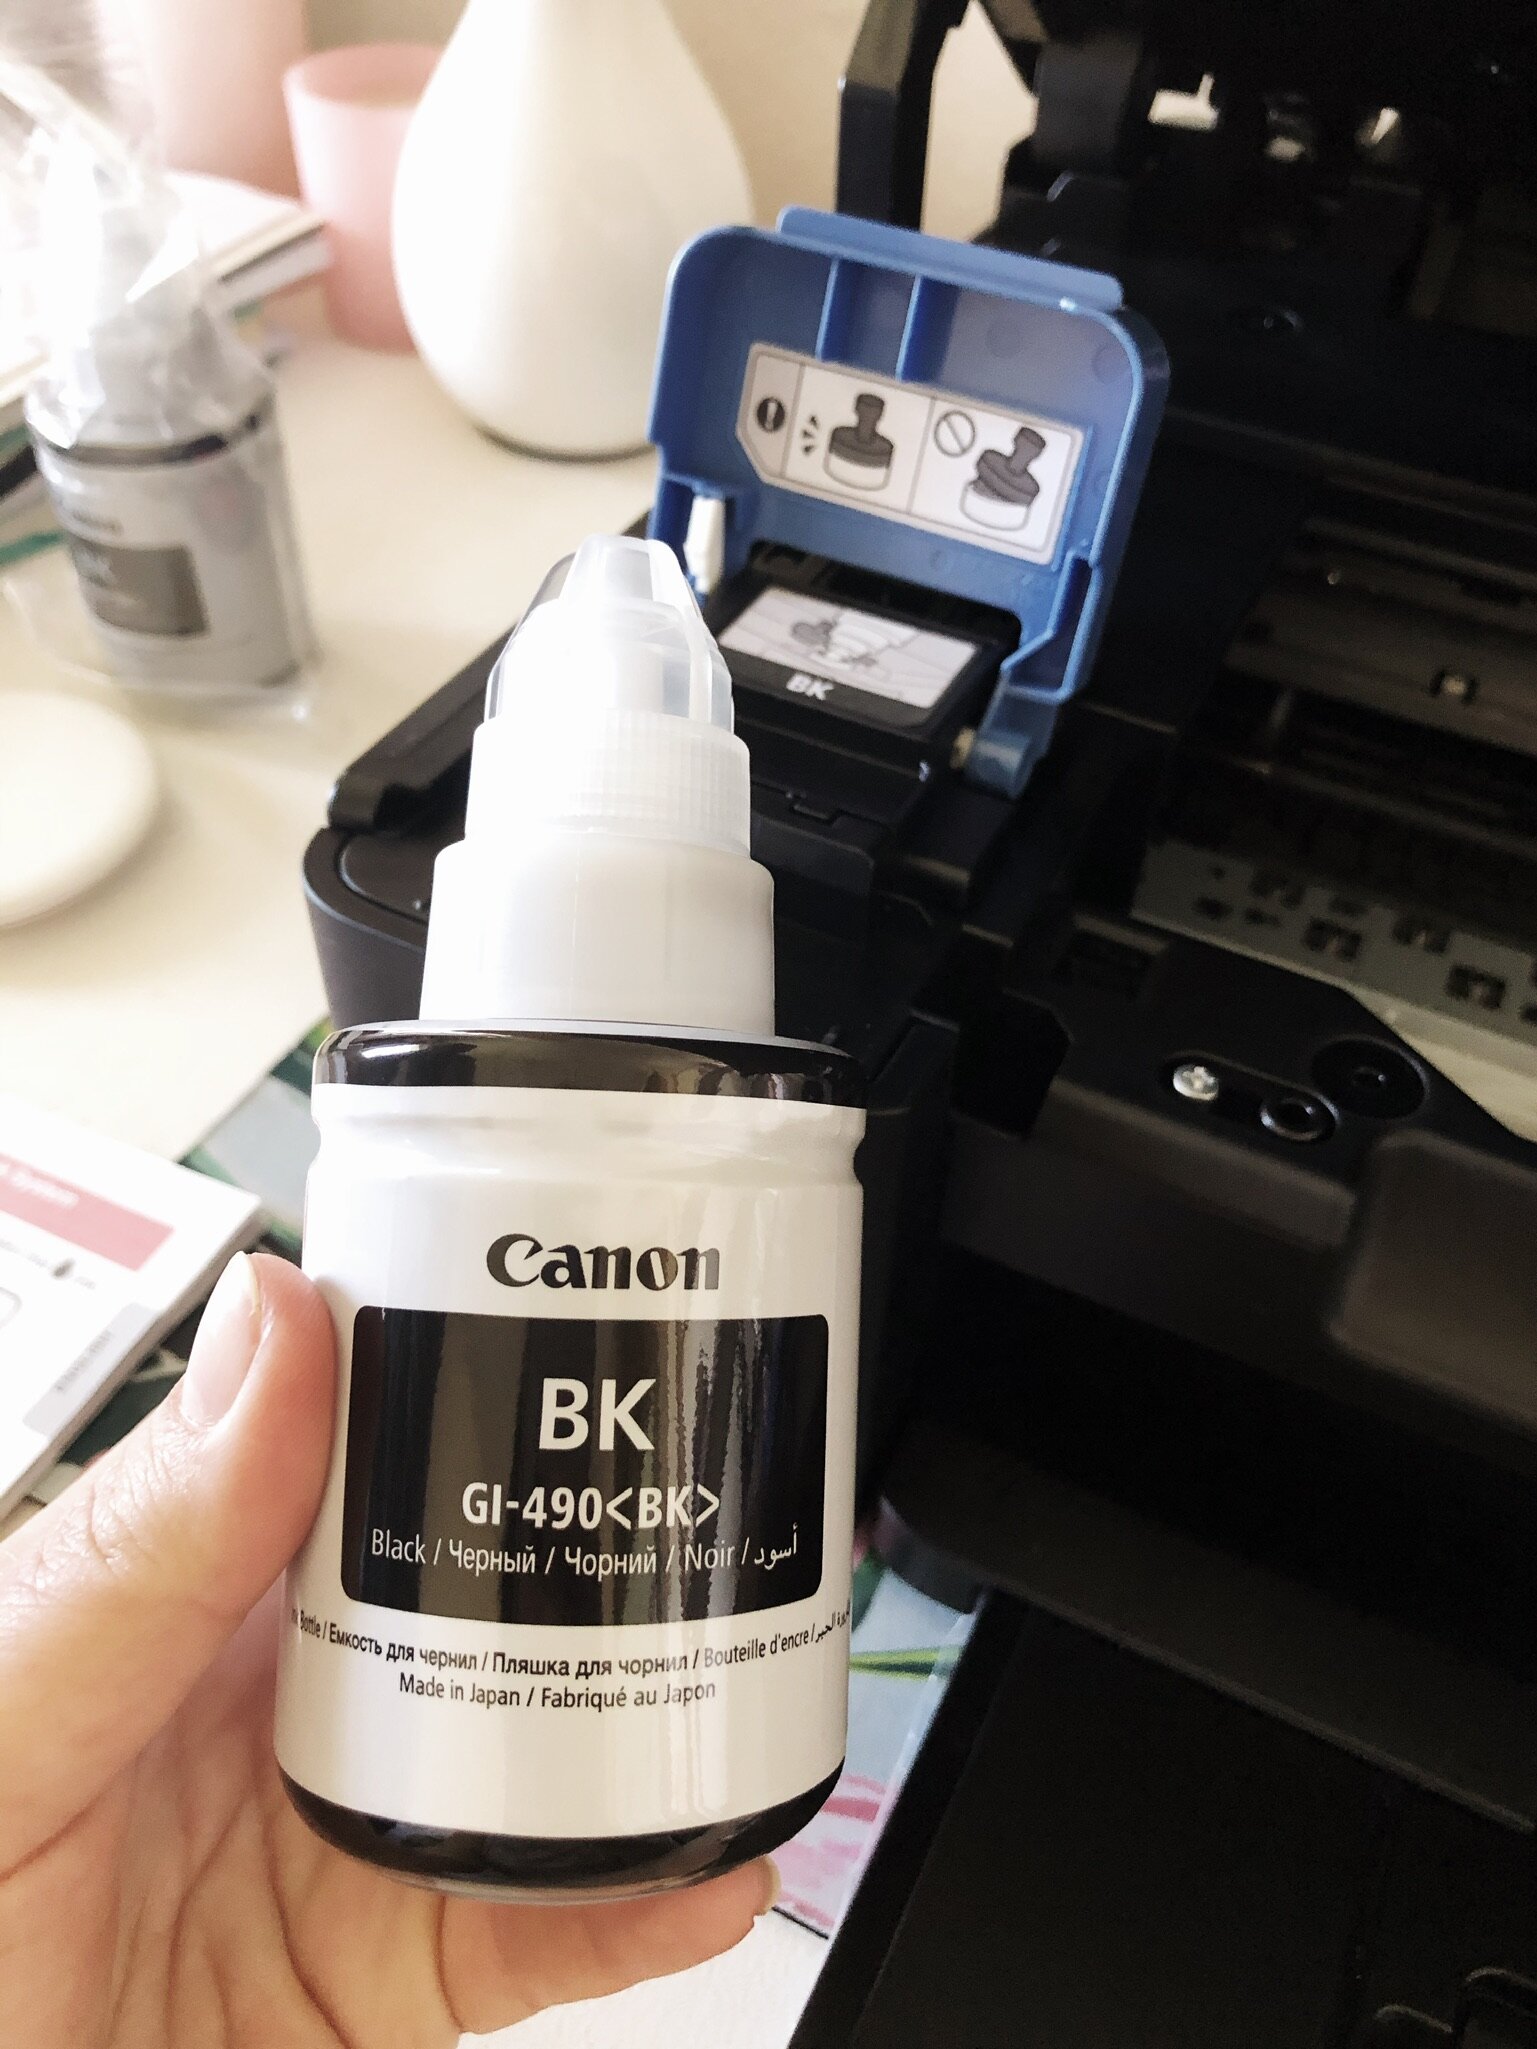
  • 2 black ink bottles

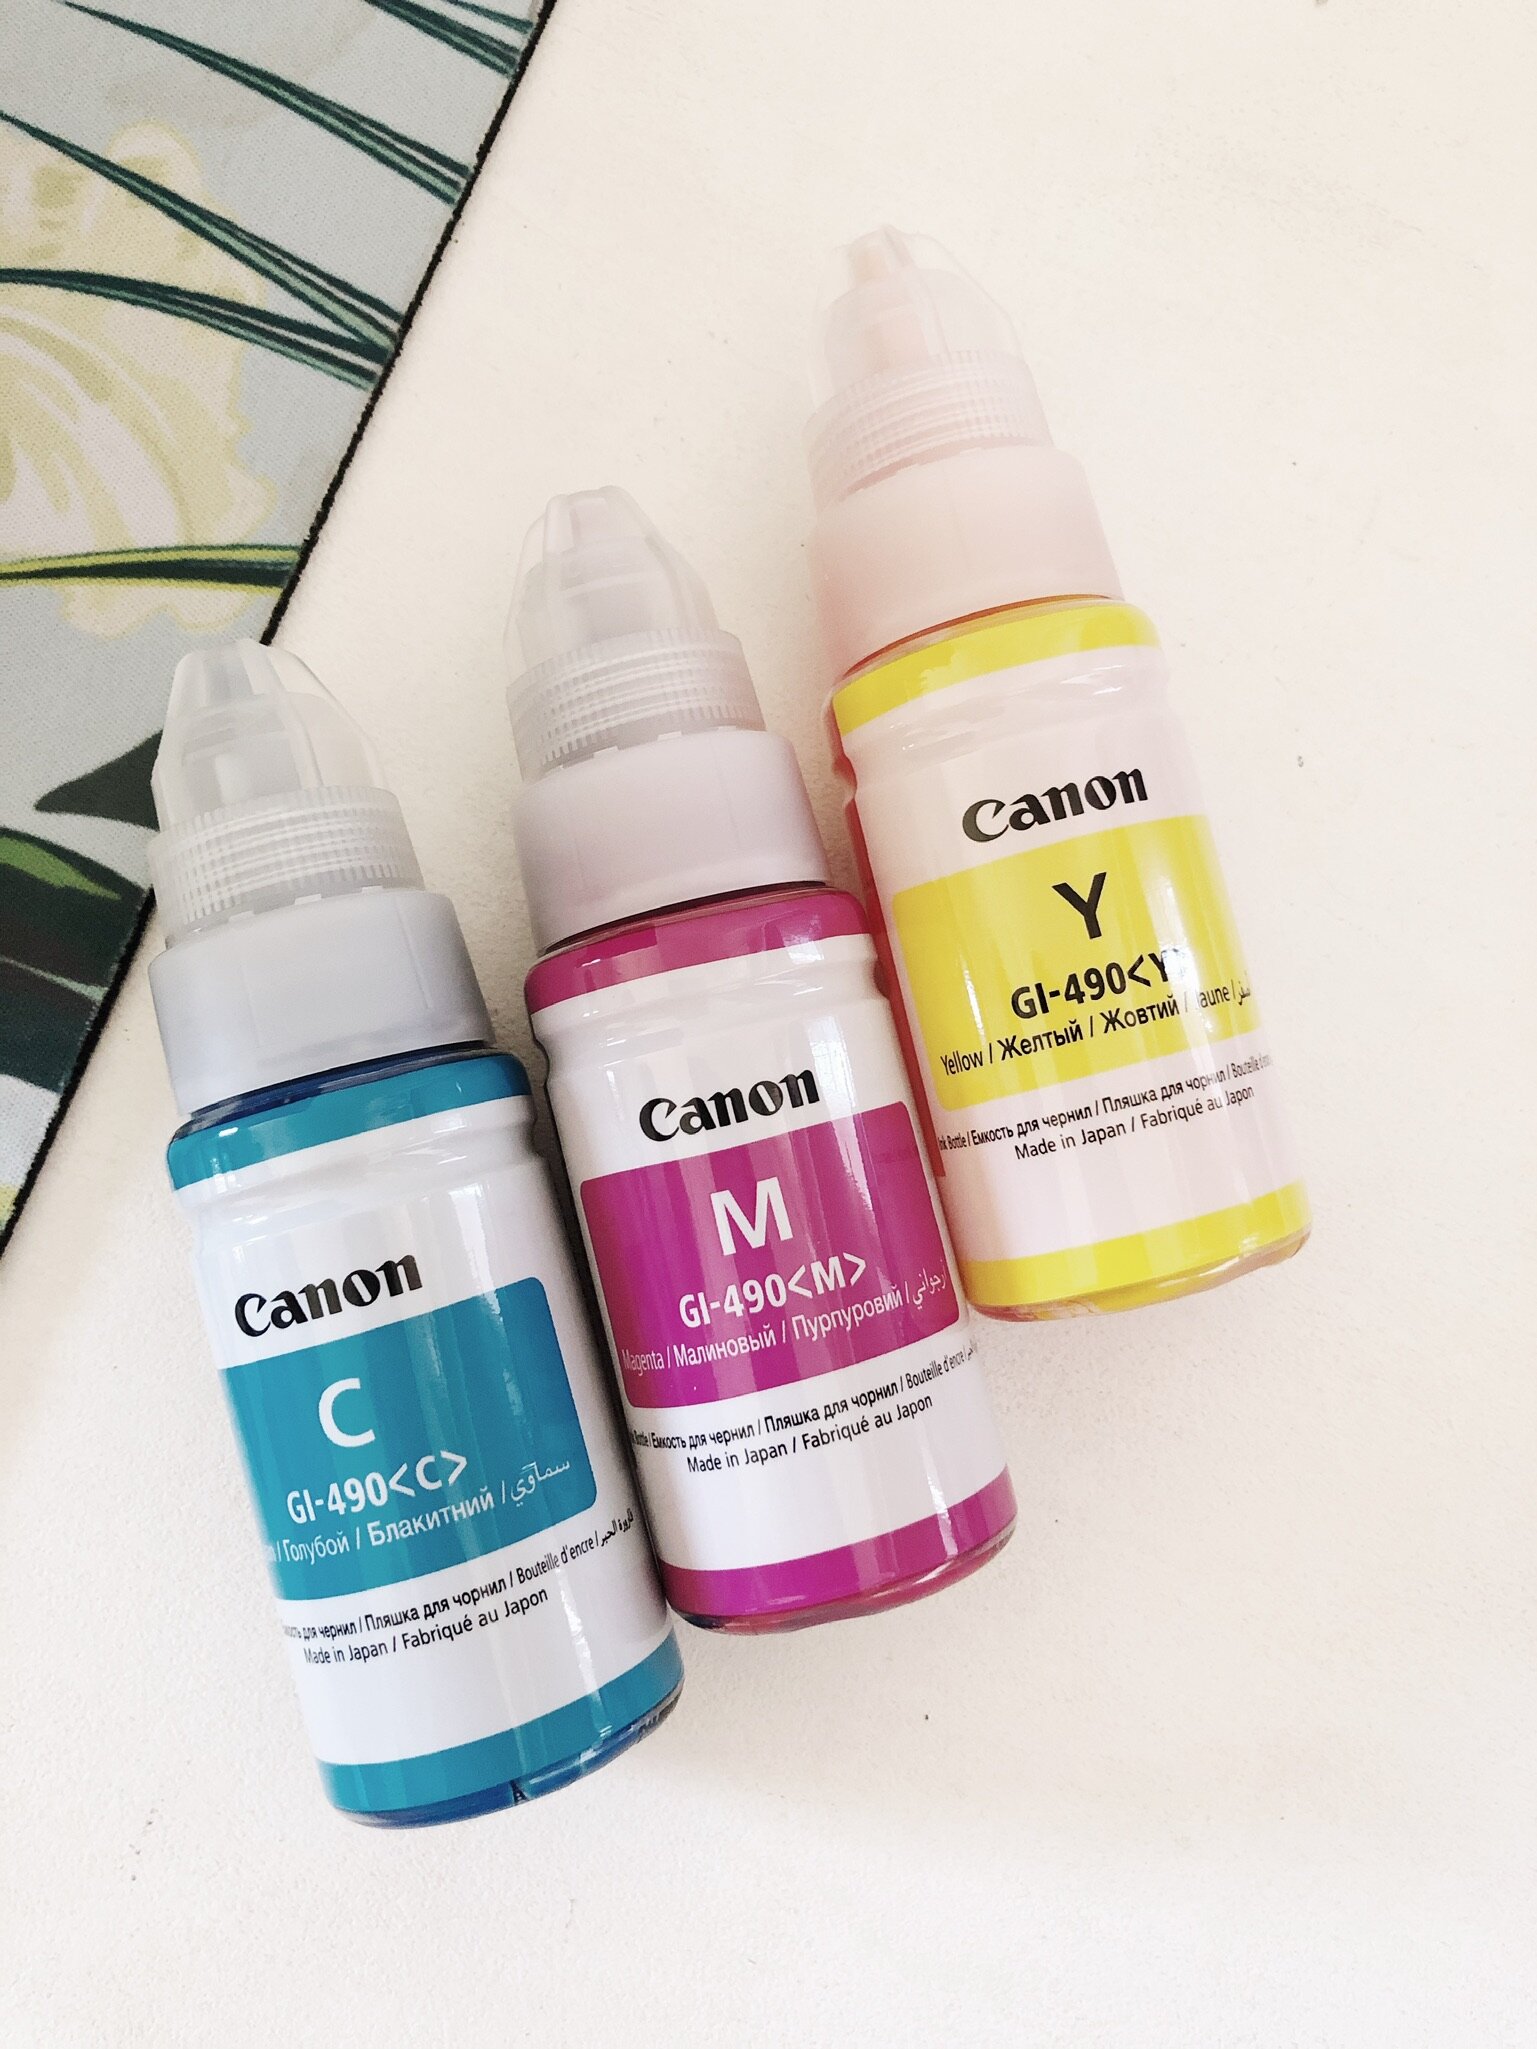
  • 3 colour ink bottles (CMY)

The Set Up

I was slightly nervous when it came to setting up the printer, as I’m usually pretty slap dash and don’t read instructions. My mom was visiting, so that really helped as she read the instructions and I was able to actually follow them step by step. It took about 25 mins for the entire thing to be set up (it has to calibrate the ink and the black calibrates separately to the coloured ink) but it was very straightforward.

The actual printing took me a lot longer, as I needed to download the Canon Print app (I have an iPhone but the app is free and available for both Apple & Android) . Then to print photos vs documents is a little different from your phone. I used the Print app for for both photos & documents. And then to print from my Mac was a little trickier, as I have to connect to the printer via wifi (this means I can’t actually be on the Internet wifi…which was a bit of a pain as I have to disconnect from the Wifi and connect to the printer, and then connect back to the Internet when I’m done). I think I read somewhere that there aren’t any actual cables to connect this printer to a Mac…so just bear that in mind it would be much simpler if I was able to connect my laptop to the printer via a cable. But, as I work on a laptop and not a desktop, this isn’t such a big deal.

I have been blown away at the quality of the photograph printing most of all! The Print app is easy to use and you can print different sizes and collage using the photos on your phone. I tested the quality of my iPhone shot photos vs my camera images (I use Google Drive to on my Mac to upload my camera images to the cloud and then I download them from the Drive app on my phone) and I am very impressed.

Refillable Ink Bottle Prices

The ink is usually where you really get caught when it comes to home printers, but the refill bottles for this printer are pretty reasonable at R180 for colour & R270 for black (this is the online price at Incredible Connection right now). But, apparently I shouldn’t need to buy ink for at least a year (and then some!). So I’m hoping this proves to be the case even with printing kiddie related bits and pieces as well as photographs.

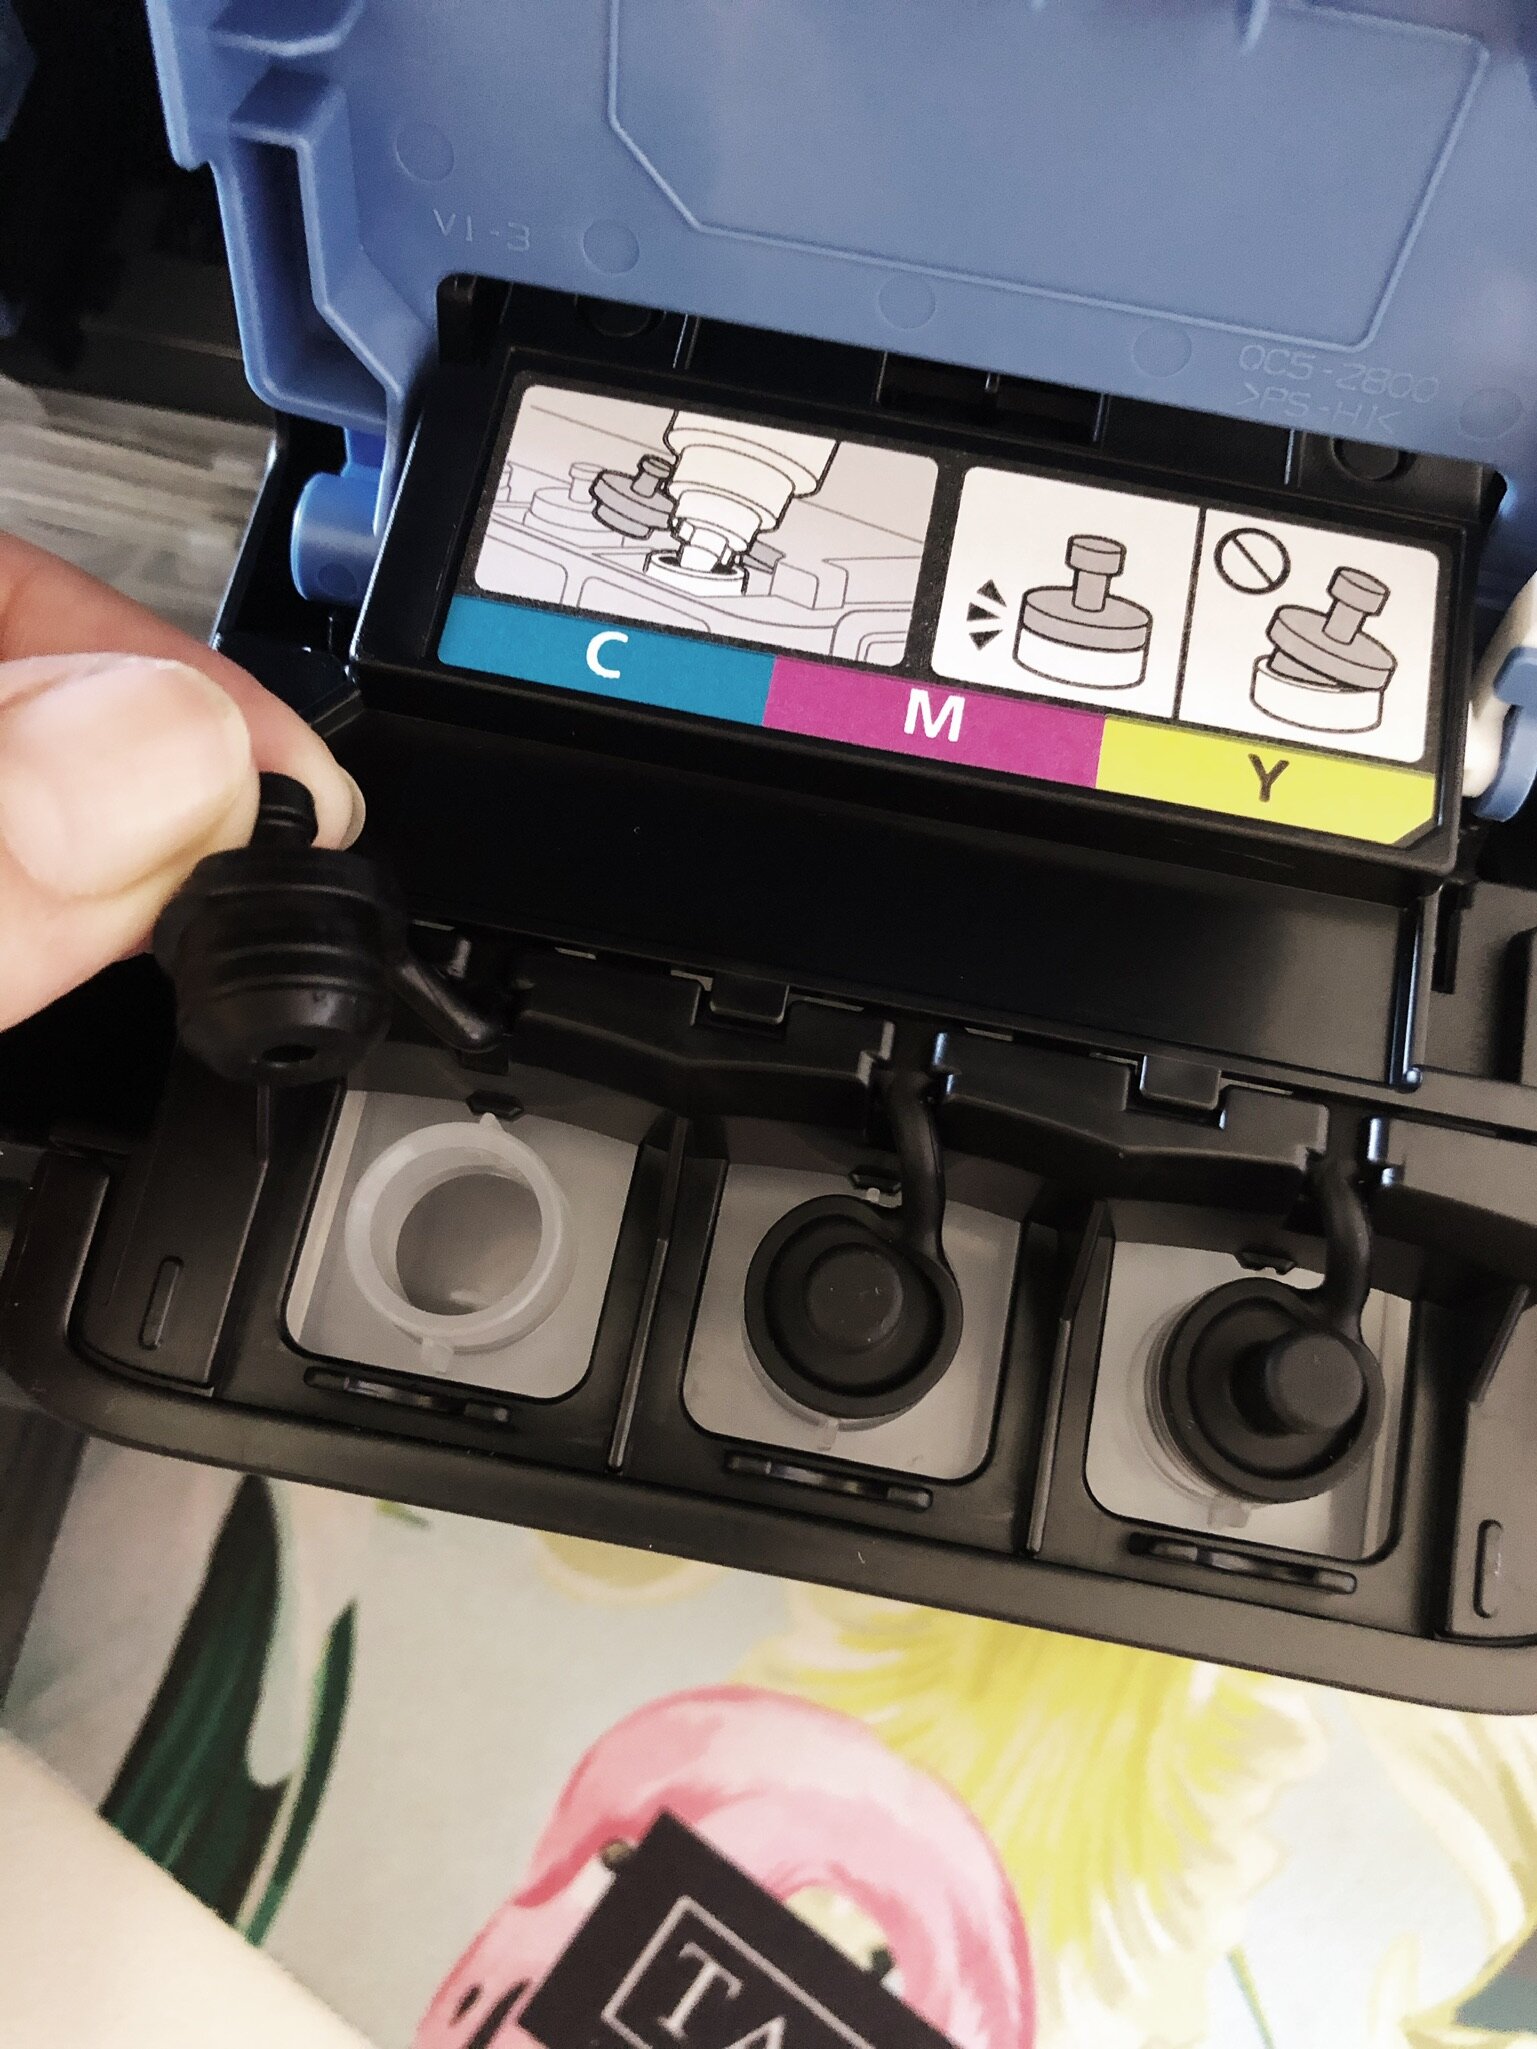
Filling up the ink tanks was very easy (you simply pour the ink into the little jars) and then once full the printer calibrates the colours. There is an easy to see ink level on the front so you can see how much ink you’ve used and when you need to buy more.

The nitty gritty product features of the Canon Pixma G3411 3-in-1 printer

  • Print, scan, & copy 

  • Ideal for those who do not require speed but low cost per copy 

  • Ideal for regular printing  

  • Page Yields: 12 000 pages mono / 7000 pages colour

  • Productive low-cost printing 

  • Wireless Connectivity 

  • Rear paper feeding 

  • Borderless printing 

  • 12 Month Warranty 

So far I’ve printed a number of photographs and a lovely workbook from Under The Acacia (a nature based homeschool curriculum for little ones…even though I haven’t actually started it with Everly yet) and I am really impressed with the printer so far.

Canon Pixma G3411 Refillable Ink Tank Printer for Homeschool, Photos & Home office Use - A Review

Next on my list is a laminator (any recommendations for a good one? I’ve been told it’s the laminating sheets that are the expensive thing?) This seems to be like most tech where the actual machine is relatively inexpensive, but the extras are what end up being so expensive.

I’m very happy with this printer, and will keep you updated as to how it goes and how long the ink lasts.

English Science Camp And Activities for kids - VOLCANOES

EnglishScienceCampActivitiesVolcanoKids

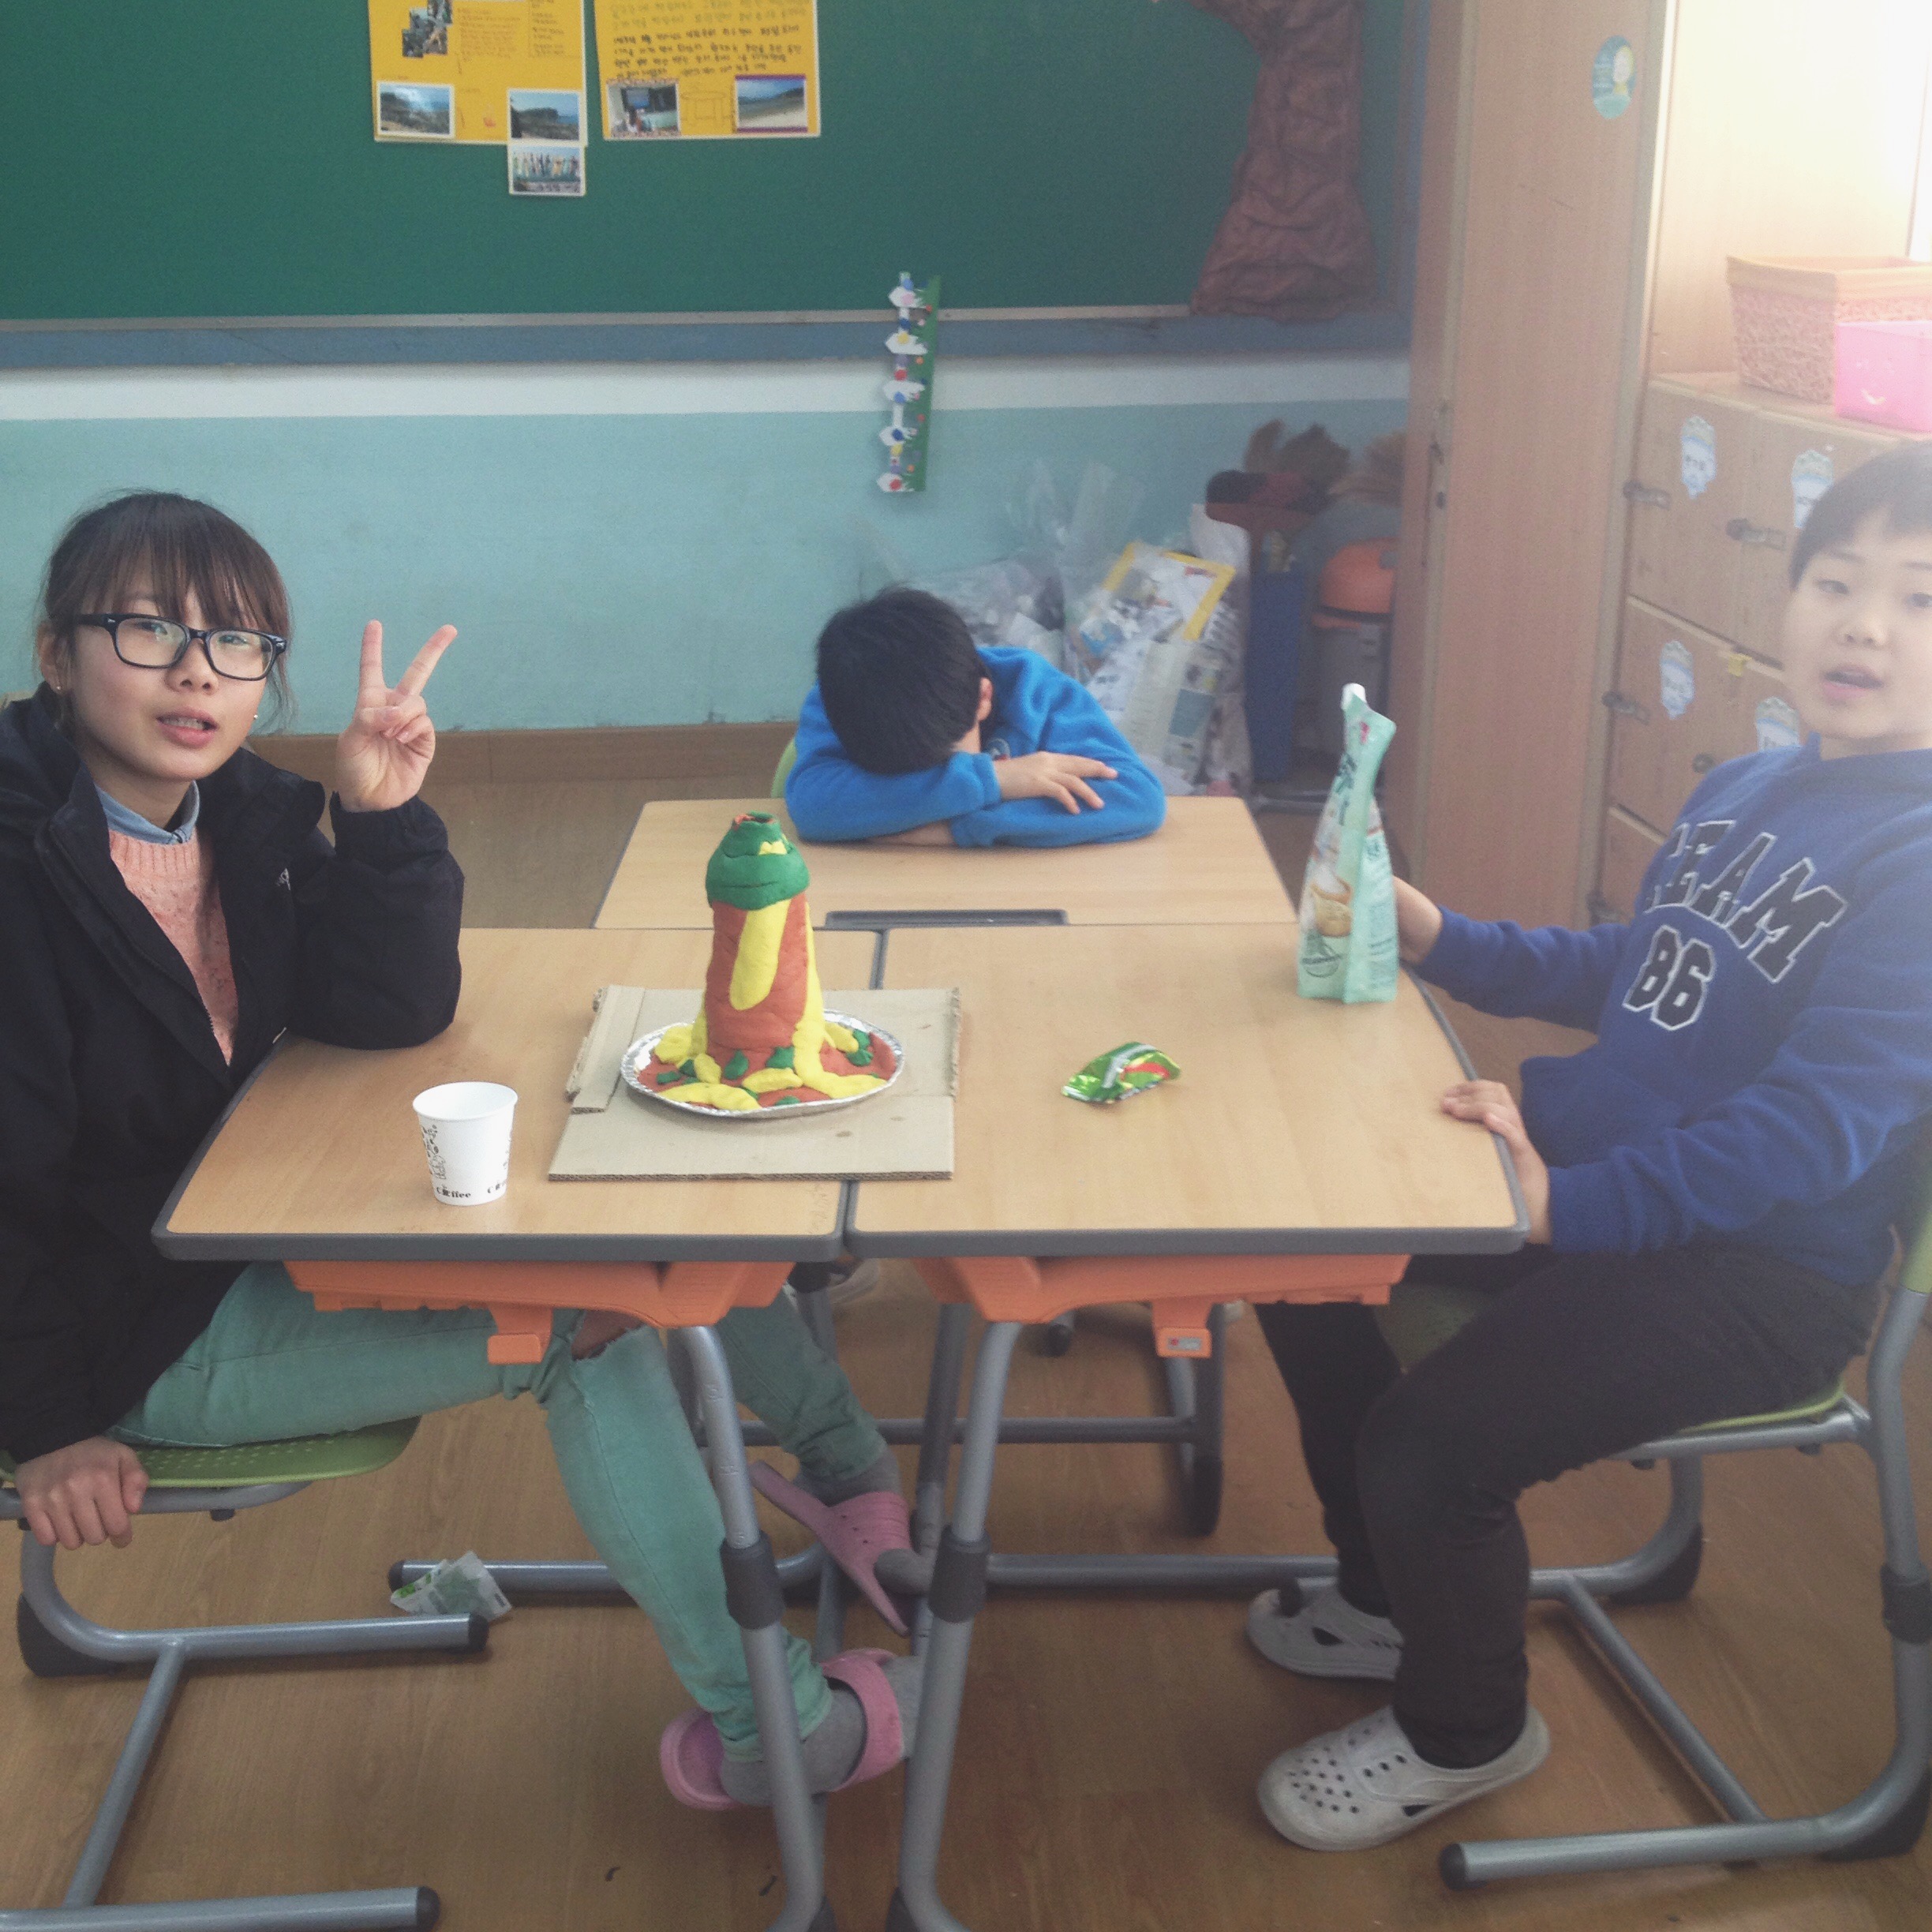
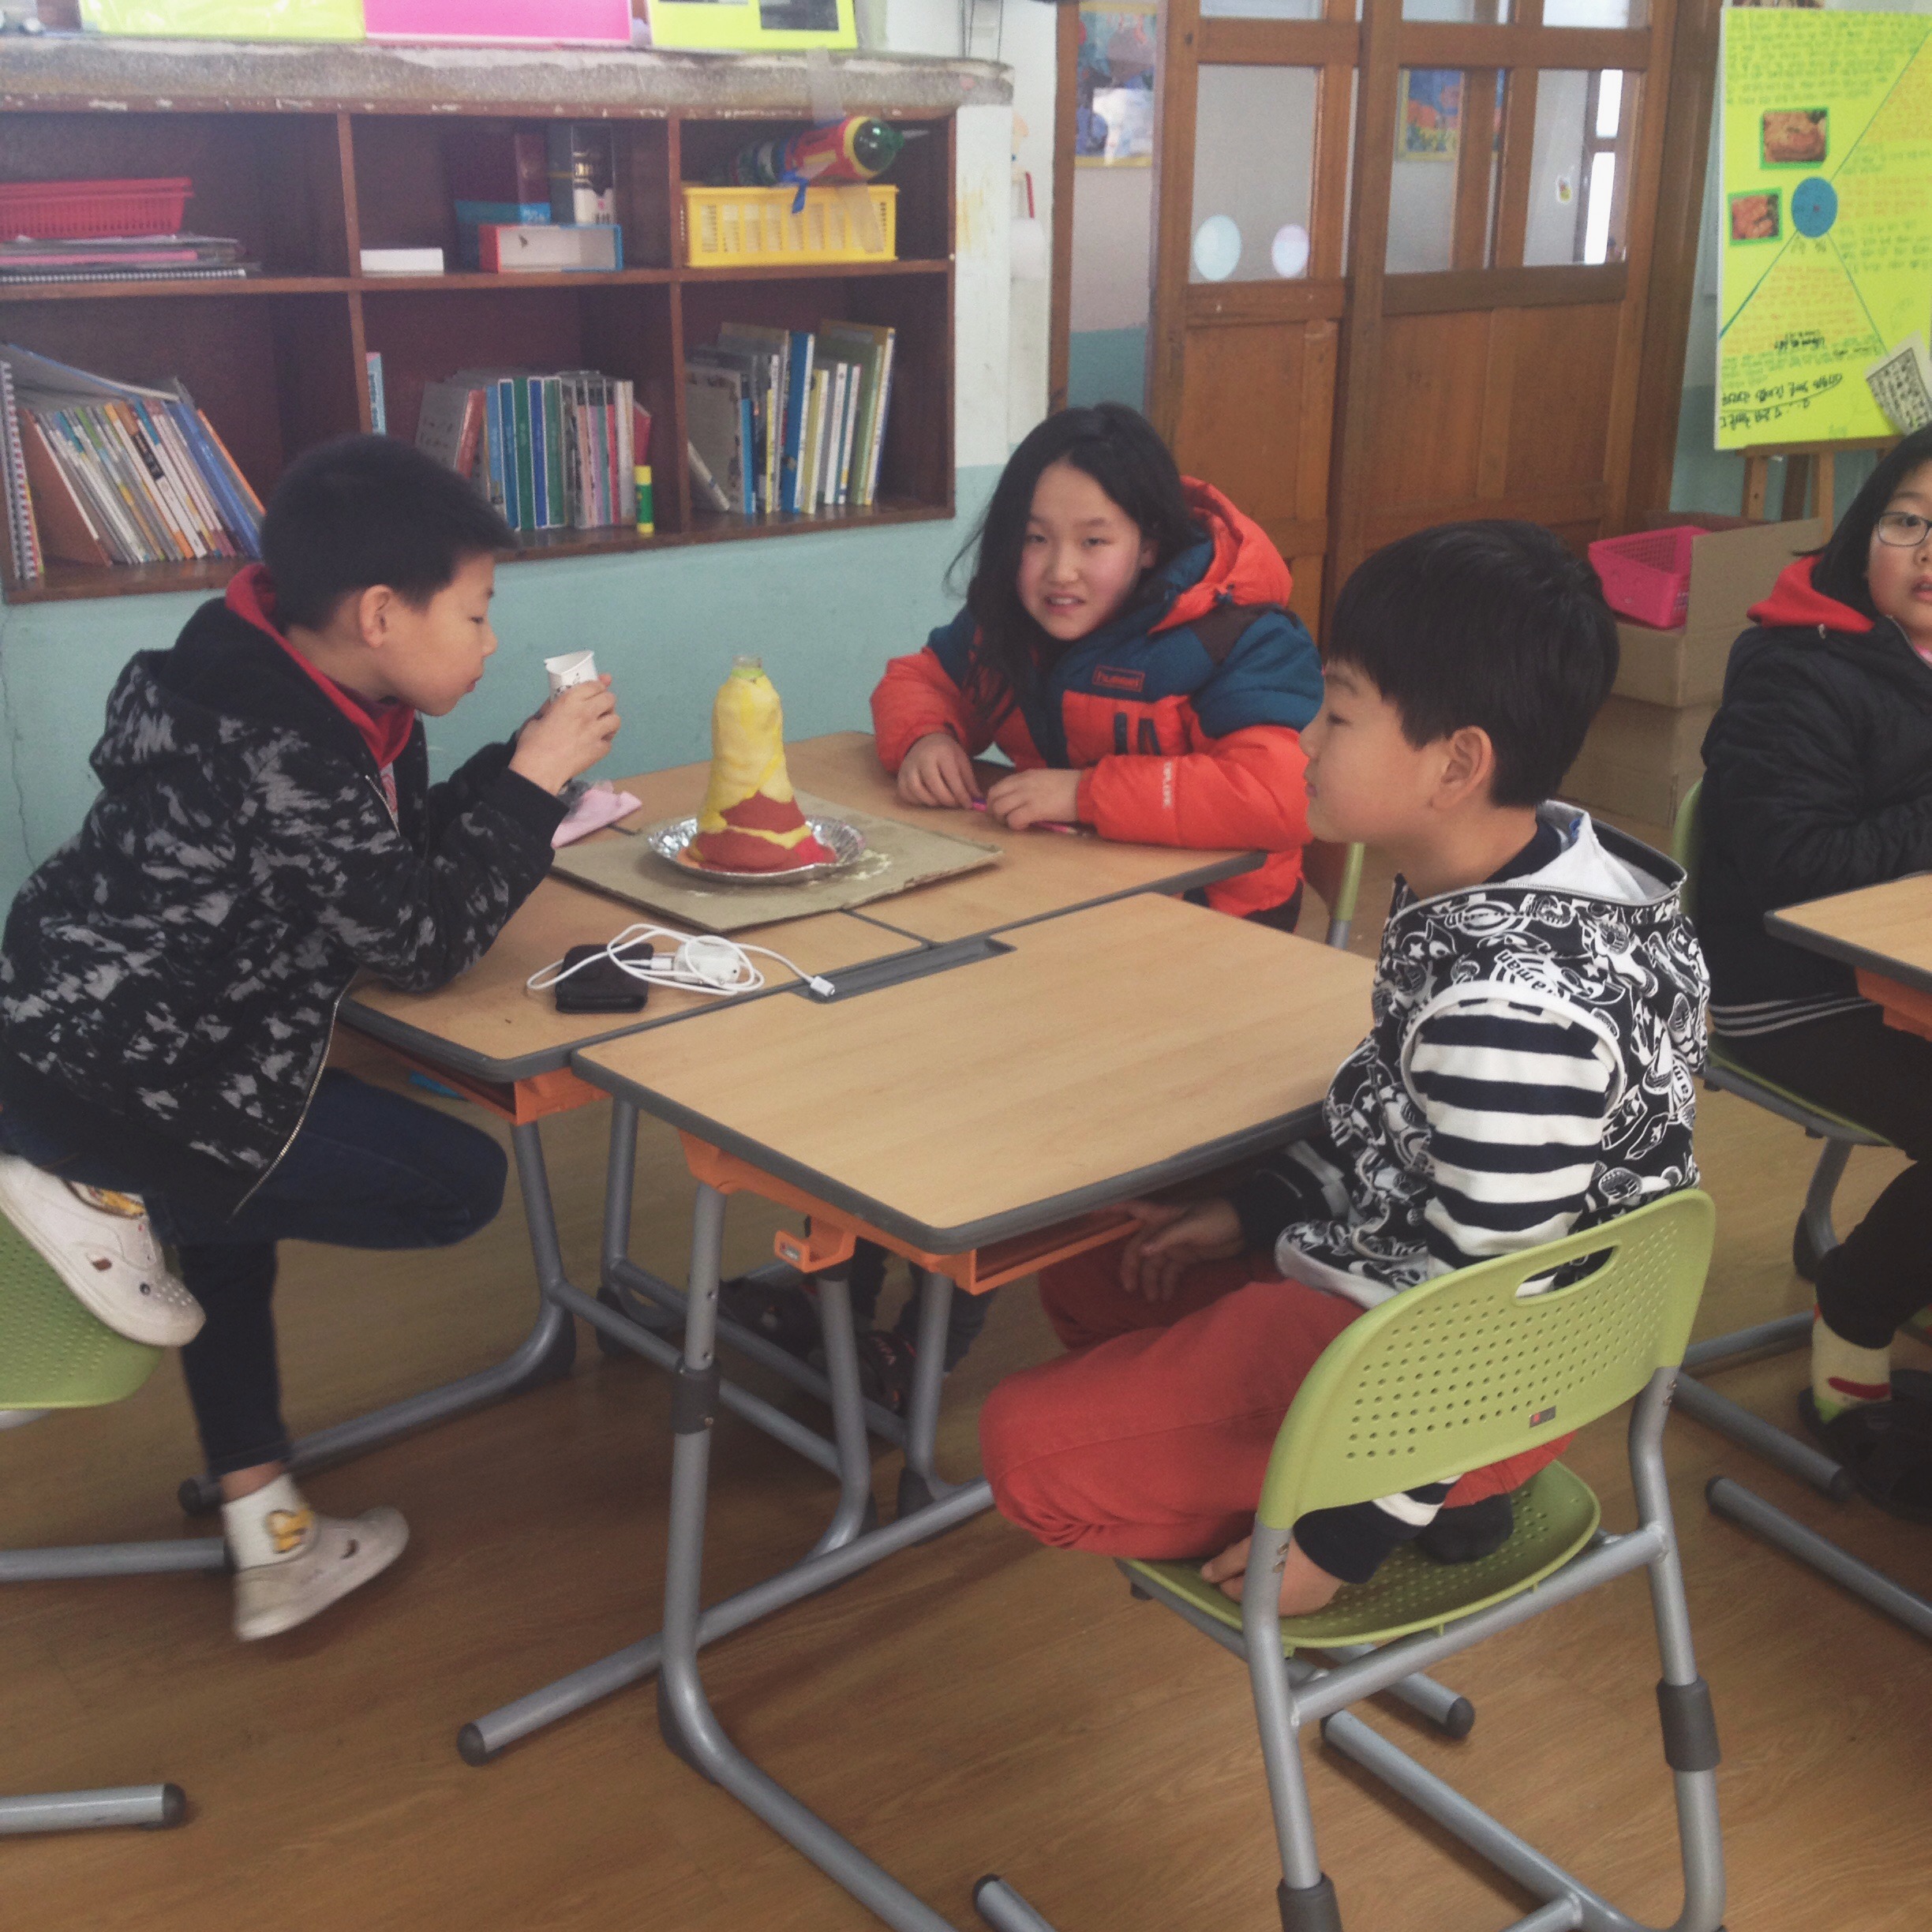
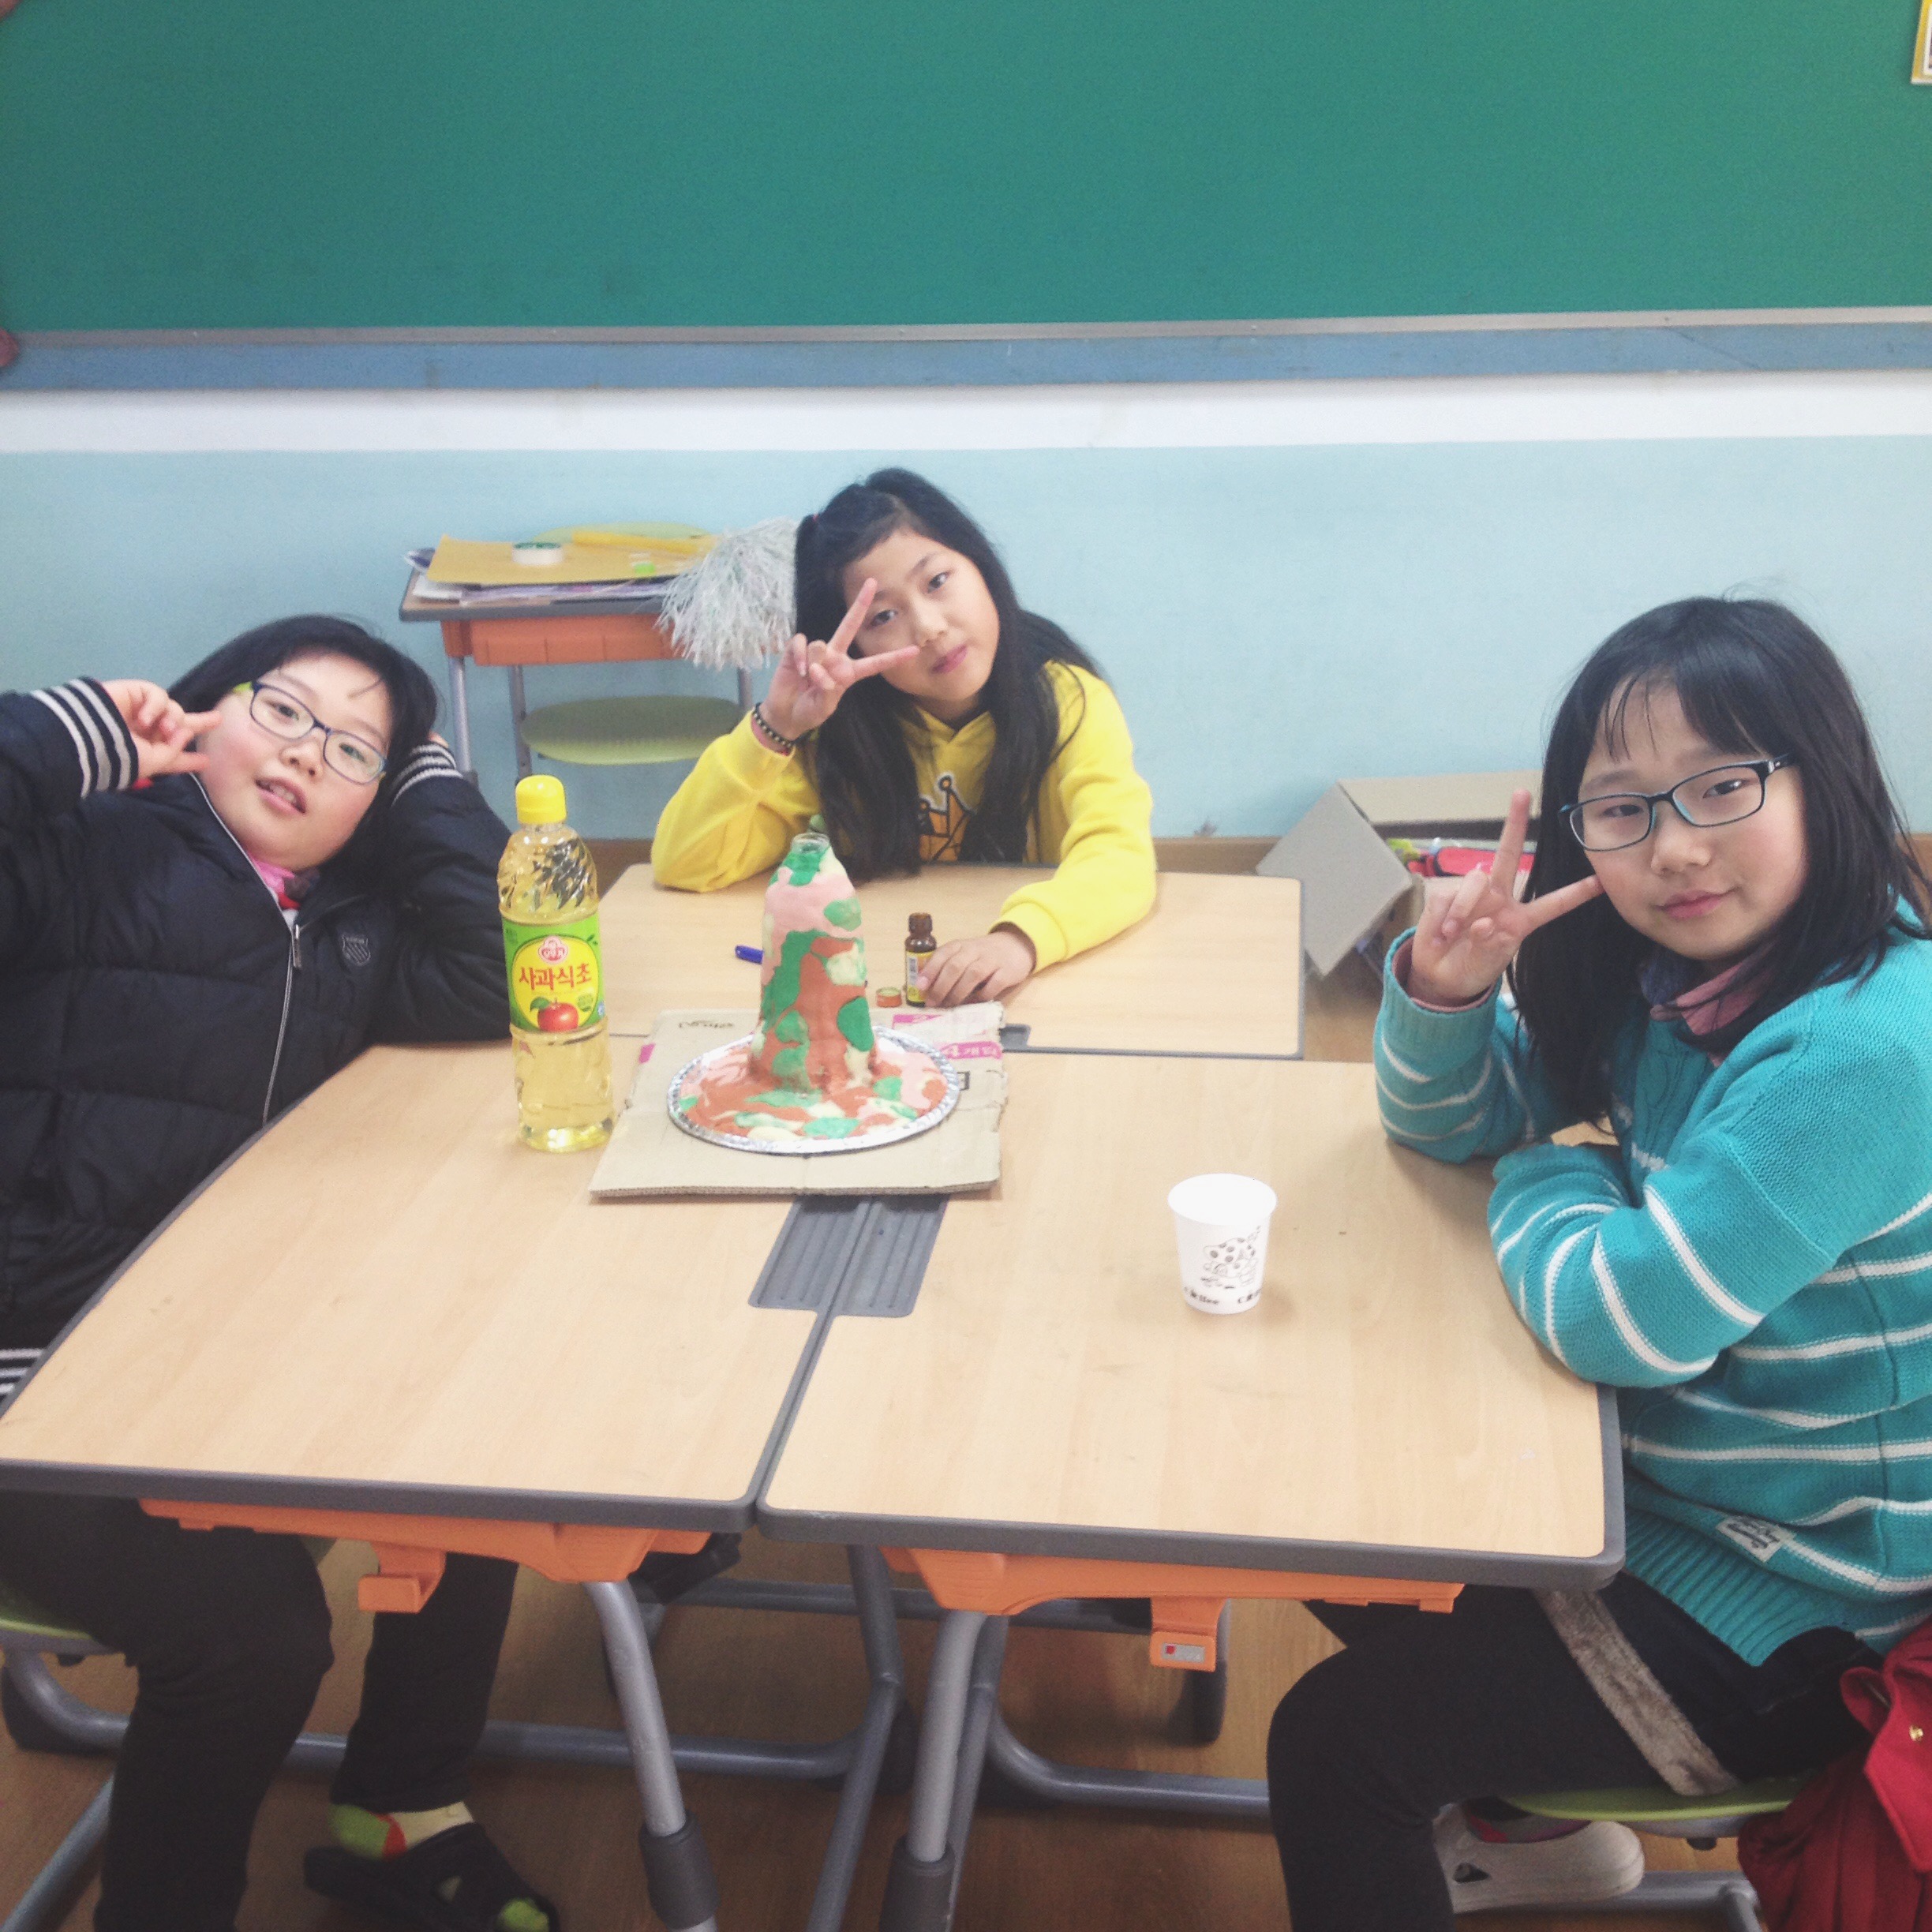
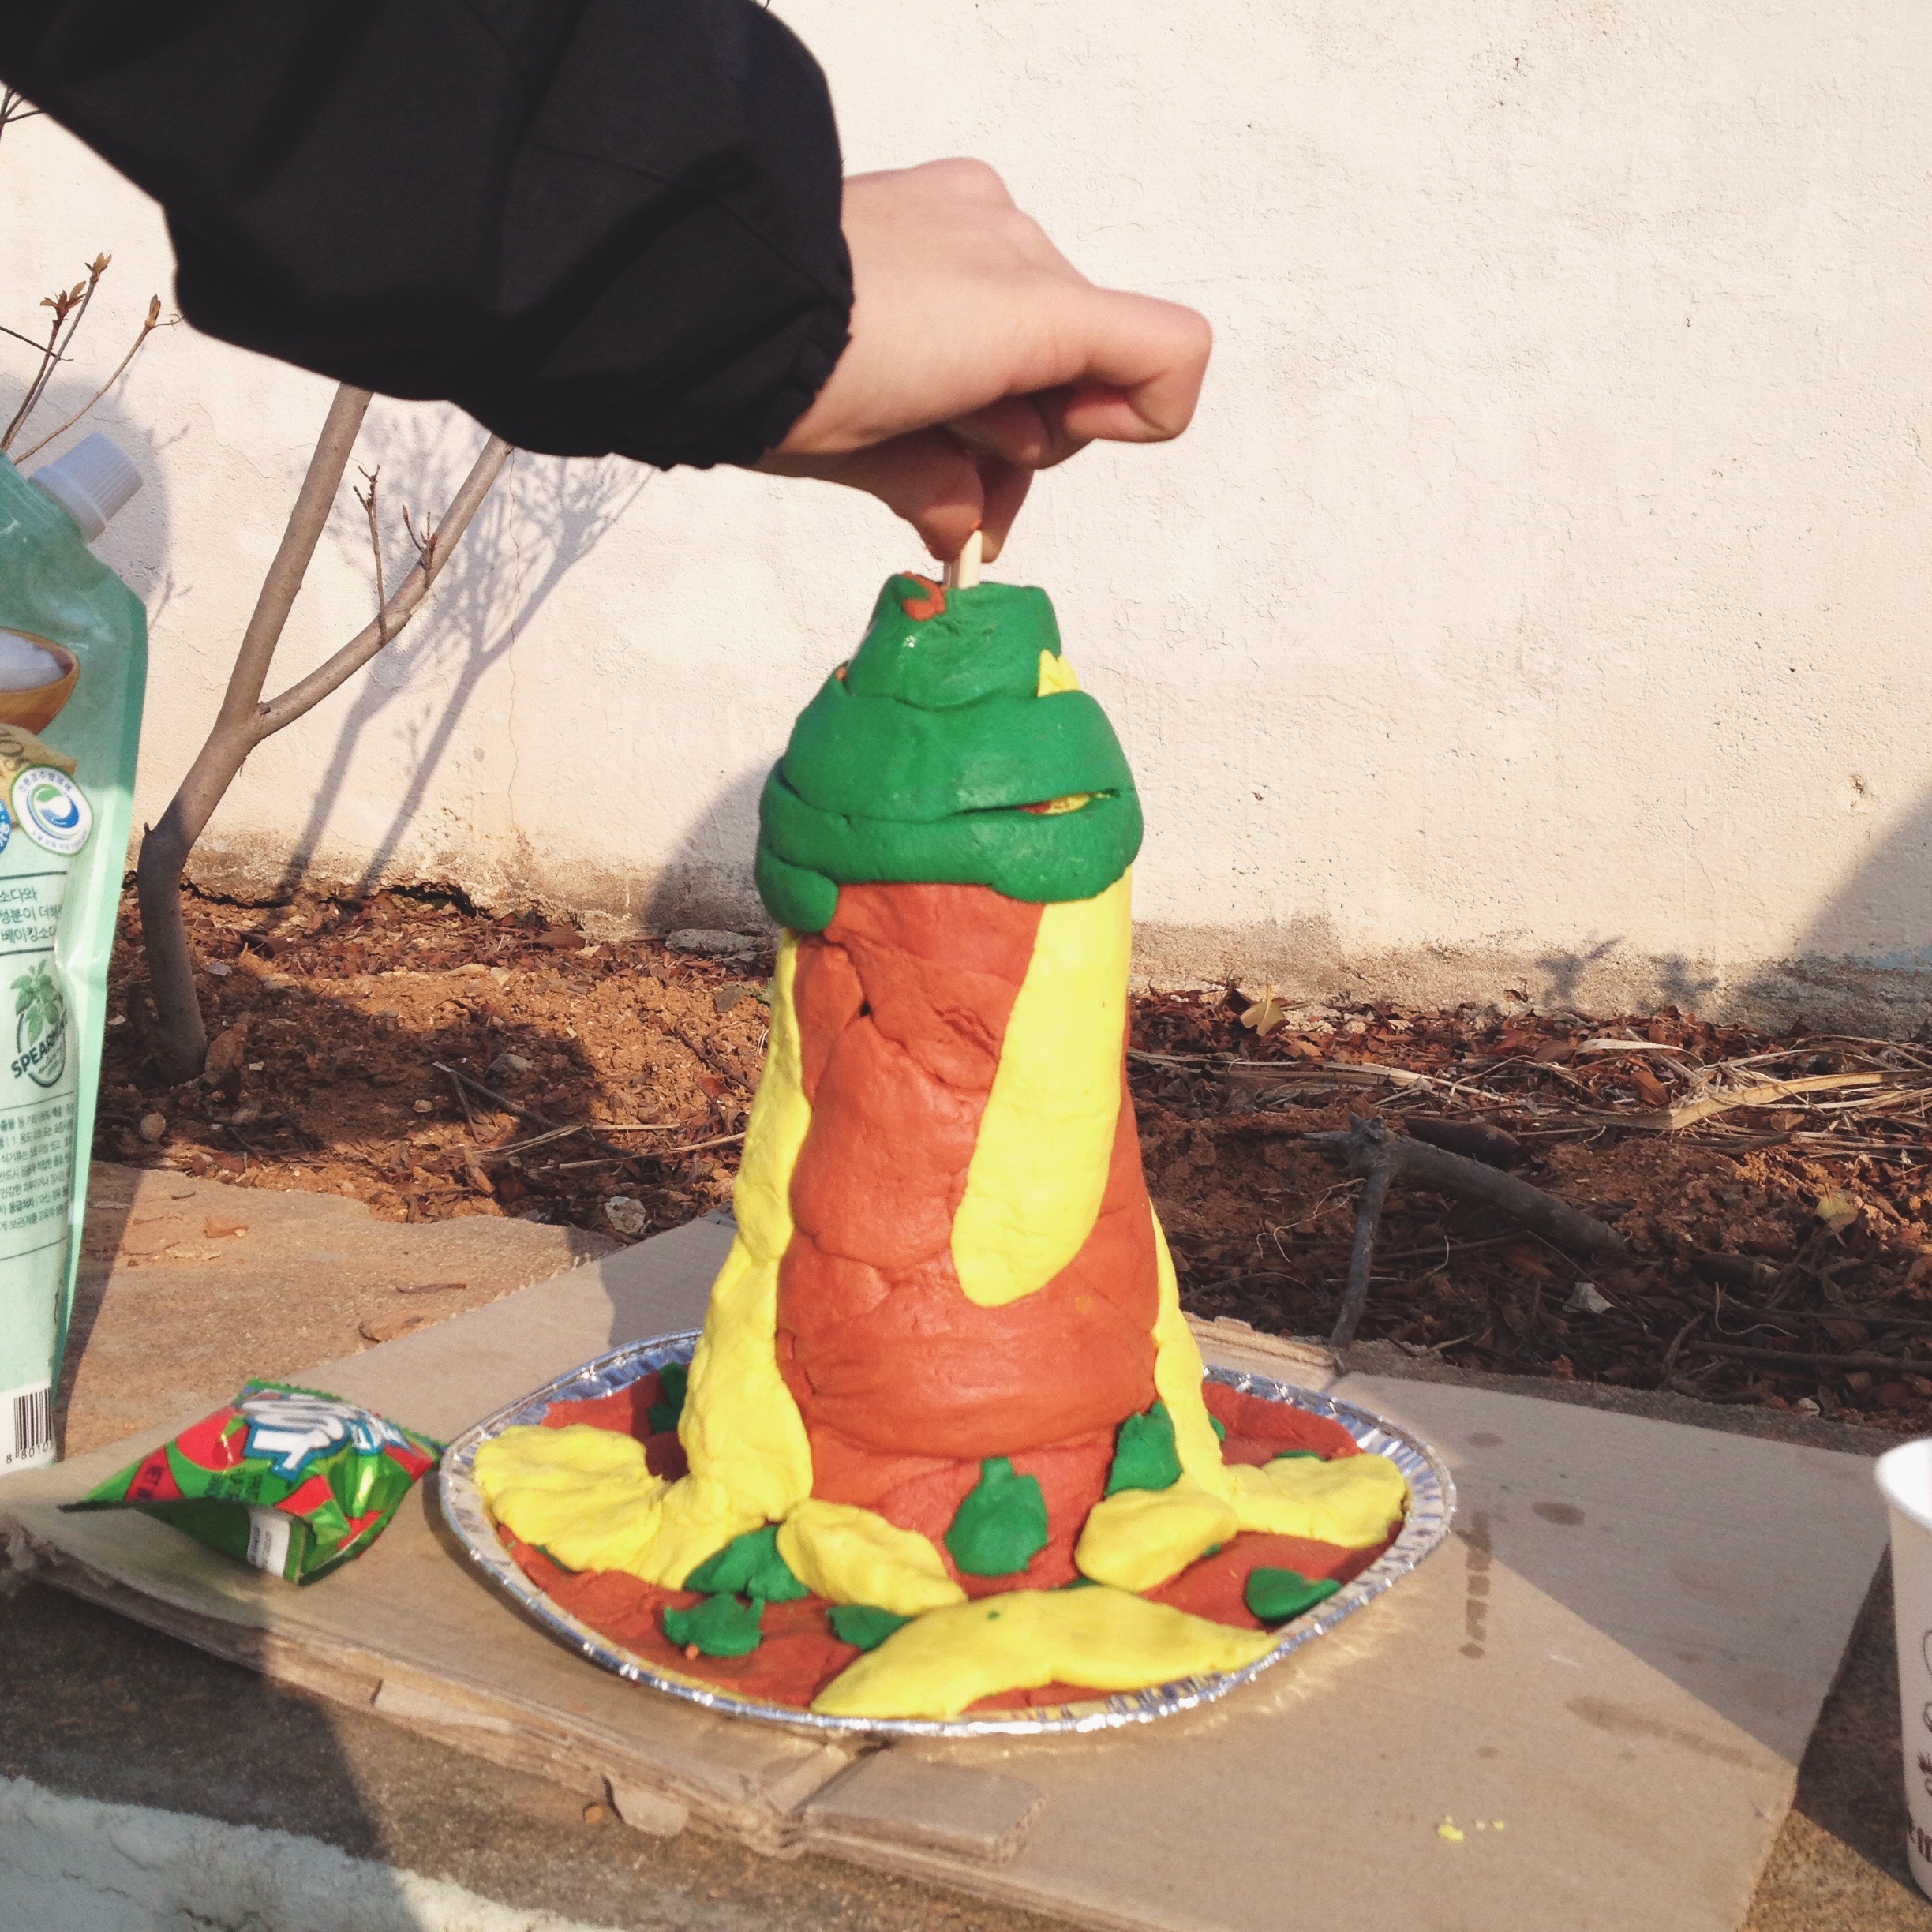
I taught a rather fun science English camp to different groups of students at the end of last year. I wanted something that was very hands on for the kids, while being fun and educational. I did these lessons with both elementary and middle schoolers and all my kids loved these experiments. We made exploding volcanoes and did the Egg drop experiment. This post will be focused on...

Volcanoes

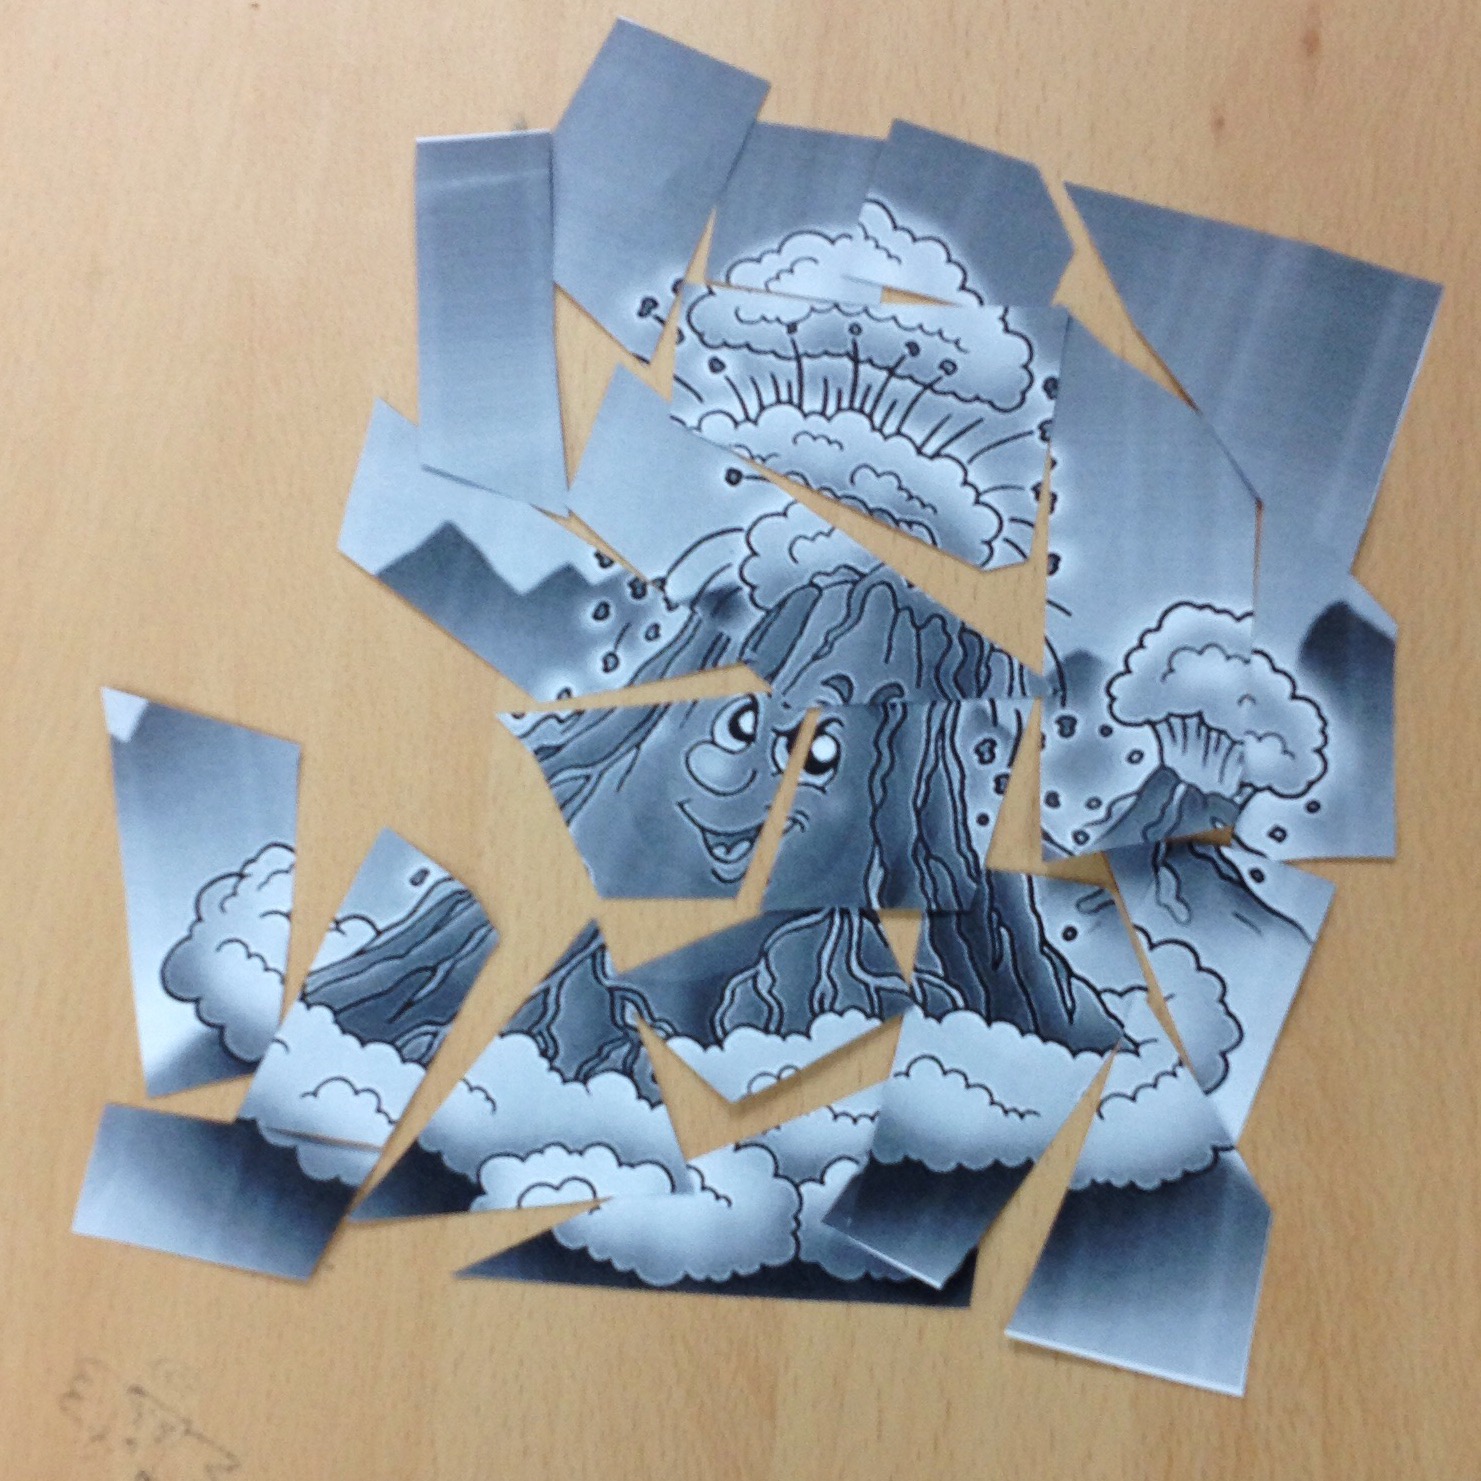
I started the lesson by having my students in groups of 4. I gave each group a picture of a volcano that I had cut up into small pieces. I placed the picture facedown and then told them they had to put the pieces of the puzzle together and the first team to do it would be the winner.

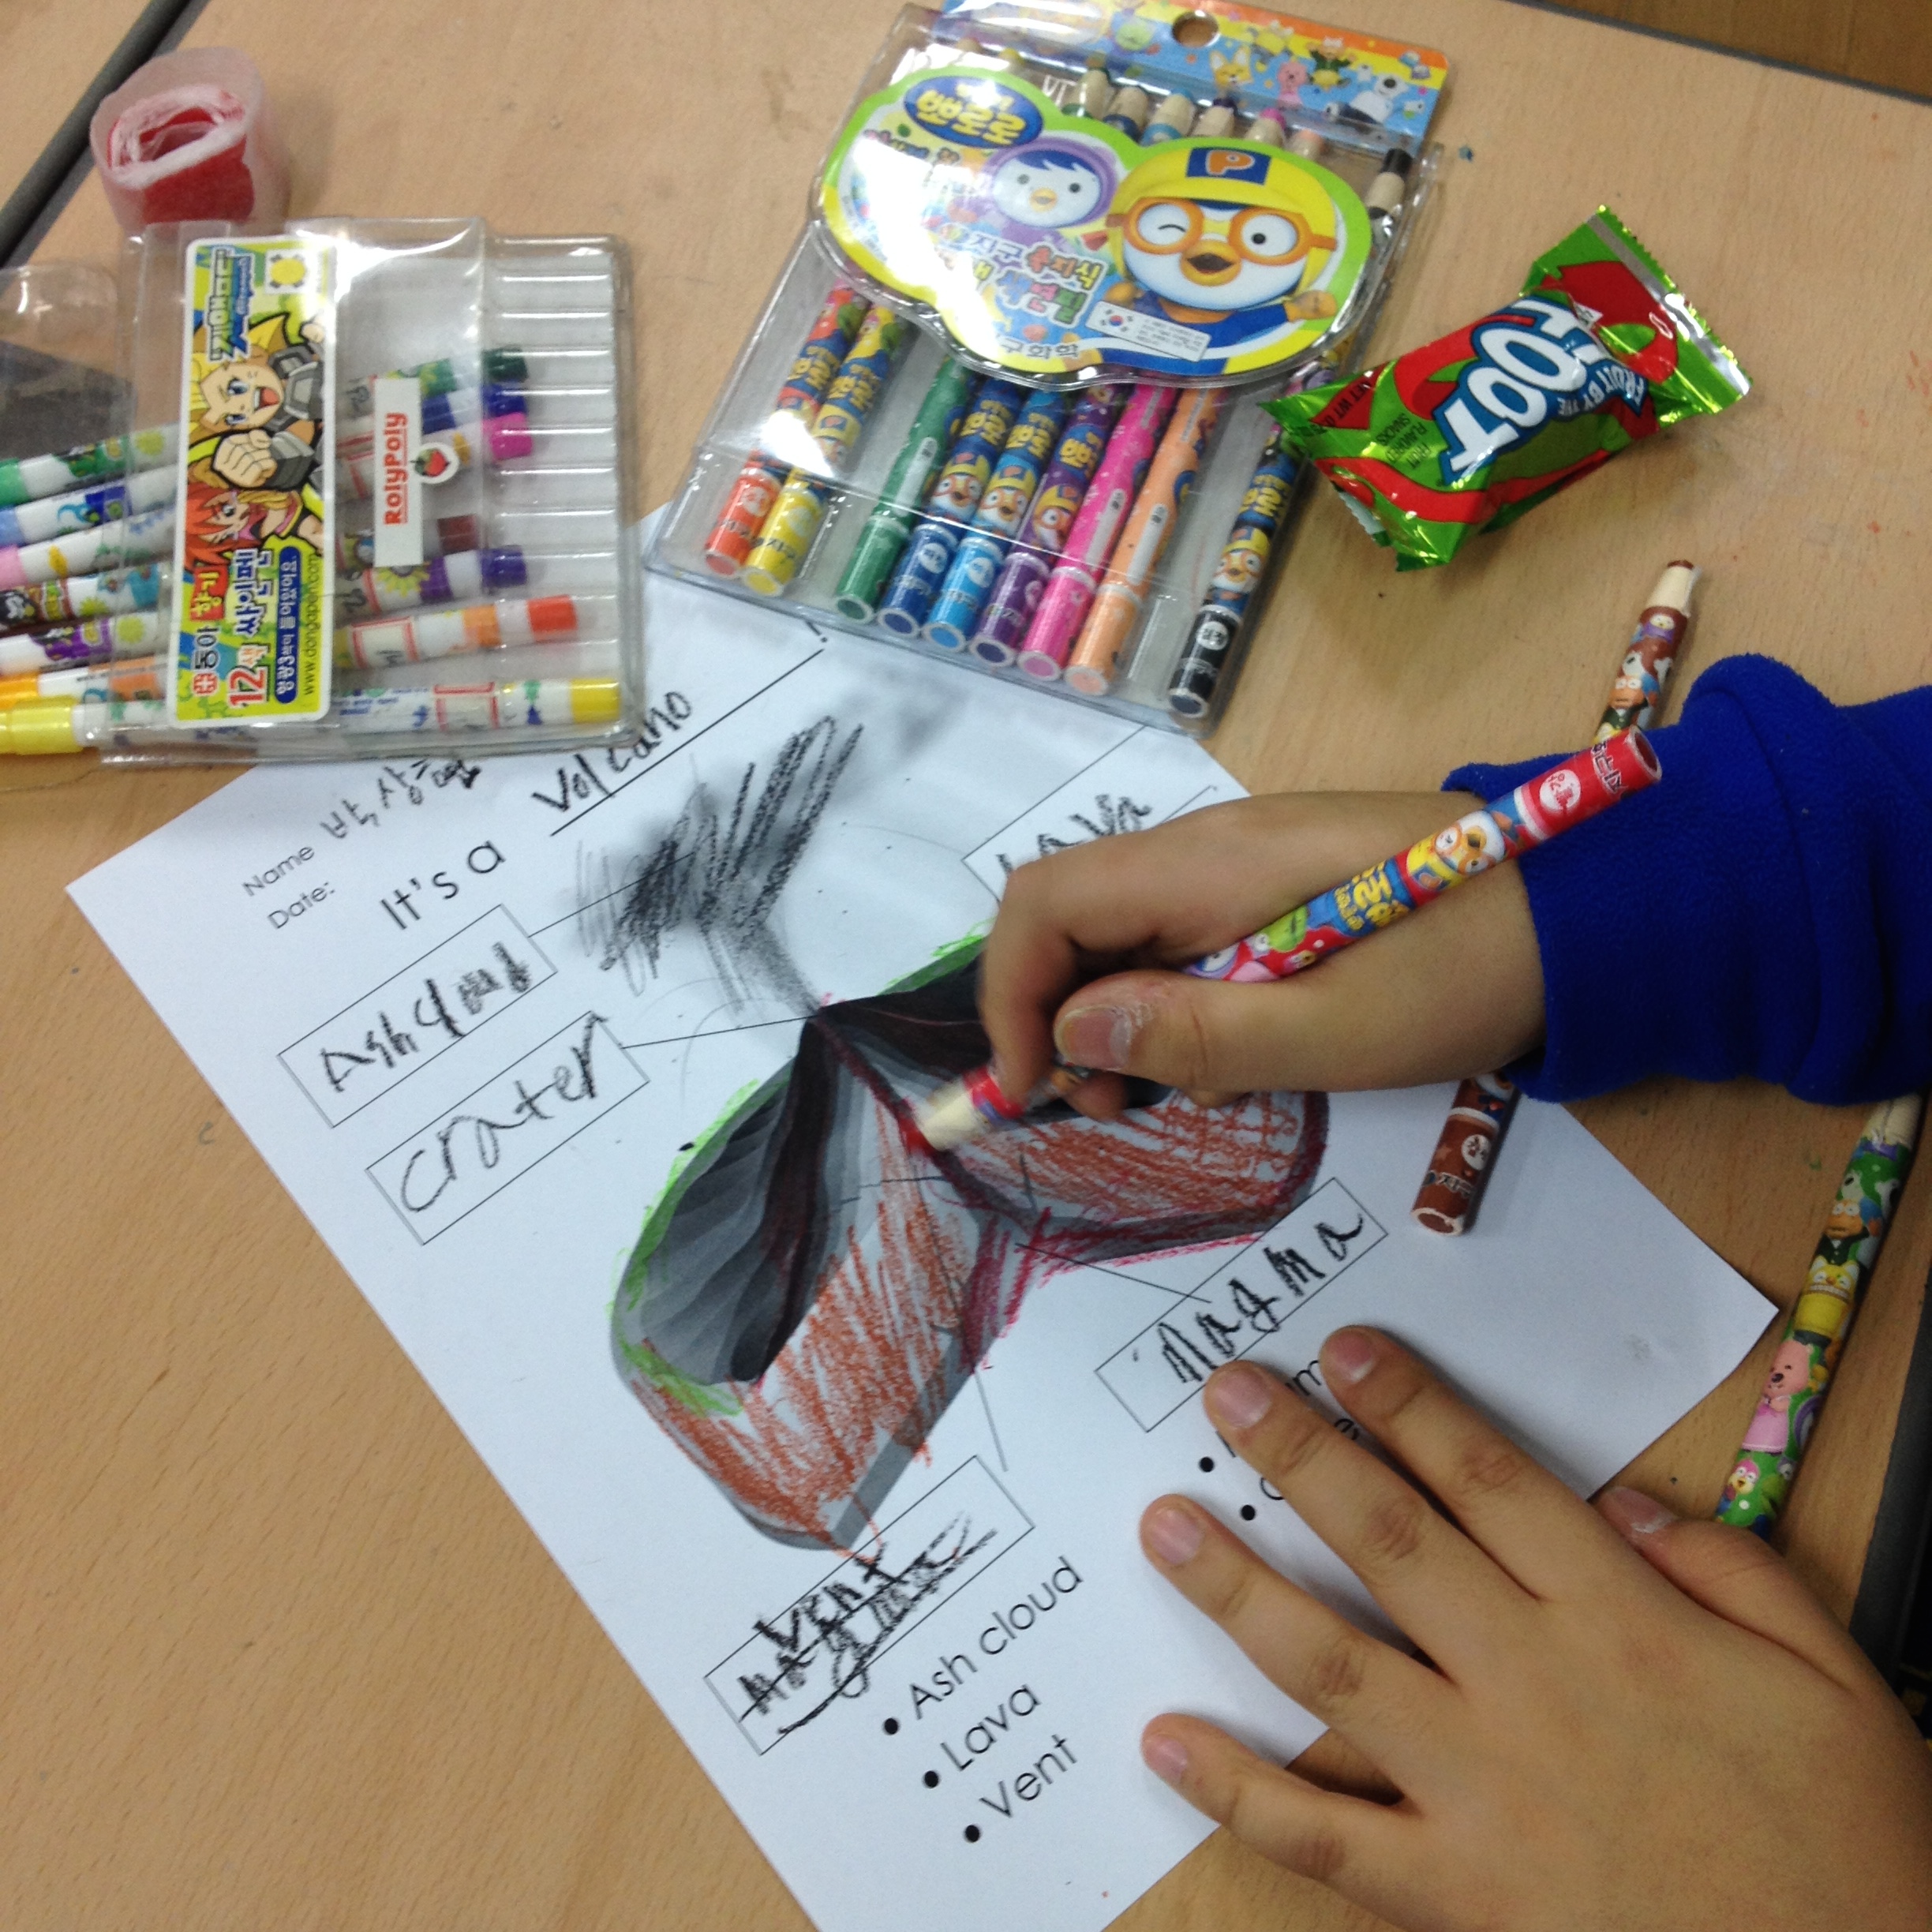
Then we went over a very basic power point presentation showing the different parts of the volcano and completed a worksheet (I found the worksheet on Waygook, an incredible research, free rich website aimed at teachers here in South Korea). 

Then we set about making our volcanoes. I found all the ingredients that I needed at my local mart:

Ingredients for the Volcano

Vinegar

Oil

Flour

Dish Soap

Baking Soda

Water

Salt (try to use buy a ground salt...I learnt this lesson from the No Cook Play Dough recipe I did last year, course salt is horrible when making clay!)

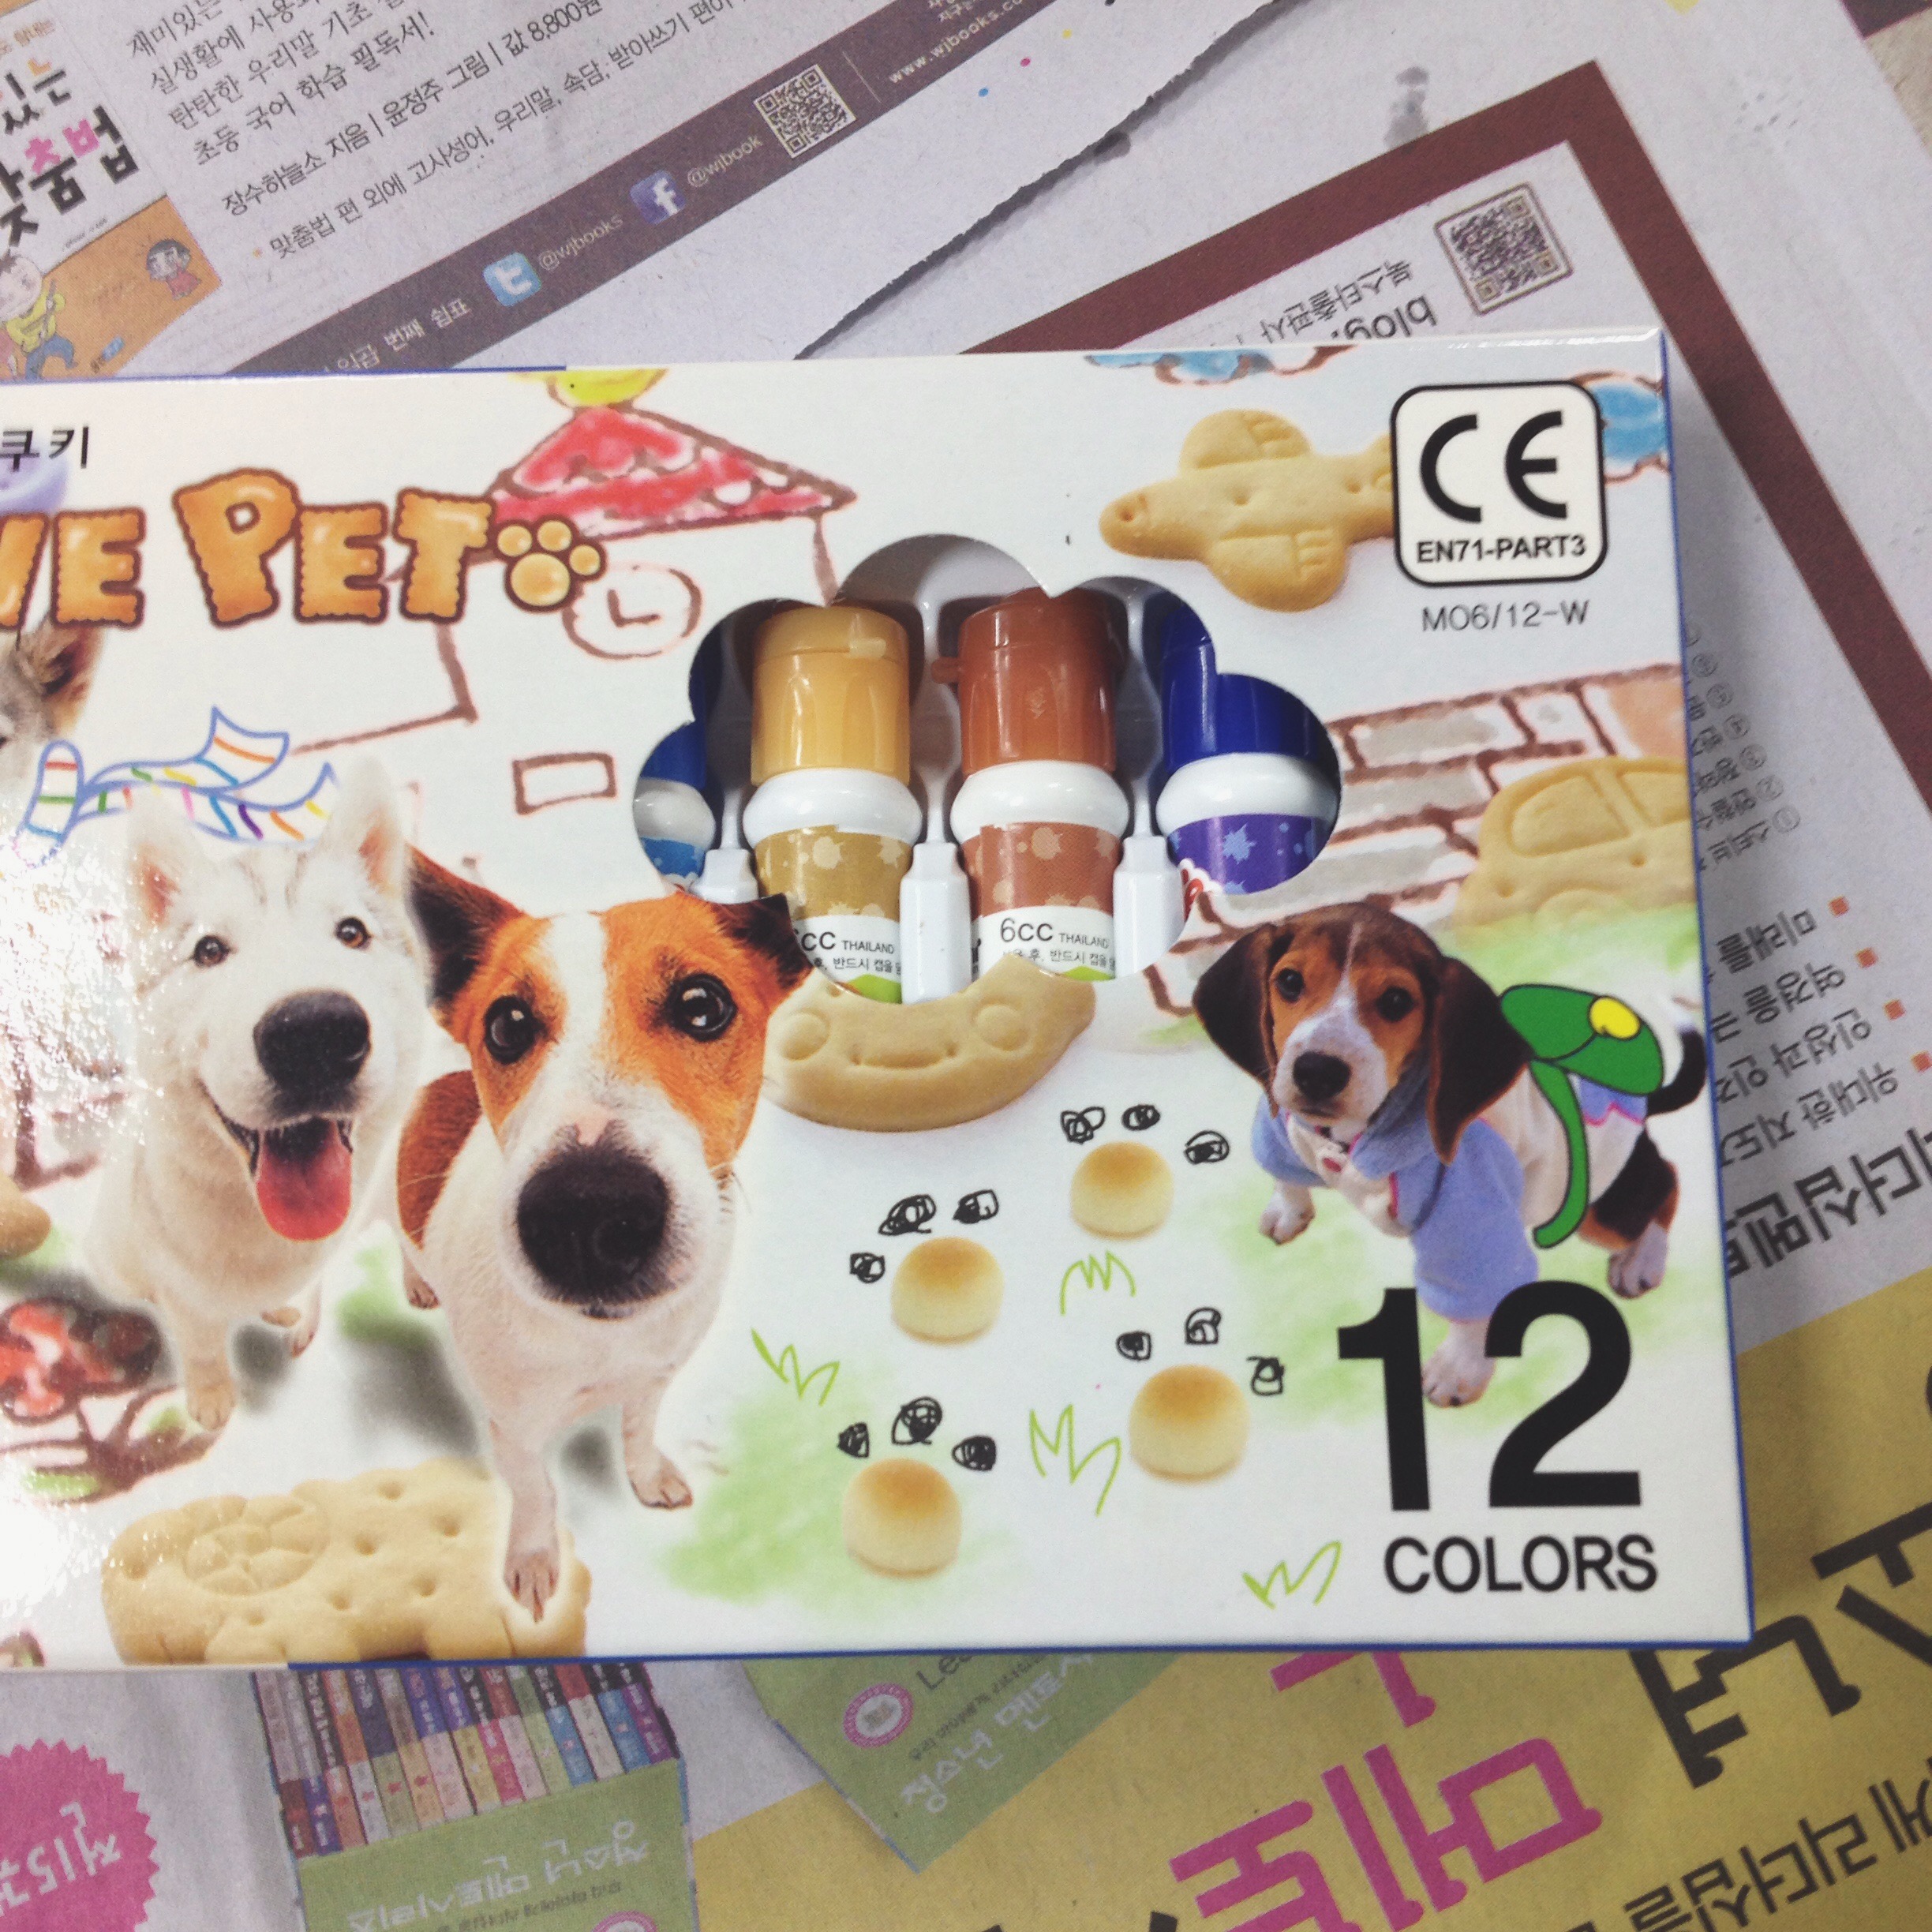
Water based paints (i found these at the back of my English room)

Bottles (for the structure of your volcano)

How to Make the Volcano

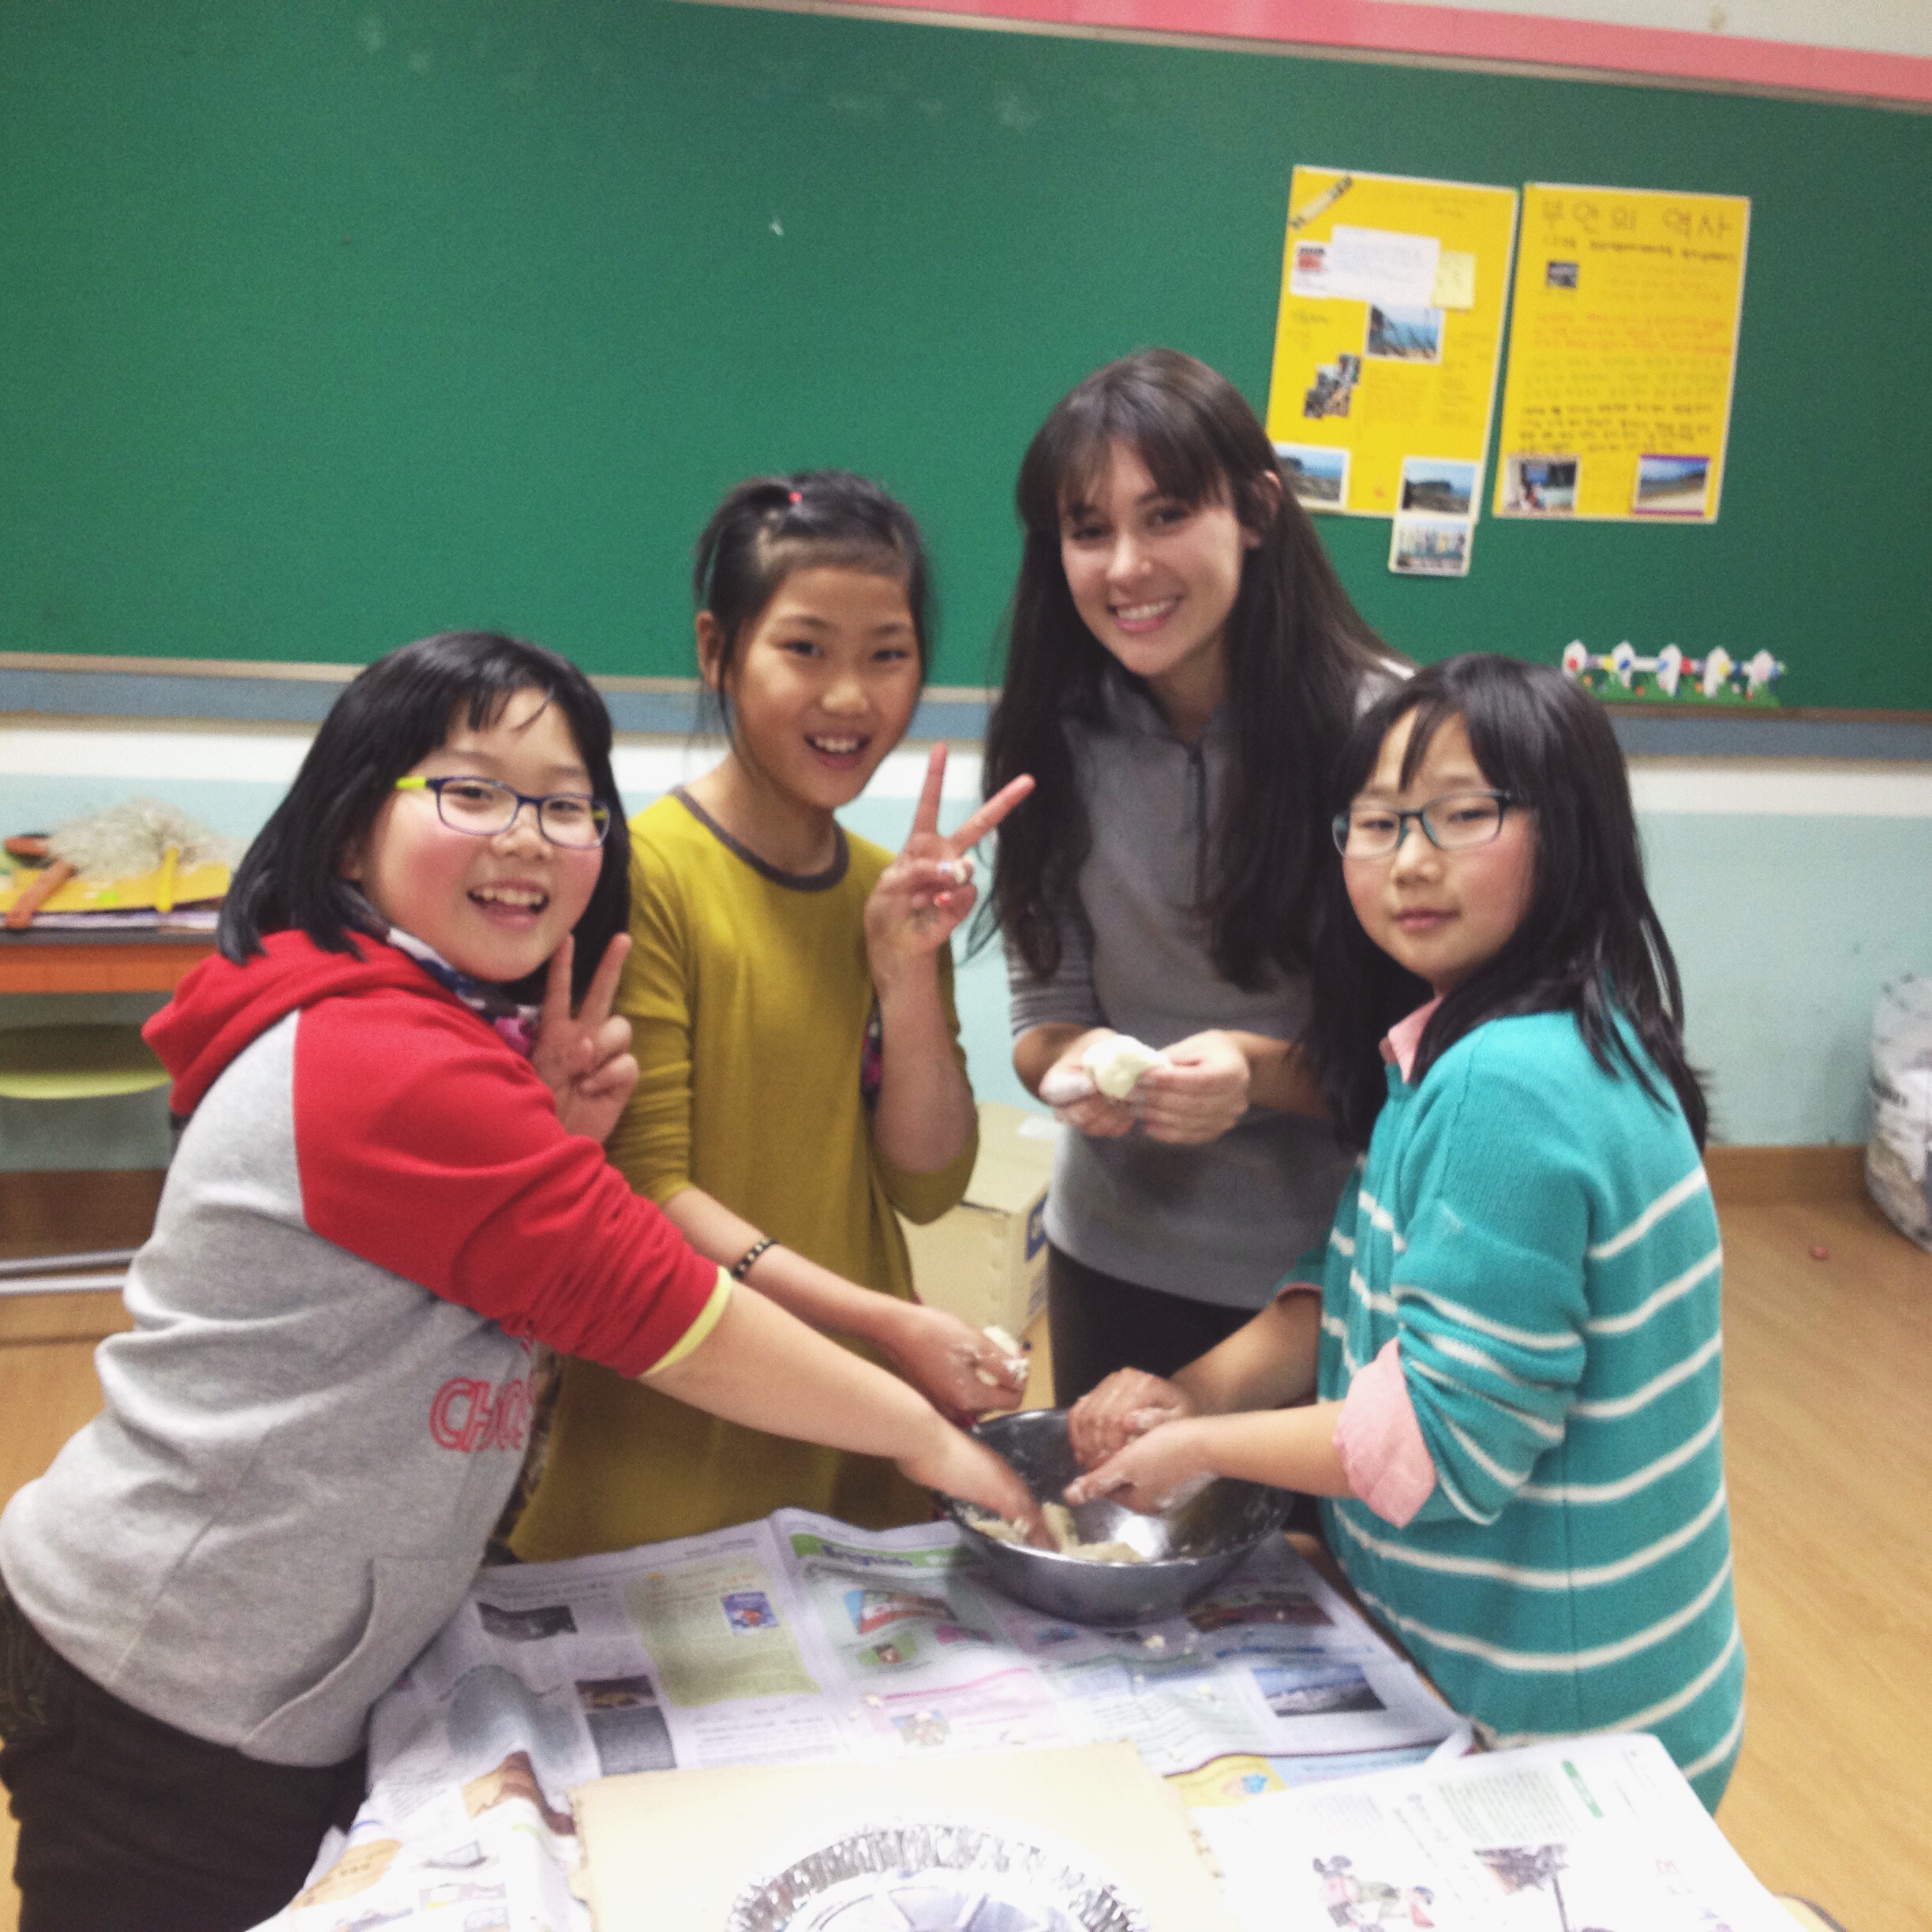
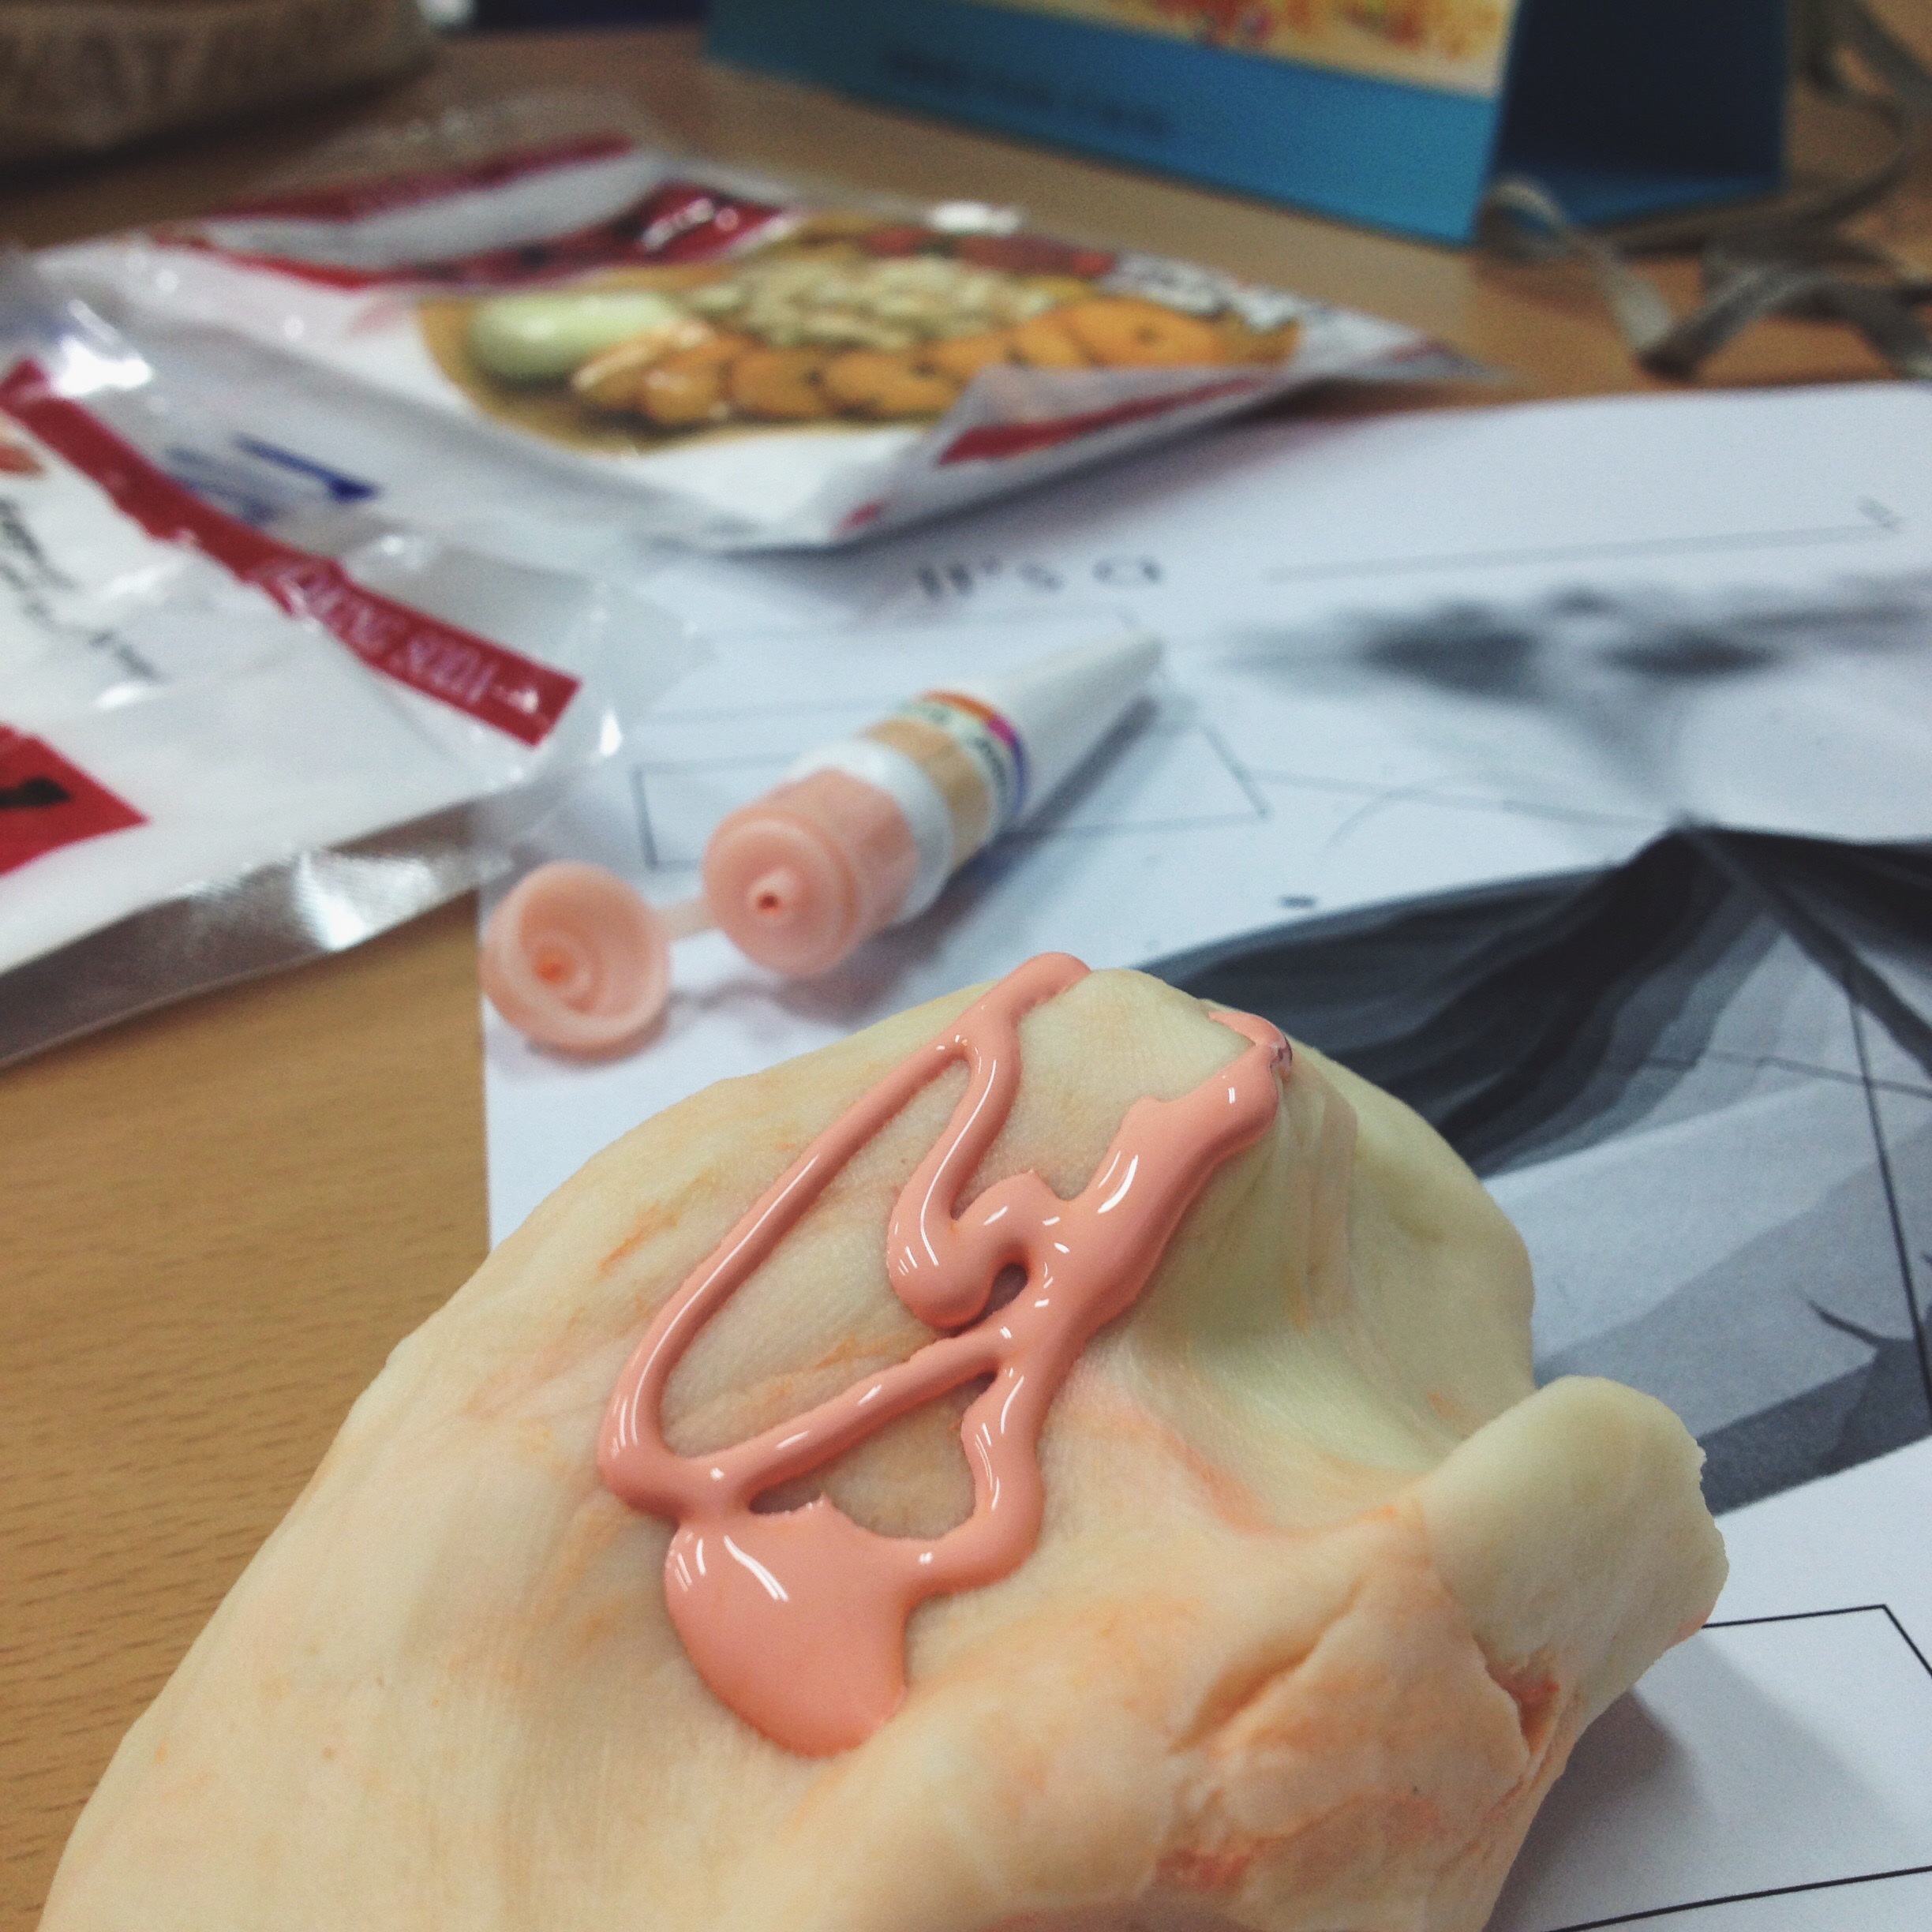
For the dough a.k.a. the outside of the volcano

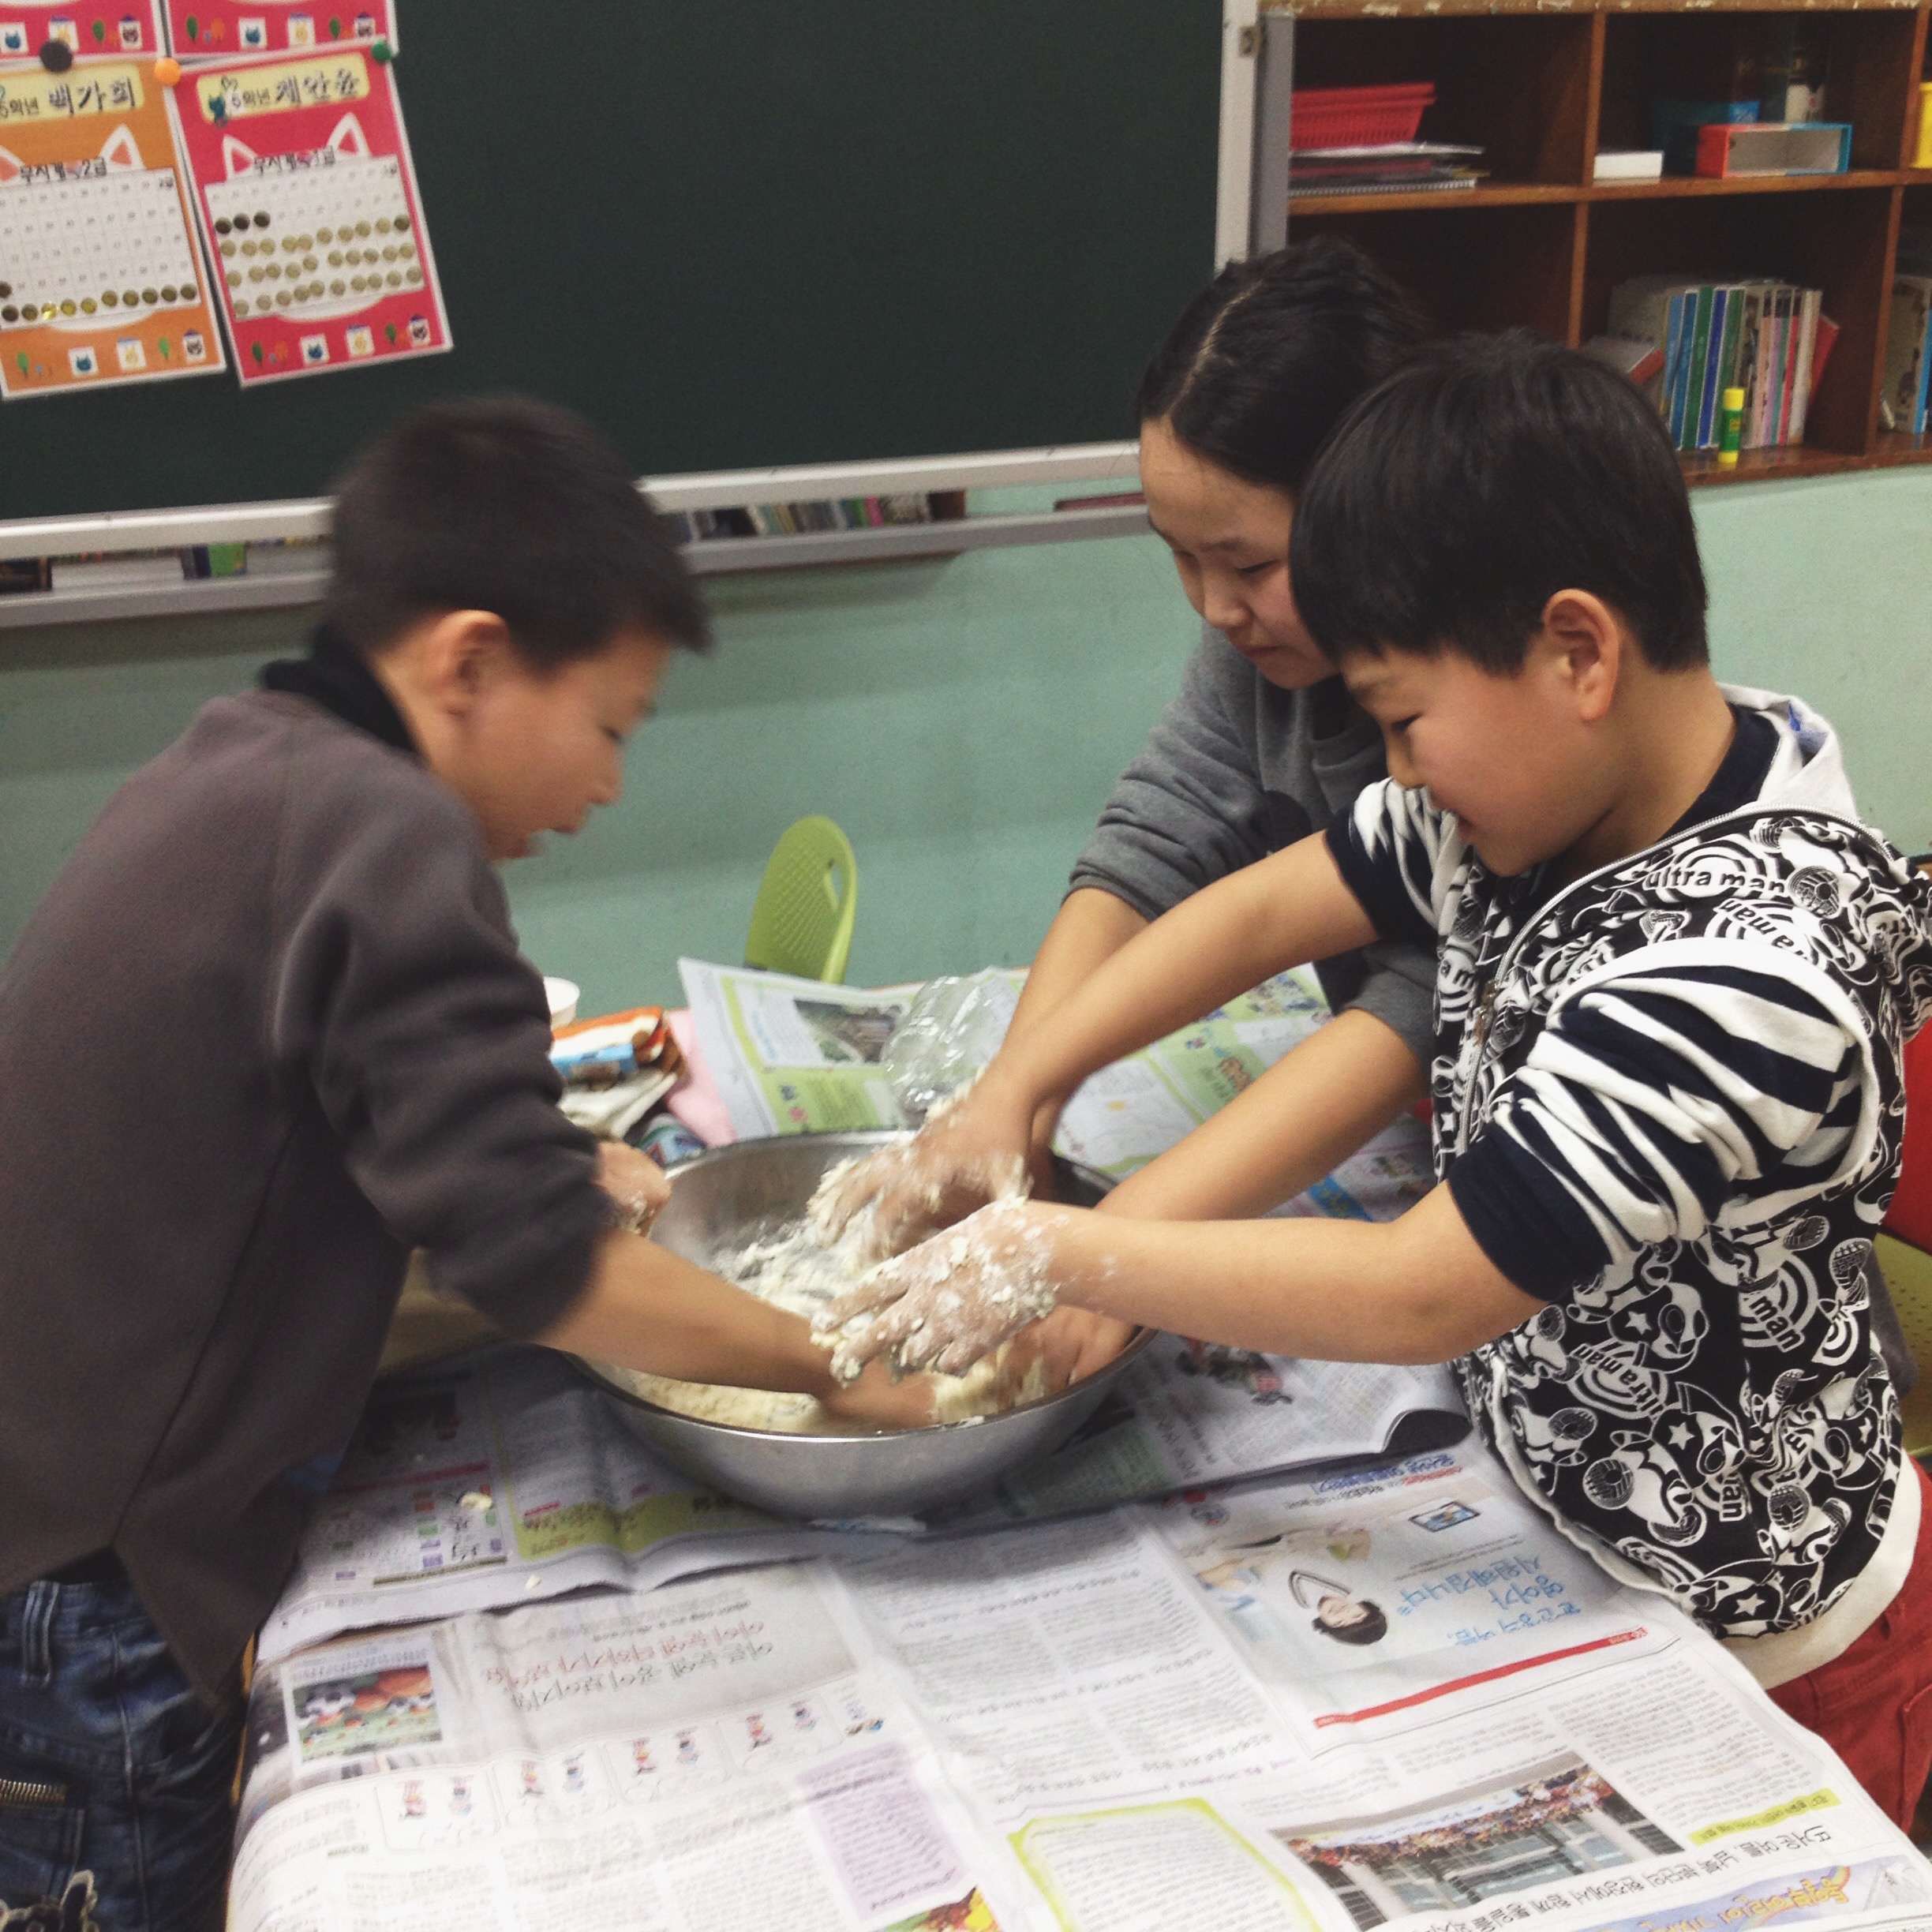
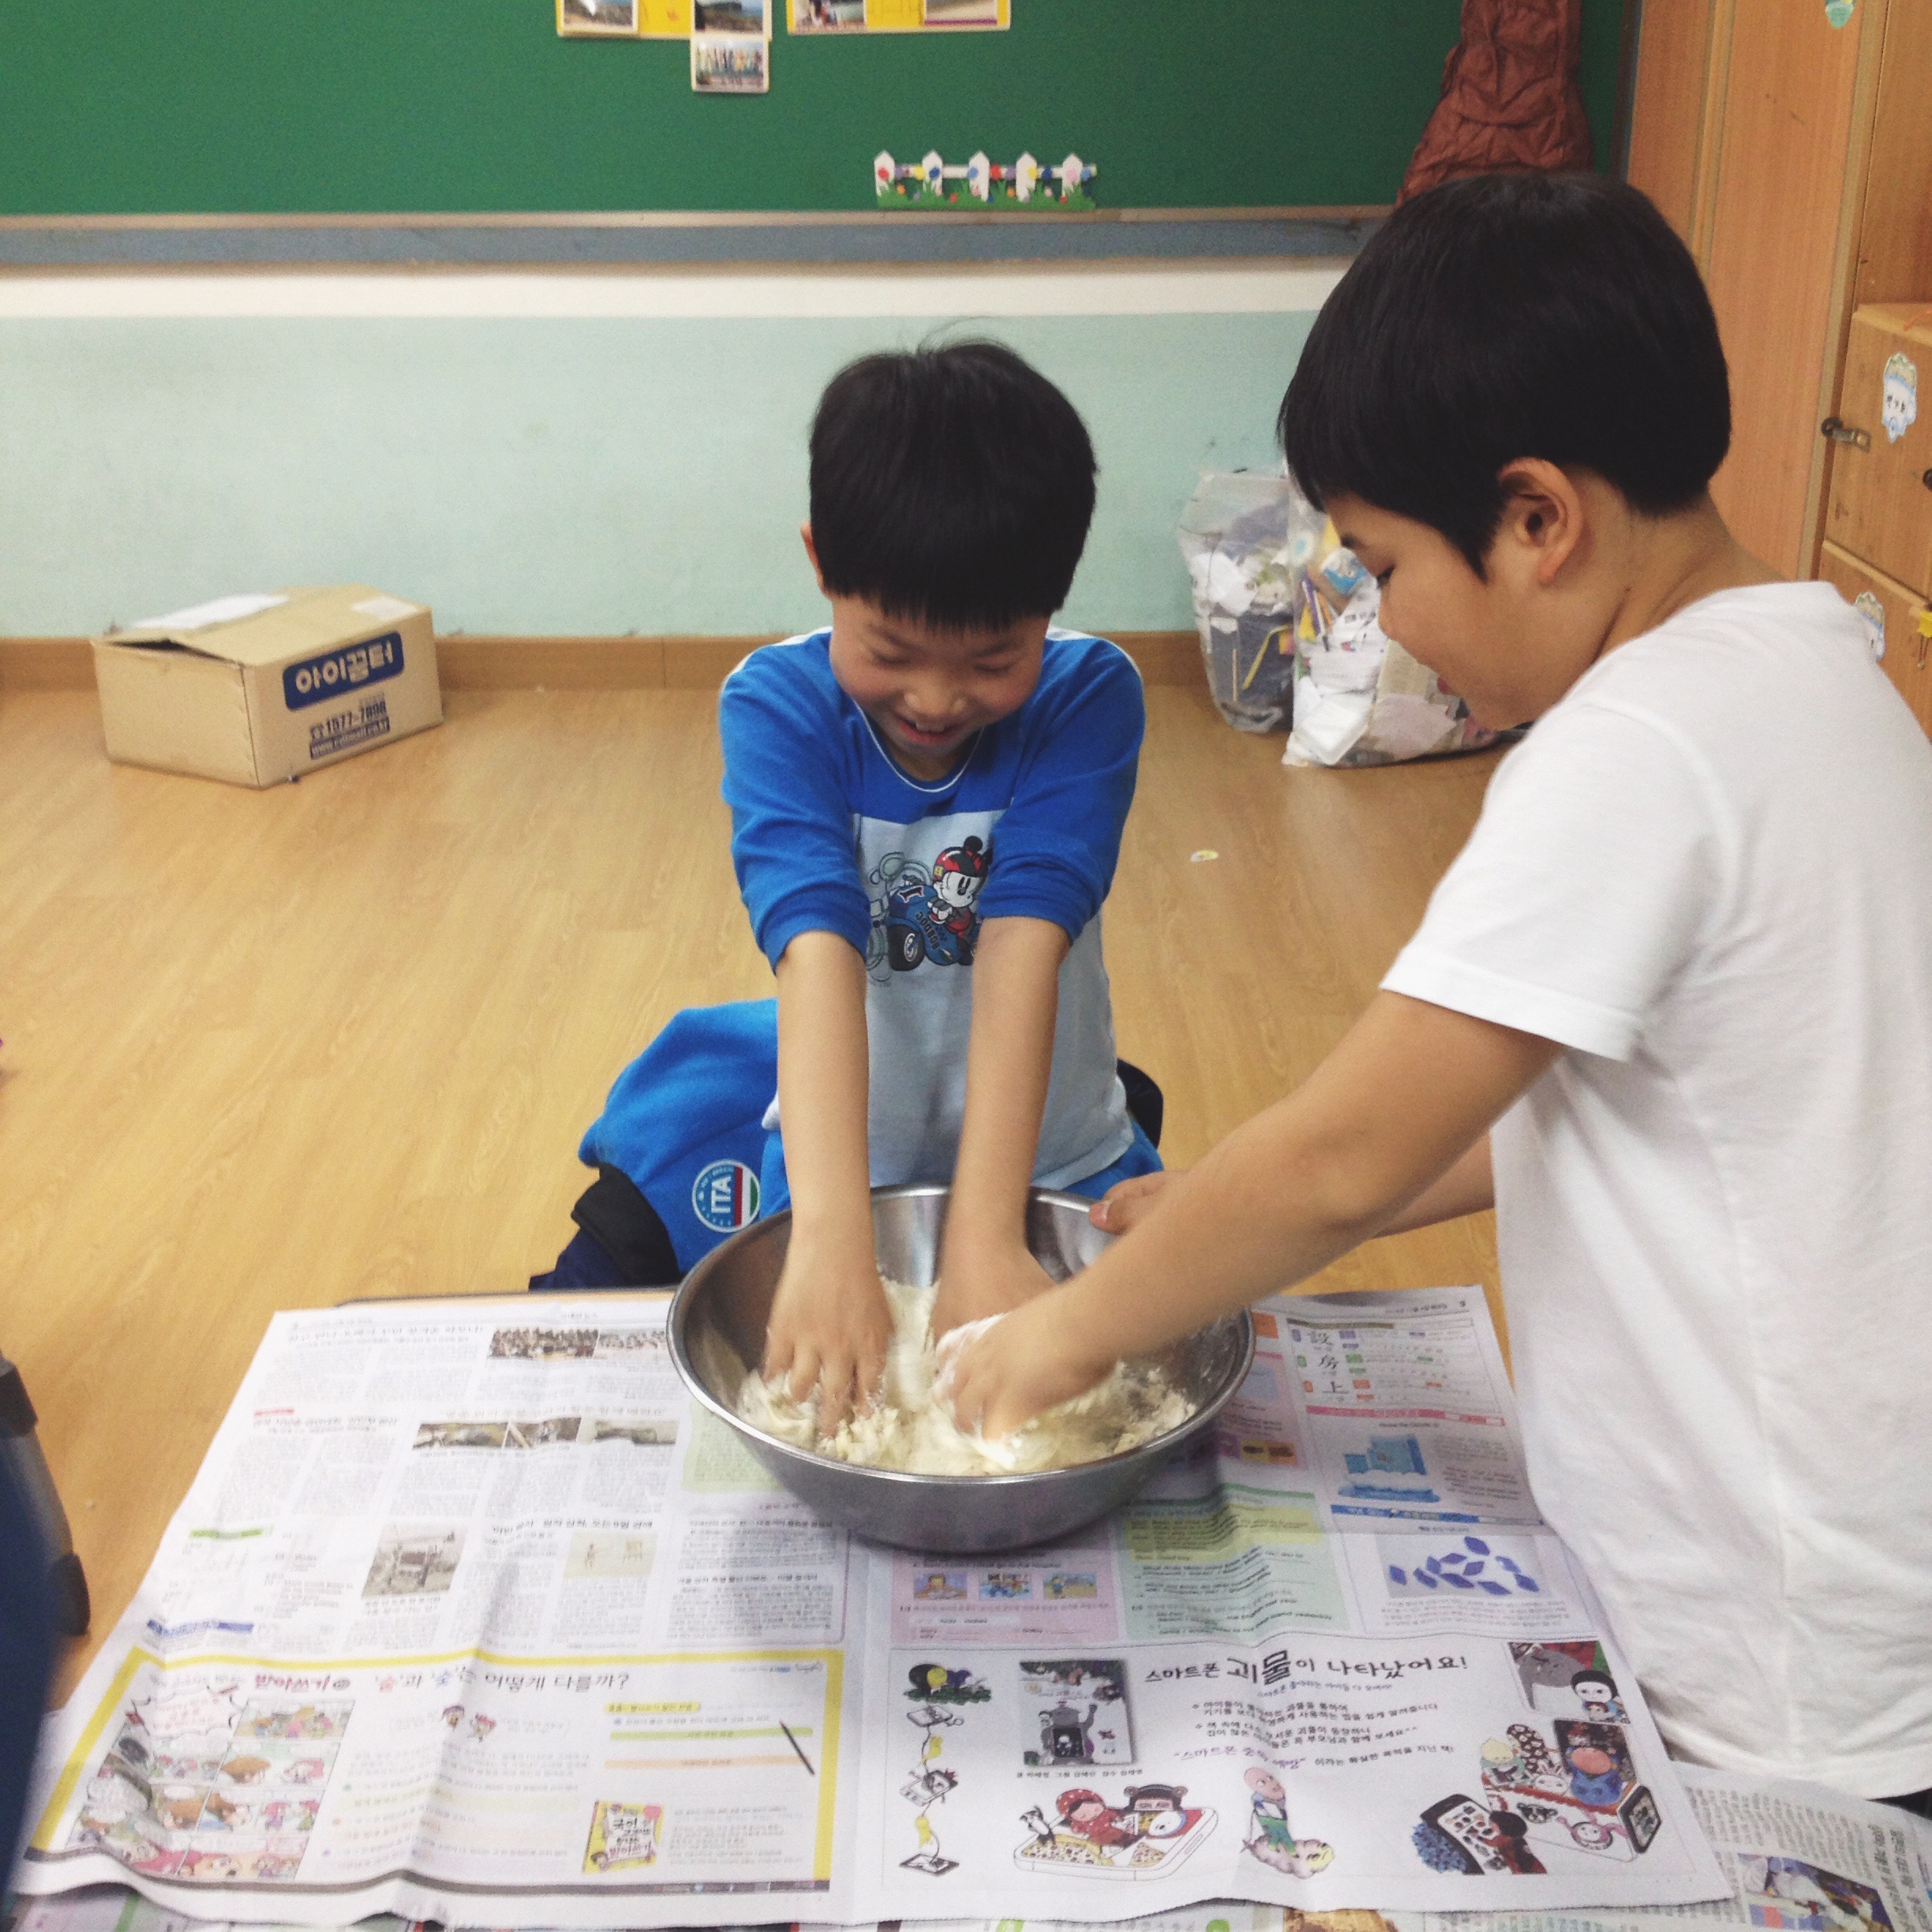
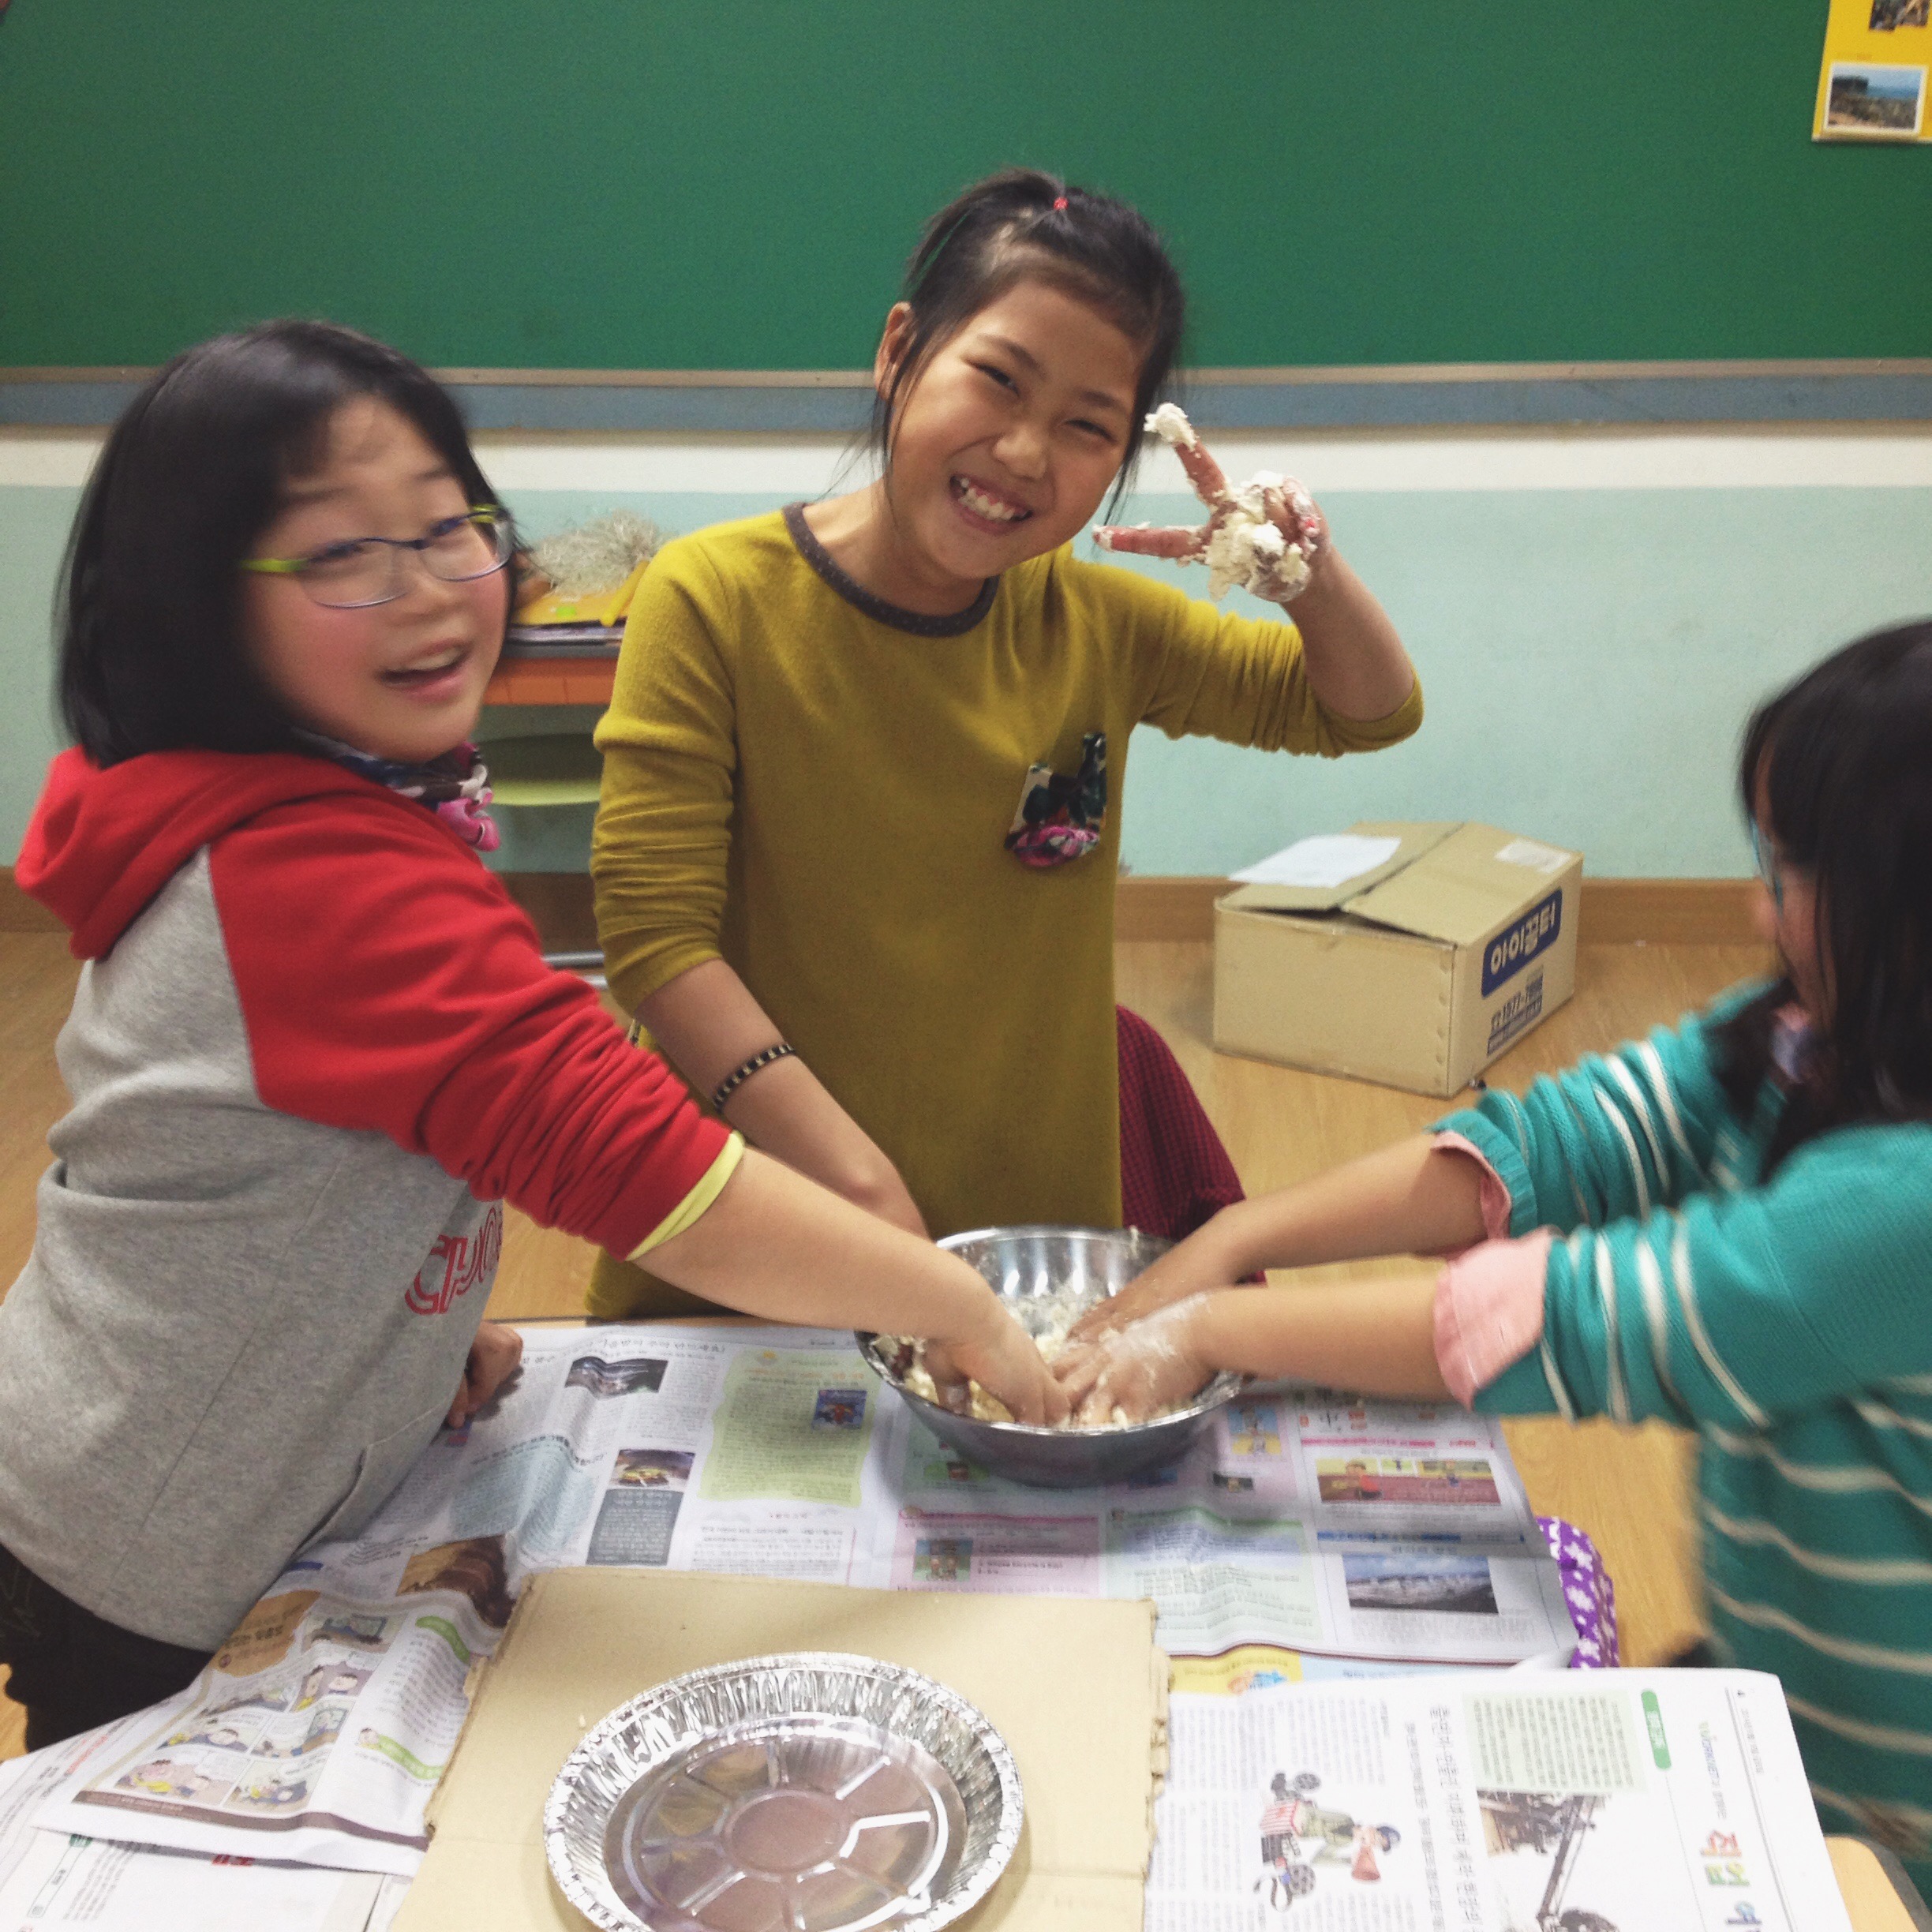
- In a large bowl mix together 3 cups of flour, 1 cup oil, 1 cup salt, 1/2 cup of water. Keep mixing! Add more flour, salt, oil as needed.

- Add paint and keep mixing and kneading until fully absorbed

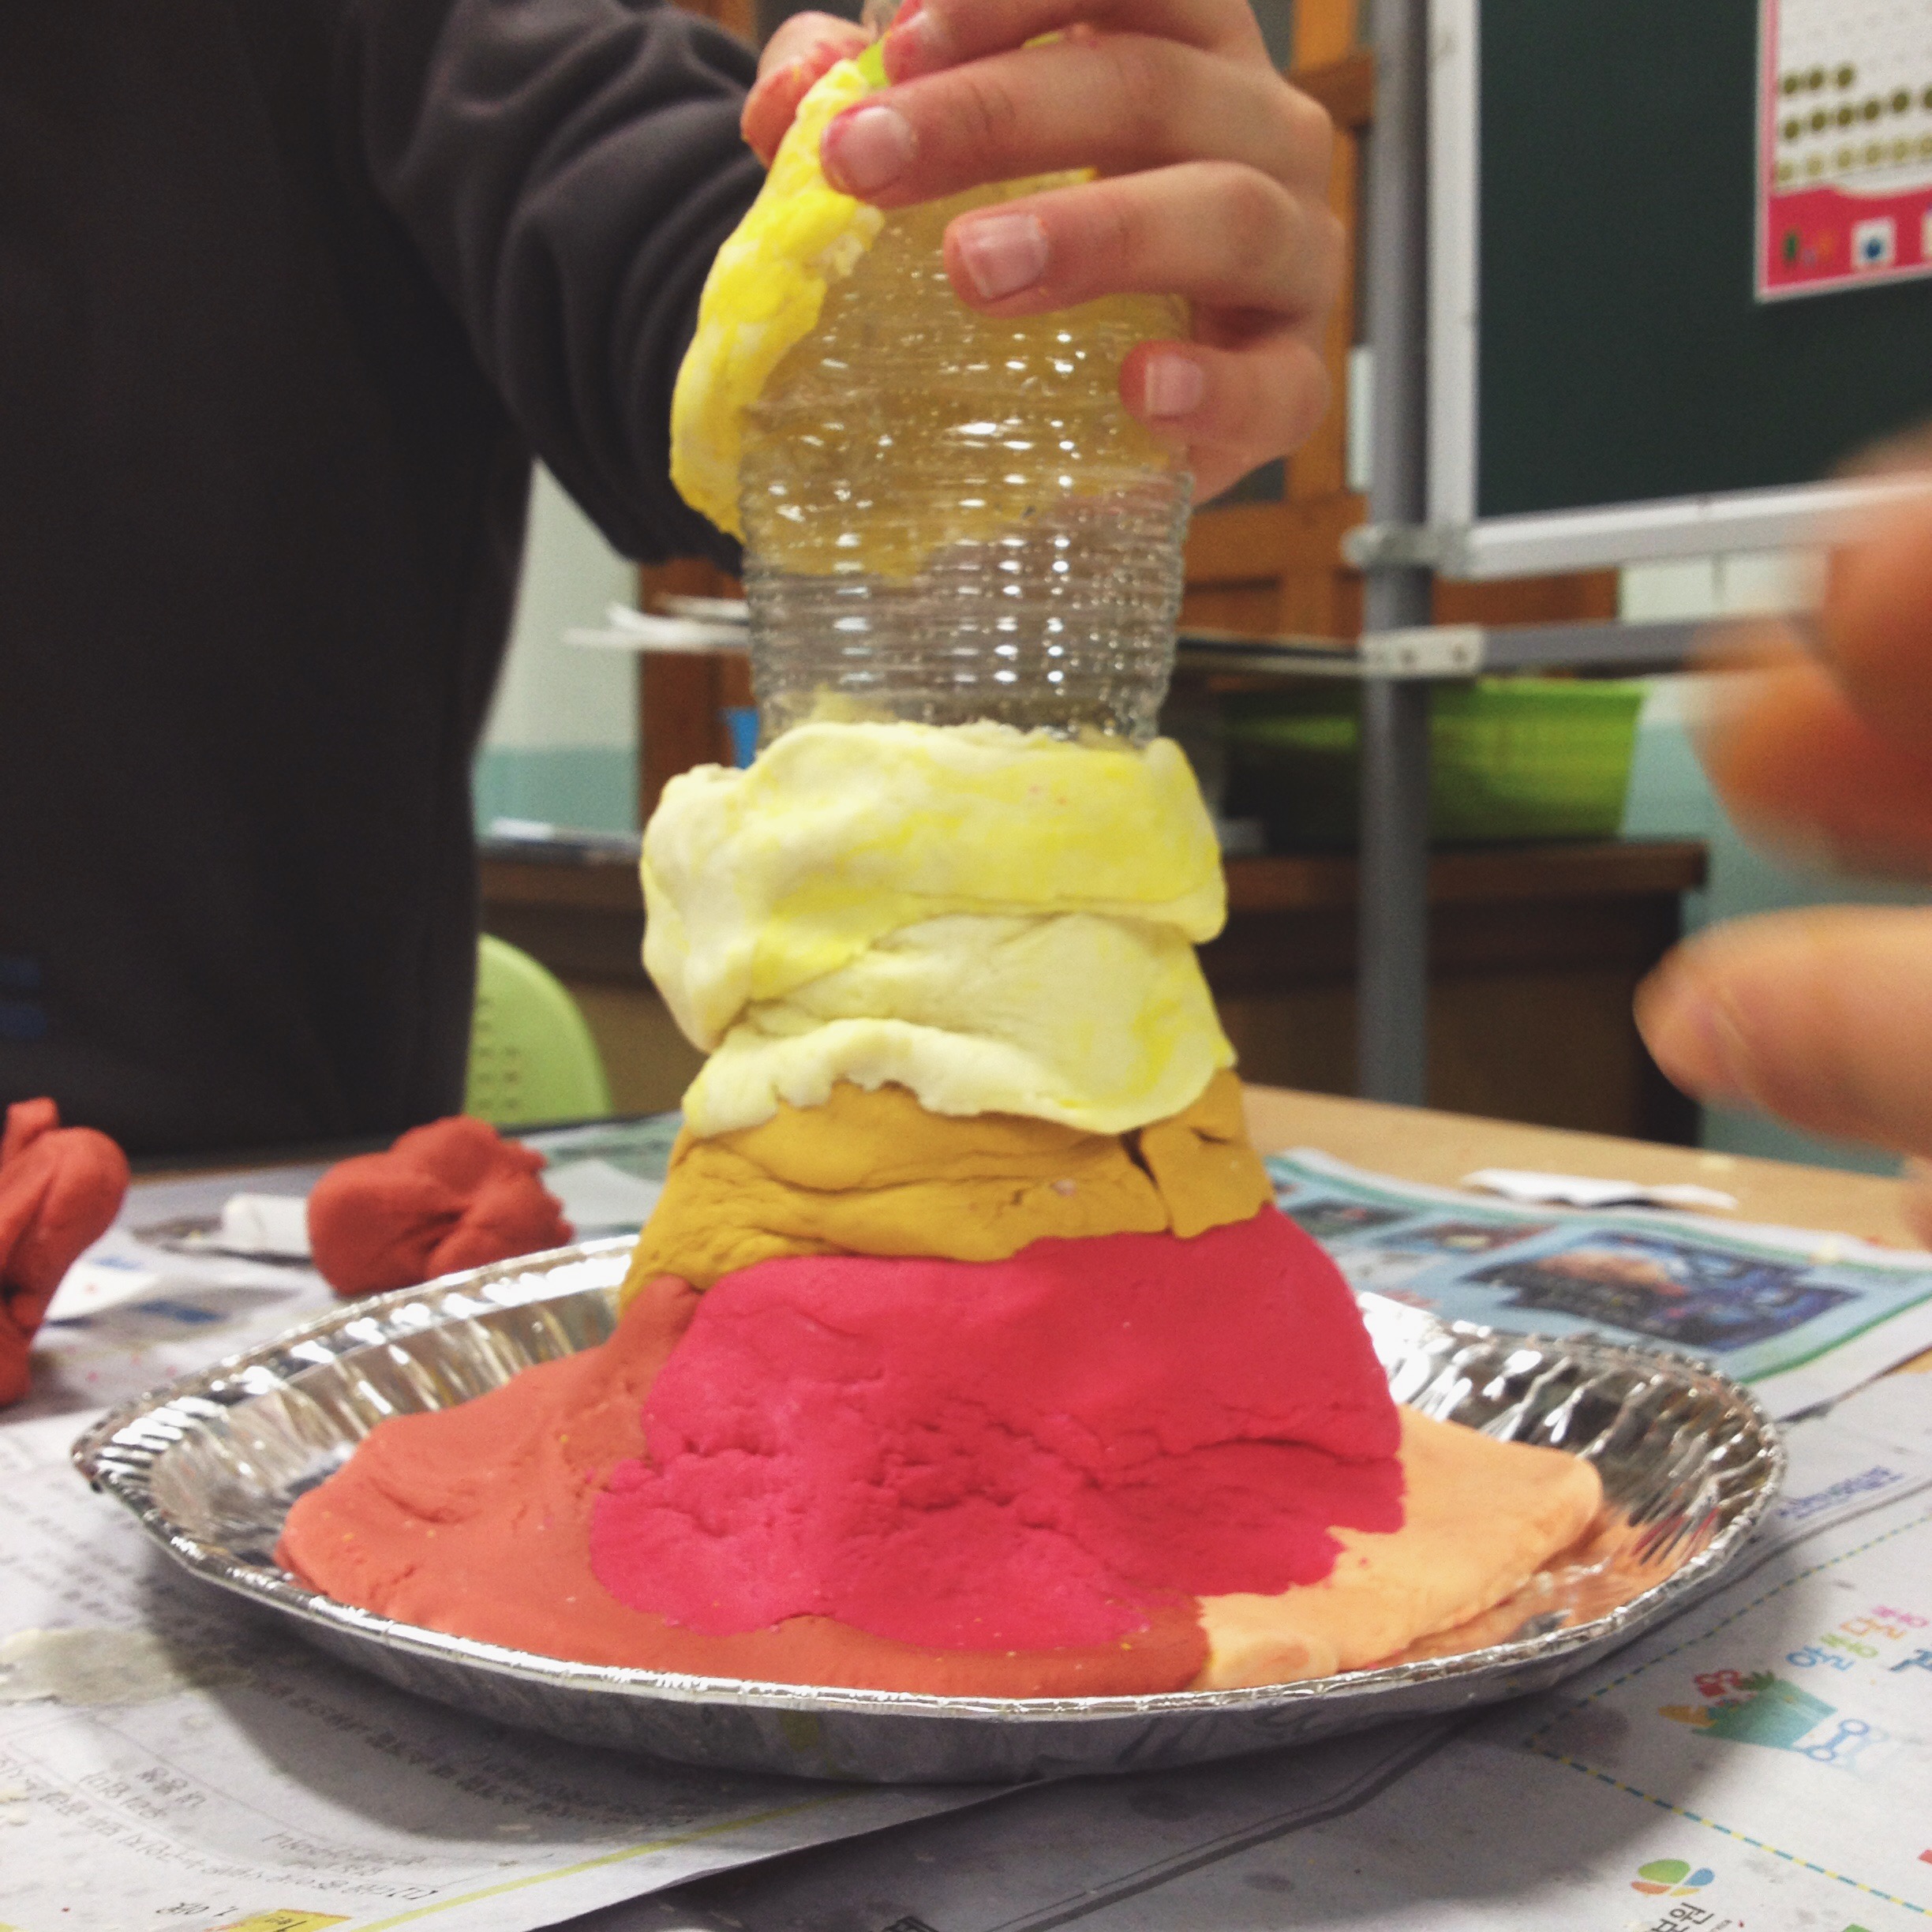
Building your Volcano

-Tape down your bottle onto a plastic plate or piece of cardboard (this is very important and the volcano will make a lot of mess when you ignite it).

-Using bits of clay, build up your volcano. Make sure to leave the top open for the volcano to explode out of.

Making your Volcano Explode

-Now the fun part! Fill the bottle 3/4 full of hot water (be careful as the plastic bottle will melt if boiling water is used).

-Add 1/4 cup dish soap & 2 Tbs baking soda

-Add red paint/food colouring

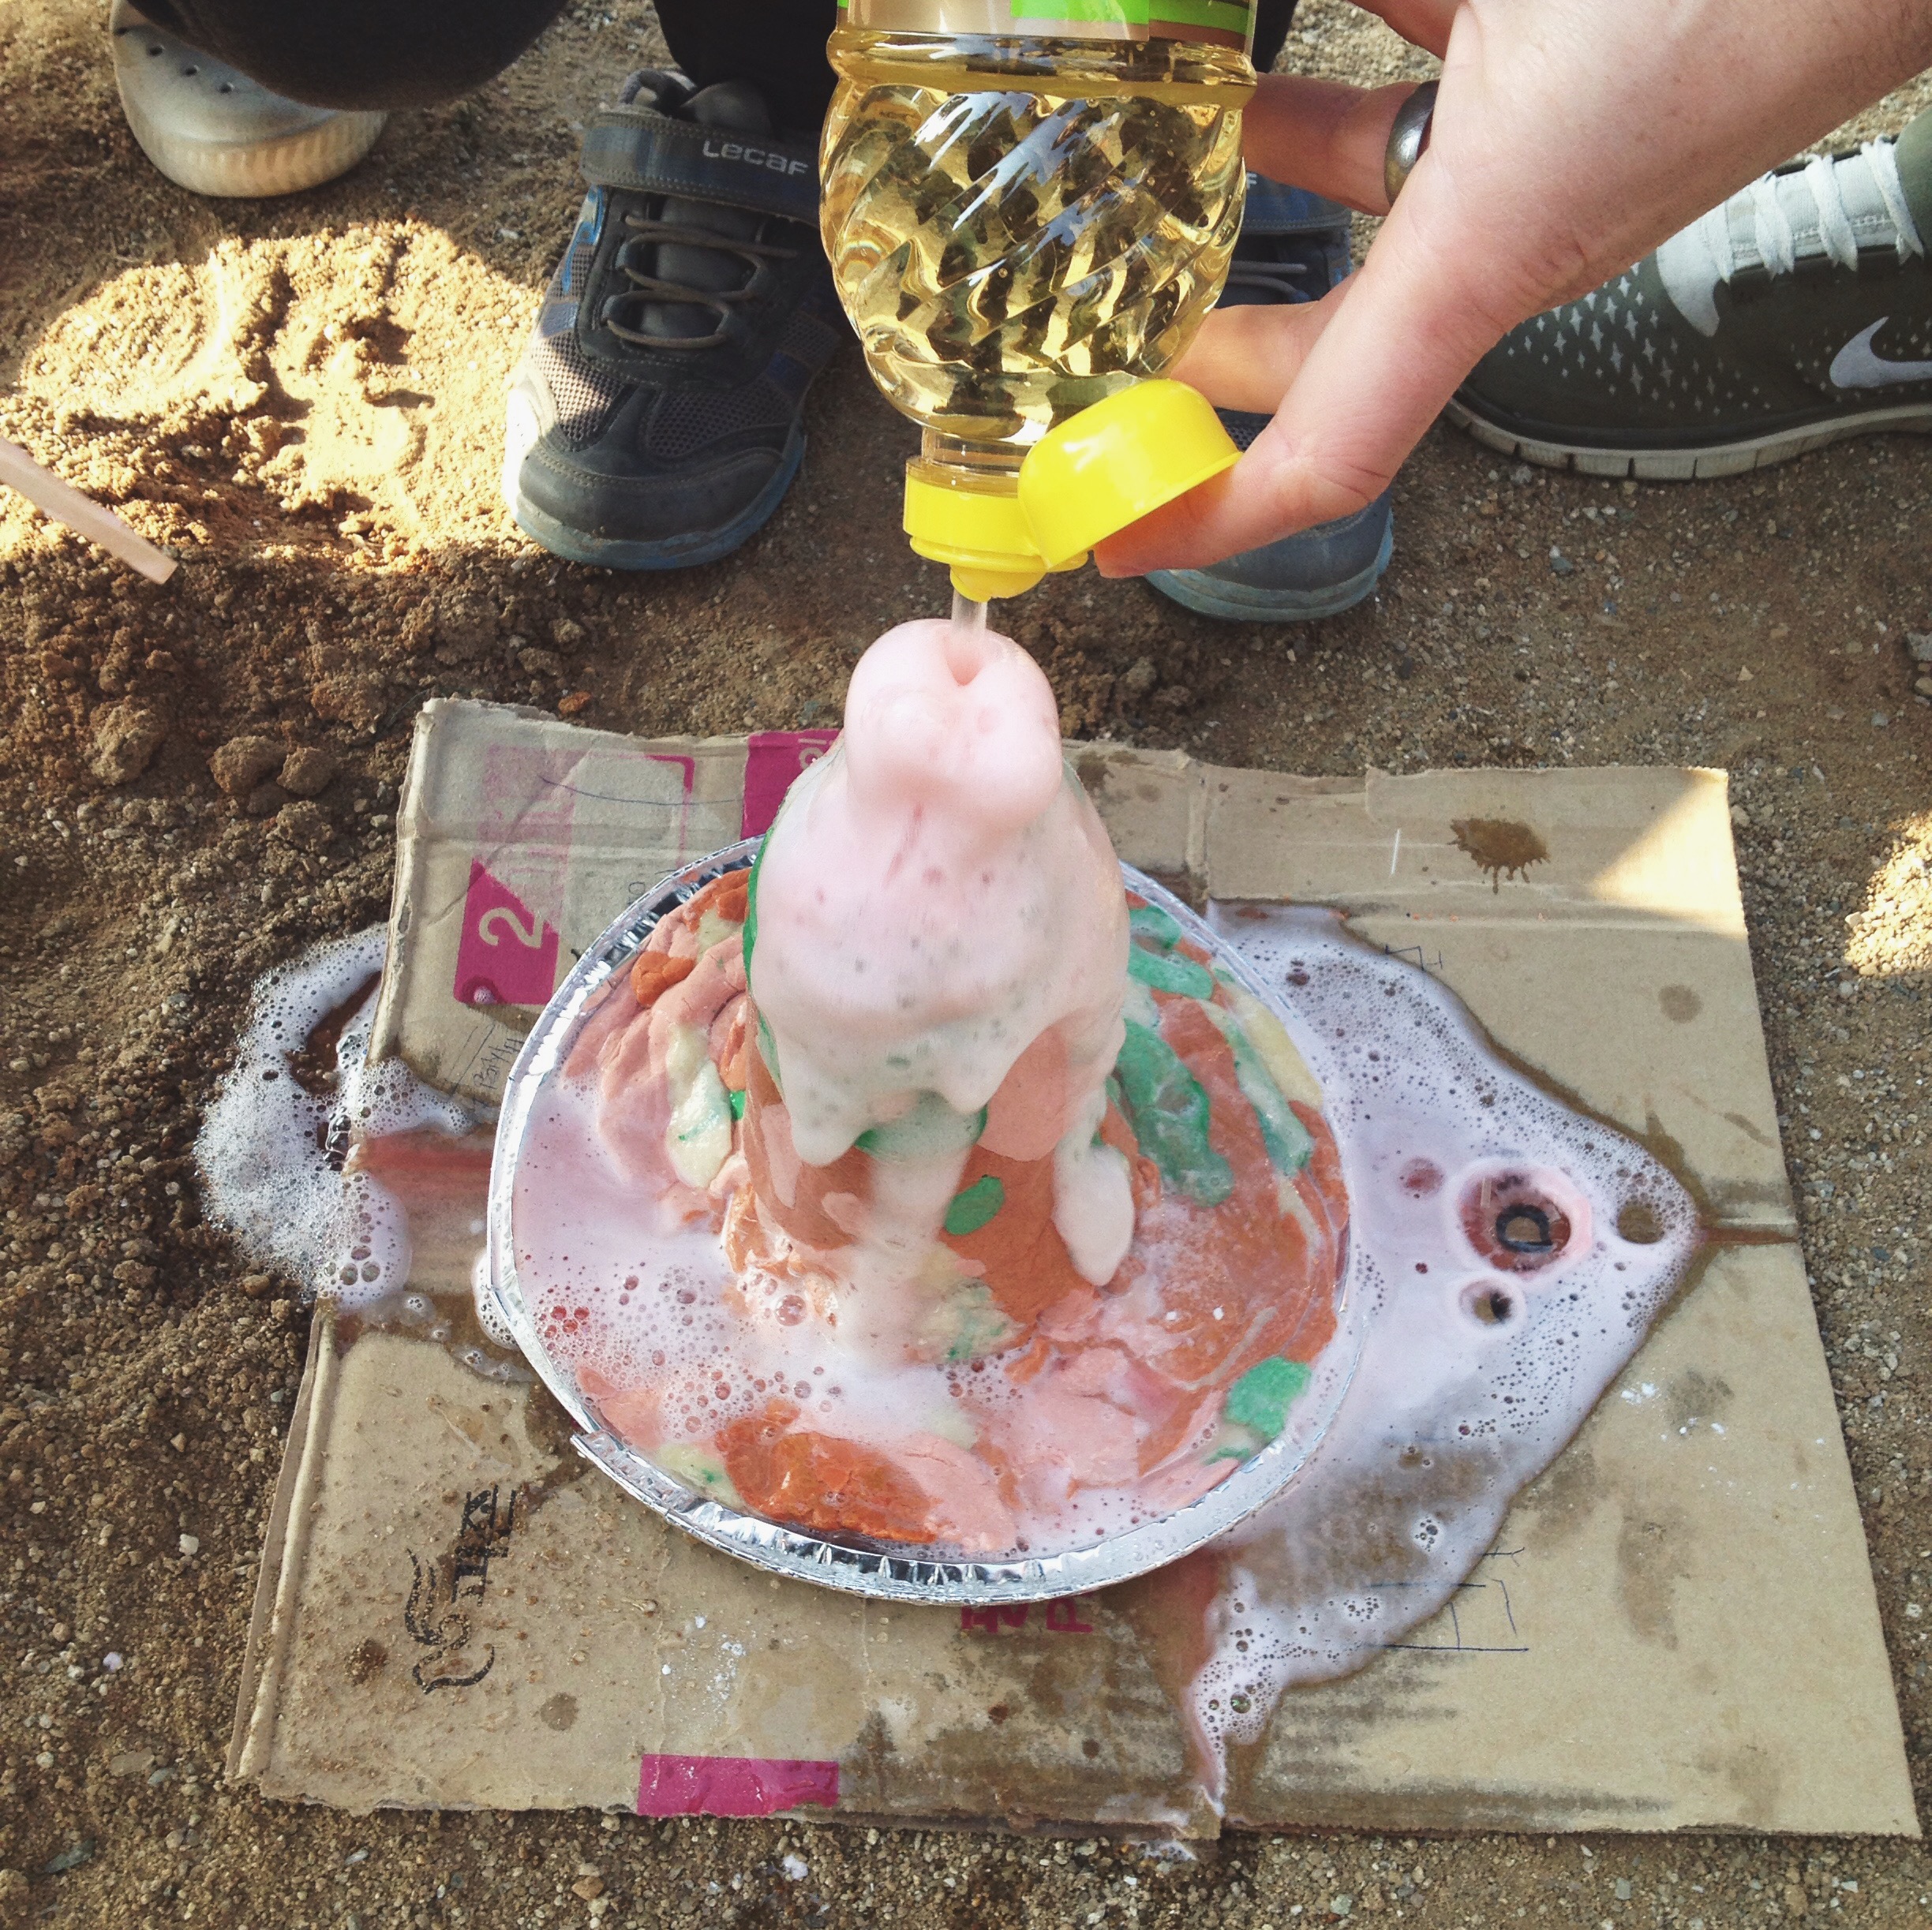
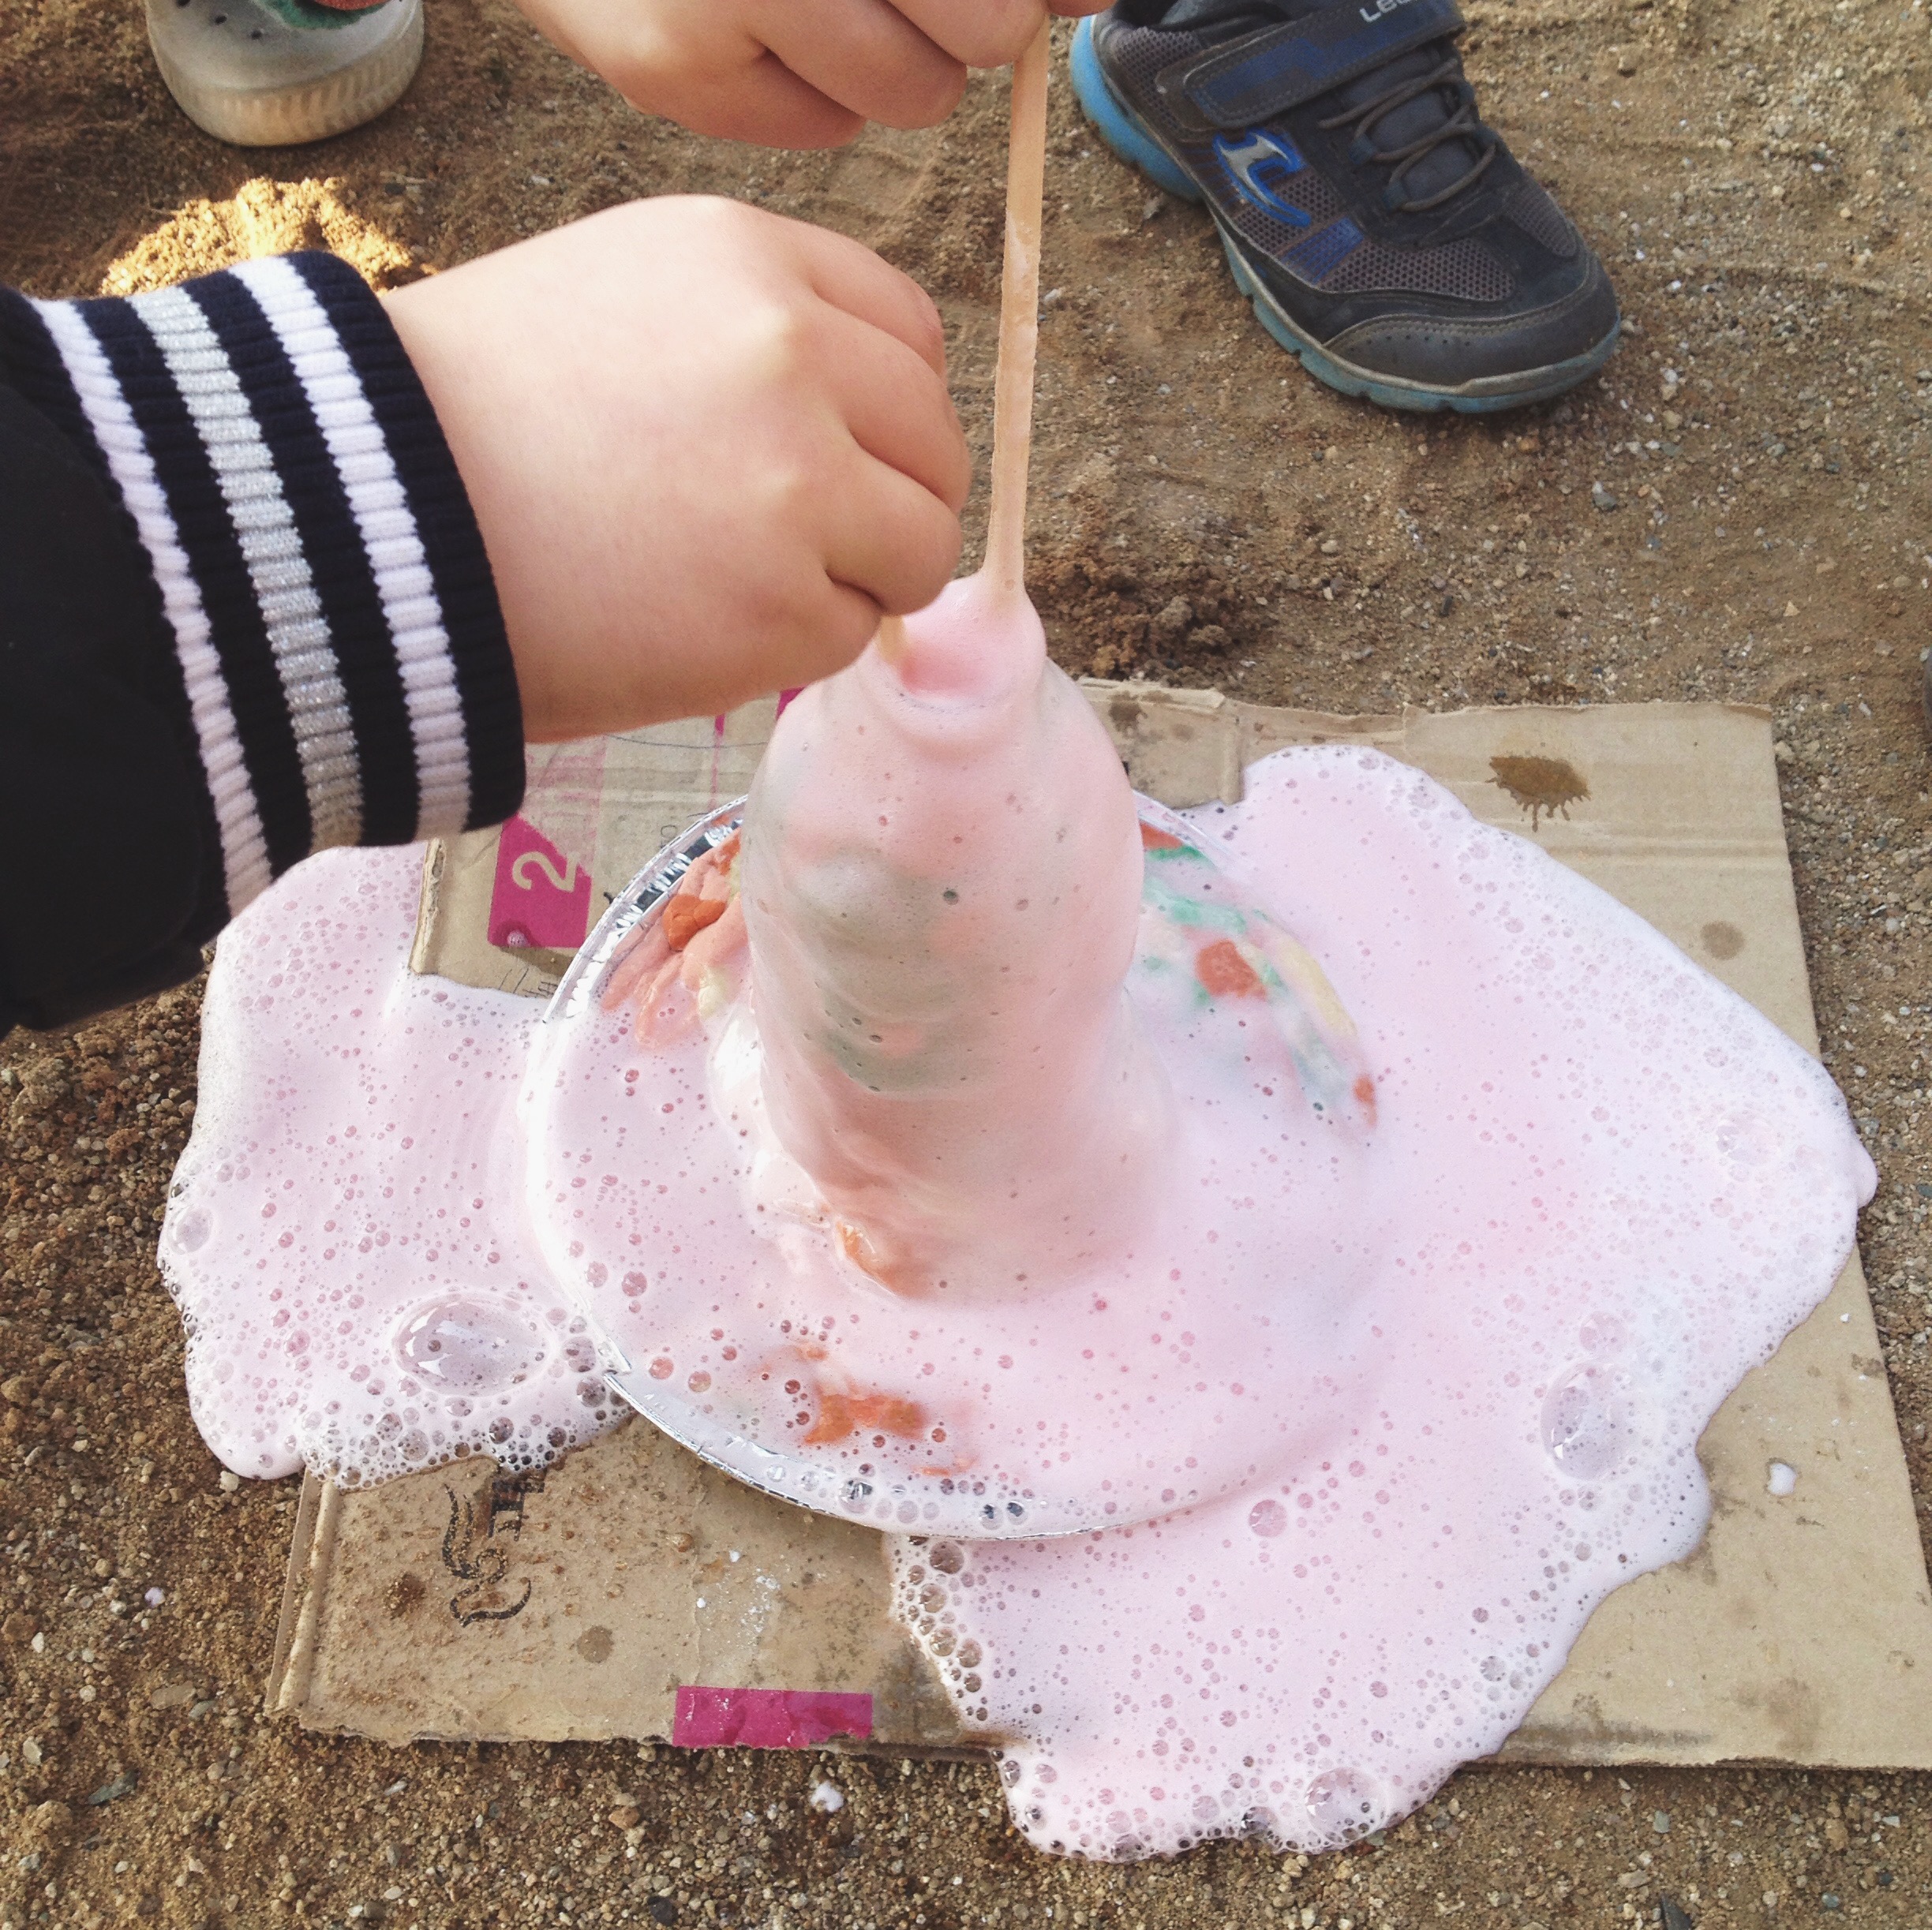
-When you are ready, add 1 cup of vinegar and watch the volcano erupt!

It's best to do the erupting outside as these volcanoes tend to make quite a big mess. Make sure to come back for the second part of my Science camp, The Egg Drop Experiment!

The Hunger Games English Camp - Lesson Ideas for Teaching English in Korea

The HUnger Games English Camp ideas for teaching english in korea

If you're an English Teacher here in Korea you will have (hopefully) heard or know about the English camps you are required to teach your students during the winter & summer holidays. According to your school schedule and hoe many schools you teach at you may have 1 or 2 camps (or even more) camps. We are all supposed to teach 20 hours of camp during the vacation (you may have more/less) but 20 hour is the standard. I usually break this up into 1 week of camp with 4 hours a day. My classes have always been in the morning. 

Hunger Games English Camp Plan

In my first year at my current middle school I developed a Hunger Games English camp (thanks to this  wonderful thread and the original creator 'Marbar' on Waygook!). I have successfully done this camp 3 times now with different students. They all LOVE it! I teach at an all girls school, but the lessons would suit mixed students too. I have taught this to First & Second Grade Middle School students, and then have just slightly adapted the lessons for the higher/lower level grades.

The camp is based on the first book, with lessons and fun activities surrounding a poster they will complete by the end if the camp, leading up to the final day where the students present their poster and watch the full screening of the first Hunger Games movie.

I want to share these lessons with you in the hopes that they might help you in your camp planning. I will post a Google download link to the camp below where you will be able to download the plan, lessons I created (and be able to edit them to suit your school) as well as the workbook I created for the students to fill in as we went along (I basically just inserted the powerpoint slides and made blanks for them to write down notes etc). Here is a link to download the plan, the printables, the ice breaker for the first day, the actual power point slides and the workbook:

I don't break my schedule up into hours/lessons (although this is how the plan works) but I rather teach until I can see the students need a break and then stop to give them some time to relax. I have found on some days we only stop for a short bathroom break as the students get really into the lessons and have a lot of fun. You will have to judge the timing based on how your students respond.

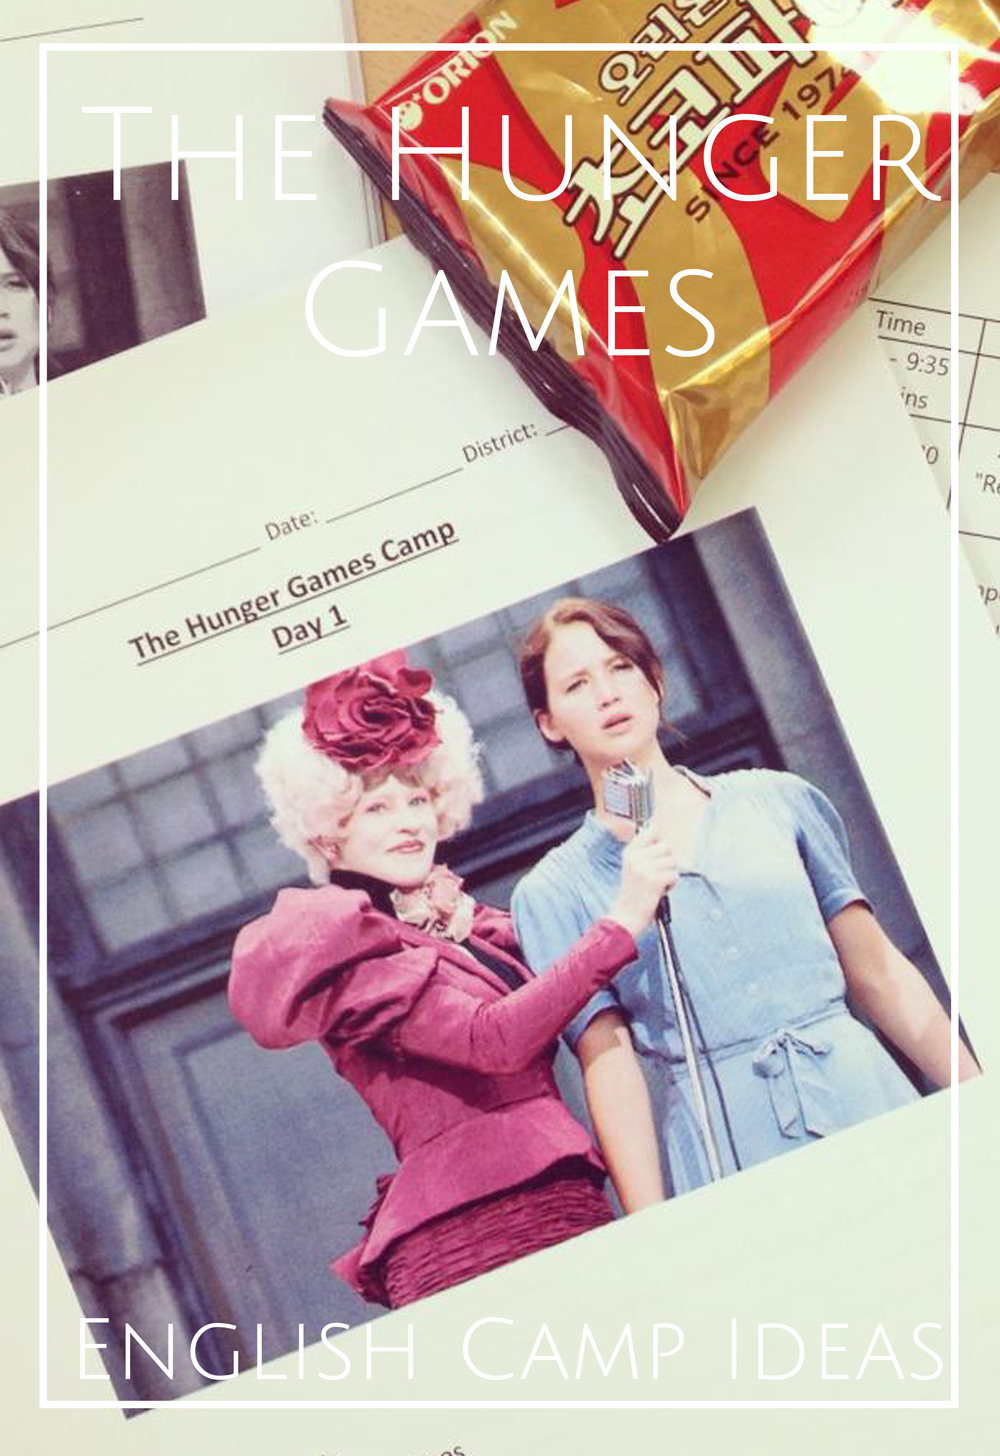
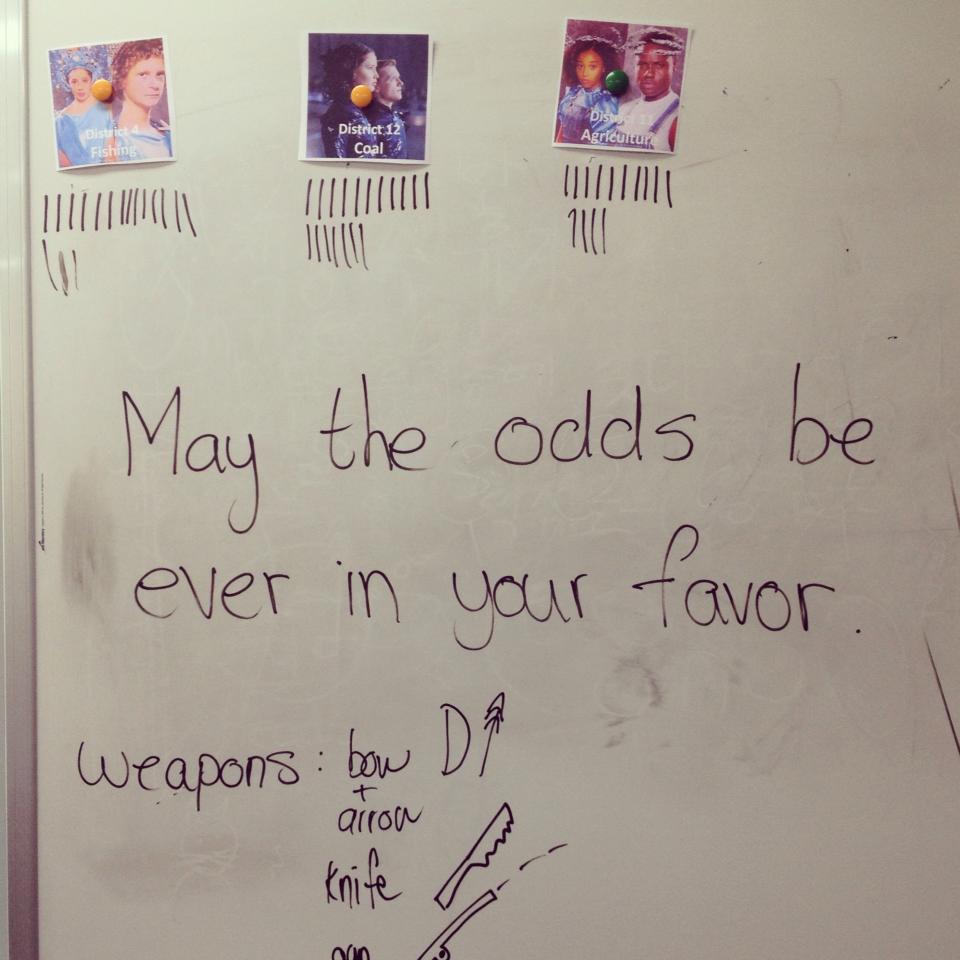
I always start off my camp with an ice breaker activity, and then divide my students up into their teams. I did this following the reaping ceremony in the Hunger Games whereby my students reach into a hat and pull out their team. They stay in that team for the entire camp and the activities are based upon that team. I also use their team names to keep score of points for prizes/snacks throughout the camp. (pictured aboveO. 

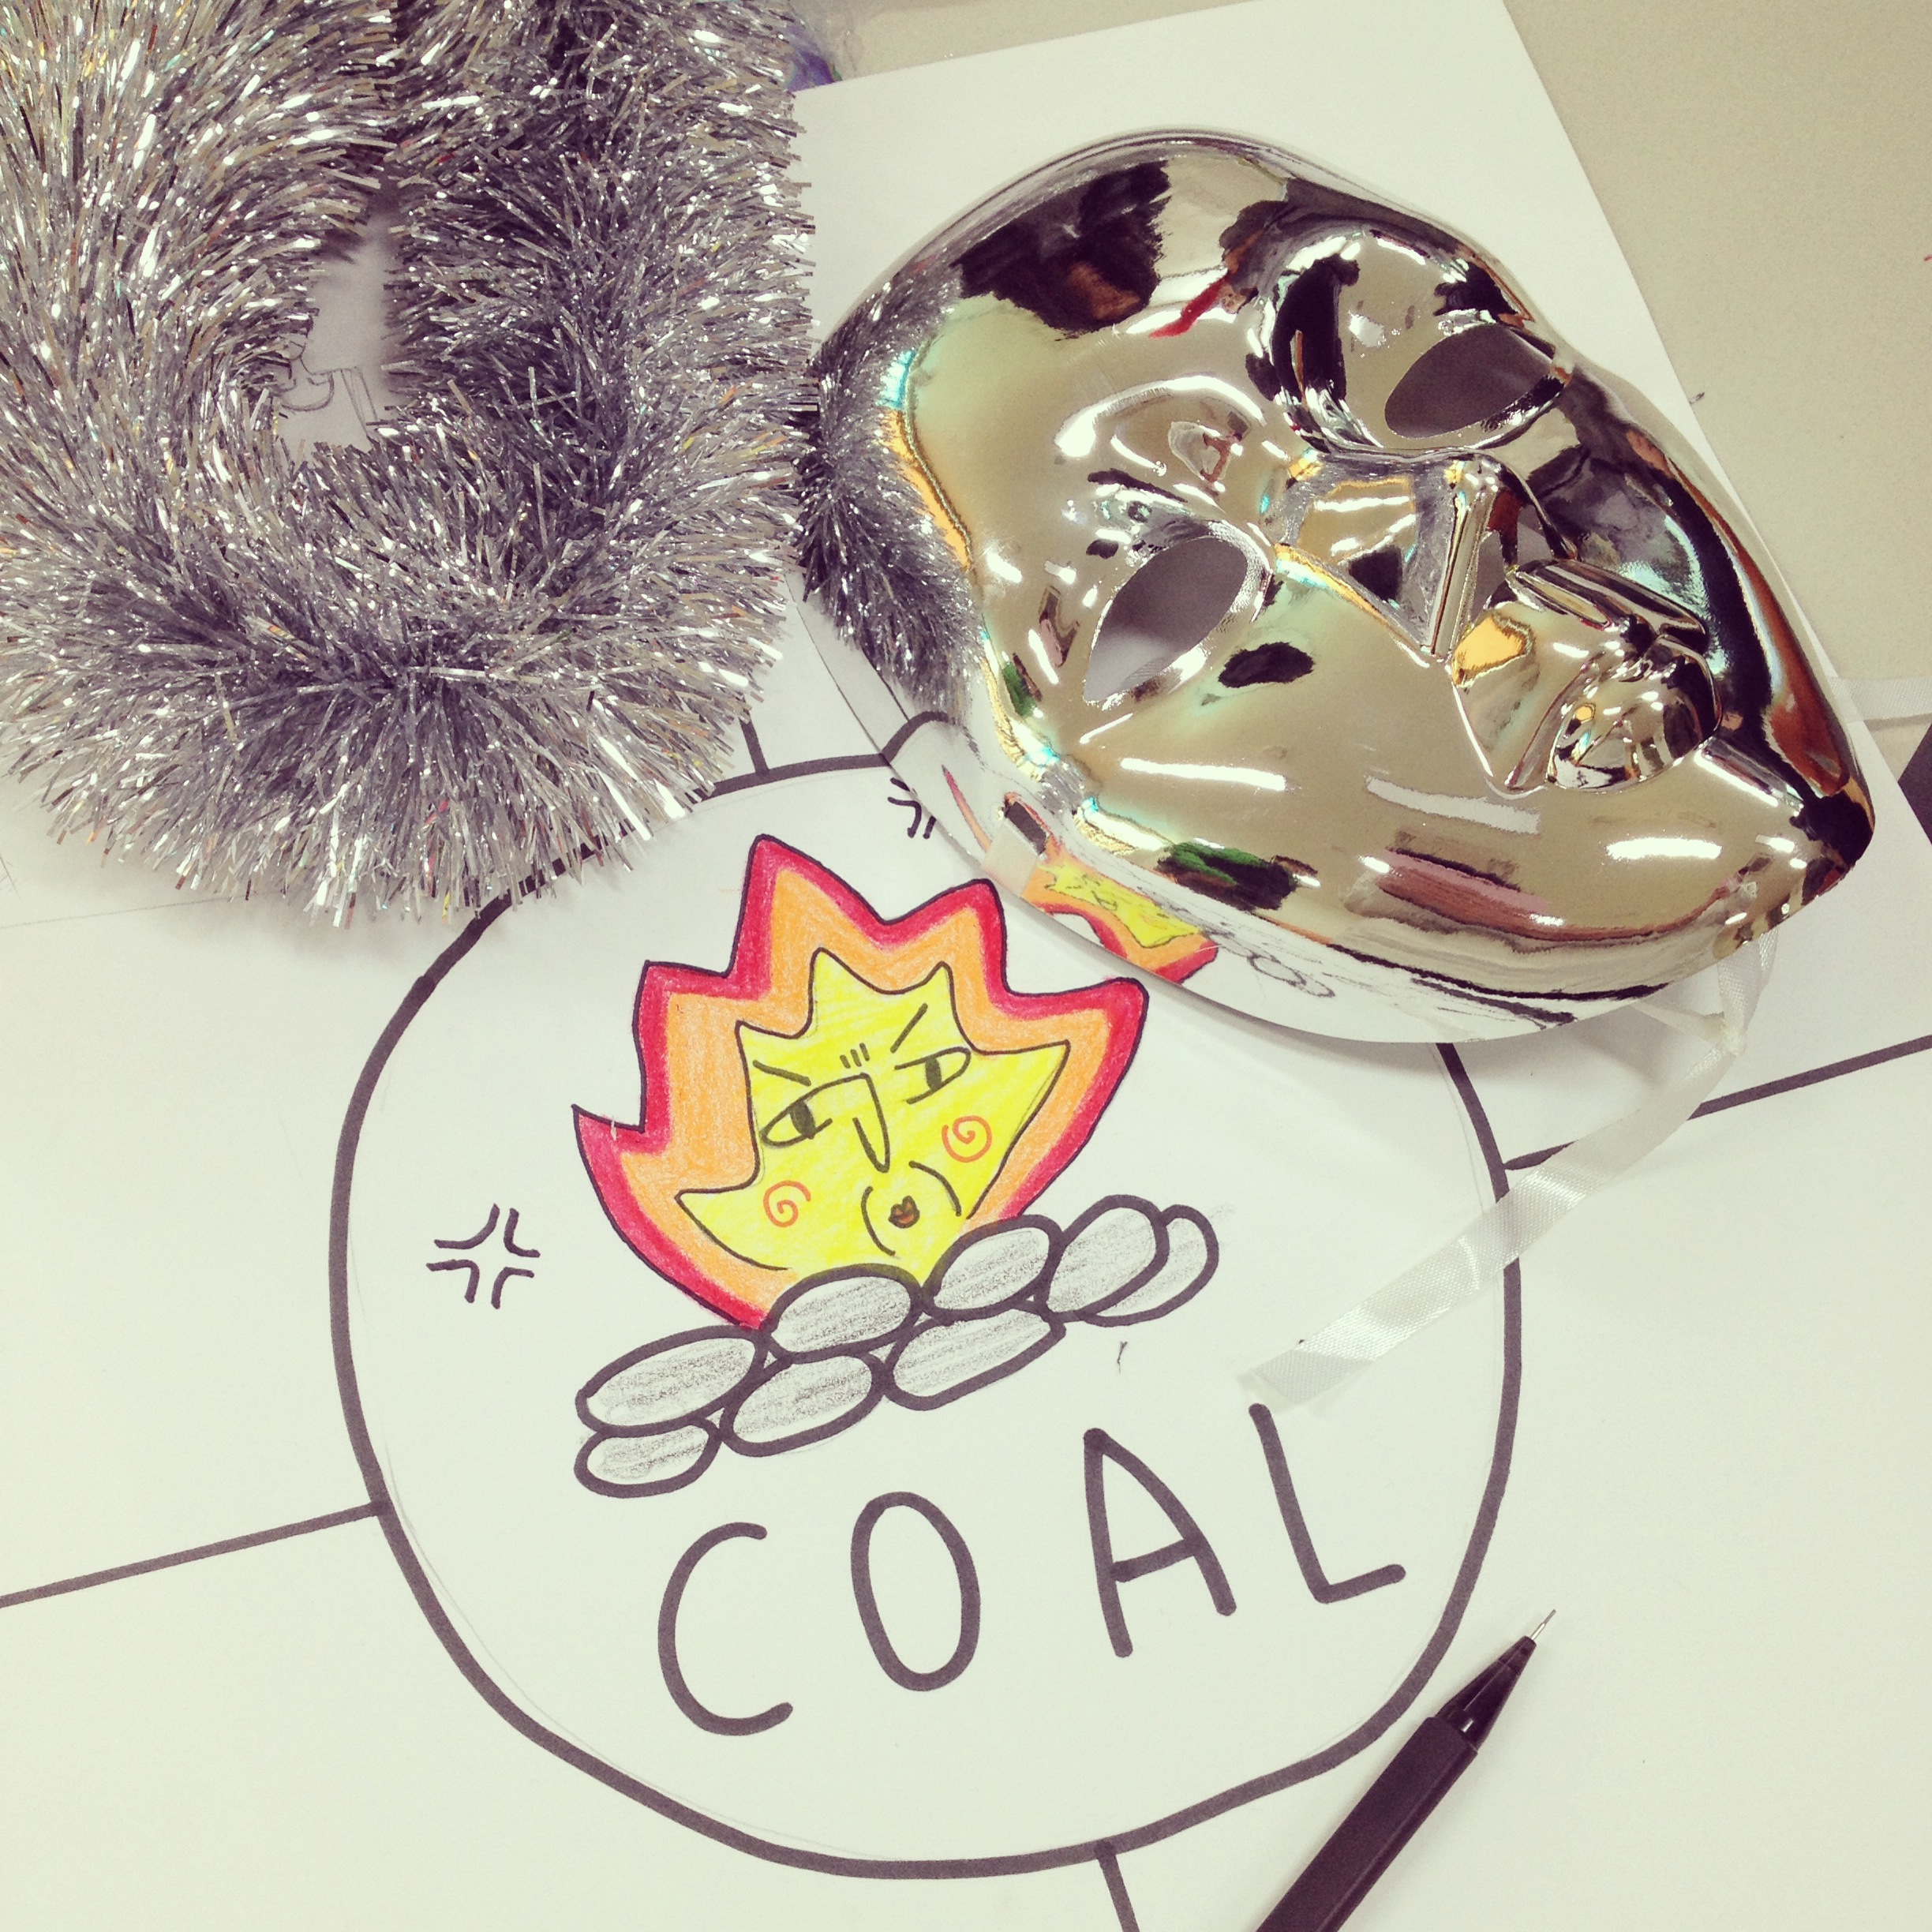
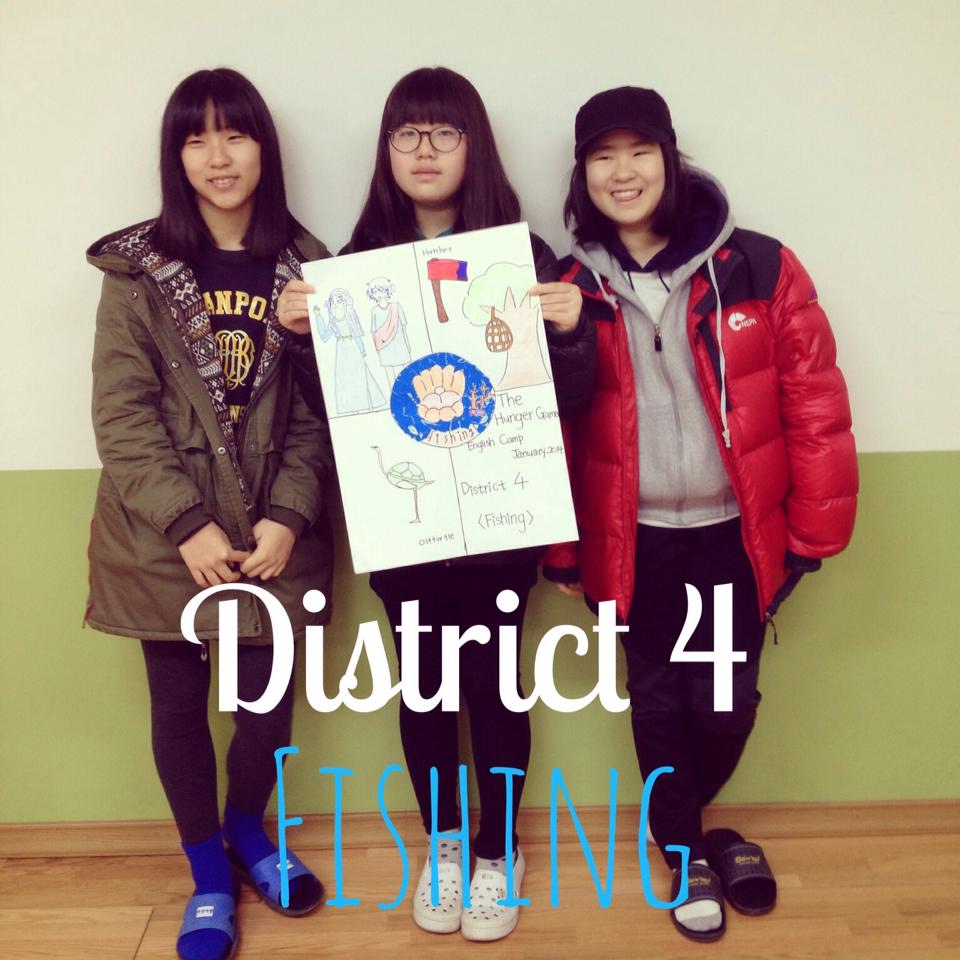
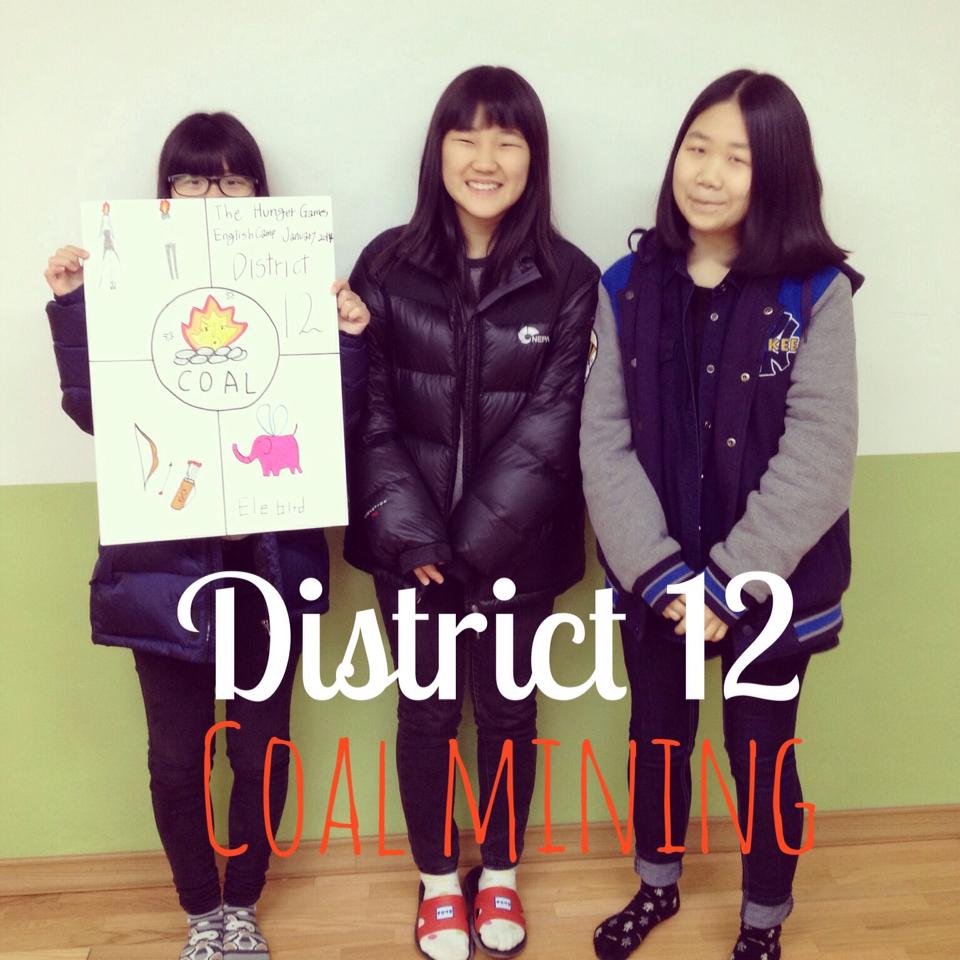
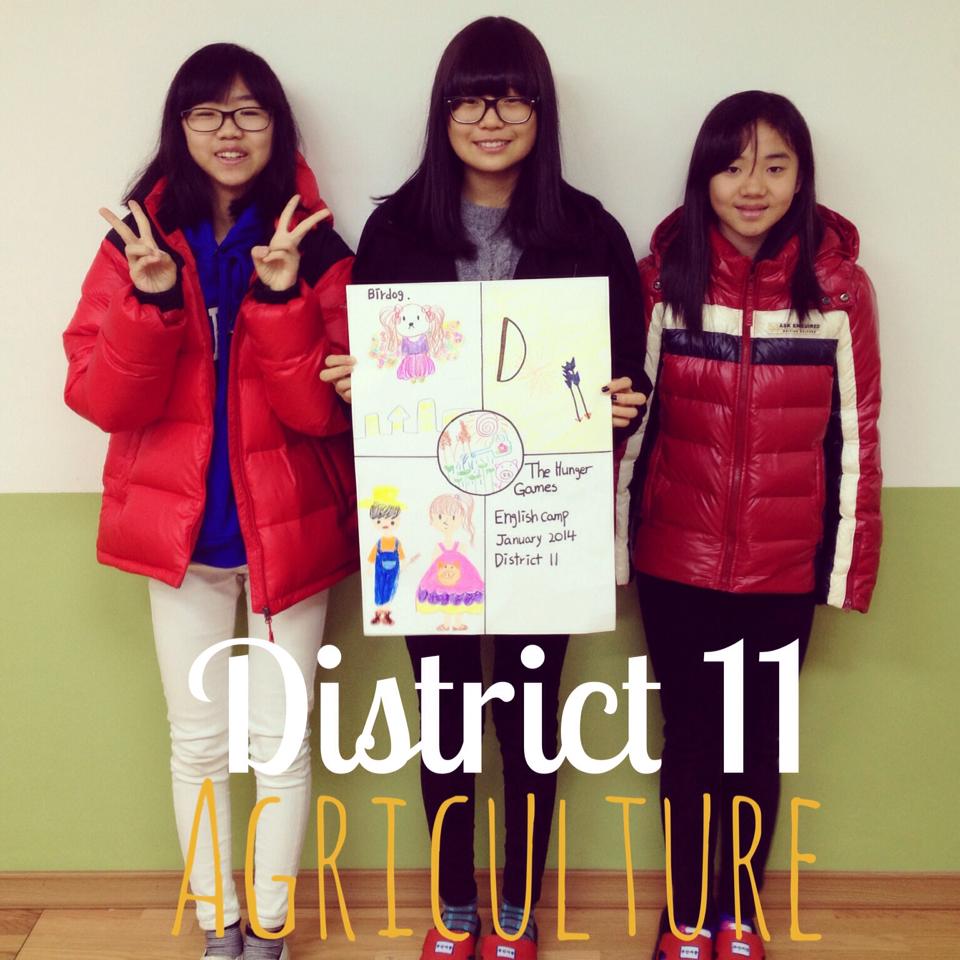
I wanted my students to produce a poster by the end of the camp, and so on the first day I had my students divide their poster page into 5 sections (4 sections and a centre circle for their team name/logo). I have the section 'Homework' on the camp plan above (that is more for admin purposes as some schools will want to see you at least plan to give the students homework) but I have never given them actual homework to do. There has always been time in the lessons to finish all the work.

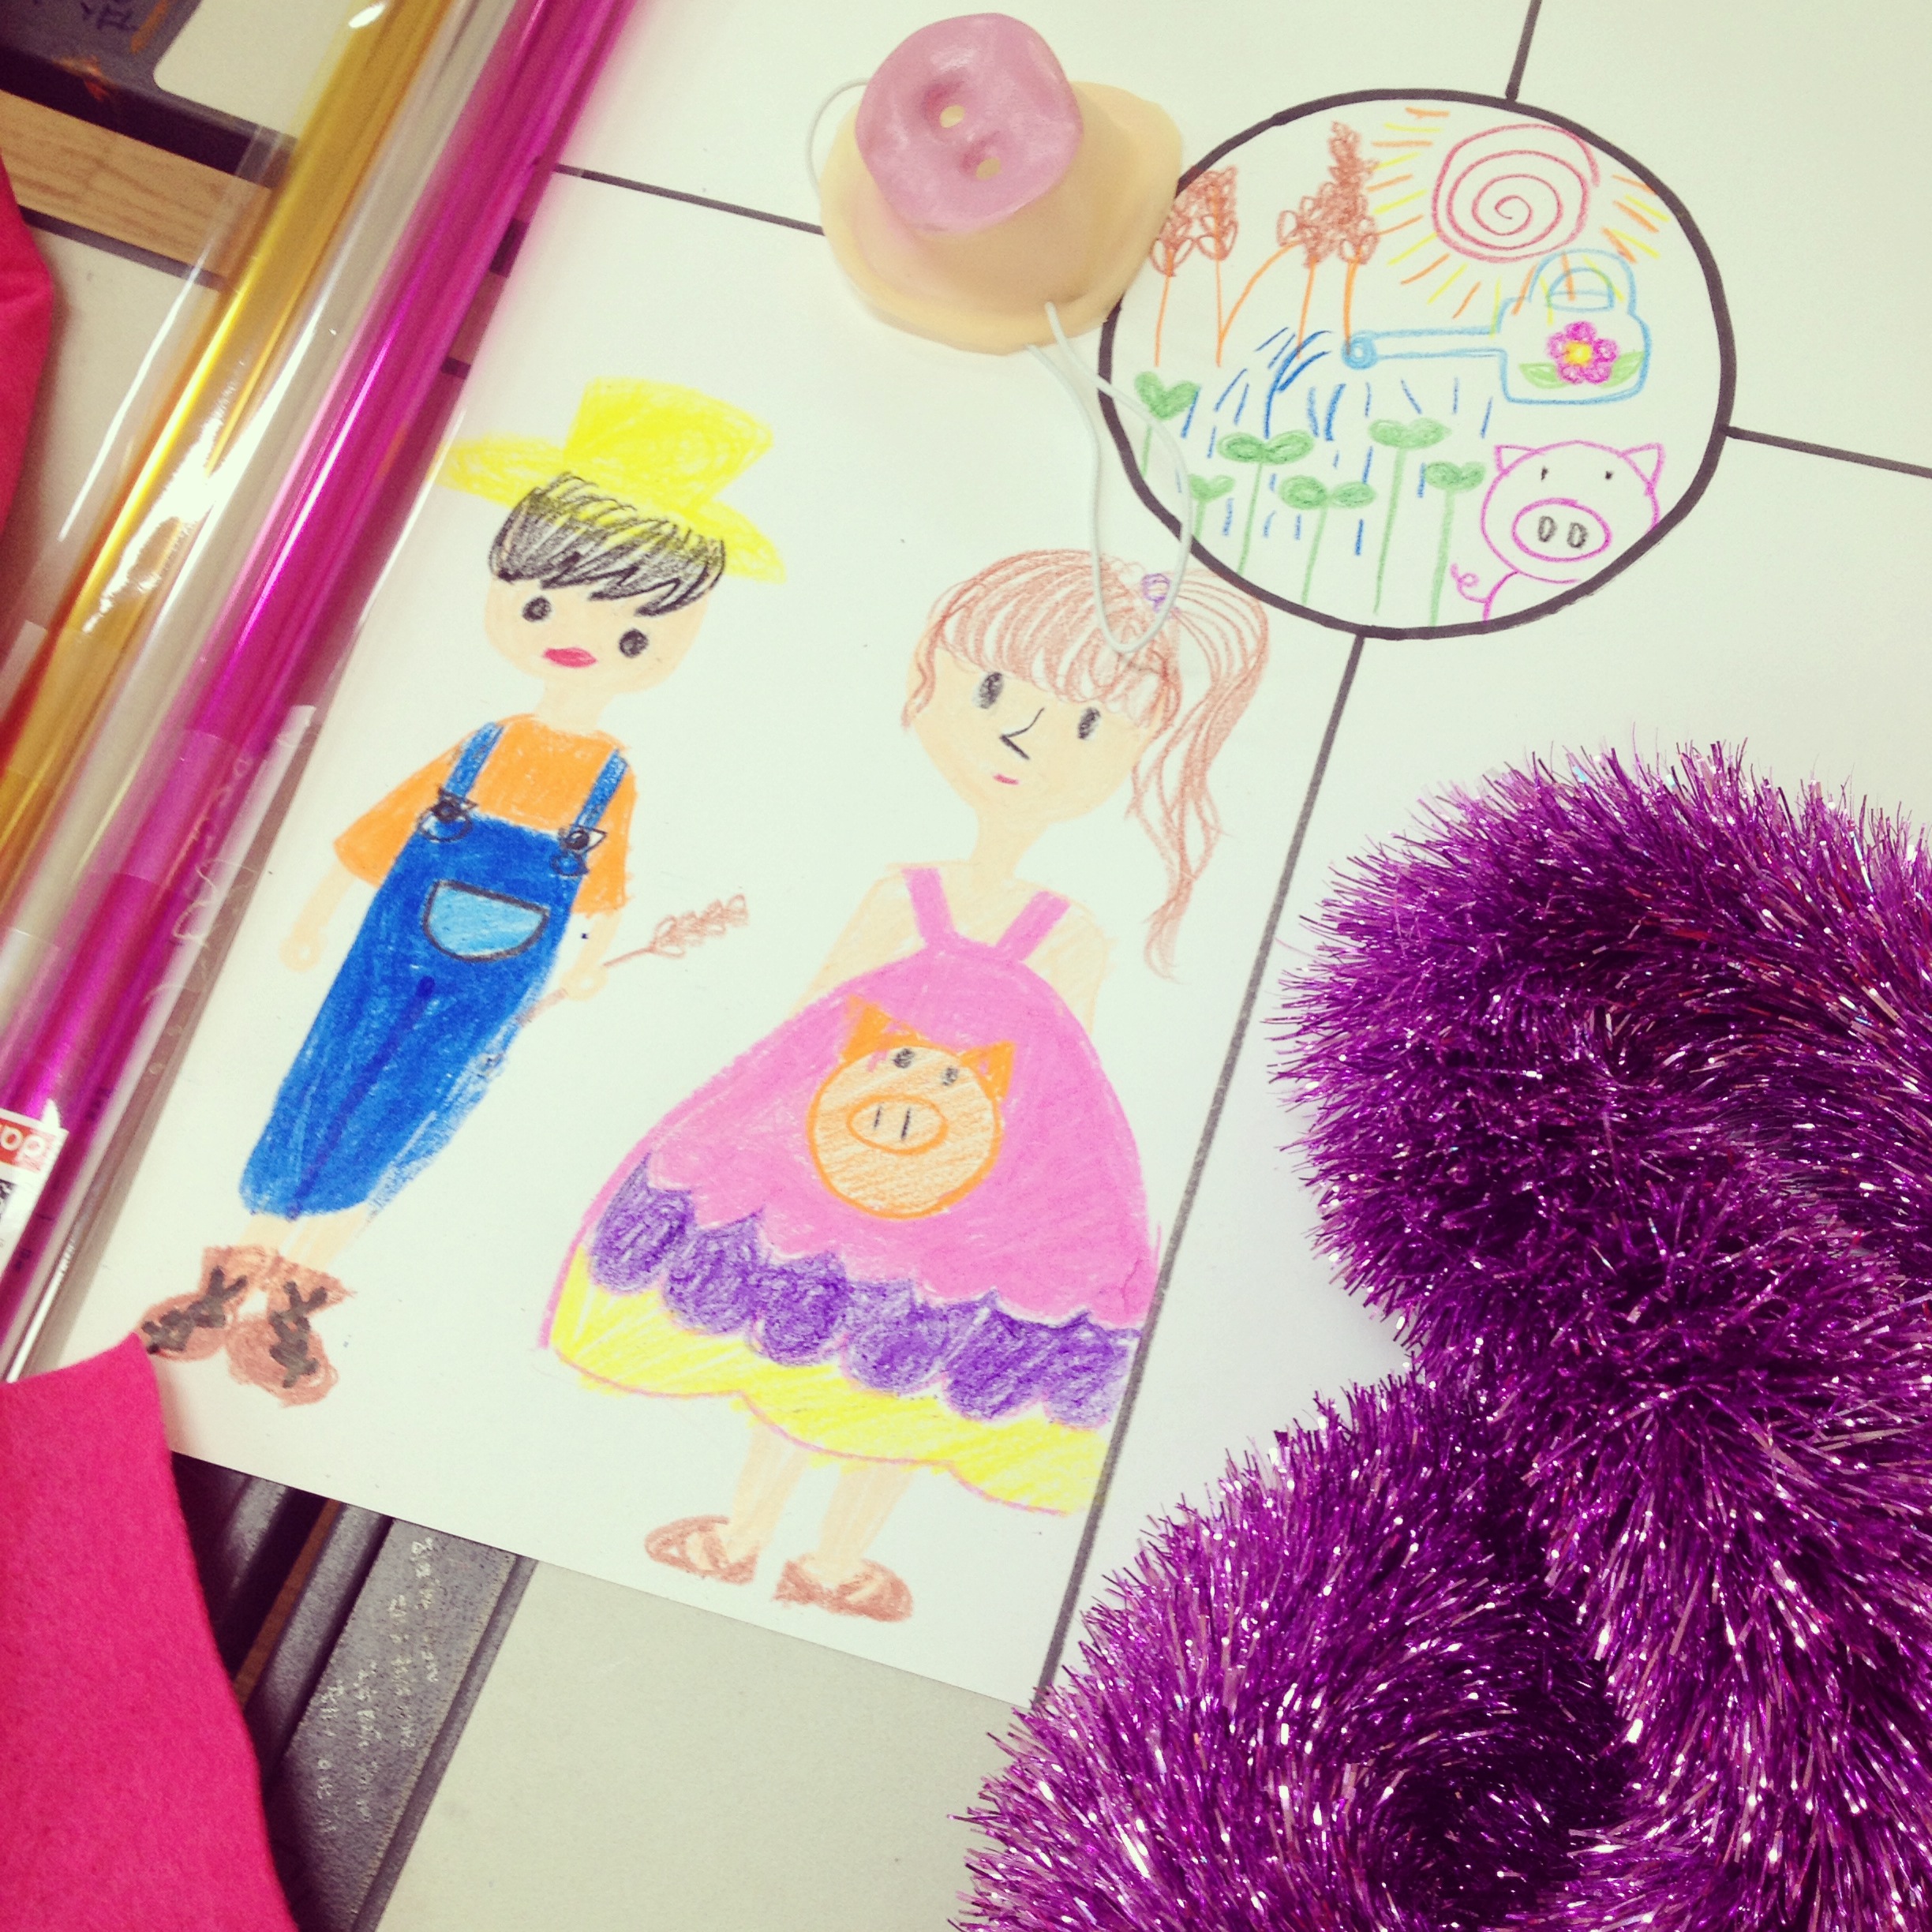
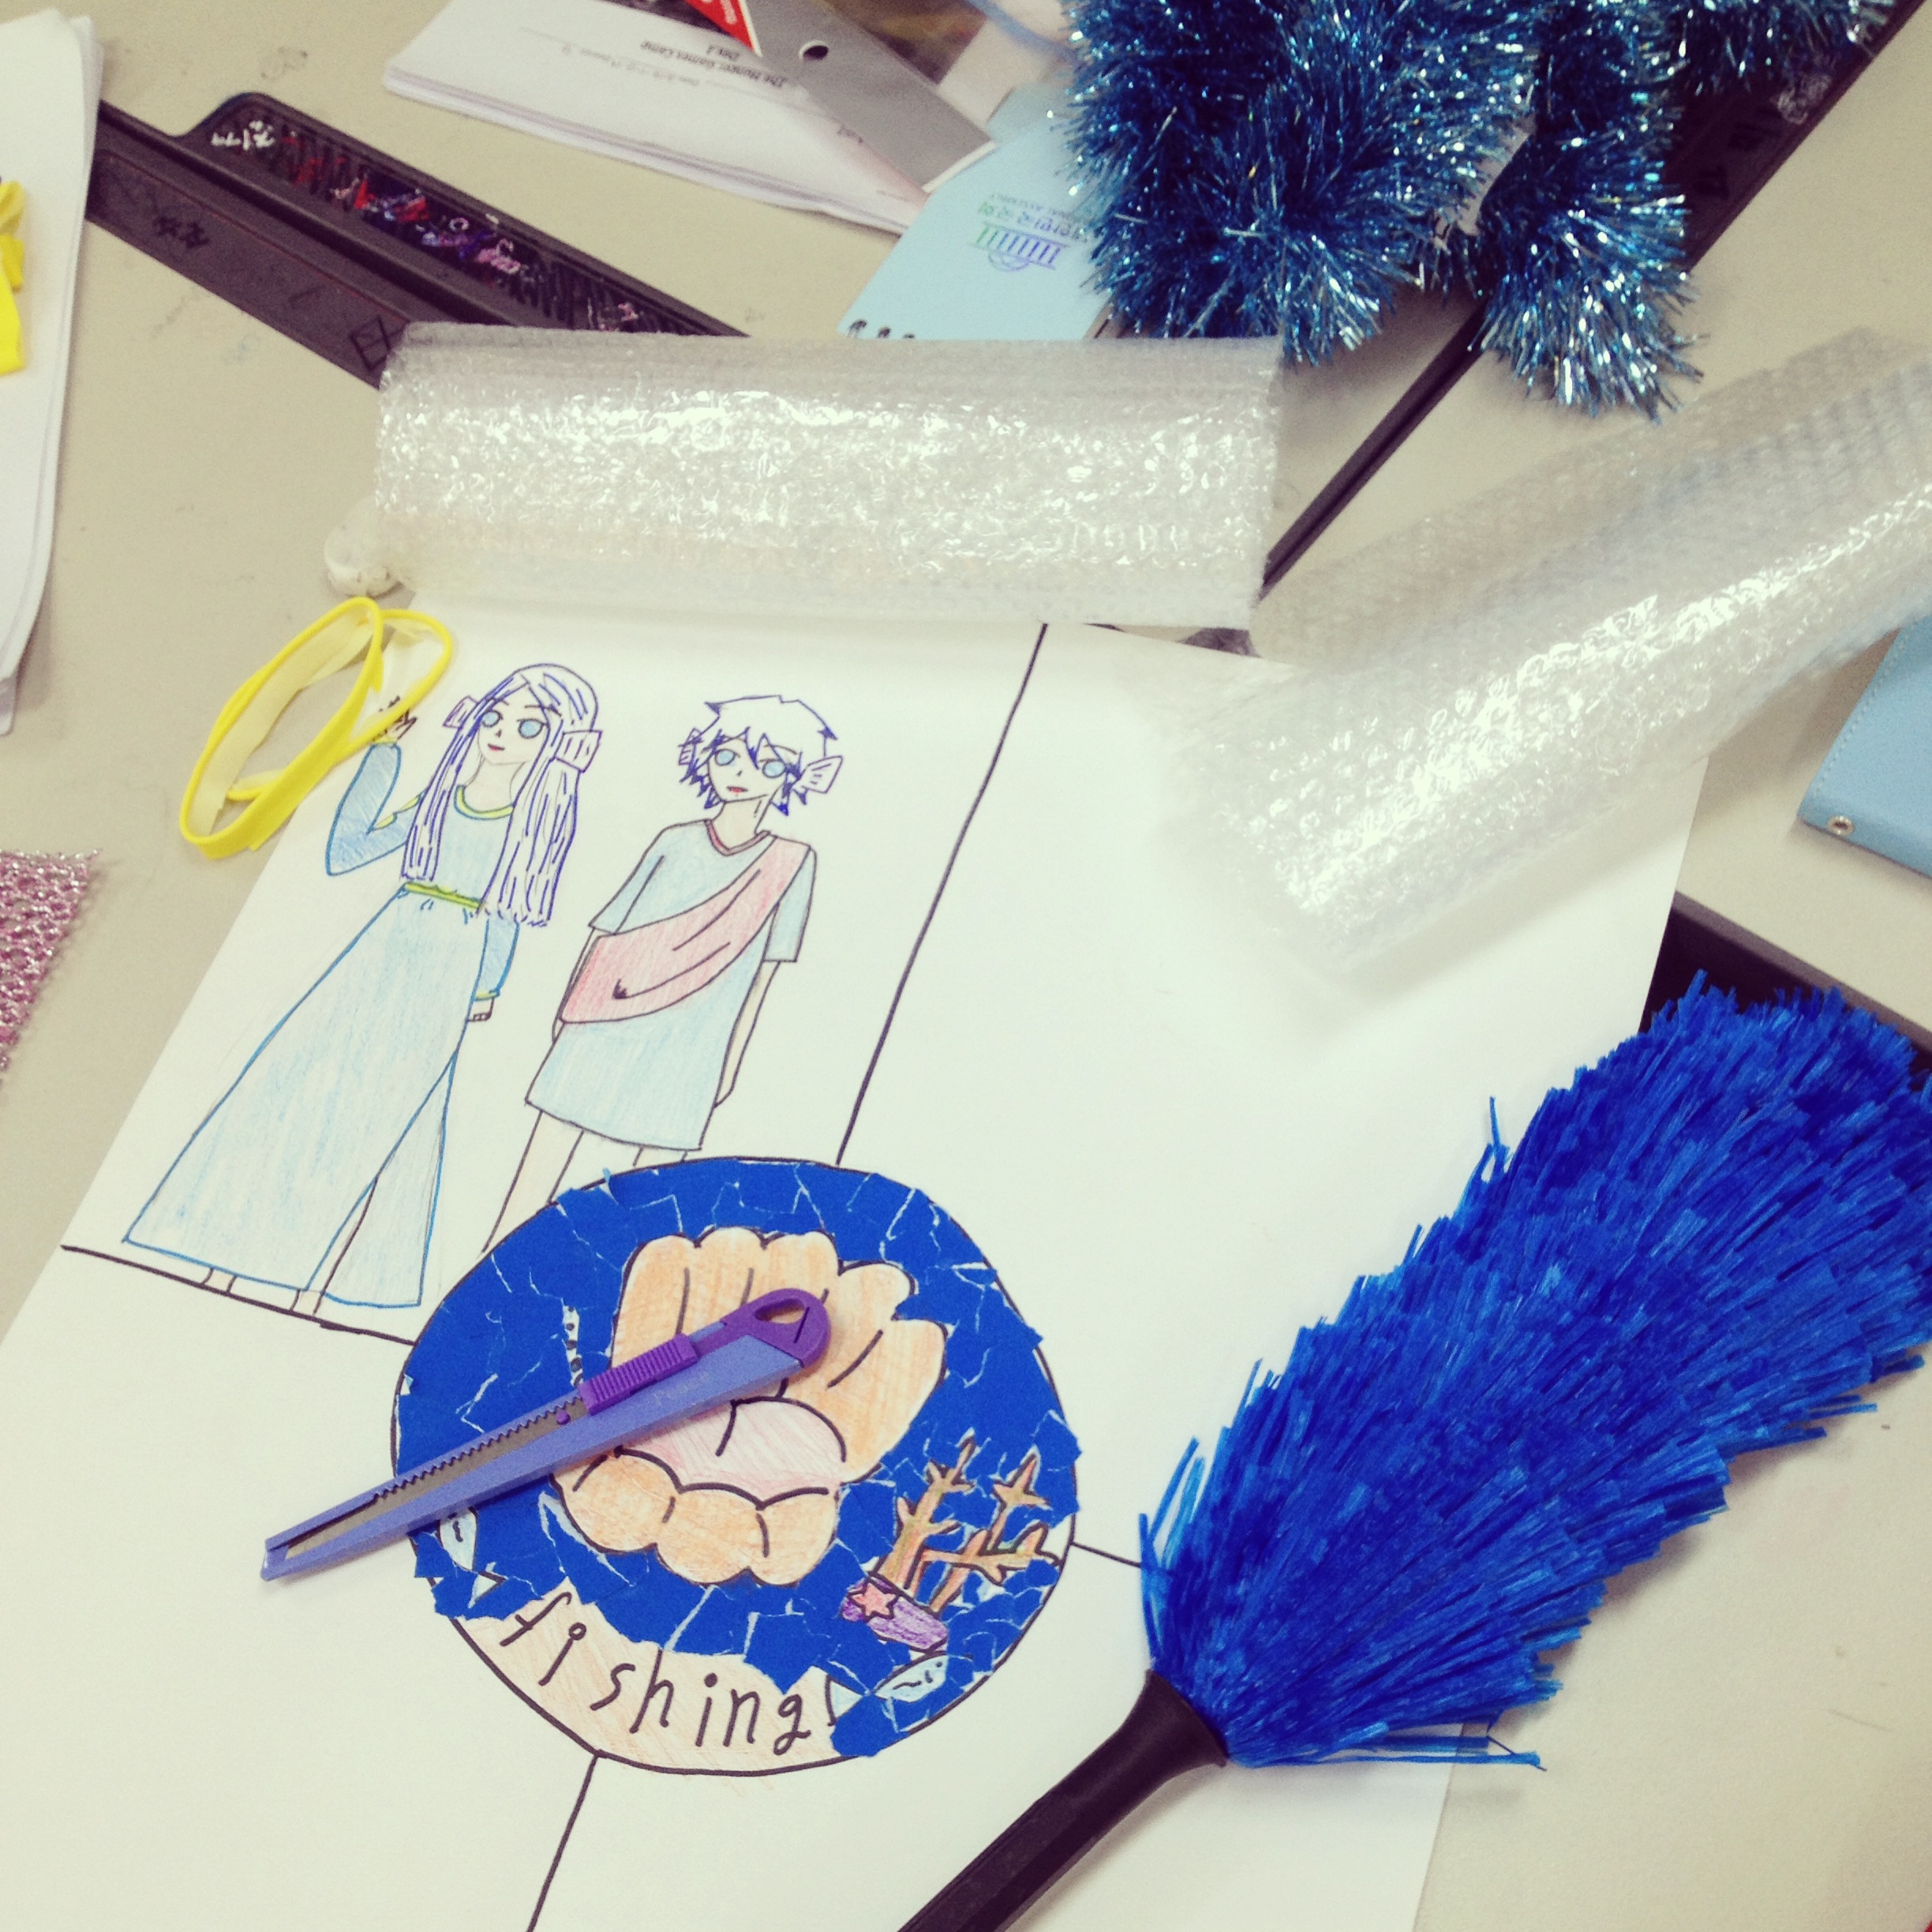
Here are the finished posters:

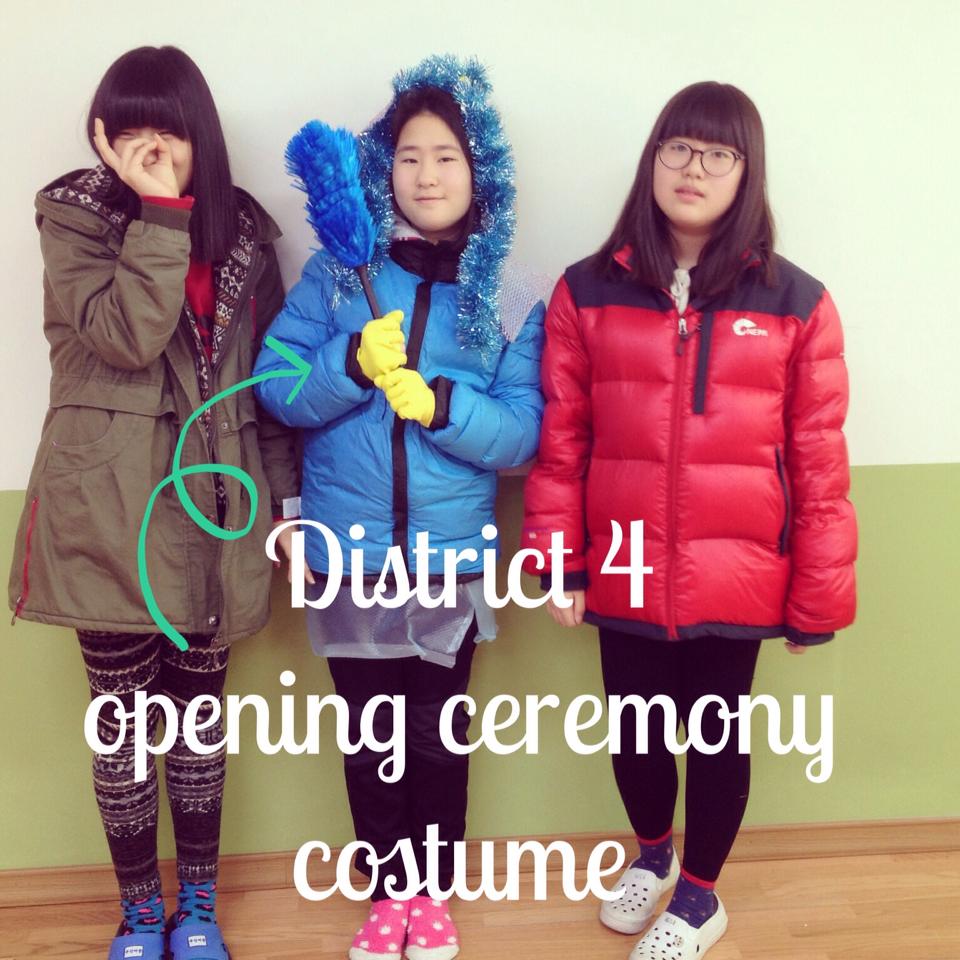
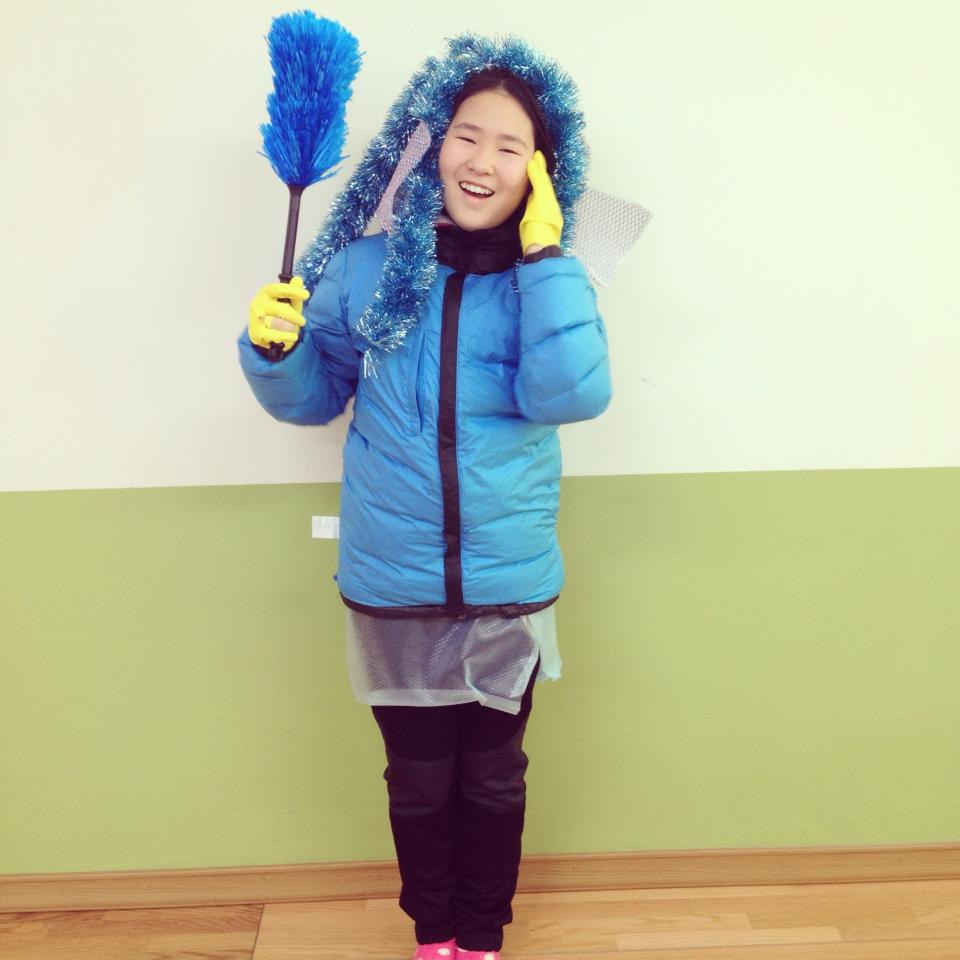
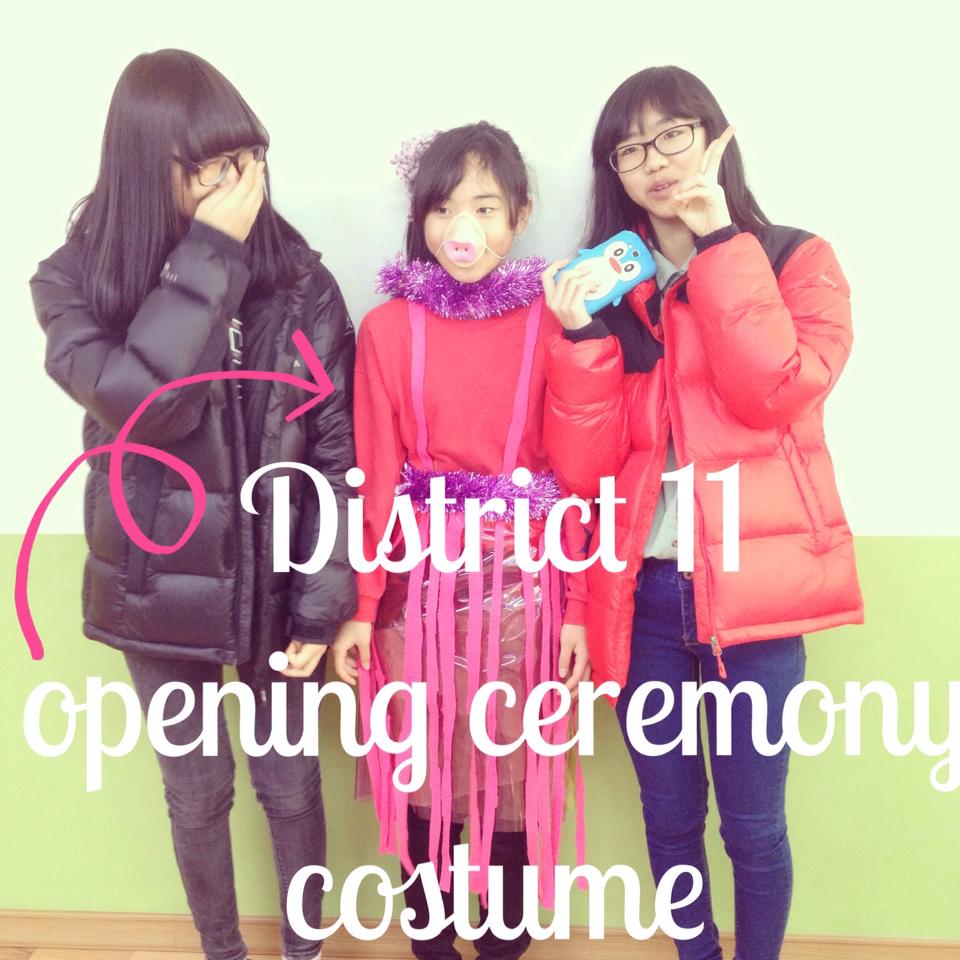
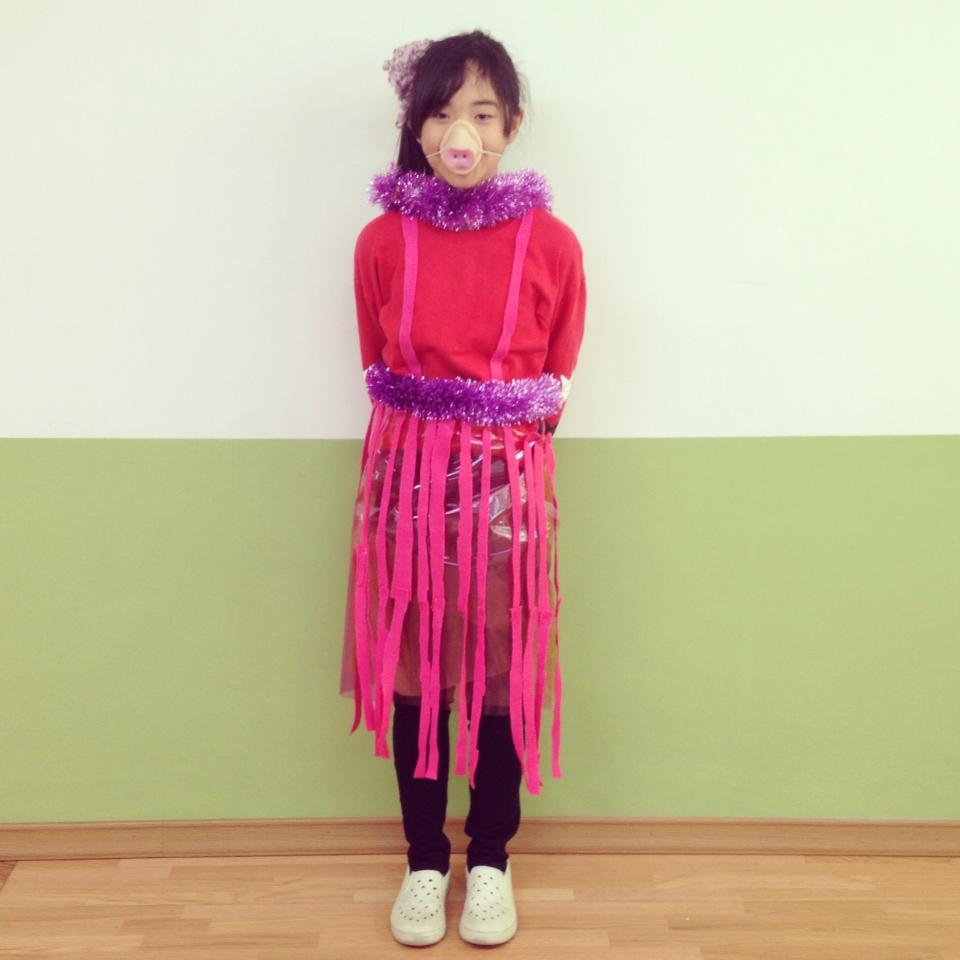
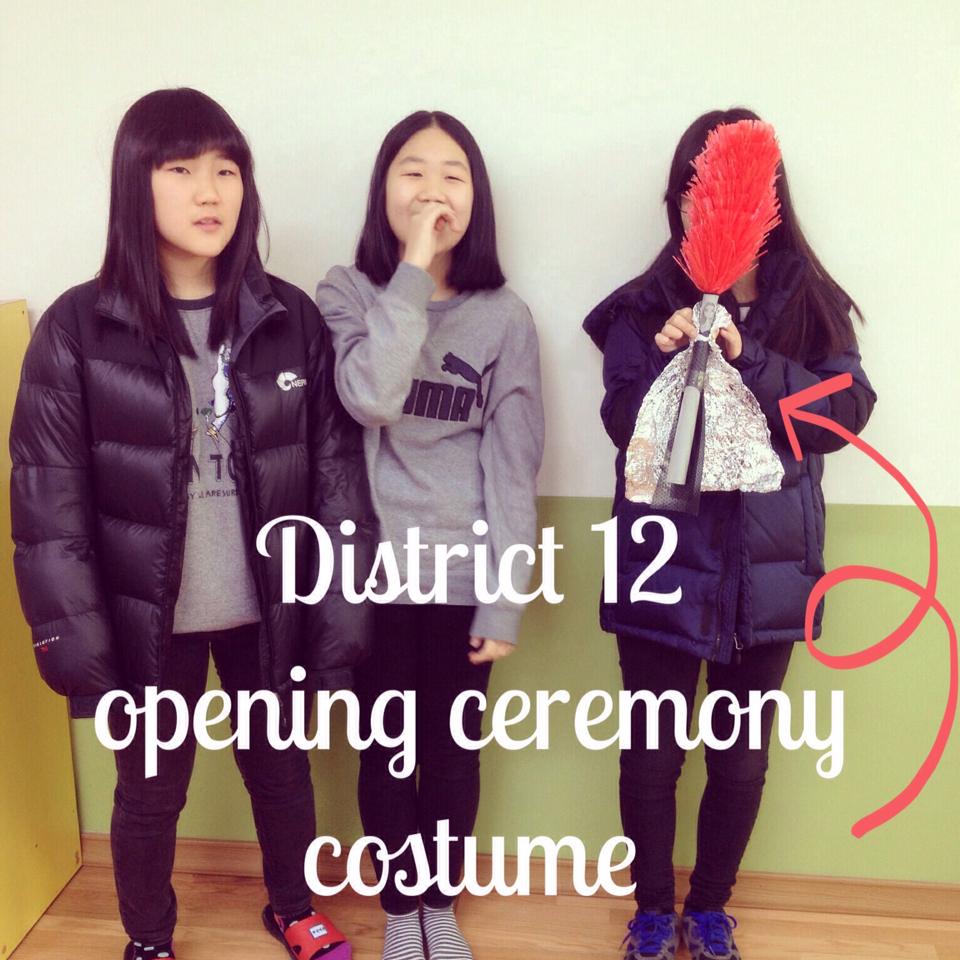
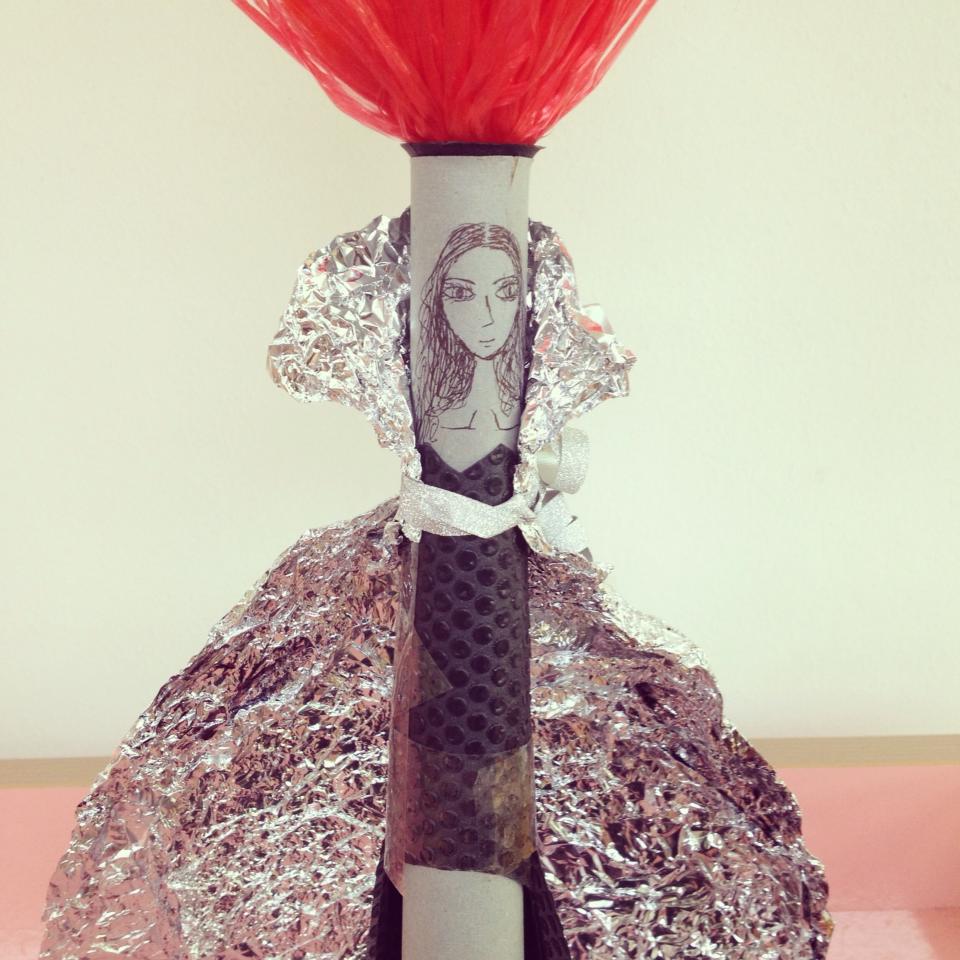
One of the activities my students loved the most was designing the costumes for the Opening Cemerony. I went to my nearest Daiso and bought a whole bunch of random supplies (bubble wrap, tinsel, gloves, ribbon, string, cleaning cloths and sponges etc) an then gave the students free reign to do what they liked. This is what they came up with:

I hope you found this camp idea useful. If you use this idea or have any other great ideas for English camp themes I'd love to hear from you in the comments below.

Happy camp planning!

Makeup Lesson Ideas - Teaching English in Korea

makeup lesson idea middle school girls south korea

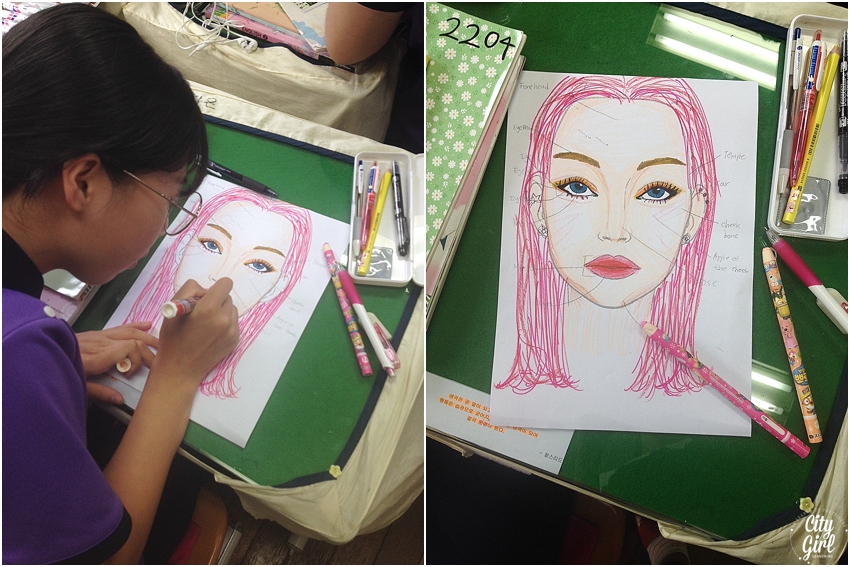
Its the last week before my school breaks up for the summer holidays and all my students (and the teachers) are tired and ready for the break. I teach at an all girls middle school here in Korea, and the students are under a lot of pressure right throughout the year in anticipation of their final high school exams. Instead of simply watching movies with my students in the last few days leading up the end of the semester, I have been doing a very fun (minimal prep) lesson on makeup. I thought my girls would enjoy the lesson, but I didn't realise just how much they would get into it, as each of my classes this week have requested this lesson. I had initially only planned on doing it with my oldest students, but as each class has asked to do it, I simply modified the power point with slightly easier vocabulary for the younger students.

Here are the links to download both lessons (the higher level & the lower level) as well as a PPT with the documents to print out. I was passed on this lesson by a friend, and am not the original creator but have since modified it to suit my students). Feel free to download and edit these lessons for your students:

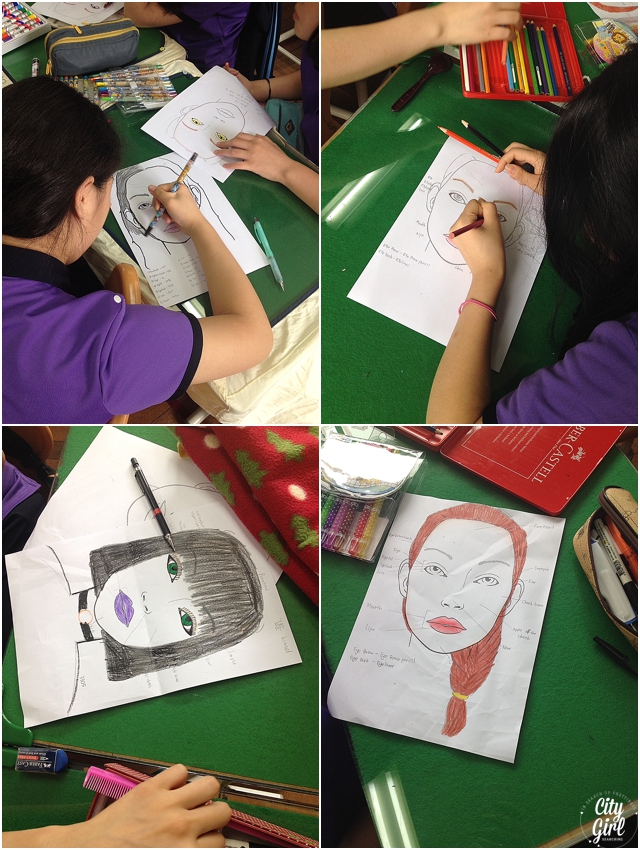
There are 4 parts to the entire lesson and you can use it to cover 2 lessons if needed. I have only had time to cover the first 2 parts of the lesson so far as my girls have really gotten into the colouring in part.

Breakdown of the Lesson:

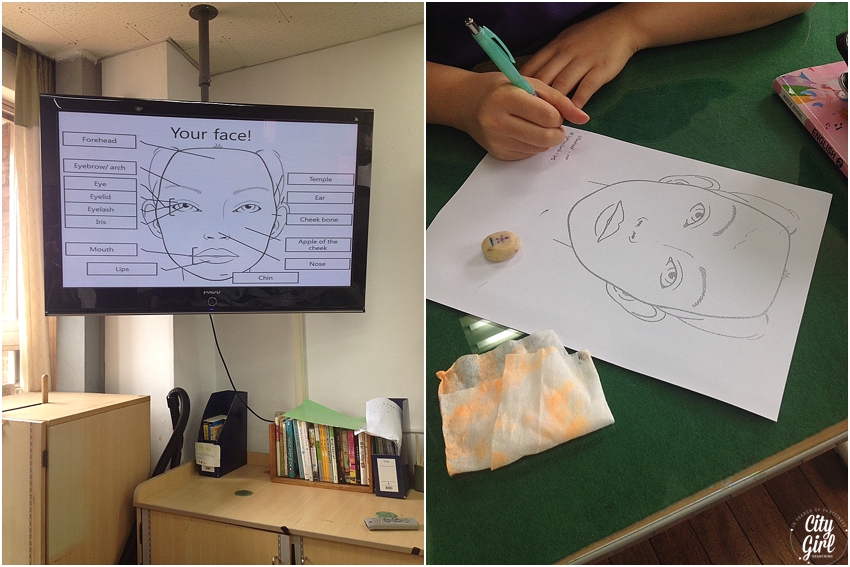
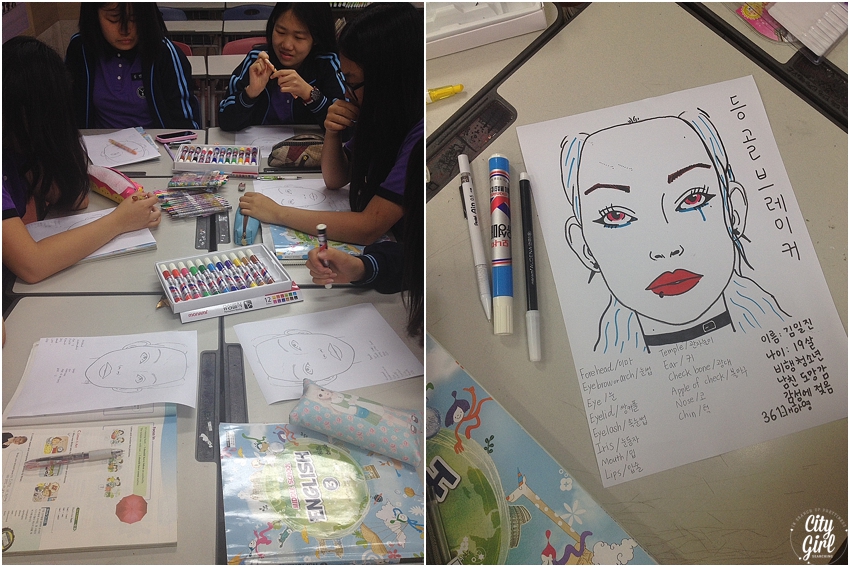
1. Vocabulary for the parts of the face (students can label the parts of the face with Korean translations)

2. Makeup Vocabulary: go through the names of each makeup product and the verbs used for each product (adjust for lower level students)

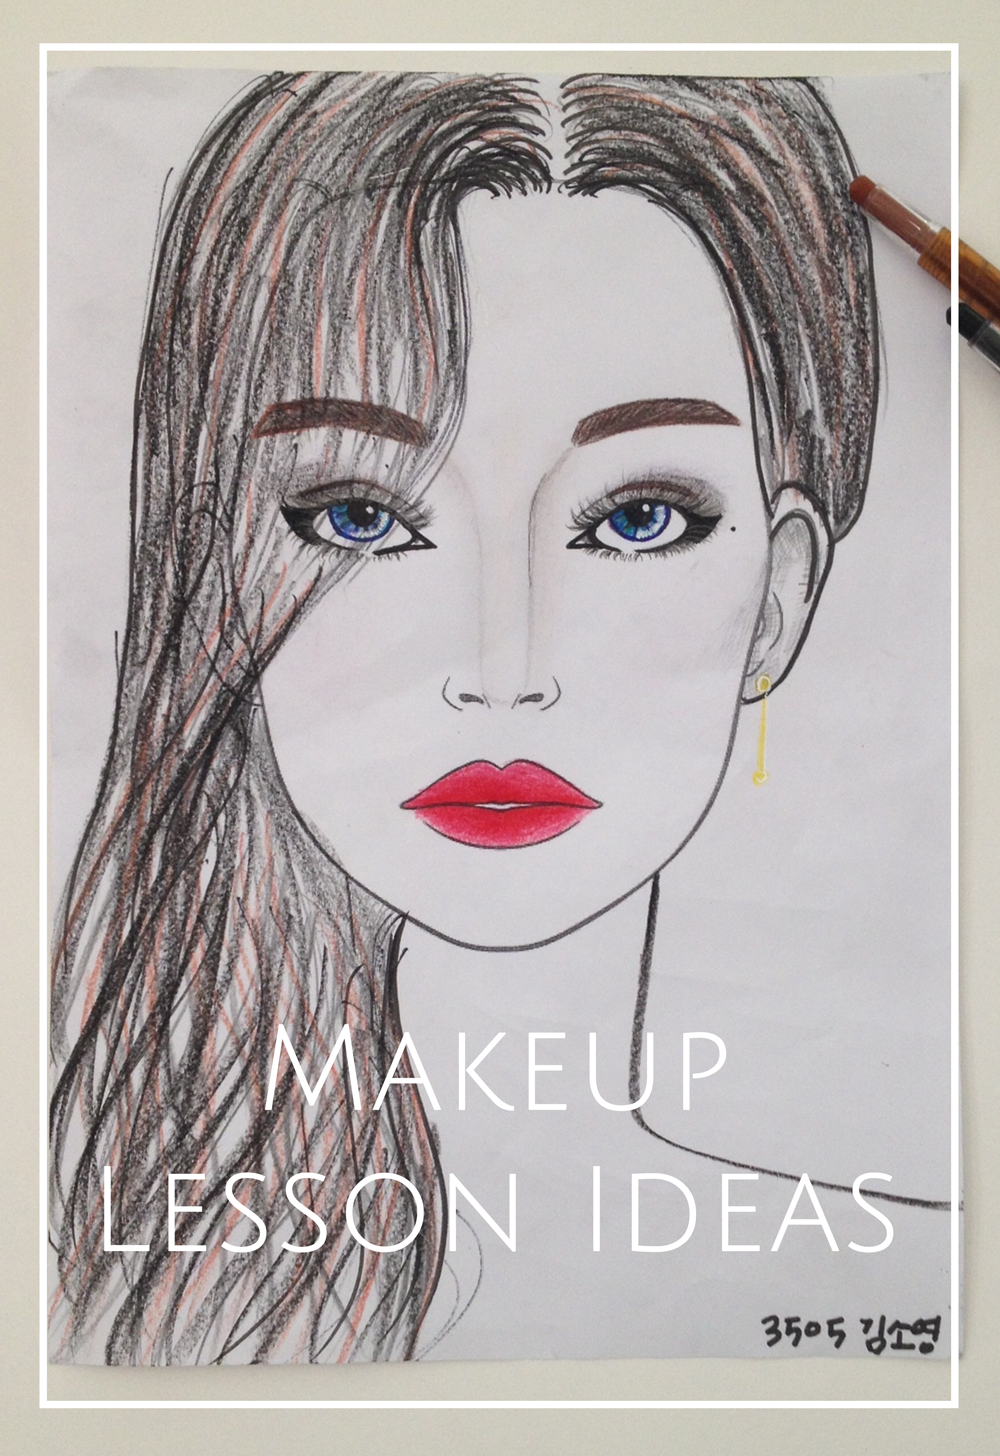
3. Students design their own makeup for their 'face'

4. Listening activity: print out an image of your face (or any person) and instruct he students on how to apply the makeup. This is always lots of fun seeing whether they listen to your instructions or not.

*You can swop steps 3 & 4 around as step 3 takes the longest time

I hope you find this useful! Please do let me know if you use this lesson in your class and how it goes in the comments below.

Halloween Lesson Ideas for young ESL students

Halloween lesson ideas for teaching english

We don't do much to celebrate Halloween in South Africa, and it seems it's the same here in South Korea. Many of my students haven't ever heard the word Halloween before, so it seemed like a good a time as any to have some fun with ghosts and jack o' lanterns, witches and black cats. I currently teach middle school students, but have also taught younger levels and these activities have worked for all levels.

We spent a good couple of lessons going over Autumn/Fall vocabulary with these great songs (each one is linked below) and then the activities we did are pictured and explained below too:

HalloweenLessonIdeasSouthKoreaEsl

HalloweenLessonIdeasKoreaEslKindergartedn

Scarecrow Project:

You Need: 

-glue

-scissors

-pencil

-coloured paper

-white paper to stick your scarecrow onto

The Scarecrow Song (great for teaching parts of the body)

The Shapes Song (a great song for calming down students if the lessons starts to get too out of hand, the kids really do love this song and I have been playing it for over a year intermittently)

We made scarecrows out of shapes for this activity.  I started off having the students draw the shapes I would call out. I called out the shapes that could make up a scarecrow but didn't tell them where to draw the shapes. For example '1 big square....2 small circles...1 big triangle). It was fun to see what sort of creatures the students made with their shapes. At the end of this activity I showed them that I had used those shapes to create a scarecrow. This then sets the theme for the lesson and helps for the students to grasp the next activity. They loved looking at each others weird and wonderful creations.

I then gave each student a stack of coloured paper, glue and scissors and called out each shape and colour that I wanted them to cut out. I made sure each student was keeping up and not falling behind as the sequence is quite important. Here is what the students ended up with:

HalloweenLessonIdeasKoreaEslKindergarten

HalloweenLessonIdeasKoreaEslKindergartedn

Halloween Masks

You need:
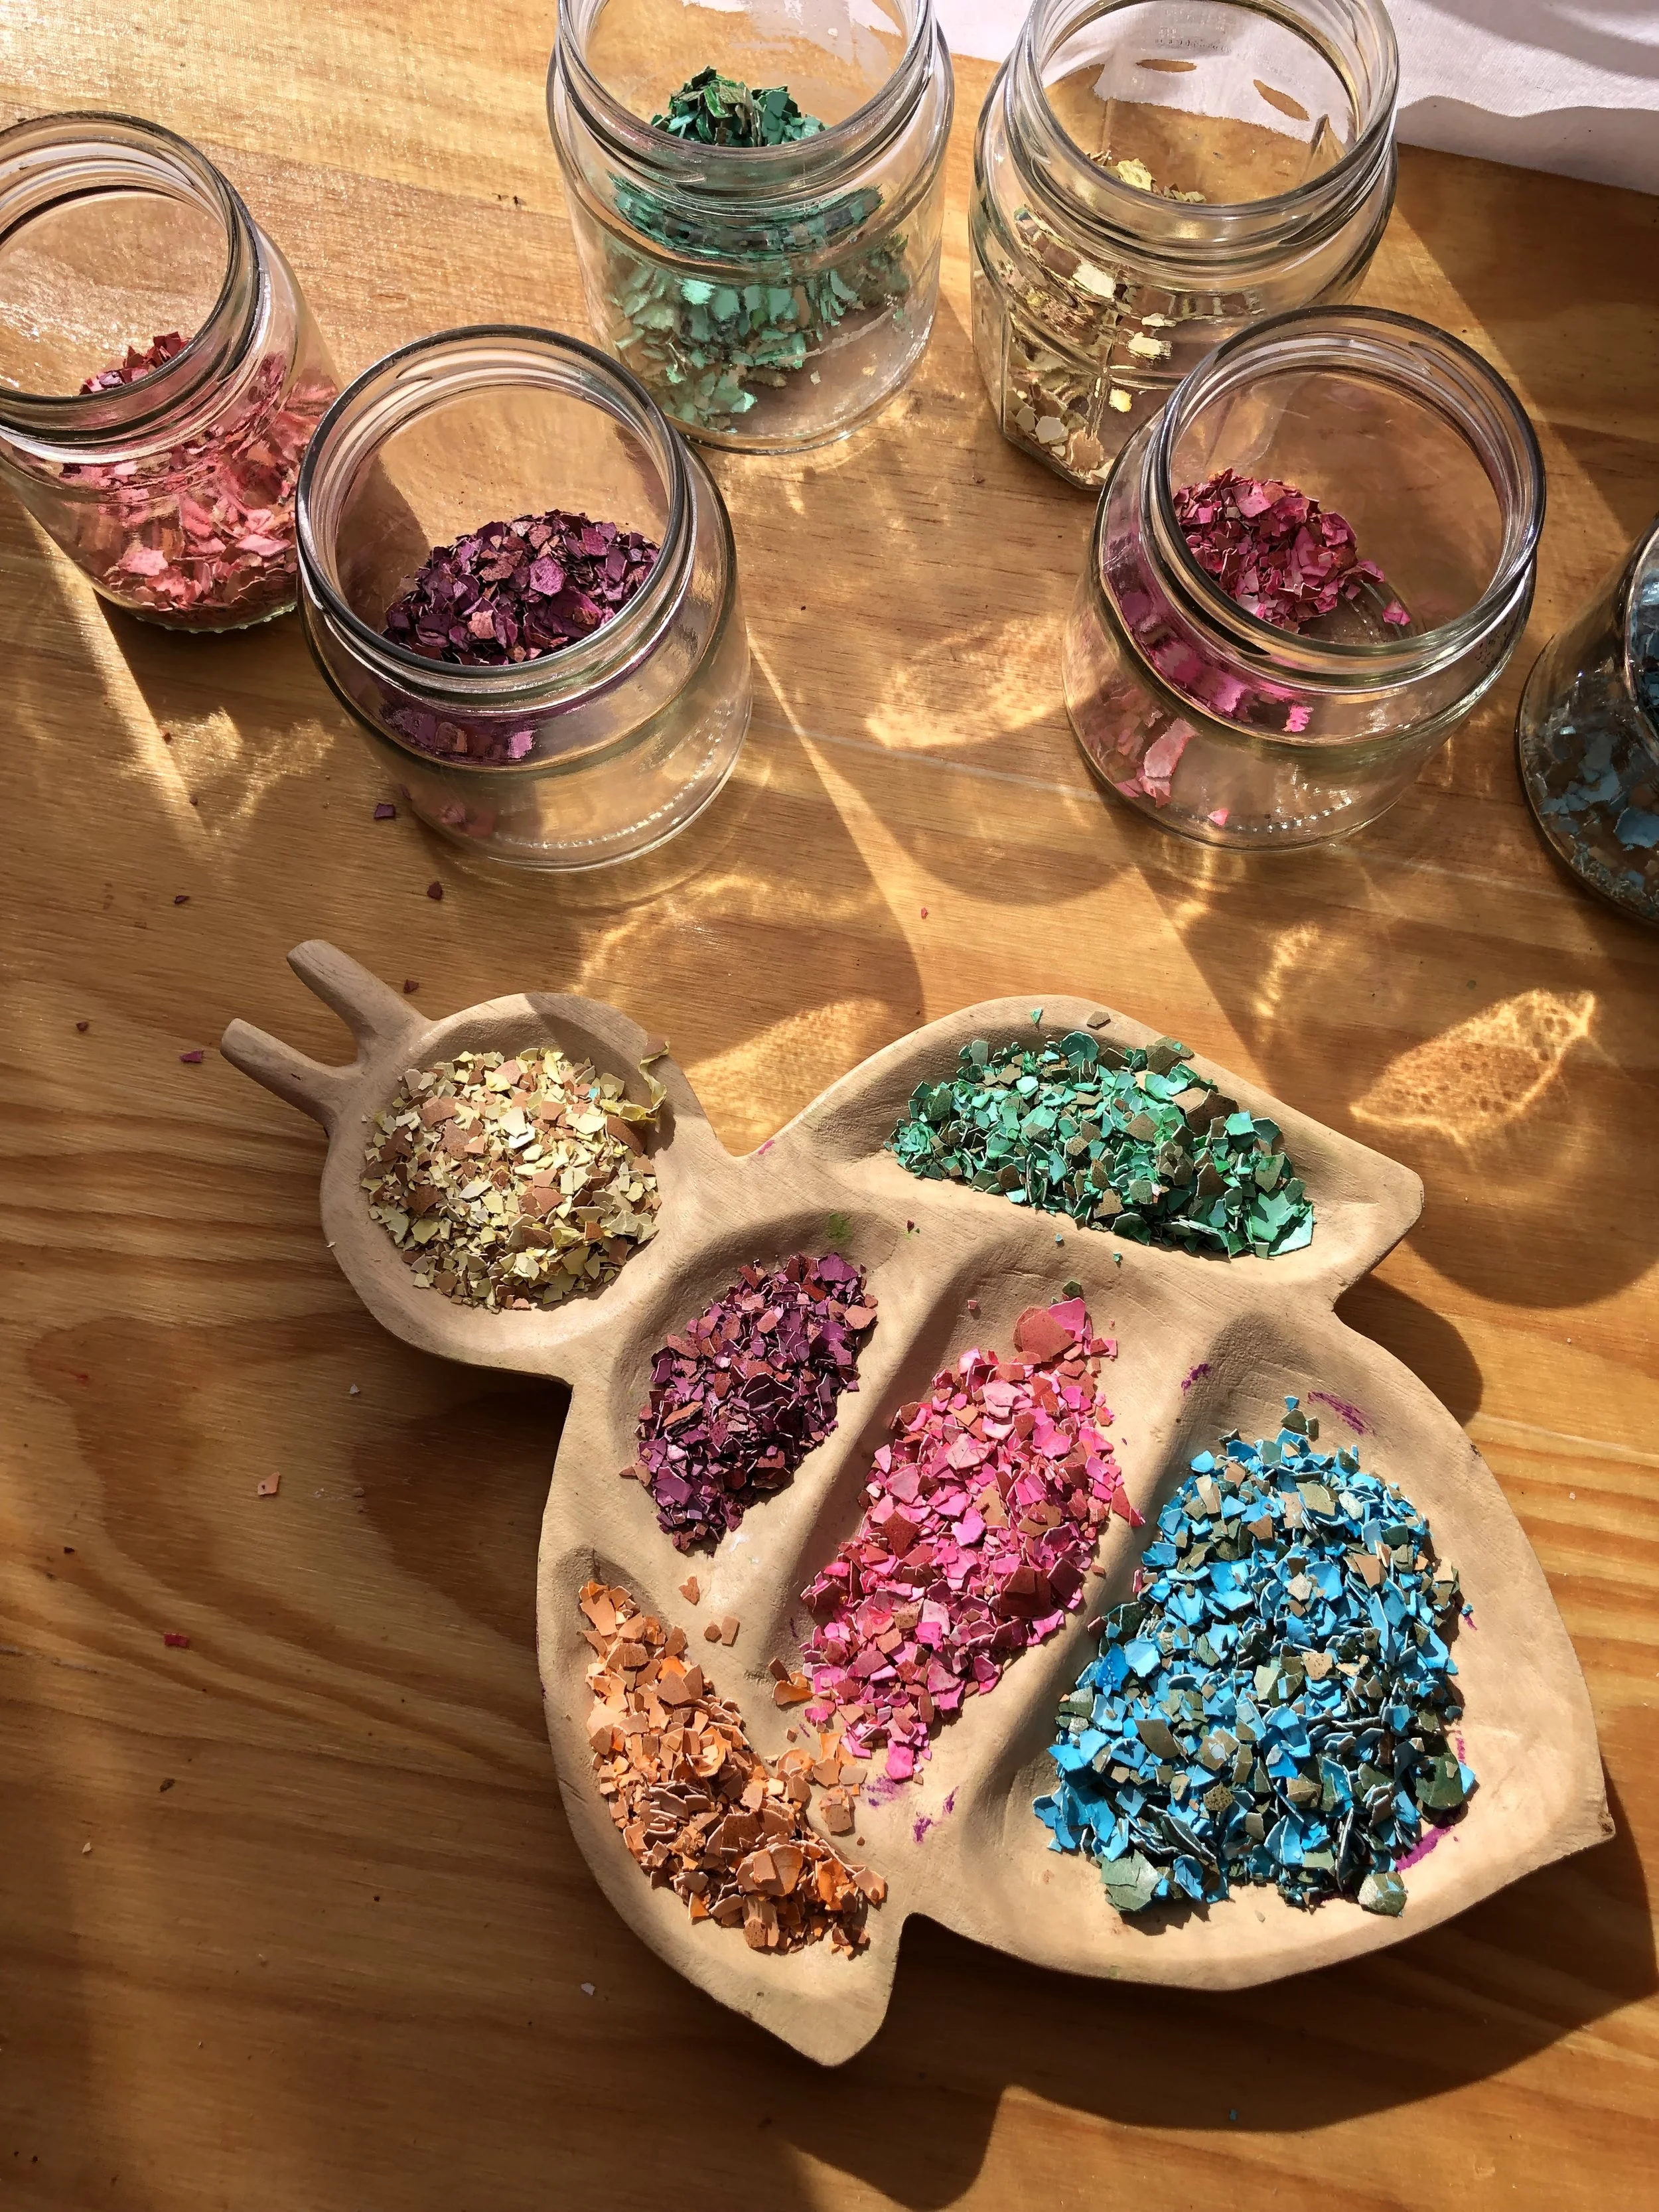
-mask printables (downloaded from MrPrintables click here)

-thick card

-straws (I used string the last time but the masks were too flimsy and kept tearing apart so this time we made hand held masks)

-tape

-craft knife (to cut out the eyes)

-coloured pens and pencils

Trick or Treat Song (can be a little too scary for younger students so make sure to play it with the lights on first)

Spooky Spooky (this is a firm favourite with all my students, even my middle school girls!)

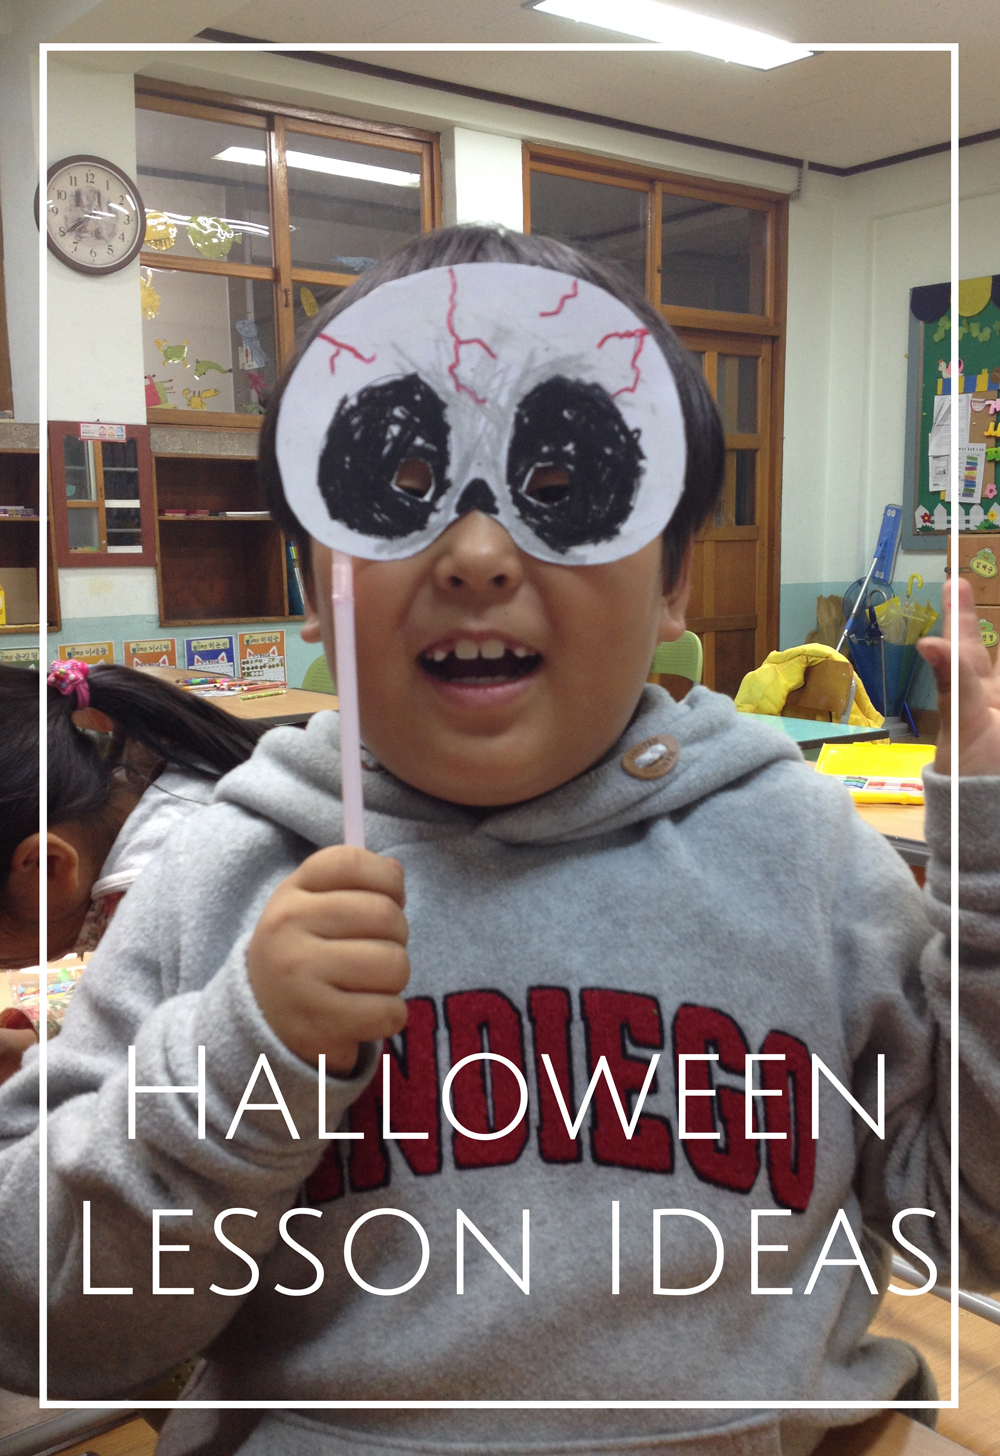
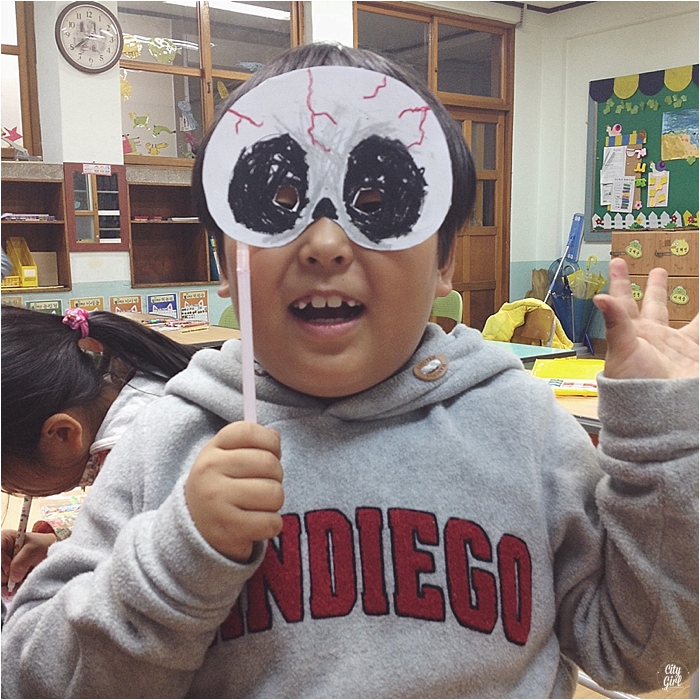
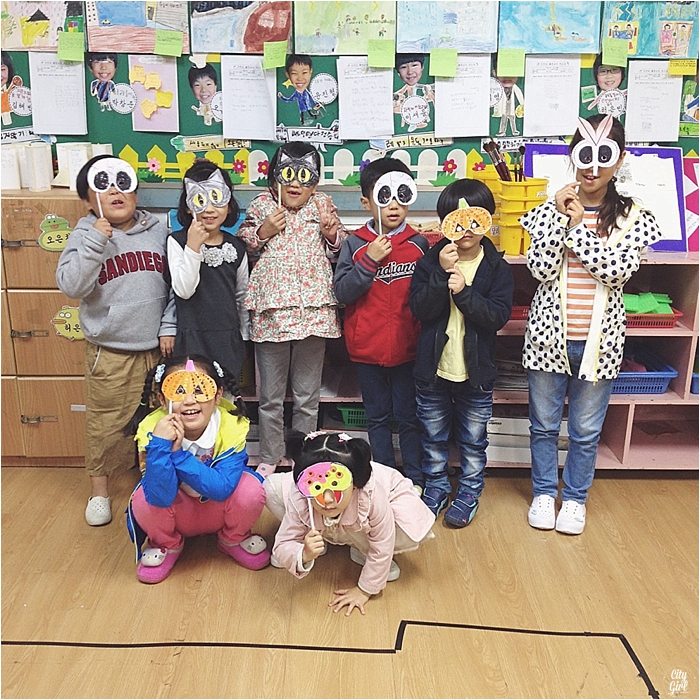
The halloween masks activity was super simple to do. I introduced the above Halloween songs, we practised the vocabulary by having the students some up to the board and draw what they saw in the song. Then I showed them an example of the mask from the MrPrintables site and bombs away. Use a craft knife to cut out the eye holes, tape the straw to the back of the mask an let havoc ensue!


Halloween Cookies

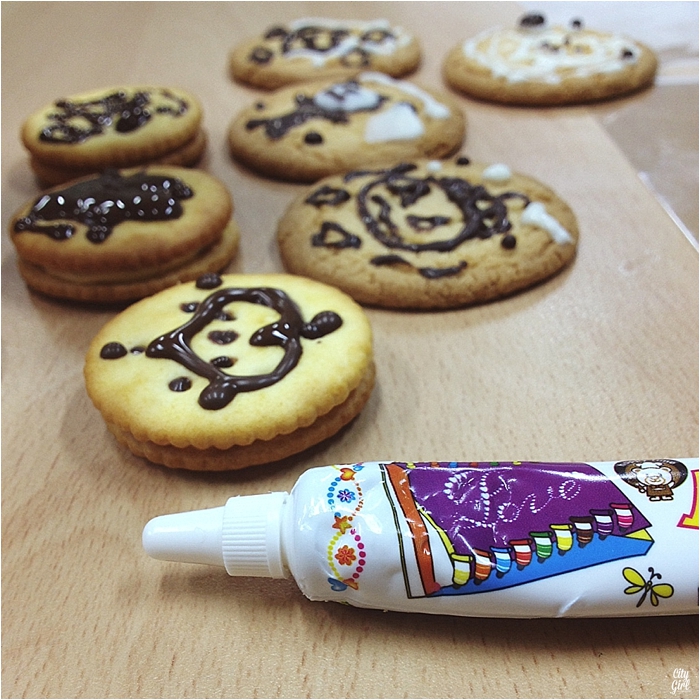
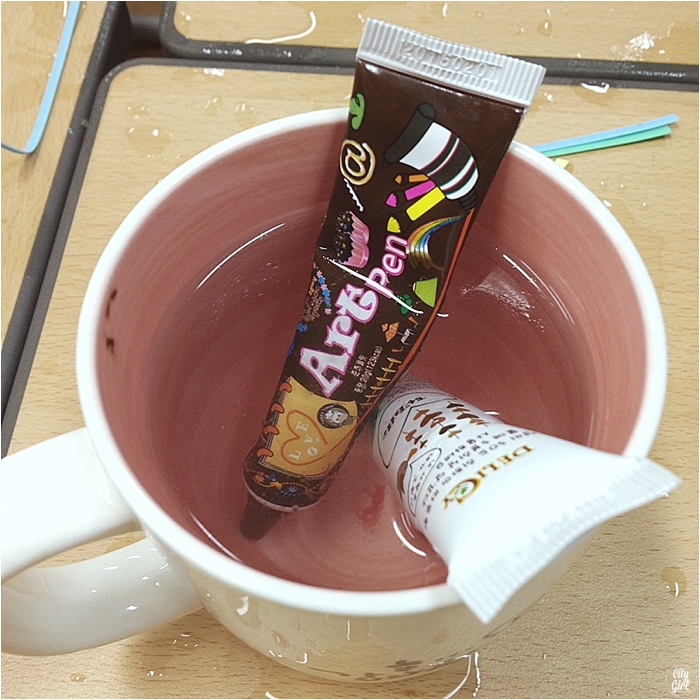
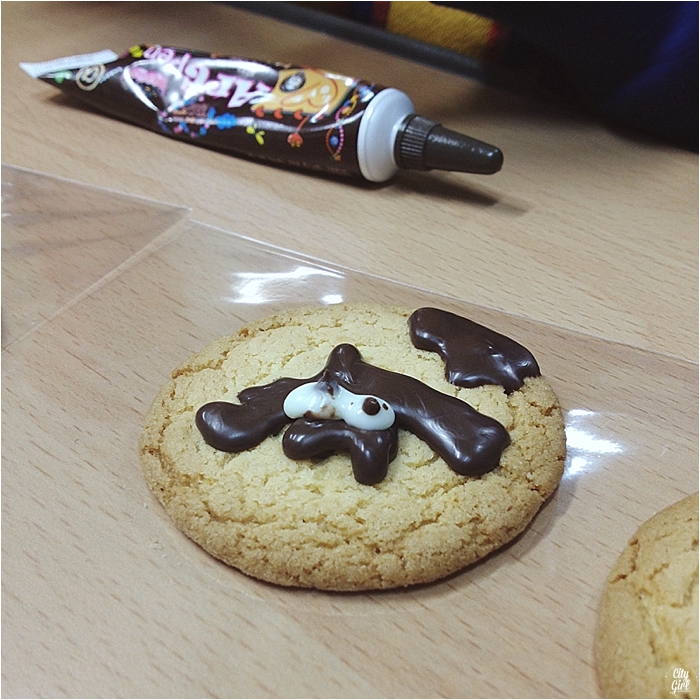
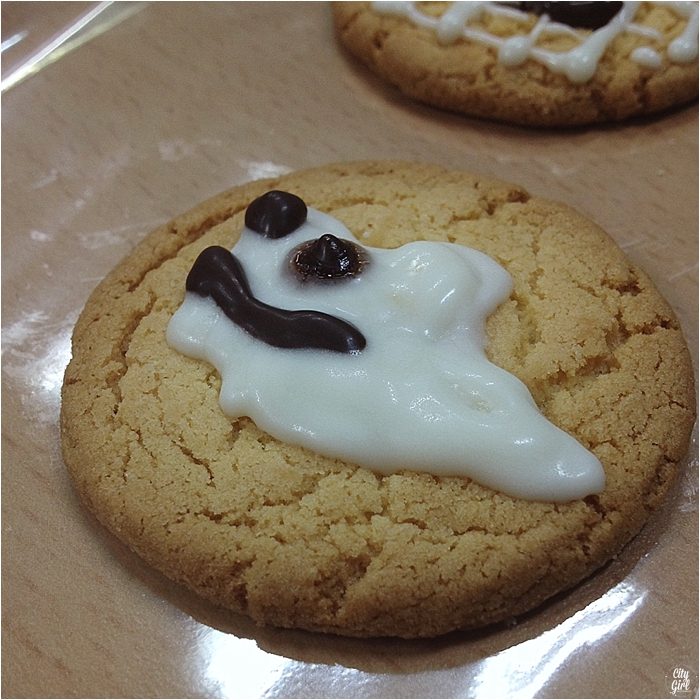
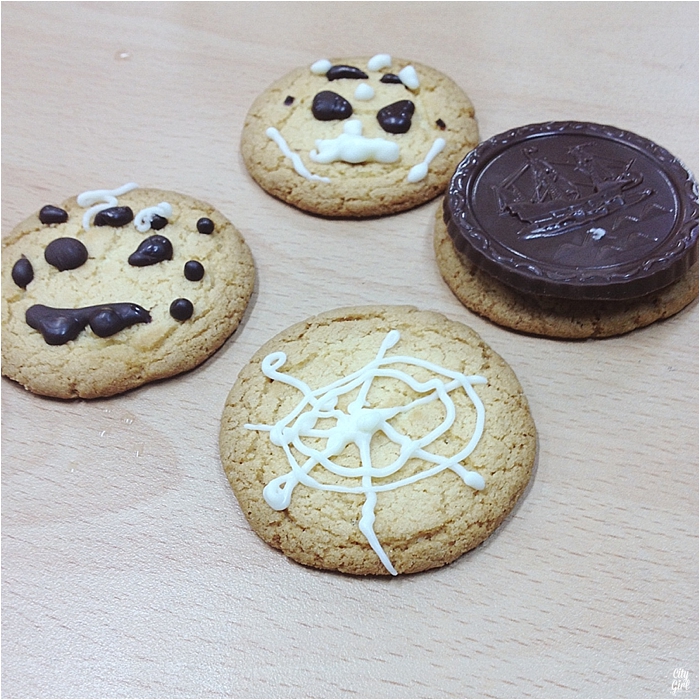
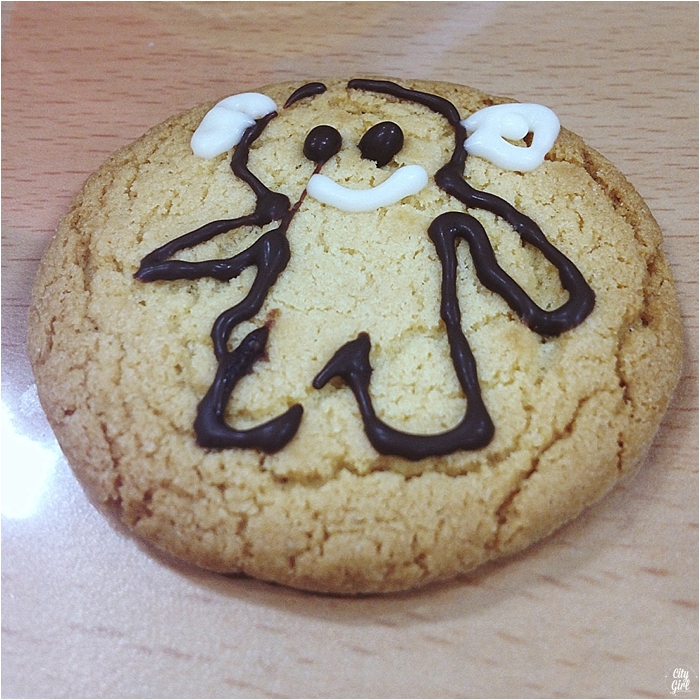
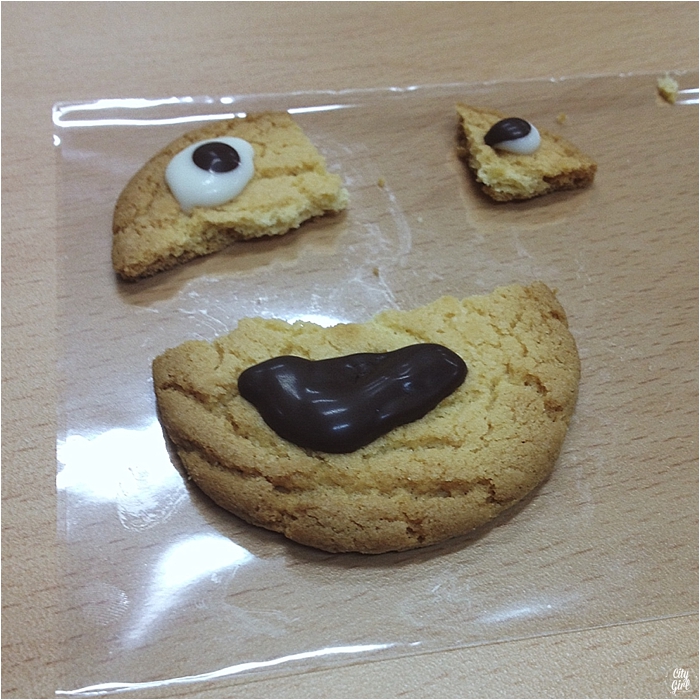
For our last Halloween lesson I got some chocolate decorating pens from CNA (one of the local stationery stores here in Korea), a bunch of different biscuits and cookies, and then let the kids go crazy decorating. Some of them were so creative that I was blown away. My favourite is the last cookie...my youngest student made do with the cookie given to her...