English Science Camp And Activities for kids - VOLCANOES

EnglishScienceCampActivitiesVolcanoKids

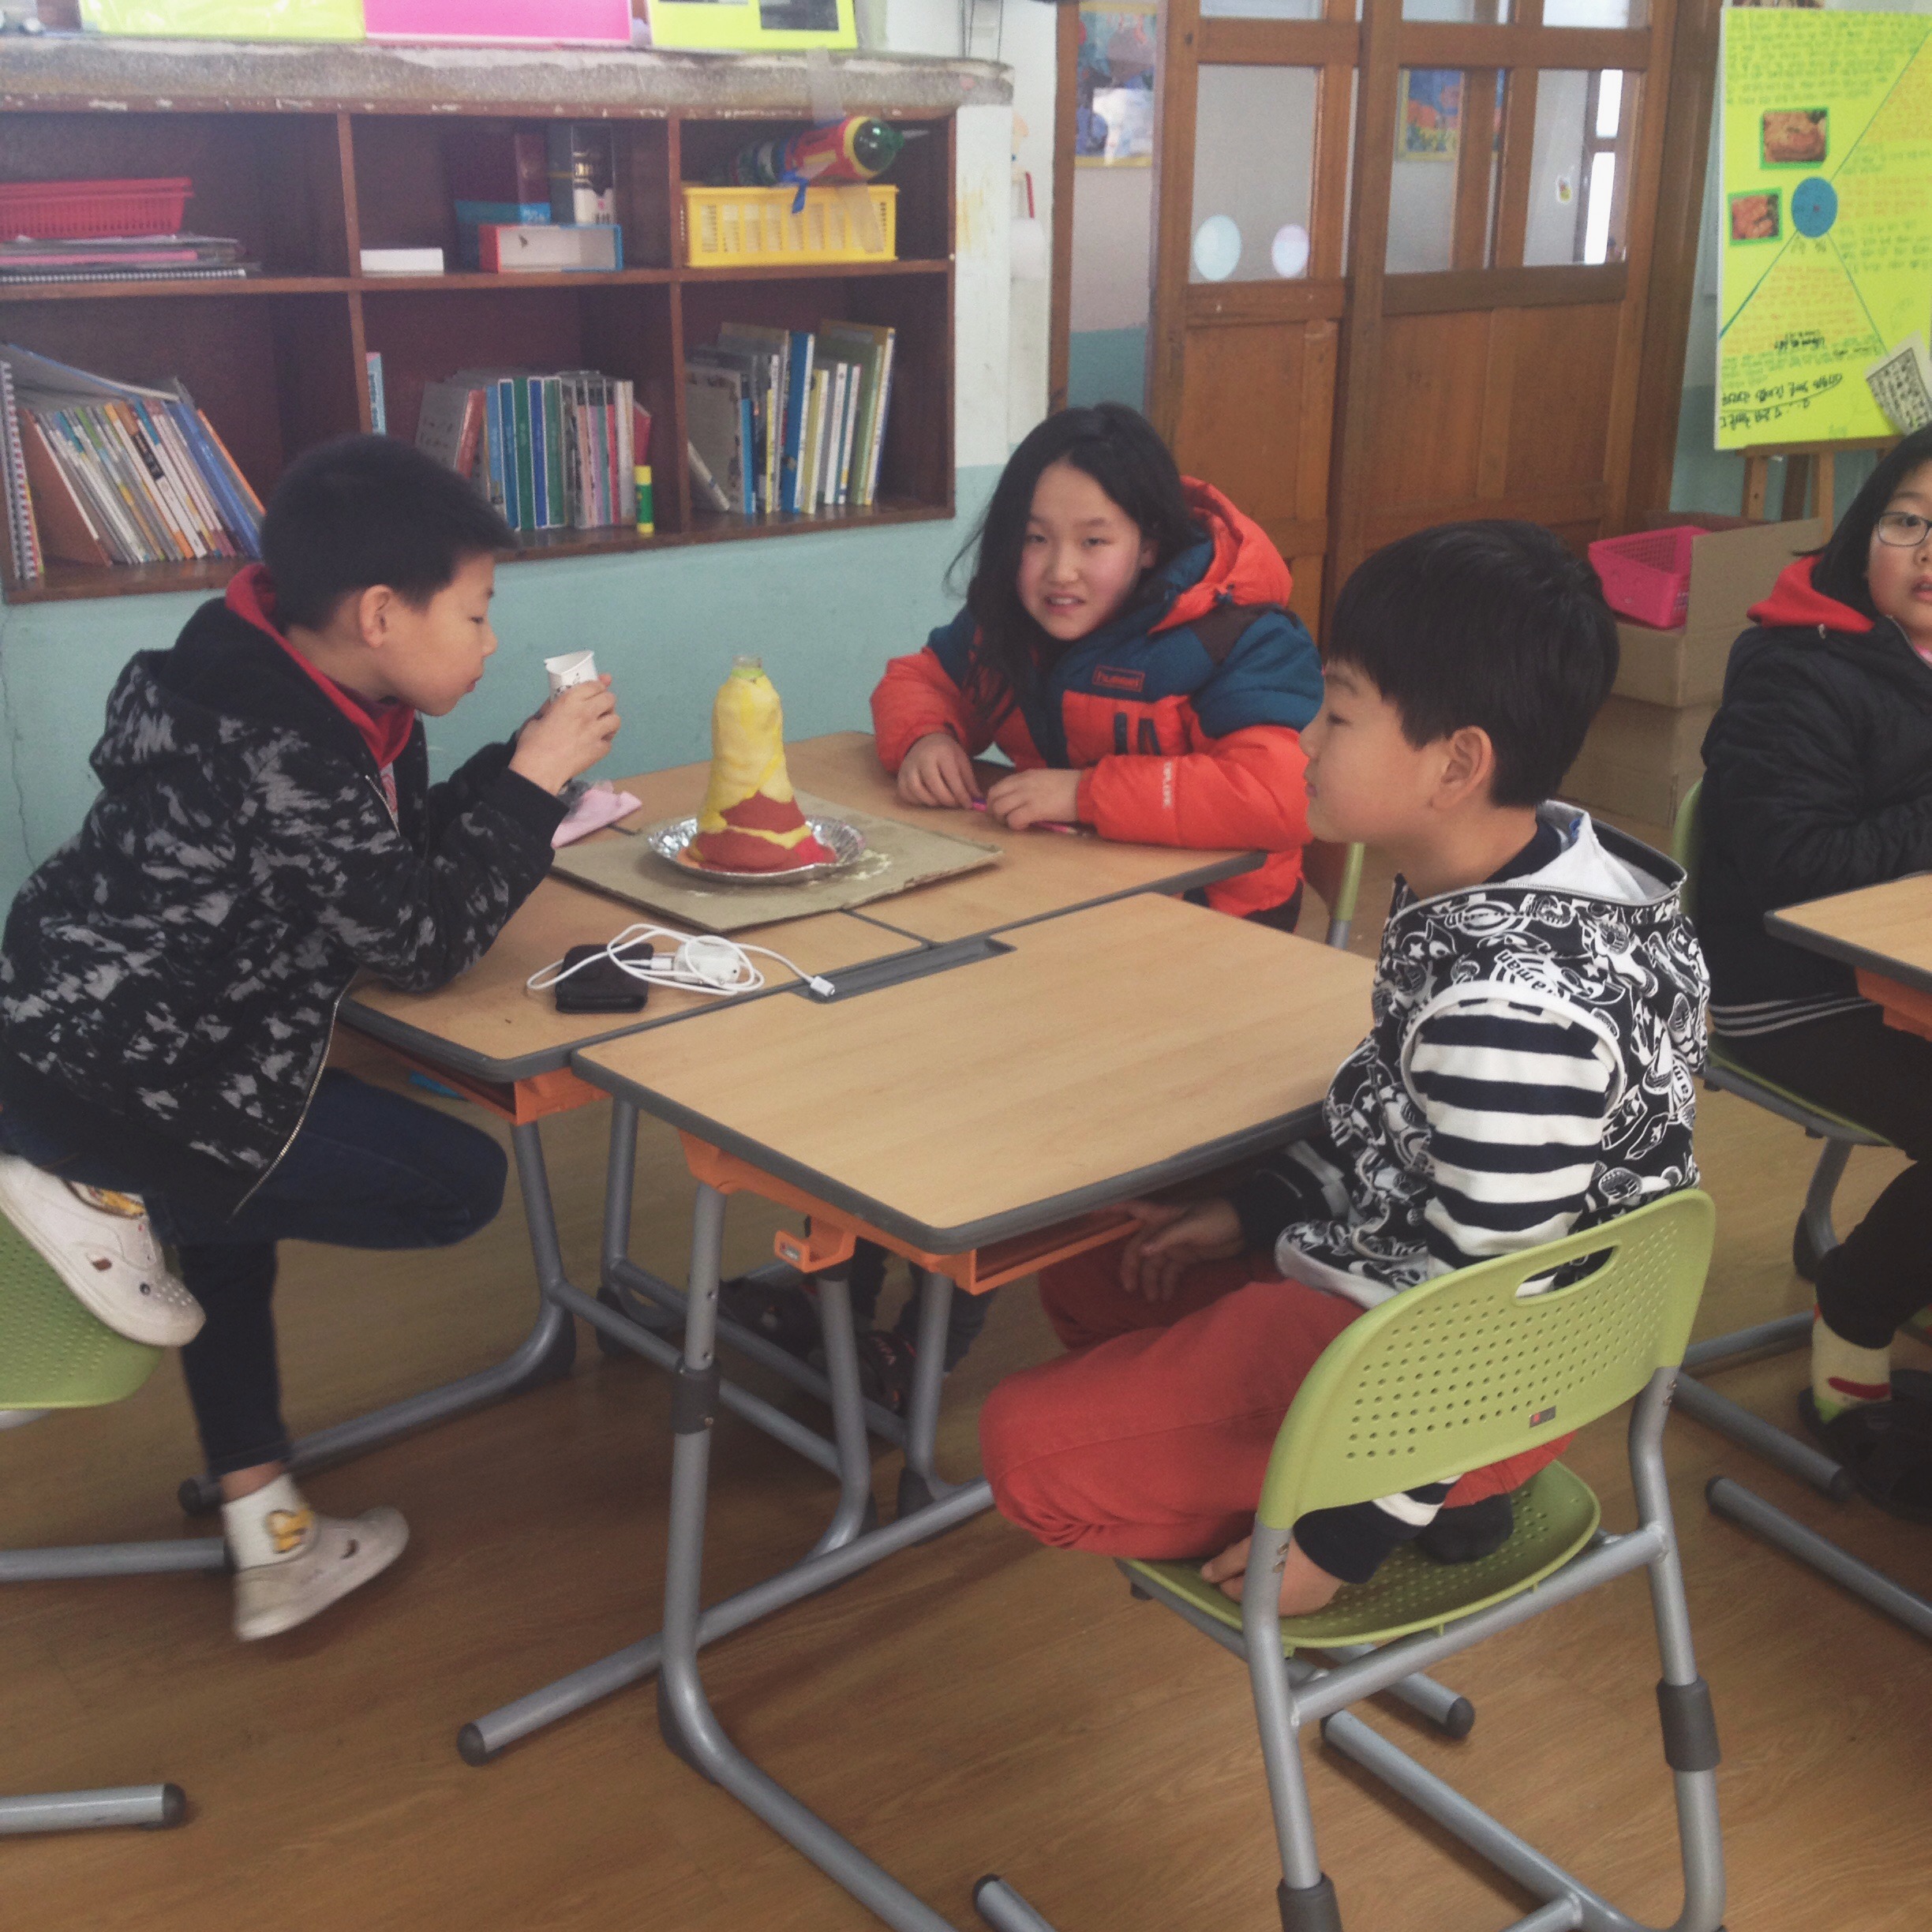
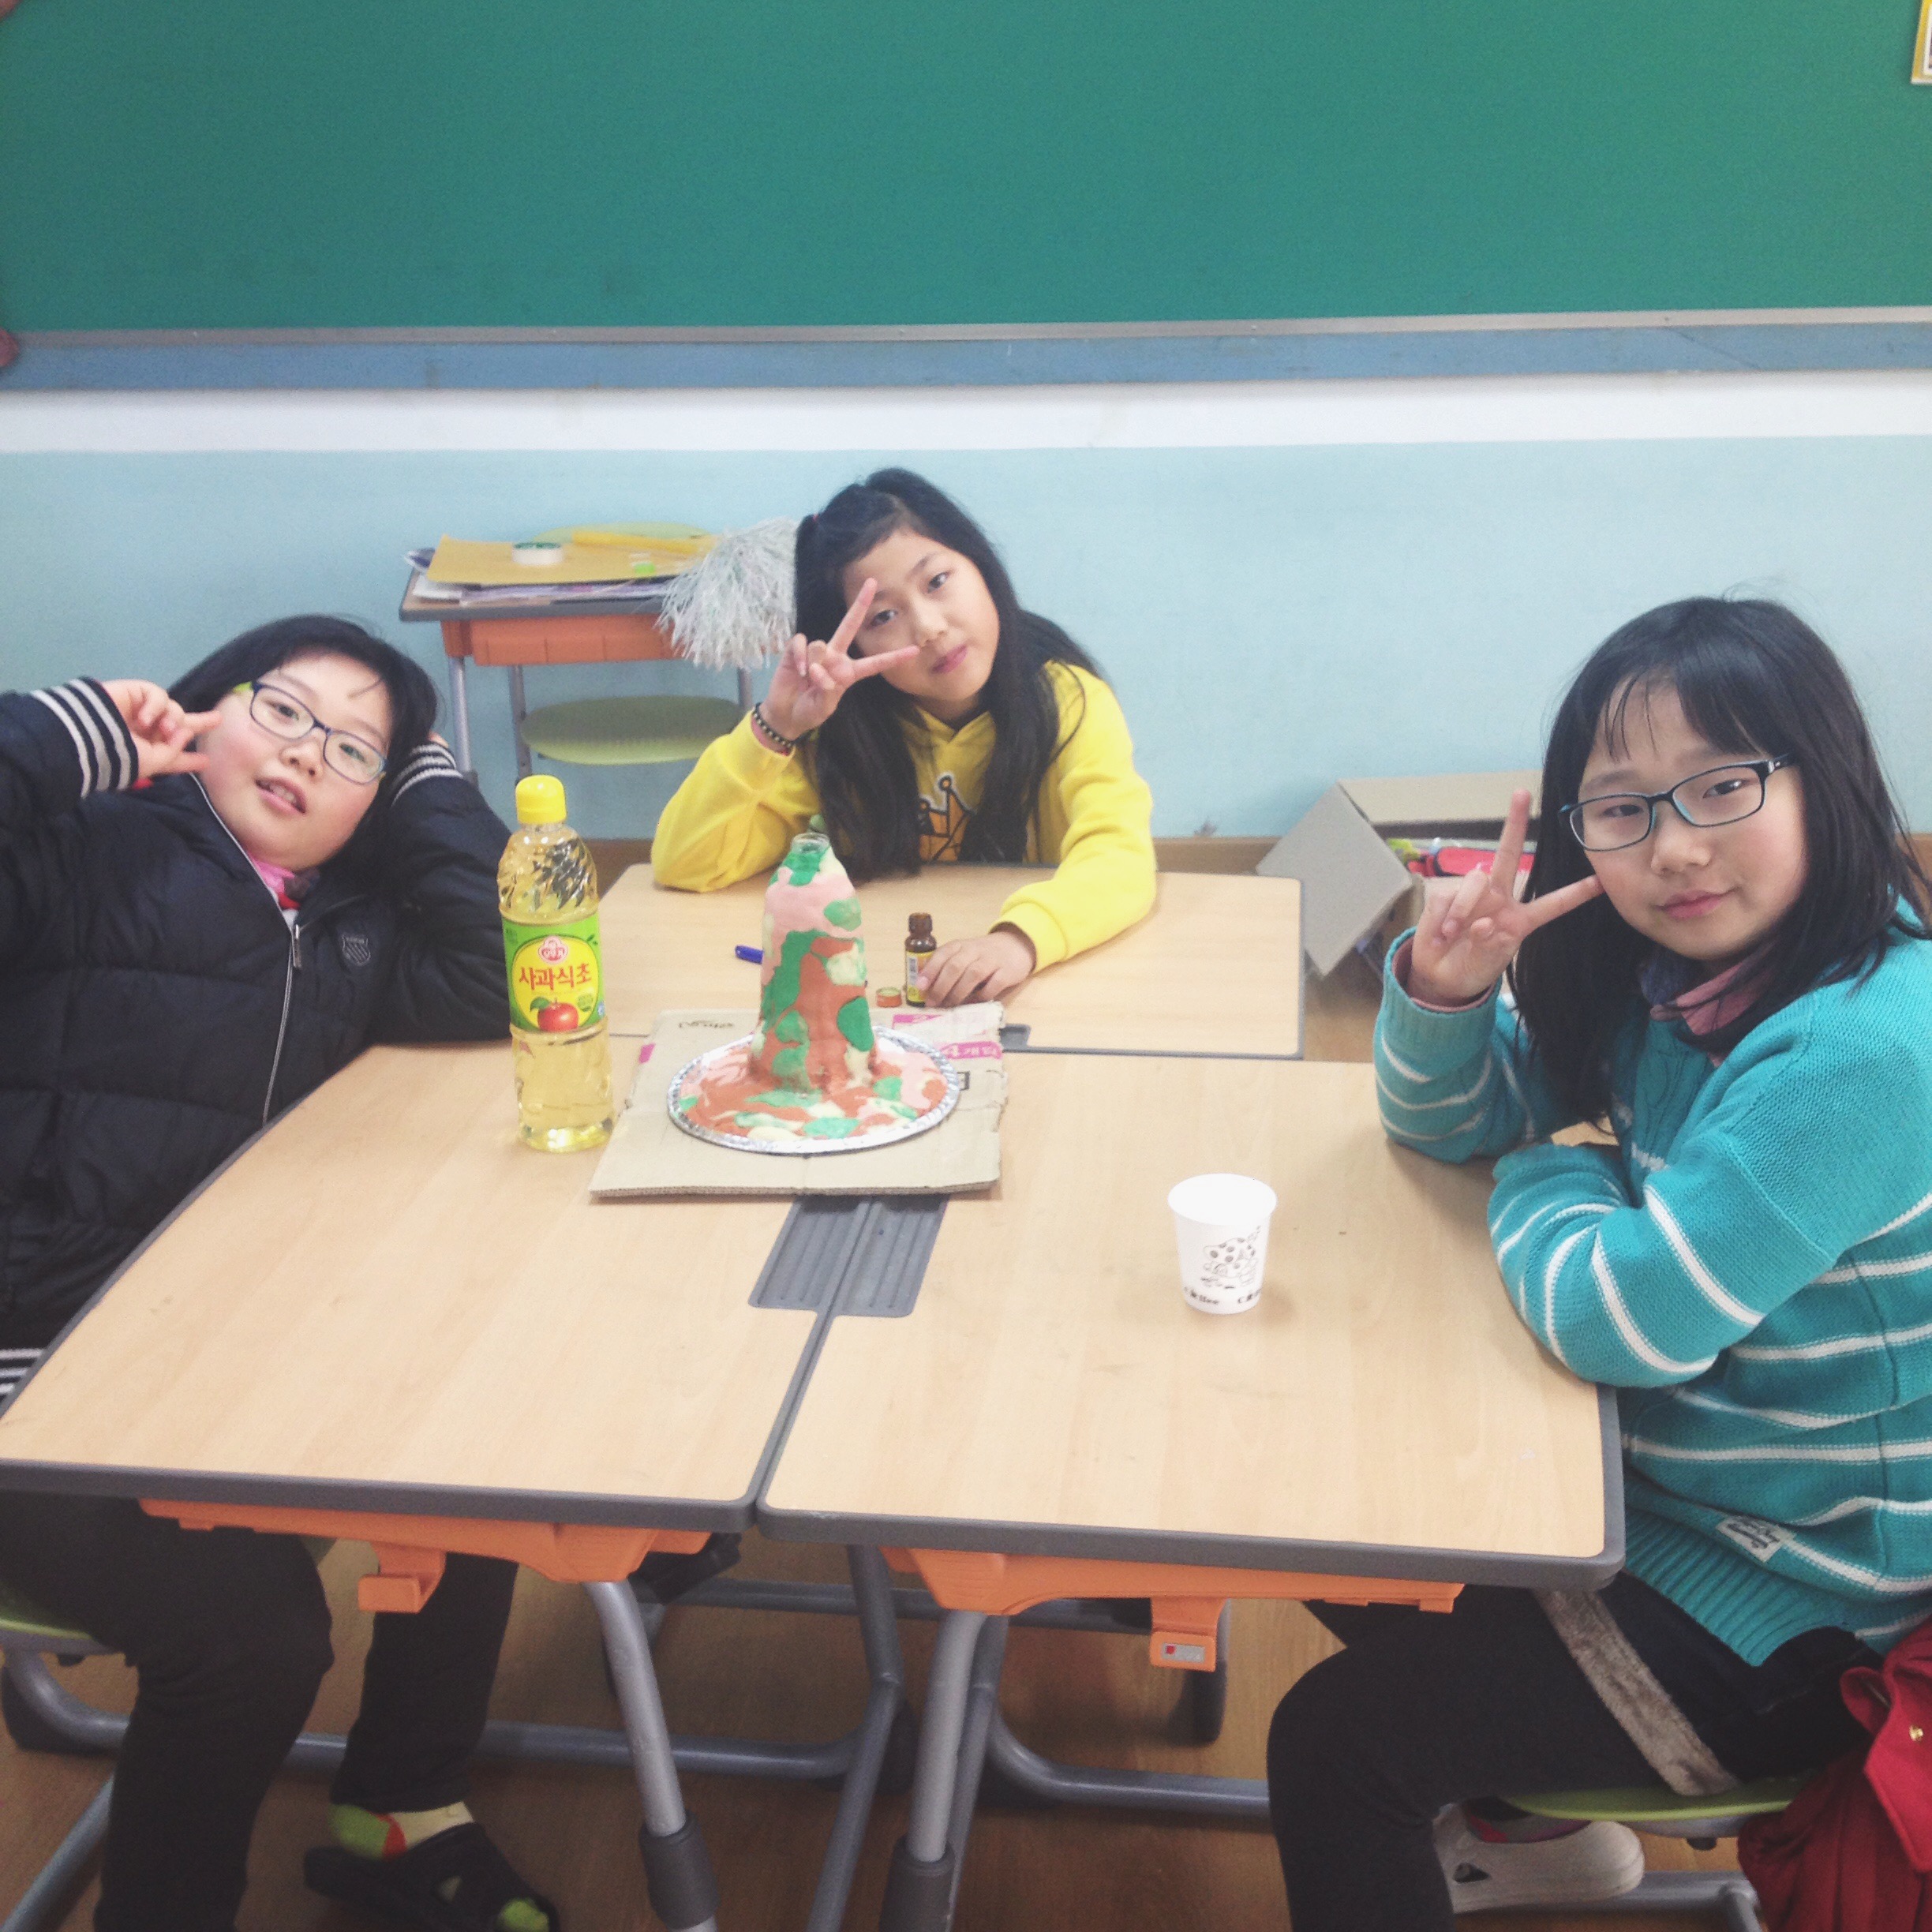
I taught a rather fun science English camp to different groups of students at the end of last year. I wanted something that was very hands on for the kids, while being fun and educational. I did these lessons with both elementary and middle schoolers and all my kids loved these experiments. We made exploding volcanoes and did the Egg drop experiment. This post will be focused on...

Volcanoes

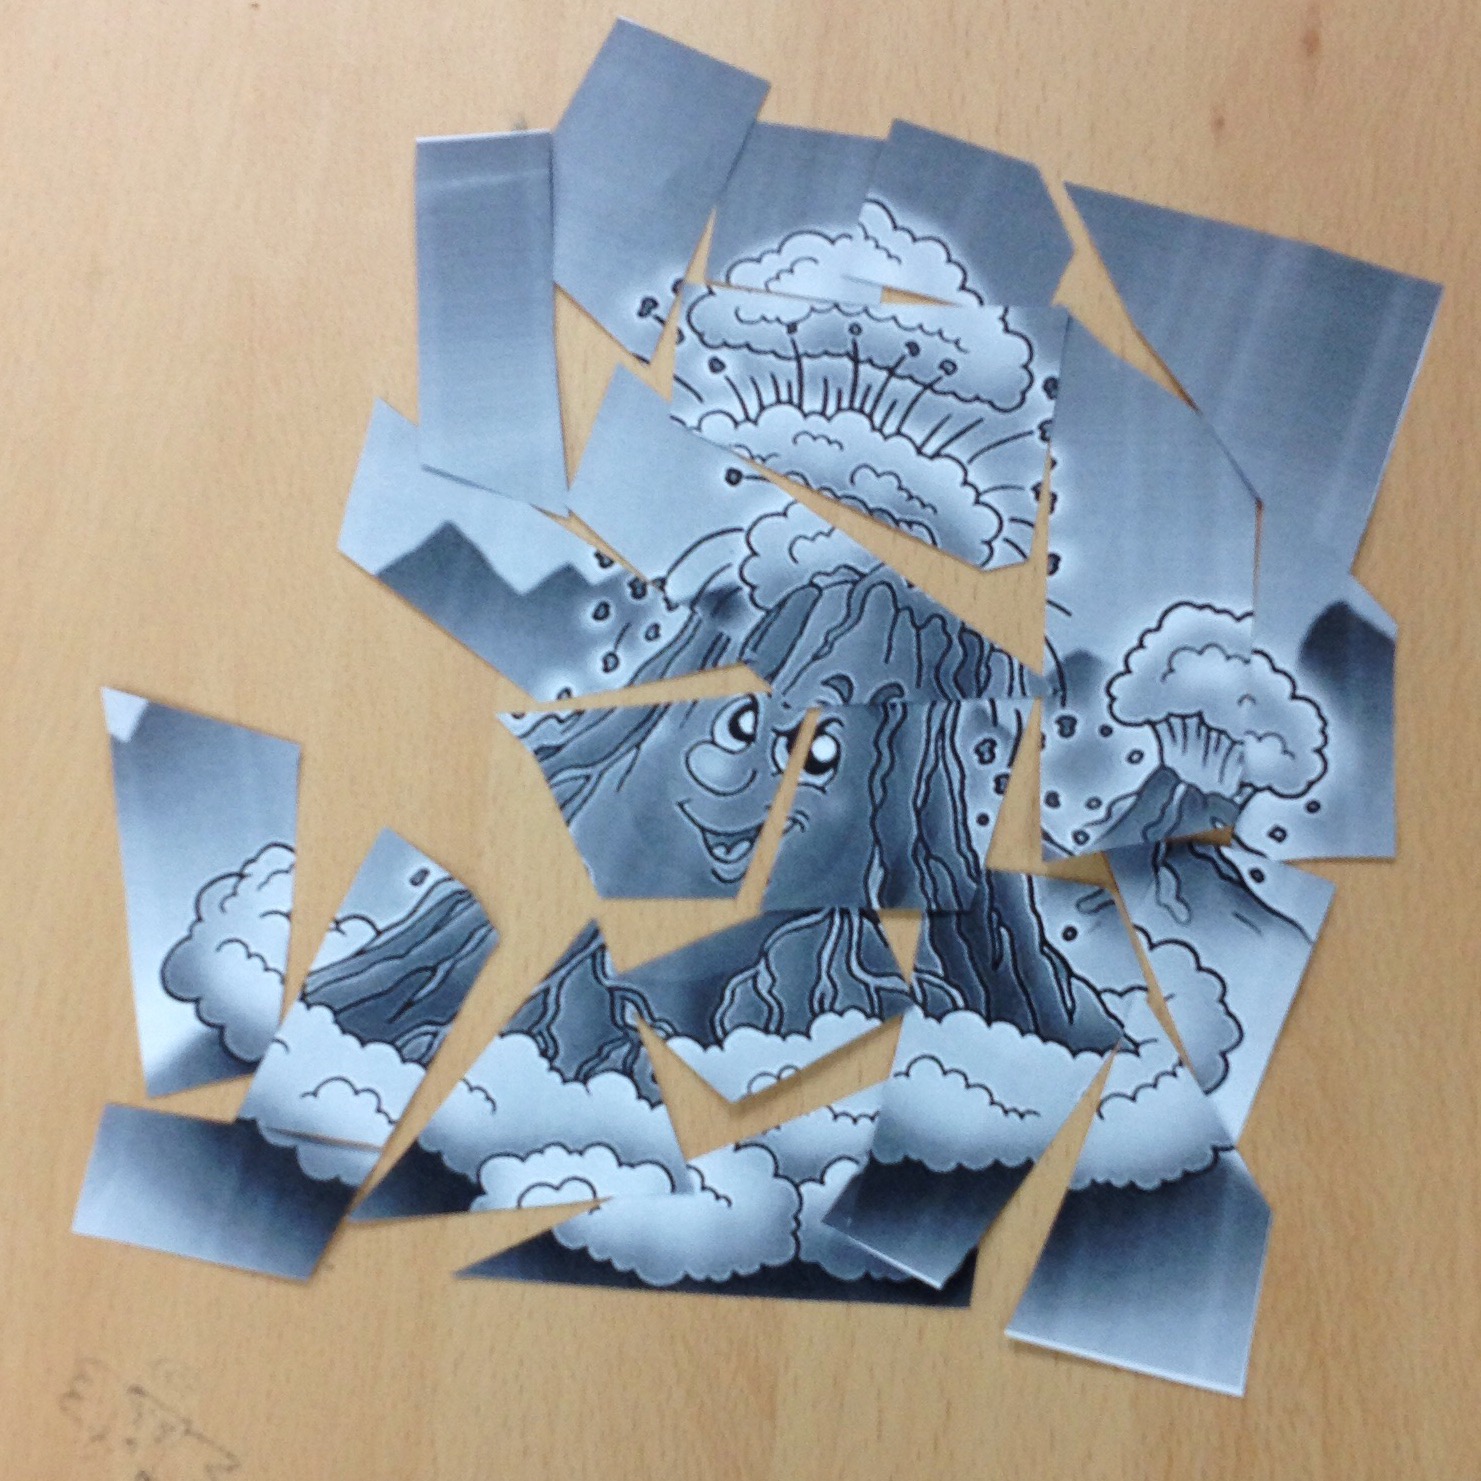
I started the lesson by having my students in groups of 4. I gave each group a picture of a volcano that I had cut up into small pieces. I placed the picture facedown and then told them they had to put the pieces of the puzzle together and the first team to do it would be the winner.

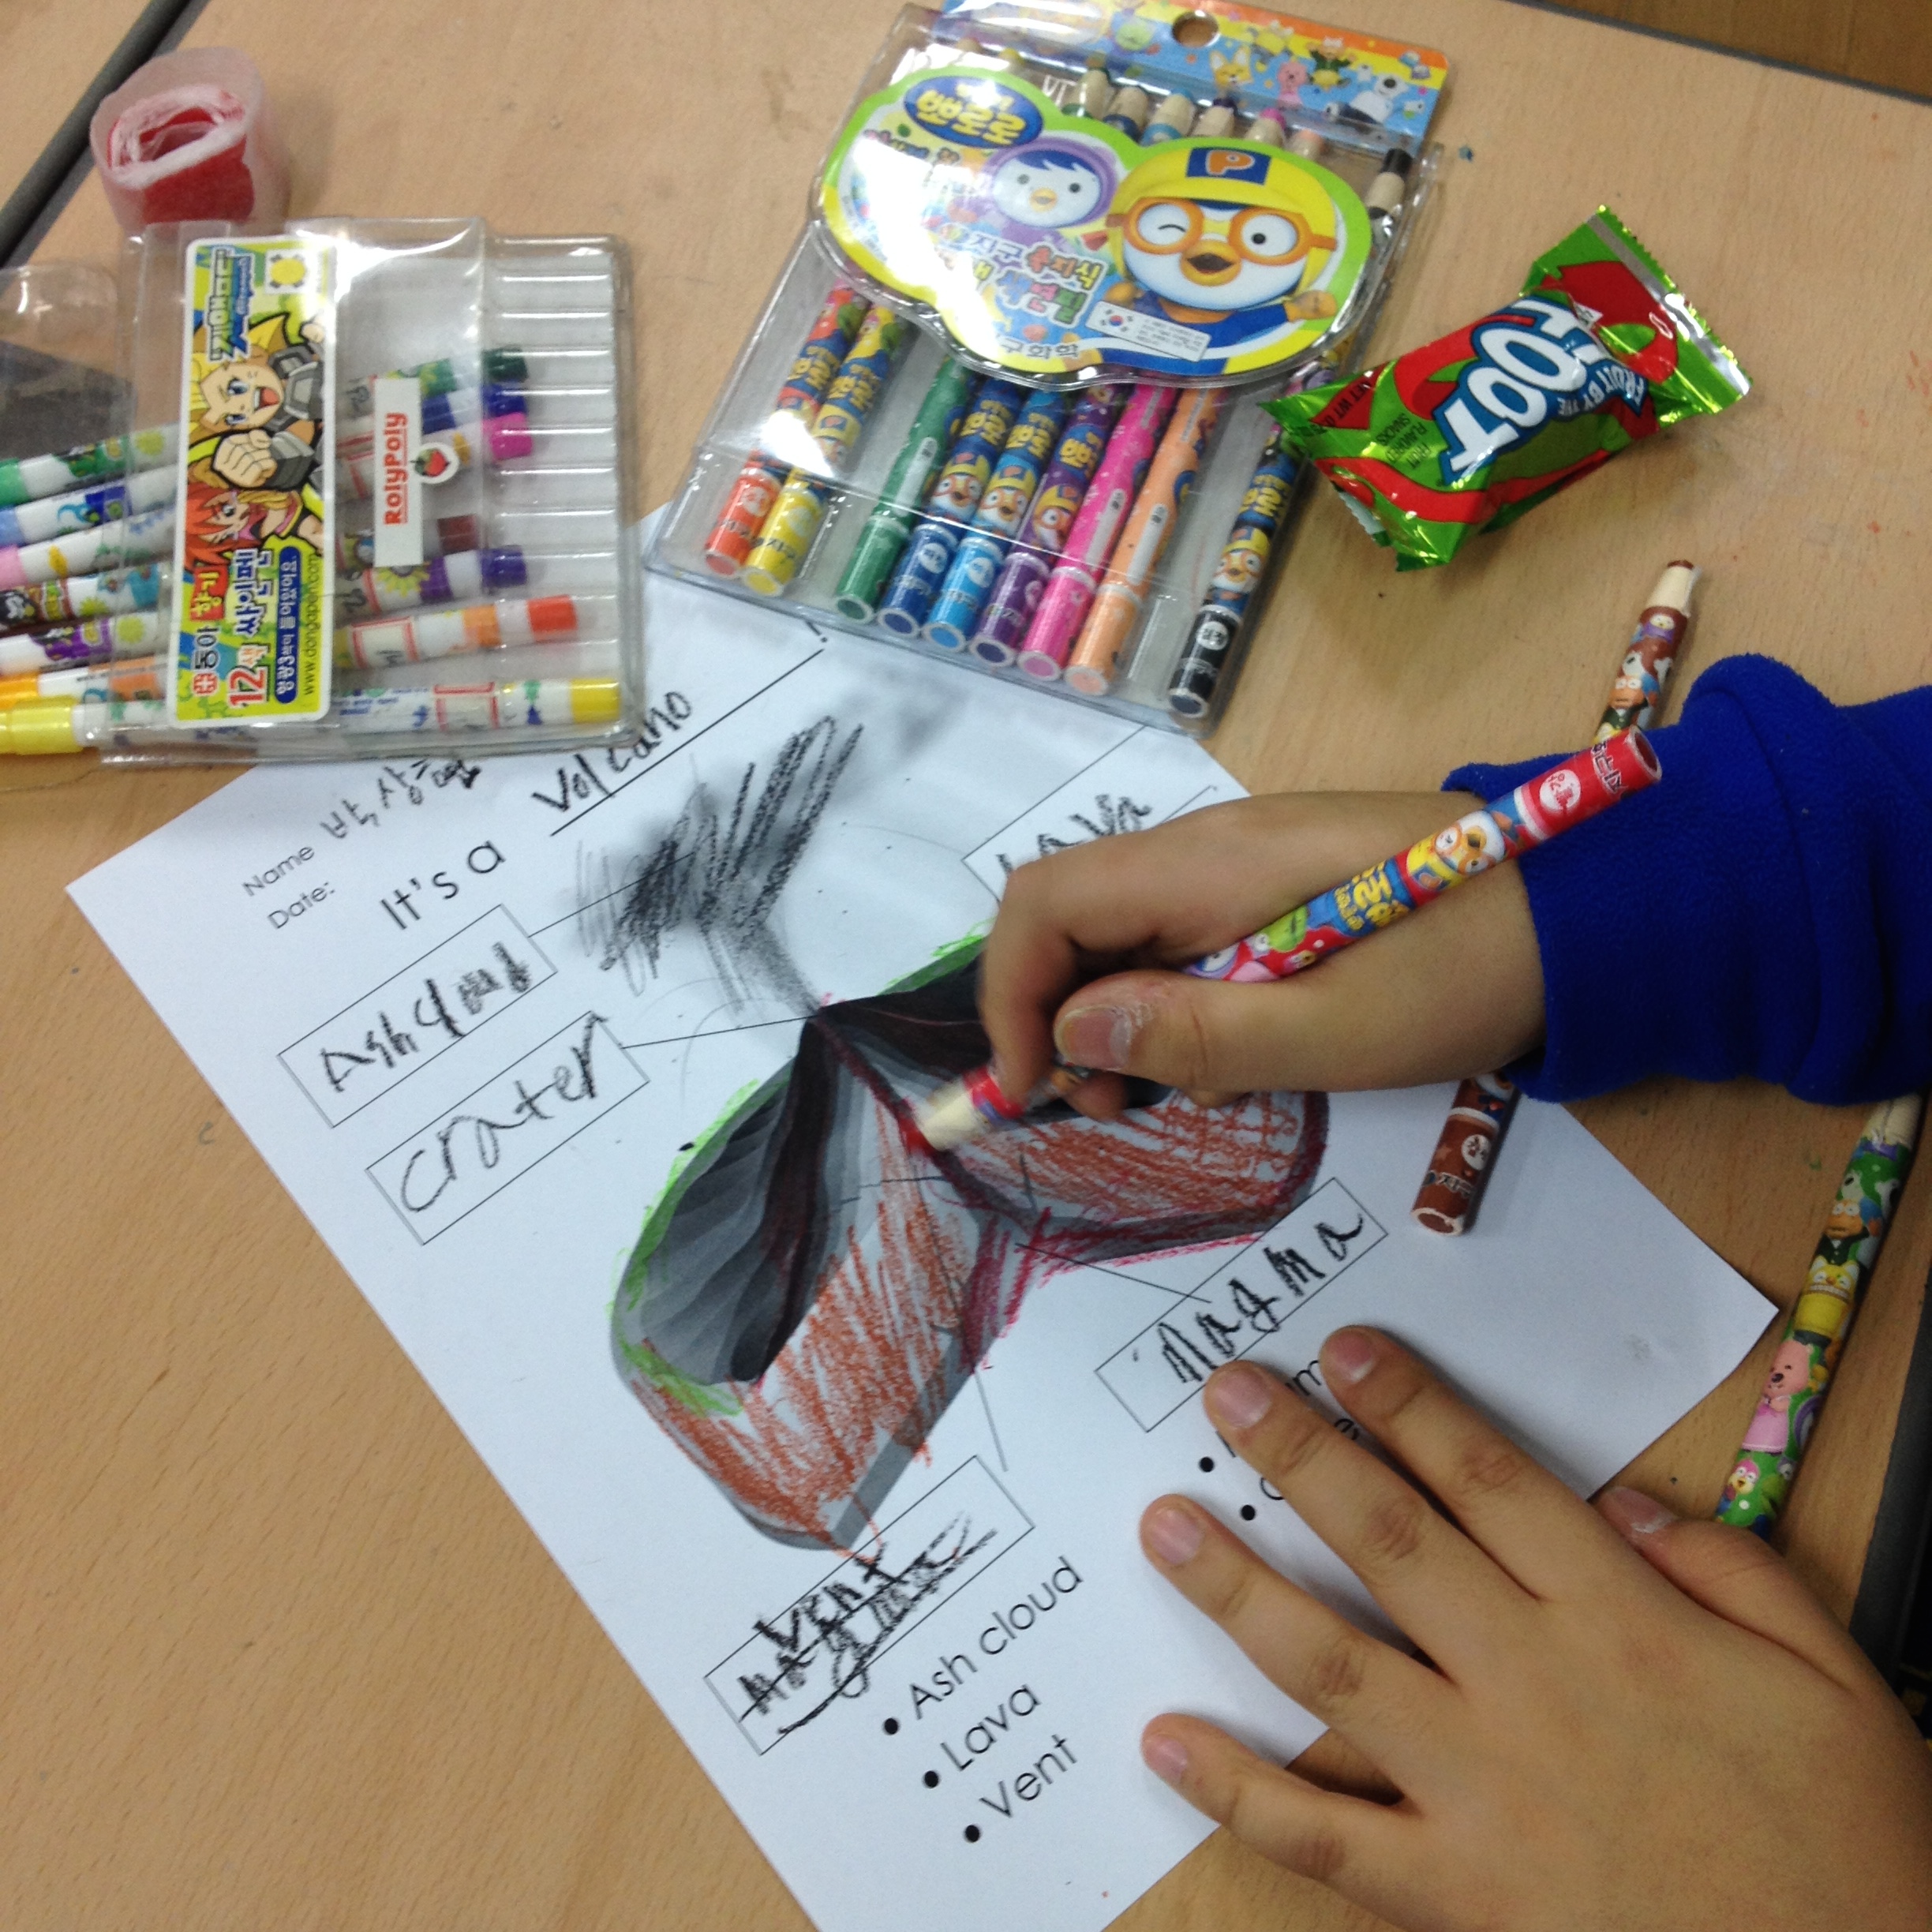
Then we went over a very basic power point presentation showing the different parts of the volcano and completed a worksheet (I found the worksheet on Waygook, an incredible research, free rich website aimed at teachers here in South Korea). 

Then we set about making our volcanoes. I found all the ingredients that I needed at my local mart:

Ingredients for the Volcano

Vinegar

Oil

Flour

Dish Soap

Baking Soda

Water

Salt (try to use buy a ground salt...I learnt this lesson from the No Cook Play Dough recipe I did last year, course salt is horrible when making clay!)

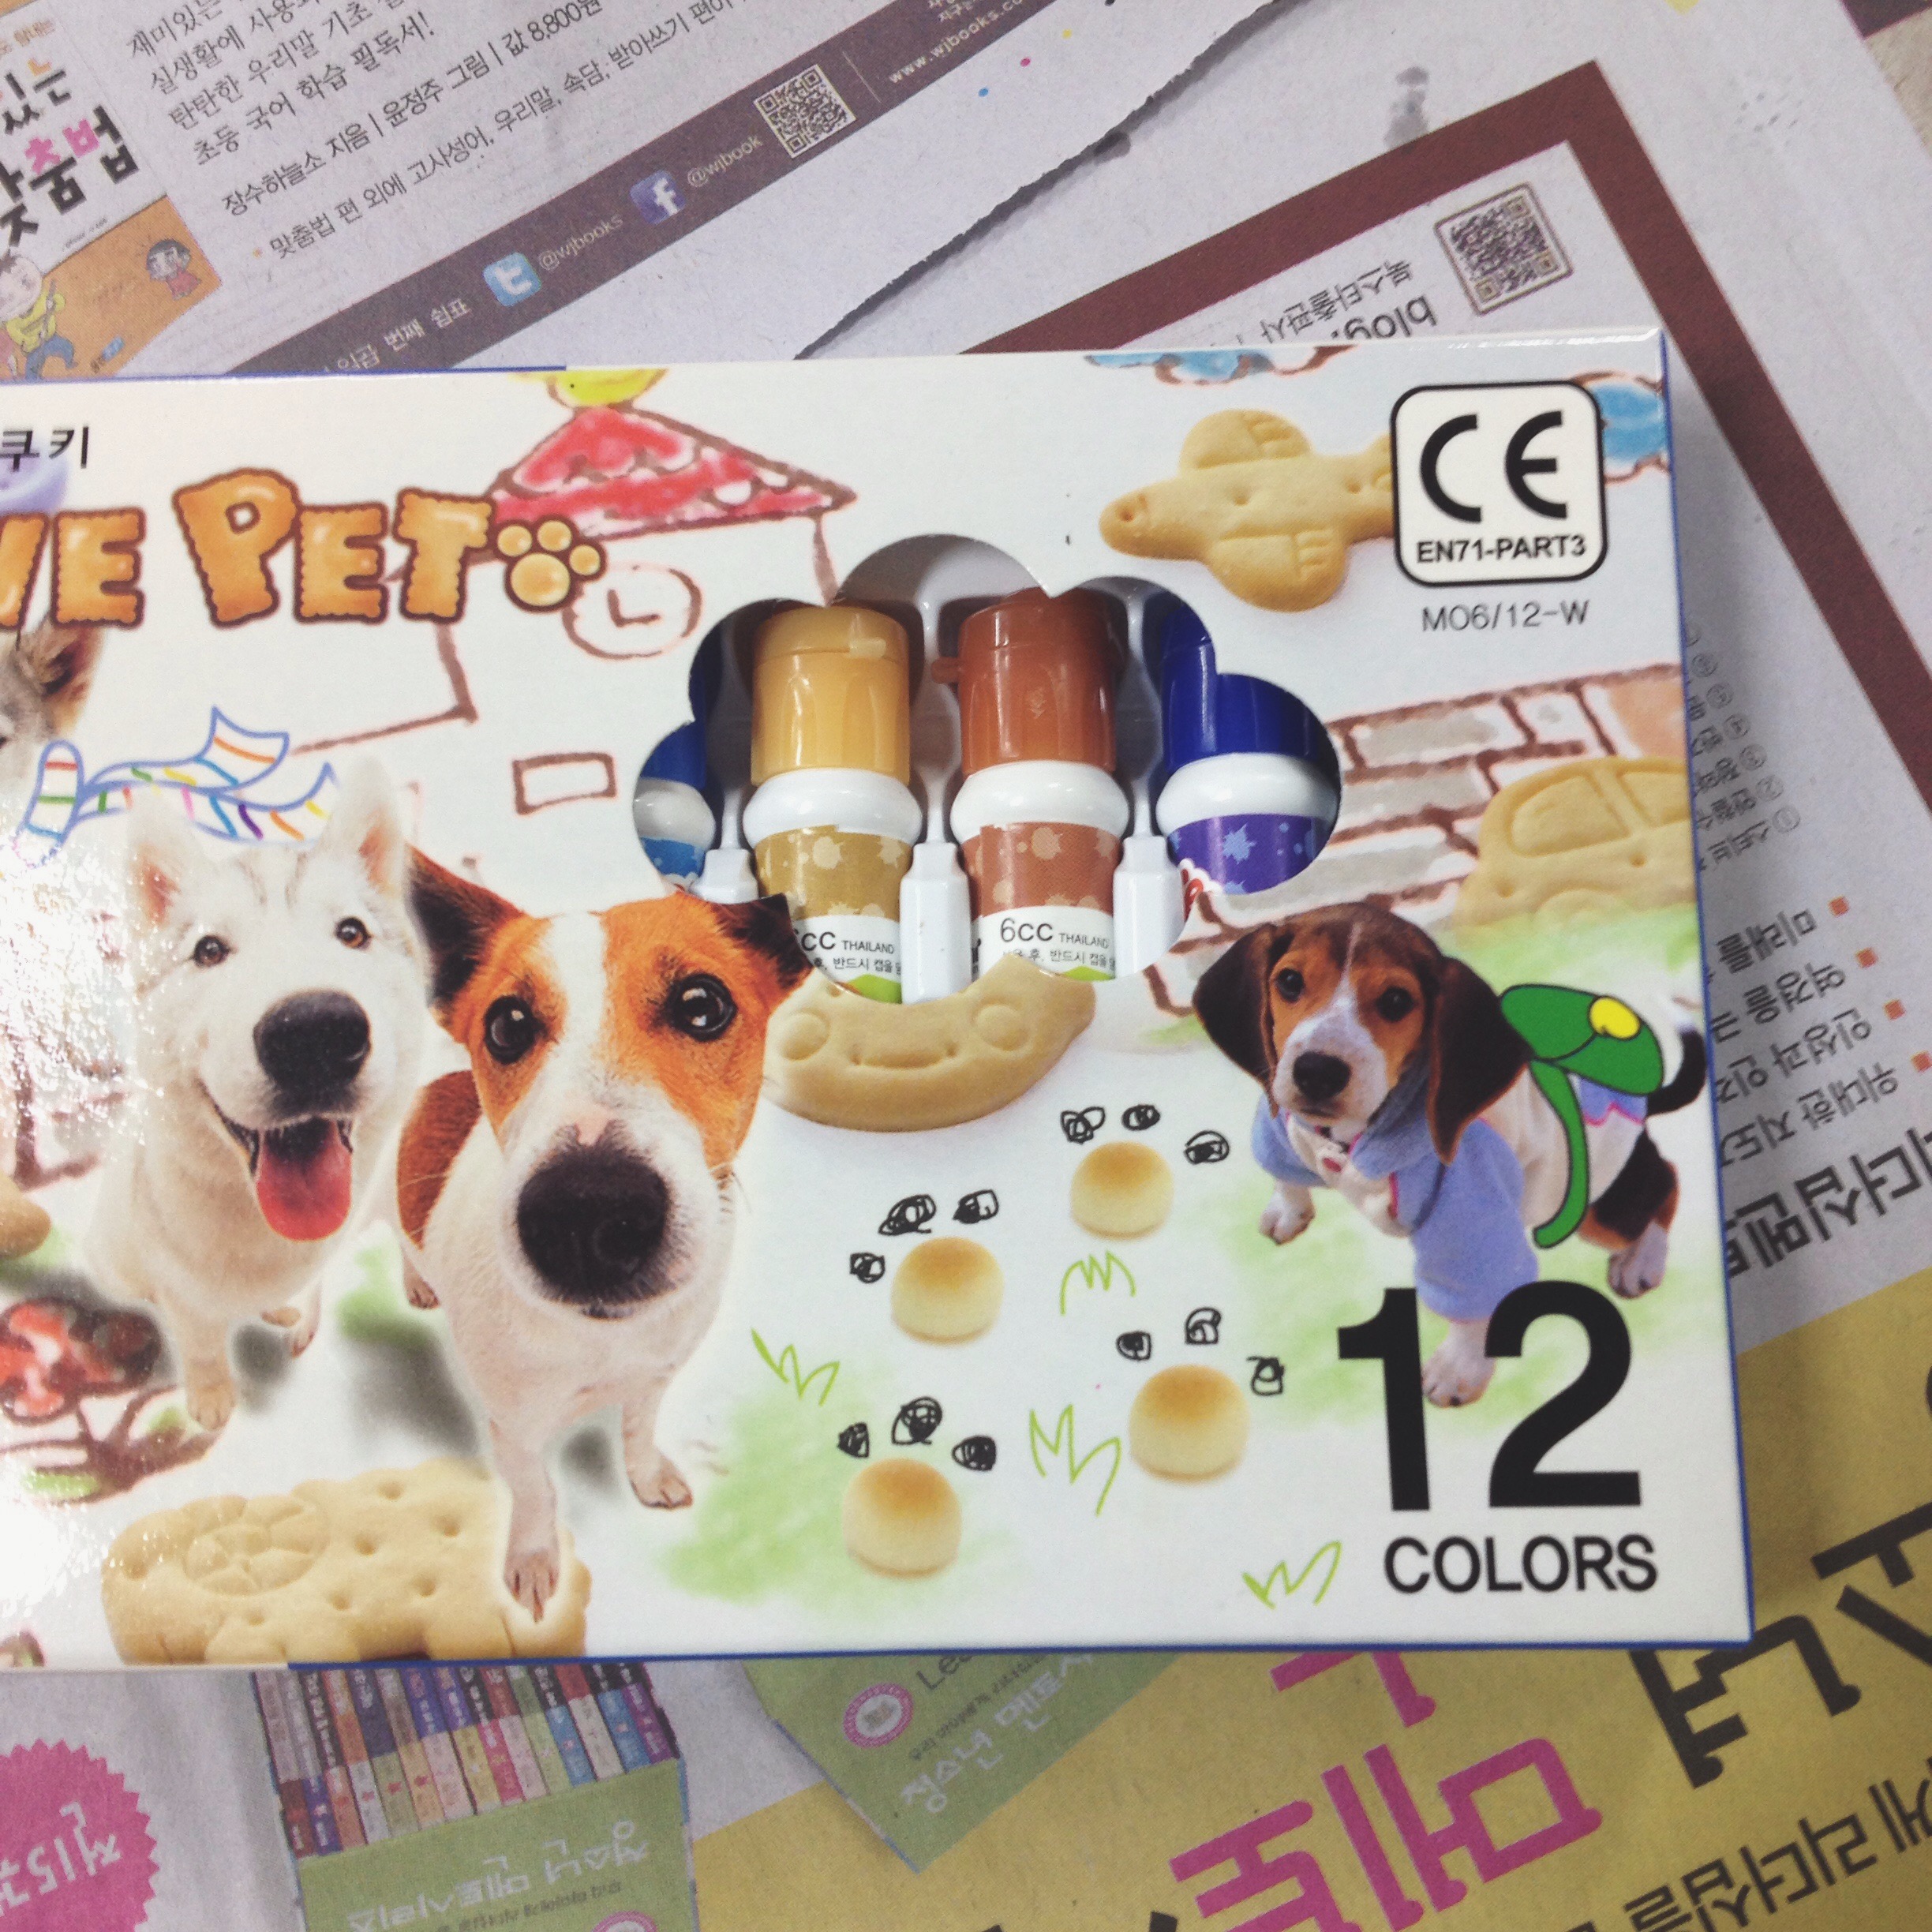
Water based paints (i found these at the back of my English room)

Bottles (for the structure of your volcano)

How to Make the Volcano

For the dough a.k.a. the outside of the volcano

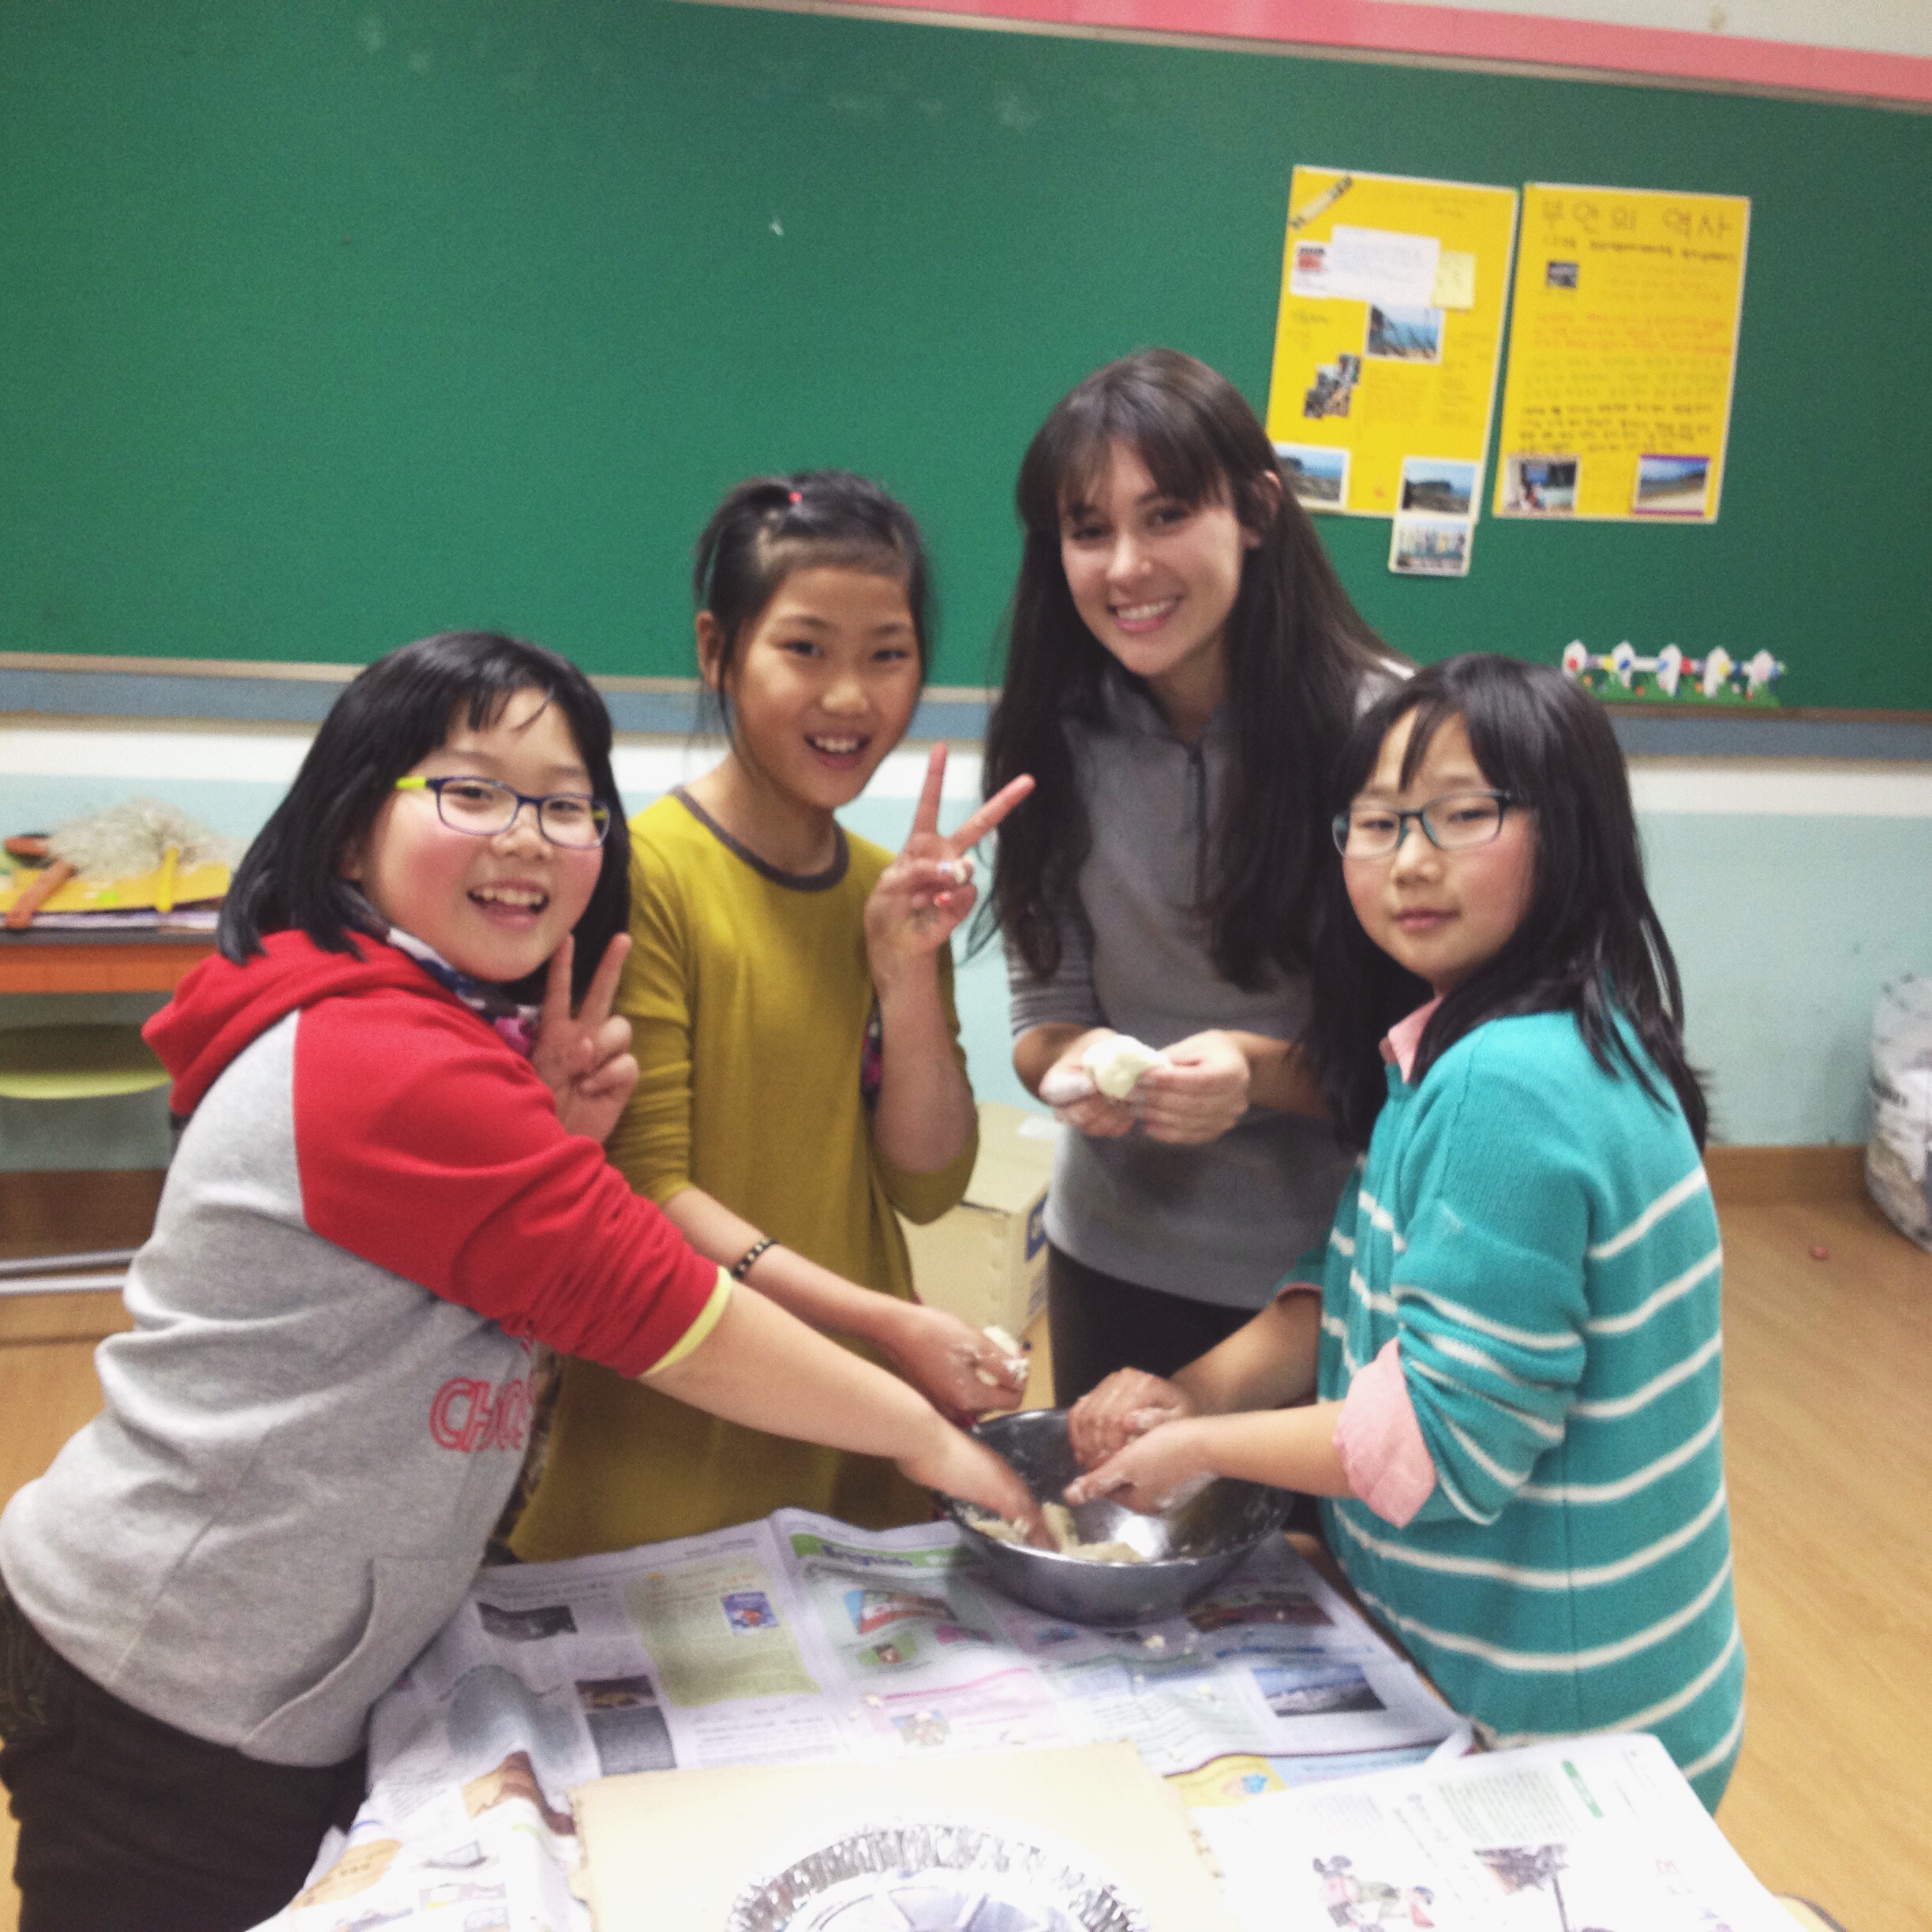
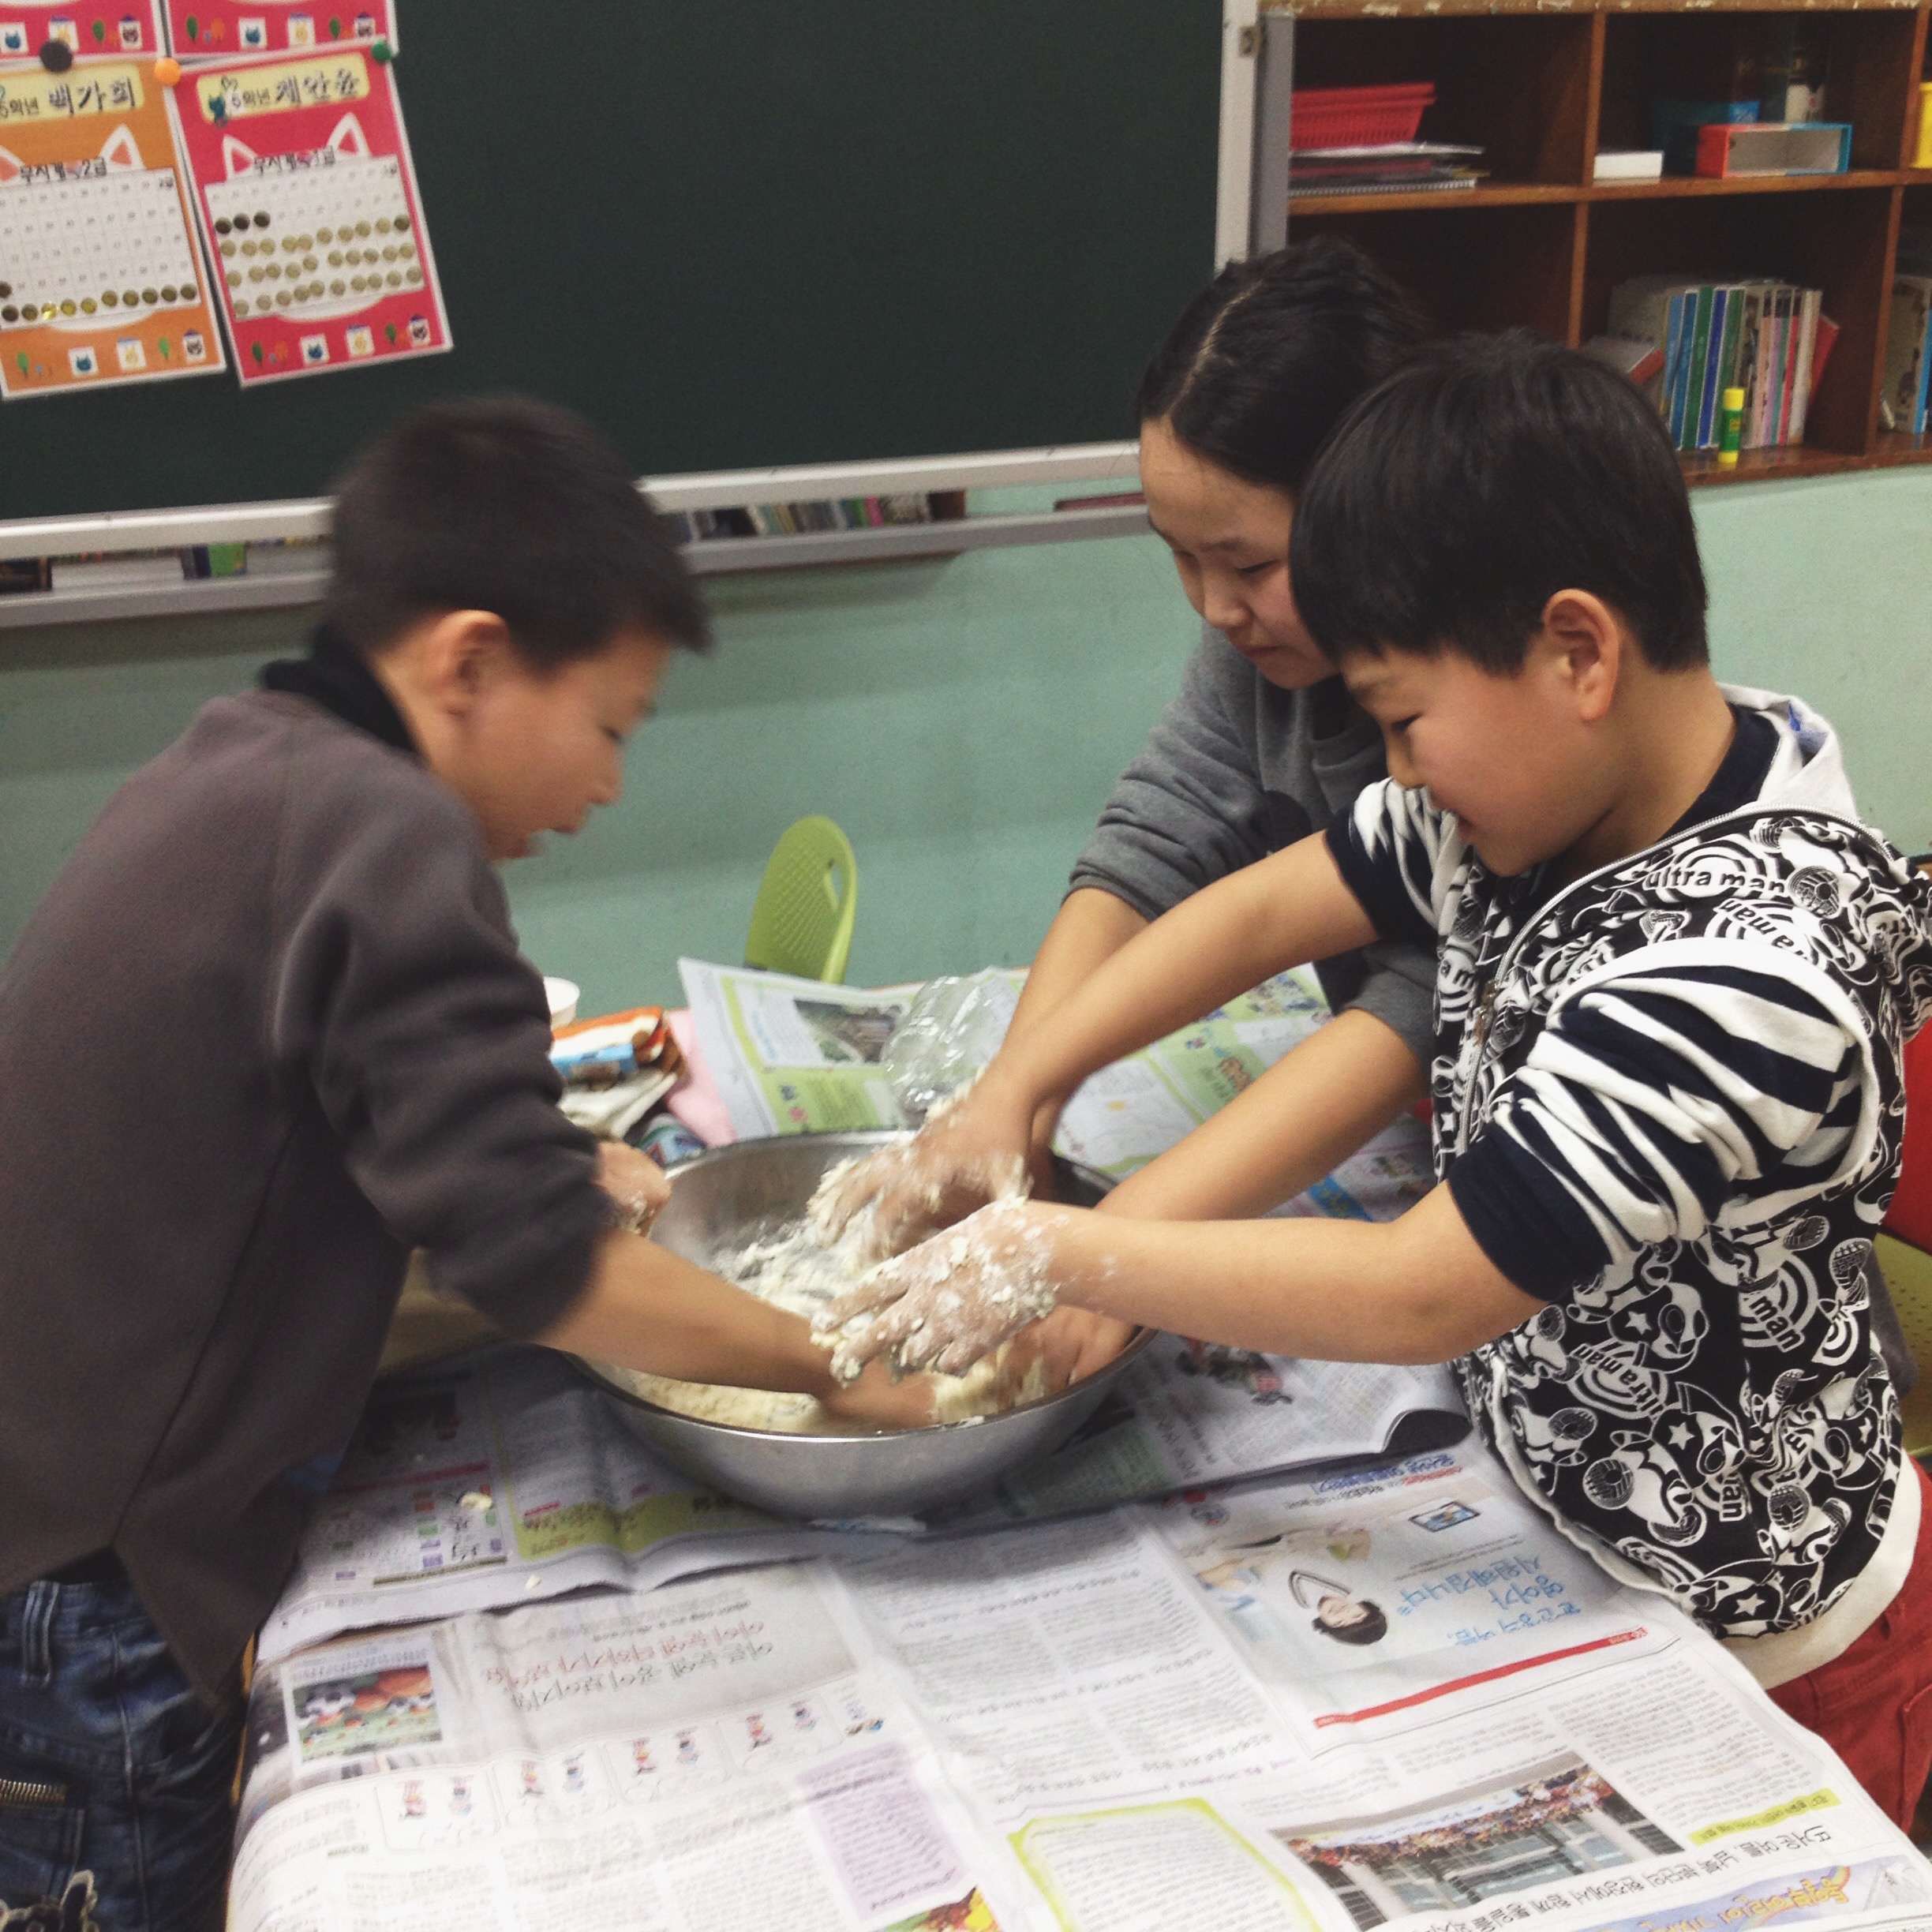
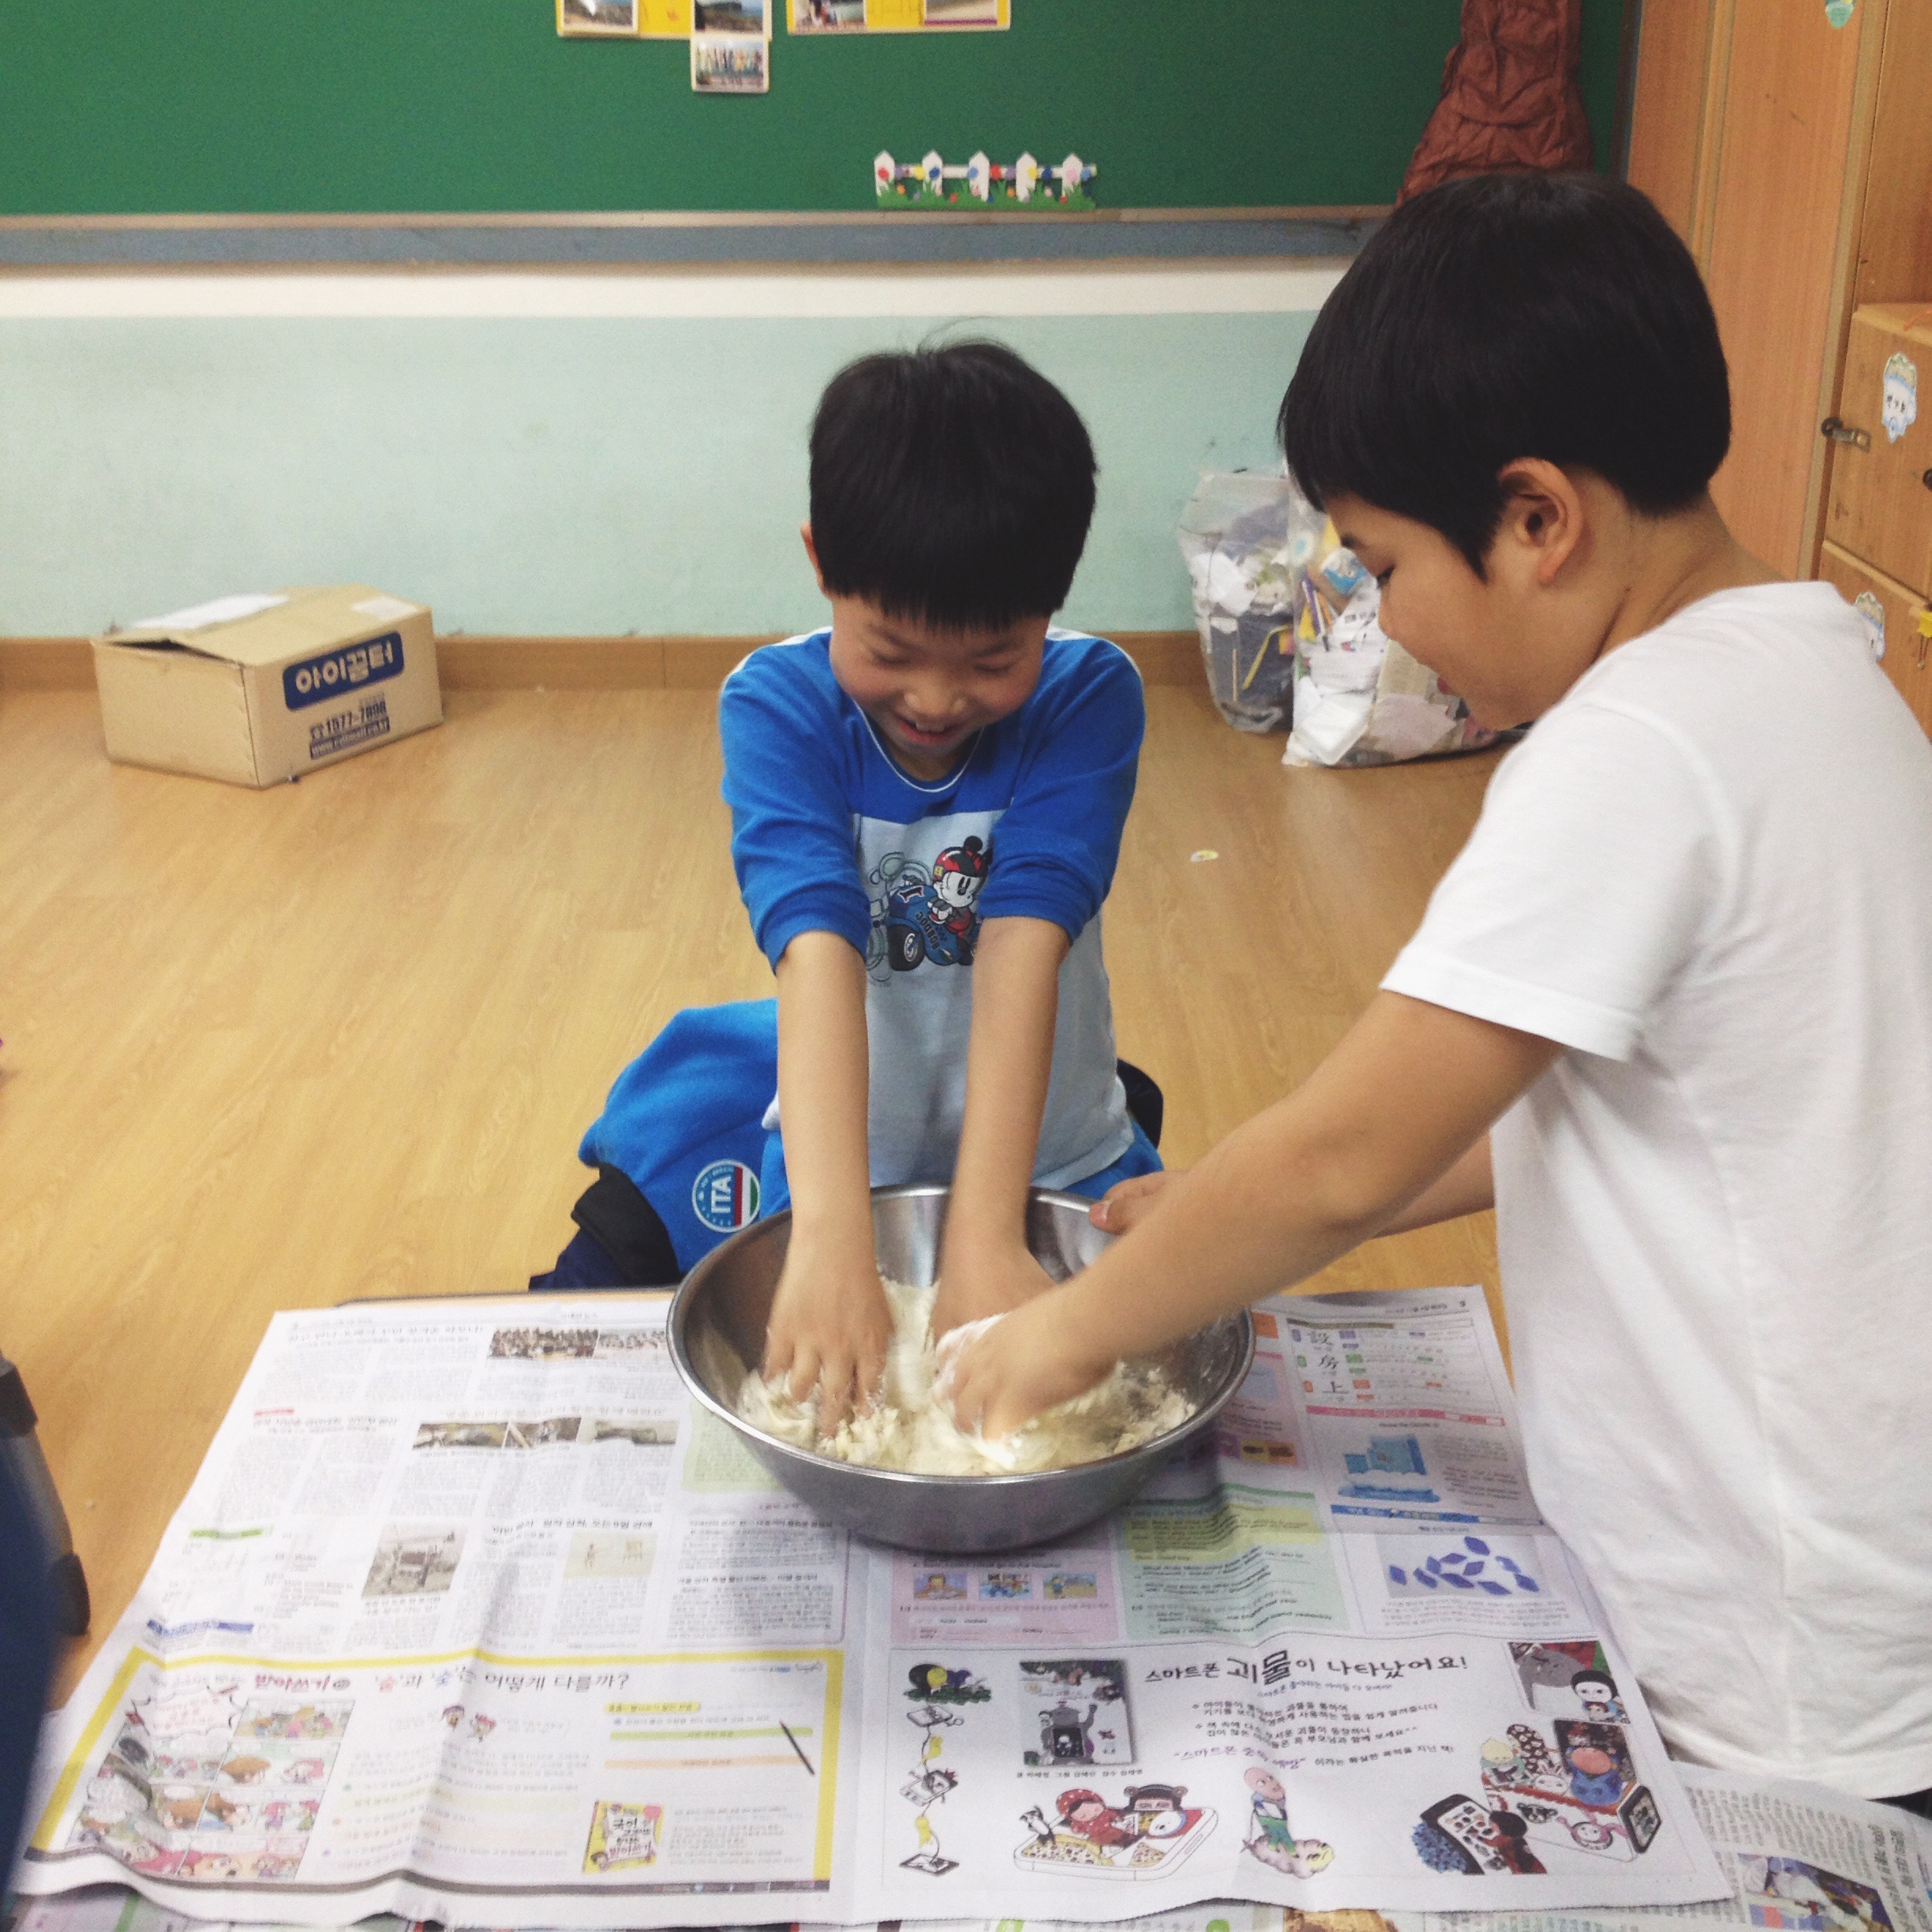
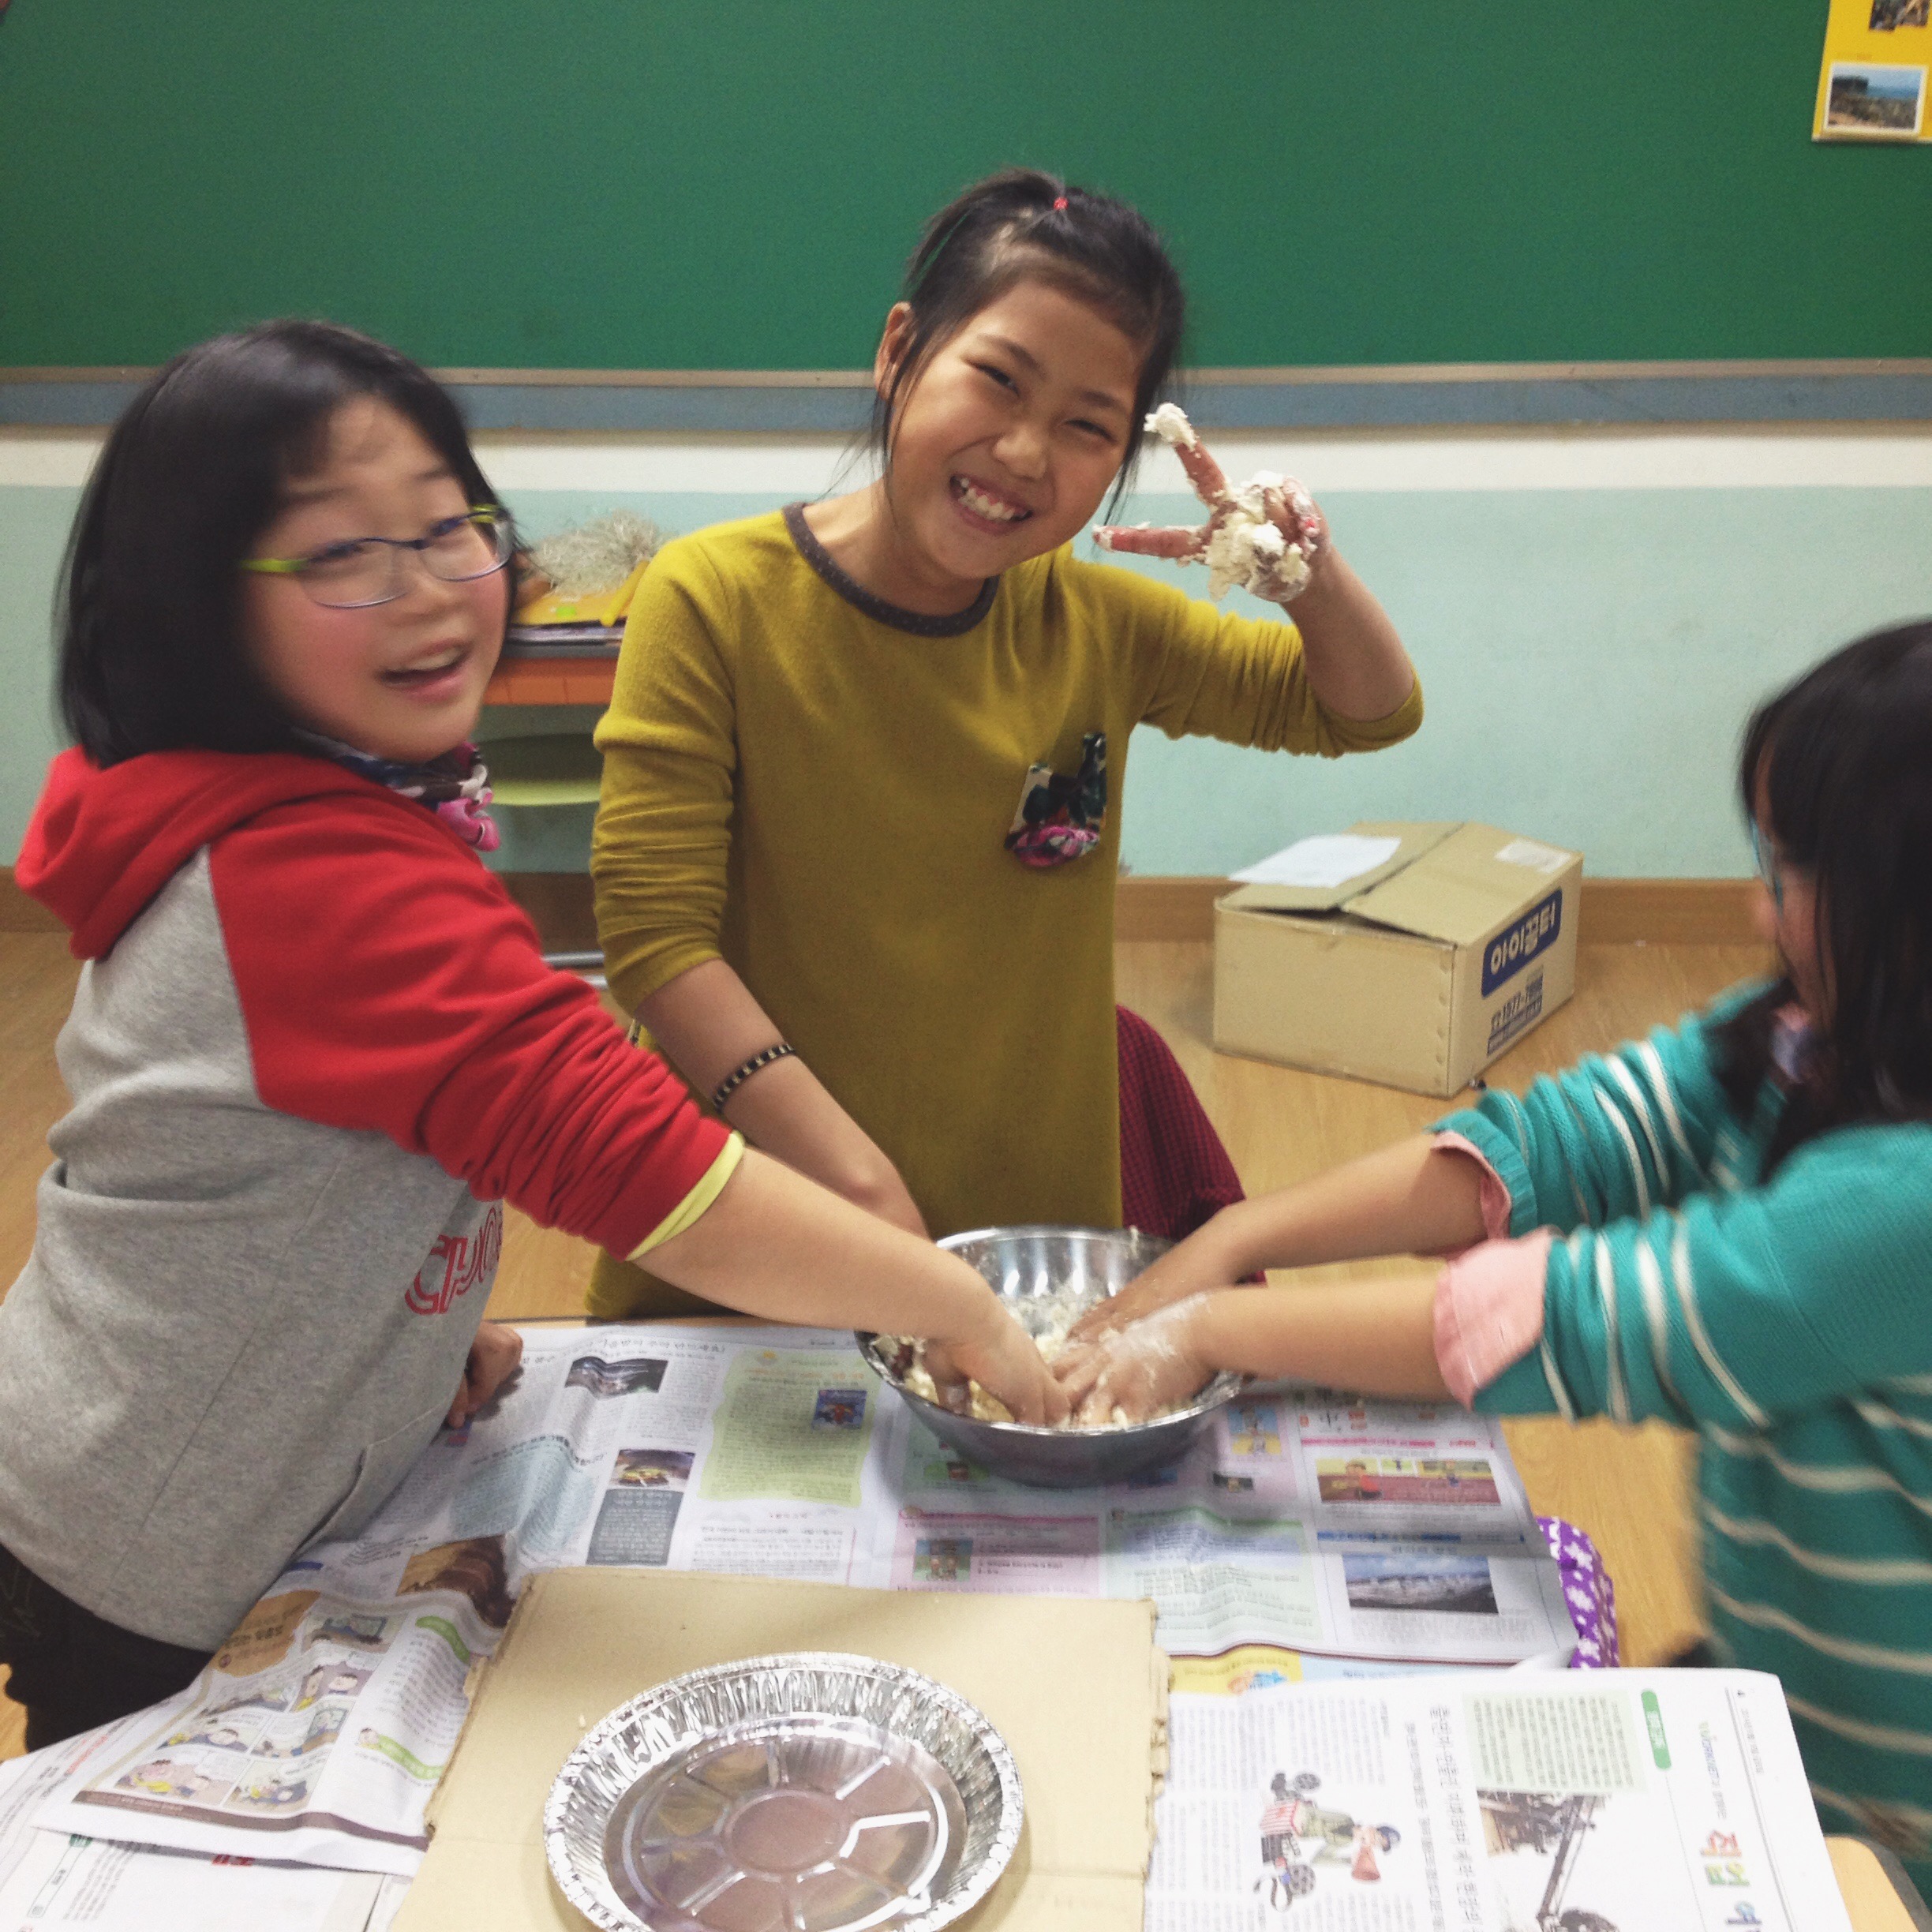
- In a large bowl mix together 3 cups of flour, 1 cup oil, 1 cup salt, 1/2 cup of water. Keep mixing! Add more flour, salt, oil as needed.

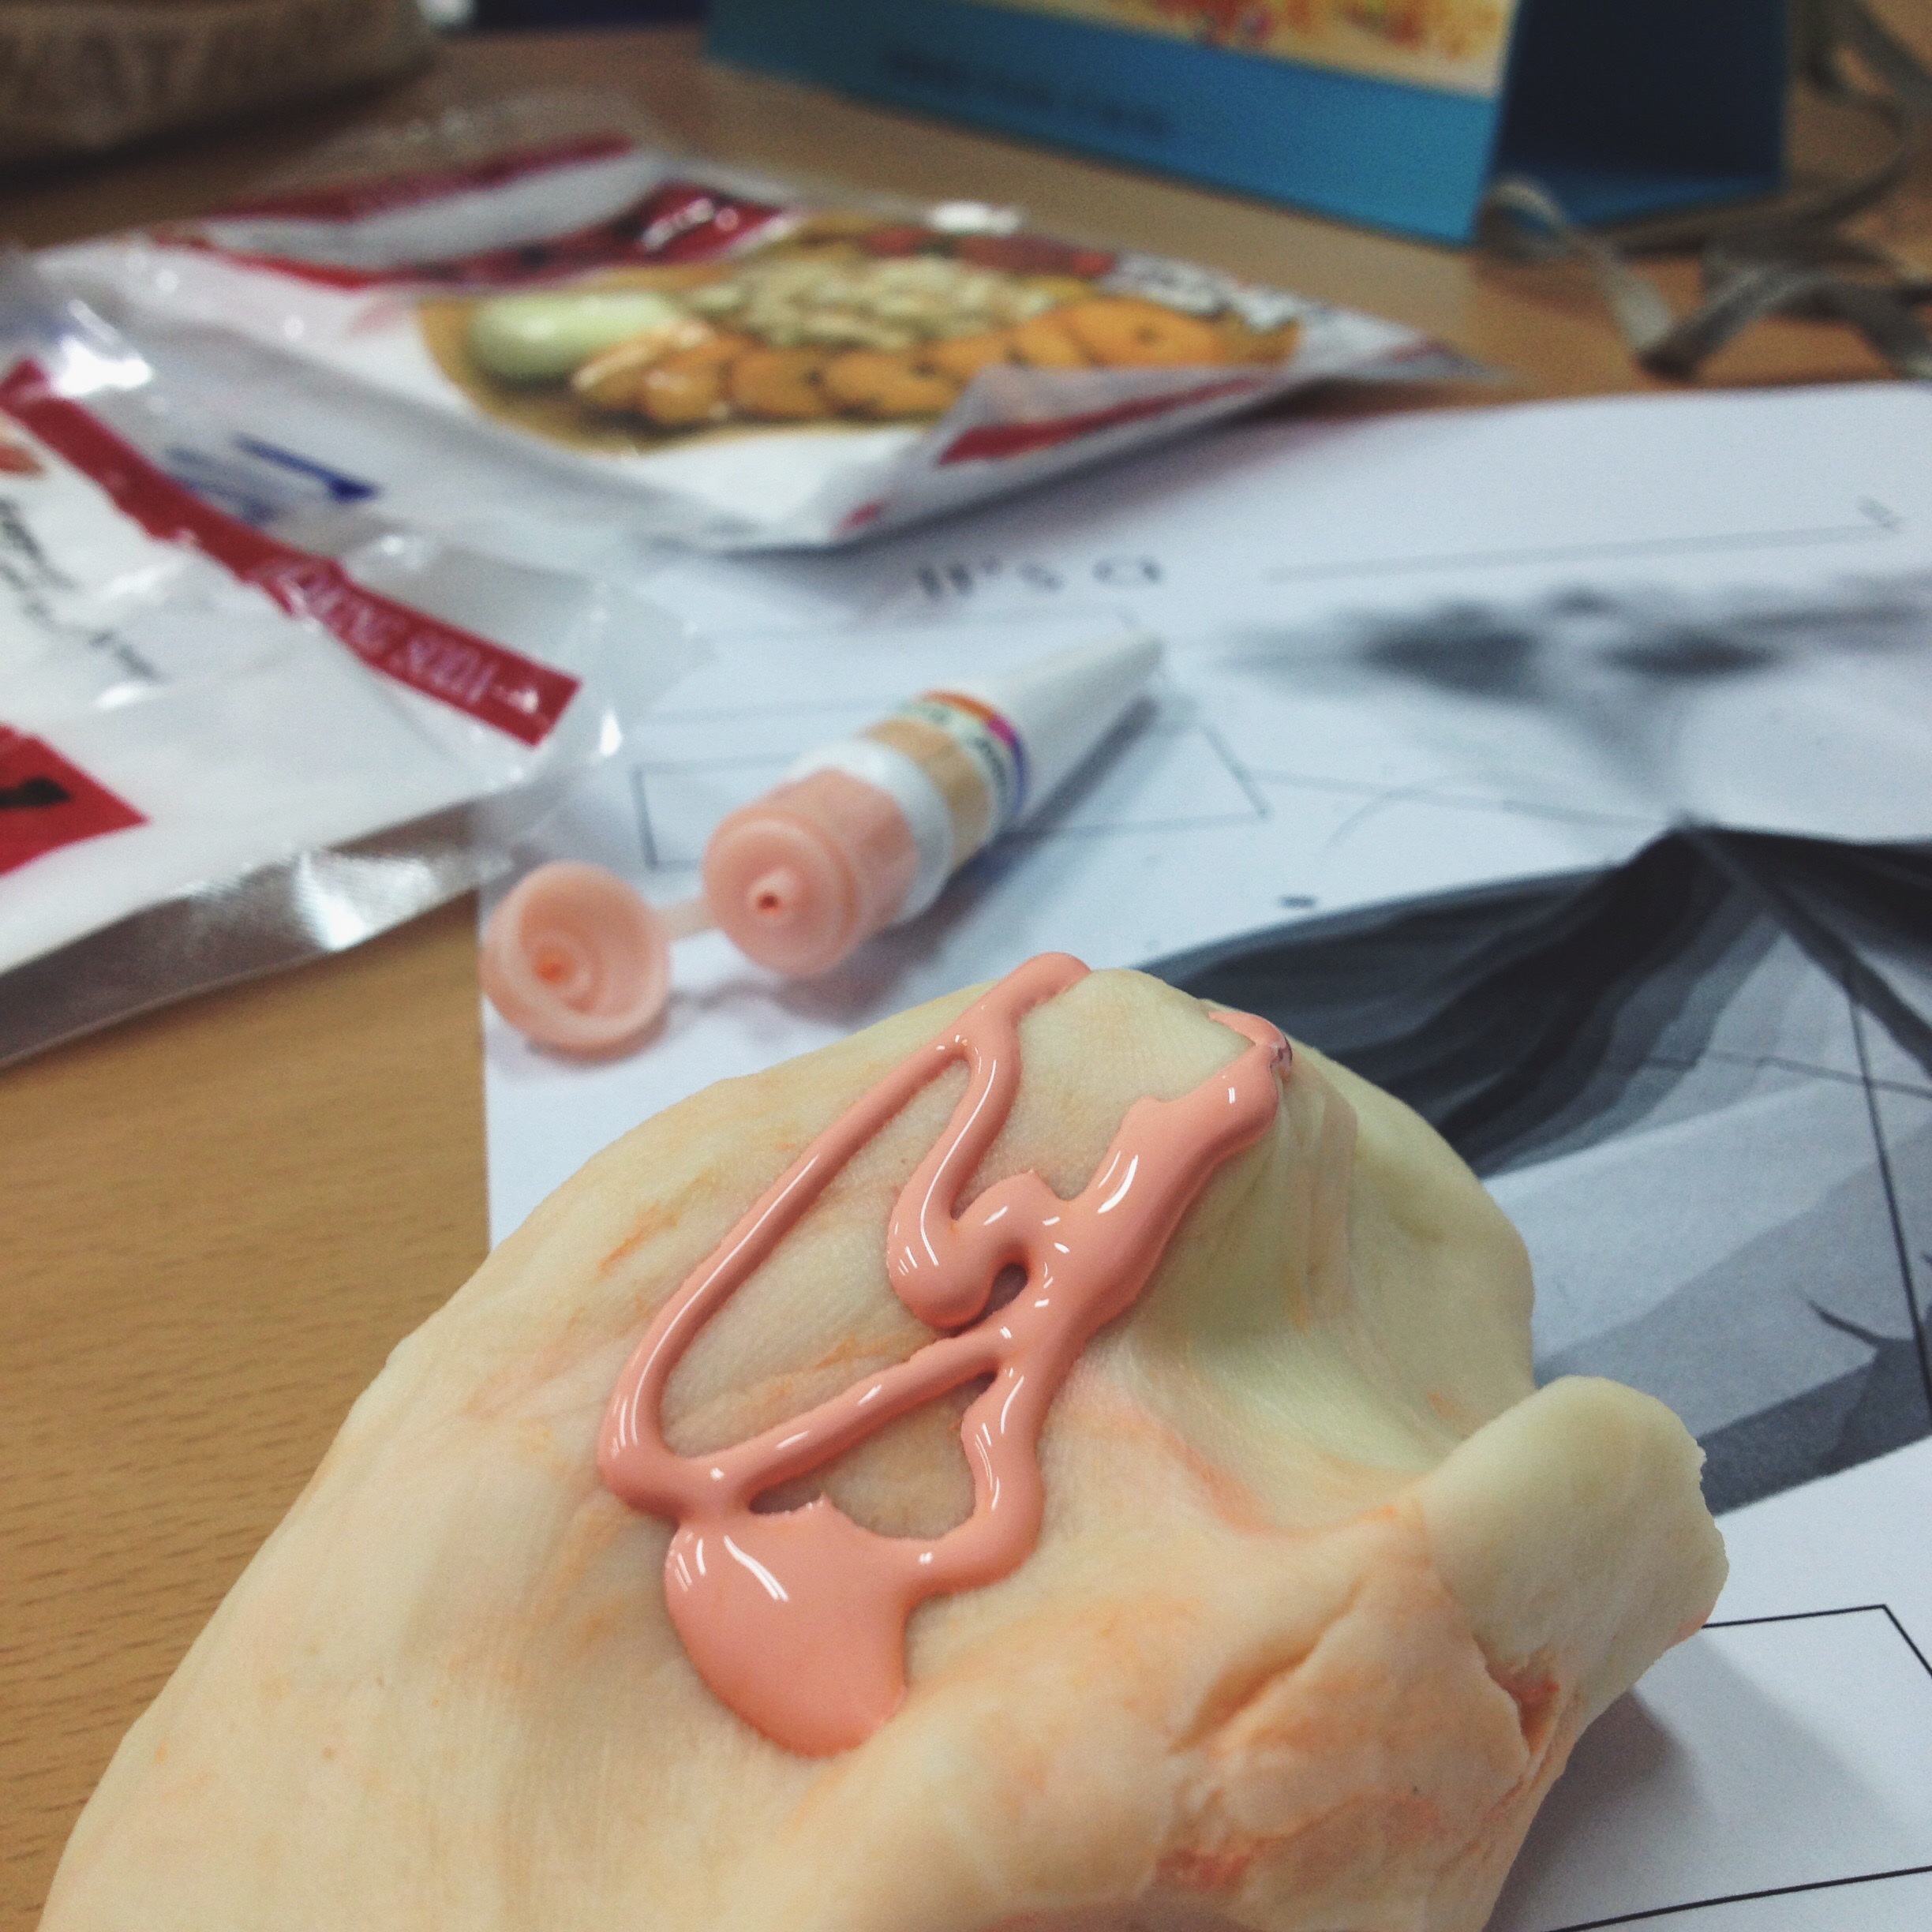
- Add paint and keep mixing and kneading until fully absorbed

Building your Volcano

-Tape down your bottle onto a plastic plate or piece of cardboard (this is very important and the volcano will make a lot of mess when you ignite it).

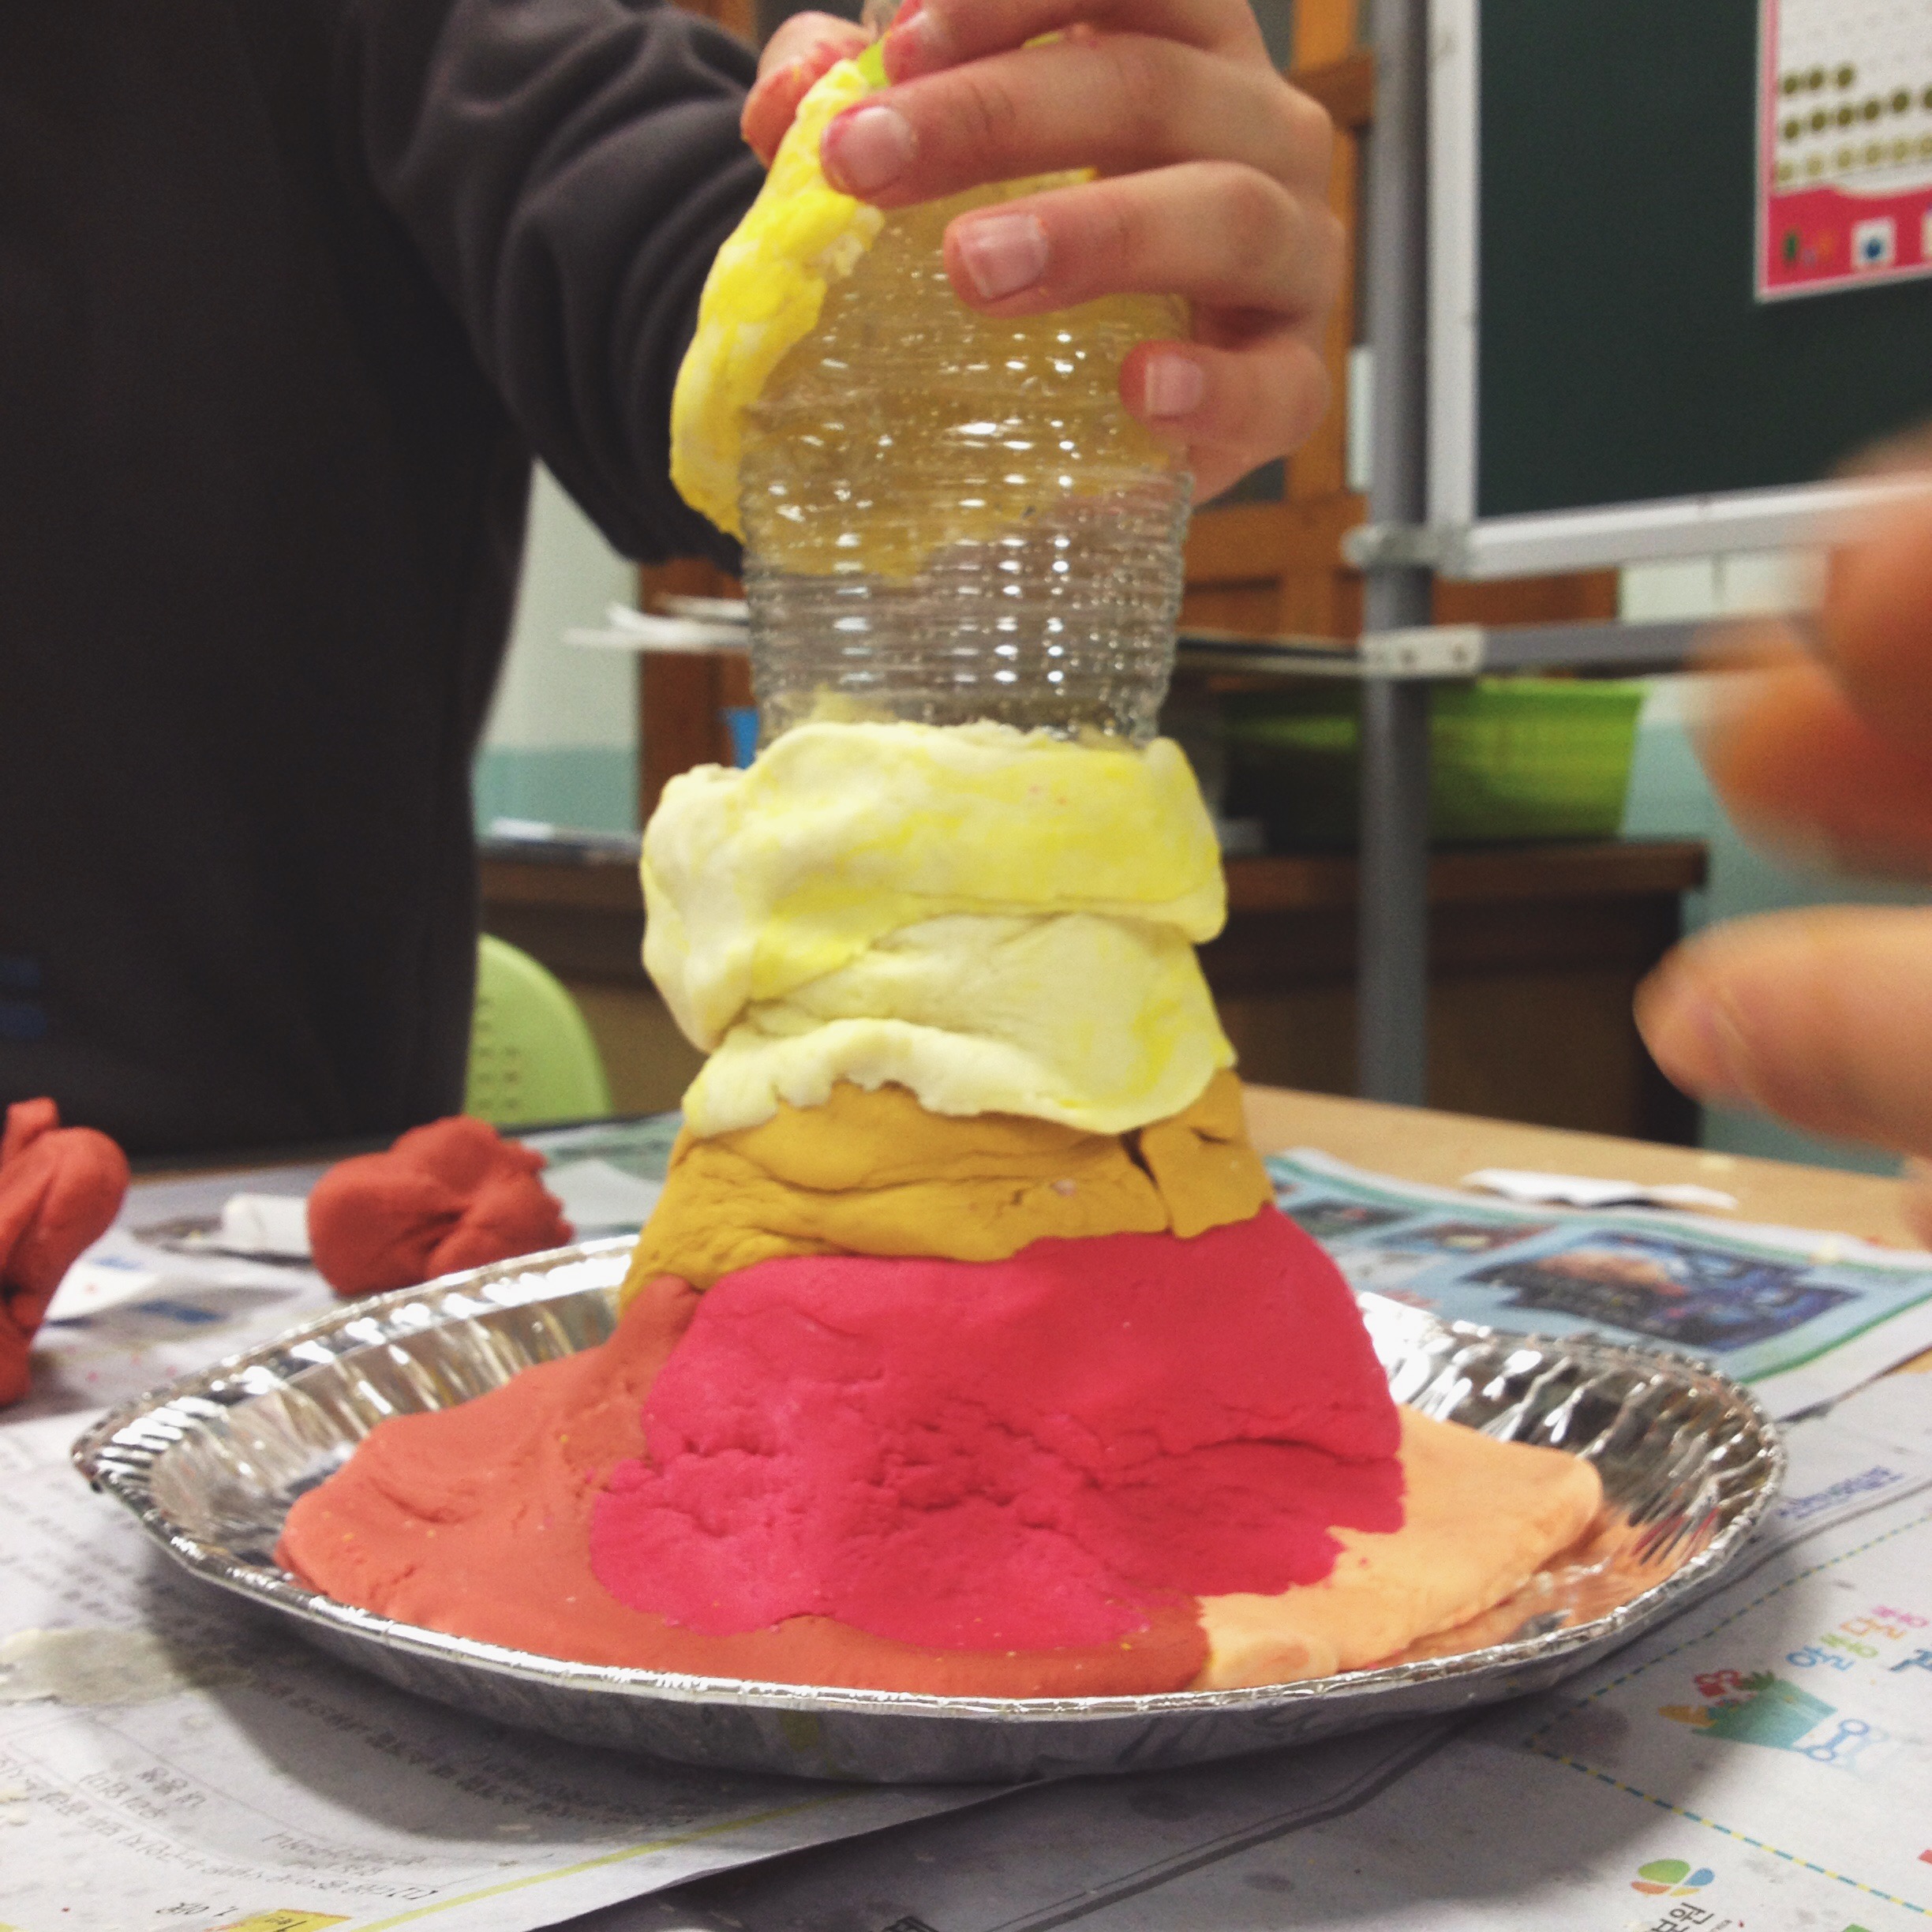
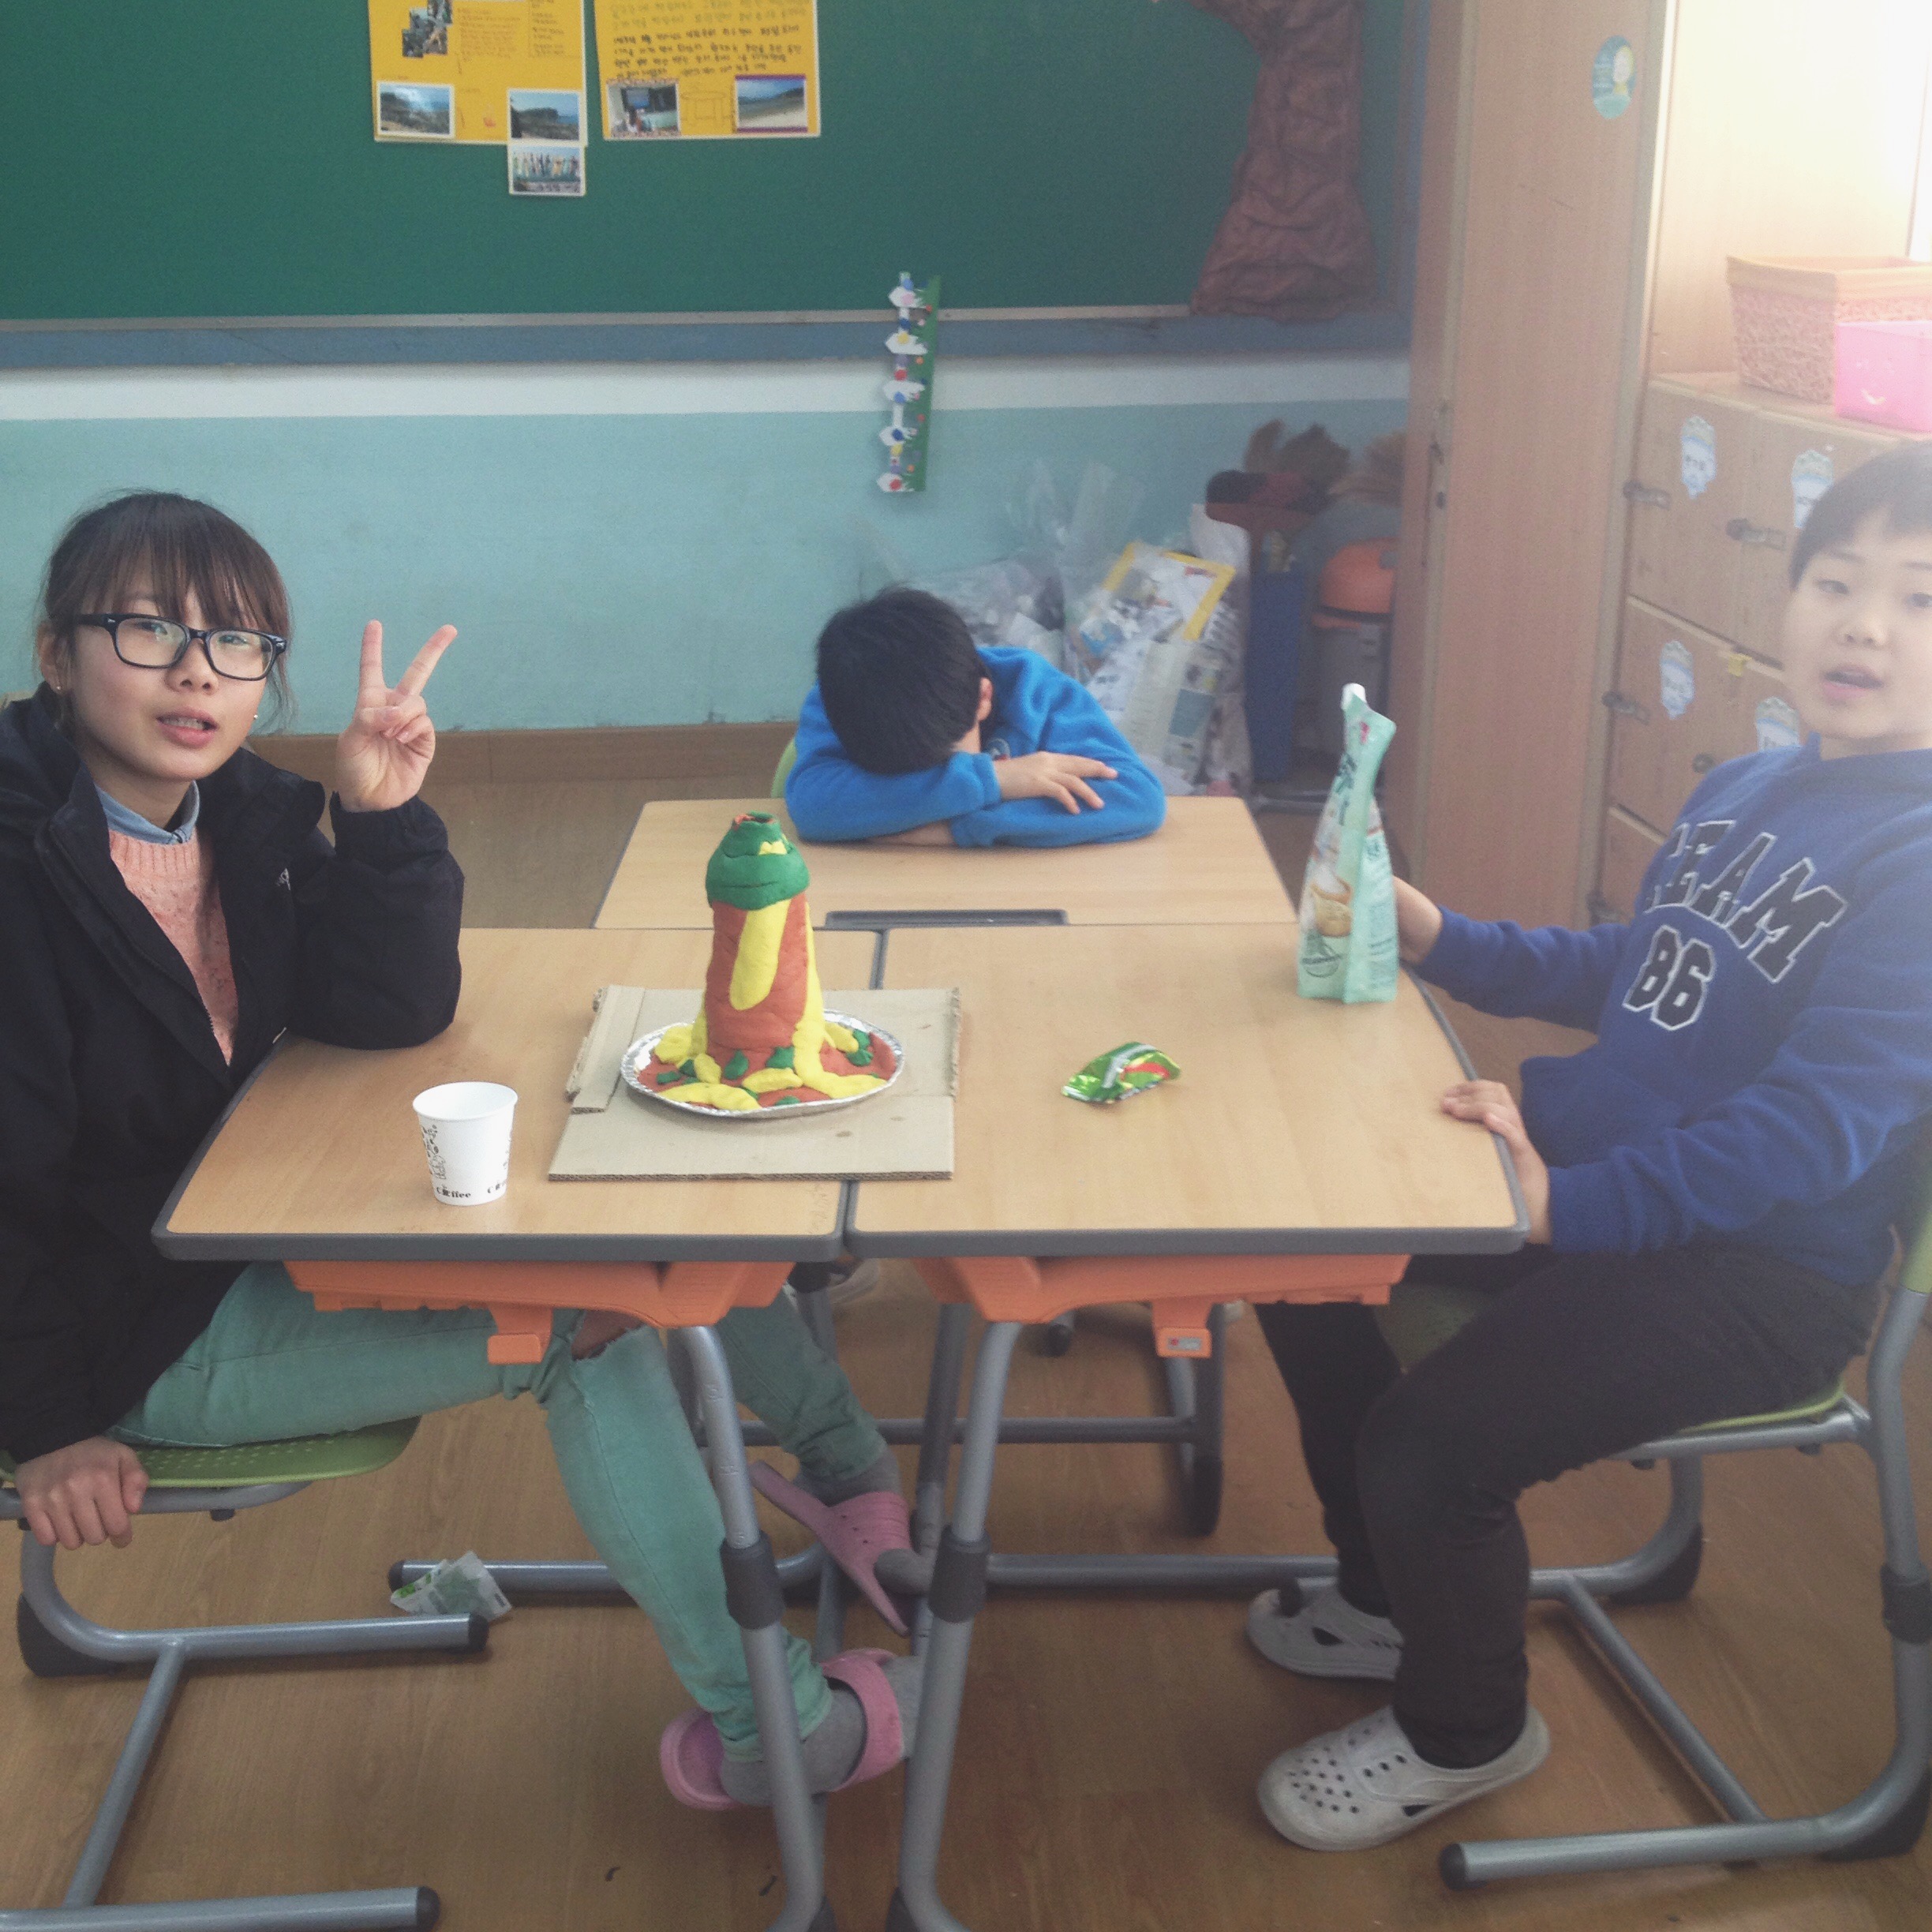
-Using bits of clay, build up your volcano. Make sure to leave the top open for the volcano to explode out of.

Making your Volcano Explode

-Now the fun part! Fill the bottle 3/4 full of hot water (be careful as the plastic bottle will melt if boiling water is used).

-Add 1/4 cup dish soap & 2 Tbs baking soda

-Add red paint/food colouring

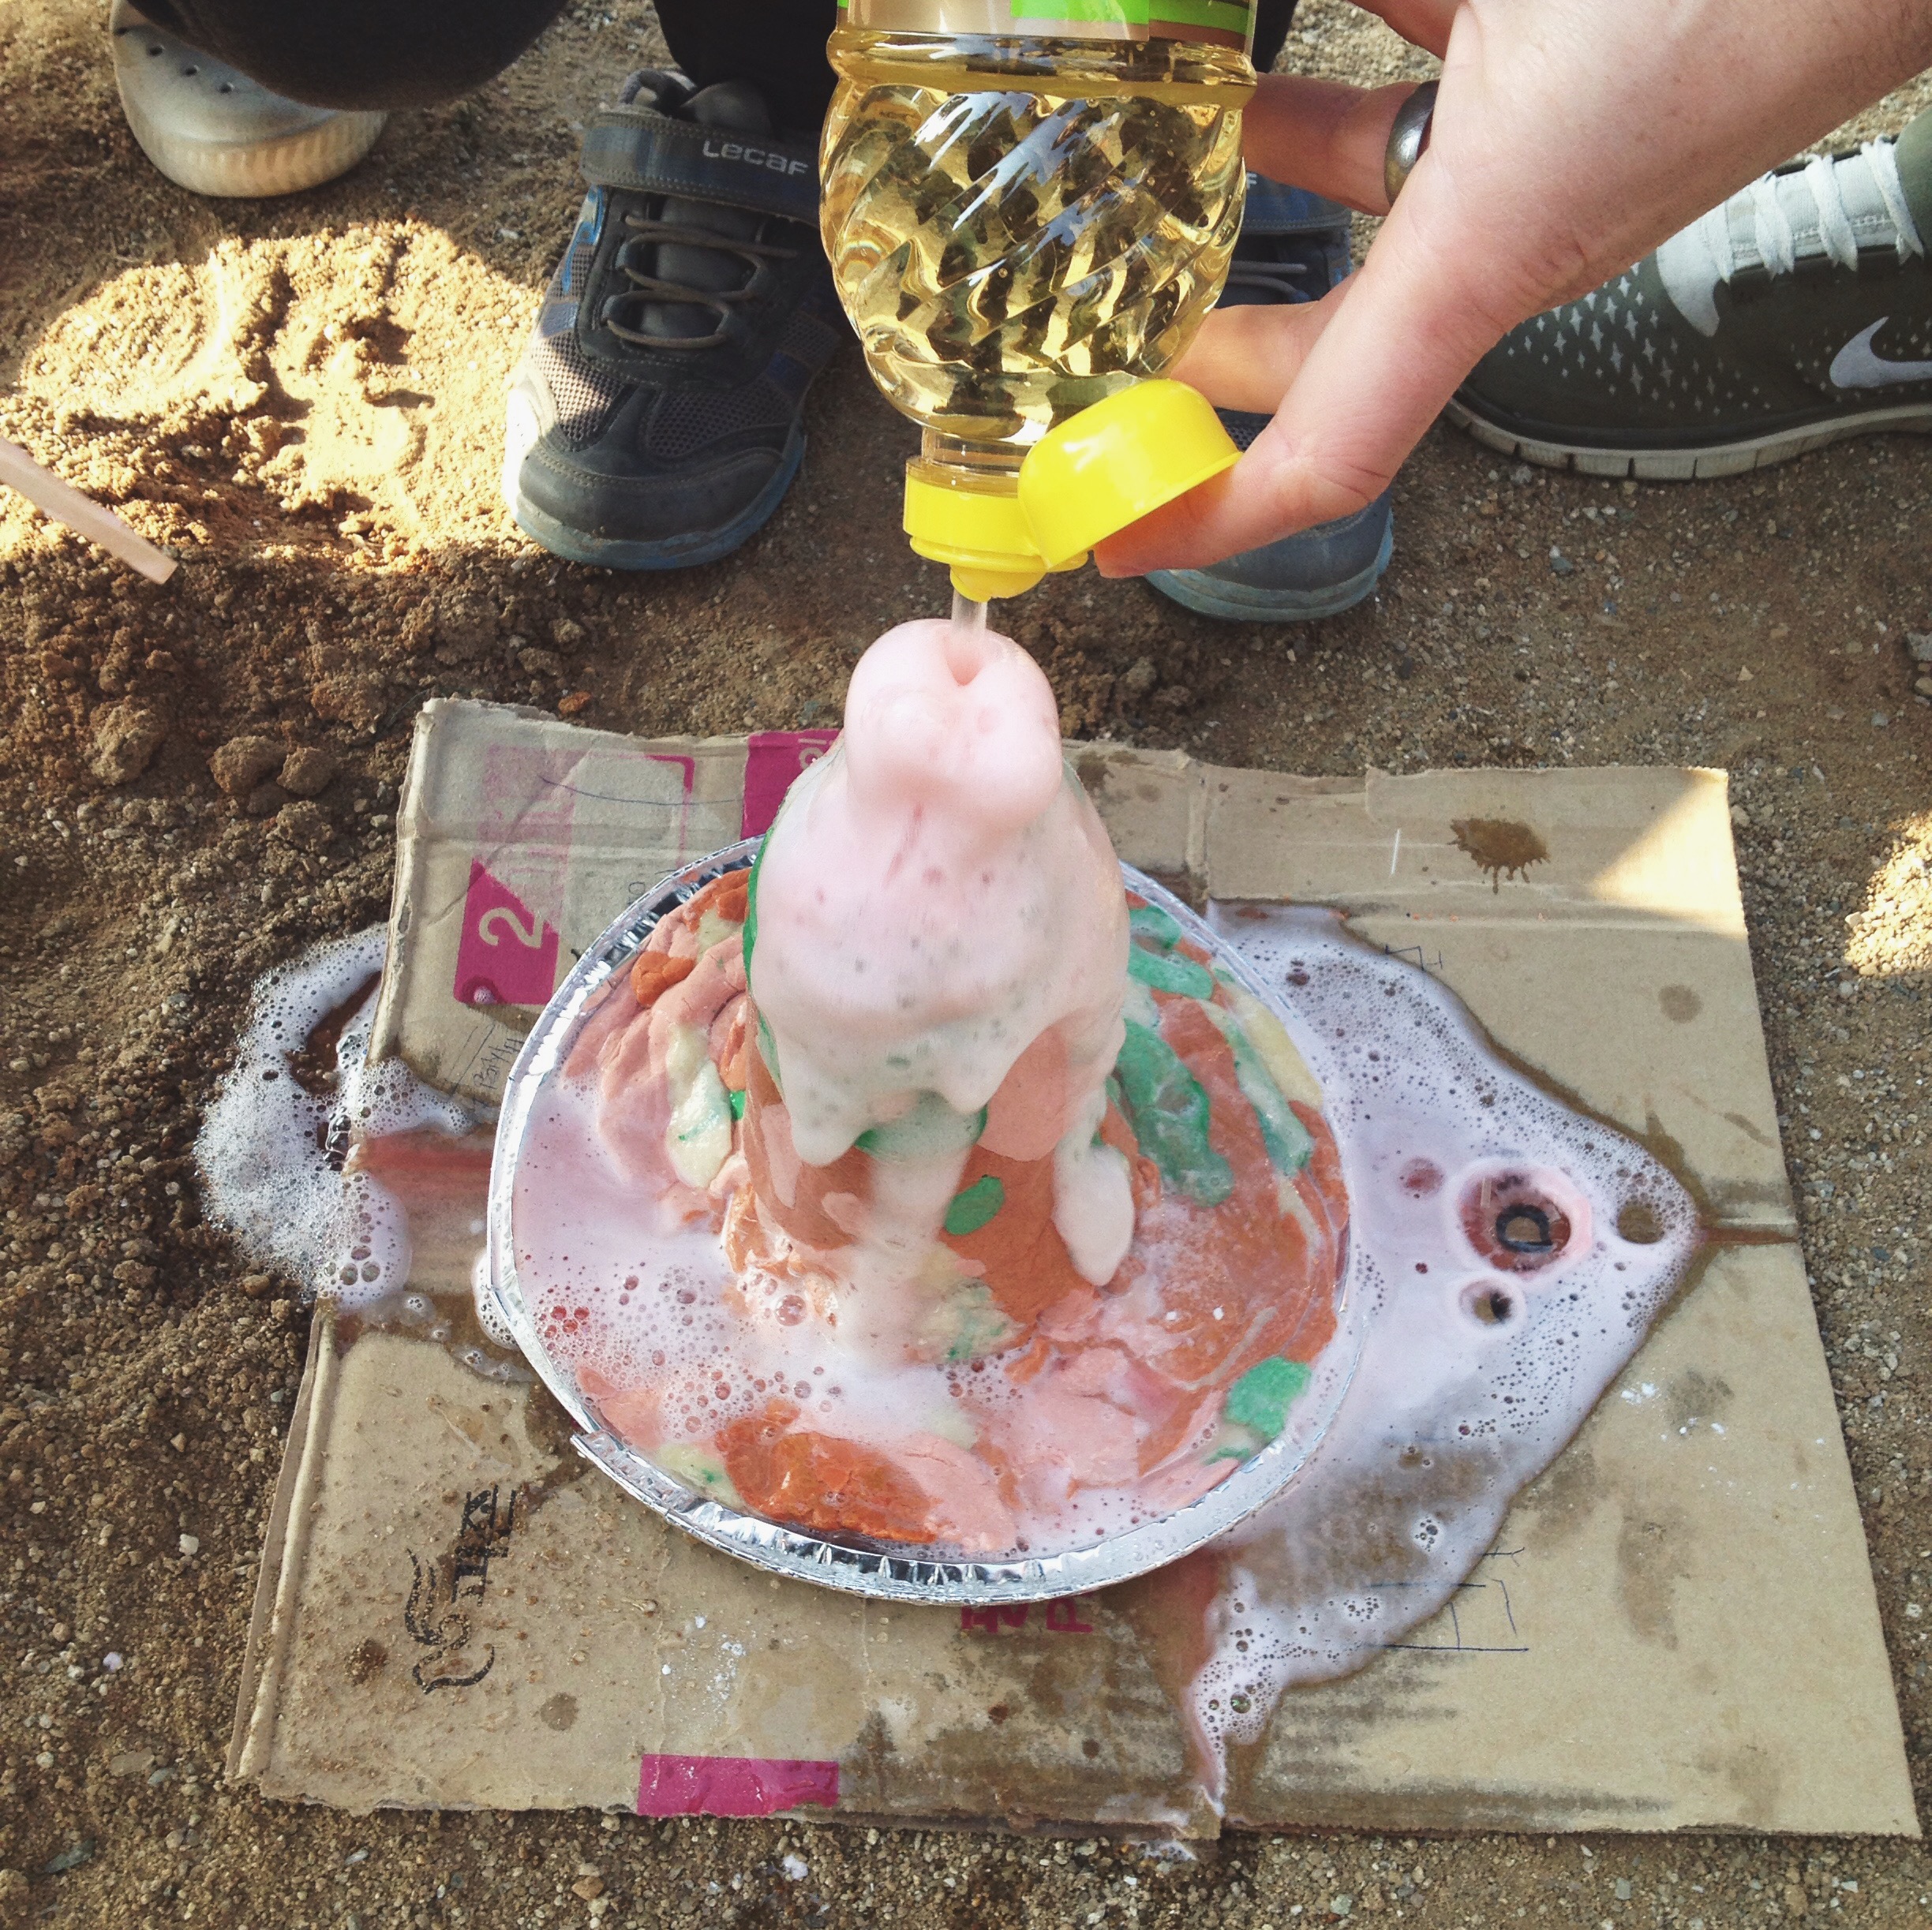
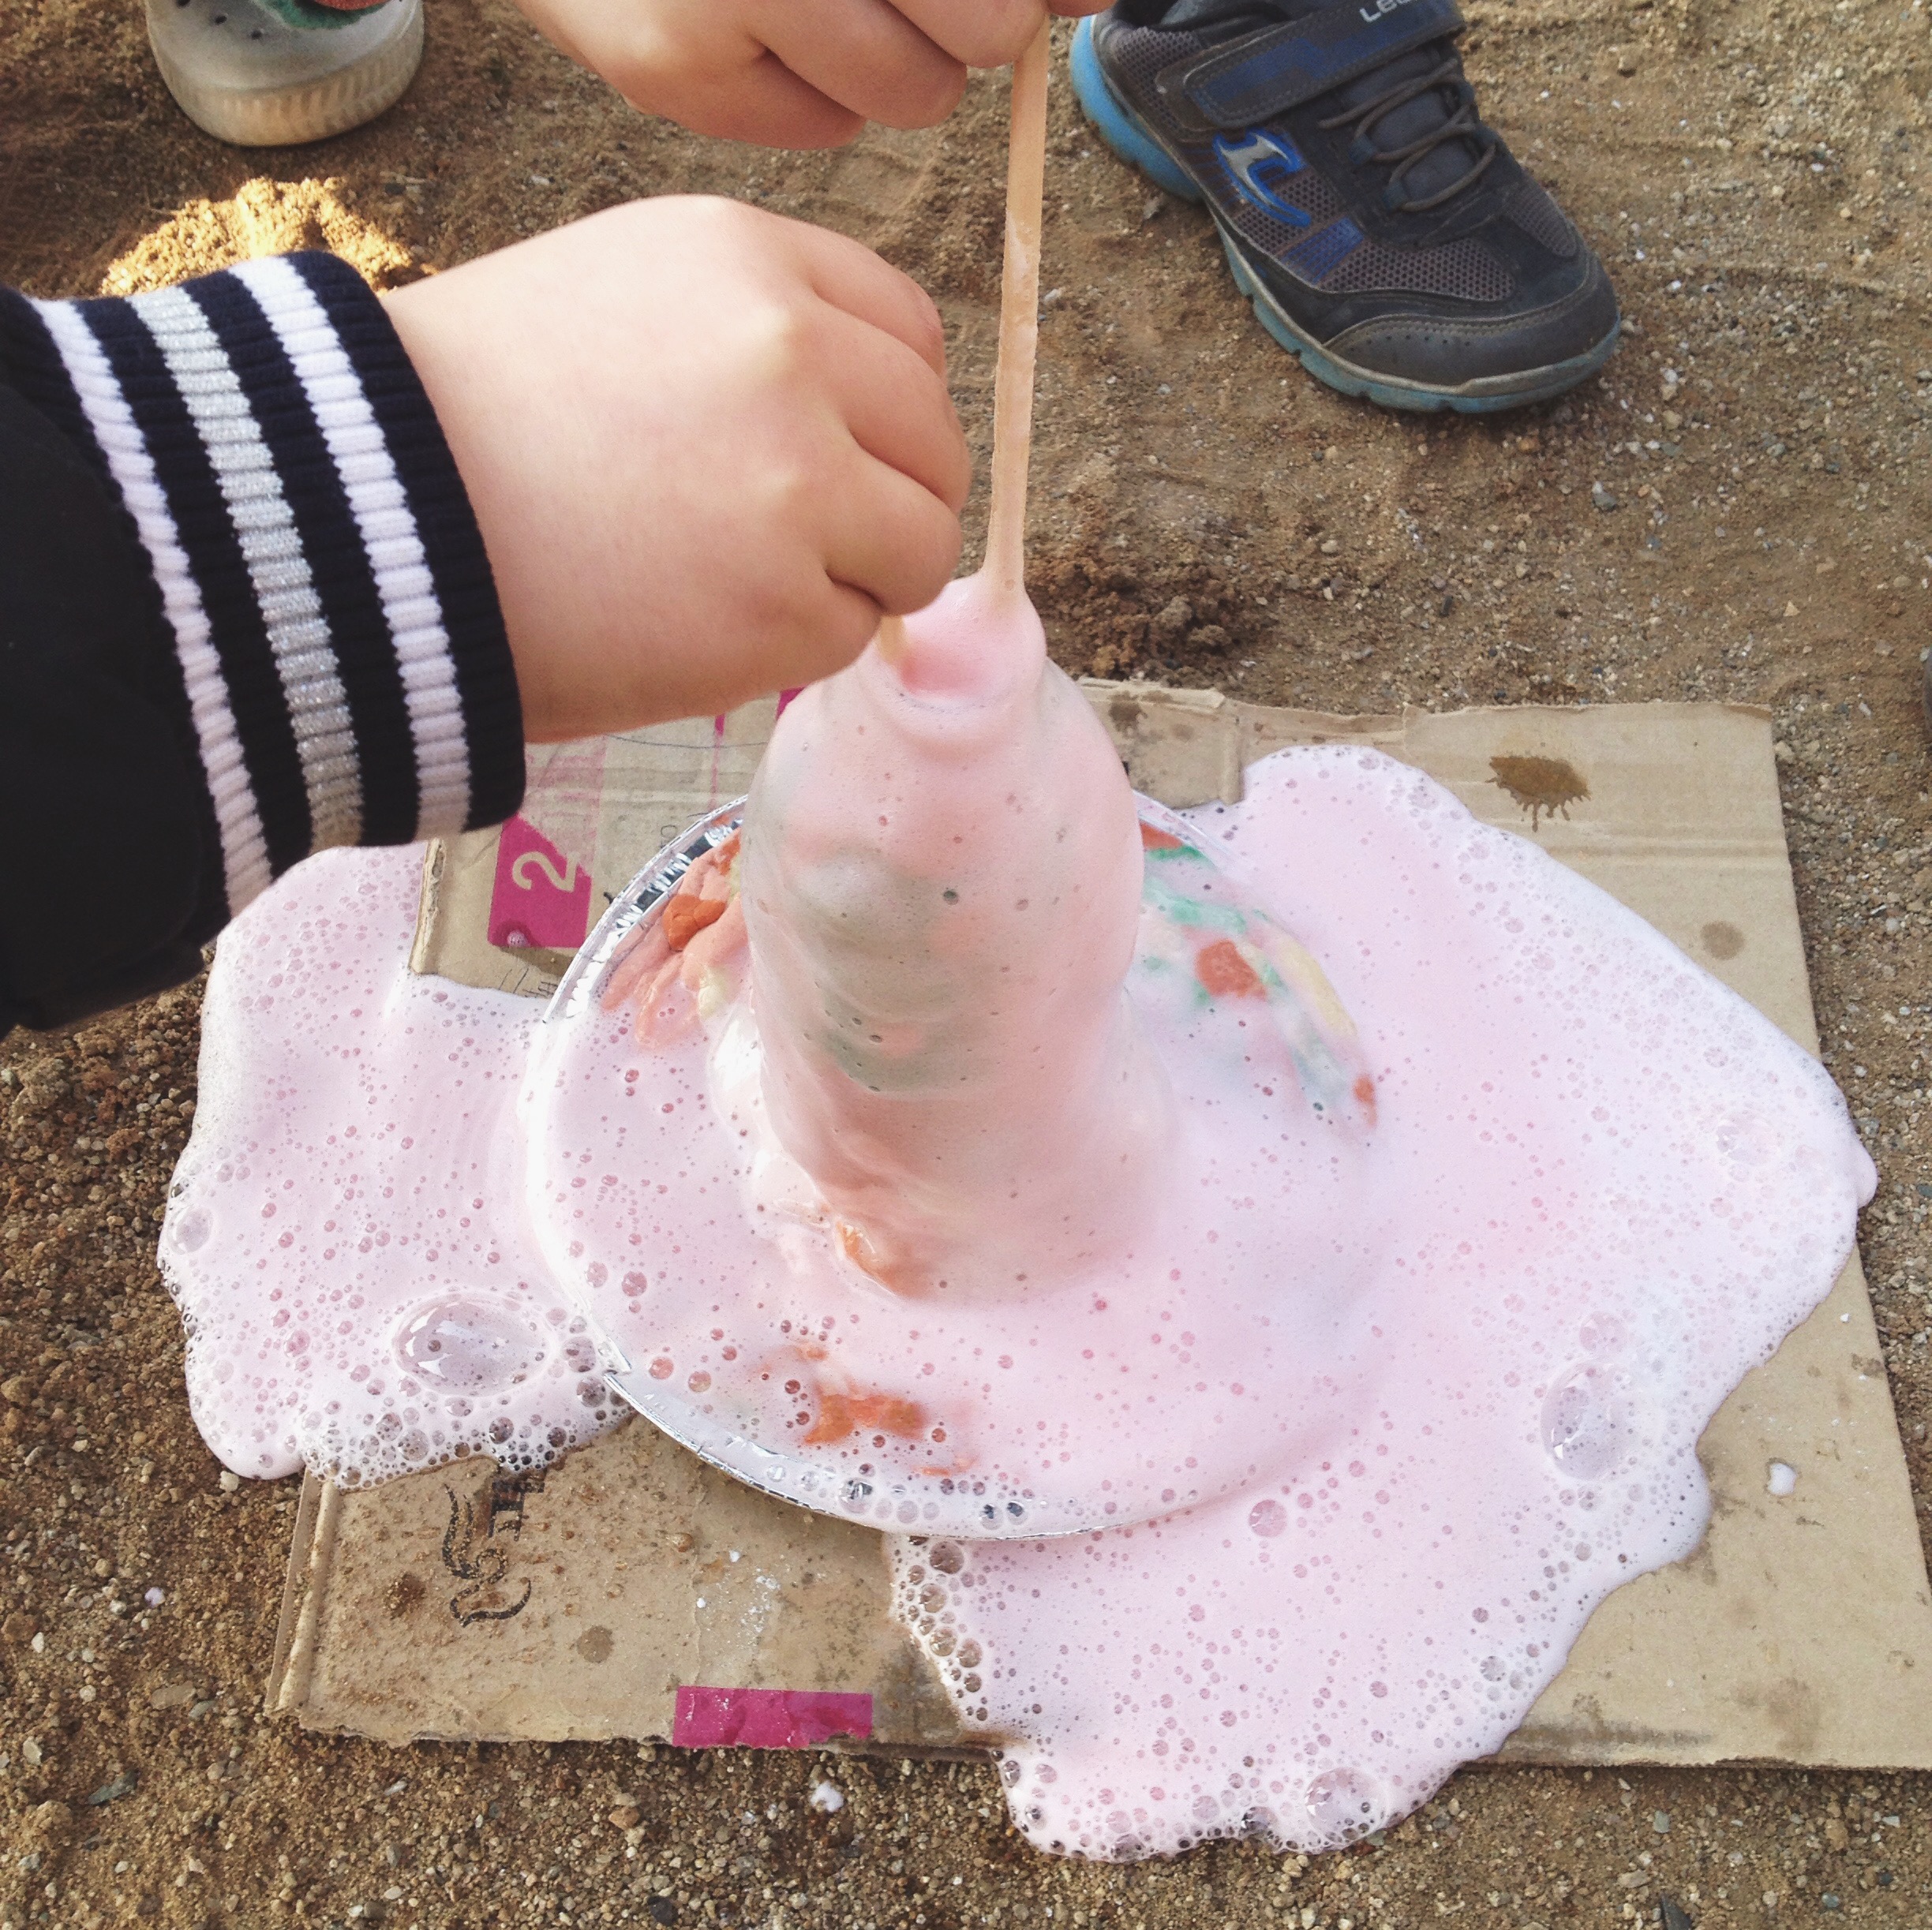
-When you are ready, add 1 cup of vinegar and watch the volcano erupt!
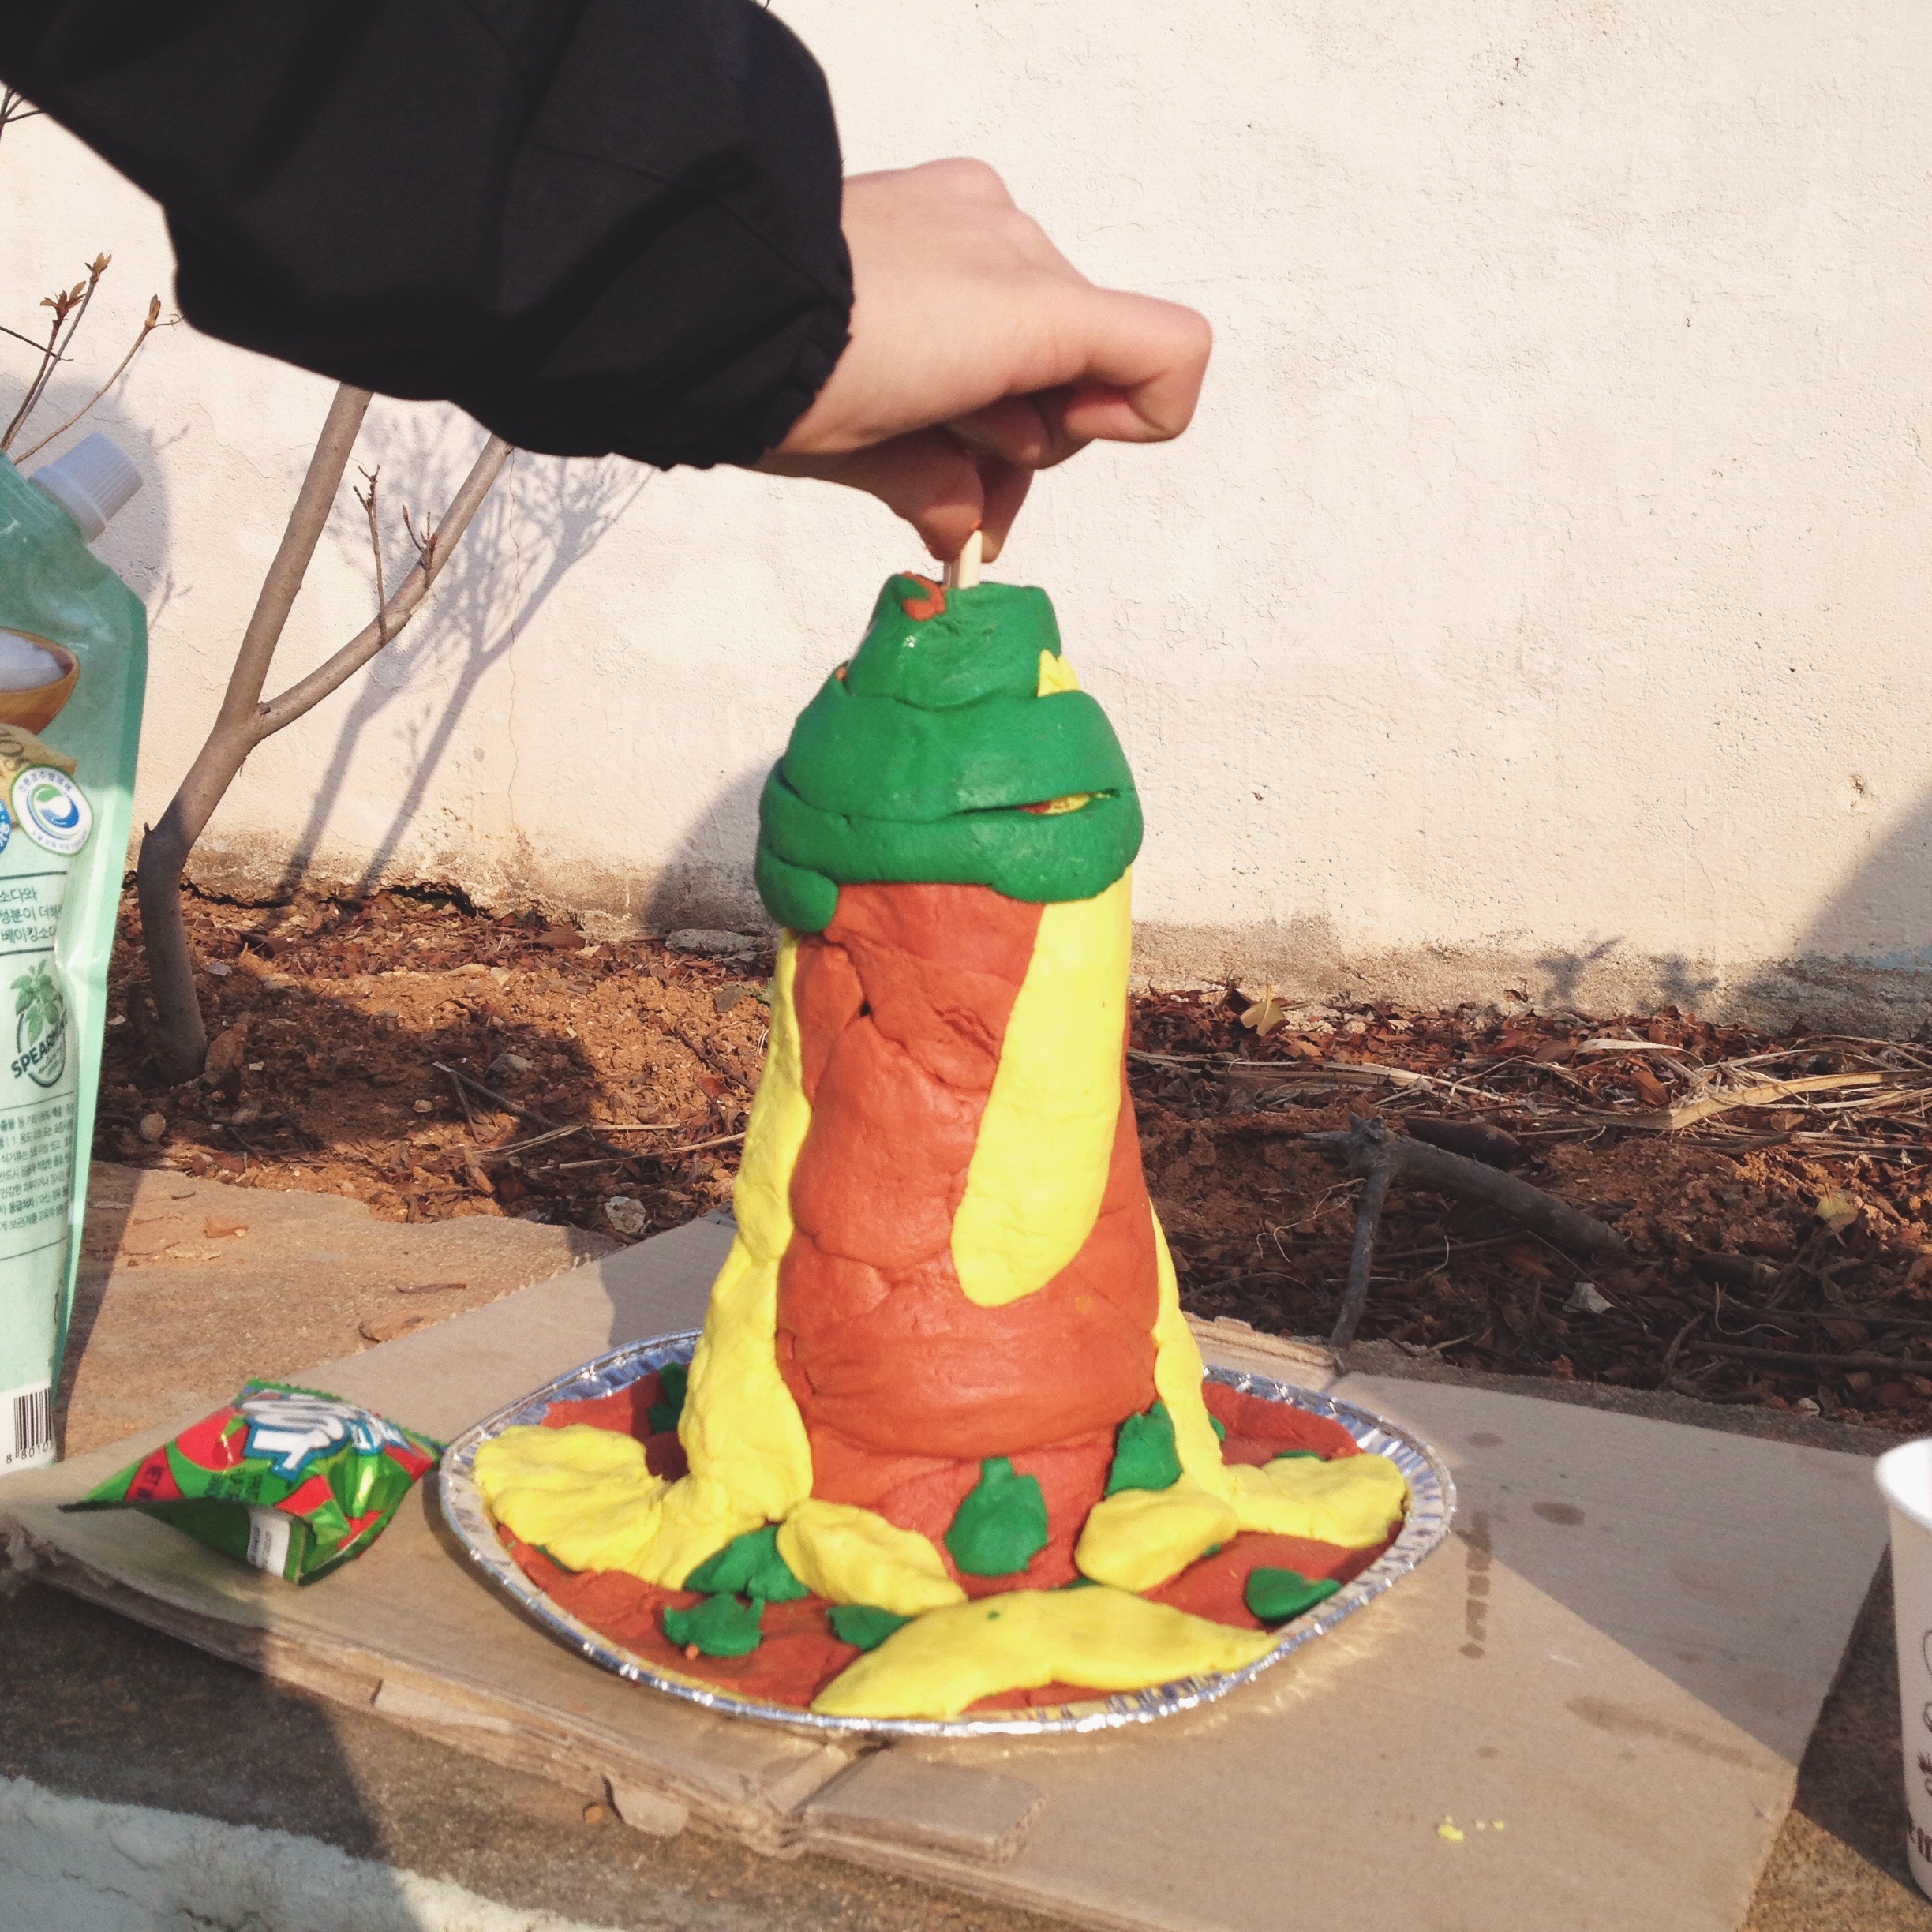
It's best to do the erupting outside as these volcanoes tend to make quite a big mess. Make sure to come back for the second part of my Science camp, The Egg Drop Experiment!

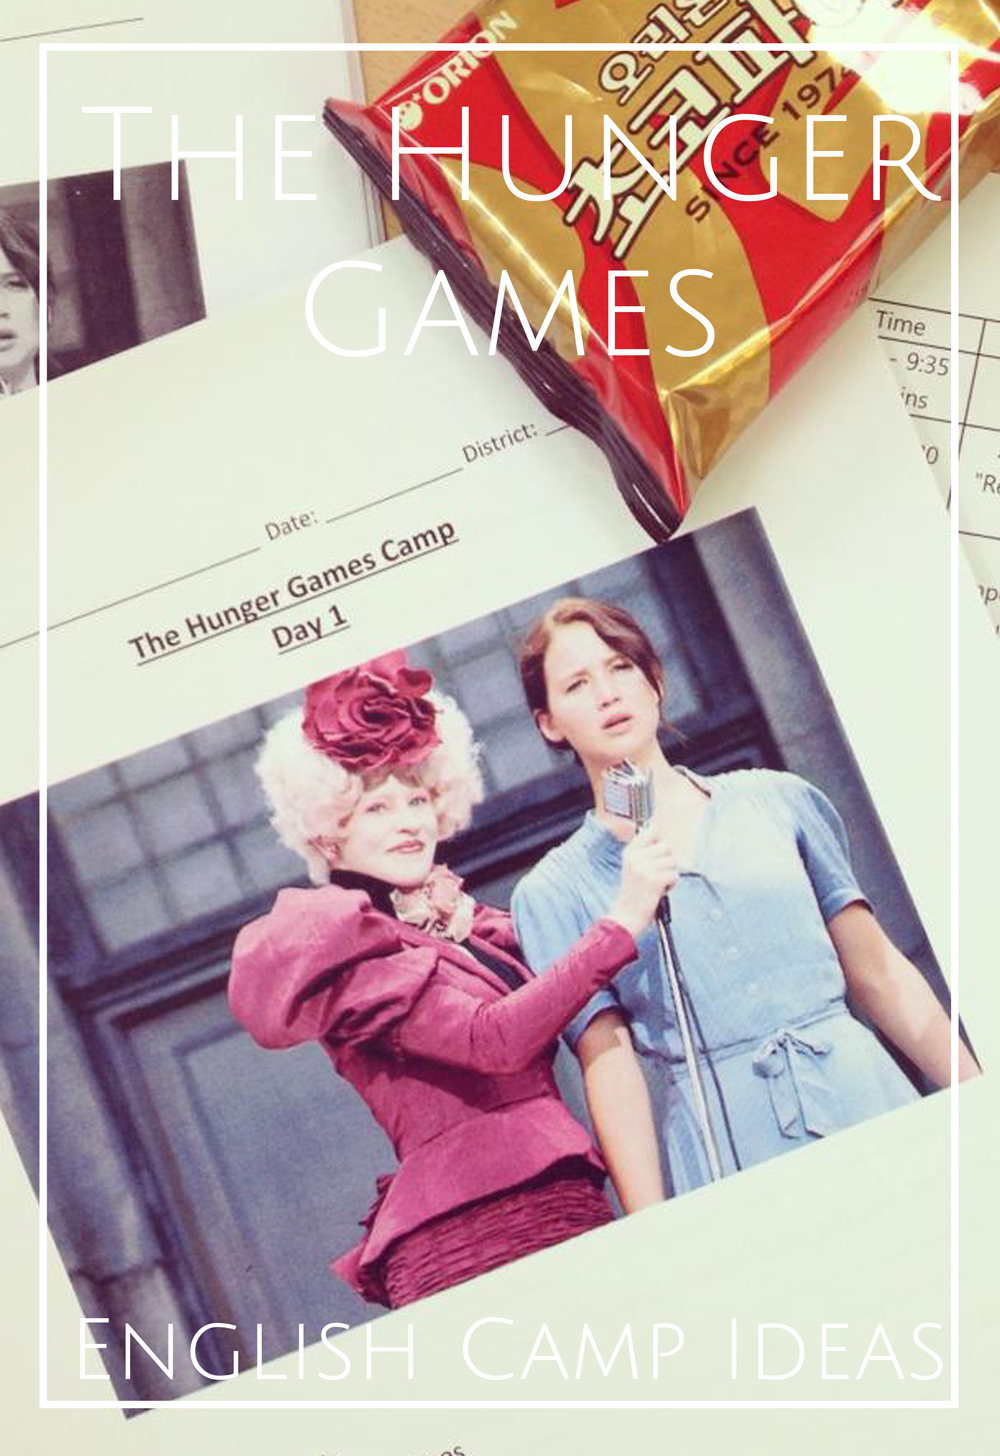
The Hunger Games English Camp - Lesson Ideas for Teaching English in Korea

The HUnger Games English Camp ideas for teaching english in korea

If you're an English Teacher here in Korea you will have (hopefully) heard or know about the English camps you are required to teach your students during the winter & summer holidays. According to your school schedule and hoe many schools you teach at you may have 1 or 2 camps (or even more) camps. We are all supposed to teach 20 hours of camp during the vacation (you may have more/less) but 20 hour is the standard. I usually break this up into 1 week of camp with 4 hours a day. My classes have always been in the morning. 

Hunger Games English Camp Plan

In my first year at my current middle school I developed a Hunger Games English camp (thanks to this  wonderful thread and the original creator 'Marbar' on Waygook!). I have successfully done this camp 3 times now with different students. They all LOVE it! I teach at an all girls school, but the lessons would suit mixed students too. I have taught this to First & Second Grade Middle School students, and then have just slightly adapted the lessons for the higher/lower level grades.
The camp is based on the first book, with lessons and fun activities surrounding a poster they will complete by the end if the camp, leading up to the final day where the students present their poster and watch the full screening of the first Hunger Games movie.

I want to share these lessons with you in the hopes that they might help you in your camp planning. I will post a Google download link to the camp below where you will be able to download the plan, lessons I created (and be able to edit them to suit your school) as well as the workbook I created for the students to fill in as we went along (I basically just inserted the powerpoint slides and made blanks for them to write down notes etc). Here is a link to download the plan, the printables, the ice breaker for the first day, the actual power point slides and the workbook:

I don't break my schedule up into hours/lessons (although this is how the plan works) but I rather teach until I can see the students need a break and then stop to give them some time to relax. I have found on some days we only stop for a short bathroom break as the students get really into the lessons and have a lot of fun. You will have to judge the timing based on how your students respond.

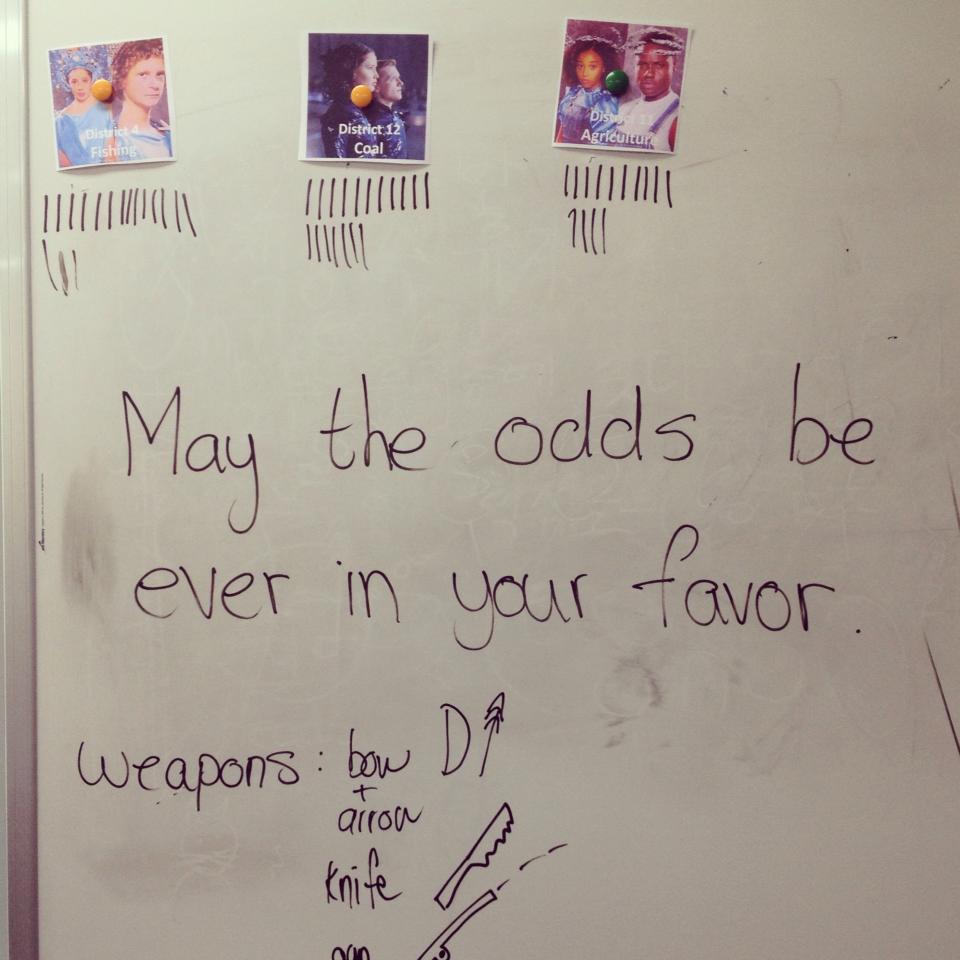
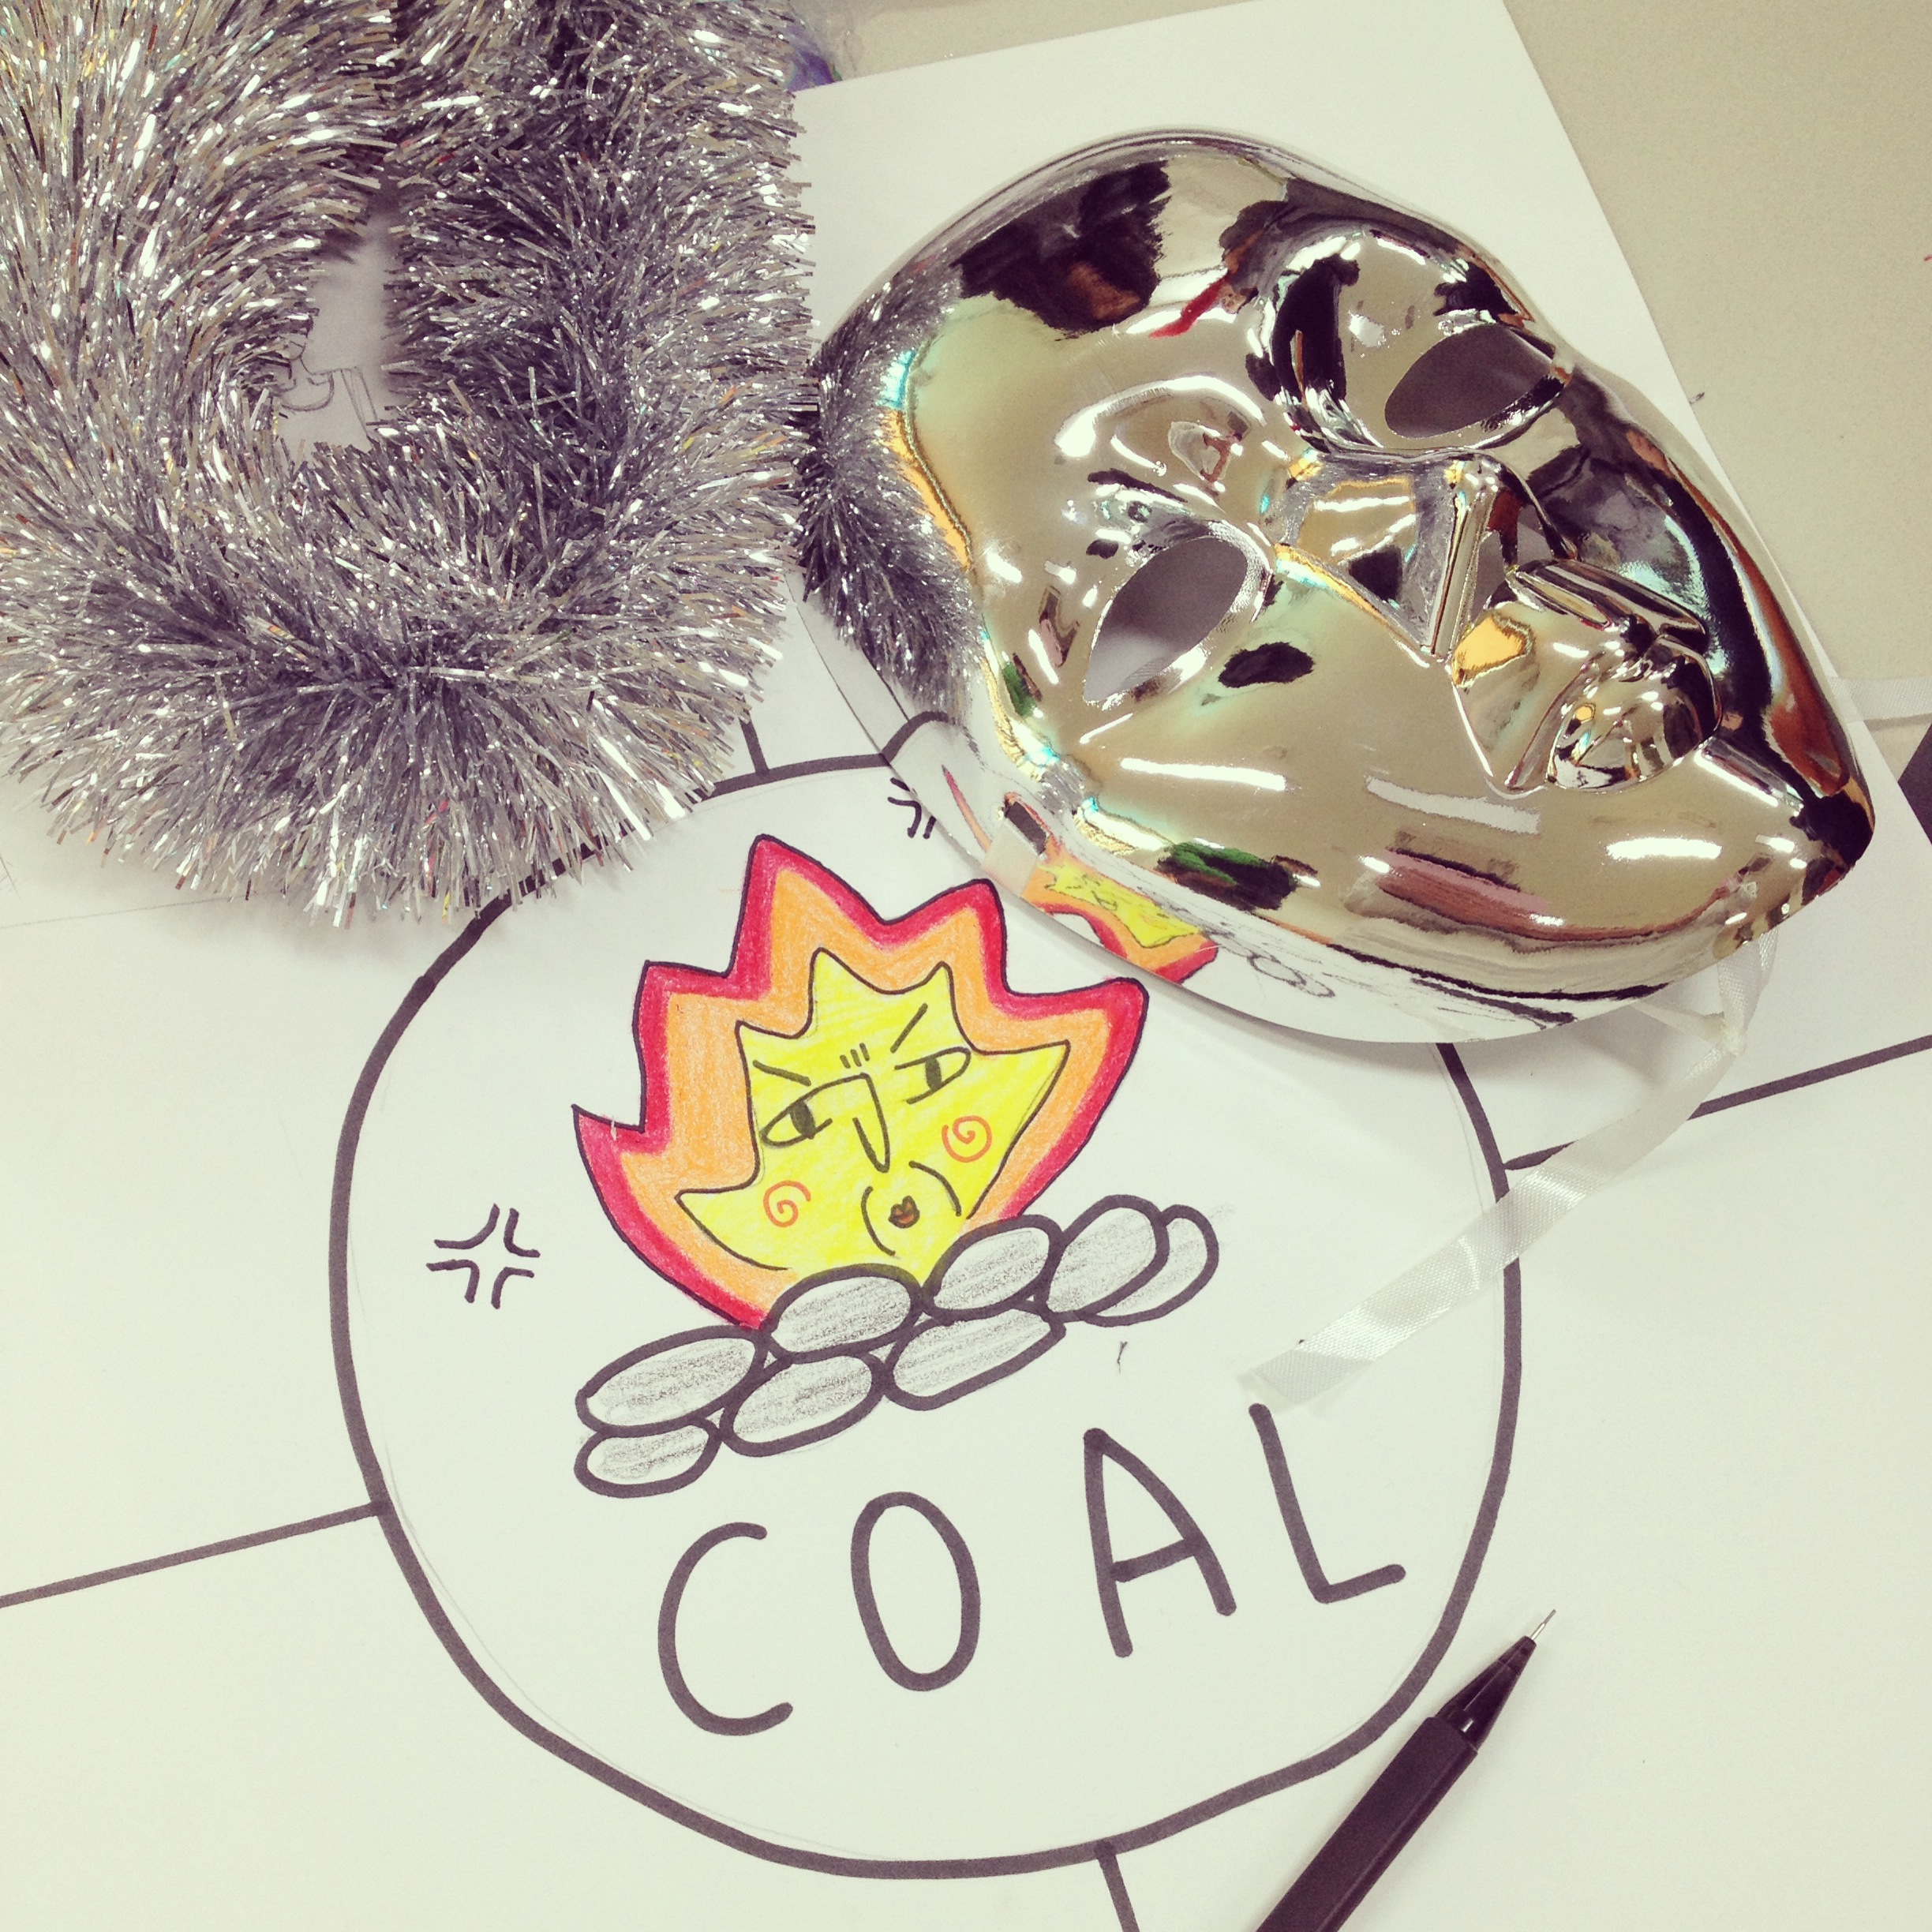
I always start off my camp with an ice breaker activity, and then divide my students up into their teams. I did this following the reaping ceremony in the Hunger Games whereby my students reach into a hat and pull out their team. They stay in that team for the entire camp and the activities are based upon that team. I also use their team names to keep score of points for prizes/snacks throughout the camp. (pictured aboveO. 

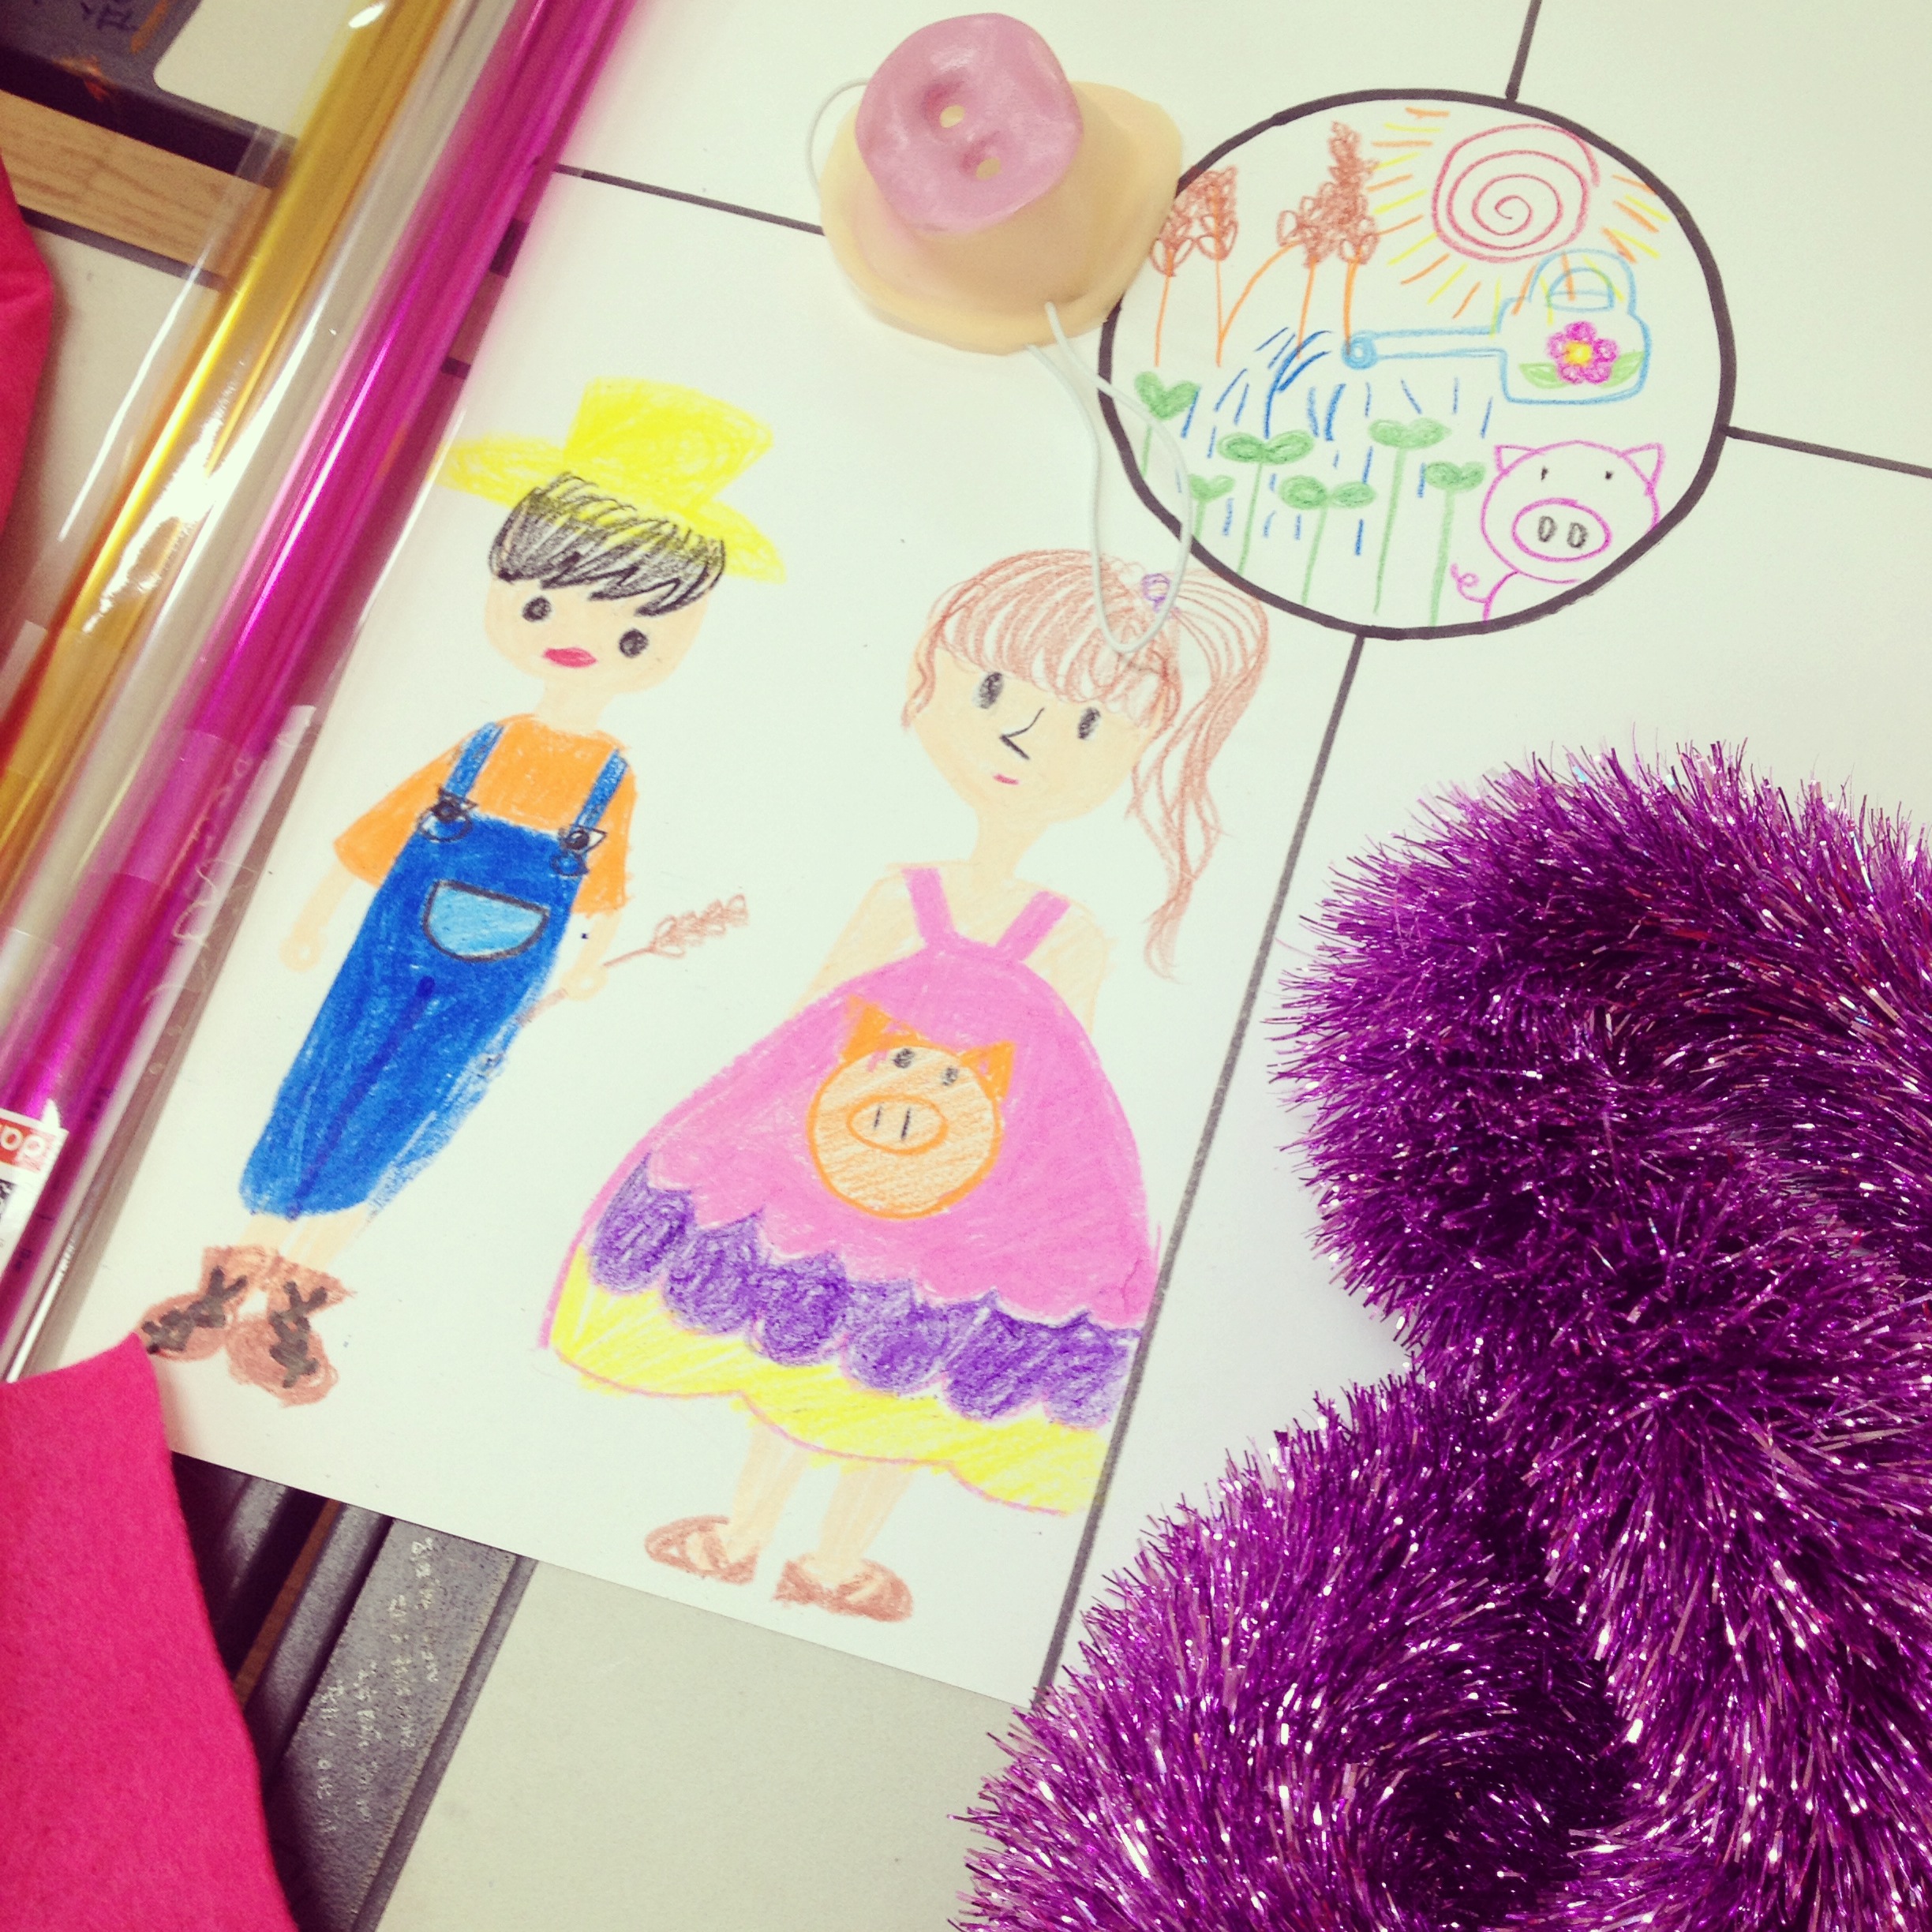
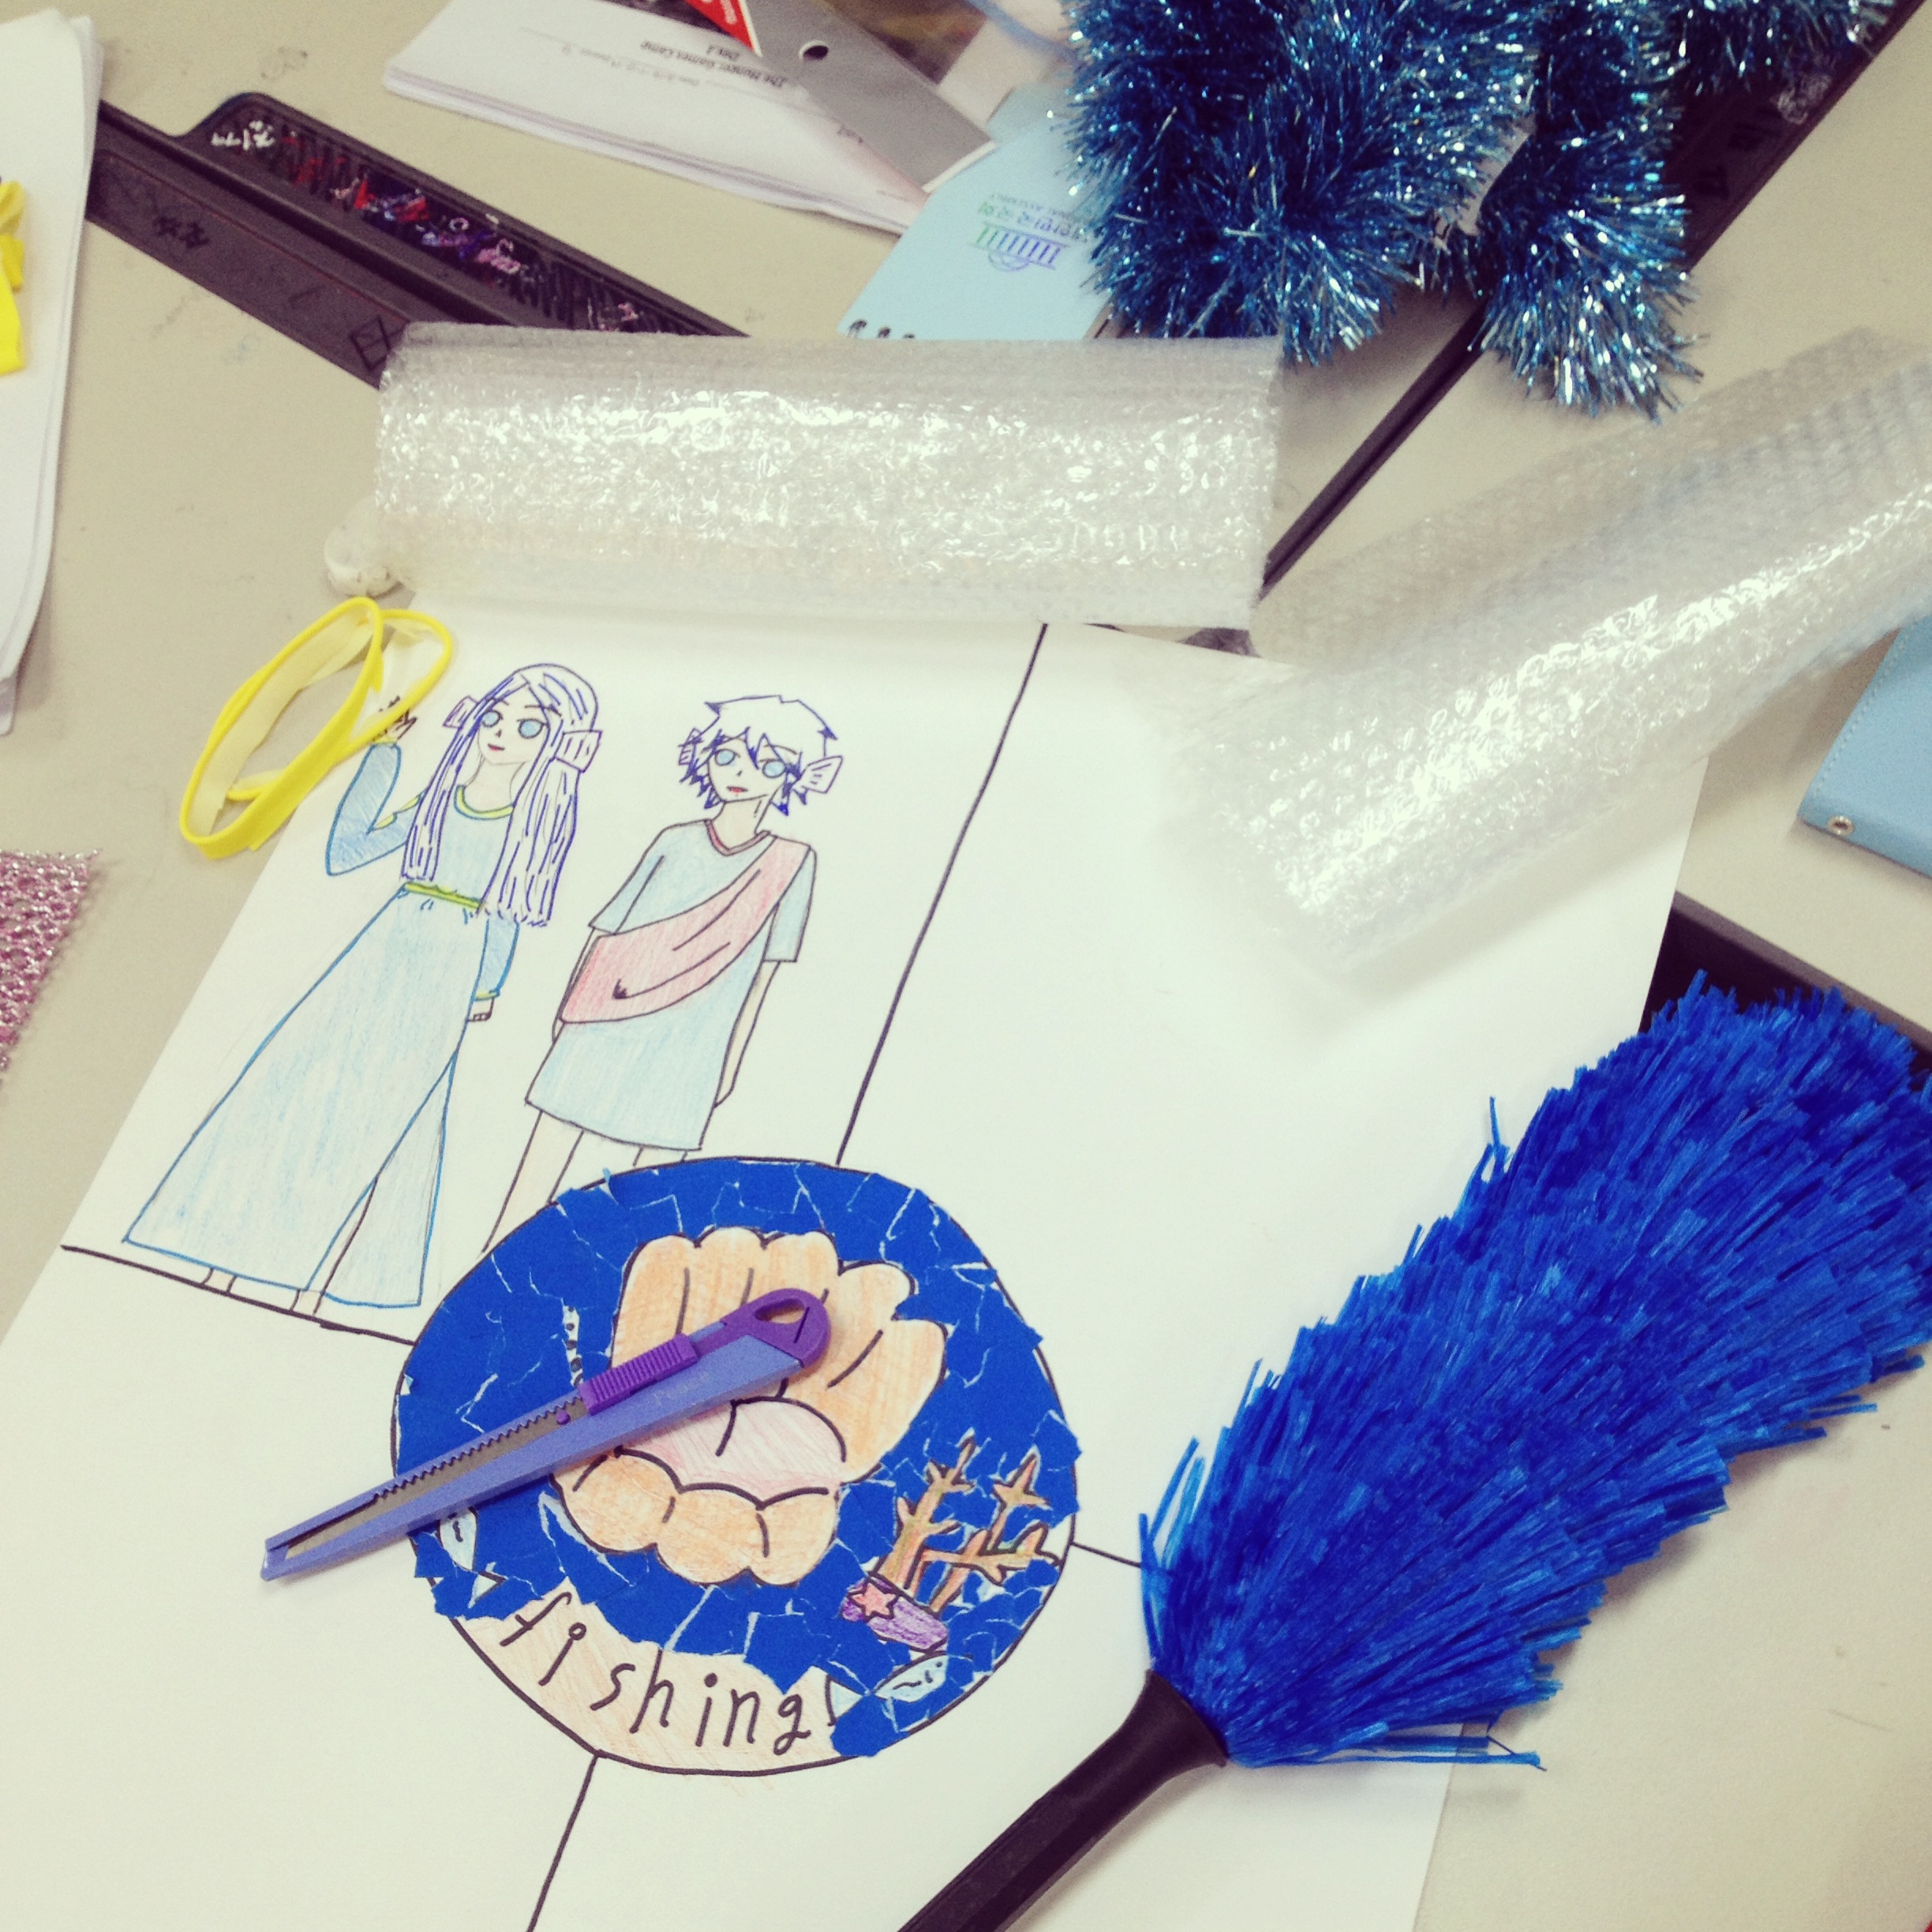
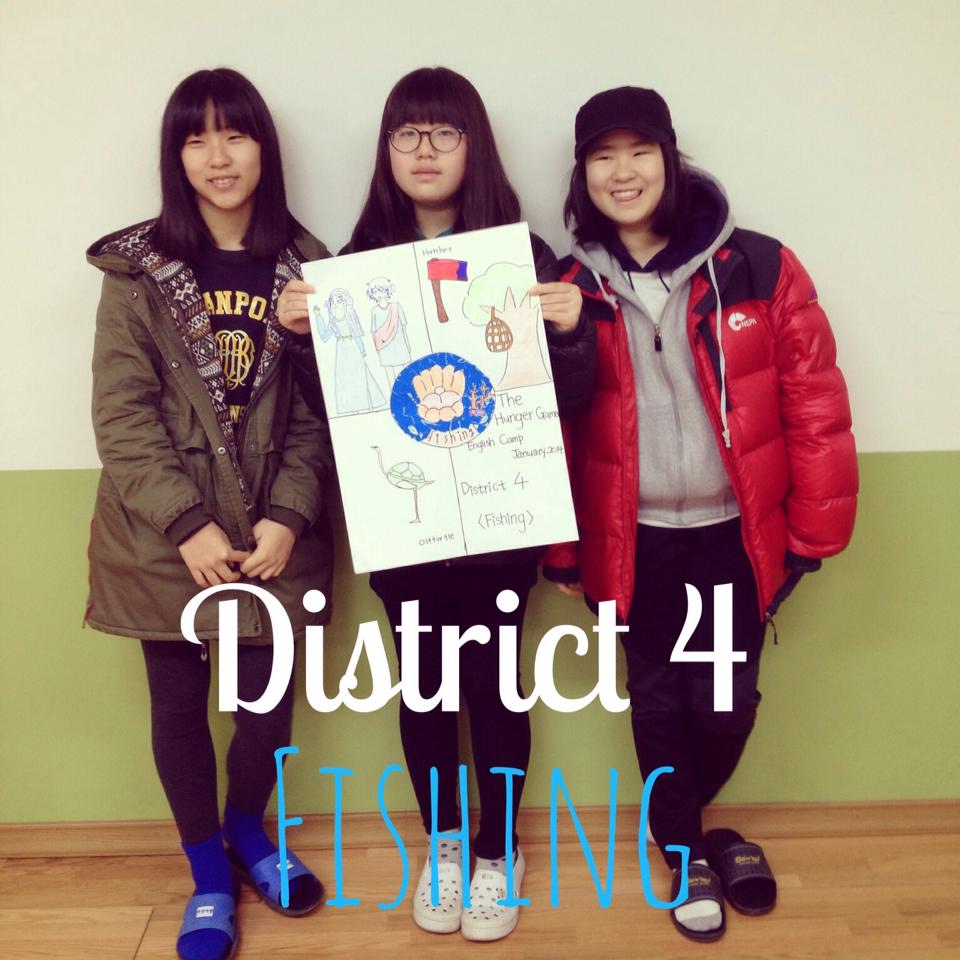
I wanted my students to produce a poster by the end of the camp, and so on the first day I had my students divide their poster page into 5 sections (4 sections and a centre circle for their team name/logo). I have the section 'Homework' on the camp plan above (that is more for admin purposes as some schools will want to see you at least plan to give the students homework) but I have never given them actual homework to do. There has always been time in the lessons to finish all the work.

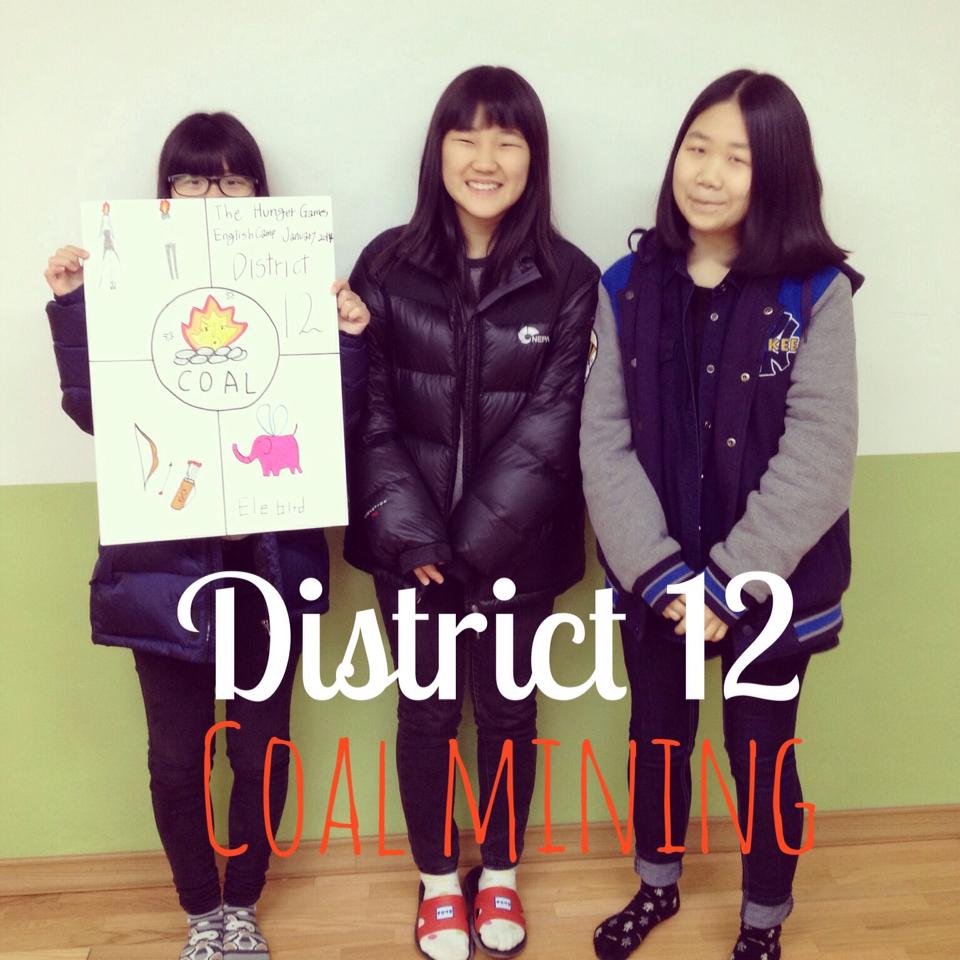
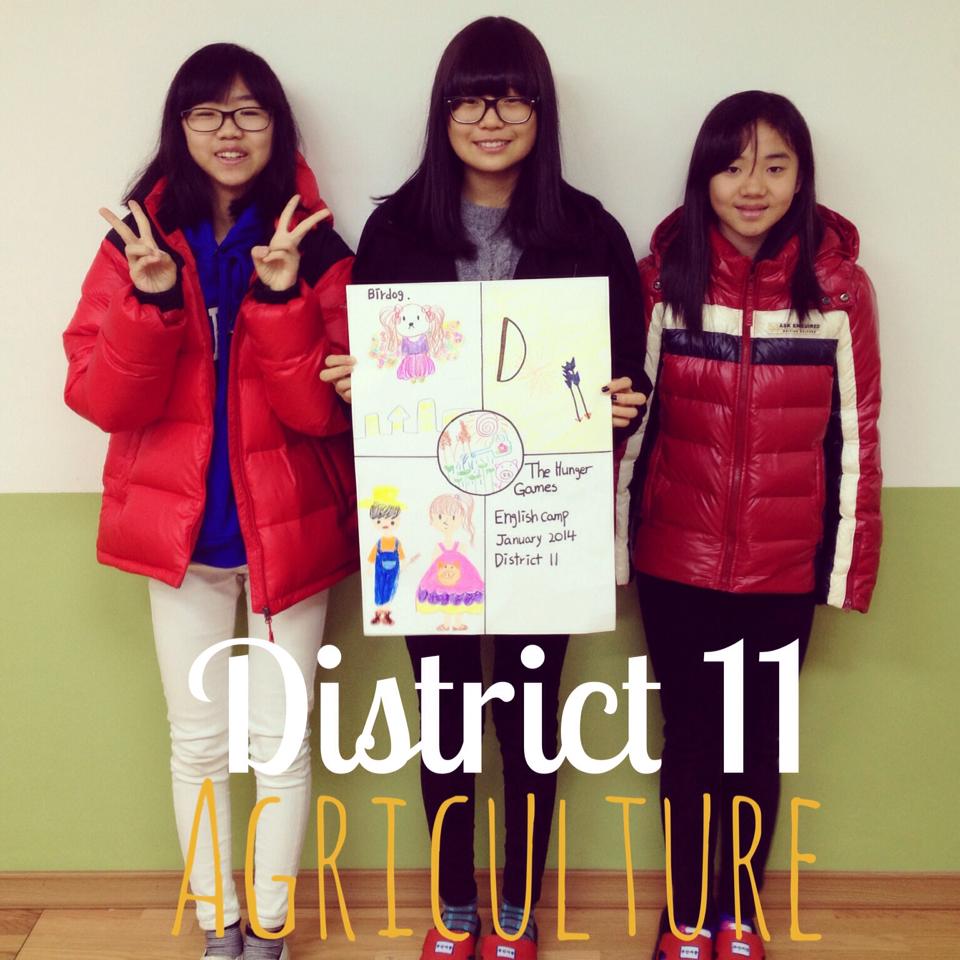
Here are the finished posters:

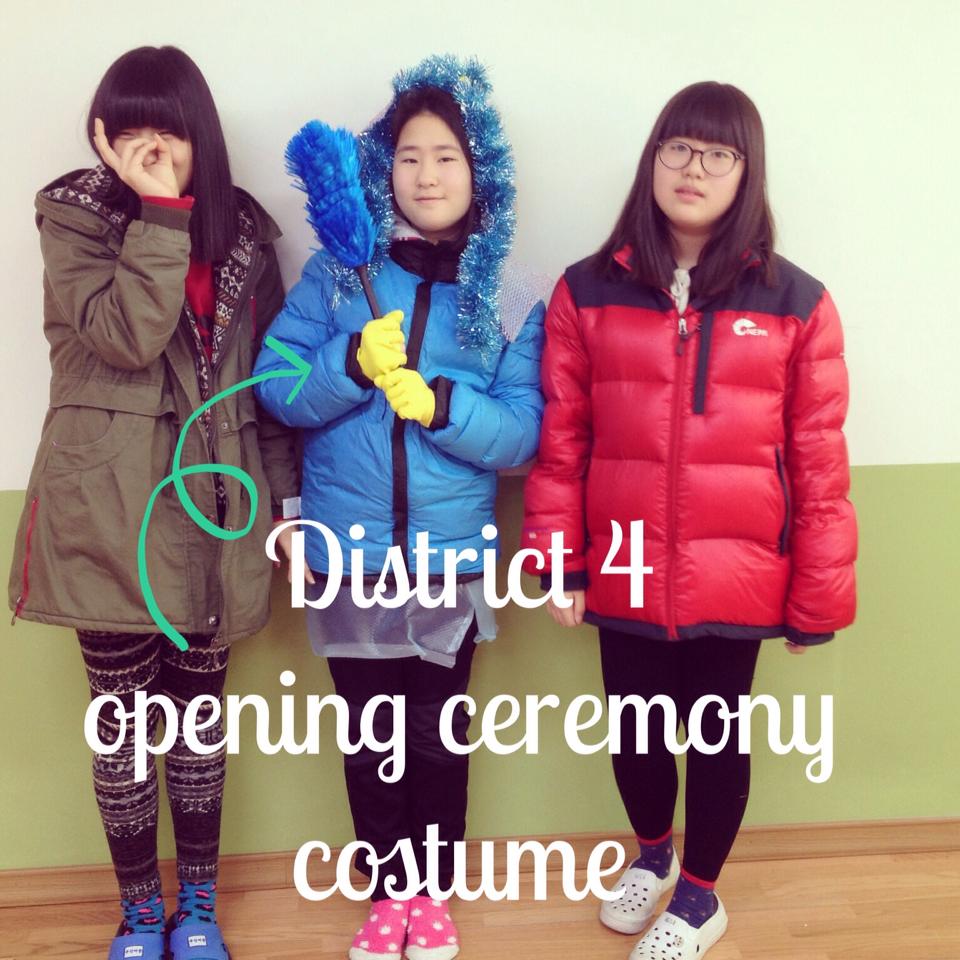
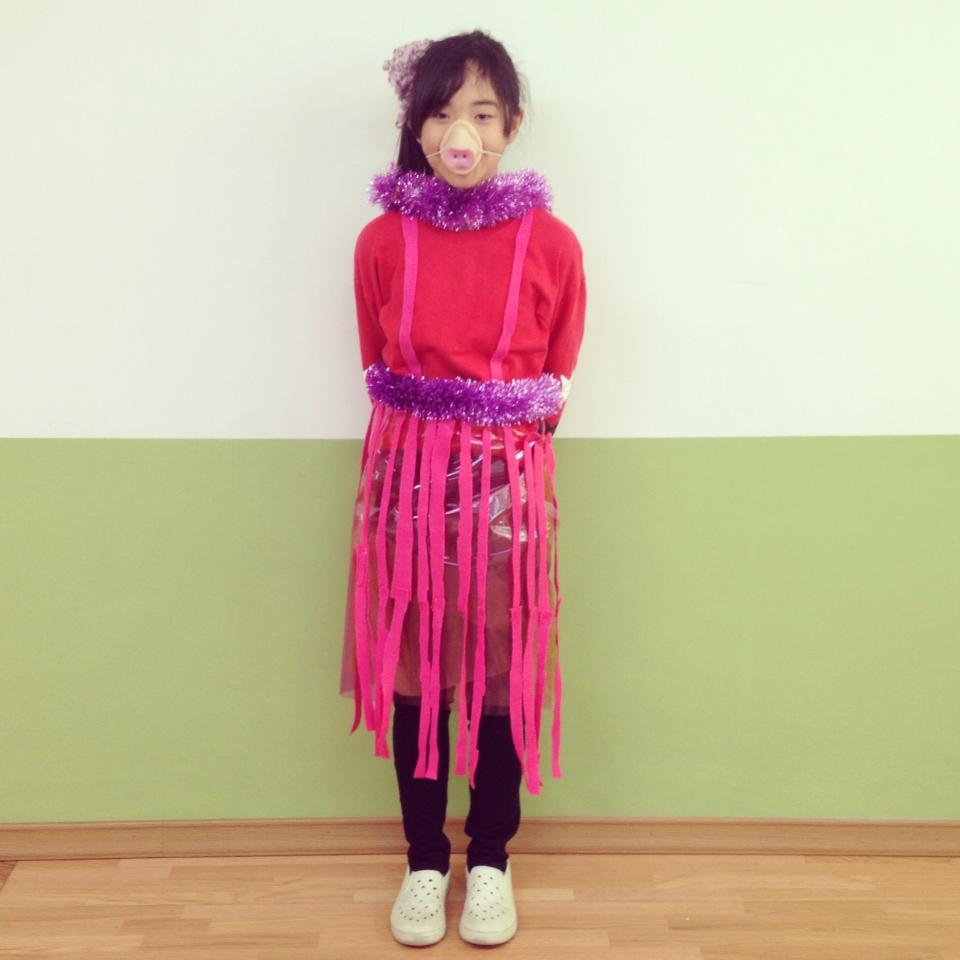
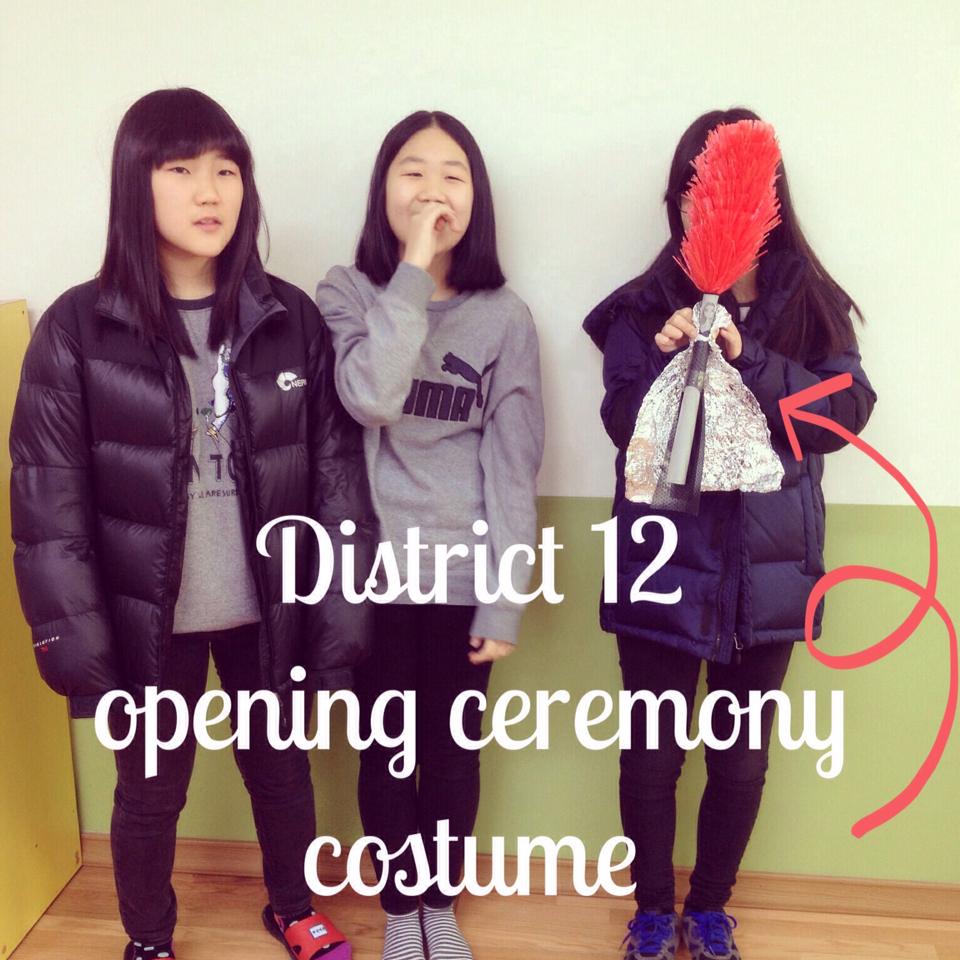
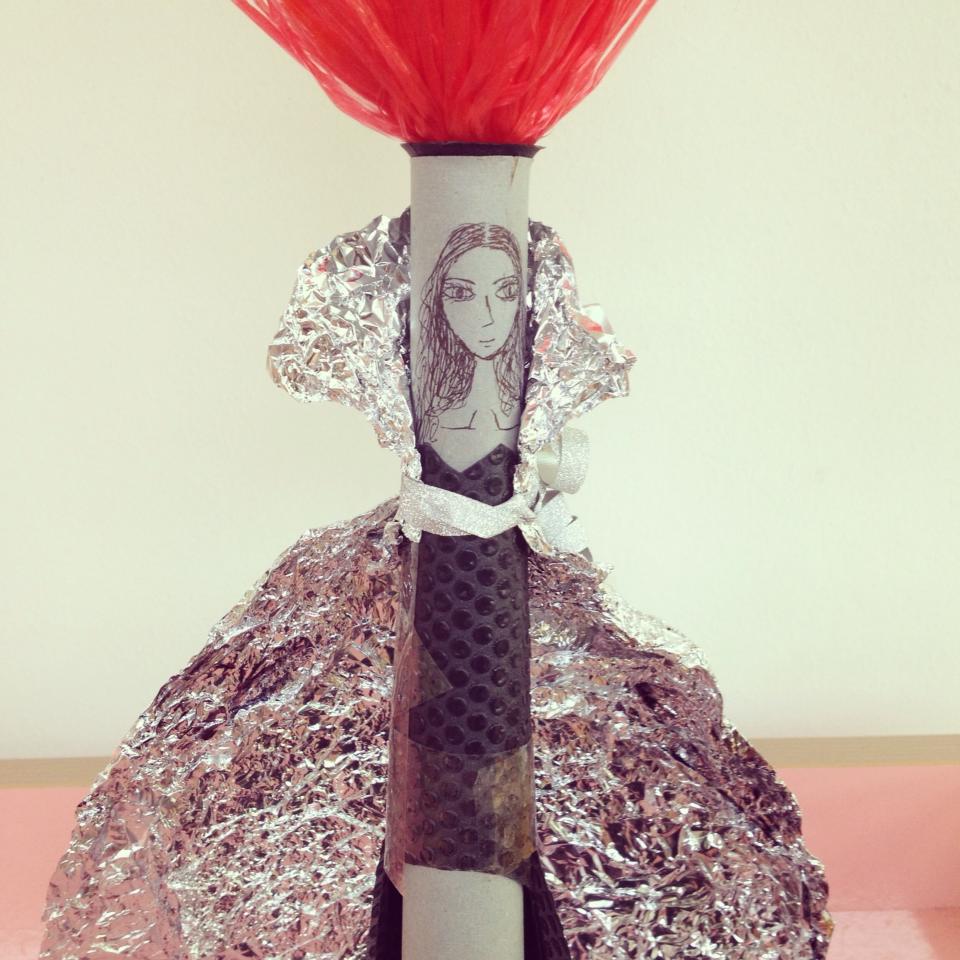
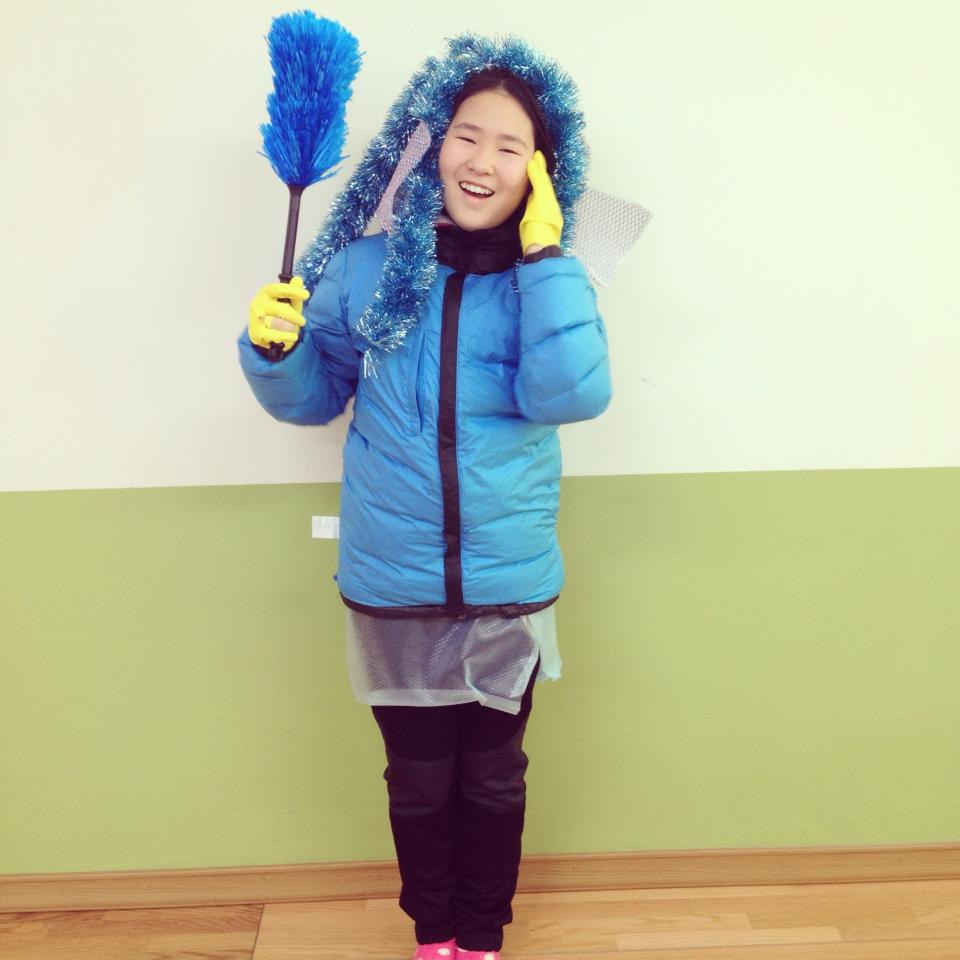
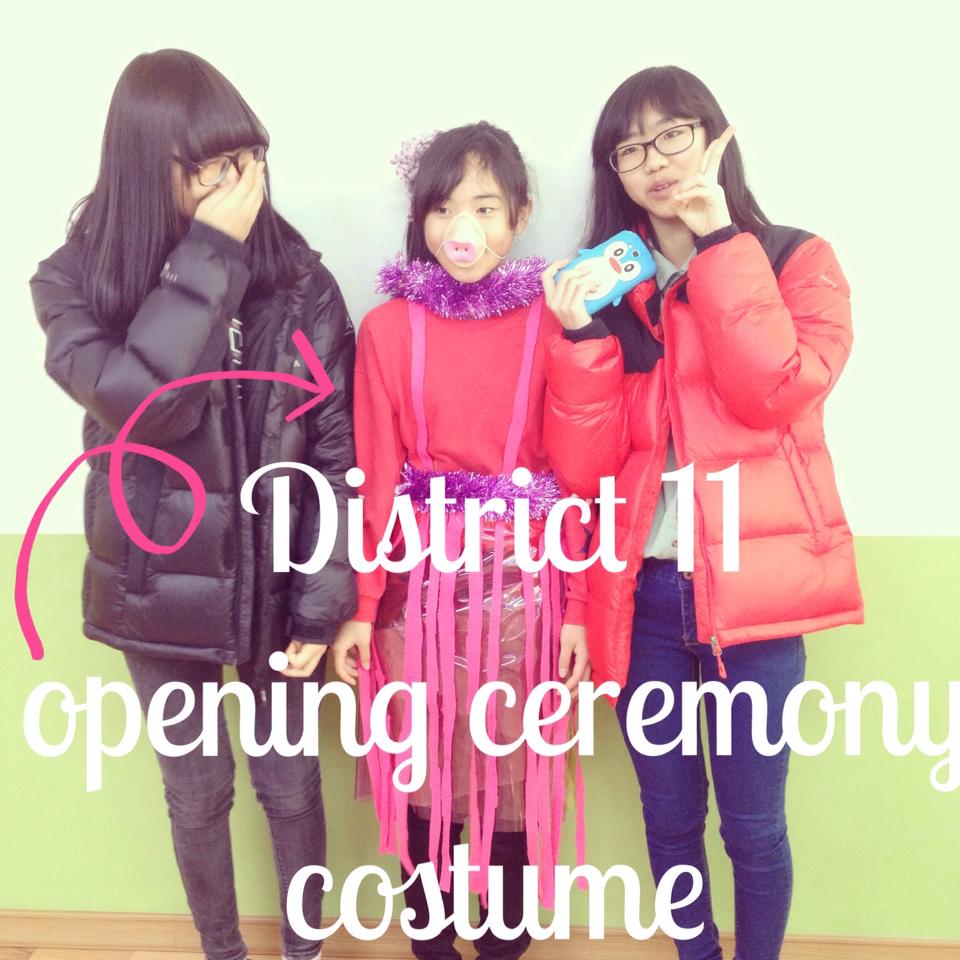
One of the activities my students loved the most was designing the costumes for the Opening Cemerony. I went to my nearest Daiso and bought a whole bunch of random supplies (bubble wrap, tinsel, gloves, ribbon, string, cleaning cloths and sponges etc) an then gave the students free reign to do what they liked. This is what they came up with:

I hope you found this camp idea useful. If you use this idea or have any other great ideas for English camp themes I'd love to hear from you in the comments below.

Happy camp planning!
How to make 'no-cook' play dough in Korea

MakingPlayDoughinKorea.jpg

And it's edible too for little hands that like to eat everything!

I used this activity to teach my students shapes and colours in a more hands on and fun way. It was during an English camp and so we had a whole afternoon for the activity (it takes at least 1 hour for them to actually make the dough and play with it a little so keep that in mind when planning your lesson).

You can buy all sorts of fancy clay in the stores here...but it's nowhere near as fun as actually making it yourself. This recipe is easy, and the kids all did it themselves (no need for boiling water or any fancy ingredients). A lot of edible dough recipes call for Kool-Aid to make your dough smell and taste good, but this is pretty much impossible to get hold of here in Korea. To colour the dough I had ordered a set of food colouring on Gmarket  but they didn't arrive in time, so we used the next best thing, water based paint (although eating the dough with the paint would not be a very good idea so keep an eye on your kids).

This dough will keep for 2 - 3 weeks when kept in a sealed container/ziplock bag. If it starts hardening, simply add more oil and knead until soft.

Here is a photograph of most of the ingredients with their Korean branding (except salt which my teachers found in the Science calssroom).

Here is a photograph of most of the ingredients with their Korean branding (except salt which my teachers found in the Science calssroom).

Ingredients

cold water (1/4 cup per batch/child)

flour (1 cup per batch/child)

oil (1 tablespoon per batch/child)

salt (1 tablespoon per batch/child...use ground salt instead of course salt. The salt is used to help preserve the dough)

a few drops of colour (food colouring or a water based paint)

*make sure to have big enough bowls for each student too!

photo 5.JPG

Method

1. Combine flour and salt.

2. Add water & oil. Mix until combined (knead well, you might need to help little hands as they will get tired quickly).

3. Add food colouring/paint and knead well until combined.

If mixture is too wet, add more flour. If mixture is too dry, add more oil

photo 1.JPG
photo 2.JPG

I then called out a shape and the students had to 'create' it with their dough. You will be suprised at just how creative the can be. 

Happy playing!

x