

A beginners guide to Blog Photography & Styling - What you need to get started
/ Roxy Hutton
I've been blogging for about 6 years now, and I do so because I genuinely love providing free, useful content for people. This blog is not a diary showcasing my life but rather I hope that it is a platform for you to learn new things (like my blogging tips, travel guides and posts about owning a dog in Korea) as well as a place to be inspired (by my travel posts, recipes and my photography).
One thing that I have learned from all these years of tapping away at my keyboard is that the images on your blog can make or break your brand.
These days technology has advanced so much, there really is no excuse for anyone to have poor quality images on their blog. This doesn't mean you have to own the fanciest camera on the market, your cellphone/ipad/tablet will work just fine. In this post I'm going to be sharing with you what I use to style & take photographs for my blog.
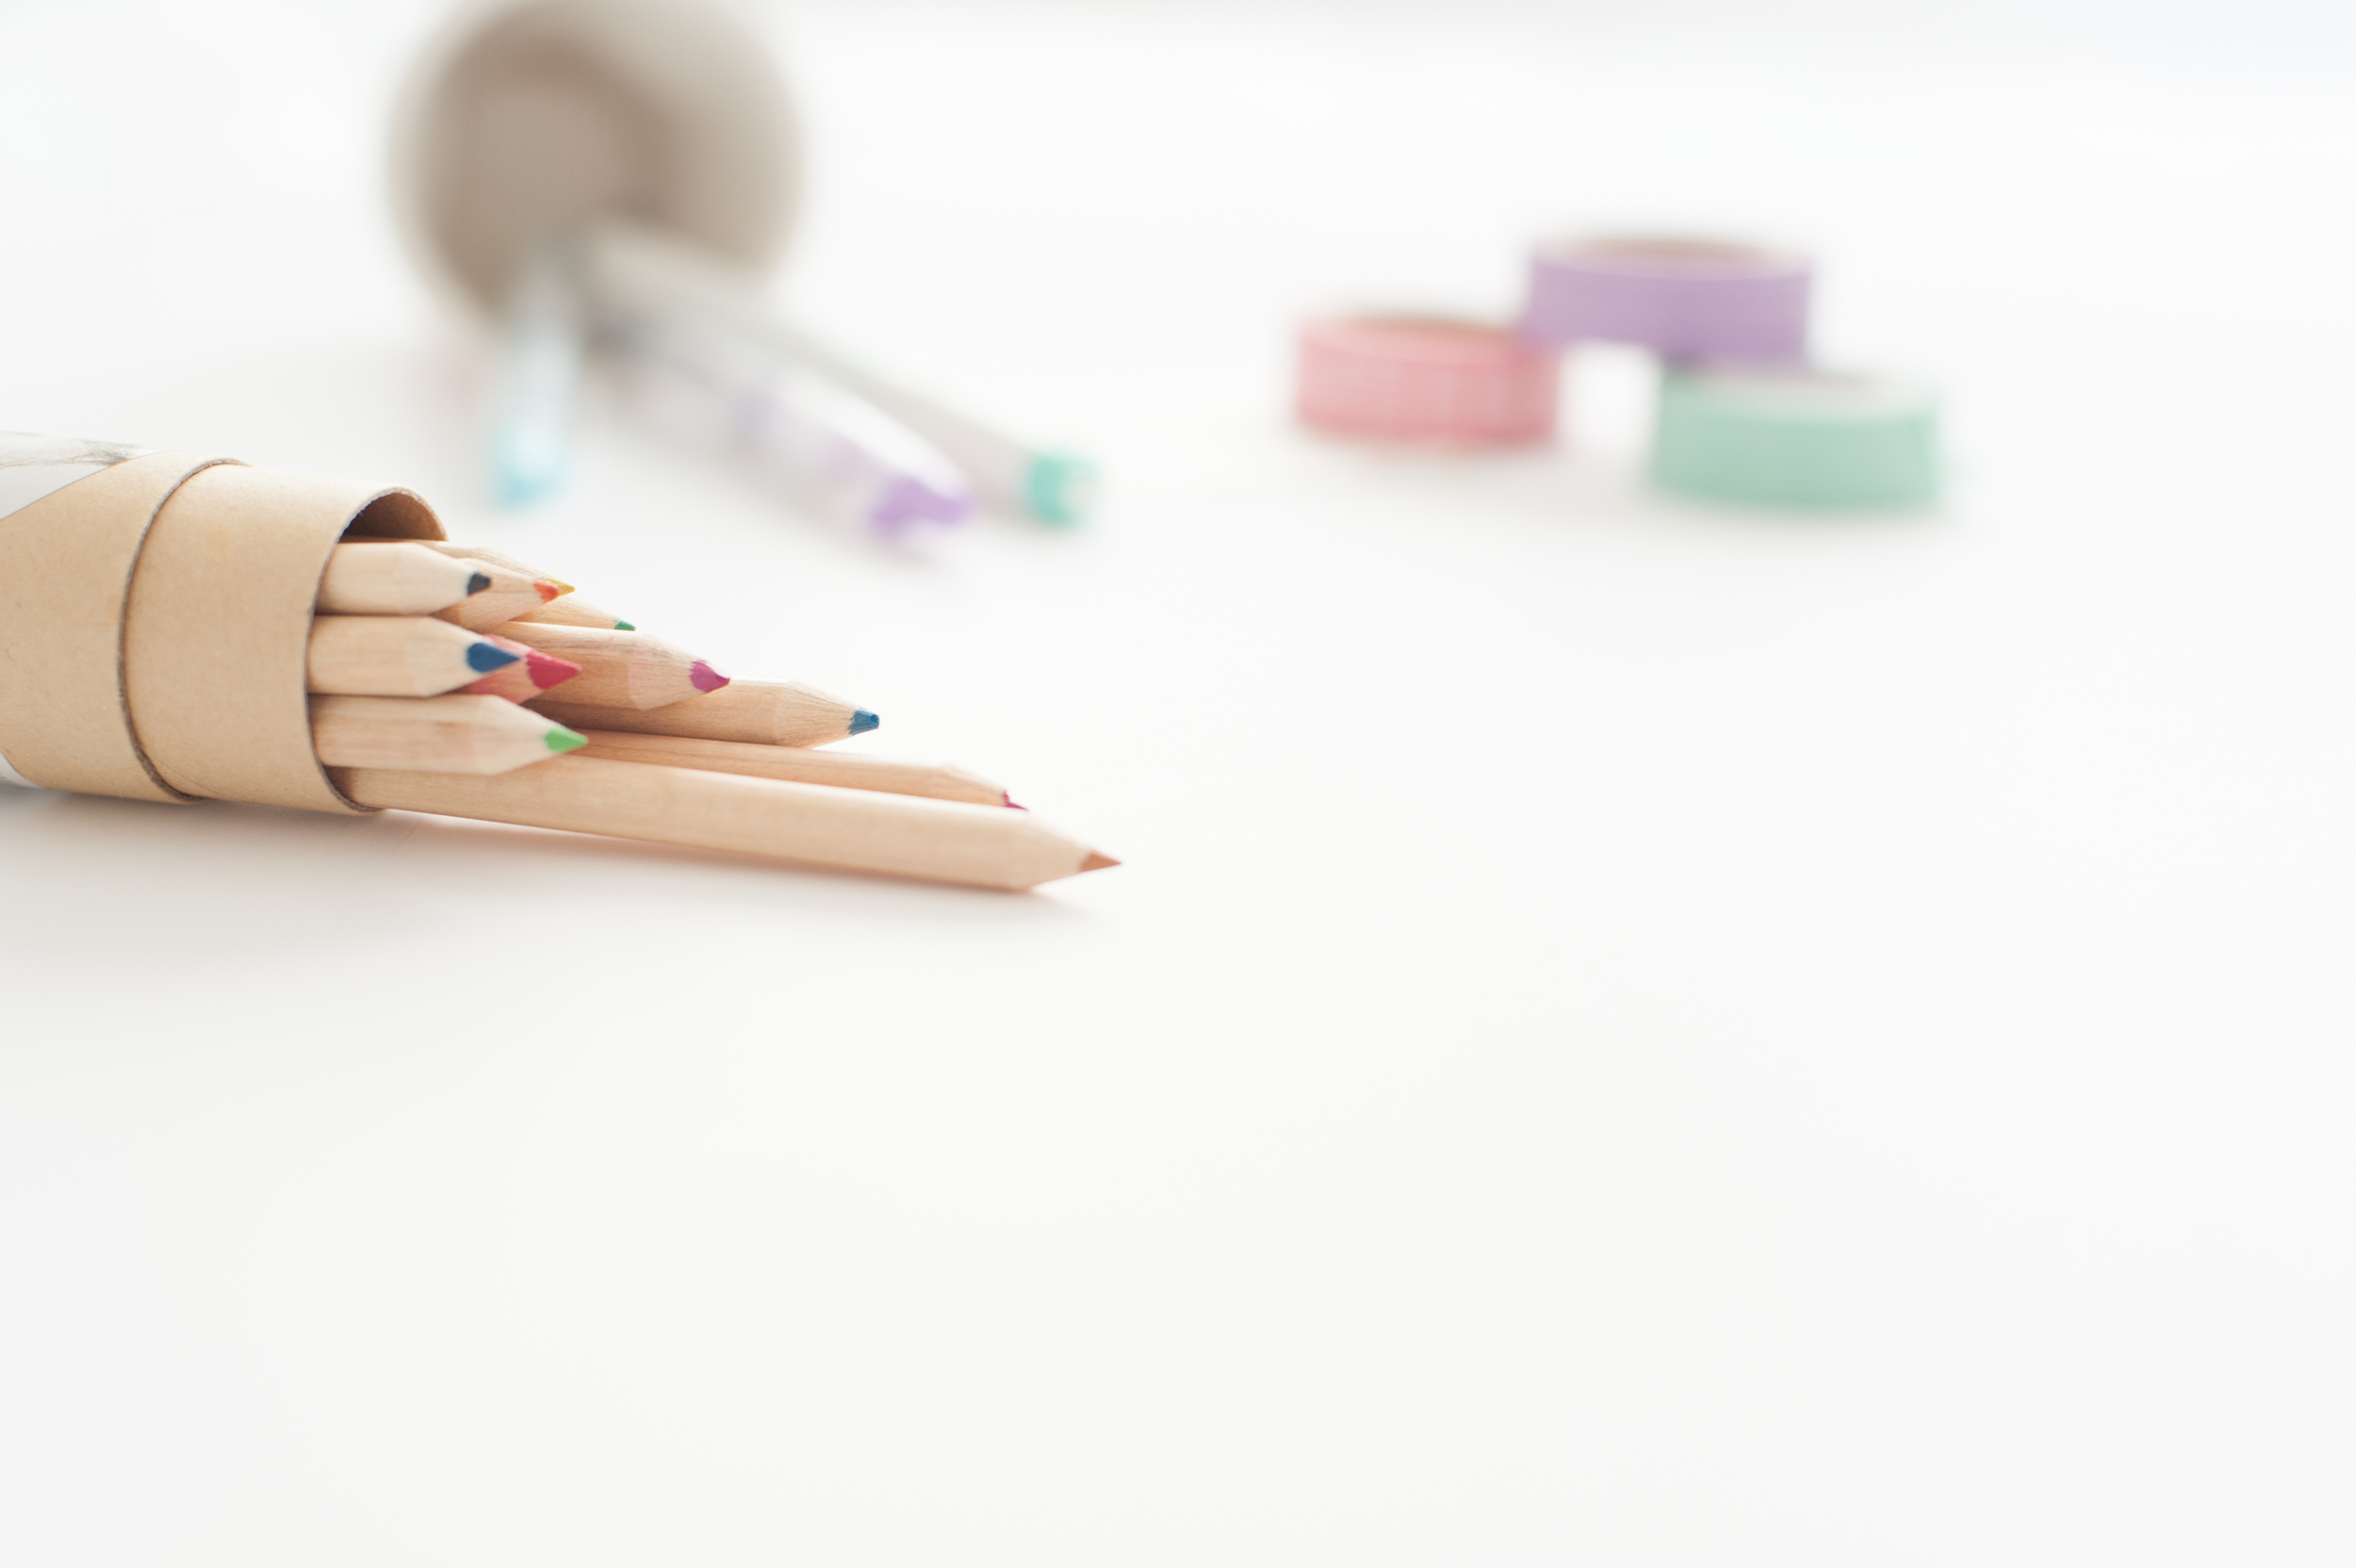
This is a list of what I use to style & take photographs for my blog.
Camera
White background
Props
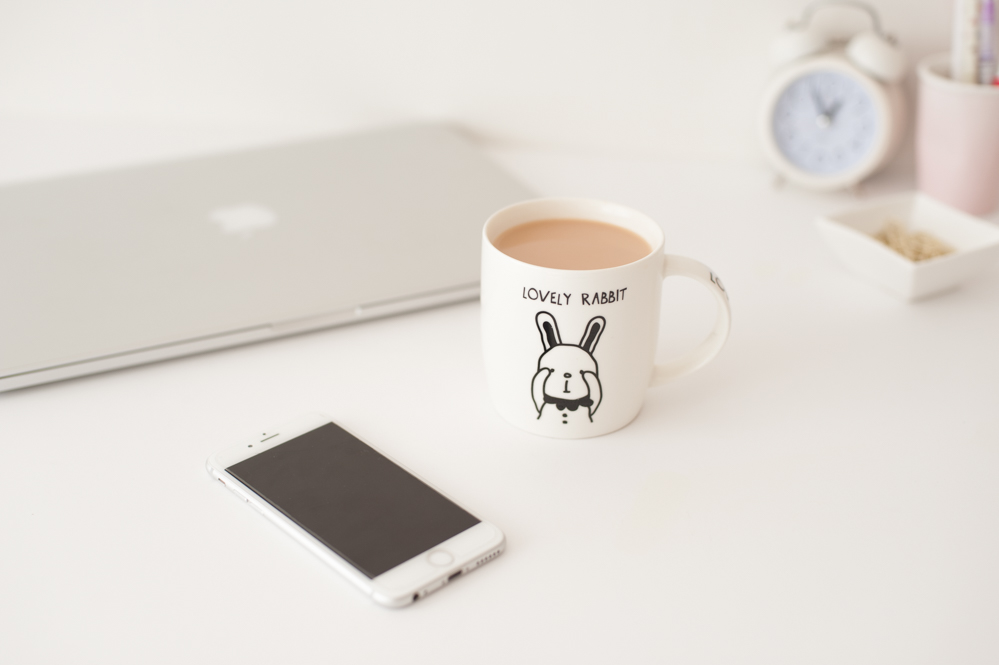
1. Camera (of some kind)
When I first started blogging I used Farmboy's little old Nikon D40 DSLR camera. The photographs I was taking at the time were basic, *heavily* edited with lots of contrast and bright pops of colour here there and everywhere. I then moved onto a little Canon point and shoot. Then, once I started really enjoying taking photographs (and after blogging regularly for about 6 months) I moved onto a family members old Canon DSLR. The point I'm trying to make here is that it doesn't matter what camera you have, it's more about what you do with it. Don't get caught up in the 'I-need-all-the-fancy-things-right-now-to-have-the-perfect-blog' mindset. Make do with what you have right now, and later upgrade if you feel like blogging is something you want to continue doing. These days, I use my phone to take 95% of photographs I share on Instagram & Facebook. I only use my DSLR for blog posts if I have a good couple of hours to spare and I am styling photographs for a particular blog post.
When I am out and about I try and photograph (with both my camera but especially my phone) things that can be used in blog posts later on. For example, flowers, a cup of coffee, an interesting door/building. This means I have a 'library' of possible images to use for future blog posts, rather than having to create new ones every time. These photographs also work really well to use for creatine quote graphics. Simply use an app (like Studio) or a free online photo editing site like PicMonkey to create your own (copyright free!) blog stock photographs.
For my blog I like to have 1 feature image that goes at the top of each post. I write a lot of posts on blogging, but I use all the photographs I took from one afternoon of styling for those blog posts. When I do set the time aside to style photographs I try and 'create' as many different shots as I can so I can use the photographs in different ways later on. This simply means moving my props slightly, changing the angle of my camera, and physically moving myself around the room to capture different heights and angles.

2. Backdrop: White Paper/Foam Board
This has made the biggest difference for me when it comes to my blog photographs. I went down to my nearest stationery store and bought a big piece of foam board for about W4 000 (+-$4). I've had to buy a few over the last year as they get dirty so quickly, but it's such an inexpensive way of making your photographs looks professional. Using a white background will make your content pop, and, will make your life easier when it comes to adding text to your photos later on.
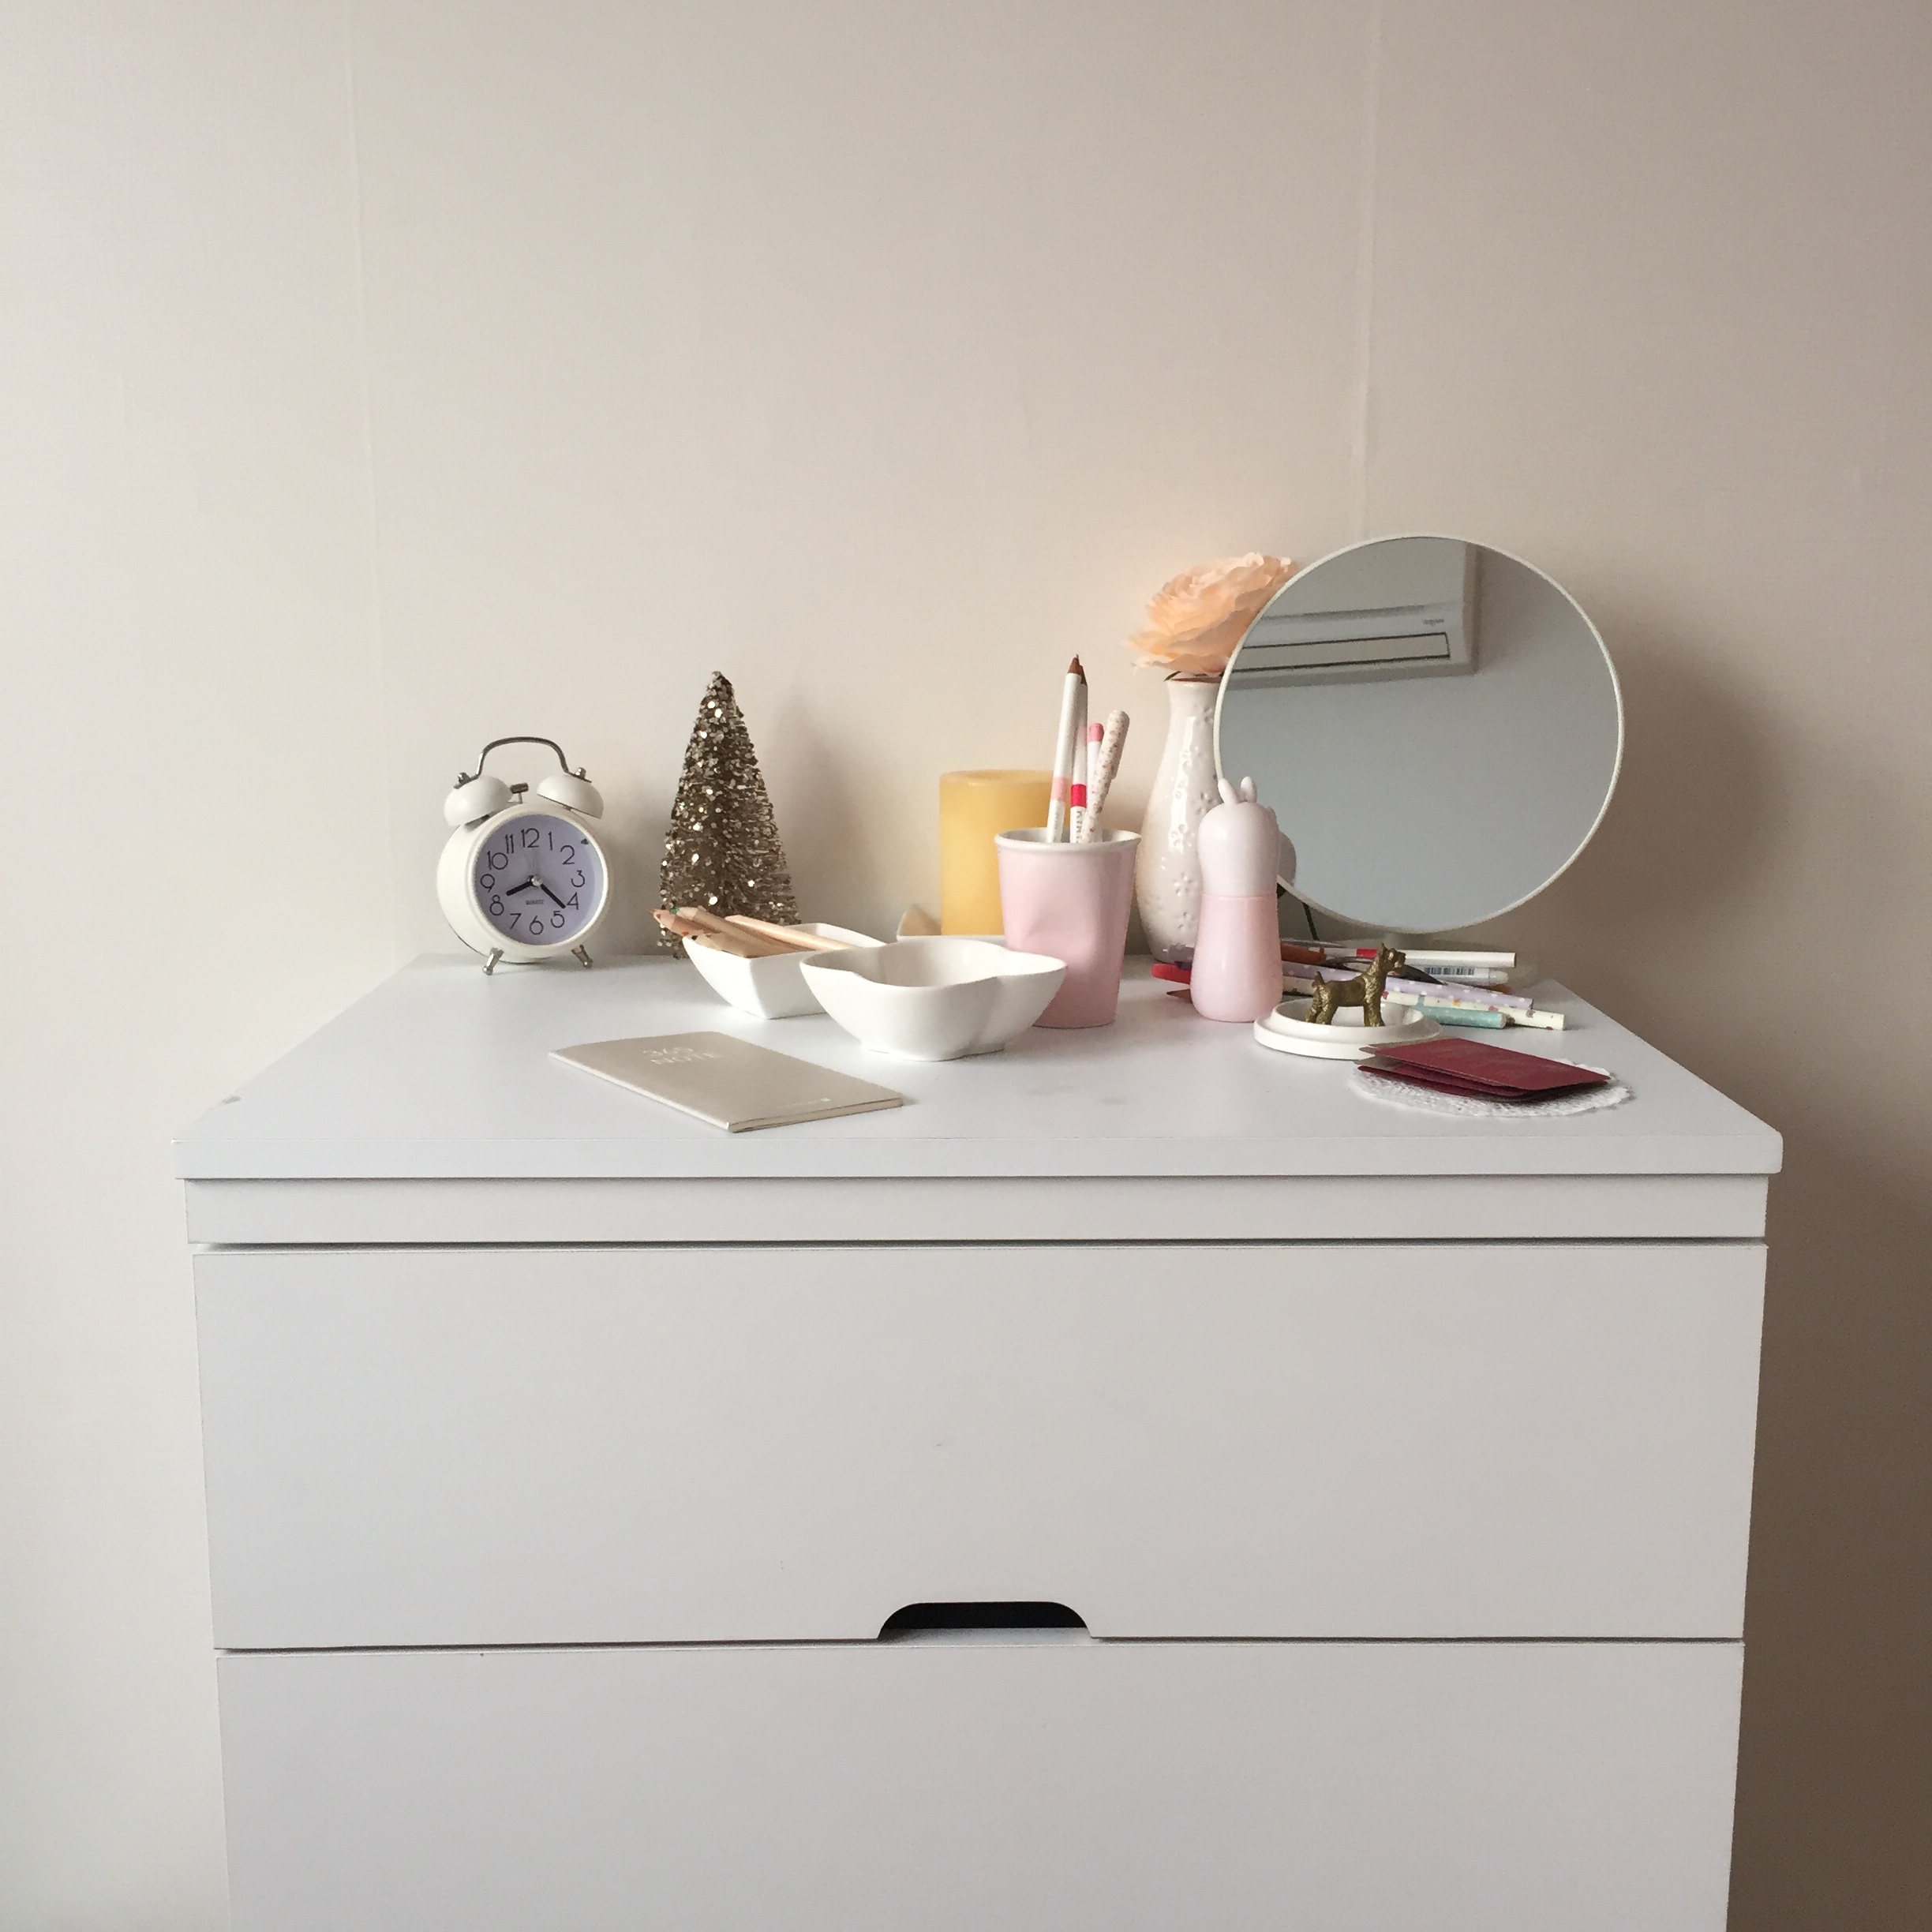

A plain wall/space to take full length shots. We re-wallpapered our apartment here in Korea and I choose a plain, cream coloured shade of paper for the entire house. You don't have to re-wallpaper your entire house though, you can get a really big roll of white/coloured paper that you could use as a backdrop. I also found a second hand white chest of drawers (pictured above) which I use to take a lot of my styled photos.
Bear in mind that what you are photographing will determine what kind of background you want to use. I do a lot of beauty & makeup reviews, and so having a plain white background means the product that I am reviewing gets the full attention in the shot. What background/backdrop you choose will also be determined by your own style. I like lots of clean, light photographs with muted colours. If your brand has a lot of bright colours then why not use a bright background for your blog posts.
*ProTip
One tip I'd like to offer is to try and keep your blog image style the same or at least very similar. This helps to keep your branding cohesive and makes your blog look professional. I keep the categories for my blog photographs the same.
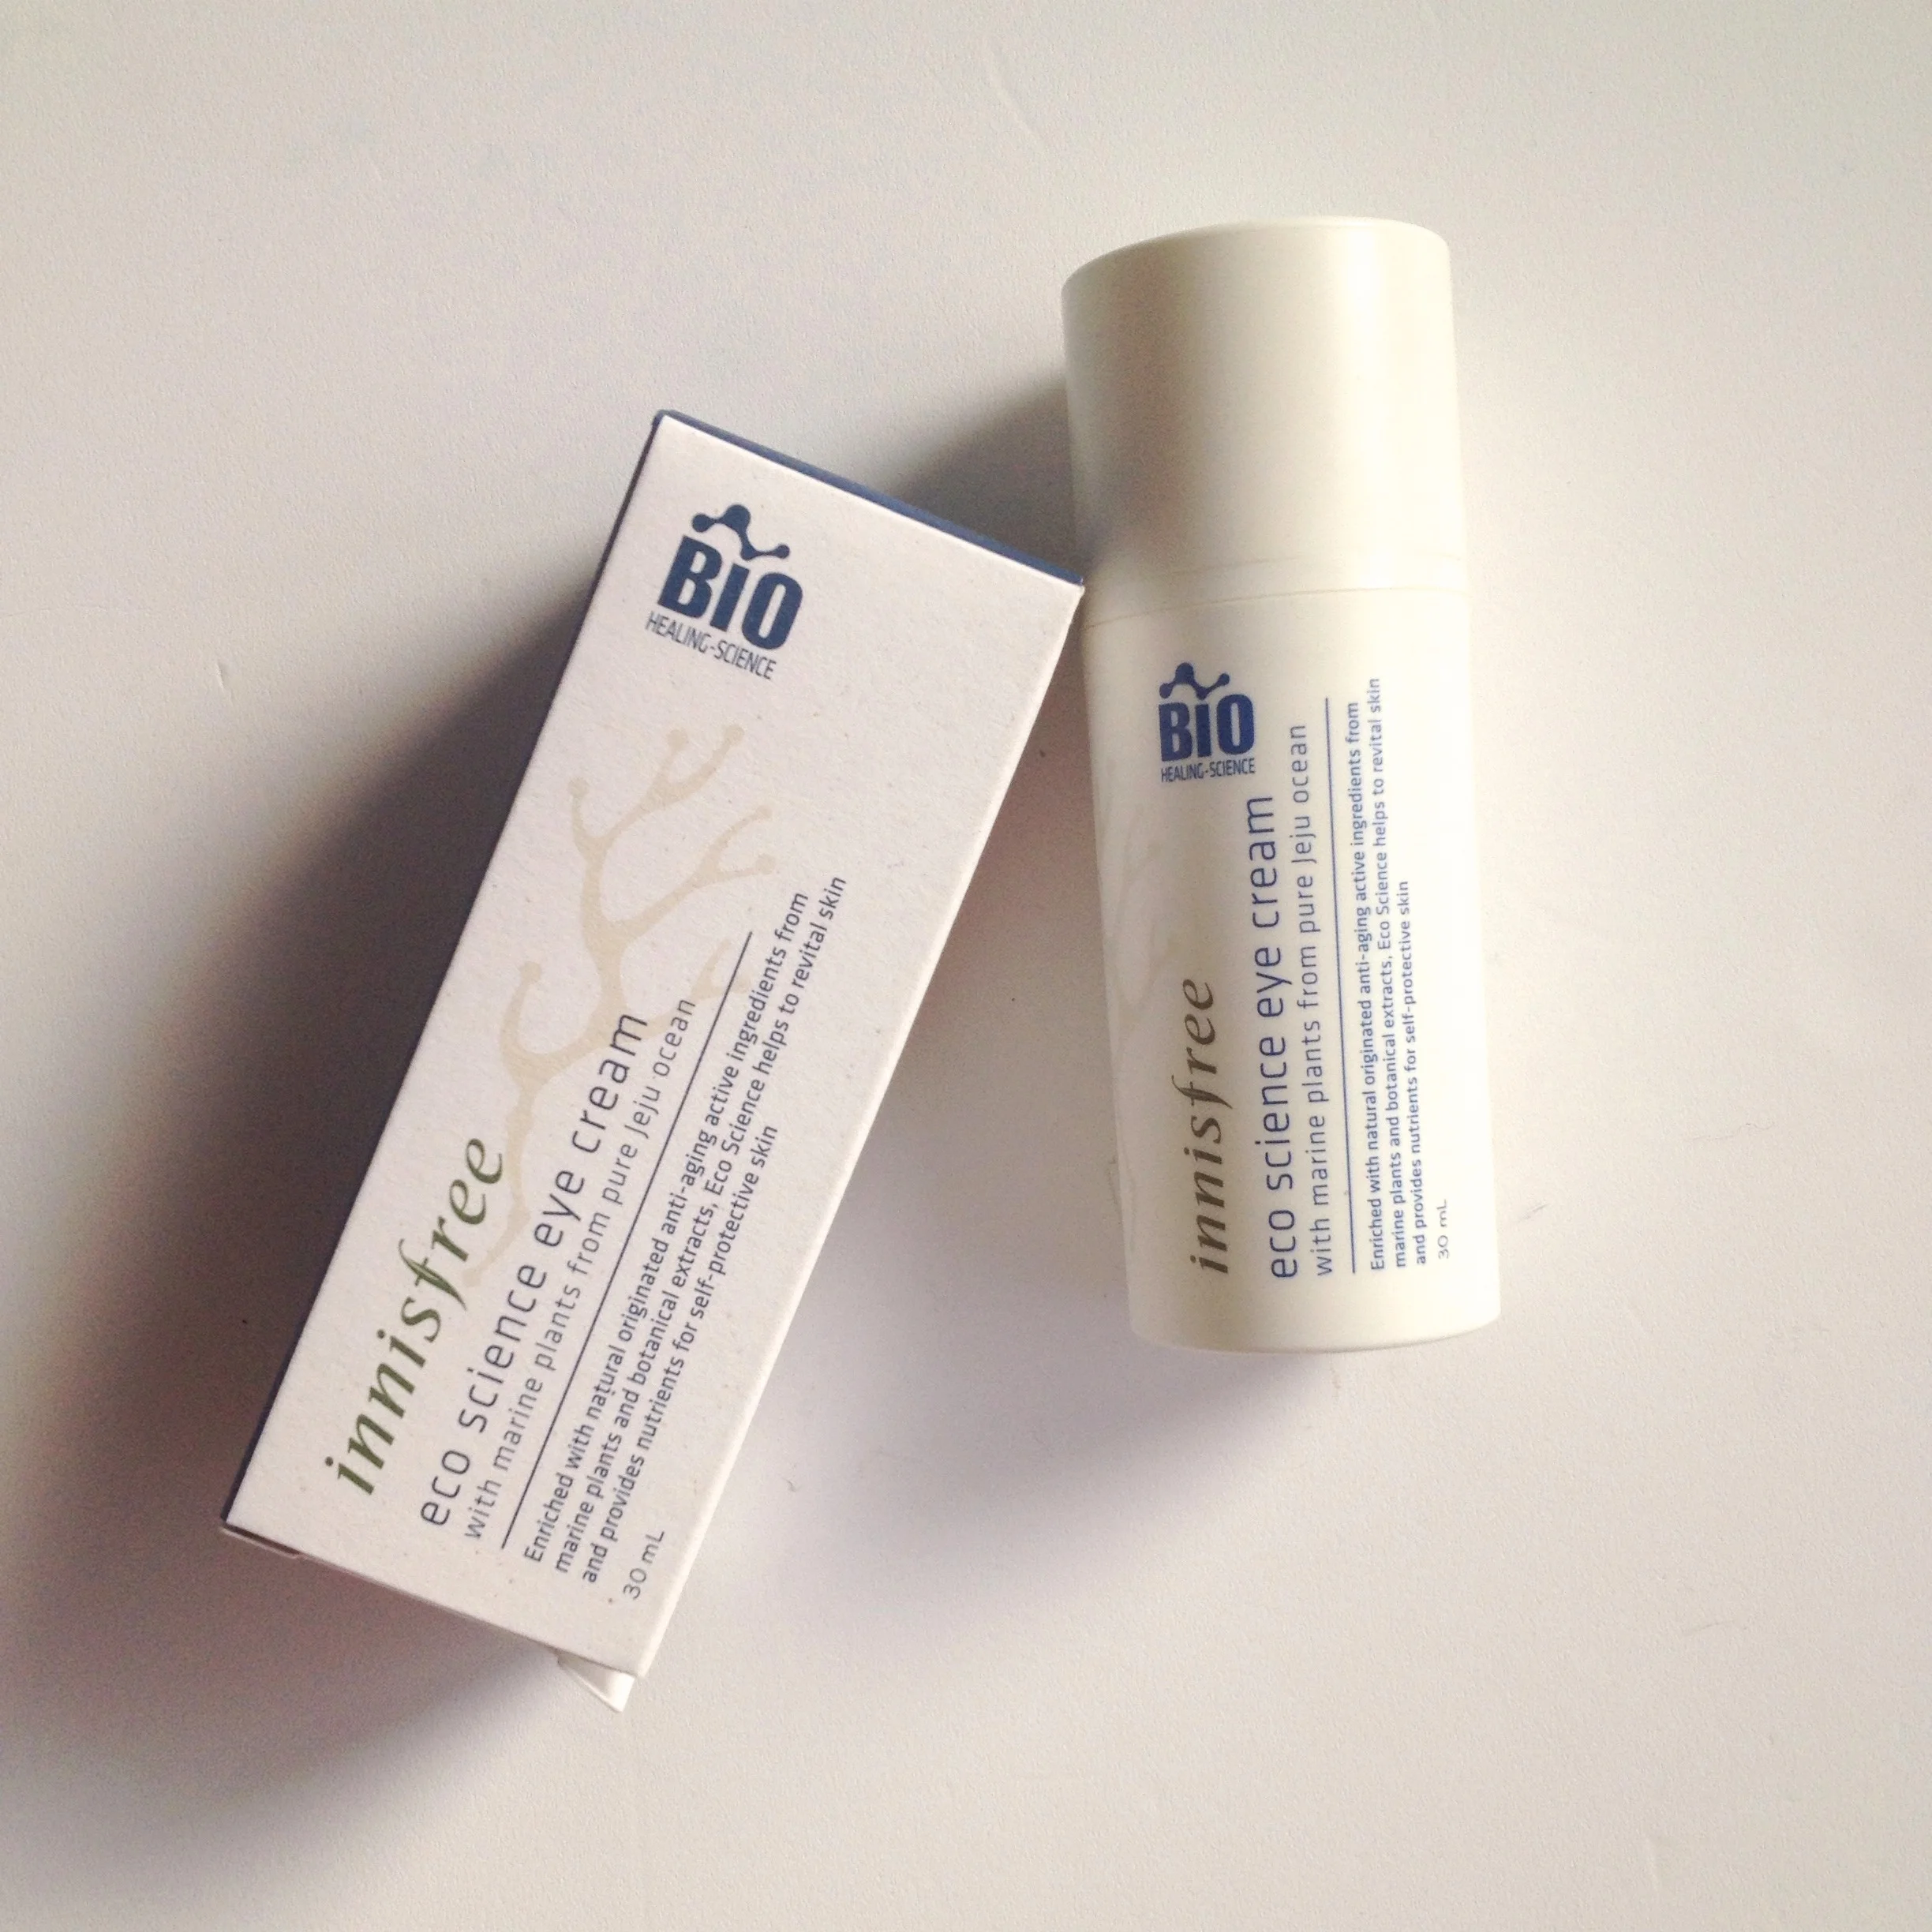
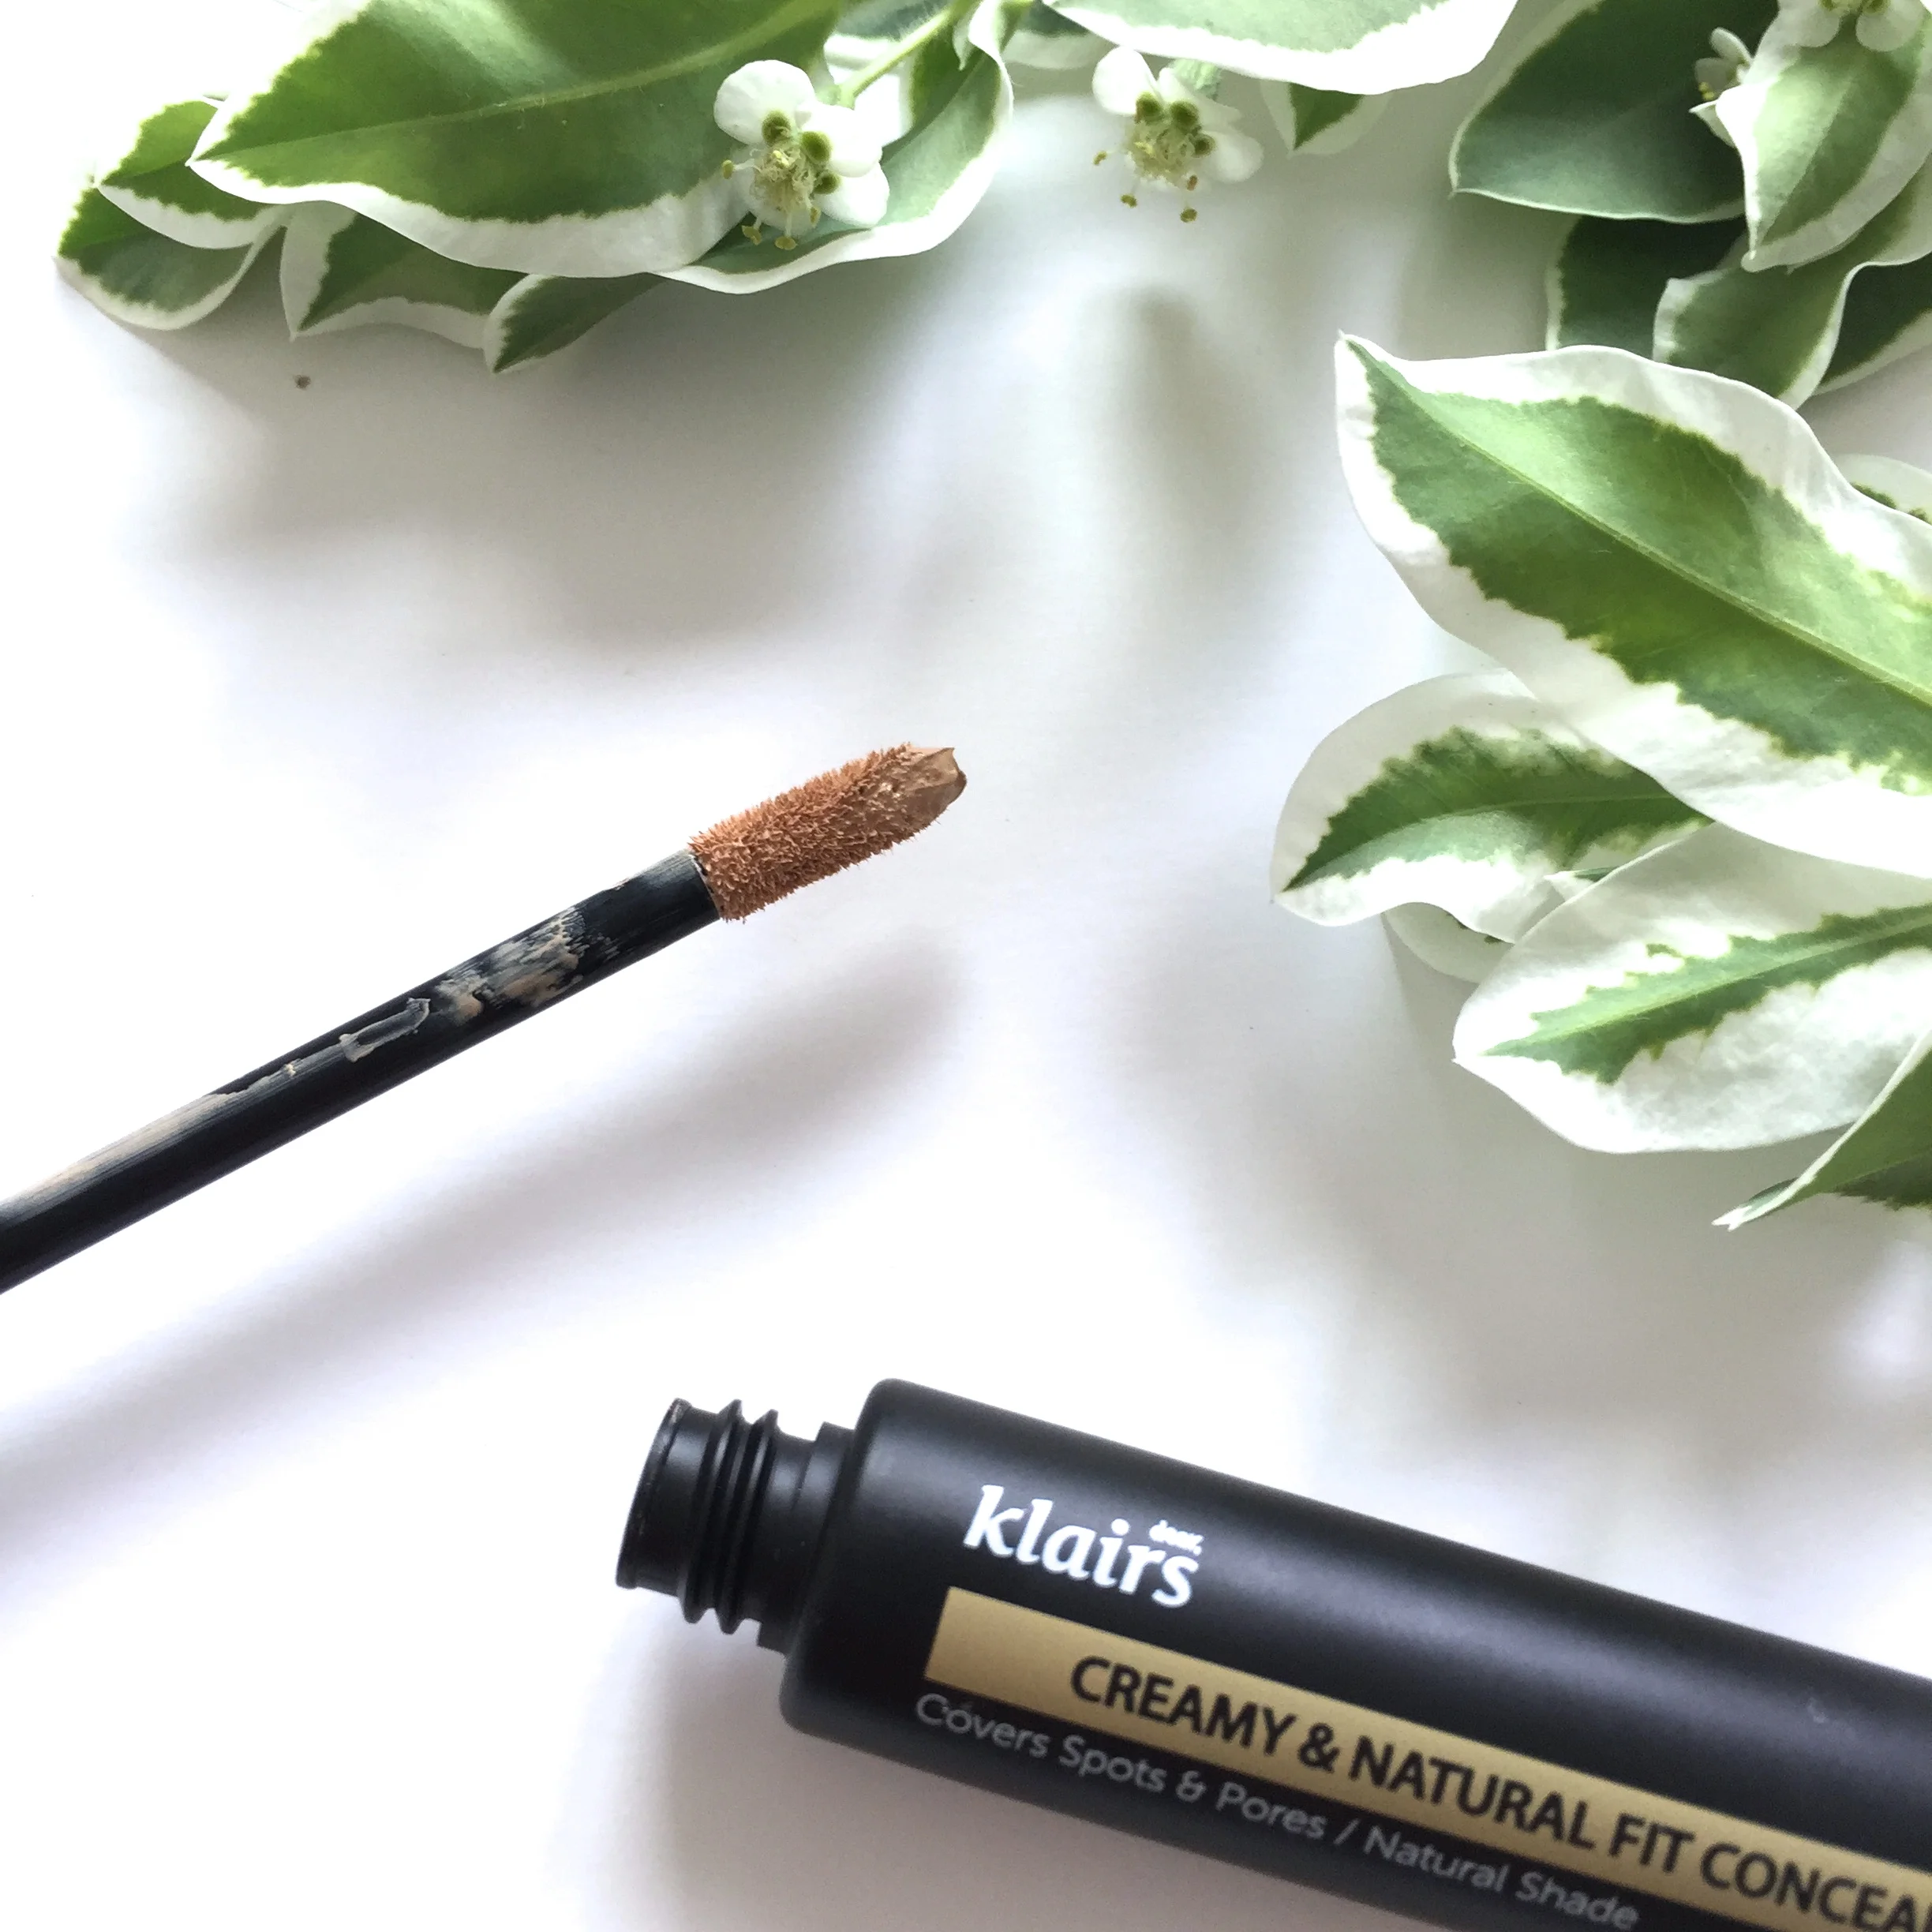
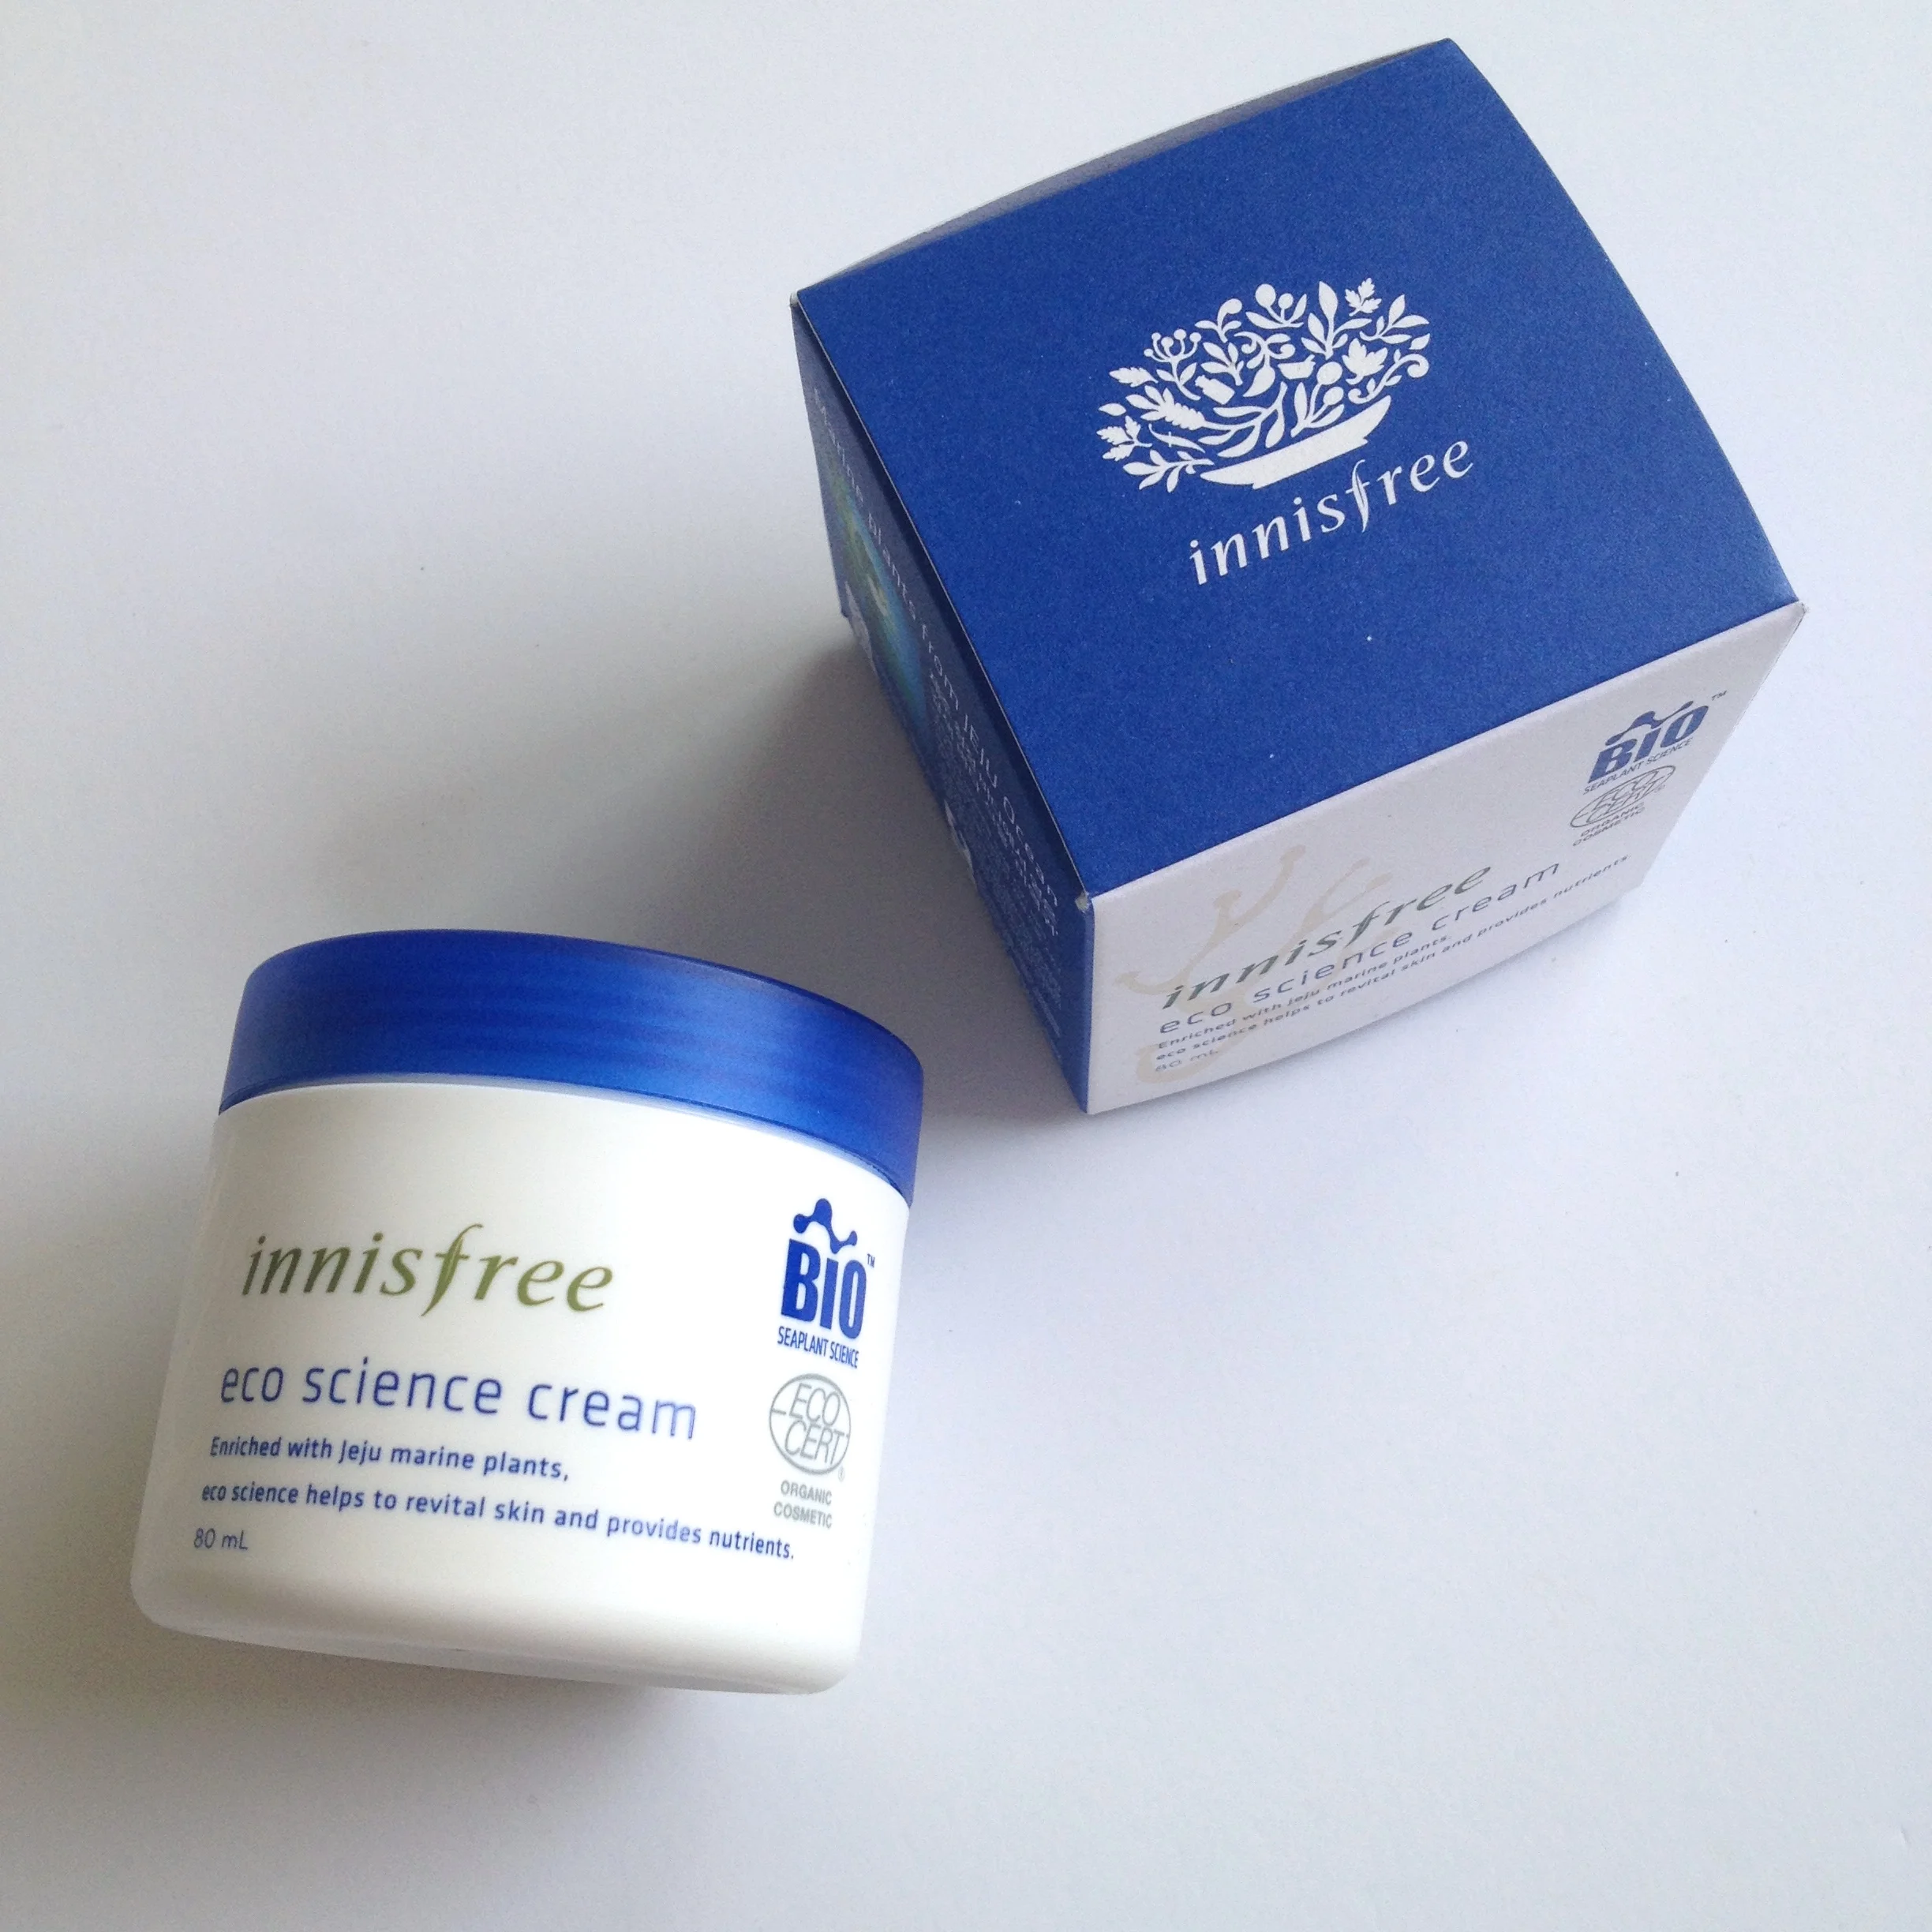
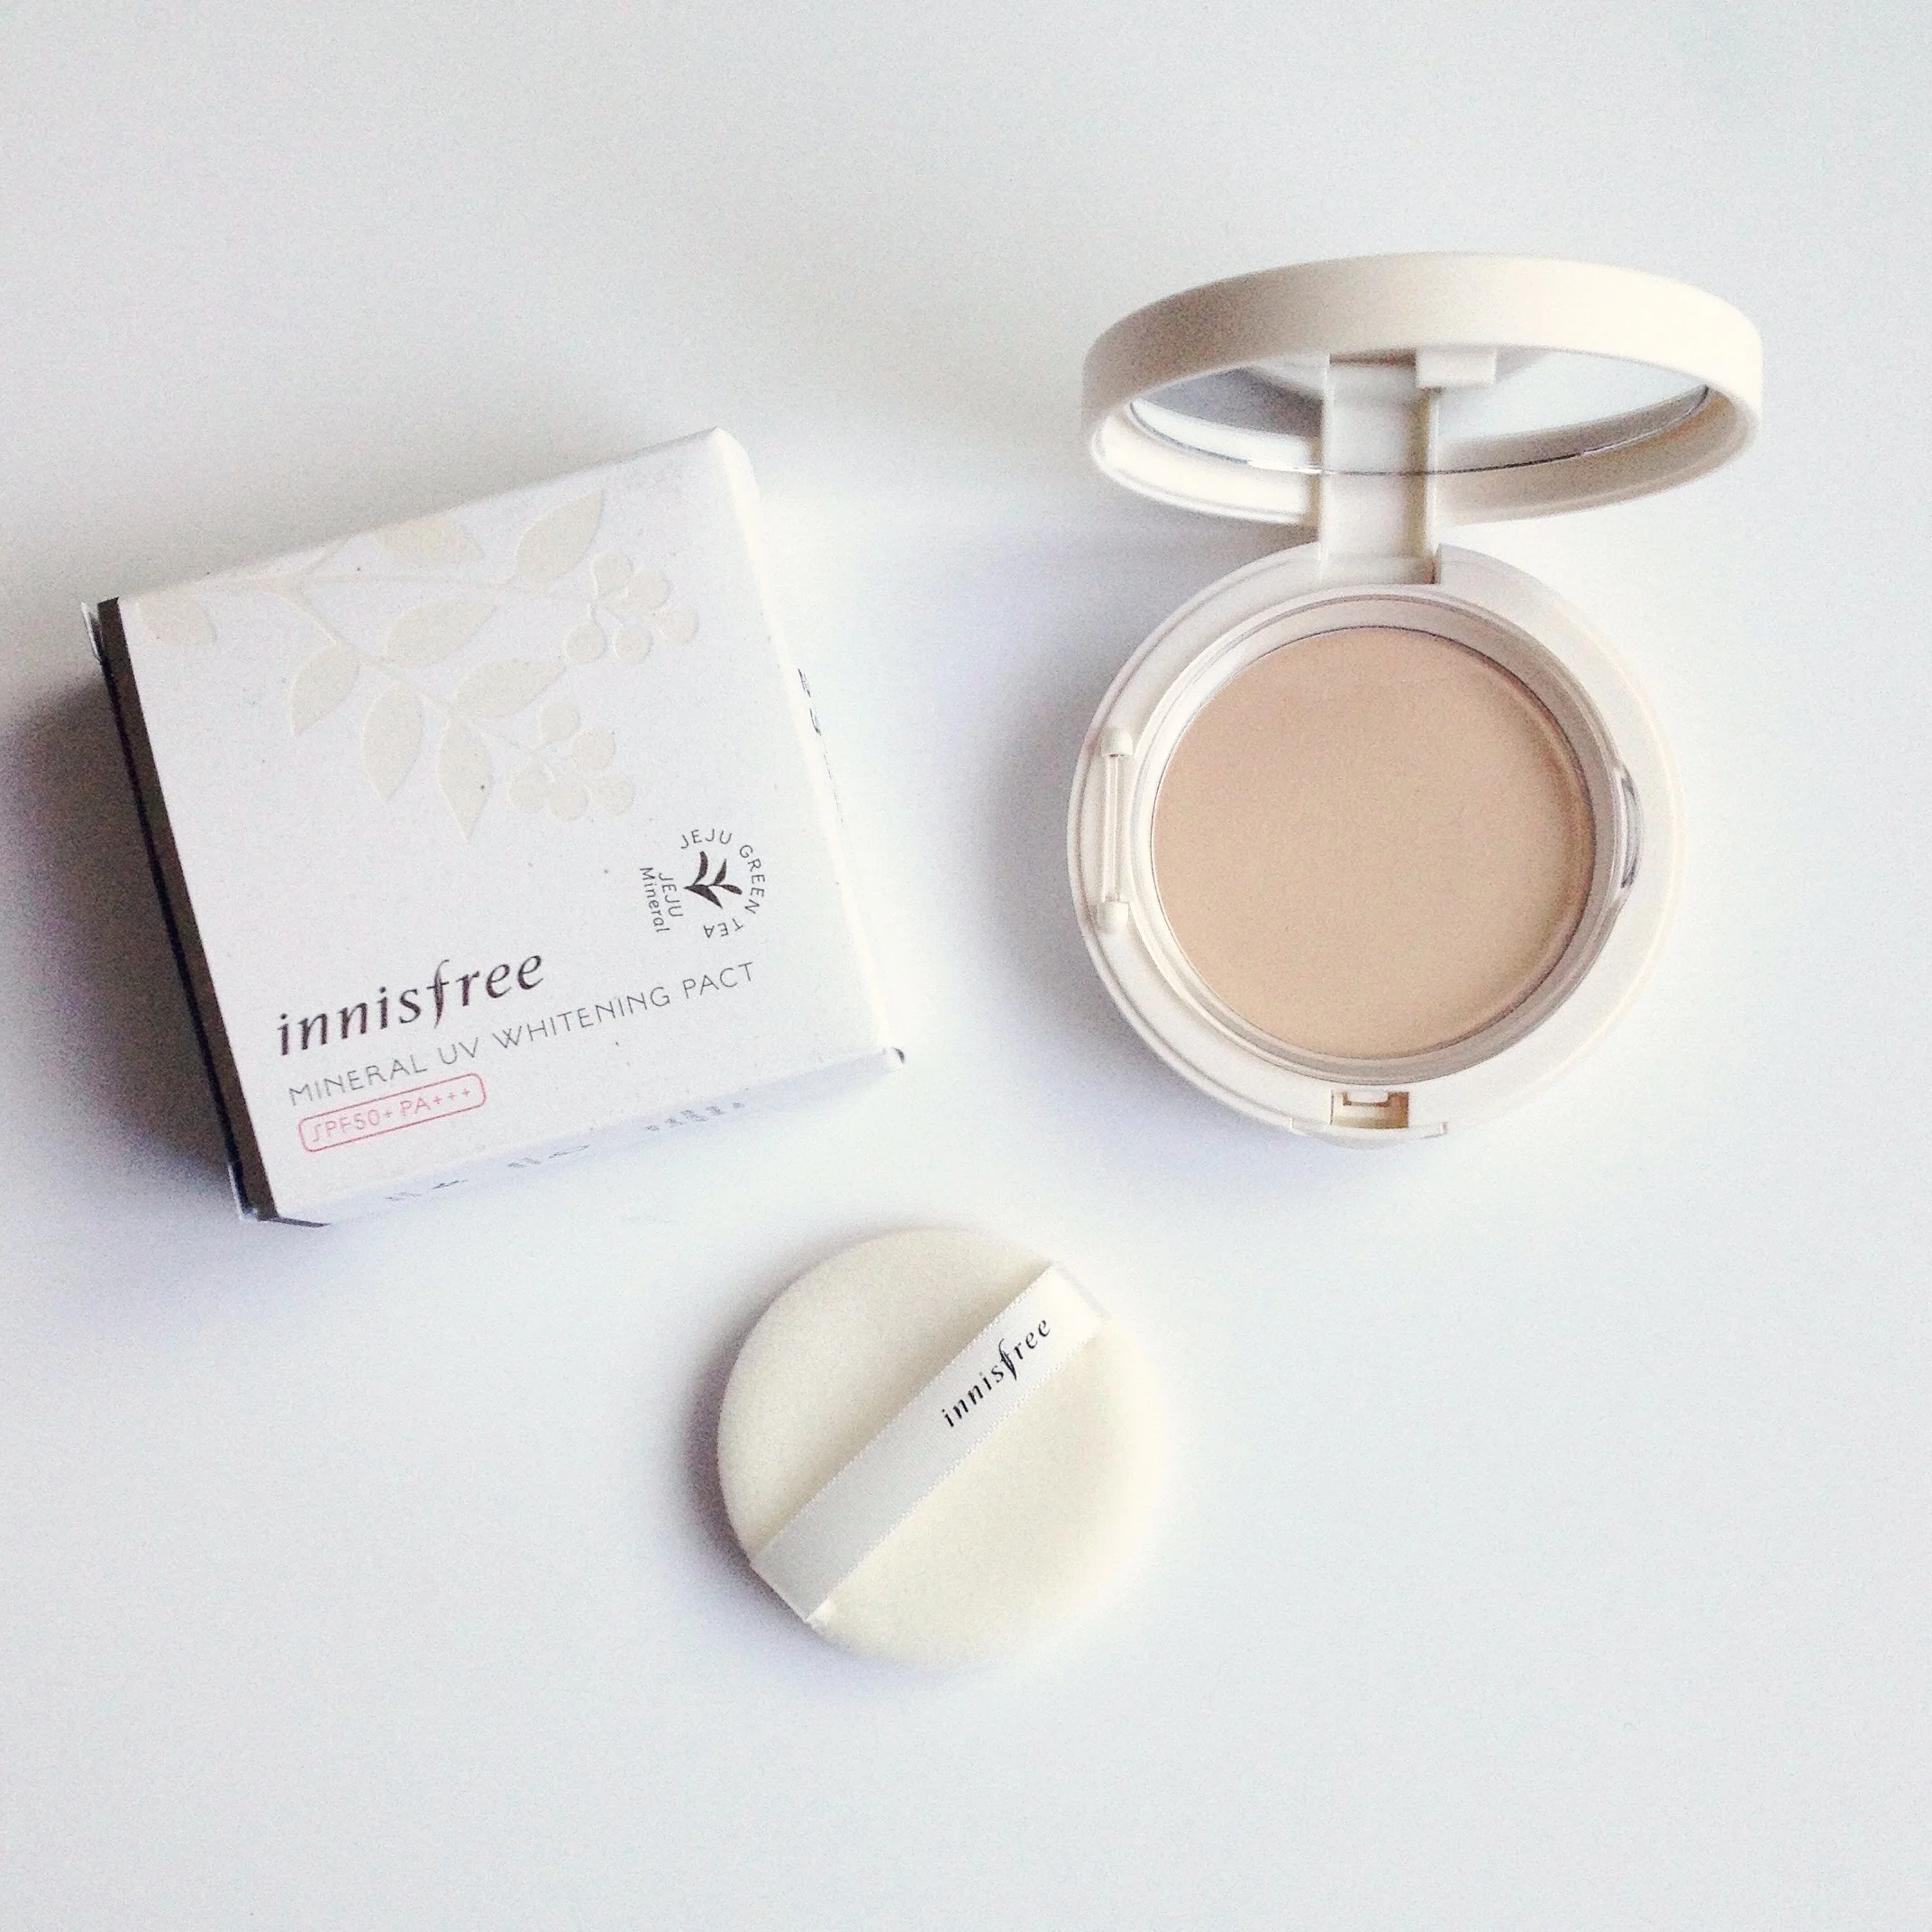
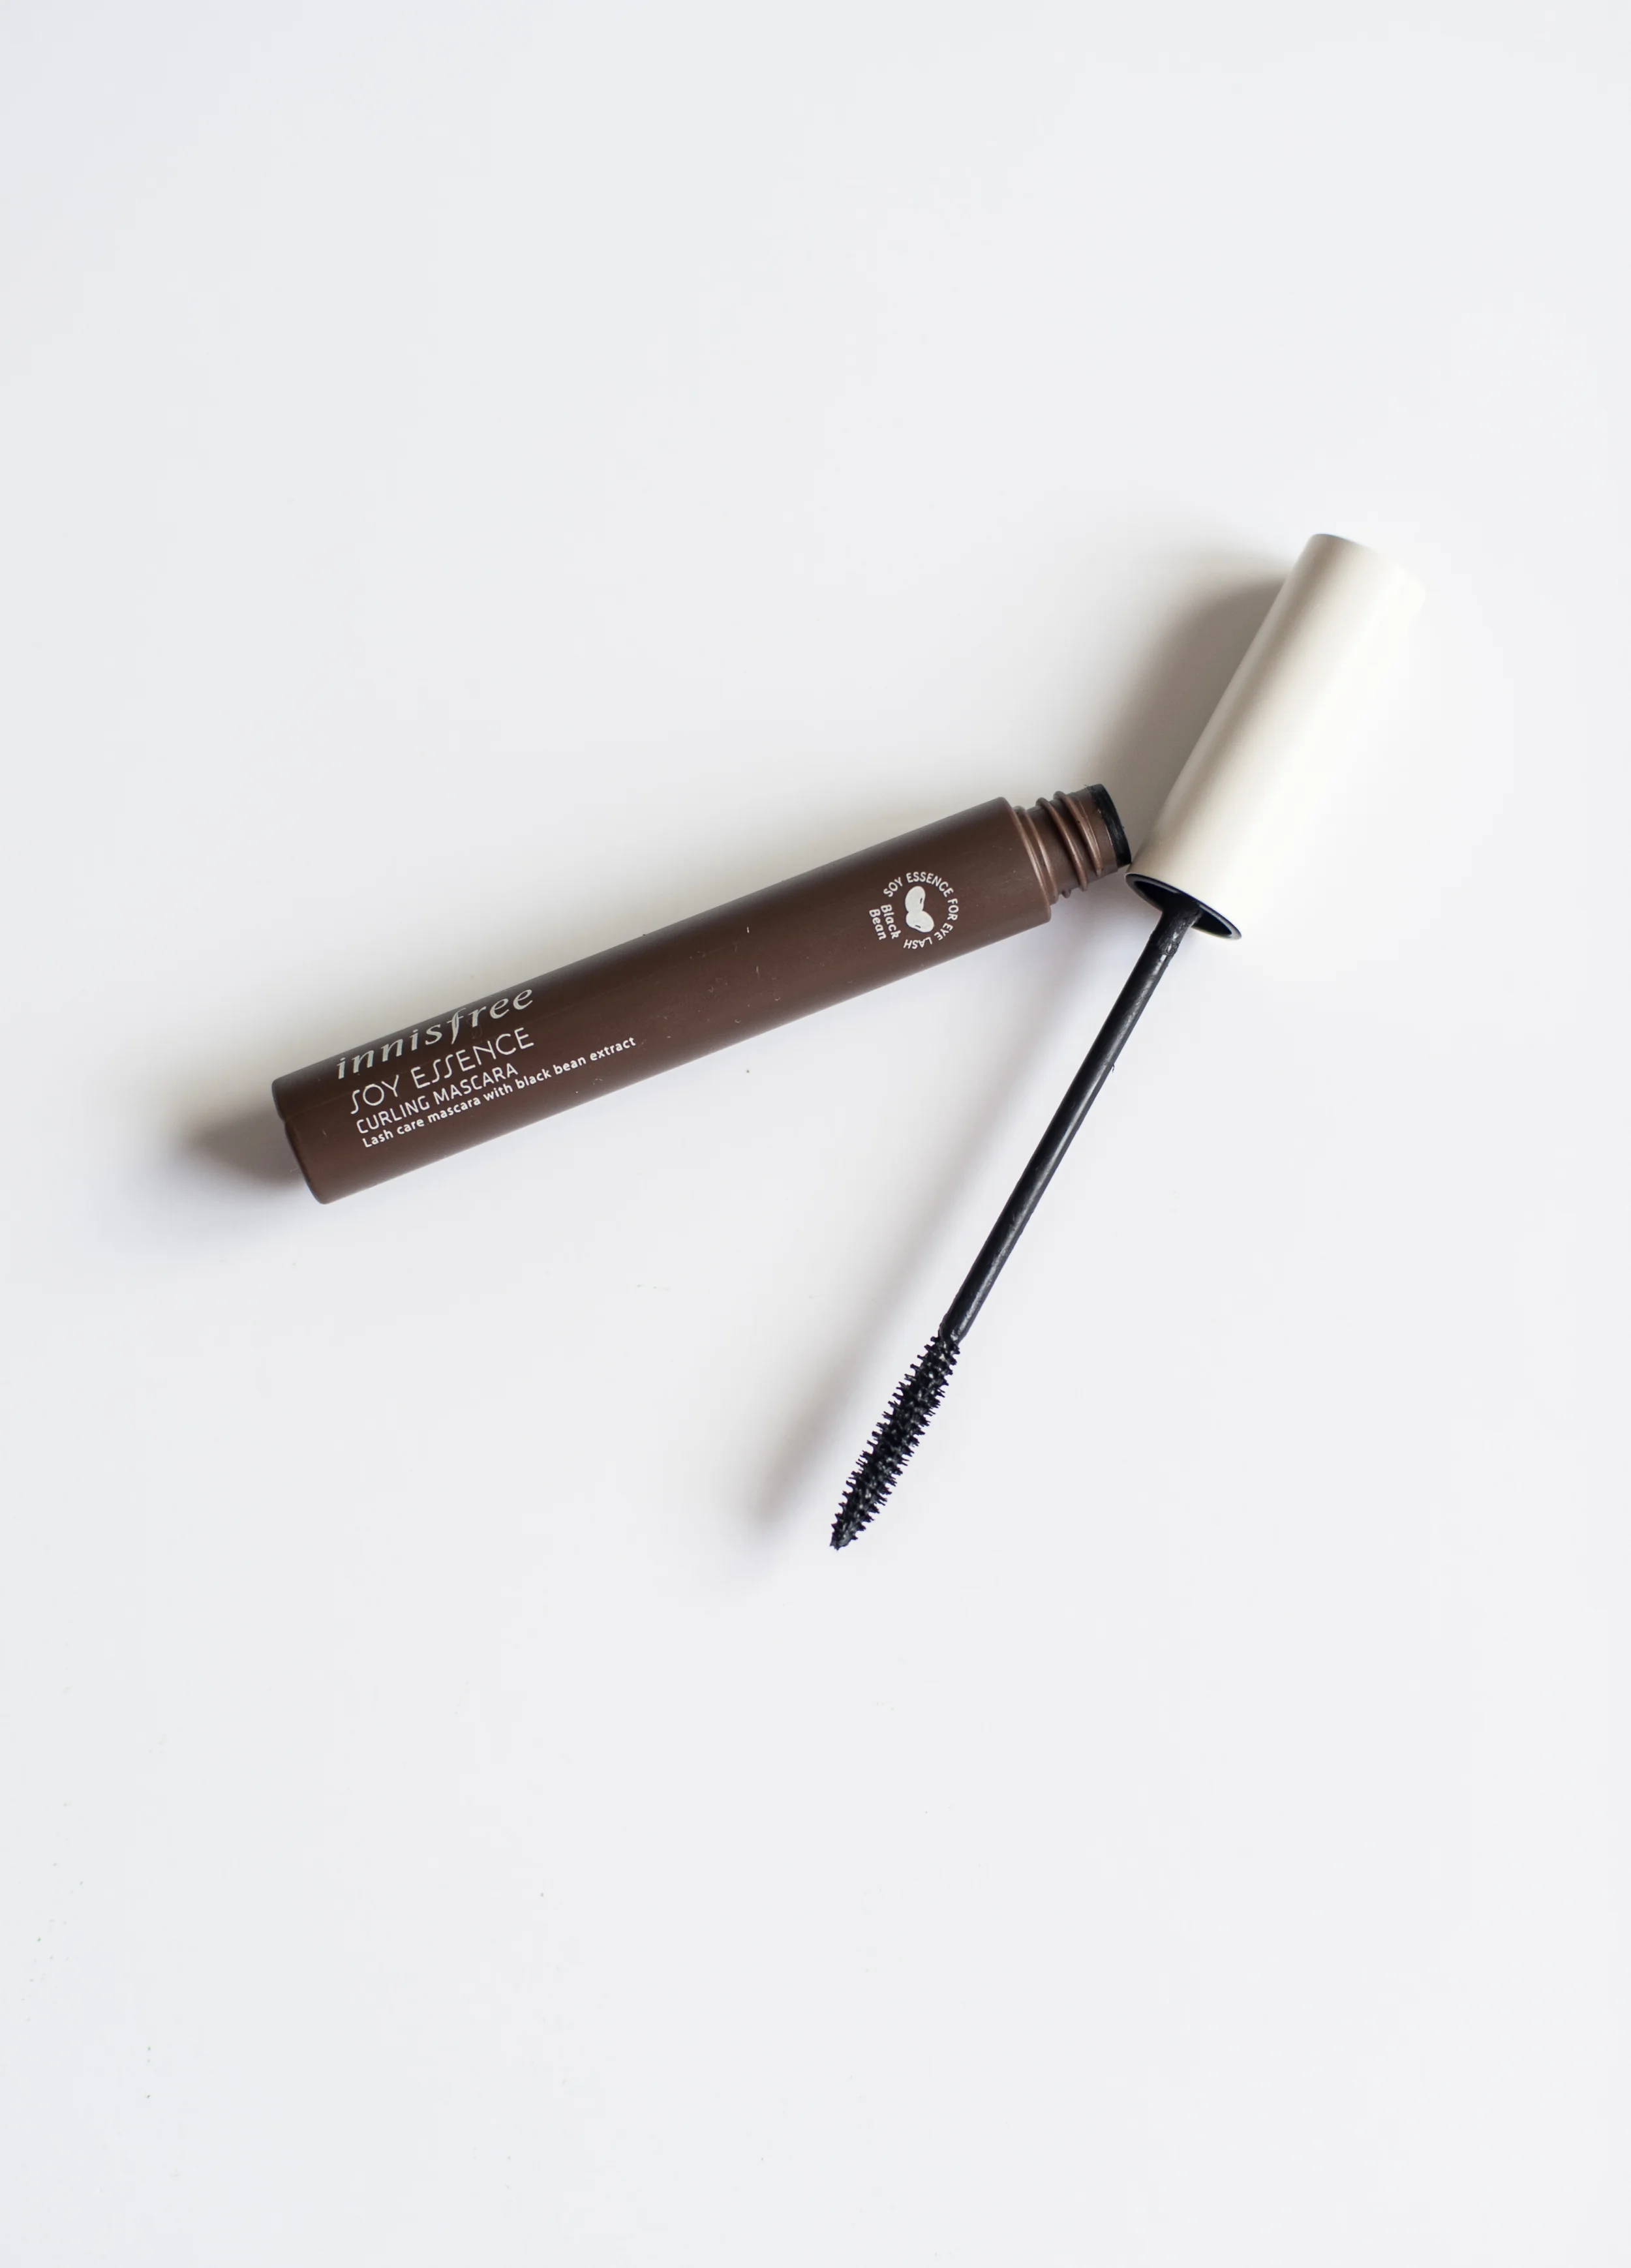
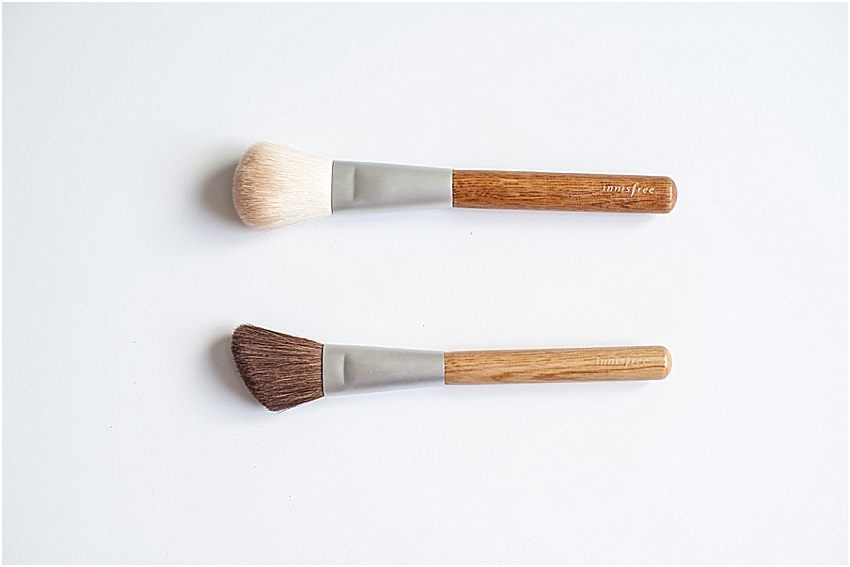
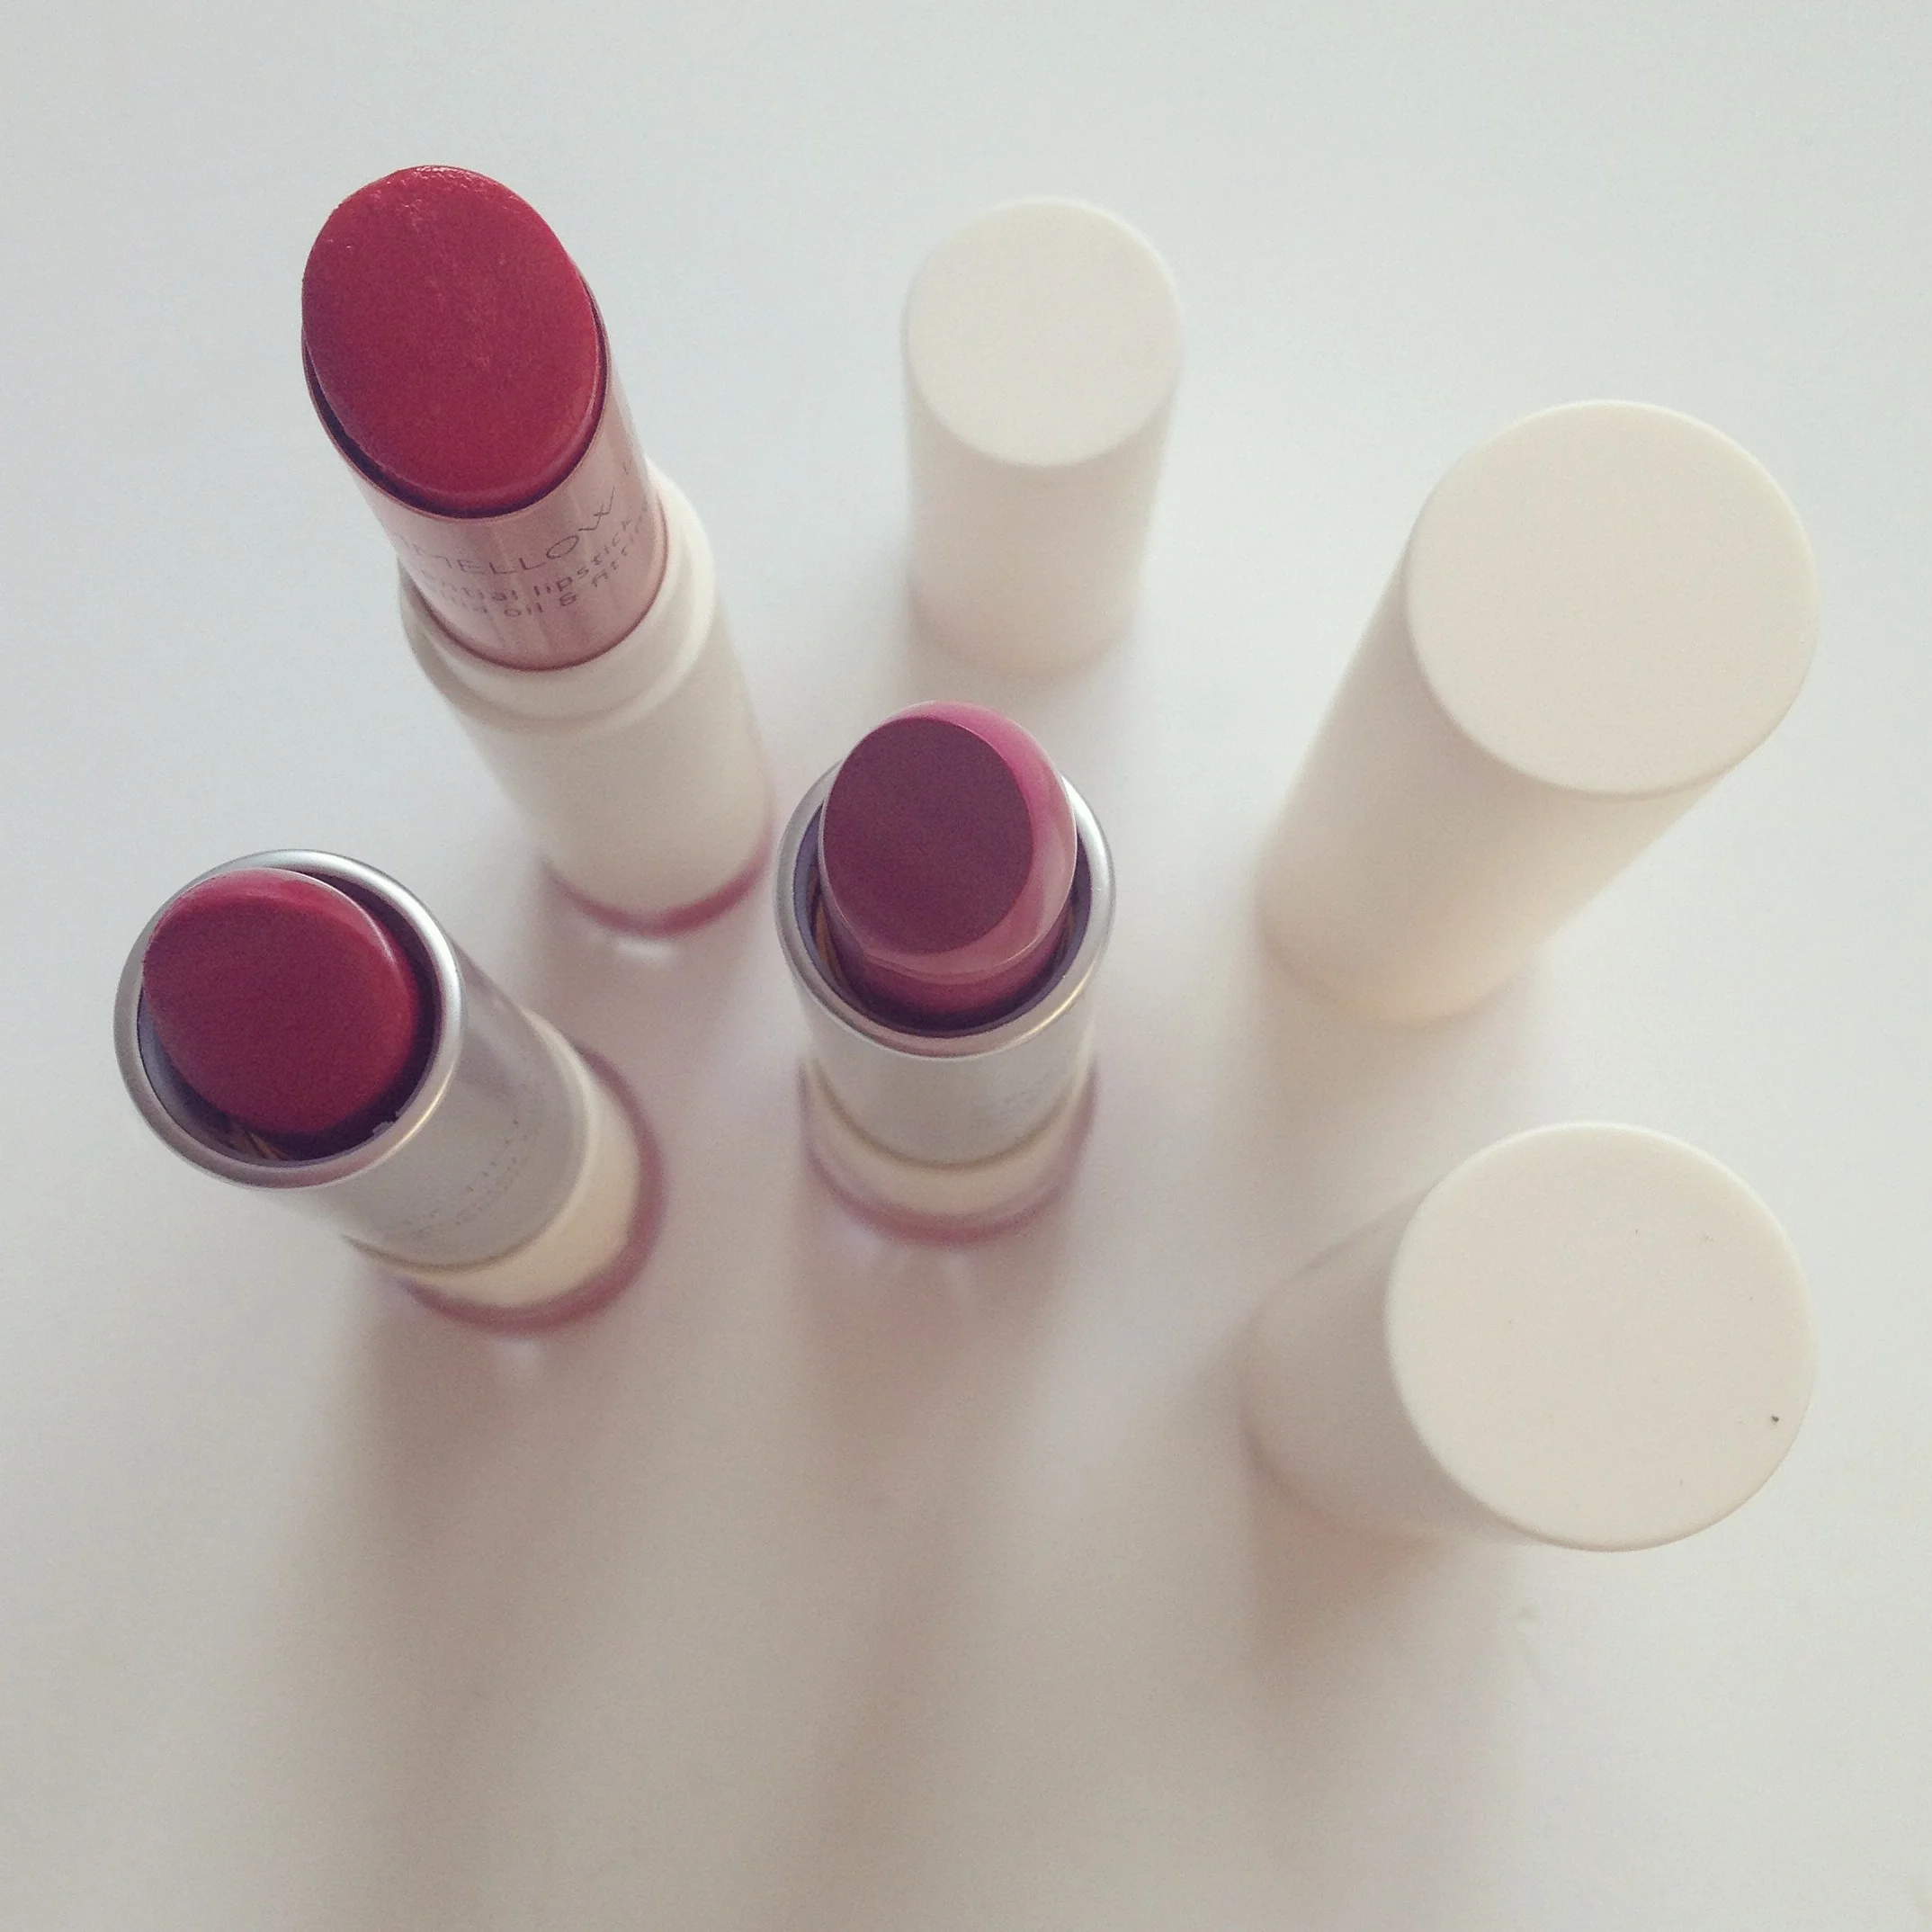
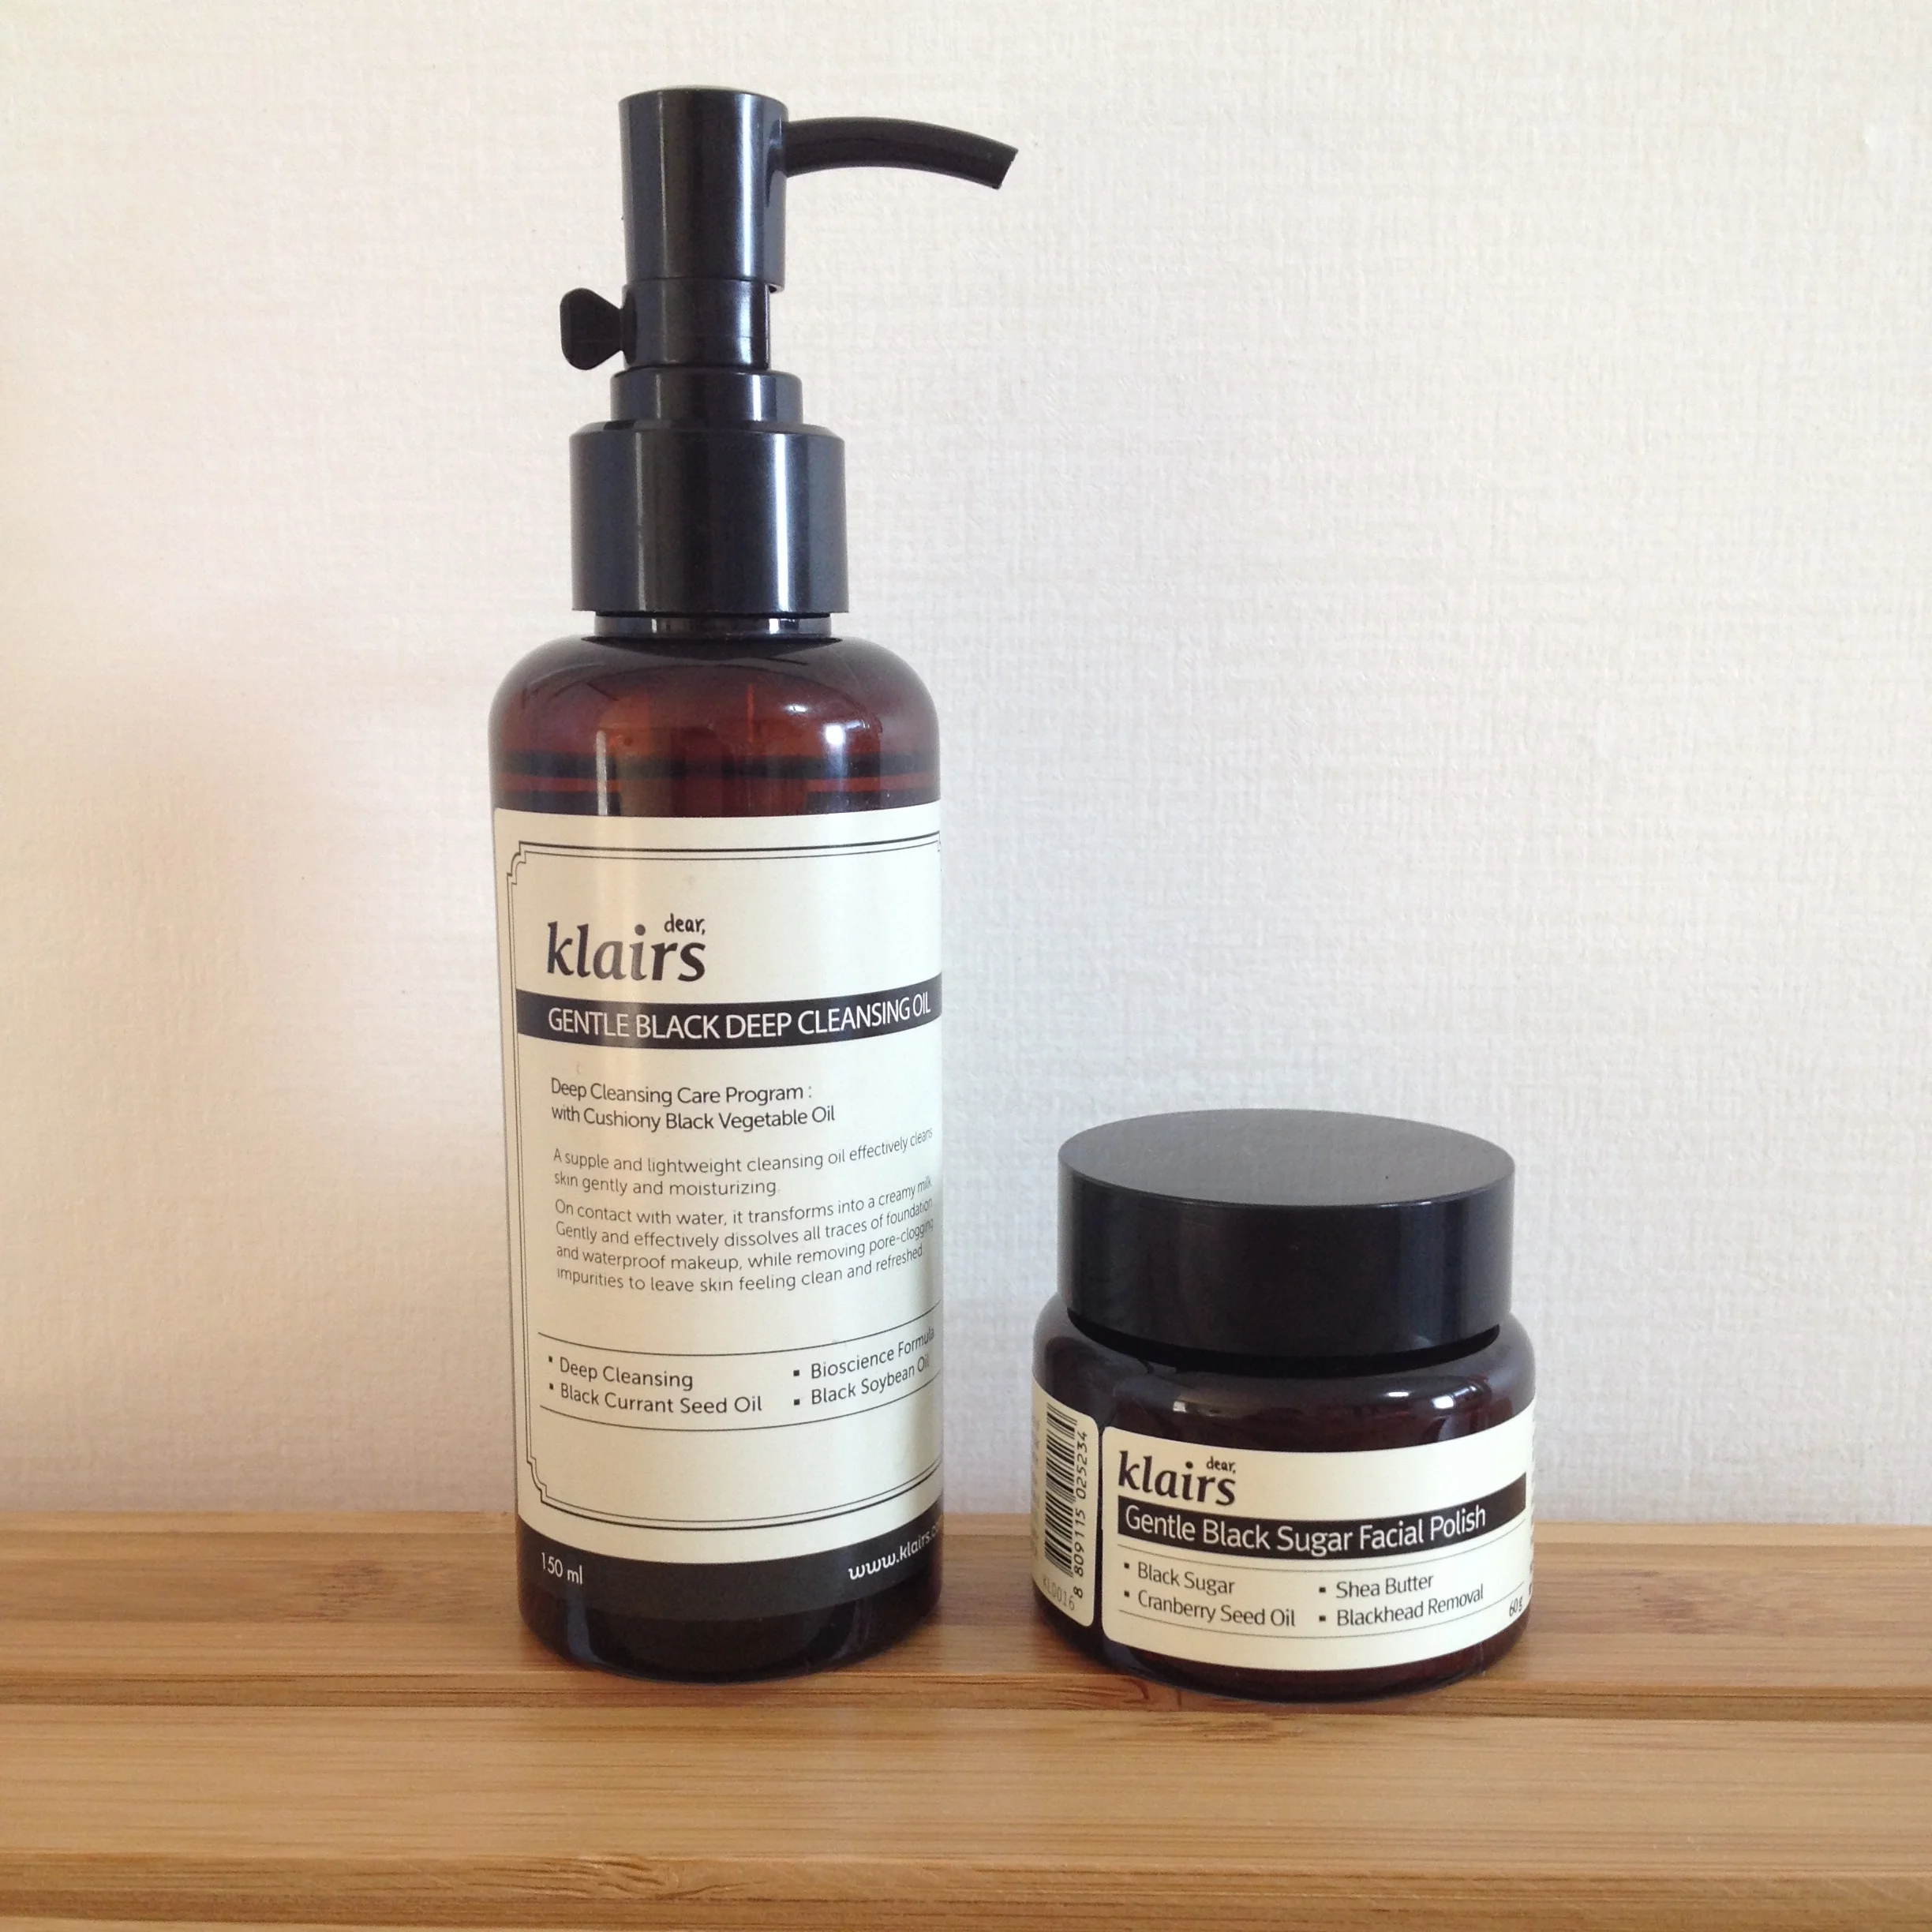
For example, look at the blog images below for my Travel Guides, Blogging Tips & Beauty Review categories:

Welcome to Part 2 of my Borneo Travel Guide. My husband and I spent two weeks exploring Malaysian Borneo.
We spent the first part of our holiday in Kuching (2 days), moving onto Bantang Ai lake (3 days), then Kota Kinabalu (2 days) and then onto Semporna (1 day) & Mabul Island (4 days). As there is so much to say about our trip I am breaking up these posts into different parts. In this part I will be talking about Bantang Ai Lake; Part 3 I will be talking about Kota Kinabalu and finally in Part 4 I will write about Semporna & the scuba diving we did on Mabul Island.


Farmboy and I visited Jeju Island over the Chuseok holiday here in Korea (September 2014). This was our second trip to Jeju (click here for info on our first trip) and we enjoyed it just as much as the first time. The first time we travelled by public transport, waiting for buses and taking taxis, and this time we decided to hire a car and camp for the 3 nights we were there. We went with two friends which really brought the costs of the car hire down and it worked out to be incredibly cheap.
You may be thinking of heading there soon (or sometime in the future) so to help you plan your trip, I have put together a rough budget, as well as some tips from our stay.


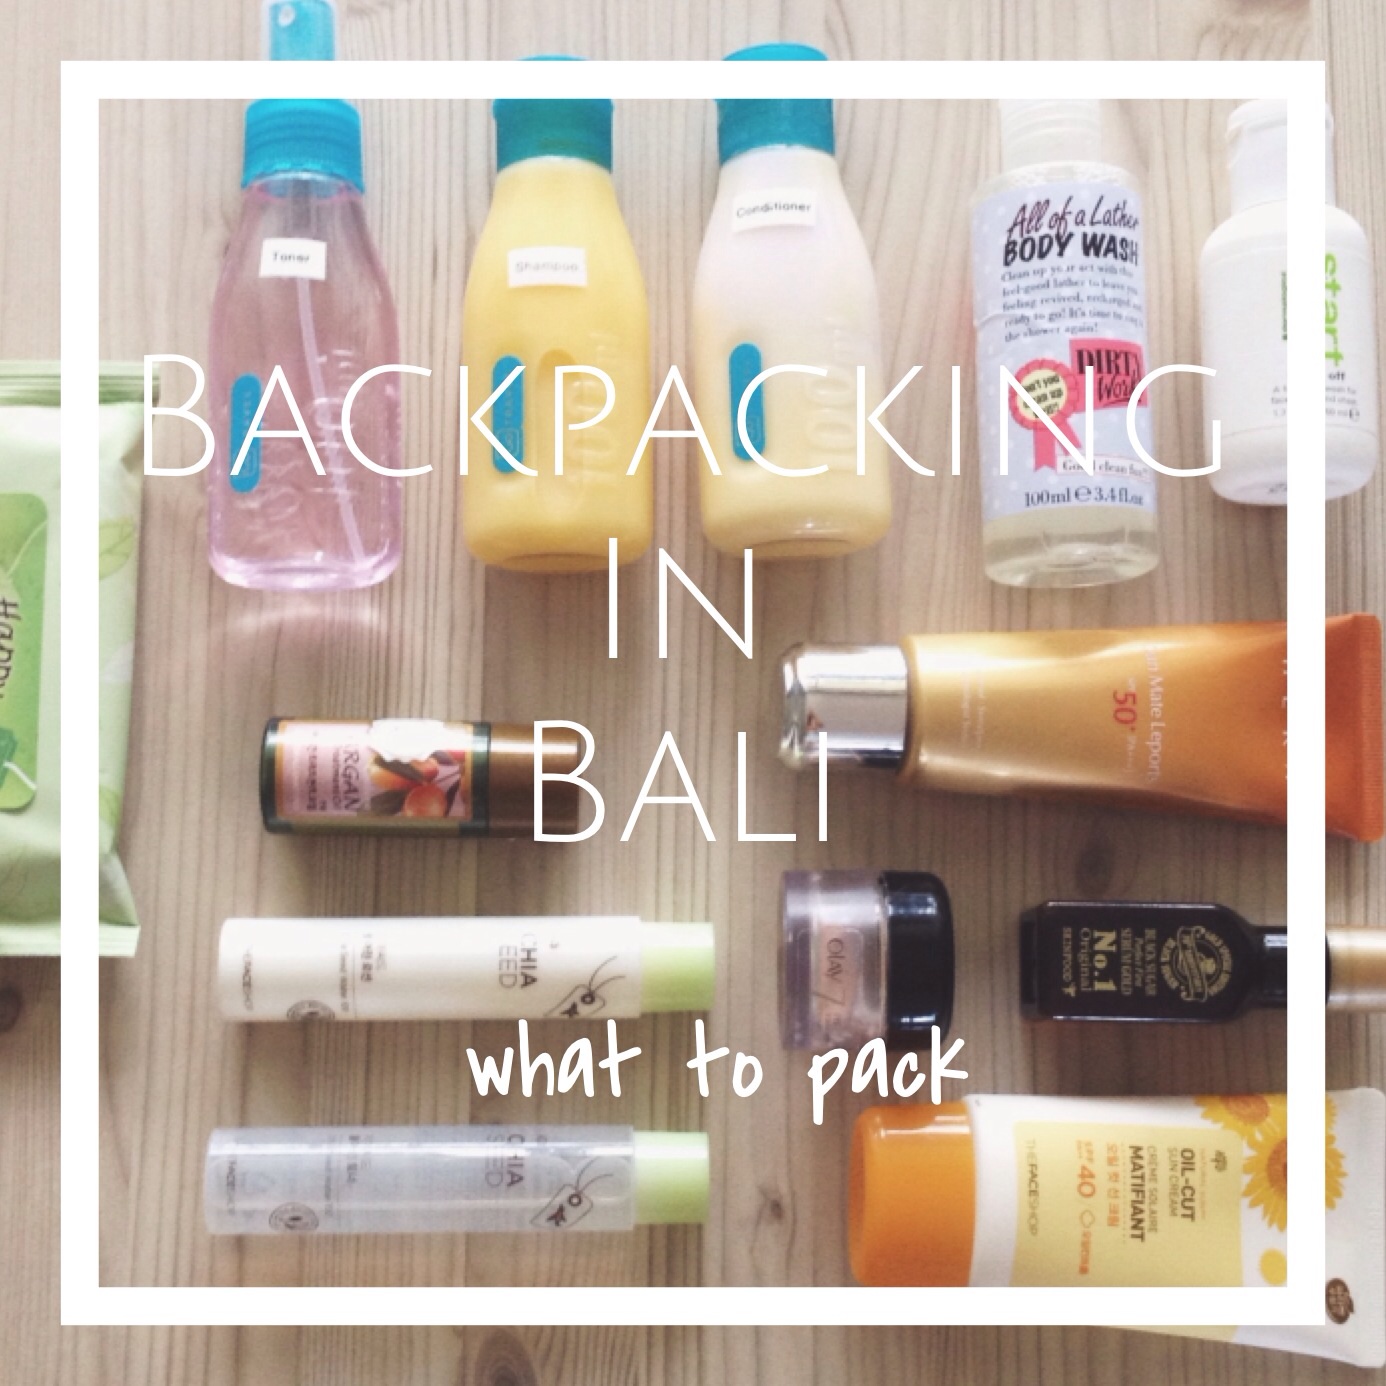


It's been a very long time since I bought anything from Skinfood. I think the last purchase I made was a repurchase of their signature Black Sugar Serum (and that was back in 2014!). South Korea is well known for their cutesy packaging and beautifully designed products, and more importantly, for how effective their products are. It takes just a moment of looking around at the women here to be able to see how beautifully cared for their skin is. A large reason their skin looks the way it does is because of protecting their faces (and every other body part) form the sun, but they also spend a lot of time and effort on their beauty routines (do you remember my post on the 10 Step Korean Skincare routine?).
There are so many Korean skincare and beauty brands, and each of them is associated with something unique. Etude House is know for it's very cutesy and girly packaging, Missha is seen as a higher end brand, Tony Moly is what all the school girls favor and Innsifree is seen as the Eco-friendly flagship brand. I always saw Skinfood as one of the cheaper brands, more so when it came to quality than actual price. Most of the products from Etude, Tony Moly and Skinfood are actually priced very similarly but from the look of their packaging, I wasn't really blown away.

For the past week I have been trying a very exciting new addition to the Dear Klairs range of beauty products. Dear Klairs is a Korean beauty brand established in 2010 in Seoul, South Korea, and what I love most about them is that they do not test on animals and their their products are alcohol-free, paraben-free, and artificial-color-free!
The majority of their products are catered towards sensitive skins, and their latest addition, the Midnight blue Calming Cream is no exception. If you have 'patchy' skin, dry and undernourished only in certain parts of your face, then this cream is just for you!
I have tried out a number of their products (courtesy of WishTrend) and have been most impressed with them. Dear Klairs has actually become one of my favourite Korean beauty brands, and I have tried LOTS of Korean. Here are my own (always honest) reviews for the products I have tried out so far.

I think what I love most about Innisfree is their innovative product lines. Every few months they release a new line of products (or at the very least a new addition to their already existing product lines) and last Autumn was no exception. As part of their fall/winter lineup, Innisfree announced a ginger-oil-centric series of serums, creams, and essences that promise to:
make skin more hydrated, firmer, and healthier
As with most of their skin care ranges, they claim to to contain lots of of natural ingredients from the Island of Jeju. I'm sure you can guess what is extra special about this cream and what special ingredient goes into it?

It's winter here in Korea, and the icy cold wind has wrecked havoc on my normal to combination skin.
I hate the feeling of having tight skin after a hot bath (thank goodness for my bath tub...even though it's a shocking shade of pink nothing beats a hot bath after a day of being out in cold). I've been using and loving this Honey Mask from I'm from which was kindly set to me by WishTrend to review.
I'm from is a Korean skincare company that I hadn't heard of before trying this product. I initially though there must have been something lost in translation when I say first saw the jar as their name sounded very unusual. I kept trying to understand 'where' they were from.
This mask is very difficult to get your hands on here in Korea. Due to it's popularity it's often out of stock online. It's currently in stock on WishTrend, an online Korean beauty store which delivers worldwide.

As you may or may not have noticed from my ever growing list of reviews, I am quite a fan of Korean beauty products. There are so many lotions and potions and pretty bottles and tubes (not to mention all the on going sales throughout the month) that it's hard not to get hooked.
There is also a reason that Korean Beauty products are so sought after...they work.
As a South African (ie I do not have, nor do I want, a face that is as white as snow) I have had my fair share of trial and error when it comes to Korean beauty products. Being part beauty blogger (I also sell stationery and am a freelance photographer) I choose to only review the products that I really do love and actually use. If I buy a product and I don't like it, I won't feature it. I'm not into tearing down a product just because it didn't work for me, as it may work for the next person.
As Korean skincare products are so different to Western brands, it goes without saying that there are different ways to using them and preferred method of application for each product. Have you heard about the 10 Step System? If not don't worry, all will be revealed soon!



It's the start of the cooler weather here in South Korea and I have been wanting to cut a fringe for the past few weeks. Cooler weather means much less maintenance when it comes to a fringe, or bangs as my American friends say. All girls with a fringe will sympathise with me when I say that that part of your hair does not tame easily, especially if you exercise a lot.
A few weeks ago I noticed a number of my students had cut their gorgeous, long hair in favor of a bob, and when I asked them why they had cut their hair, I was quite surprised at their answer. They had donated their hair to cancer charities. After asking a few more questions about it, I decided I wanted to do the same with my hair. In the past 20 years I have only had one 'short' hair cut and that was to below my shoulder, hardly short I would say, and so this was quite a big deal for me. Instead of thinking about it too much, I decided to make the change last week Tuesday and then walked into a salon here in my small town and had it all chopped off. Over 30 cm's of hair!
Here are a few snaps of my hair pre-cut (as in, the morning of the day I cut my hair). It was long, wavy and looked a bit endy. I was never the type of girl to spend hours curling or straightening my hair, and this is how it looked naturally after a quick once over with the hairdryer after a shower.





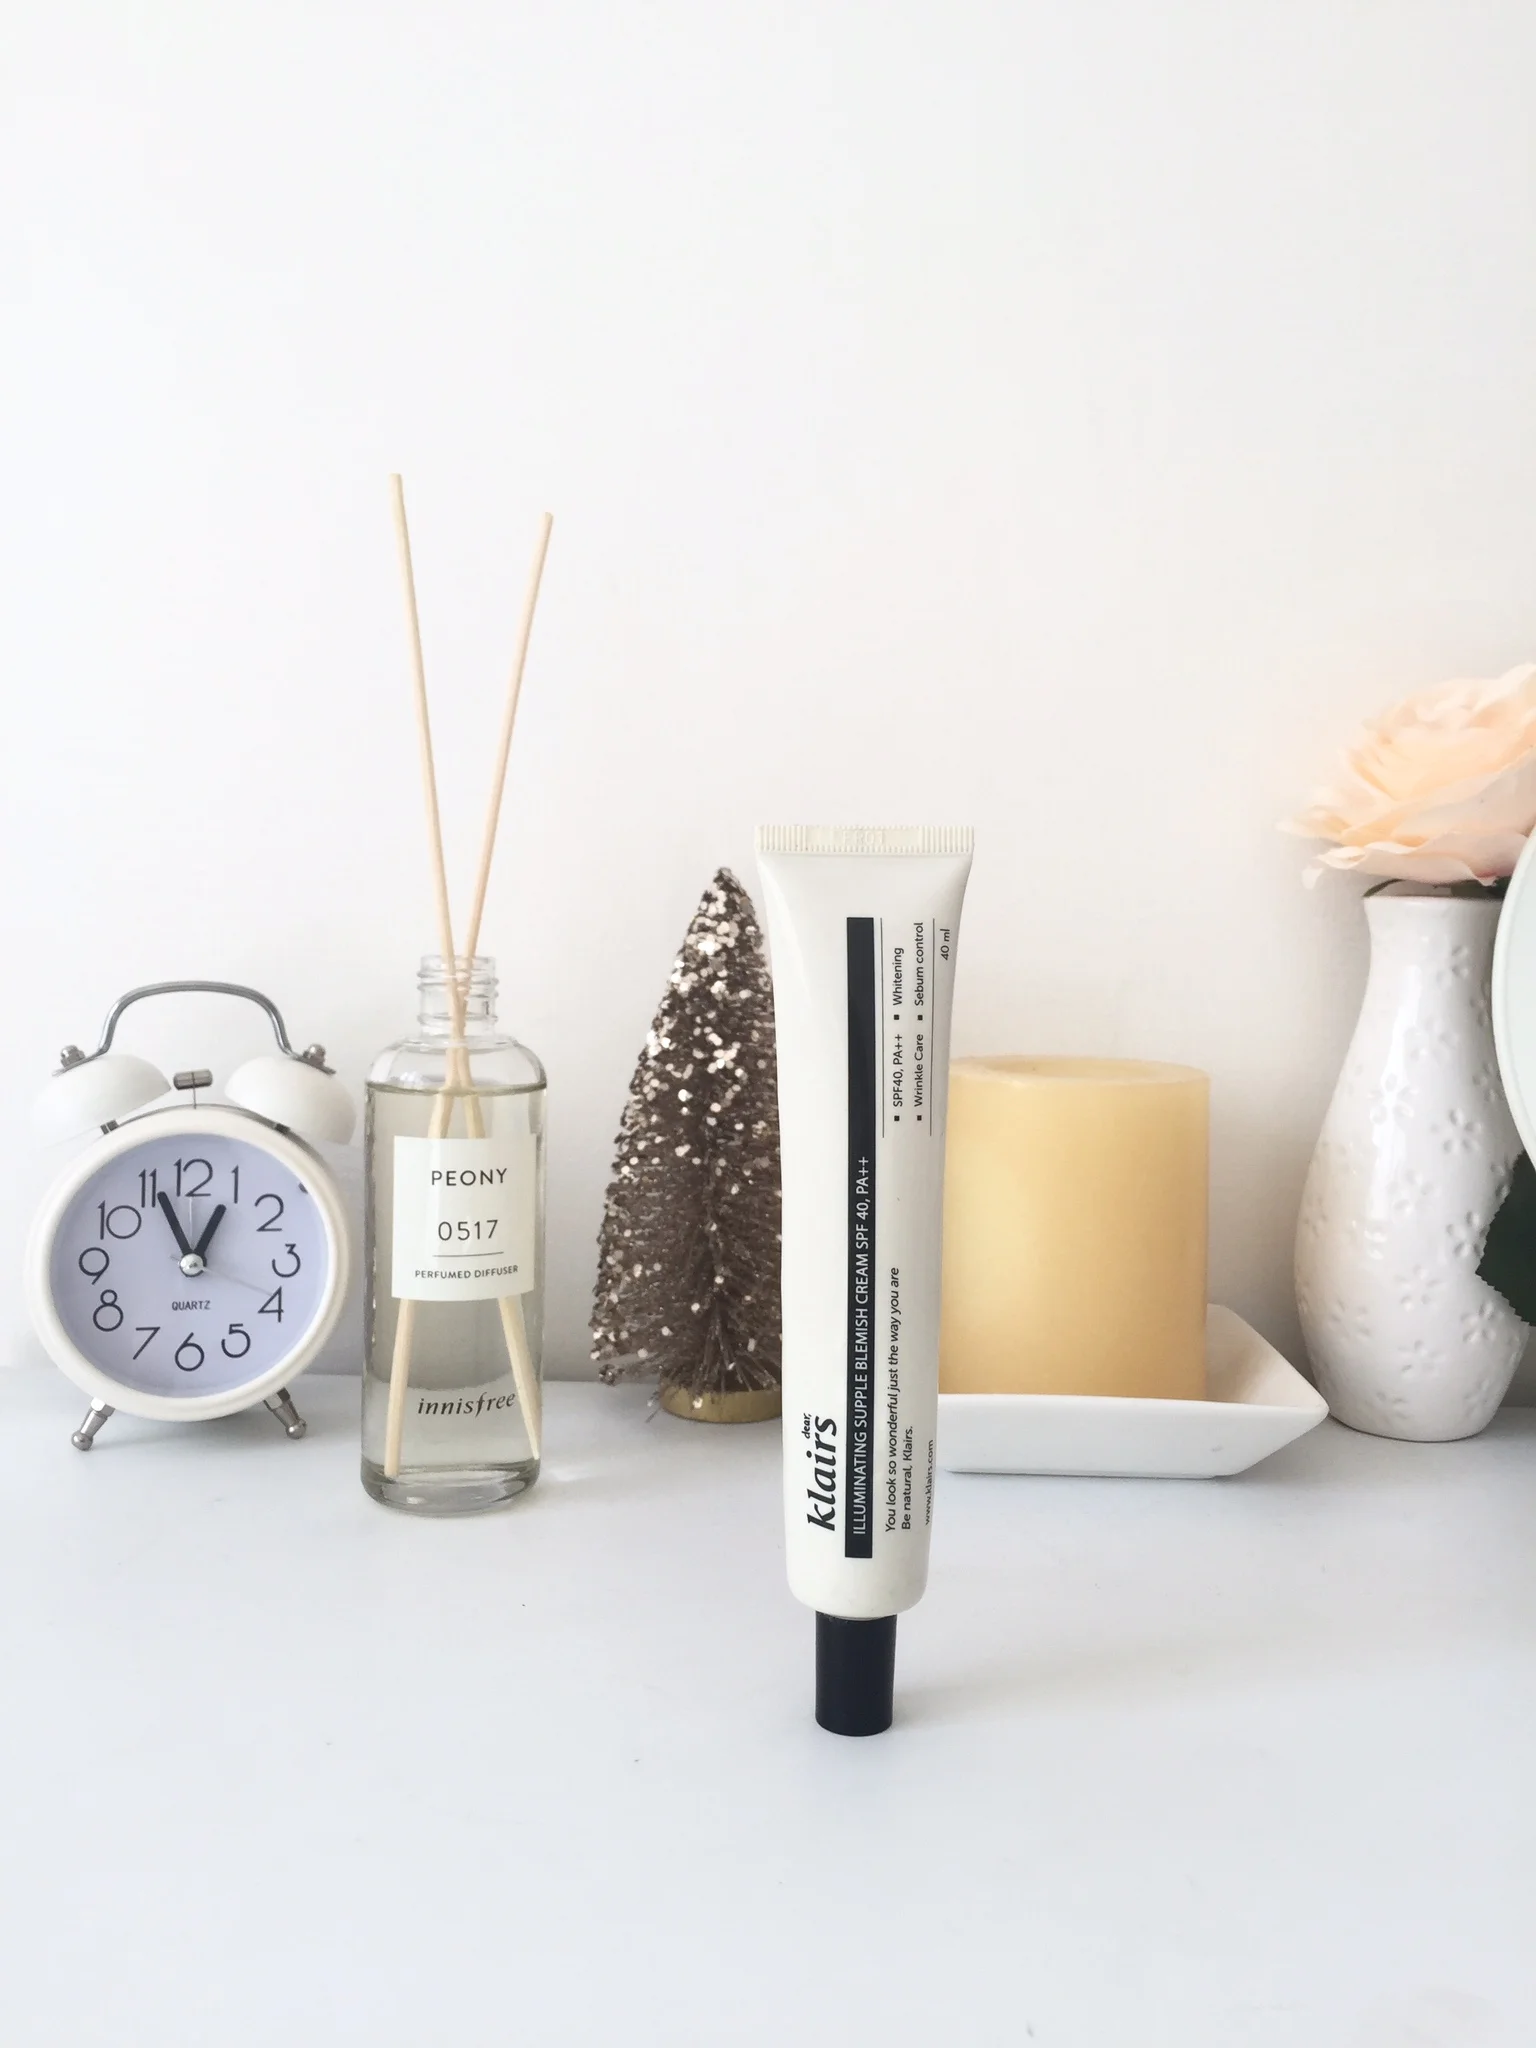



What do you do if you just can't seem to figure out your camera? What happens when you spend hours and hours snapping photos on your phone for your latest blog post, but all the photos you've taken leave you feeling frustrated?
This is where I step in my friend!
You see, I understand that we can't do #ALLTHETHINGS when it comes to our blogs, and so, I created the CGScreative resource library.
I created the library to help creatives, just like you. When I first started blogging, there was nothing like this available to me, and because we all have to start somewhere, I have made this pretty online space, absolutely free.

If you've been blogging for some time and especially if you've been looking into how you can make money from blogging, I'm sure you will have come across the term 'email list'. I'm sure you have heard loads of other bloggers and business owners talking about 'list building' and how 'the money is in the list' but perhaps you've been wondering not just why on earth you need a list for your blog but also what on earth you'd be sending those people. Can't your readers just follow you through Bloglovin' or Feedburner? Why do you need to invest your time into another form of marketing?
If you're anything like me, you've been pondering those questions. It's time to stop wondering and start doing & so today I'm going to tell why you definitely DO need an email list for your blog or business, plus I'm going to show you how you can start building yours today.

I'm coming up to my 6th year of blogging (what?!) and so I can safely say I know a thing or two about tools that help you blog better. Most of what we need to know about growing our blogs can be found on Pineterest, right? This is all very well, and I don't know about you but whenever I head to Pinterest to search for blogging resources I get sucked into images of beautiful quotes, cute puppies and ways to save space in my home (tell me I'm not the only one?).
So I thought I'd create this post for you, with a list of all the resources and tools I use when blogging. I've also created a useful printable cheatsheet of all these resources for you to print out to help you in your blogging journey. You can get your paws on this checklist in my *FREE* Resource Library (which is filled with stock photos and loads of other blog & biz resources) and which you can join below.

When I first started blogging back in 2010 (6 years ago...eeek!) I used to shamelessly copy and paste images from We Heart It, which was kind of the OG of the visual world before Pinterest came along. I had no idea about copy-write (in fact, I couldn't even really spell that word properly) never mind understand the legal ramifications of using someone else's work without giving them full credit.
It wasn't until 2012 when I came across an article from a blogger who had been sued for a HUGE amount of money after using someones photograph on her blog. The blogger had actually given the photographer credit in her blog post, but she hadn't asked him for permission to re-post his image and so she ended up going to court and was found guilty of intellectual property theft! Can you imagine being charged with a criminal offense for using an image on your blog? Madness!
I was terrified after reading that blog post and promptly set out to learn how to take my own photographs so as not to have to worry about image copy-right ever again! I ended up falling in love with photography, and have since gone onto to freelance and now go under the title 'professional photographer'. I understand that not everyone has the time, or the desire, to pursue photography full time, especially if their interests lie somewhere else, in writing for example or making or drawing or painting. This is where stock photographs come in and this is where I wave a little (pink) flag that says I've got you covered and have FREE STOCK PHOTOGRAPHS JUST FOR YOU!
Hi everyone!
In case you're new around these parts and have stumbled across this blog series, I thought I'd take a moment to introduce myself.
My name is Roxy and I am the blogger, photographer, planner, crafter, maker, designer and general busy-bee behind CityGirlSearching. I am South African, but have been living in South Korea with my husband and rescue pup (Shadow, who yes, has his own # and Instagram account and FB page because that's what you do these days) for the past 3/technically 4 years.
We are about to wrap up our final contract and will be heading home to South Africa at the end of June...yippeee!
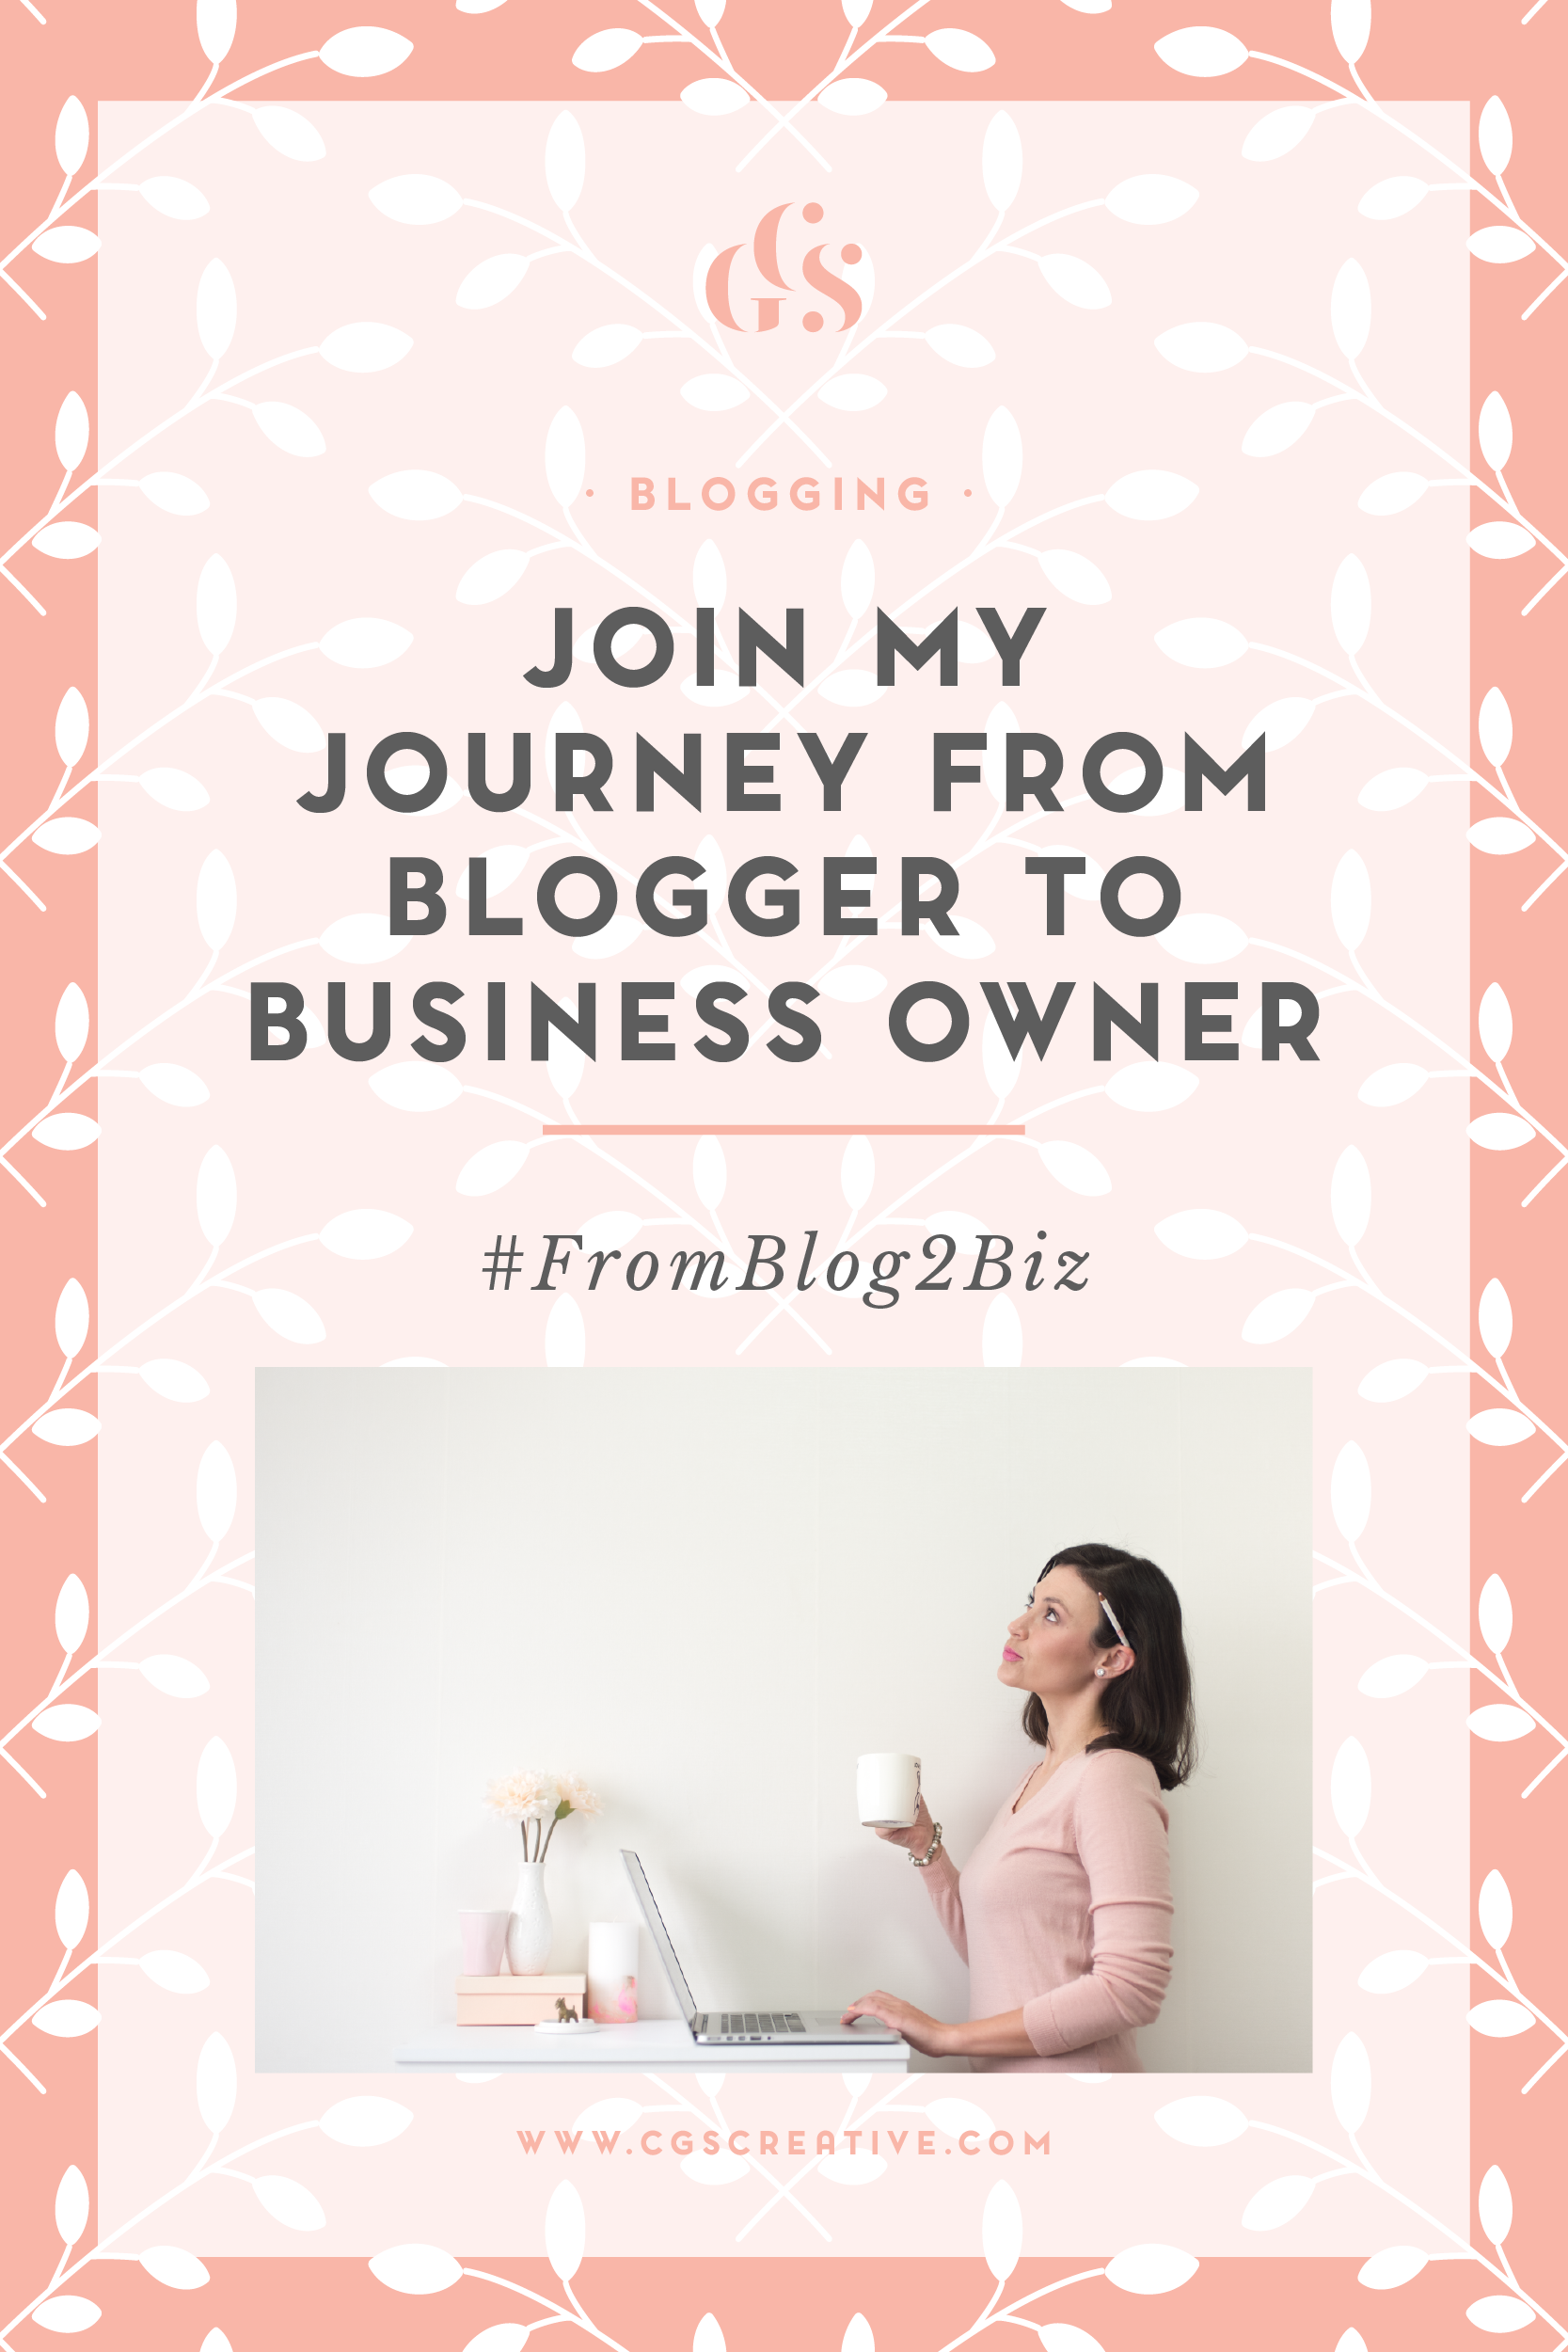
In this series #FromBlog2Biz, I am going to be sharing with you my journey from blogger to business owner. In this post (Part 1) I want to share with you my blogging journey so far (it's been a good number of years) and to set the scene for you for where I am at right now and how I have been making money from my blog and how I plan to monetize moving forward from here.
I do hope you'll join me on this journey as I share with what I've done so far, what has worked and what hasn't. It's going to be an awesome adventure so let's get started right away.
I've been blogging for about 6 years now, and I do so because I genuinely love providing free, useful content for people. This blog is not a diary showcasing my life but rather I hope that it is a platform for you to learn new things (like my blogging tips, travel guides and posts about owning a dog in Korea) as well as a place to be inspired (by my travel posts, recipes and my photography).
One thing that I have learned from all these years of tapping away at my keyboard is that the images on your blog can make or break your brand.
These days technology has advanced so much, there really is no excuse for anyone to have poor quality images on their blog. This doesn't mean you have to own the fanciest camera on the market, your cellphone/ipad/tablet will work just fine.
In this post I'm going to be sharing with you what I use to style & take photographs for my blog.

I recently created and launched #BeautifyYourBlog an easy to follow, free online course for bloggers. Alongside this course, I created a handbook which I'd love to share more of with you today.
Making your blog look it's shiny best can be a difficult process...But it doesn't have to be.
When I first started blogging, I wish I had had someone show me the ins and outs of branding and what it means to build a brand around your blog.
I fumbled my way through the first 4 years of blogging, making so many changes and wasting so much time creating graphics for my blog that really didn't fit my style.
If someone had given me this handbook when I first started blogging, it would have saved me so much frustration, not to mention time.
This Handbook goes through the how's and the why's of branding your blog and most importantly, it shows you how you can do it yourself.

I've been thinking of ways to condense all of the useful posts I've written on blogging, and so created this insanely useful list for bloggers of all niches and topics. Whether you've been blogging for years or whether you've just started your journey & are feeling a little overwhelmed, these tips are bound to help you on your way.
1. Read, re-read & update your About page.
When I look at the traffic stats on this site, my About page is one of the most popular pages. And I know that when I visit other blogs, I always click on their about/welcome pages to find out more about who they are as a person. Don't let the thought that is has to be perfect put you off editing yours (or even making one if you don't already have one). I am constently updating and editing mine, adding in or taking out information that is no longer relevant to my blogging journey. Your About page should grow with your blog, as should your profile picture (mentioned above).
Here are some tips for your About Page.
About 3 months ago I started dipping my toe into the world of online business and passive income, and goodness me, it's a whole other world out there.
The idea of online businesses isn't new, people have been producing online courses and selling information products ever since the internet first began in 1969. What has changed dramatically is the people behind the courses. No longer do you have to have a doctorate in computer programming or some other fancy sounding degree, regular people like you and me are making money selling their social media strategies in the form of webinars, workshops and coaching packages.
Sounds wonderful doesn't it? Being able to make money doing what you love. Isn't that so many people are striving to do? Striving to free themselves from their 9-5's to make more money and have more time to do the things they love?

I know I know, blogging these days is definitely not for sissies. If you have a blog and want to stand out amongst the masses, you have to up your game & make your blog look as fancy & professional as possible.
That doesn't mean spending a fortune, or betraying you own personal sense of style. There is space enough for all of us (from the pastel pink lovers to those who go nuts for shades of neon yellow & black) and it's your own unique sense of style that you should be portraying through your blog in the first place. You just need to do it in the best way possible to make your blog stand out while still looking polished.
So how do you do that I hear you ask?
Well, apart from hiring a fancy smancy graphic designer to do your branding, you can start by creating your own style guide for your blog. I would still suggest getting a professional to create your logo (although you could definitely create something yourself using a free online design site like Canva).
Once you have your logo, it's all downhill from there! You can then work on the rest of your branding yourself and take your blog from drab to fab. Having a style guide as a reference for your branding will make your life so much easier, and will help you to keep your blogs look & feel cohesive.
I've been throwing around the #CGScreative hashtag on Instagram & Facebook for a little while now, and I think it's time I told you what it's all about.
If you're already a part of my special mailing list, you will already know all about it (and you would have already received your Love Inspired photo pack..yay!).
For those of you who have no idea what I'm talking about but like the idea of getting beautiful FREE stock photographs to use on your blog/Facebook Page/Instagram etc. then please do read on.

In order to build a cohesive brand, it's important to make sure the images & graphics you share are aligned with the look and feel of your business. An easy way to do this is to share groups of images (collages) that tell a story.
I use collages here on my blog when I want to share a lot of images, but I don't want to slow down my site loading speed.
Using full sized images in a blog post means lots and lots and lots of scrolling for your readers. Creating beautiful collages is an easy way to make your blog posts look better, and it helps the back end of your site by making it faster to load.
In today's blog post I'm sharing with you how I create collages for my blog and Facebook page using Blogstomp.








3. Props related to Your brand/blog
When I started writing this post we were nearing Christmas, and so I wanted to find something I could use in the background of my photographs that was festive, but at the same time I didn't want it to look cheesy or tacky. I stumbled across a little gold, glitter Christmas Tree in Daiso here in Korea for W2 000 (+-$2). It's so cute and definitely added a bit of sparkle to my photographs.
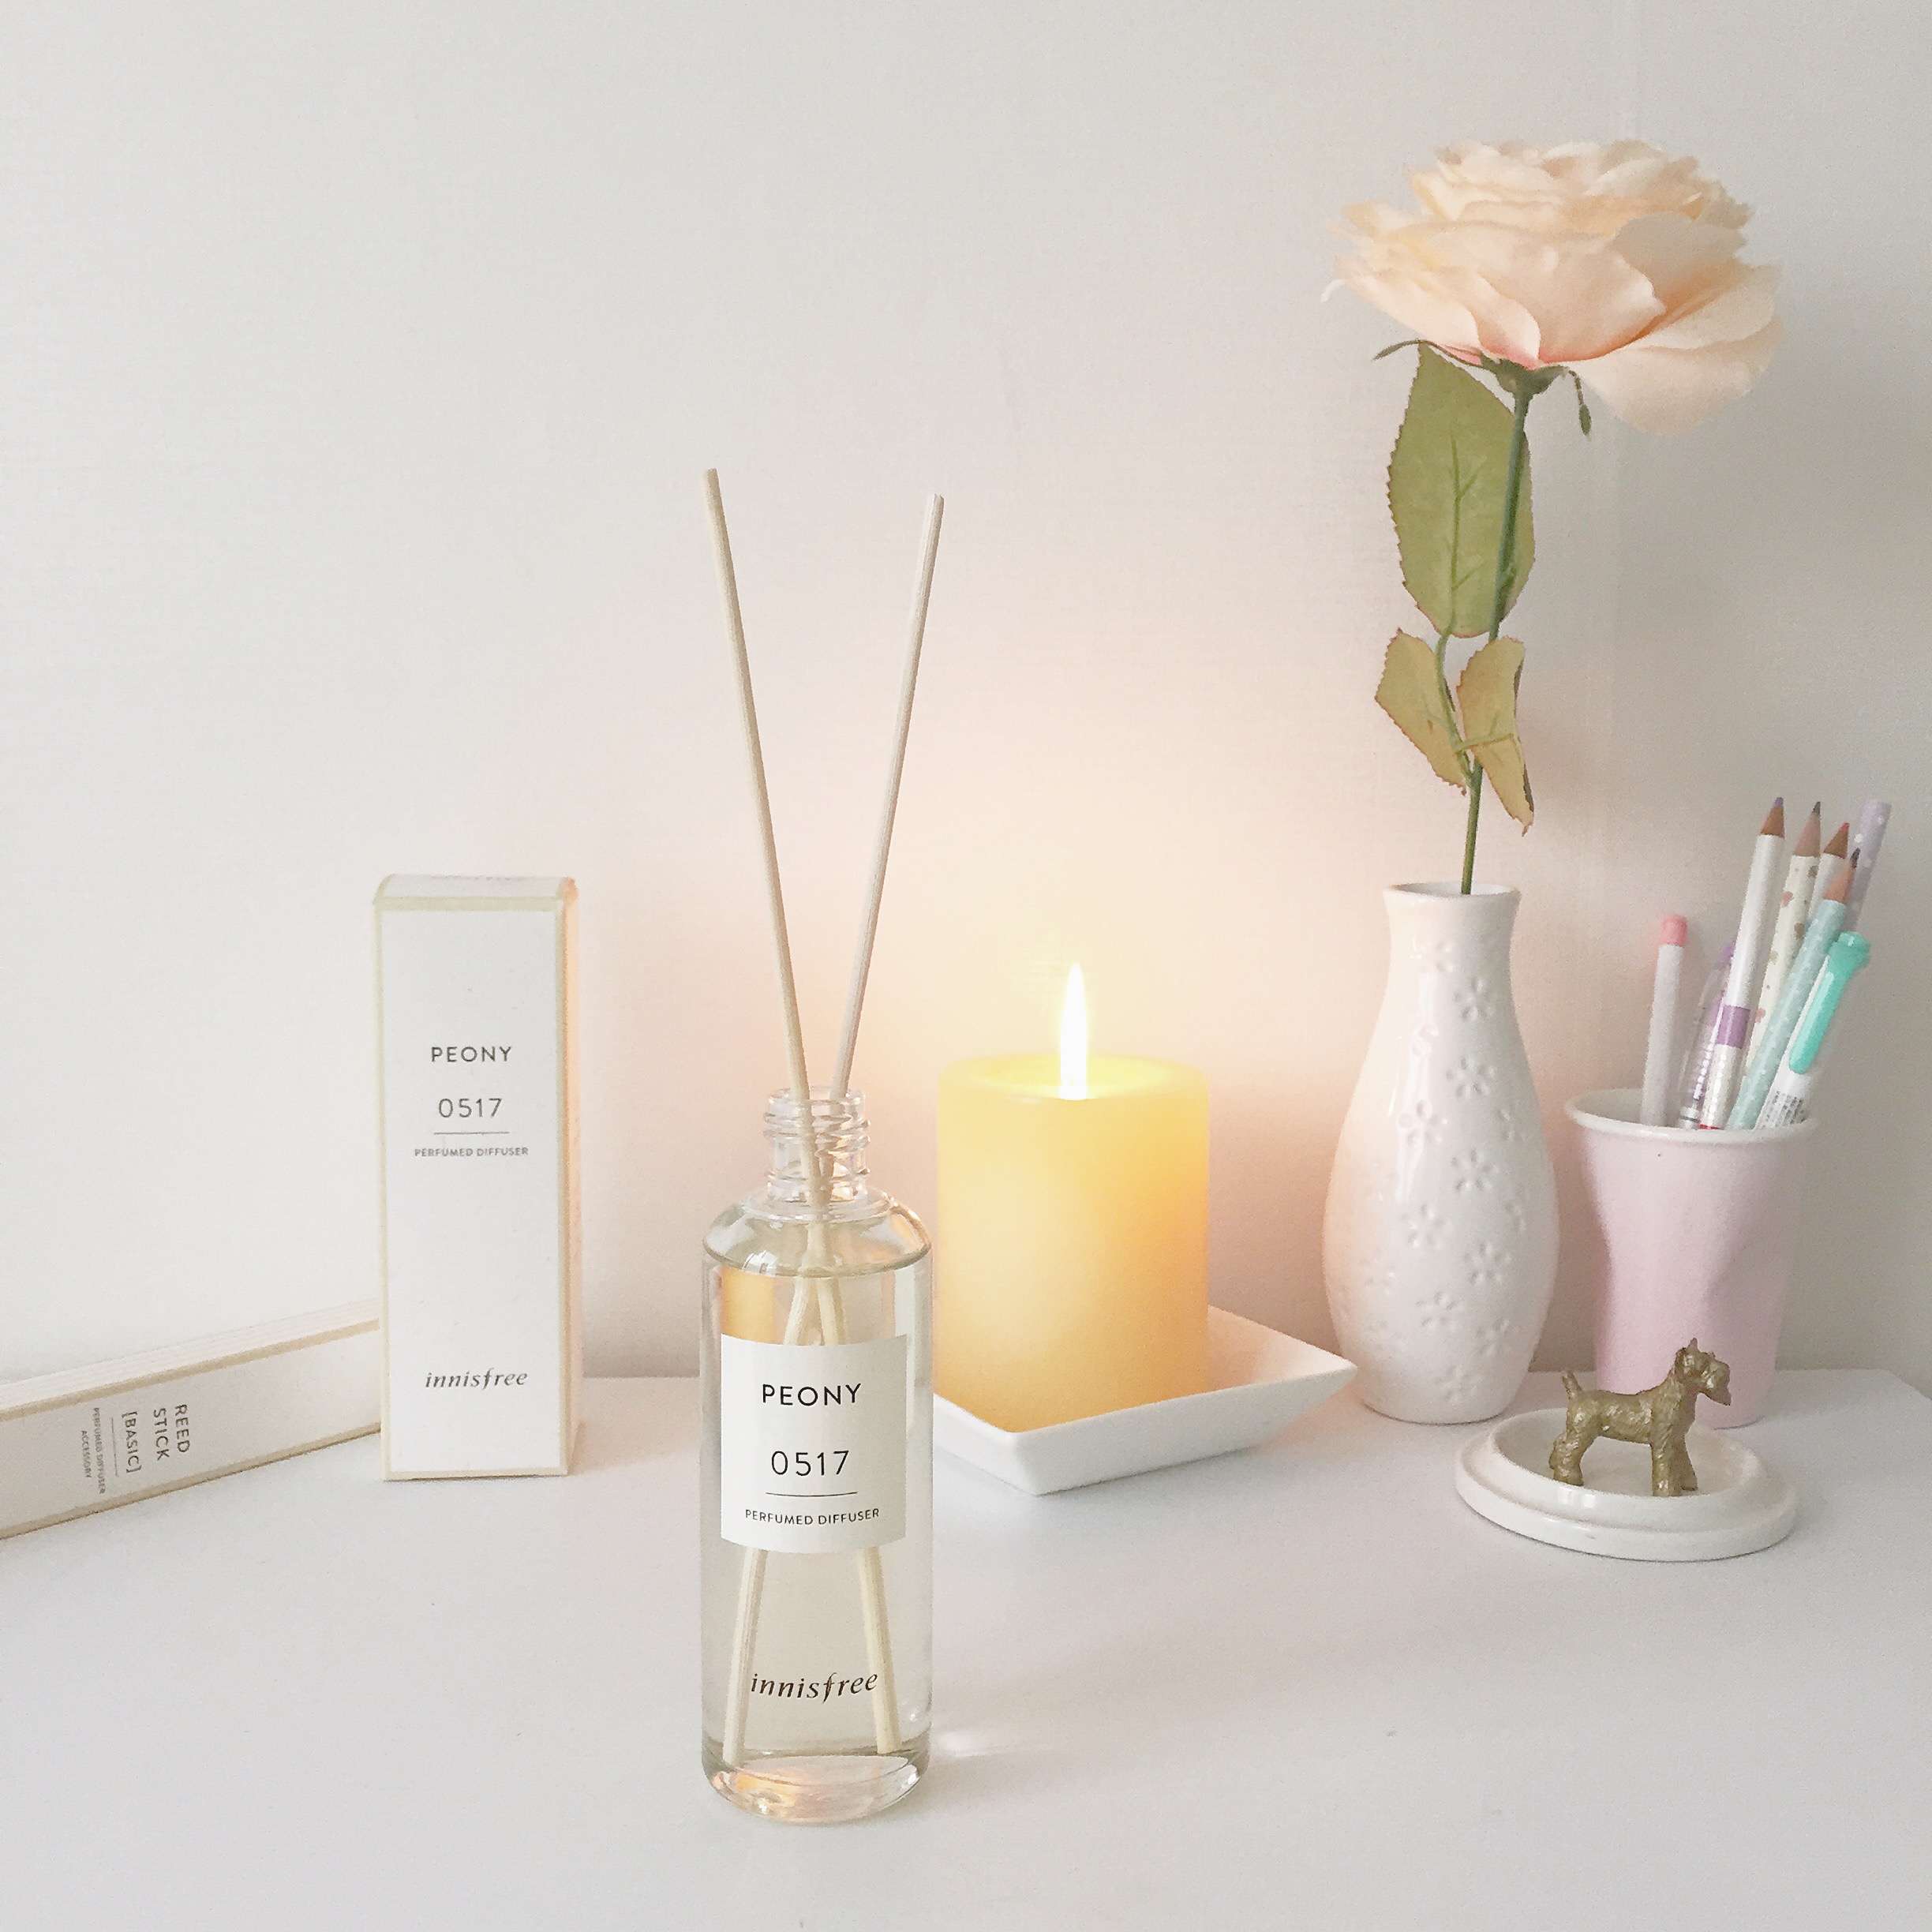

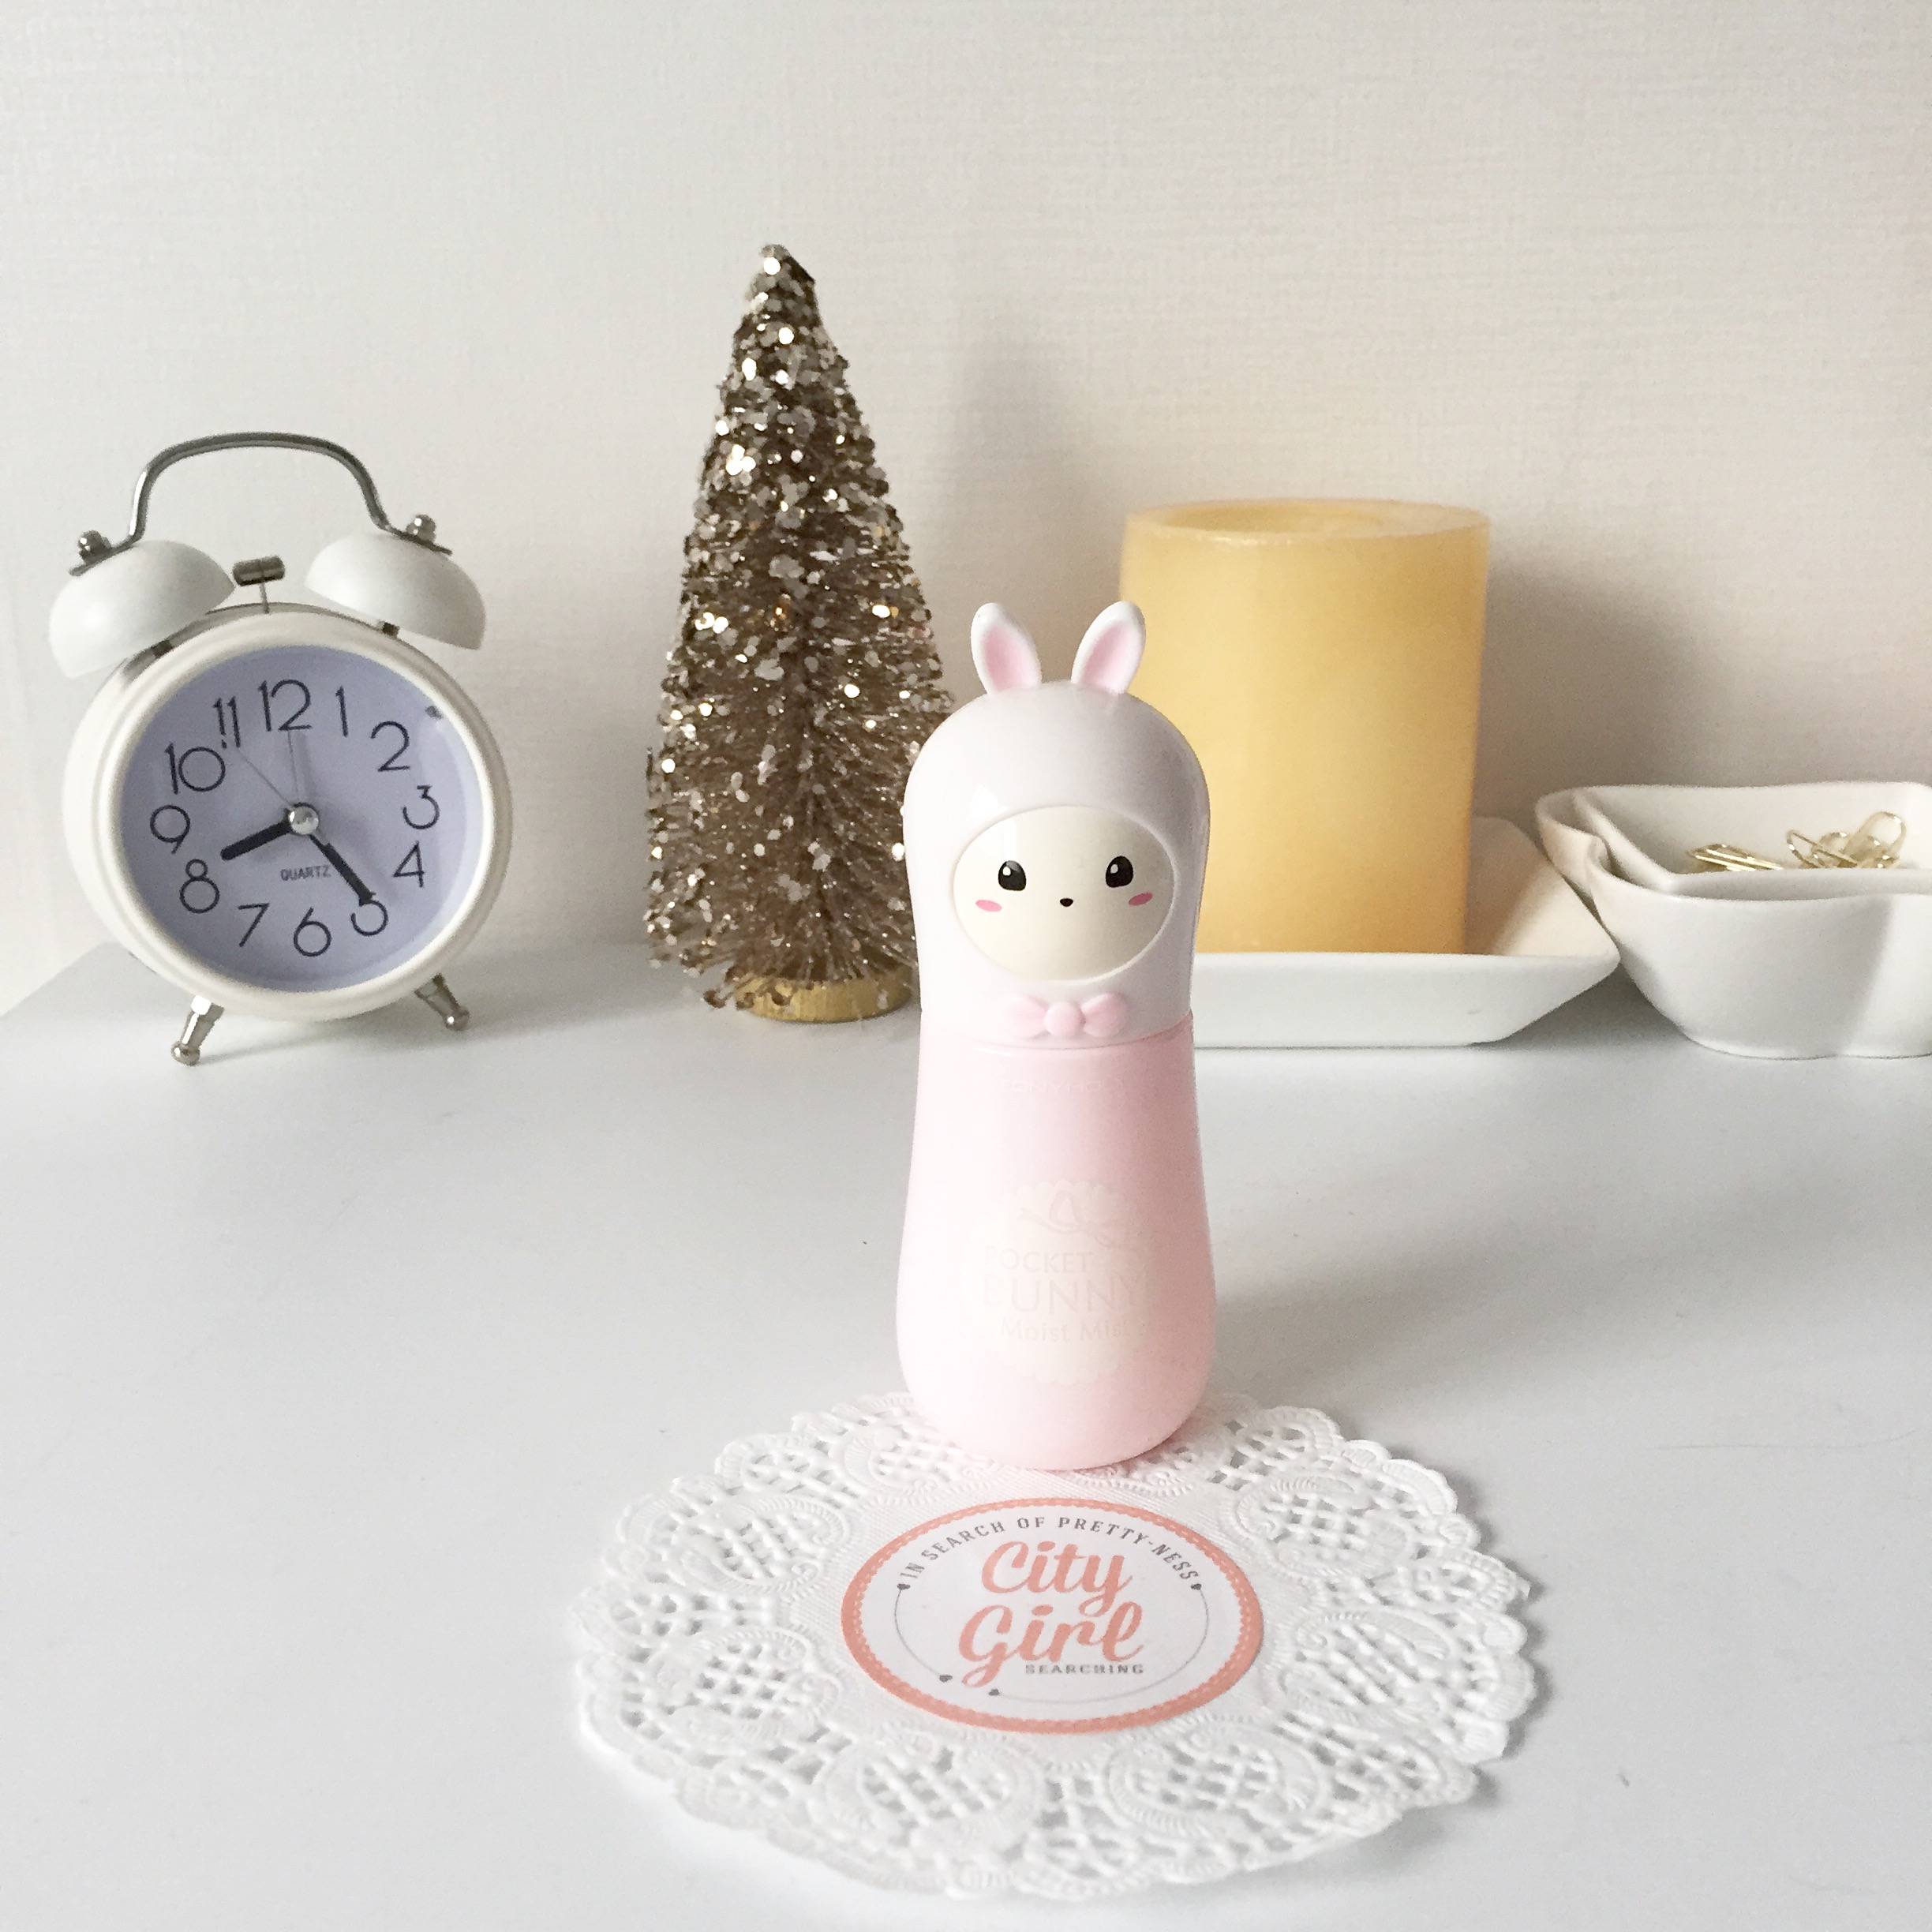
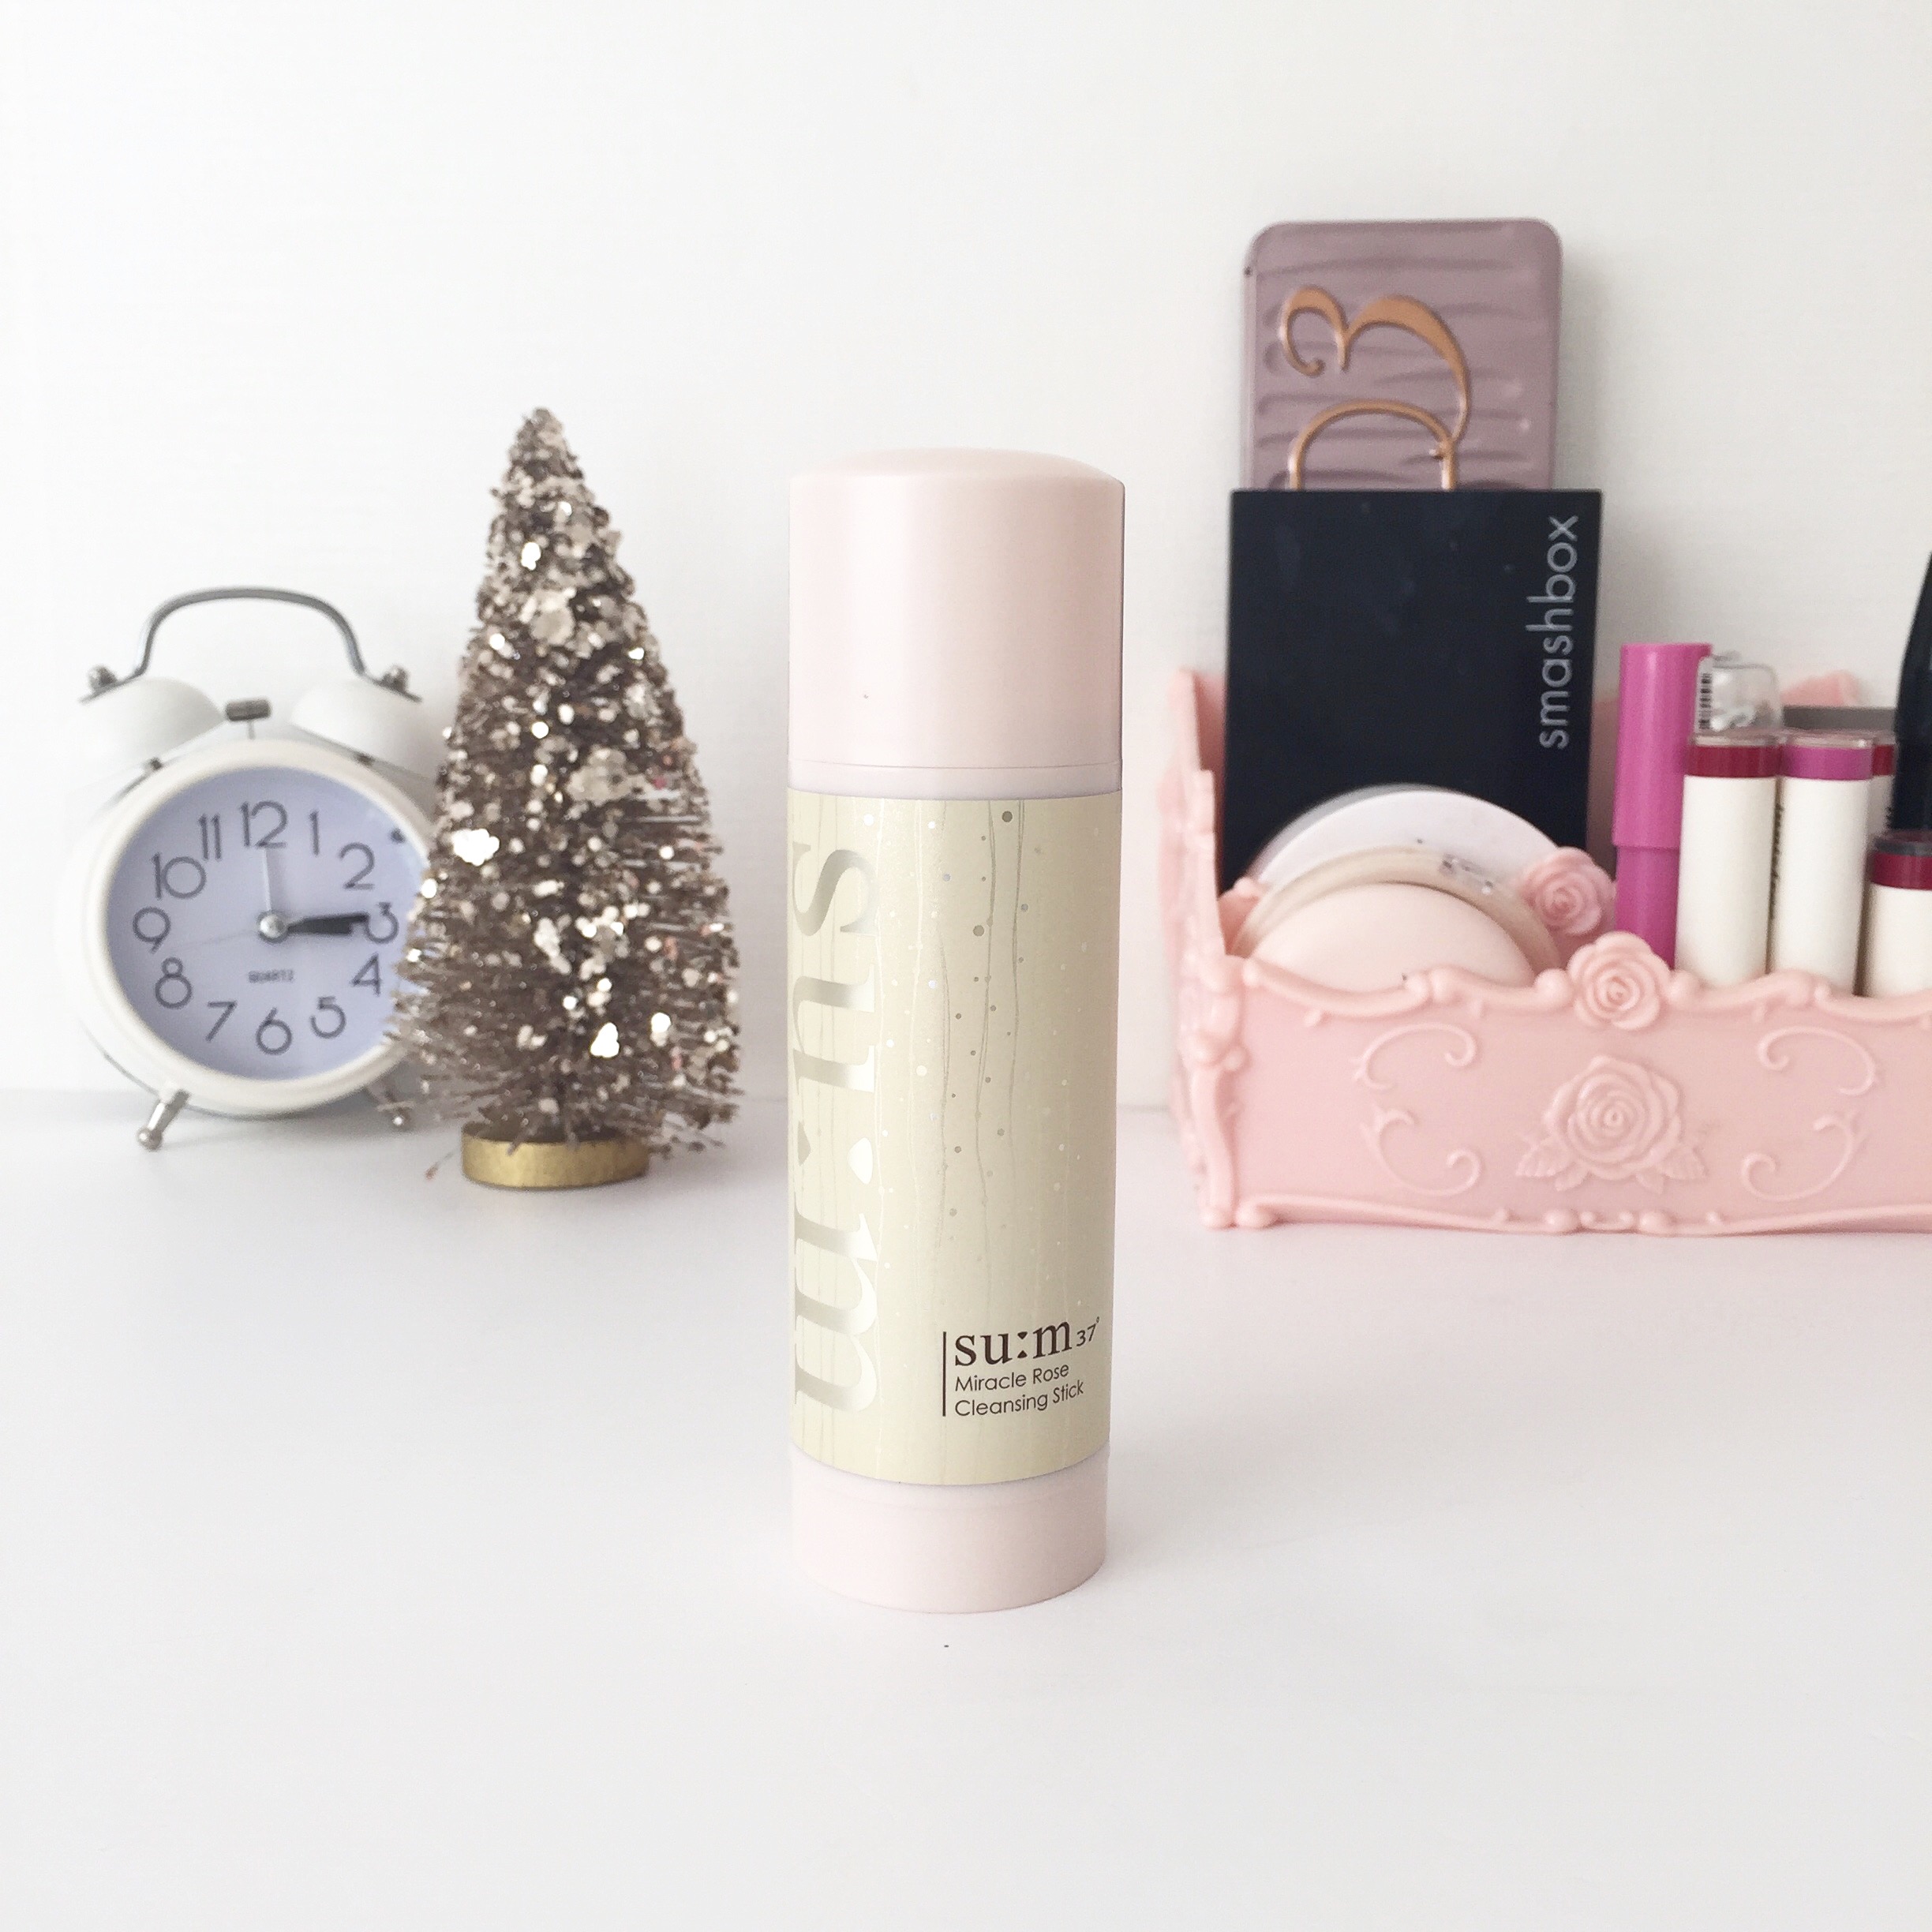
Try and look out for simple, budget friendly things that you can include in your blog images (& flat lays if you like to create them) that relate to your brand or business. The CGS (CityGirlSearching) brand colours are soft, romantic colours (pink & blush) and gold works really well with those colours. I also use a lot of white space in my blog design and so like to include white props in my photographs.
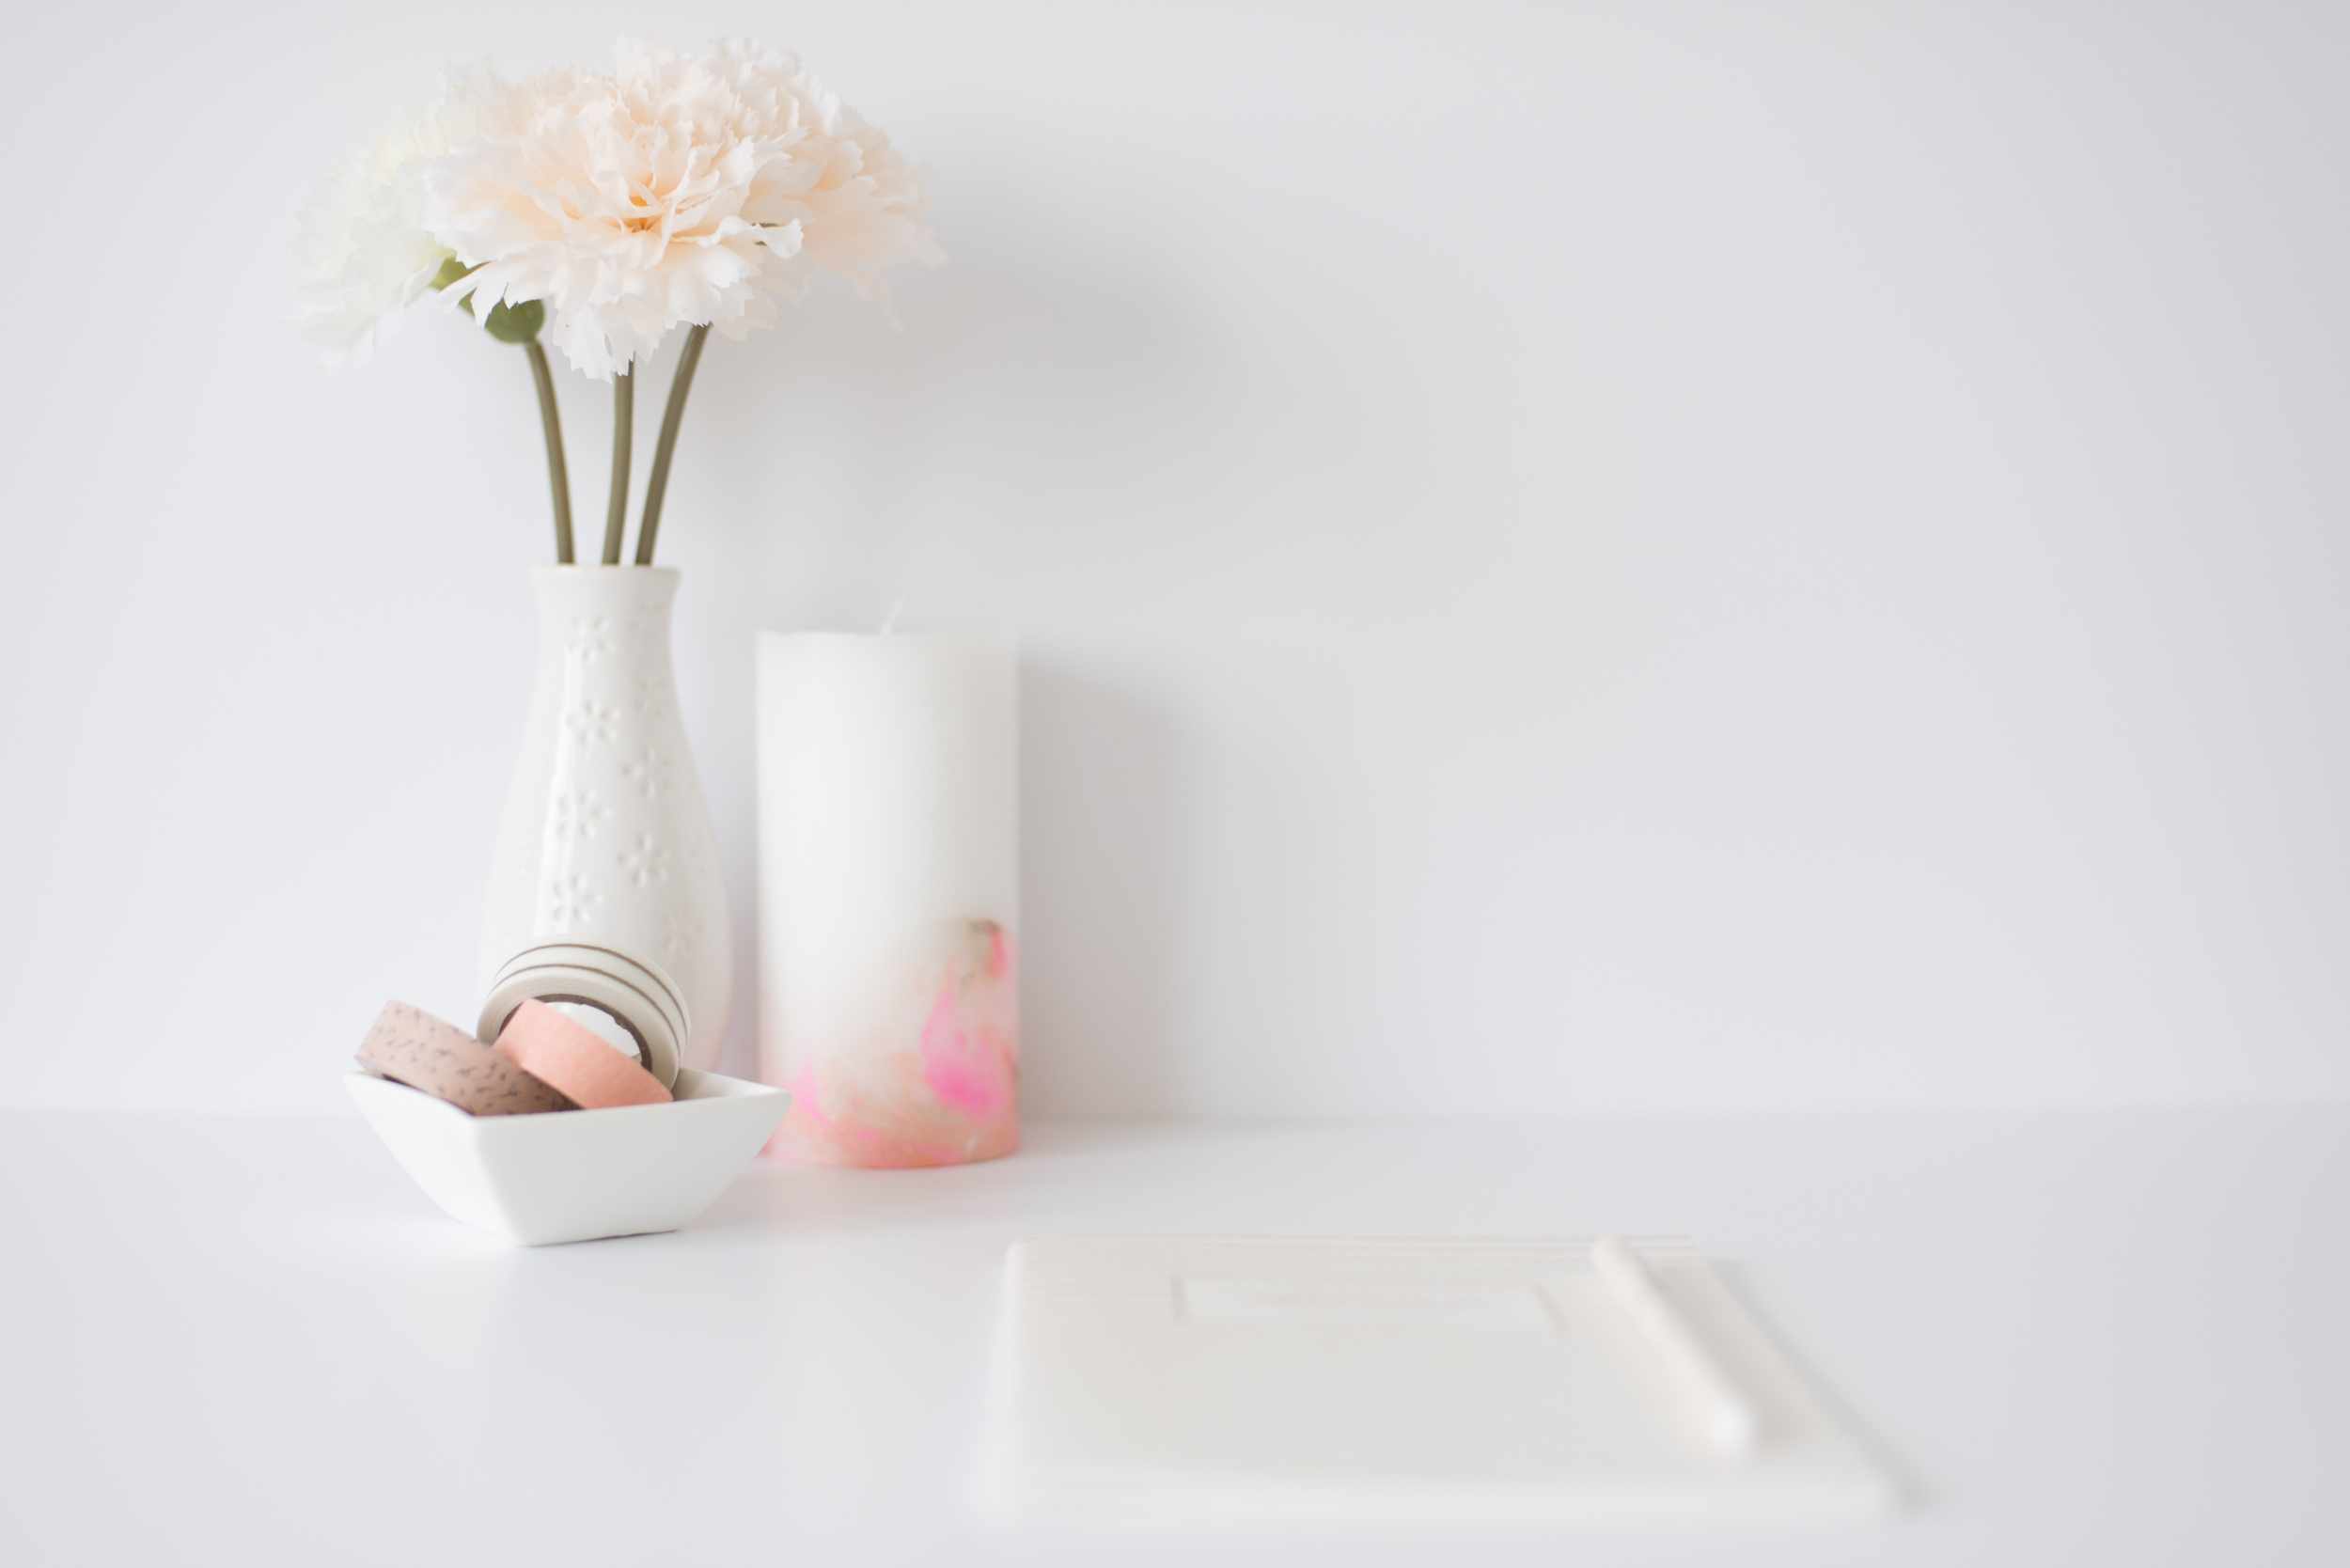
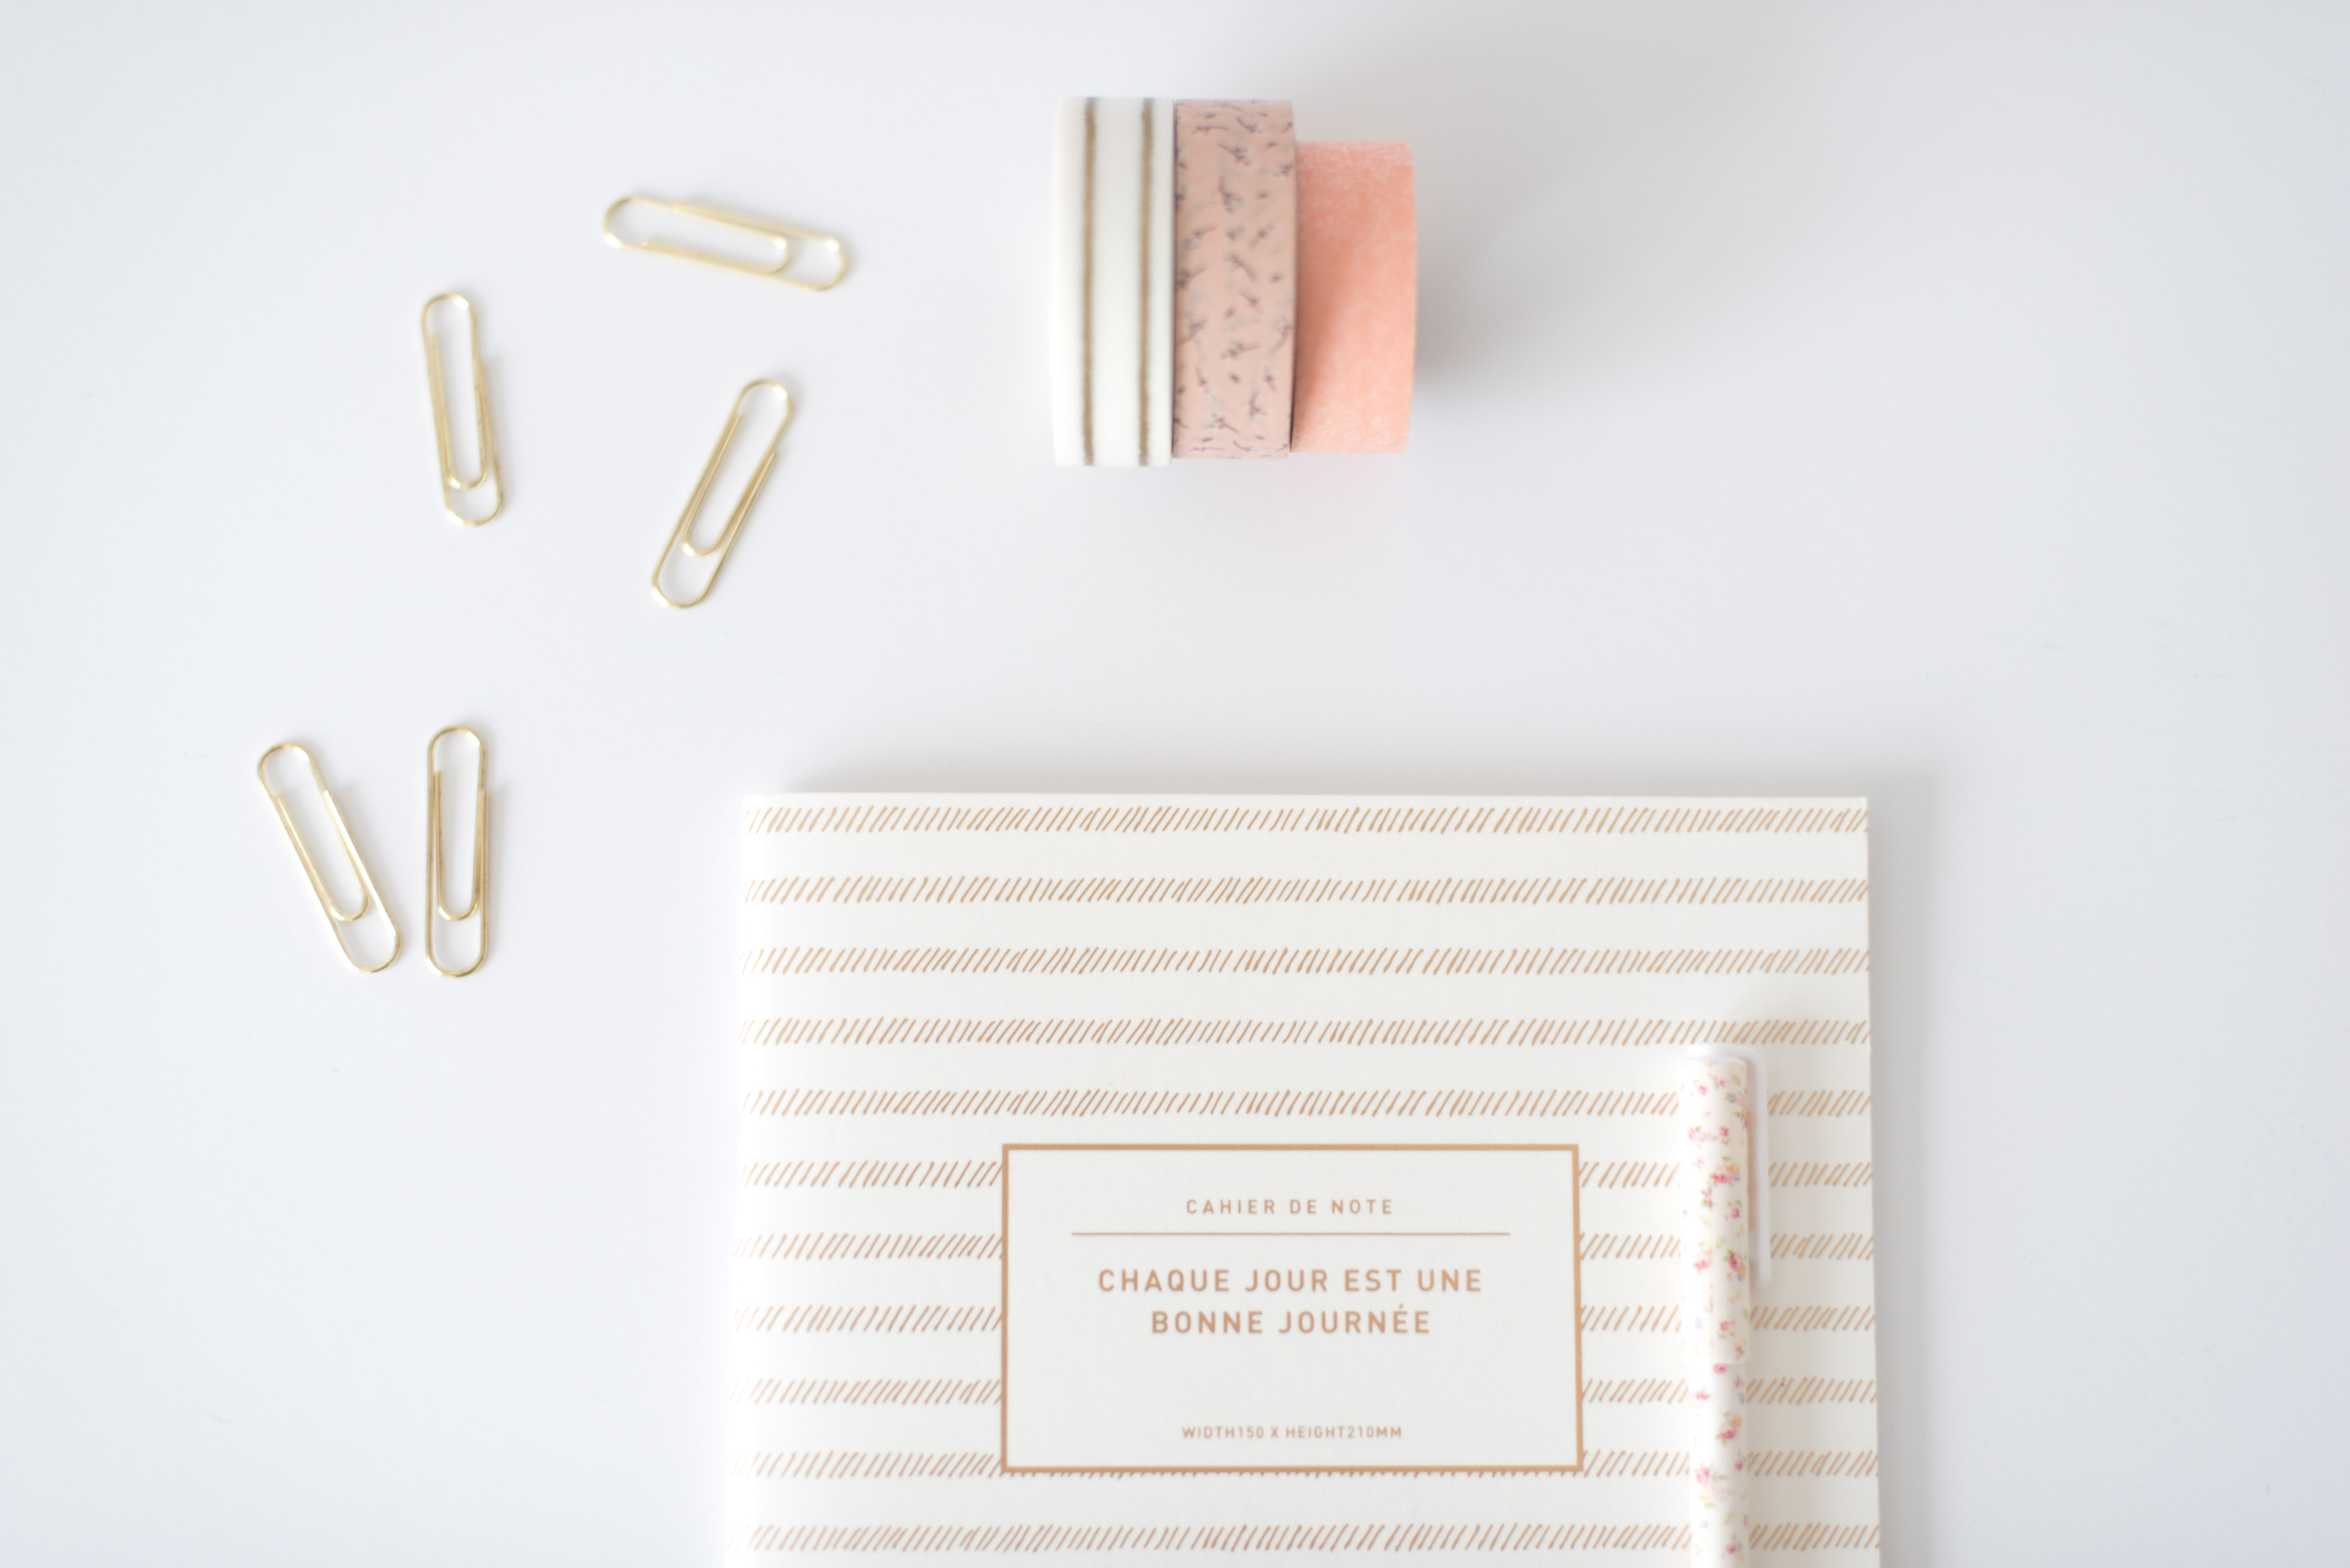
I own a stationery store (and live in the land of all the cute stationery) and so like to include a few bits of stationery in my blog photos too. I found a few simple, white ceramic bowls and plates at Daiso here in Korea (similar to the $Dollar$ stores in the US) that I also use from time to time to style my photographs.


It's nearly the ned of the year (where did the past 11 months even go?!) and that means that it's one of the busiest times of the year for most of us. To make your life a little easier when it comes to your blog & social media, I've created a set of Christmas styled stock photographs just for you.
If you're new around these parts, you might not know about the CGScreative Resource library; a treasure trove of resources for bloggers, creatives & business owners.
The CGScreative resource library is a FREE online space filled with blogging worksheets, business resources & helpful printables.
It's also filled with what has made my library famous; my stock imagery.
Here's a little sneak peek into what's inside.
WELCOME TO PART 2 OF THE #FROMBLOG2BIZ SERIES
In this post I'm sharing with you how I've made money with my blog (it's probably going to shock you), ways that other people have made money blogging (plus ideas for you) and how I plan on monetizing moving forward.
Let's get started right away!
What do you do if you just can't seem to figure out your camera? What happens when you spend hours and hours snapping photos on your phone for your latest blog post, but all the photos you've taken leave you feeling frustrated?
This is where I step in my friend!
You see, I understand that we can't do #ALLTHETHINGS when it comes to our blogs, and so, I created the CGScreative resource library.
I created the library to help creatives, just like you. When I first started blogging, there was nothing like this available to me, and because we all have to start somewhere, I have made this pretty online space, absolutely free.

Hello friends!
You might have noticed a few changes around here lately, and I'm so excited to share more about them with you now.
If this is your first visit here, welcome! I'm Roxy and I'm the blogger and photographer behind CGScreative the business, and CityGirlSearching the blog.
Confused?
Let me explain.
If you've been blogging for some time and especially if you've been looking into how you can make money from blogging, I'm sure you will have come across the term 'email list'. I'm sure you have heard loads of other bloggers and business owners talking about 'list building' and how 'the money is in the list' but perhaps you've been wondering not just why on earth you need a list for your blog but also what on earth you'd be sending those people. Can't your readers just follow you through Bloglovin' or Feedburner? Why do you need to invest your time into another form of marketing?
If you're anything like me, you've been pondering those questions. It's time to stop wondering and start doing & so today I'm going to tell why you definitely DO need an email list for your blog or business, plus I'm going to show you how you can start building yours today.

Brand Photography: What is it and why do you need it to grow your business?
As a blogger and photographer I am so excited to create this post for you and to explain how powerful brand photography is for your business. When I first started my own blogging journey over 6 years ago, I was grabbing random images from Google and sites like WeHeartIt and just throwing together blog graphics without paying much attention to my brand image. Since picking up my first fancy camera 4 years ago, I have seen first hand how much beautiful & purposeful images can really propel your brand and give it an edge that sets it apart from every body else. This is what I want for you, fellow creative! I want to show you how custom brand photography can really help you to grow your business.

Hi friend!
Today I'm so excited to tell you all about the latest CGScreative Photo Challenge that is happening over on Instagram for the month of June. You may remember the first photo challenge I did in April this year (which was a huge success with over 1200 submissions from people all over the world!). I received so many emails from the CGScreative community asking me if there would be another one, and so I am delighted to give a big resounding YES to that question!
First, a little bit more on the purpose of this challenge:
Instagram is all about ENGAGEMENT, it always has been and always will be. A lot of people have gotten rather upset about the algorithm changes that have been slowly rolling out since April, but I want to tell you it's not all bad news!
Instagram now aims to show us the content it thinks we like, based on our previous actions (ie. our likes and comments). This means that it is now more important than ever to be liking and commenting on those accounts that you really love and want to follow, rather than engaging with accounts that you hope will follow you if you spam their feed enough
With the above in mind, I started the CGScreative Photo Challenge in April, and have brought it back again for June. The challenge is a fun way for us all to engage with one another in a genuine way, while helping each other get seen by more people. Doing this grows your own audience and following as well as everyone else's...it's basically a win-win situation!
I'm coming up to my 6th year of blogging (what?!) and so I can safely say I know a thing or two about tools that help you blog better. Most of what we need to know about growing our blogs can be found on Pineterest, right? This is all very well, and I don't know about you but whenever I head to Pinterest to search for blogging resources I get sucked into images of beautiful quotes, cute puppies and ways to save space in my home (tell me I'm not the only one?).
So I thought I'd create this post for you, with a list of all the resources and tools I use when blogging. I've also created a useful printable cheatsheet of all these resources for you to print out to help you in your blogging journey. You can get your paws on this checklist in my *FREE* Resource Library (which is filled with stock photos and loads of other blog & biz resources) and which you can join below.
When I first started blogging back in 2010 (6 years ago...eeek!) I used to shamelessly copy and paste images from We Heart It, which was kind of the OG of the visual world before Pinterest came along. I had no idea about copy-write (in fact, I couldn't even really spell that word properly) never mind understand the legal ramifications of using someone else's work without giving them full credit.
It wasn't until 2012 when I came across an article from a blogger who had been sued for a HUGE amount of money after using someones photograph on her blog. The blogger had actually given the photographer credit in her blog post, but she hadn't asked him for permission to re-post his image and so she ended up going to court and was found guilty of intellectual property theft! Can you imagine being charged with a criminal offense for using an image on your blog? Madness!
I was terrified after reading that blog post and promptly set out to learn how to take my own photographs so as not to have to worry about image copy-right ever again! I ended up falling in love with photography, and have since gone onto to freelance and now go under the title 'professional photographer'. I understand that not everyone has the time, or the desire, to pursue photography full time, especially if their interests lie somewhere else, in writing for example or making or drawing or painting. This is where stock photographs come in and this is where I wave a little (pink) flag that says I've got you covered and have FREE STOCK PHOTOGRAPHS JUST FOR YOU!
Hi everyone!
In case you're new around these parts and have stumbled across this blog series, I thought I'd take a moment to introduce myself.
My name is Roxy and I am the blogger, photographer, planner, crafter, maker, designer and general busy-bee behind CityGirlSearching. I am South African, but have been living in South Korea with my husband and rescue pup (Shadow, who yes, has his own # and Instagram account and FB page because that's what you do these days) for the past 3/technically 4 years.
We are about to wrap up our final contract and will be heading home to South Africa at the end of June...yippeee!
In this series #FromBlog2Biz, I am going to be sharing with you my journey from blogger to business owner. In this post (Part 1) I want to share with you my blogging journey so far (it's been a good number of years) and to set the scene for you for where I am at right now and how I have been making money from my blog and how I plan to monetize moving forward from here.
I do hope you'll join me on this journey as I share with what I've done so far, what has worked and what hasn't. It's going to be an awesome adventure so let's get started right away.
I recently created and launched #BeautifyYourBlog an easy to follow, free online course for bloggers. Alongside this course, I created a handbook which I'd love to share more of with you today.
Making your blog look it's shiny best can be a difficult process...But it doesn't have to be.
When I first started blogging, I wish I had had someone show me the ins and outs of branding and what it means to build a brand around your blog.
I fumbled my way through the first 4 years of blogging, making so many changes and wasting so much time creating graphics for my blog that really didn't fit my style.
If someone had given me this handbook when I first started blogging, it would have saved me so much frustration, not to mention time.
This Handbook goes through the how's and the why's of branding your blog and most importantly, it shows you how you can do it yourself.

When I first started CityGirlSearching back in 2012 I didn't have the first clue about email marketing never mind how to even write a newsletter. But, it seemed to be what you did as a blogger, plonk a widget in your side bar with the title 'Sign up to my Newsletter'. I have no idea how I managed to get over 200 people to subscribe to my 'newsletter' because there really wasn't anything to get excited about in my emails.
In 3.5 years I managed to collect about 200 subscribers and send out about 5 emails to those people. I really had no idea what I was doing, but it seemed like 'the thing' to do and so I did it too. I sent out a few emails with my latest blog posts (again, because this seemed like something bloggers should do) and I sent a couple of emails with coupon codes for my stationery store. I wasn't engaging with my readers, and I felt bad every time I sent an email because I felt like I was spamming people. It didn't even occur to me that people voluntarily gave me their email addresses because they wanted to hear from me.
This is a long post, so grab your cup of coffee and let's dive into the nitty gritty of why I made the switch from Mailchimp to Convertkit, and why it's been one of the best business investments I've made.
About 3 months ago I started dipping my toe into the world of online business and passive income, and goodness me, it's a whole other world out there.
The idea of online businesses isn't new, people have been producing online courses and selling information products ever since the internet first began in 1969. What has changed dramatically is the people behind the courses. No longer do you have to have a doctorate in computer programming or some other fancy sounding degree, regular people like you and me are making money selling their social media strategies in the form of webinars, workshops and coaching packages.
Sounds wonderful doesn't it? Being able to make money doing what you love. Isn't that so many people are striving to do? Striving to free themselves from their 9-5's to make more money and have more time to do the things they love?




Welcome to Part 3 of my Borneo Travel Guide. My husband and I spent two weeks exploring Malaysian Borneo in July 2015. We had a great time, and would definitely recommend it. We had a few ups and downs, mainly due to the environmental damage we saw pretty much everywhere, it was terribly sad to see so much deforestation. I probably wouldn't have noticed it if I was traveling with anyone else, but Farmboy was an environmental consultant is his former life and so was more aware than me (I thought there was a lot of green but what I thought was natural vegetation was 9 times out of 10 palm oil plantations). We also knew very little about Borneo (apart from the fact that it is one of the last places where you can see Orangutan in their natural habitat), and actually ended up deciding to go there because it had the cheapest flights and seemed like a very unique holiday destination.
You may be thinking of heading to Borneo soon (or sometime in the future) so to help you plan your trip, I have put together this travel guide, as well as some tips from our stay. Please keep in mind that my husband and I may travel very differently to you, and have different likes and preferences for things. I prefer the more luxurious path, while Farmboy would stay in a hammock for the entire trip if it was up to him. So we plan accordingly, and of course, try to stick to the budget.