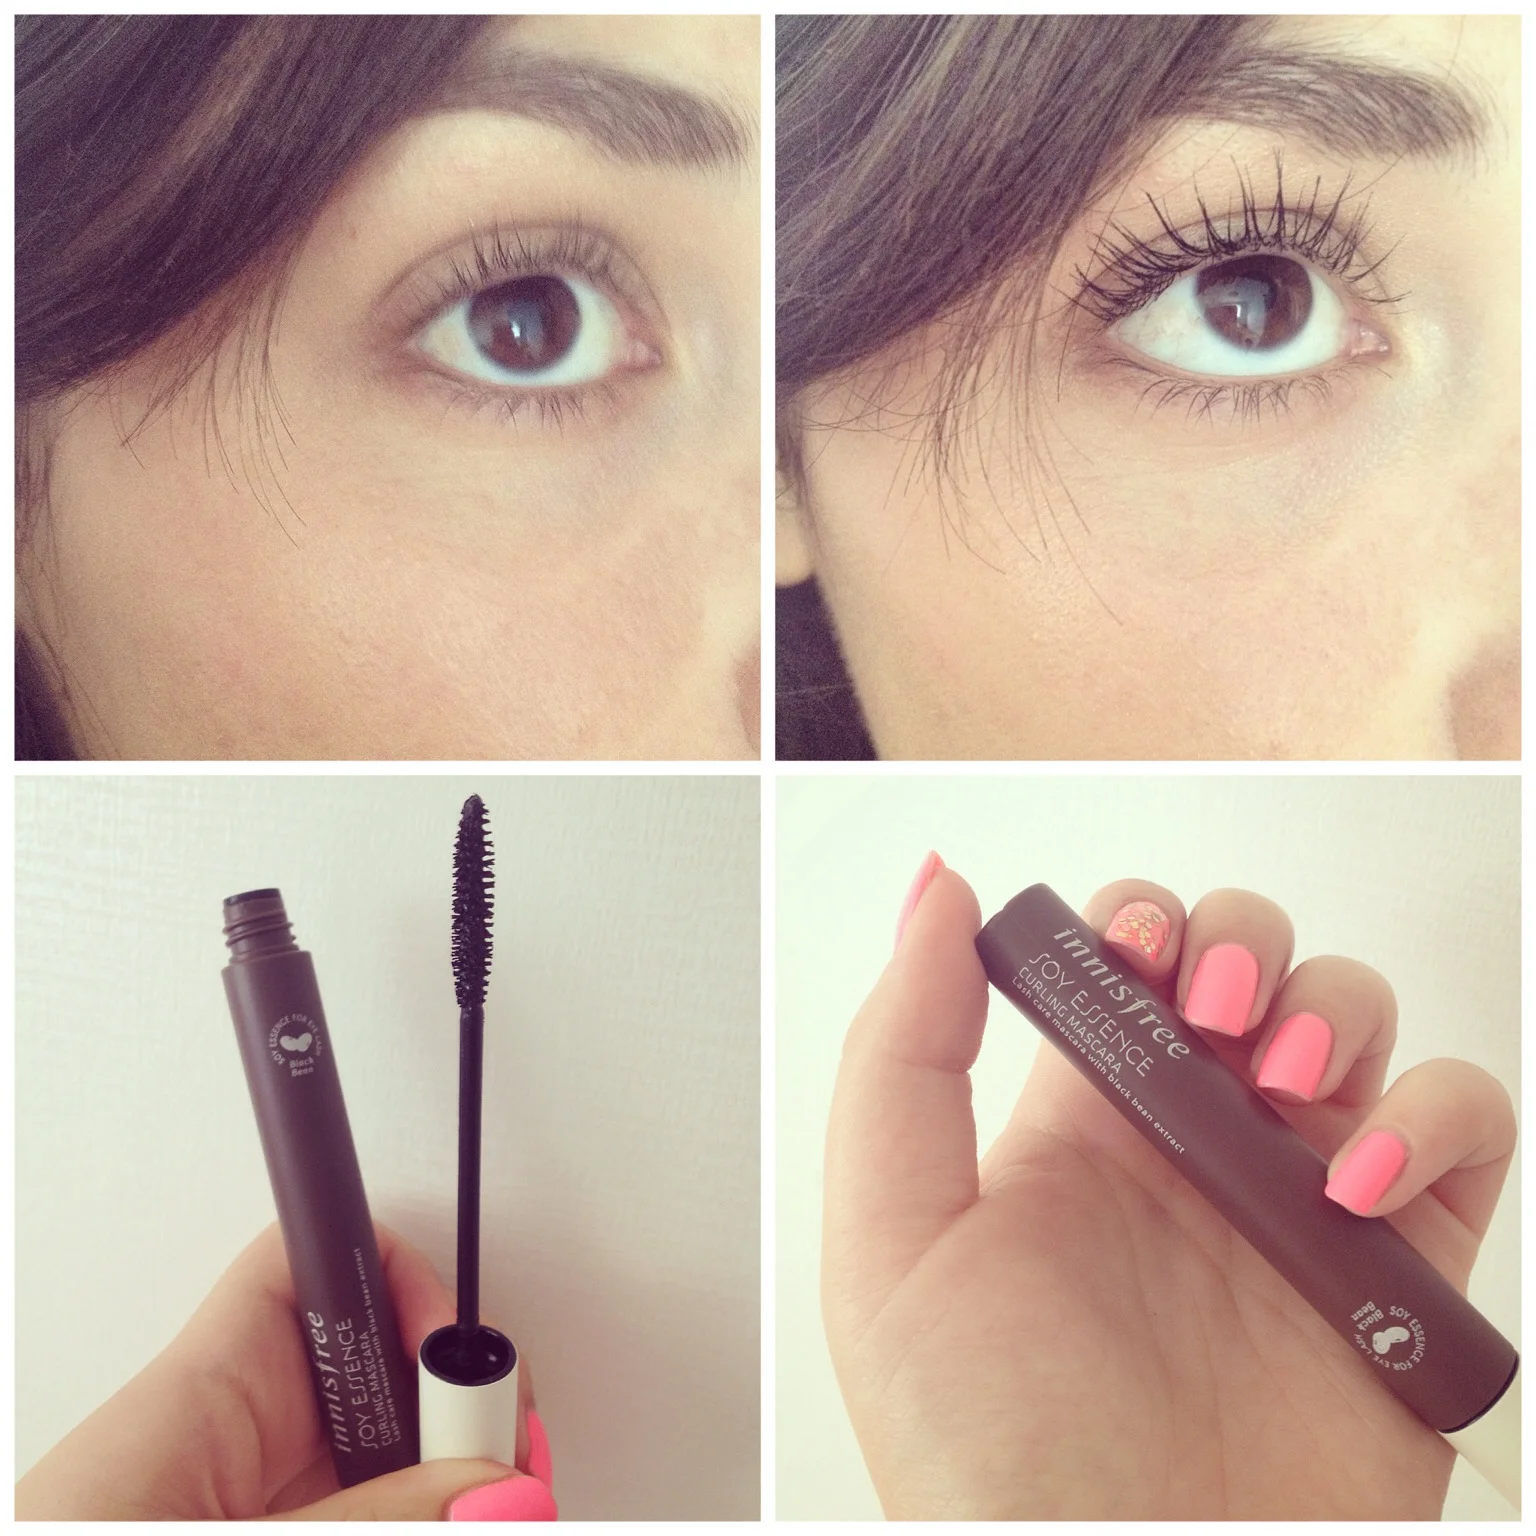
Innisfree Soy Essence Curling Mascara {Review}

InnisfreeSoyEssenceMascaraReview

Who doesn't love a mascara that actually does what it says? This curling mascara from Innisfree does exactly as promised and curls my lashes to infinity. It doesn't provide much volume, but who needs volume when your lashes reach sky high right? My only grouch with it is just how tough it is to remove. You really need to go to town with your makeup remover, and even then you will probably need to do a double cleanse of your favourite cleanser; mine being this gentle deep cleansing oil from Klairs

But, even though it's hard to take off at the end of the day, this means it is most definitely able to stand up to a good cry or even worse, the hot and humid Korean summer which is well on its way.

InnisfreeSoyEssenceCurlingMascaraReview

The brush that comes with this Soy Essence Curling mascara is perfect for reaching each and every lash. You do need to work quickly though to avoid clumps. I find using an eyelash curler first before applying this mascara works best for me.

InnisfreeSoyEssenceCurlingMascaraReview

And now for some blurry Instagram photos to show you just how magical the length of your lashes can be.

InnisfreeSoyEssenceCurlingMascaraReview

Are there any Korean mascaras you've tried that you love? I'd love to hear from you in the comments below!

The #Hashtags you should be using on Instagram to get your photos noticed + FREE Printable Guide

When I first started using Instagram I was very afraid of the hashtag. I thought using them made me sound cheesy, like I was trying to be cool. But, having been an avid Instagram user for a while now I feel confident in saying that using hashtags will get you more likes and more followers and increase your engagement.

Why?

Well hashtags are a way of categorising your photographs so they are grouped together. This means you can look for things really easily. If you're a beauty blogger and you want to connect with and find other beauty bloggers you might use the following hashtags: #bblogger #beautyblogger #fotd (Face Of The Day)

By tagging your photographs with these hashtags you are ensuring your photo appears in anyones search for that particular subject. If you don't use hashtags, then the only people that can see your photos will be your followers. If you want to keep your photos private then you might deliberately choose not to use hashtags, but if you want to grow your blog/brand using hashtags will help your photographs be seen by more people. 

TIP: create a note on your phone with the hashtags you use most often (for me these are the hashtags under the 'lifestyle' heading below) and save it. That way you don't have to wrack your brains trying to remember all the hashtags and you can simply copy and paste them into the description box or comment below your photo.

There are hundreds of thousands of hashtags out there, and you can also make up your own like I did with #ShadowTheJindo & #WhatILoveMostAboutMarriage (although a few random people have popped on that one and started tagging their photographs with it so be open to the the idea that you can't 'own' a hashtag and anyone can tag their photographs with that particular tag and their photo will appear under it).

If you have a blog and want to create more of awareness for your brand as a blogger, why don't you consider starting a hashtag? It's not pretentious at all, see it rather as a way to connect with more people and to keep your ideas/photos categorised and easy to find. 

Here are some lists of the Hashtags I use when I post different things to Instagram. Some of them may seem obvious, but these are usually the tags that are widely used. Others I have found via searches and my own network of followers.

Beauty Products/Make up

  • #bblogger
  • #beautyblogger
  • #beautyjunkie
  • #beautyinkorea (if posting about a Korean product)
  • #southkoreanbeautyproducts
  • #skincare
  • #motd (makeup of the day)
  • #fotd (face of the day)
  • #beauty
  • #makeupaddict
  • #makeupjunkie

Nails

  • #notd (nails of the day)
  • #manimonday (when posting on a monday)
  • #manicure
  • #nailstagram
  • #instanail
  • #nailswag
  • #nailsofinstagram
  • #nailinspo

Dog

I had no idea that so many people had Jindos as pets until I started using hashtags! I found so many wonderful new friends to follow who share the same passion as I do for this unusual breed of dog. If you'd like to read more about our rescue pup, #ShadowTheJindo click here

  • #instajindo (or insta-  insert your dogs breed here)
  • #instapuppy
  • #dogsofinstagram
  • #woofwoof
  • #ilovemydog
  • #dogoftheday
  • #dogsagram 
  • #petsagram
What hashtags to use on Instagram

General Blog/Lifestyle Content

I have been using the following hashtags on all my photographs for the last 2 weeks and have noticed a general increase in engagement. These tags are really popular and are suited for lifestyle bloggers (those of use who post all sorts of content that doesn't always fit into one category).

  • #thatsdarling
  • #thehappynow
  • #petitejoys
  • #livecolorfully
  • #howyouglow
  • #myunicornlife
  • #abmlifeissweet (From the awesome blog A Beautiful Mess...there are a number of different hashtags you could use from A Beautiful Mess to connect with likeminded people)

The great thing about Instagram is that you can add new hashtags to your photographs after they have been posted and that way you can make sure to categorise even your older photographs. There are no hard and fast rules to Instagram so play around and have fun with your hashtags!

If you don't want to look like you are spamming Instagram with your hashtags you can post a few in the image description of your photo, and then post the rest of them in a comment under your photo. That way once people start commenting on your photo, your own comment with the hashtags will be pushed up to the top and hidden by the other comments. Its a little sneaky way to seem a little less brash while still getting your photos seen. 


To help you remember all of the hashtags mentioned in this post, I created a free cheat sheet just for you! This cheat sheet was created exclusively for members of my #CGScreative community. By joining this community of over 900 creatives you'll gain exclusive access to the CGScreative resource library. The resource library is filled with loads of worksheets, printables and what has made this community famous, beautiful stock photoraphs. Best of all, it's free to join! Simply click the image below to find out more:


What hashtags do you use when posting on Instagram? If you're on Instagram come by and say hello (@roxyhutton) I love making new friends there!

Camping in Korea - Yongdam, Jinan 섬바위캠핑장

Camping in Korea - Yongdam, Jinan 섬바위캠핑장

If you have a car here in Korea then camping is super easy and a wonderful way to spend the weekend. Even if you don't have a car, you can easily get to most camping spots by bus or train and if you have an International Drivers license you can easily and rather cheaply hire a car too! 

Camping is a very affordable way to spend the weekend, and the cost of your camping gear is easily covered by your first or second trip when you compare it to the cost of staying in a motel. Also, as we have a large dog, and so camping means we don't have to worry about him when it comes to finding places to stay here. Korea is not very dog friendly, and it is near impossible to find places to stay that allow dogs (especially bigger ones) and so camping makes life easier. And it's far more fun!

Read More

Bali & the Gili Islands Travel Guide

Welcome to Part 2 of my Bali Travel Guide. Part 1 was all about Ubud, which is where Farmboy and I landed from Korea and spent the beginning and end of our trip in July 2014. This part of the Bali travel guide is all about the Gili Islands.  We spent the middle of our trip, a total of 5 nights on these magical islands. 

The Gili Islands are made up of of 3 small islands (Gili Trawangan, Gili Meno & Gili Air) on the East coast of Bali. Gili Trawangan is the biggest of the three and home to the majority of restaurants and resorts. Gili Meno & Gili Air are the two smallest islands, with Air being the most remote. If coming from Bali mainland you will arrive by fast boat (a terrifying 1.5 hour ride...more on that to come later in this blog post) but you will arrive in one piece on Gili T (Trawangan). From there you can charter a private boat to Gili Meno or Air (usually for about $15) or you can take the public boat which only goes across to the smaller islands a few times a day. Prices for the public boat were about $3 pp. All of the Gili Islands are walkable, and there are no motorised vehicles allowed on them and everyone gets around by walking or using either bicycles or horse/donkey drawn carts called Cidomos. 

GiliIslandsTravelGuideBali

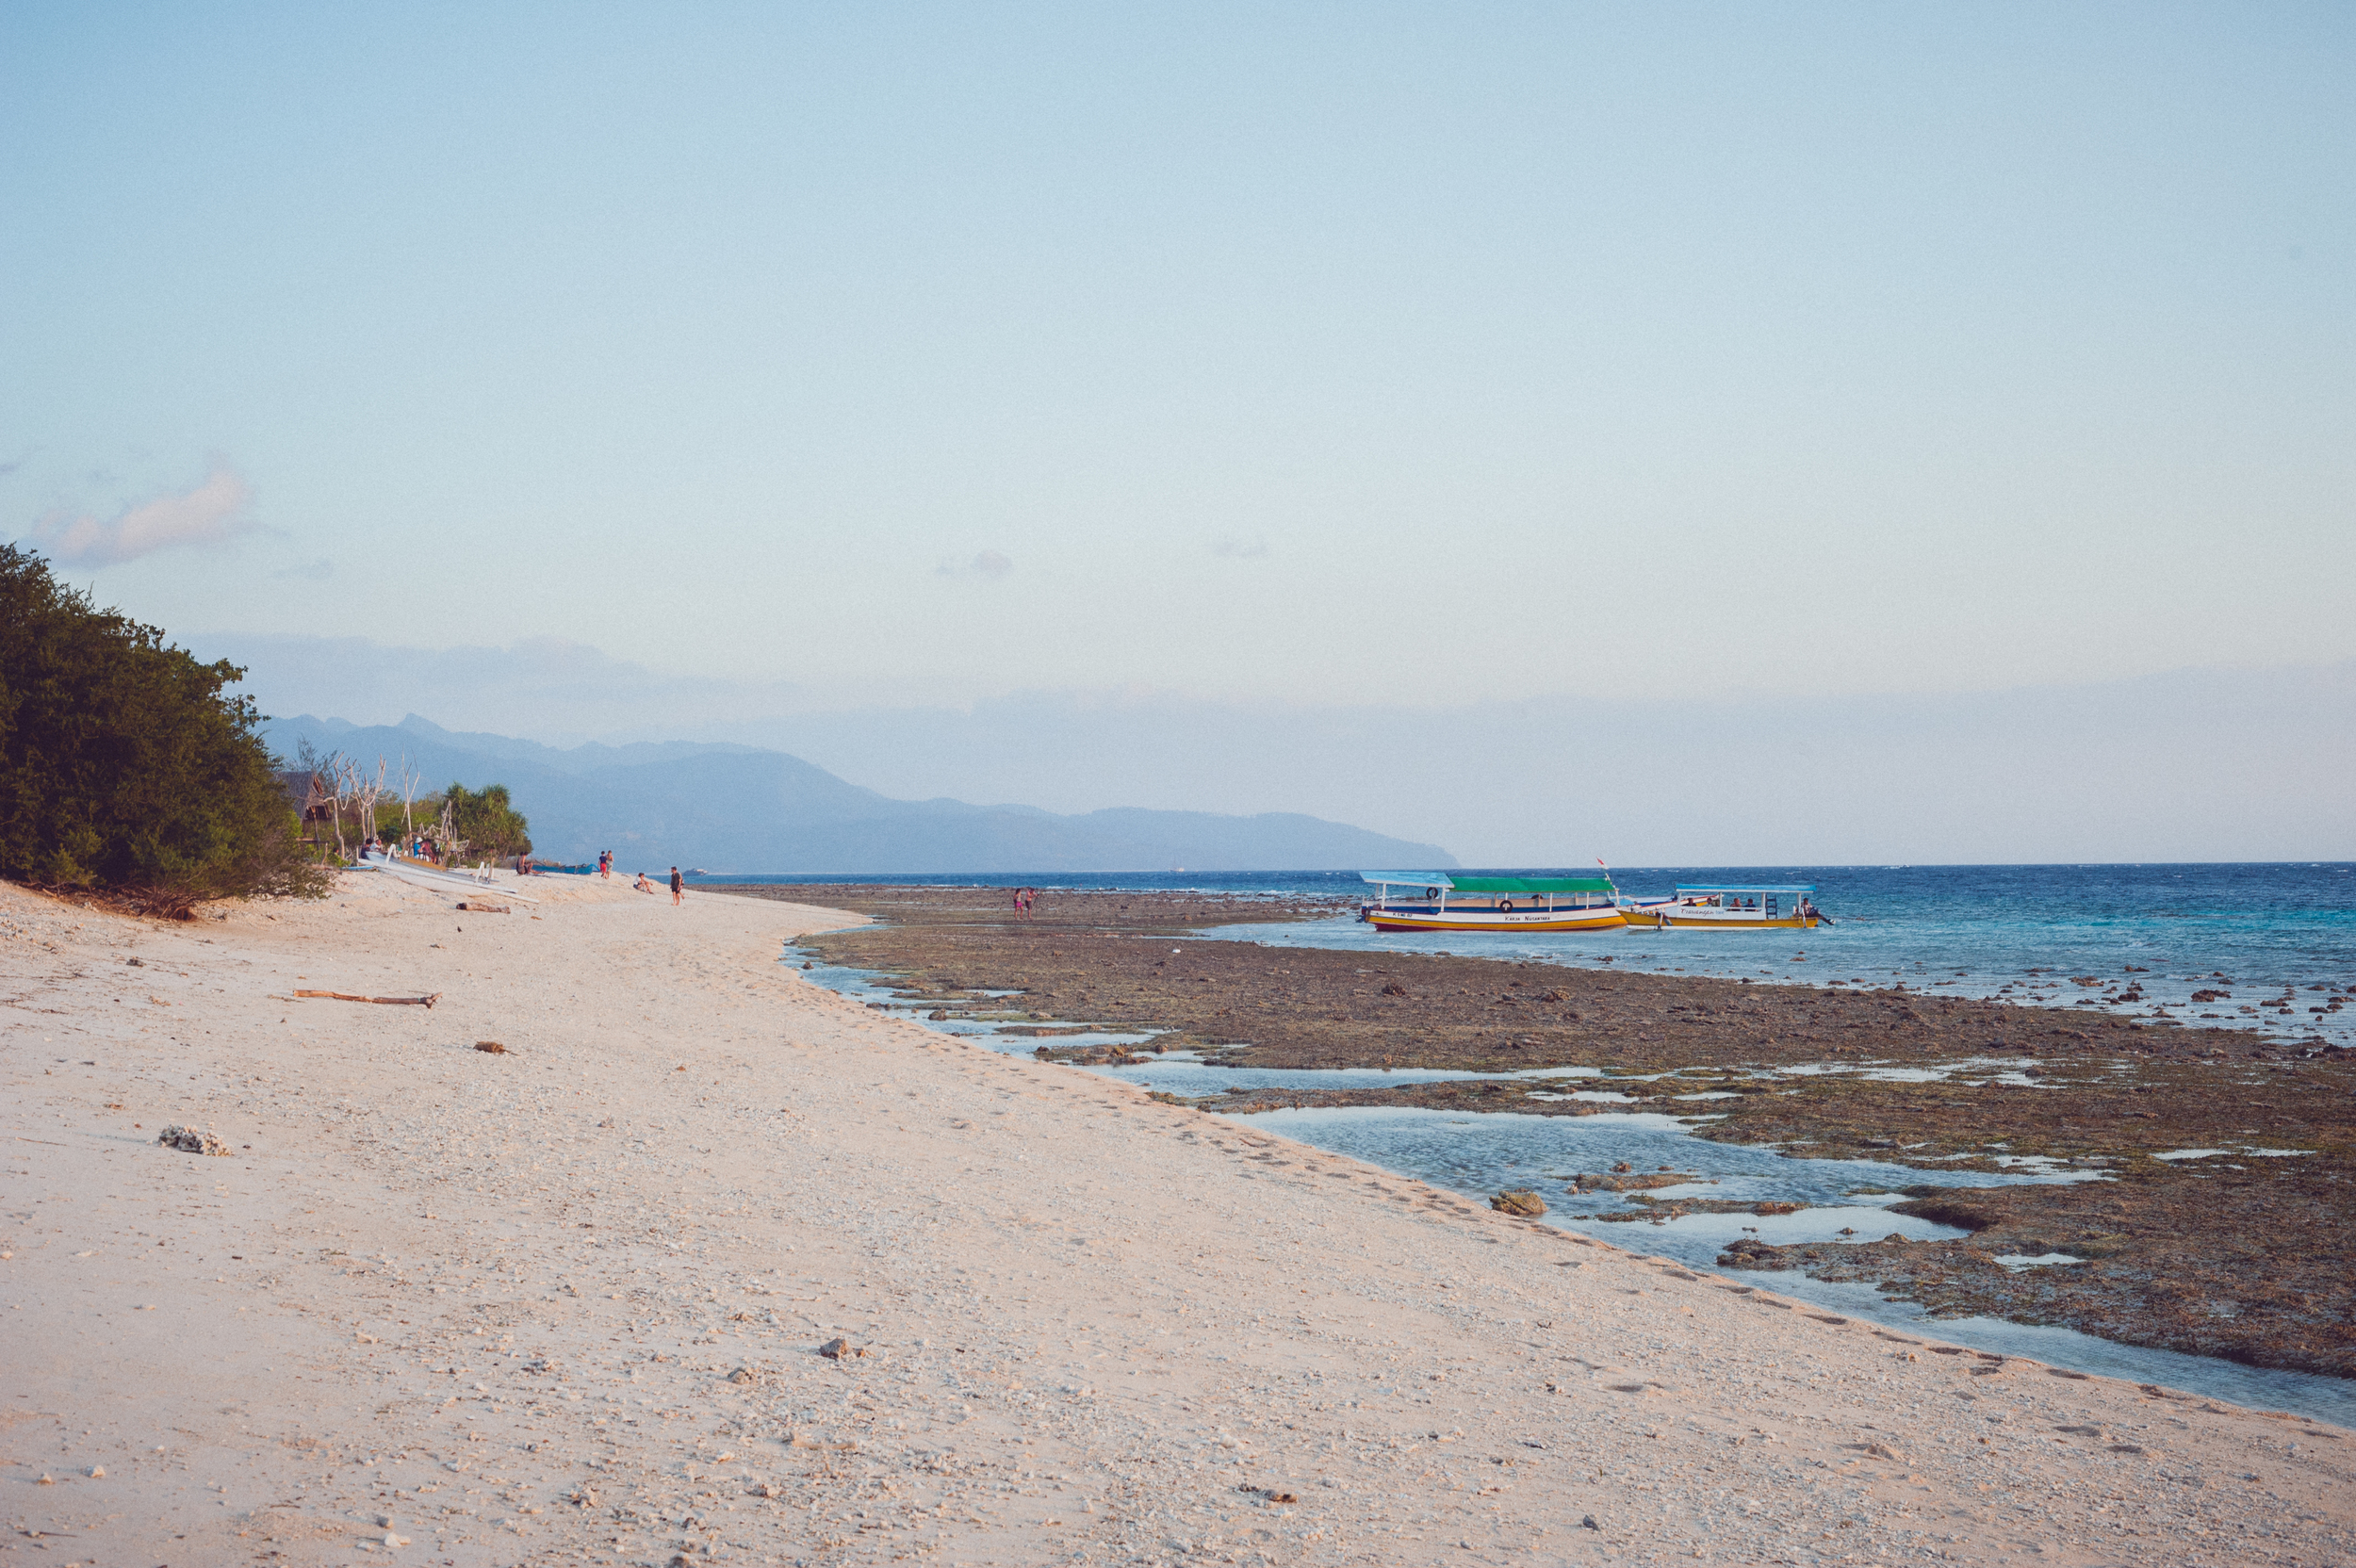
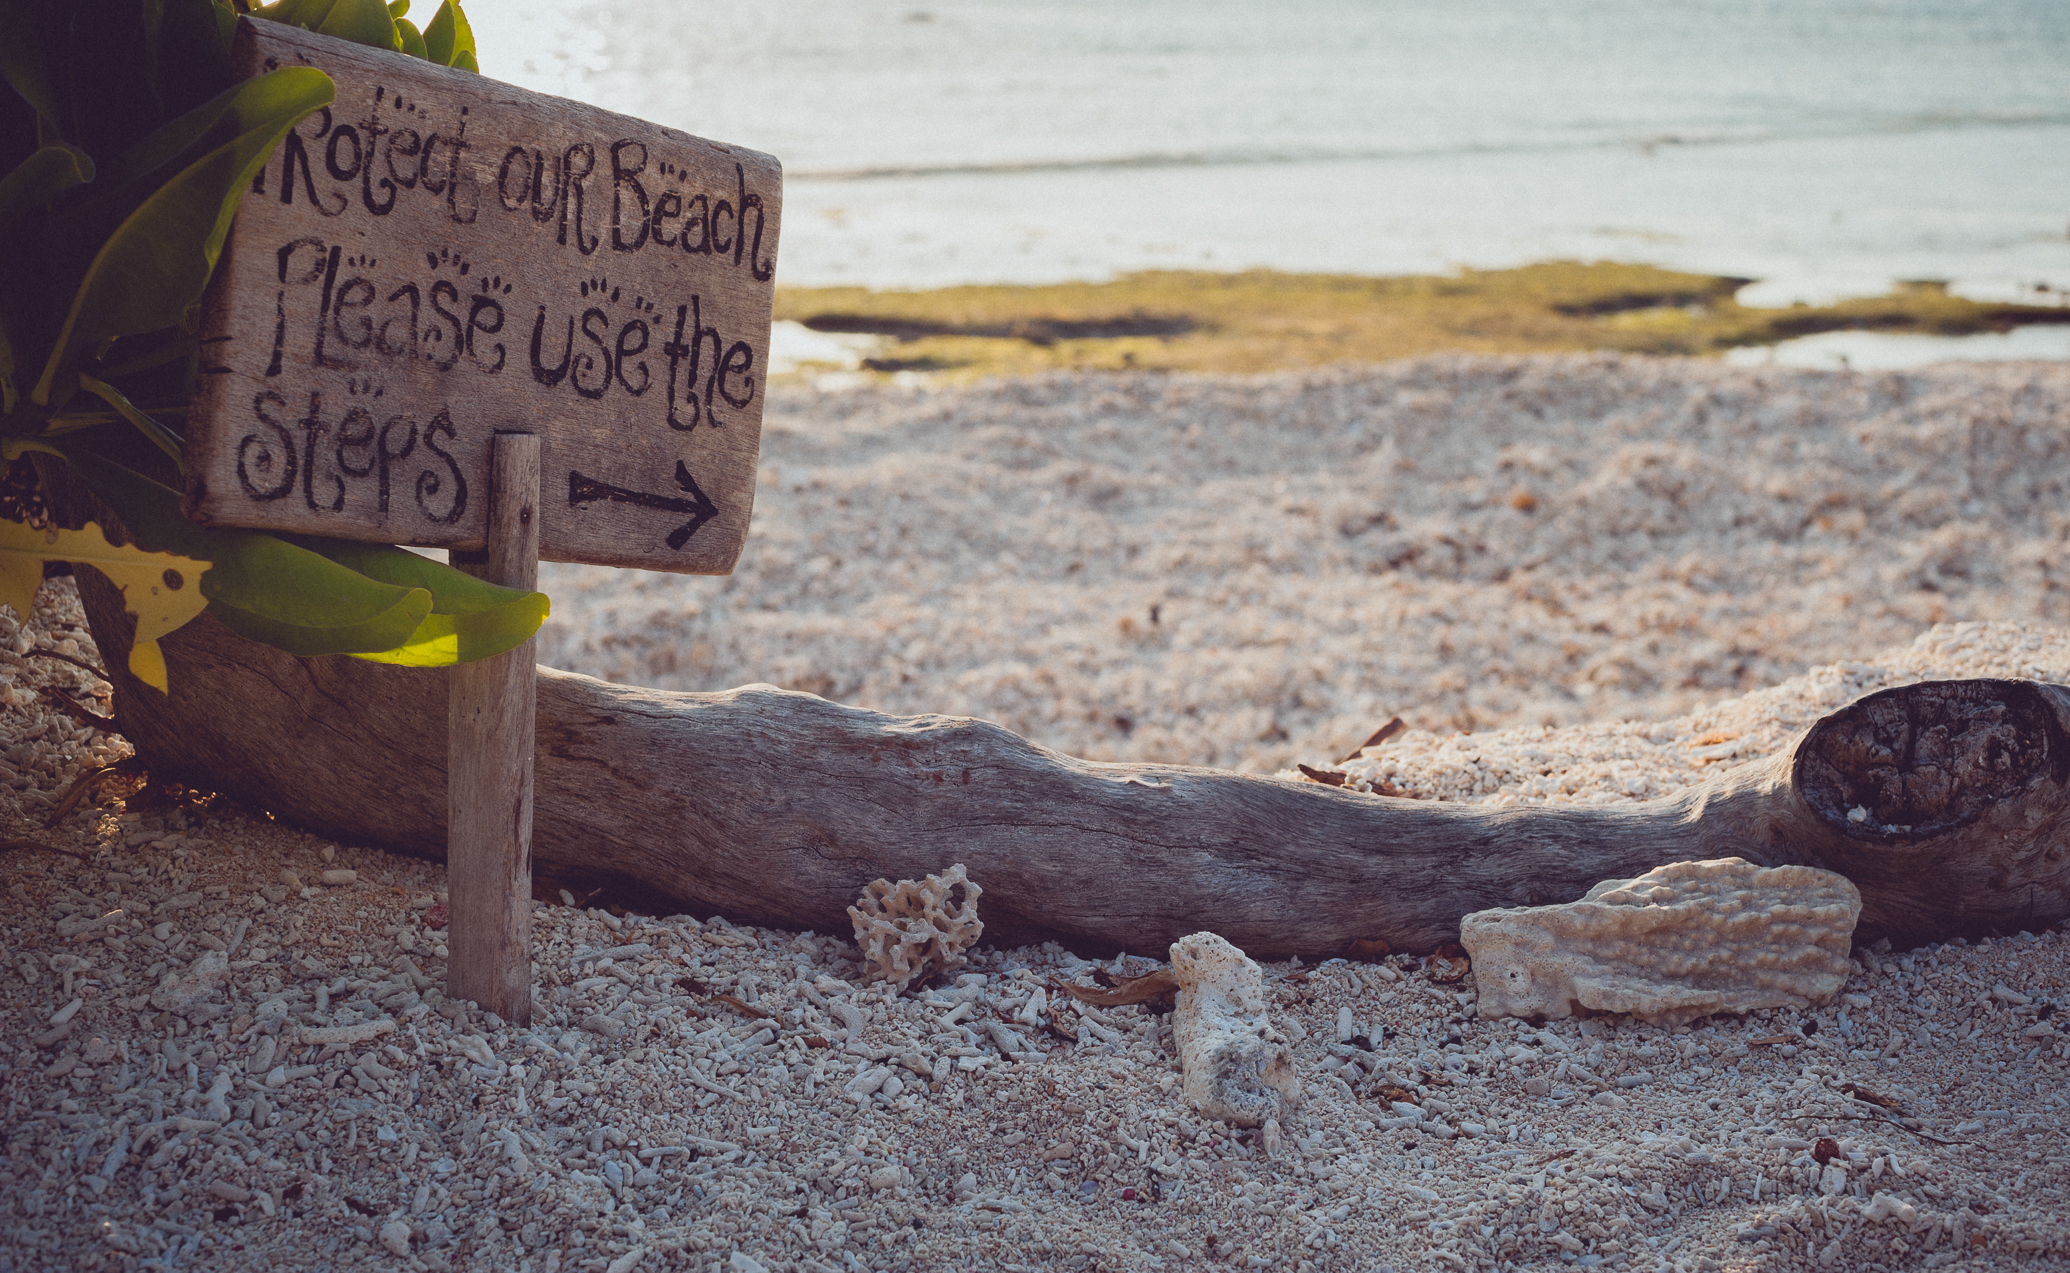
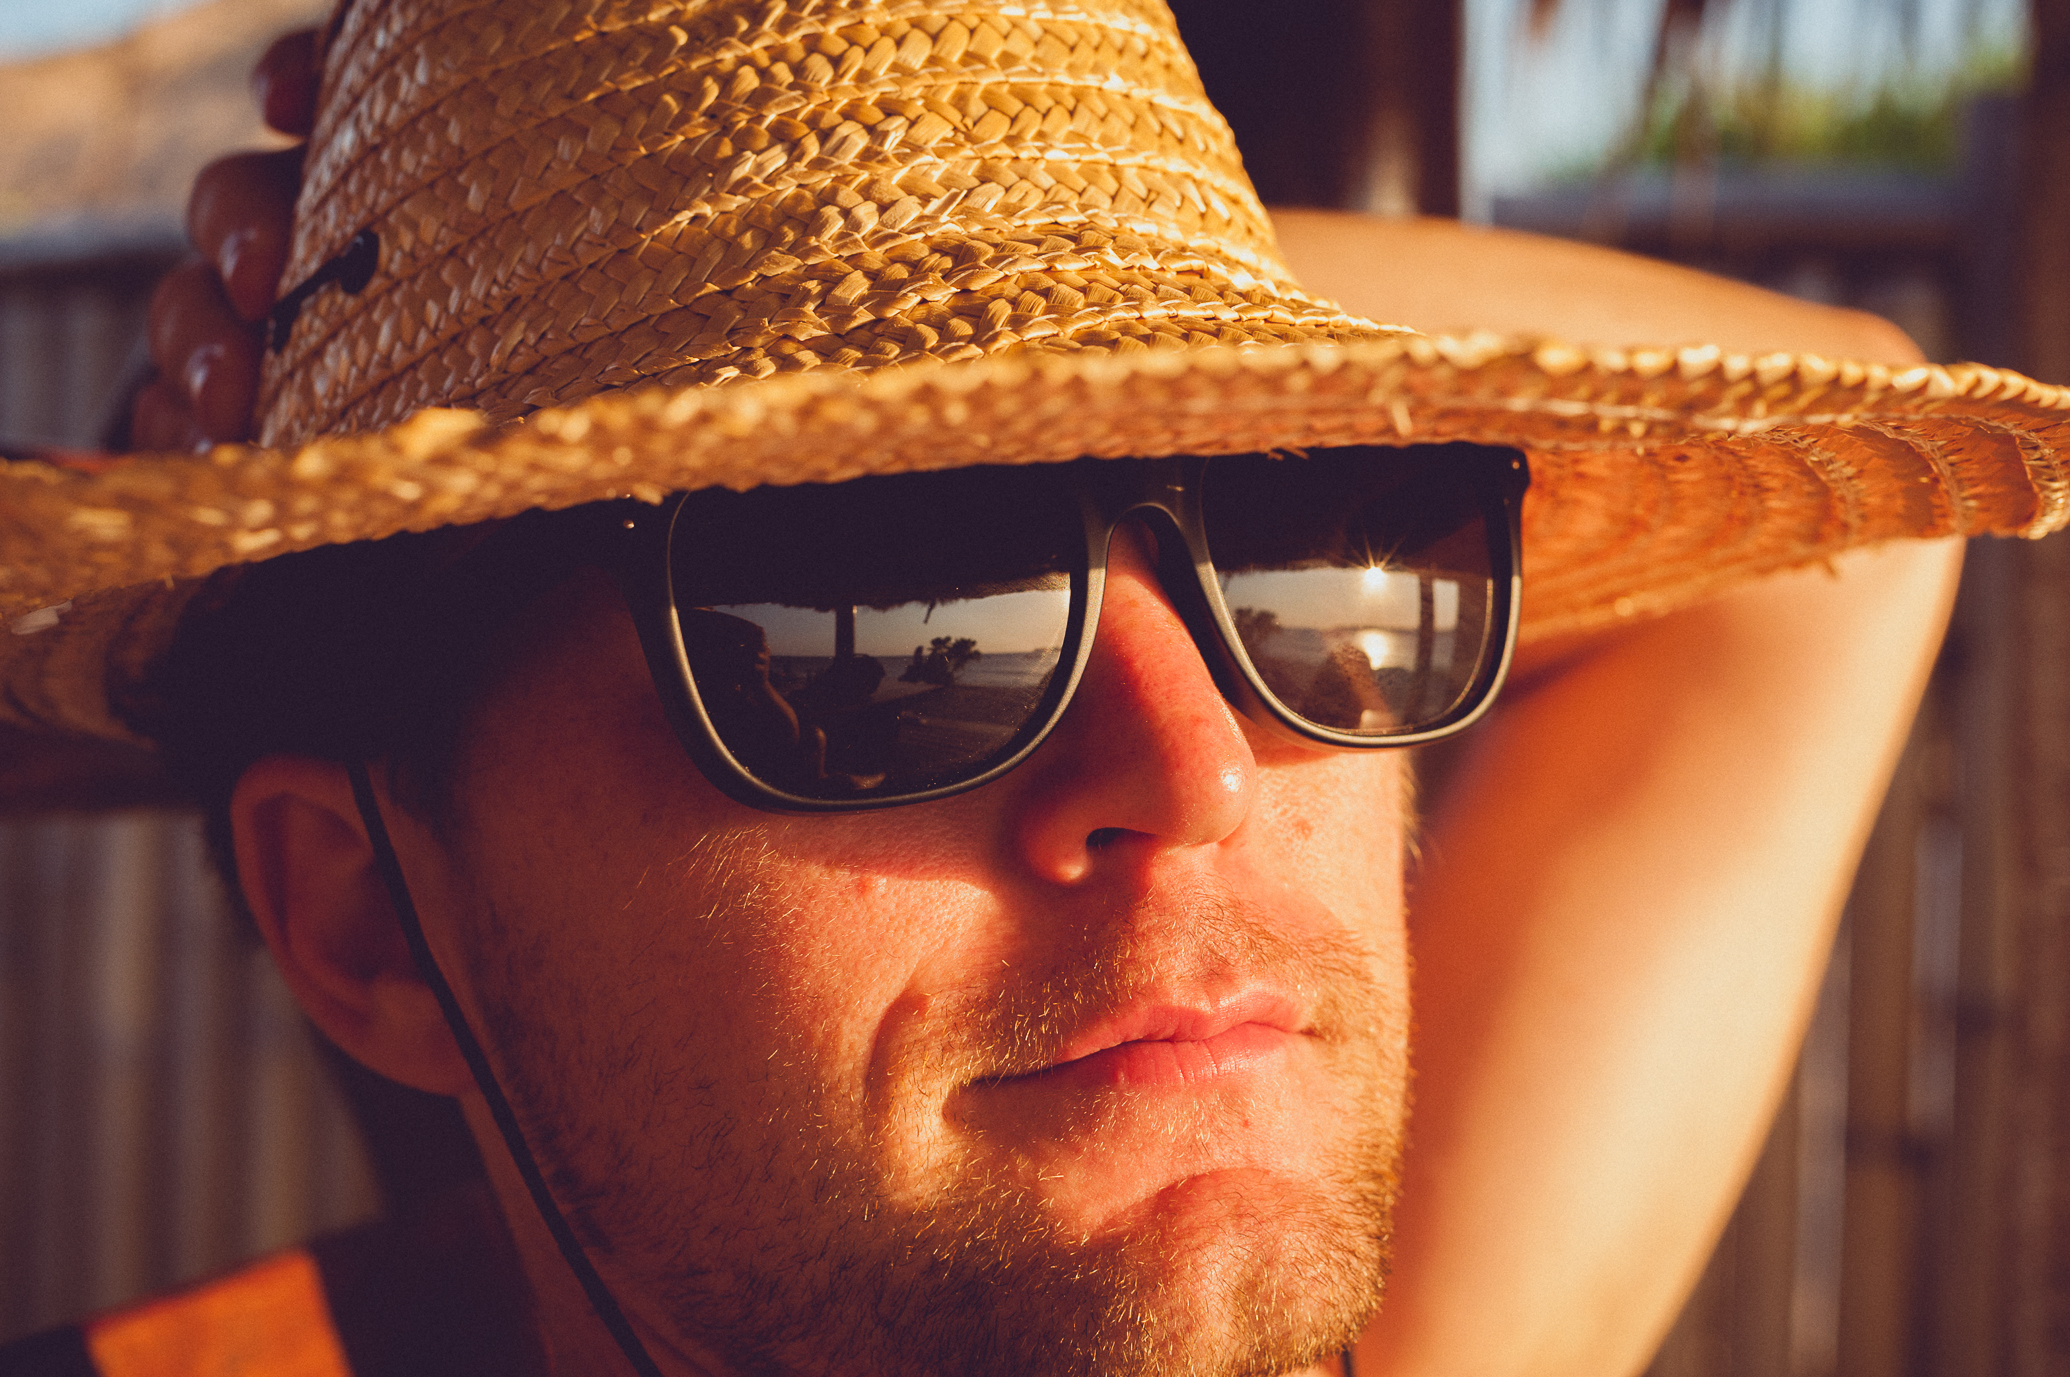
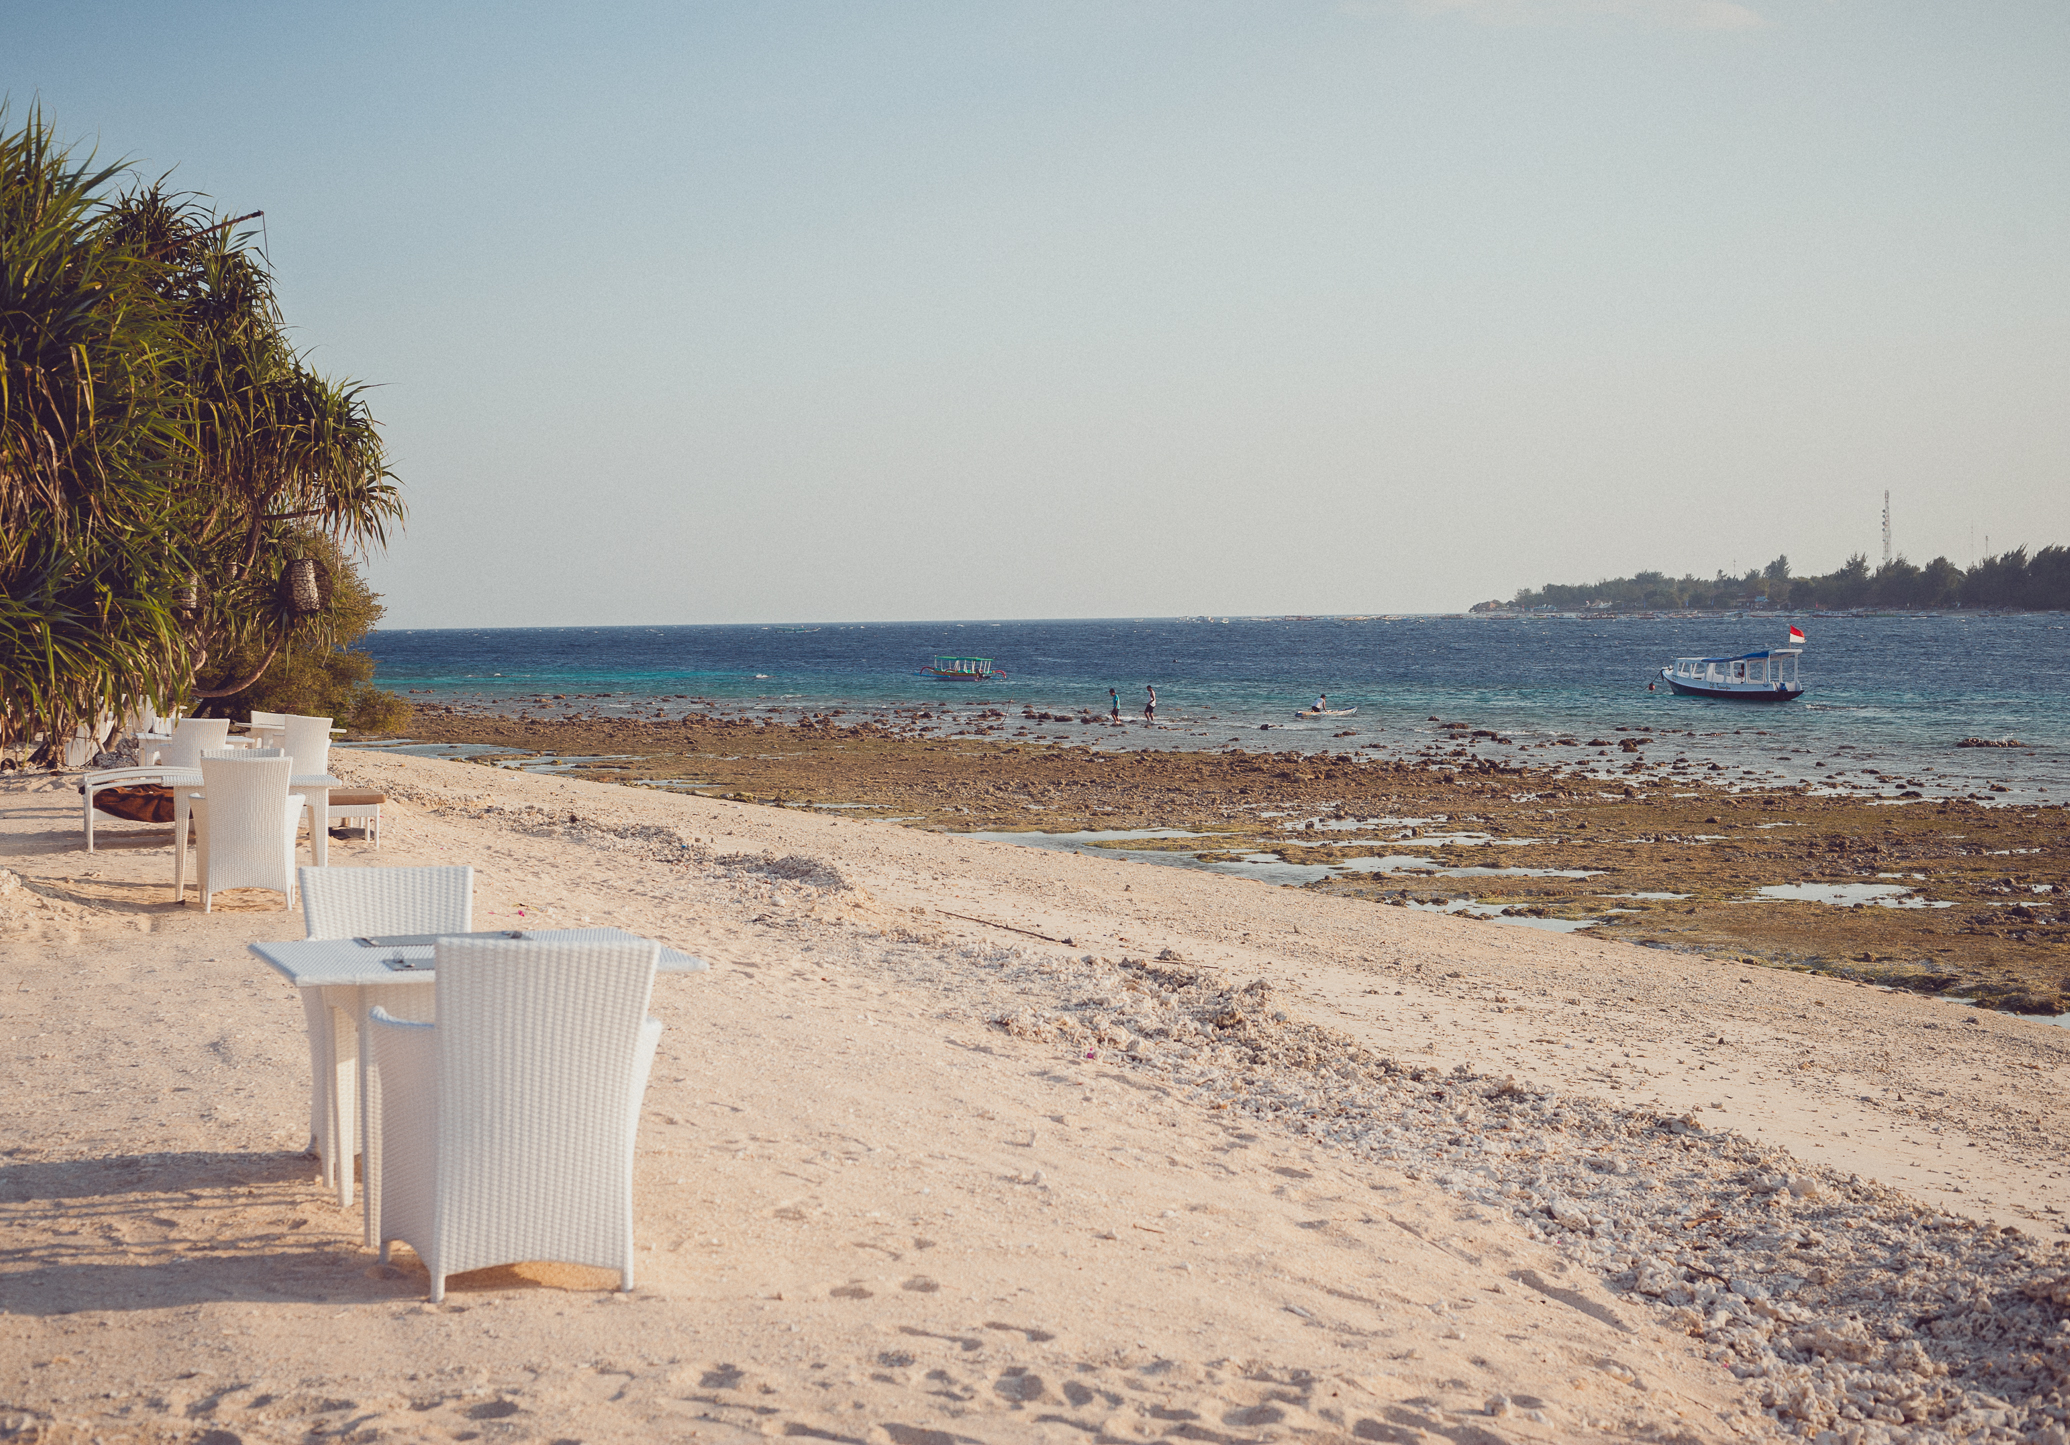
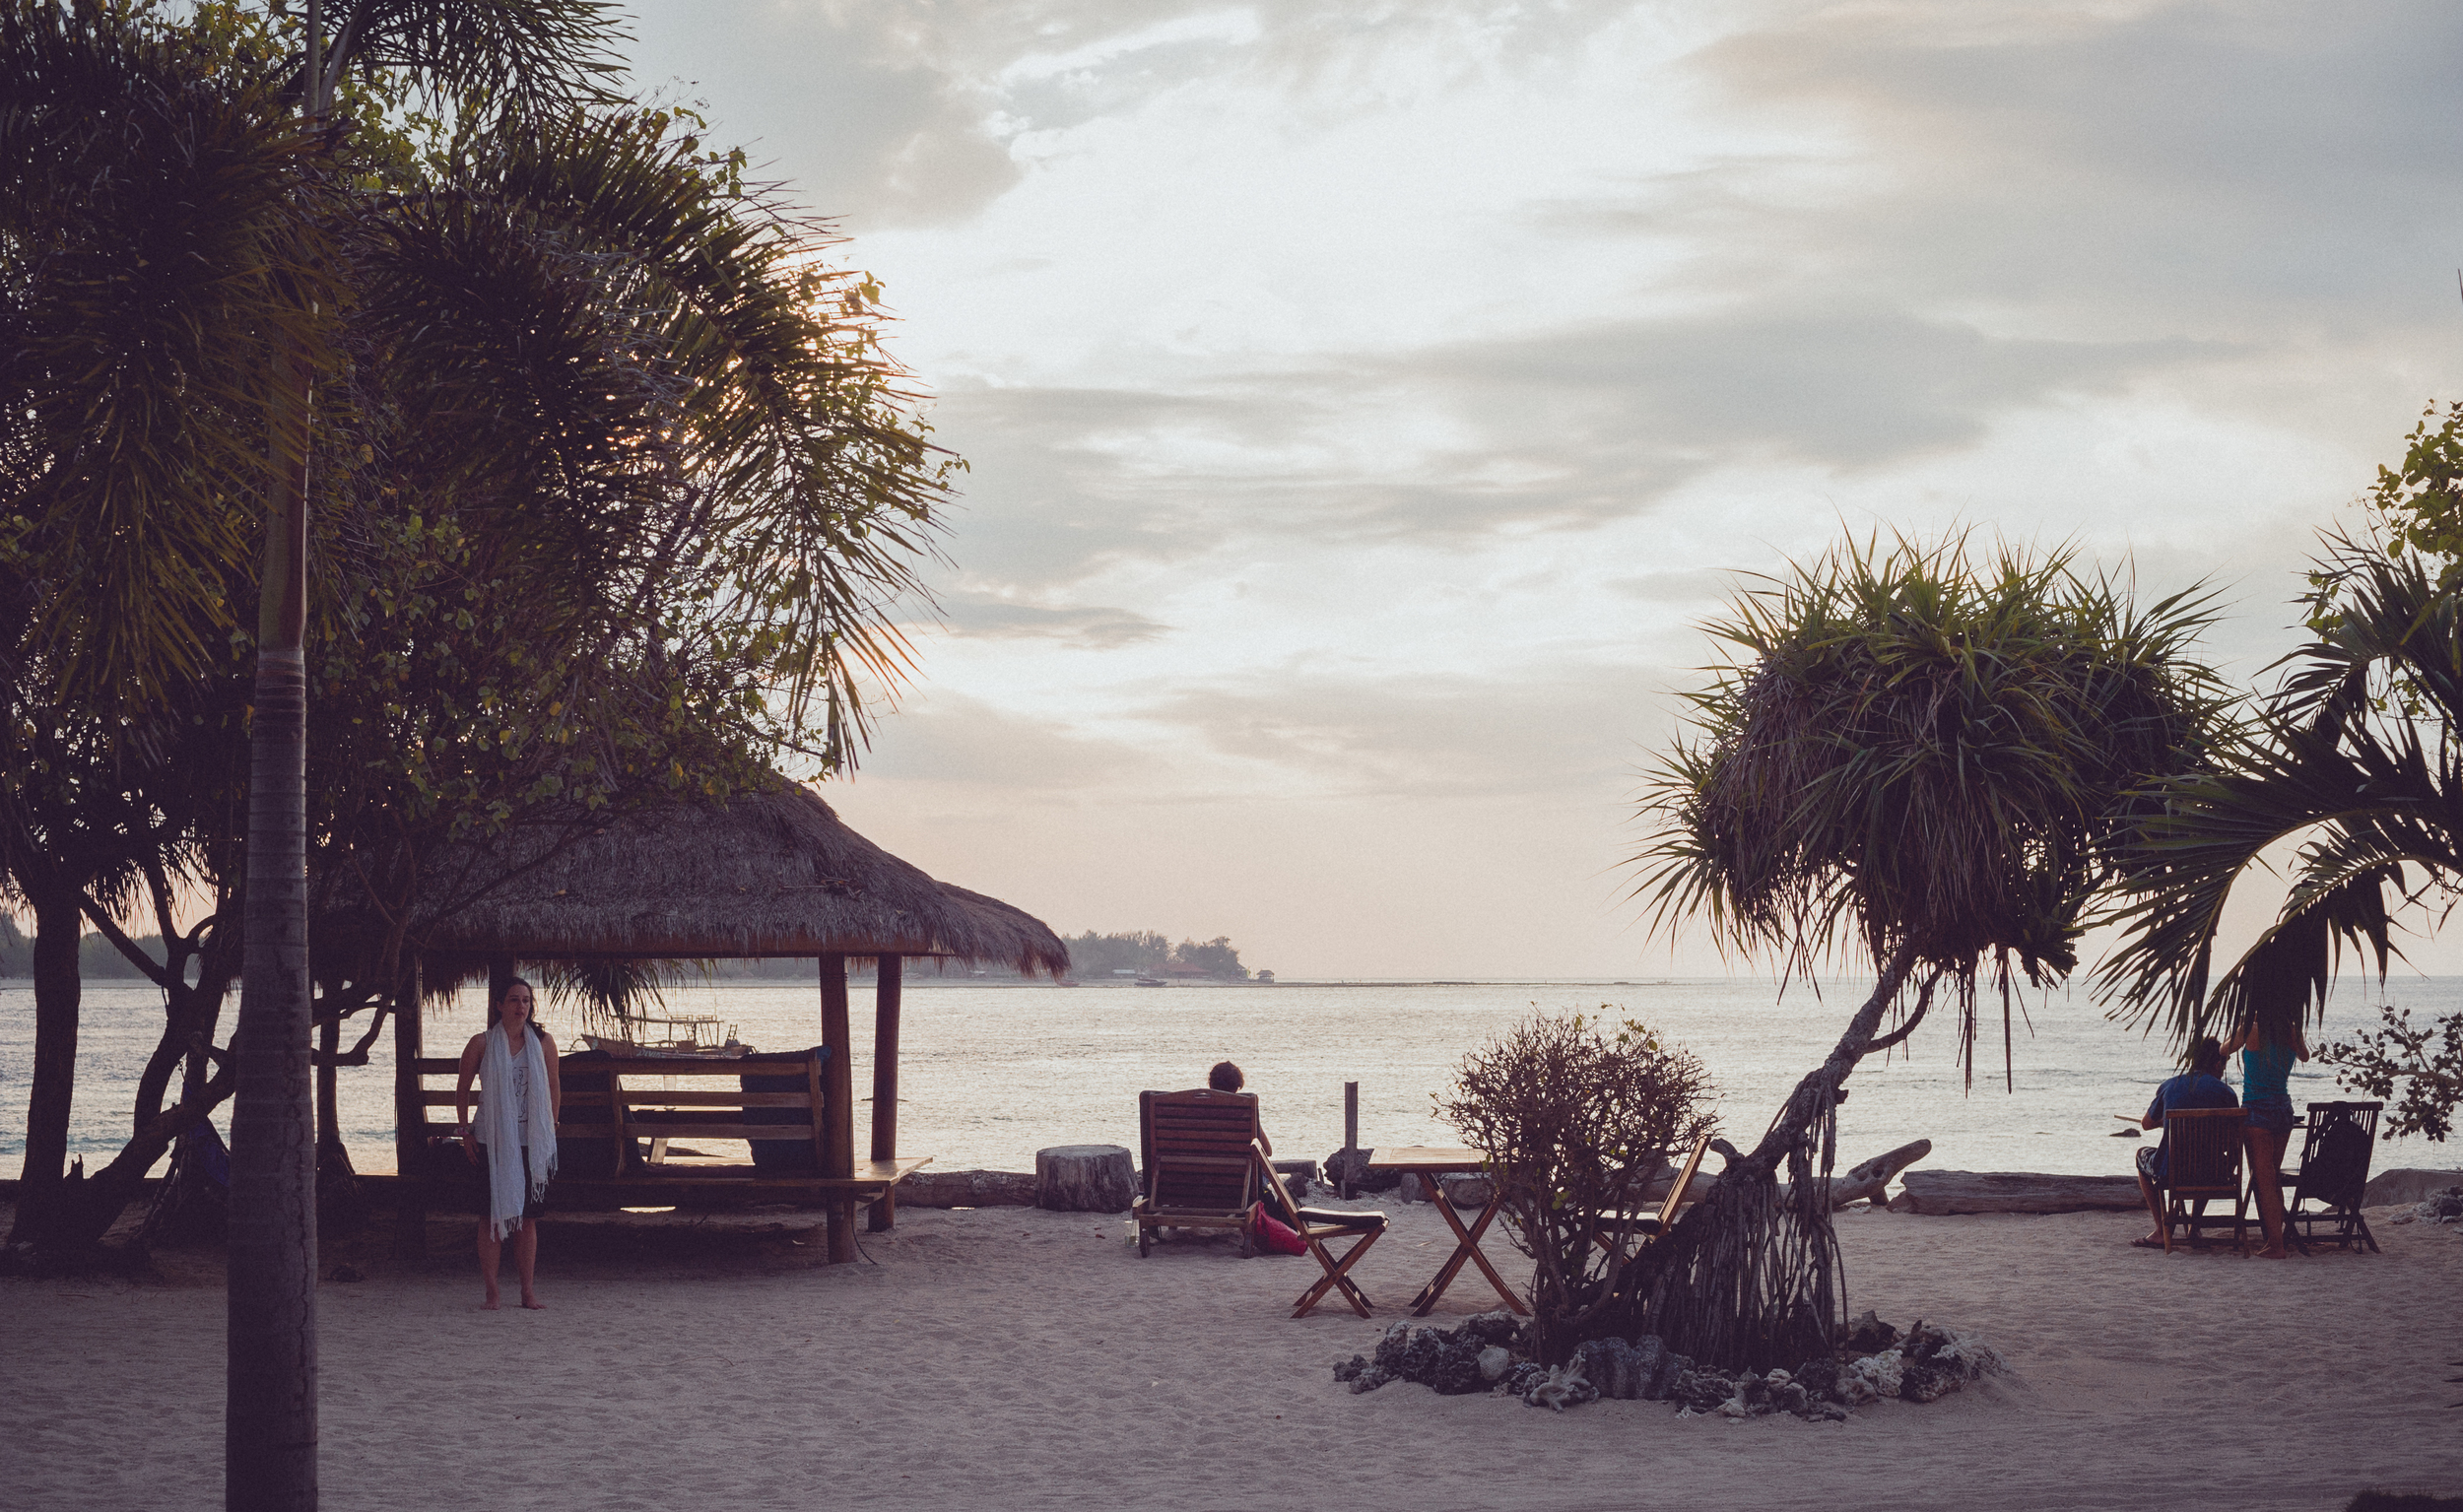
We loved our stay on the Gili Islands, and would have spent longer there had we known just how beautiful it would be. Here are a few photographs from Gili Meno where we spent most of our time.

**Keep in mind that July/August is peak season for Bali, and things start getting booked up as early as January. If a hotel has accommodation try to secure your booking with a deposit so you don't loose out while deciding where you want to travel to. Another very beautiful place to visit in Bali is Amed, a quiet coastal town in the North. If things are all booked up on the GIli Islands for your dates try looking at places in Amed. It seems to still be very untouched as most people head down South to Kuta, and the Gili Islands are starting to get more popular now too.

Getting to the Gili Islands

The GIli Islands are on the East Coast of Bali, and the easiest way to get there is by fast boat leaving either from Bali or from Lombok. A lot of people make the journey to the gIli Islands from Ubud. Because of this, many boat companies offer packages that will pick you up from your hotel in Ubud and drop you off there again if you book a return ticket. There are a number of online sites which you can book through before hand, but from the numerous scams and horror stories we had read, we decided to organise our boat tickets with our host, Dewa, when we arrived in Ubud. Dewa was able to get us tickets for $75 pp return (which included pick up at our accommodation in Ubud and transport to the port where the fast boat leaves from).

You will probably be picked up in a mini van to make the +-2hour ride from Ubud to Padang Bai where you will board the fast boat to the islands. Once you get to Padang Bai you will then need to queue up to collect your ticket (most people arrive with an email confirmation or tour group) and then you stand on the docks and wait for your boat. It's quite chaotic but definitely an interesting experience waiting for your boat. There are lots and lots of boat companies and boats going at the same time so make sure to keep your eyes peeled so you get on the right boat!

The prices vary with different companies, some also offer discounts for more than 1 ticket booked together. I would suggest booking your tickets for the fast boast as soon as you arrive in Bali rather than before your arrive, as the locals generally are able to secure better deals and will help you get onto a safe boat. Some of the tour companies we had looked at were Perama Tour & Marina Srikandi. It was very overwhelming as there are A LOT of companies that offer transport to the Gili Islands, and there are just as many people online telling stories about how they were scammed or how scary the ride there is. To be honest, the ride itself was pretty terrifying, but our boat was airconditioned and that helped ease the sea sickness a bit. Just be prepared that the trip there and back won't a walk in the park, and you'll be fine. Better to be prepared for a hard trip and then have it be easy that the other way around! It's only an hour and a half though and will just be a memory once you arrive in paradise. 

GiliIslandsBali

Where to Stay on Gili Trawangan

There are loads and loads of places to stay on Gili T, the biggest of the three islands. This is also where the majority of restaurants and shops are. The island is still small enough to walk around in an afternoon, especially if you want to get away from the crowds of people who frequent the most popular stretch of beach, 'Good Heart'. 

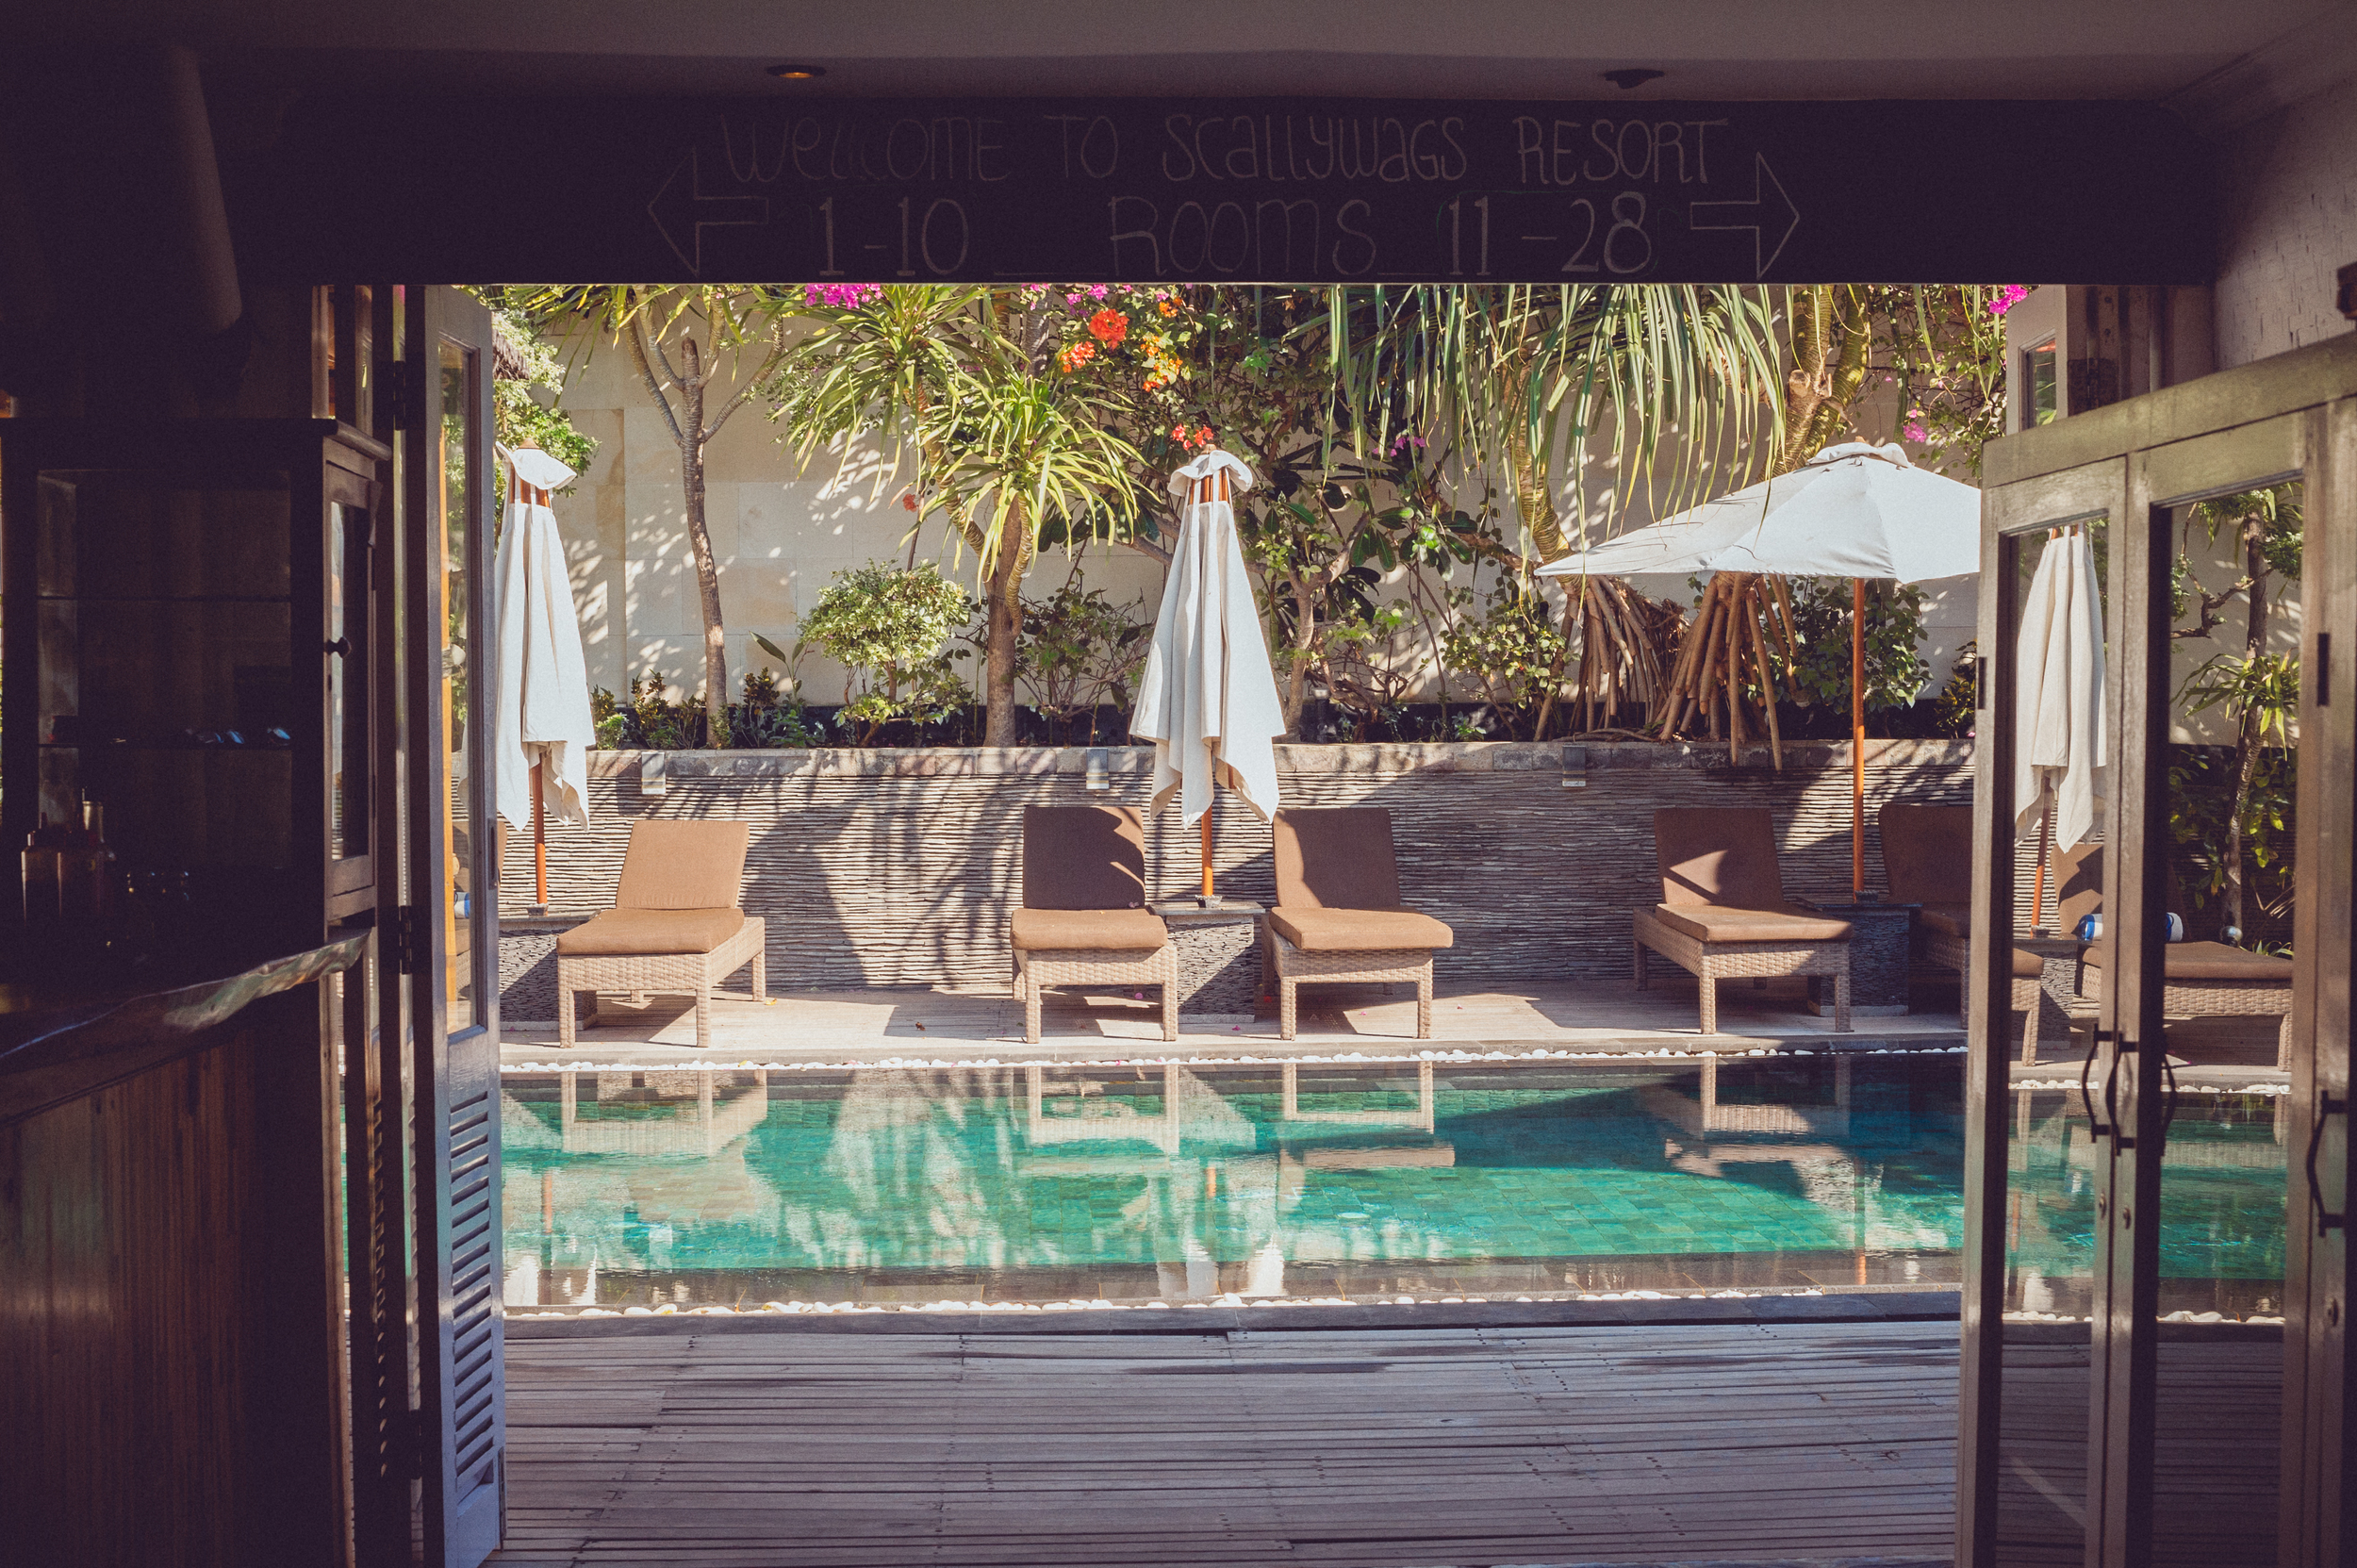
We spent our last two nights after Gili Meno on Gili T at Scalleywags Resort. It was wonderful. The rooms were clean, comfortable and so luxurious compared to our rustic beach hut on Meno. Scalleywags is definitely on the higher end of the scale in terms of resorts but it was worth every cent.

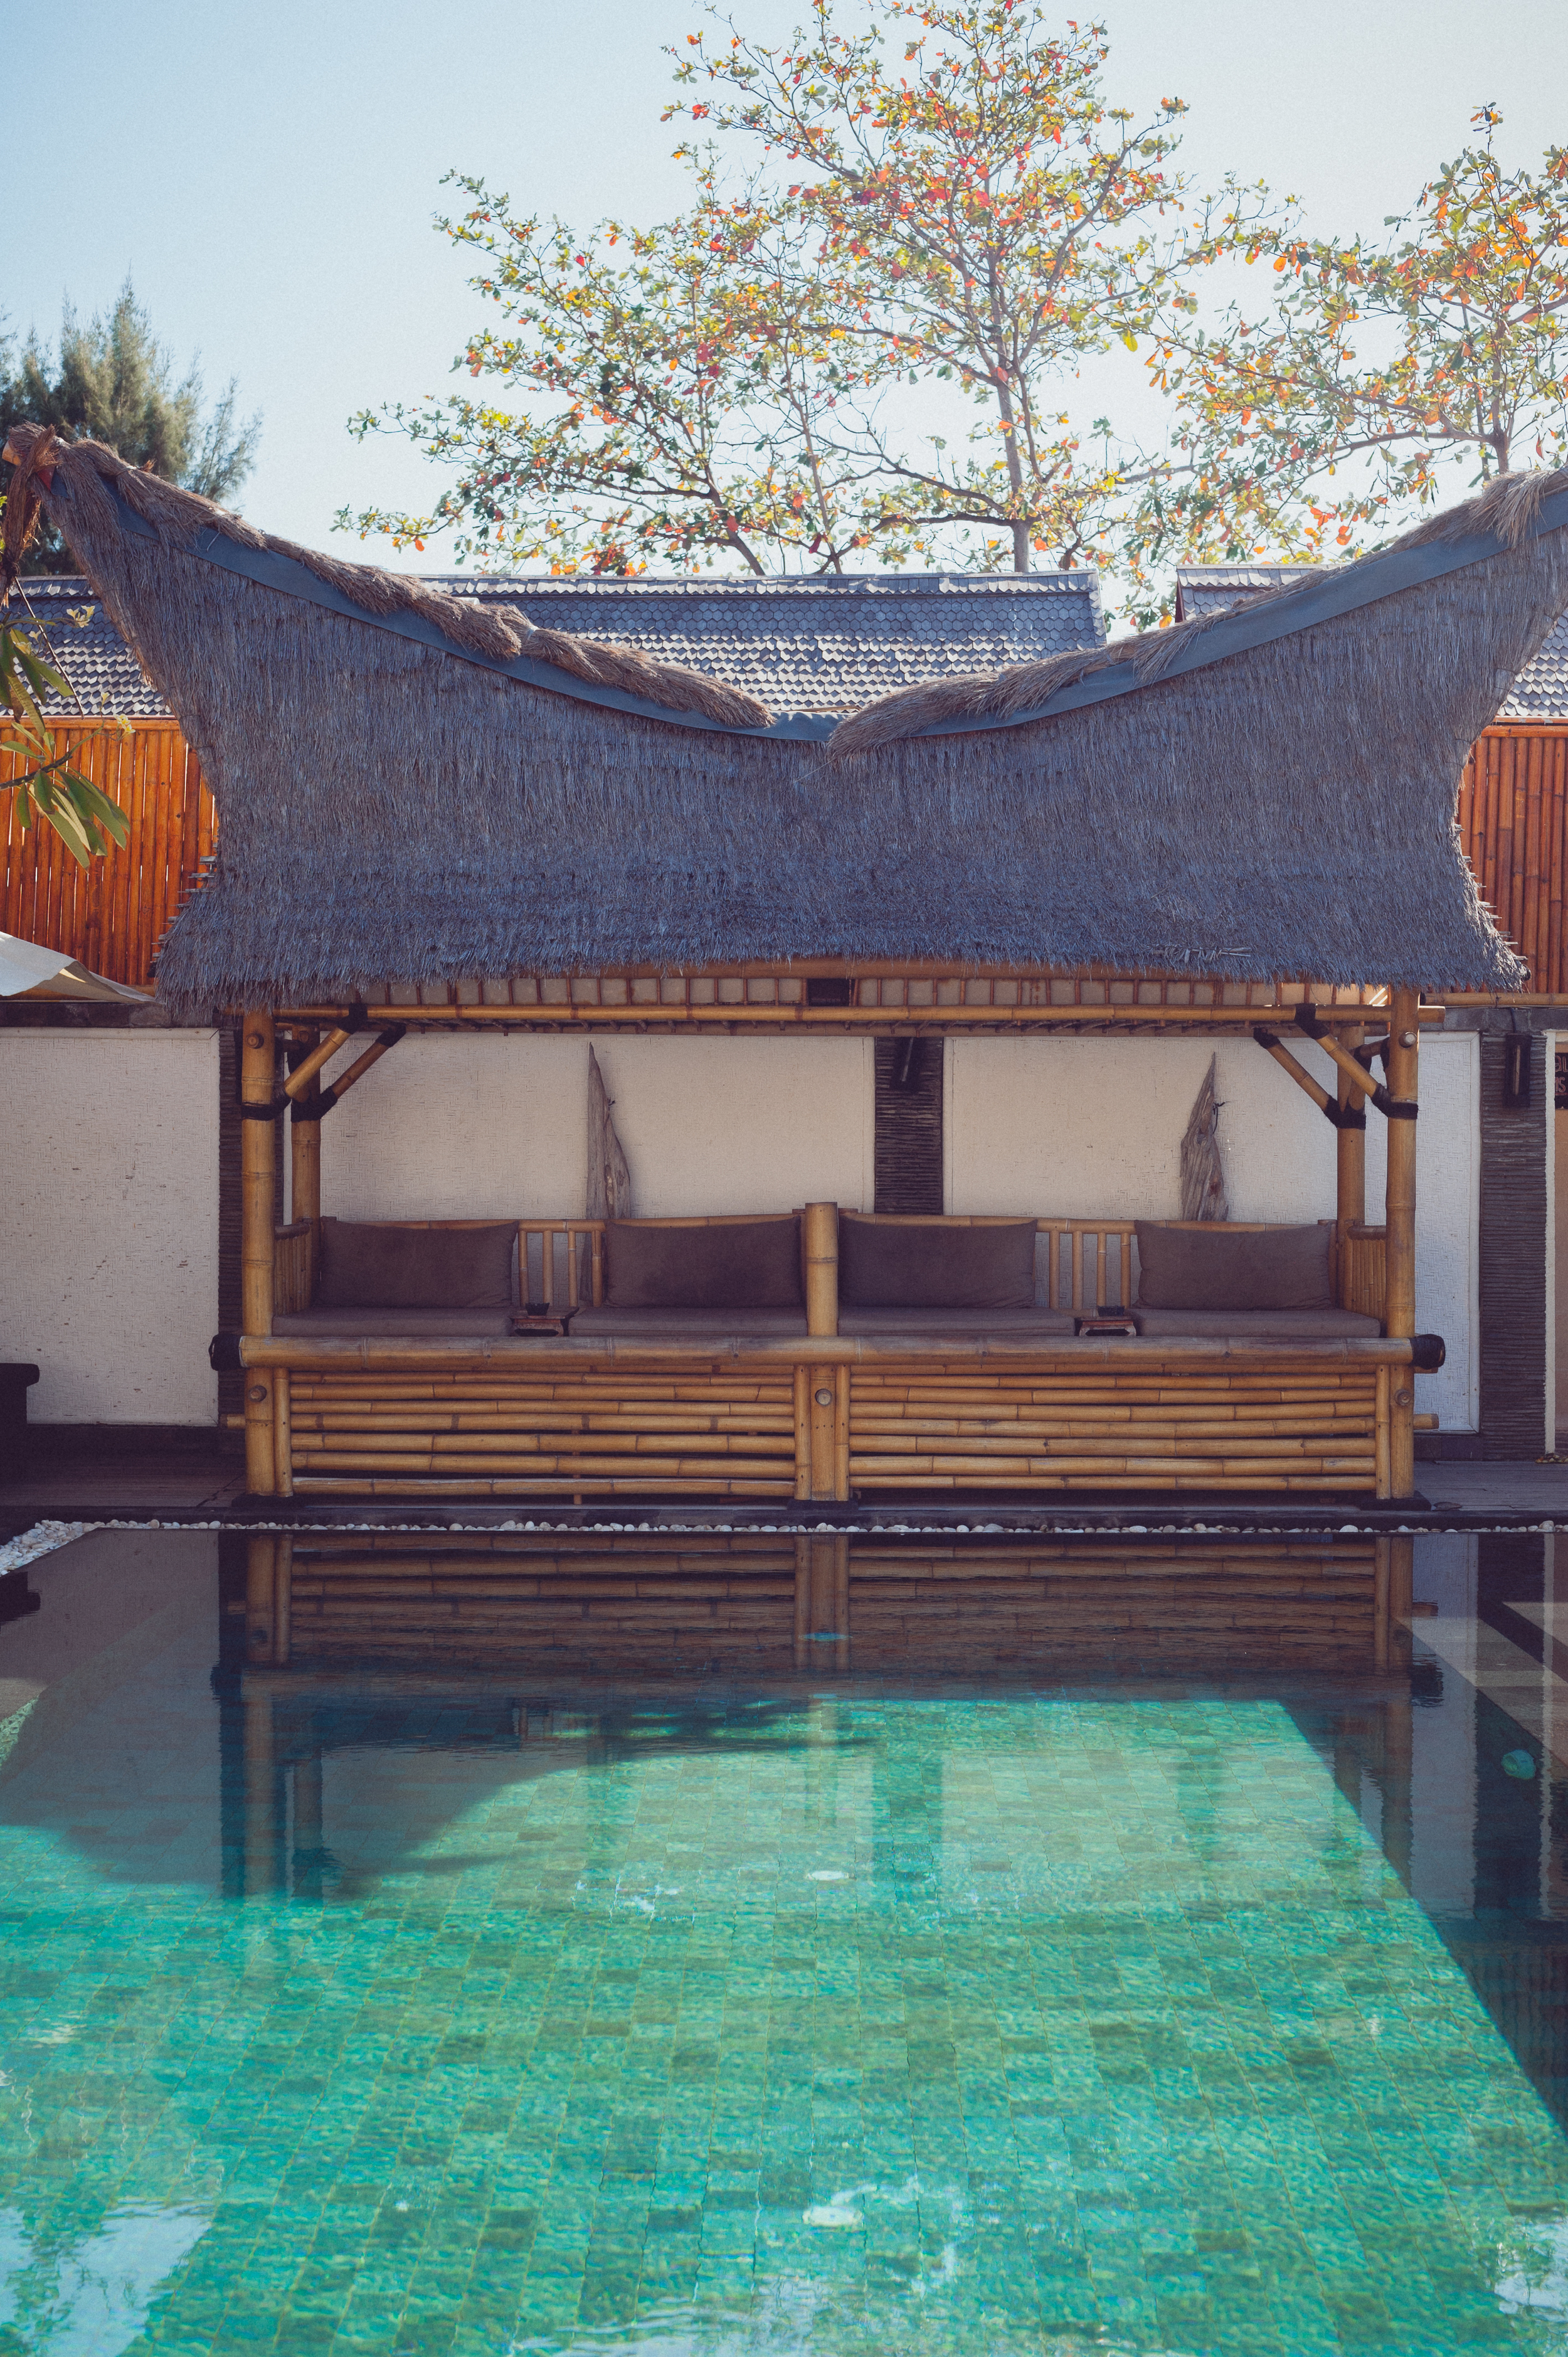
They also have an amazing seafood and meat buffet every evening where we stuffed our faces silly with delicious food. Scalleywags has a number of locations in Bali and offer lots of great deals. We paid $150 per night for a double room which included breakfast & all taxes. And they have a wonderful pool for guests which you can lounge around while ordering great food and drinks.

**Bear in mind Bali has Tax and Service charges which amount to 21% on top of most hotel accommodation and food and beverage bills (this consist of a 10% service charge and 11% Government Tax). This is terribly annoying and we were often mislead by the prices of things as they were quoted WITHOUT the tax. Just keep this in mind when it comes to paying and always ask before hand if accommodation quotes include this tax or not.

GiliIslandBali

Where to Stay in Gili Meno

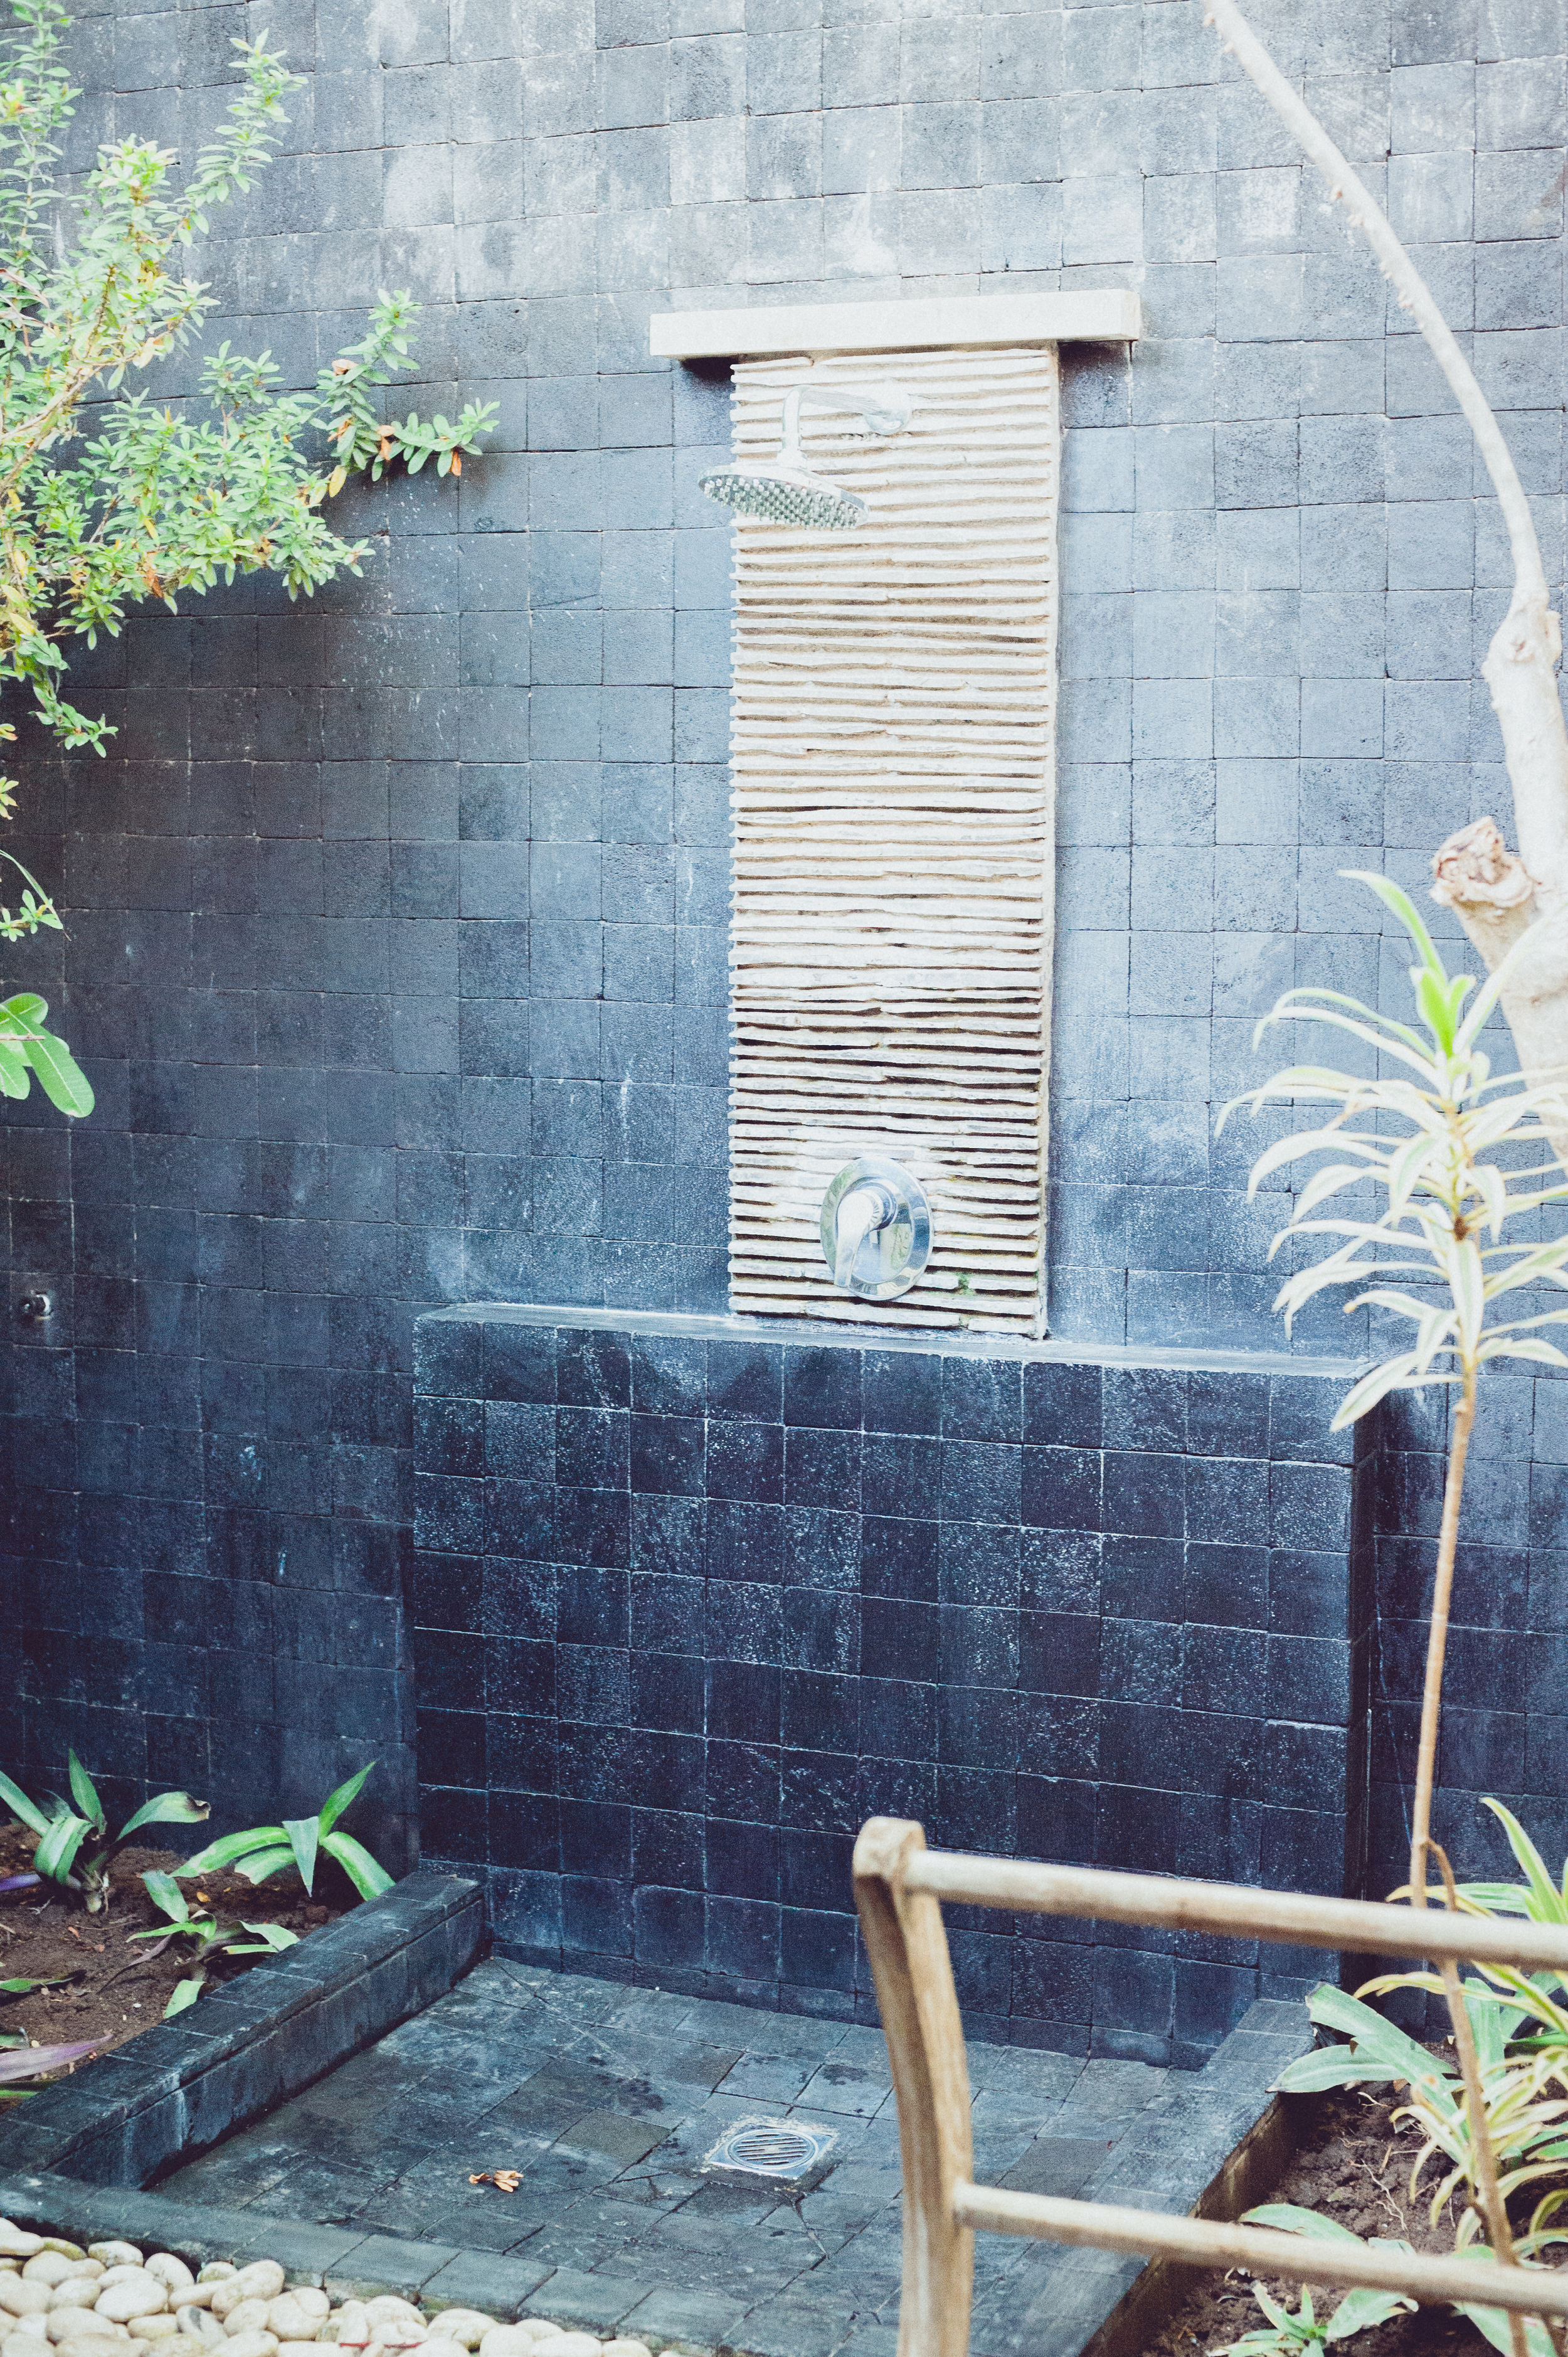
We spent 3 wonderful nights at Sunset Gecko in a wooden bungalow on a very quiet stretch of beach on Gili Meno. There is a very fancy hotel that has been built next door which made me feel rather envious once we realised we were staying in the wooden shack next door, but the price of Sunset Gecko was great and within our budget. We ate at the fancy restaurant next door a few times and enjoyed a couple of cocktails there too. Staying at SunsetGheck meant we had the best of both worlds. And the outdoor showers and toilet were much better than I had anticipated.

Sunset Gecko has varying rooms, but at the time of booking we were only able to get space in their Big Beach Hut which is three stories and has private rooms on each level. We stayed on the top floor in a large room with two double beds. They have a few private beach cottages slightly closer to water and a few A-frame bungalows too. It's rustic, but clean and we just what we were after. Don't expect anything fancy, often times they were out of stock of several items on the menu (how do you run out of tea?!) but we loved our stay here and would highly recommend it to anyone looking for an authentic & relaxing beach stay. Just make sure to pack a sleeping bag liner/sheet if you are a little panicky about beds like I am. I had read reviews of bed bugs at Sunset Gecko and so was unable to relax at night. We didn't have any problems with bed bugs  though but because I had read about them I was unable to sleep peacefully in fear of waking up with my skin crawling. Silly me! And the sleeping bag liners I had ordered online for our were out of stock so we just went ahead without them. I was probably over acting but if bed bugs are something you just can't handle then make sure to pack a sheet/sleeping bag liner just in case.

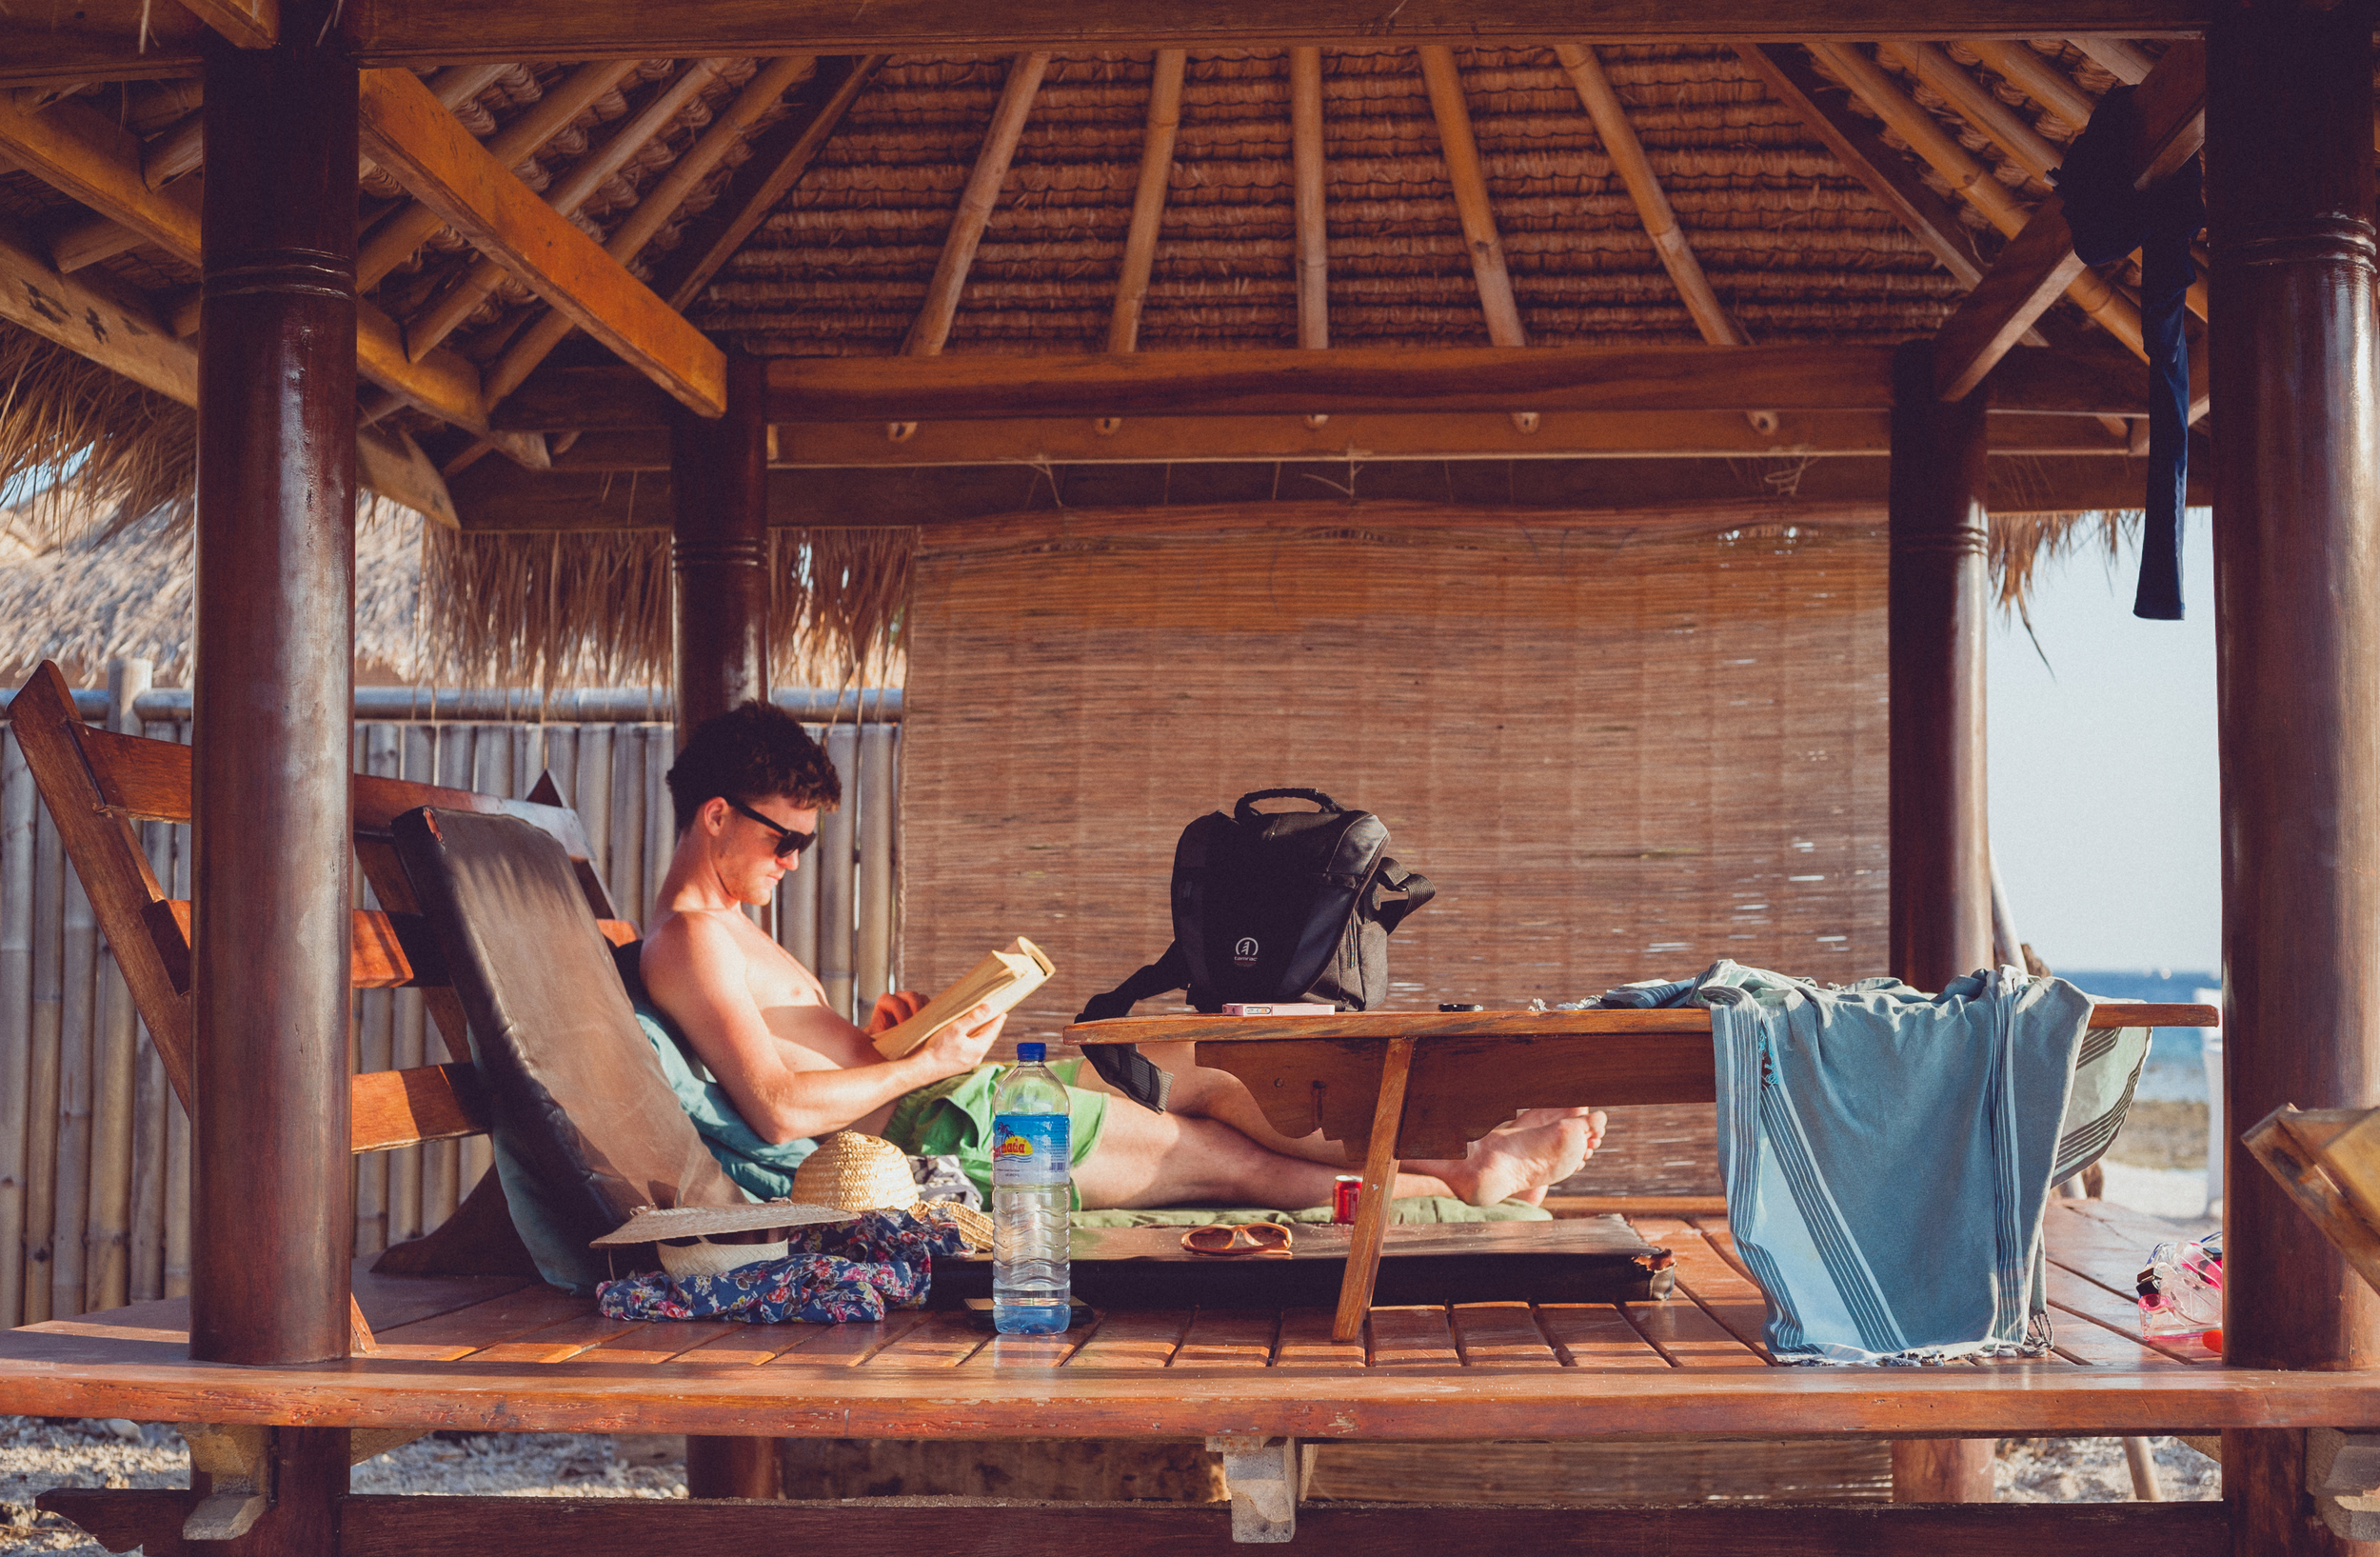
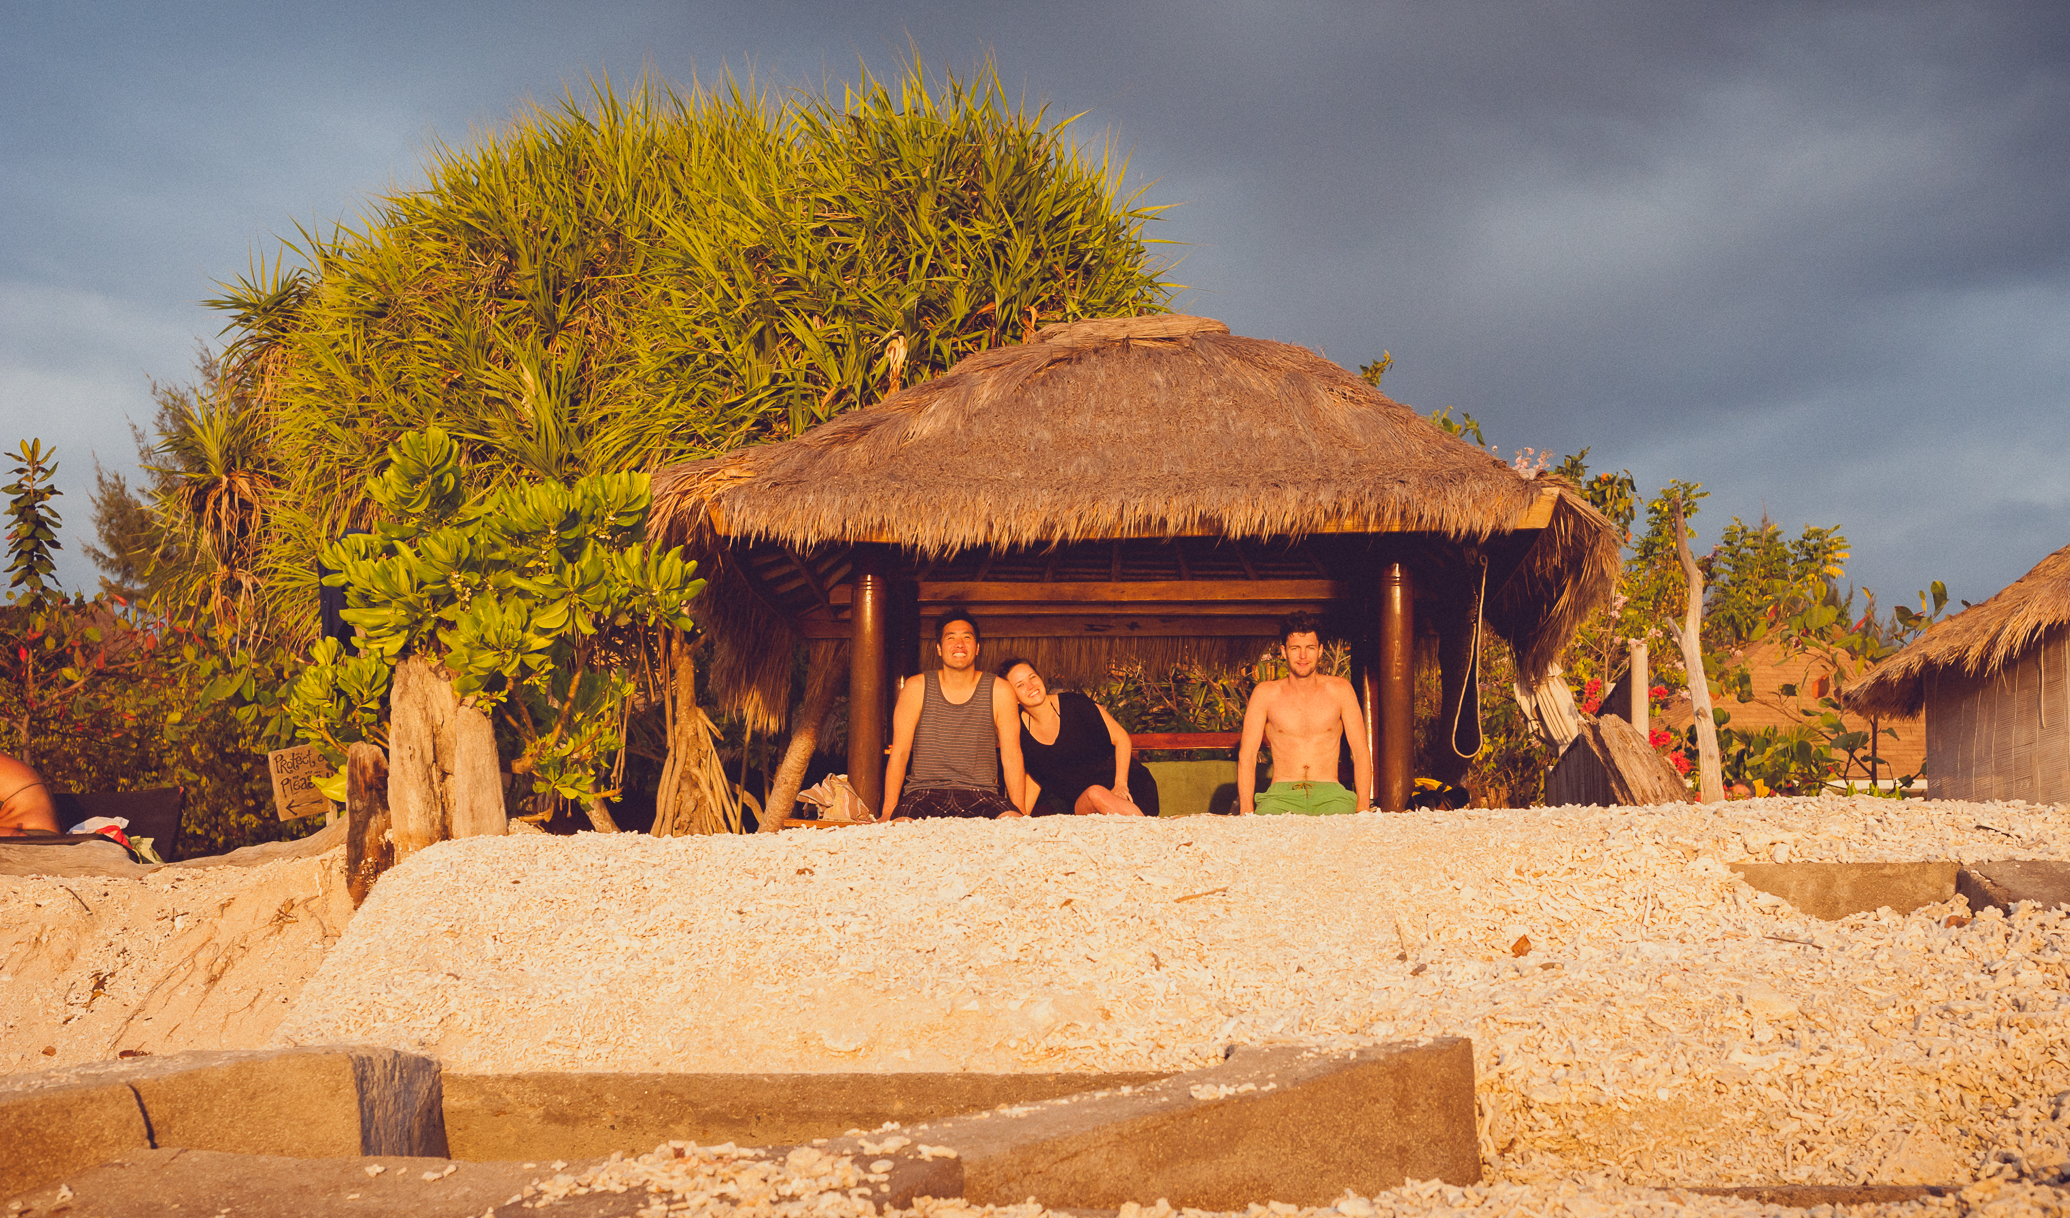
The beach in front of Sunset Gecko was also where we swam with turtles and had the best snorkelling of our entire Bali trip! We spent every day on the beach pagoda's sipping fruit juice and watching the world go by. It was bliss.

The booking process seemed a little odd as you have to pay a deposit through a rather strange payment channel but it was all secure and my booking & payment was handled well. They also responded well to email (i had to change our booking slightly and they were very accommodating).

Here is a video that Farmboy put together of our time in Bali, with lots of footage of the Gili Islands:

Some things I learnt from this trip:

  • Even when compiling an extensive budget, have an international credit card on hand for emergencies. We forgot to include various elements in our budget (lunch & the smaller transport costs) and had to use my credit card a few times. 
  • Budget for souvenirs. Before a trip I always tell myself that I won't buy anything cliche (like floaty yoga pants and rugs) and without fail I have found something special on our travels in each country that I have wanted to buy. In Bali we bought a beautiful handwoven rug in soft pastel shades that has prize position on our living room. It was worth ever cent!
  • Read travel reviews with a pinch of salt. I really had heard terrible things about Sunset Gecko and was prepared for an absolute nightmare. It ended up being the highlight of our stay (and no, there were no bed bugs).
  • Try to pay for things before you arrive instead of having to have cash on hand (especially for accommodation).
  • Always pack a rash vest (swimming top) if you plan on snorkelling anywhere. Farmboy and I each have a lycra swimming top we bought online (through Gmarket for +-$18) two years ago and they have saved our skin too many times to count. It's just not worth getting sun burnt on your first day in the water.
BaliTravelGuide

Useful Travel Info:

  • Bali has a visa on arrival for most countries (including South Africa, UK, USA, New Zealand, Australia) which costs $35 and is valid for 30 days. You get this at the airport when you arrive in Bali.
  • Be aware of the departure tax which needs to be paid in cash when you leave the airport (I have read that as of Feb 2015 this departure tax is now included in your flight price but I'm not 100% so make sure to research thoroughly before hand).
  • Remember Bali imposes a 21% tax & service charge on most goods/services/facilities and this is not included in your bill.

I hope you found this travel guide useful! Please leave me a comment below if you have any questions.

You might also like these travel guides:

How To Take Better Photos For your Blog Using Your Phone + Free Checklist!

How to Take Better Photographs for your blog using your phone

You don’t have to have a fancy camera to take beautiful photographs for your blog. You can use your phone’s built-in camera, and with a few tips, you too can produce pretty photos to take your blog to the next level. Even though I own professional photography gear, sometimes I just want the ease of snapping a shot right in the moment. And a lot of the time when inspiration strikes, I don’t want to be fiddling around with settings and then end up missing the perfect shot. A lot of the images I produce for my blog are styled and I don’t have the time to get my camera, set it up, export the images to my computer, edit and then finally upload them to my blog. I find that using my iPhone and a few, easy-to-use (and free!) apps, I am able to produce pretty pictures that only take a few minutes to put together. Today I want to share with you how you can do the same.

All the images below were taken on my iPhone 4S and edited with VSCOCam to give them a grainy, film-like texture.

1. Clean your Lens


As with any camera, if your lens is dirty, your photographs aren’t going to come out very clear. It’s such a simple tip and yet has made the biggest change on images taken with my phone. Think about where you phone goes, and now think about the last time you wiped your camera lens clean. If this gives you the shivers, like it did to me, then whip out a piece of cloth and get wiping!

2. Natural Light


Wherever possible, use natural light. I take the majority of my photographs (using both my DSLR & my iPhone) during the day and try as much as possible to maximise the soft, natural light that comes through a window. Harsh midday light is just as hard to work with as a flash, whereas natural light, the kind that streams through a window, produces soft, clean images.

3. Click to Focus


On the iPhone camera app (the standard camera app that comes with the iPhone), there is a yellow square that automatically appears when you want to take a photo. This is your focus setting. You can allow the phone to automatically adjust the focus, or you can over-ride this by clicking where you want to focus when you take a photograph. This is especially useful when you want to create a slightly blurry background, with something in the picture in focus. I often use click-to-focus when I am photographing macro-type shots of make-up and stationery.

4. Self-Timer


I only found out about the self-timer feature on my iPhone when I updated my IOS to the latest version. This is especially handy when you want to take a ‘selfie’. Don’t forget to click to focus before you take the shot to ensure that your face is perfectly in focus and not blurry. 

5. Use a Tripod

Using a tripod (or any home-made version of a tripod) will stabilize your camera and help to avoid camera shake. It can be so frustrating when you set up the perfect shot, click to focus, and then bump the phone by accident and the photograph ends up coming out blurry. I often just use a book and wedge a drinks coaster underneath the phone to adjust the angle (and then set up the self-timer to get the perfect shot).

6. Avoid the Zoom


Especially on the iPhone built-in camera, when you use the zoom it decreases the quality of the photograph. Rather use your own built-in zoom (ie. your feet!) and position yourself to be nearer, or further away from your subject. Unless you have a snazzy new phone, like the Samsung Galaxy S4 or the iPhone 6, I would suggest avoiding all use of the zoom.

7. Background


Using a white background when shooting any product produces beautiful, professional looking shots. The white offsets all other colors and is always complimentary. It looks crisp and clear and really helps to make your subject stand out. Textured backgrounds also work well for product photography, but I find they can also distract from your subject. I have yet to take a photograph on a plain, white background that I didn’t like. 

How to take better photographs for your blog using your phone

8. Angles


Play around with angles. Have fun and go crazy with high and low, close up and far away shots. Use your body to zoom in on particular items if you are styling photographs for you blog. It’s okay to cut off parts of items, and this works particularly well when I shoot make-up or stationery. Consider the two photographs below. The one on the left is the full image, and the one on the right has been cropped therefore removing parts of the image. Can you see the difference? None of the props have been changed and the lighting is the same. The only difference is the angle.

How to take better photos for your blog using your phone

9. Apps


There are so many amazing apps you can use to really make your images pop, from overlaying text to added film effects or textures. My favourite go-to apps are:
– VSCOCam for editing the colour, brightness, cropping, straightening and adding film-like overlays.
– Studio for adding text and graphics.
– ABeautifulMess for hand-drawn overlays and creating collages
– Instagram for connecting with other creatives and sharing my images.
*All of the above apps come in Android and IOS versions.

10. Delete


There really is no point in having 10 of the same image. Be thorough and delete any and all of the ‘extra’ photographs so as to avoid wasting storage space and also to avoid having duplicates. The amount of times I upload the ‘not quite perfect’ image into a blog post and then realise I have to go back and search for the right photo is just annoying. And then I realise I often delete the perfect one and end up having to re-create my images again. Deleting all the nonsense saves you time and will make your life that much easier when it comes to blogging.

How to take better photographs for your blog using your phone

Most importantly, HAVE FUN! Taking photographs should be fun, and with all the great apps out there that are free and easy to use, blogging no longer has to be boring. With just a few minutes of practicing and playing around with your phone, your photographs can look just as good as the pros, and will take your blogging to the next level. I hope you found these tips useful. If you’d like to find out more about the apps I’ve mentioned above you can pop on over to my blog where I have reviewed the Studio App {Click Here} and the ABeautifulMess App {Click Here}.

To help you remember all these tips I've created a FREE printable checklist. It's in my FREE resource library, along with a whole bunch more resources AND free stock photographs just for you. Join the library by clicking the image below:

DIY How to make a gold animal ring holder

DIY How to make a Gold animal ring holder

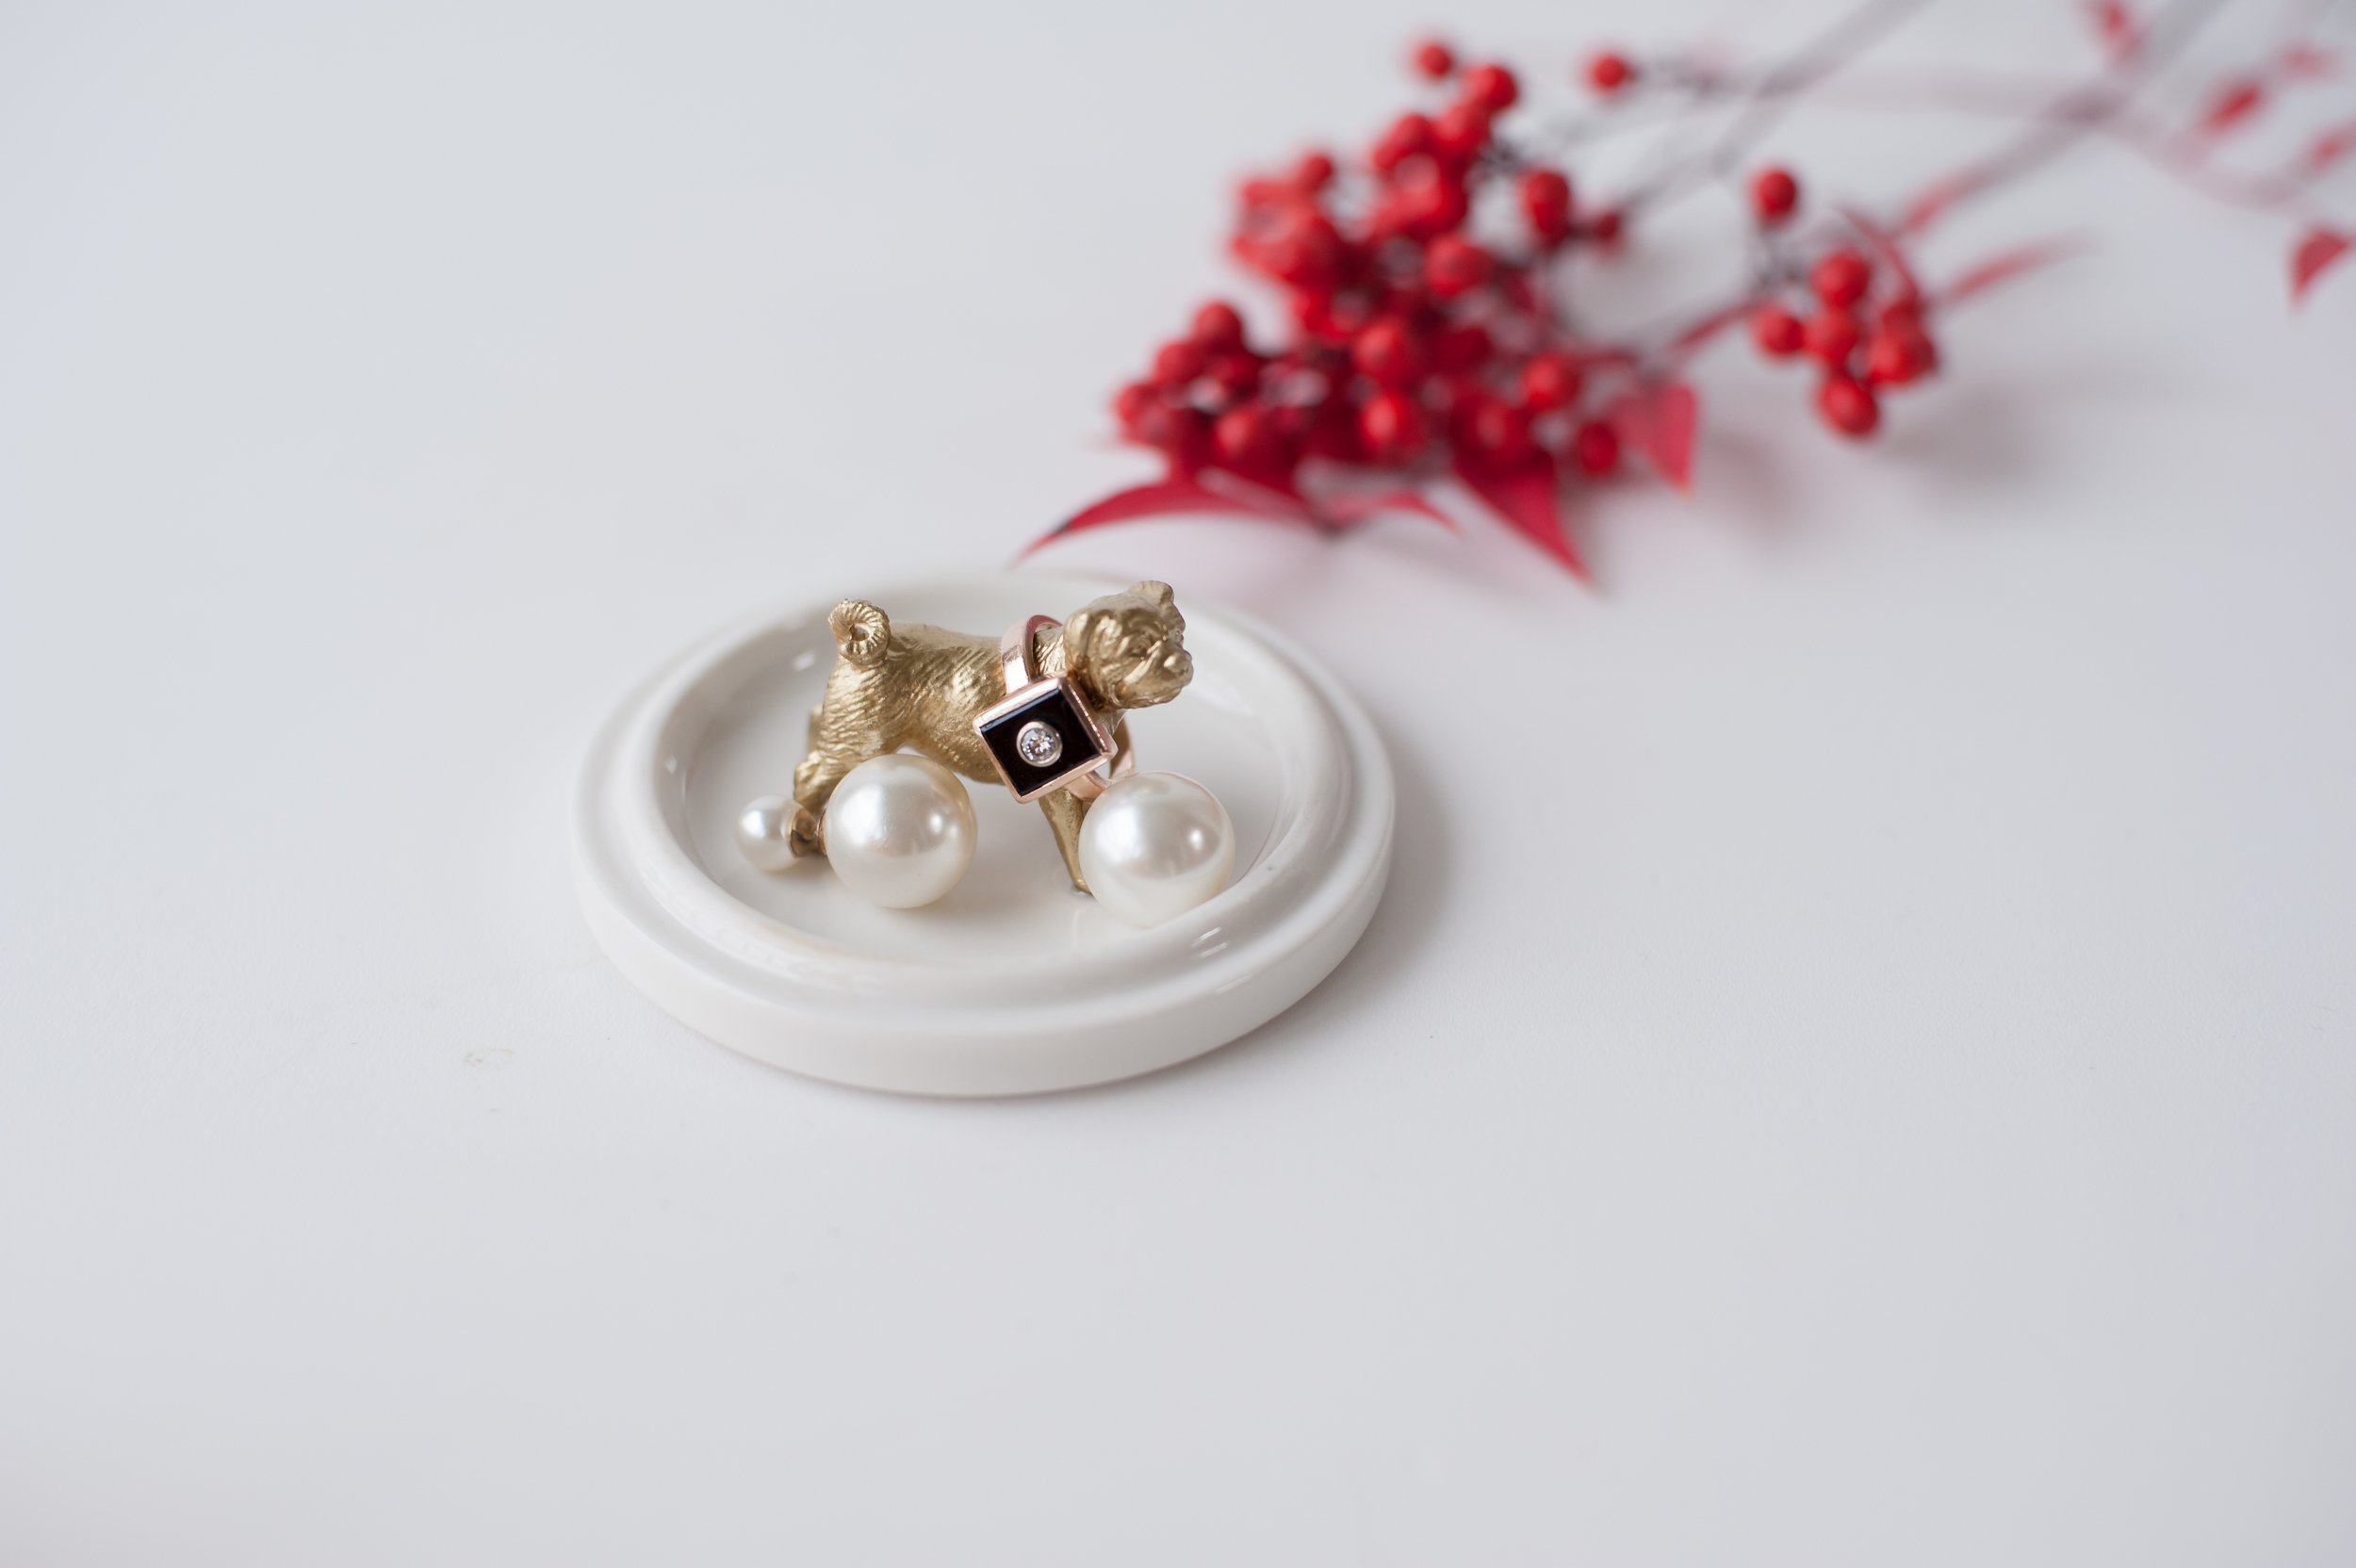
Are you tired of loosing your rings, putting them down somewhere only to forget where or even worse putting them on the hand basin and watching them get bumped down the drain? Then this DIY is for you! These gold animals are the same ones I made in my last DIY where I made these cute >>> Gold Animal Glass Jars.

It's amazing just how much one can achieve when armed with a can of gold spay paint, am I right or am I right?

DIYHowToMakeRingHolder

What you Need

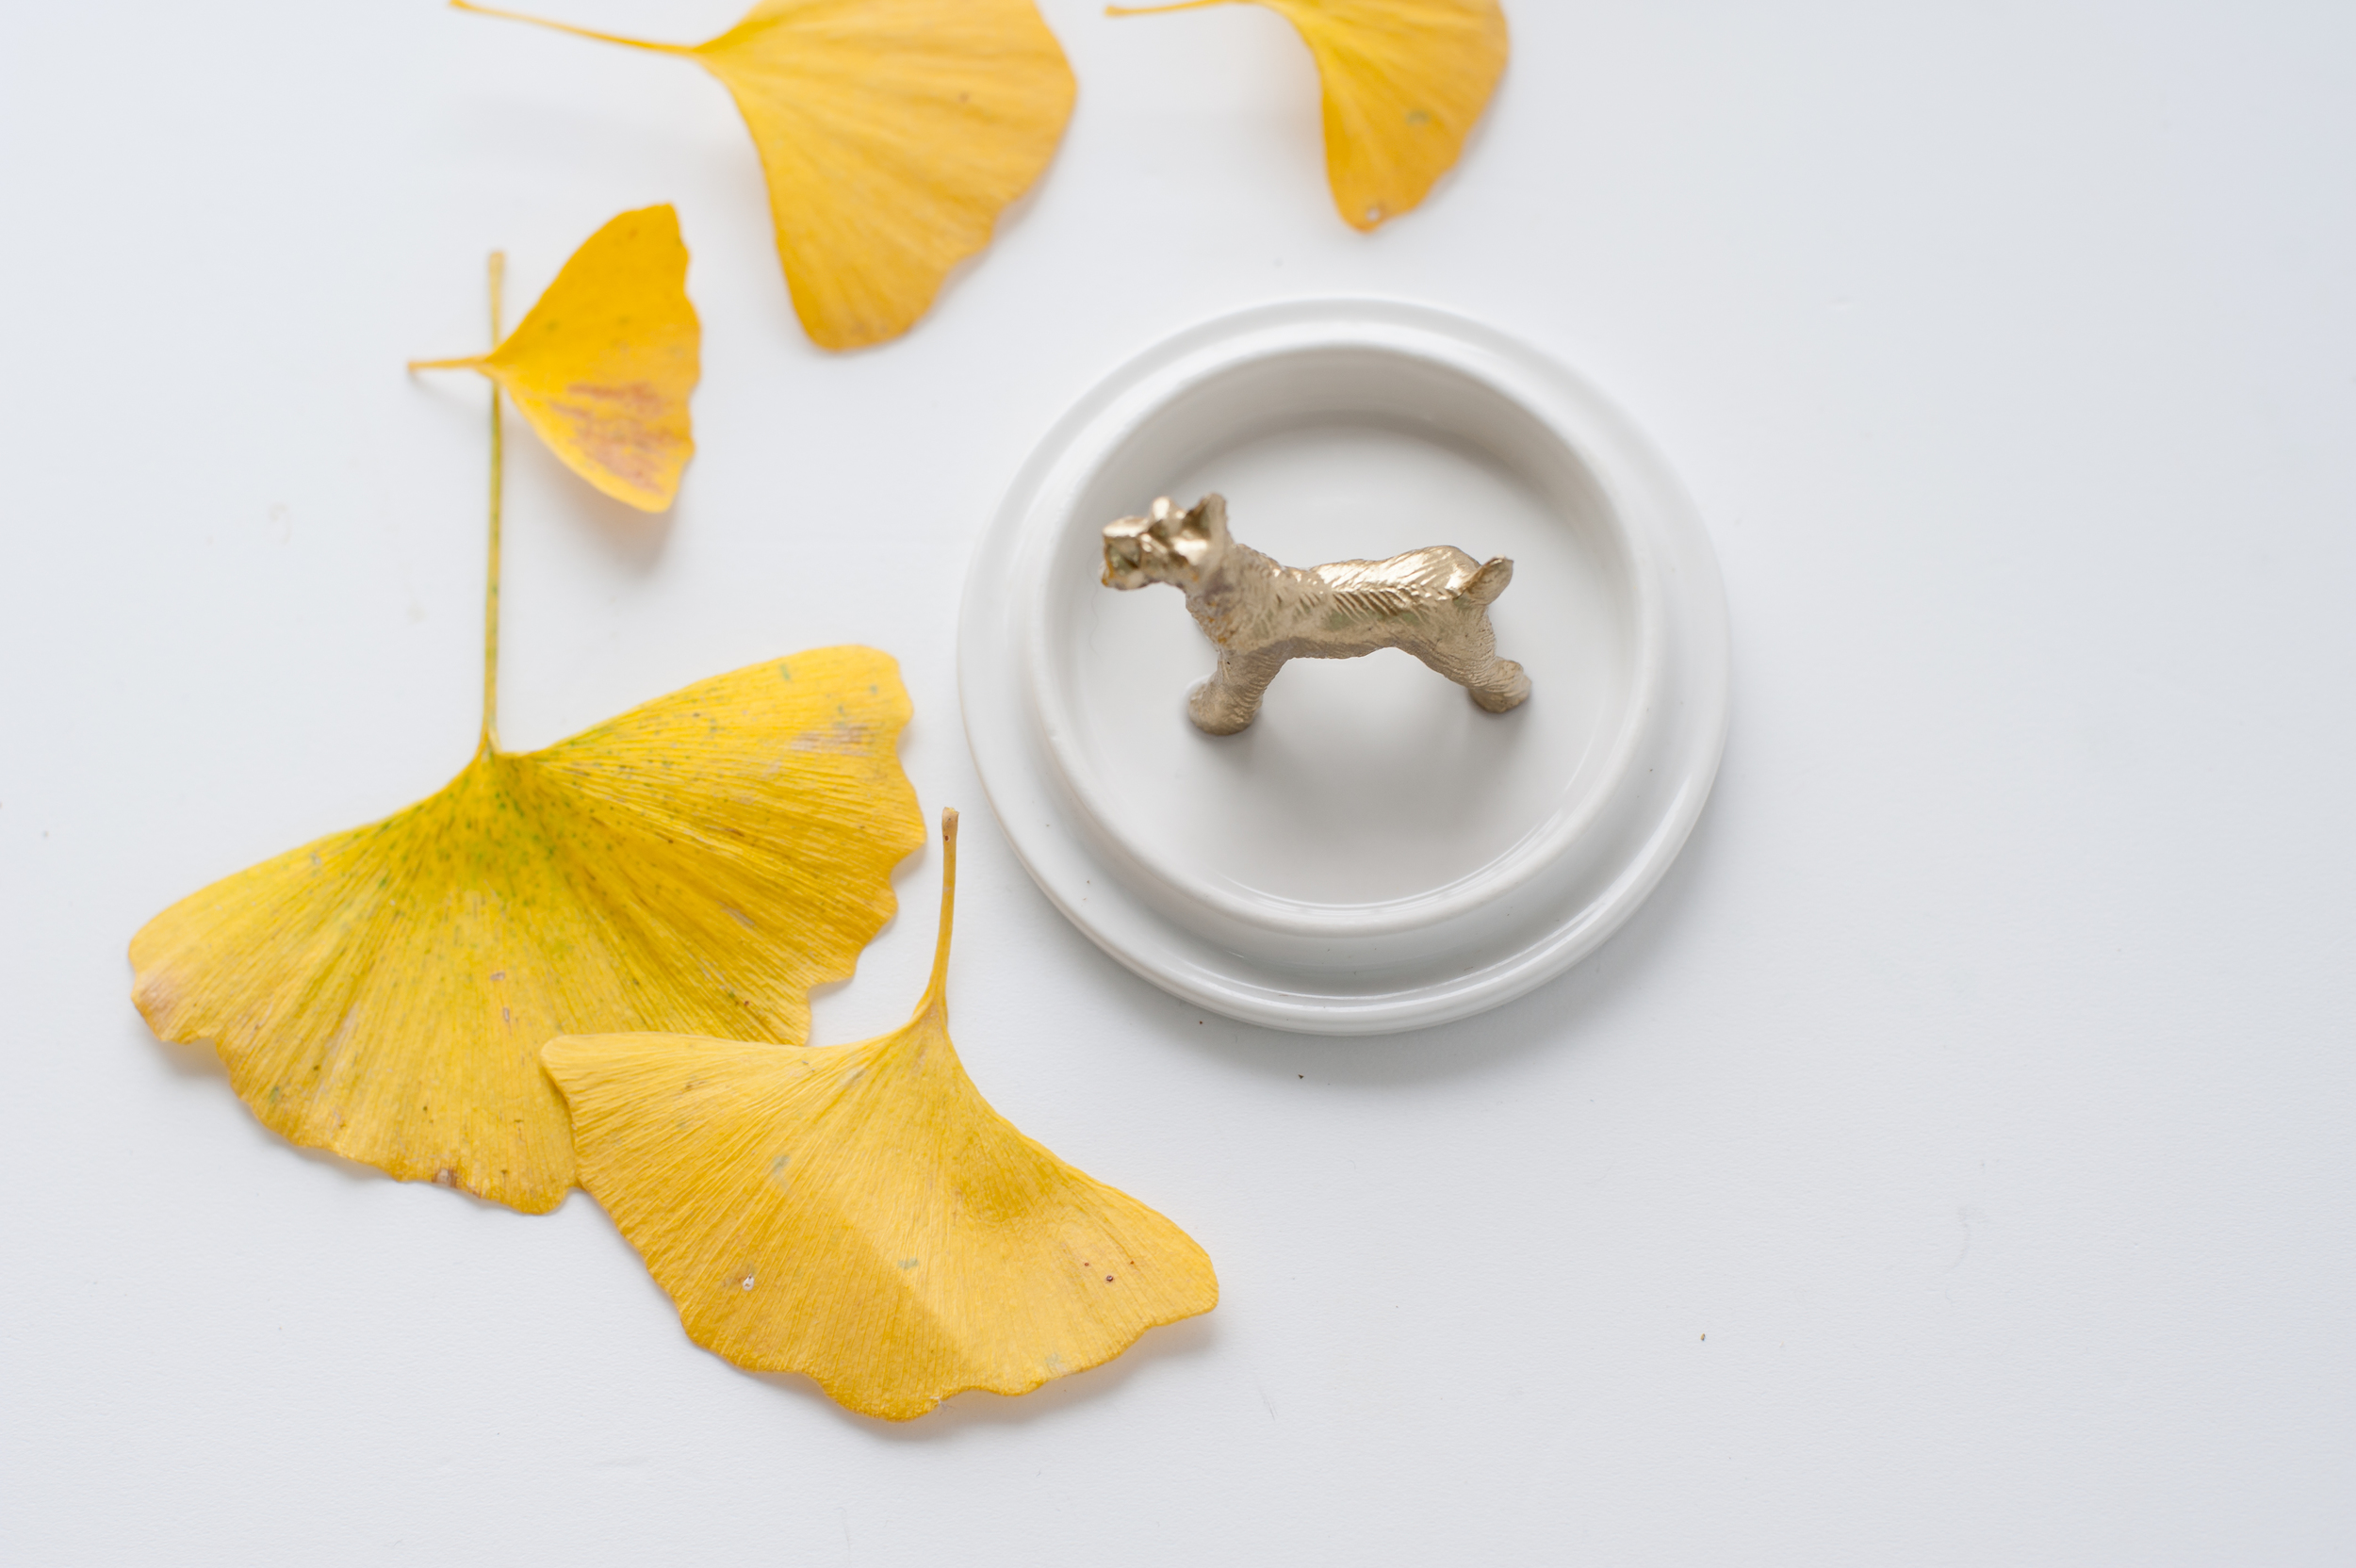
Gold Animal figure (click here for the DIY)

-think about what kind of of animal you'd like, one with a long tail or neck works well to hold rings

a small bowl/plate

superglue

DIYHowToMakeRingHolder

Directions

Simply apply a drop of superglue to each foot of your chosen animal and gently place onto your bowl.plate of choice. Make sure to leave it to dry completely before placing anything on it.

I hope you enjoyed this DIY! I have a few more things planned with my can of gold pray paint so make sure to stay tuned for more DIY posts.

Innisfree Canola Honey Serum {Review}

InnisfreeCanolaHoneySerum

At the beginning of winter here in Korea my skin really needed some extra moisture and I had been wanting to try a serum for a while. In case you were wondering, serums are a more concentrated form of essence that is packed with vitamins that seeps into the skin. Most people (or I should say Koreans as I have yet to meet any one else who uses so many products in their skin care regime) use serums and essences as additional steps in their skin care routine. Ideally, your DAYTIME skincare routine would follow the following steps:

  • Cleanse

  • Tone

  • Essence

  • Serum/Amploue

  • Eye Cream

  • Lotion/Cream Moistouriser depending on your skin needs (lotions are lighter in formulation while creams are 'thicker' delivering more moisture.

  • Suncream

Most serums and essences are rather pricey, granted they contain much higher concentrations of key ingredients, vitamins and minerals, but I find I still can only justify one so choose to use a serum. This particular honey serum from Innisfree was priced at W16 000 when I bought it and has lasted me the entire winter season.

The product comes in a very handy pump dispenser, which means it it also very hygienic. No more dipping dirty fingers into pots and jars of cream. I use 2 pumps of product for my skin. The texture is just like honey, and it smells just like honey. It's the most bizarre but very pleasant experience. Even though it feels and smells like honey, this serum is not sticky, sinking into your skin after a few moments of wear. It's also non greasy and can be worn both day and night time, without leading to shiny skin when worn during the day. 

InnisfreeCanolaHoneySerum

Overall I have loved using this serum and it has given my skin the extra boost of moisture it needed during the winter. It also felt and smelt wonderful while applying, and I will most definitely be purchasing it again when mine runs out.

Low Carb Lemon & Cranberry Muffins #BantingInKorea

tfss-0cd7167d-6ccb-4a8a-9b03-1fb3b98bda60-image.jpg

Sometimes you just need a little something to fill that cupcake sized gap in your tummy and if you are Banting (click here to find out more about this Low Carb High Fat eating lifestyle), then these little muffins will help you loose weight while still filling that gap! They were very quick to make and the lemon & cranberry flavours really balance each other out resulting in mouthfuls of soft & fluffy deliciousness. 

I had planned to have at least half of the batch on hand for the next day, but they didn't even last one sitting. Even Farmboy, who usually scoffs at my Banting baked goods, was impressed with them. 

LemonCranberryBantingMuffins

Dried fruit is not exactly Banting friendly, so if you can find fresh cranberries/blueberries/strawberries then these would indeed be much better for your Low Carb High fat diet. Being in Korea means I often have to make do with what I have on hand, and so dried cranberries went into these muffins. I buy all my nuts (almonds, almond flour & walnuts) and dried cranberries/blueberries online through Gmarket through this seller

Ingredients

2 eggs

1/4 cup yogurt (or the cream off the top of a can of coconut milk)

2 TBS melted butter or coconut oil

1 TBS lemon juice

1/4 tsp vanilla extract (bought online through Iherb)

1/4 tsp baking soda

1 tsp apple cider vinegar (you can find this in all marts here in Korea)

2 TBS xylitol (you can buy it online here in Korea through Gmarket)

1/2 cup cranberries chopped (I used dried cranberries)

1/4 cup coconut flour (you can buy coconut flour here in Korea on Iherb). 

FullSizeRender-9.jpg

Directions

  1. Preheat oven to 180 degrees Celsius.
  2. Mix together all ingredients except cranberries and coconut flour.
  3. Thoroughly mix in coconut flour.
  4. Chop the cranberries if using fresh berries and then fold them into the mixture.
  5. Grease a mini-muffin pan well (I used coconut oil).
  6. Bake at 180 degrees for approximately 15 minutes.
  7. Let the muffins cool off. It's very tempting to eat them straight out of the oven too but resist the urge! These muffins need to cool off to develop their full flavour! 

And that's it...Try not to eat them all in one go...although I totally understand if you can't resist!

Recipe adapted from Intoxicated Life 

Rescuing a puppy in Korea

RescuePuppyInSouthKorea what you need to know

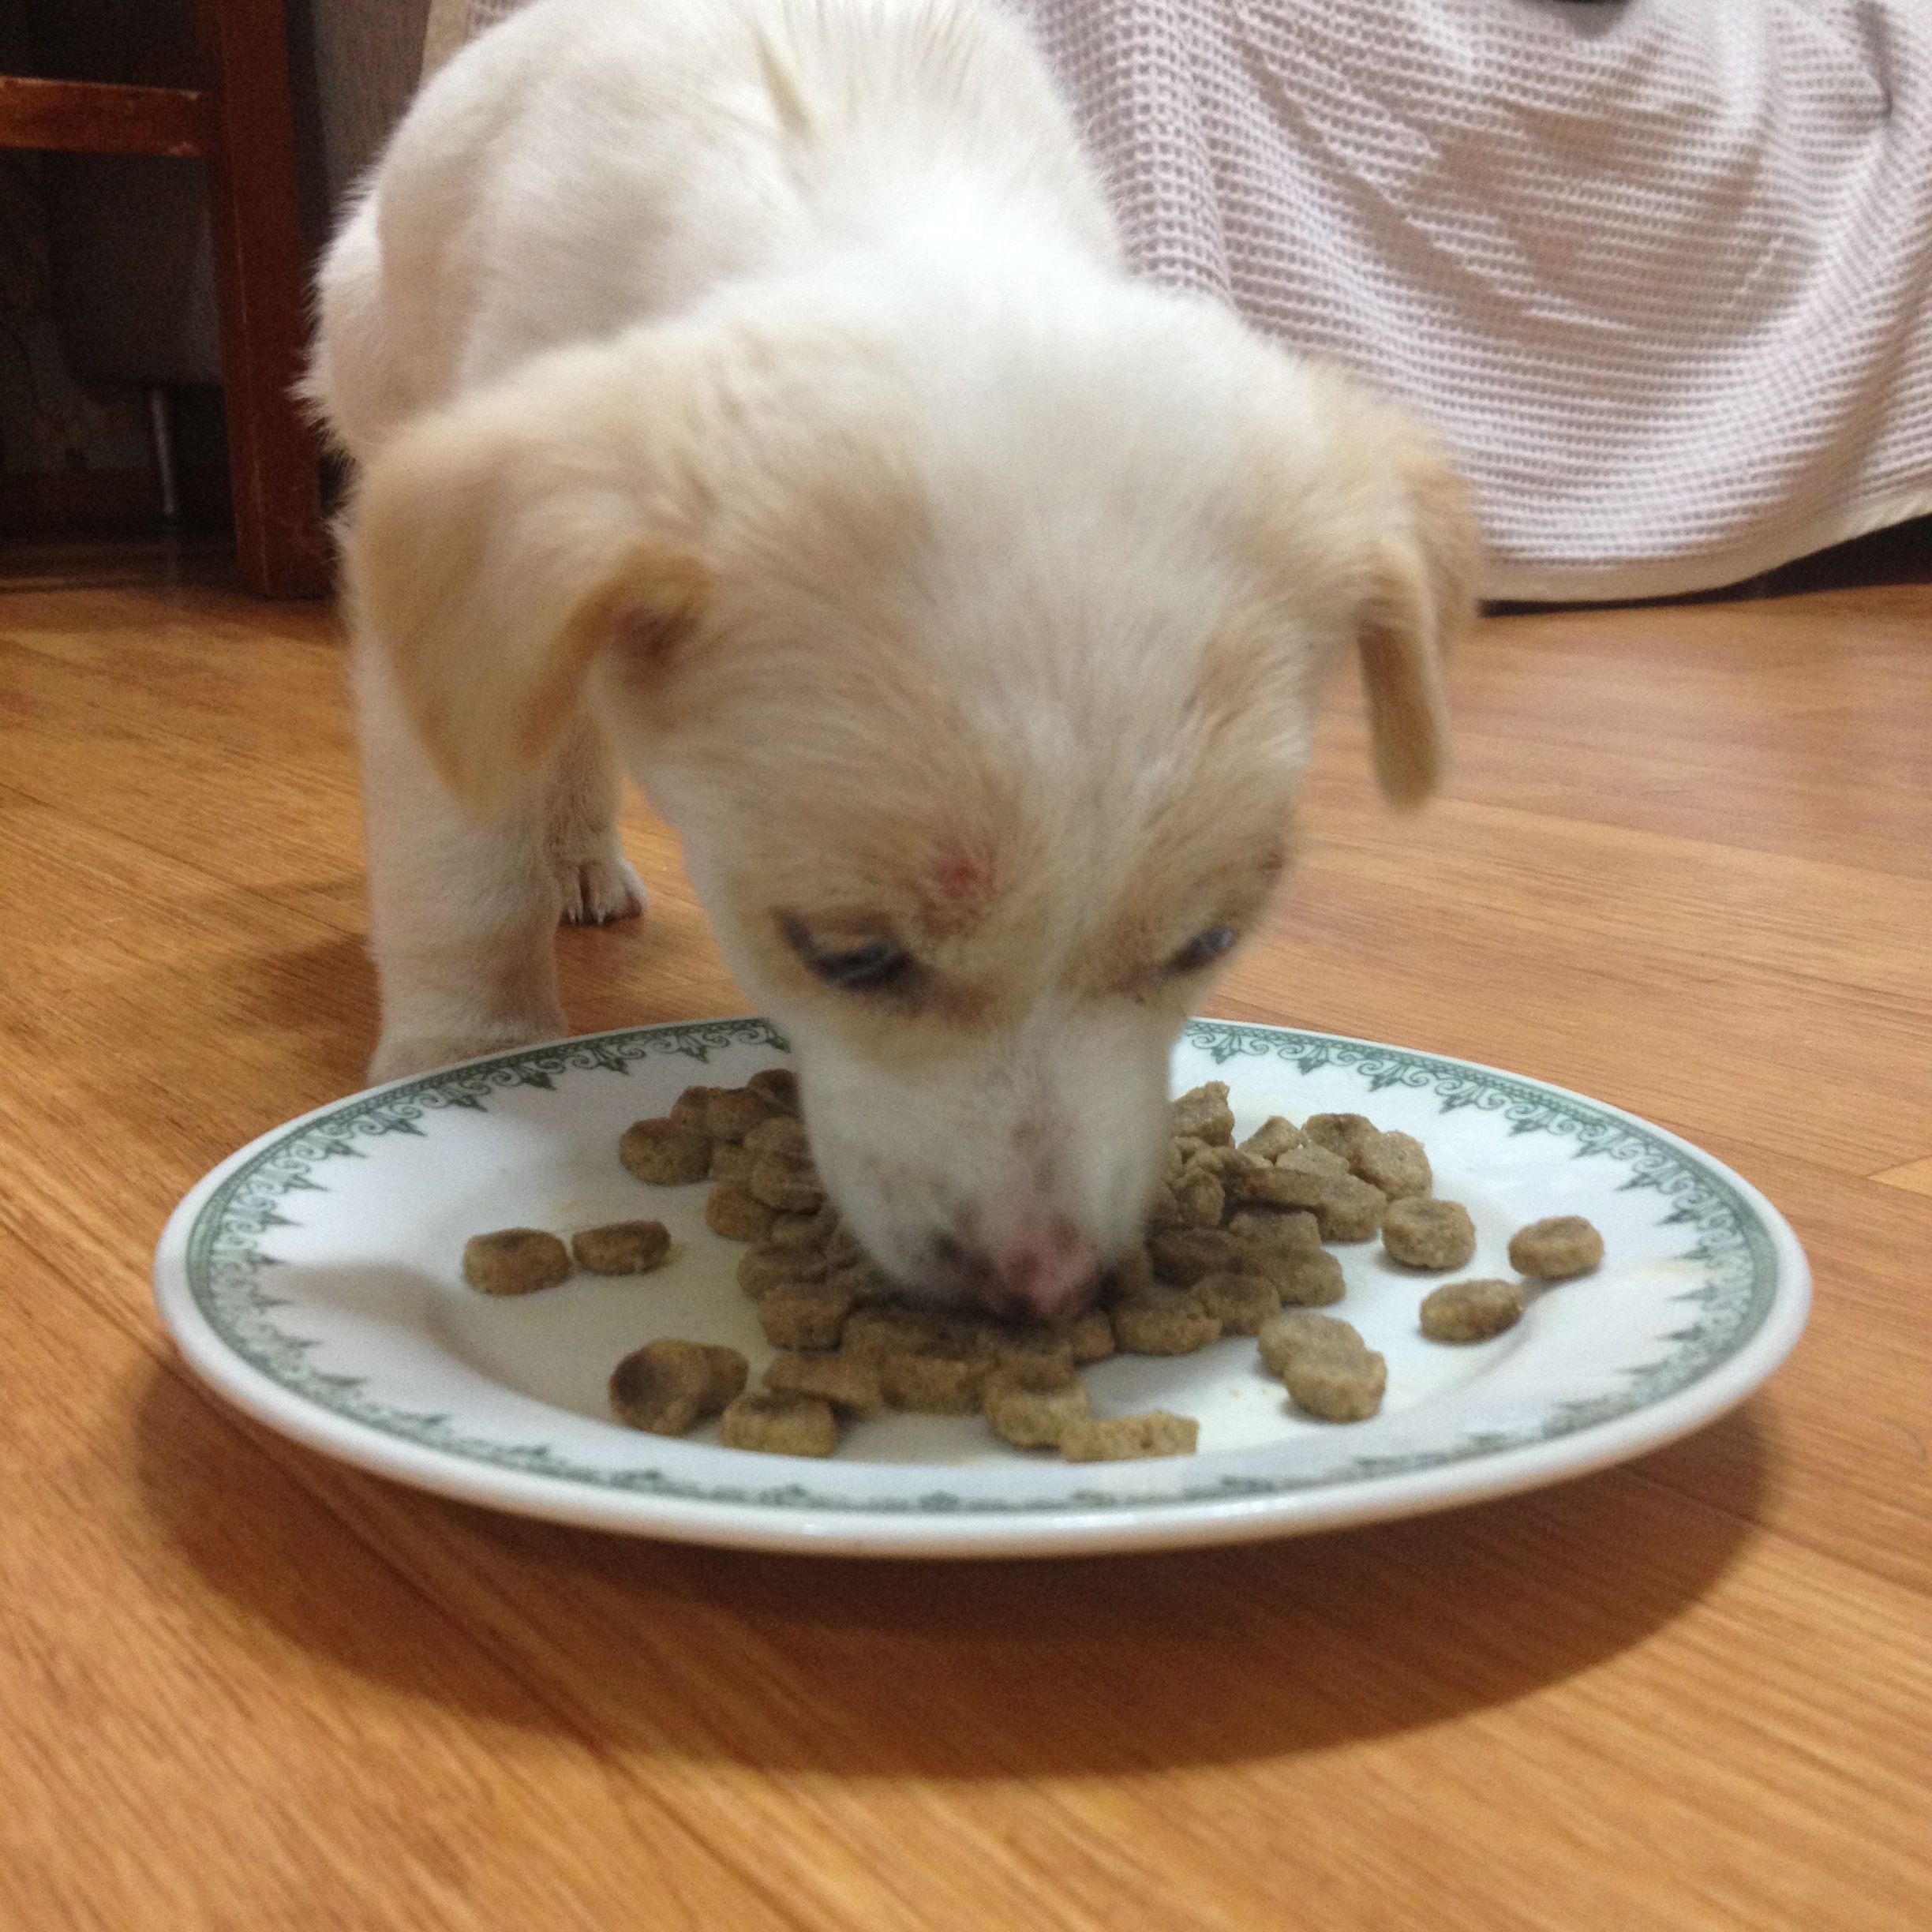
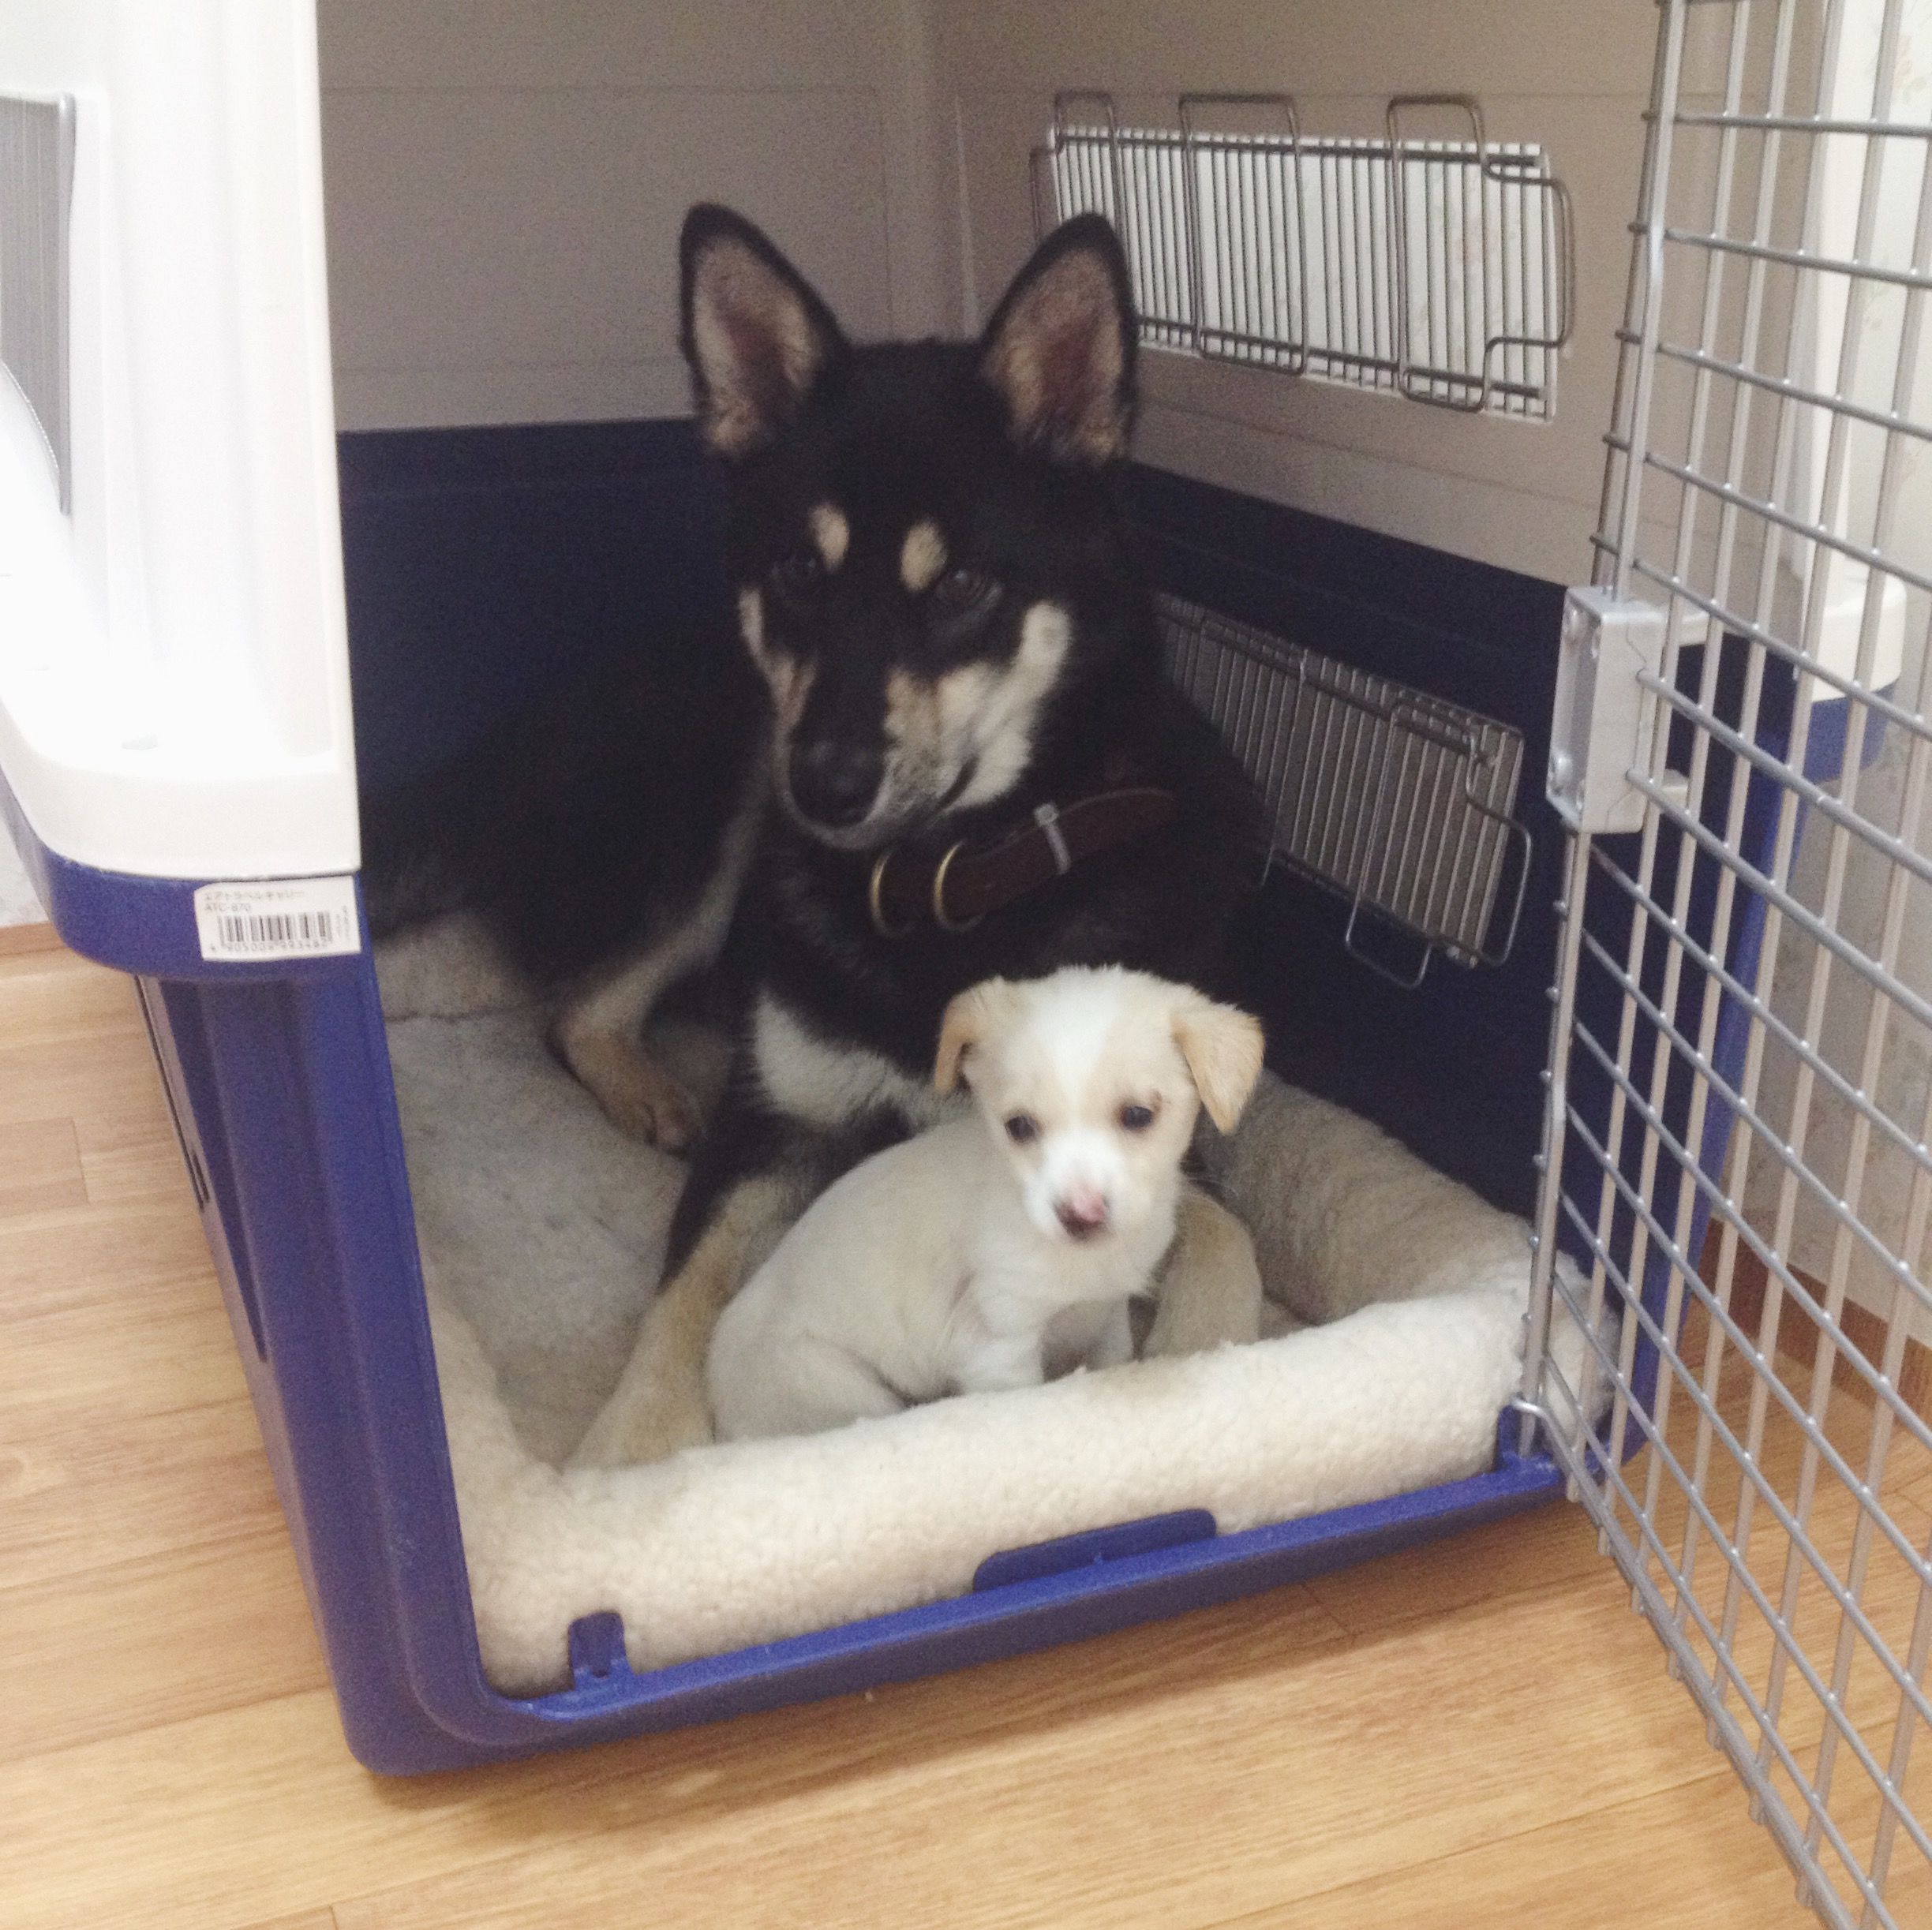
While out on an early morning walk on Monday this week, my Korean rescue pup Shadow (the black & tan one above), found a tiny crying ball of fluff, discarded in a drain alongside a forest road. I took a closer look and saw a terrified little puppy, huddled under a pile of leaves and branches. I also saw that there was another white ball of fluff further up the drain that wasn't moving and was covered in flies. I had no idea what to do. We already have our own rescue dog, who is going to cost us a lot of money to take back to South Africa (we are talking $1000's, so please think carefully before deciding to adopt a dog here in Korea!) but at the same time I couldn't just leave here her. In Korea, if you find an animal and take it to the vet, legally the vet has to keep it for 10 days to allow time for their owner to claim them. As it was clear this little one had been abandoned, my very kind vet didn't ask too many questions.  You can imagine what happens to them if they aren't claimed after 10 days. 

After much deliberation, Farmboy and I both decided we couldn't just leave her there to die and went back to get her. Knowing we couldn't keep her I jumped on Facebook in search of a foster/forever home for the shaking puppy. We took her straight to the vet and apart from a flea and mange infestation and a bacterial infection she is fighting fit and ready to live. 

Regardless of your view of social media, it does one thing better than anything else, and that is network and connect people. Within a few hours I had so many people offer to foster her and a number of people willing to take her permanently. Thanks to each and every person who shared my Facebook posts this little puppy has a loving home to go to next week. 

Here are a few photographs of where we found her, and what she looks like now, a couple of days after finding her. Shadow just adores her and he won't be the only one misses her when she's goes next week. 

As we have been through this whole process before, I have written a couple of blog posts on owning a dog here in Korea. If you have been thinking of it you might find these posts useful:

-OWNING A DOG IN KOREA {PART 1} WHAT YOU NEED TO KEEP YOU AND YOUR PUP HAPPY.

-OWNING A DOG IN KOREA {PART 2} HEALTH CHECK UPS & VACCINATIONS

From all my Facebook & Instagram posts it may seem like owning a dog in Korea is the easiest thing in the world. Please remember that I, just like most other people on social media, showcase the highlights. Owning a dog here in Korea is hard work, and you need to be prepared for not just the expenses of owning a dog (the vaccinations, neutering, dog food which is sooo much more expensive than back home & of the course the final cost of taking the dog back to your home country) but also what daily life with a dog is like here. We have a 'large' dog for Korean standards and deal with terrified neighbours and kids running away screaming on a daily basis. Koreans just aren't used to keeping dogs as pets, especially big dogs and are always horrified when they hear that Shadow lives in our apartment with us. Also, Korea isn't built for pets, so finding a place to exercise him is always an issue, finding a place for him to go to the bathroom without Koreans chasing us away from their beloved veggie patches is always a nightmare, finding places to stay that will accept dogs here in near impossible (we camp A LOT) and of course taking your dog around if you don't have a car is a huge challenge if they aren't small and able to fit in a little carrier. We wouldn't change our experience with Shadow for anything in the world, but I do wish we had known from the beginning exactly what we were in for when we found him. If you have any questions about owning a dog here, please feel free to email me or leave me a comment below. Also, there are sooooo many dogs and puppies needing homes here in Korea, if you have been wanting to get a dog please consider adopting rather than buying from the pet stores.

Below is a website that lists all the dogs (and cats & other animals!) available for adoption, as well as Facebook groups where animals that have been rescued are also posted. There is also a group called Everything Paws which is a fantastic resource for pet owners here in Korea. I've also included the links for buying and selling second hand pet items and information on traveling abroad ie. back to your home country with your pet. 

-Everything Paws: Tips & DIY Ideas for pet owners in South Korea  

-Rescue Korea adoption website

-Buy & Sell Pet Related Items in Korea

-Airborne Animals

Do you have a pet here in Korea? What has been your biggest challenge so far? I'd love to hear from you!

20% off My Stationery Store in Honour of National Stationery Week!

Today marks the start of National Stationery Week in the UK and to celebrate I'm offering 20% off all items in my stationery store! I'm mad about the gorgeous stationery items here in South Korea and I think you will be too once you see what lovely bits of paper goodies I have in stock. This special discount is only valid until Friday the 1st May. Below you'll find just a small selection of what I have in stock, simply click on each image to be directed to the store.

Simply use the following code to access your 20% discount:

happymail

Happy Shopping everyone!

I ship world wide. Shipping costs start from $2 and you should receive your package within 2 weeks. If you are based in South Africa shipping will take longer, please be patient. Please also note that for basic shipping there is no tracking number or insurance (as these make shipping very expensive). If you would like a tracking number or insurance please email me for rates).

Payment is securely done through Paypal (which you can make payments on without a Paypal account using your credit or debit card). If you have any further question please feel free to email me using the contact form above or by clicking here.

Happy Shopping!

Orange Chocolate Cheesecake Fat Bombs #BantingInKorea

OrangeChocolateCheesecakeFatBombsBantingRecipe

Welcome to my latest sweet treat recipe for those following the Banting eating lifestyle (click here to read more about this Low Carb High Fat lifestyle).

With Banting, your main source of energy should come from fat. I'm not talking about the bad kind, I'm talking about the good kind (What? You didn't know that certain fats are actually good for your body and will help you to loose weight while combating your cravings for all those sugary carbs?? Click the link above to read more about good fat). Good fats are things like butter, bacon & animal fat, olive oil, almonds, coconut oil, cream cheese, full cream milk & yogurt....the list goes on! But while your energy should come from fat, you need to remember that eating lots of vegetables is just as important to keep that body of yours lean and clean.

A lot of people, myself included, go through dips as soon as the afternoon arrives, when the craving for something sweet and sugary is often the hardest to resist. This is your body's way of saying it needs more energy, and for Banters, this means fat. A great way to quickly satisfy those cravings is with fat bombs. Fat bombs are just that, bombs of fat that fill you up fast, while delivering your body exactly what it wants when it wants it. There are loads of different fat bomb recipes, but this one is my absolute favourite so far. Chocolate and cheesecake, what's not to like? And another great thing about this recipe is that there is no oven required. As long as you have a fridge/freezer you are on your way to one happy tummy.

Happy eating!

x

BantingChocolateCheesecakeFatBombsREcipe

Ingredients

For the Chocolate

  • 6 TBSP Coconut Oil 
  • 6 TBSP Butter
  • 1/4 cup Cocoa Powder
  • 1/4 tsp sea salt
  • 1/4 tsp orange extract or use the juice of fresh orange
  • 1/2 -1 tsp sweetener of choice (I used Xylitol which you can buy in Korea here)

For the Cheesecake Centre

  • 1/4 Cup Butter, room temperature
  • 1/4 Cup Cream Cheese, room temperature
  • 1/2 tsp orange zest 
  • 1-2 TBSP juice from zested orange
  • dash sea salt
  • optional sweetener to taste (I used a small amount of sweetener as the slight sweetness of the orange juice was enough for me)
BantingChocolateCheesecakeFatBombsREcipe

Directions

  • Set up an ice tray or silicone candy mold/mini paper cups. 
  • Use a double boiler or a heavy bottomed saucepan to melt your coconut oil and butter for your chocolate.
  • Once melted remove from the heat and whisk in cocoa powder and sea salt. Add orange juice and sweetener to taste (you need to taste here to make sure you aren't going overboard with the sweetness).
  • In a separate bowl, use an electric mixer to whip together your cheesecake filling; butter, cream cheese, zest, orange juice and salt. Make it as fluffy as possible.
  • Pour a thin layer of your chocolate mix into the bottom of your ice tray/ silicone mould/paper cups. You can put the chocolate bottoms into the freezer to firm up so there is no chance of cheesecake peeking through or you could just start adding your dollops of cheesecake.
  • Add the cheesecake filling to shape and place on top of the chocolate.
  • Once done, pour the rest of the chocolate on top of your moulds.
  • Place your chocolates in the freezer and in 30-60 minutes they will be ready to munch! Place in a a reusable container for to store (if you have any left!).

This recipe filled a regular 12 cube ice tray.

BantingChocolateCheesecakeFatBombsREcipe

Adapted from Gratefully Nourished

Innisfree Face Designing Duo Contour & Highlighter {Review}

InnisfreeDuoFaceDesignPowder_0001.jpg

This duo highlighter and face contour powder is one of my current makeup favourites! You can see it in action in my 'Get Ready With Me Youtube Video'. 

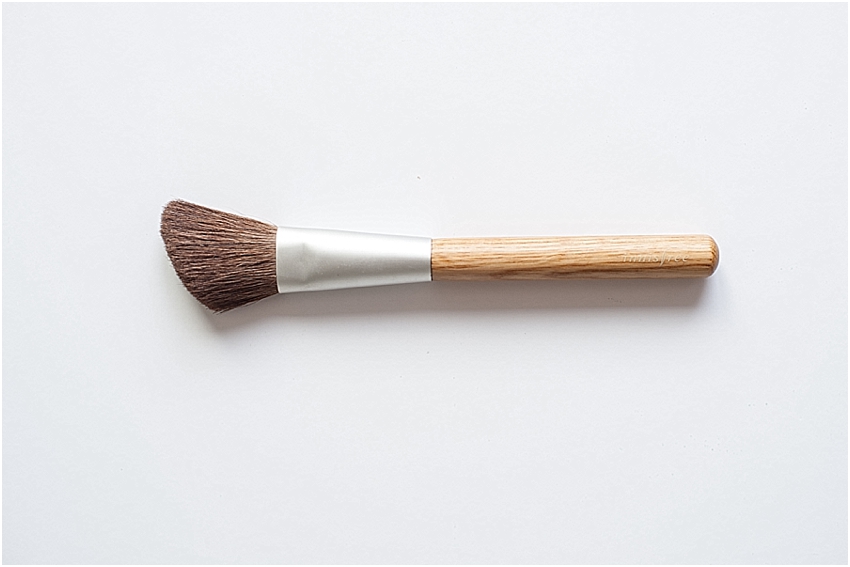
Half of the compact is a highlighter, and the other half is a darker shade specifically for contouring. If any of you are wondering what exactly contouring is, it's basically using different shades of makeup to slightly change the appearance of your face structure. In other words, defining your cheekbones, slimming areas and giving you a more defined face. I have always been very put off by the huge number of steps involved in a lot of contouring tutorials. Most contouring involves the use of both a highlighter and a contour powder and so this powder helps me to take a lot of the guess work out of which powder should go where as it's already got both products in one. This powder works best with an angled makeup brush (pictured below) as an this type of brush really helps to define and contour without spreading product all over the place.

InnisfreeAngledFaceBrush
InnisfreeDuoFaceDesignPowder_0003.jpg

This particular product comes in three shades; #1 Cozy Afternoon Sunlight, #2 Calm Sunset and #3 Leafy Path. I have shade #2 which I found to be just right for my skin tone. The shade on the left hand side is the highlighter and contains shimmer pigments which really give your face a pretty glow. The darker shade on the right is the contouring shade. Both are highly pigmented and I found it lasts all day long! You can use each side separately for a definition, or use them like I do, together, for an easy and subtle highlighting and contouring effect.

InnisfreeFaceDesigningDuo
Image from InnisfreeWorld

Image from InnisfreeWorld

I bought mine at the Innisfree store in my town for W12 000. 

Have you ever tried this highlighter and contour powder? Do you have any other contouring or highlighting products that you love? Please share them below!

Alysha & The Blossoms....A Spring Styled Shoot

Korean Spring Blossoms Styled Photoshoot by Roxy Hutton of CGScreative-03-05.png

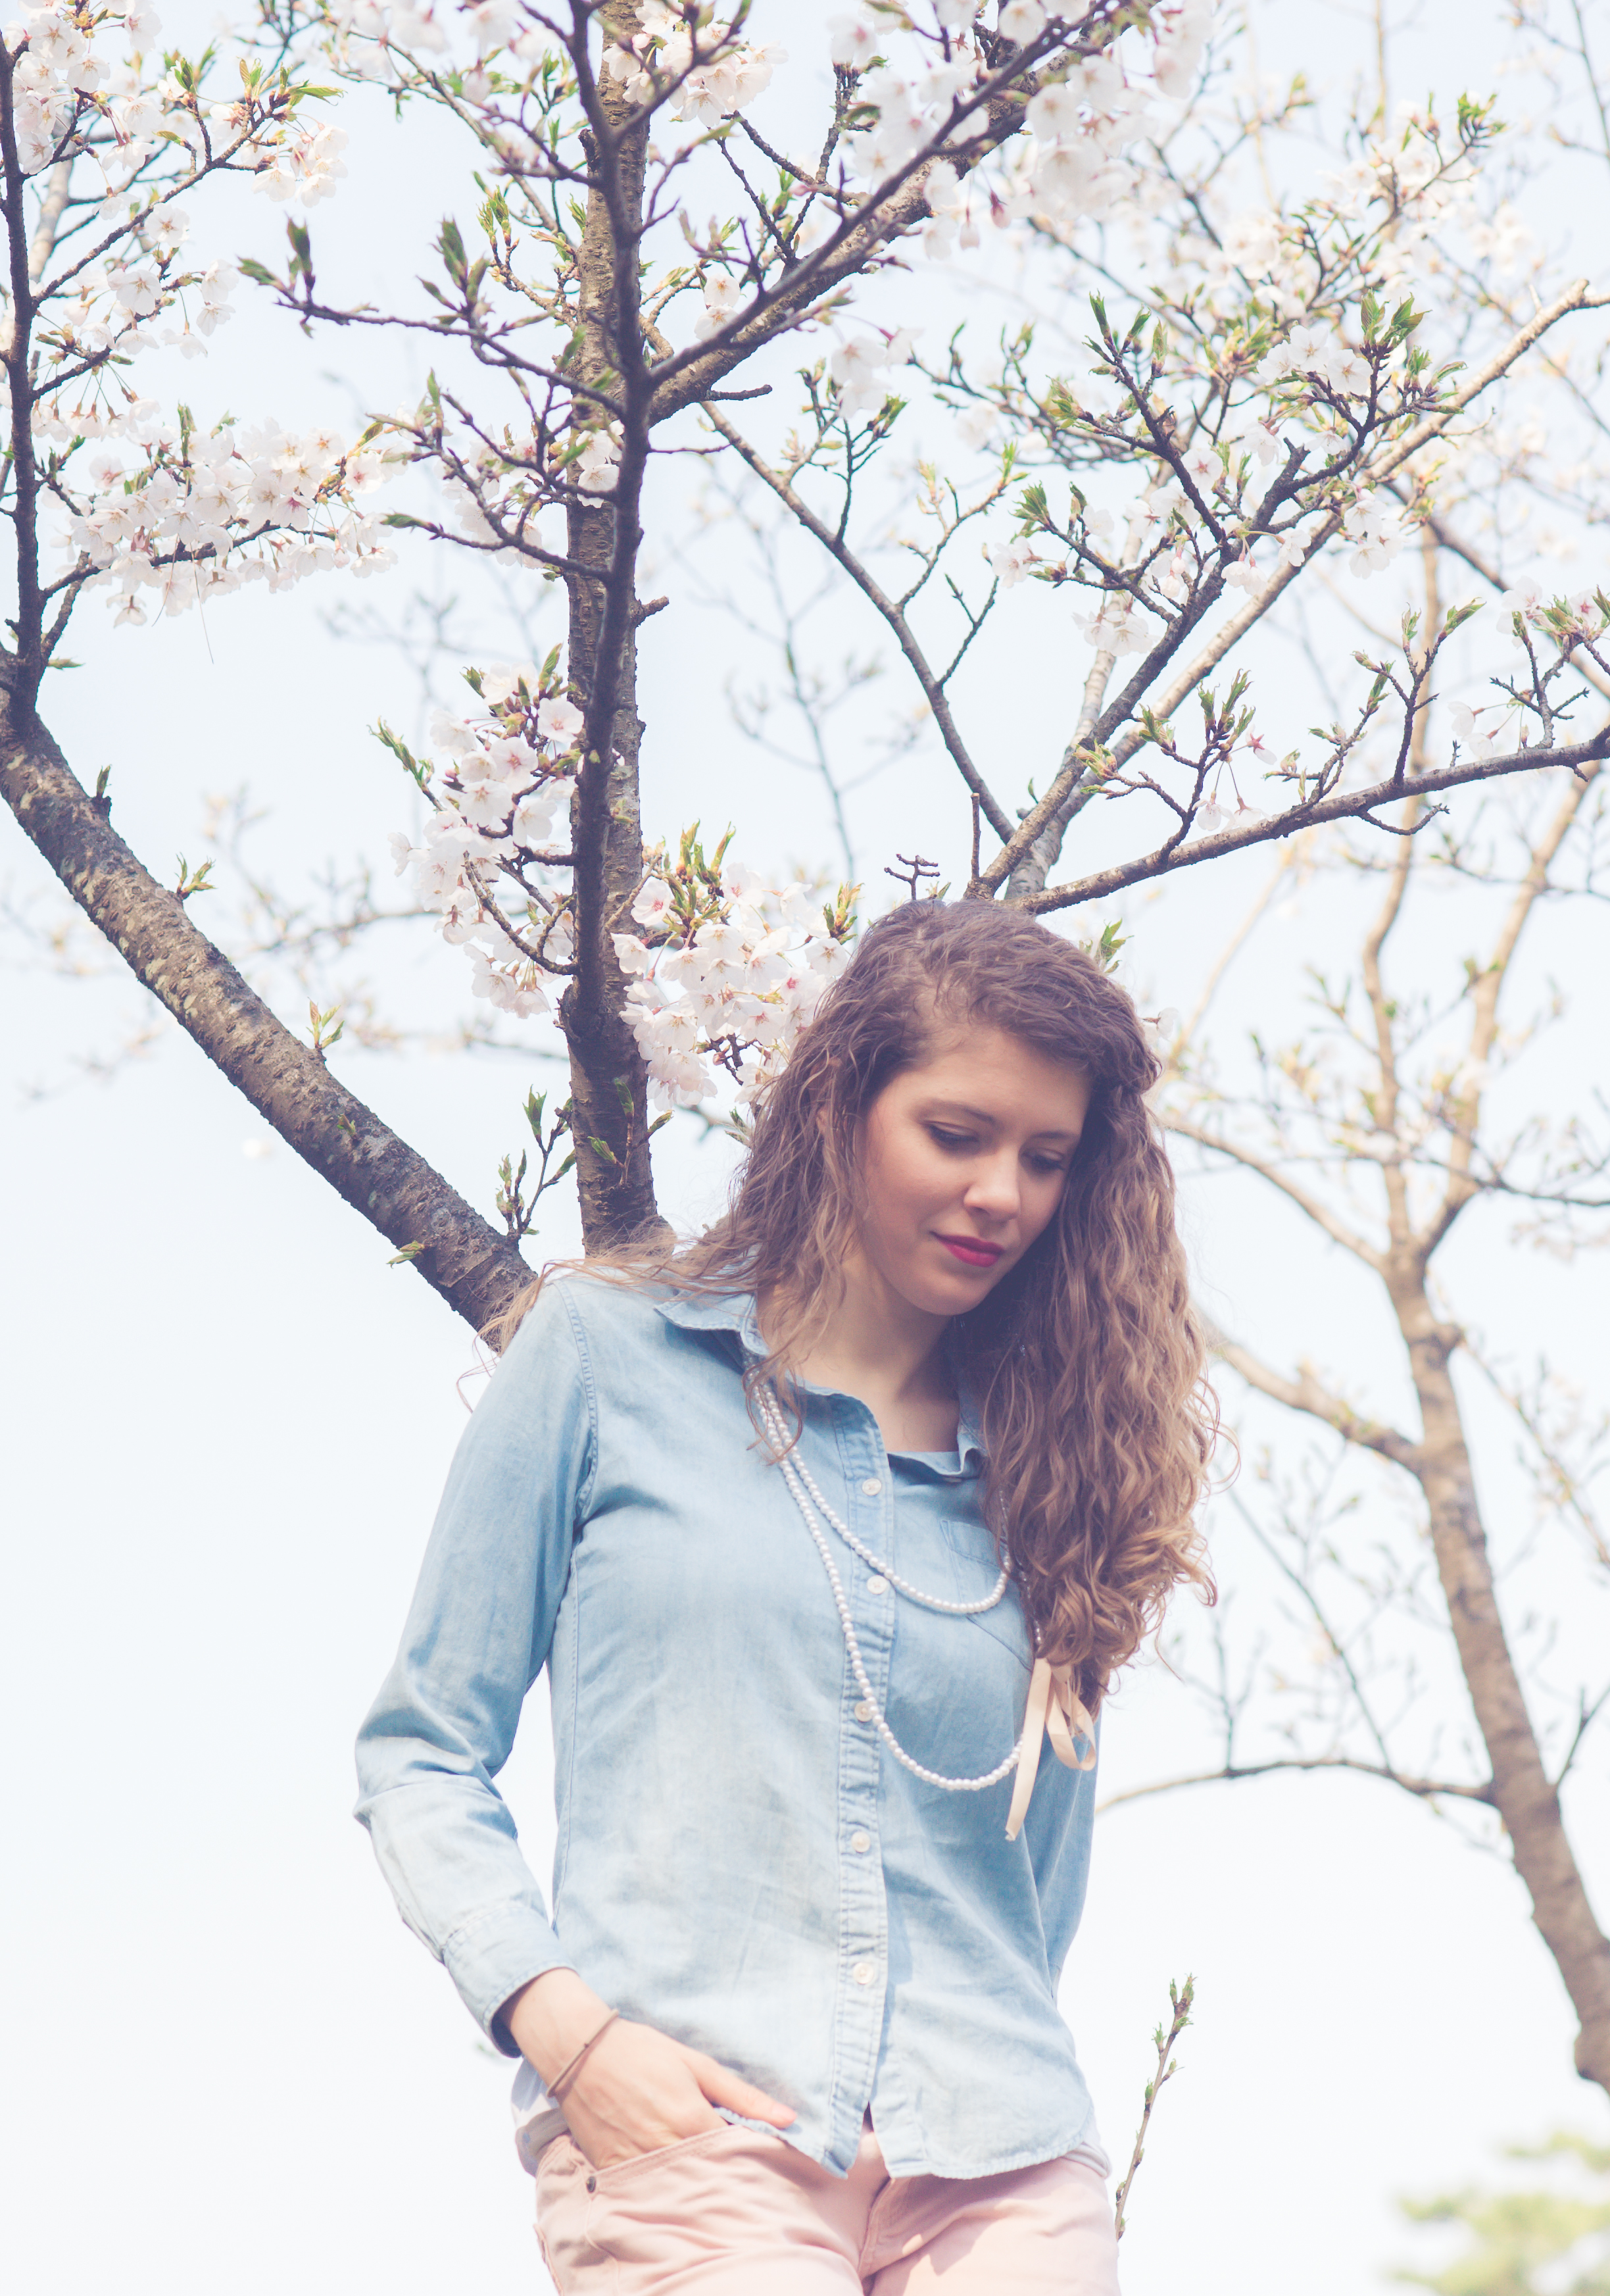
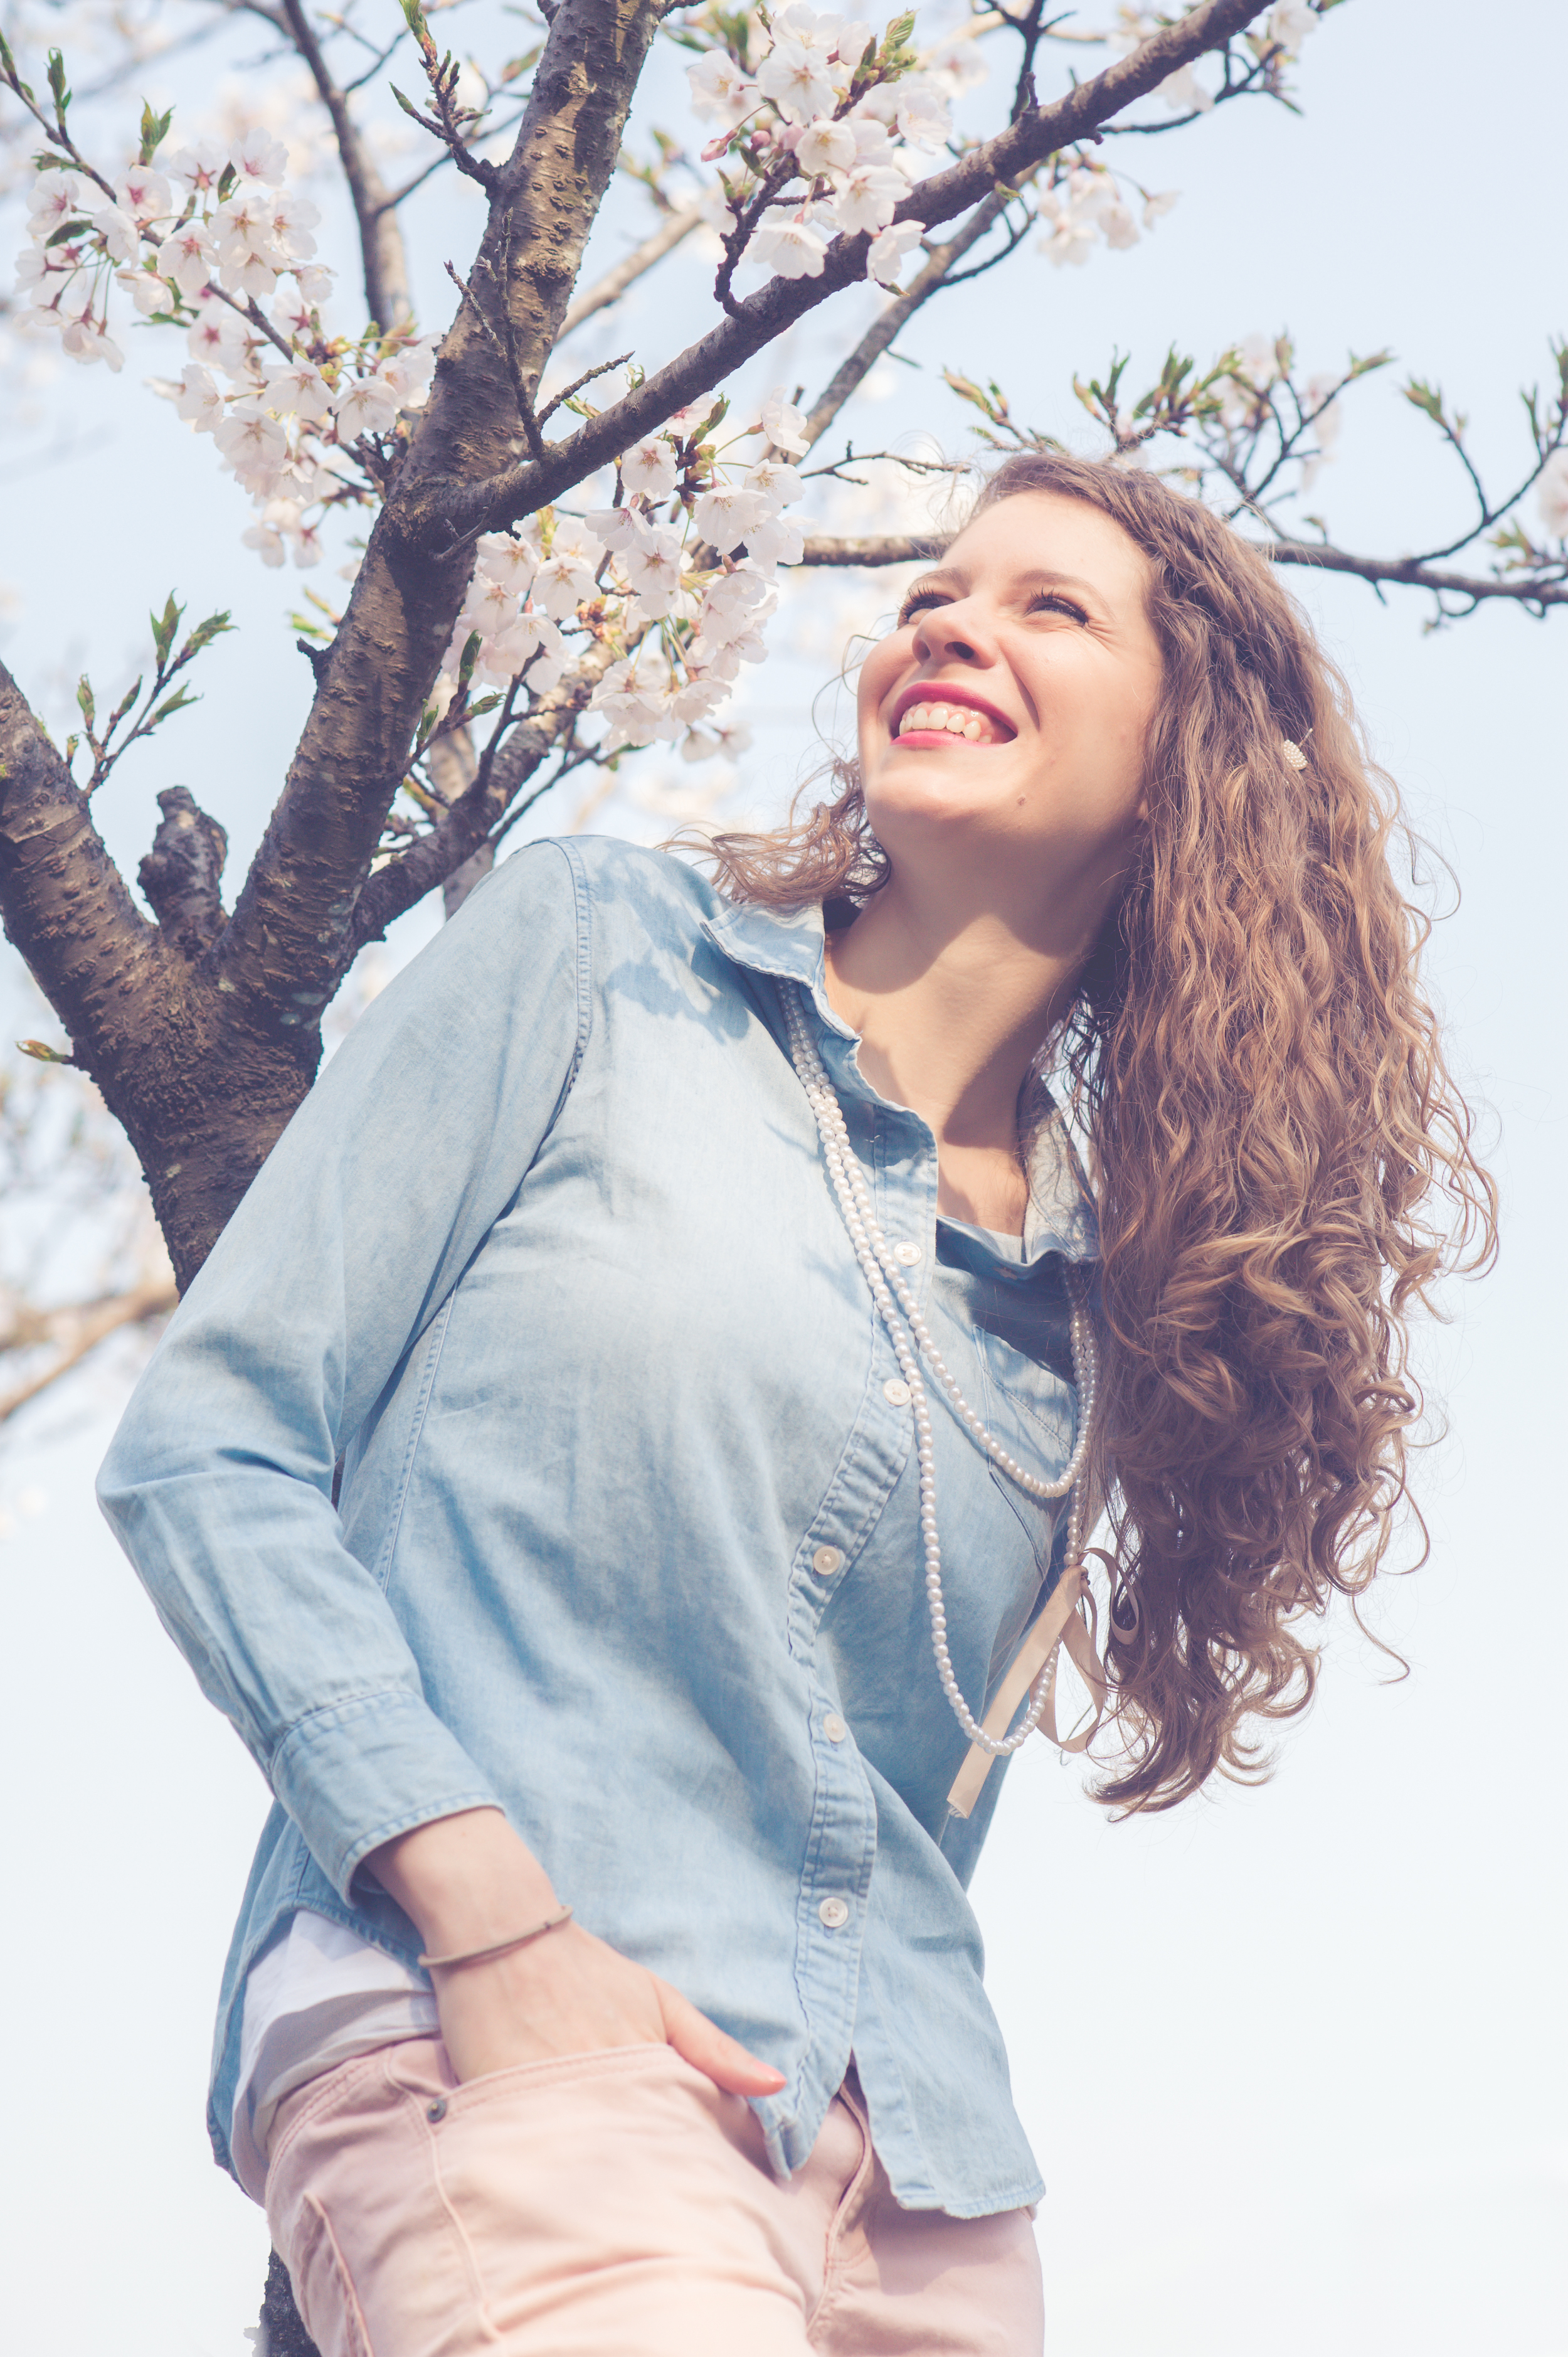
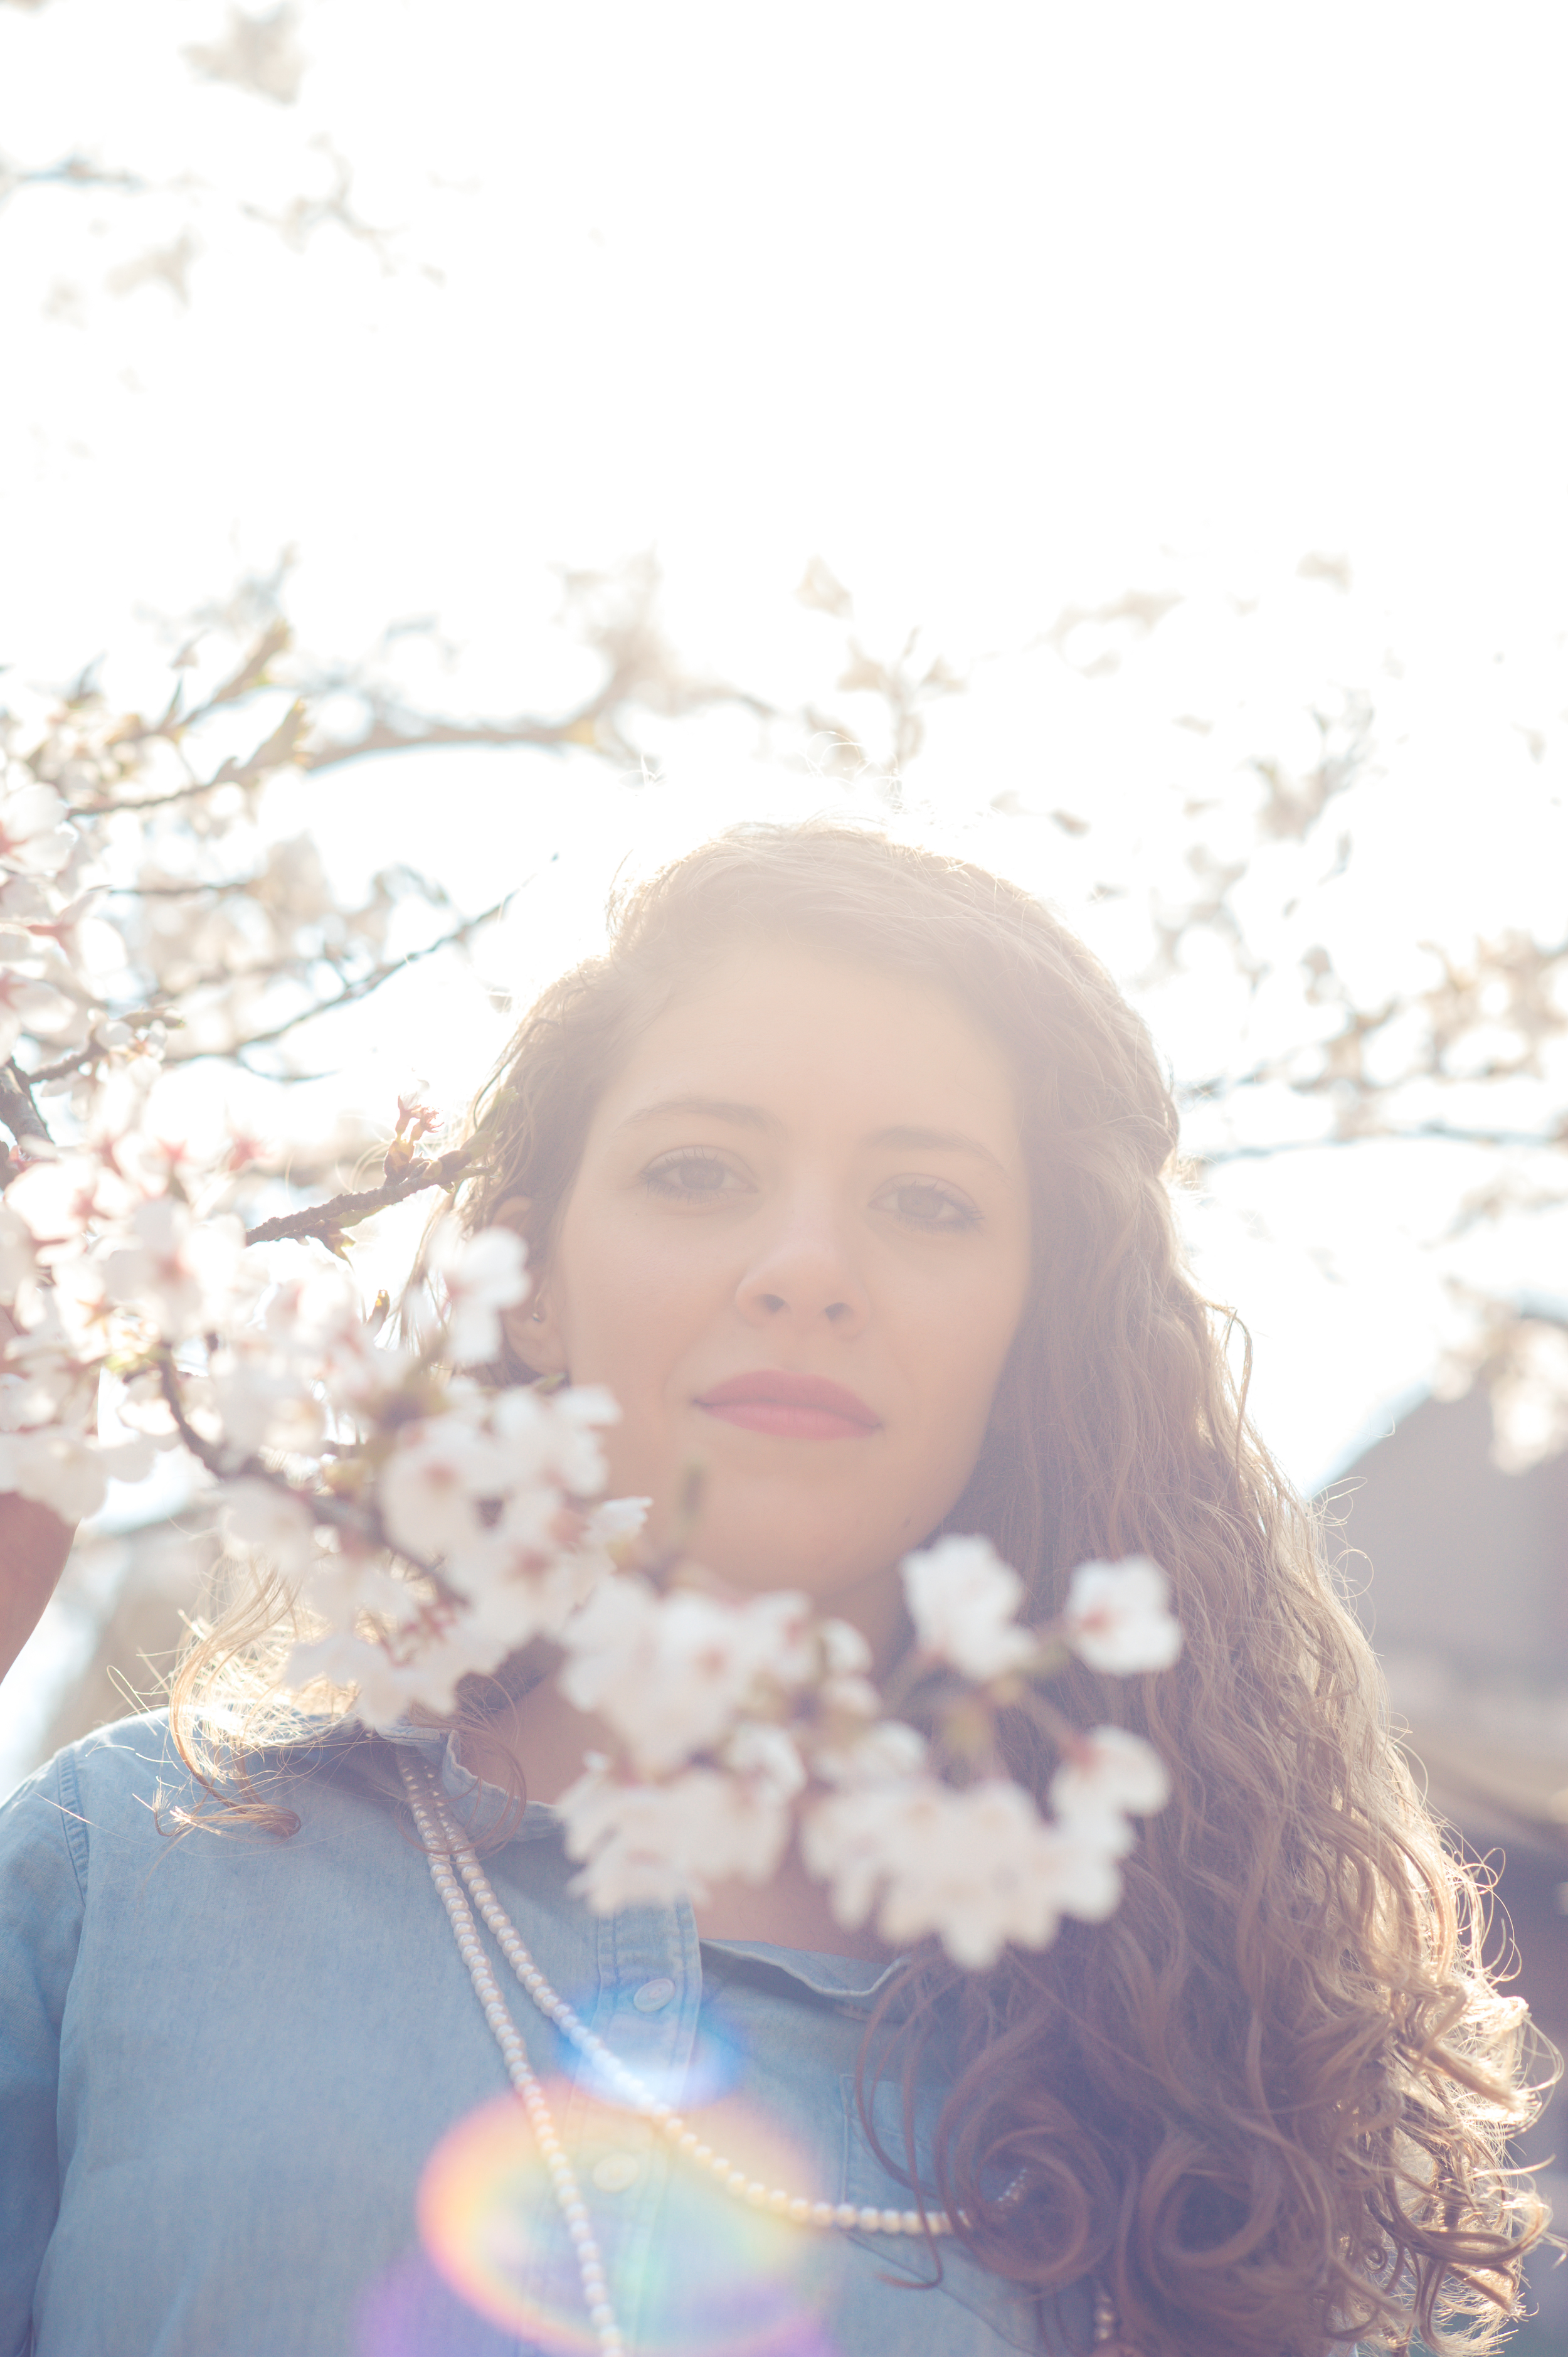
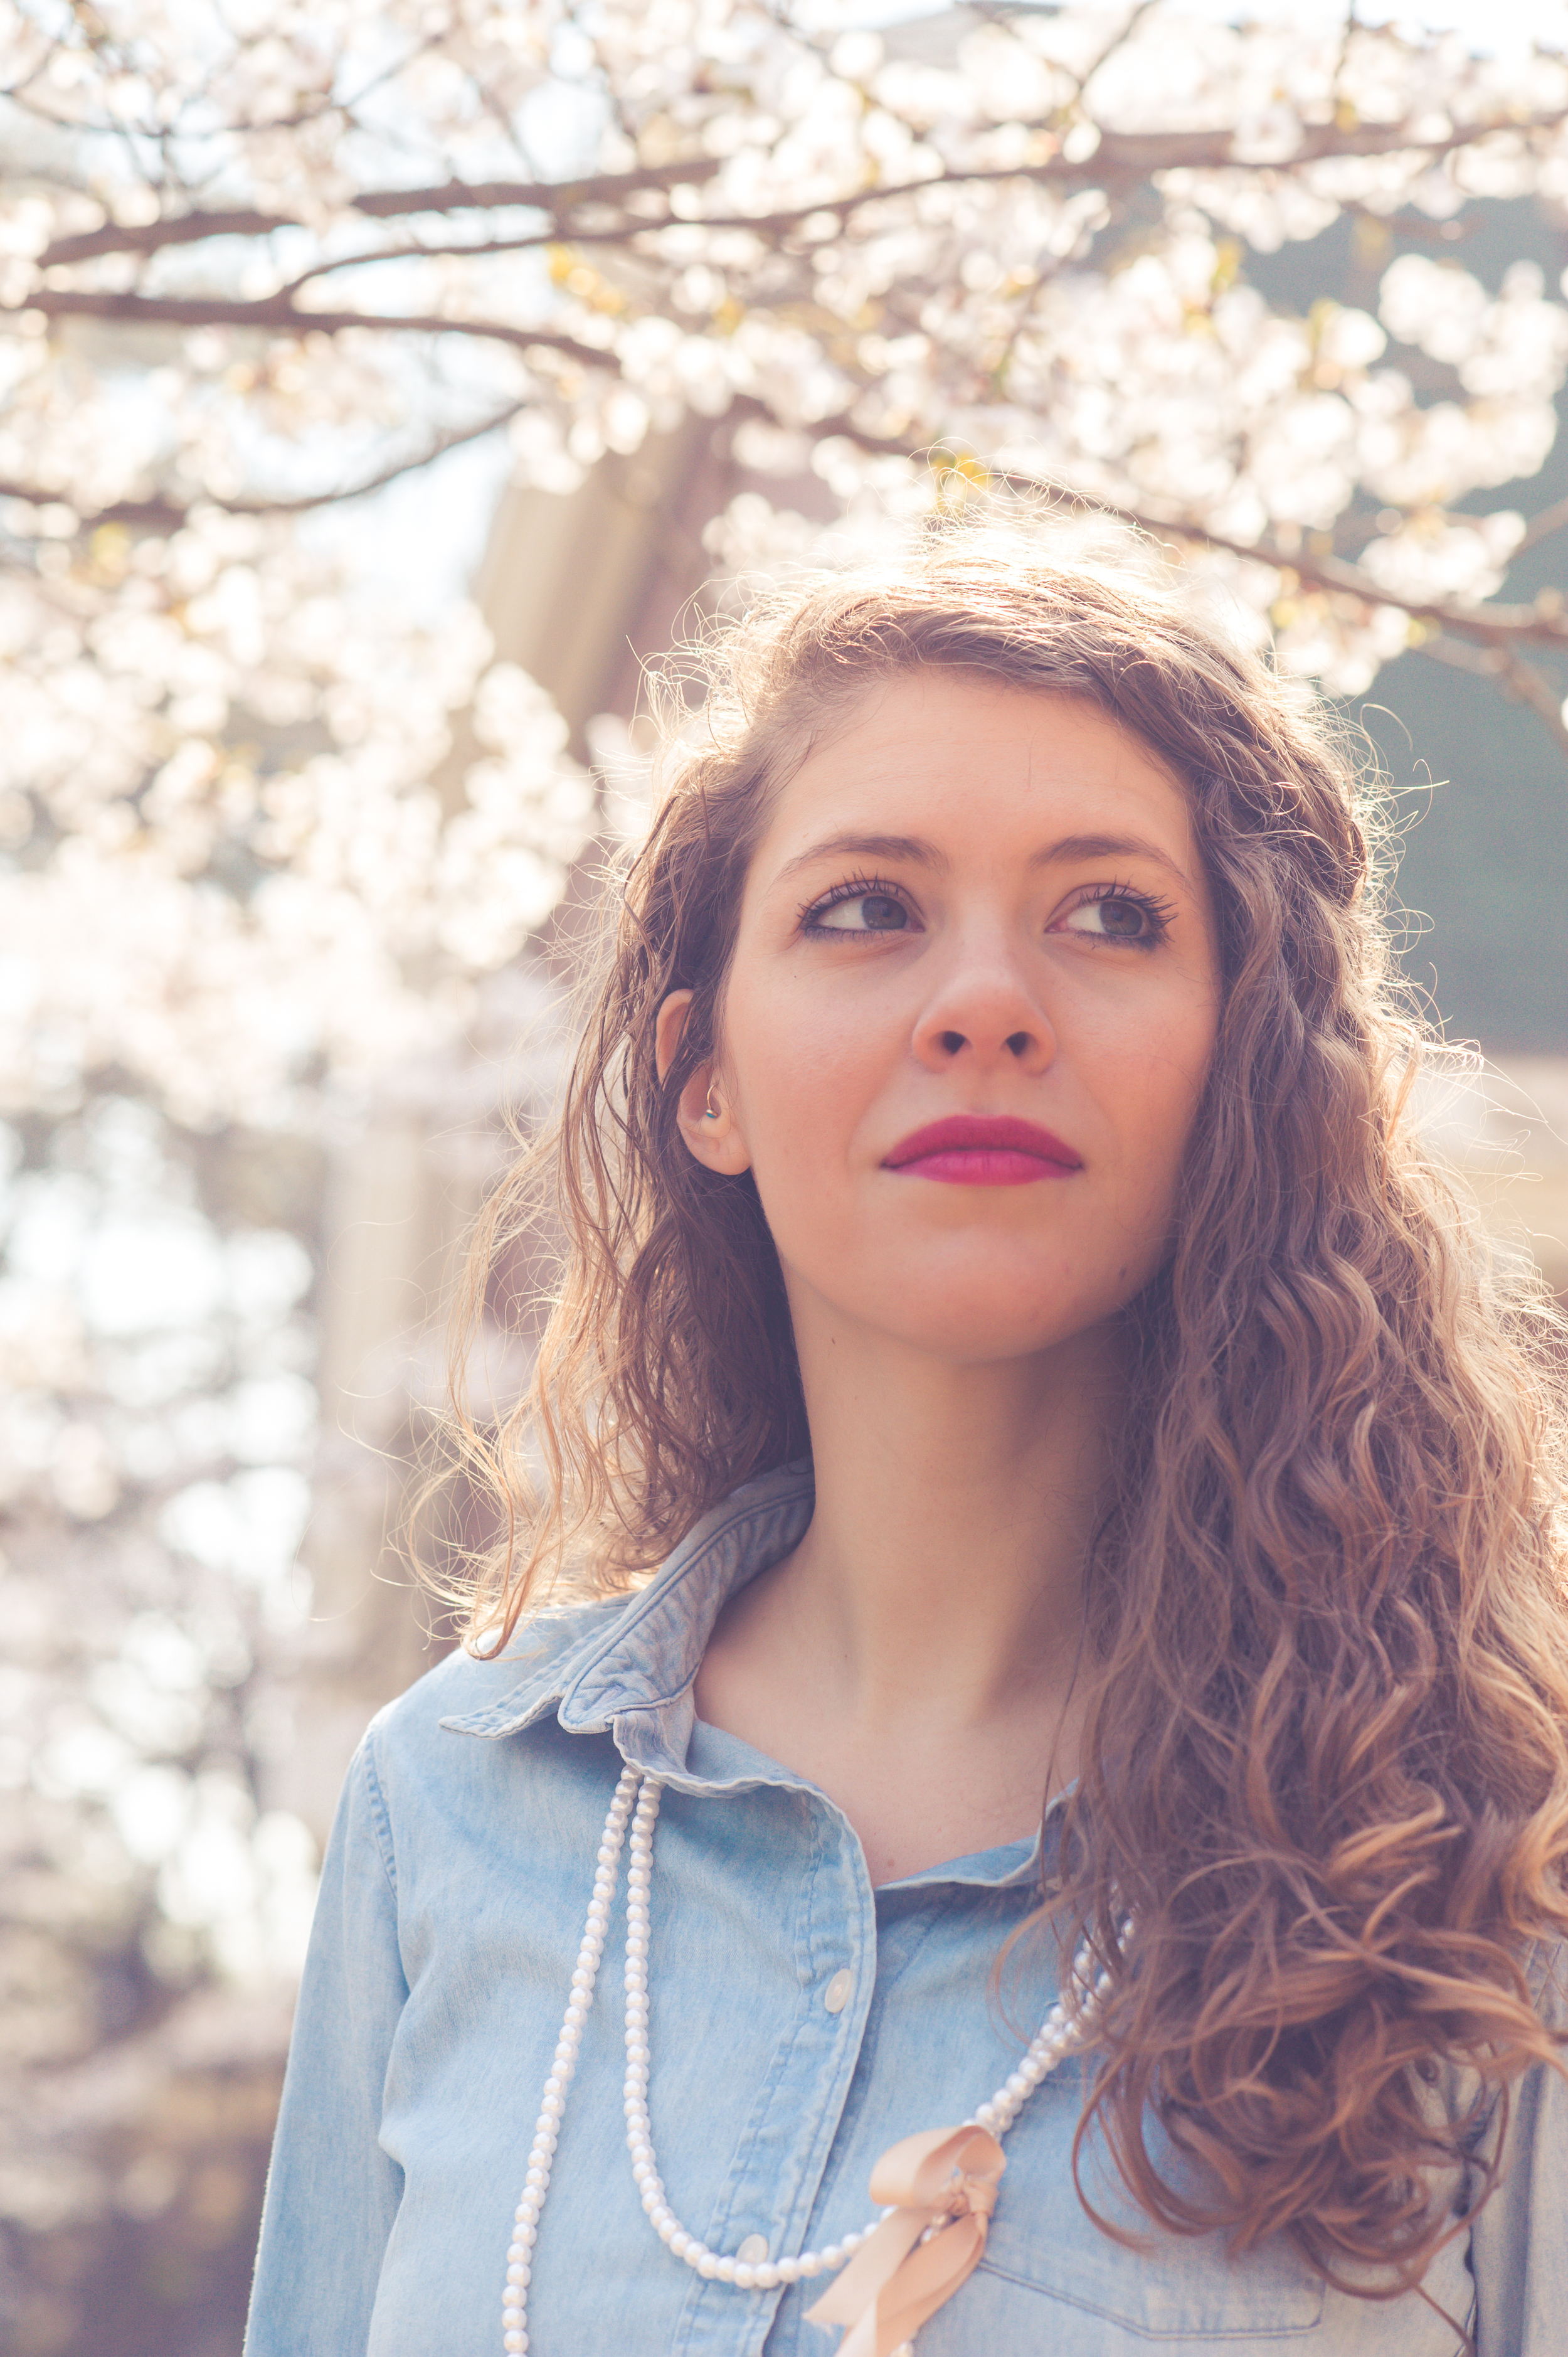
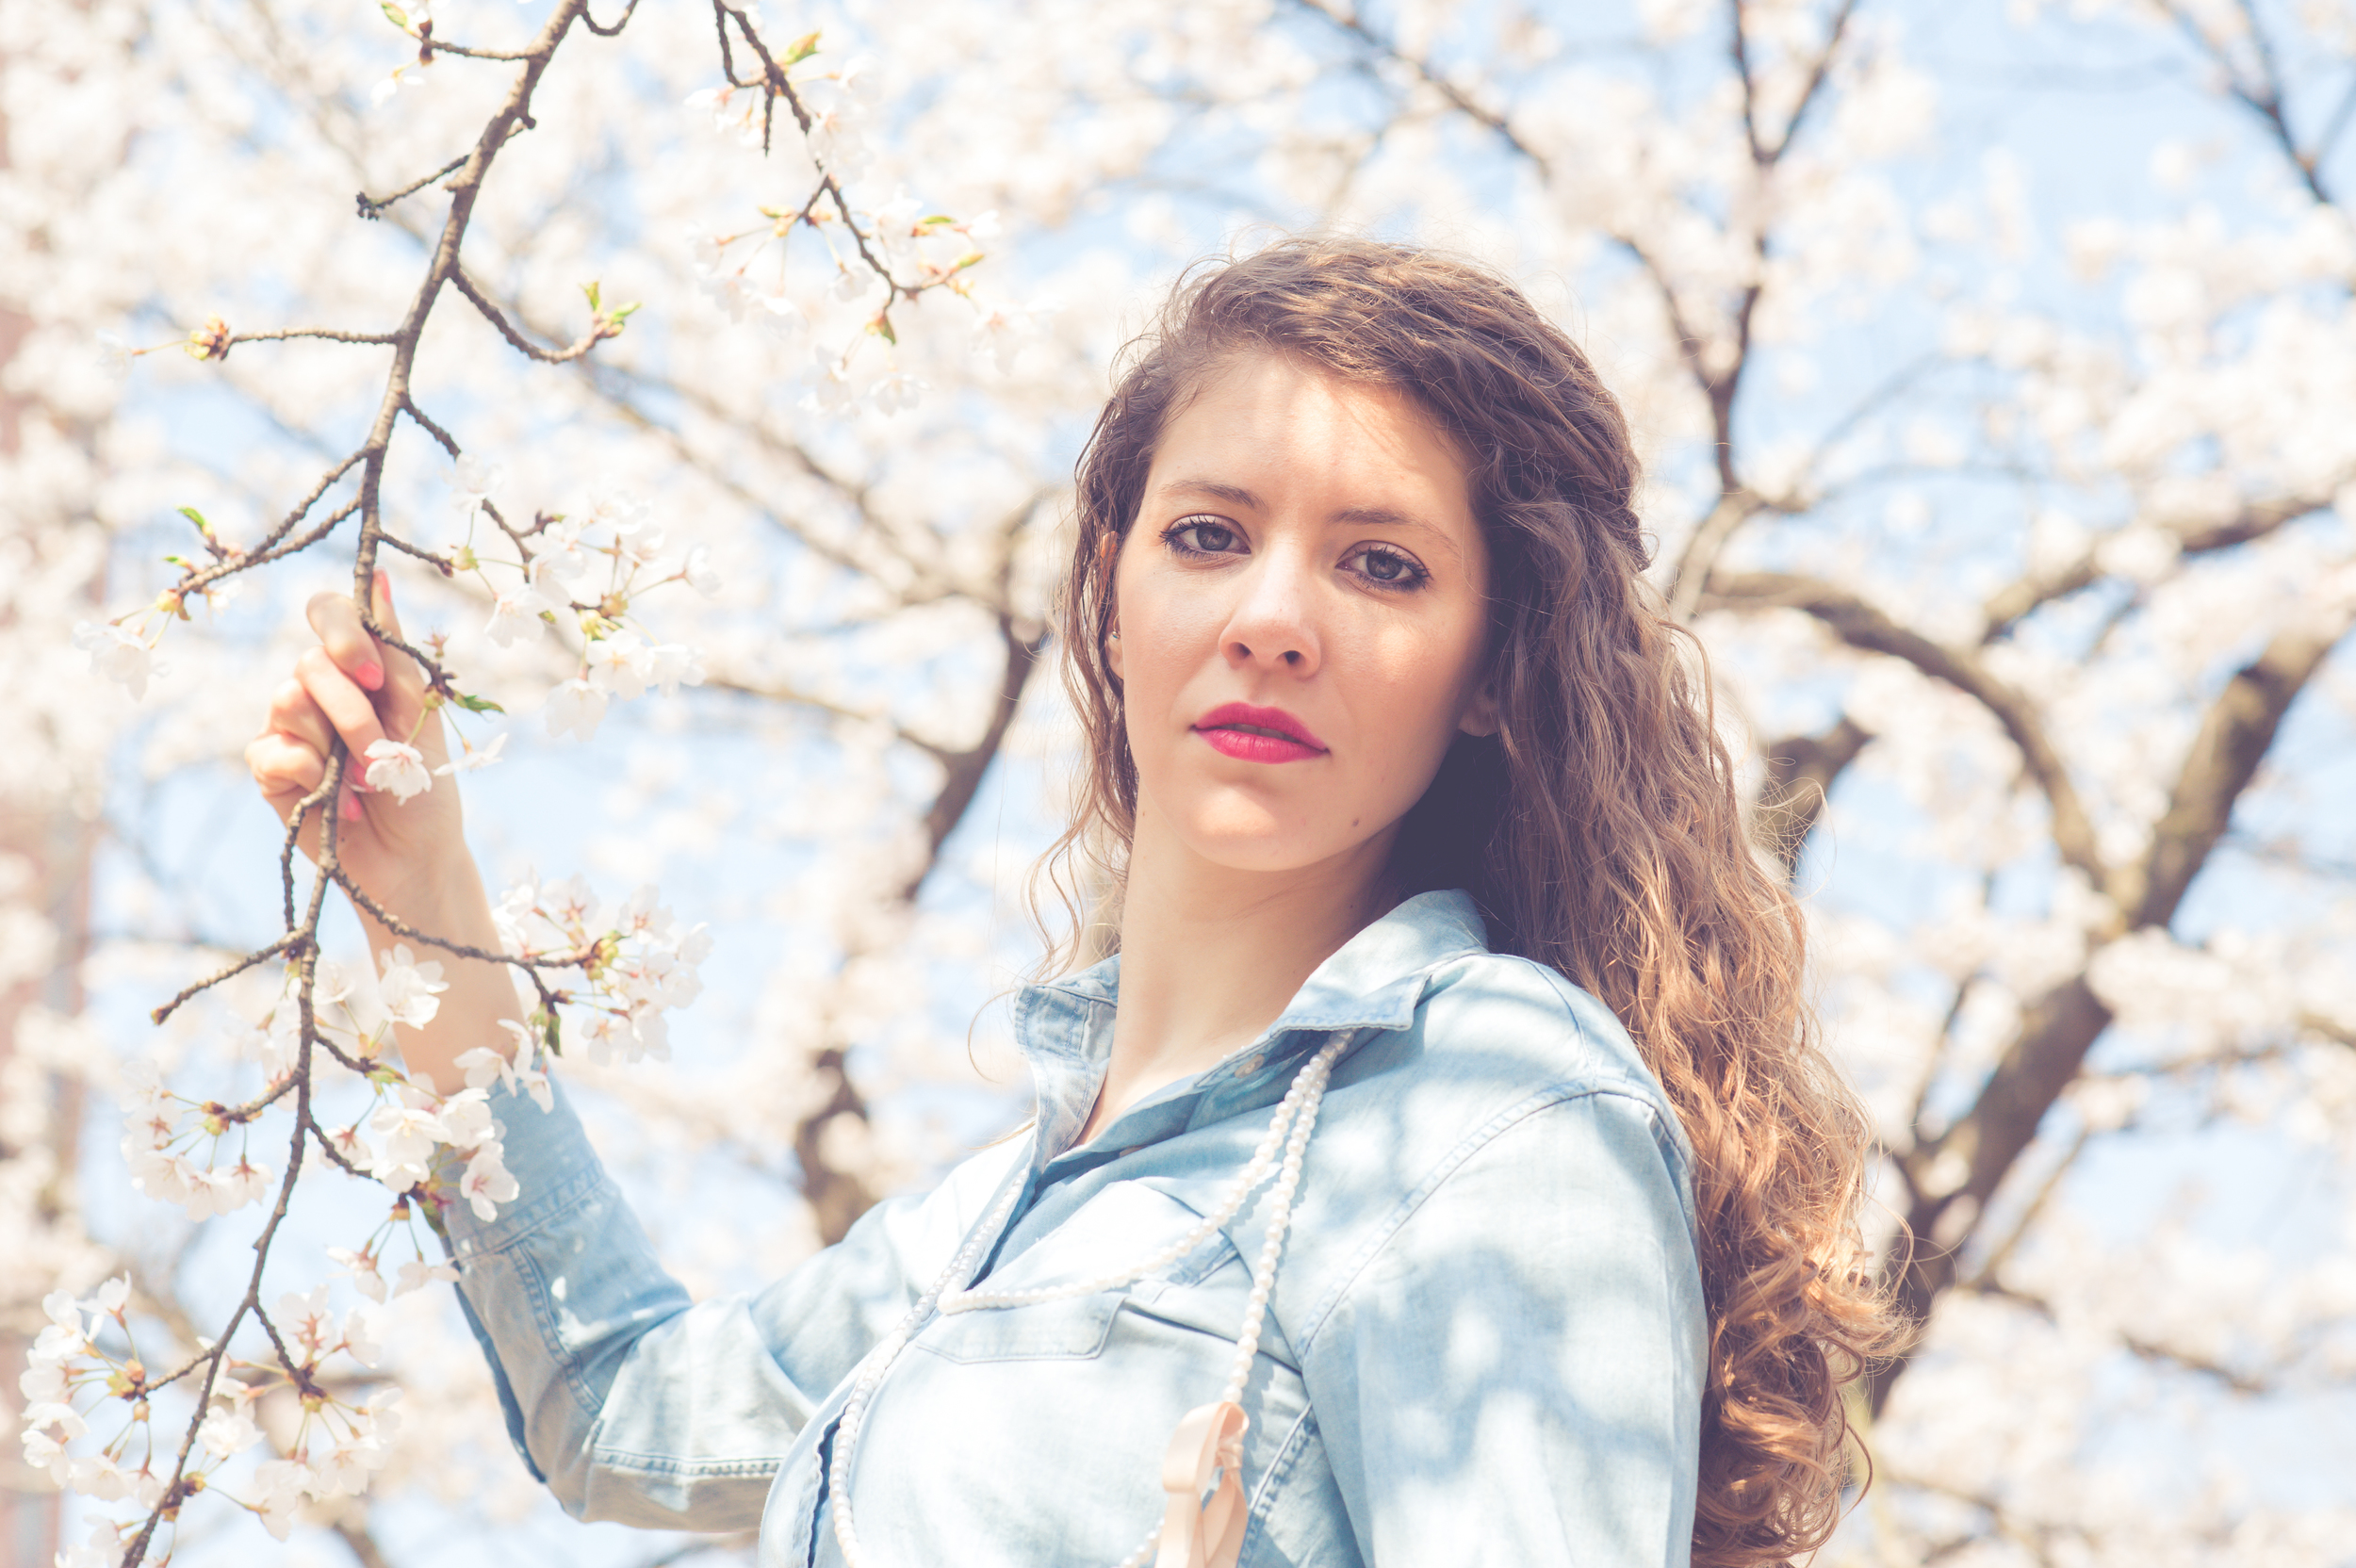
It's Spring here in Korea, and along with every other person here, I really wanted to make the most of the pretty blossoms. I teamed up with my new friend and fellow blogger, Alysha (who blogs over at The Wayfaring Heath...a stunning blog filled with recipes and DIY's to help you live a more wholesome and natural life). 

The problem with most of the blossom trees here is that the actual blossoms are all on the top branches, out of reach and even harder to manoeuvre around. We took these photos in and amongst the cherry and peach trees scattered around my school and had to do a whole lot of manoeuvring and jumping around to get these shots. Alysha, thank you for being so patient and so willing to stand in and amongst the bees. I really had a great time, thank you for being such fun to work with.

I've done a number of other styled shoots, including blueberries & temples, beaches and snow. Click here to see them.

All photographs taken with my Nikon D700 & 85mm 1.8 prime lens and gently edited in Lightroom. 

If you're a makeup artist, model, photographer, stylist or graphic designer or a fellow creative here in Korea and would like to work together on a styled shoot, please do get in touch with me! You don't have to be professional in any sense of the word, it's all about having fun! You can also see more of my work by clicking here.

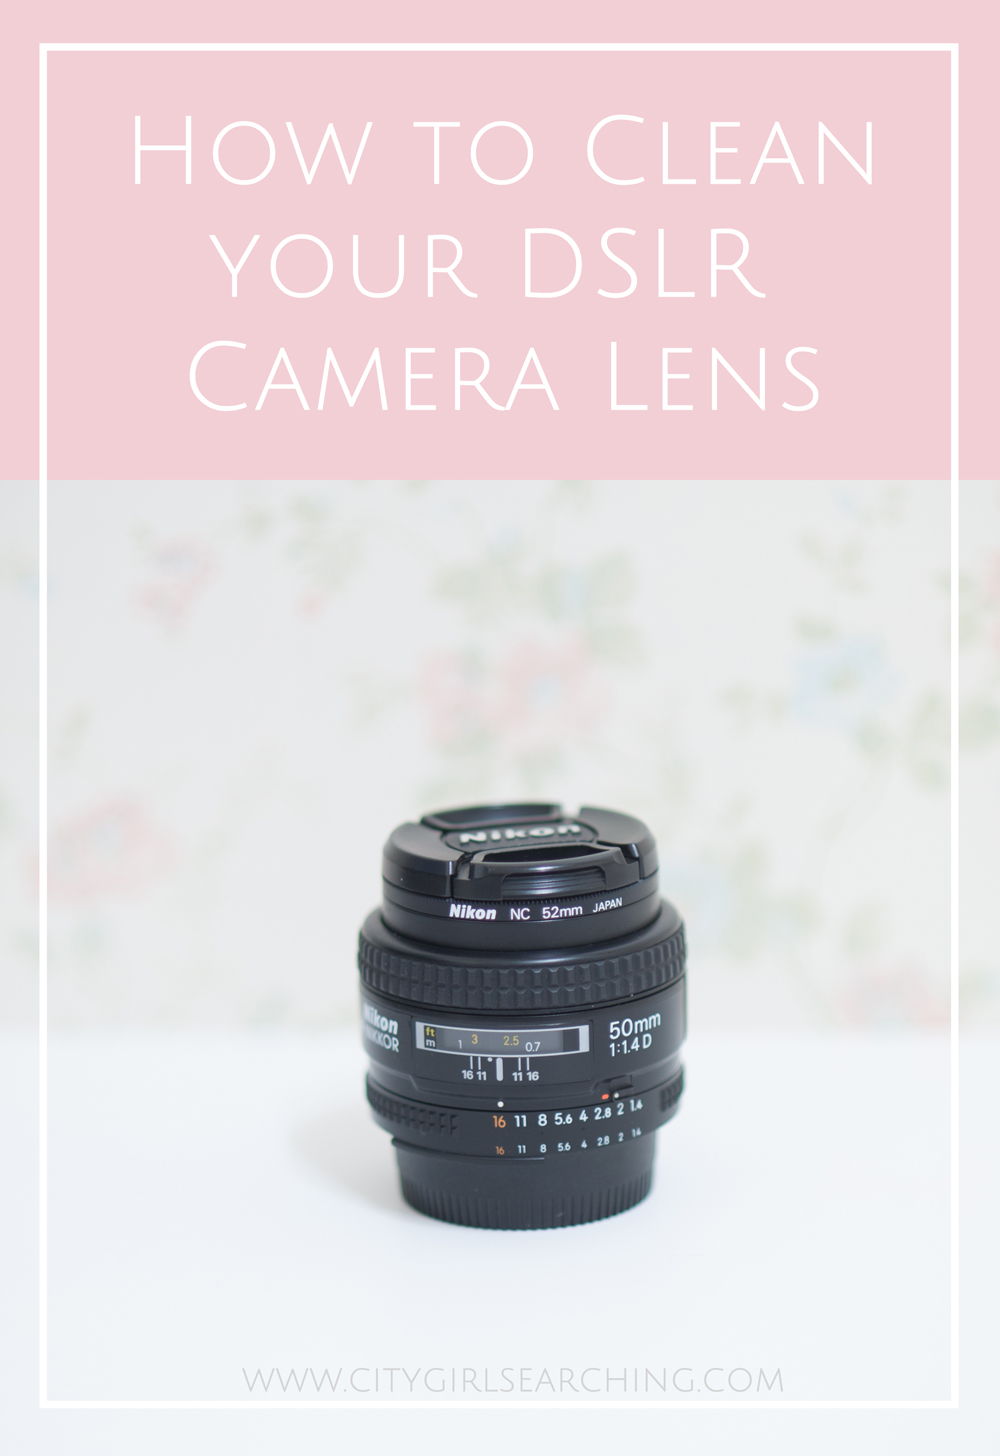
How To Clean your DSLR camera lens

How To Clean Your Camera Lens

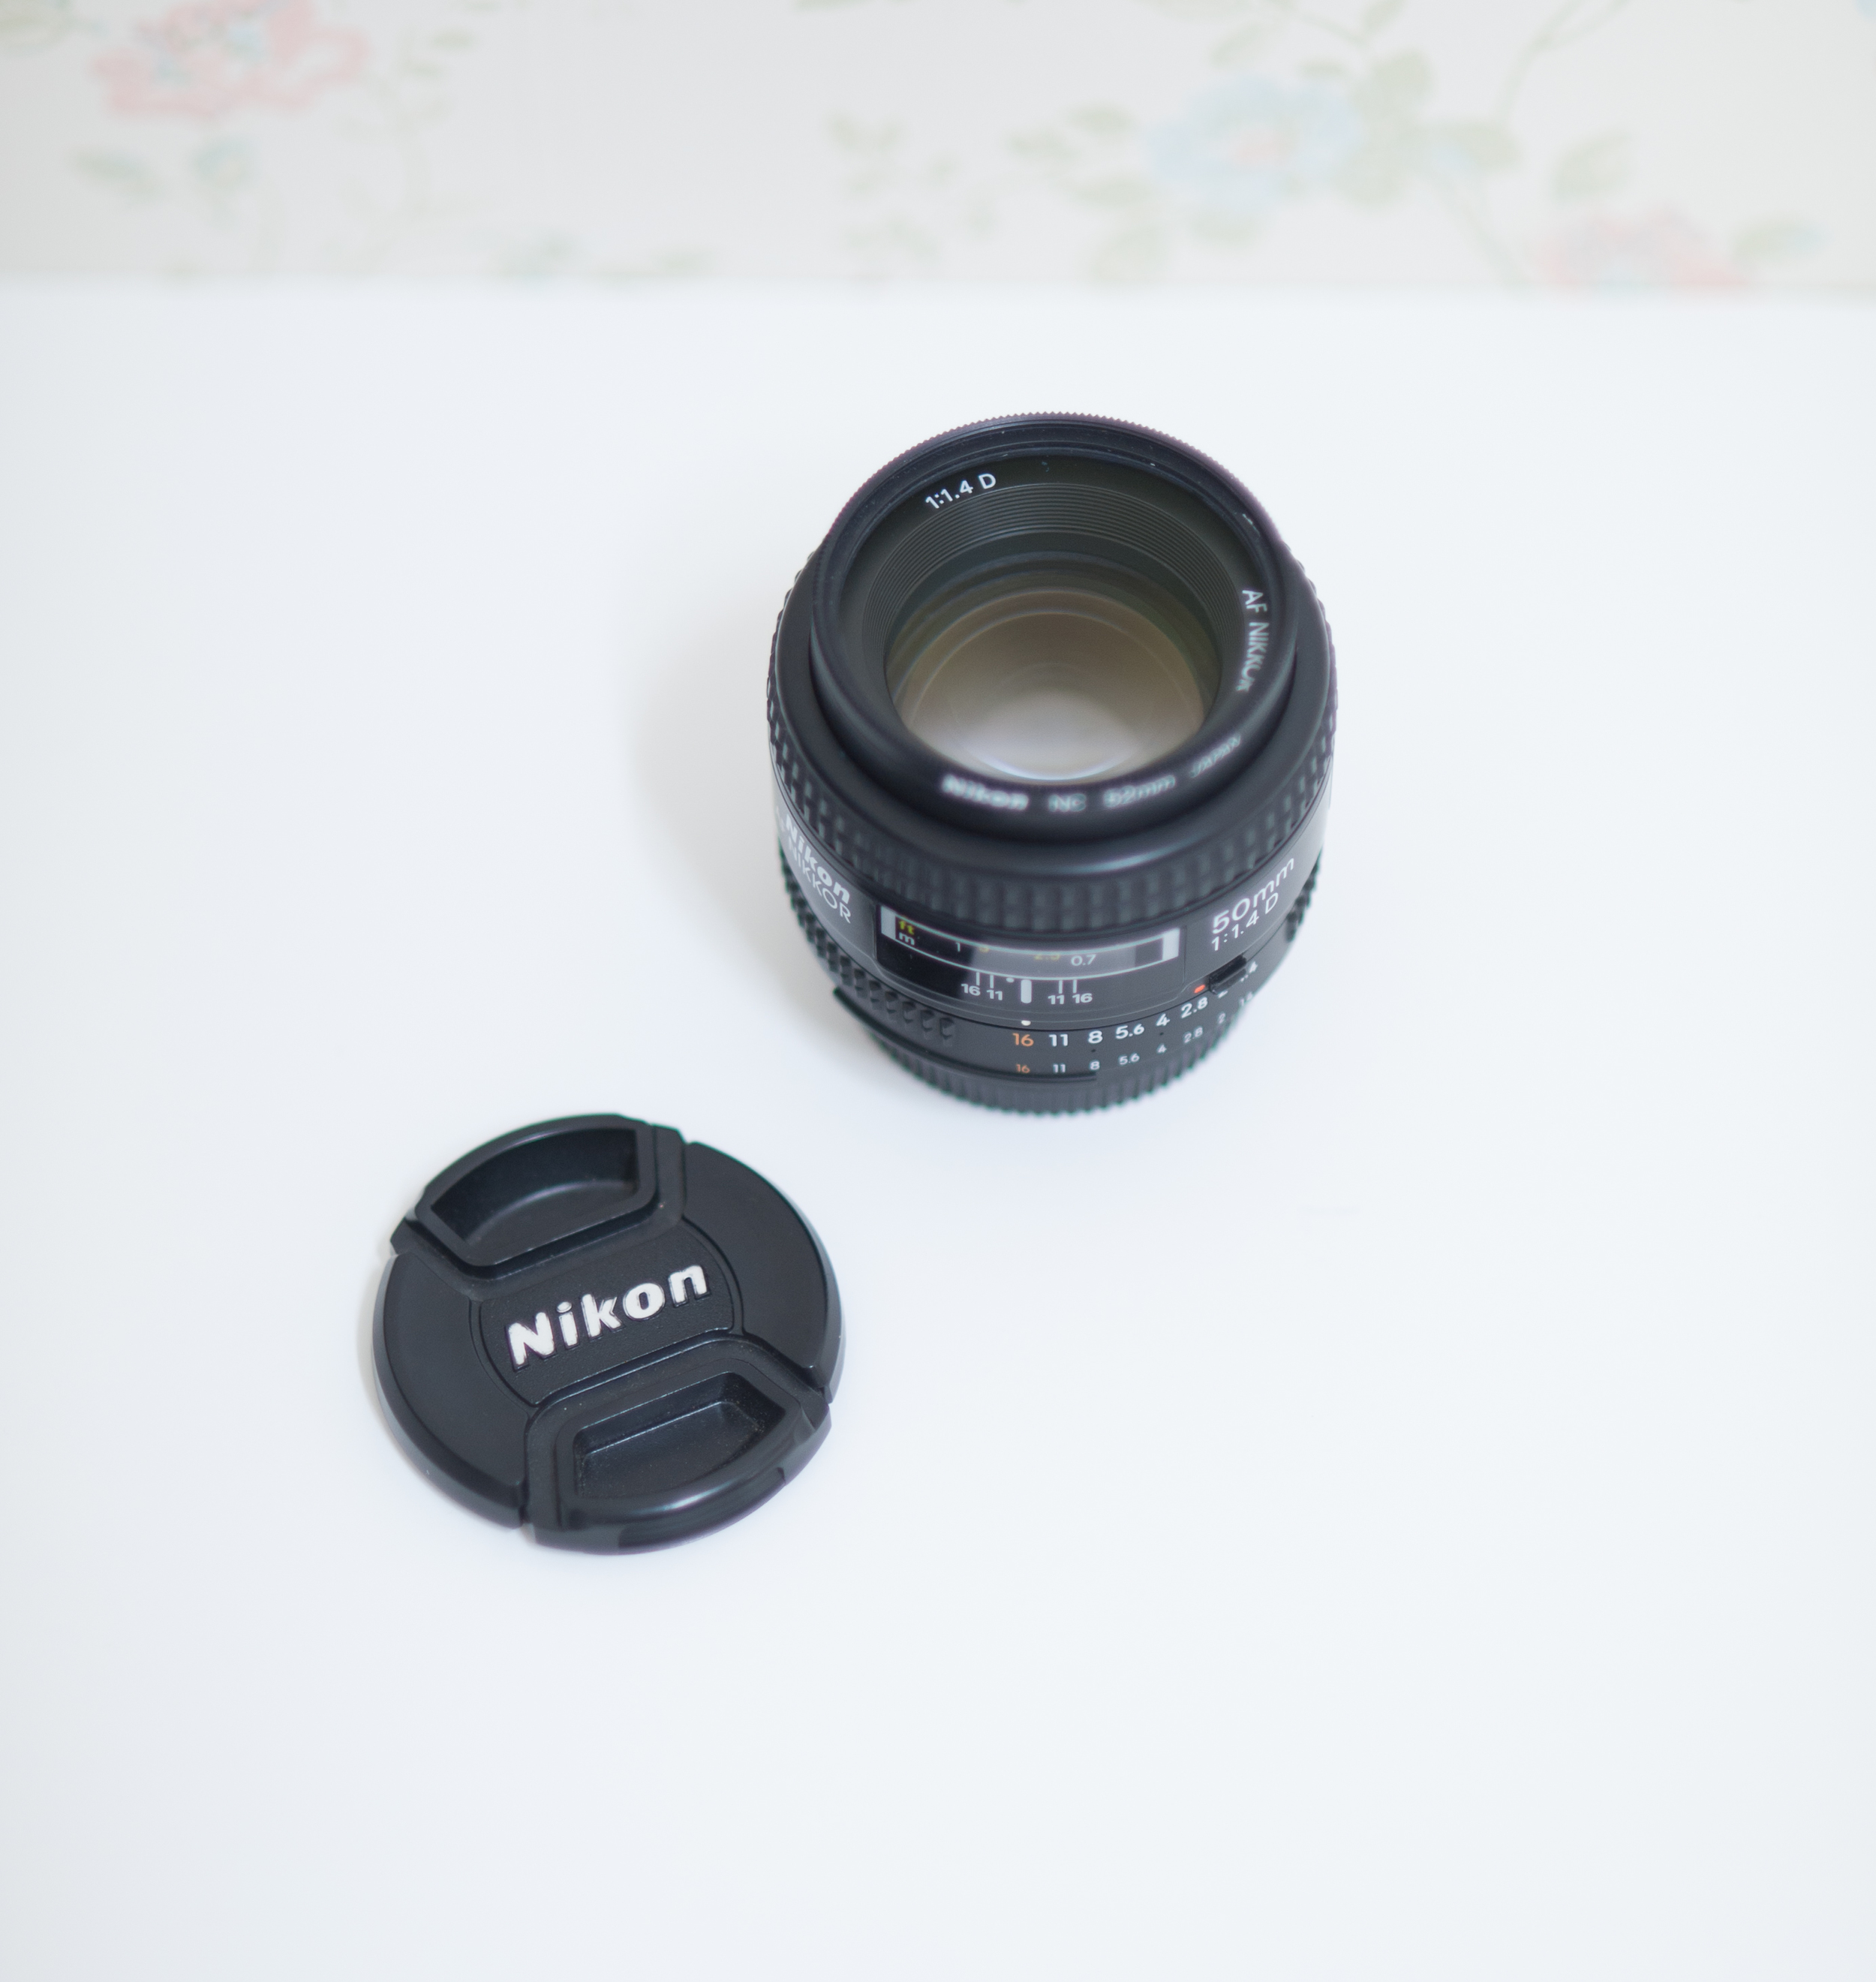
The last time I was editing my photographs I realised I had a few funny small blotches on parts of my photos. After wiping my computer screen I realised with horror that the marks must have been from my camera. I have since gone about finding the best way to clean my lenses at home, without having to send them in. Here are few tips I've picked up as well as a few basic things to keep your camera in tip top condition.

HowToCleanYourCameraLens

Use an air blower, like the one pictured above to remove loose dust particles. Simply press the bulb end and air will be forced out of the spout. This is the easiest and safest thing to try first with your lens.

When dust and/or smudges are on your lens glass, use a microfiber cloth designed for optical lenses to wipe it off. Make sure to use a clean microfiber cloth, as those cloths can hold dust, dirt and oil from your fingertips which can then be transferred to your lens. Be careful when cleaning the glass. If you do get something like sand on your lens and you rub it with a cloth, you may scratch your lens. Use a soft brush to brush off dirt or sand. Do not rub those away as they may cause scratches.

Change your lenses indoors (or in your car if you are out and about) if you can manage it. If you are outdoors, try and block the wind with your body as it can blow dust, dirt and other nasties into your camera and lenses.

Once you change lenses, quickly place the end cap on the removed lens, to prevent dirt and dust from setting into it. Also, quickly attach the new lens to the camera, to prevent dust and dirt getting into your camera sensor. And, while changing lenses, point them downward so dust and dirt don’t settle in.

HowToCleanYourCameraLens

Keep the lens cap on the front glass when you're not using your lens. Even better, place the lens in the protective cover that comes with it, or put it away in your camera bag.

Use a filter or lens hood to protect the lens glass from getting scratched or broken. 

Do you have any other tips for cleaning your lenses and keeping them in tip top condition?

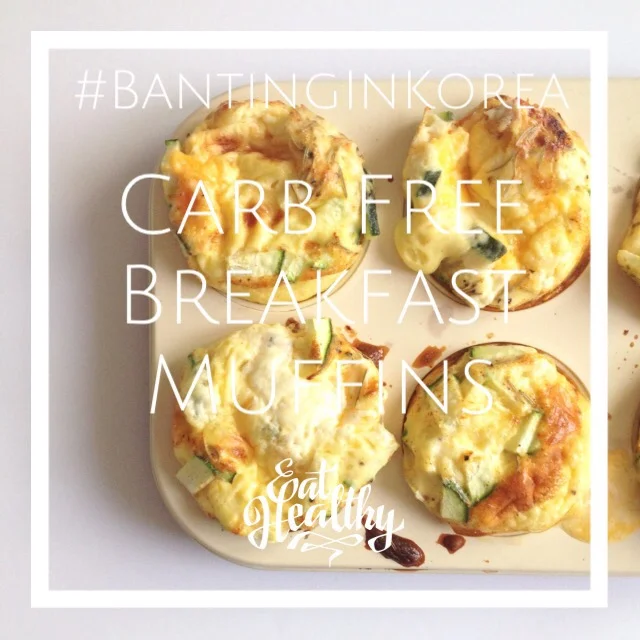
Carb Free Banting Breakfast Muffins {#BantingInKorea}

CarbFreeBantingBreakfastMuffinsBantingInKorea

Are you looking for an easy alternative to fried eggs when following a Low Carb, High Fat diet? These breakfast muffins are simple to make and can be spiced up in so many ways. They are filling, while still being super easy to whip together. If you have been Banting and have been enjoying my Cream Cheese pancake recipe, these muffins will be another great addition to your breakfast menu. 

FullSizeRender-1.jpg

Ingredients

These ingredients made enough to fill one muffin tray (6 large muffins)

-4 large eggs

-dash of milk (this depends on the size of your eggs and how 'eggy' you like your muffins to be. I have made these muffins using milk and not using milk and they have tasted the best with just a dash of milk)

-Your choice of filling:

  • 1/3 cup chopped/grated cheese (I usually just chop my cheddar cheese into small blocks)
  • handful of chopped baby tomatoes/sun-dried tomatoes
  • handful of chopped raw zucchini 
  • dash of smoked paprika
  • pinch of salt & pepper
CarbFreeBantingBreakfastMuffinsBantingInKorea

Directions

1. Pre-heat your oven to 180C

2. Grease a muffin tin (I always use coconut oil)

3. Beat eggs and milk together, then adding your filling ingredients. Finish off with your seasoning of choice and pop in the oven for 15 minutes or until cooked through. Don't get be alarmed, your muffins will puff up while cooking but once removed from the oven they will sink, this is completely normal and doesn't mean you have flopped the recipe. They taste amazing either way.

4. Eat alone or with your choice of sugar free tomato sauce/pesto.

Yum!

    CarbFreeBantingBreakfastMuffinsBantingInKorea

    Jindo Island Sea Parting Festival

    Jindo Island Sea Parting Festival Korea

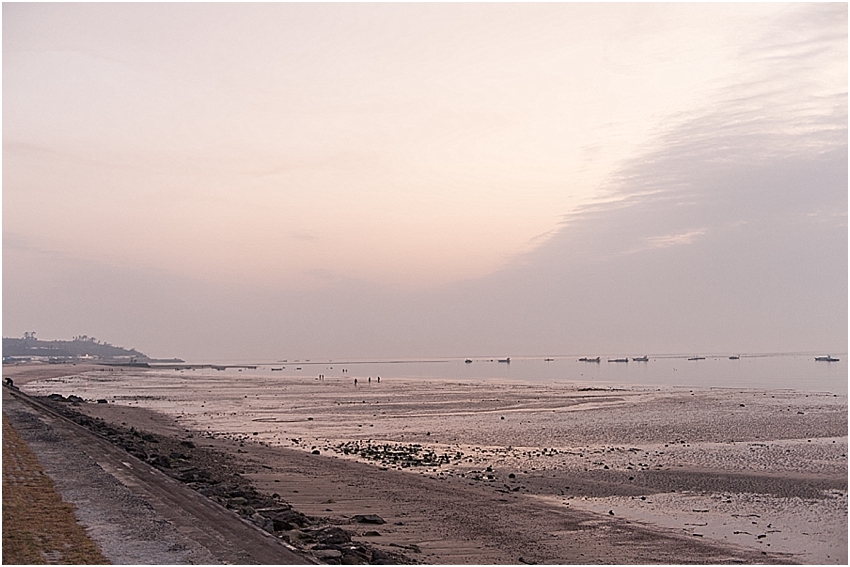
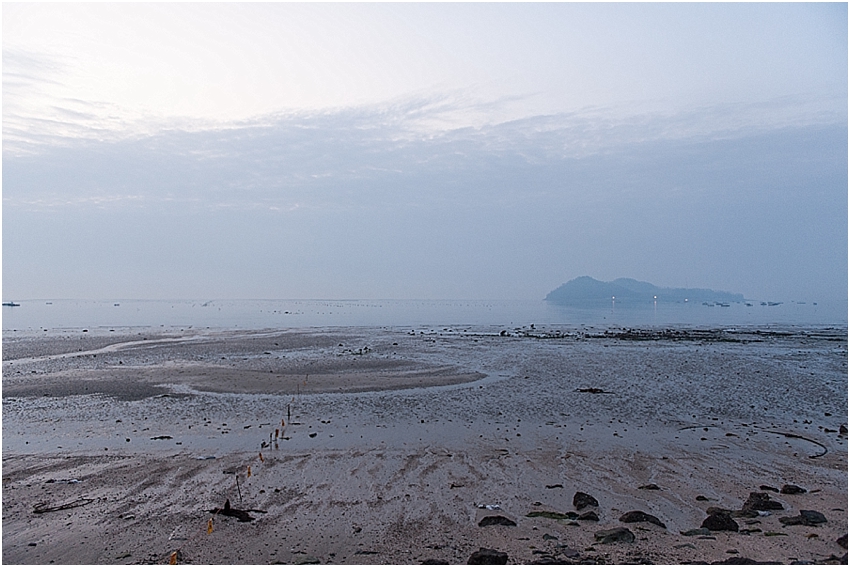
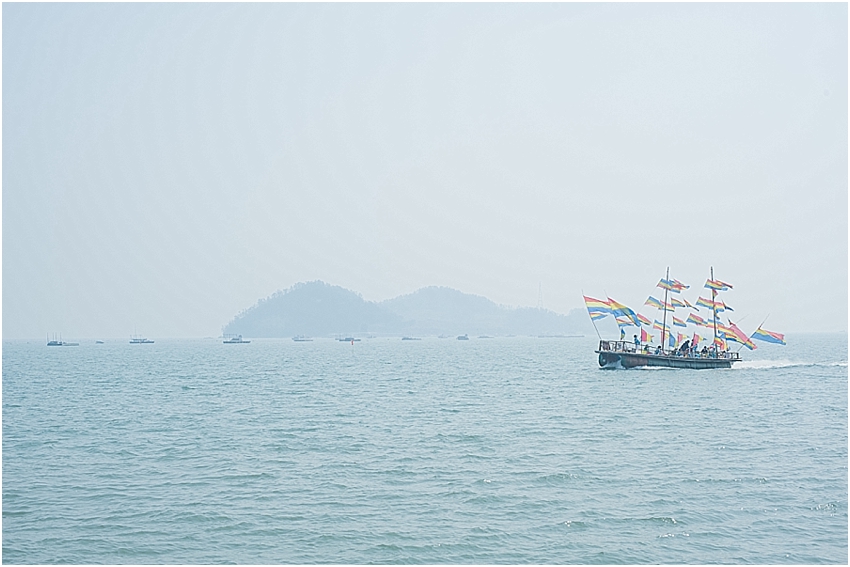
    Once a year in Korea, during the Spring and as a result of tidal activity (you're going to have to ask the physicists? botanists? scientists?) the sea parts for nearly 3 kilometres and an almost 40 meter wide road of ocean floor opens up between Jindo Island and Modo Island. This 'Miracle Sea Road' as it is called here in Korea, attracts people from all over to the world to witness the literal parting of the seas. This year the seas parted 3 times over one weekend and we had planned to be there for the first parting at 5h30 in the morning.

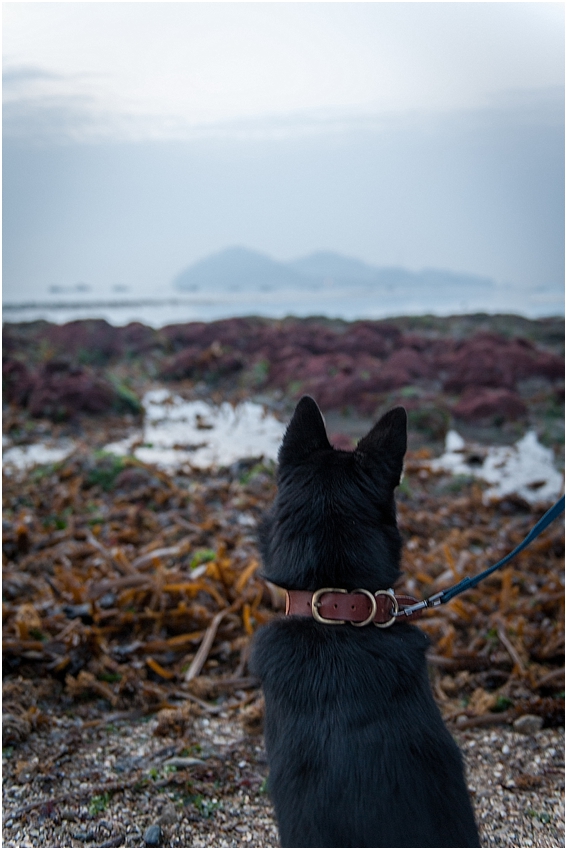
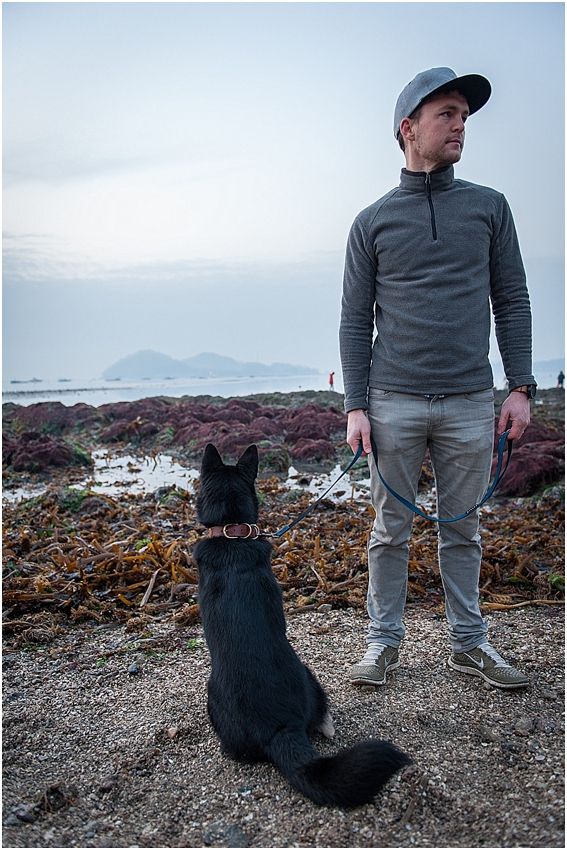
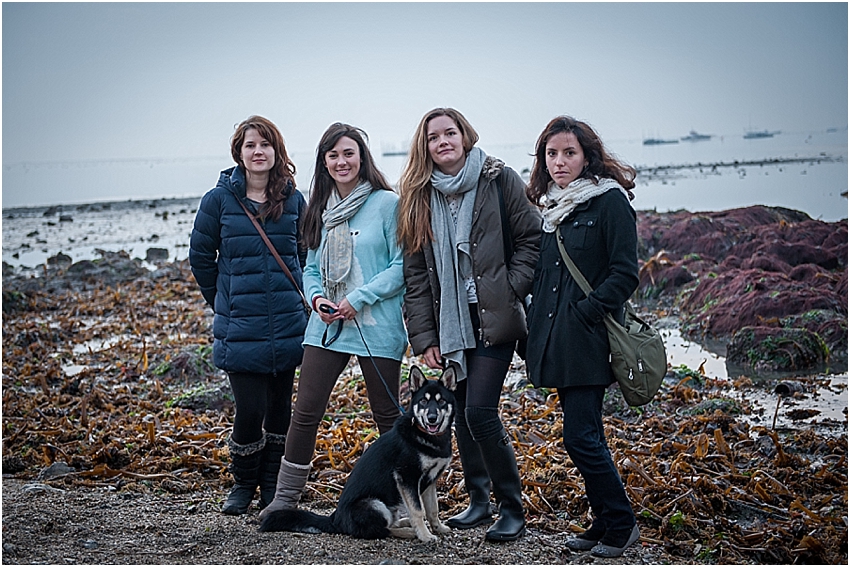
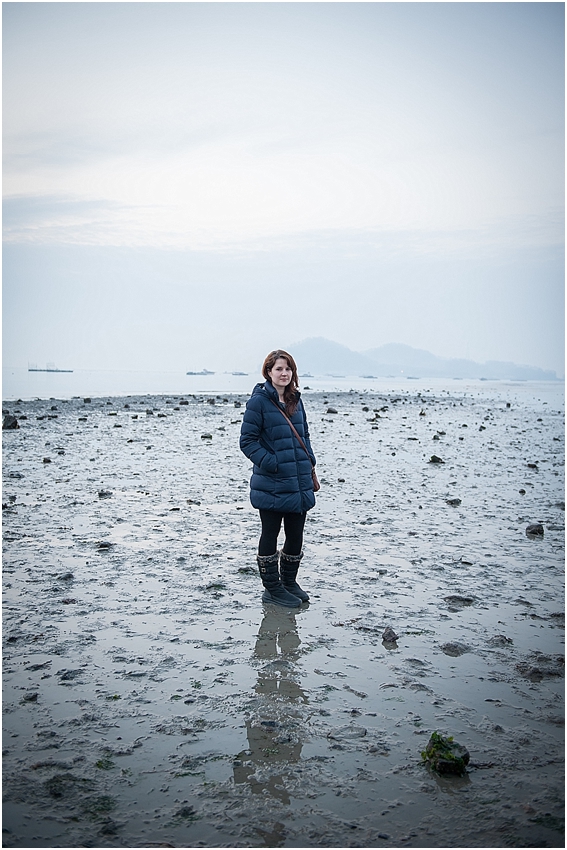
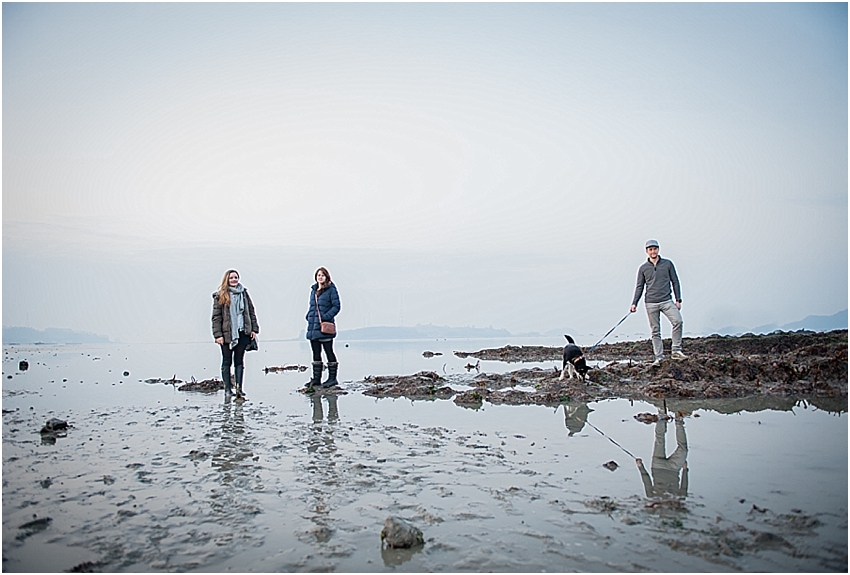
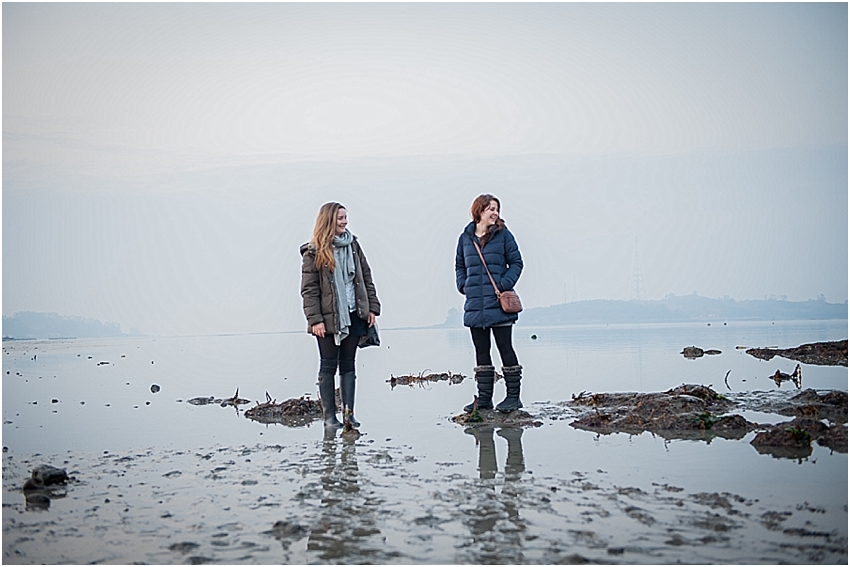
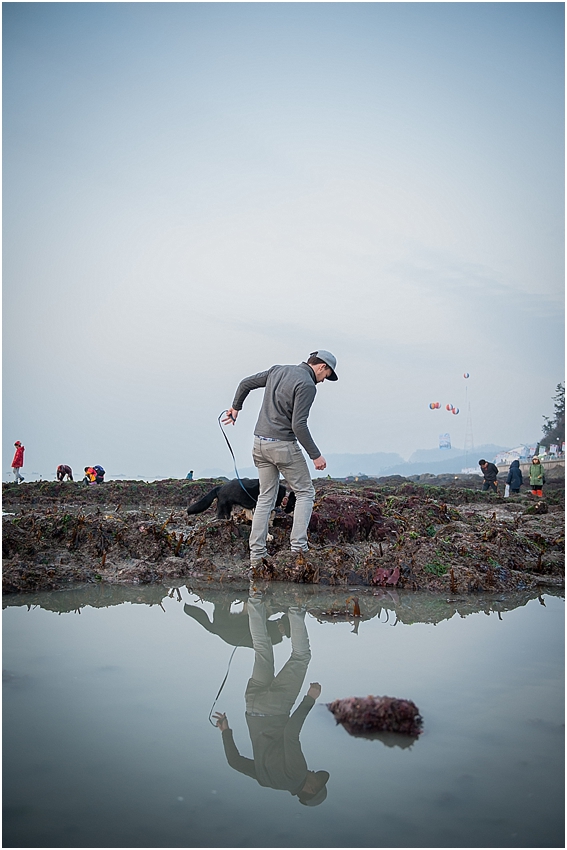
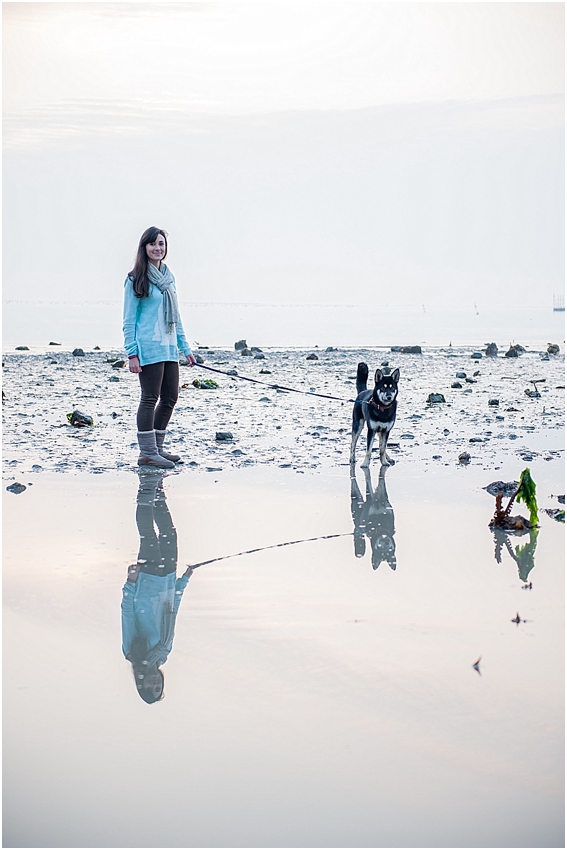
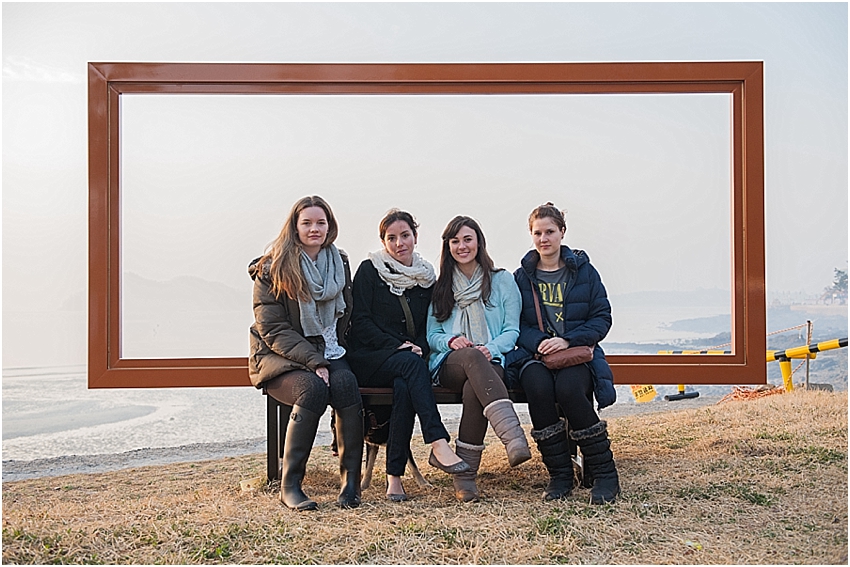
    I say planned because that was our intention, however as someone set their alarm for 3am and not 2am (I'm not mentioning any names here lol) and we live 2.5 hours away, even driving at break neck speed and getting everyone up and out the door in 15 minutes, we still managed to miss the spectacular Miracle Road by a full half an hour. We still made it in time for the sunrise and even had enough time to stand on a patch of mud and pose in front of Modo Island before the tide came in, so all was not lost. We may not have any photographs in thigh high red and yellow gum boots but there's always next year for that.

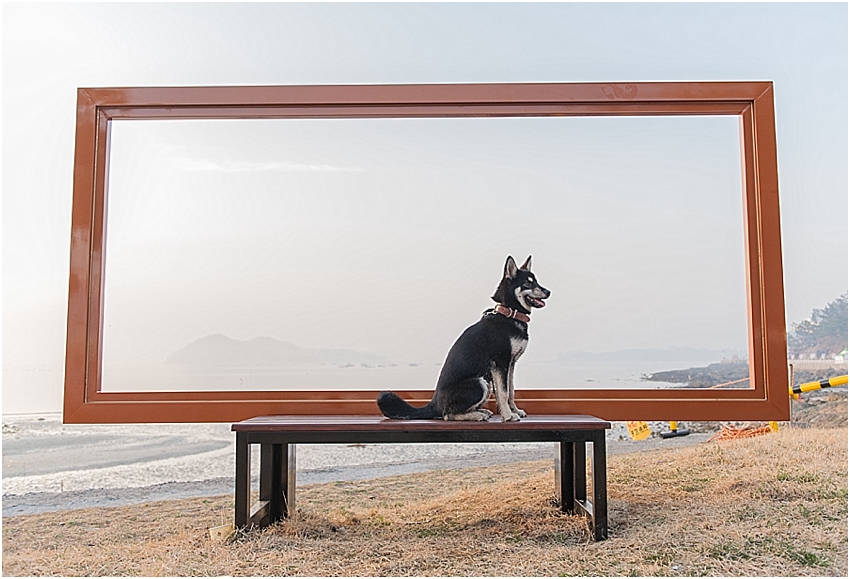
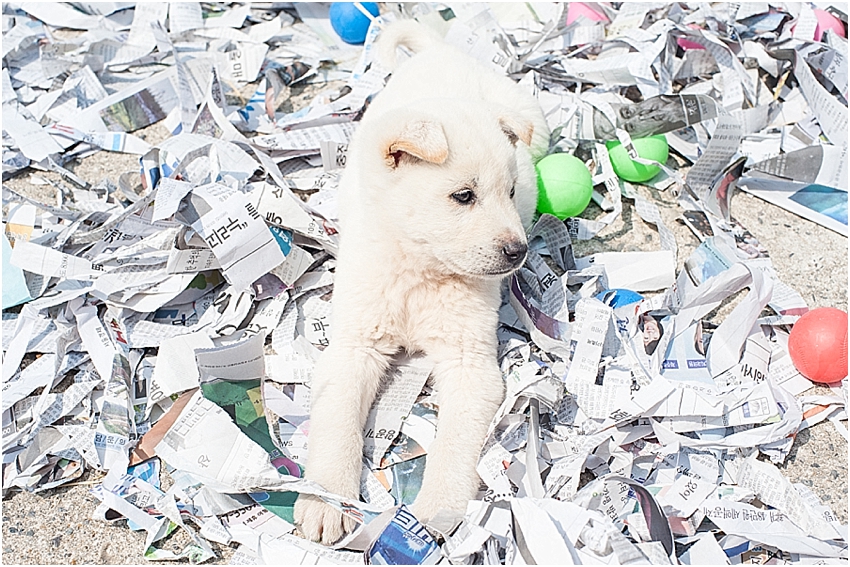
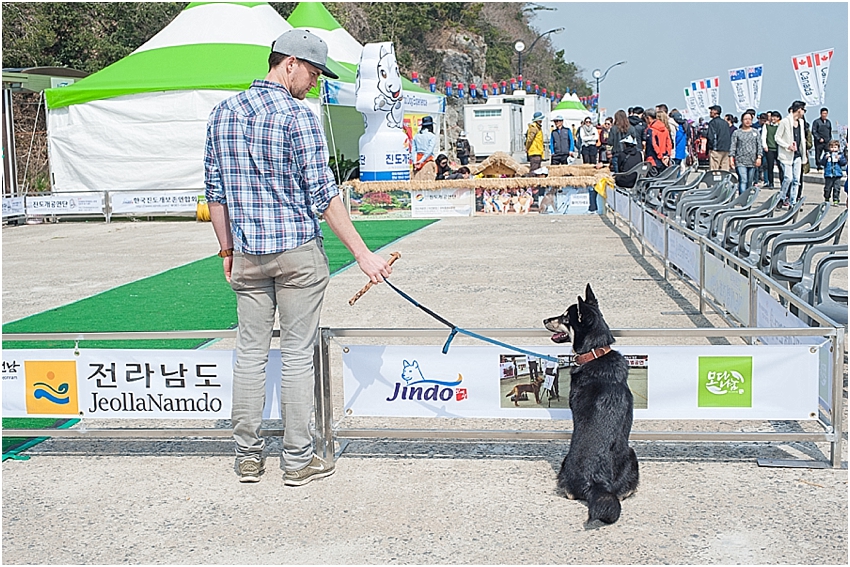
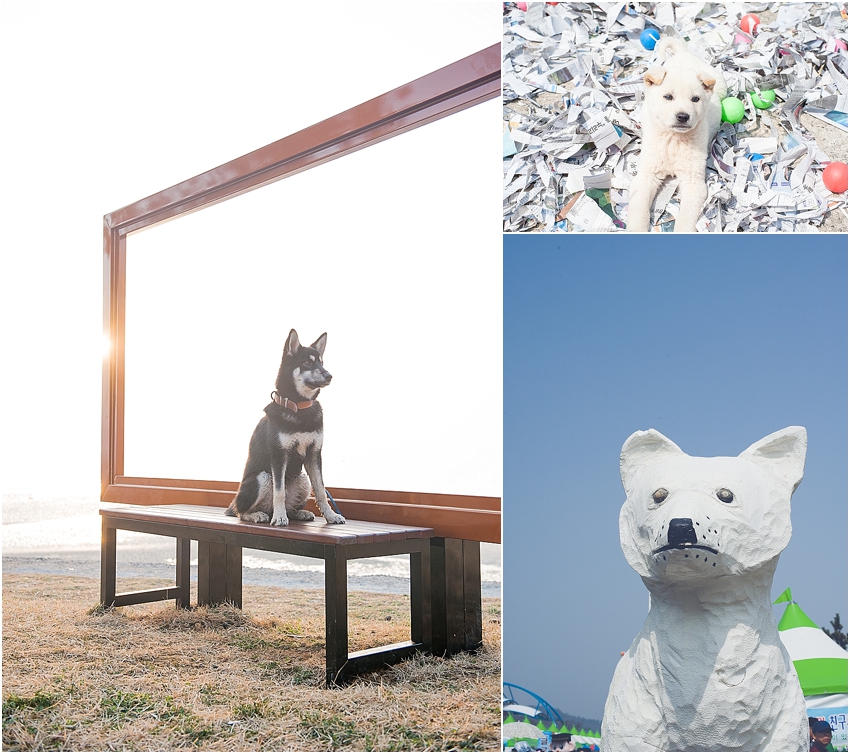
    Jindo Island is also the home of the famous Korean Jindo dog. Our little #ShadowTheJindo, being a Jindo (or at least a mix of Jindo and something else we can't pin down) was of course brought along on this trip to meet his brothers and sisters and pay homage to his roots. Shadow is a Black & Tan Jindo, one of the rarest (or in Korea, the most undesirable of coat colours) with white and brown being by far the most popular. The Jindo Sea Parting Festival offers a number of Jindo Dog Shows over the weekend and the one we watched was quite enjoyable. Jindo's are not known for being show performers, rather known for their very wilful nature and so it was quite funny to watch the dogs stubbornly refusing to listen to their handlers instructions to paint and take items to and from a refrigerator, unless it suited them. Yes, this quite sums up our Shadow. 

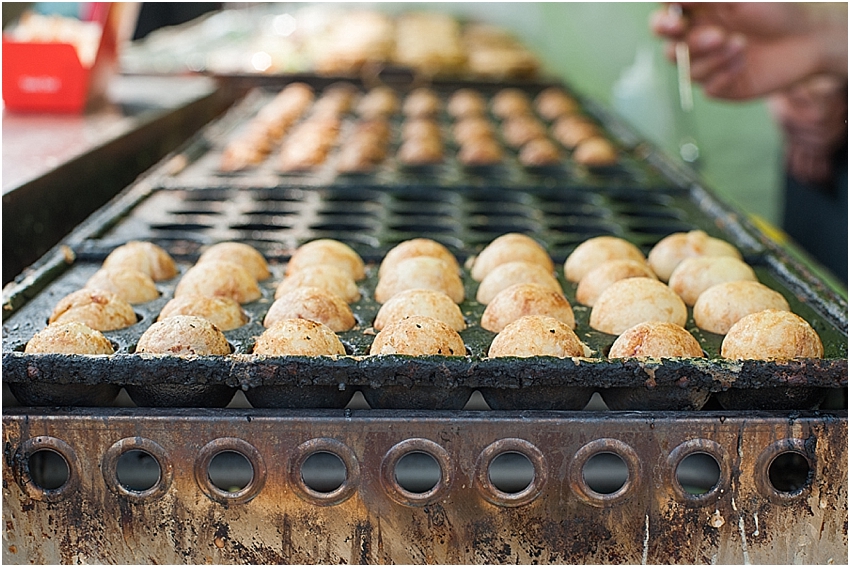
    As with all Korean festivals there were loads of food stalls and lots to see and do. We were there from 6am until early afternoon, managing a few naps on the beach in between trips to the food stalls. Also, if it takes your fancy, you can pick and gather any and all bits of sea life you find along your walk through the sea. This isn't exactly environmentally friendly, but if you do want some fresh sea snails in your ramen soup then by all means go ahead, everyone else will be doing it. 

    Jindo is an island just off Mokpo on the South West Coast. There are signs posted all along the way once you get to Jindo (if you are driving).

    If you are taking a bus here are some directions from the Jindo Bus Terminal:

    From Jindo Bus Terminal, take the Gagye-Hoedong (가계, 회동) or Songgun-Hoedong (송군, 회동) bus 
    -Get off at Hoedong (회동).
    -Go 40m along the sea to reach the festival venue.

    There are two areas to the festival, the one with all the food stalls that is right by the main parking lot. And then the other section that hosts a lot of the shows and has the main stage is near the actual sea parting. To get to that section you will be asked to pay a few (it was W5 000 and included vouchers of that value to use to purchase food at drinks at some of the stalls).

    Have you ever been to to the Jindo Sea Parting Festival before? Did you enjoy the experience? I'd love to hear from you in the comments below.

    Weekly Wishes {14}

    Hello and welcome to my Weekly Wishes series where I talk about my goals and wishes for the week ahead. Popping them here on the blog  helps me to stay on track with the things I want to do or get done. These posts are part of a link up by The Nectar Collective where Melissa has a wonderful community of women who link up their weekly wishes and are there to support and encourage one another. It's also a great way to make new friends and find new blogs to follow, why don't you join me?

    ShadowTheJindo

    WEEKLY WISHES

    1. My main focus this week is on growing #ShadowTheJindo's Facebook page. Yes, that means my dog now has a Facebook page. I'm sure many, many, many of my friends are rolling their eyes right now but I'm okay with that. I want to use the page to help create awareness of the Jindo breed and hopefully help more abandoned pups find their 'fur'ever homes. I know that there are so many dogs needing homes all over the world, but as I'm currently in Korea, this is where my focus will be. If you'd like to find out more and follow Shadows adventures then please click here

    SpringBlossomStyledShoot

    2. I did a semi-styled shoot with a new friend Alysha this weekend and I want to finish editing the photographs and start posting them. It's cherry blossom season here in Korea and so we took full advantage of the gorgeous blooms and had a wonderful time together. Alysha blogs over at The Wayfaring Heath, a blog aimed at wholesome & natural living where she posts wonderful recipes as well as easy to do DIY's for the home. Here latest post is all about how to freeze fresh herbs, something I'm constantly having to do here in Korea as herbs are so hard to come by! I'm looking forward to sharing the rest of these photographs with you!

    MalaysiaTravelGuide

    3. Lastly Farmboy and I are busy planning our summer holiday trip to Borneo! As excited as I am about the trip, it's becoming a bit of a logistical nightmare and AirAsia is being such a pain with their credit card security systems. They do have an amazing app which offers really awesome discounts when using it, but it just won't take my money! This is one of the downsides of living in a country where you can't speak the local language, trying to communicate with my bank here to ask how to solve the above issues is nearly impossible. Anyway, I'm hoping to have it sorted out this week before the price of flights go up! In the mean time I'm looking at my photographs of our trip to the Perhentian Islands in Malaysia to help me stay sane while AirAsia gives me grey hairs.

    That's all I have for this week. Do you have anything you really need to get done this week? Drop me a comment below, I'd love to hear from you.

    Have a wonderful week everyone <3

    Banting Low Carb Cheese Cake Recipe #BantingInKorea

    BantingLowCarbCheesecakeRecipe

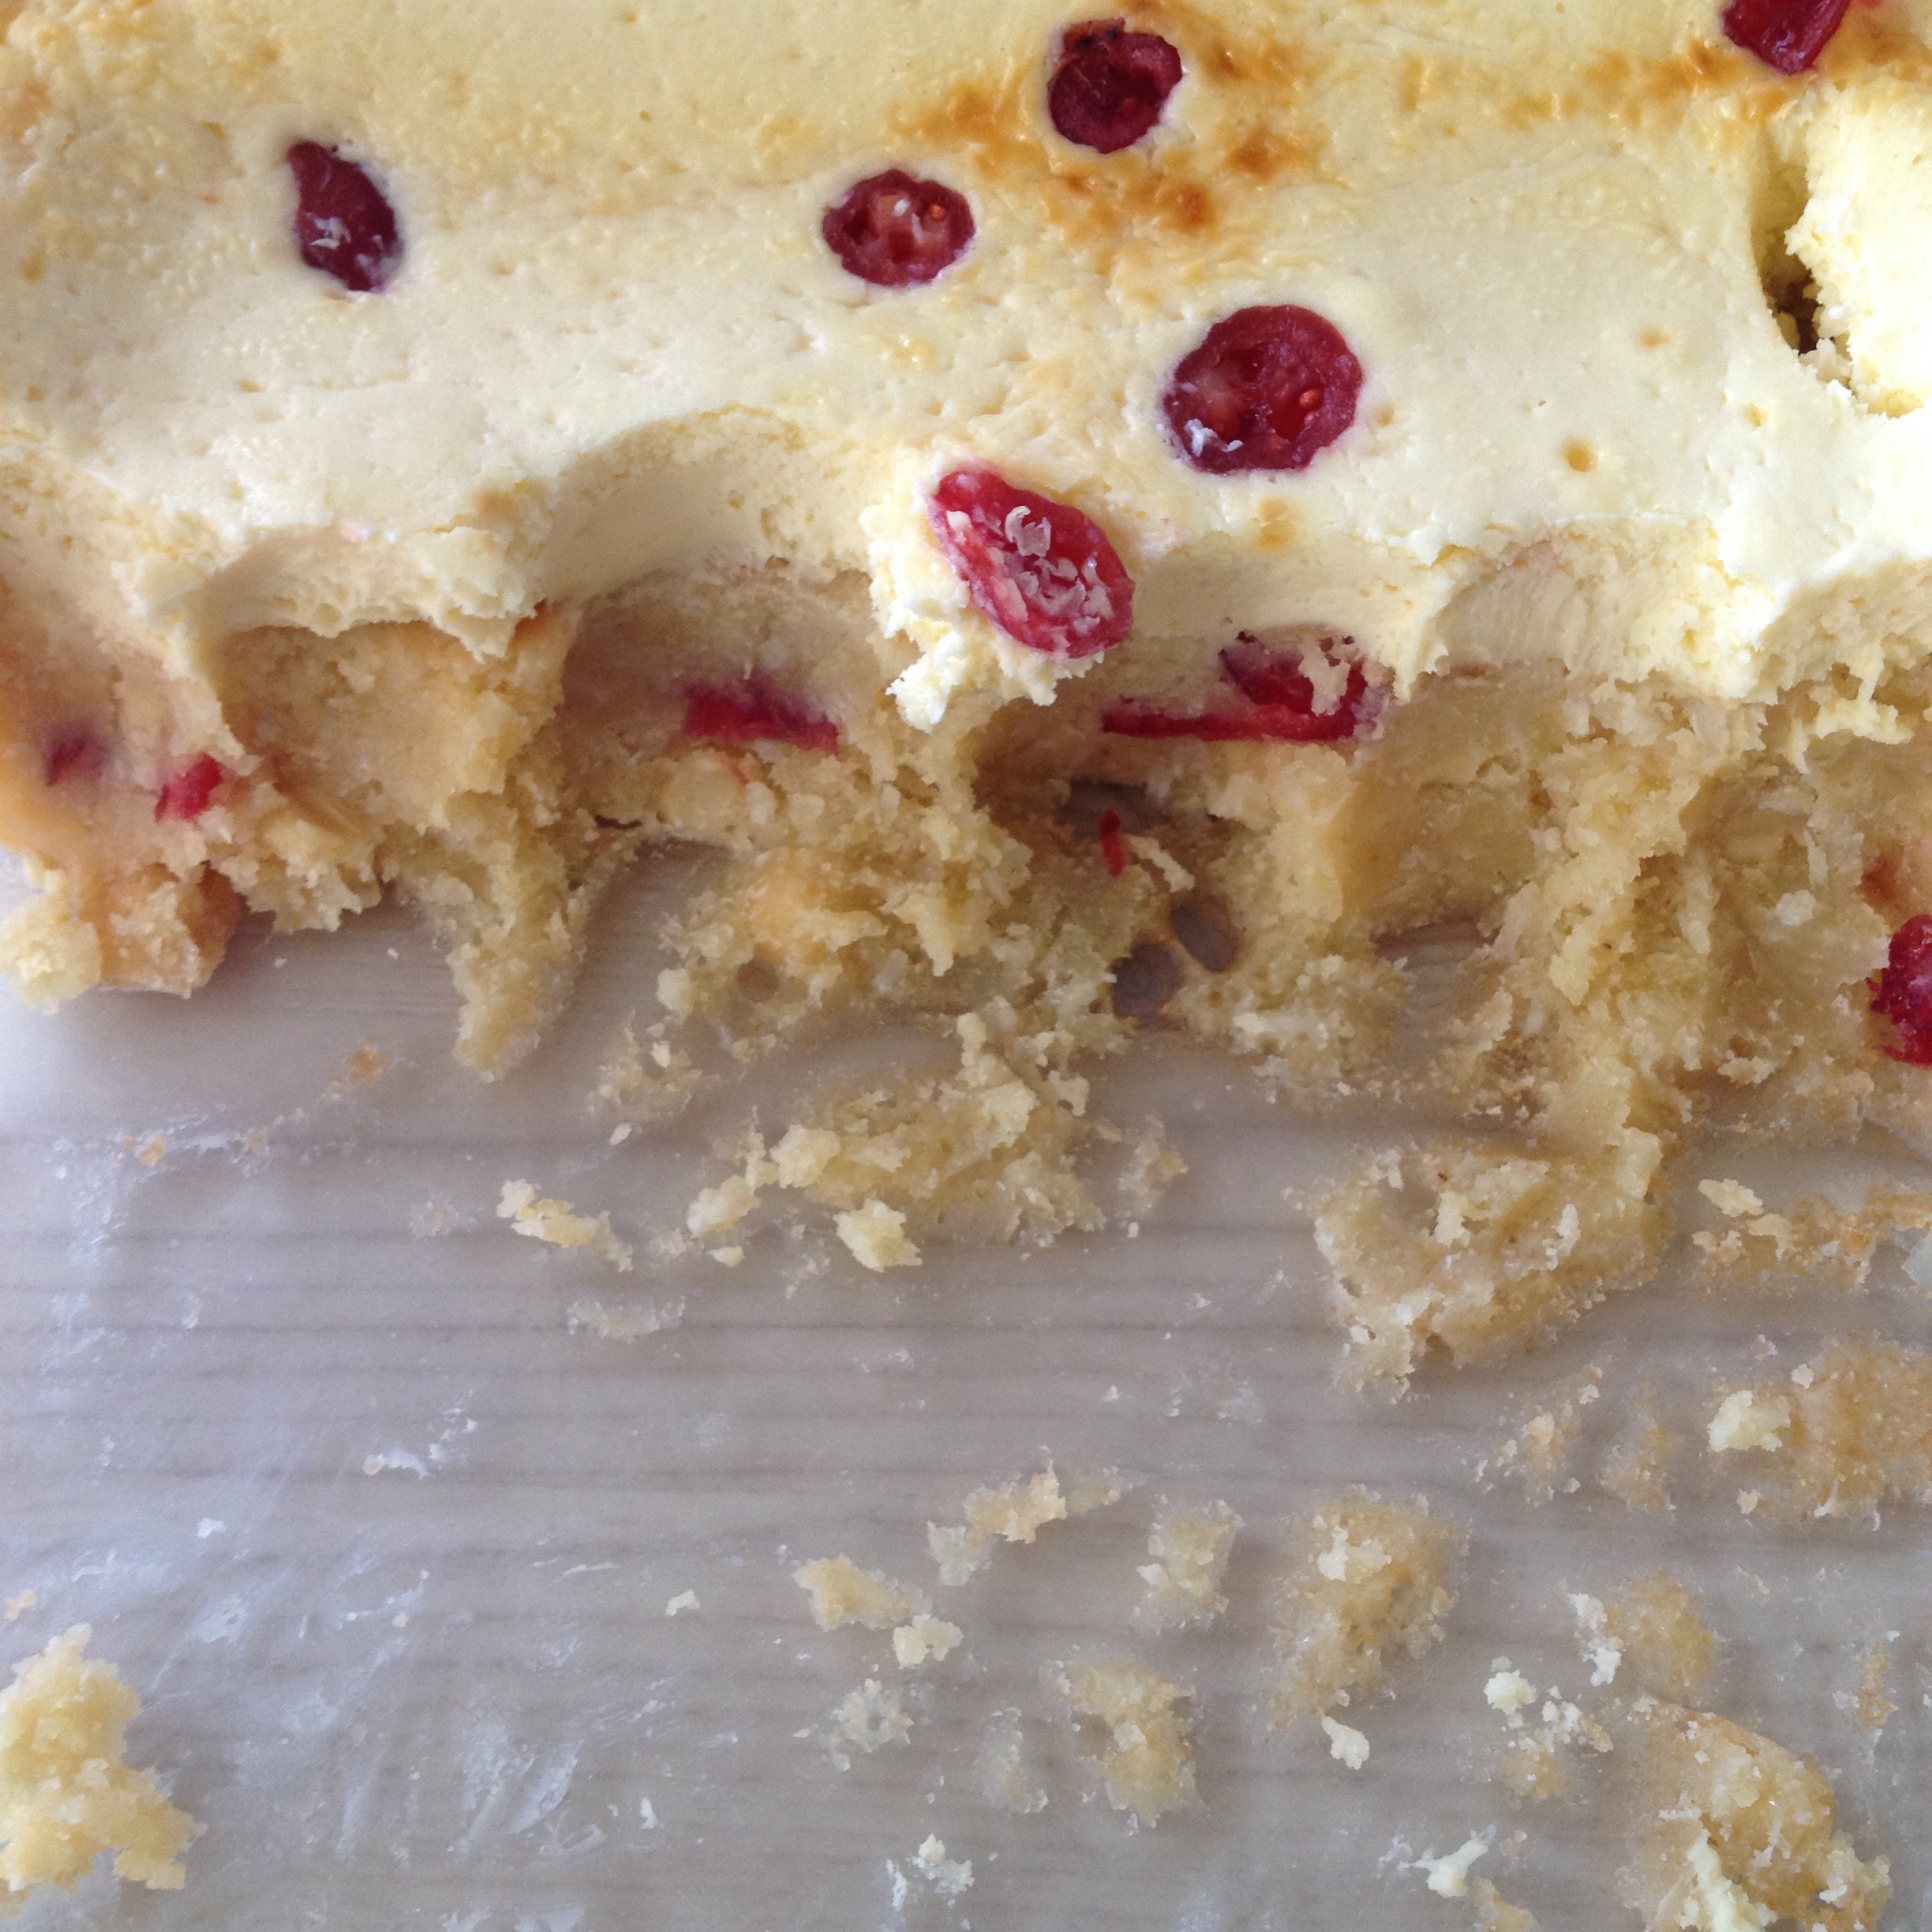
    I've been on the hunt for a cheesecake recipe that I can eat while still following the Banting lifestyle (click here for more info on Banting which is a form of Low Carb High Fat diet). When I came across this Low Carb Chocolate Chip Cookie Cheesecake Bars recipe by All Day I Dream about Food I though there had to be a way to adapt it to some kind of cheesecake recipe. I am super happy to report that it worked! Be warned though, this cheesecake won't last very long at all, because if you're anything like me you'll eat it all in just a few days!

    Just a note, after taking it out of the oven I was very upset by how 'uncooked' it looked. I was rather disappointed and felt totally despondent, shoved it in the fridge and forgot about it until the next morning. I'm not sure what kind of magic happens to this cheesecake when it's in the fridge, but the next day it was amazing. So much better than the day I made it. So if you're also disappointed with how yours turns out, have no fear and pop it in the fridge over night.

    If you've never baked anything Banting before, you need to keep in mind that you aren't baking traditional sweet treats. As you're not using regular wheat flour and processed sugar, what you make isn't going to taste like what you are used to. I've gotten used to the taste of Banting baked goods and have been just happy to be able to eat treats while still maintaining my figure. I just wanted to mention that as some people get all antsy about Banting baked good because they don't taste like the real thing. Of course they don't silly, but they also have none of the carbs that regular baked goods have and they still taste great and will satisfy your cravings! What's not to like?!

    Also, I added some white baking chocolate & dried cranberries to my cheesecake. These are not Banting friendly, so you might want to omit them if you are being very strict with your Banting (go you!).

    BantingCheesecakeRecipe

    Ingredients

    Crust:

    • 2 cups almond flour
    • 1 cup shredded coconut
    • 1 1/2 tsp baking powder
    • 1/4 tsp salt
    • 1/2 cup butter/coconut oil
    • 1/2 cup Xylitol sweetener 
    • 1 large egg, room temperature
    • 3/4 tsp vanilla extract
    • Optional extras (1/3 cup of cranberries & 1/3 cup baking chocolate)

    Cheesecake Filling:

    • 2 tubs cream cheese (I used the standard 220g round tubs of Philadelphia)
    • Optional & depending on your tastebuds: 1/4 cup powdered Xylitol (you can make it powdered by blitzing it in a blender)
    • 1 large egg
    • 1/2 tsp vanilla extract

    This recipe made an awful lot of cookie crust as per the original recipe which was formulated for a base and a layer of cookie dough crumbled over the cheesecake layer. I liked how thick this base was, but you might prefer a thinner base so you could try halving the crust layer ingredients above or use half of your mixture to create a cream cheesecake sandwich by grating the dough on top after your cheesecake layer.

    BantingCheeseCakeRecipe

    Directions

    Crust:

    • Preheat oven to 180C and grease your dish/pan well.
    • In a medium bowl, whisk together almond flour, shredded coconut, baking powder and salt.
    • In a large bowl, beat coconut oil/butter with Xylitol until well-combined and fluffy. Beat in egg and vanilla extract.
    • Beat together almond flour mixture & butter mixture until the dough comes together, then stir in chocolate and cranberries if using. Press the dough into the bottom of the prepared pan. Bake 10 to 12 minutes, then remove from oven and let cool (it will not be fully baked at this point).

    Filling:

    • In a large bowl, beat cream cheese with sweetener until combined. Beat in egg and vanilla extract until smooth and creamy.
    • Pour filling over the cooled crust.
    • Bake 25 minutes or until crust is golden and filling is just a little jiggly in the centre.
    • Remove from oven and let cool, then refrigerate until set, ideally over night

    And there you go.

    Remember that your cheese cake WILL taste better the next day, the wait will be worth it, I promise. Please let me know if you do give this a try as I would love to know how it works out for you. Happy baking!

    x

    Adapted from LowCarb Chocolate Chip Cookie Cheesecake Bars by All Day I Dream About Food

    You might also like these:

    5 Quick Blog Makeover Tips

    Blog Makeover Tips for the perfect blog by citygirlsearching

    Is your blog feeling a little stale? Are you in need of a bit of a refresh when it comes to your blog design and layout? Here are 5 quick tips to help you breathe new life into your blog, quickly and easily without the need to hire a graphic designer. I found making these quick changes with my own blog really helped me to feel inspired again and I'm sure would do the same for you.

    1. Change your Social Media Icons.

    This could be something as simple as changing the colour of your social media icons or could even extend to changing the design of them completely. There are so many wonderful blogs offering free icons for download that you don't have to be stuck with boring icons ever again. Here is a quick list of some of my favourite ones. Just click on the images below to be redirected to the website:


    2. Change your Blog Sidebar Labels.

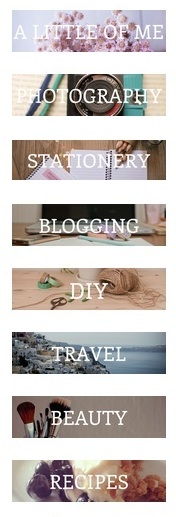
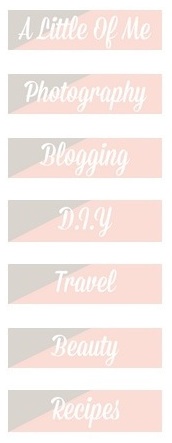
    A similar move to the tip above, but changing the design of your category/page labels can really give your blog a lift. Think about changing the font, the size of the font, the background colour, adding a photo as the background or going minimalist and just using a font. 

    You can make new sidebar labels yourself using the following free online programs; Canva and PicMonkey.  When you do make your own labels just keep in mind the sizing of each one. Try and keep the size (and the design) the same to create uniformity on your blog. 

    For me, I changed my image based labels to graphic based labels as I thought the images were distracting from the main content of my blog. I still like the image based labels on the left, but felt like I needed a bit of a change. Remember, it's your blog and if you make changes you don't like, you can easily go back and change them again:

    3. Change your profile picture.

    Update your profile picture every once in a while to keep your blog fresh. Or if you don't have one, add one! Your readers want to know who it is they are connecting with when they read your blog. Try to keep your colours in the same palette as your design theme to avoid distracting from your blog too much. I styled a few new photographs recently using items that show what it is I blog about. Be creative and most of all be you!

    BlogTips

    4. Remove the clutter.

    Take some time to really look at your blog. Are there pages, widgets, buttons and other things in your side bar or header that you don't really need? Remove them and just keep the essentials. A great tip to implement is to include a search bar somewhere obvious on your blog. That way if people get a little lost (or if they are looking for something specific they can quickly search your blog instead of spending time getting frustrated and then ultimately leaving). Make your blog a pleasant and easy to navigate place for your readers.

    5. Add a Landing page

    A landing page (or home page) is the first thing people see when they get to you blog.  You may have multiple pages on your website (for example an About Page, Store Page, Contact Page, Press Page) or you might also have your blog set up as a separate page too as is the case with my blog. This can be very confusing for people who stumble across your website as they may have no idea what it is that you blog about. To make it easy for them to navigate, add a 'Home' page to your site. If you click on my logo at the top of my blog, or if you click on my actual 'Home' page you will be directed to a space that is clean and free of clutter. Your Home or Landing page needs to be very clear in stating what your webiste or blog is all about, as well as providing easy to see and use links to the different parts of your site.

    BlogTips

    As you can see my Home page has links to my About page, my Stationery Store, my Photography portfolio and my Contact page while also providing a sign up form for people to subscribe to my blog. Another thing to remember to include is your social media links so people can connect with you on all the platforms you use.

    My site is run on SquareSpace and so setting up a landing page (or cover page as SquareSpace calls it) was super easy to do. If you blog using Wordpress or Blogger you can set up a new 'Static Page' which can act as your landing page. 

    Remember at the end of the day you want your site to be easy to navigate and easy for people to find what they are looking for. You don't want people to get frustrated and end up leaving your site because they found another one that is better to navigate. People are also very visual, so try to include high quality photographs on your home page that add to the overall branding and aesthetic that you want to convey to your readers. 

    Do you have any other tips for a blog makeover that you'd like to share? I'd love to hear from you in the comments below!
    You might like these posts too:

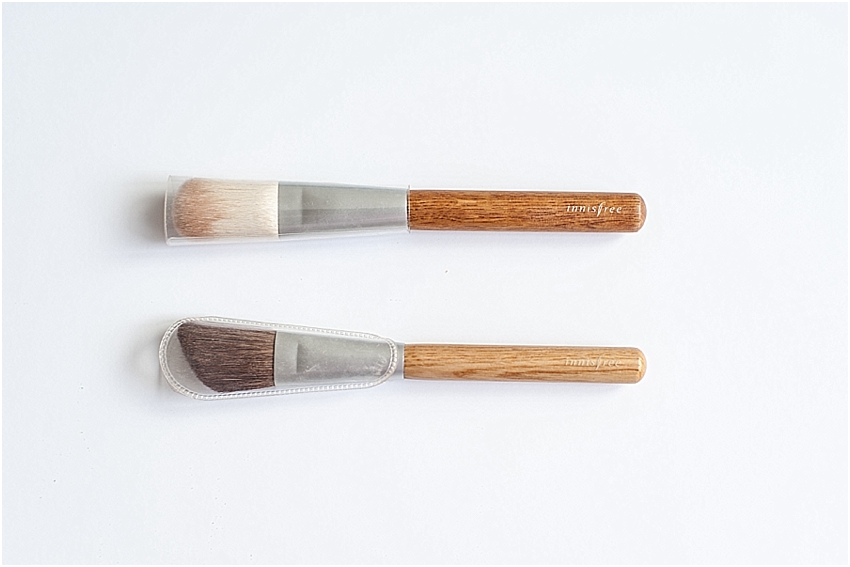
    Innisfree Eco Beauty Angled Makeup Brush & Powder Brush

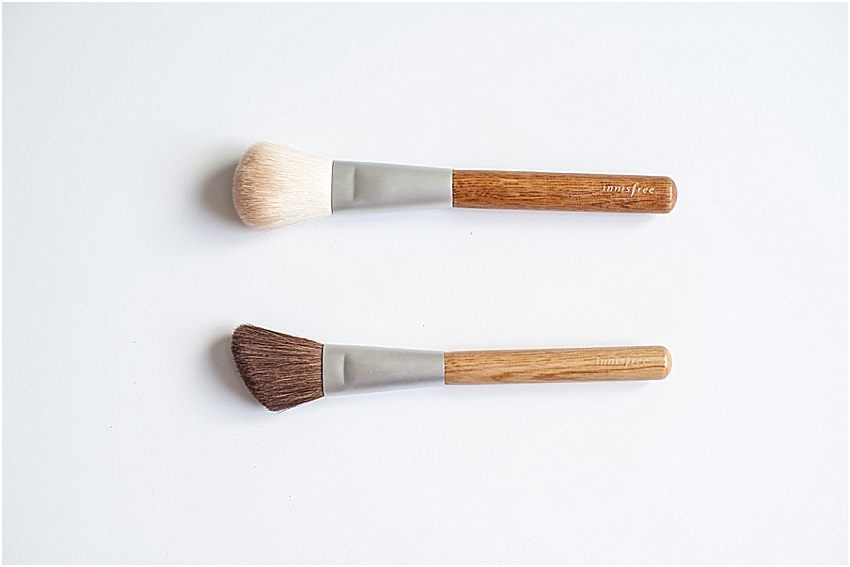
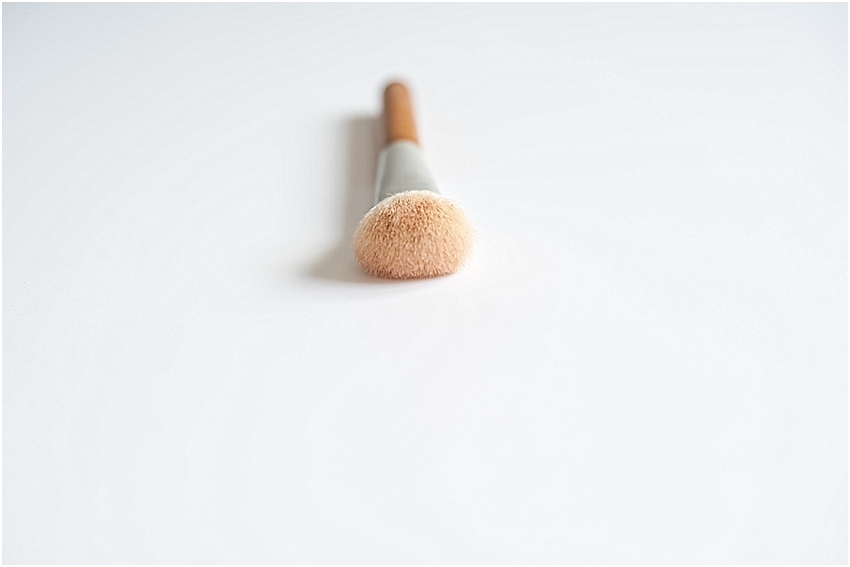
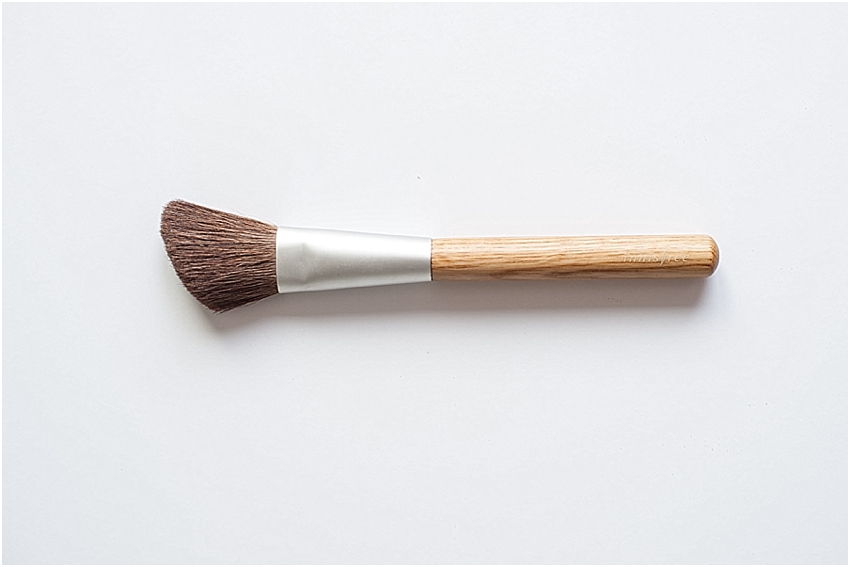
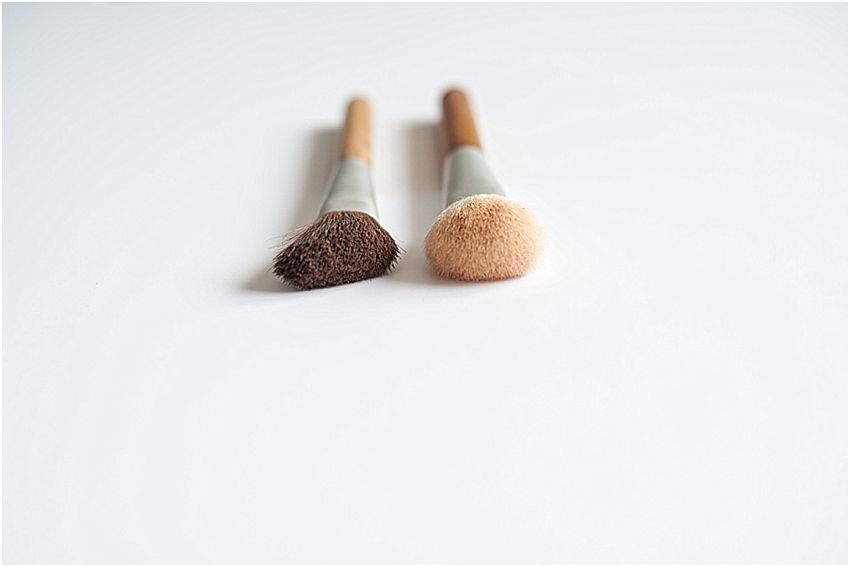
    InnisfreeEcoBeautyMakeupBrush

    On a recent splurge at Innifree I spent some time browsing through their range of makeup  brushes. They have quite a large range and I was rather intrigued especially when I saw their Eco Beauty range which has wooden handles (the ones pictured in this post are part of the Eco Beauty range). They reminded me of my favourite Eco Tools Brush set which I was able to buy online through Iherb (click here) and have delivered here to South Korea.

    At the time I was buying my favorite Face Designing Duo  highlighter and contour powder (review coming soon) and so was on the look out for a brush to apply it. Angled makeup brushes work really well for applying blush or highlighters as you have a lot more control over where you want the product to go. I bought the Eco Beauty Powder Brush and the Angled makeup brush. Keep reading for a more detailed review of both brushes.

    As Innisfree is a one of the more natural orientated skincare brands here in Korea (they use less nasty chemicals in their products) all of their brushes are synthetic and animal lover approved, at least by me that is!

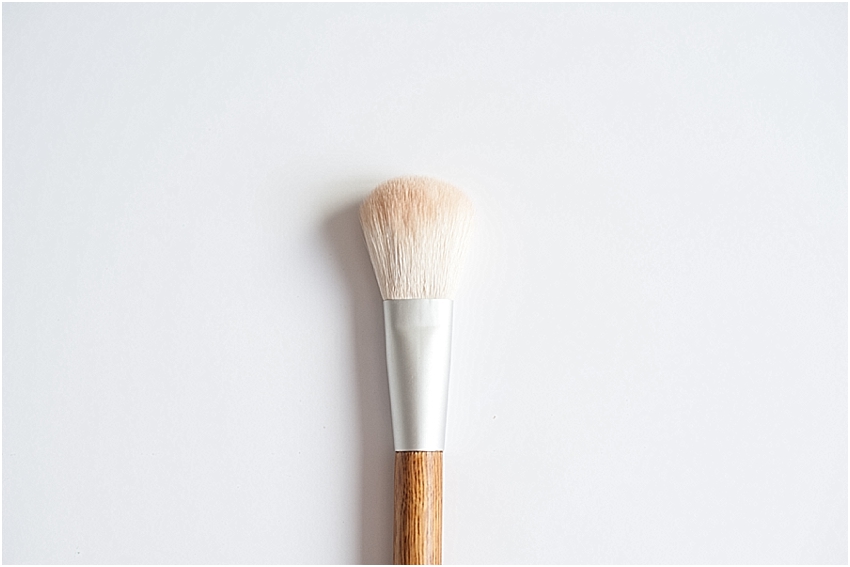
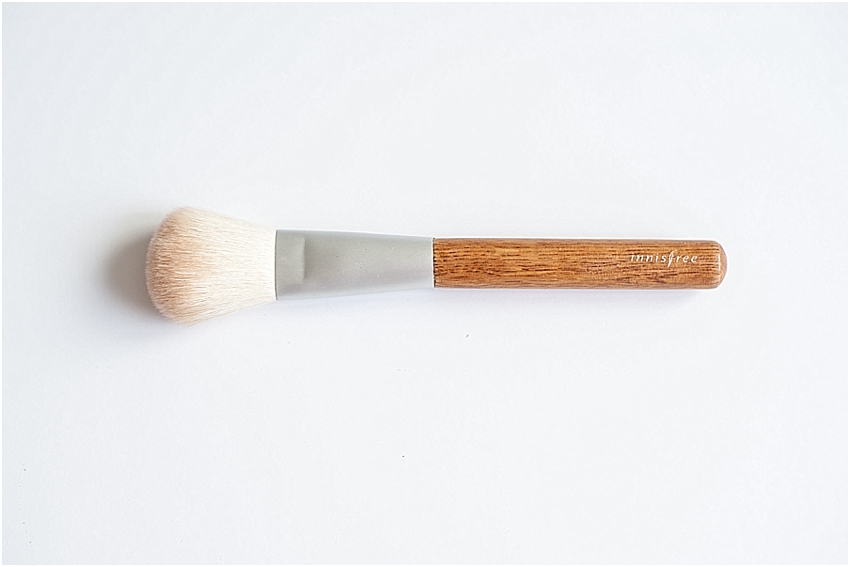
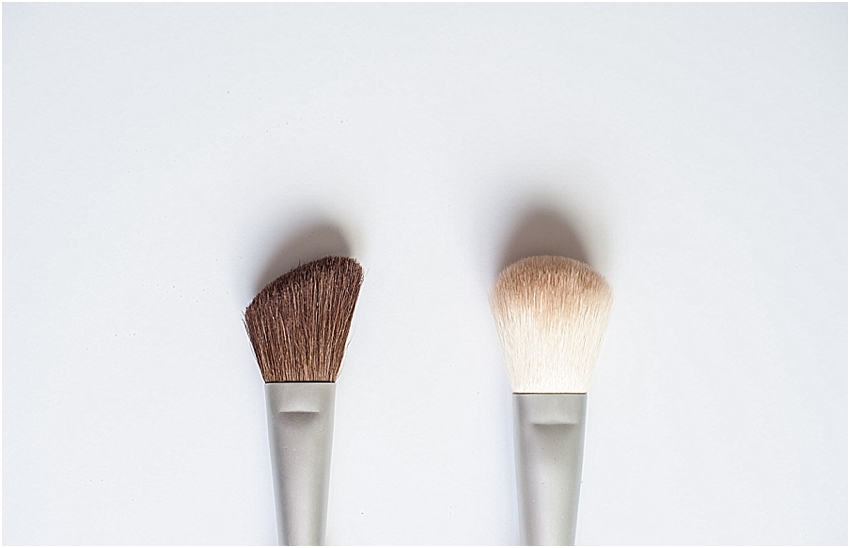
    Eco Beauty Powder Brush W12 000

    I love this powder brush. The bristles are super soft and very gentle on your skin. I use it to apply my setting powder over foundation and it works really well. I am a little sad that the bristles are white, as it's hard to keep them looking clean and new. This is also one of the reasons why I only use it to apply my setting powder and not as a blusher or bronzer brush.

    The wooden handle is one of the many things I really like about this brush as it gives it a very professional and clean appearance. The synthetic bristles are not itchy on the skin like a lot of other cheaper skin care brands and I really like the little cover that comes with the brush to help keep it's shape and to help keep it clean.

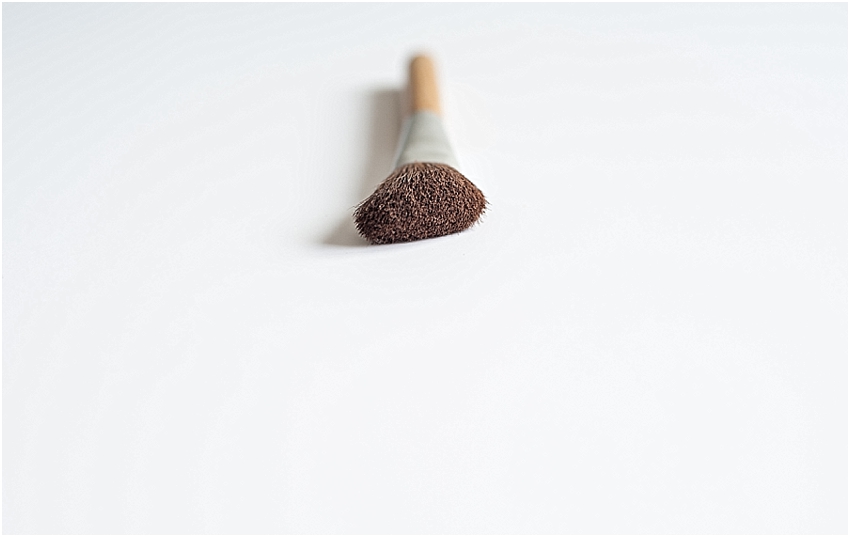
    Eco Beauty Angled Brush W8 000

    I have a bit of a love/hate relationship with this angled brush. I love it because it works really well to apply my bronzer and highlighter, but I hate it because of the fall out (fall our refers to the actual bristles of a brush coming loose and falling out). Even though I have been using it for a few months, I am still experiencing fall out of the bristles, and it gets really annoying having to constantly worry about bristles going into my eye. It could just be that I got a bit of a dysfunctional brush, but I was very disappointed. As my Korean is rather limited, going back to the store and asking for a refund is more trouble that it's worth to me, trying to explain a dysfunctional brush and then hoping they refund me or give me a new one. 

    But even with the annoyance of fall out, the bristles are soft enough whilst still being course enough in picking up a good amount of product for application. The bristle are not as soft as the powder brush though, and might irritate very sensitive skin. I will continue to use this brush until the day there are no bristles left in it, or until I find a nicer looking one. I really like the wooden handles of these brushes and I especially like how they match my EcoTools brushes. It's the small things in life right? 

    I wasn't too mad as I had picked up both of these brushes during one of Innisfree's 30 - 50% off sales and so didn't pay full price for either of them. But if I was paying full price I would give the angled brush a skip but I would repurchase the powder brush for sure.

    Have you given any of Innisfree's Eco Tool makeup brushes a try? Any others that you would recommend? I'd love to hear from you in the comments below!

    You might also like these: