
Squarespace Assistance - My latest website service offering
/
Squarespace Assistance - My latest website service offering helping you with your squarespace website.
Read MoreLifestyle blog with business tips for creative entrepreneurs, bloggers, photographers. Korean beauty product reviews. Travel guides for Asia. Styled Portrait photographer in South Korea. Banting Recipes. Owning a dog in South Korea Brand photography for businesses. Creative headshots and professional portraits in south Africa. South African photographer
Squarespace Assistance - My latest website service offering helping you with your squarespace website.
Read More
When I first started blogging, I set myself up on Blogger (to all the other bloggers out there reading this, remember those good old days?!) and all was right in the world. Blogger (which is sort of where the term ‘being a Blogger’ came from) was how I started dipping my toe into the world of graphic design (I used PicMonkey at the time to create banners and blog graphics) and it’s also where I first started learning about coding & custom CSS.
Once I started becoming frustrated with the limitations of Blogger, I started a separate blog on Wordpress. I tried both the self hosted and the hosted options, but I just found the whole platform to be VERY clunky. I also ended up with a million and one widgets that continually needed updating and at least once a month there would be some sort of plugin that I was using that would ‘break’ my site. And I’d end up spending hours trying to figure out which one it was, only to realise the person who had designed it hadn’t made an update for it and so it no longer worked for my site. It was soooo frustrating, and I felt as though I was just never able to make my site look like the picture in my head. And for me, I just wanted a pretty place to blog from, and one that I could control the look and feel of without having to spend hours searching for coding tutorials or having to rely on graphics and other design elements.
This is also when I delved into Wix, but this didn’t last long either as I found the interface even more confusing that Wordpress. And finally, when I came across Squarespace I just knew, even from my very first day of their free 2 week trial period, that this was the platform for me.
And the best part about the platform, and the main reason why I use it to design websites for my clients, is just how easy and intuitive it is for my clients to be able to take over and make changes and updates themselves (yay!). This means it’s a win-win for both designer & client, because as a designer I’m able to ‘sign off’ a project and I know, that while I am available to ask questions and help, my clients will probably be able to solve most of their questions themselves. They are able to swop out images, update text, create more pages and work out how to do this in relatively small amount of time. Wordpress on the otherhand, while being an incredibly powerful content management system, has a MUCH steeper learning curve. If you know what you’re doing and are familiar with the platform, the options for creating beautiful websites are endless! But, when it comes to clients being able to make changes themselves (especially when it comes to blogging and writing posts), in my opinion (and this seems to be the general opinion of everyone I ask about it) it’s just not an easy platform to understand and learn how to make basic edits.

This also brings me to the next tick for Squarespace…their help forum is amazing! They have an incredible archive of tutorials that are laid out systematically and most importantly, easy to navigate! There is nothing worse than spending hours looking for a tutorial for the most basic of basic questions. And they have a forum where you can pretty much find the answer to anything and everything. And if you can’t, they customer service is pretty fantastic. When I made the move from Blogger to Squarespace, I had over 500 blog posts (can you even!!!) and comments on those posts and moving everything was pretty straight forward. I was (and am still) using DISQUS for my comment management system though, so this posed a few issues and I ended up loosing a whole bunch of comments because of URL re-directs failing etc. BUT it was less of a hassle than I thought it would be.
So now that you’ve heard from my personal experience, here are some of the other important (and more technical) reasons why I believe it to be the best website platform for the types of small businesses I work with:
Squarespace templates are beautifully designed and have built in & unique mobile experiences that match the overall style of your website. This means your content will look great on every device, every time. Squarespace is design-driven, user-friendly, and performance-focused (doesn’t that sound fancy!).
The back-end of Squarespace's platform is extremely intuitive and simple to use, even for complete technophobes! This means it's super easy to make edits yourself without having to get a developer/designer involved to help with small tweaks. Squarespace was designed with the do-it-yourself user in mind, making it easy for clients to maintain, update, and monitor their websites on their own. Building pages is a matter of dragging and dropping blocks in a page editor, and backend tasks are a snap with clearly labeled menus and panels.
Squarespace is a self-contained platform that works seamlessly and is fully managed from top to bottom. This means there’s never any need to update software, plugins, or widgets; patch security vulnerabilities; or worry that changing one component might break something else. It also means there’s rarely any need to investigate or pay for third-party apps or plugins since most functionality is native to Squarespace. I have only now (nearly 6 years down the line) had to implement any coding. You can pretty much figure out how to do just about anything your heart desires with regards to your site design, without having to know any coding.
All Squarespace websites are given free SSL certificates, which means everyone can enjoy a secure connection throughout your whole website. This became a necessity in 2018, when some browsers started marking non-secure websites as a threat to users! Google also shows a preference to secure sites in their rankings.
Every Squarespace website is equipped with all the elements needed for a strong SEO strategy. Site descriptions, page titles, custom URLs, search-friendly formatting, and other key elements are all easily managed. Each site also generates a sitemap automatically that helps Google crawl, understand, and rank a website. So all of those Wordpress who tell you otherwise, simply don’t know what they are talking about ;)
Squarespace's pricing is transparent and simple; you can pay monthly or yearly (from $12 per month when you pay annually for their basic plan…this is what I use…and $26 per month for large online store option) which includes absolutely everything you need. You can buy your domain within Squarespace, and this cost includes your hosting too - there are no extra costs! You can also purchase a custom email with Gsuite right in your Squarespace dashboard, so all of your billing is all contained in one easy place.

So, if after reading all of this you’re interested in working with me, click below to find out more about my packages and how it all works to hire me for your website project.

I’ve been at this online thing for a good many years now, starting with blogging, then photography (I also sell my photos online through Creative Market) and where I am now, a website designer. In the process I’ve used loads and loads of different tools to help make my life easier, and now I want to share my favourites with you. These are the tools and resources I use all the time, and while there are a lot more than 5 (I might do another post on all of them!) these are the ones I use just about every day.
{This is an honest, unsponsored post but affiliate links have been used. What this means is that if you do choose to sign up through one of the links in this post, then I receive a small commission. This helps me maintain this blog and keep it running with your support & it means you also get a discount…it’s a win-win! Please know I only ever share brands and businesses that I use and love.}
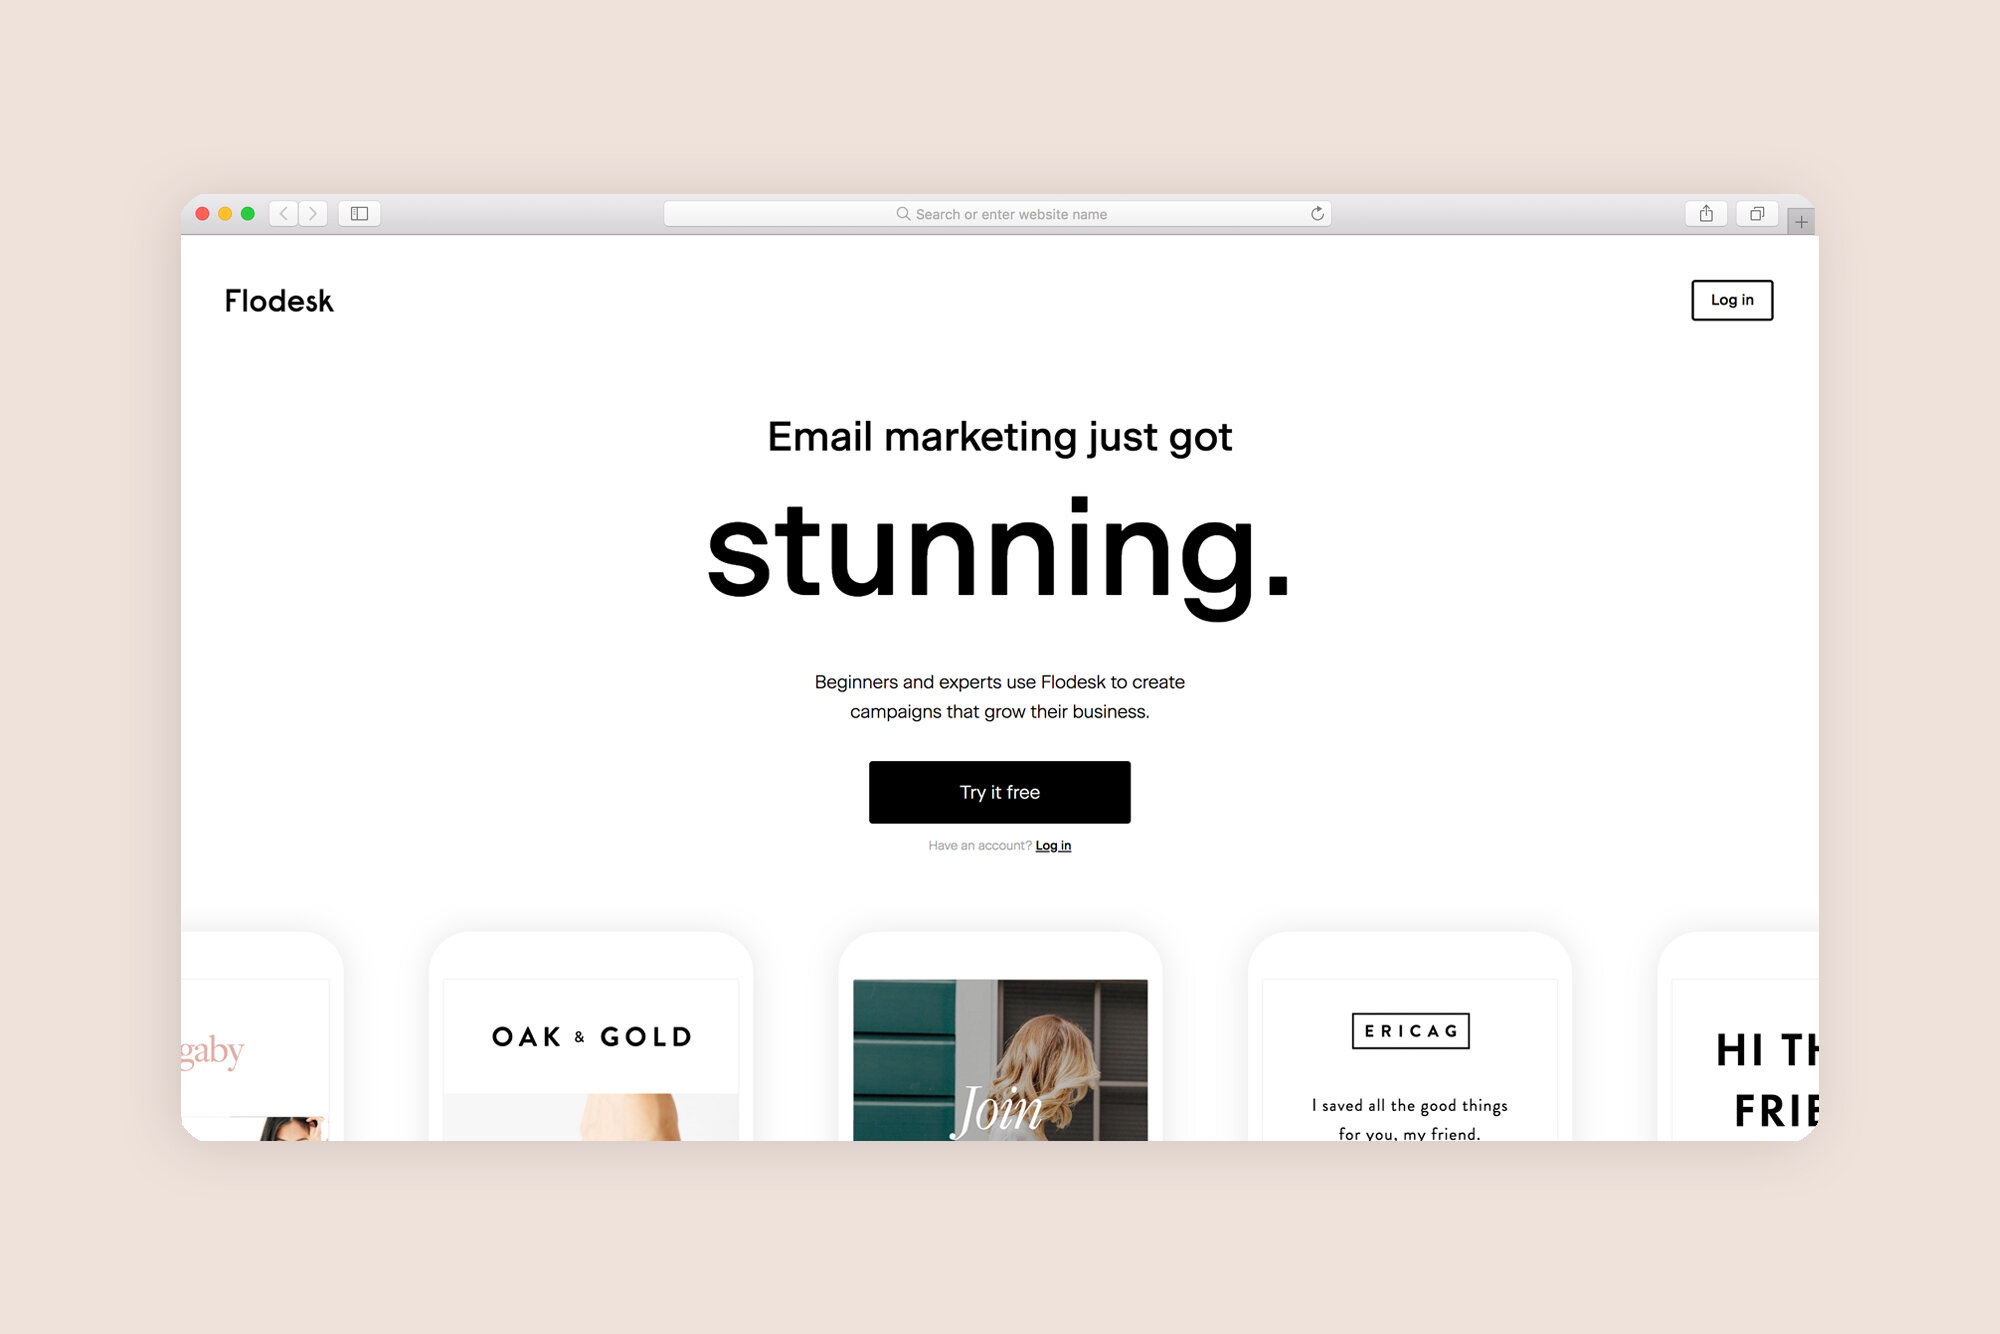
When I first started blogging (way back when in 2010), I began my journey into email marketing with Mailchimp. At the time, it was the best platform for beginners, and while it had & has a lot of pros to it, I made the move to Convertkit once I really started to take my blogging seriously. Convertkit is an incredibly powerful platform, and AMAZING for anyone wanting to sell info products online, but it became too costly for me and my list of 2500 people.
I have since moved over to Flodesk, and I LOVE IT! Beautiful emails, seamless integration with Squarespace and a very user friendly dashboard mean that I’m spending less time trying to make my emails look pretty, and more time actually writing. They have gorgeous templates (and FYI having lots of images in the body isn’t affecting open rates) so now us creatives can have our cake and eat it!
It’s been a real game changer (and just a little heads up, here is a link that will get you 50% off their monthly plan, and you’ll be locking in that price for life…no matter how many subscribers you have!). I’ll be writing a full post on my move from Convertkit to Flodesk, as well as a post on what the Fodesk platform is like, so stay tuned for that.
Have you received an email from me lately? What did you think?
If you would like to see what my emails look like & join my list, you can sign up here:

When it comes to book keeping, I do wish I was a bit more of a wizz when it comes to accounts, but alas, numbers aren’t exactly my strong suite. I started off creating my own quotes and invoices in InDesign, mostly because I wanted to have complete control over how they looked, so that I could keep them as pretty as can be. But it became a huge pain keeping up with invoice numbers, making changes, and then as my service offerings changed, my invoices just got all muddled. Wave is amazing (and its FREE!) and I’m able to keep track of outstanding invoices, part payments, send reminders and their latest feature, email statements with amounts outstanding. Its super easy to use, and syncs with my bank accounts (something I can’t quote decide whether I like or not) but either way, its fantastic and simple, and perfect for small businesses.

Oh the amount of good things I could say about Squarepace…it’s the reason I actually got into website design in the first place. I started off on Blogger, dabbled in Wix, spend a good chunk of time on Wordpress (both versions) and then jumped to Squarespace and have never looked back! It’s beautiful, user-friendly, and did I mention beautiful? It’s a wonderful platform to work with, and the best part is once I hand over a site to my client, they are able to make changes and updates themselves, really easily. Click here to find out more about working with me, and to see some of the sites I’ve designed.
I run this site on Squarespace, and have been blogging with the platform since 2015. There are an infinite number of customisations that can be done to each template they provide. Without having to know any coding, you’re able to take one of the templates and really make it your own. Squarespace offers a free two-week trial so you can really dig into to the platform without having to commit.

It’s taken me a little while to figure out a good system for keeping track of my clients’ files & documents, but I like Google Drive for this. I have separate folders for my photography & website clients, and then I order them by year, the month their project starts, and then by name. I also add a colour to their folder if I’ve wrapped up their project. It’s a nice visual way to staying organised. I share their personal link with them so that we both have access, and then there is less back and forth of sending files. I signed up with Gsuite through Squarespace, which means I get a custom email address, as well as storage space for Google Drive, and while I know I could be doing a LOT more with it as it’s very powerful, I’m enjoying it so far. I have a few Google drive accounts; the ones I use the most are my personal one…this is how I upload and access my photos on my phone and my business one.
I am always tempted by Asana, Dubsado and Trello, but it’s been a big enough learning curve for my clients to use Google Drive (and most of them know or have experience using Google) and so I worry the extra step of understanding how to use a very new platform just to communicate with me might be off putting. But I might be wrong! Please let me know if you use a business management tool for client communication & staying organised that you love!

I can’t believe I turned my nose up at this fantastic design app all those years ago. I liked to think I was a real ‘design pro’ having taught myself photoshop (I only really knew the basics!) and I was too good for the free app that claimed to help you make beautiful graphics, for free! Well, I certainly ate my words when I finally ended up trying it out for the first time, and now I use it just about every day.
You can make anything from posters, to Instagram Story templates, Zoom Virtual Backgrounds, Logos and Blog Banners & graphics…the list goes on and on. Oh, and did I mention you can do all the above for FREE! Their paid plan allows you to upload your own branding (logos, colours and fonts) and lots more.
So there you have it. My top 5 business tools that I use to run my online business.
What I haven’t mentioned above, but for anyone interested:
Camera: Nikon D750
Computer: Macbook Pro 15”
Photo editing Software of Choice: Lightroom
What I use to actually speak to my clients: Whatsapp Video Chat/Zoom/Facetime
Is there anything that I’m missing? Are there any tools that you can’t live without? Is there anything else you’d like to know about how I run my business? Leave me a comment below and I’ll get back to you right away…I’m always happy to share my ‘secrets’.
Squarespace Assistance - My latest website service offering helping you with your squarespace website.
These days, social media makes it easier than ever for you to connect with your target audience online. This means your brand is on show ALL THE TIME, and people are spoilt for choice when it comes to choosing who to work with. This is why it's so important to make sure your brand makes the right impression the moment a potential client or customer comes into contact with you.
For many of us, the first time our clients see us is on Instagram, Facebook or Twitter, and so these social media platforms are the perfect place to showcase your profile photo instead of your logo.
In this post I'm sharing with you how I've made money with my blog (it's probably going to shock you), ways that other people have made money blogging (plus ideas for you) and how I plan on monetizing moving forward.
Let's get started right away!
A few weeks ago I held my first ever pop up event in Cape Town as a meet and greet to celebrate the pre-launch of my the CGScreative.
Although I am based near Pietermaritzburg, I have a lot of readers in Cape Town whom I was very excited to meet up with in person.
These #PrettyPopUp events are a way of sharing more of the CGScreative brand with people, and are a wonderful way to connect in person, while building relationships & connections outside of the online world.
Hello friends!
You might have noticed a few changes around here lately, and I'm so excited to share more about them with you now.
If this is your first visit here, welcome! I'm Roxy and I'm the blogger and photographer behind CGScreative the business, and CityGirlSearching the blog.
Confused?
Let me explain.
As a blogger and photographer I am so excited to create this post for you and to explain how powerful brand photography is for your business. When I first started my own blogging journey over 6 years ago, I was grabbing random images from Google and sites like WeHeartIt and just throwing together blog graphics without paying much attention to my brand image. Since picking up my first fancy camera 4 years ago, I have seen first hand how much beautiful & purposeful images can really propel your brand and give it an edge that sets it apart from every body else. This is what I want for you, fellow creative! I want to show you how custom brand photography can really help you to grow your business.
I'm coming up to my 6th year of blogging (what?!) and so I can safely say I know a thing or two about tools that help you blog better. Most of what we need to know about growing our blogs can be found on Pineterest, right? This is all very well, and I don't know about you but whenever I head to Pinterest to search for blogging resources I get sucked into images of beautiful quotes, cute puppies and ways to save space in my home (tell me I'm not the only one?).
So I thought I'd create this post for you, with a list of all the resources and tools I use when blogging. I've also created a useful printable cheatsheet of all these resources for you to print out to help you in your blogging journey. You can get your paws on this checklist in my *FREE* Resource Library (which is filled with stock photos and loads of other blog & biz resources) and which you can join below.
Read MoreWhile creating my recent e-course, I've spent a lot of time researching the best tools and resources to use to ensure a smooth launch. Today I want to share with you how you can use your Squarespace site to create your own, customized landing pages without having to make use of a landing page generator site like Leadpages.
One of the benefits of blogging with Squarespace is the ability to create Cover Pages (just like this one that I made for BeautifyYourBlog.
But
Cover Pages are designed to be super simple landing pages, with just one or two call to actions. If you are looking for something a little heftier to be able to add in more images & your own custom sign up forms (currently if you want to connect Squarespace Cover Pages & their Forms blocks to Convertkit, you need to use a site like Zapier to run an integration) then a custom landing page is what you're after. I've found some super simple tweaks that you can do to a regular Squarespace page to make it look like a fancy landing page.
If, you're like me, and not quite ready to make the jump to LeadPages, then creating your own landing pages on Squarespace is a great workaround, and with just a few coding tweaks you can make it look like an actual landing page, as opposed to the rest of the pages on your Squarespace site which have things like your menu bar & header image. Convertkit (which I just LOVE!) does offer a few options for landing pages, but the customization is very limited, and I like to make my pages look as pretty as can be. That's why I have been playing around with using Squarespace pages as customized landing pages.
Read More
Is your blog feeling a little stale? Are you in need of a bit of a refresh when it comes to your blog design and layout? Here are 5 quick tips to help you breathe new life into your blog, quickly and easily without the need to hire a graphic designer. I found making these quick changes with my own blog really helped me to feel inspired again and I'm sure would do the same for you.
This could be something as simple as changing the colour of your social media icons or could even extend to changing the design of them completely. There are so many wonderful blogs offering free icons for download that you don't have to be stuck with boring icons ever again. Here is a quick list of some of my favourite ones. Just click on the images below to be redirected to the website:
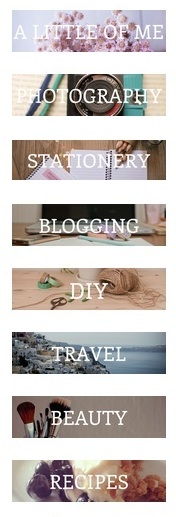
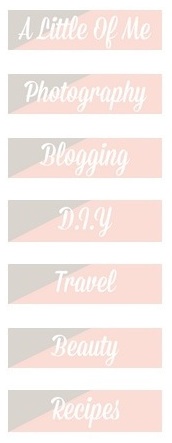
A similar move to the tip above, but changing the design of your category/page labels can really give your blog a lift. Think about changing the font, the size of the font, the background colour, adding a photo as the background or going minimalist and just using a font.
You can make new sidebar labels yourself using the following free online programs; Canva and PicMonkey. When you do make your own labels just keep in mind the sizing of each one. Try and keep the size (and the design) the same to create uniformity on your blog.
For me, I changed my image based labels to graphic based labels as I thought the images were distracting from the main content of my blog. I still like the image based labels on the left, but felt like I needed a bit of a change. Remember, it's your blog and if you make changes you don't like, you can easily go back and change them again:
Update your profile picture every once in a while to keep your blog fresh. Or if you don't have one, add one! Your readers want to know who it is they are connecting with when they read your blog. Try to keep your colours in the same palette as your design theme to avoid distracting from your blog too much. I styled a few new photographs recently using items that show what it is I blog about. Be creative and most of all be you!

Take some time to really look at your blog. Are there pages, widgets, buttons and other things in your side bar or header that you don't really need? Remove them and just keep the essentials. A great tip to implement is to include a search bar somewhere obvious on your blog. That way if people get a little lost (or if they are looking for something specific they can quickly search your blog instead of spending time getting frustrated and then ultimately leaving). Make your blog a pleasant and easy to navigate place for your readers.
A landing page (or home page) is the first thing people see when they get to you blog. You may have multiple pages on your website (for example an About Page, Store Page, Contact Page, Press Page) or you might also have your blog set up as a separate page too as is the case with my blog. This can be very confusing for people who stumble across your website as they may have no idea what it is that you blog about. To make it easy for them to navigate, add a 'Home' page to your site. If you click on my logo at the top of my blog, or if you click on my actual 'Home' page you will be directed to a space that is clean and free of clutter. Your Home or Landing page needs to be very clear in stating what your webiste or blog is all about, as well as providing easy to see and use links to the different parts of your site.

As you can see my Home page has links to my About page, my Stationery Store, my Photography portfolio and my Contact page while also providing a sign up form for people to subscribe to my blog. Another thing to remember to include is your social media links so people can connect with you on all the platforms you use.
My site is run on SquareSpace and so setting up a landing page (or cover page as SquareSpace calls it) was super easy to do. If you blog using Wordpress or Blogger you can set up a new 'Static Page' which can act as your landing page.
Remember at the end of the day you want your site to be easy to navigate and easy for people to find what they are looking for. You don't want people to get frustrated and end up leaving your site because they found another one that is better to navigate. People are also very visual, so try to include high quality photographs on your home page that add to the overall branding and aesthetic that you want to convey to your readers.
Do you have any other tips for a blog makeover that you'd like to share? I'd love to hear from you in the comments below!
You might like these posts too:
What do you do if you just can't seem to figure out your camera? What happens when you spend hours and hours snapping photos on your phone for your latest blog post, but all the photos you've taken leave you feeling frustrated?
This is where I step in my friend!
You see, I understand that we can't do #ALLTHETHINGS when it comes to our blogs, and so, I created the CGScreative resource library.
I created the library to help creatives, just like you. When I first started blogging, there was nothing like this available to me, and because we all have to start somewhere, I have made this pretty online space, absolutely free.
If you've been blogging for some time and especially if you've been looking into how you can make money from blogging, I'm sure you will have come across the term 'email list'. I'm sure you have heard loads of other bloggers and business owners talking about 'list building' and how 'the money is in the list' but perhaps you've been wondering not just why on earth you need a list for your blog but also what on earth you'd be sending those people. Can't your readers just follow you through Bloglovin' or Feedburner? Why do you need to invest your time into another form of marketing?
If you're anything like me, you've been pondering those questions. It's time to stop wondering and start doing & so today I'm going to tell why you definitely DO need an email list for your blog or business, plus I'm going to show you how you can start building yours today.
I'm coming up to my 6th year of blogging (what?!) and so I can safely say I know a thing or two about tools that help you blog better. Most of what we need to know about growing our blogs can be found on Pineterest, right? This is all very well, and I don't know about you but whenever I head to Pinterest to search for blogging resources I get sucked into images of beautiful quotes, cute puppies and ways to save space in my home (tell me I'm not the only one?).
So I thought I'd create this post for you, with a list of all the resources and tools I use when blogging. I've also created a useful printable cheatsheet of all these resources for you to print out to help you in your blogging journey. You can get your paws on this checklist in my *FREE* Resource Library (which is filled with stock photos and loads of other blog & biz resources) and which you can join below.
When I first started blogging back in 2010 (6 years ago...eeek!) I used to shamelessly copy and paste images from We Heart It, which was kind of the OG of the visual world before Pinterest came along. I had no idea about copy-write (in fact, I couldn't even really spell that word properly) never mind understand the legal ramifications of using someone else's work without giving them full credit.
It wasn't until 2012 when I came across an article from a blogger who had been sued for a HUGE amount of money after using someones photograph on her blog. The blogger had actually given the photographer credit in her blog post, but she hadn't asked him for permission to re-post his image and so she ended up going to court and was found guilty of intellectual property theft! Can you imagine being charged with a criminal offense for using an image on your blog? Madness!
I was terrified after reading that blog post and promptly set out to learn how to take my own photographs so as not to have to worry about image copy-right ever again! I ended up falling in love with photography, and have since gone onto to freelance and now go under the title 'professional photographer'. I understand that not everyone has the time, or the desire, to pursue photography full time, especially if their interests lie somewhere else, in writing for example or making or drawing or painting. This is where stock photographs come in and this is where I wave a little (pink) flag that says I've got you covered and have FREE STOCK PHOTOGRAPHS JUST FOR YOU!
I've been blogging for about 6 years now, and I do so because I genuinely love providing free, useful content for people. This blog is not a diary showcasing my life but rather I hope that it is a platform for you to learn new things (like my blogging tips, travel guides and posts about owning a dog in Korea) as well as a place to be inspired (by my travel posts, recipes and my photography).
One thing that I have learned from all these years of tapping away at my keyboard is that the images on your blog can make or break your brand.
These days technology has advanced so much, there really is no excuse for anyone to have poor quality images on their blog. This doesn't mean you have to own the fanciest camera on the market, your cellphone/ipad/tablet will work just fine.
In this post I'm going to be sharing with you what I use to style & take photographs for my blog.
Lifestyle blog with business tips for creative entrepreneurs, bloggers, photographers. Korean beauty product reviews. Travel guides for Asia. Styled Portrait photographer in South Korea. Banting Recipes. Owning a dog in South Korea. Korean jindo rescue dog. #CGScreative
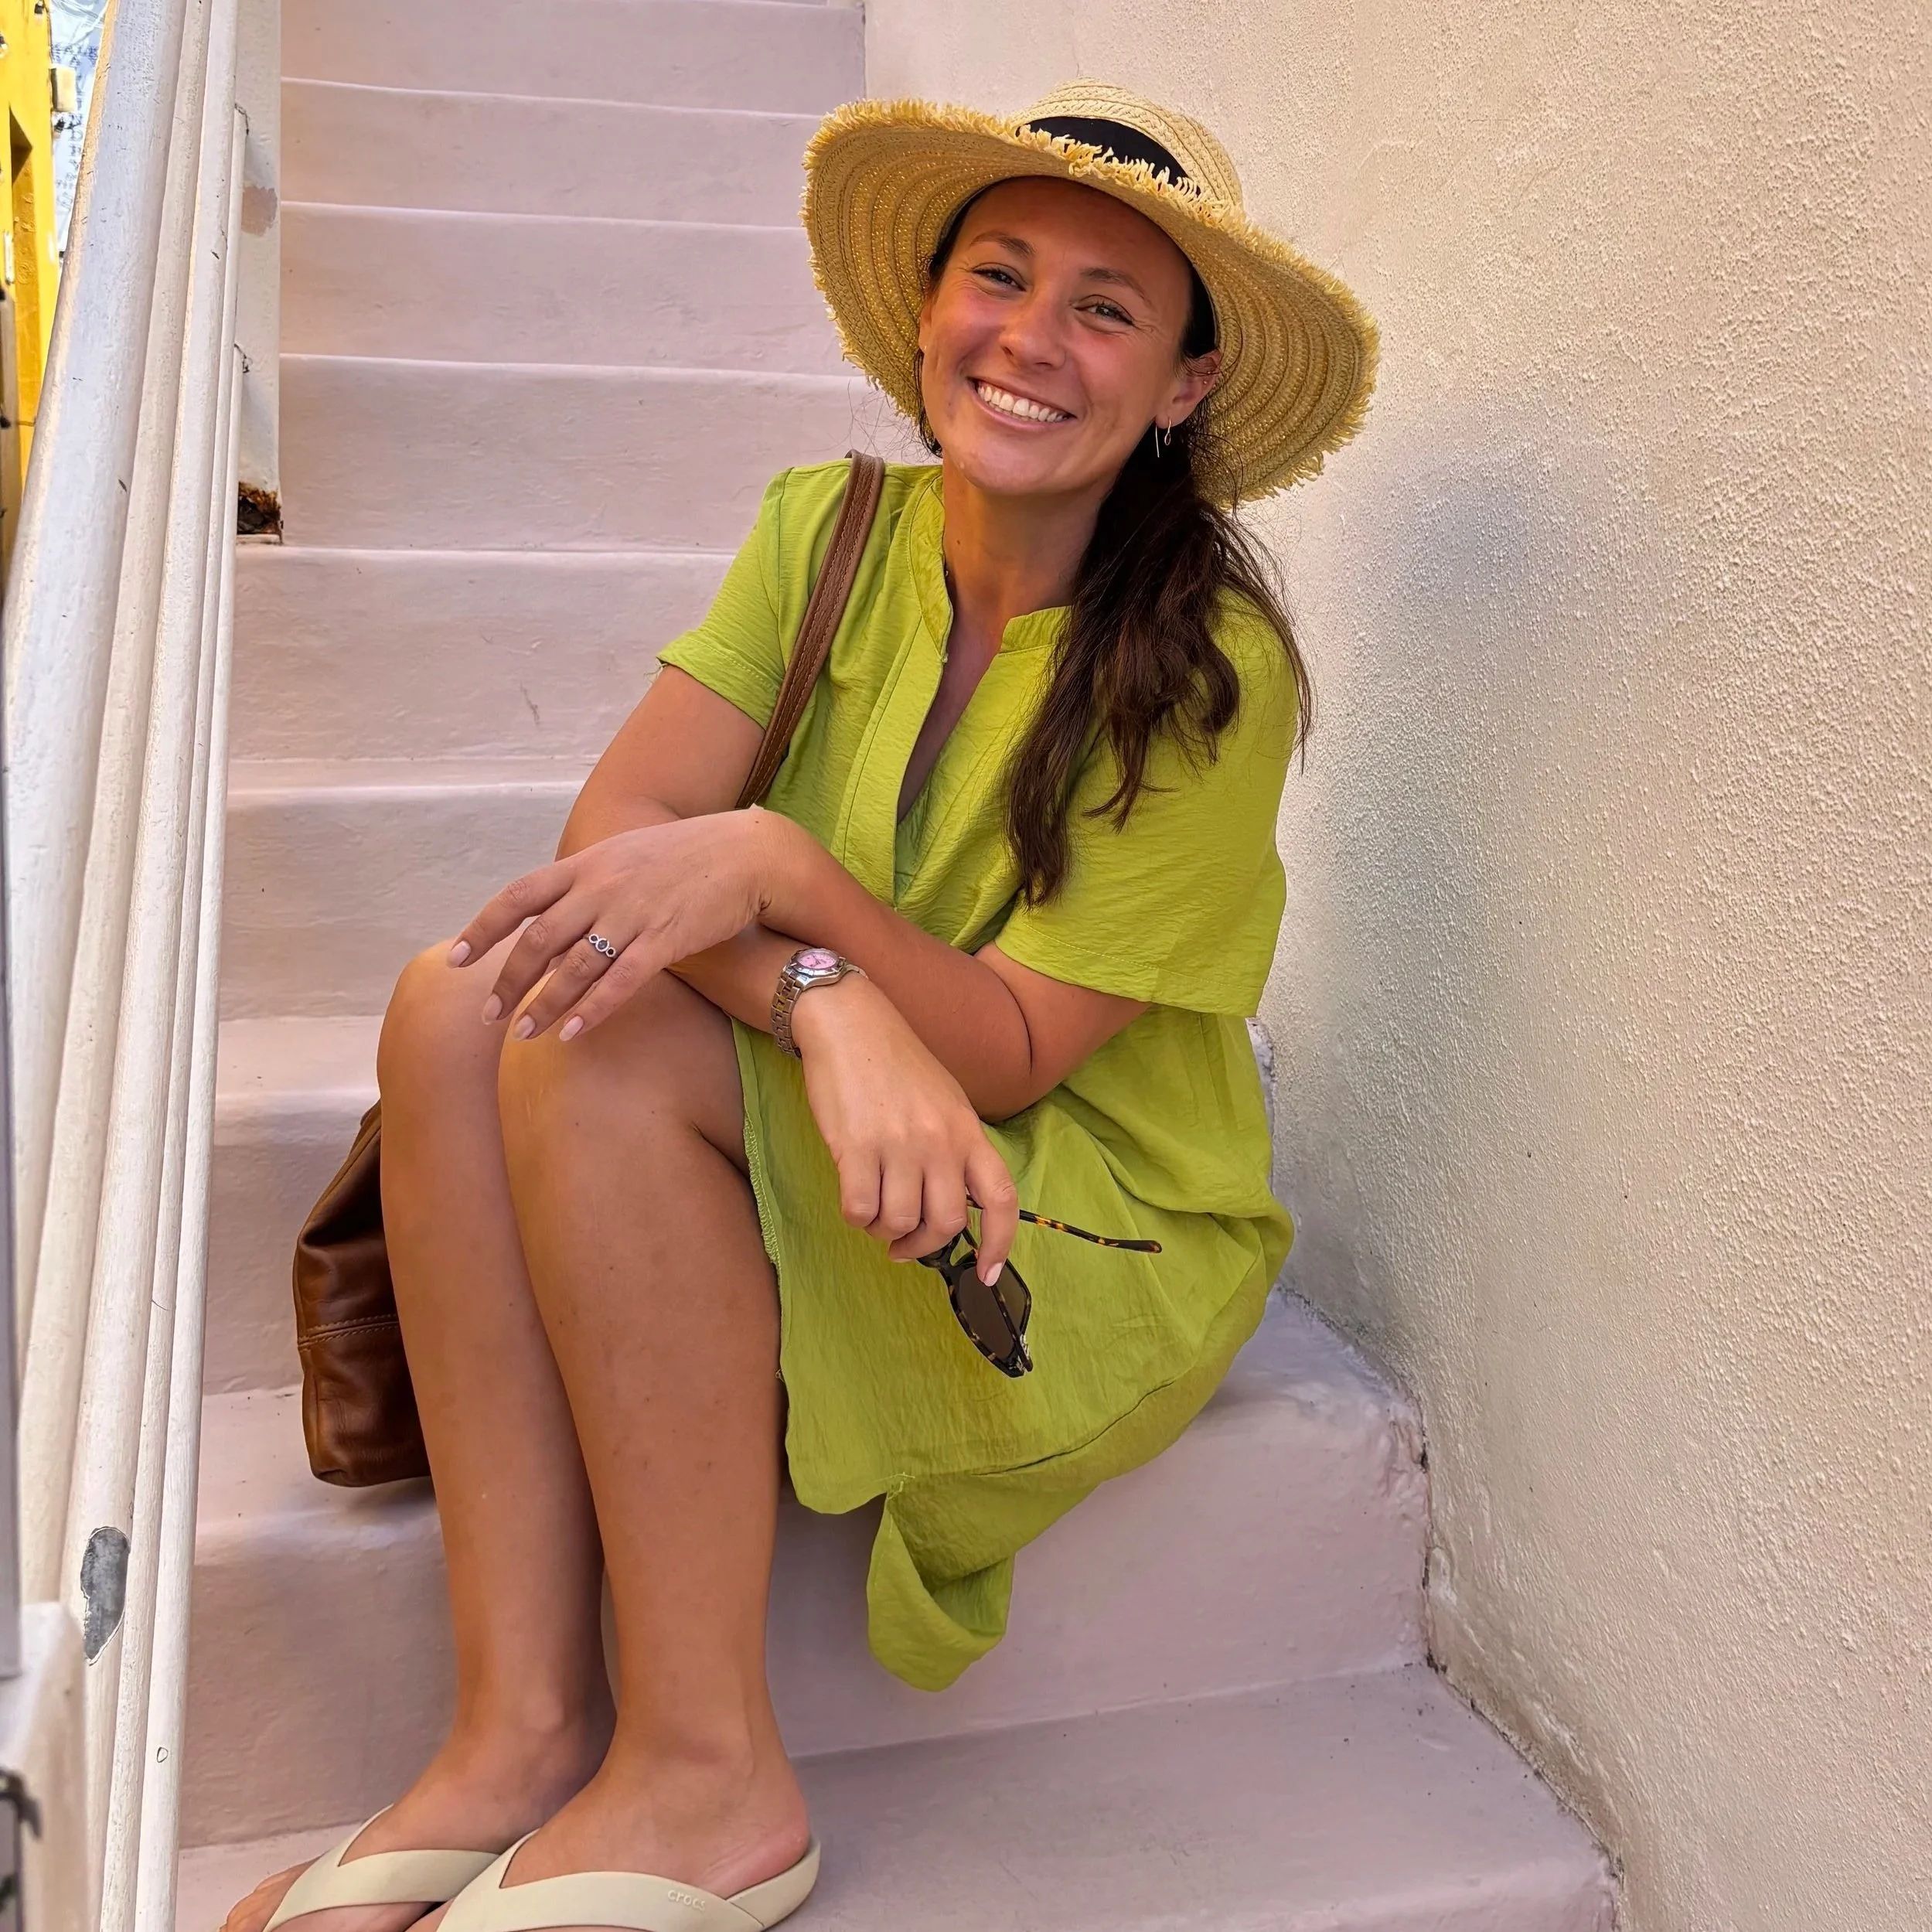
I’m Roxy & I’m so excited that you’re here. Welcome to my {pretty} little corner of the world wide web.
CGS is a lifestyle blog, where I share all sorts of posts from pregnancy, to life with (3) babies on a dairy farm, to makeup & skincare reviews. I was also a #clothnappy addict, and always loved sharing tips and advice on how to start using cloth for your babes. I’m also very into making my own Kombucha and yoghurt, and I swear by a strict routine and no sugar or processed carbs in your little one’s diet…I share tips & recipes for how you can do the same. Finally, I also love sharing more about blogging & tips for running a creative business.
So get comfy, grab a cup of tea and & make yourself at home.
x
A few weeks after arriving back in South Africa from living in South Korea (click here to ready more about our 4 years spent teaching English in Korea), Farmboy and I headed off on a 6 week road trip around South Africa. We started our trip in Johannesburg (where my family are) and ended on the farm in Kwazulu Natal (where Farmboy's family are).
During those 6 weeks we visited about 15 towns and cities, some of which I had never heard of before, and had wonderful adventures seeing more of South Africa than either of us had seen before. This is a very image heavy post, so you might want to go and make yourself a cup of tea while you wait for these images to load :)
Farmboy also vlogged our trip, which you can watch by heading over to his youtube channel (click here). There are lots of fun behind the scenes videos of our trip, which I think you'll really enjoy. I've linked them below so you can watch them right here in this post.
The aim of this trip was to see the famous Namaquland Daisies, as well as to explore more of Cape Town. When we got home from Korea, we wanted to spend time in the major cities in South Africa to see if we would like to settle and make home in any of them. This trip was the perfect opportunity to explore Cape Town and see if we could imagine ourselves making it our new home.
Farmboy and I just got back from a whirlwind road trip around South Africa, starting in Johannesburg and making our way up close to the Botswana border, right down to Cape Town and finally ending up on the farm in Natal. We drove over 7 500 km (that's about 4500 miles for my American friends). We visited 15 towns/cities and stayed in 10 of them during our 6 week trip.
One of the highlights of this trip was our visit the Babylonstoren, a place I had seen mentioned by my favourite bloggers since it opened its doors in 2012.
We have officially been back in South Africa for 3 weeks! In case you're new around here, my husband (Farmboy) and I were living in South Korea for the past 3 years where we were teaching English. It was a wonderful 3 years, but we are very happy to be back home. My husbands parents are dairy farmers in a small town called Creighton, about 2 hours inland from Pietermaritzburg and we have been here visiting them for the past week. It's been wonderful seeing family after such a long time of being away, and we plan to spend the rest of the year between the farm and my family in Joburg, until we decide where we want to settle.
Hopefully we will have figured that out by January!
We just missed the Creighton Aloe Festival which takes place once year here in Creighton. The aloes are absolutely beautiful, and this year there were four hot air balloons offering views of the gorgeous countryside.
If you've been following this blog for any time at all, I'm sure you'll know have come across a post or two sharing my love for the Innisfree brand.
Innisfree is known as the first, original South Korean all-natural brand, and is one of the few Korean brands that use organic ingredients certified by France's ECOCERT organisation. All of it's packaging is recyclable, and the ingredients in it's products are natural and not filled with a million and one chemicals.
What I love most about Innisfree is the fact that their products are reasonably priced, and they WORK! There are so many amazing Korean skincare and makeup brands, but a lot of them look a lot better than they work. Korean packaging is incredibly cute and will have you buying all sorts of products just because they will look pretty on your dresser.
You can imagine my delight when I found out that Innisfree has it's own cafe! There are two locations, one on Jeju Island (the home of Innisfree) and on in Seoul.
During the last weekend we spent in Korea (in case you're new around here, my husband and I spent 3 years living in South Korea and have only just returned home to South Africa) I was able to pop into the cafe and experience the beauty of Innisfreein it's 'cafe' form.
After a second visit to this delightful burger place in Gwangju, I am 100% convinced that this will be one of the best you'll eat while in Korea. I'm talking real, homemade, grilled patties with plenty of extra toppings that will leave you with a very full stomach and a happy heart.
Burger Bridge is a small restaurant located on the other end of downtown Gwangju, near Mudeung Mountain 무등산. It's in the Chosun University area, a place filed with the trendiest cafes, bars and restaurants. It's quite nearby to Florida Cafe and Hertz Guesthouse (one of our favorite dog-friendly places to stay).
The best part about this place (apart from how good their burgers are and what good value for money they are) is their opening times! Most restaurants open closer to midday in Gwangju, which is a real pain if you wake up early like us. Burger Bridge is open from 10 am! The restaurant itself is small, but oh-so-charming, and the guys who run it are super friendly. You can tell they are proud of their burger joint!
I have been wanting to visit the Enrogel Teapot Cafe ever since reading about it on Seoul State of Mind. When my friend Sam from There She Goes Again (you might recognise Sam as the stylist behind a lot of my styled photo shoots) recently took a trip there and I saw her photographs, I knew I had to make a plan to get there. Most of the weird and wonderful places to see in Korea are in Seoul. As I live way down south in a tiny little town called Buan, getting to Seoul is only really possible on the weekends.
I was delighted to find out that the teapot cafe is a mere 40 minute drive from Buan, and so I was able to go visit it one afternoon afternoon after school.
The cafe itself is actually just outside Jeongeup, which makes getting there quite easy as you can catch a train to Jeongeup and then from there a local bus. I am not sure of the exact route to take via public transport as I have a car (having a car in Korea is a real game changer especially if you have a dog here like we do).
The cafe is located in just outside Jangseon village , which is between Jeongeup & Gwangju and is actually quite near the famous Baekyangsa Temple in Naejangsan National Park. Naejangsan is particularly famous for its display of Autumn leaves, and Baekyangsa temple is a very special place to visit during Autumn.
We visited the teapot cafe at the end of Spring, and must have just missed the cherry blossoms. We were able to catch a glimpse of the end of the blossoms, but from the little we could still see of the blossoms, it must have been magnificent during full bloom. The drive itself from Buan to Jangseon is beautiful, and well worth an afternoon drive if you have a car.
Welcome to Part 3 of my Borneo Travel Guide. My husband and I spent two weeks exploring Malaysian Borneo in July 2015. We had a great time, and would definitely recommend it. We had a few ups and downs, mainly due to the environmental damage we saw pretty much everywhere, it was terribly sad to see so much deforestation. I probably wouldn't have noticed it if I was traveling with anyone else, but Farmboy was an environmental consultant is his former life and so was more aware than me (I thought there was a lot of green but what I thought was natural vegetation was 9 times out of 10 palm oil plantations). We also knew very little about Borneo (apart from the fact that it is one of the last places where you can see Orangutan in their natural habitat), and actually ended up deciding to go there because it had the cheapest flights and seemed like a very unique holiday destination.
You may be thinking of heading to Borneo soon (or sometime in the future) so to help you plan your trip, I have put together this travel guide, as well as some tips from our stay. Please keep in mind that my husband and I may travel very differently to you, and have different likes and preferences for things. I prefer the more luxurious path, while Farmboy would stay in a hammock for the entire trip if it was up to him. So we plan accordingly, and of course, try to stick to the budget.
It only took us 3 years, but we finally found the perfect little wooden cabin in the mountains here in Korea. And the best part, they are dog friendly (not just in the cabin, but in the surrounding campsite too!). I am always looking for get away places here in Korea, and even before having a dog and needing to worry about places that would allow him, I hadn't found much in terms of 'western style' cabins that didn't cost the earth. Stumbling upon Art In Island was one of the highlights of our stay here in Korea, and the place itself exceeded all of our expectations.
Art In Island is a delightful little corner of the Korean countryside, surrounded by mountains and a river (great for fishing!) and great for hiking and exploring too. As you can see from the photos below, we headed to the cabin in winter (the snow made everything magical) but I can tell that this place would be just as wonderful in all seasons.
The cabin owned by the most friendly man, Hao, who was great to communicate with before and during our stay. He replied instantly to all my messages and both him and the local manager went out of their way to make sure we had a comfortable stay. Hao speaks perfect English and really was wonderful to communicate with, even though he lives in Seoul, he often visits the cabin and is a great guy to hang out with and get to know. And the fact that he was so friendly to our dog, Shadow, made us like him even more!
If you own a dog here in Korea, you'll know just how hard it is to find dog friendly accommodation, especially if you own a 'large' breed dog. This cabin was everything we hoped it would be and will definitely be going back before we leave Korea.
This camping trip was a rather fun adventure as we met up with old & new friends alike. Stephanie & Ryan (the bloggers and youtubers behind the delightful travel blog The Hedgers Abroad) joined us from Yeosu. You might recognise Stephanie from some of my styled photo-shoots I've featured here on the blog...she has been my muse for a little while now (click here to see those styled shoots).
I was also excited to meet up with Megan & Scott from the awesome travel blog; Bobo & Chichi. Megan and I started up an online friendship a few months ago and it was wonderful to meet up in person. Scott creates the most amazing hyper-lapse videos of their adventures all over Korea, you should definitely head on over and take a look.
I also got to meet up with another fellow South African whom I have been connecting with via Facebook and it was great to share stories and laughs with her and her boyfriend around the fire. Even though it got terribly windy, this great group of people made the camping trip a real adventure. And of course my pup, Shadow, had a wonderful time being surrounded by dog-loving people (something he doesn't find too often here in Korea being a 'big, scary dog').
If you have a dog, this 'style' of camping is perfect for you. We do make sure to keep a long rope and clips in the car just in case we do come across issues with having him off lead, but this has yet to be a problem. I wouldn't advise letting your pup have free reign of an open space if they haven't had much experience being off lead before. As we live in a small town here in Korea and have a car, Shadow is off lead pretty much all the time. His recall is pretty good (not always!) and he generally stays near us. If you're looking for more posts on owning a dog here in Korea then click here, I've written some posts I think you might like.
In January this year, Farmboy and I headed to India & Nepal with two friends for 18 days of backpacking adventures. We spent 15 days in India, and the last 3 days in Kathmandu, Nepal.
I will be writing travel guides for all of the places we visited, but it's going to take me a while as this was one of the most extensively planned trips we have ever done. Here is a breakdown of our 15 days:
Korea > Goa for 5 nights
Fly from Goa > Delhi 1 night
Delhi > Agra for an afternoon, then drive > Jaipur for 2 nights
Jaipur > Pushkar for 2 nights
Pushkar > Jodhpur for 2 nights
Jodhpur > Jaisalmar by overnight train for 3 nights (including a dessert safari stay)
Finally fly from Jaisalmar > Jodhpur > Delhi
It's going to take some time before the travel guides are up, so in the mean time, here are a few of the highlights of our trip. Make sure to scroll down to the end to watch the video too!
If you're from the US, chances are you're not a big fan of these furry creatures. You probably have visions of your rubbish being riffled through and your pets being harassed. But to us South Africans, this funny little creature is a complete novelty.
We don't have racoons in South Africa, the only thing we can compare to the US 'racoon' in terms of how much havoc they wreck around your house is the vermit monkey. Most South Africans (at least those from Kwazulu-Natal) have at least 1 story of a monkey (or even a troop of monkeys) breaking into their house, causing complete chaos with the dogs and cats and stealing any food they can get their hands on.
I'm not a big fan of monkeys, so I can understand some of my American friends and their aversion to these so-called 'pests' but I was quite taken with these two racoons that we spent time with at Blind Alley Cafe near Sookmyung Women's University in Seoul. Obviously, these racoons are pets and so tame, I wouldn't advise anyone running up to a wild racoon and try and give it an affectionate scratch (ouch...you'll be in for a nasty surprise).
These two racoons were very entertaining (especially the white one who was the braver of the pair).
This was our second camping trip to Wido Island, a small island on the west coast of Korea, accessible only by ferry from Gyeokpo.
Even though right now it's technically Winter here in Korea, I saw buds on the trees while working to work yesterday. So thought this post would be a good one to write now so that you can get planning your first Spring camping trip of the year.
Having a dog here in Korea (click here to read more about our rescue pooch #ShadowTheJindo & owning a dog in Korea) makes it hard to travel. We do have a car, which makes our lives 100 times easier, but the accommodation is always a problem. You see many Koreans are terrifies of 'big' dogs (even though our pup would only be considered a medium sized dog in most countries). Here in Korea, he is a great big, scary wolf. and so booking accommodation is always a problem. Even the places which allow dogs usually turn us away when they catch a glimpse of him. This is why we go camping so much. This post is all about Wido Island, and one of our favourite (usually deserted!) places to camp in Korea.
Welcome to Part 2 of my Borneo Travel Guide. My husband and I spent two weeks exploring Malaysian Borneo.
We spent the first part of our holiday in Kuching (2 days), moving onto Bantang Ai lake (3 days), then Kota Kinabalu (2 days) and then onto Semporna (1 day) & Mabul Island (4 days). As there is so much to say about our trip I am breaking up these posts into different parts. In this part I will be talking about Bantang Ai Lake; Part 3 I will be talking about Kota Kinabalu and finally in Part 4 I will write about Semporna & the scuba diving we did on Mabul Island.
To celebrate the start of 2016, Farmboy and I headed to Gwangju with some friends. We spent New Years eve having dinner at the popular First Alleyway (good burgers and board games!), and then headed for a few drinks and festivities at Speakeasy.
We spent New Years day relaxing and recovering from a full night of dancing (why I insisted on wearing heels, I'll never know) and then found the most AMAZING authentic burger place (one of the only places was open on New Years day!) called Burger Bridge (blog post to come soon).
We then spent New Years day evening at Florida Cafe. I can't wait to share with you the photographs of this beautiful, modern cafe in downtown Gwangju.