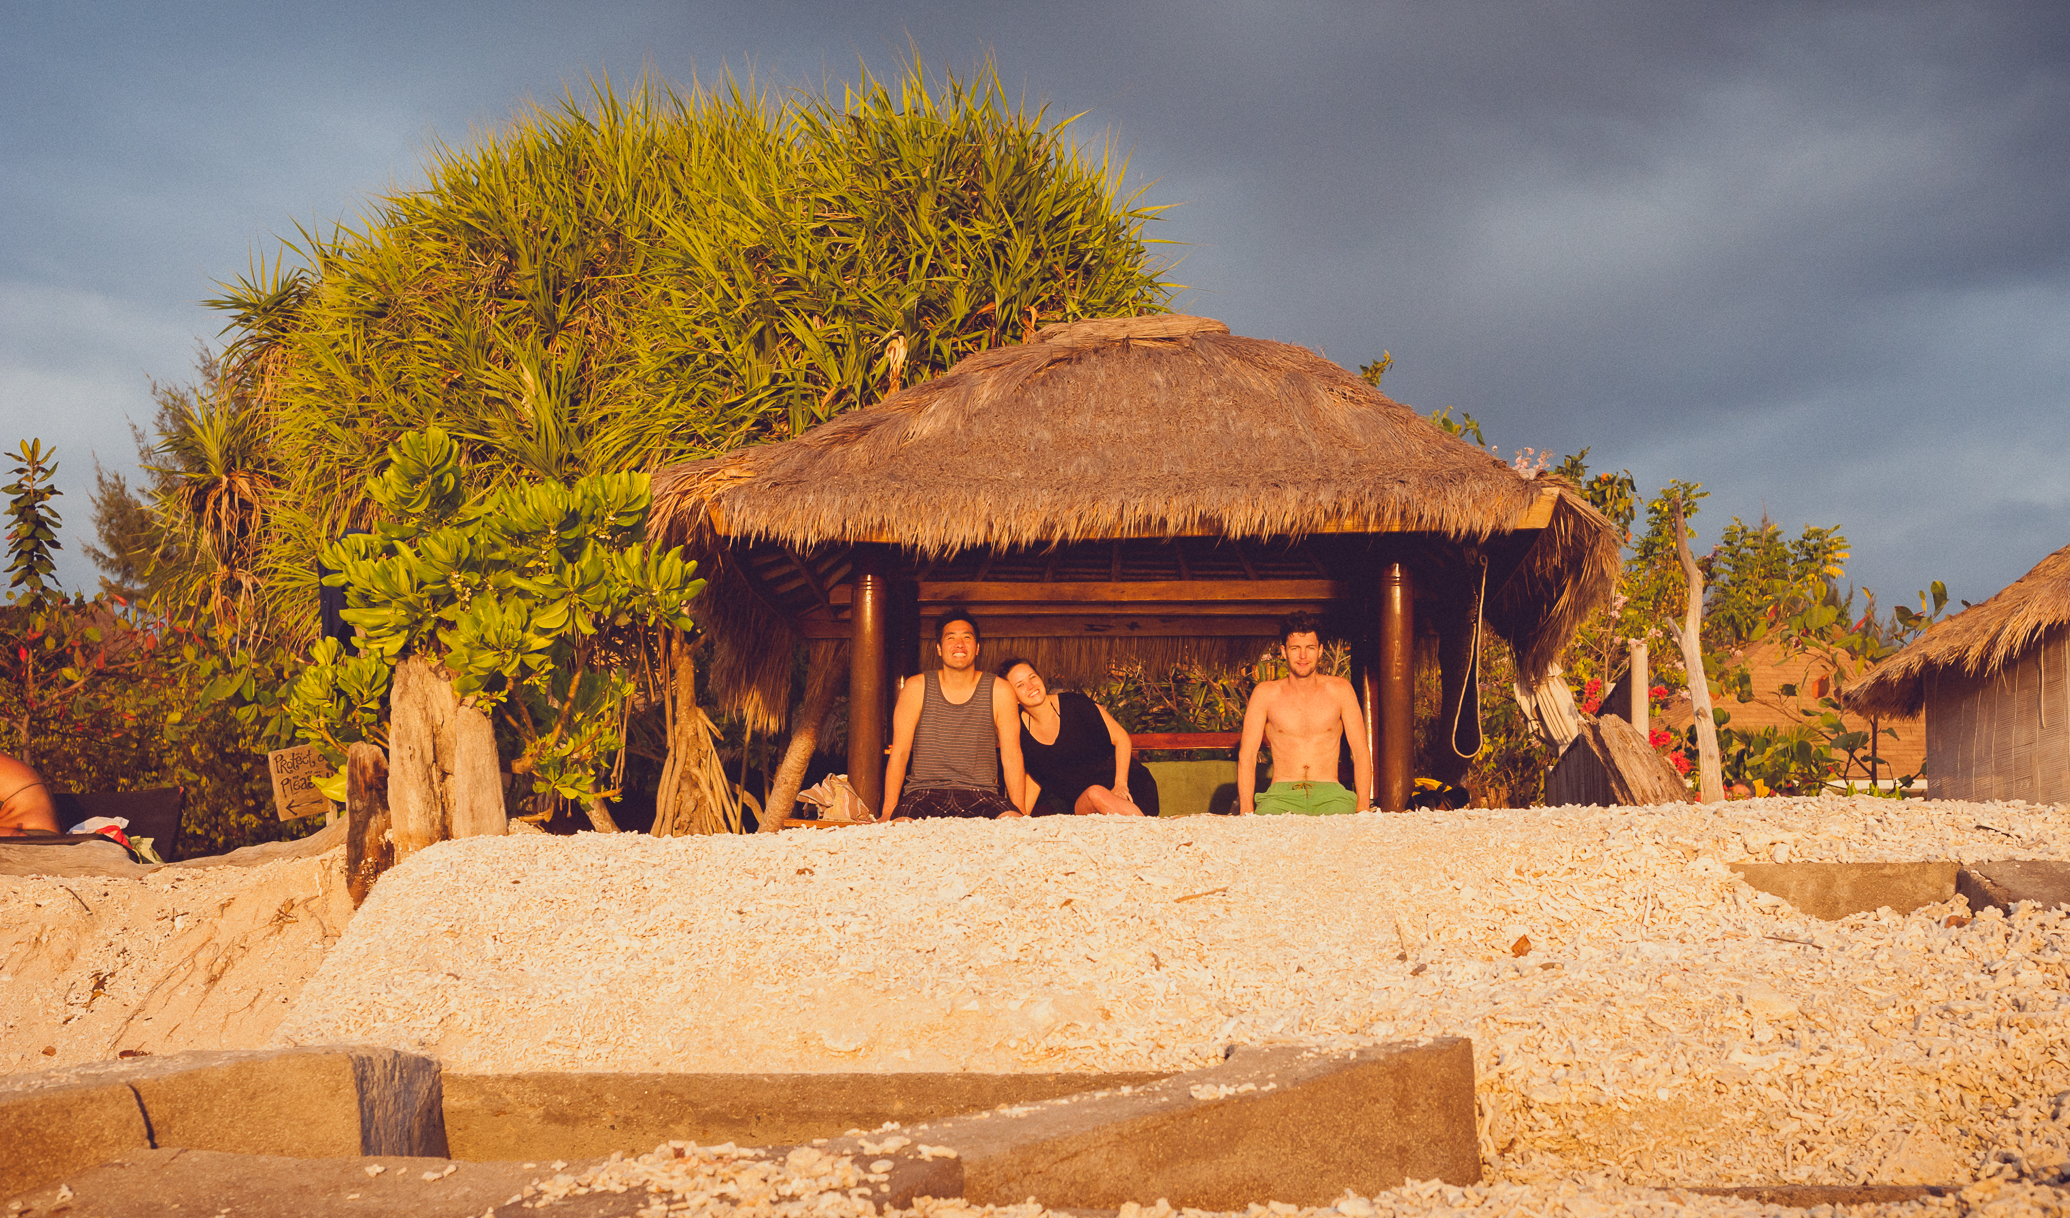
Camping in Korea - Namhae Island

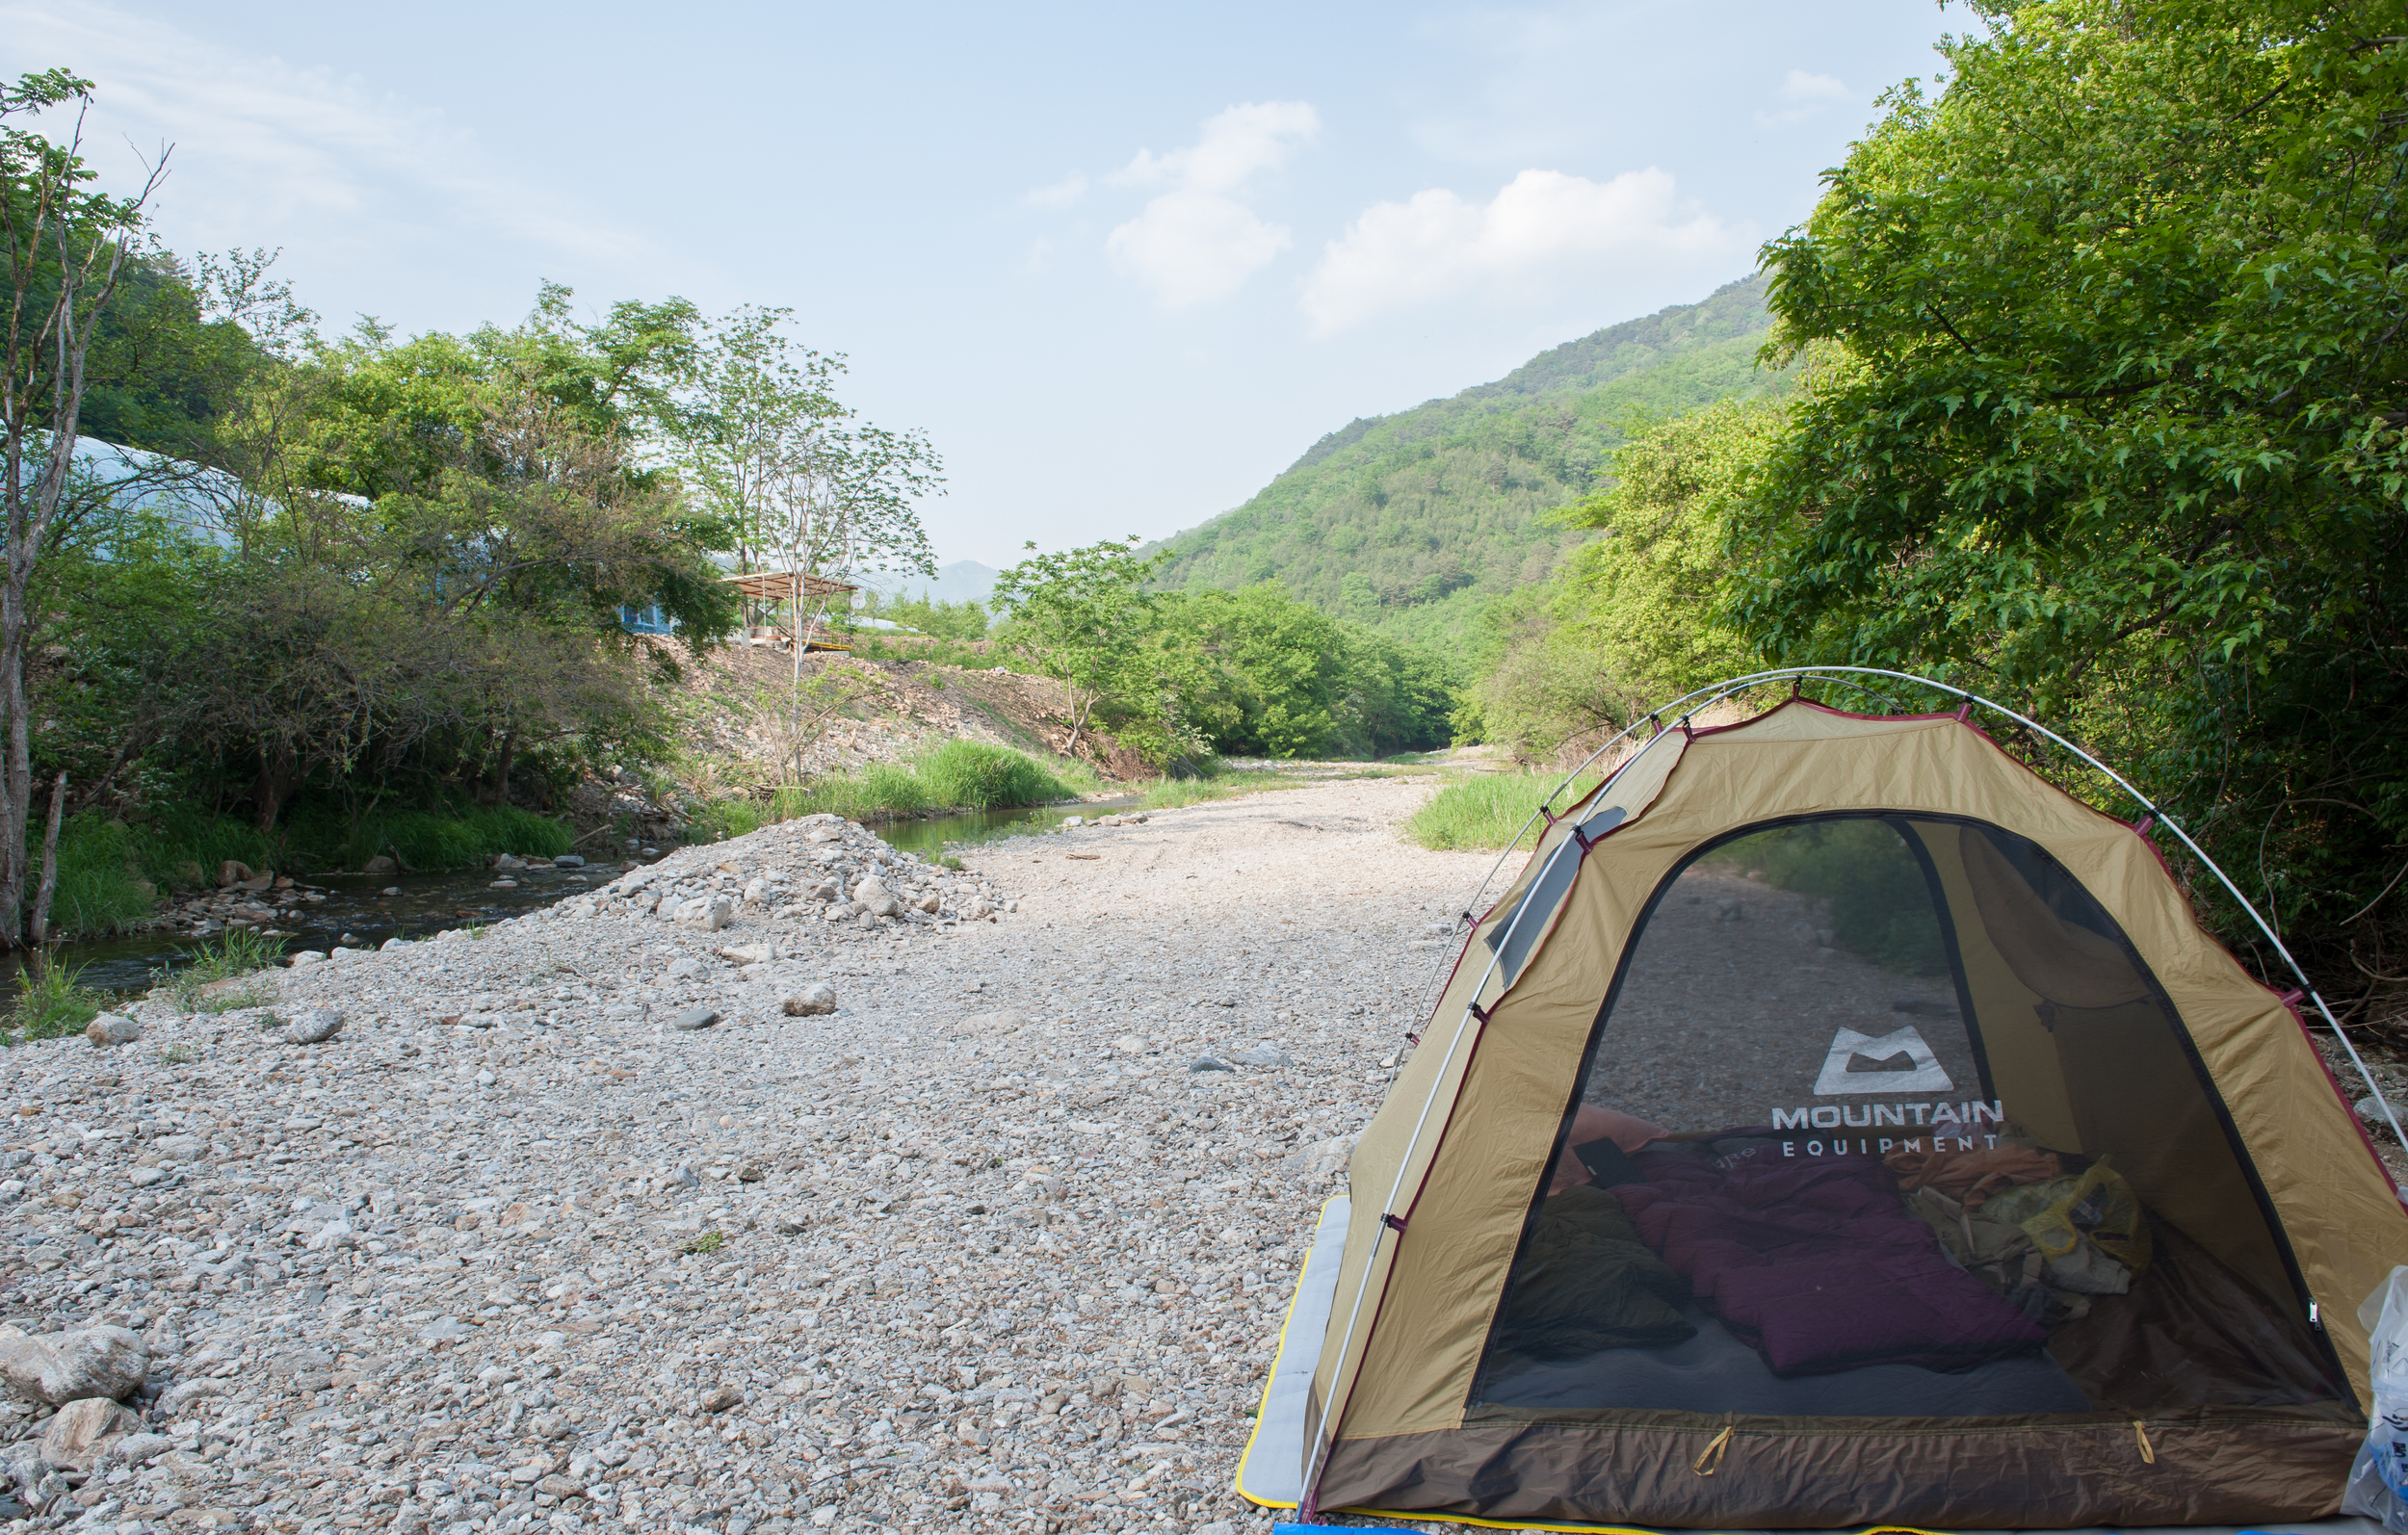
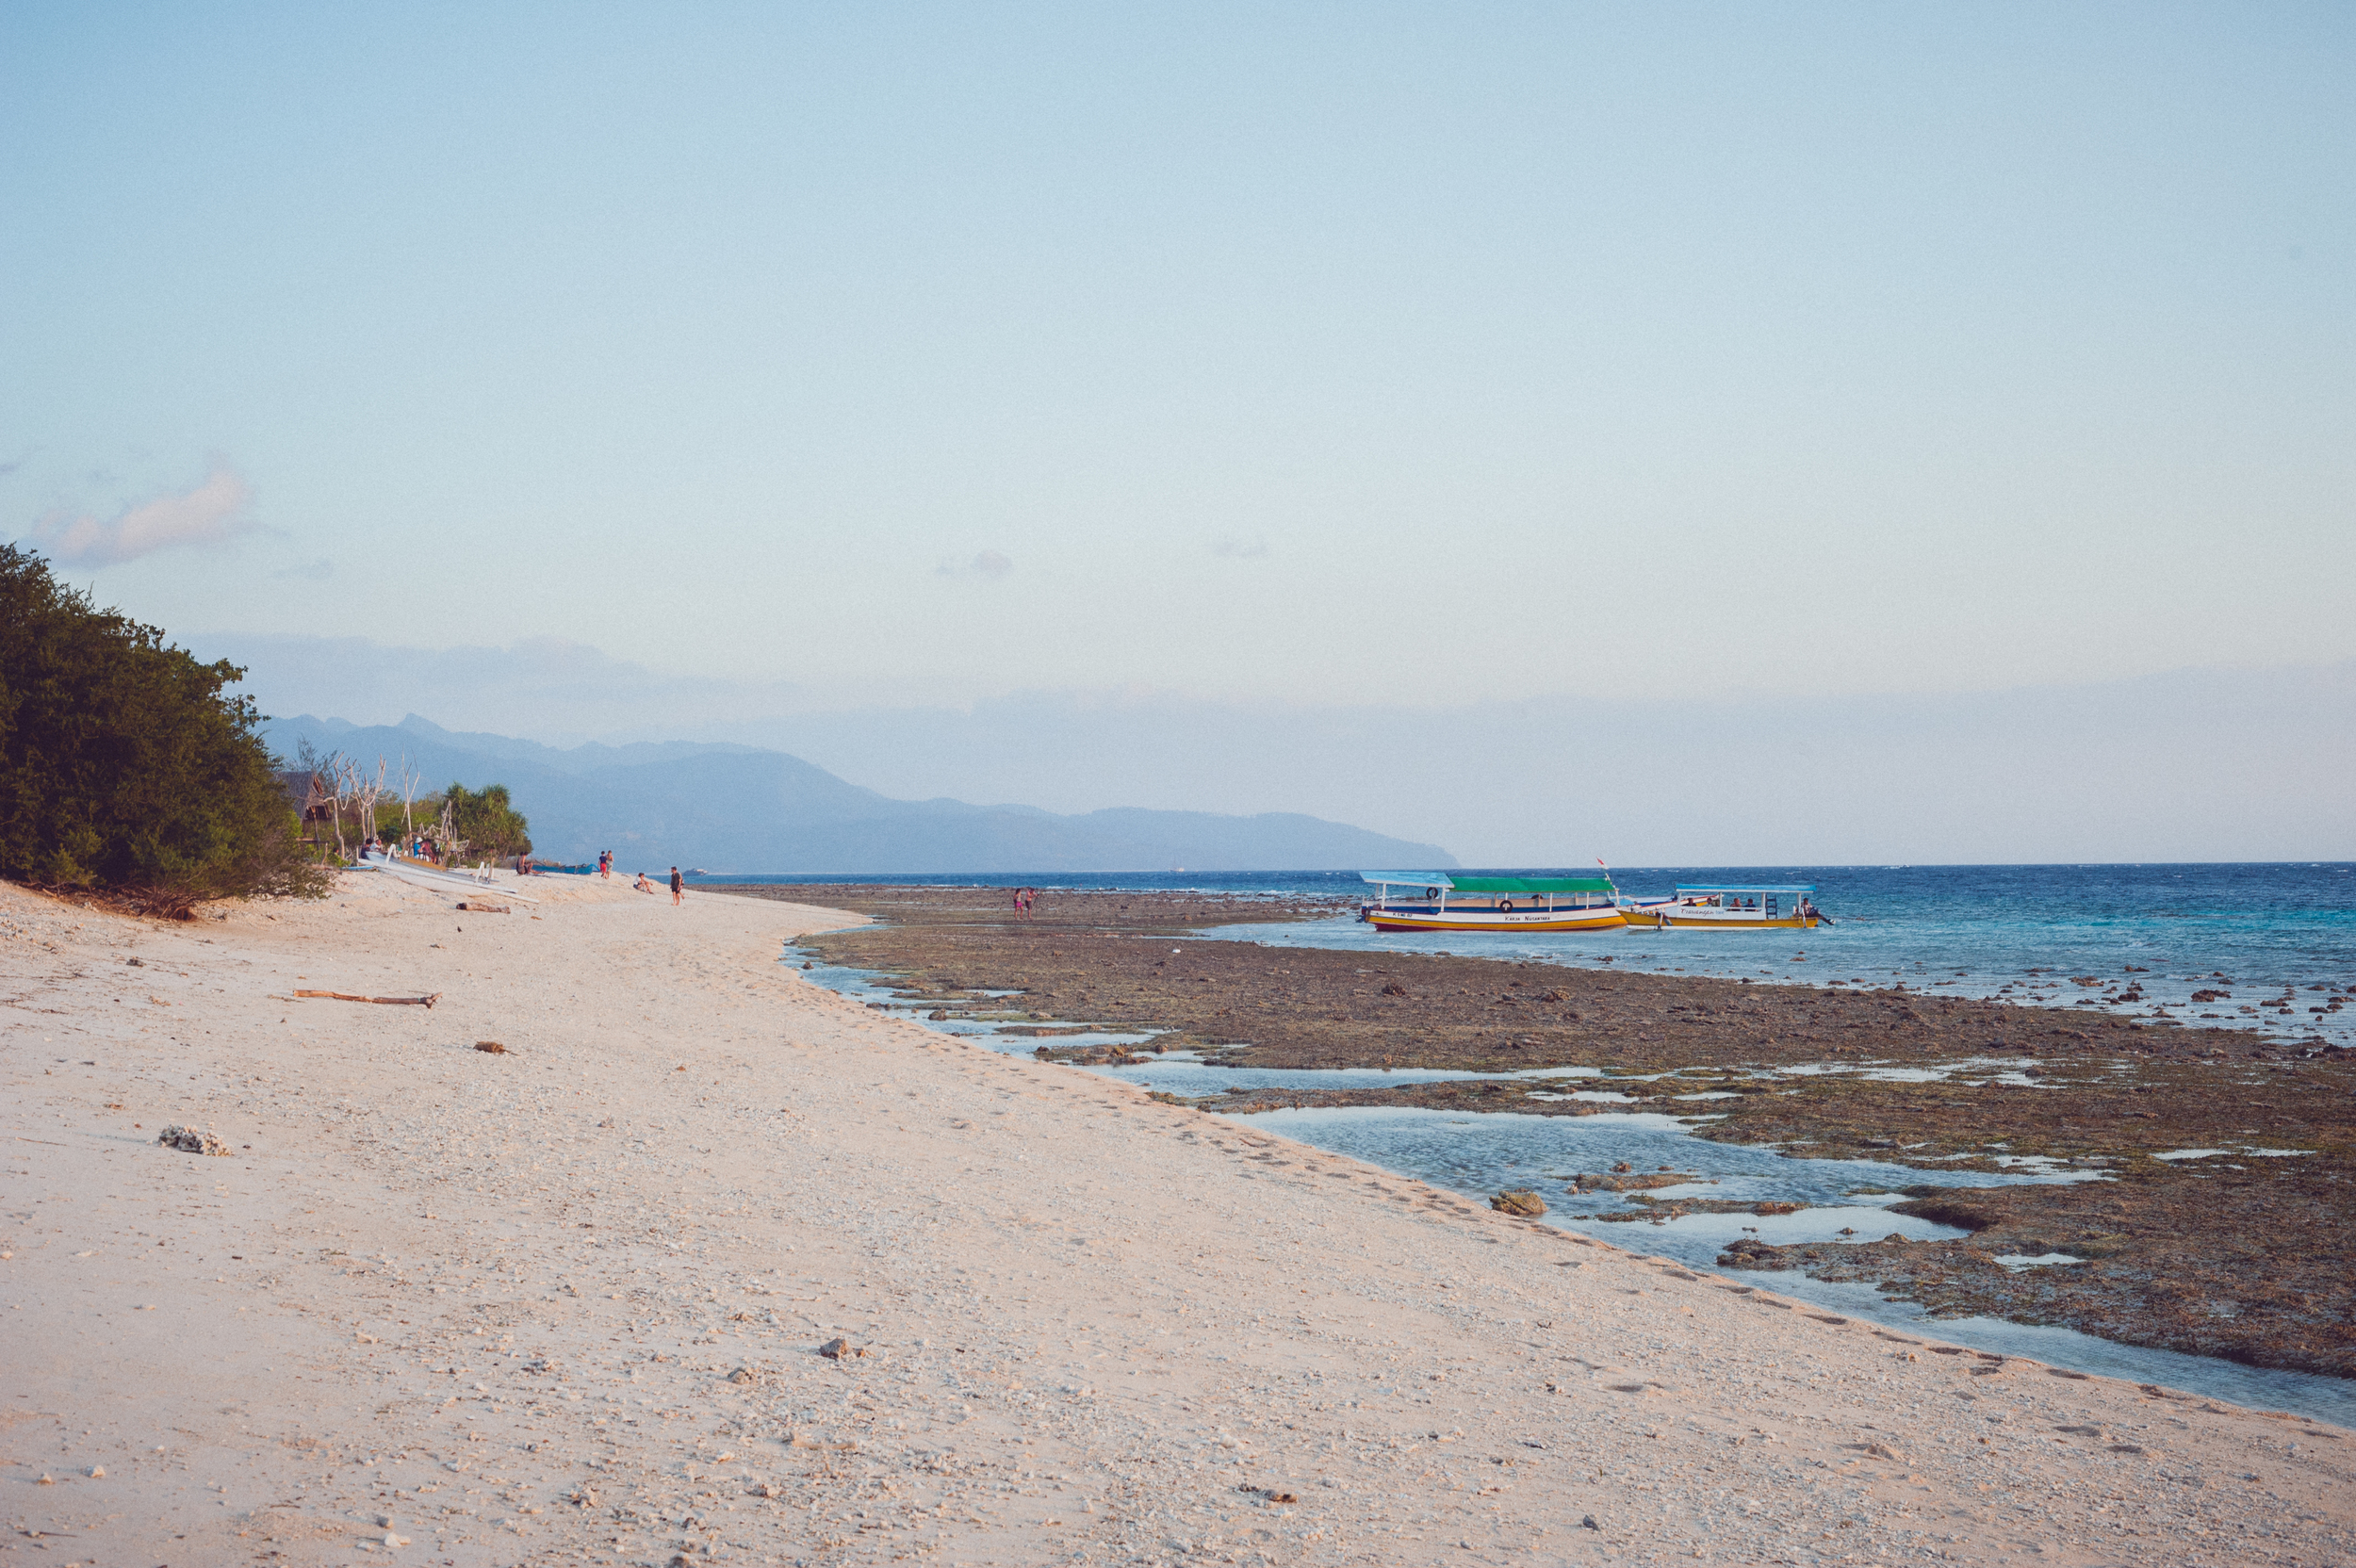
Camping On Namhae Island, Korea. Camping on the beach in Korea

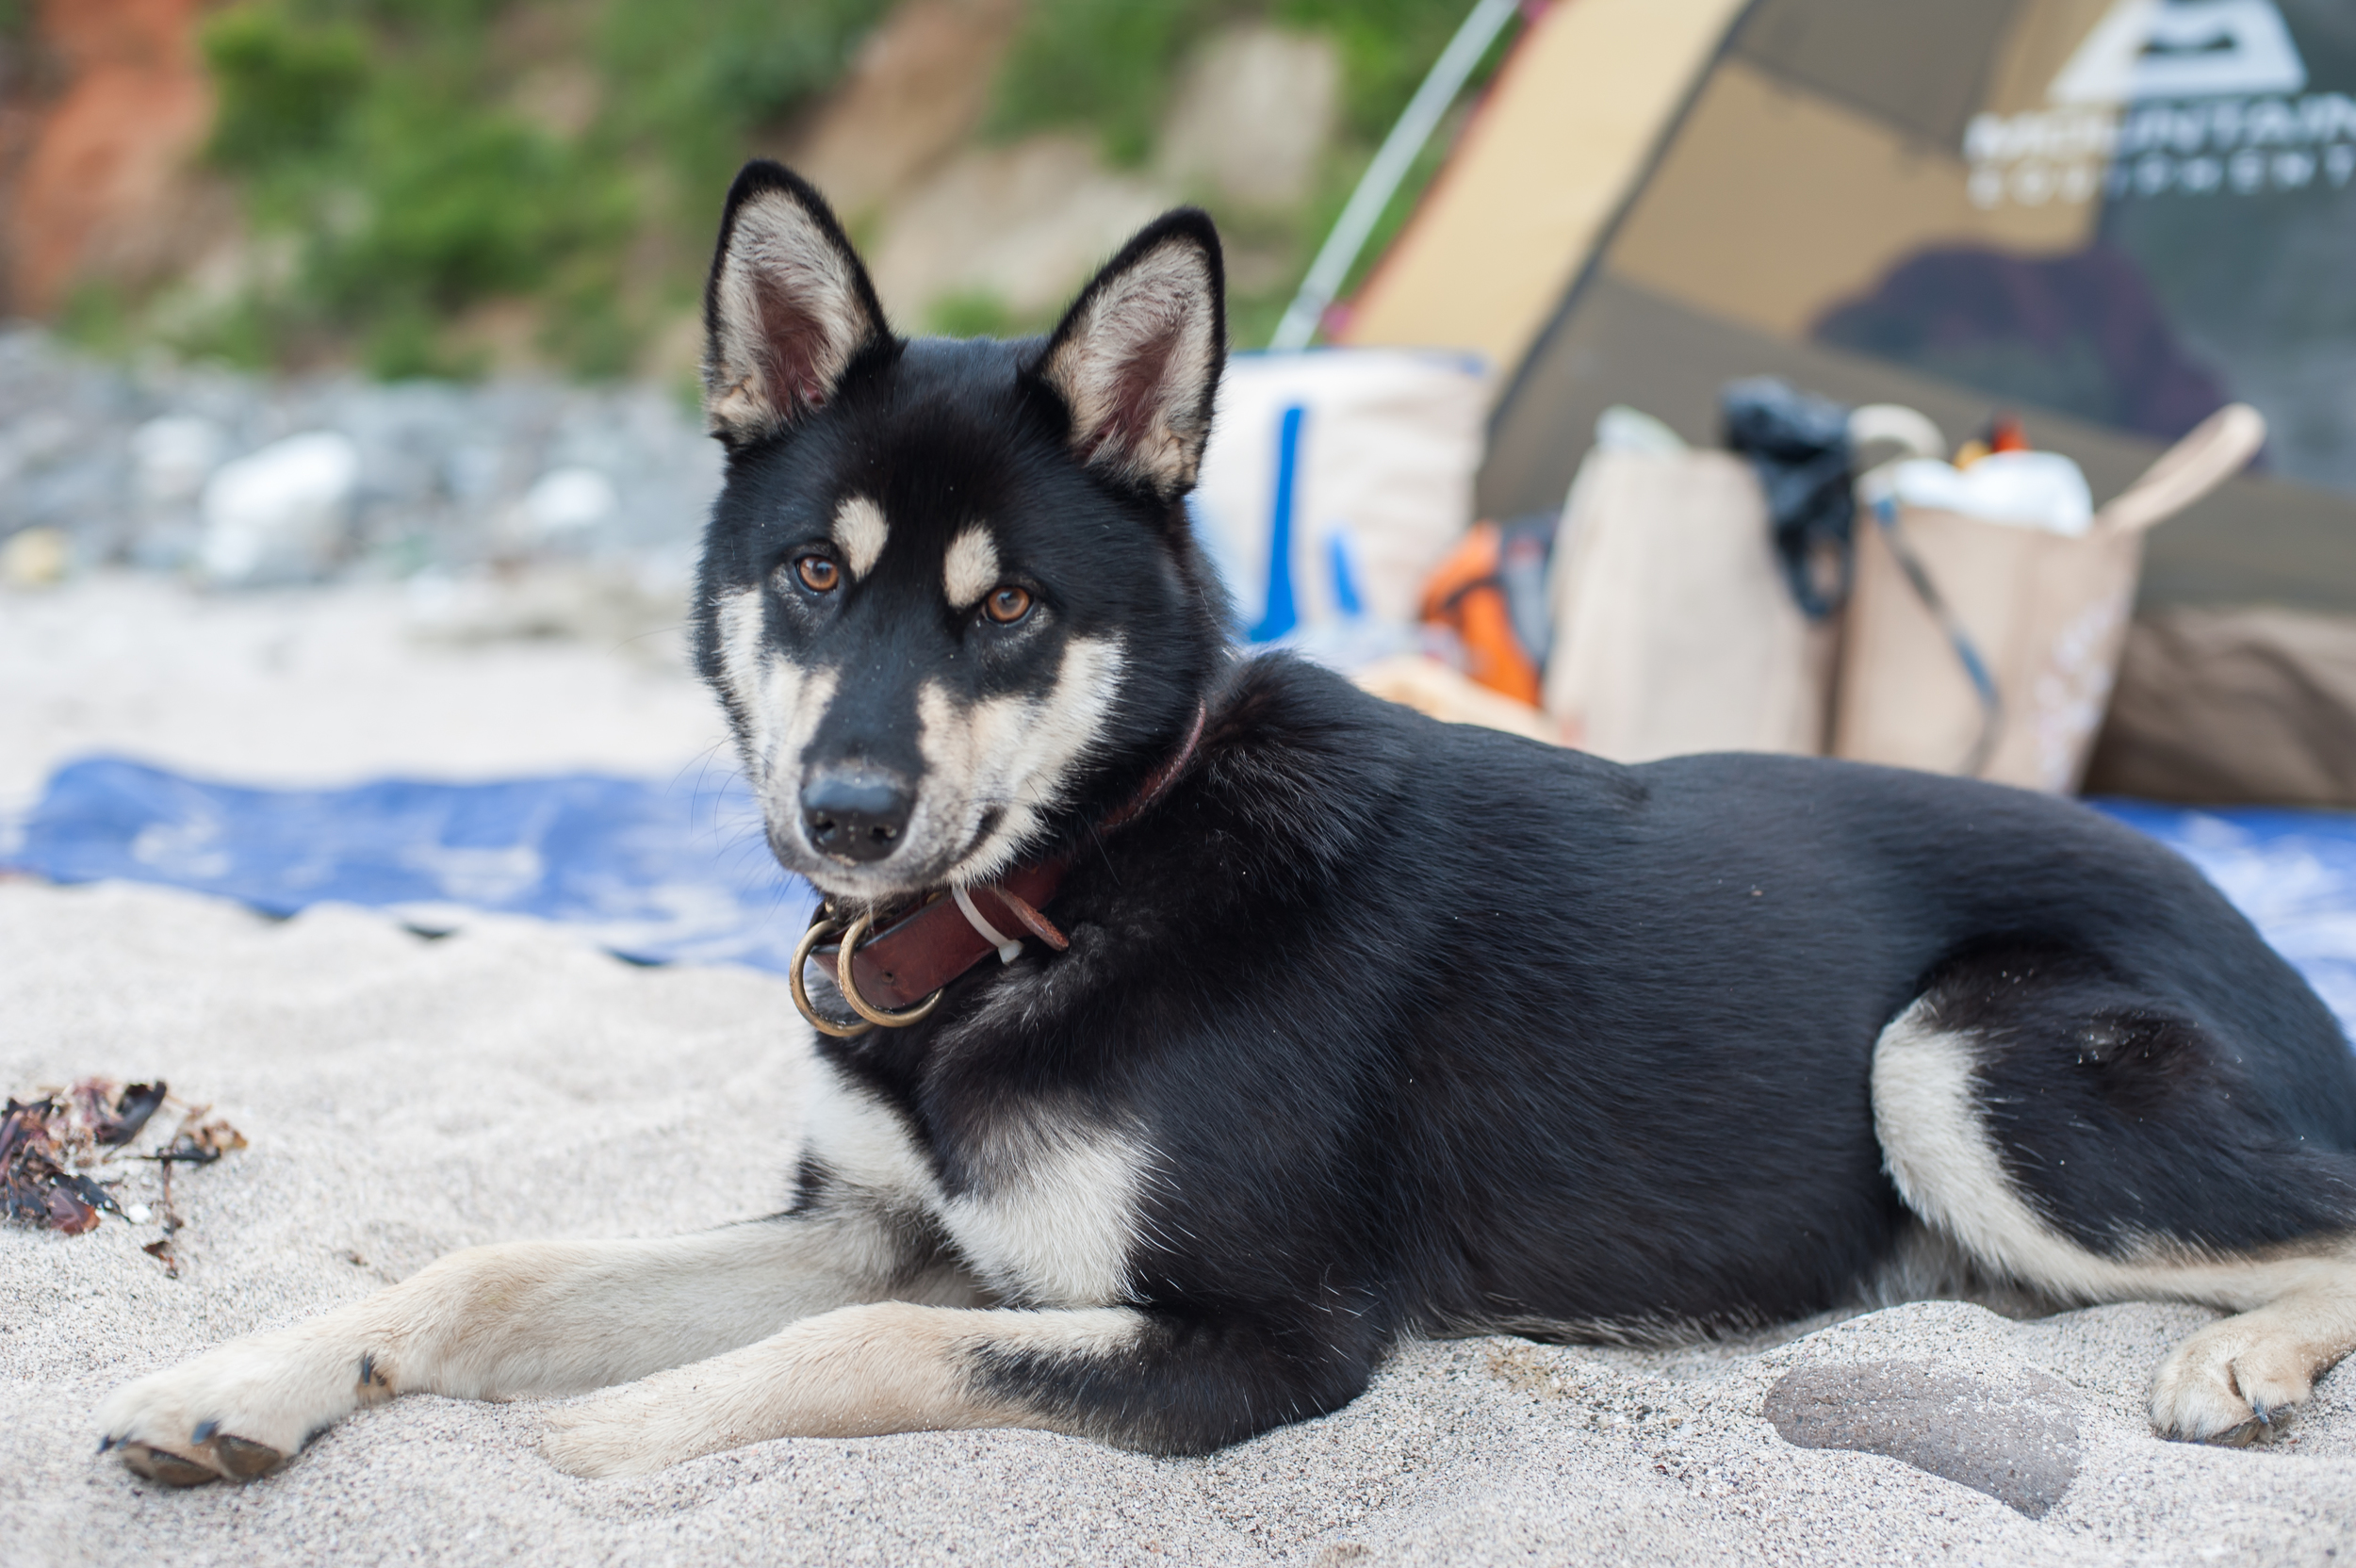
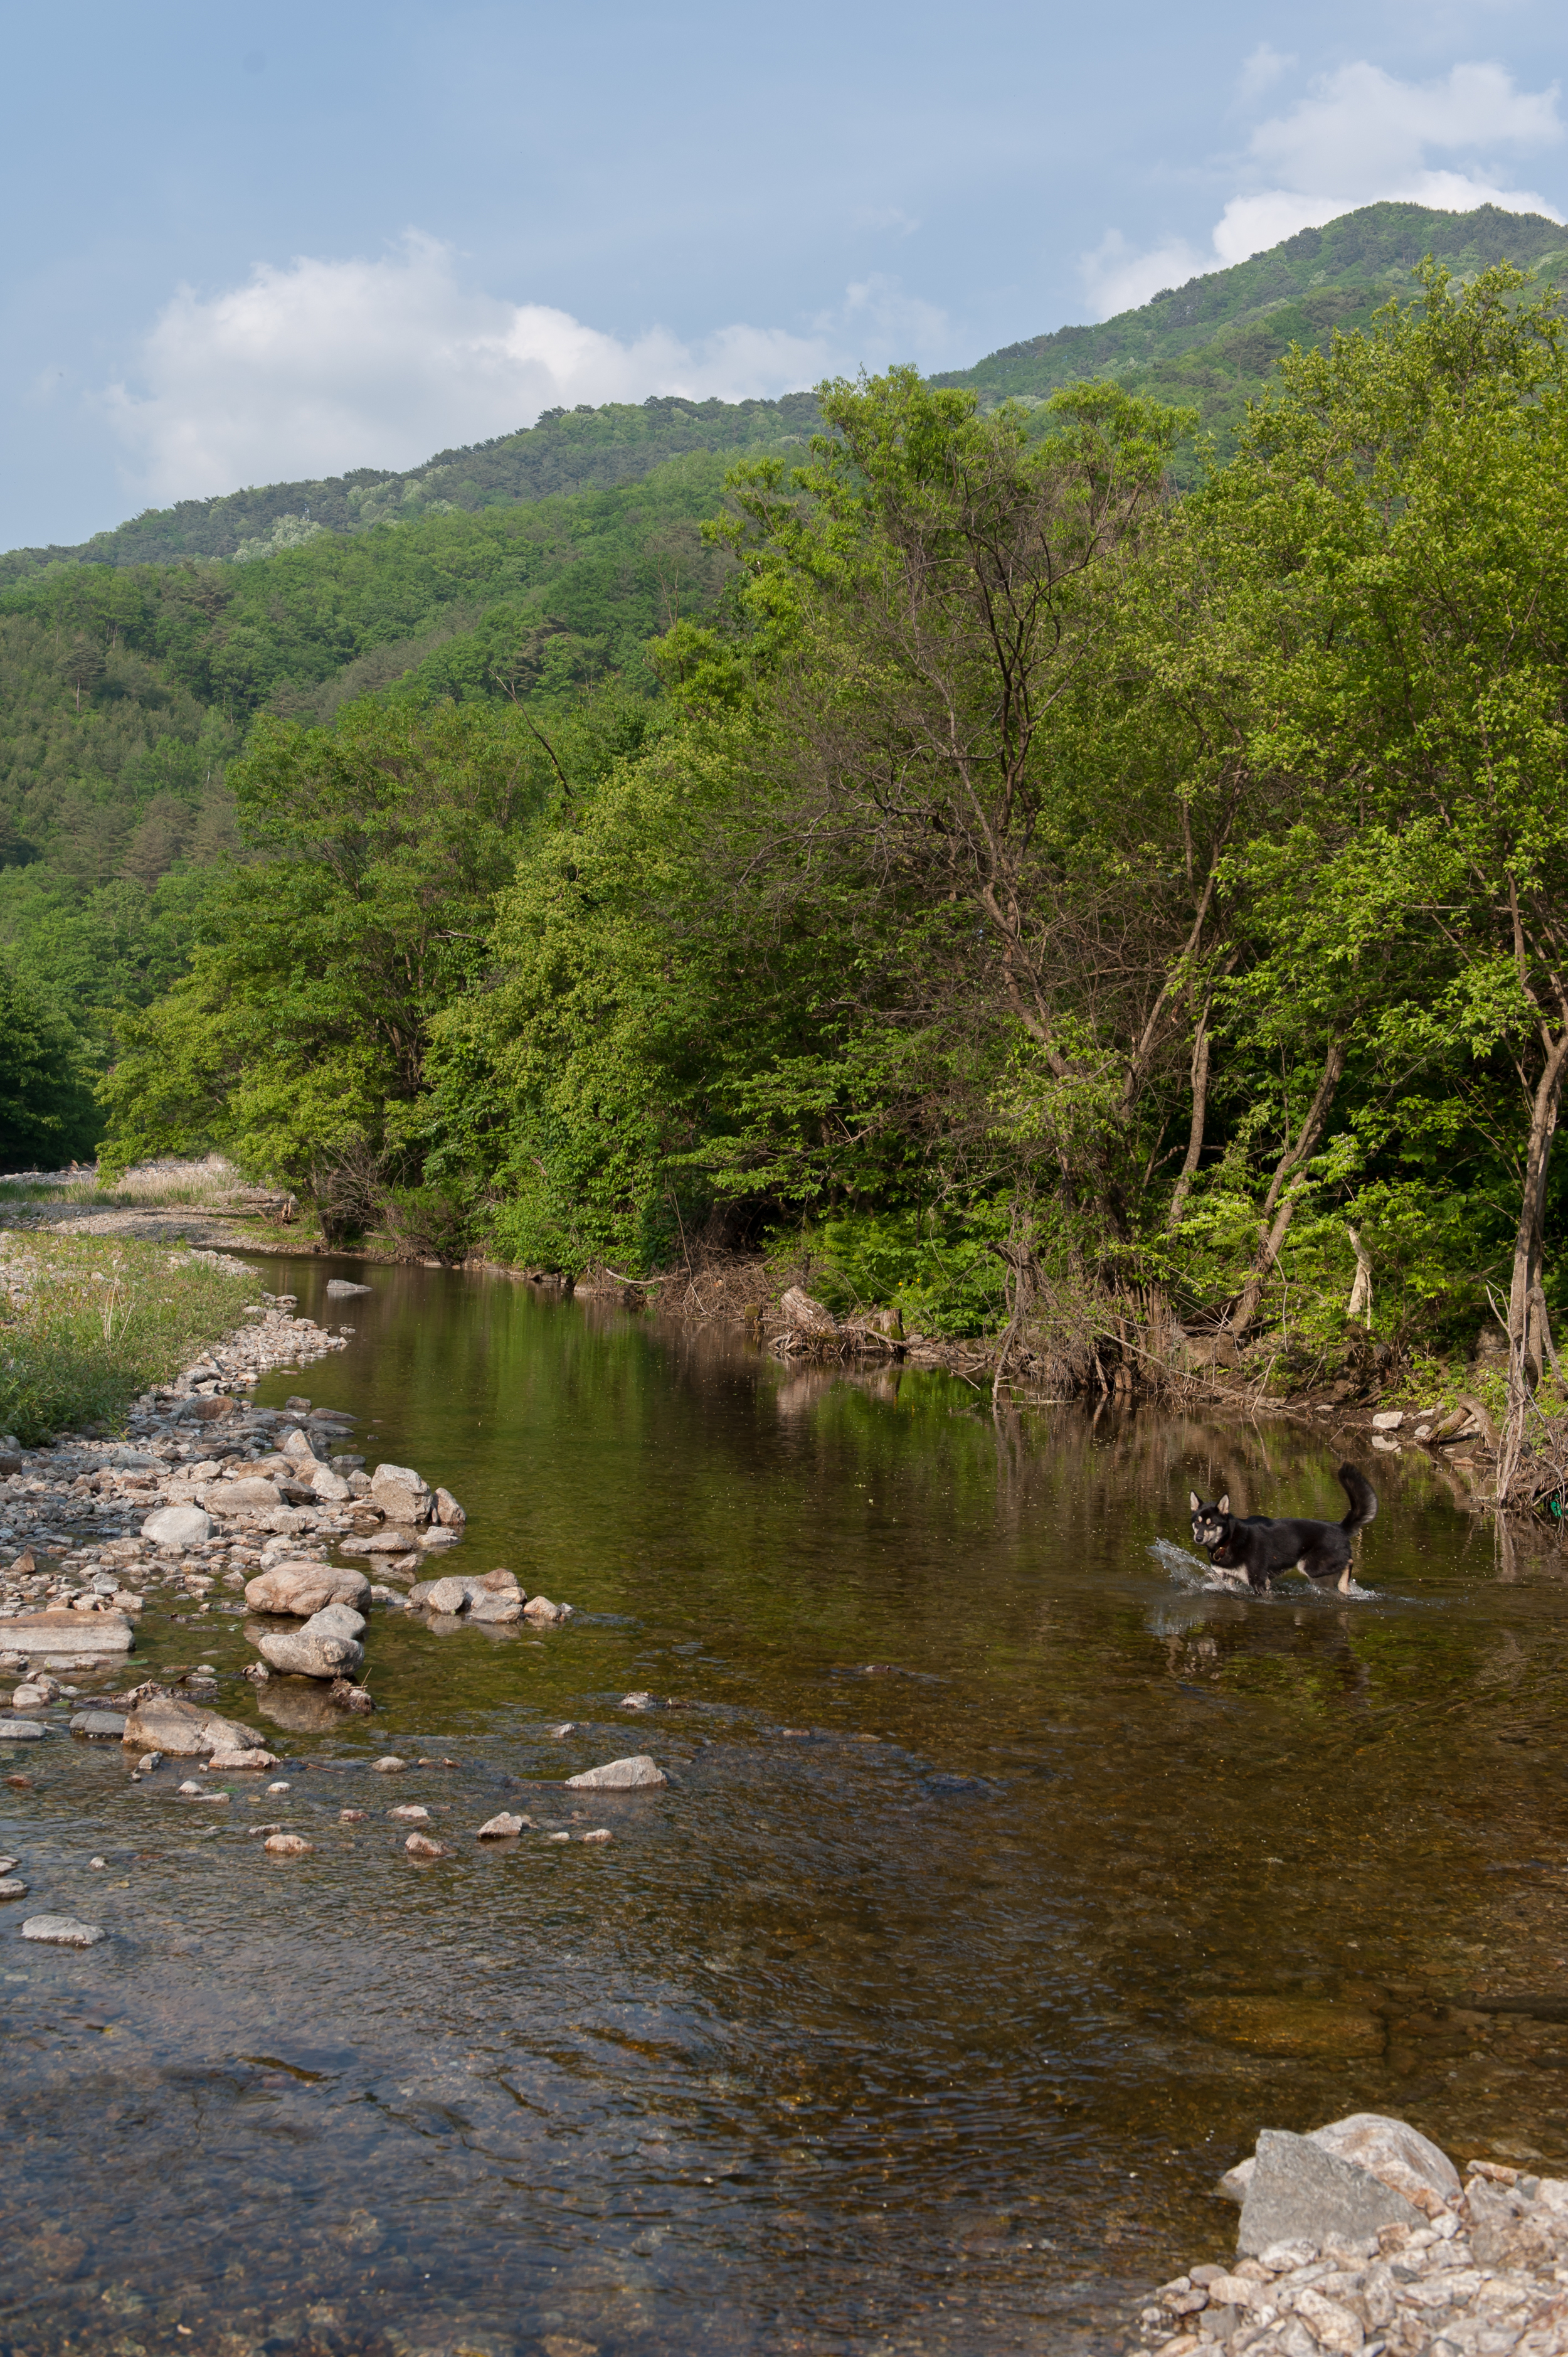
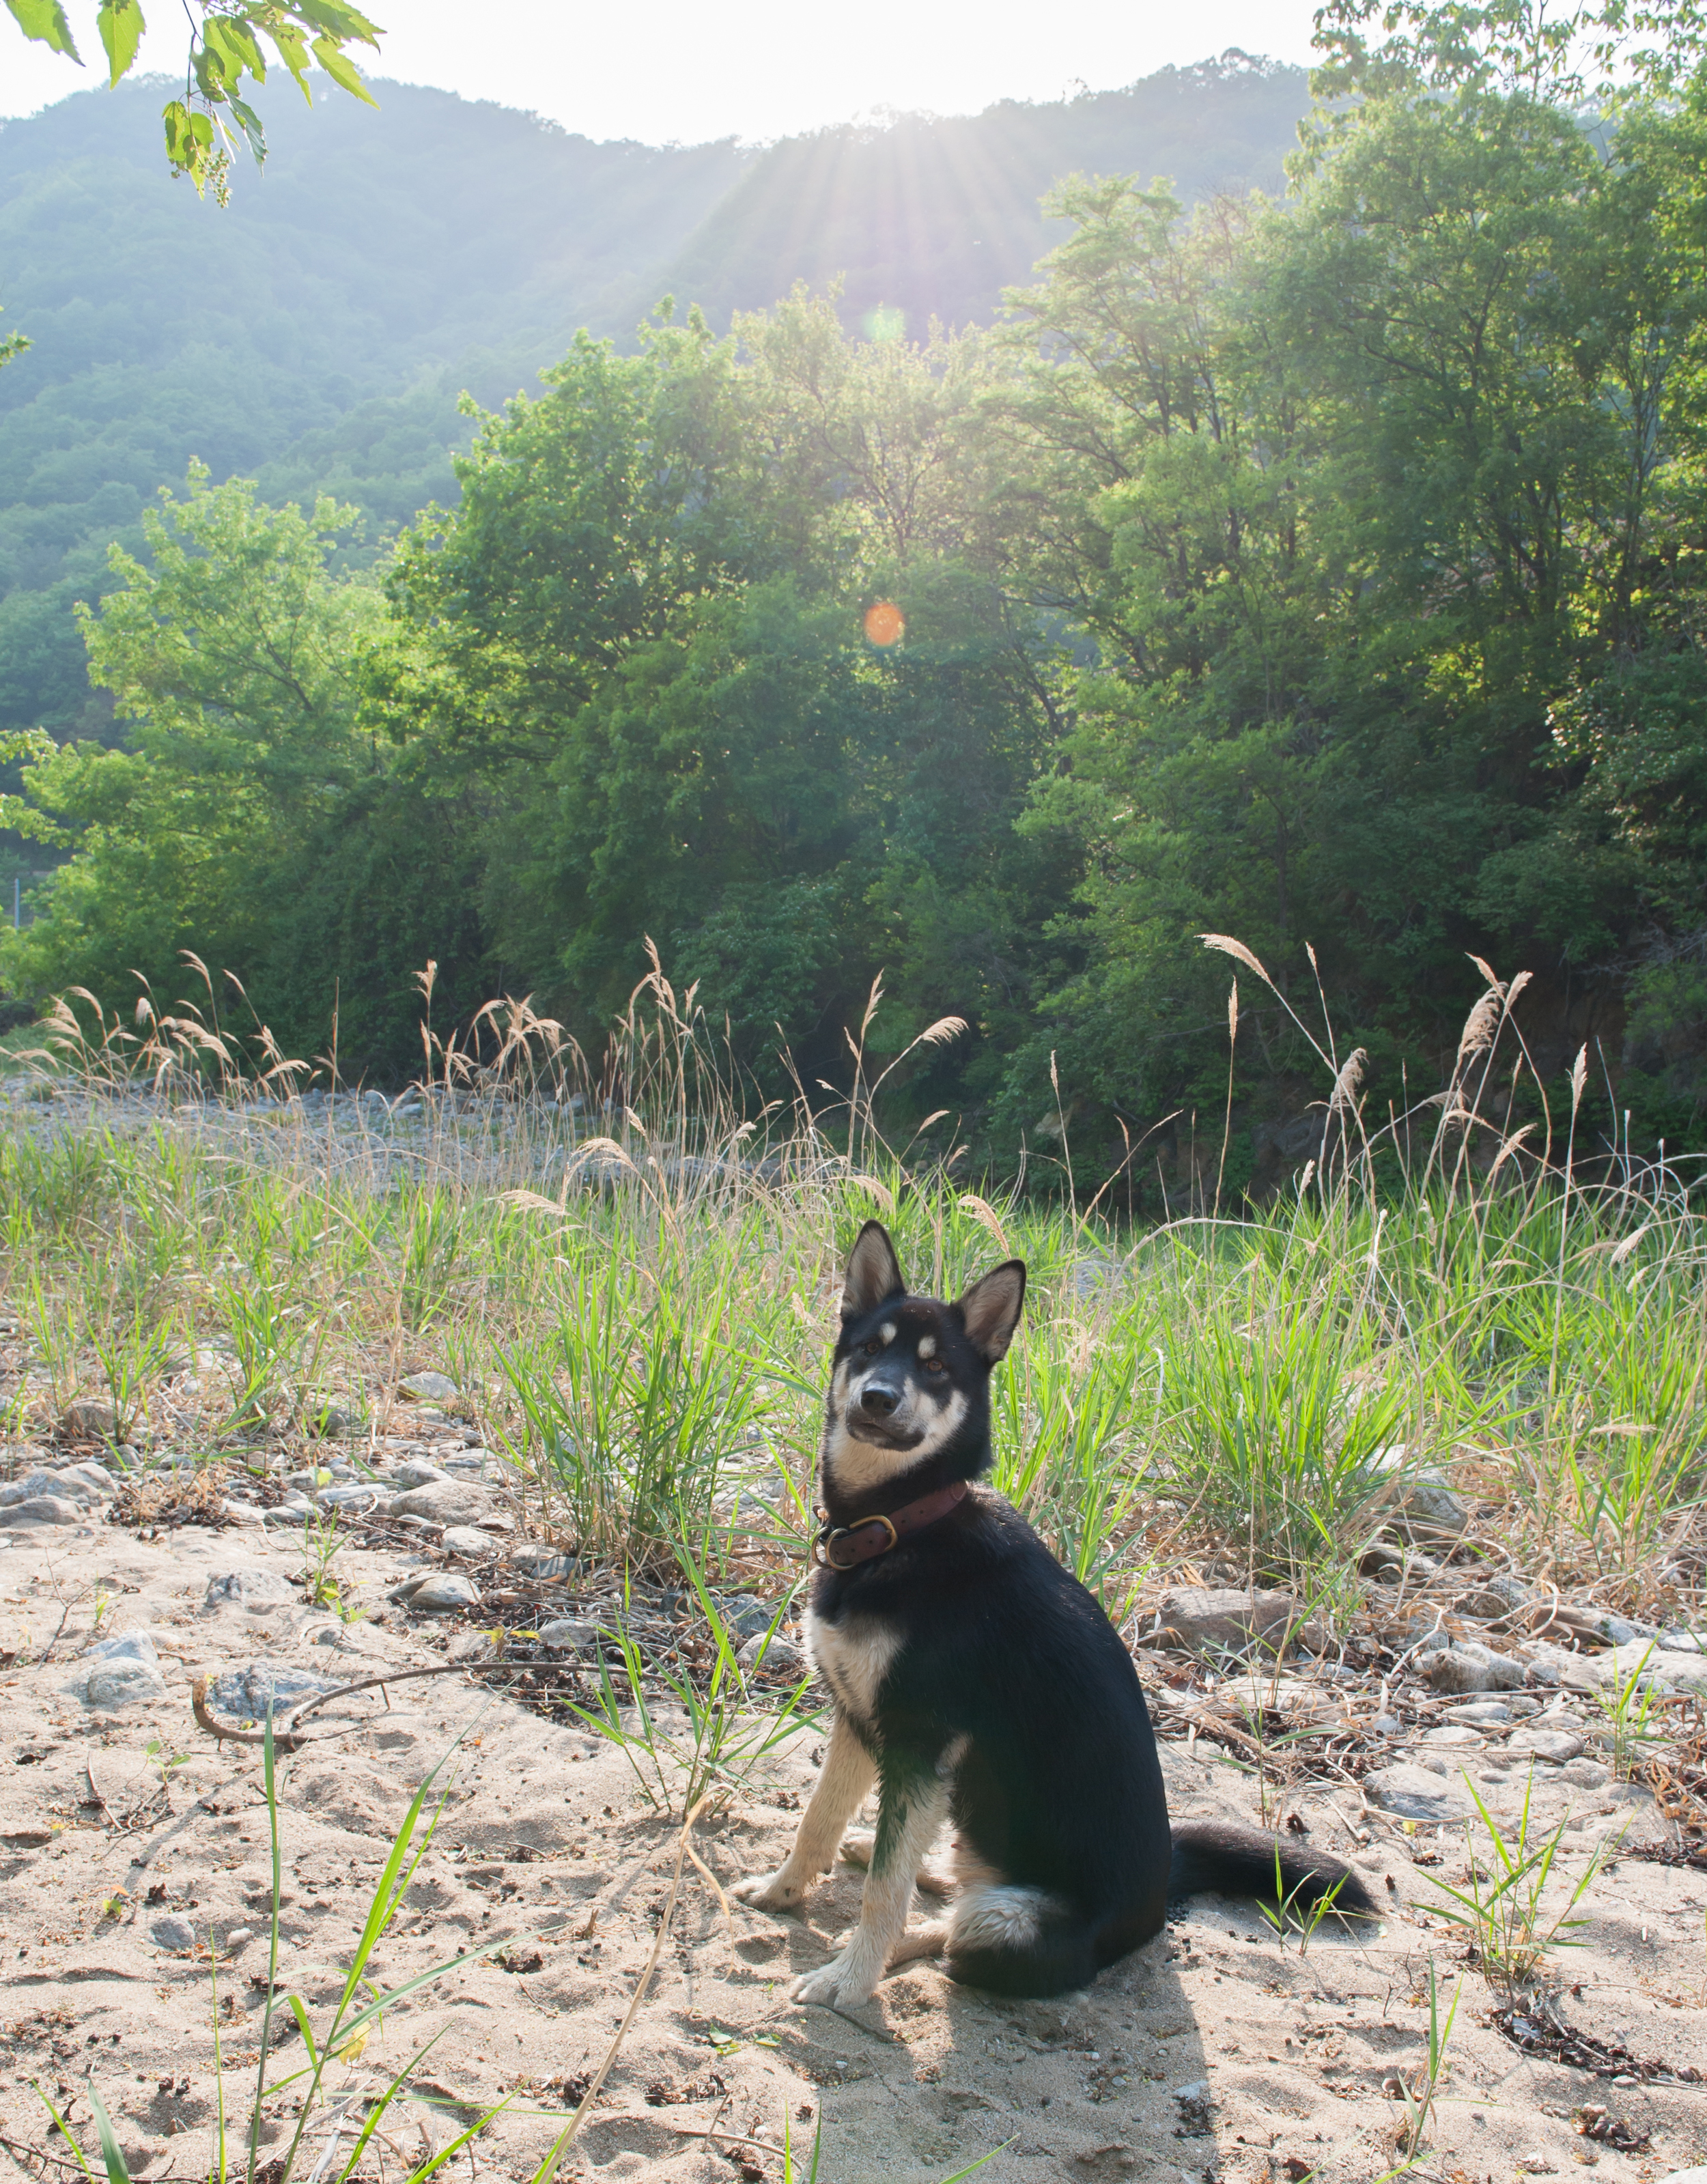
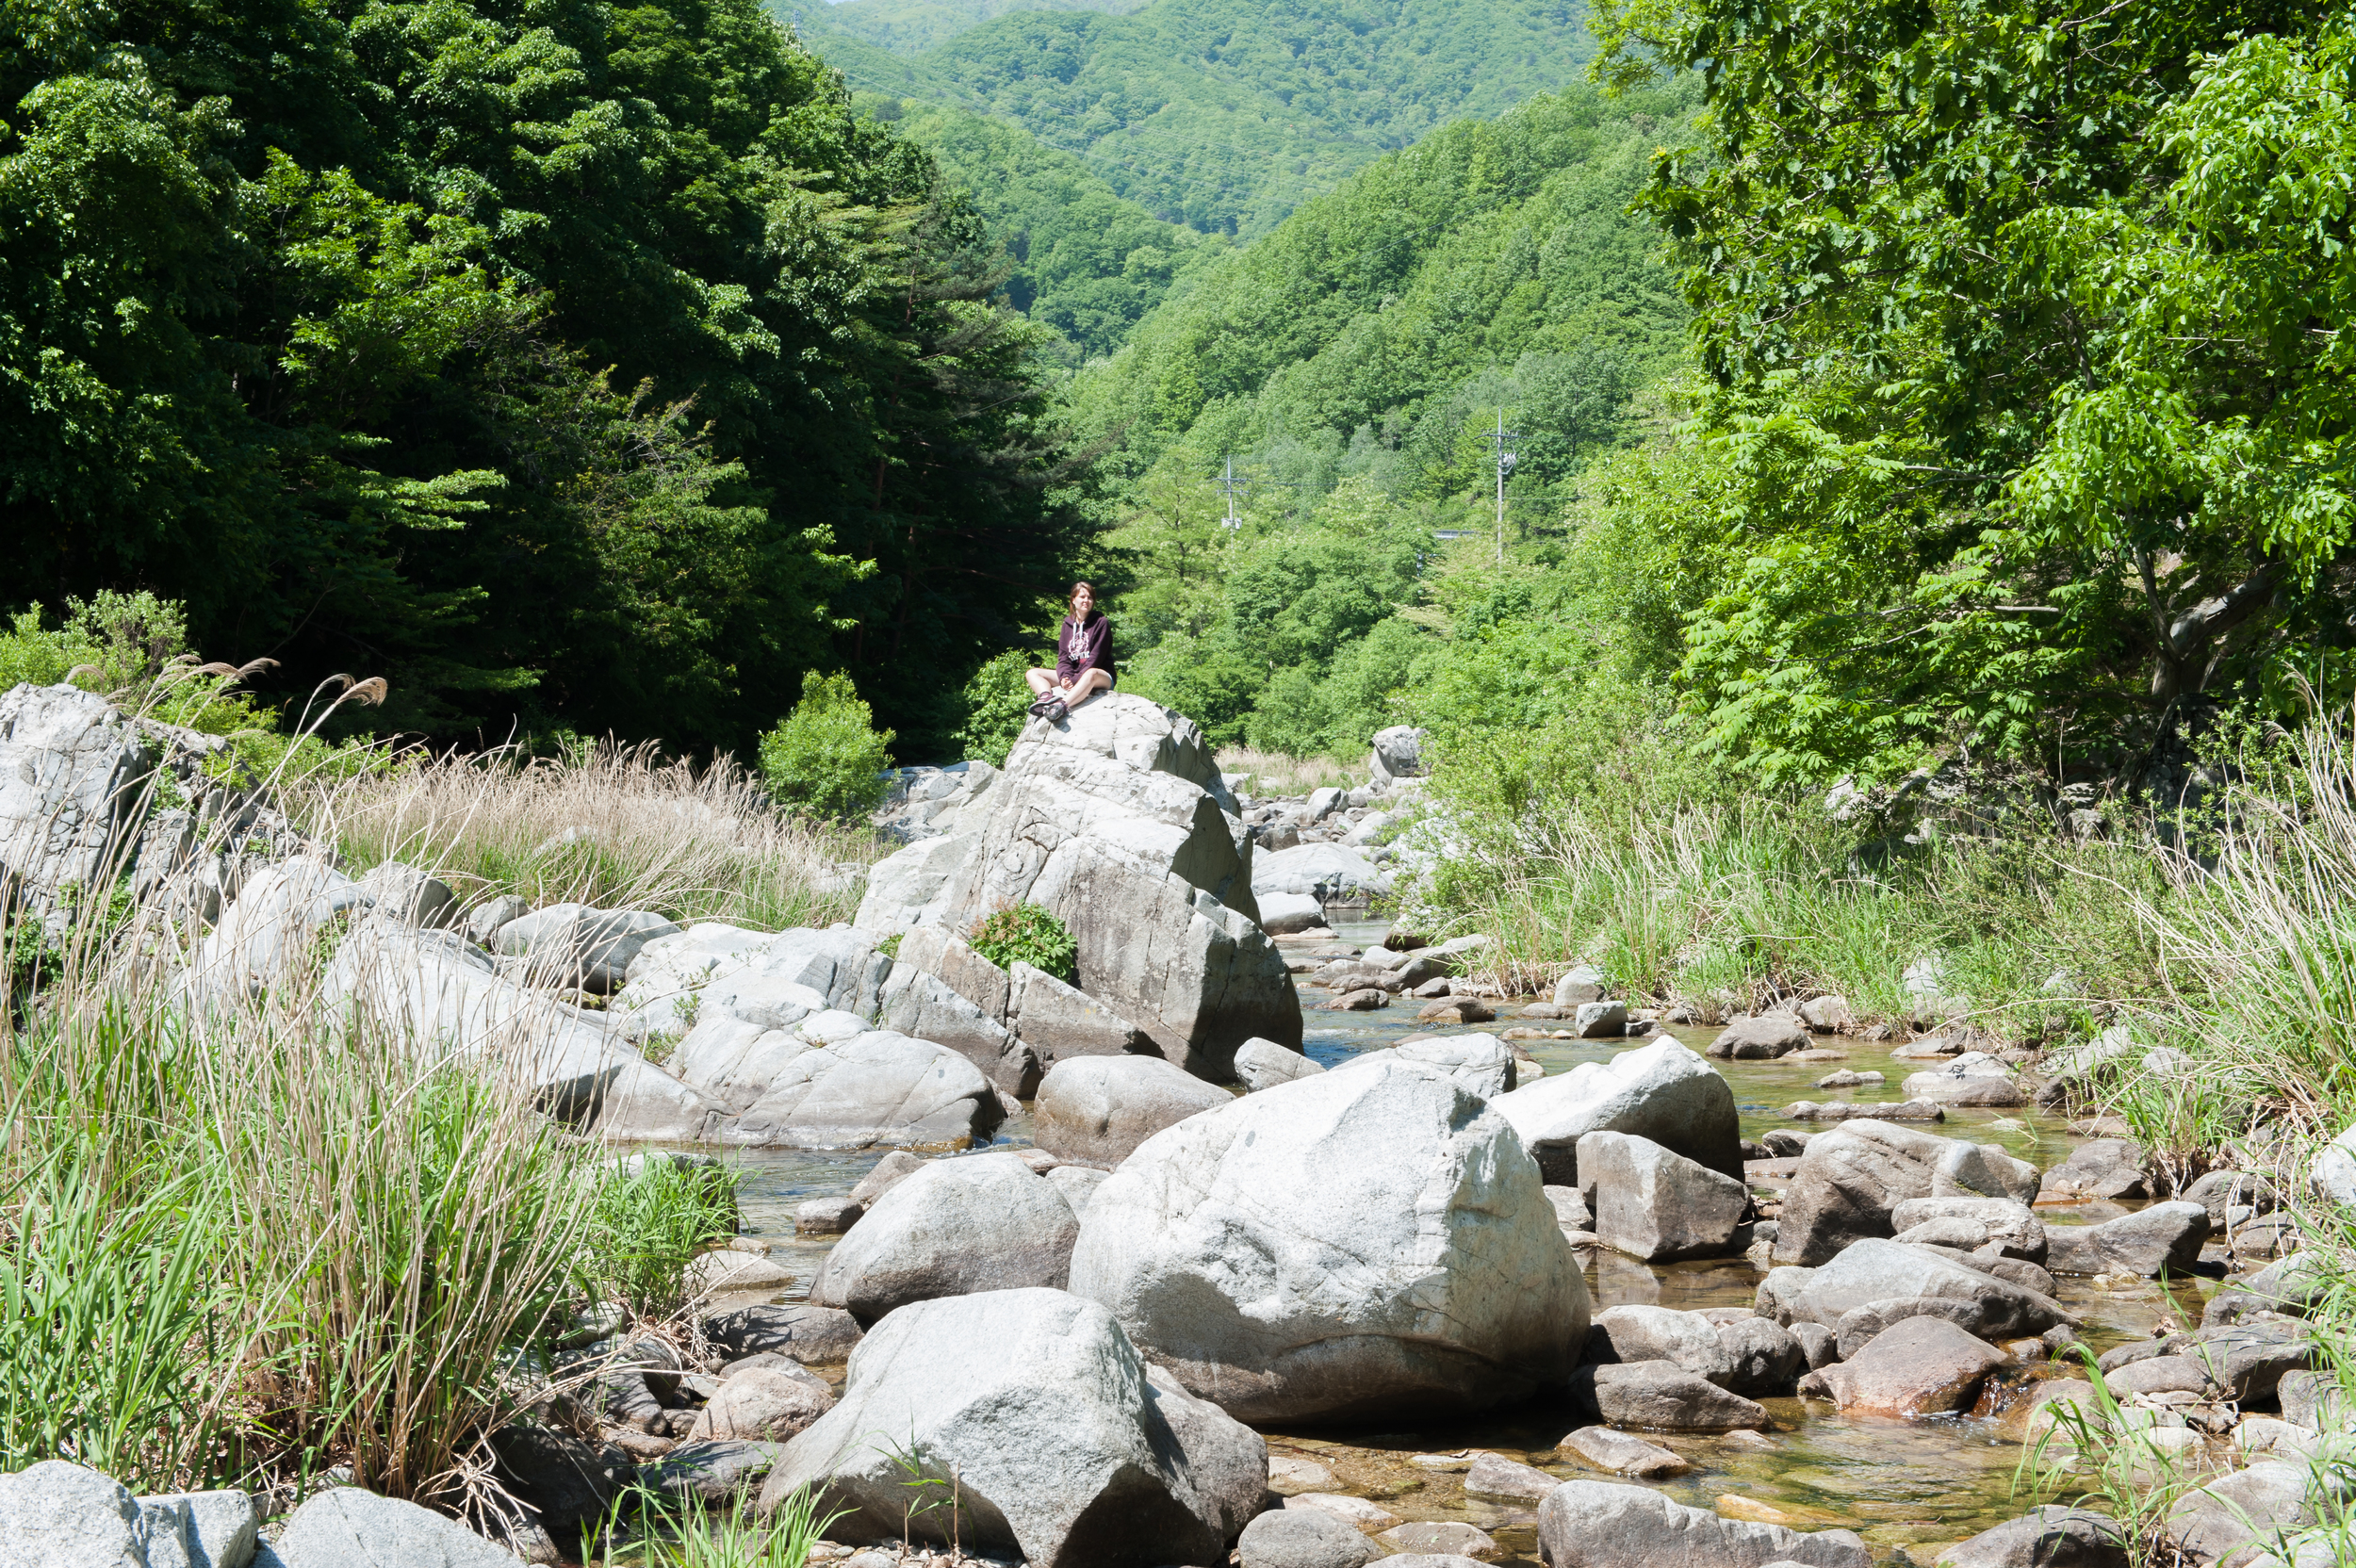
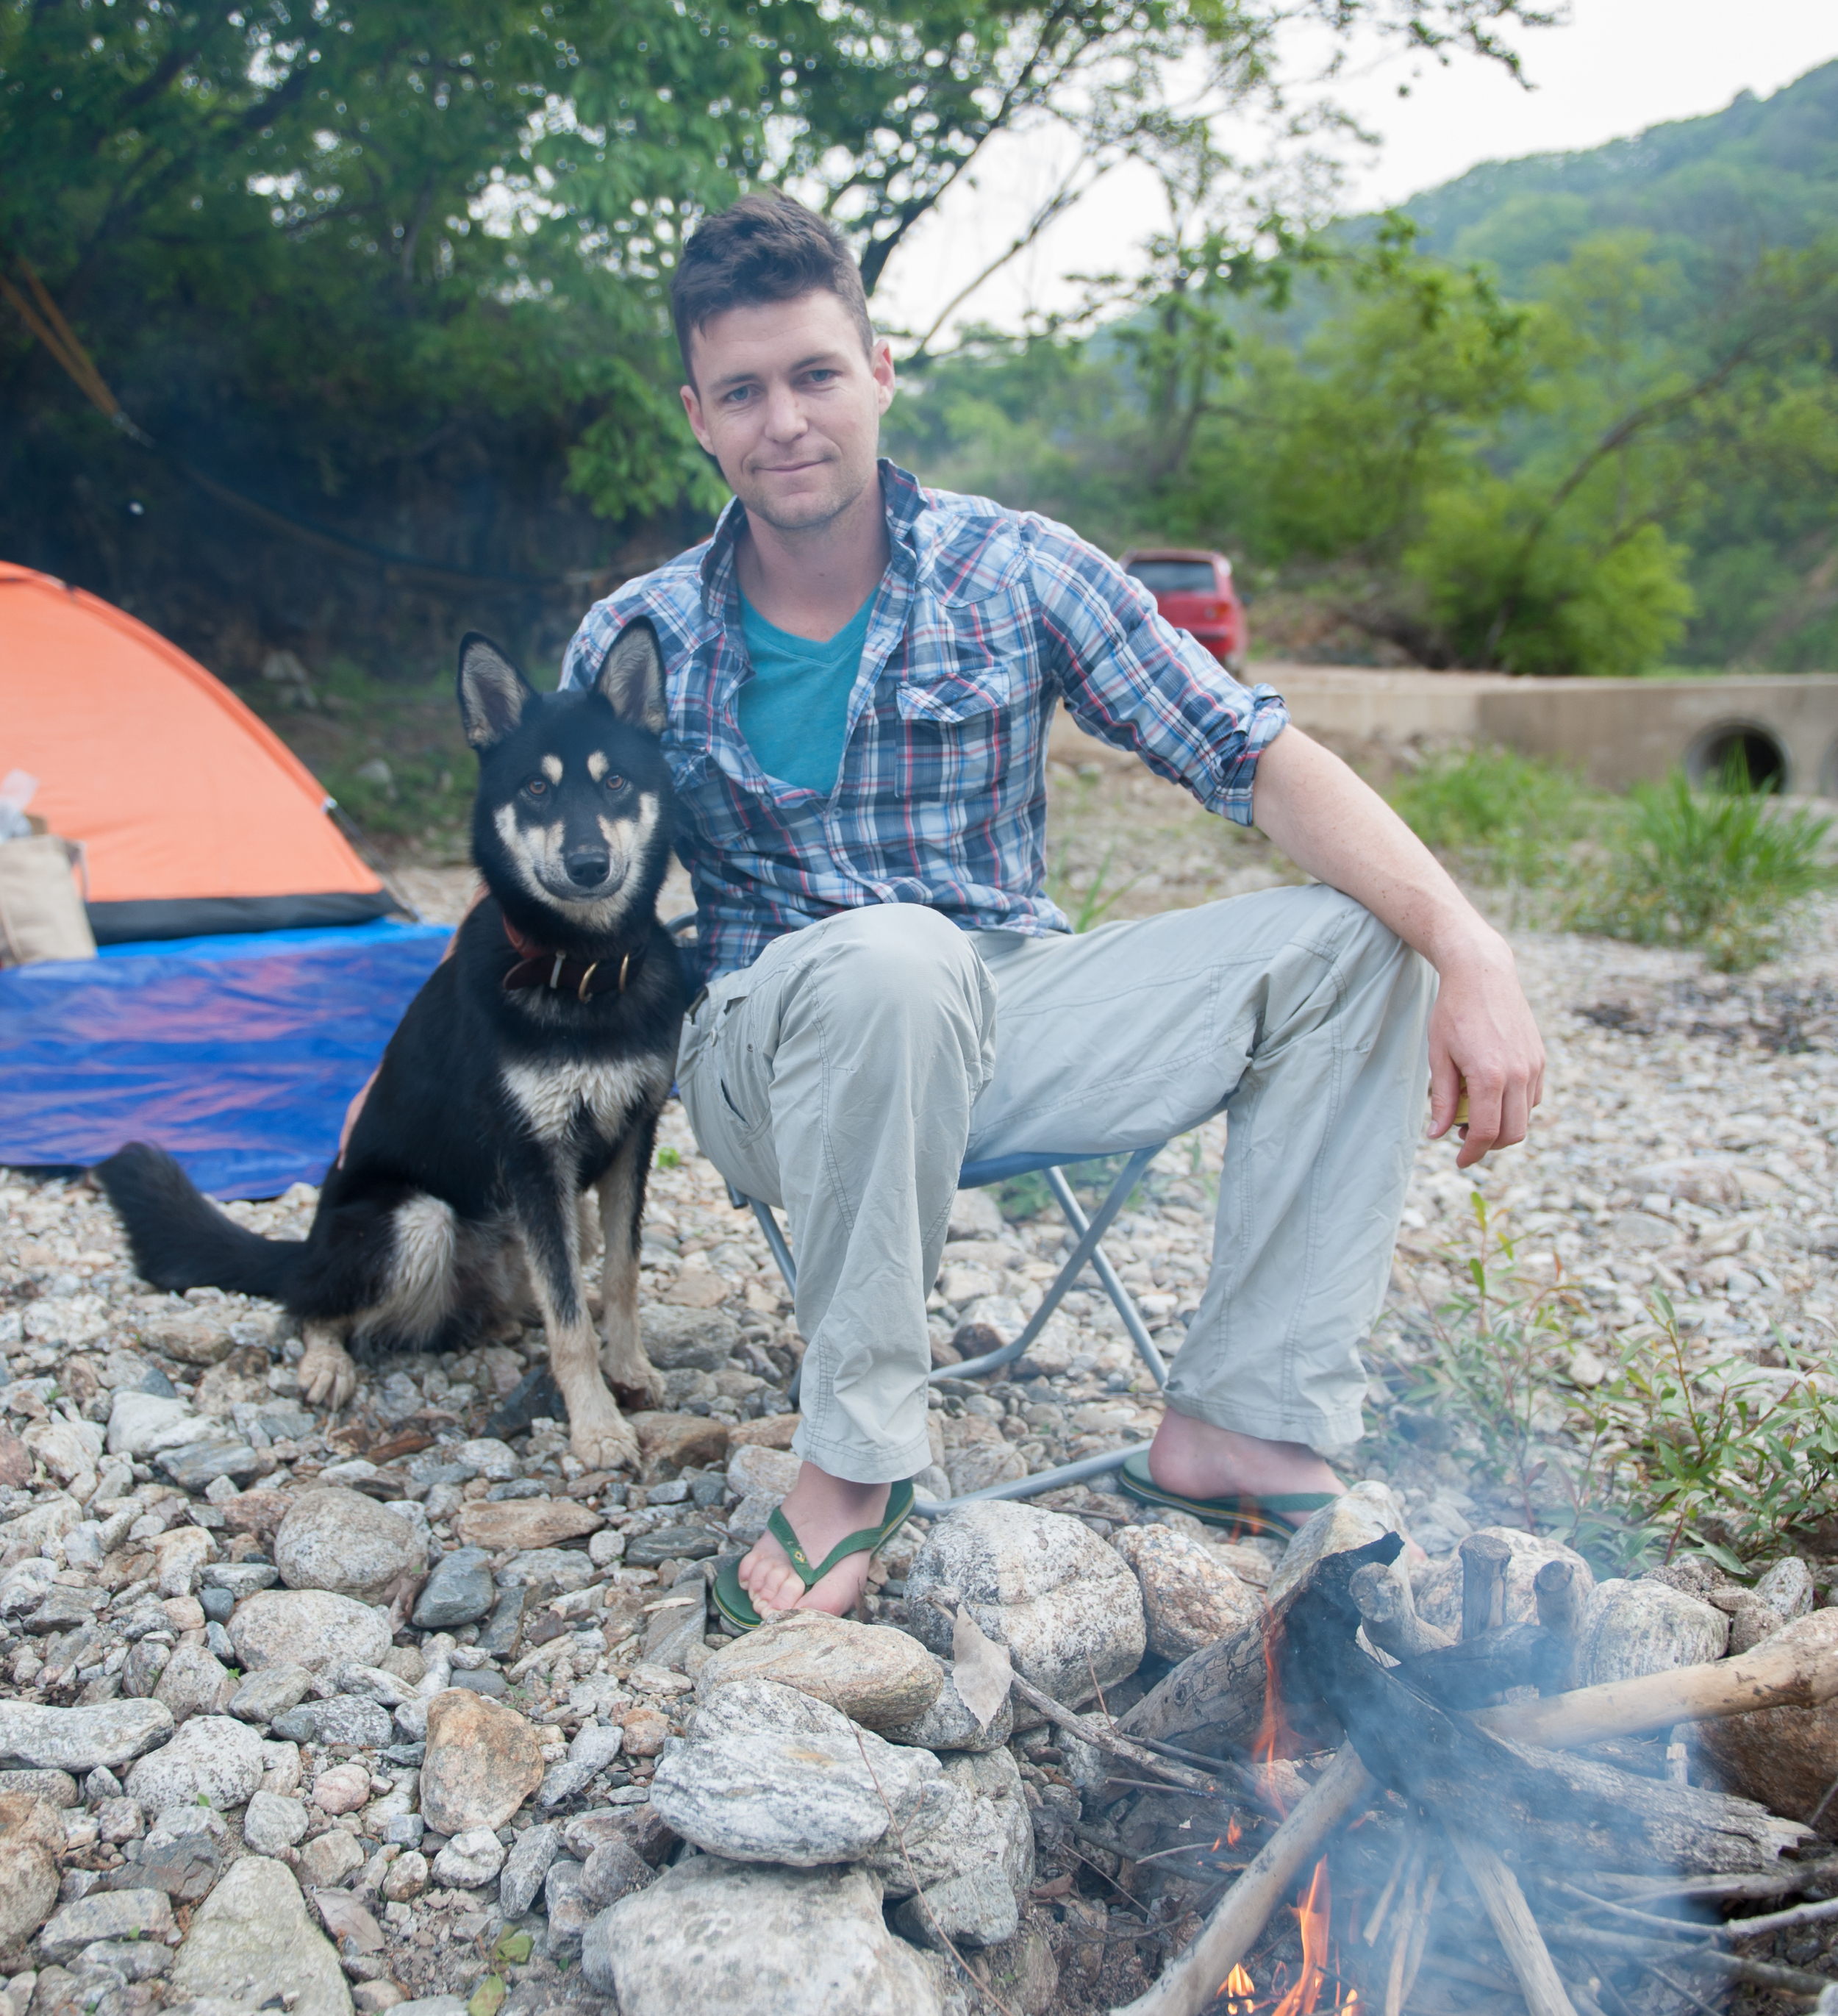
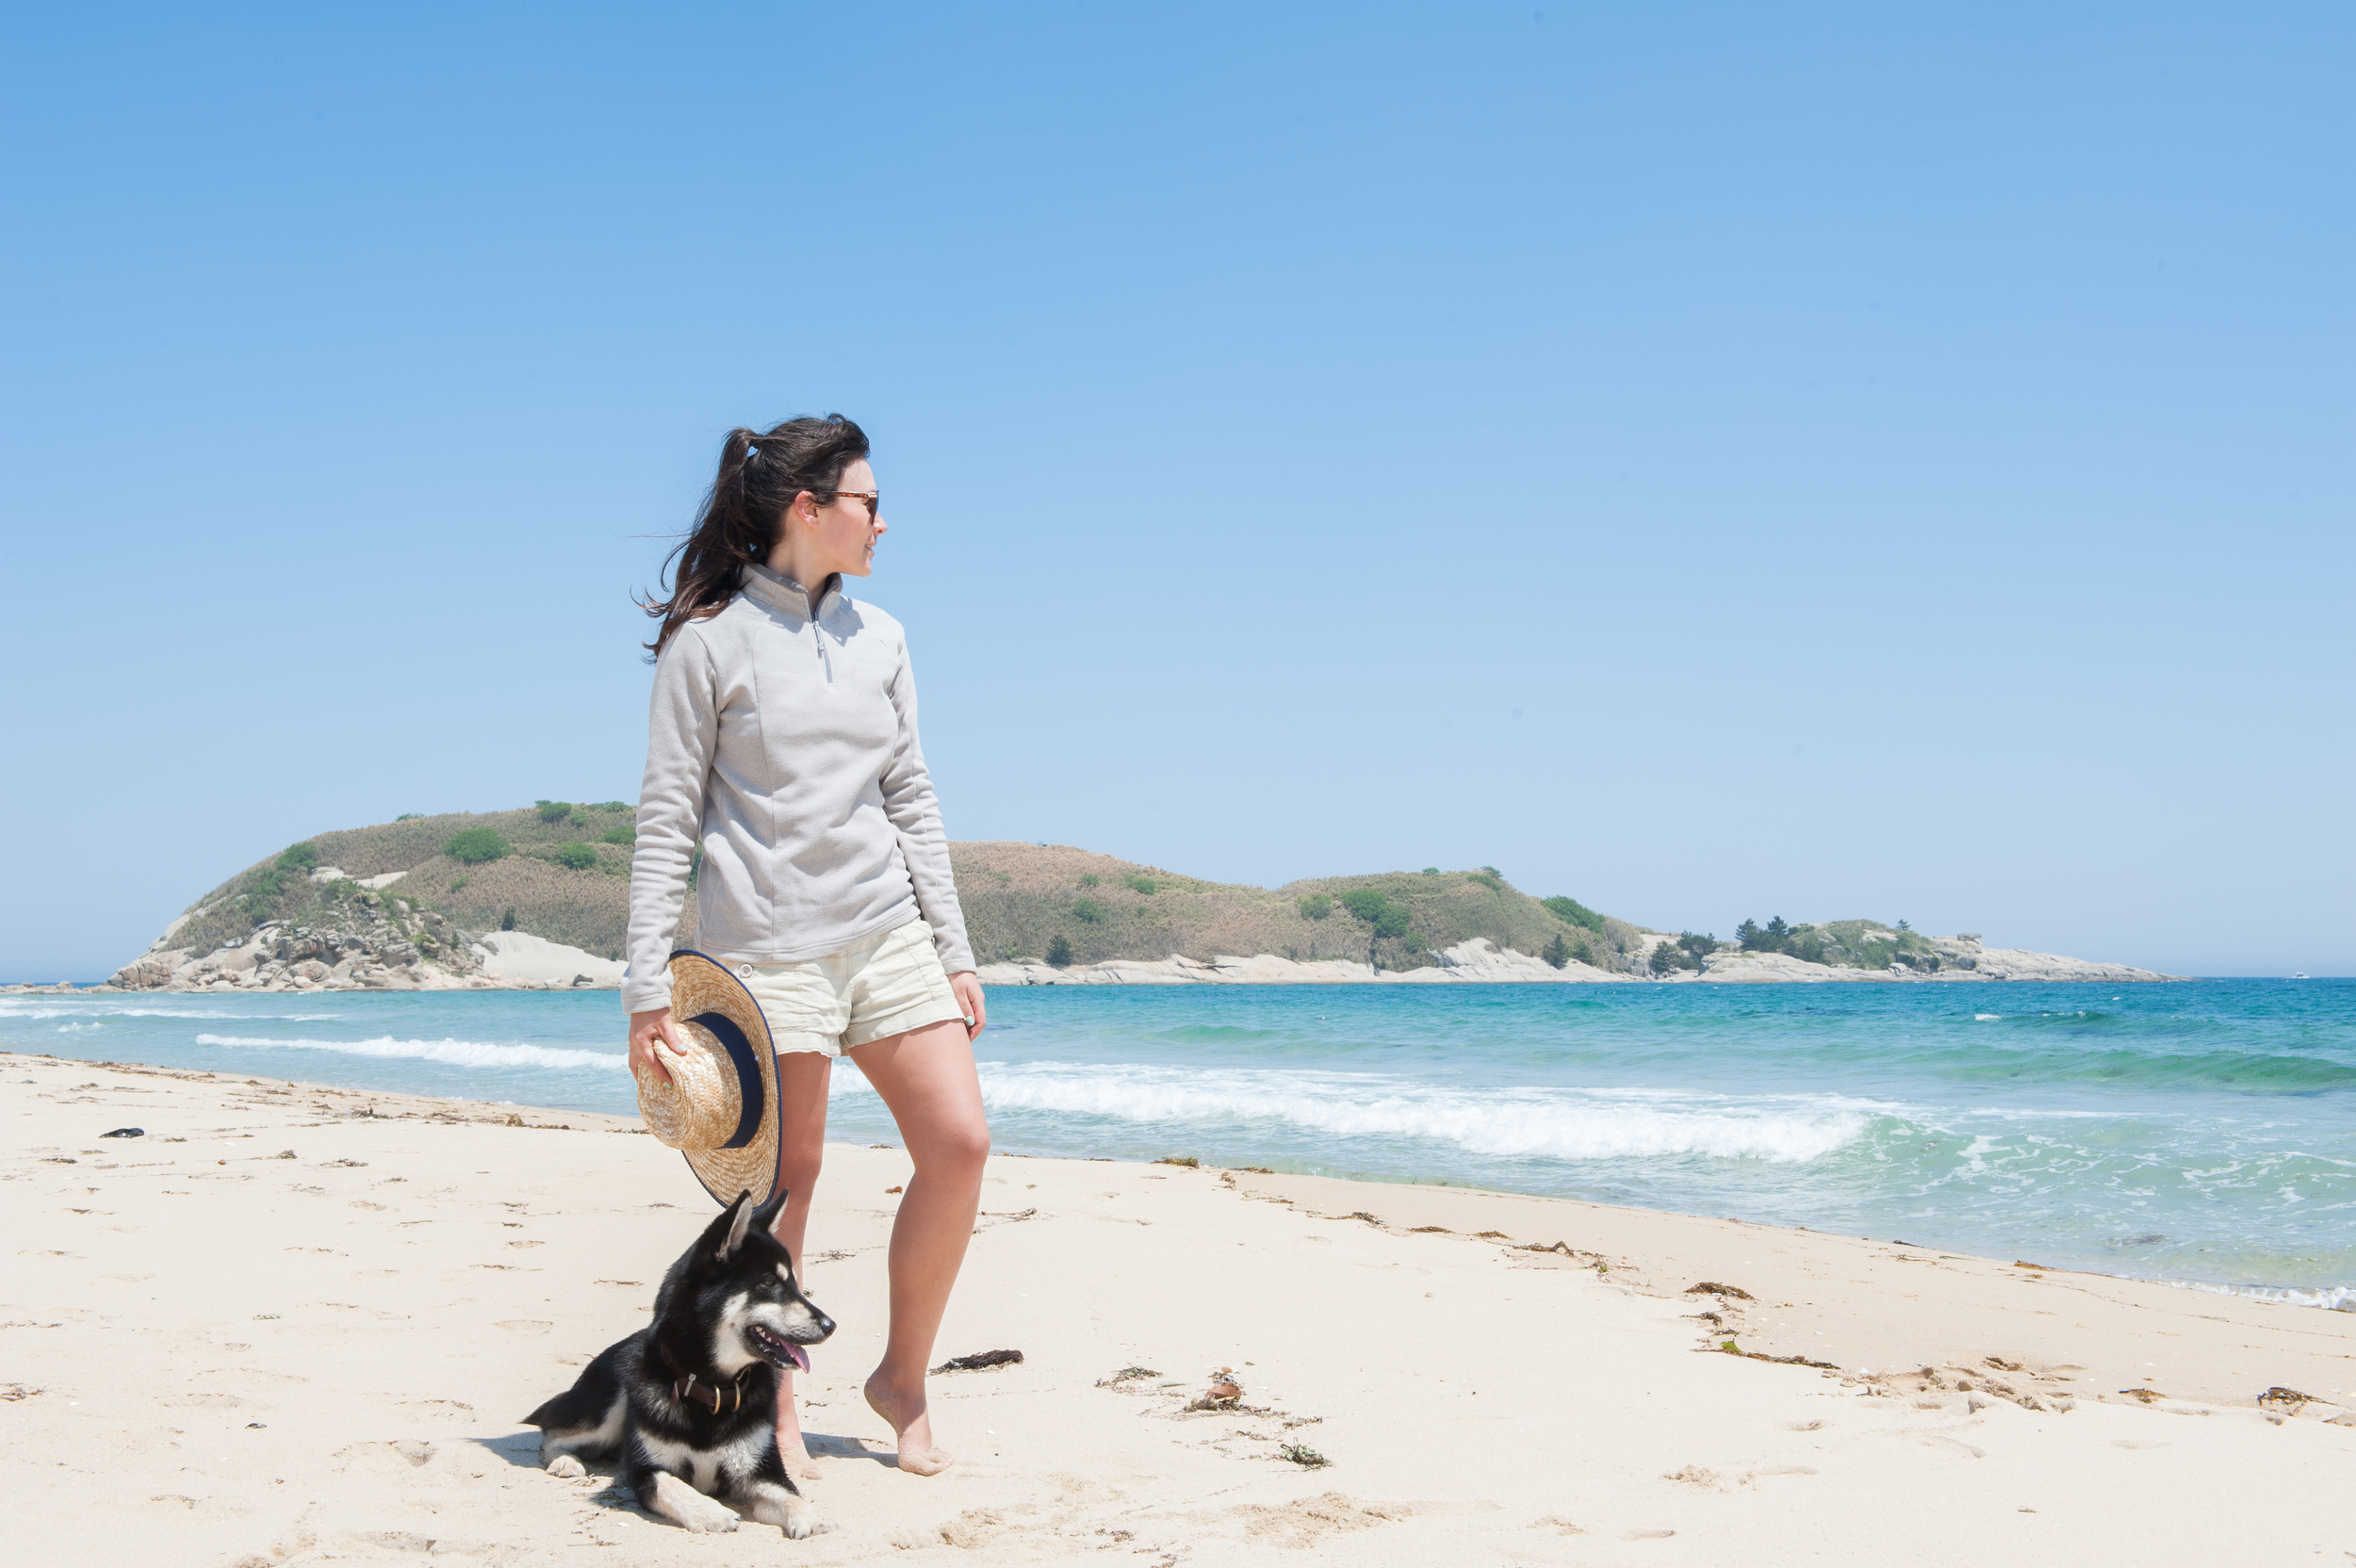
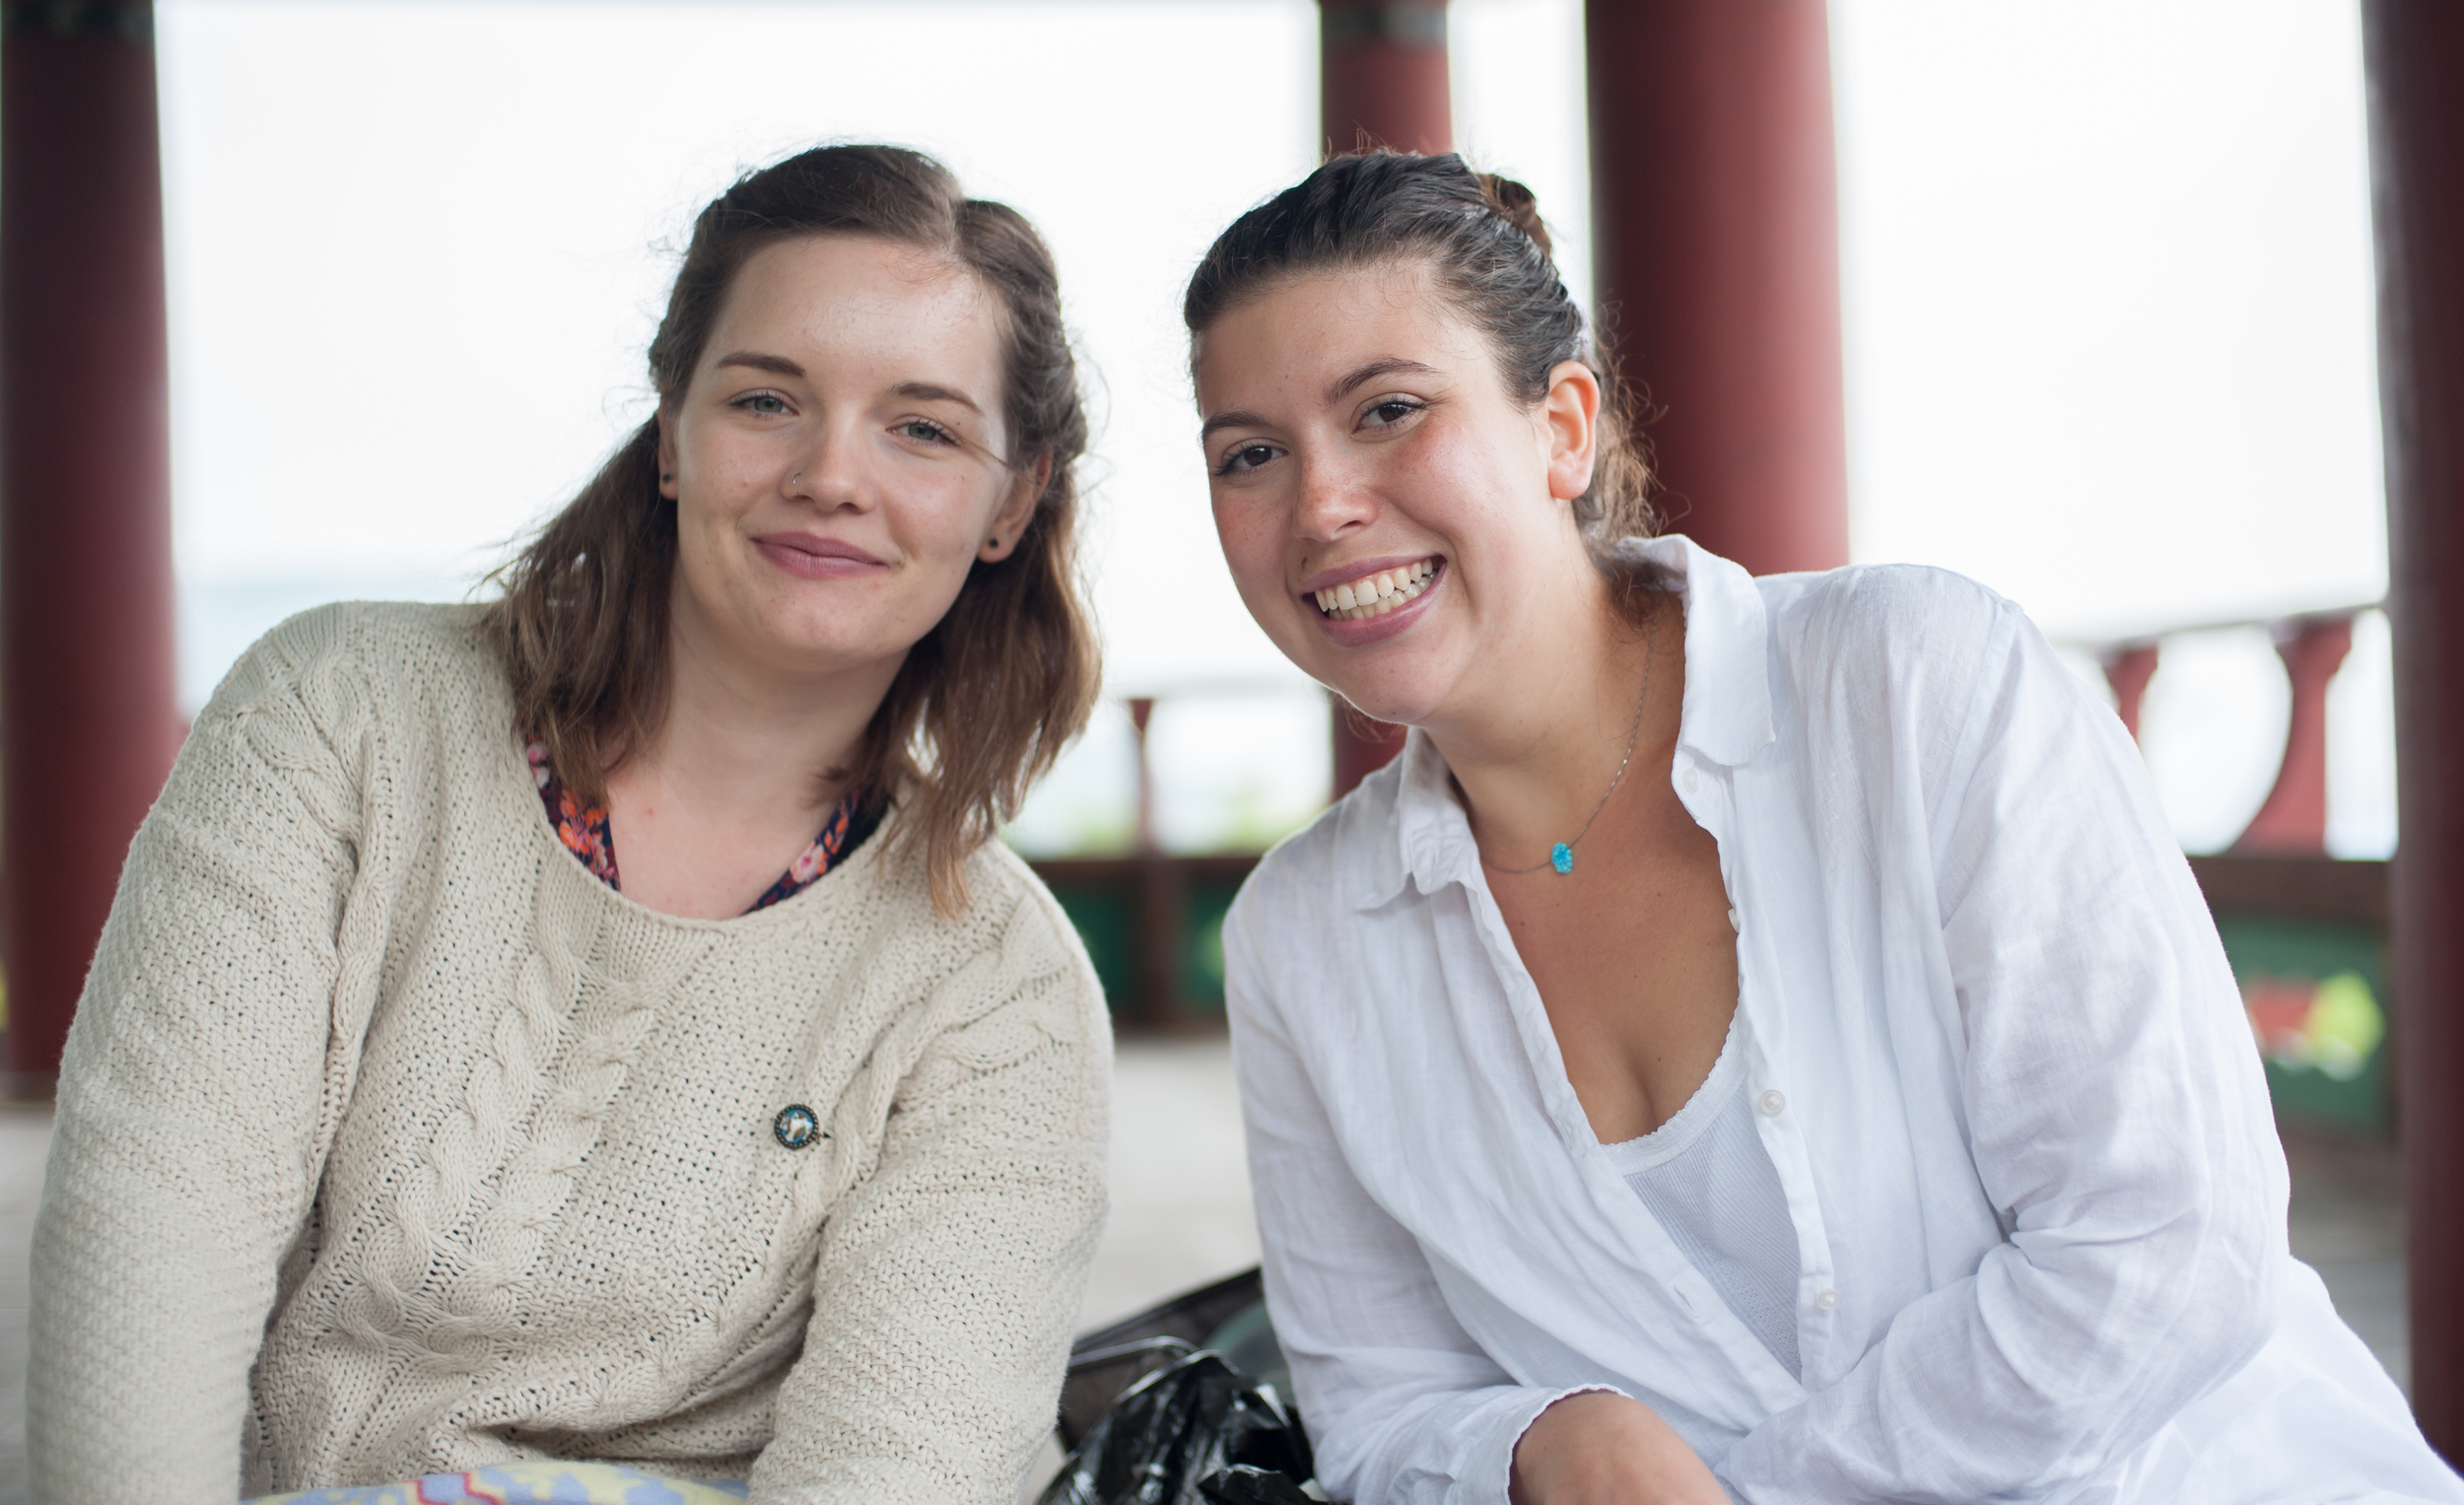
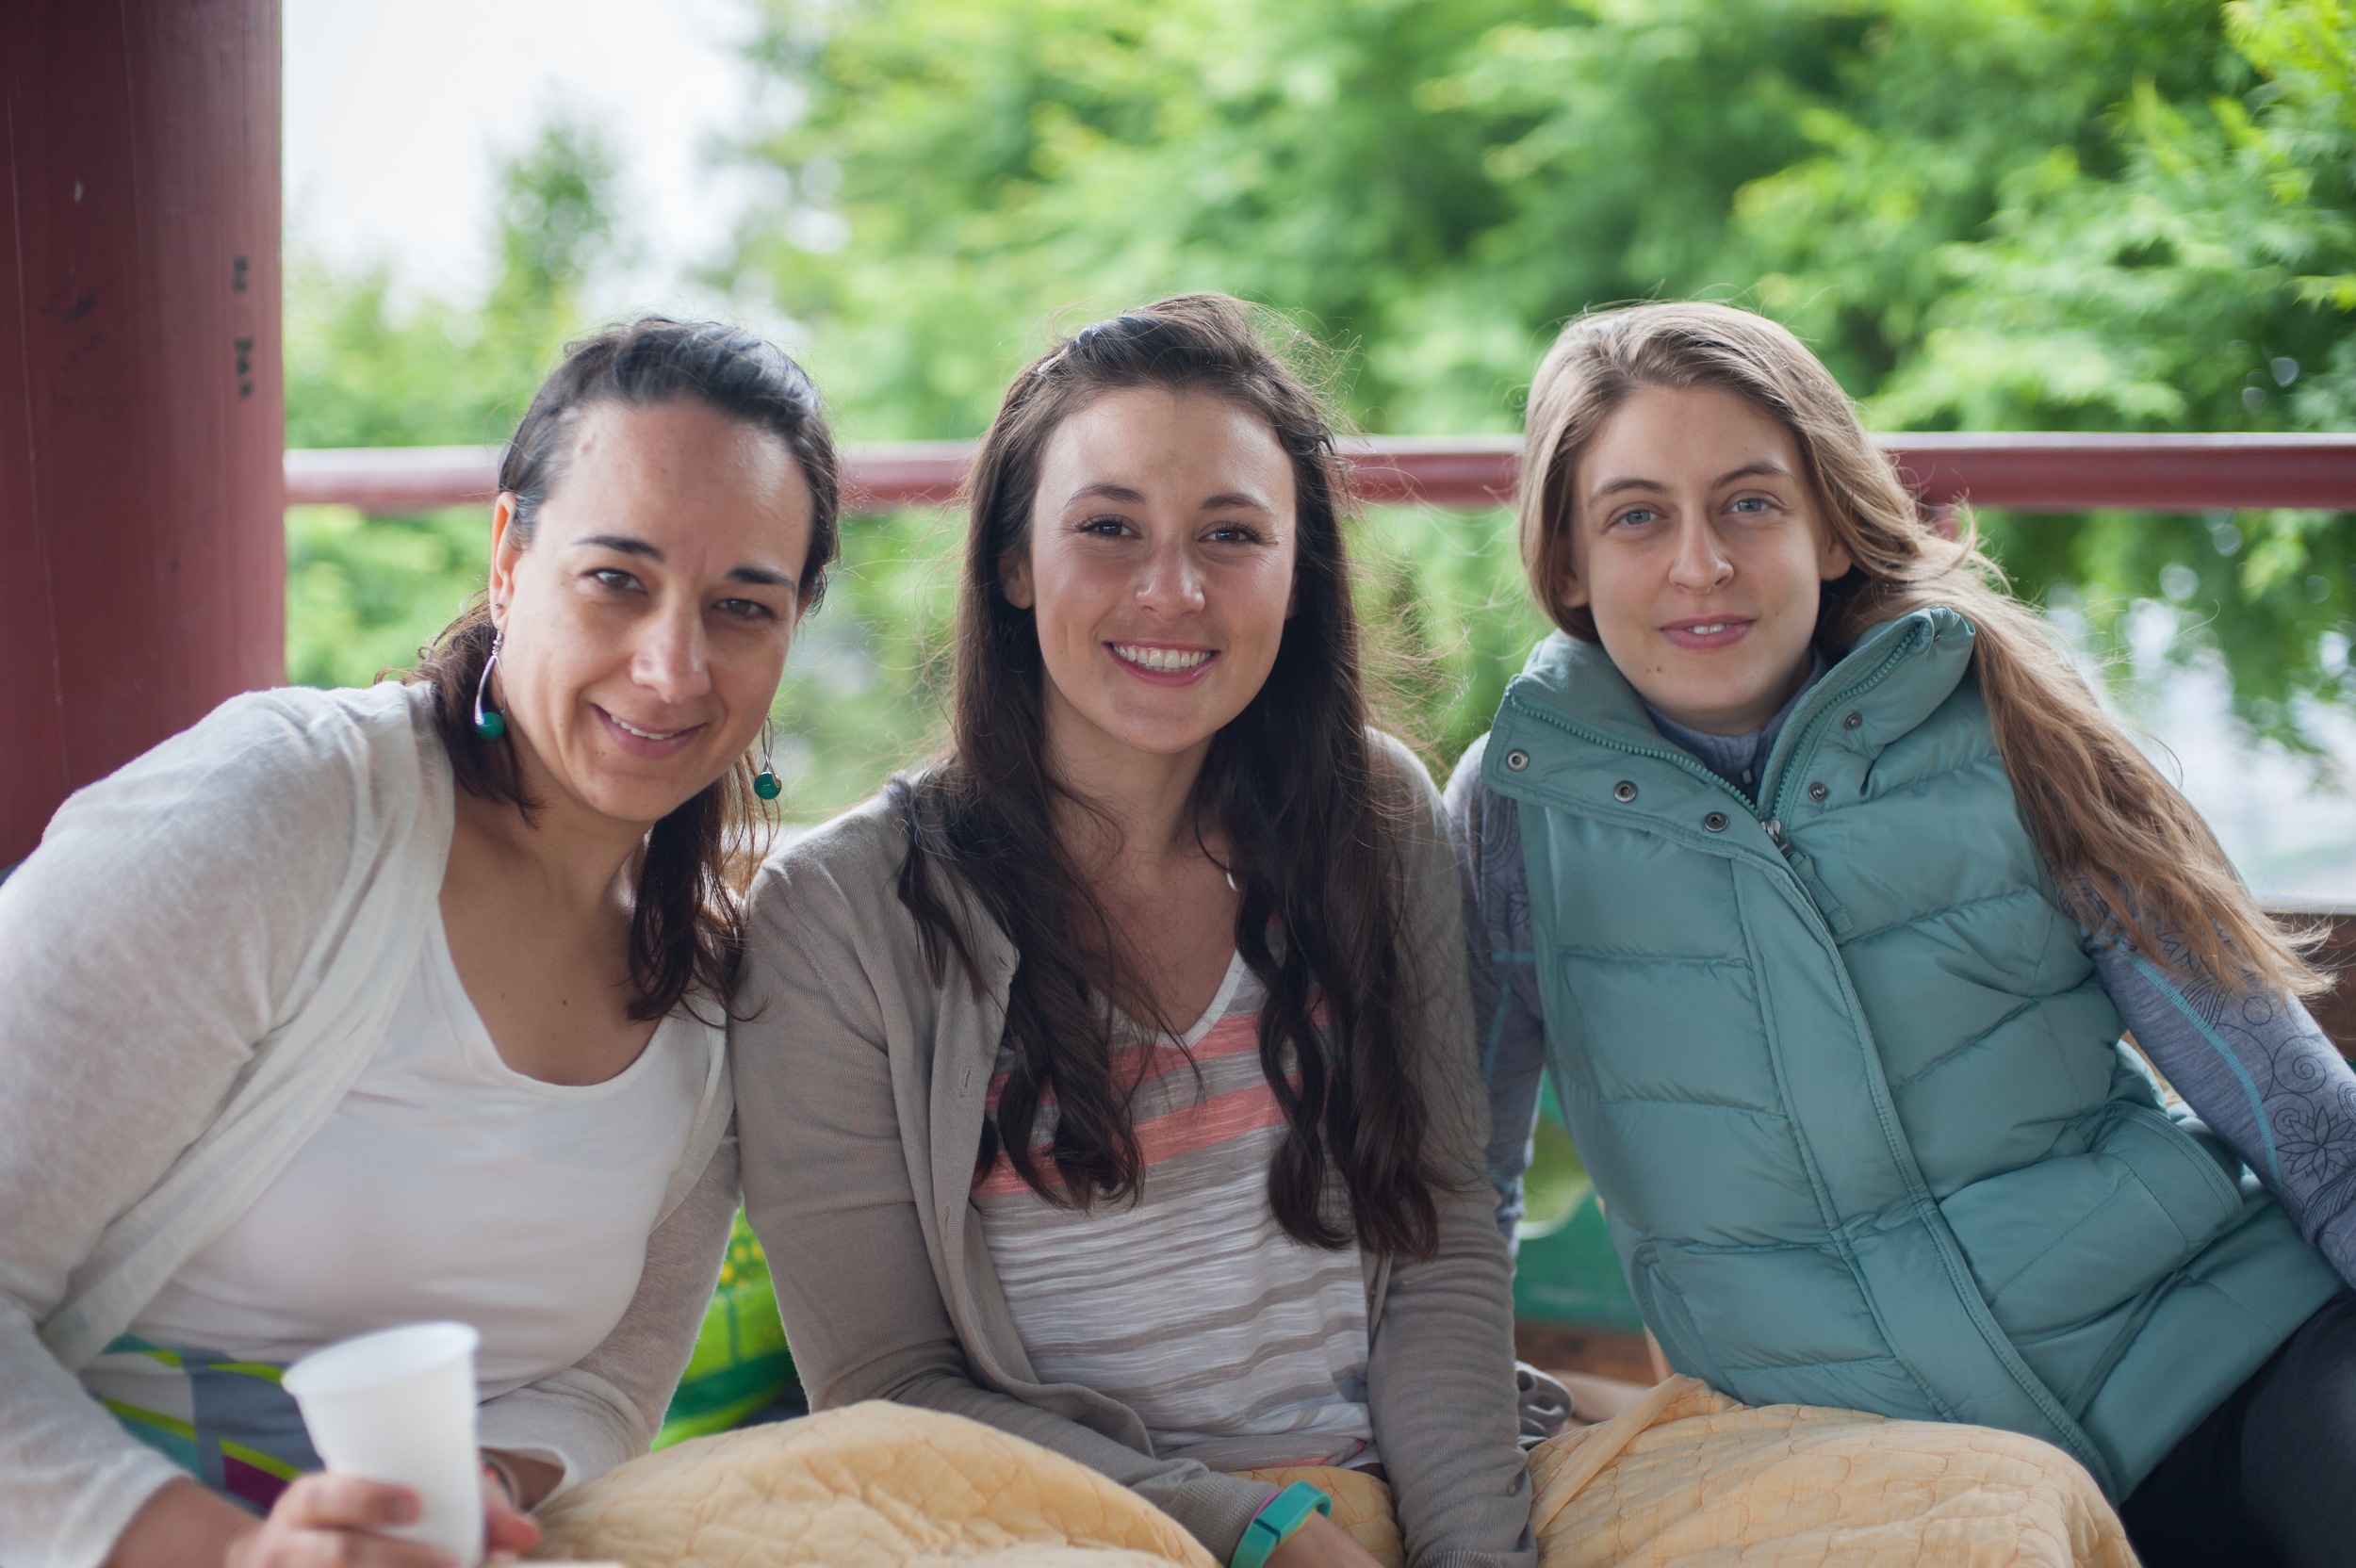
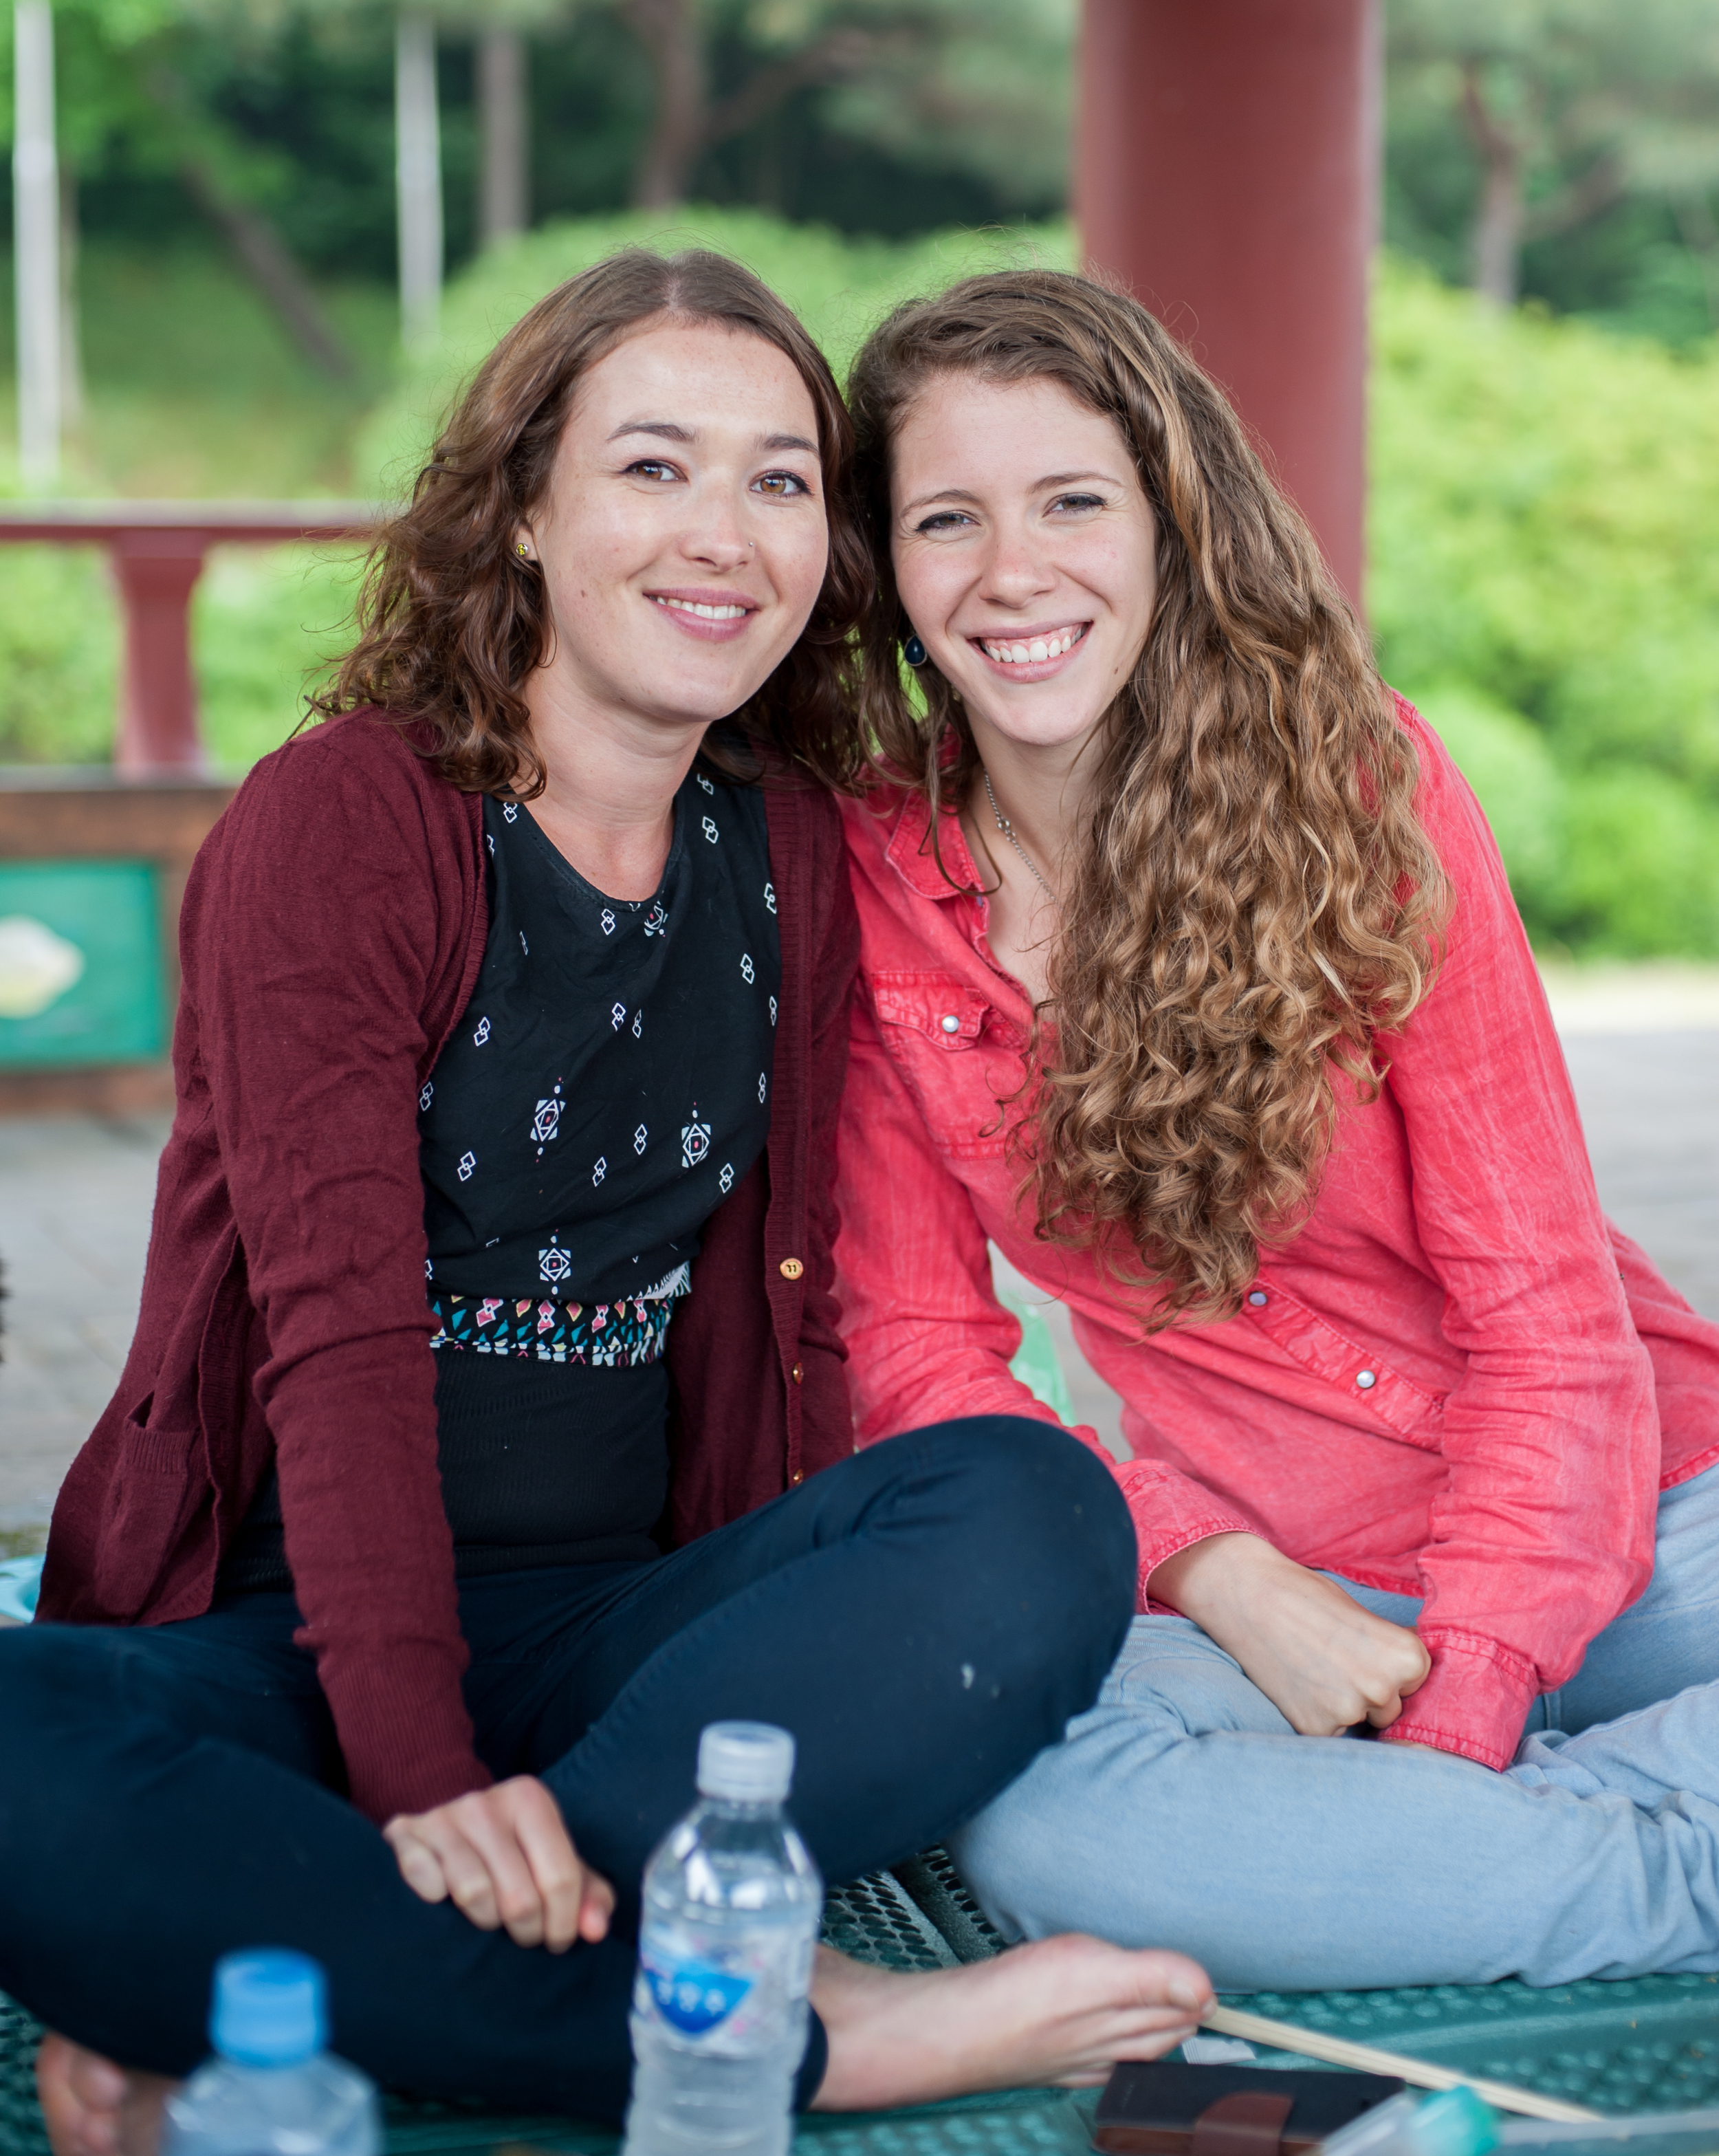
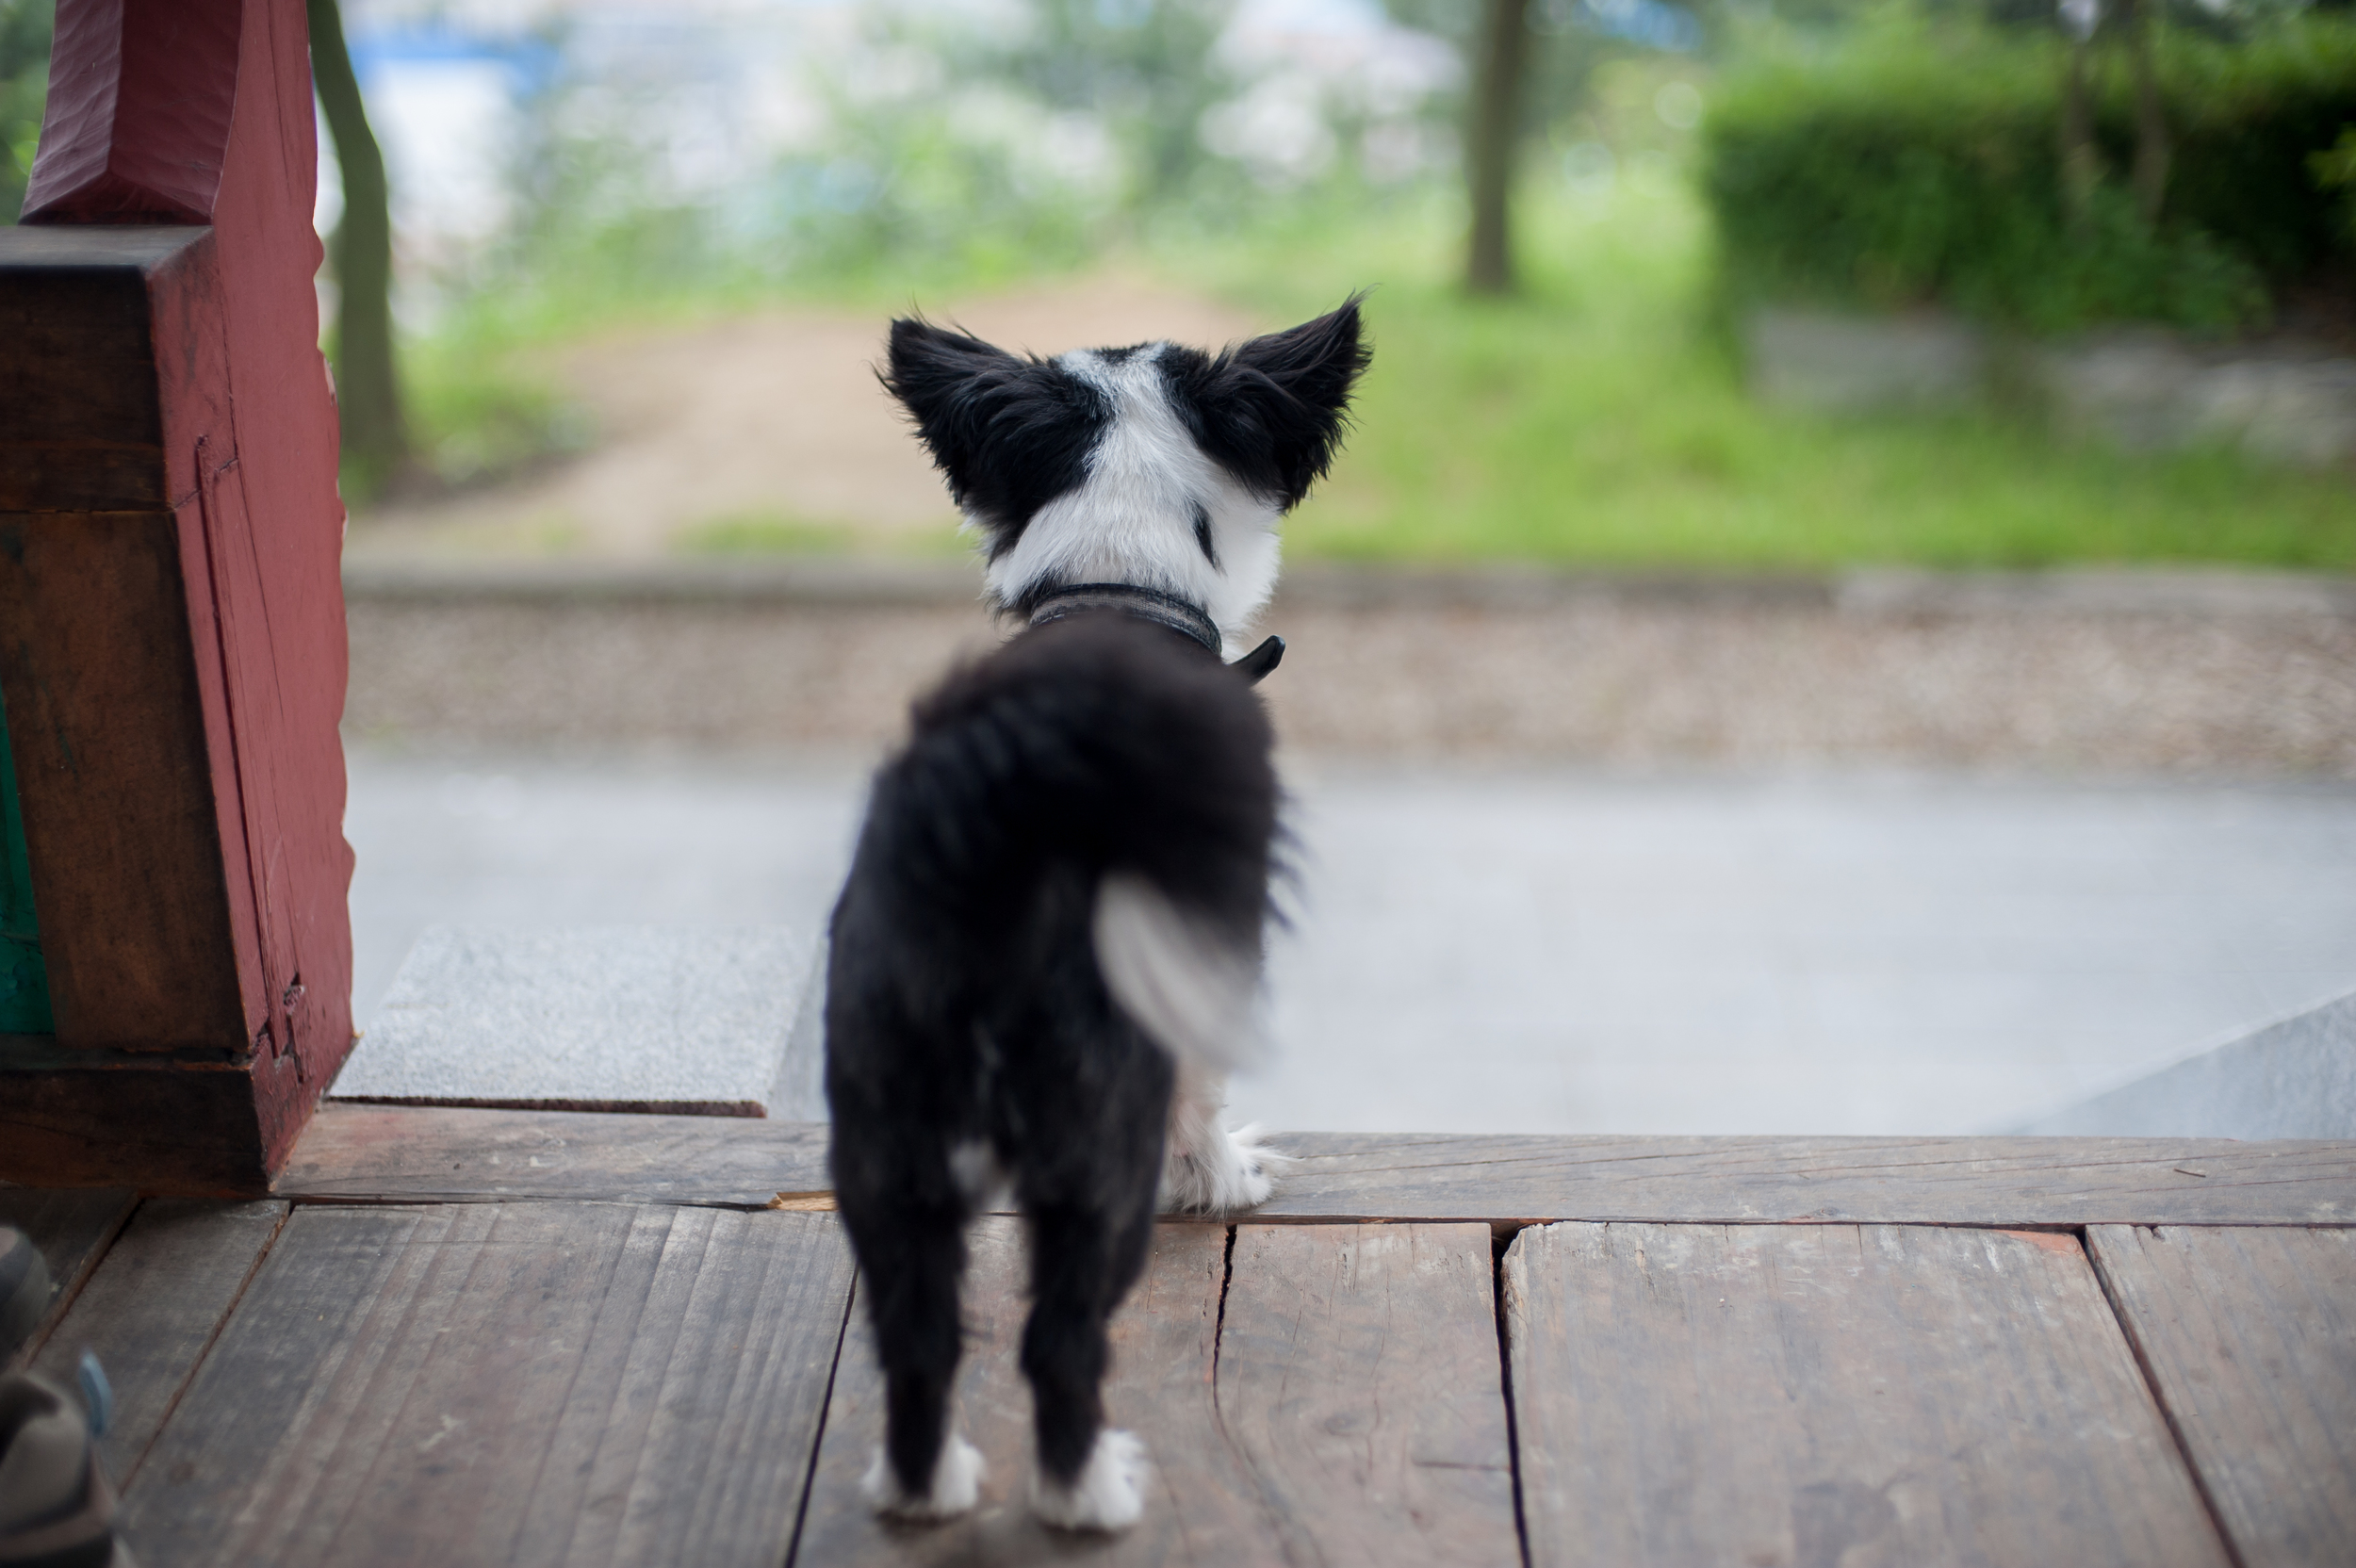
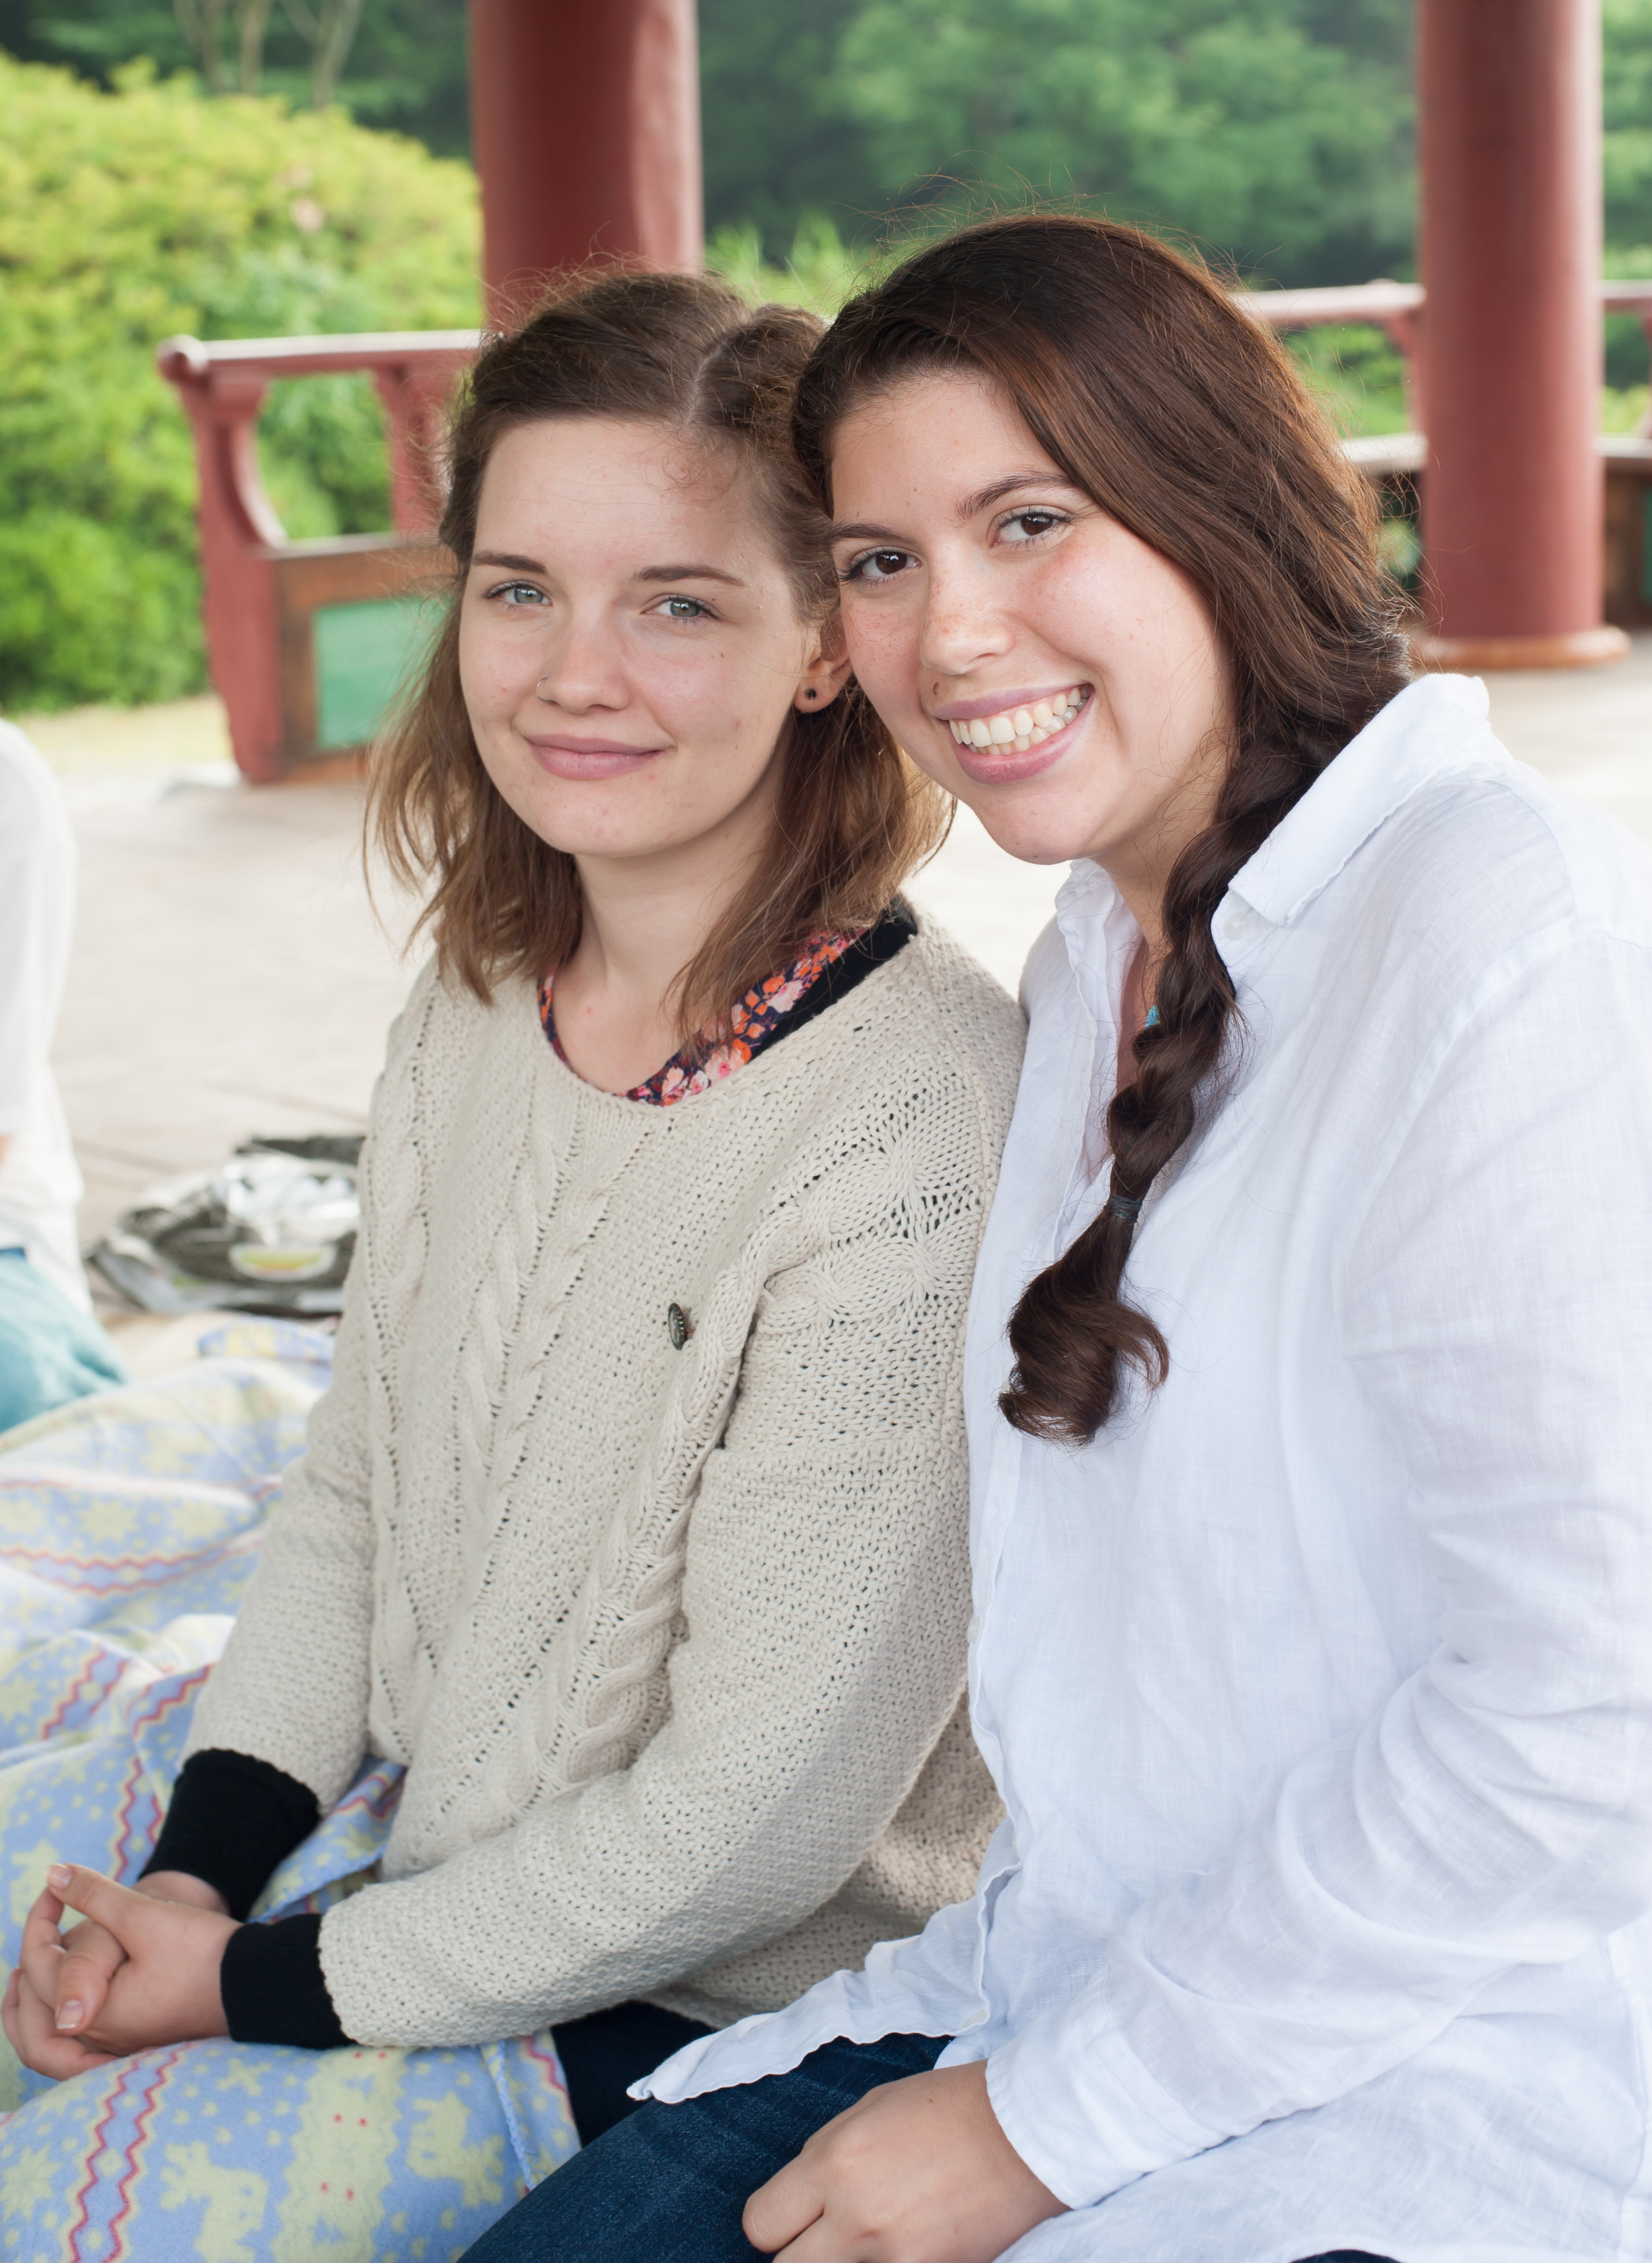
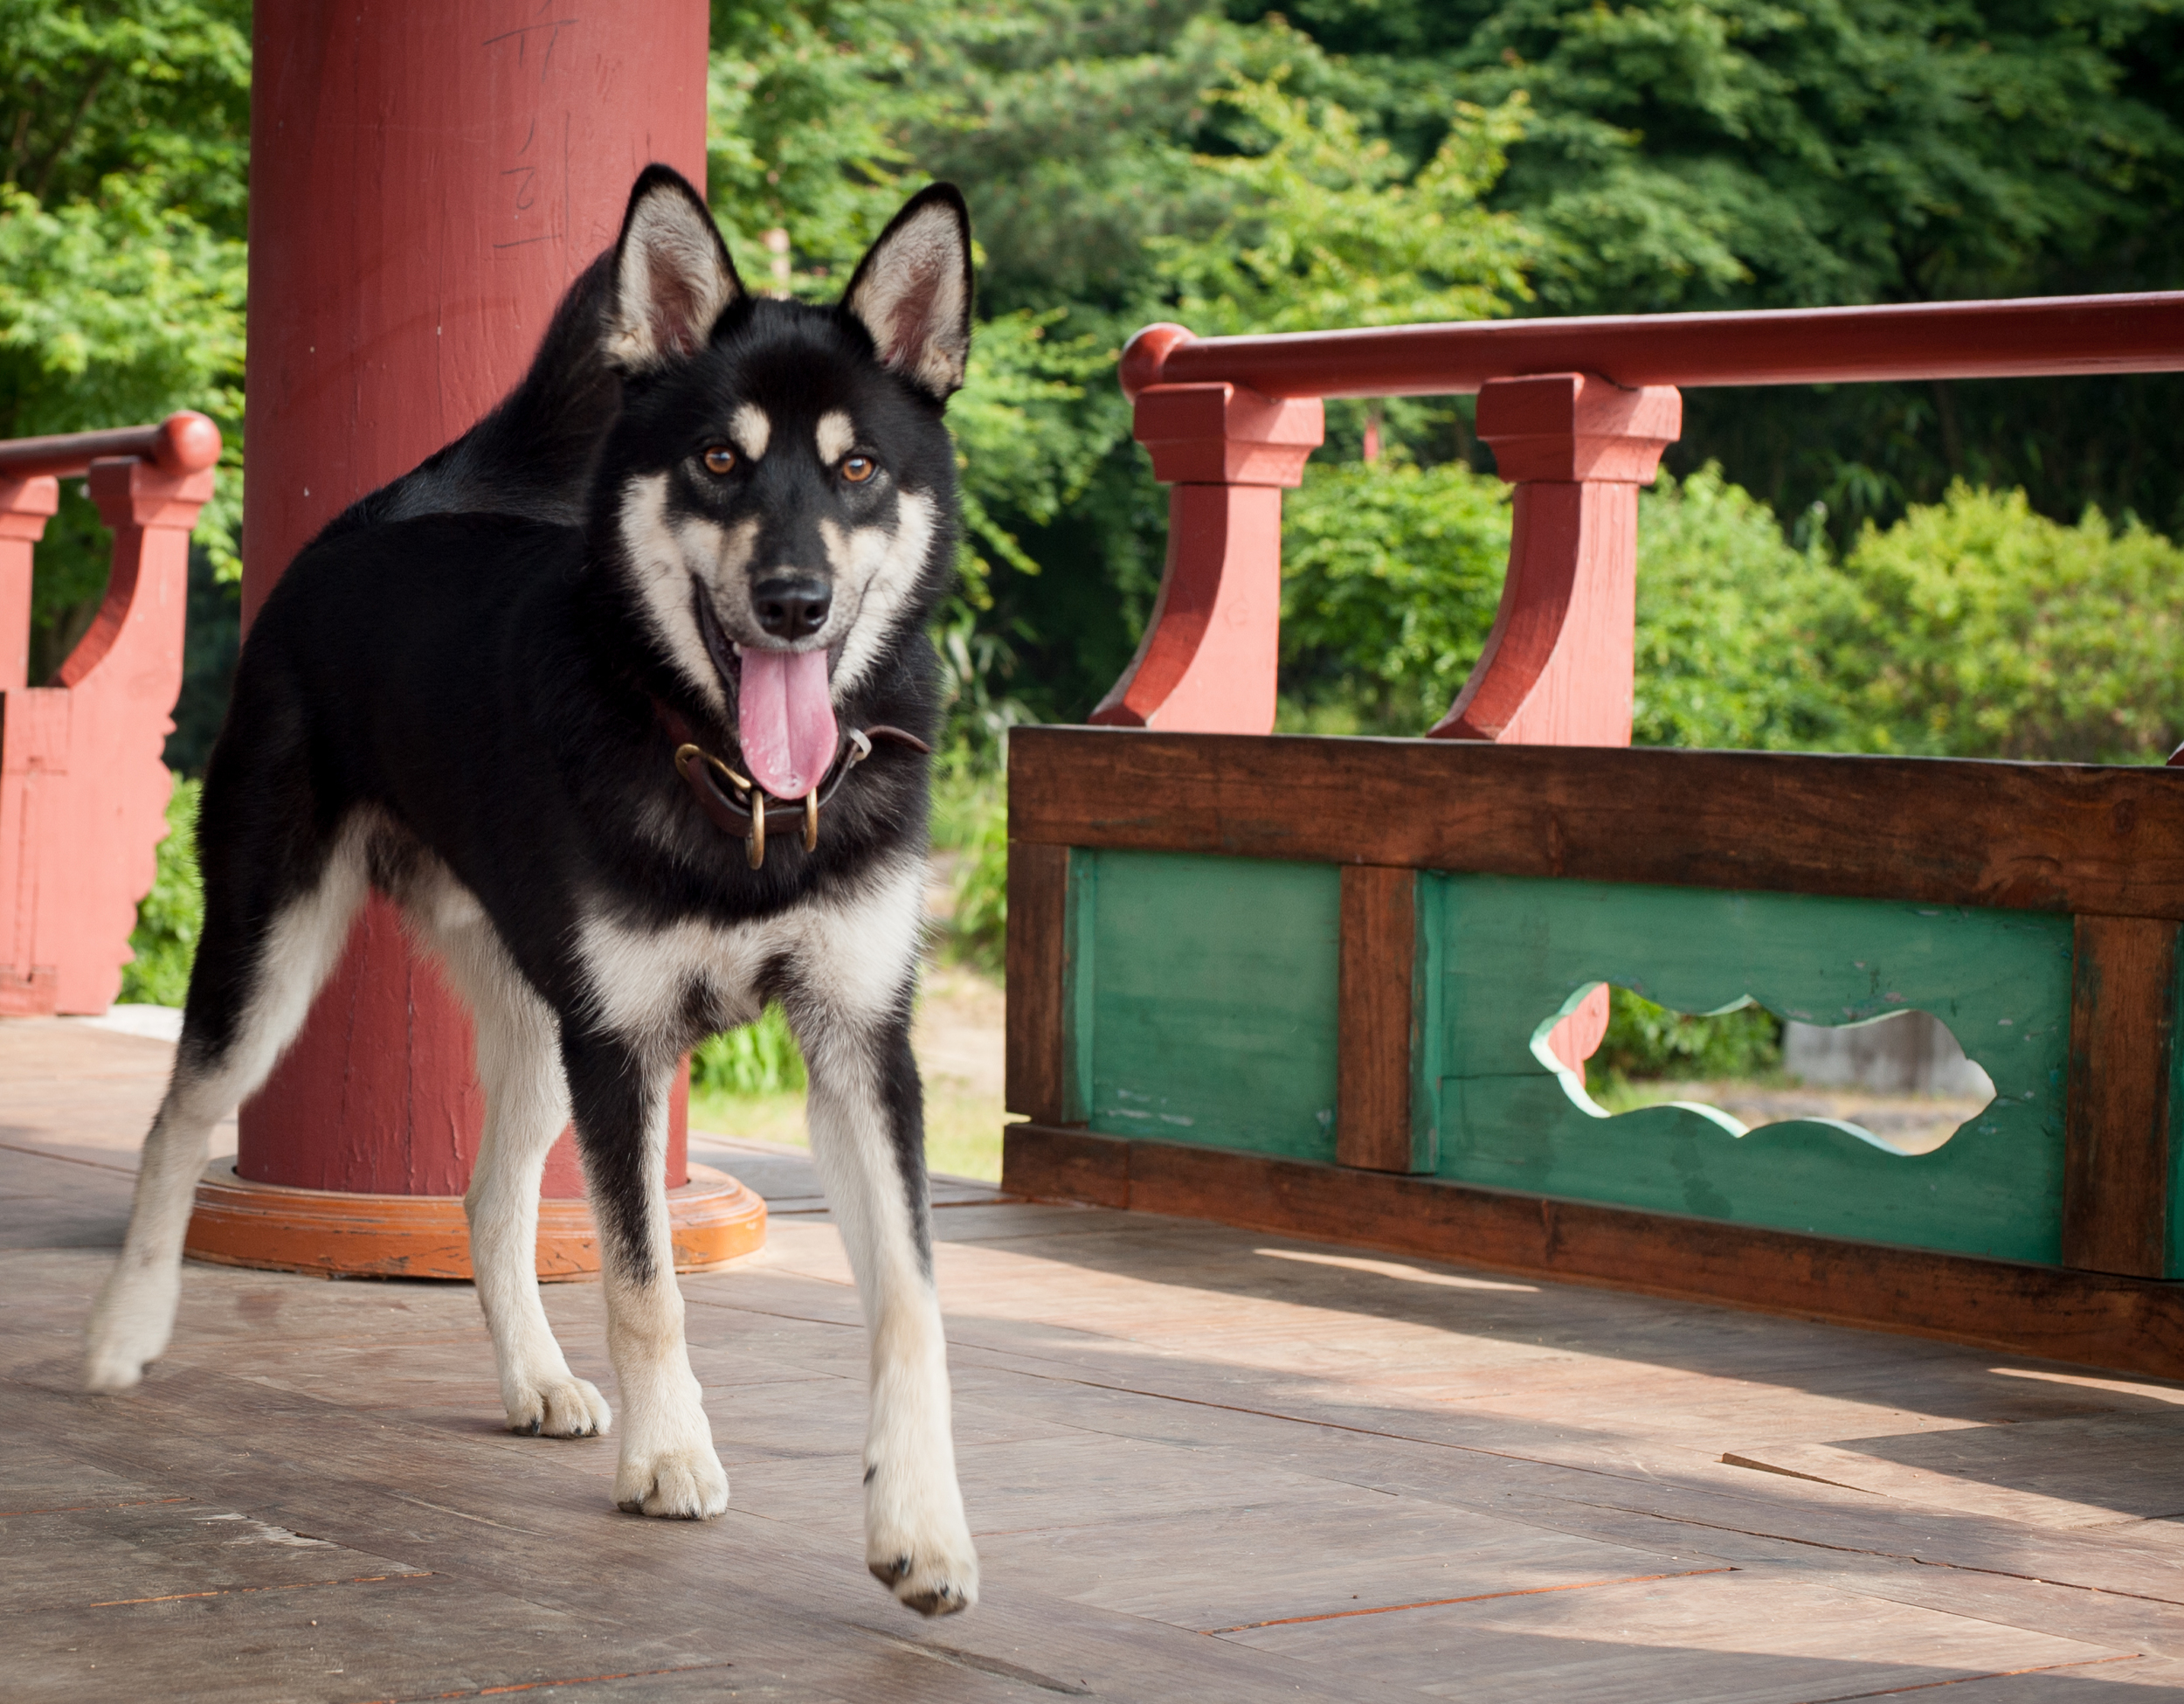
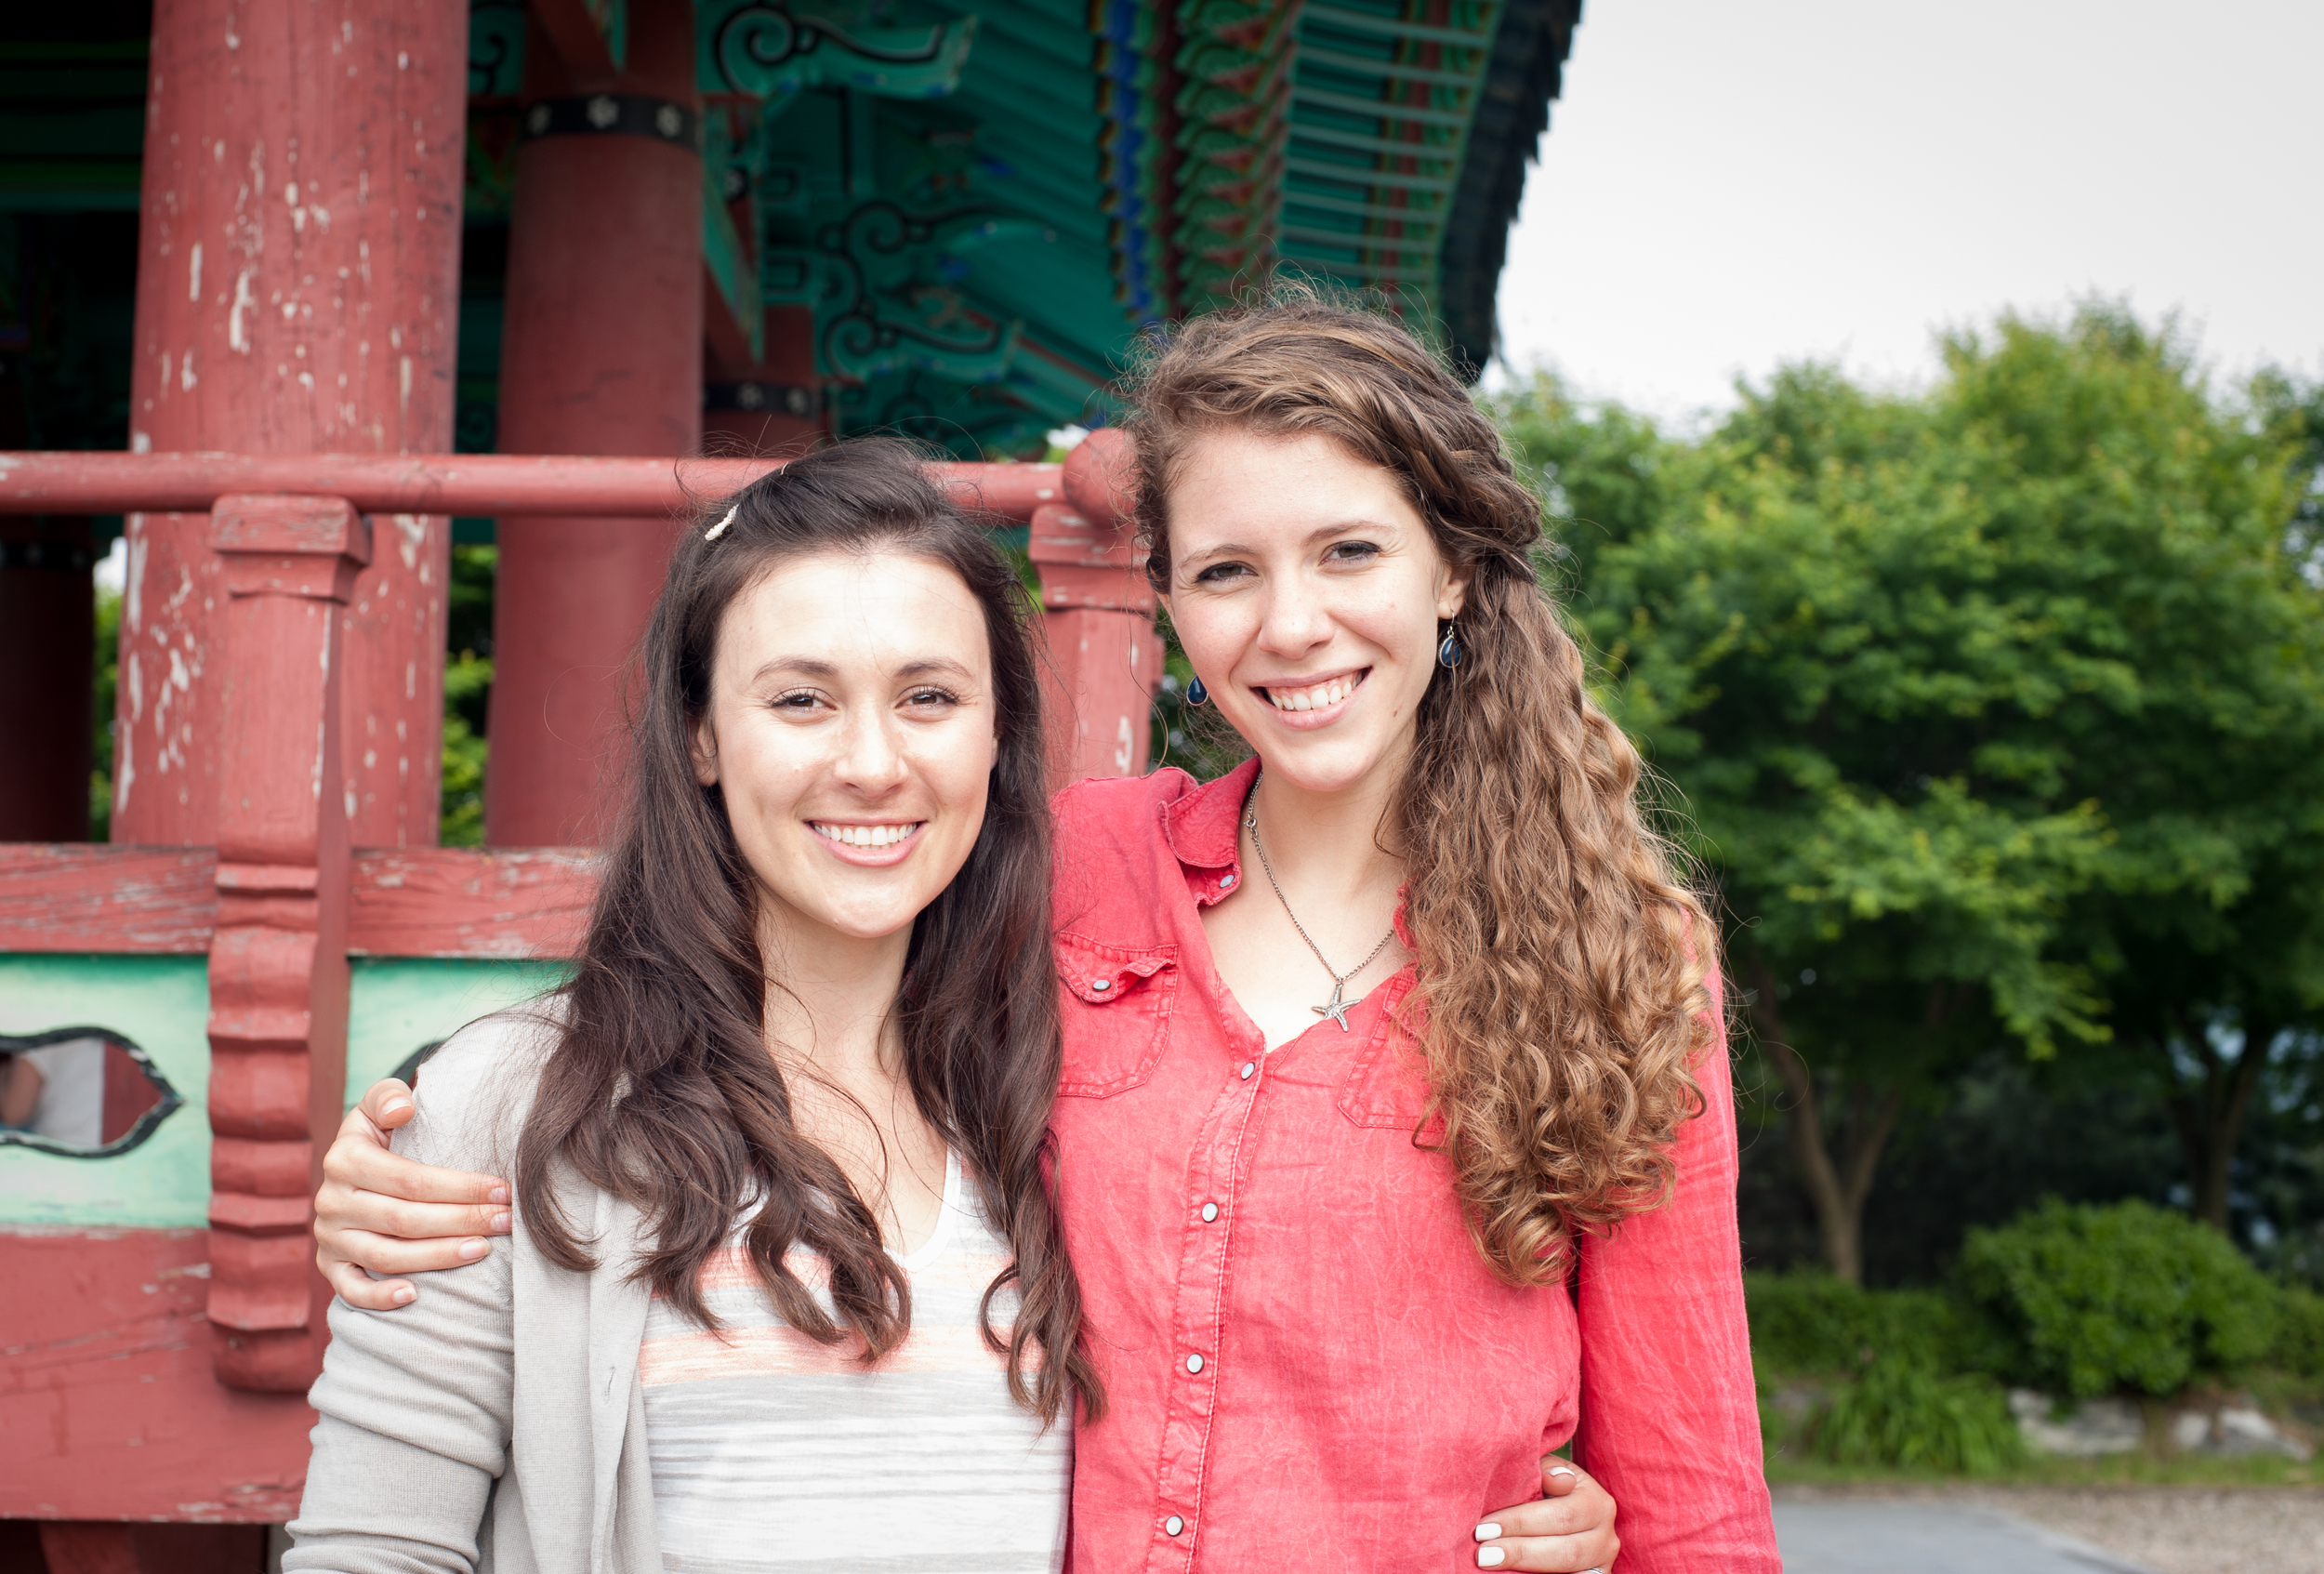
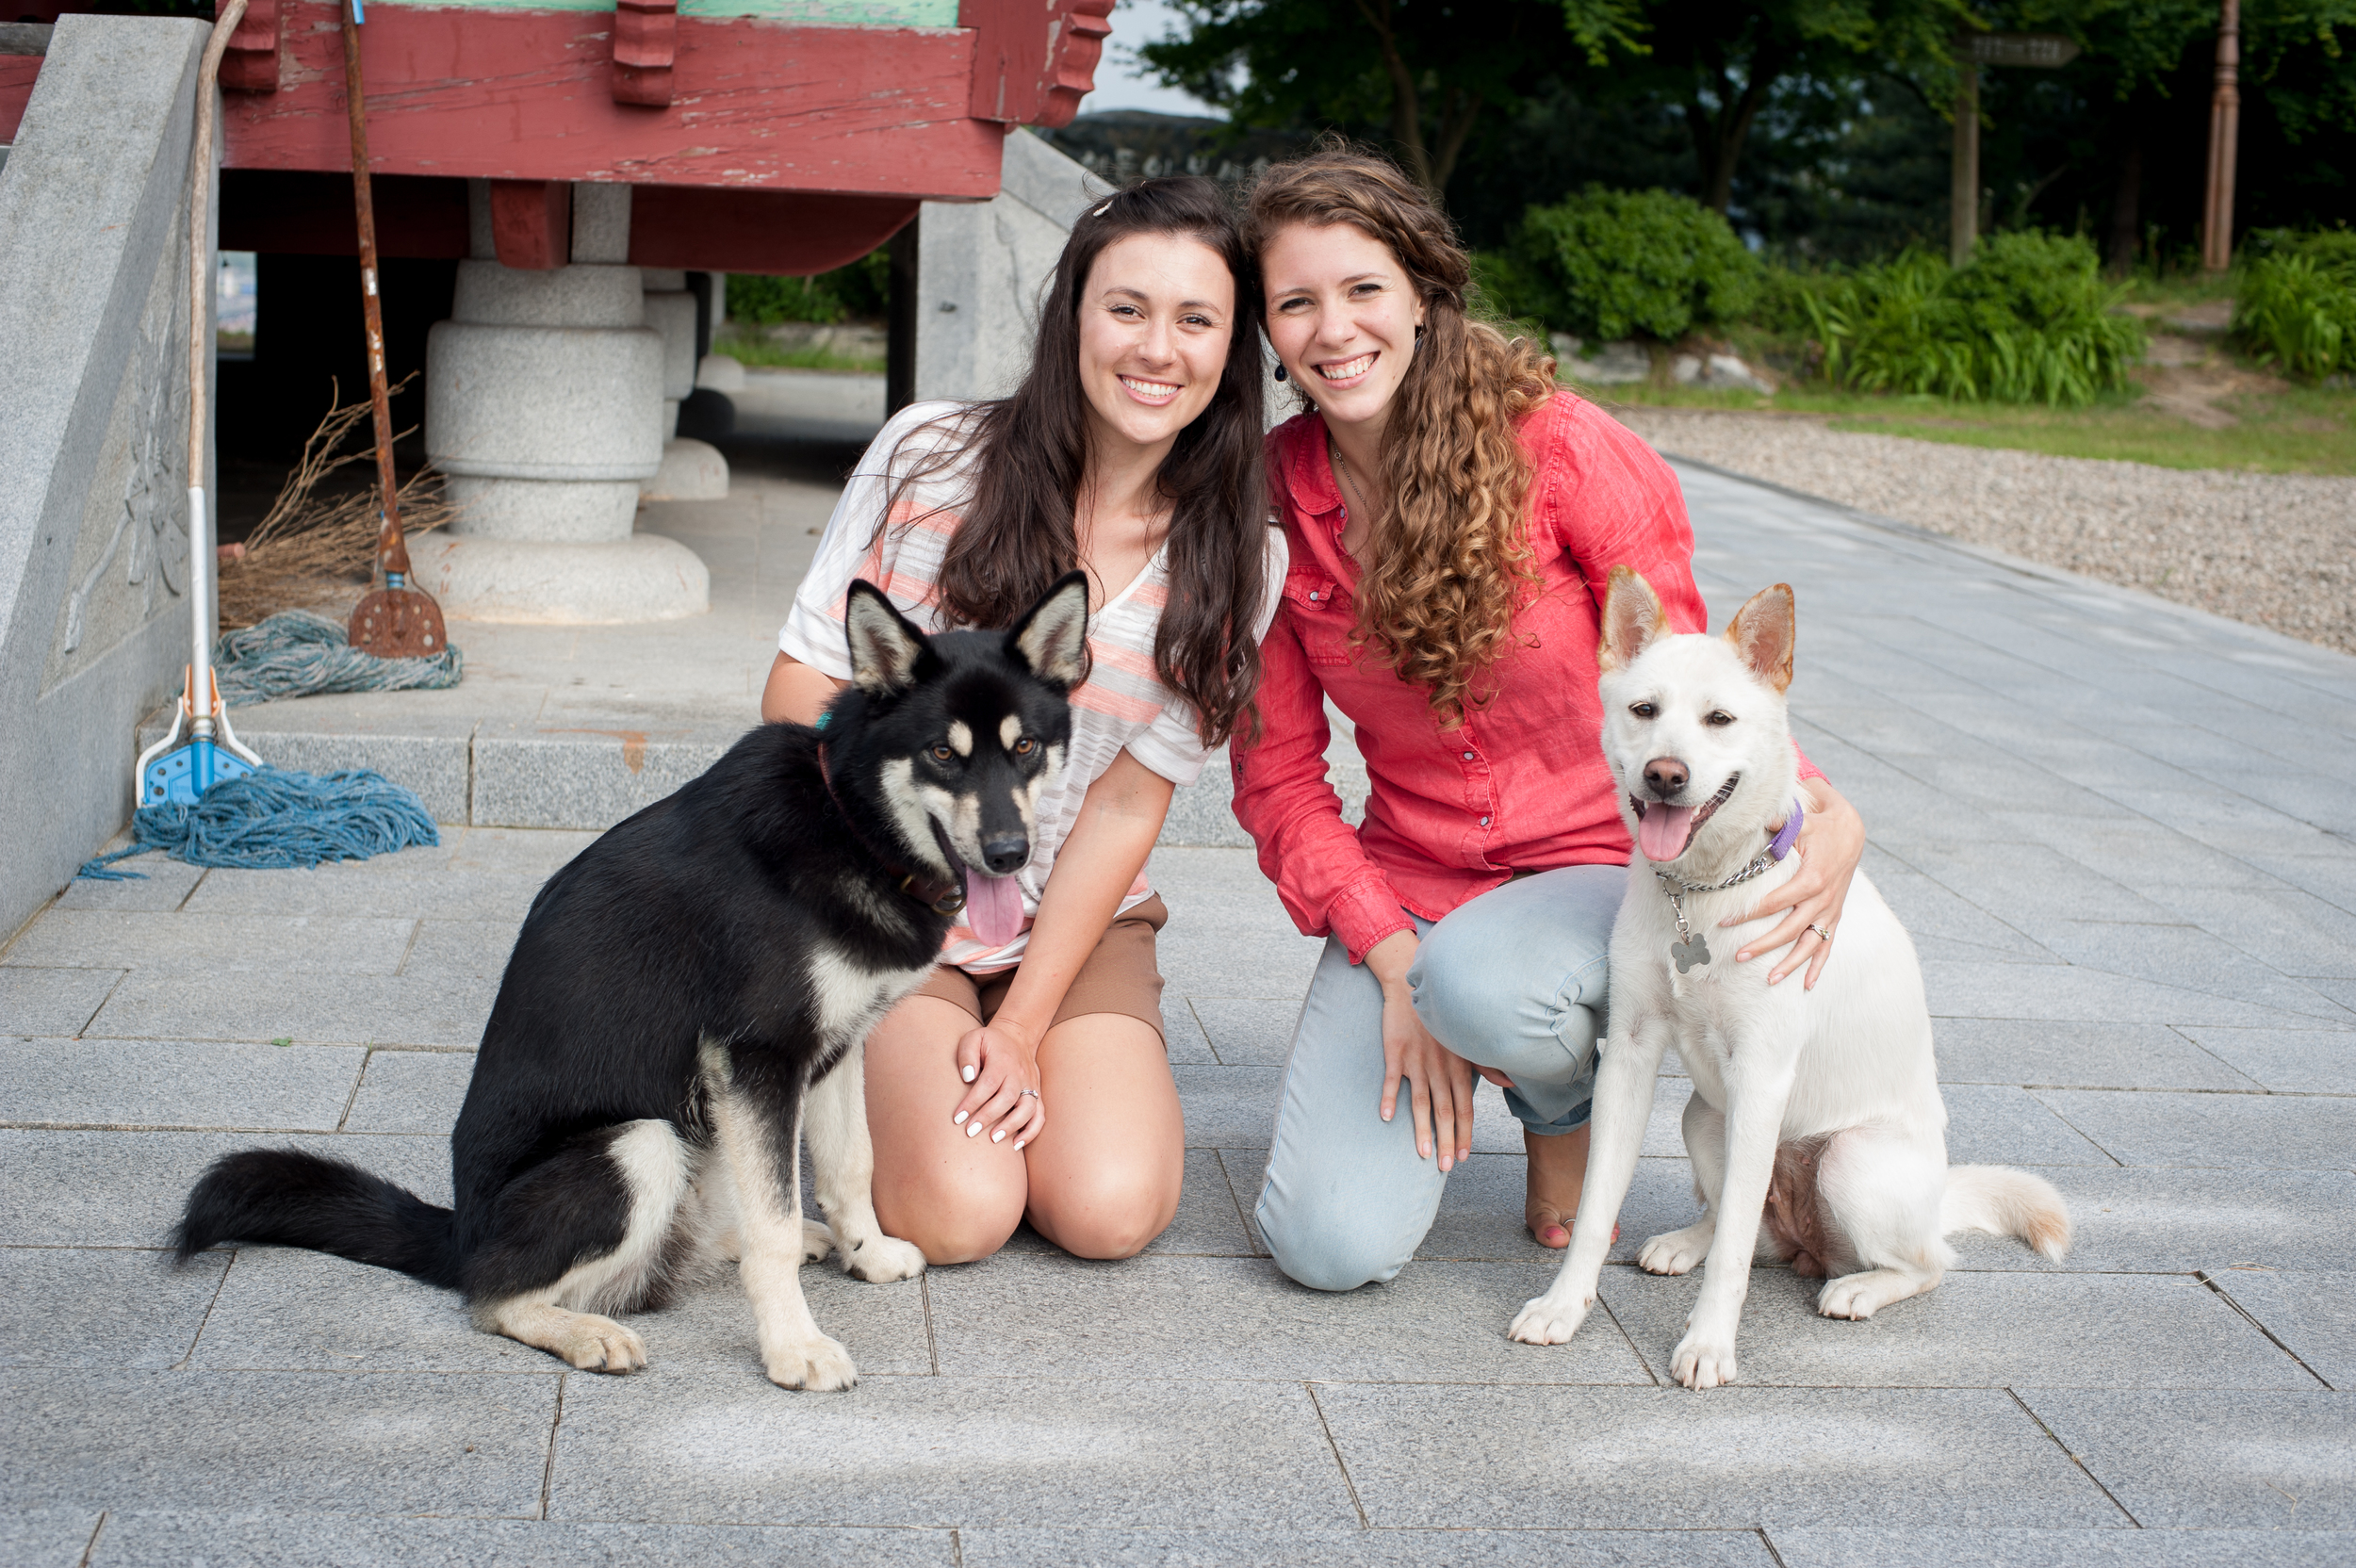
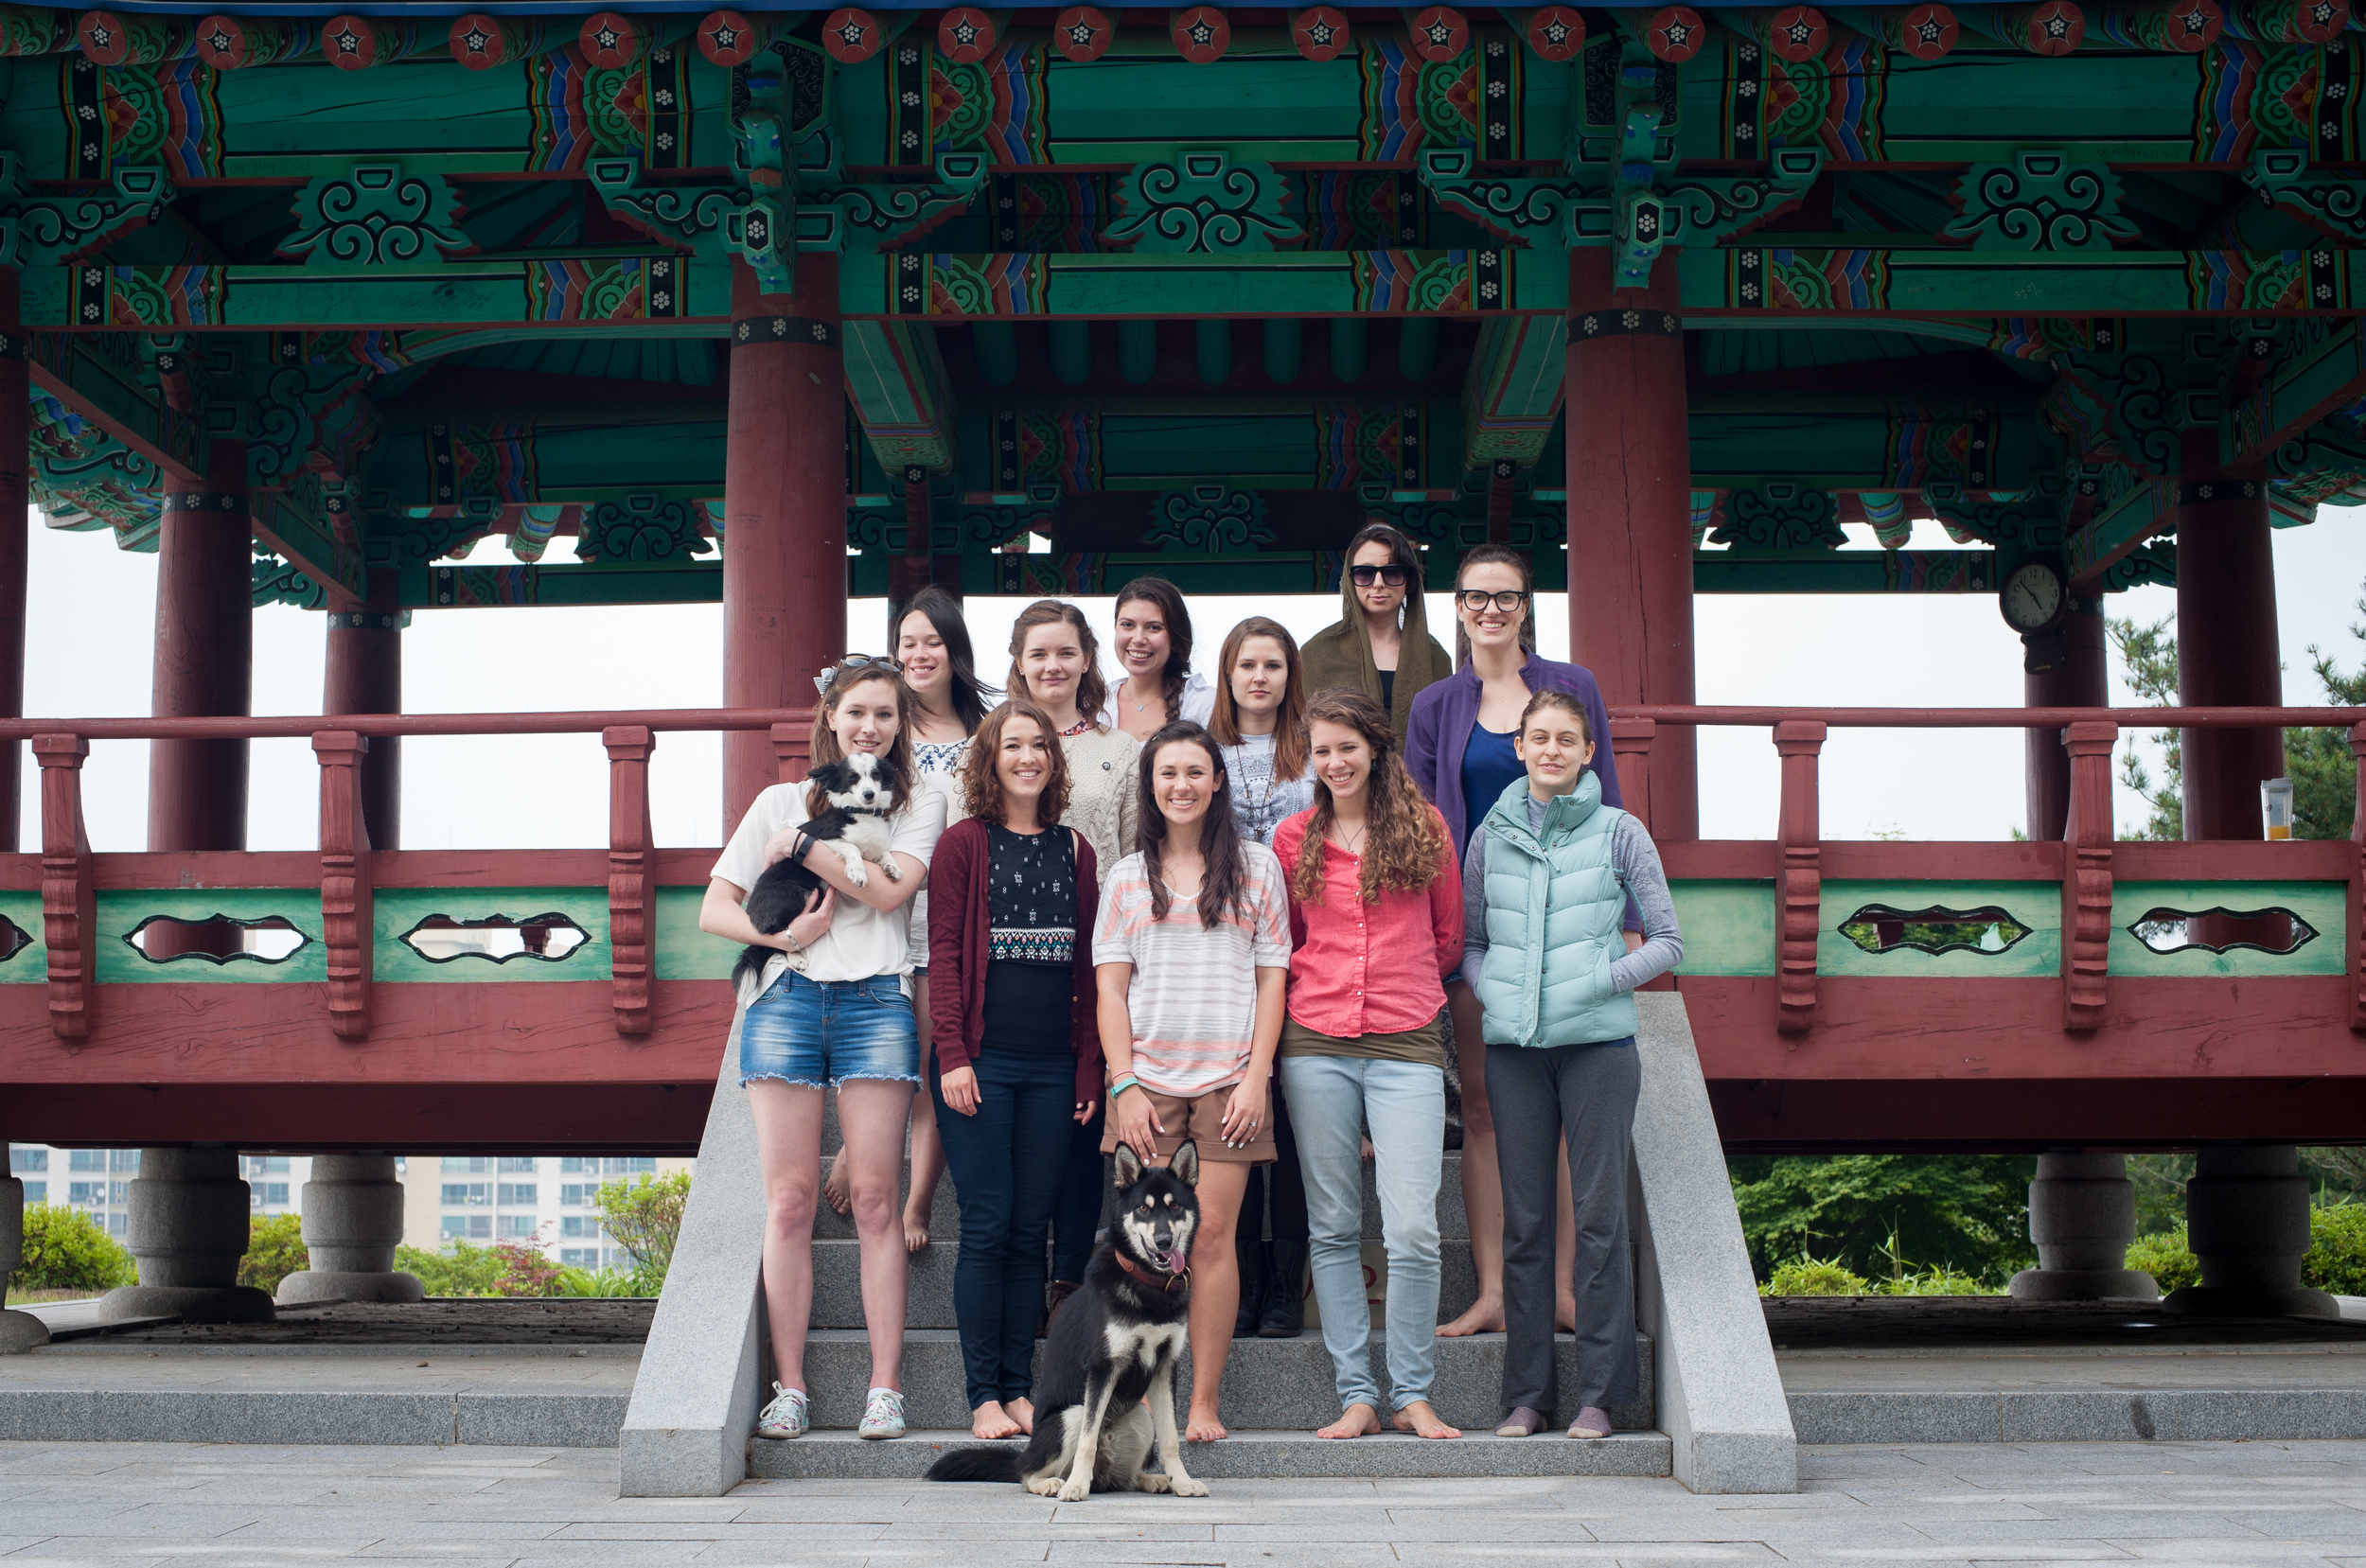
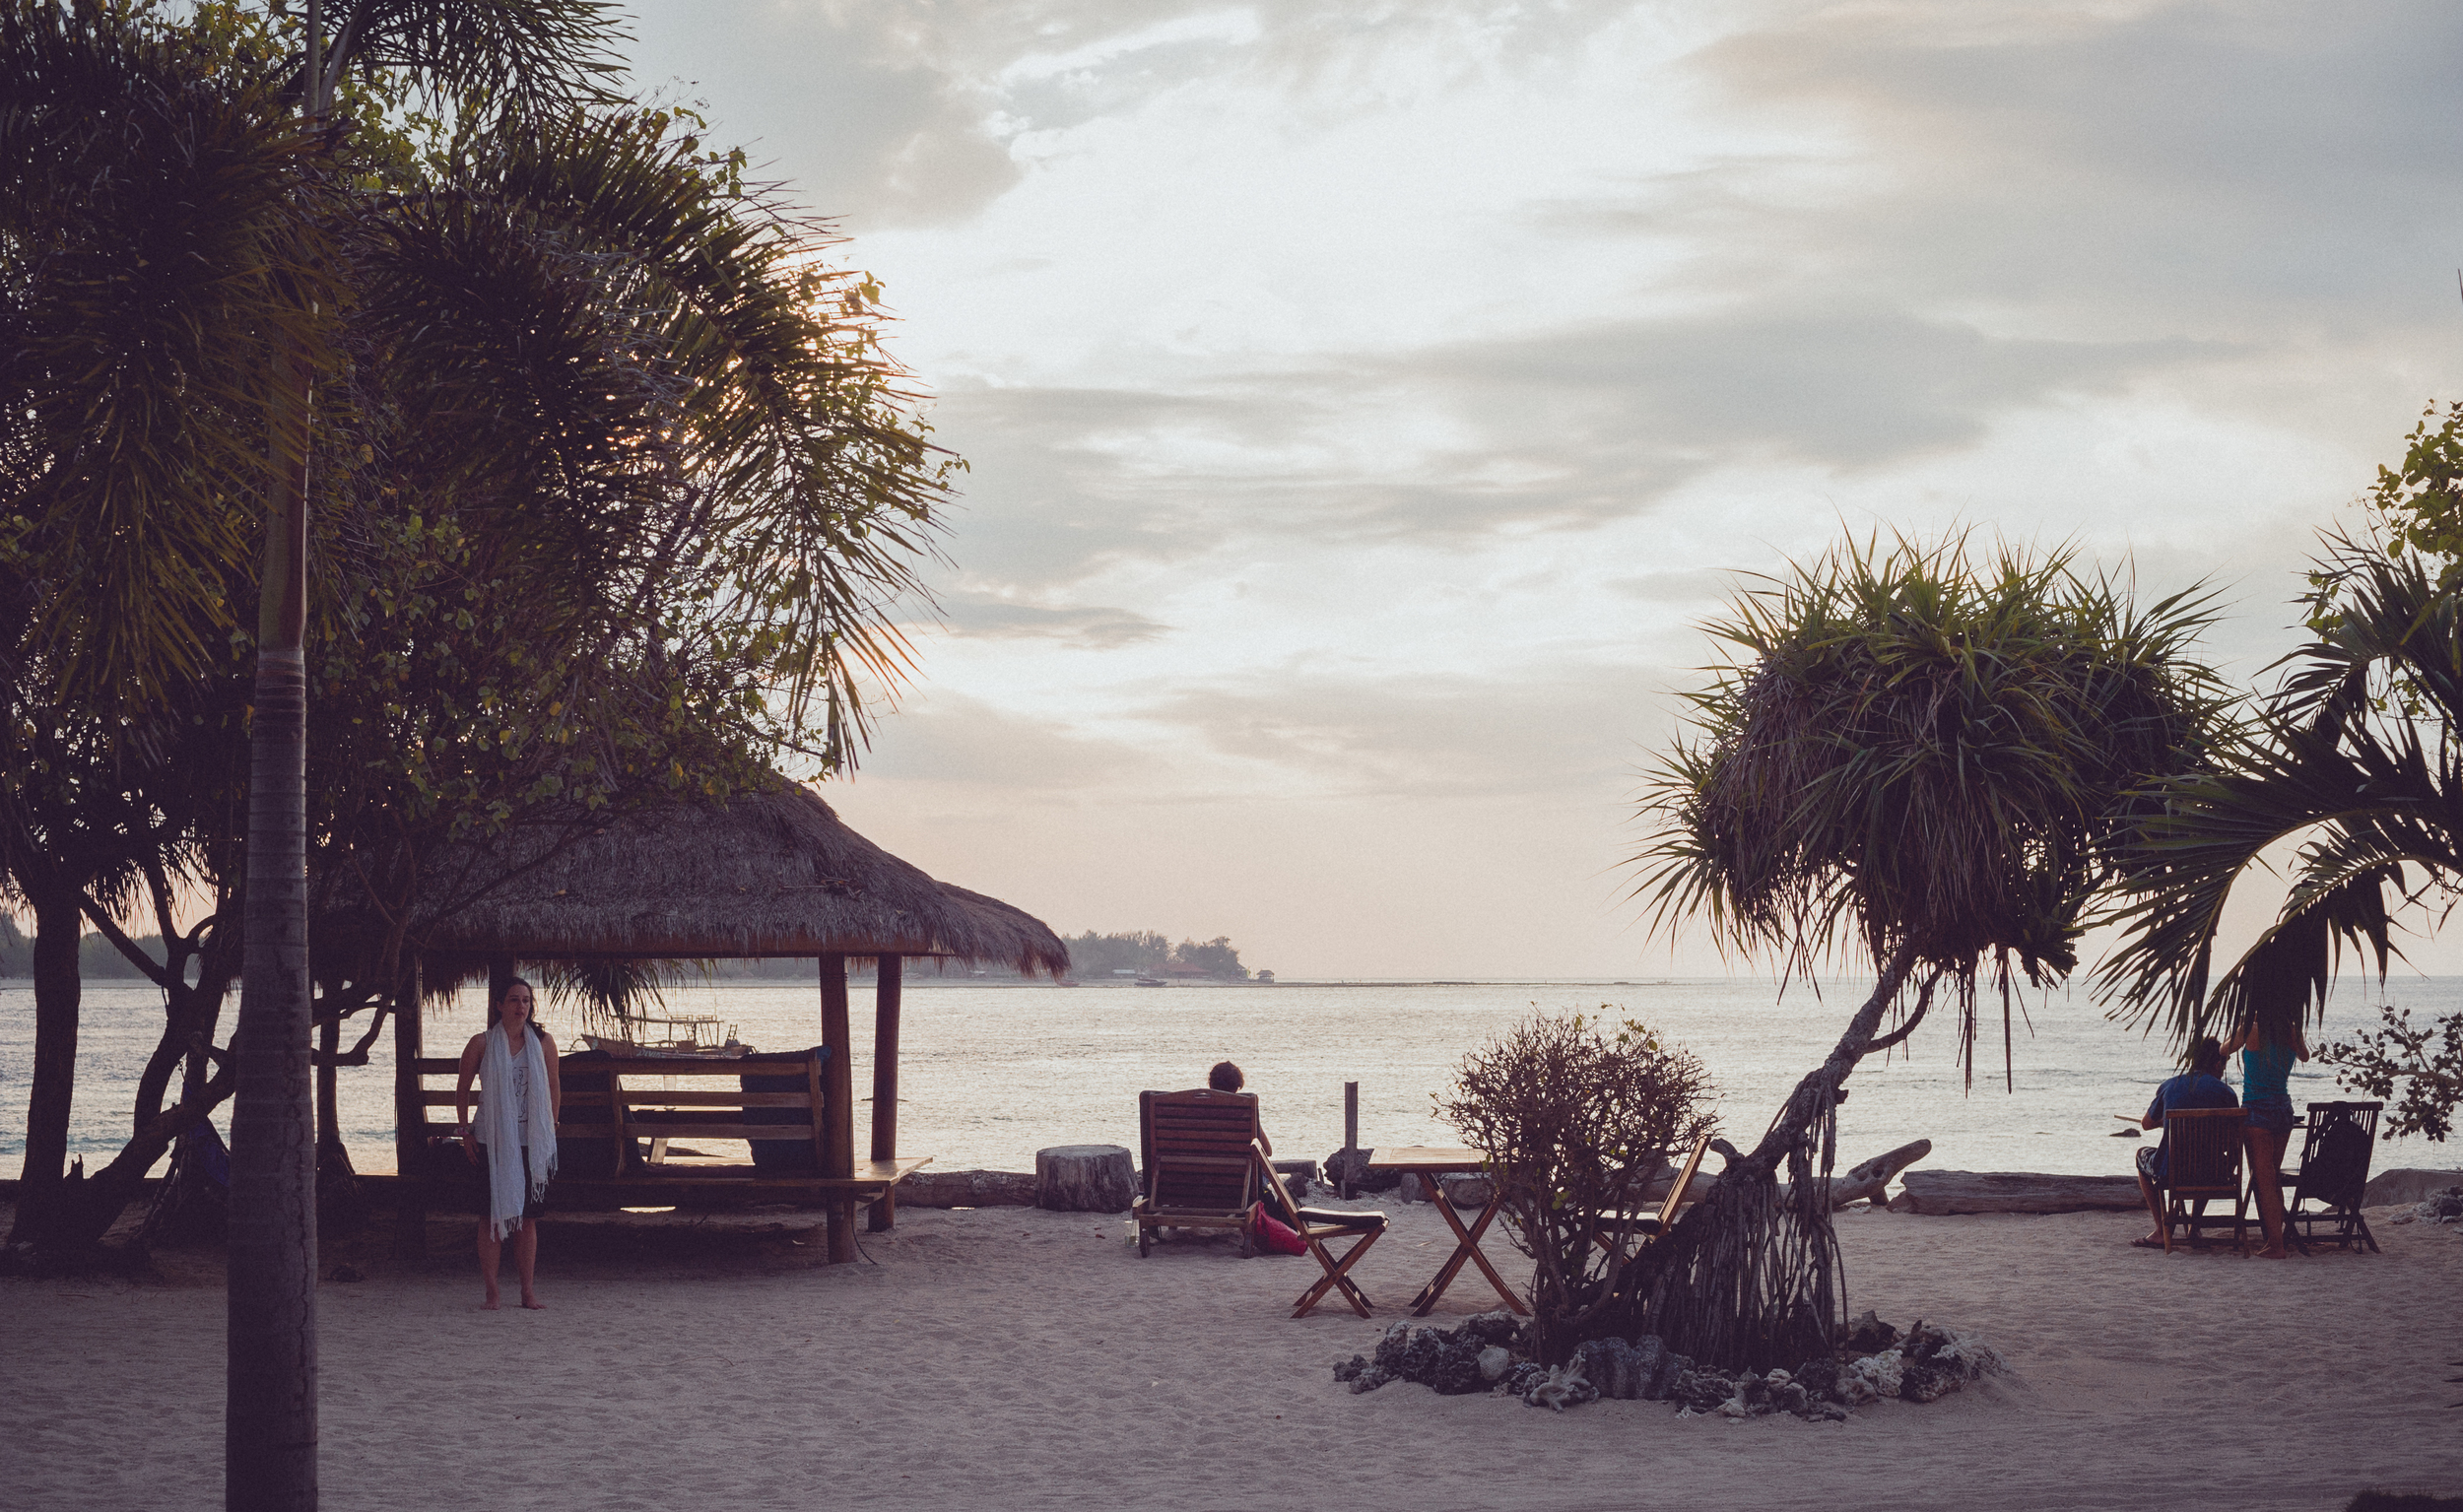
Four weekends of camping in a row, I didn't know I had it in me! We spent 2 weeks in Jinan at Yongdam (click here to find about more about this dog friendly camp site), a long weekend in Gangwon Province (click here) and then this, our last camping spot on a secluded beach on Namhae Island, on the Southern Coast of South Korea. 

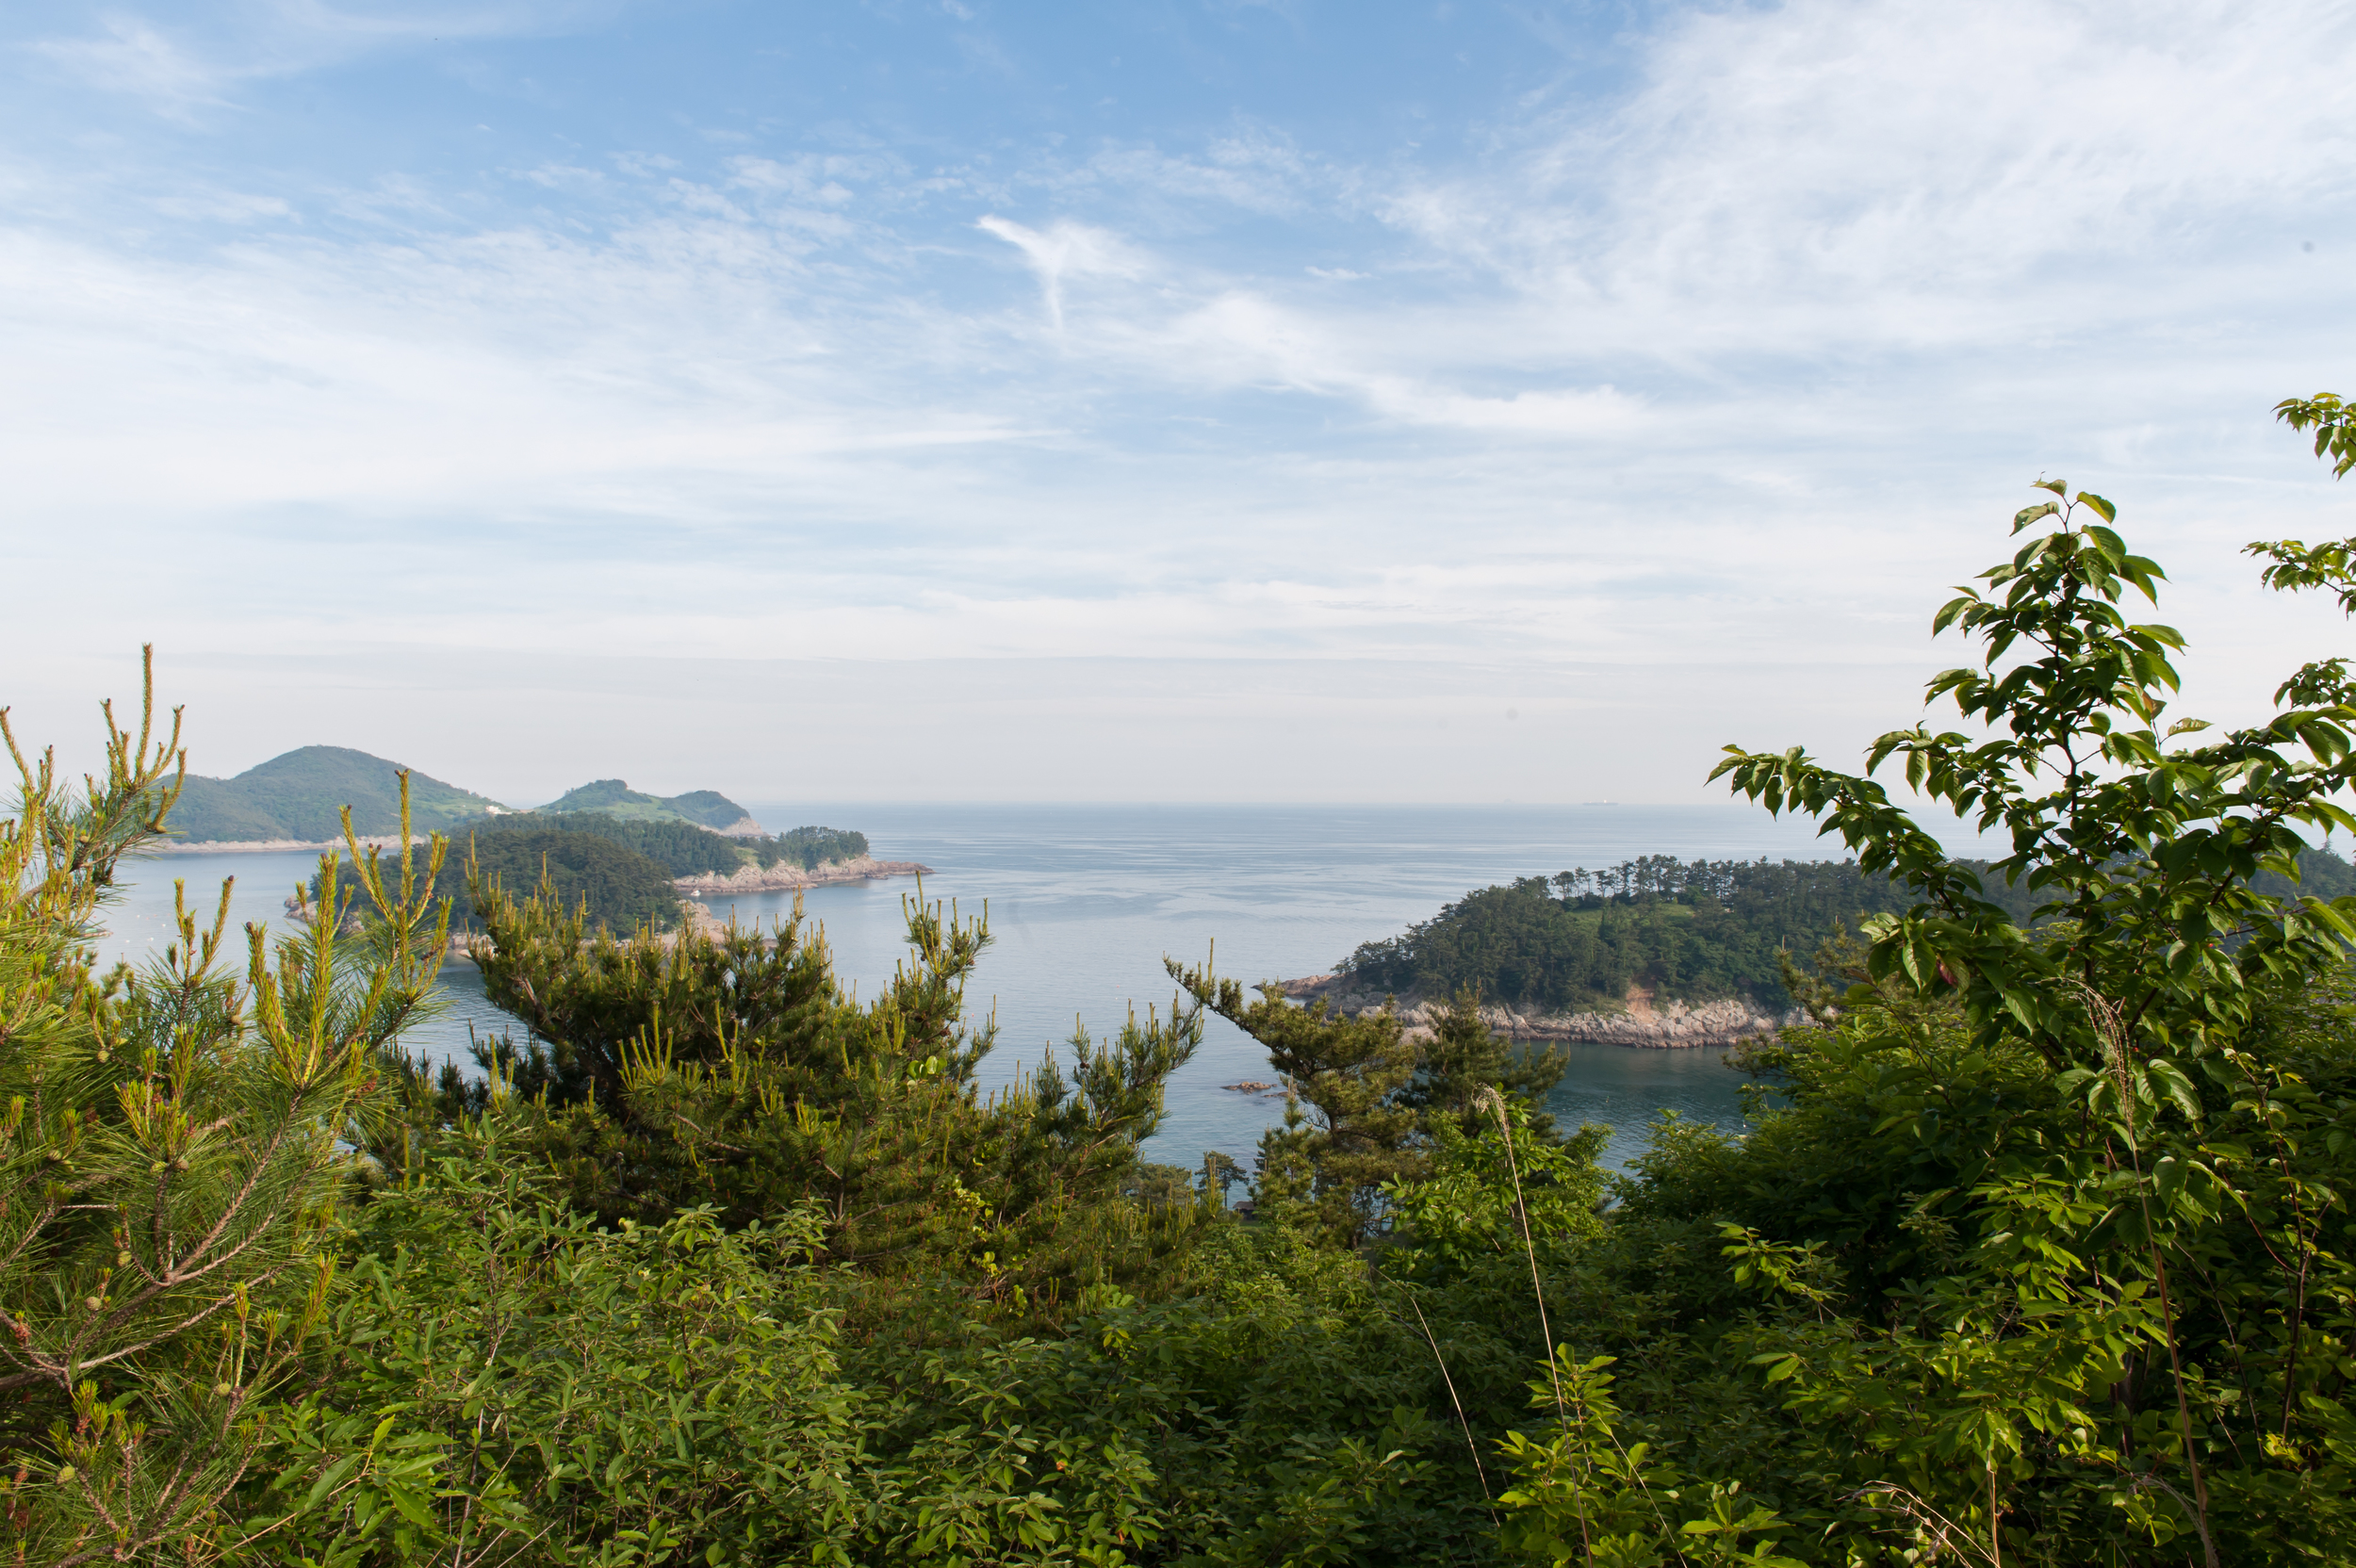
Namhae is an island off Korea that you can reach without a ferry, something that is quite important to bear in mind if your are traveling over a long weekend and haven't booked ferry tickets in advance. It only took us 2 hours to get to from our home in Buan (a small town near the South West coast of Korea). Namhae Island has quite a lot of interesting attractions (which we did our best to avoid due to the large crowds) like the German Village; an odd settlement of houses along the coast built to welcome home the Korean families (and their German spouses) who had moved to Germany in search of work in the 1960's. 

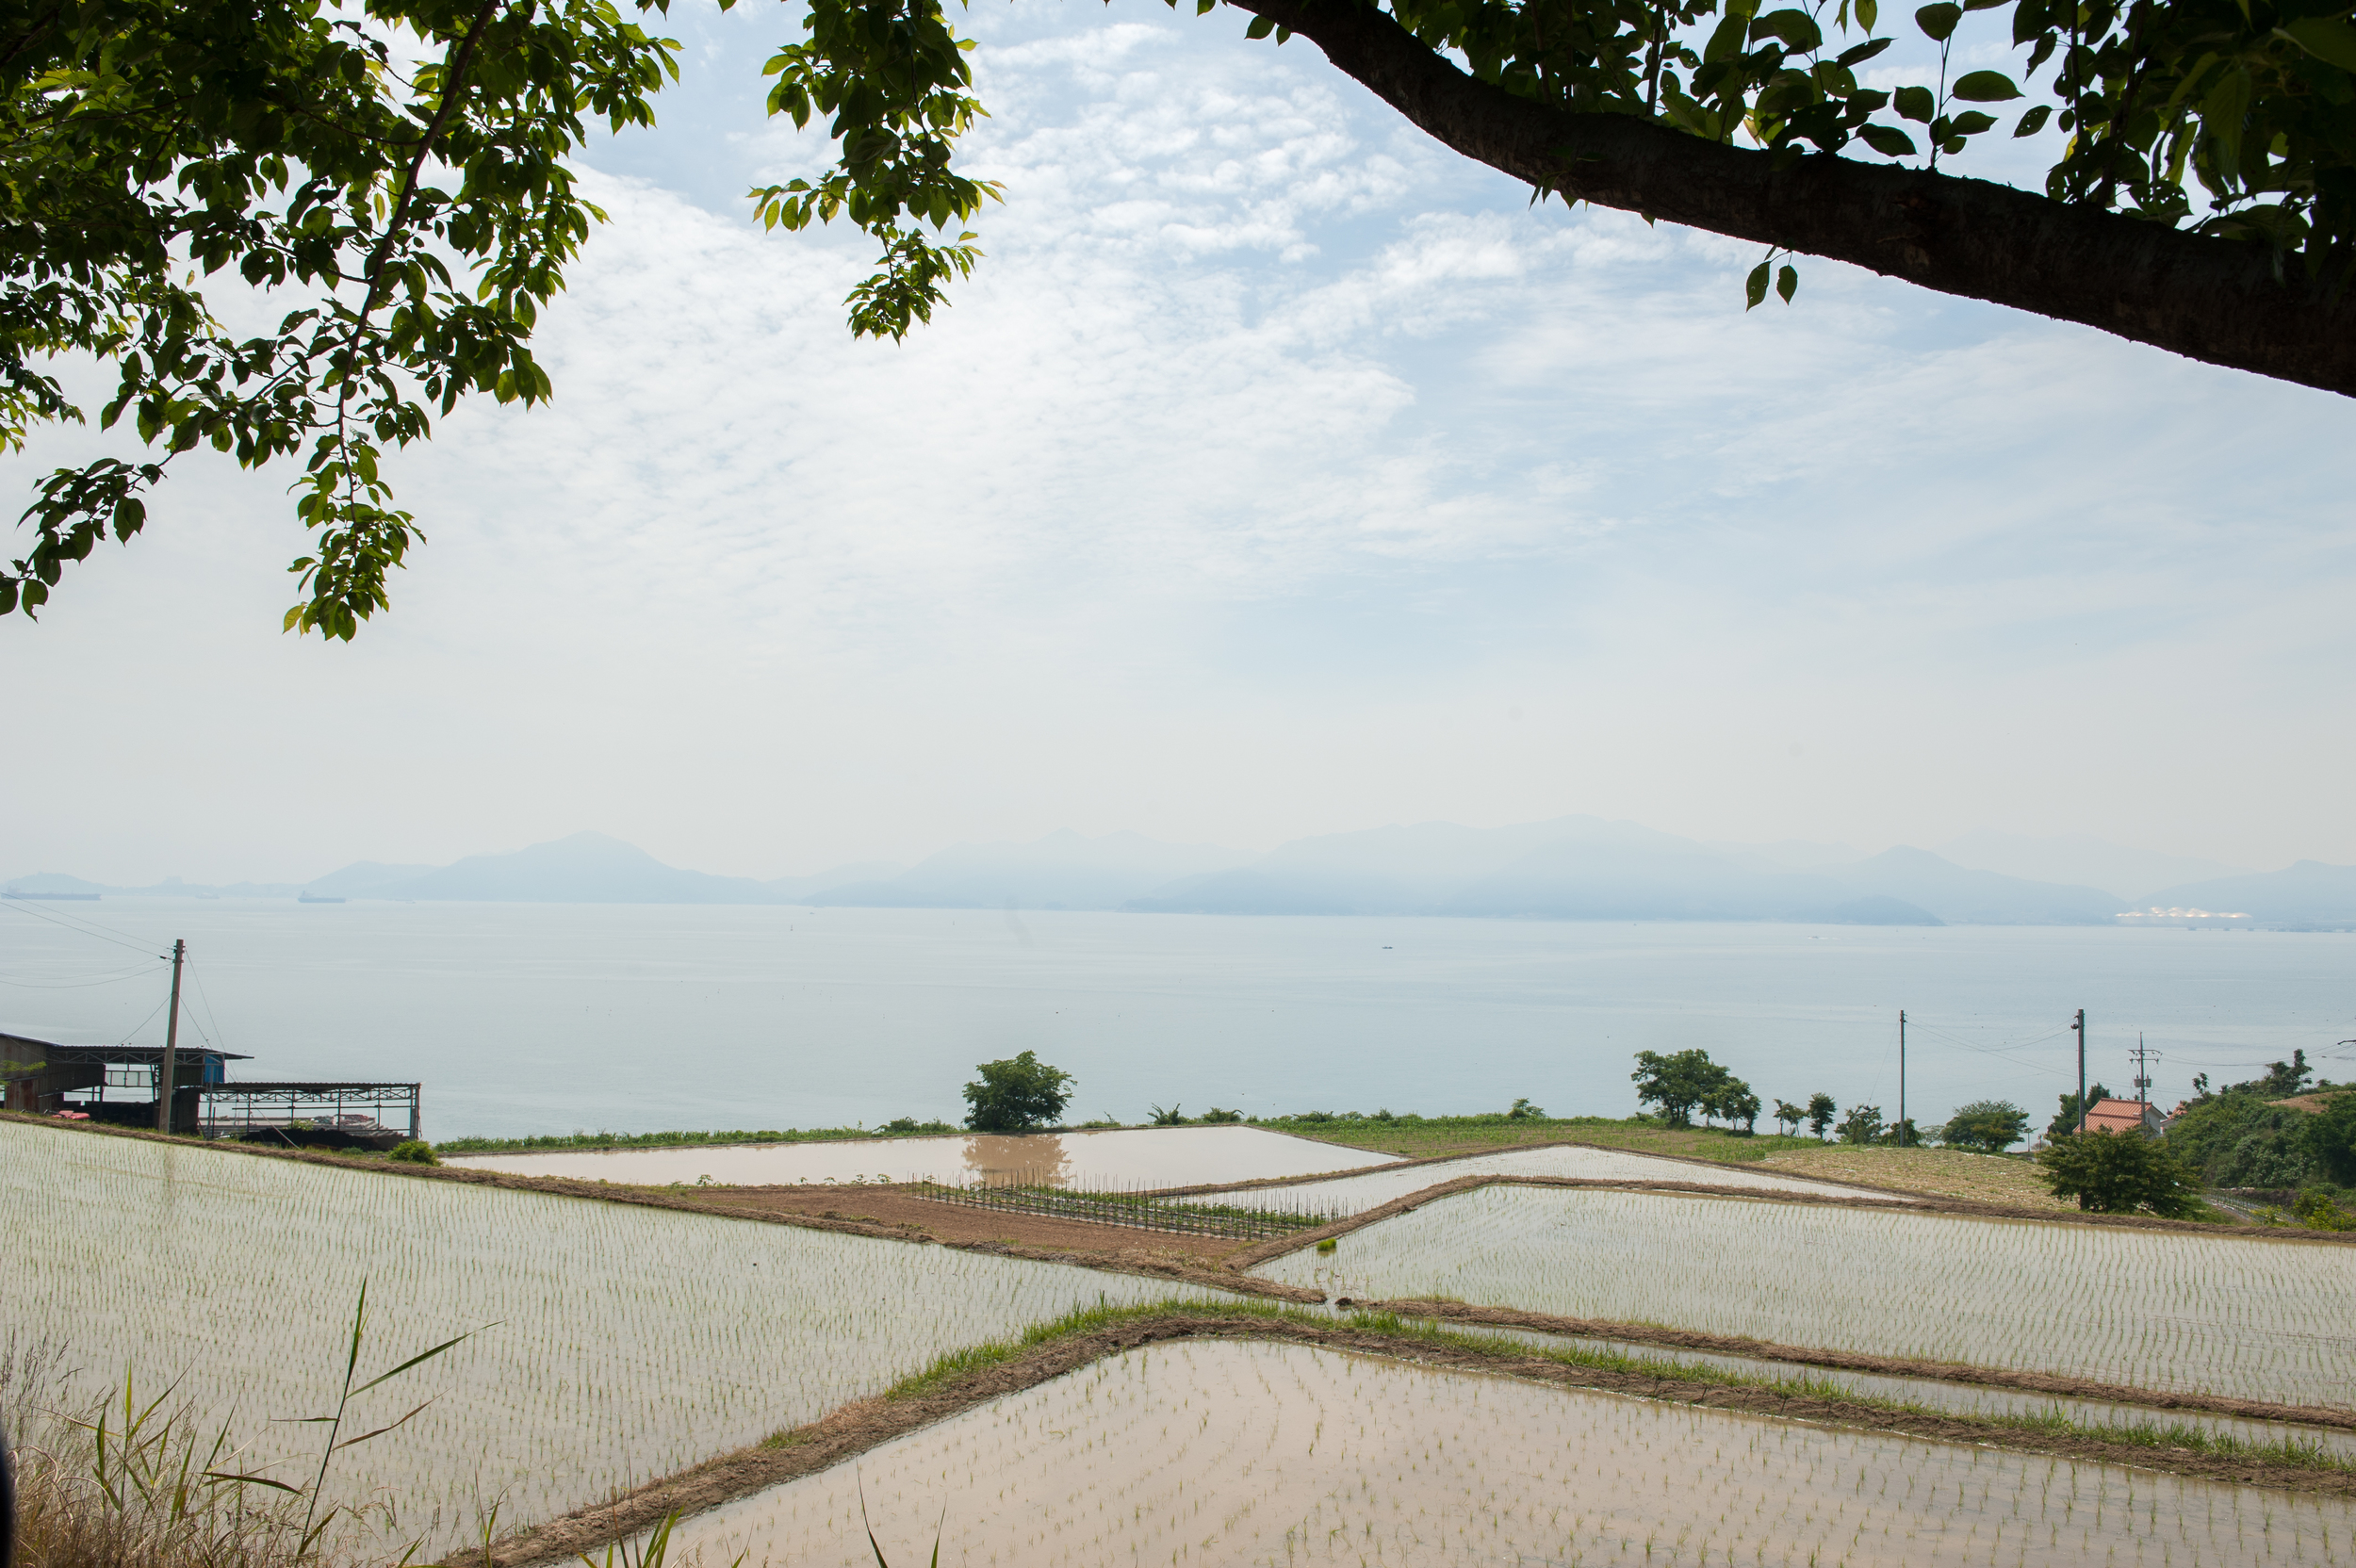
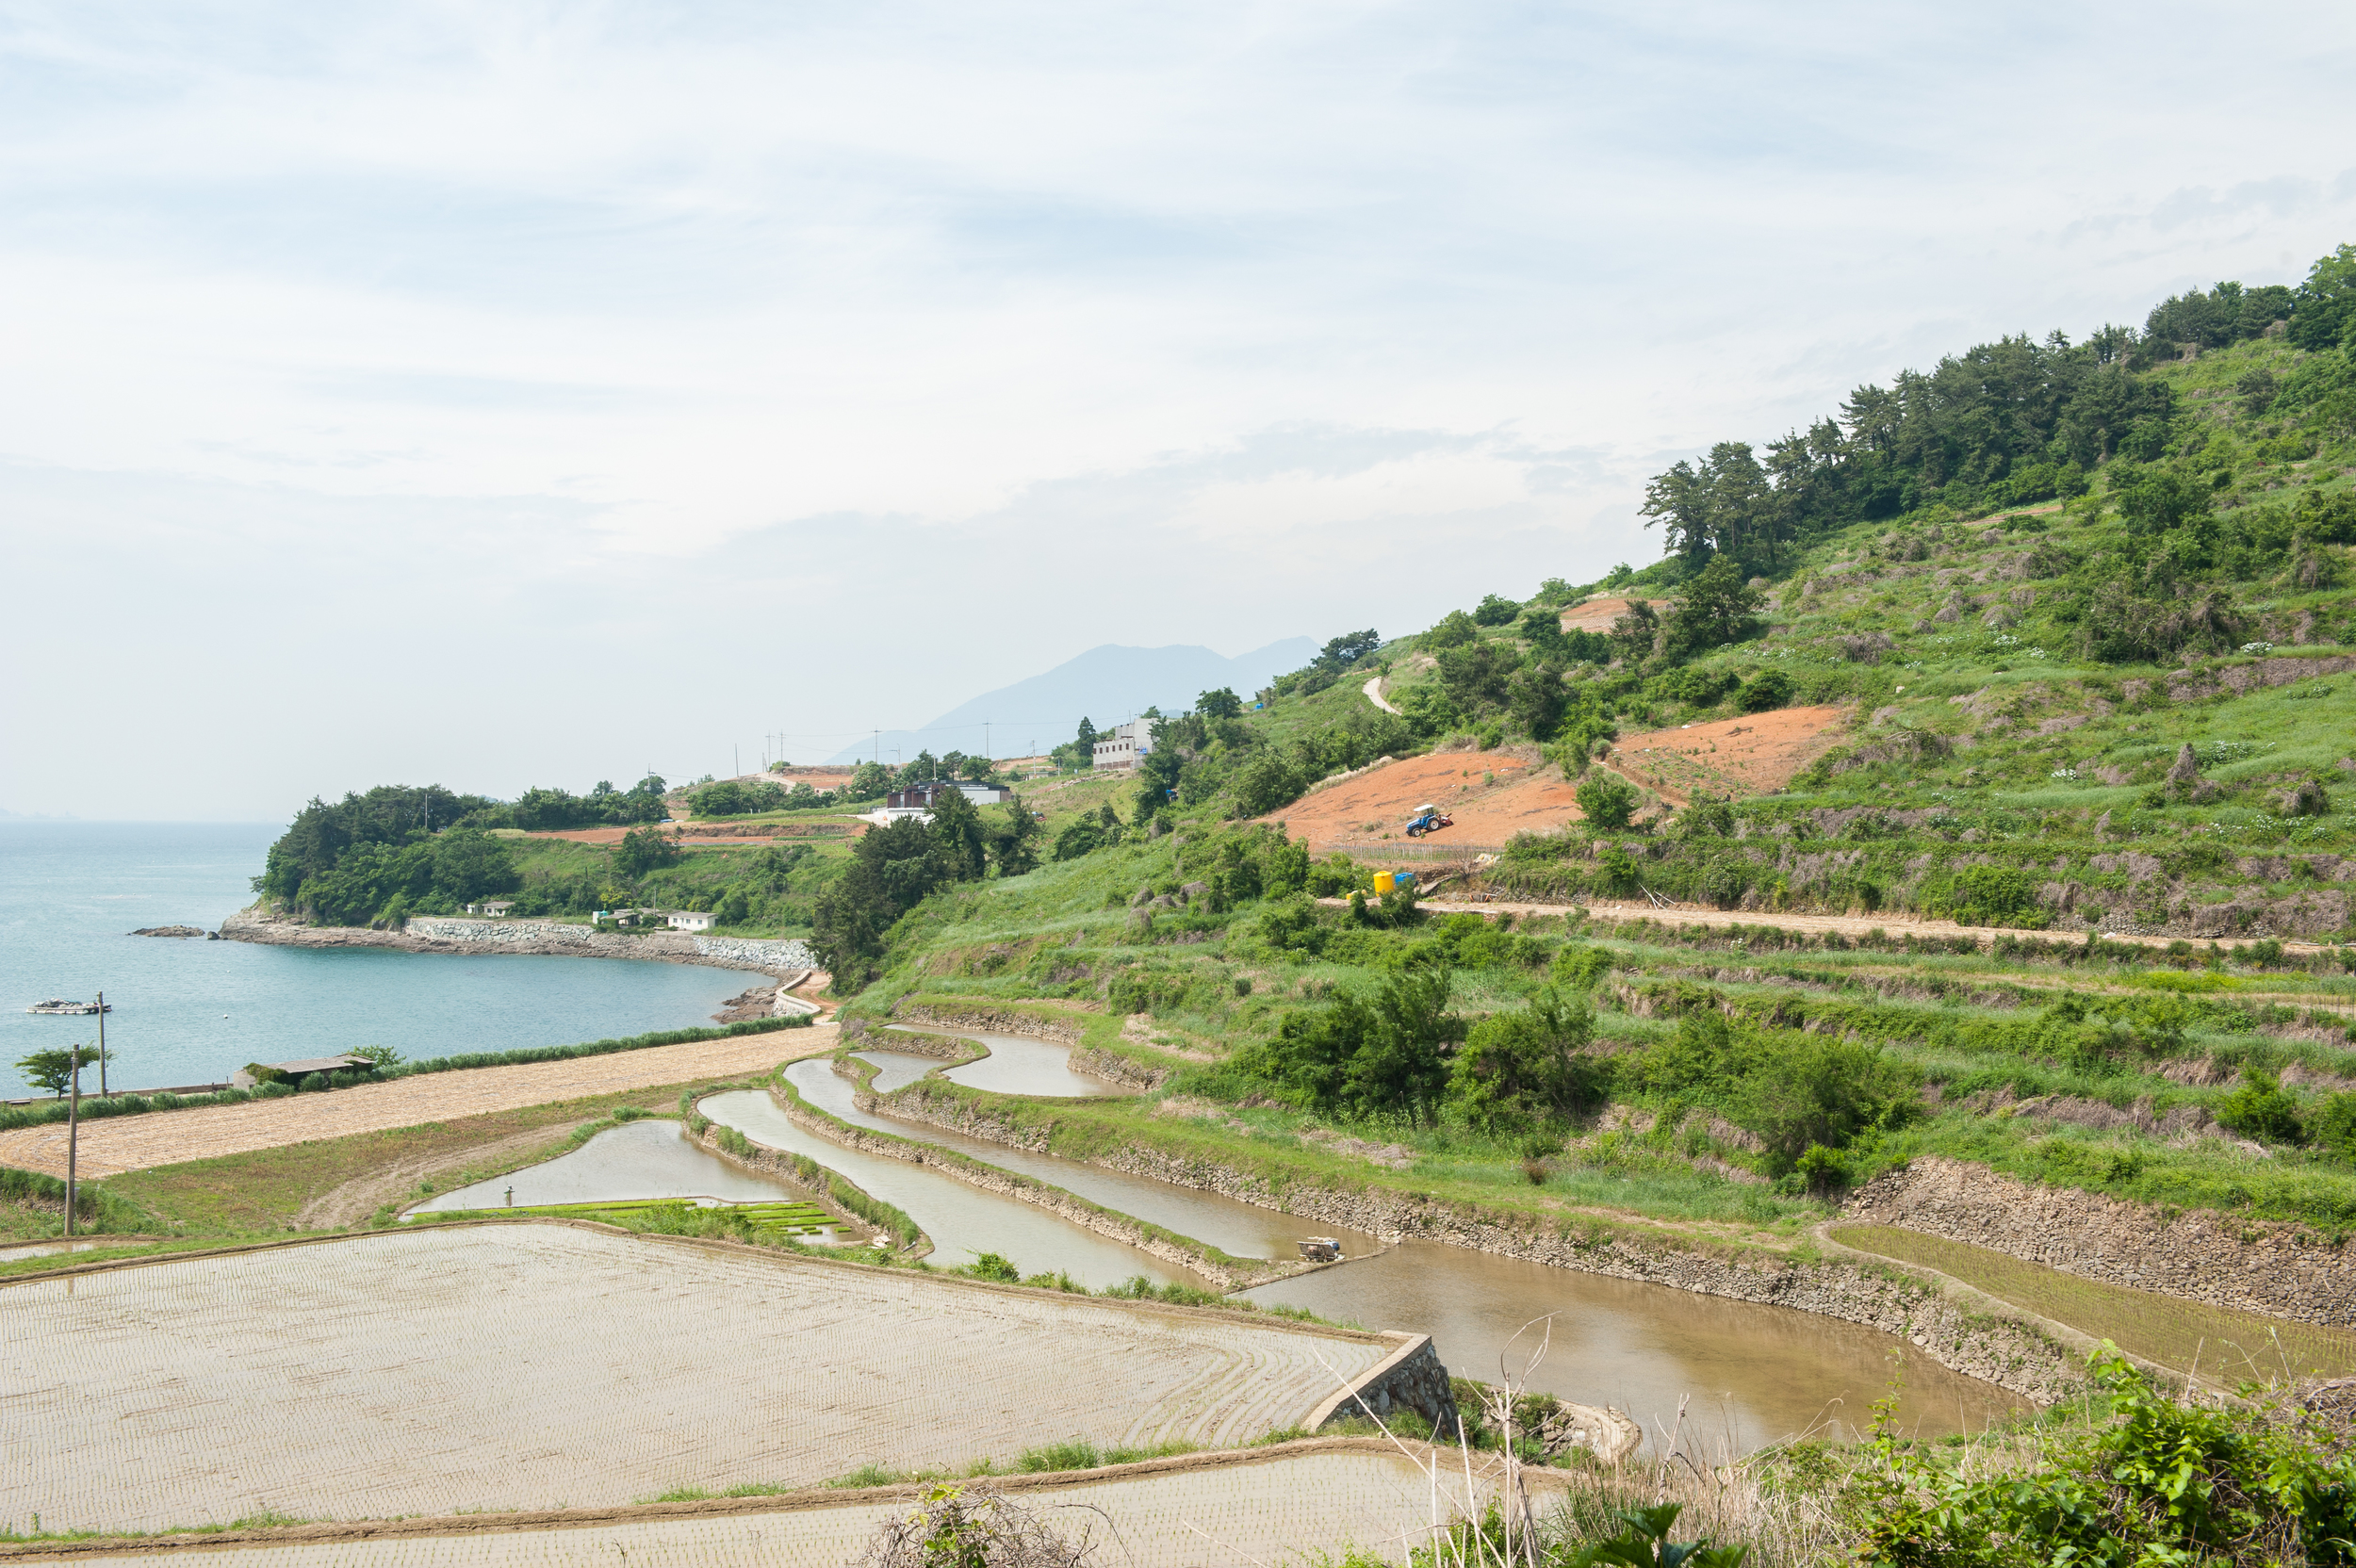
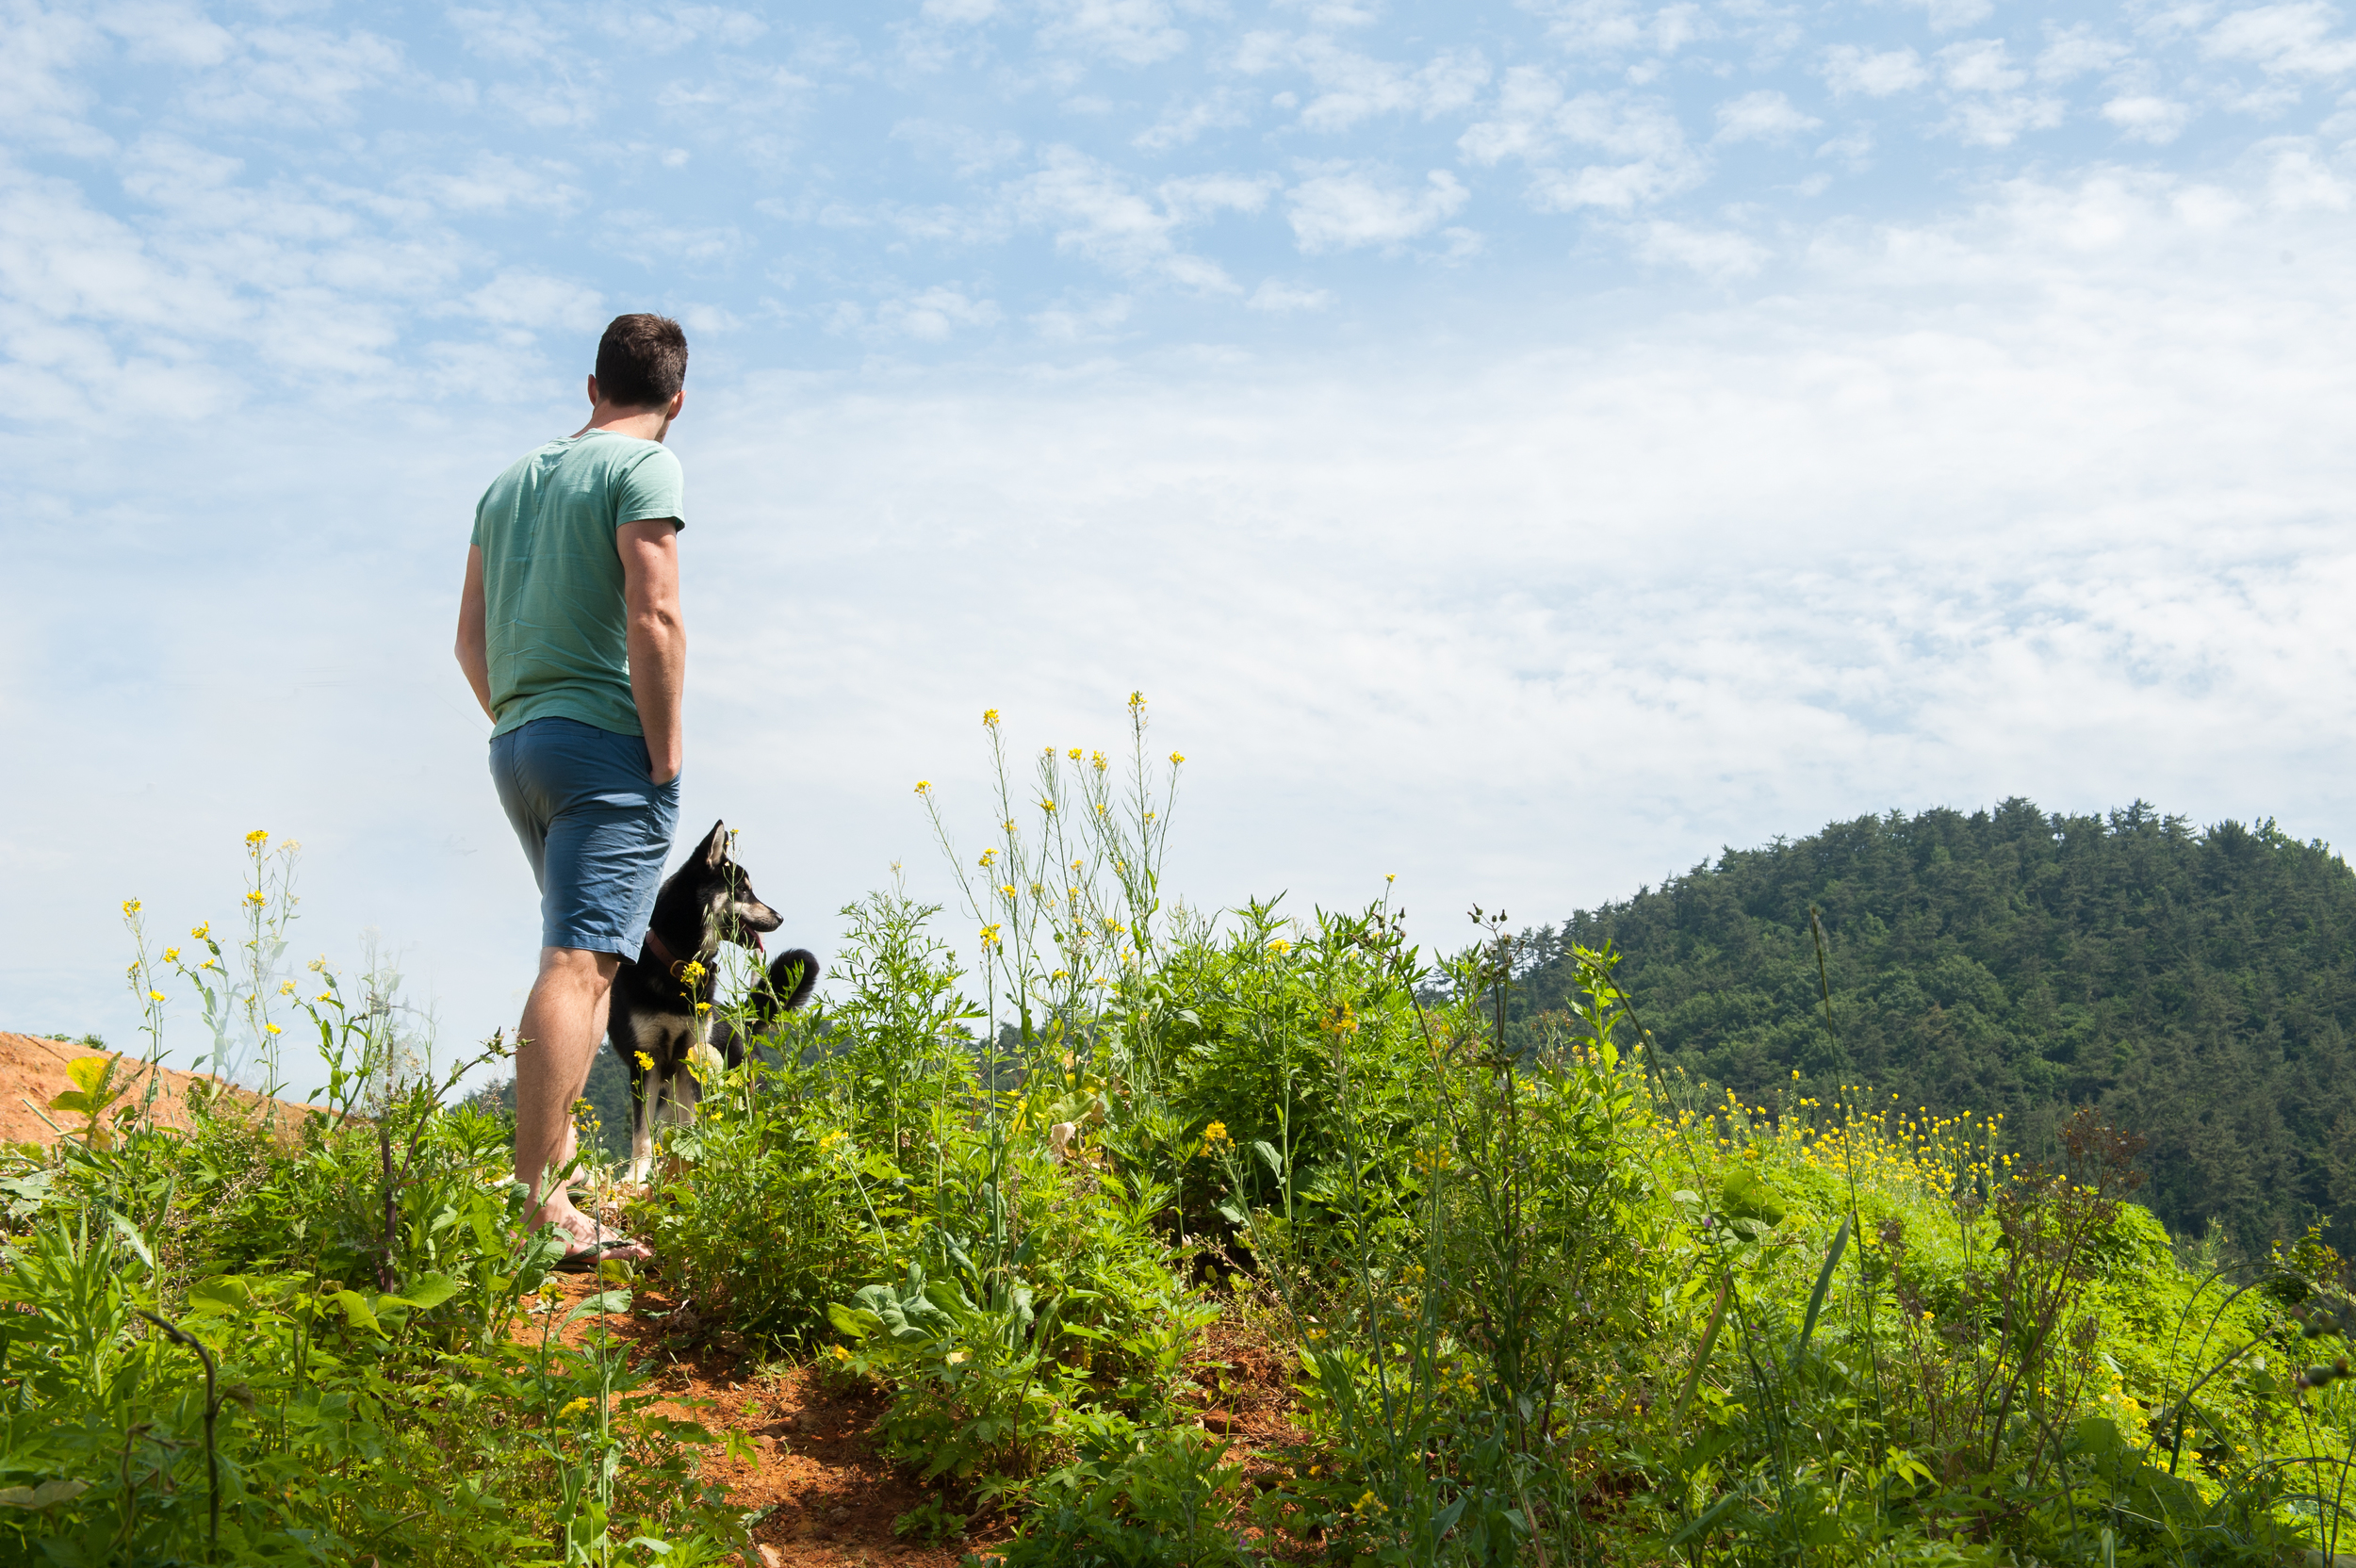
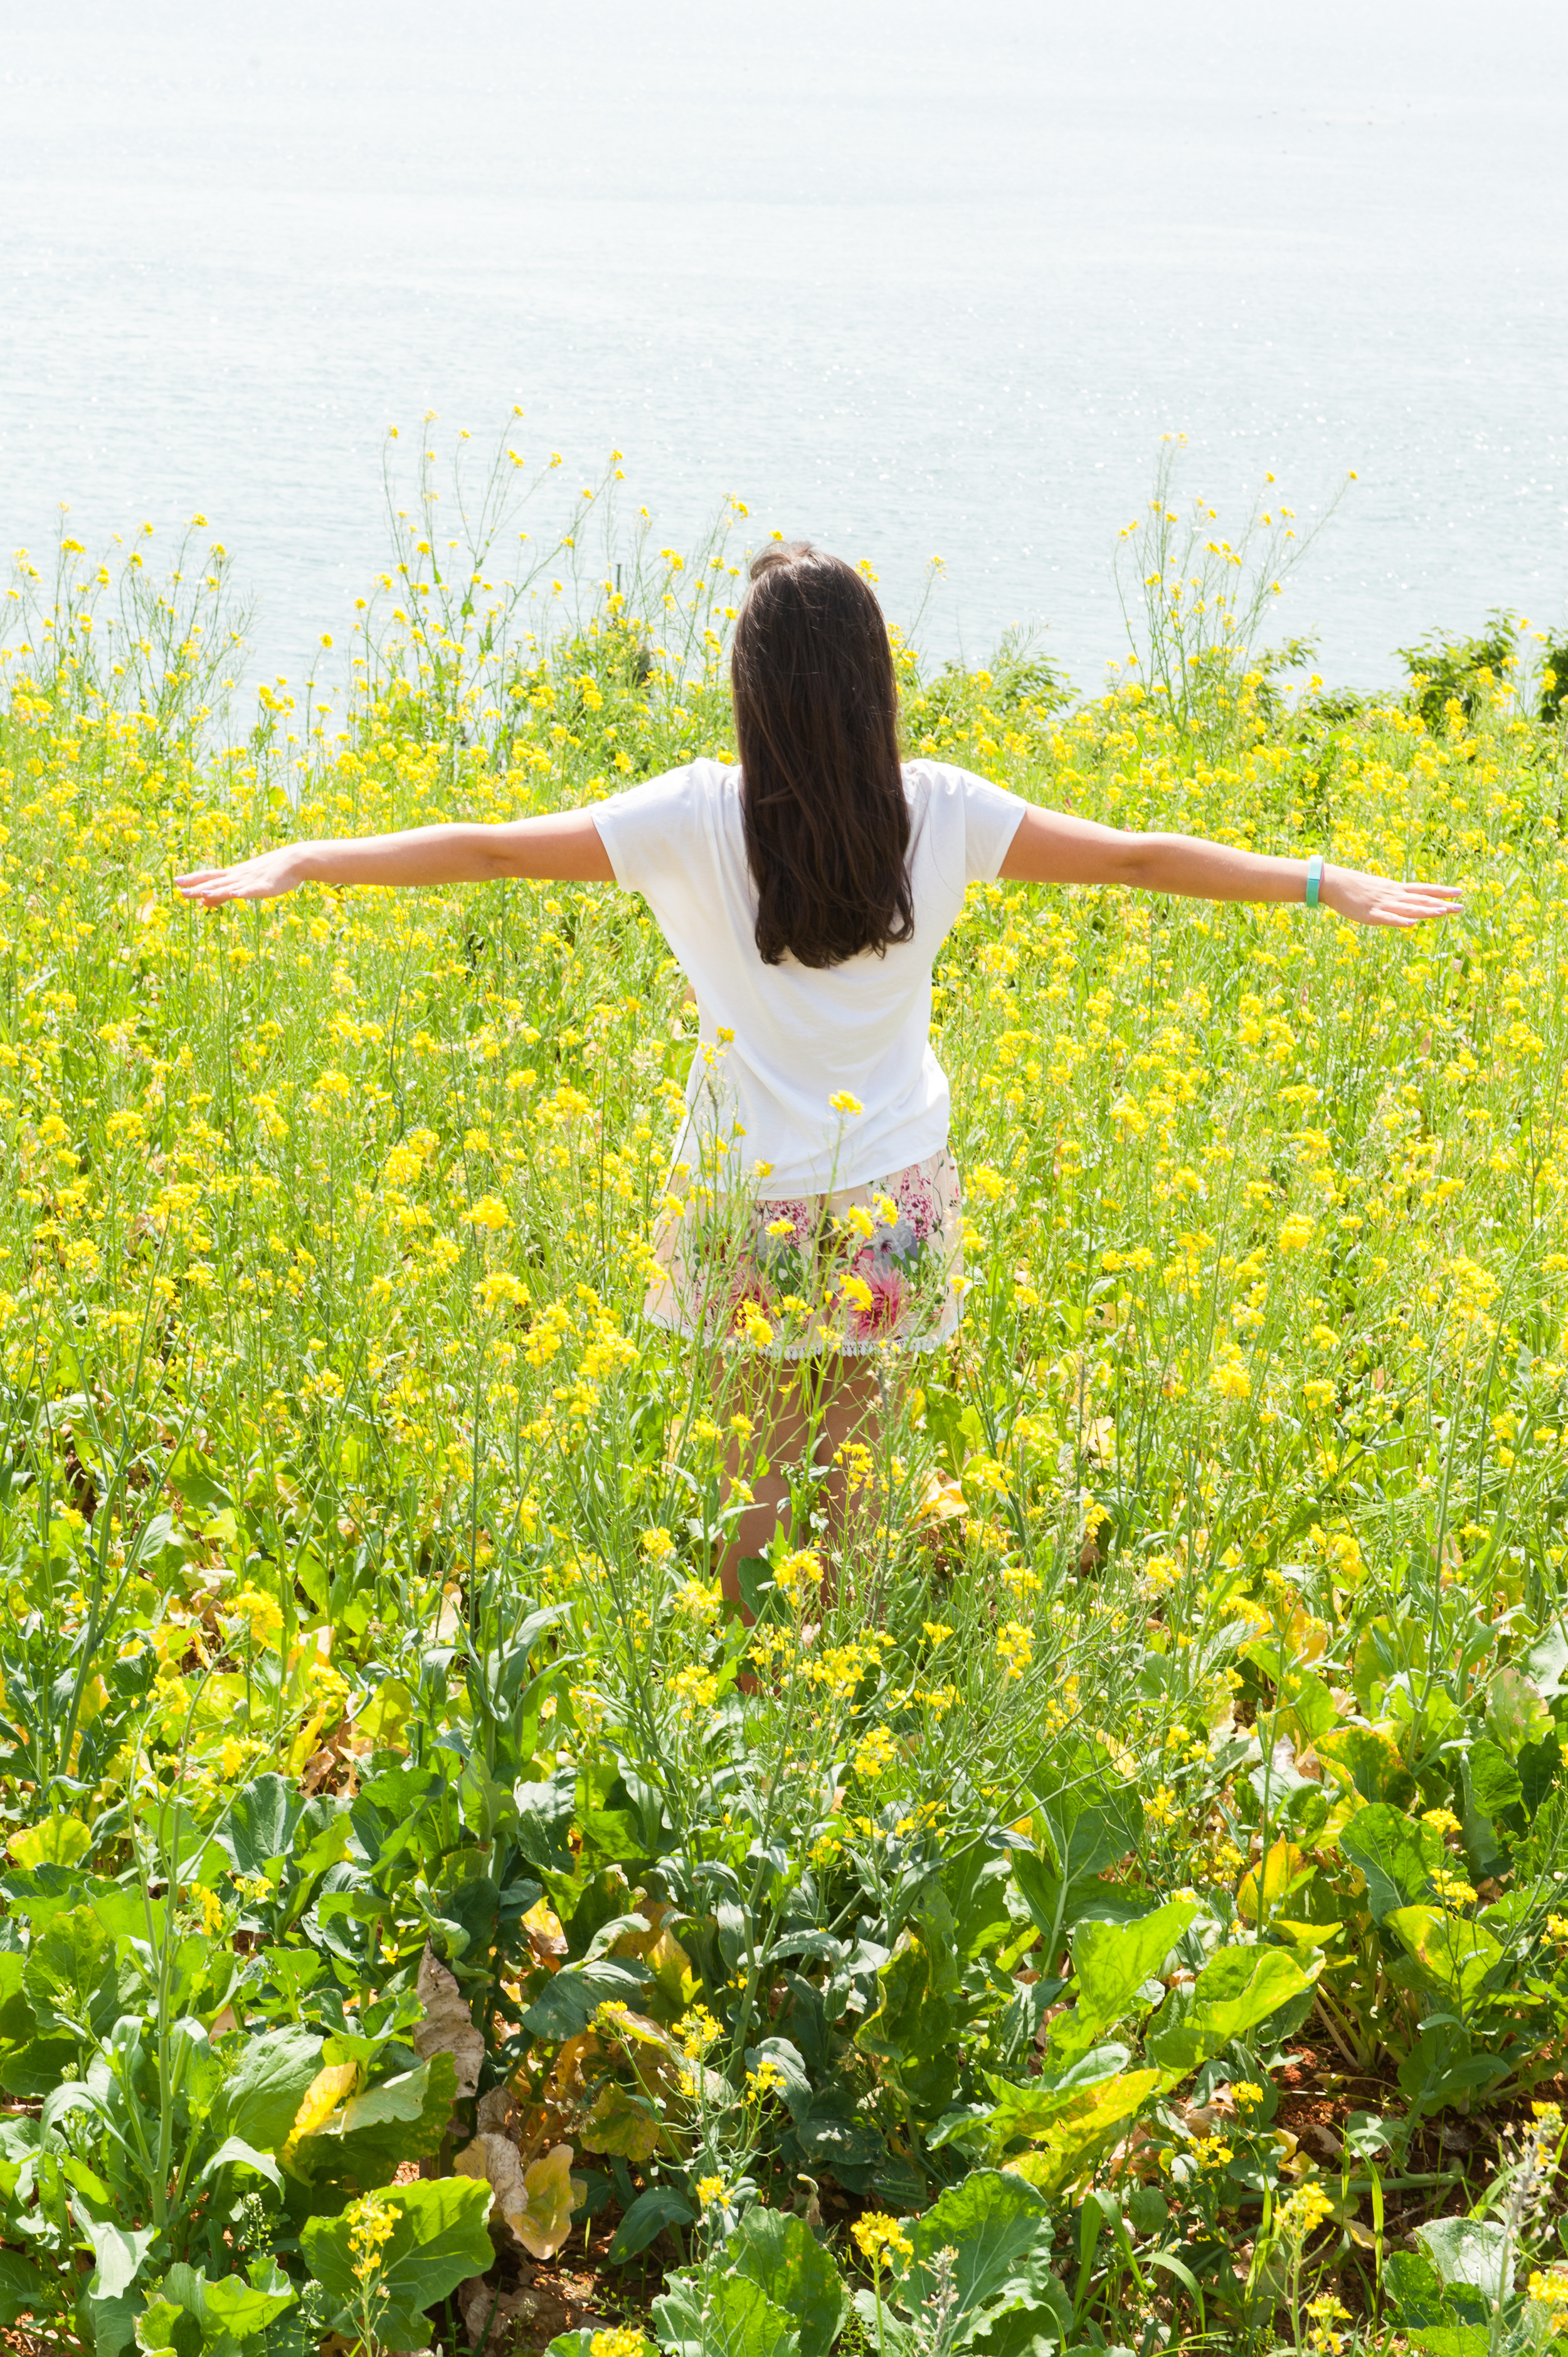
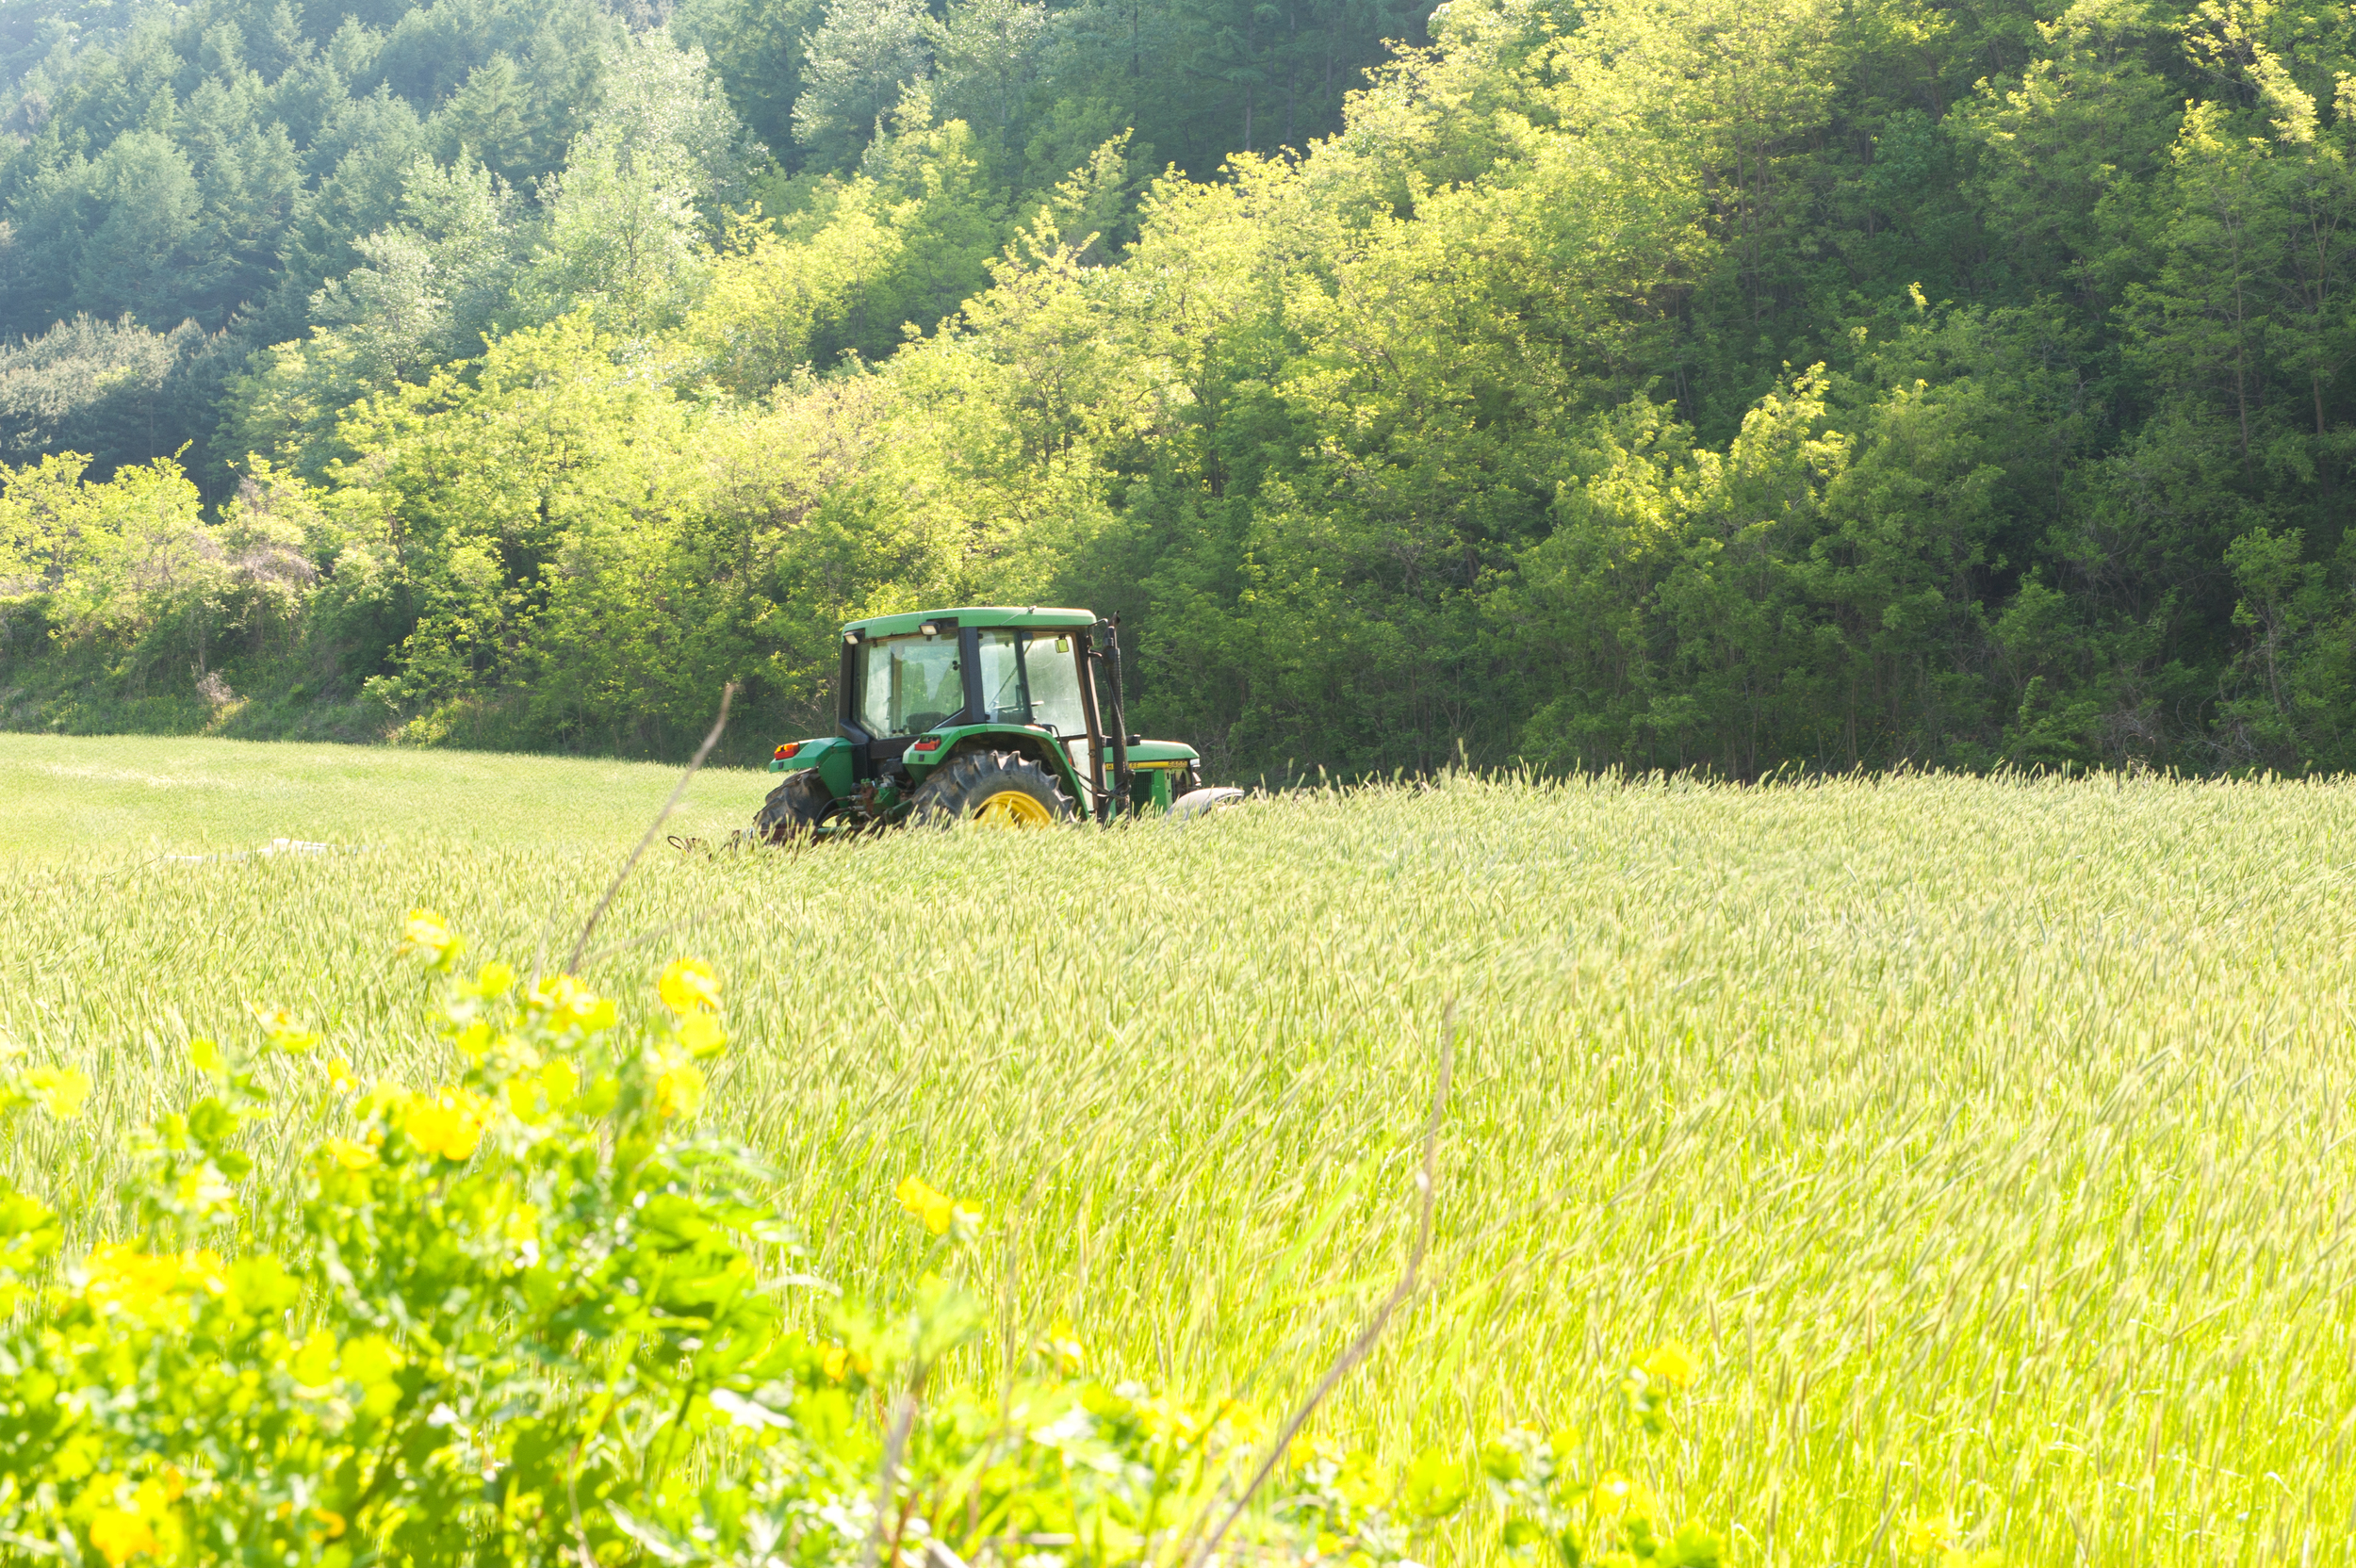
Namhae is also very famous for it's rice terraces (although rice is farmed all over Korea it seems that Namhae is one of the few places that farms on terraces) and these terraces made an interesting contrast to the ocean views. The canola (or Rape Seed as it is called here in Korea) fields were still out in full bloom and also made for a pretty photo stop on our drive around the island.

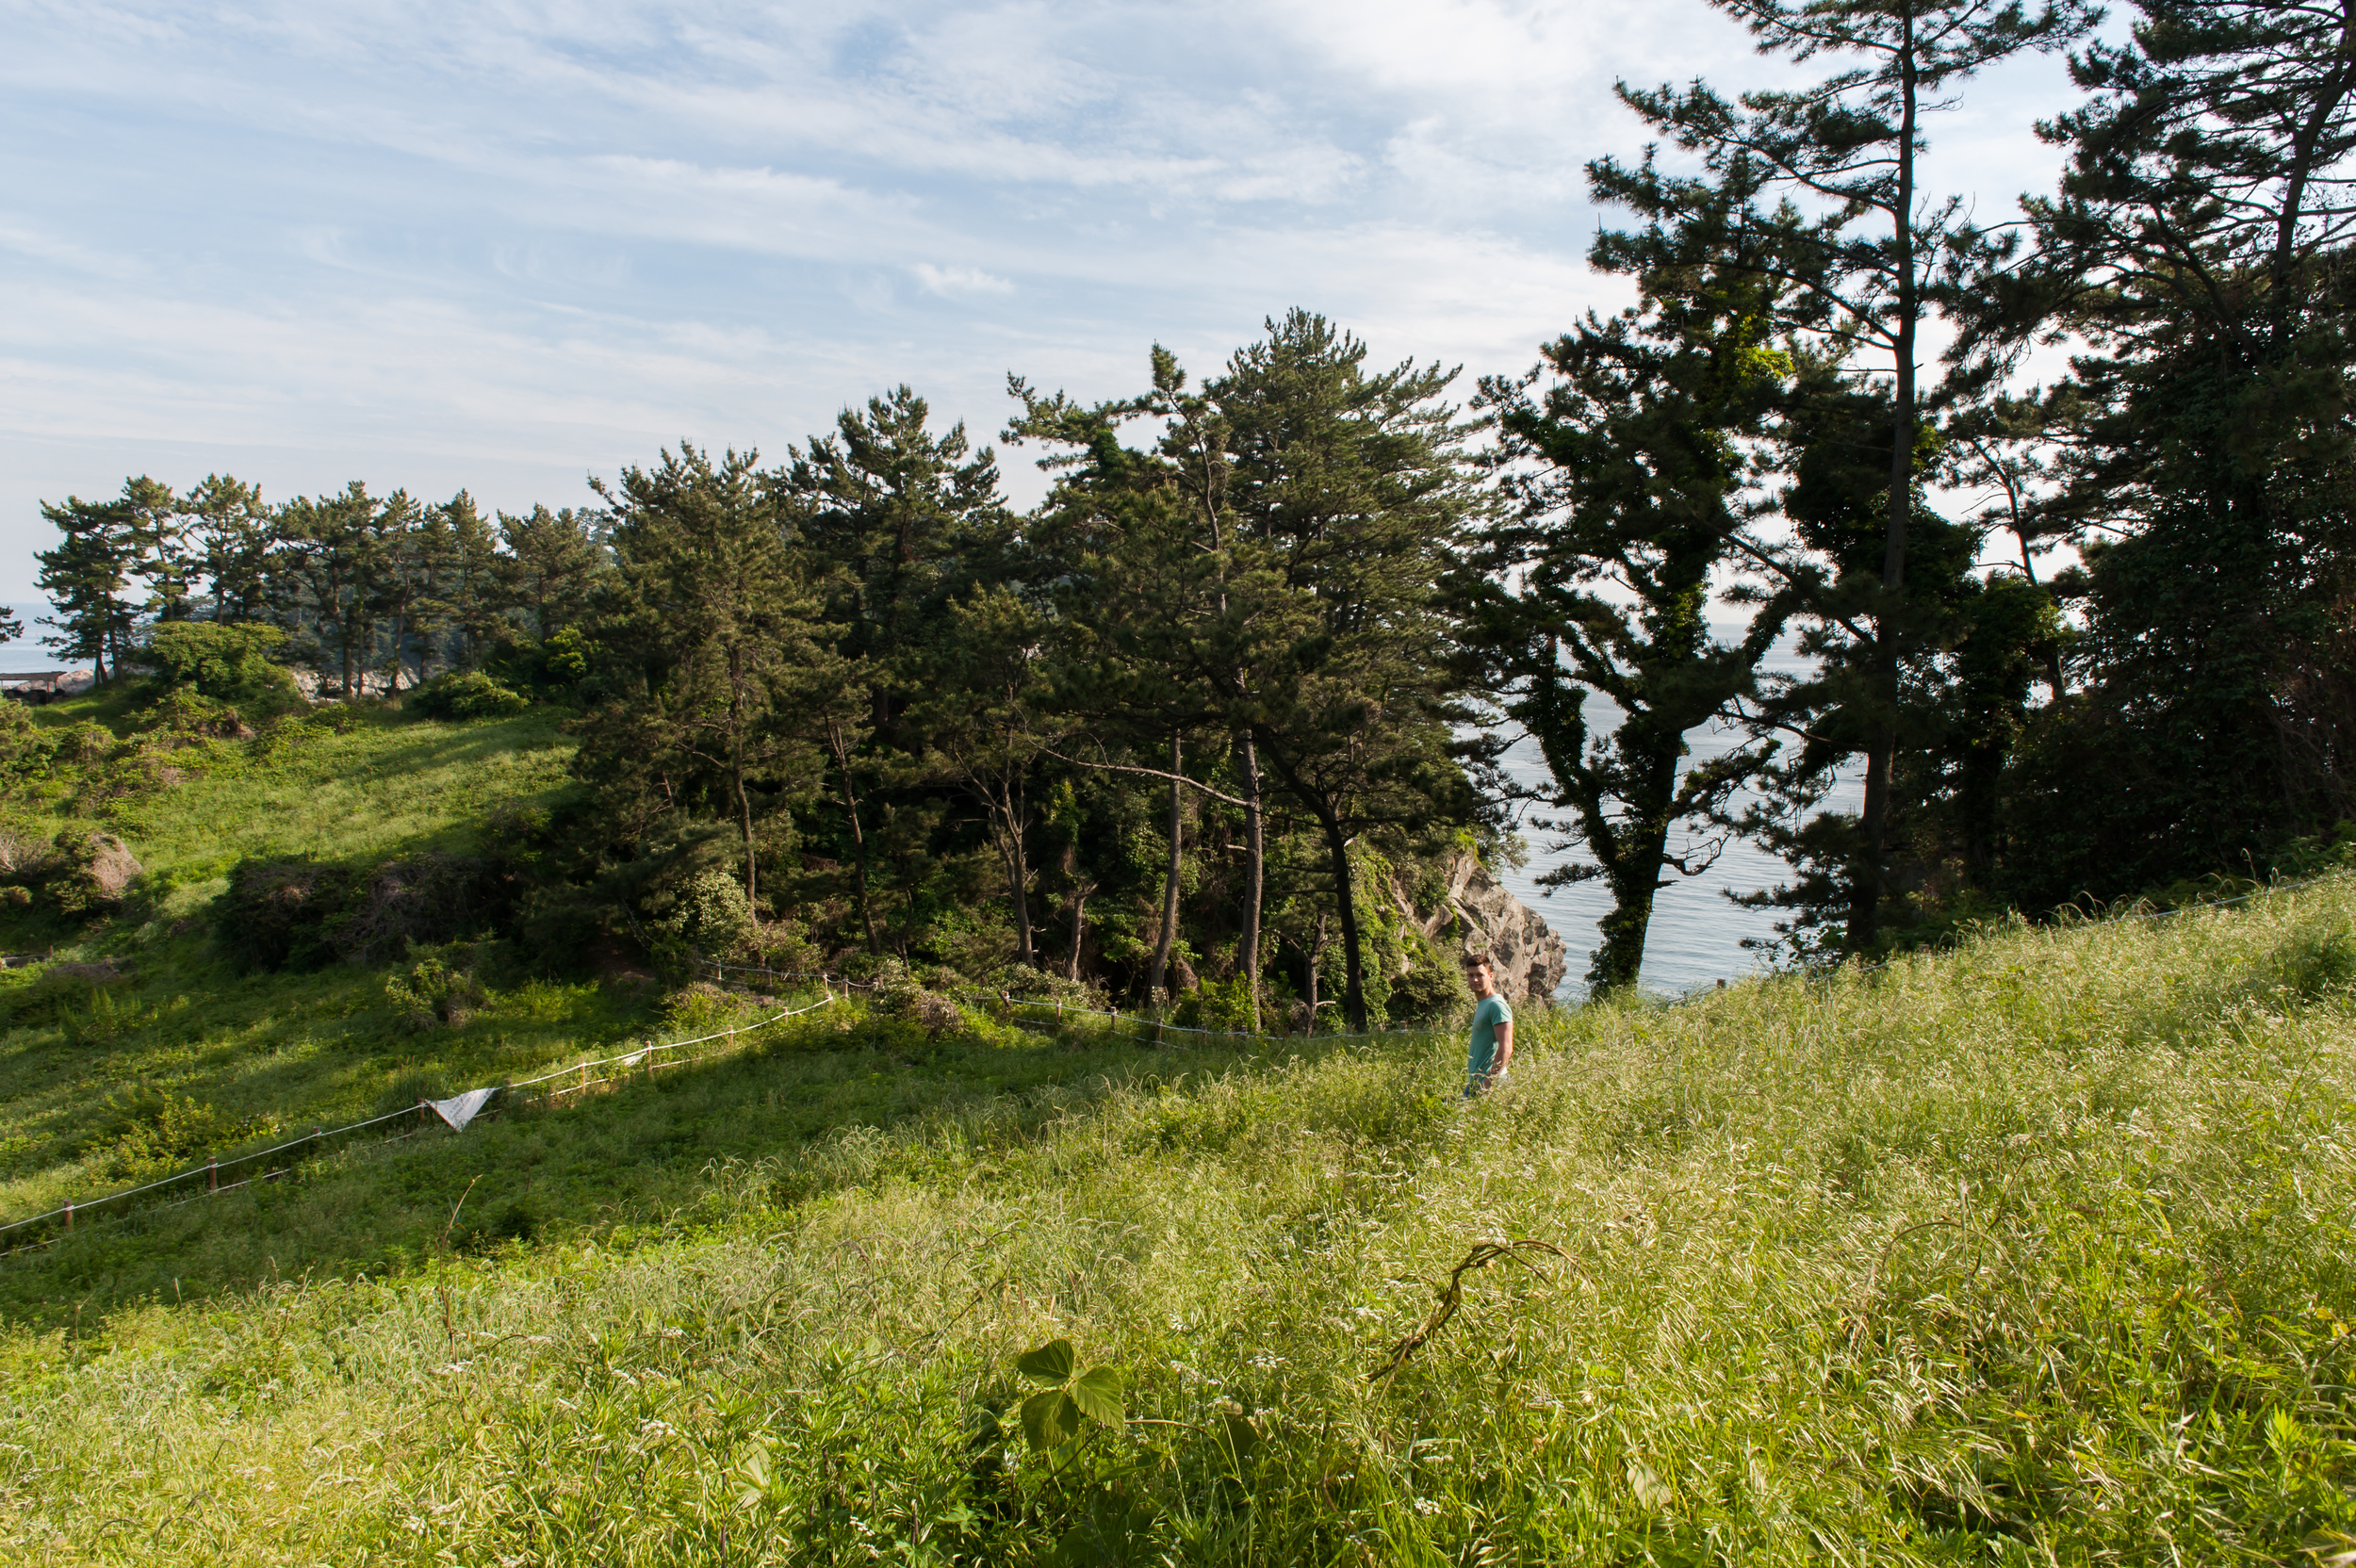
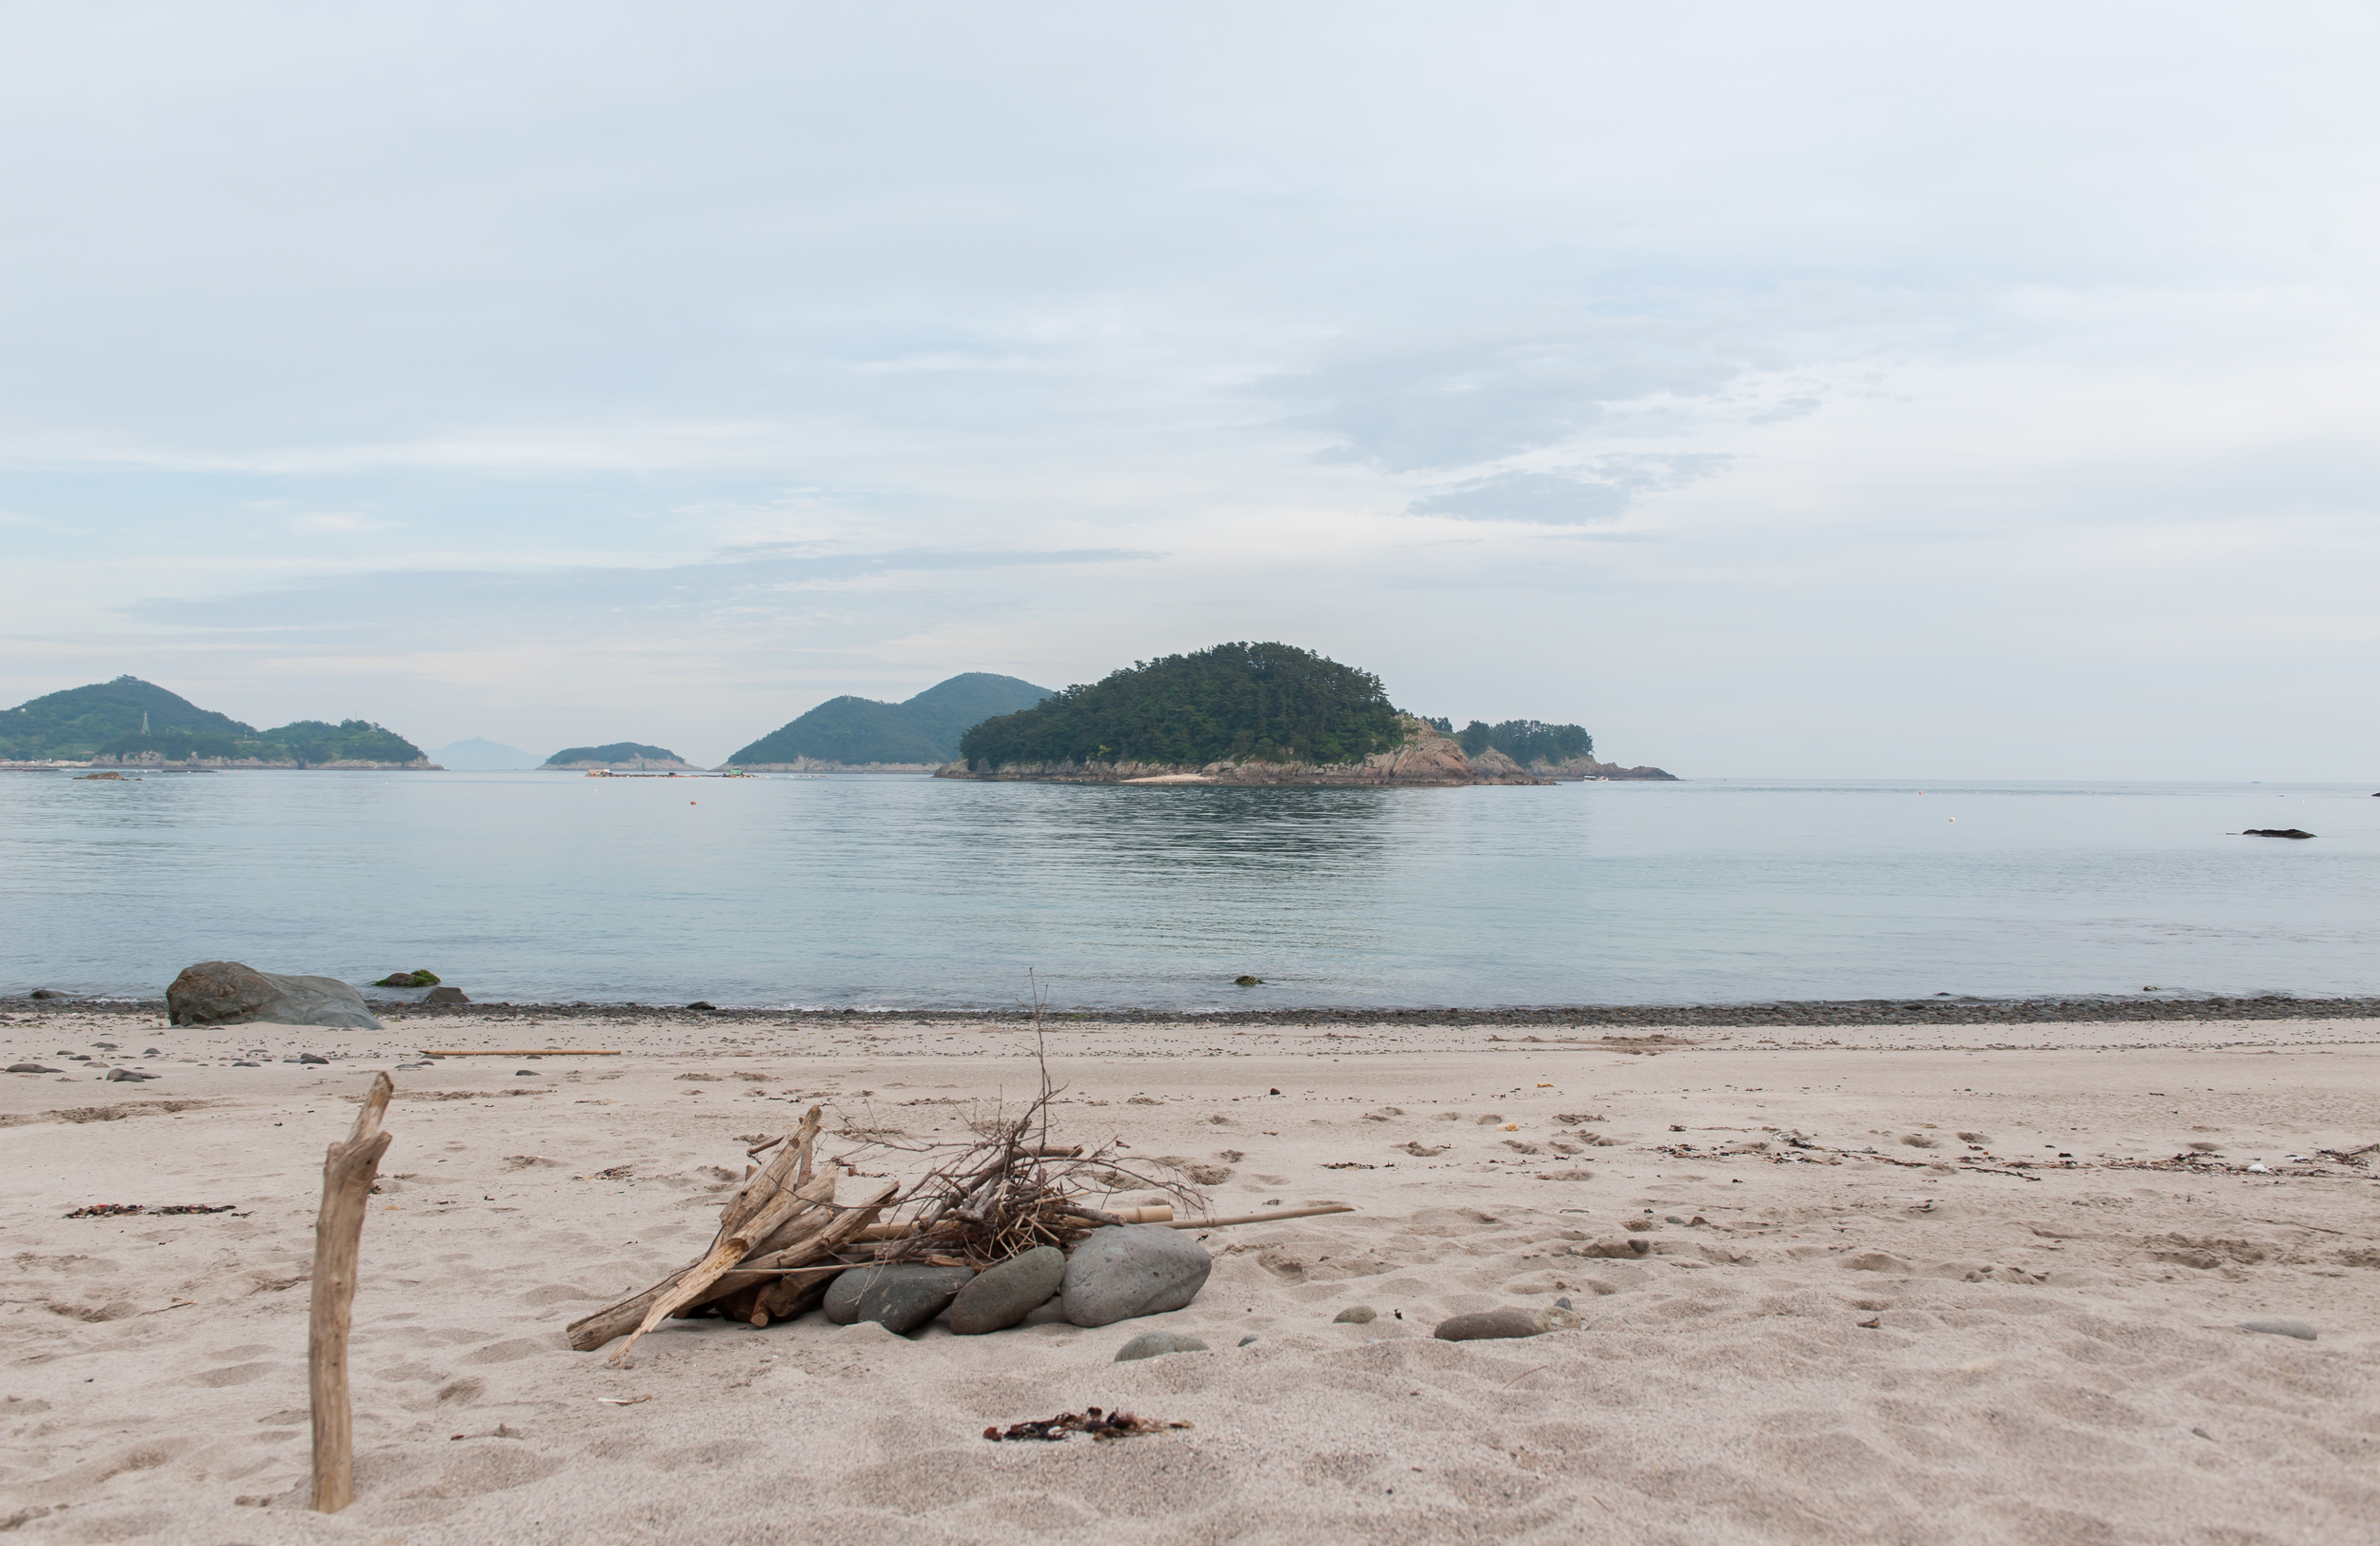
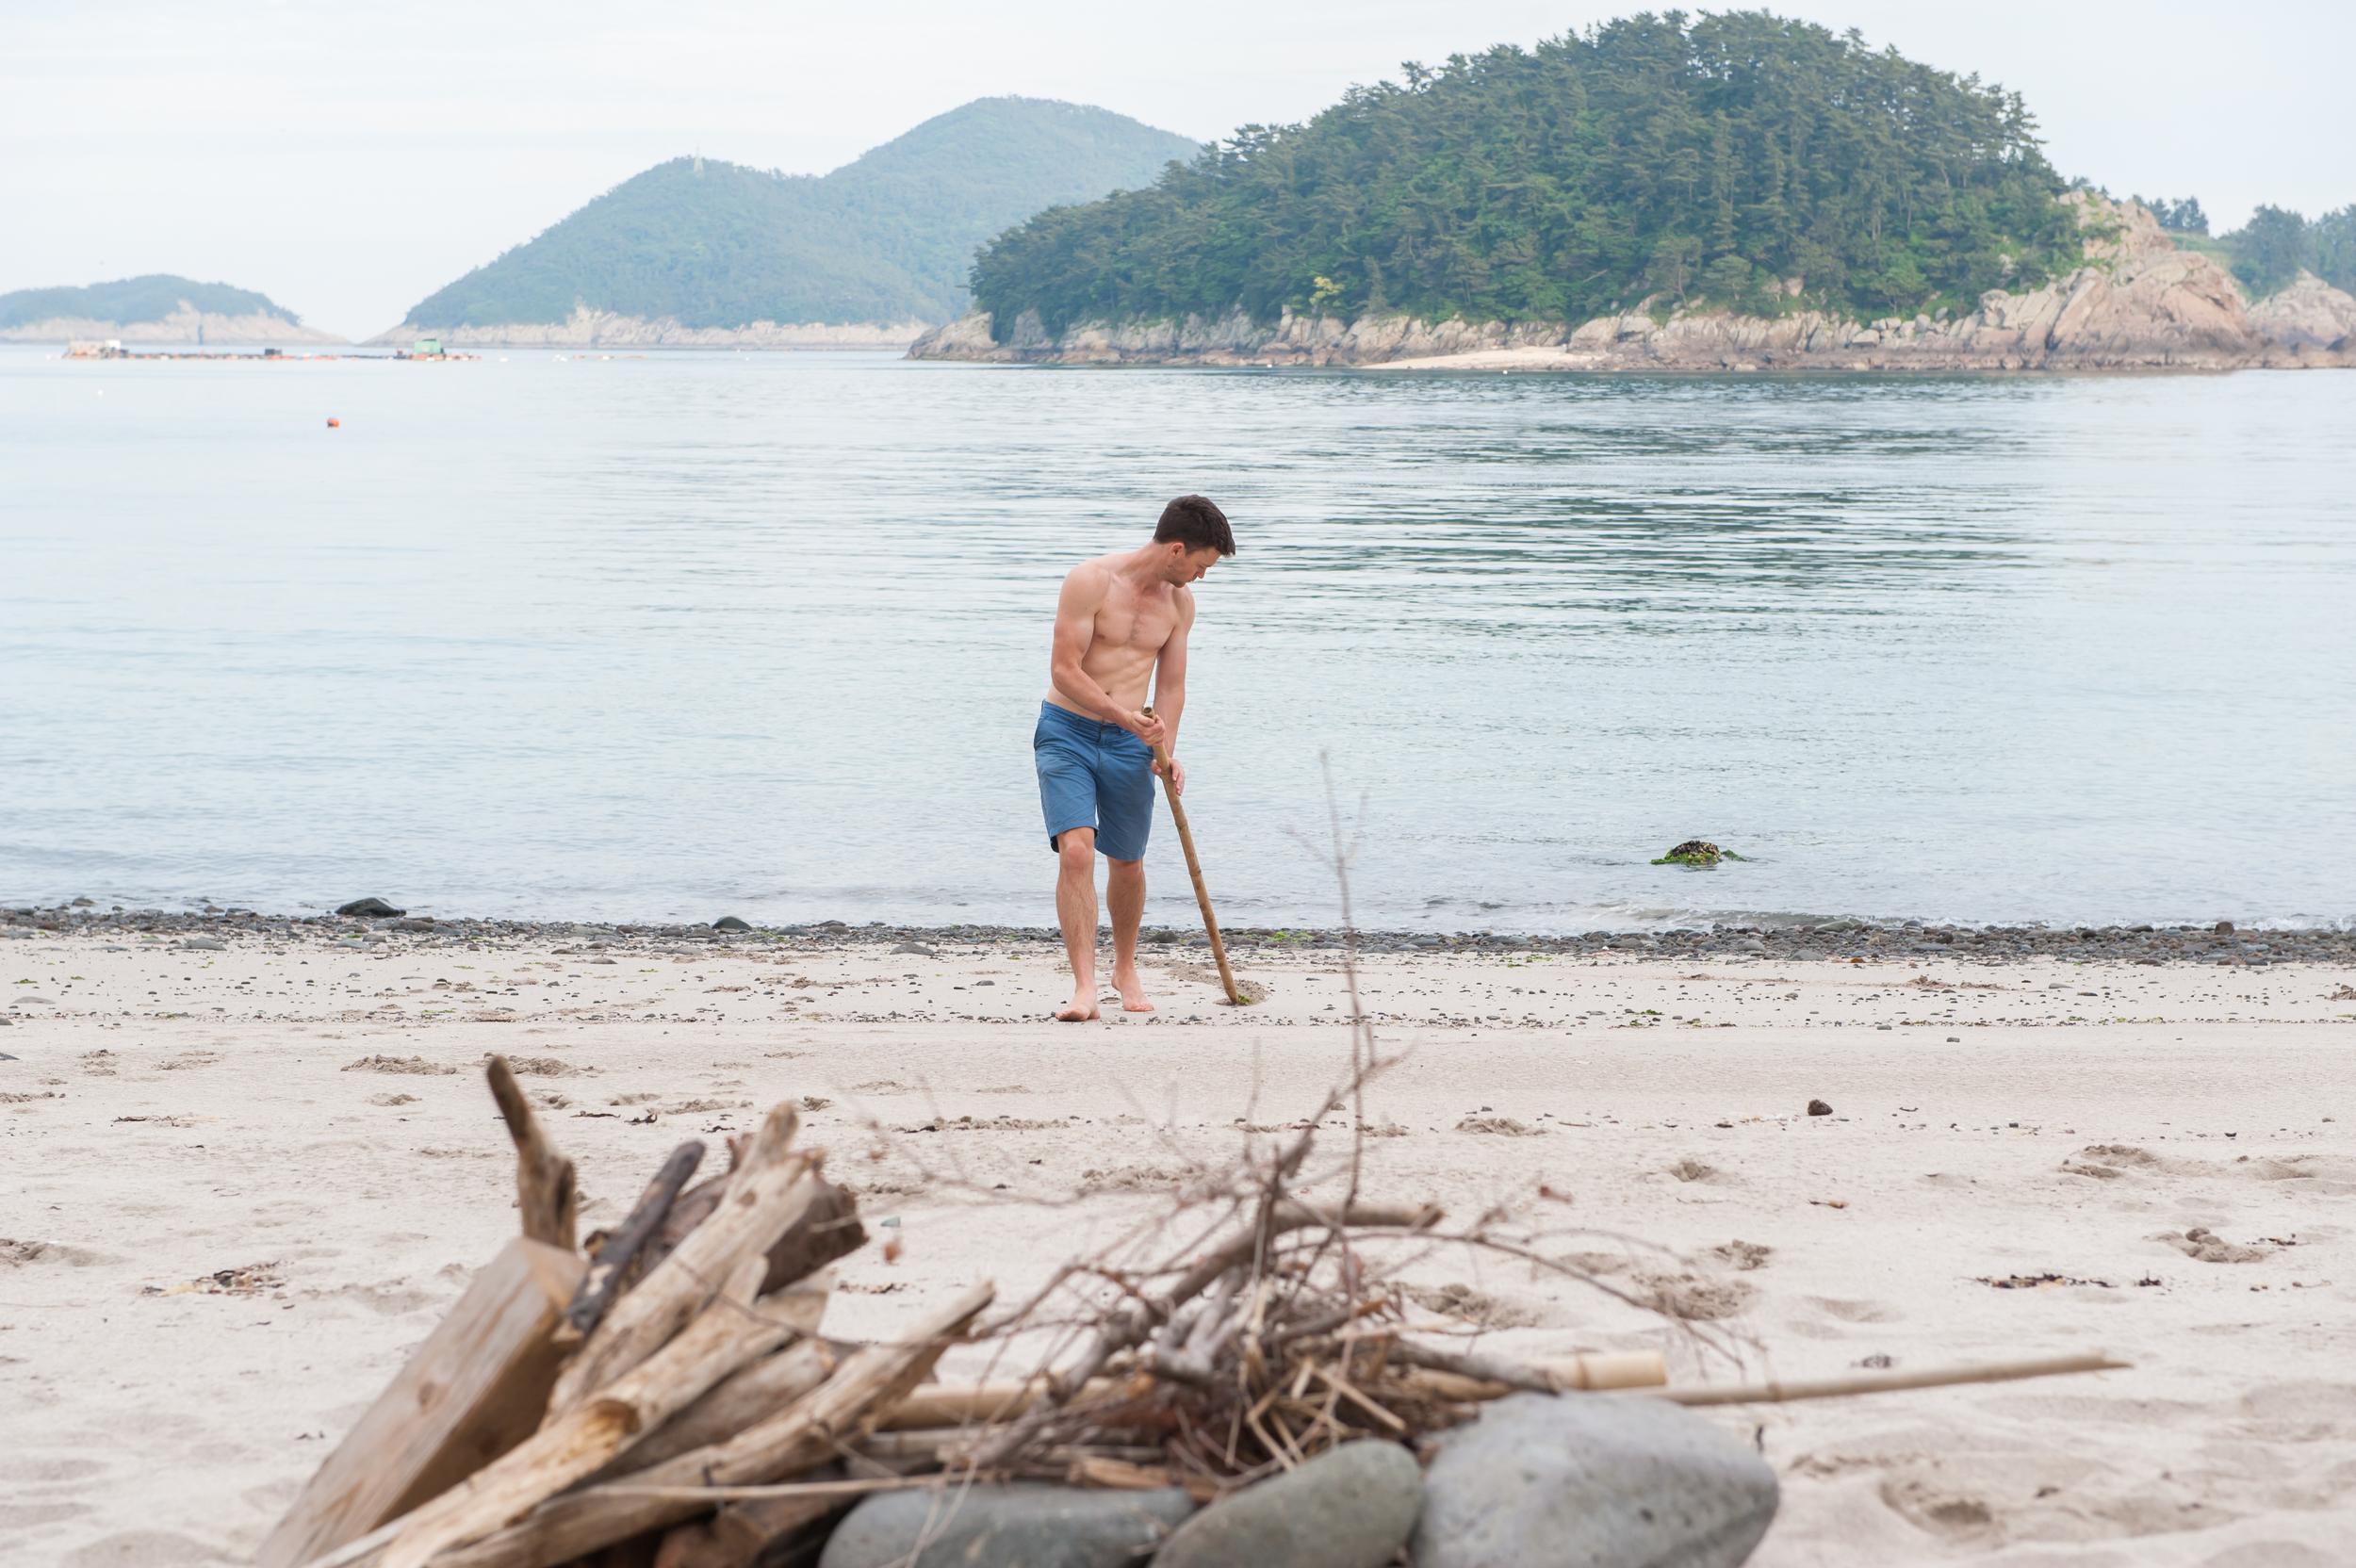
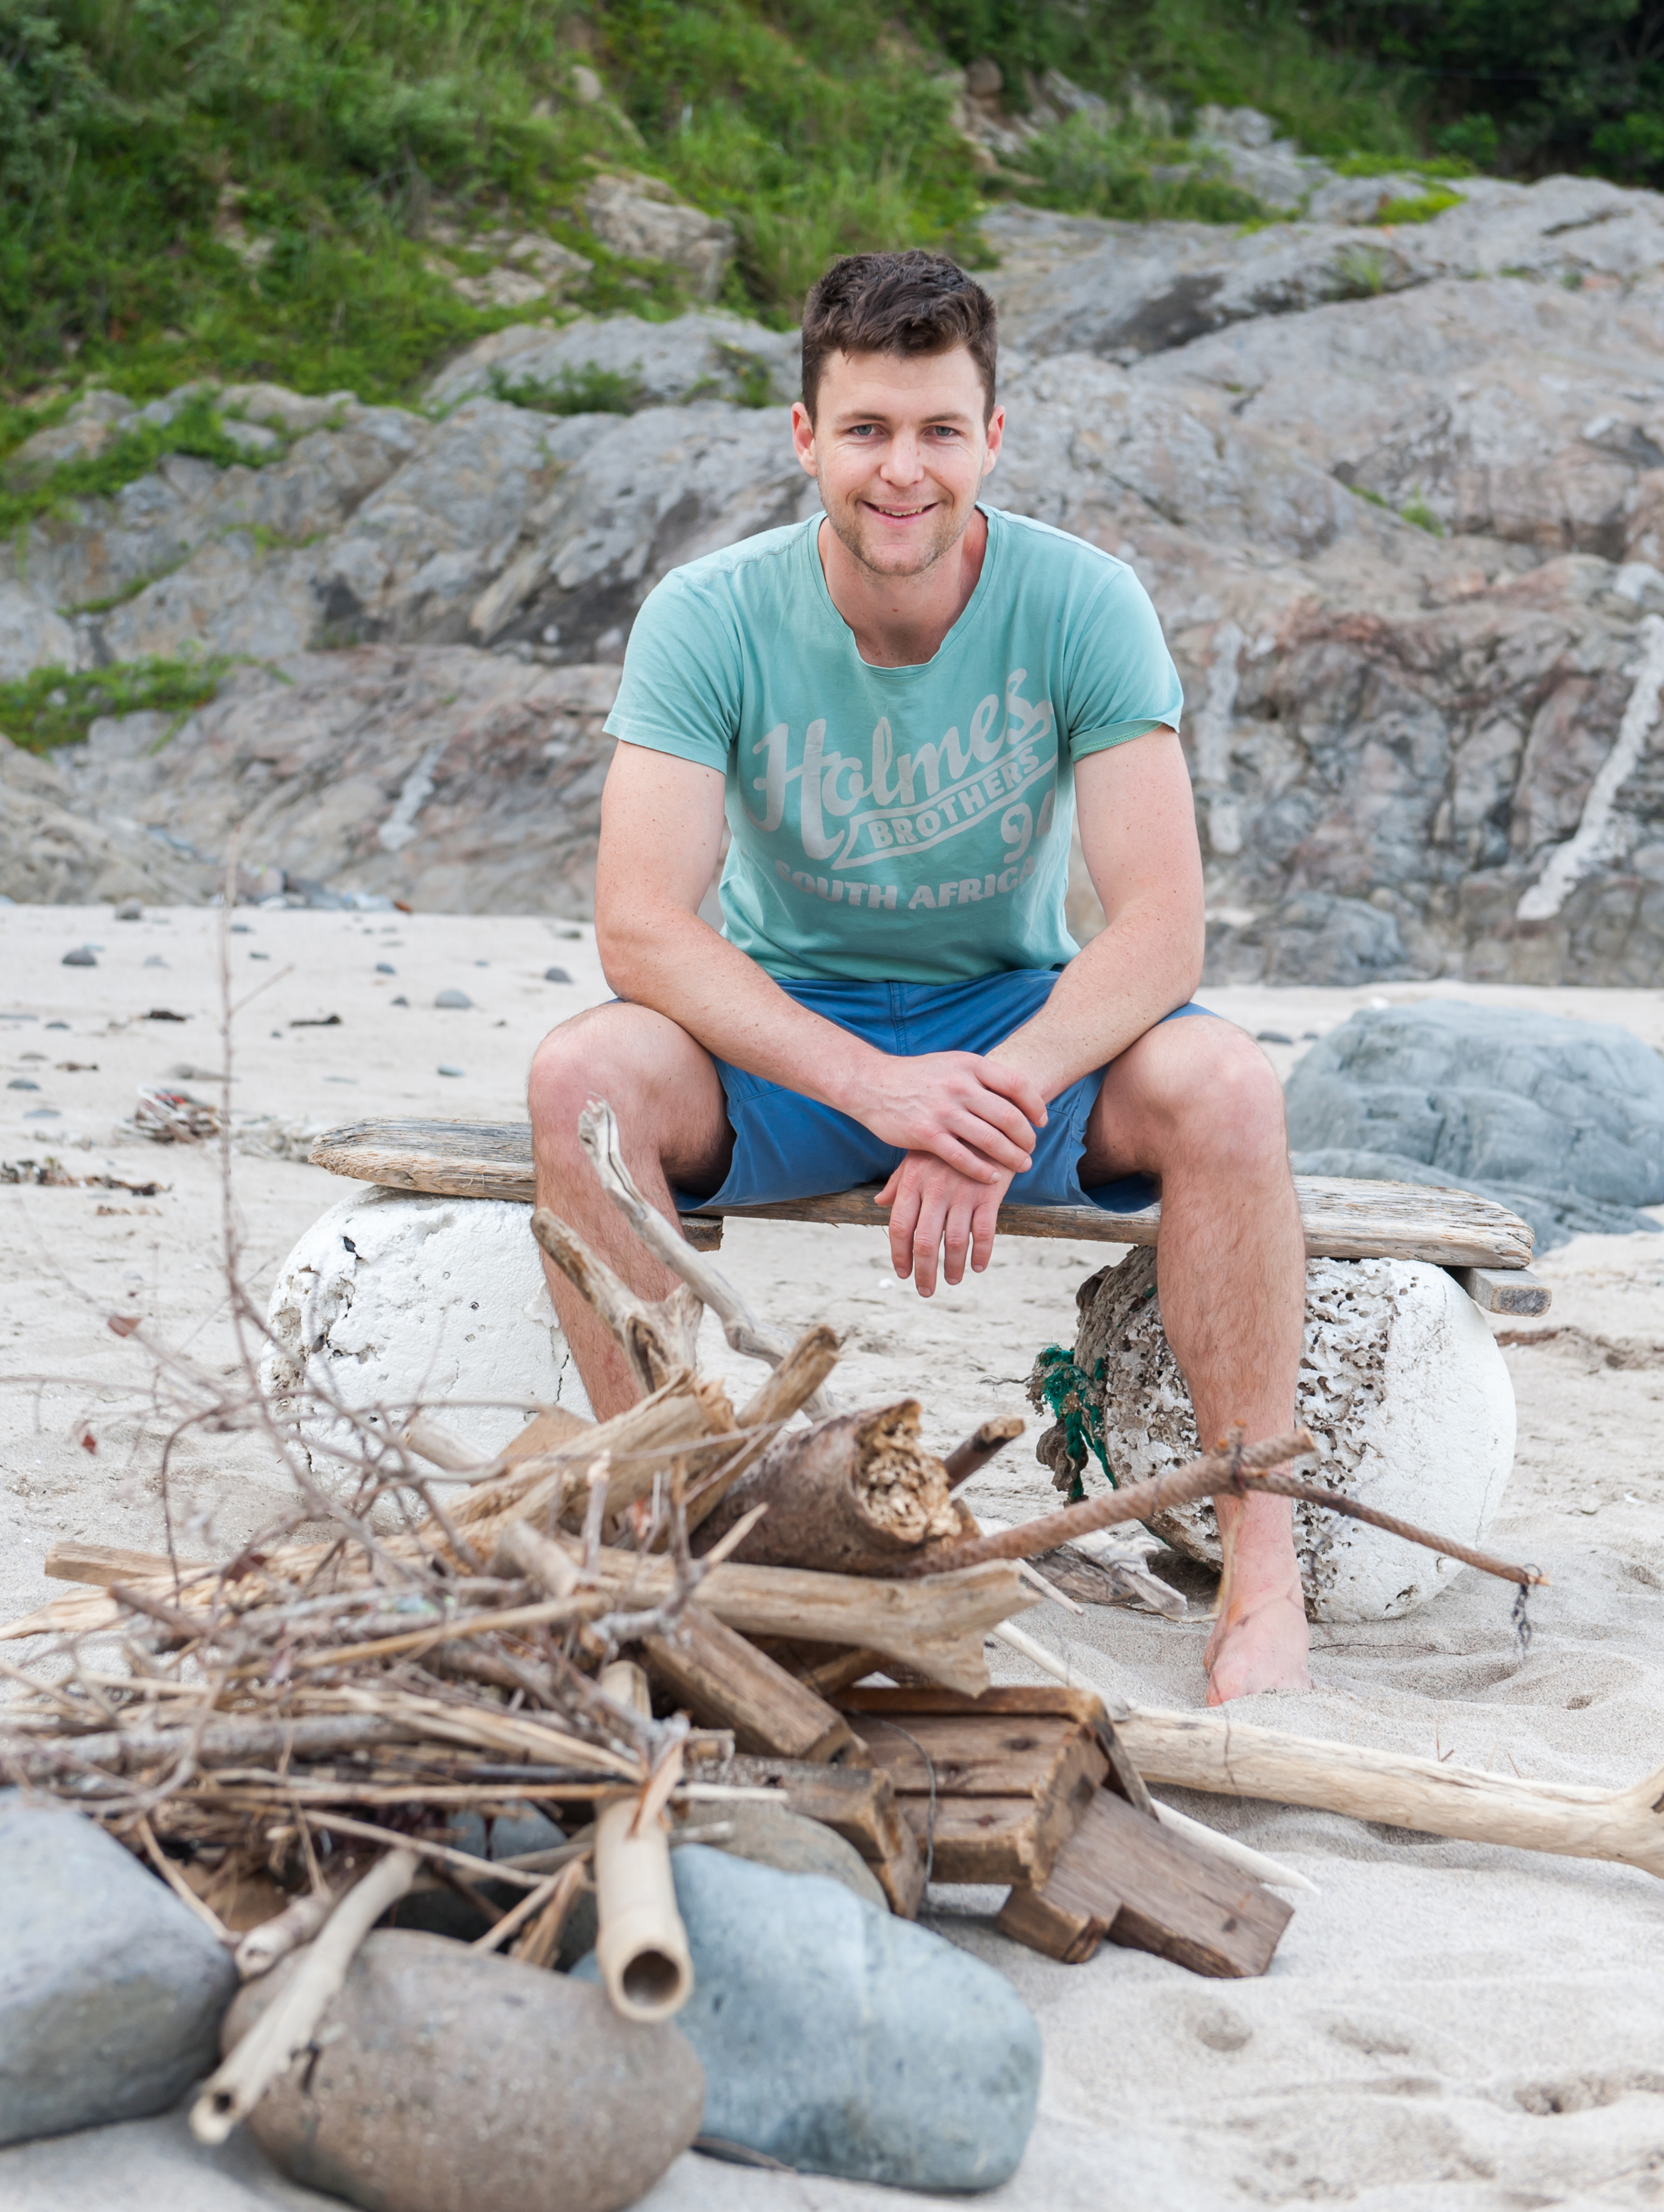
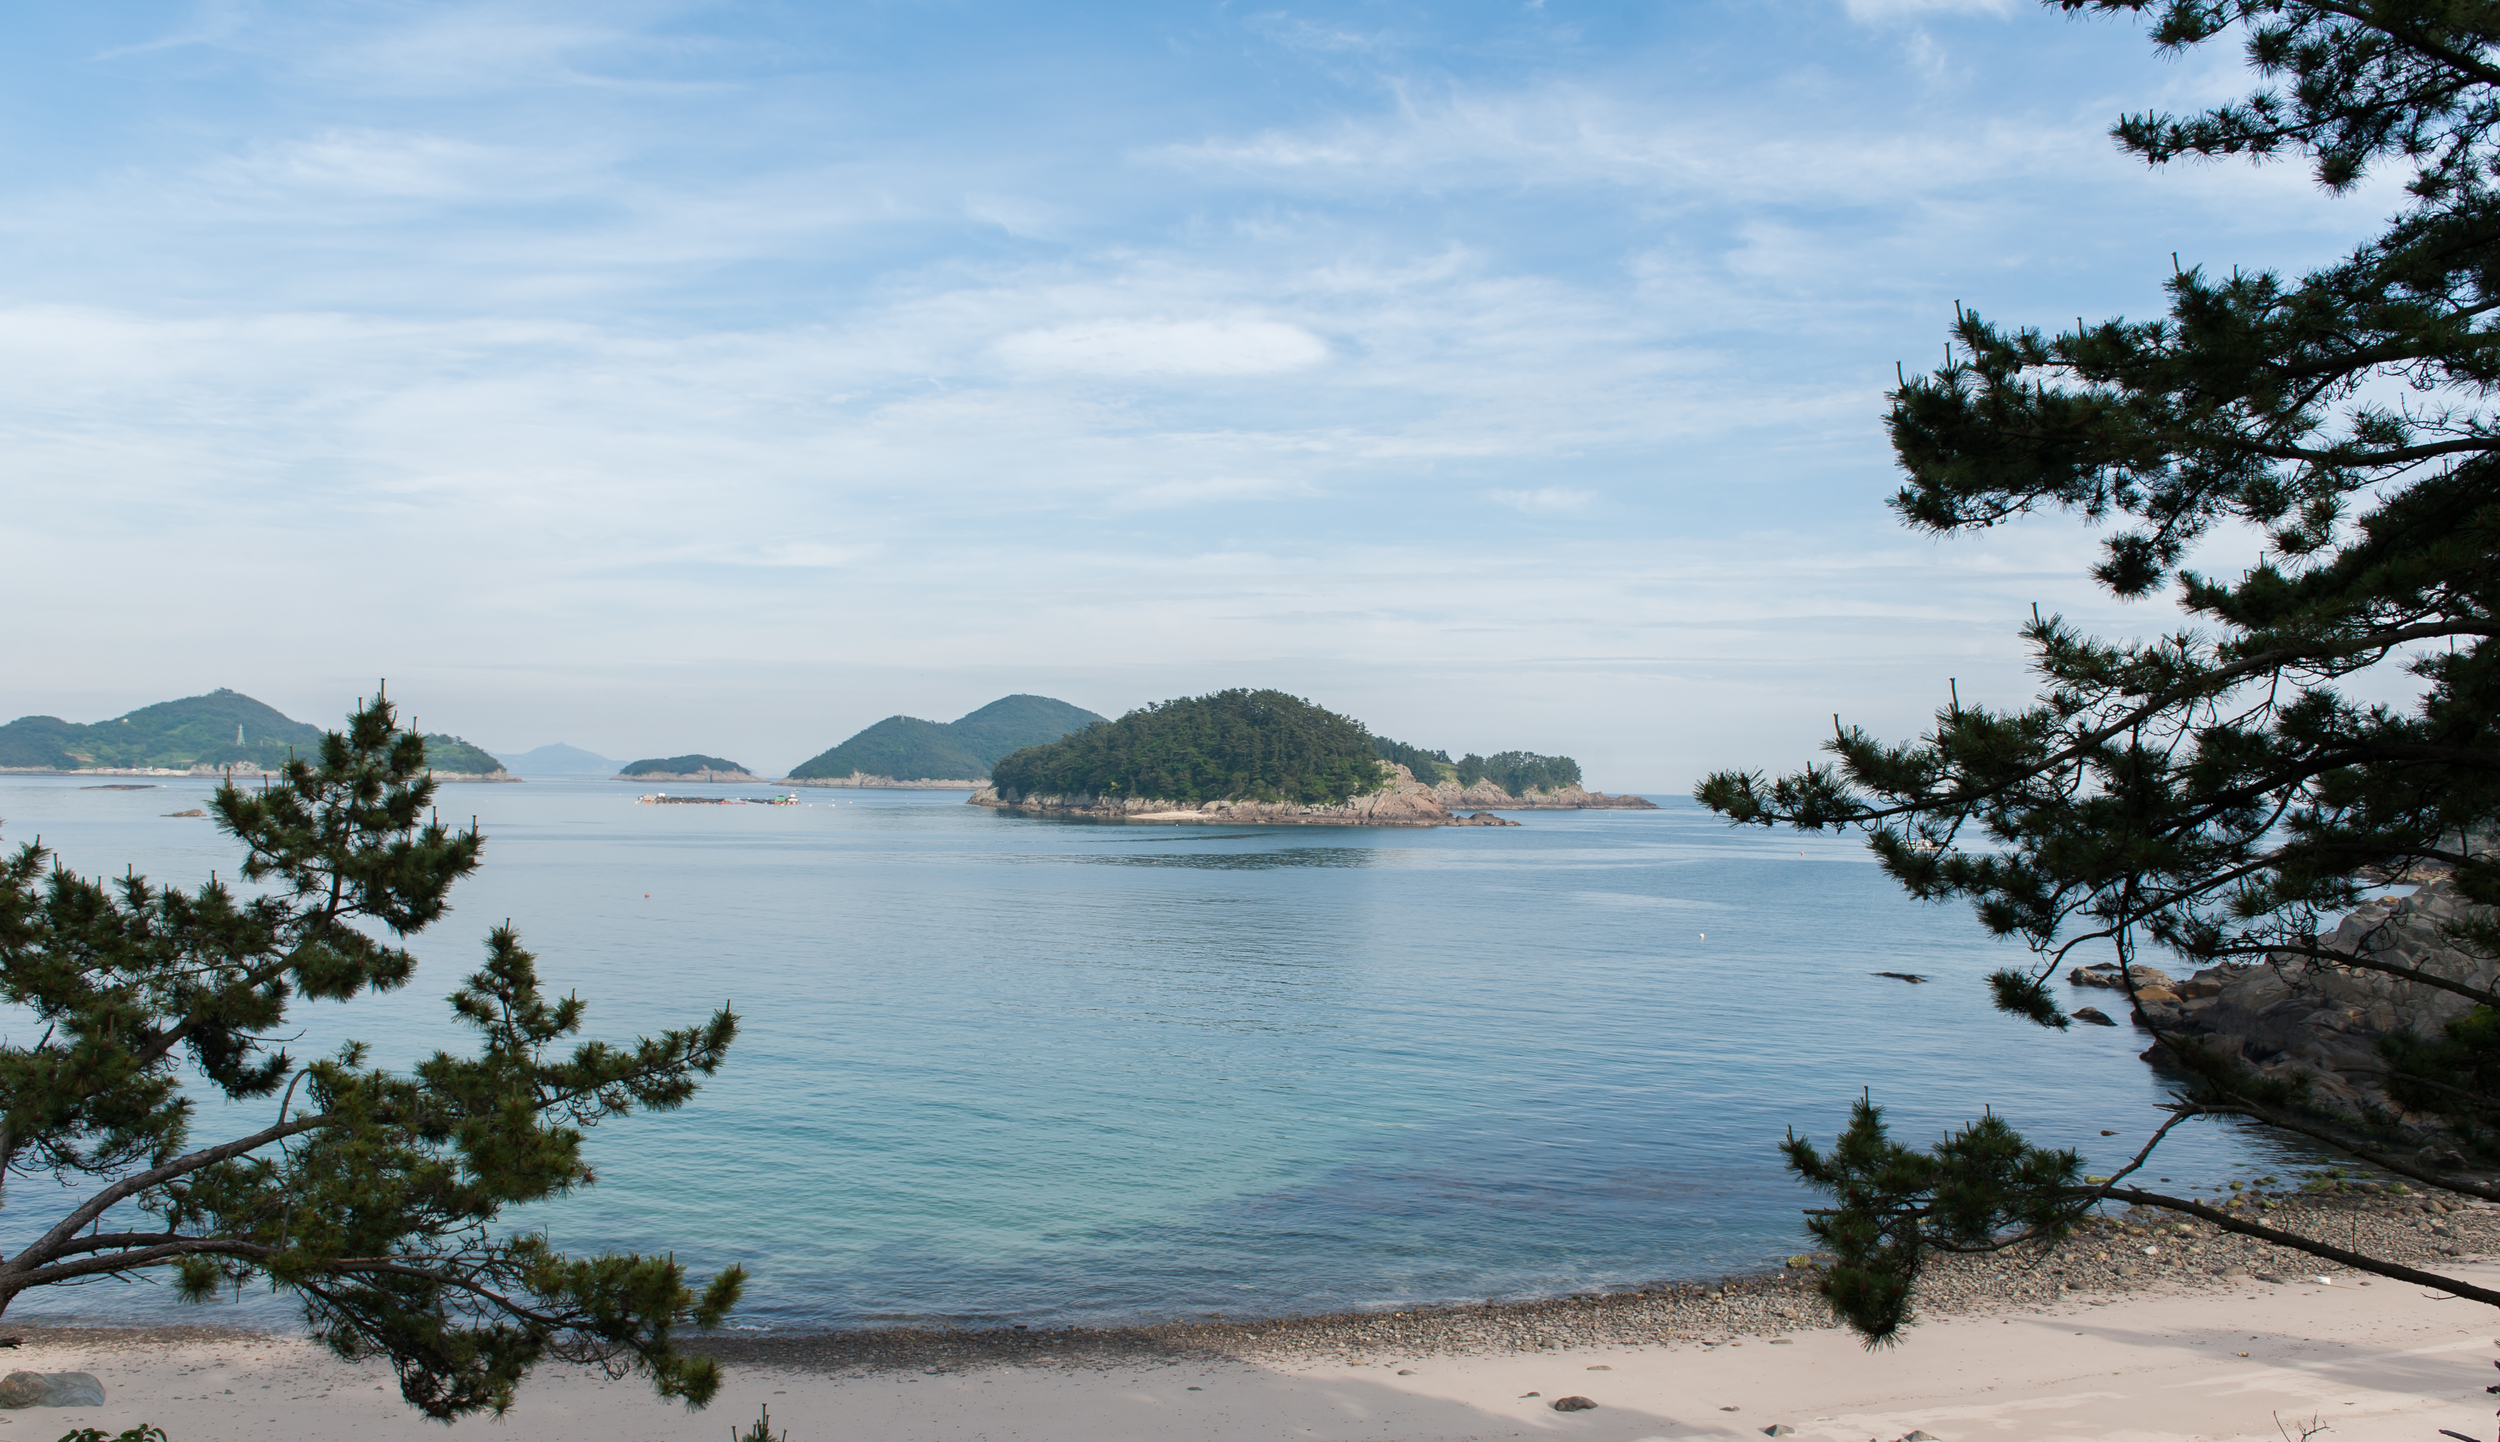
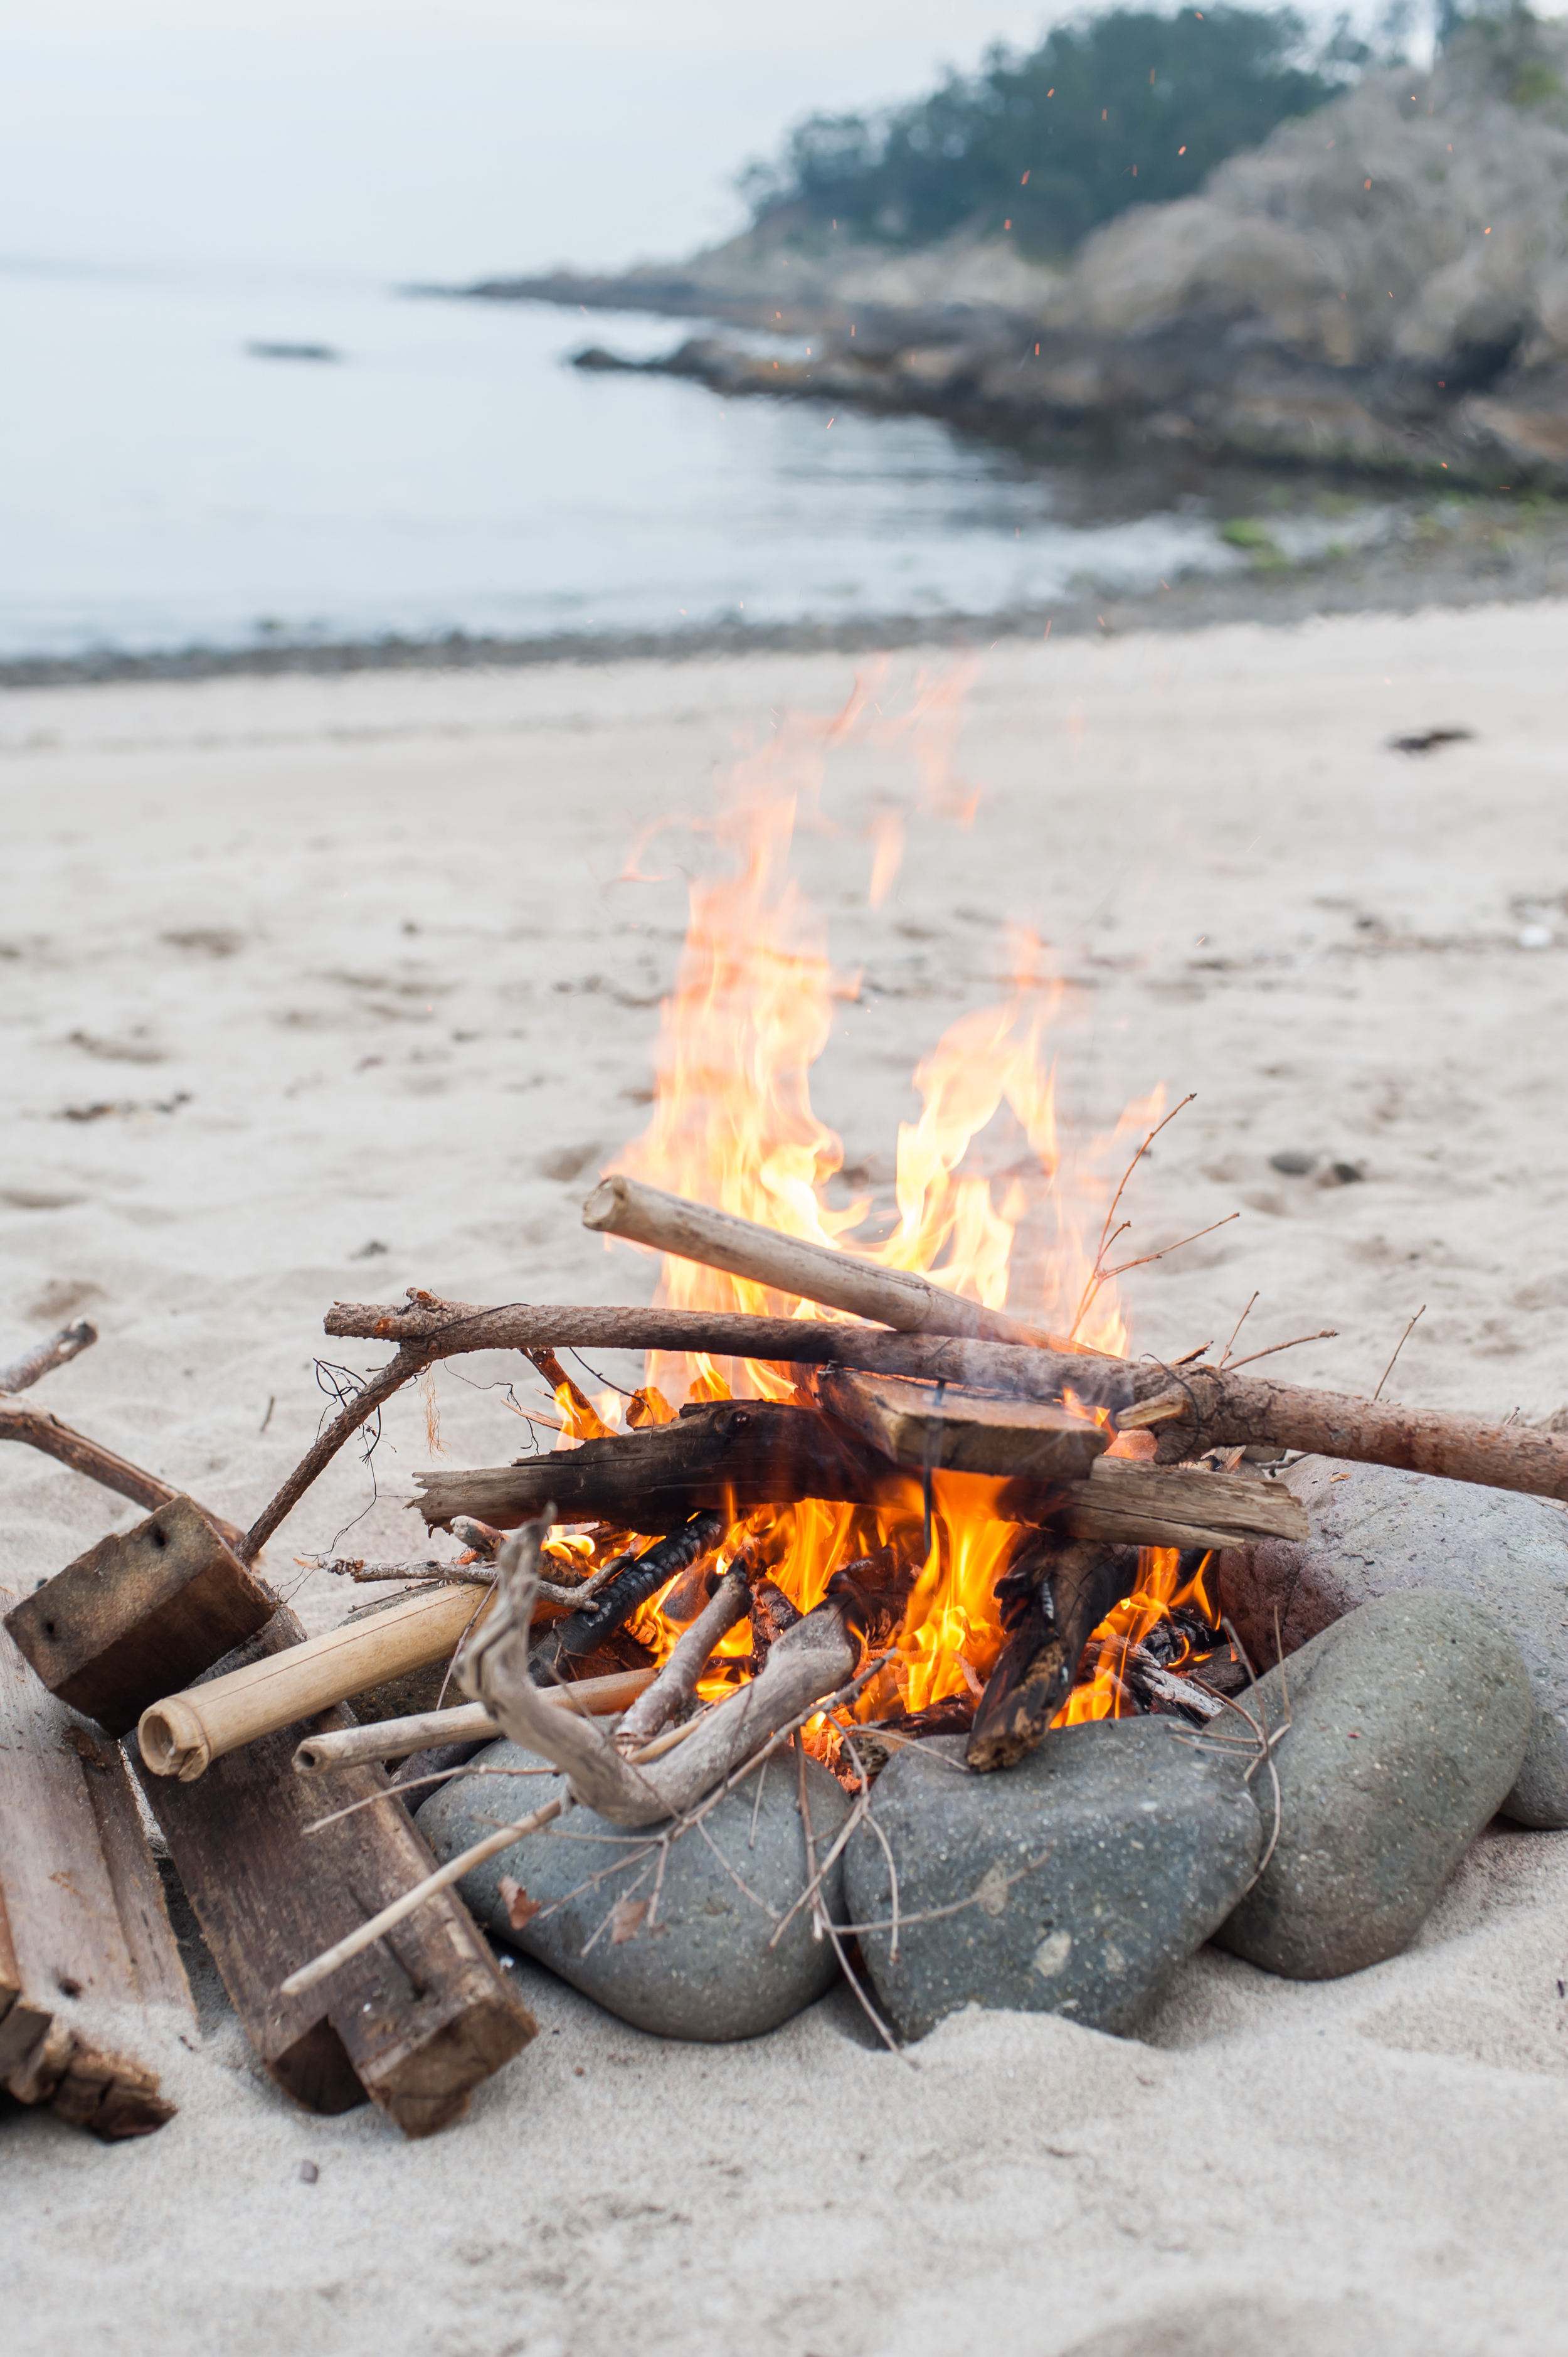
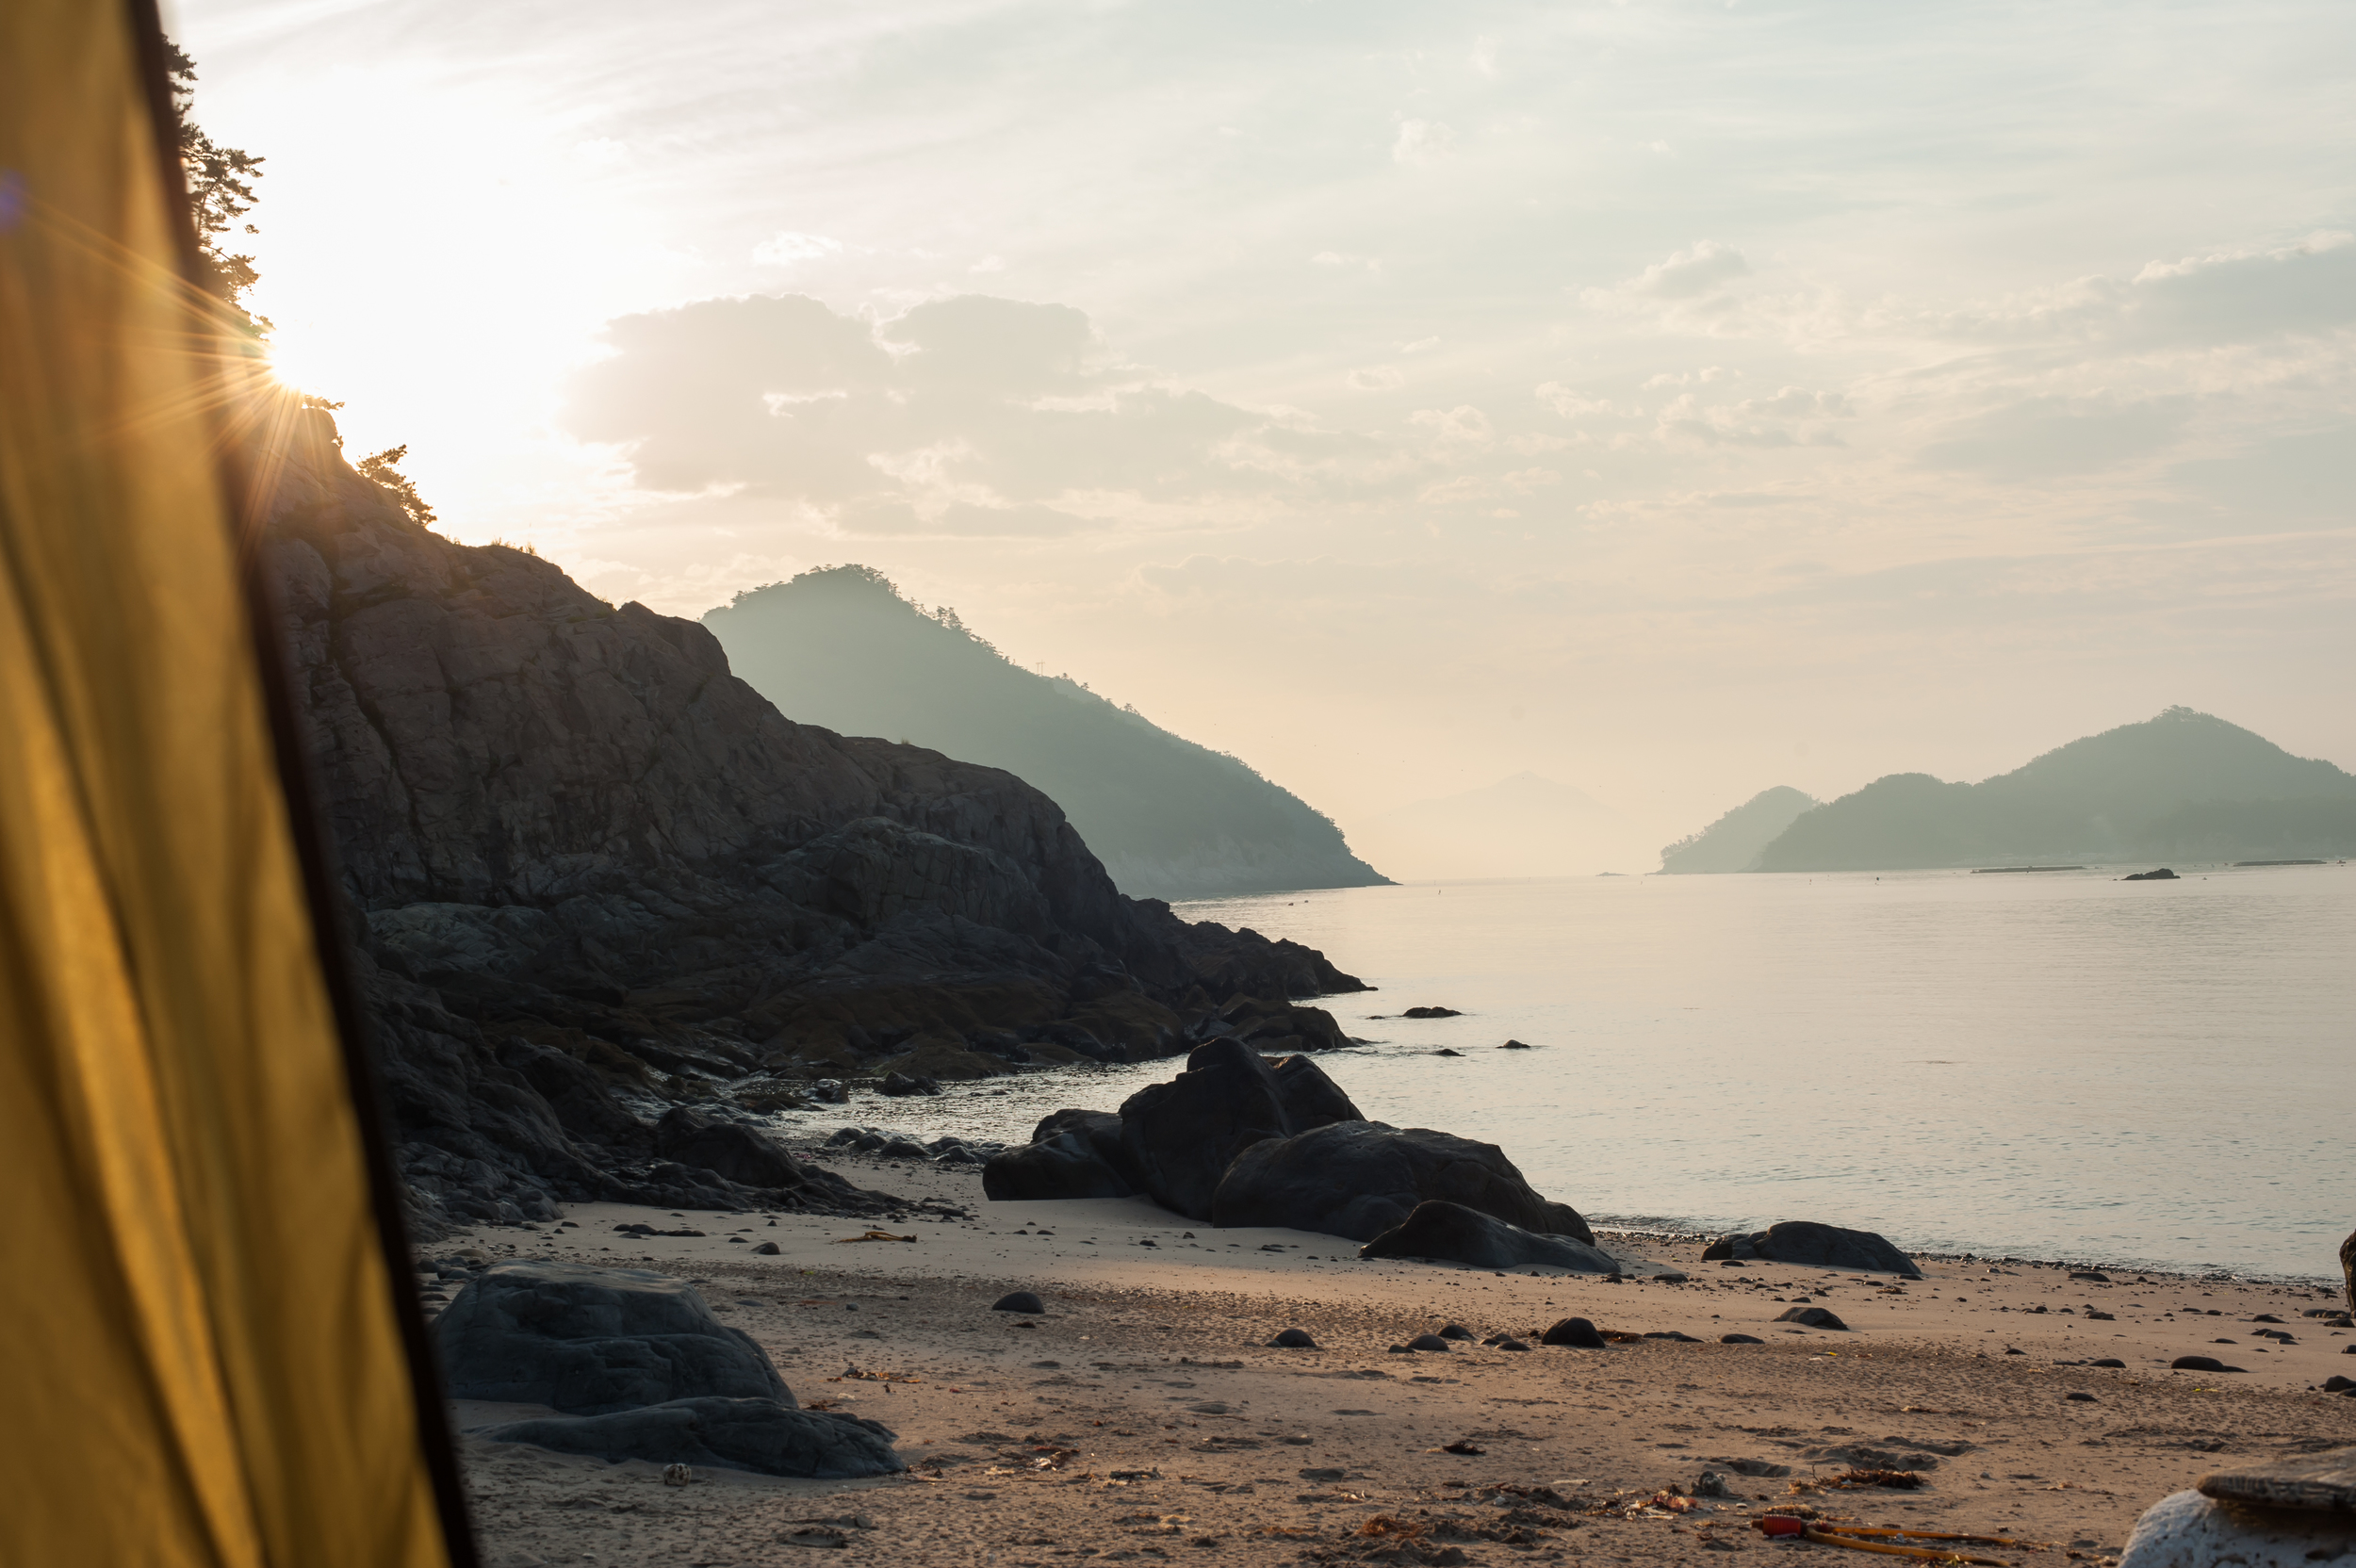
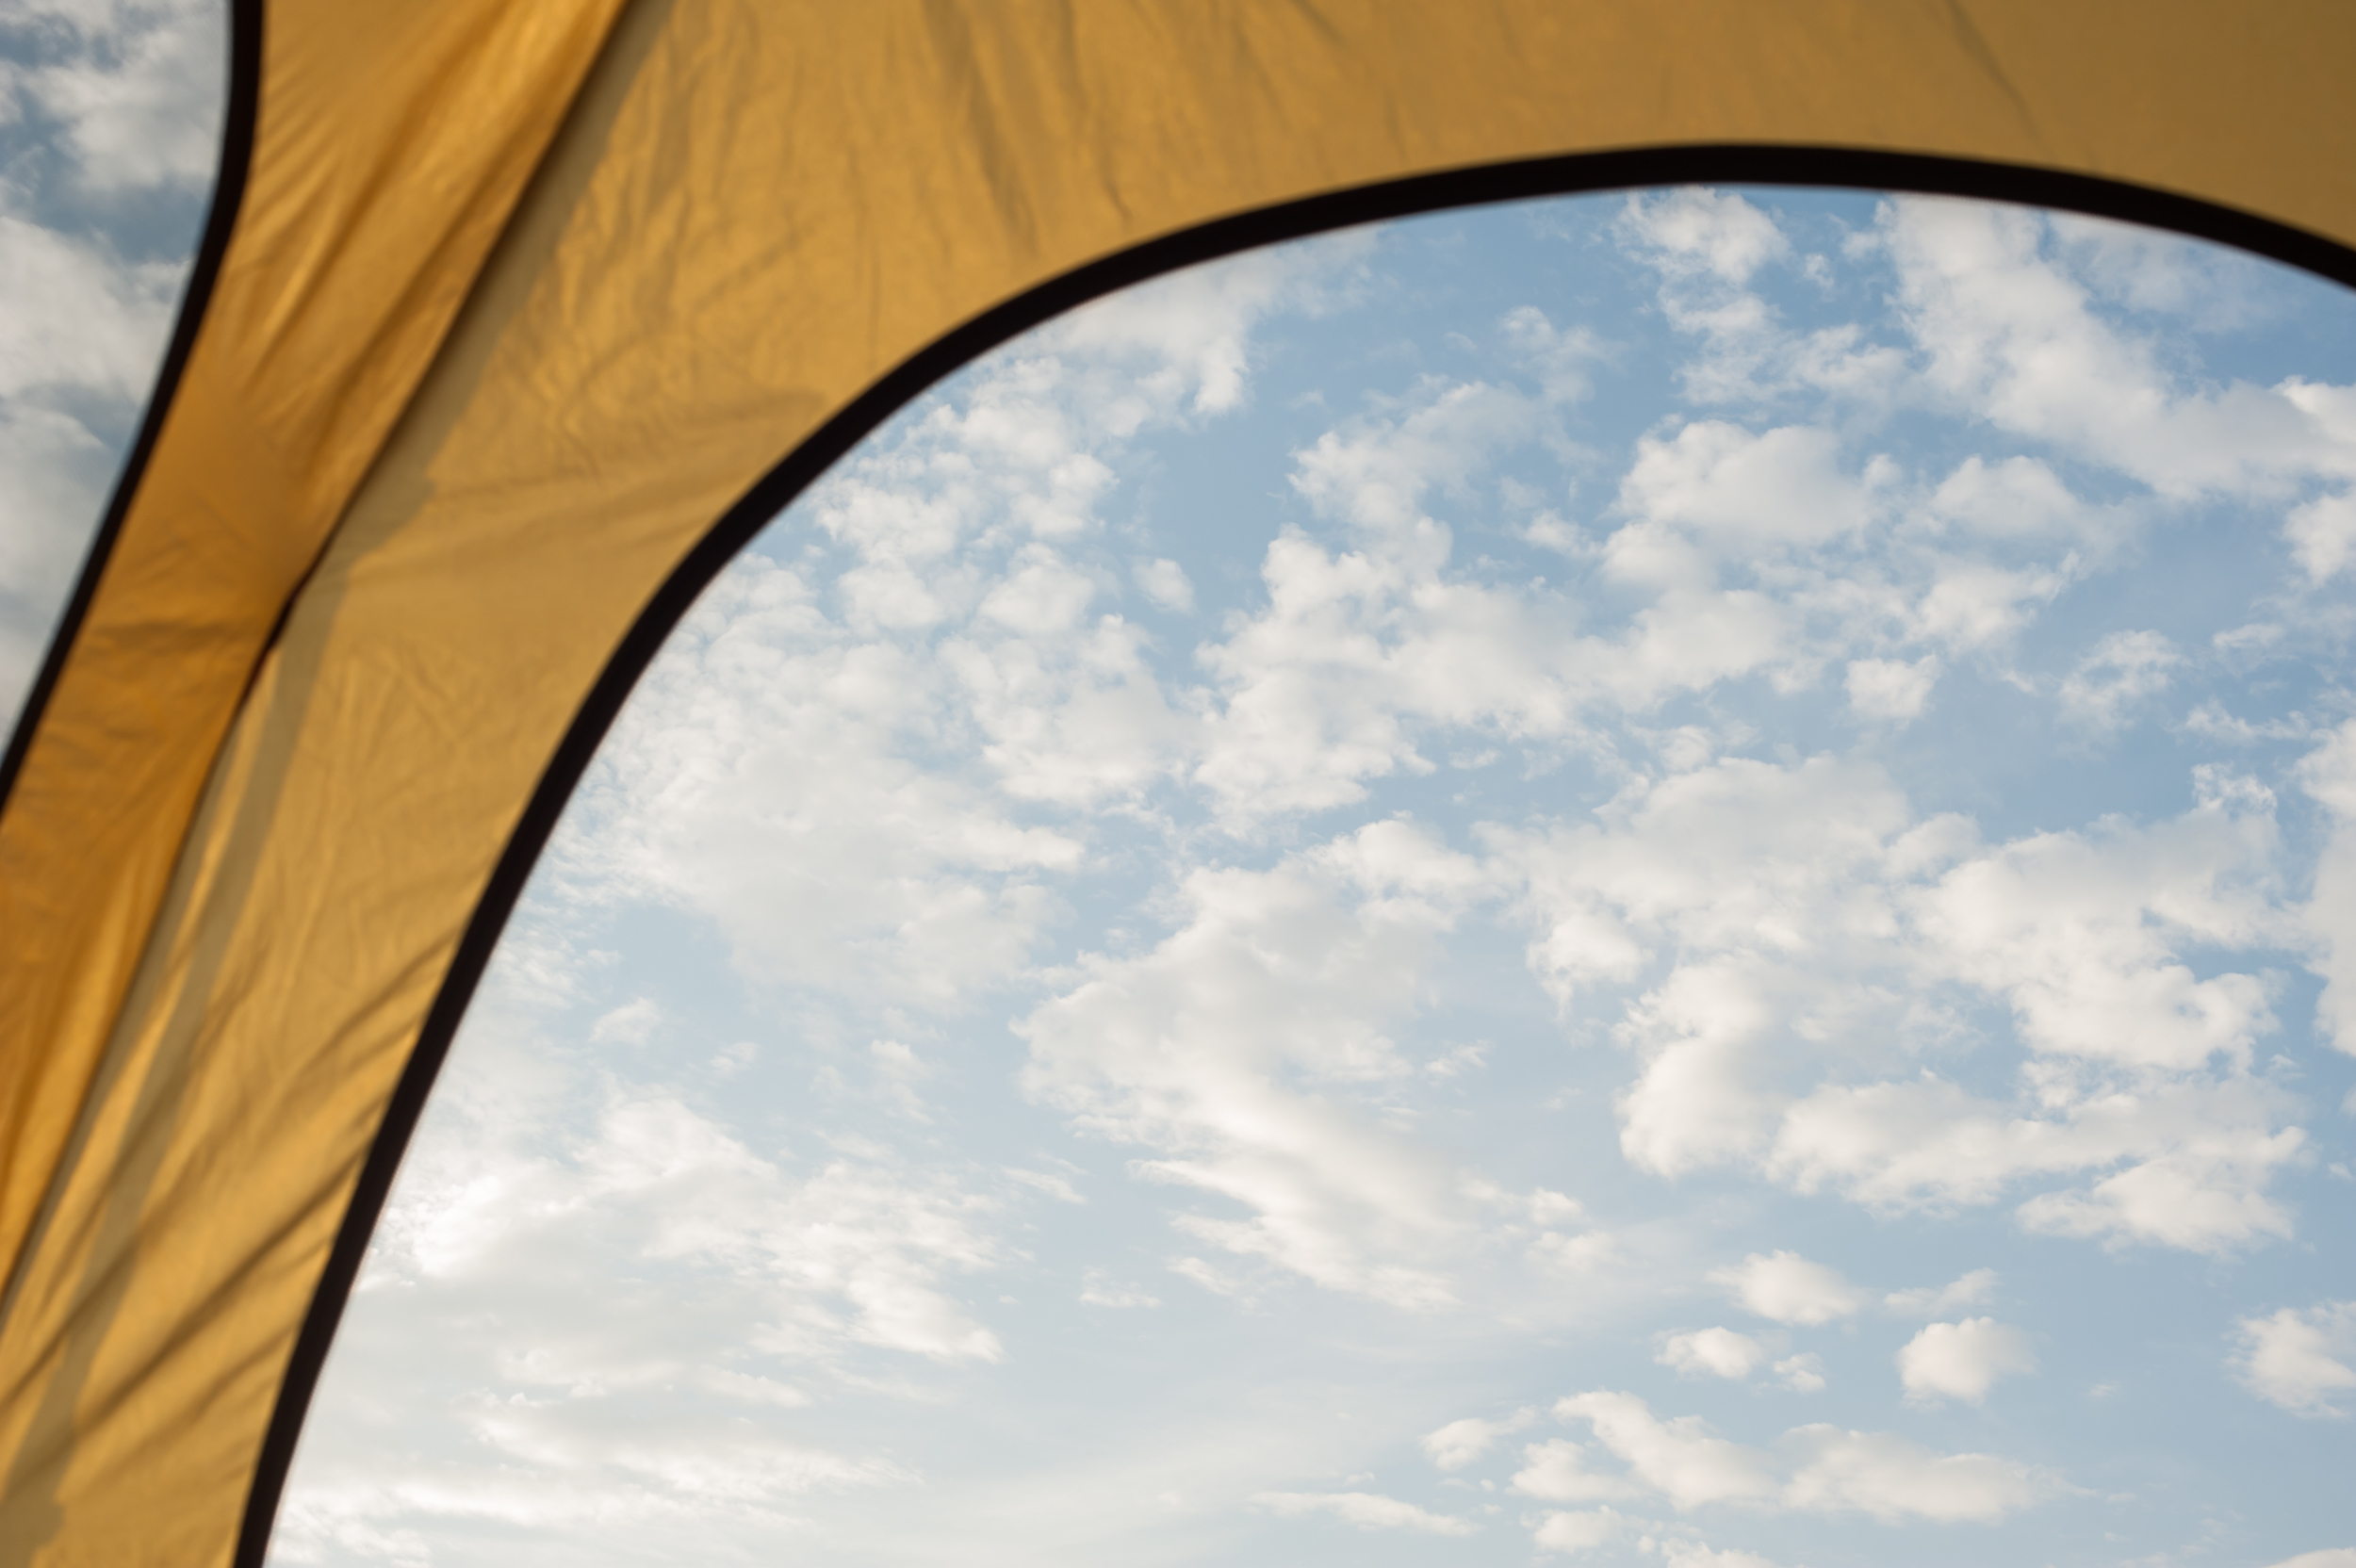
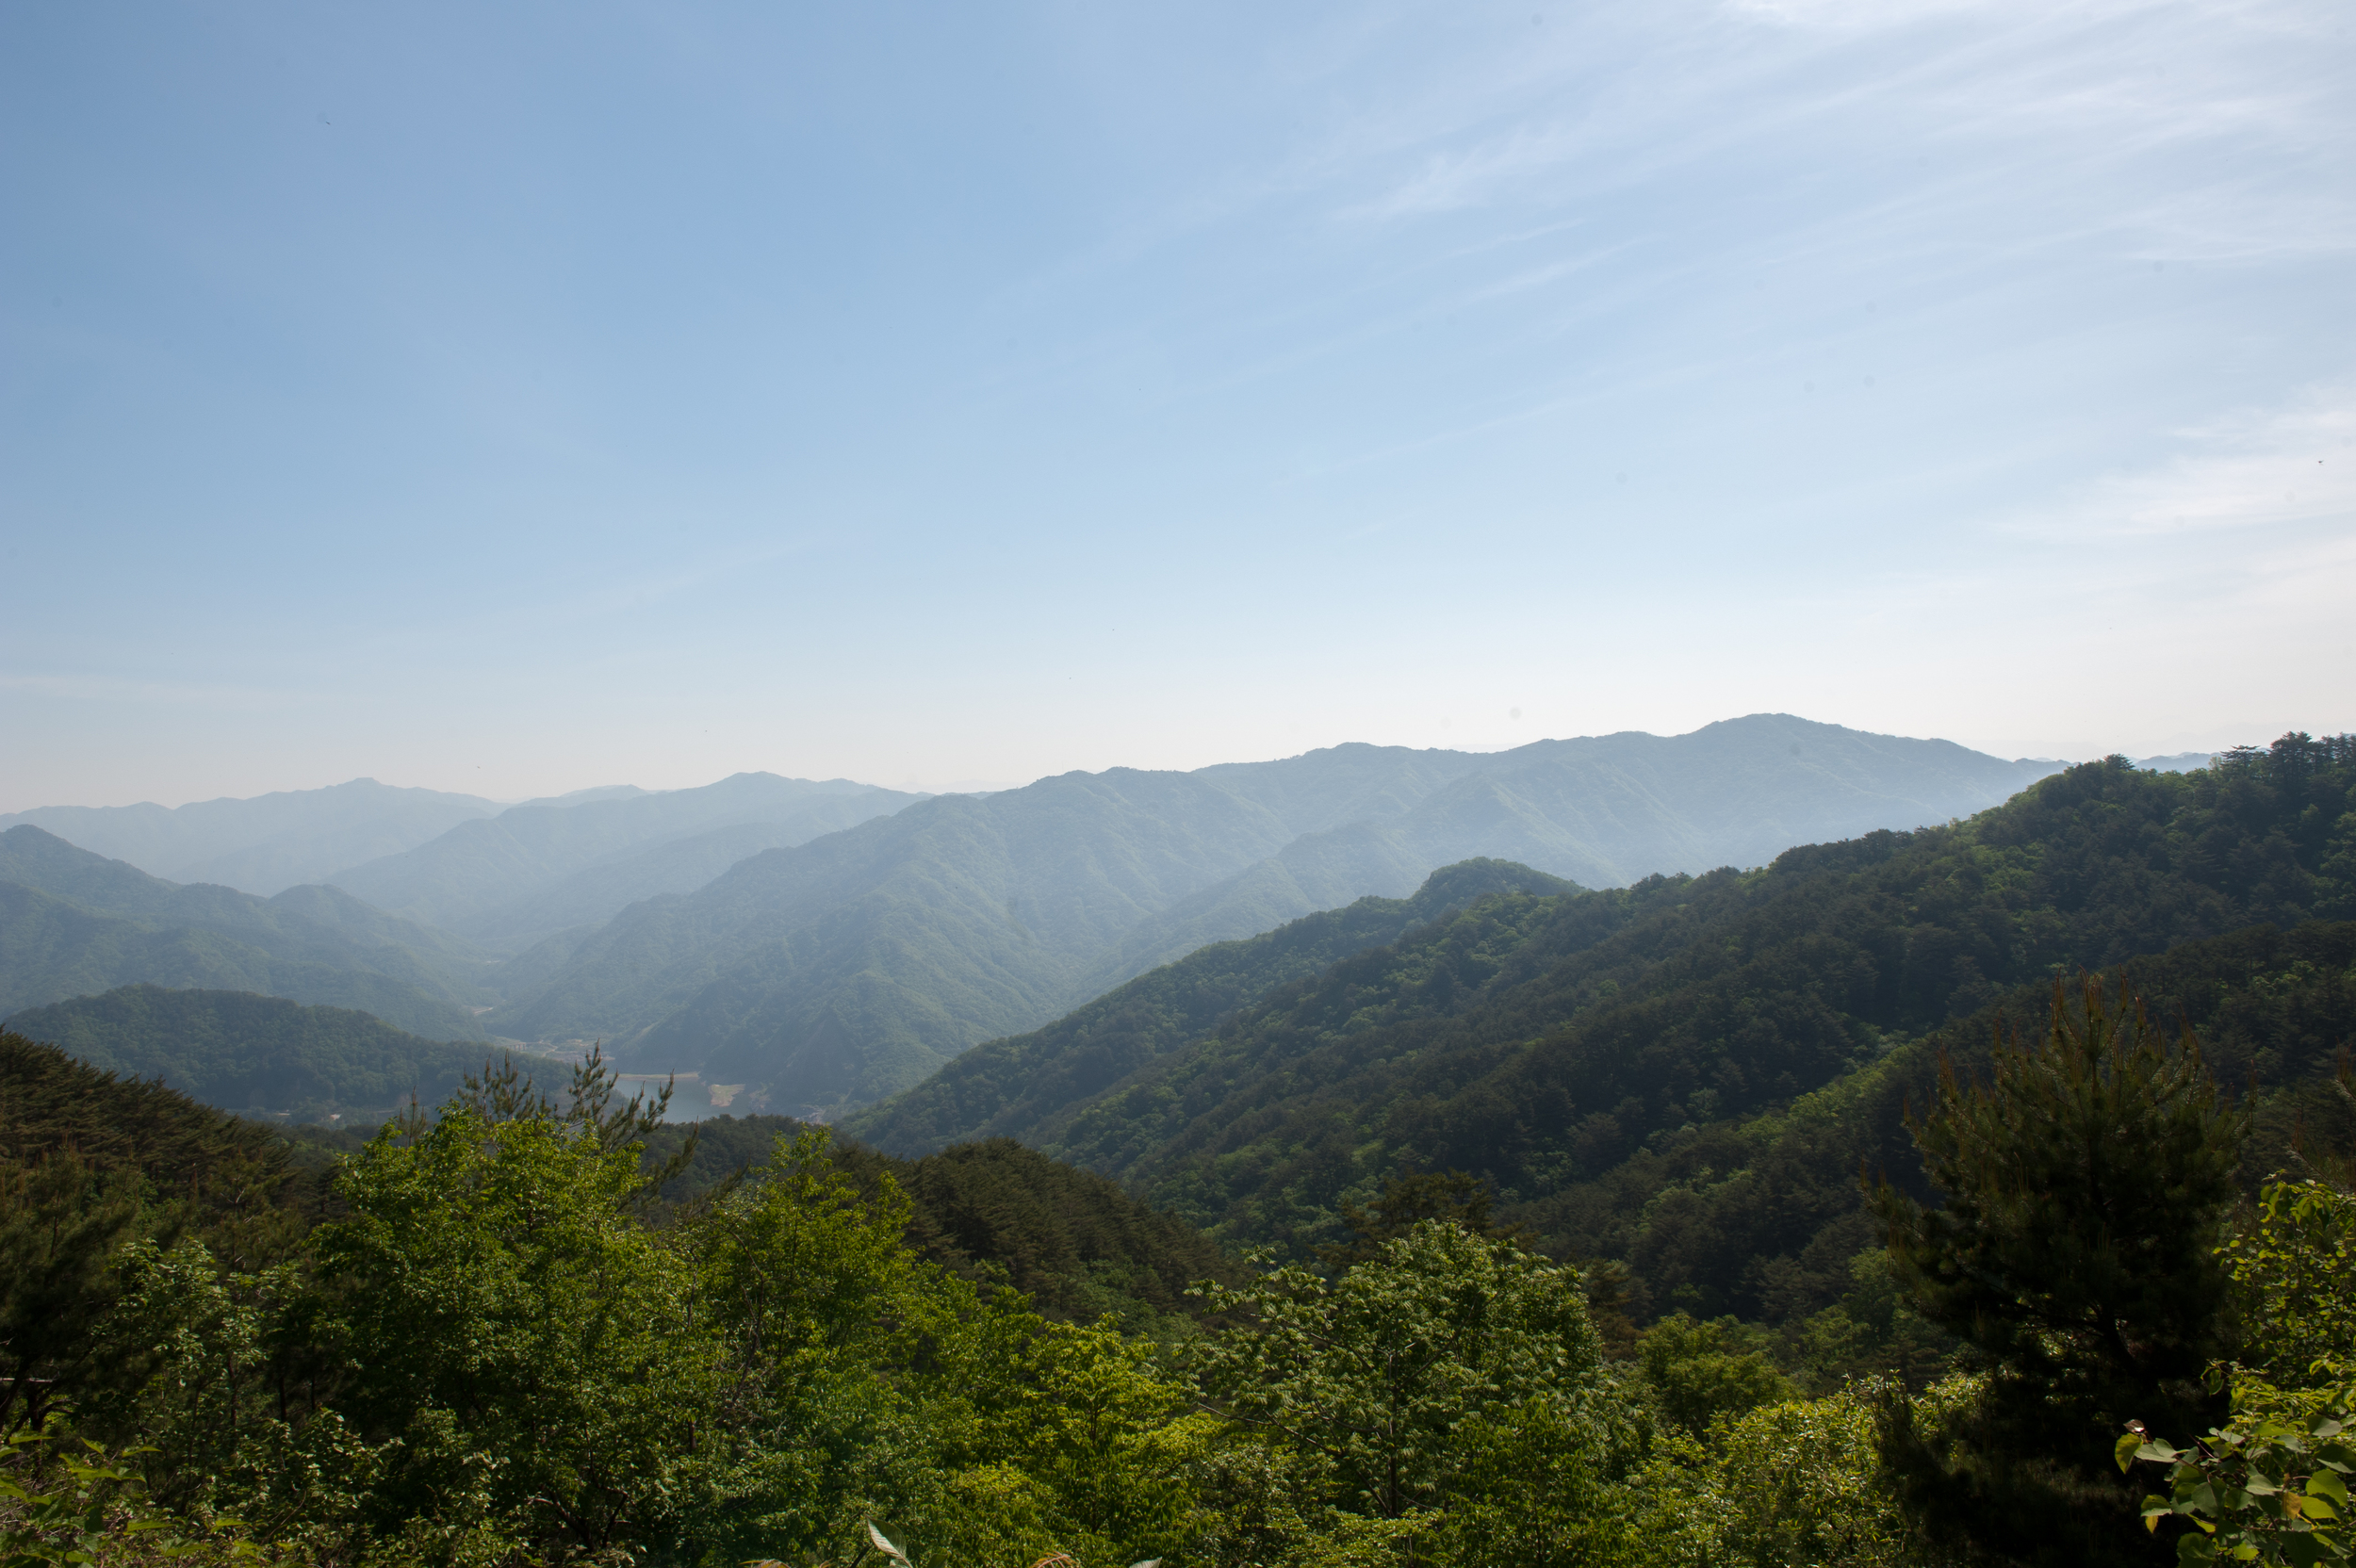
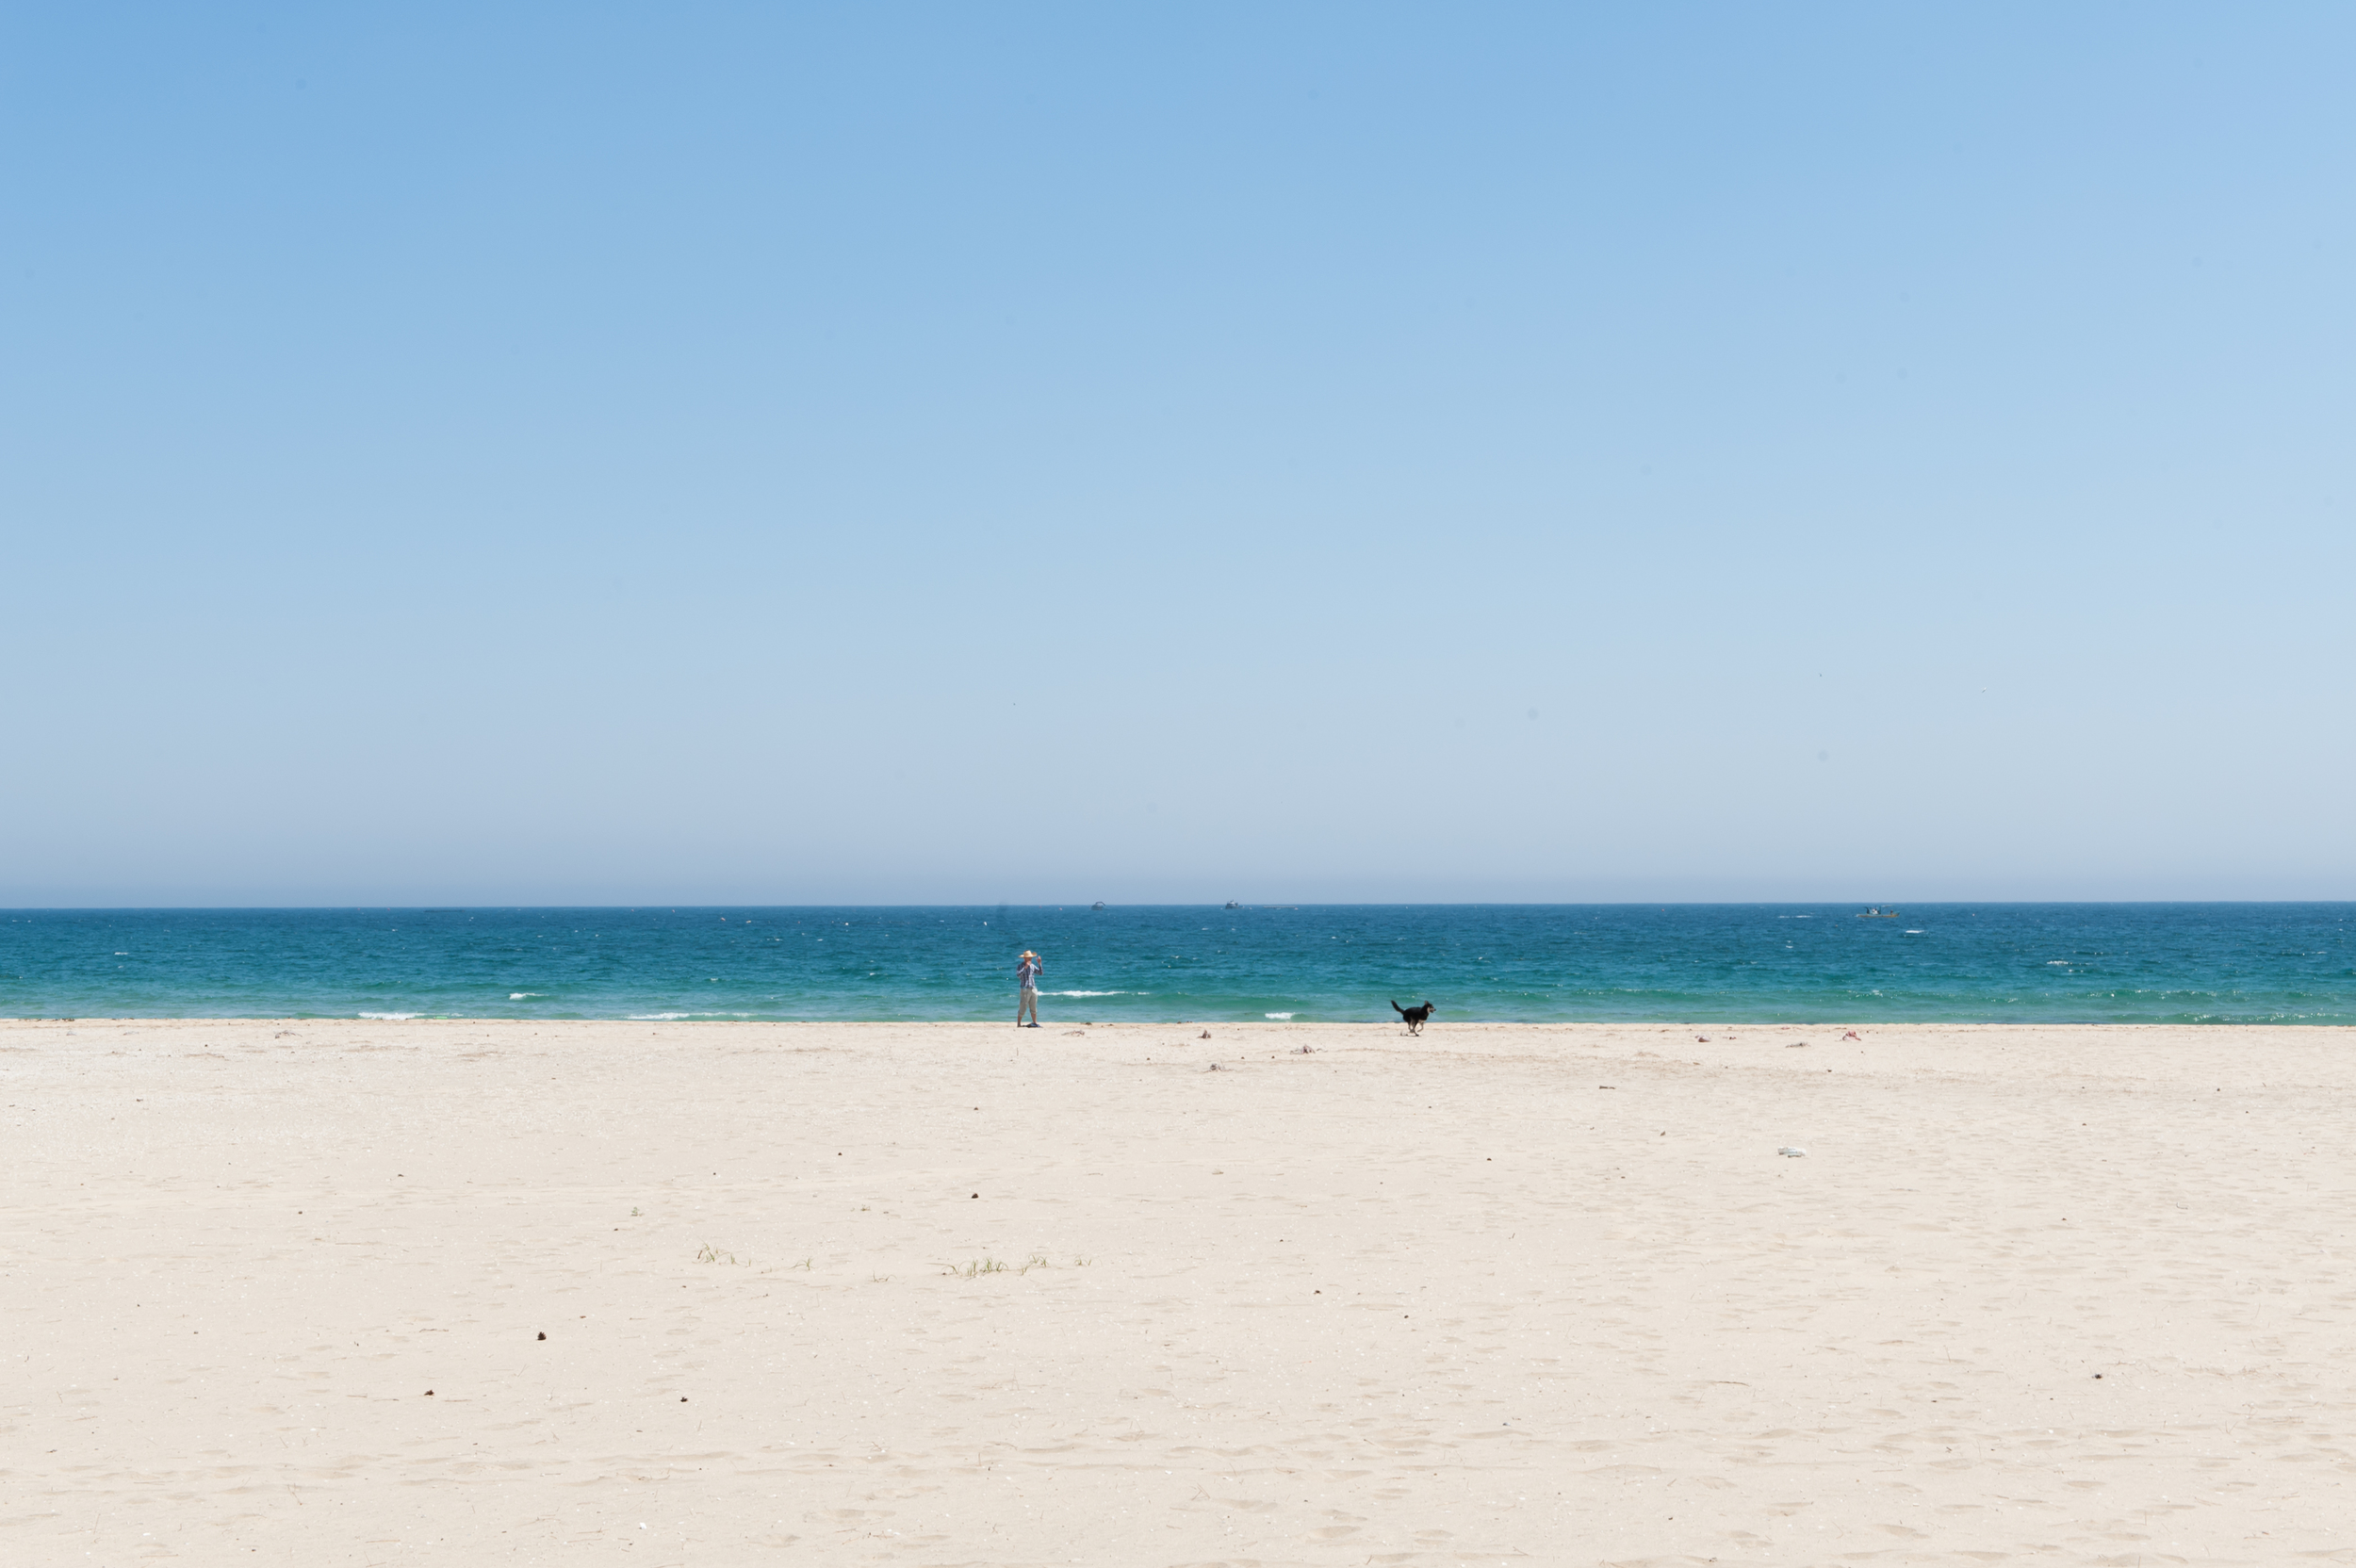
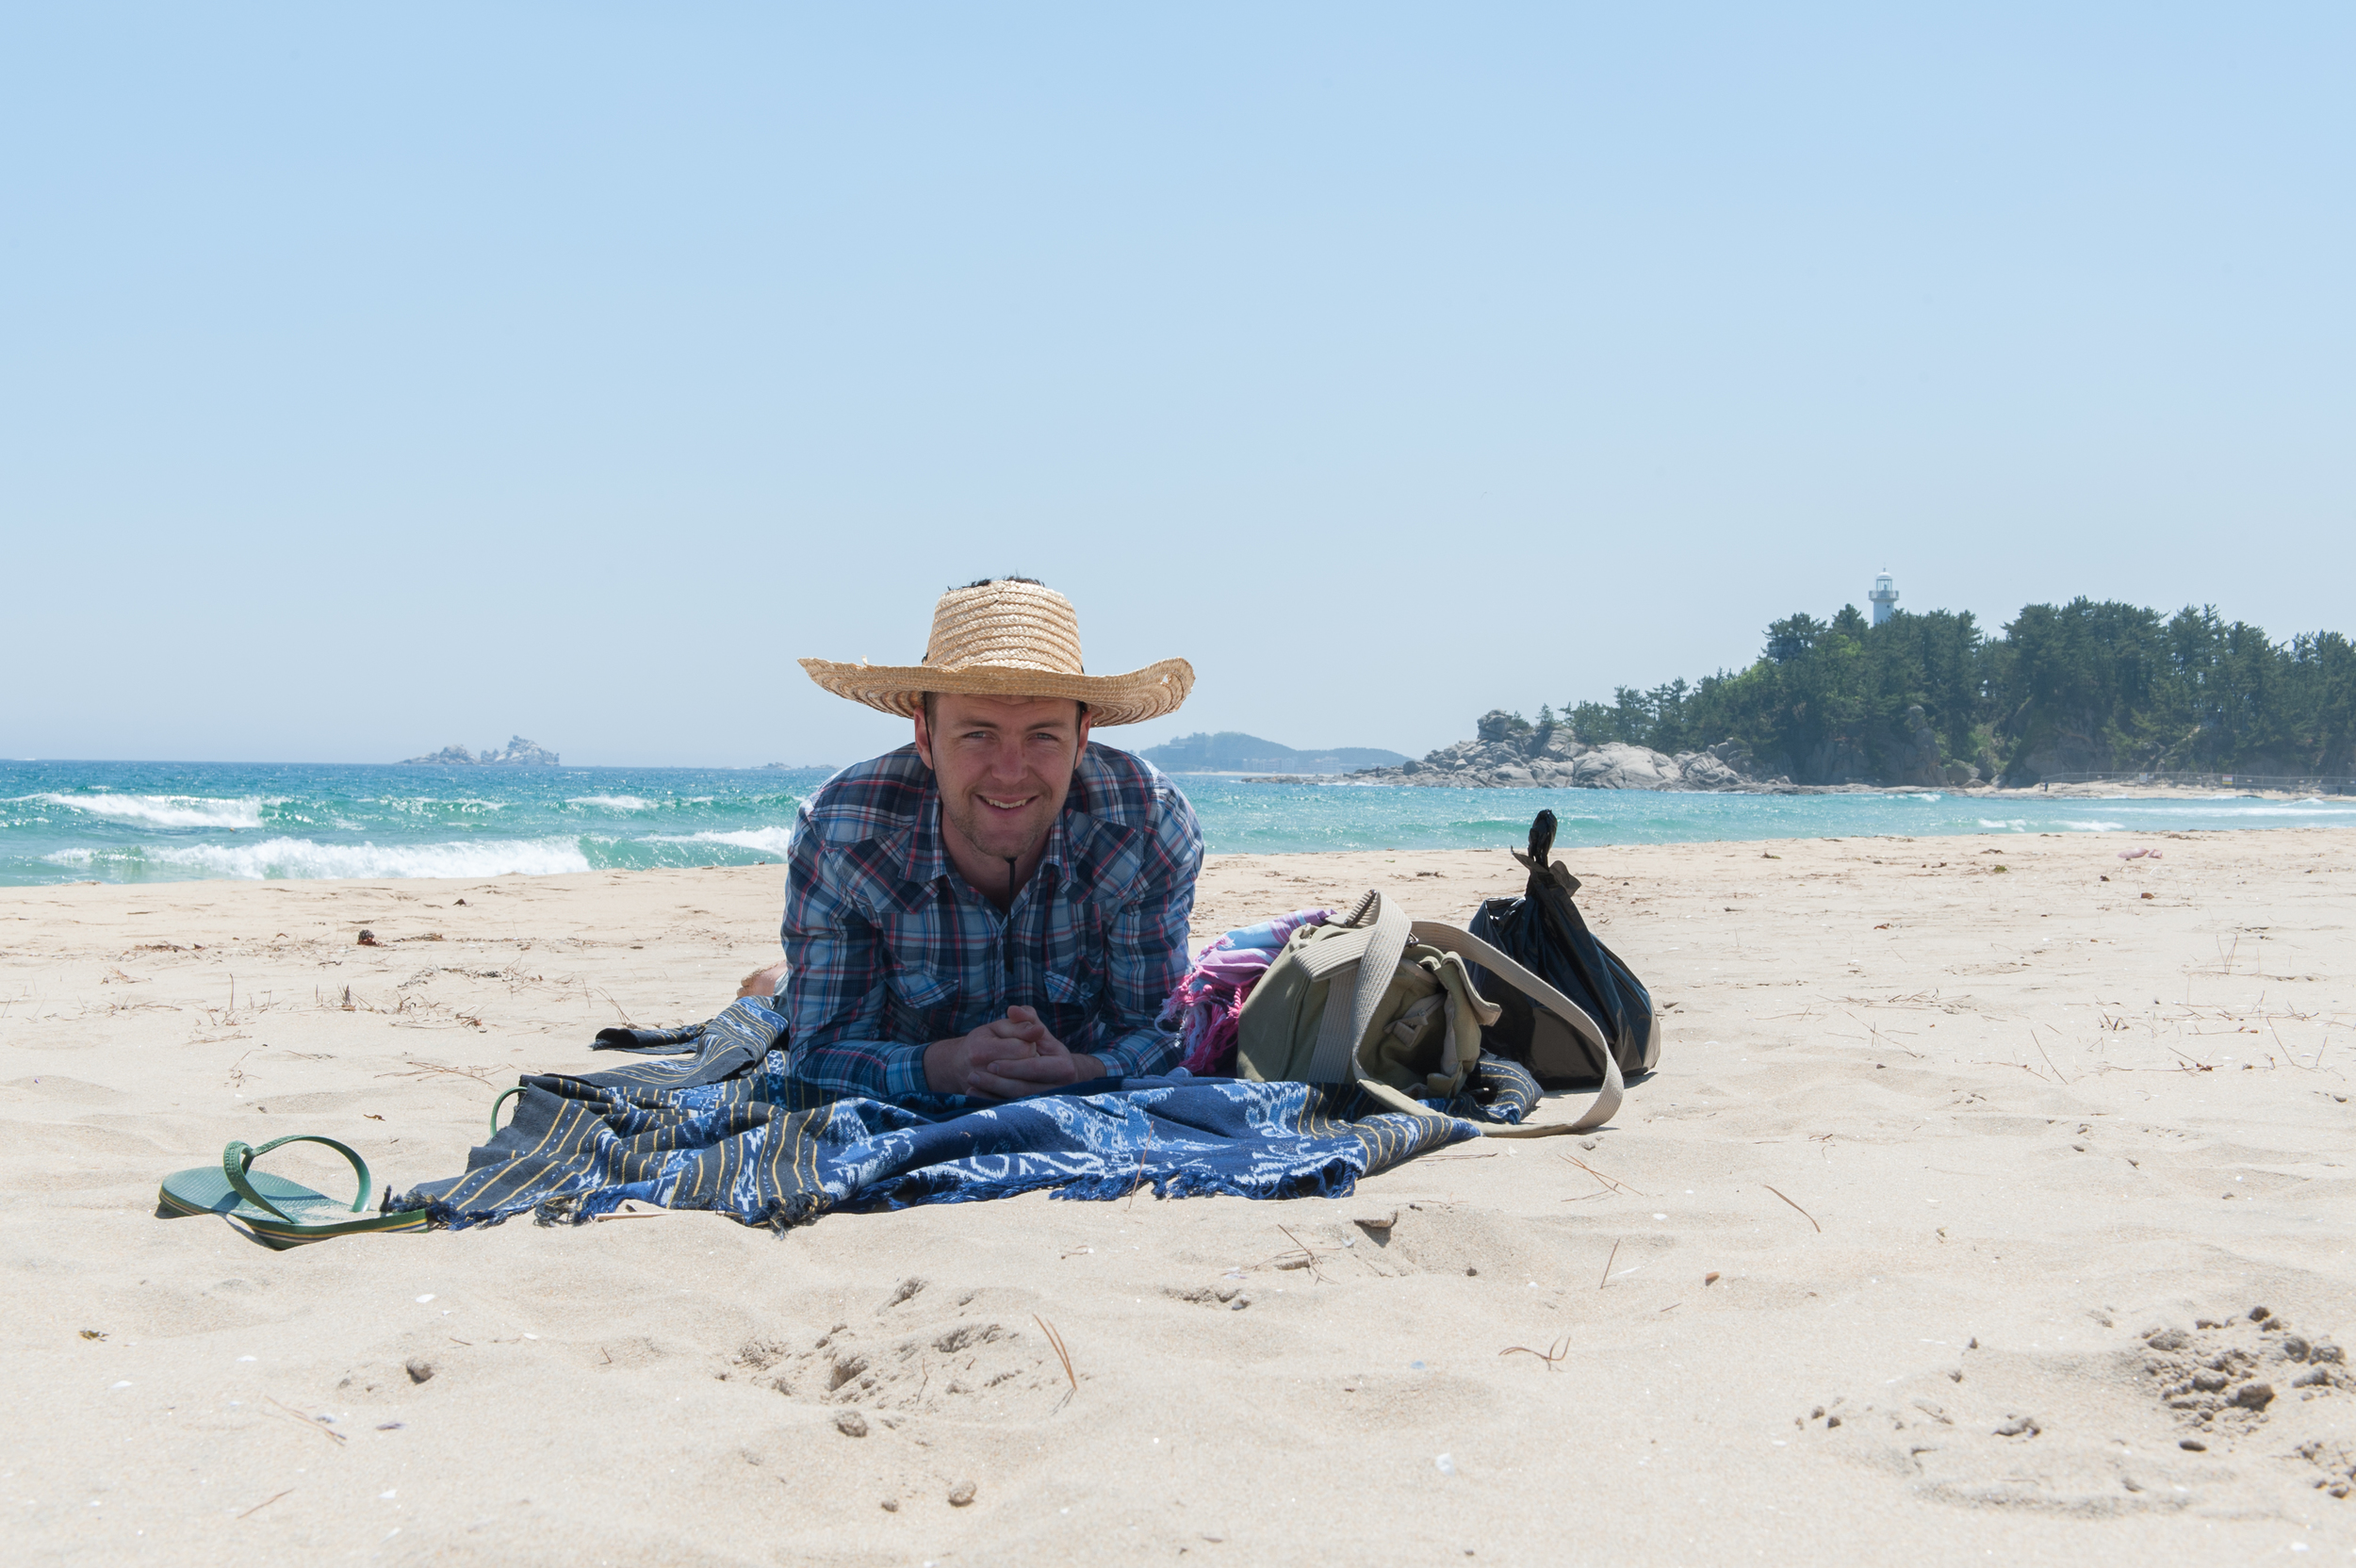
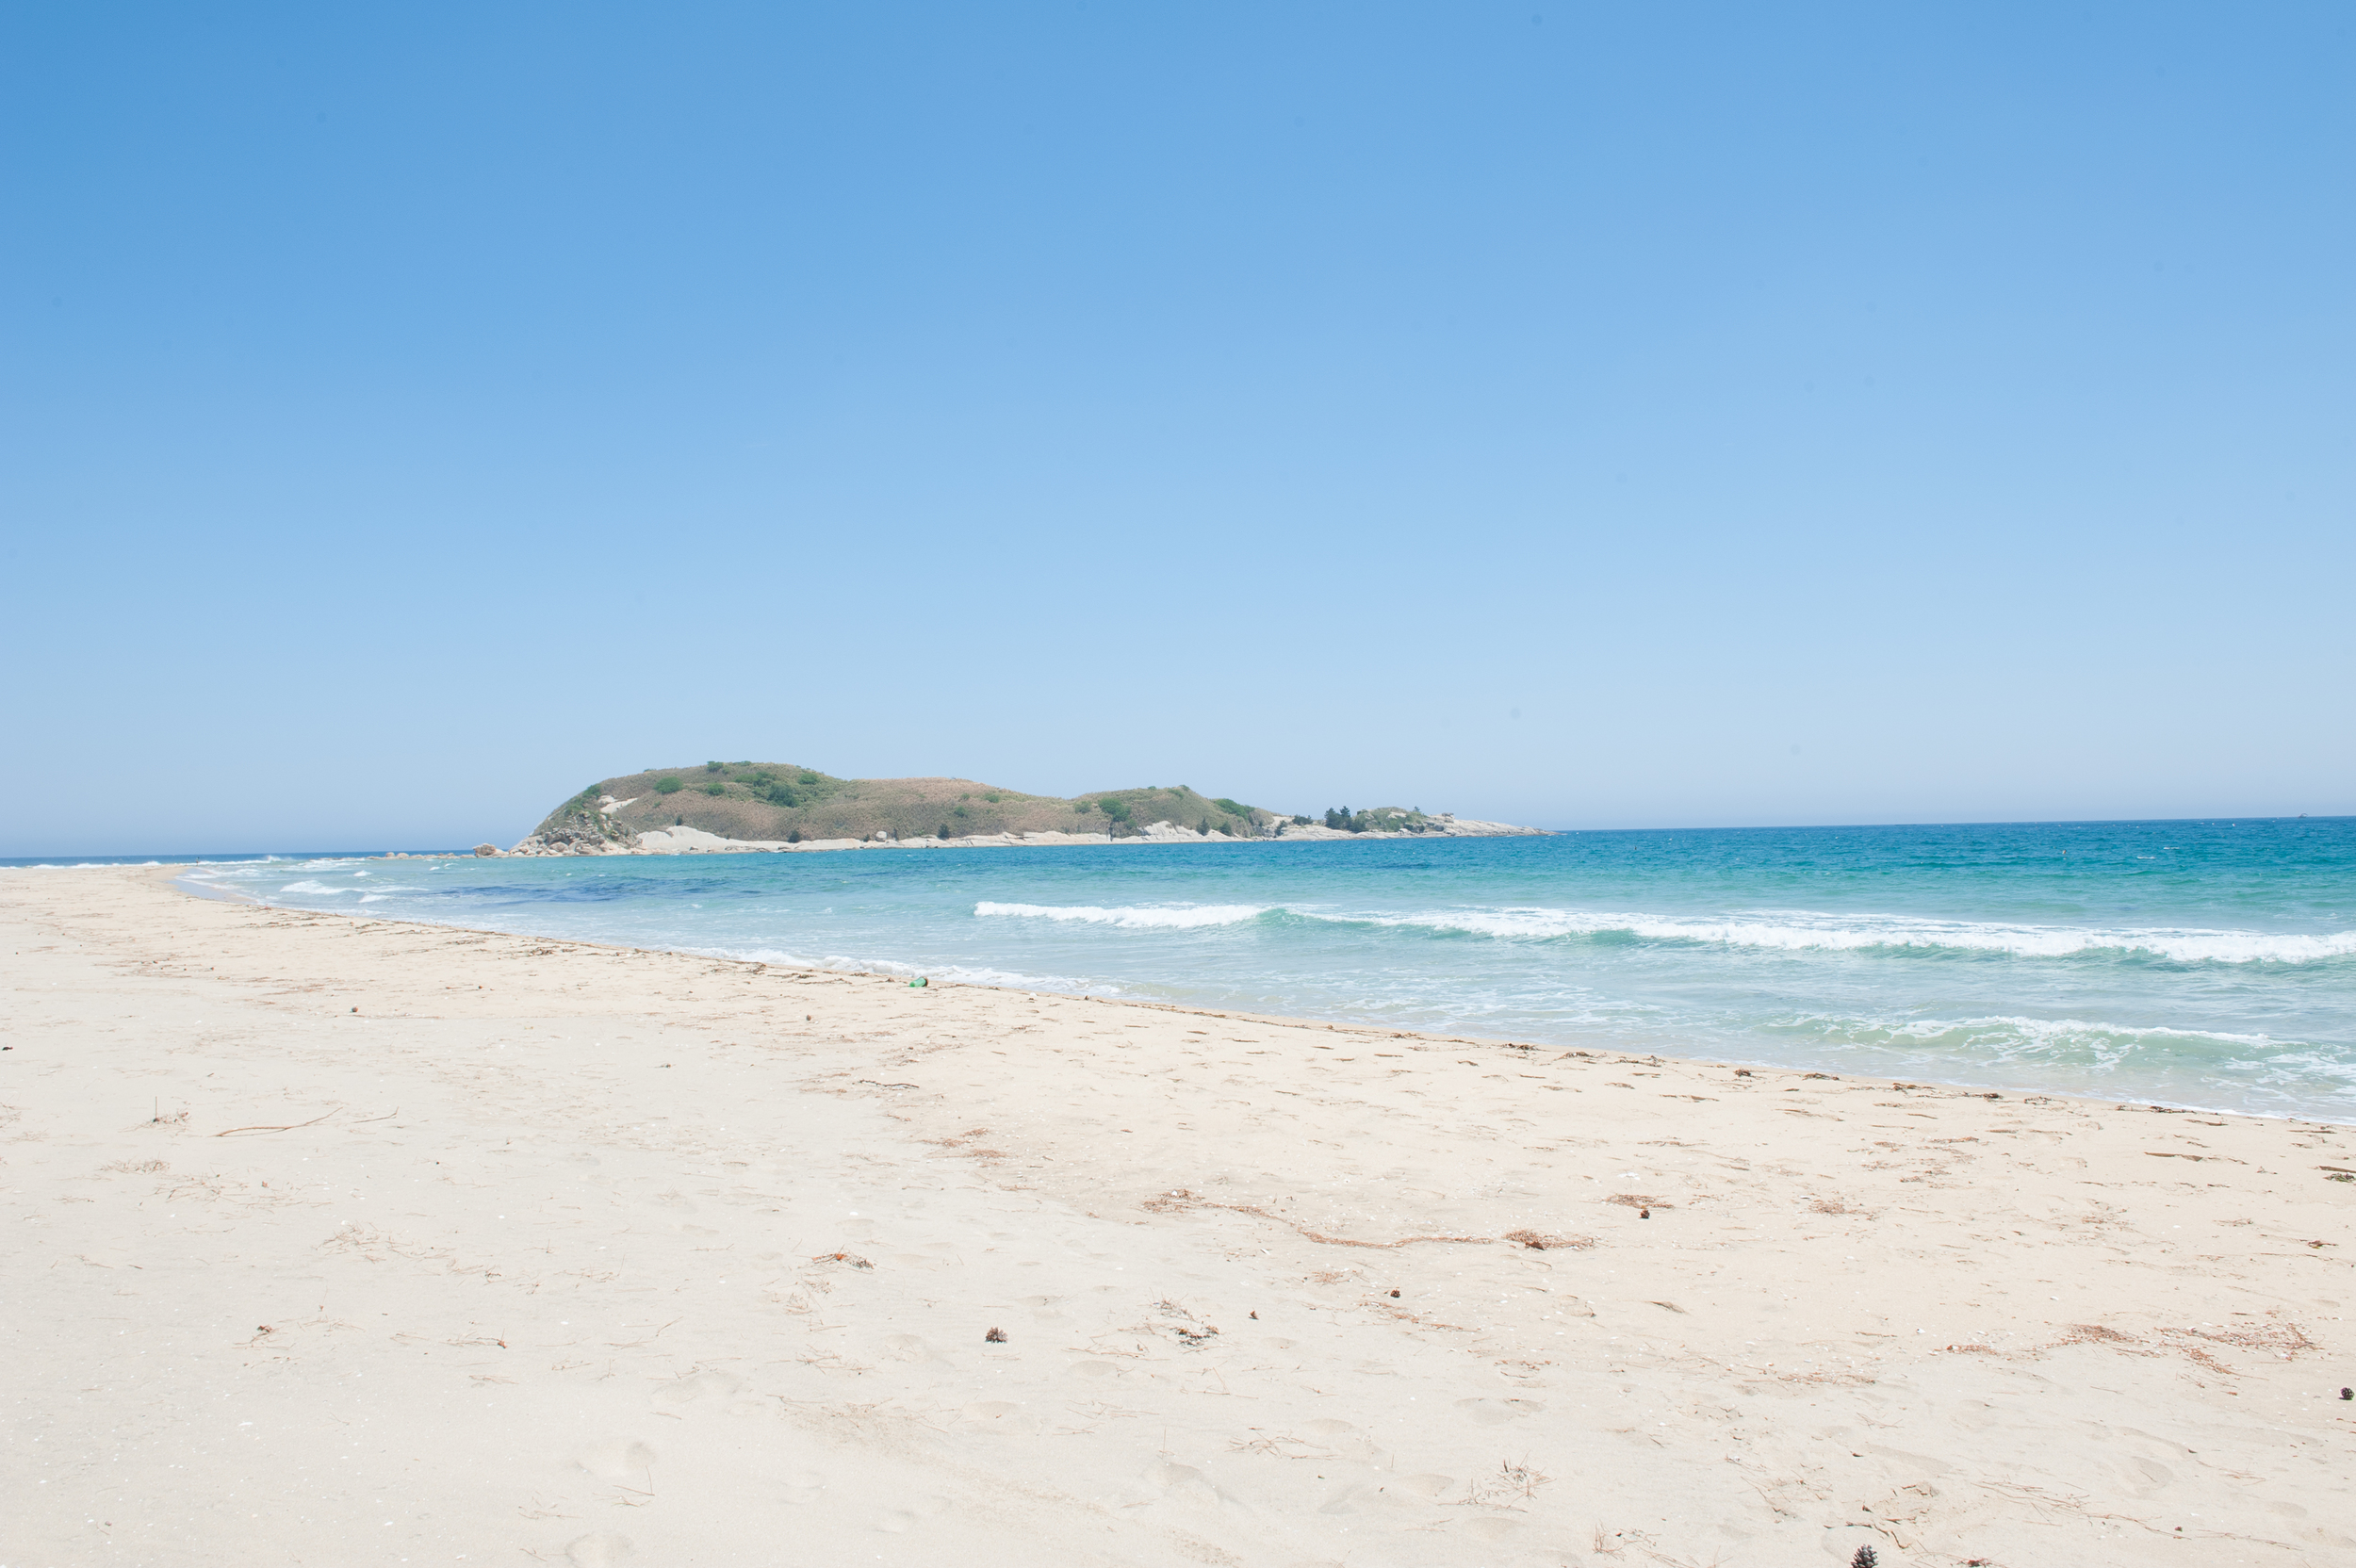
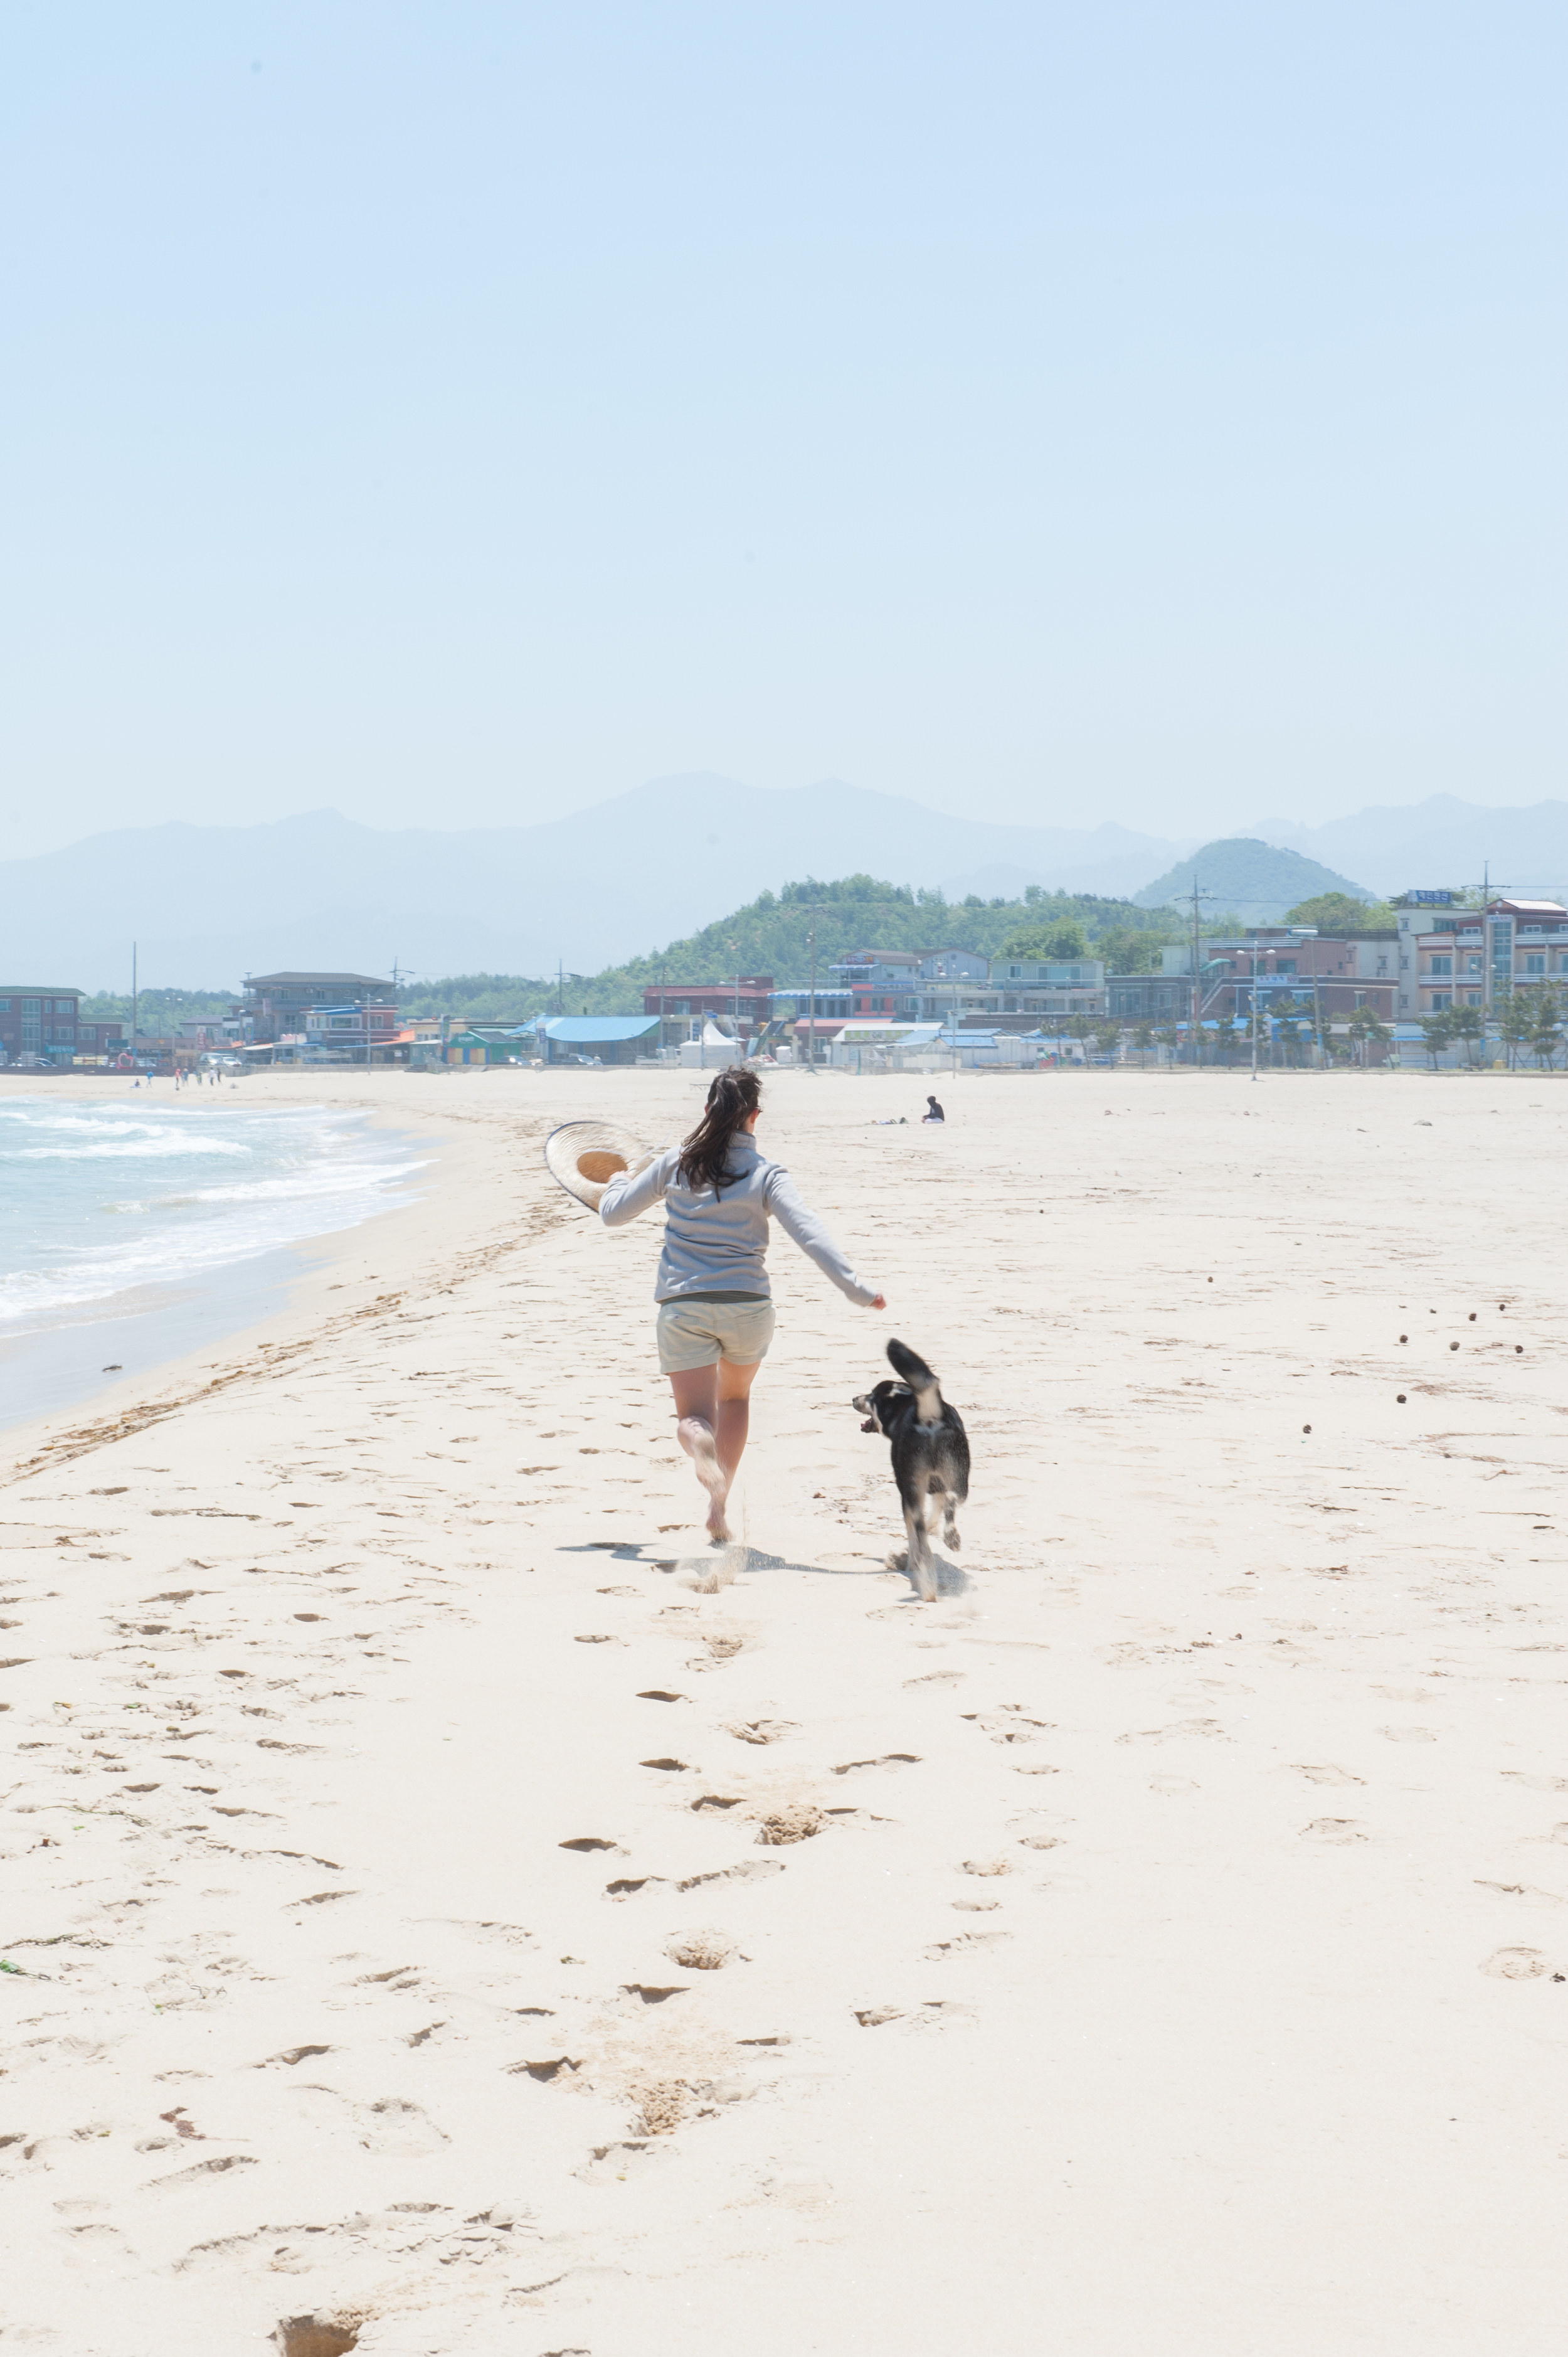
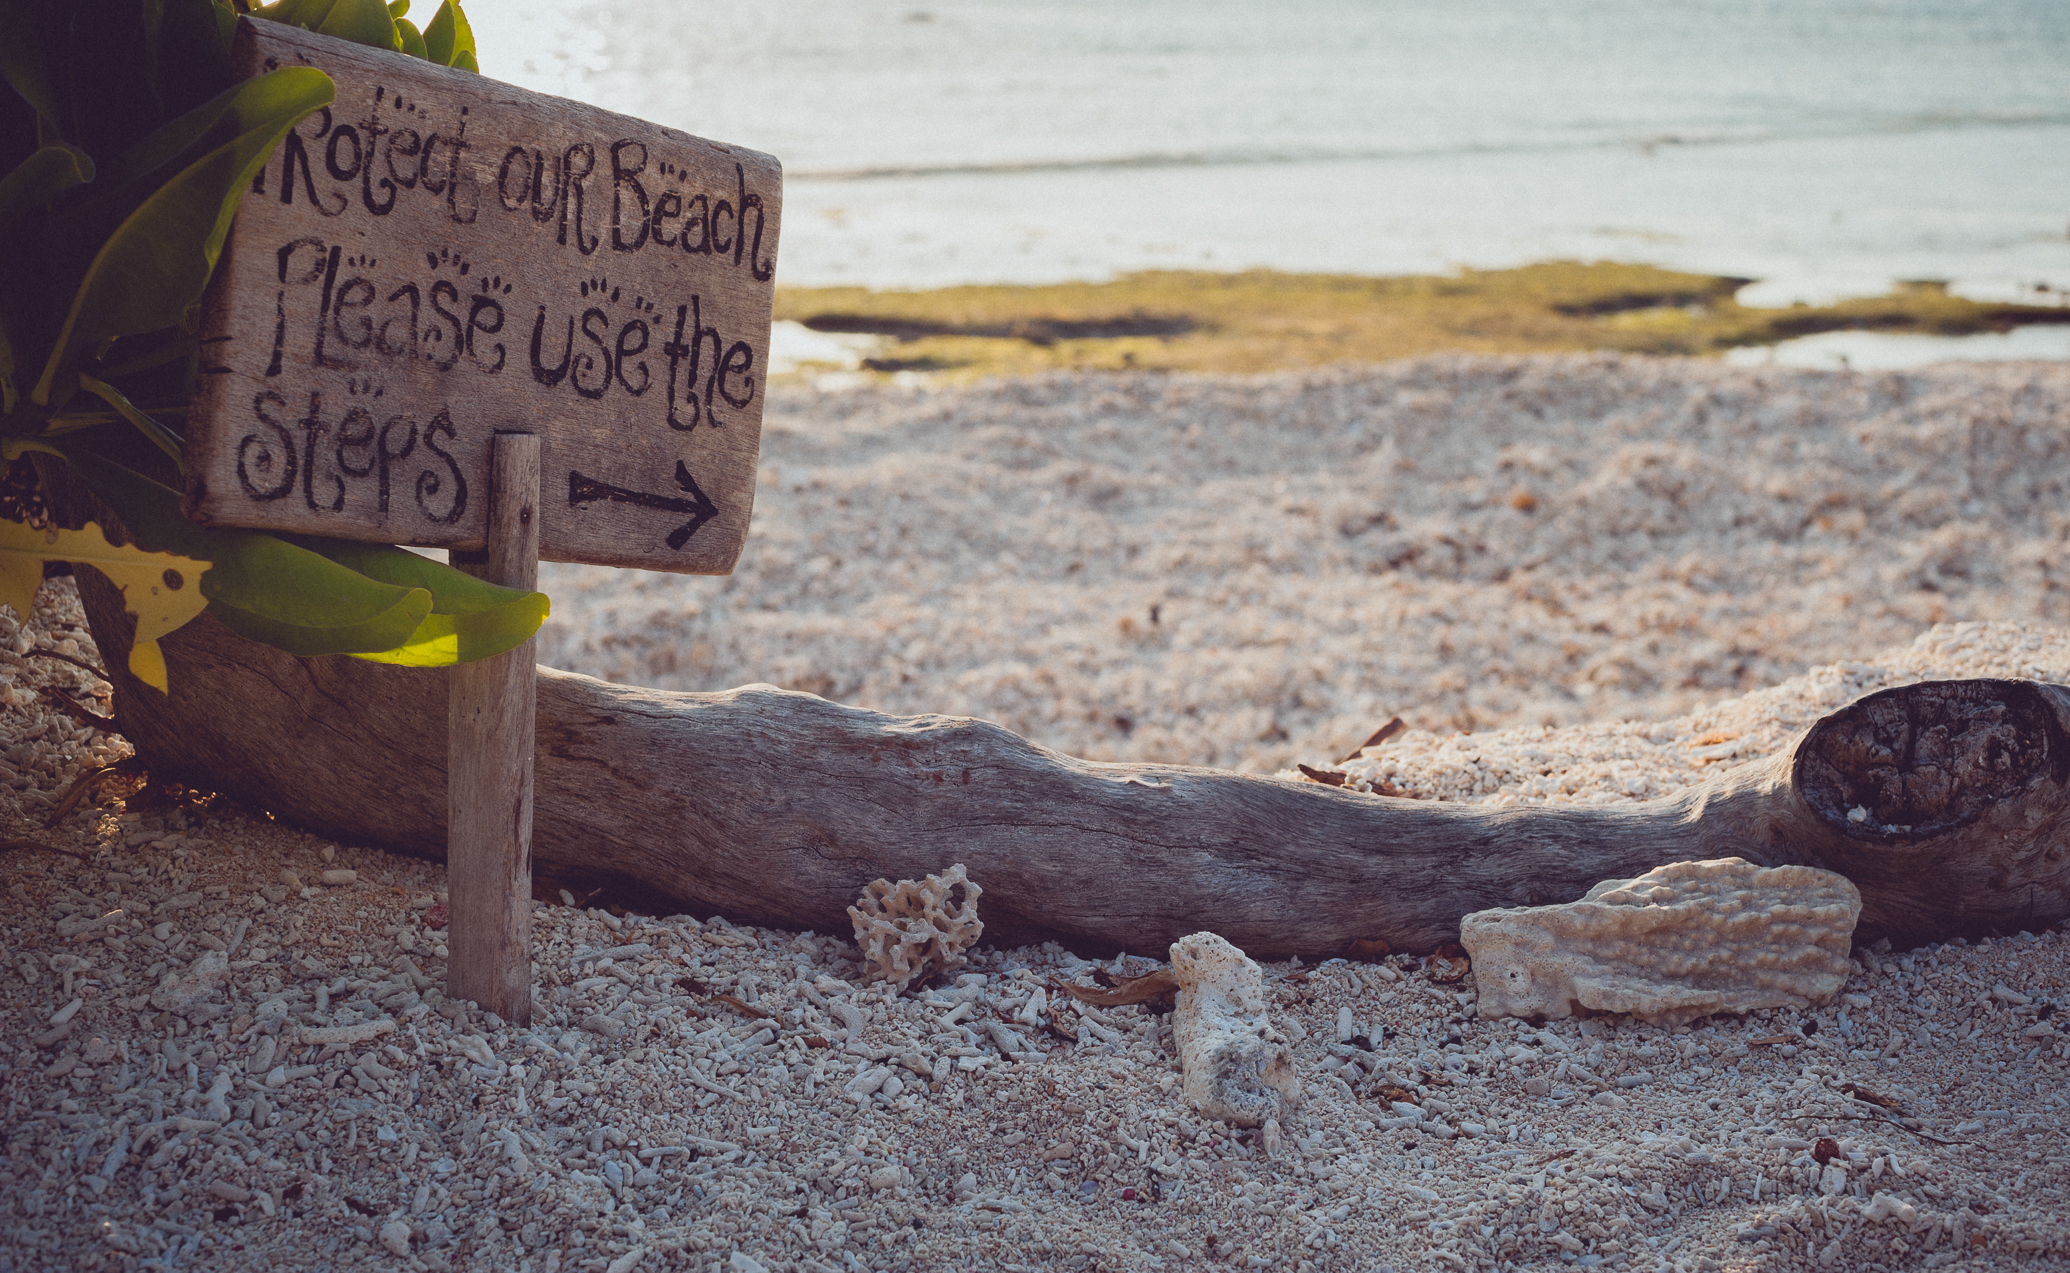
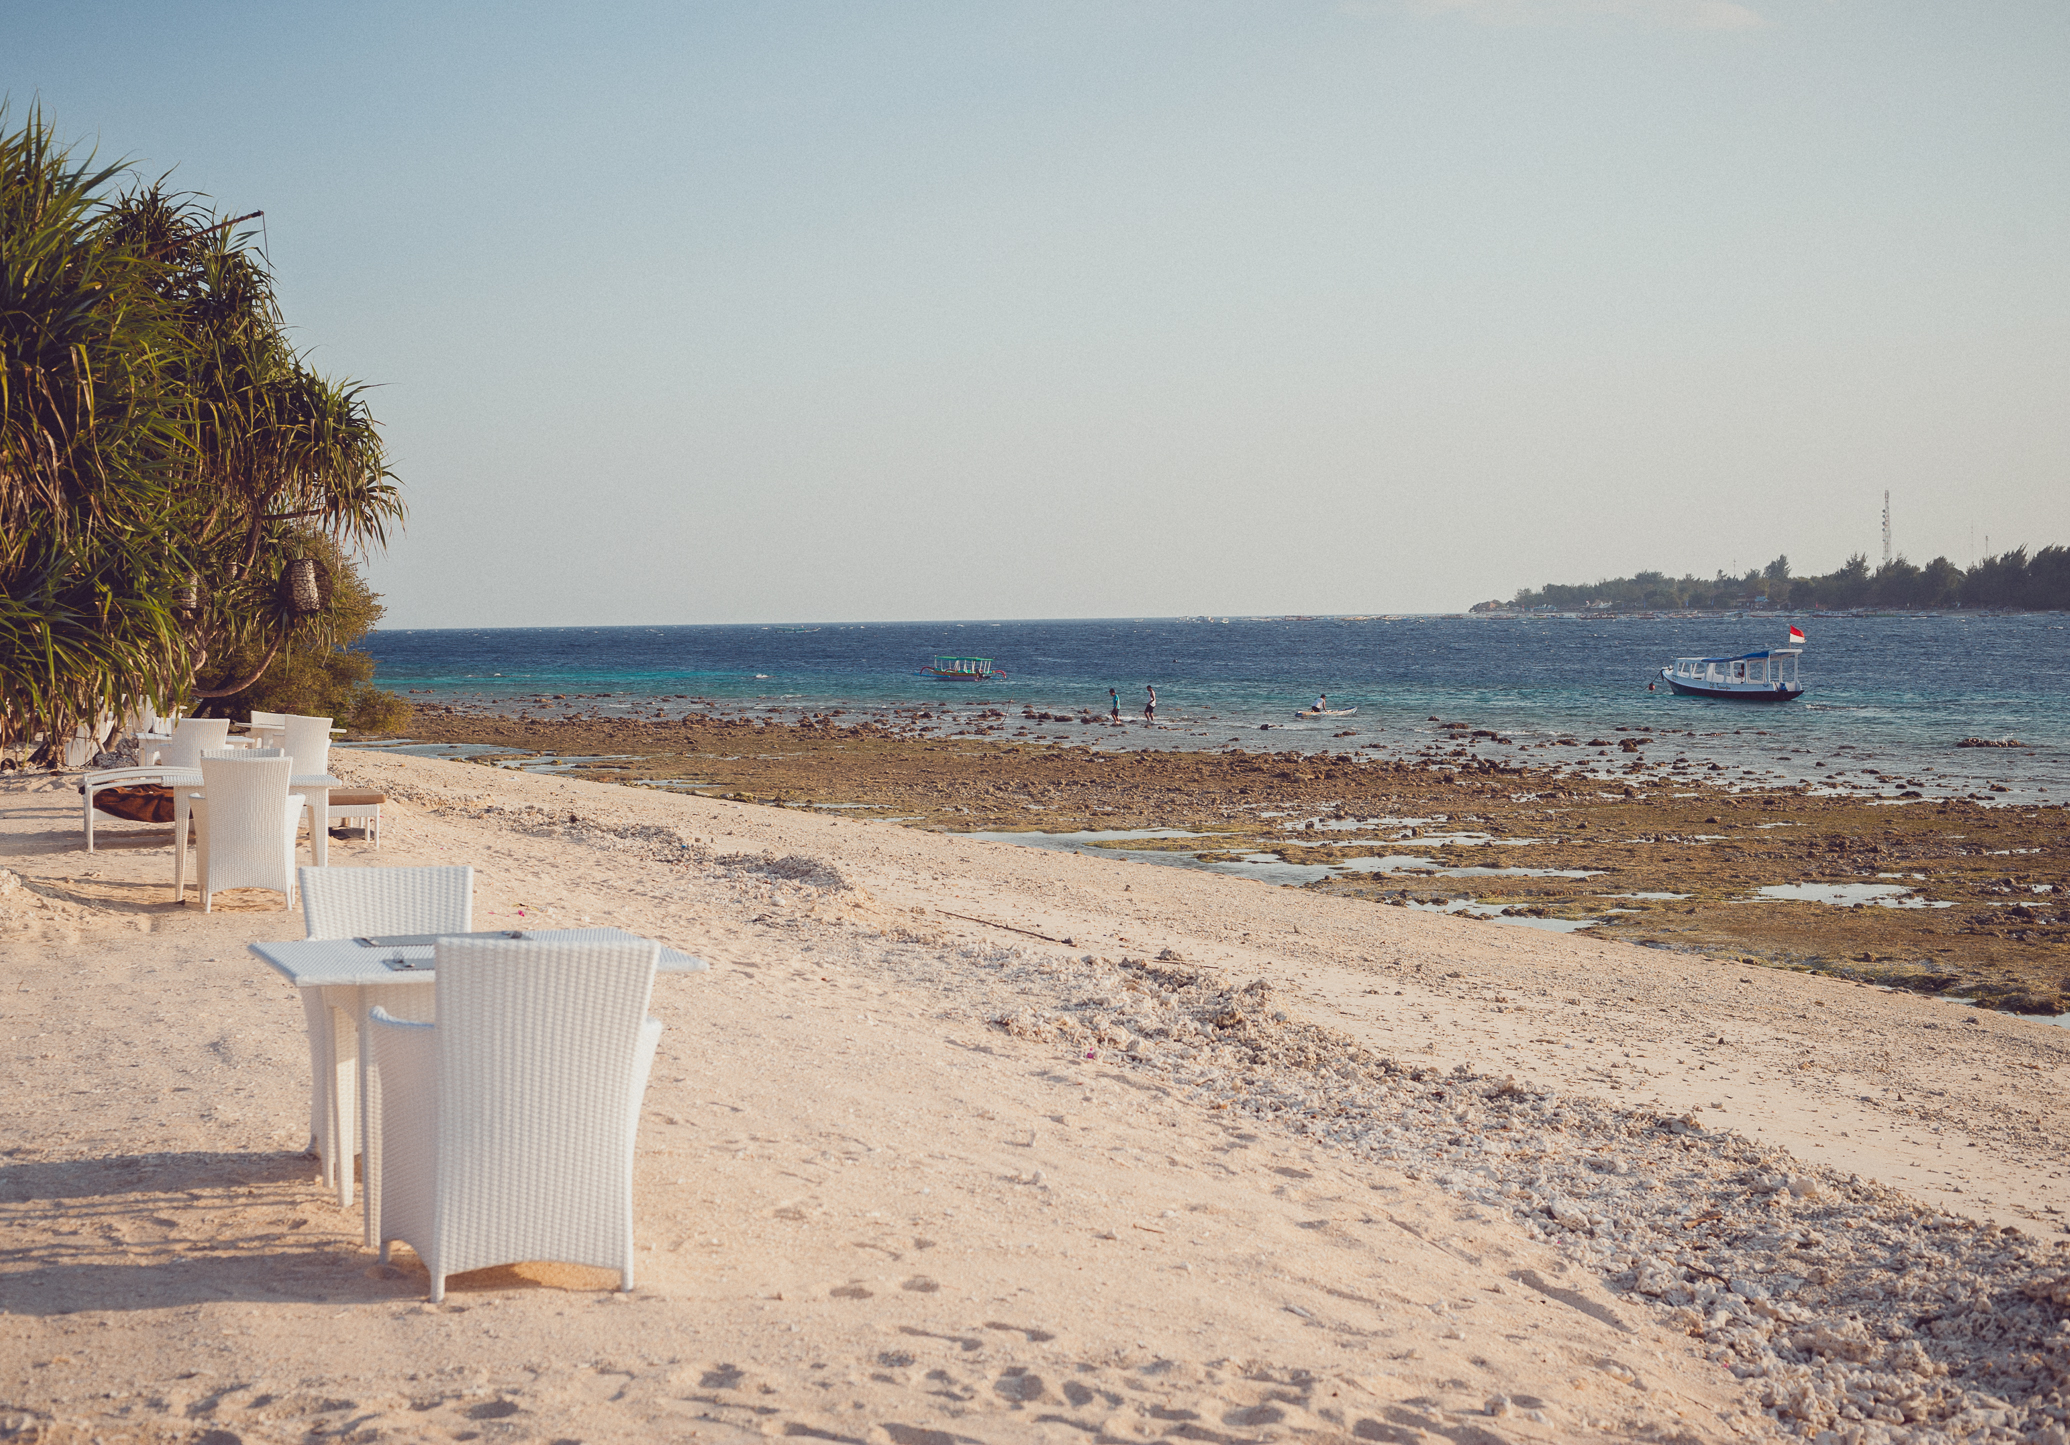
I can't tell you exactly where we ended up camping, but i can say that it took us nearly 4 hours to find. We ended up driving up a tiny forest road, parking at the top of a very steep hill and then having to bundu (bush) bash through a forest and along a path that had not been used in years to get to this gorgeous stretch of quiet beach. We were alone, apart from a few early morning fisherman and hikers and had the beach to ourselves the entire time. 

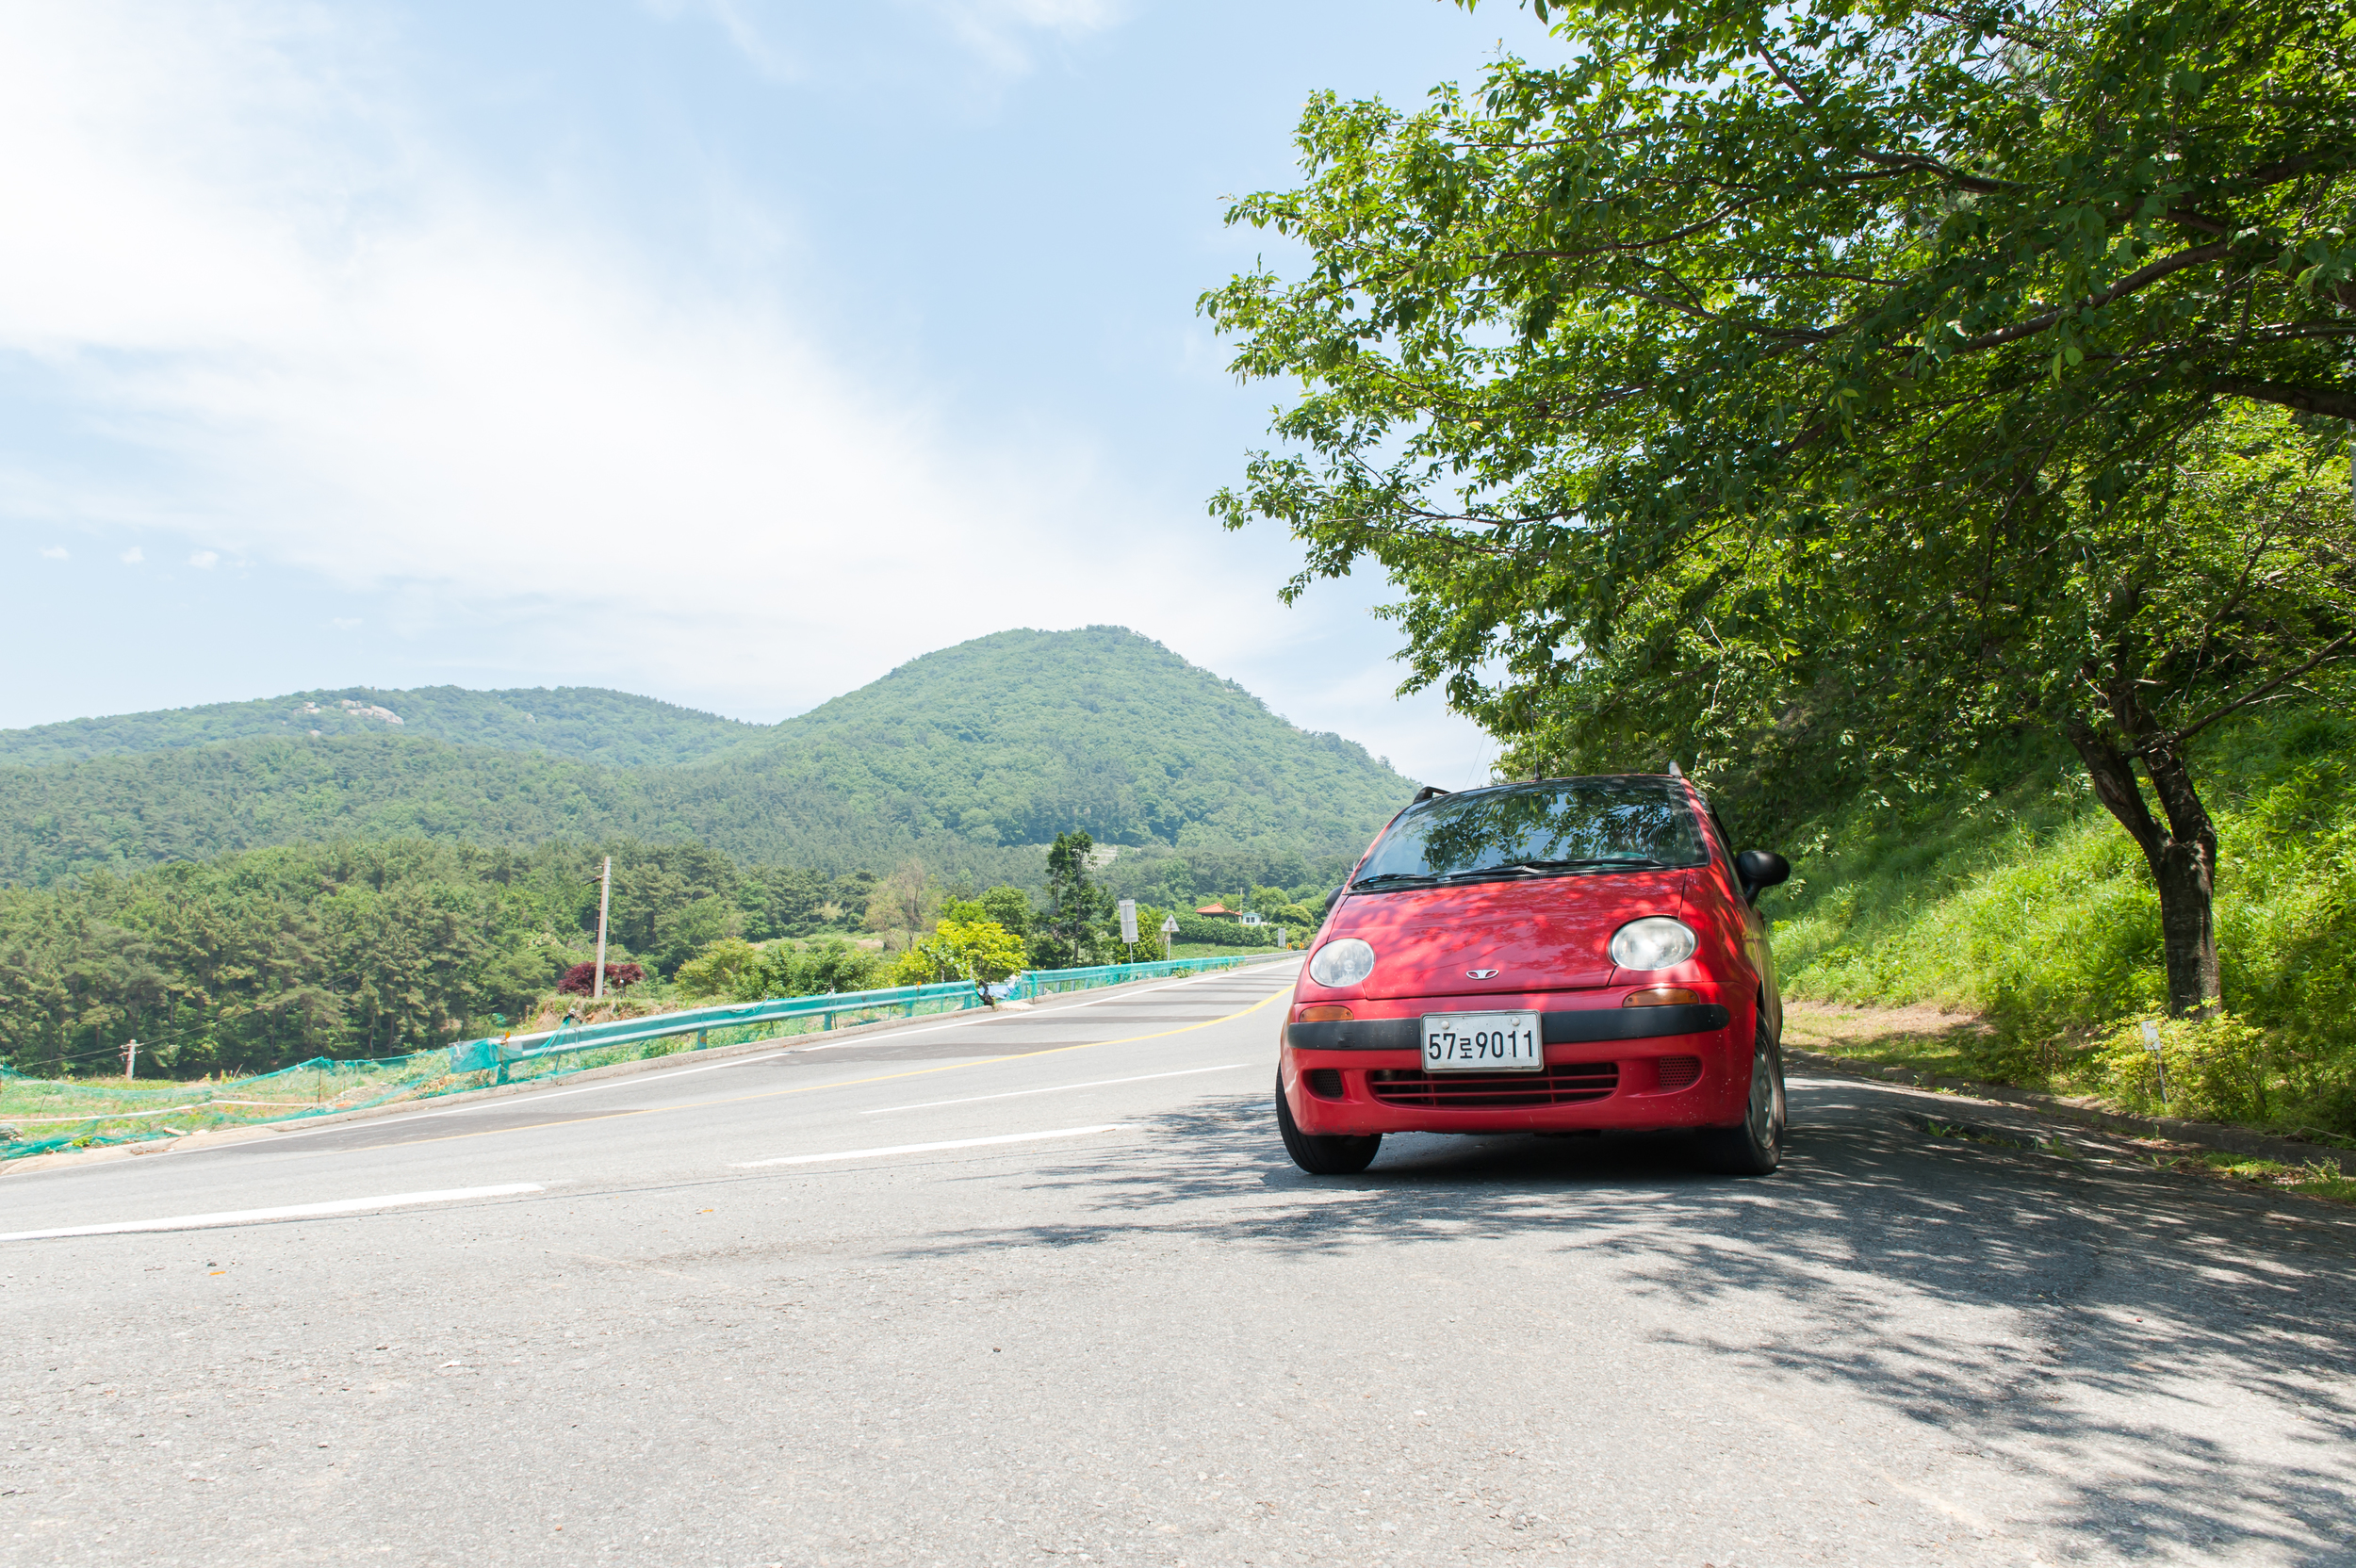
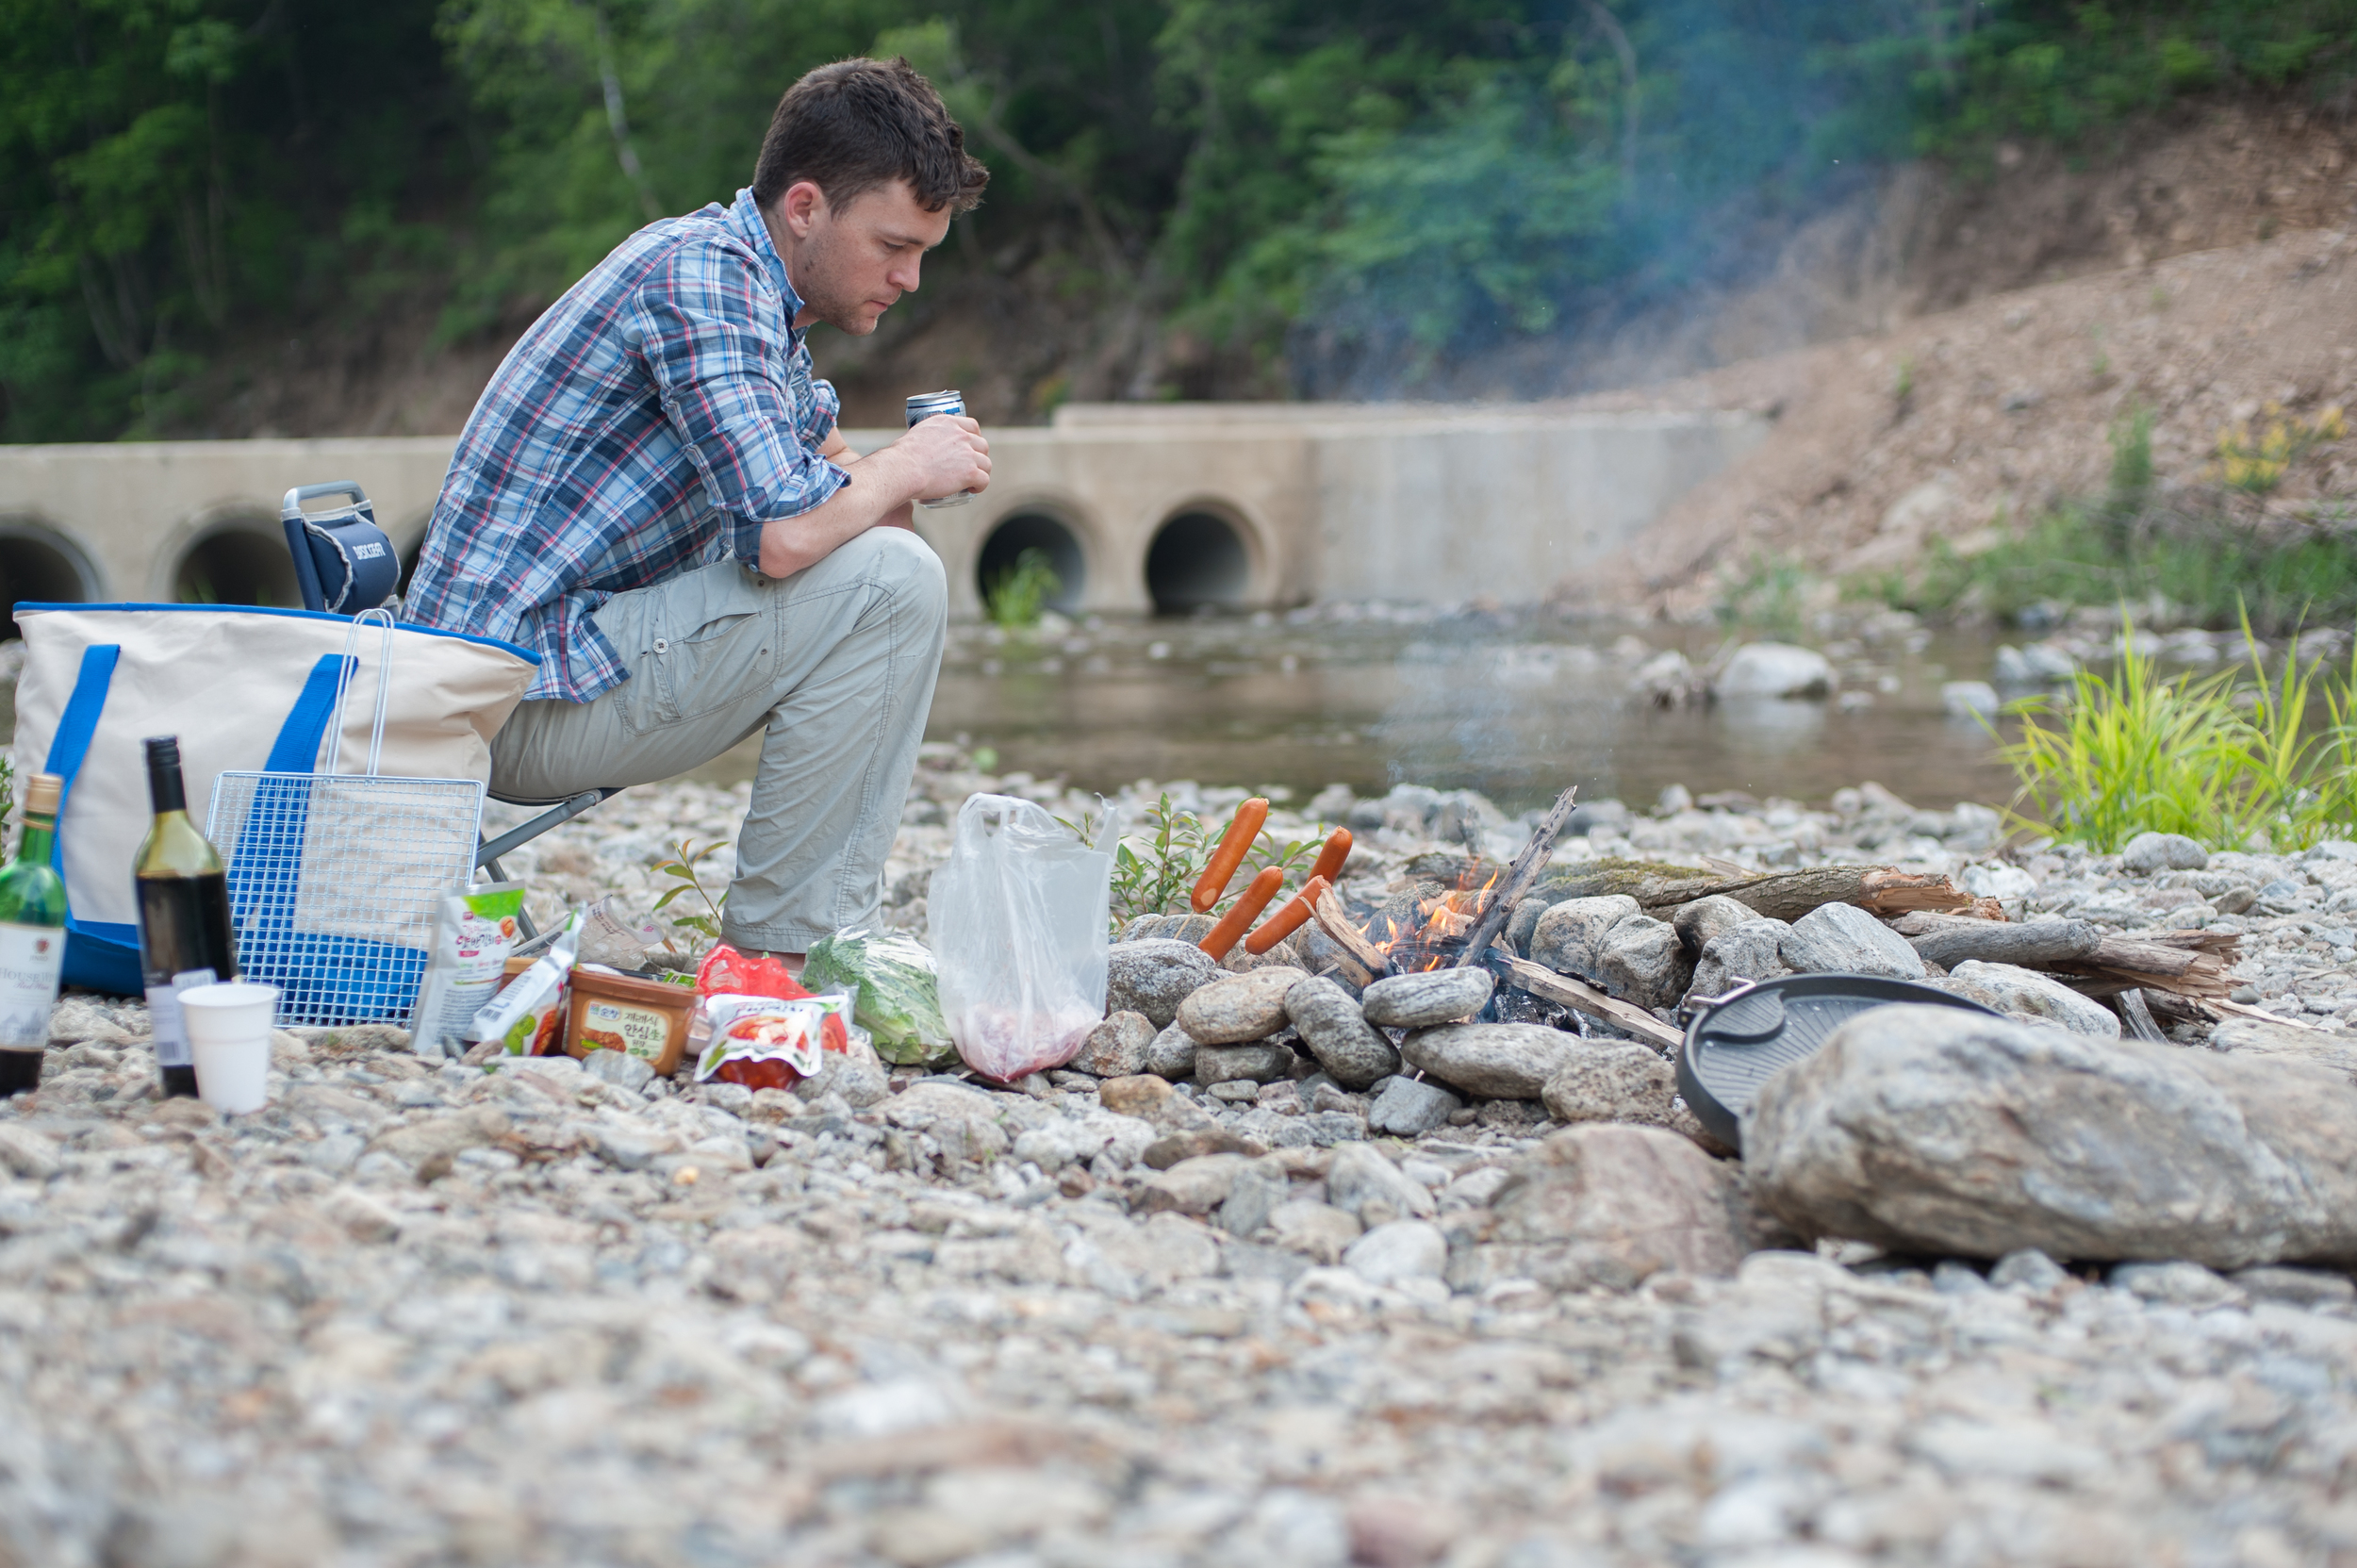
Food is always a challenge with camping, unless you are able to bring along a fridge (something we would never be able to fit in our little red Matiz) and so one has to do quite a bit of planning. We only ended up camping on Namhae for one night (although we had planned for two).

Here is the menu we planned and prepared for:

DAY 1

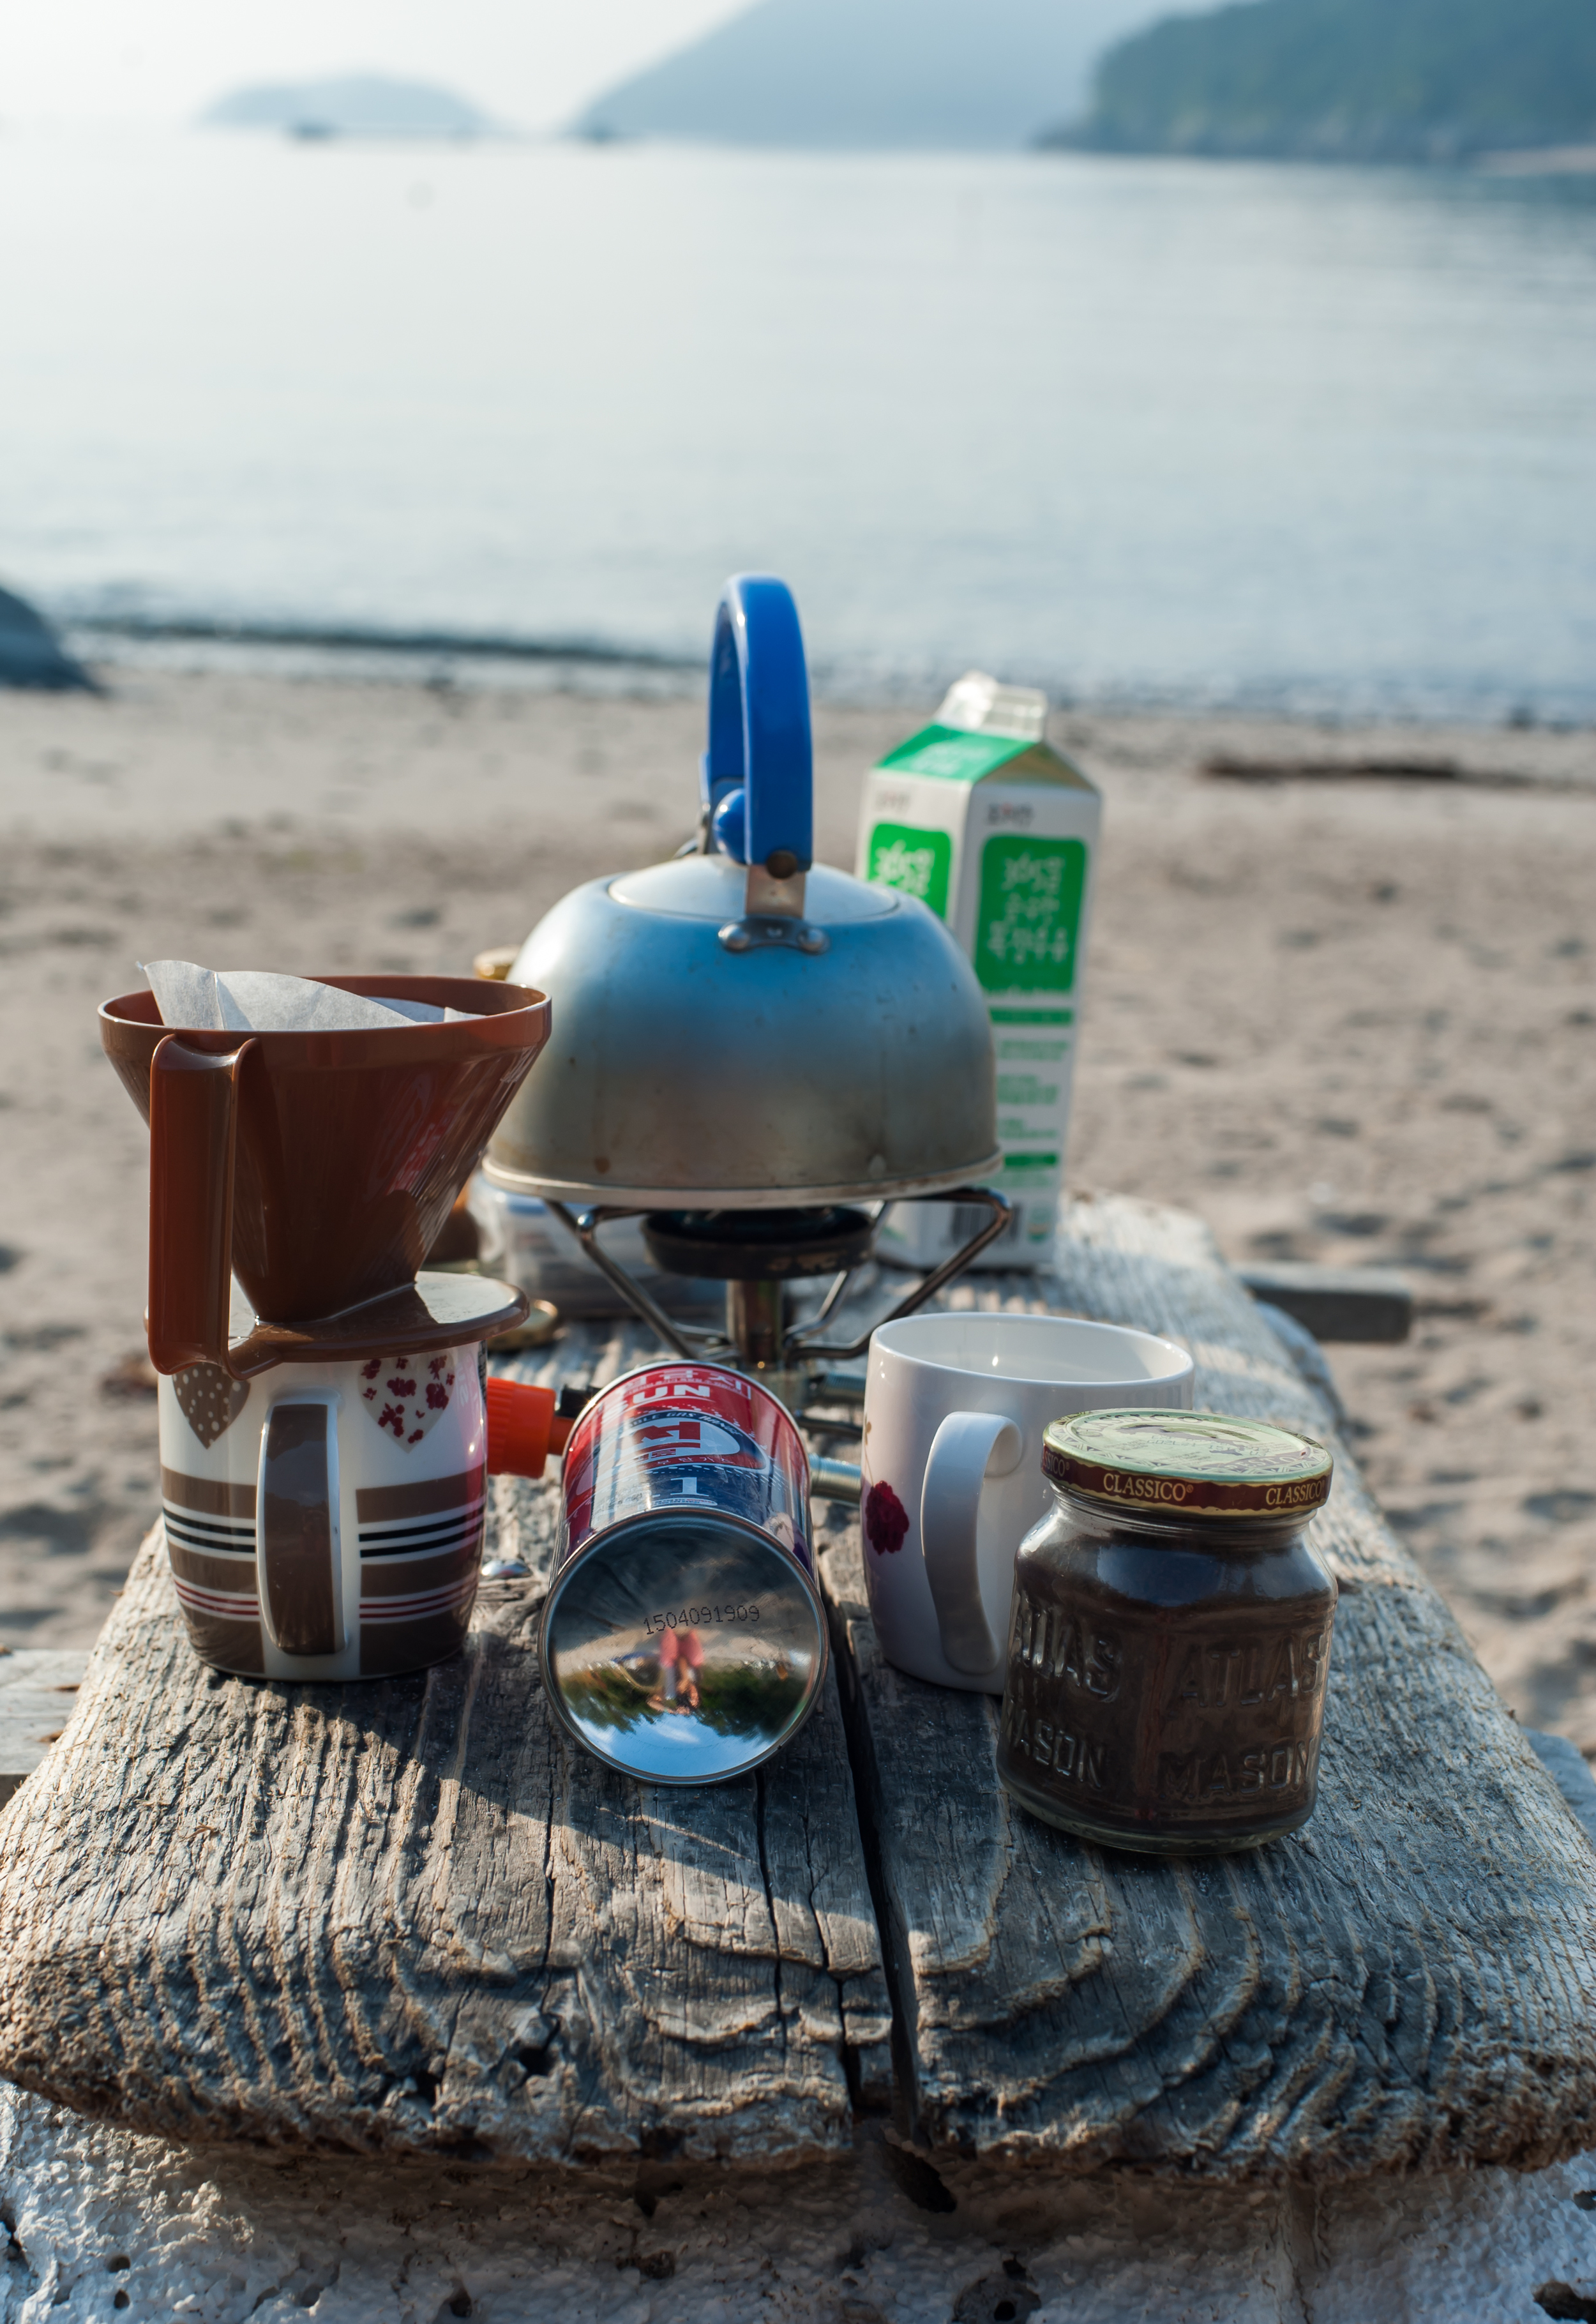
  • Breakfast: coffee/tea and digestive biscuits
  • Lunch: bologniase mince wraps with salad
  • Snacks: store bought popcorn 
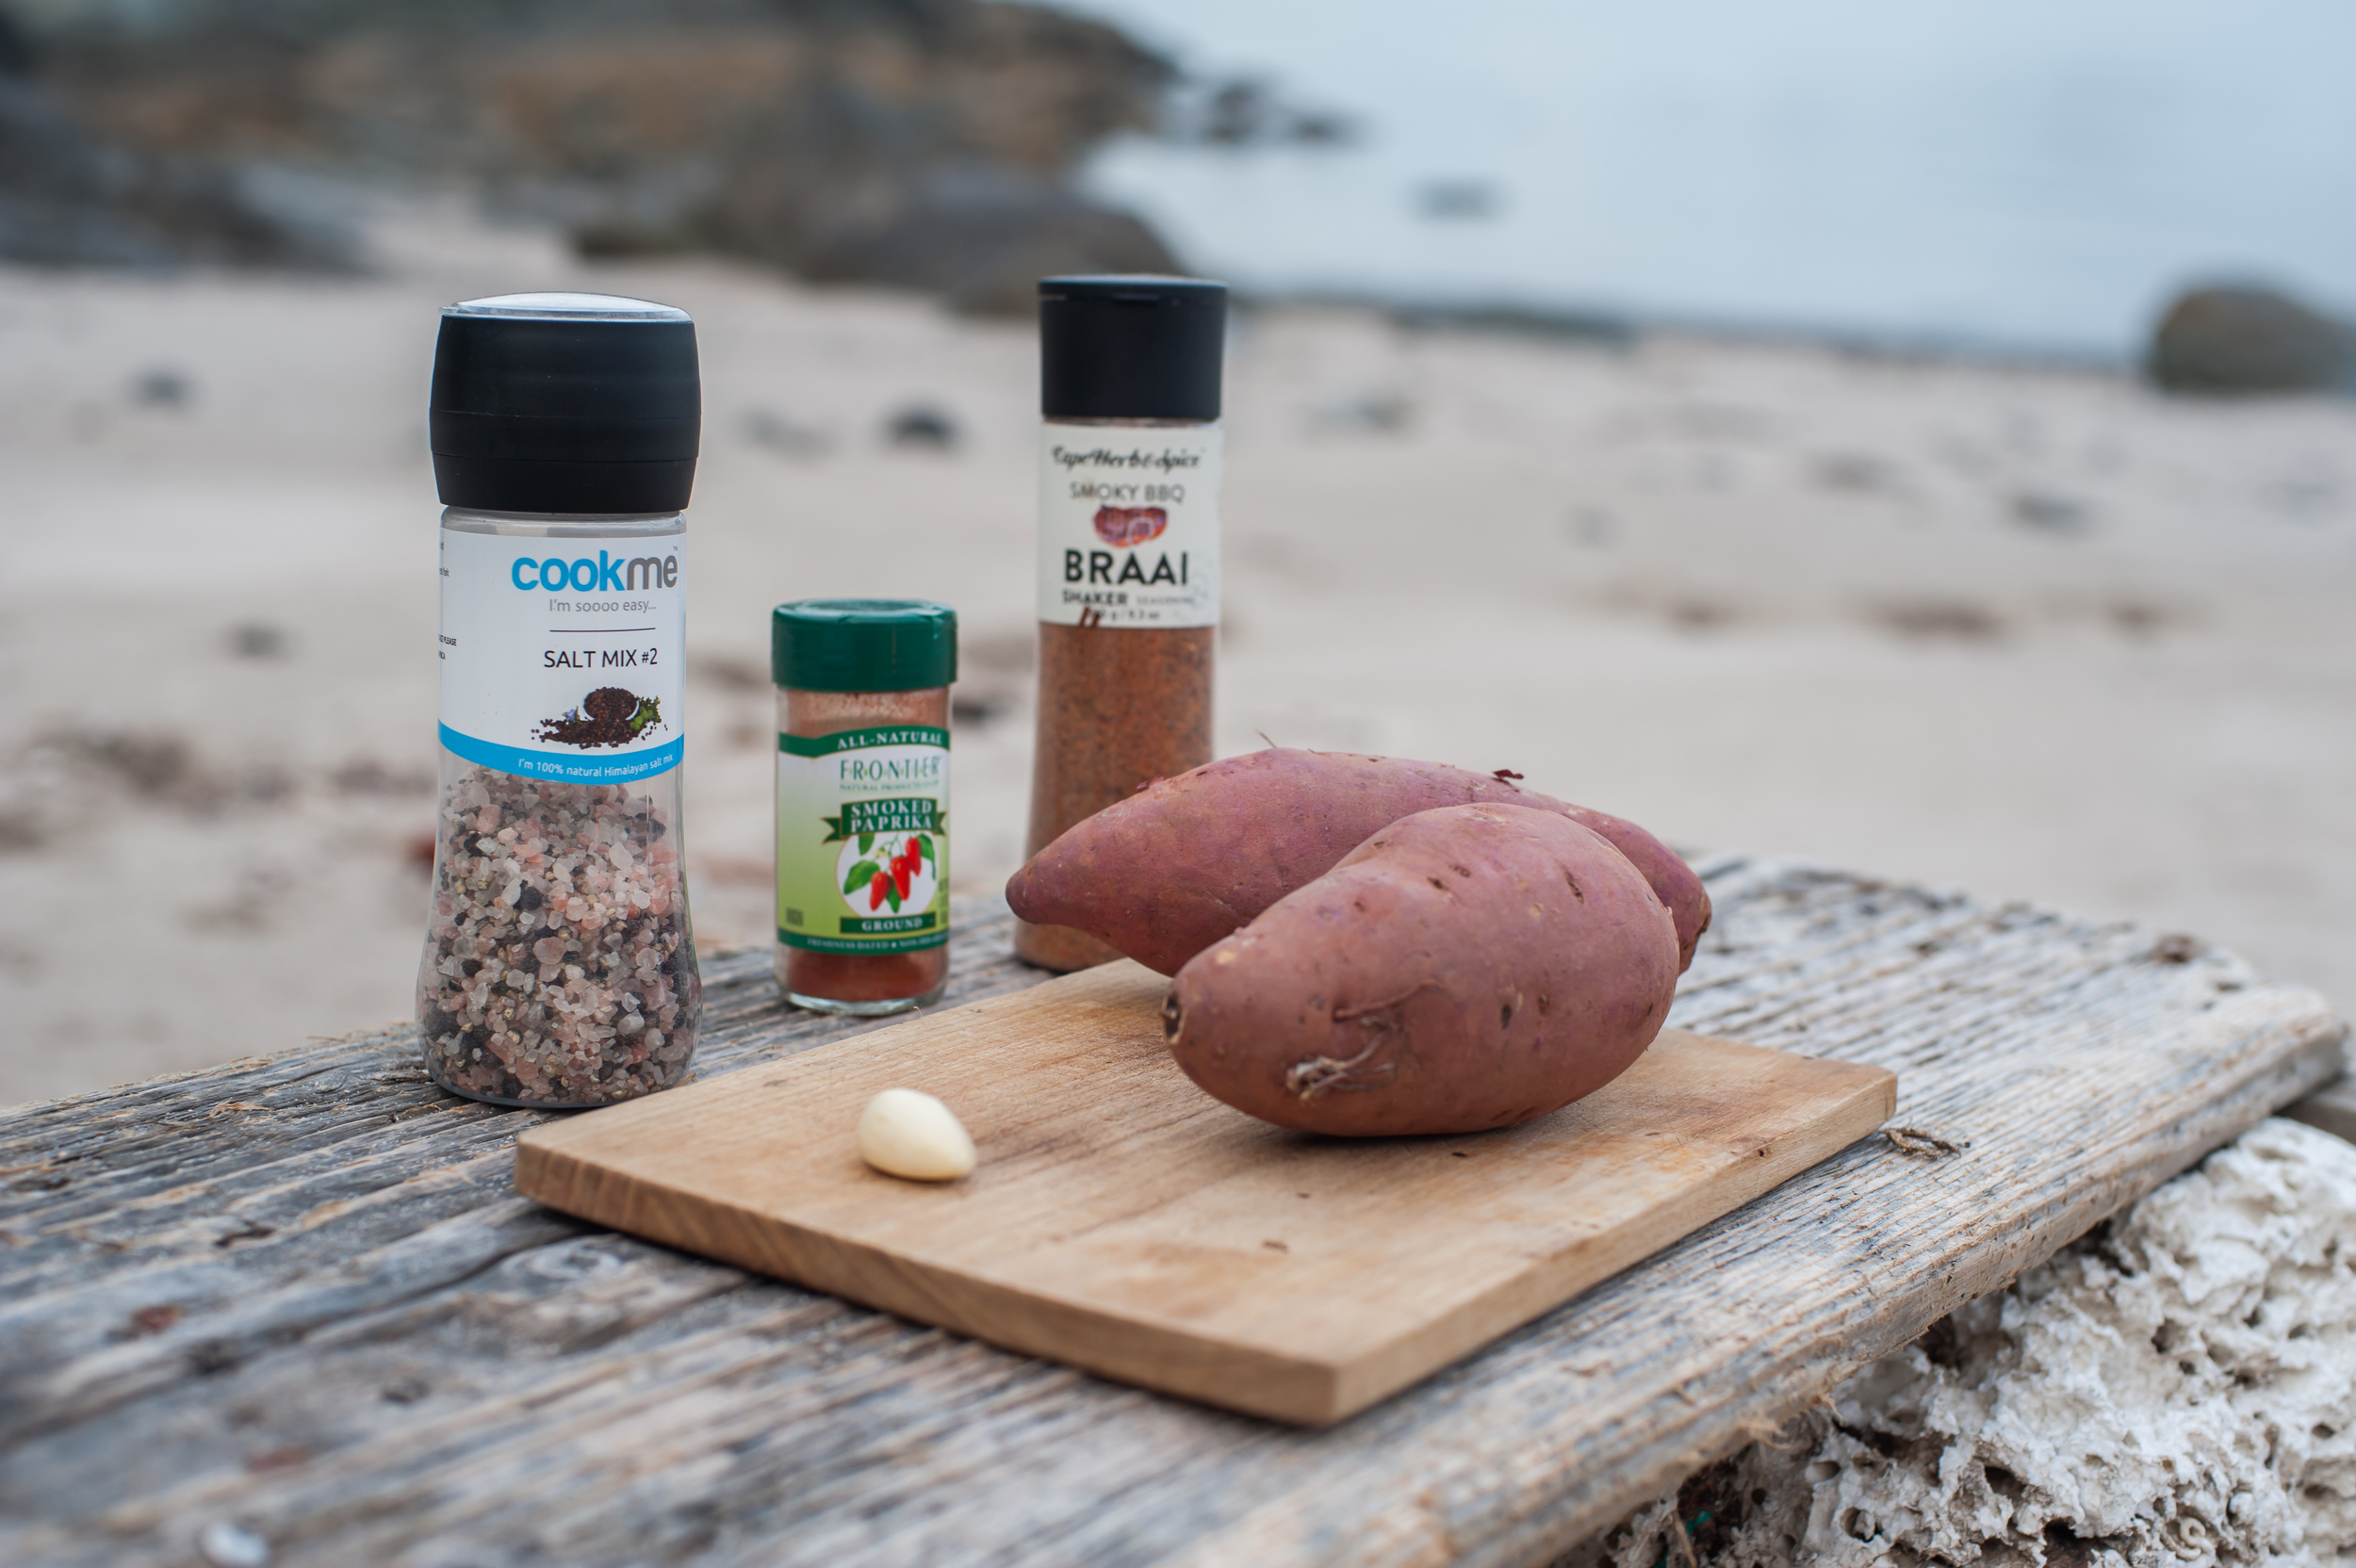
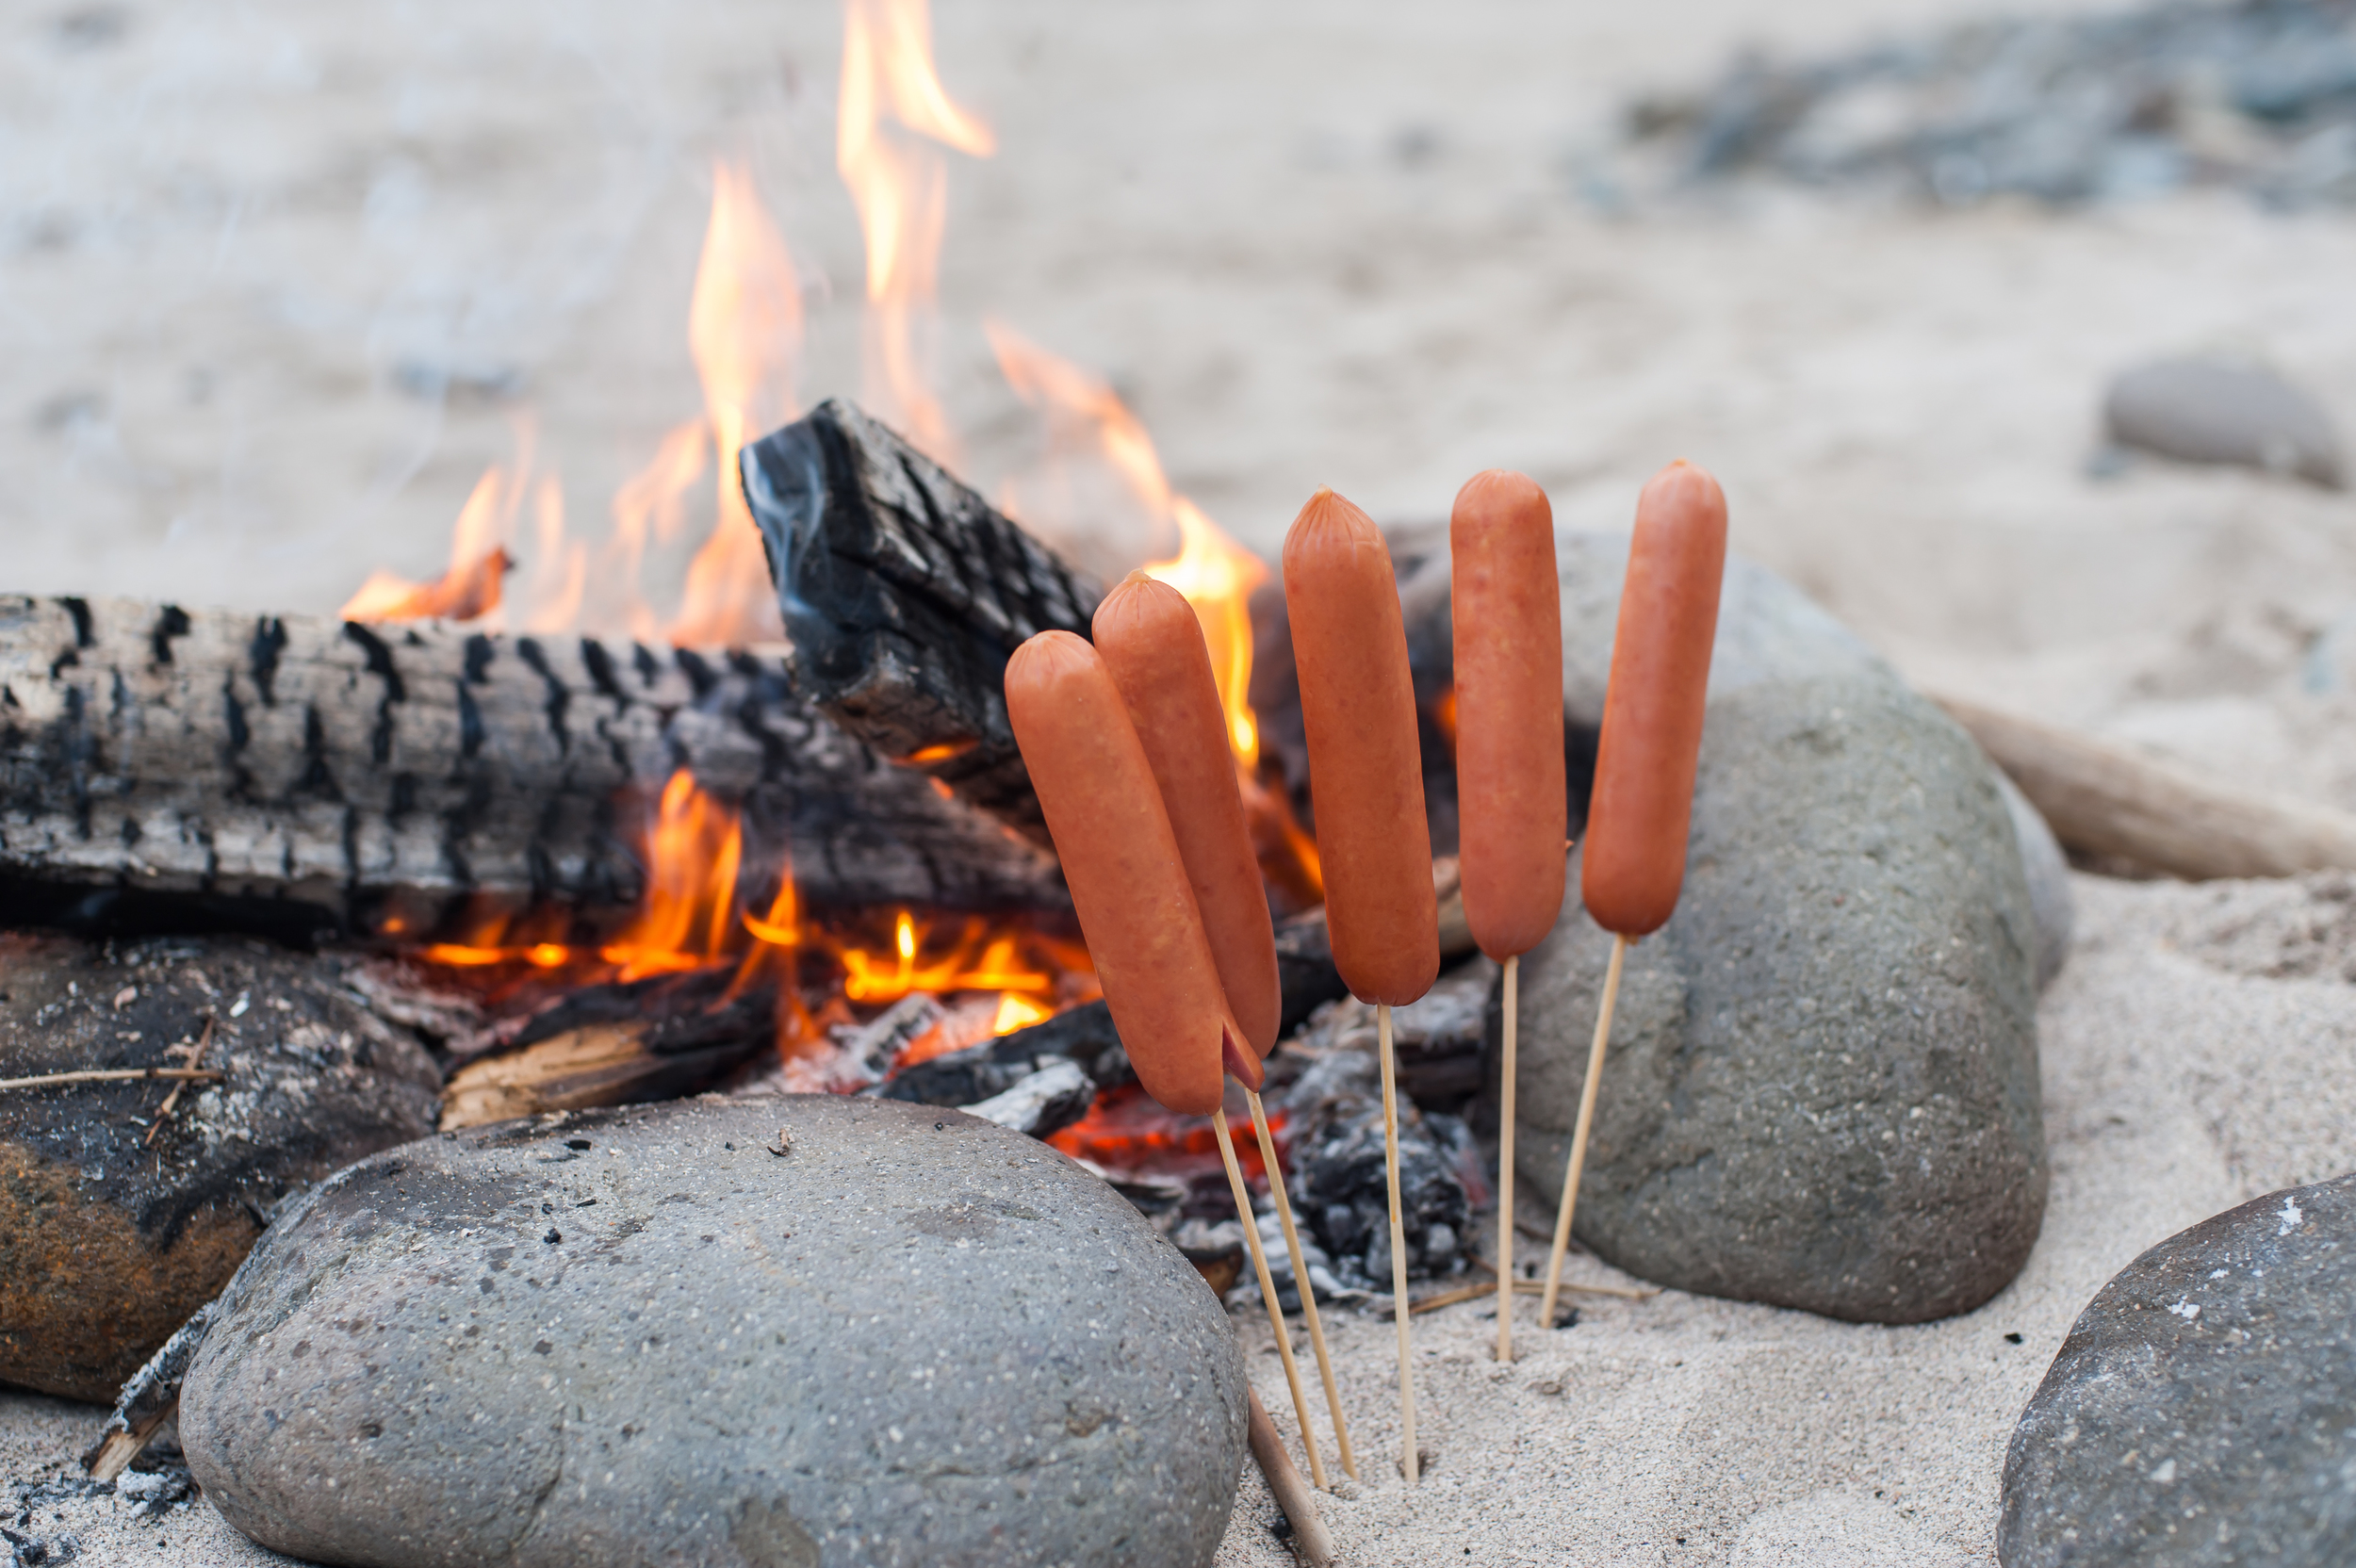
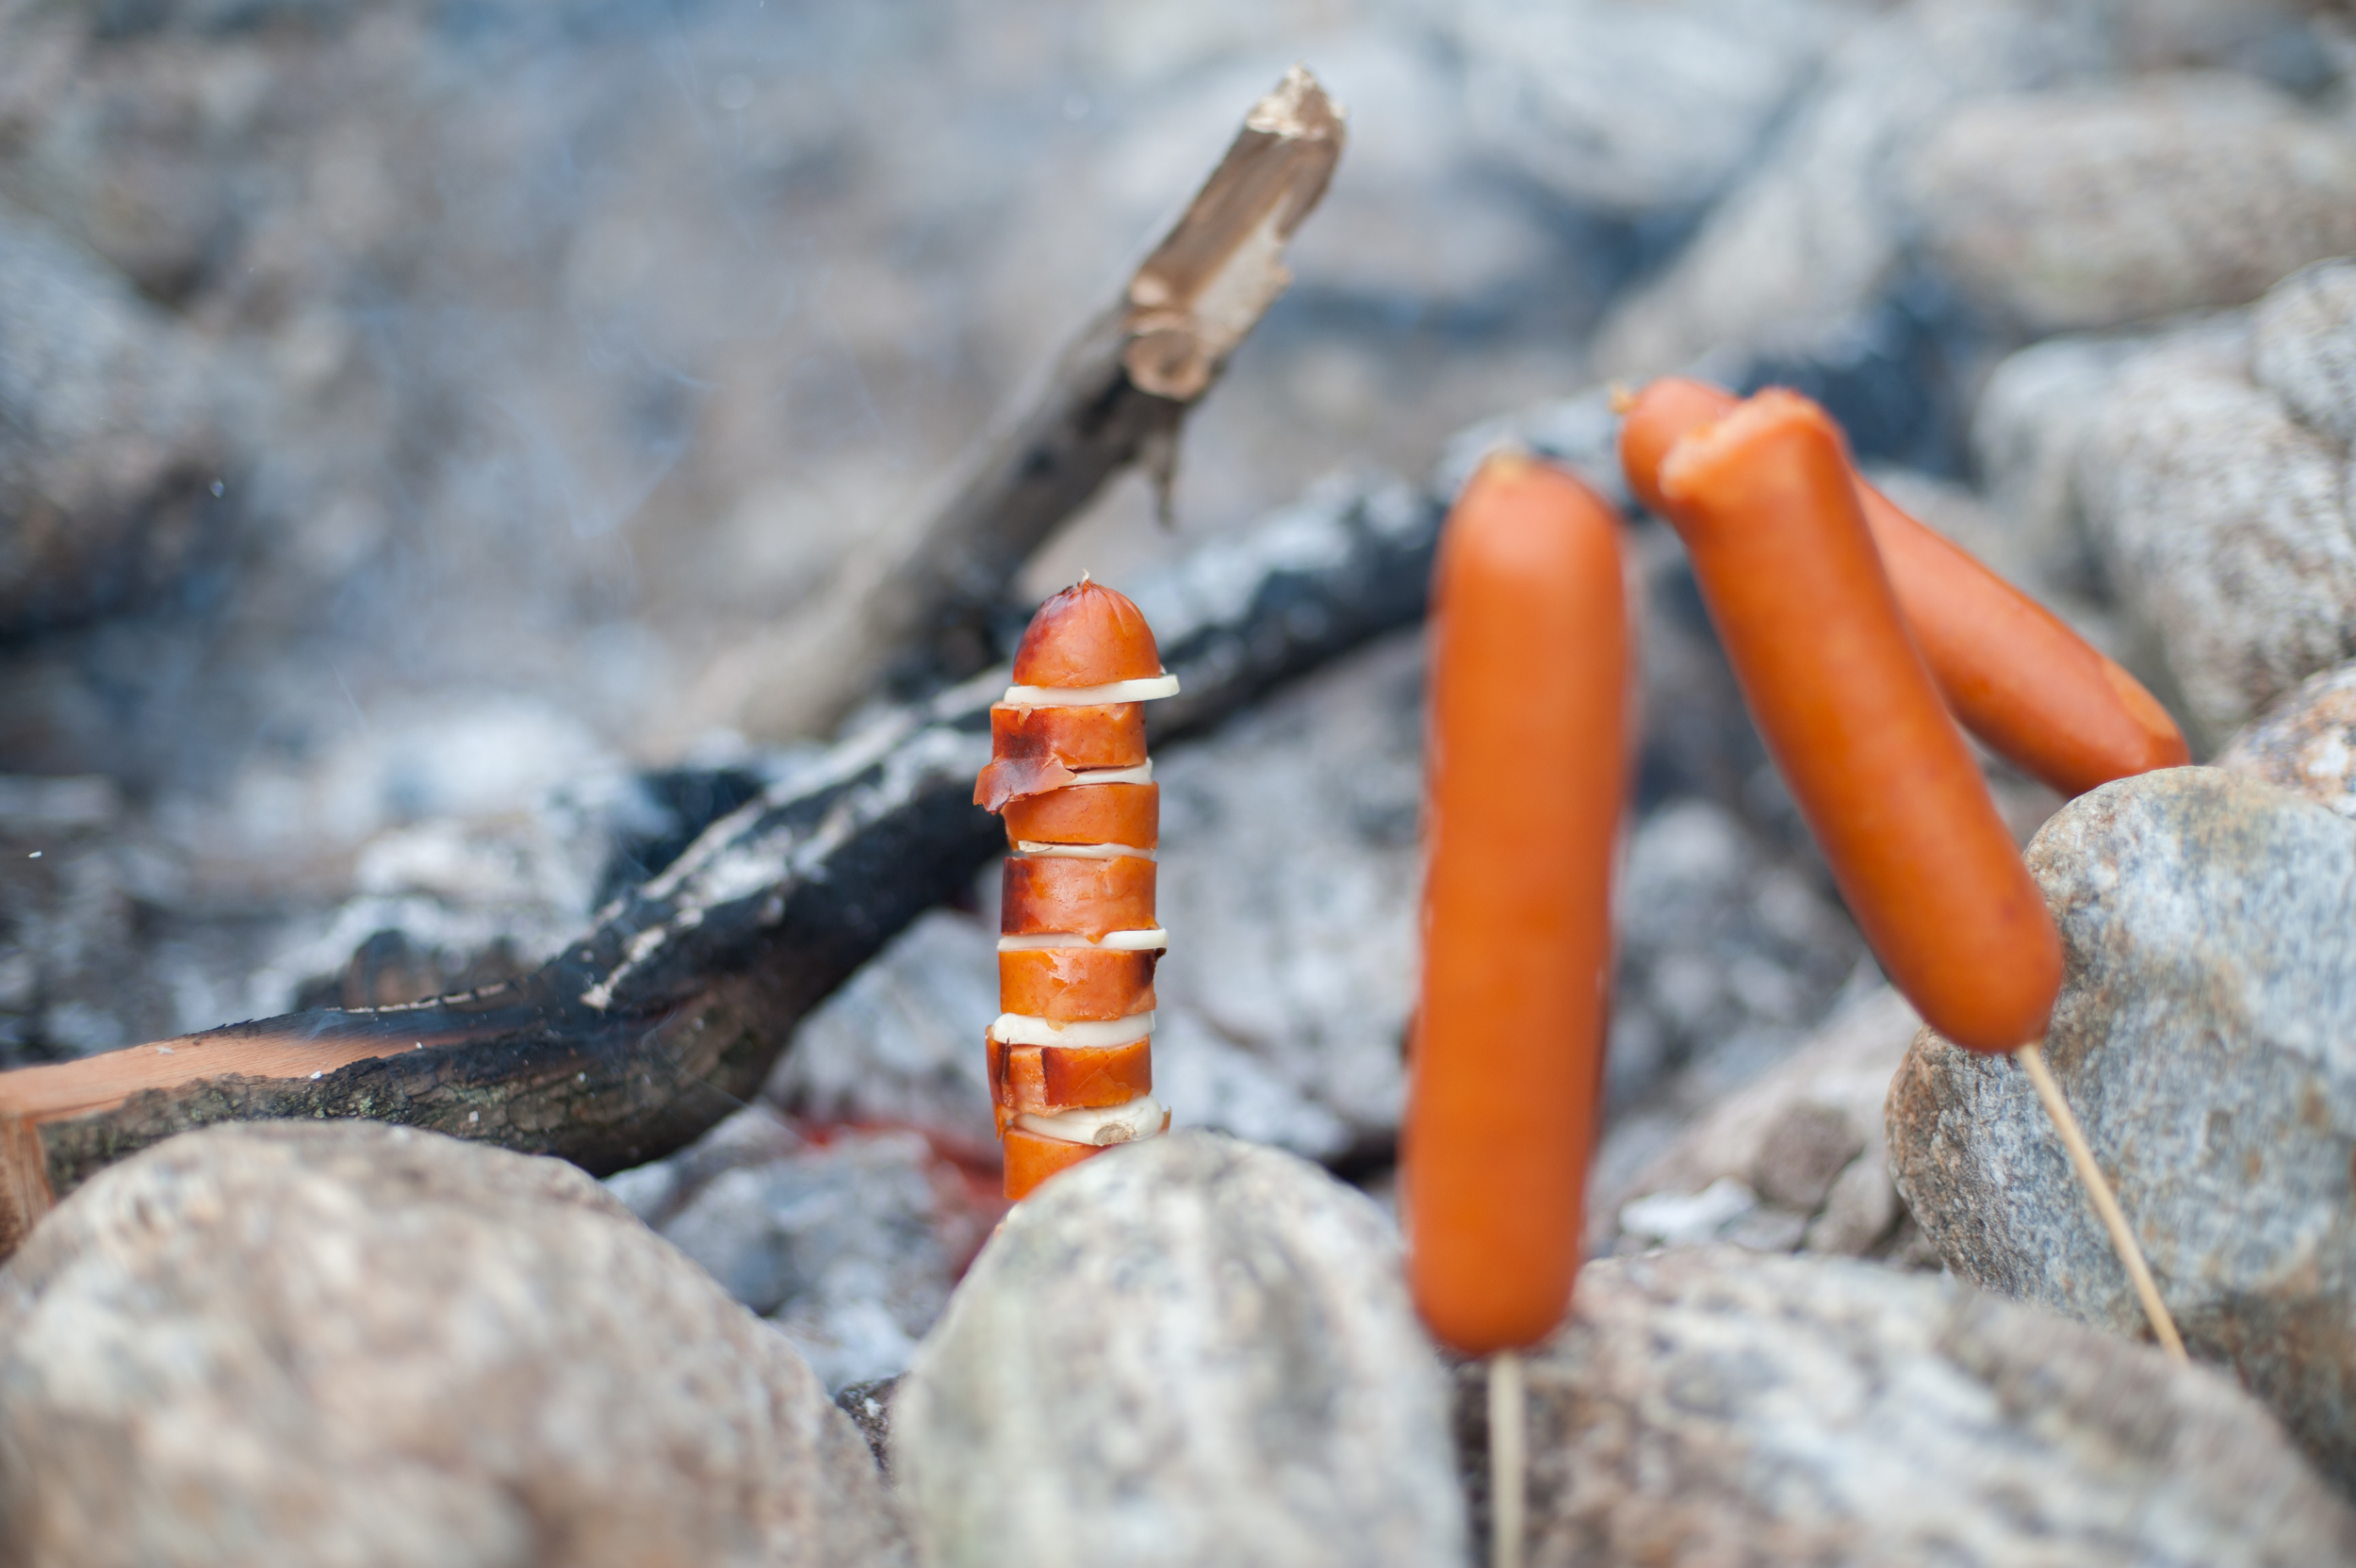
  • Dinner: pre-cooked sausages/vienna sausages, sweet potatoes fire roasted with garlic & spices
  • Dessert: s'mores (& wine!)

Day 2

  • Breakfast: coffee, tea and digestive biscuits
  • Lunch: tuna wraps with salad
  • Dinner: Left over mince, sweet potatoes and sausages
  • Dessert: s'mores (& wine!)

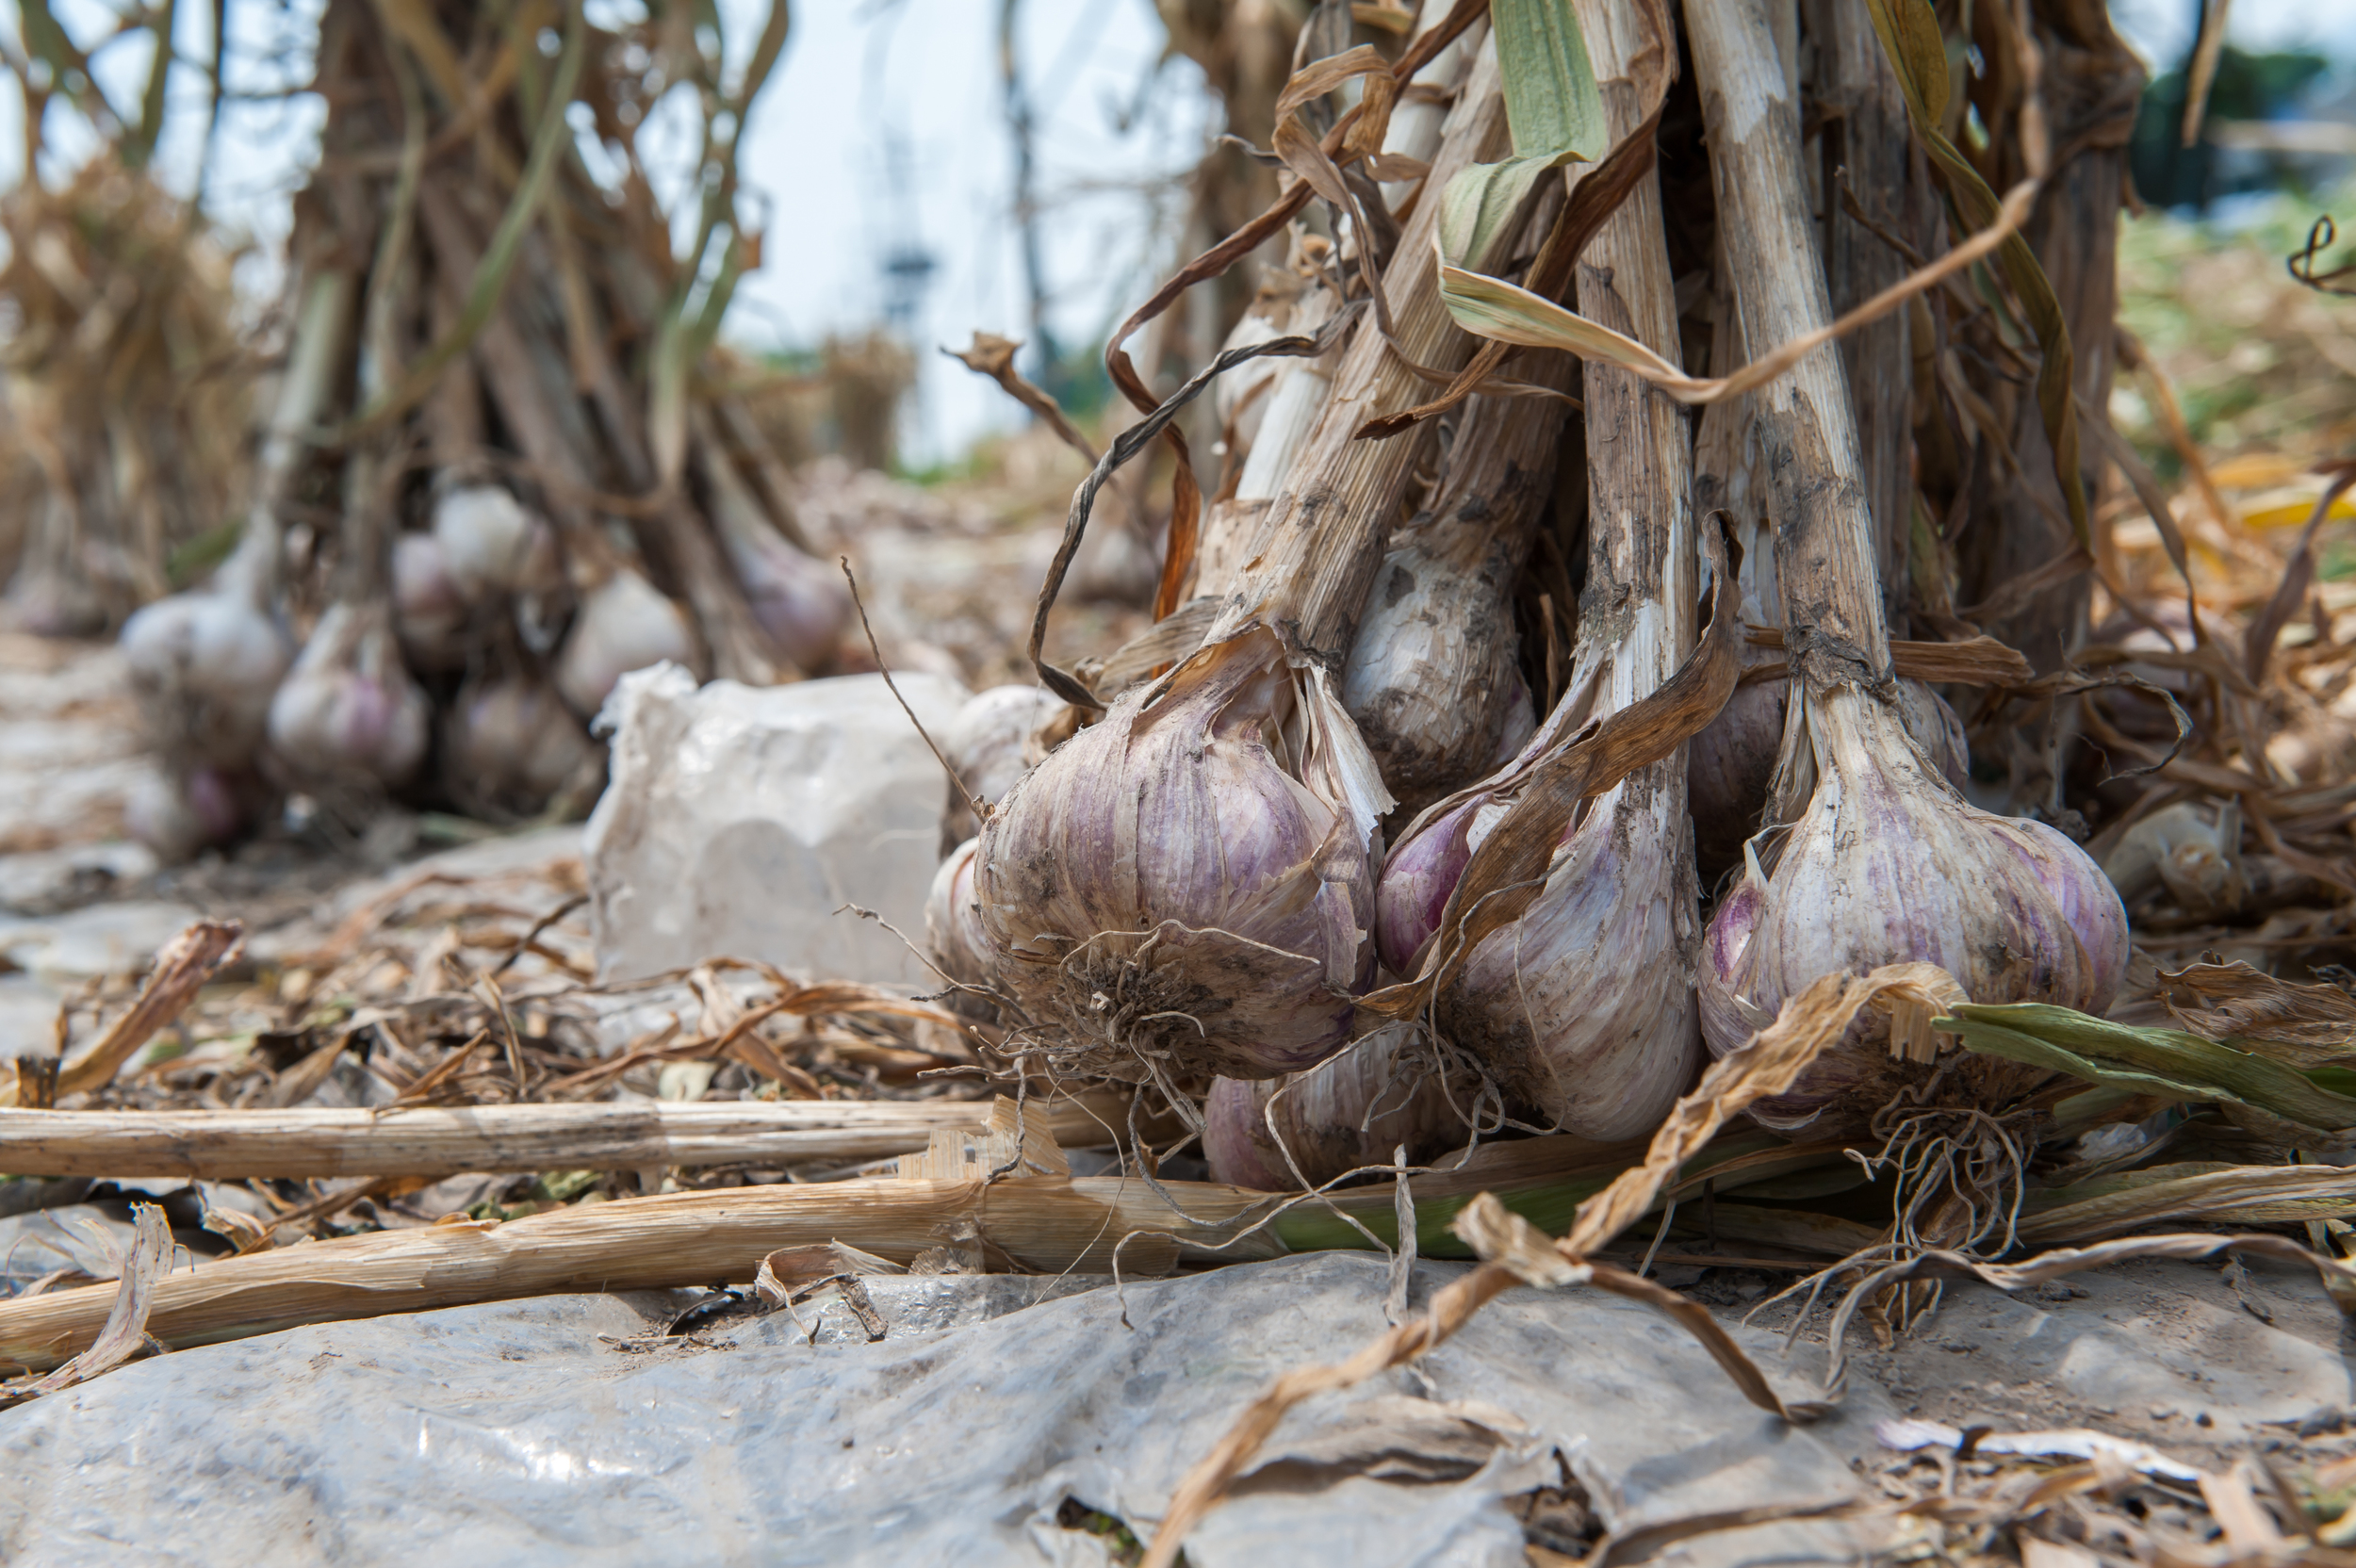
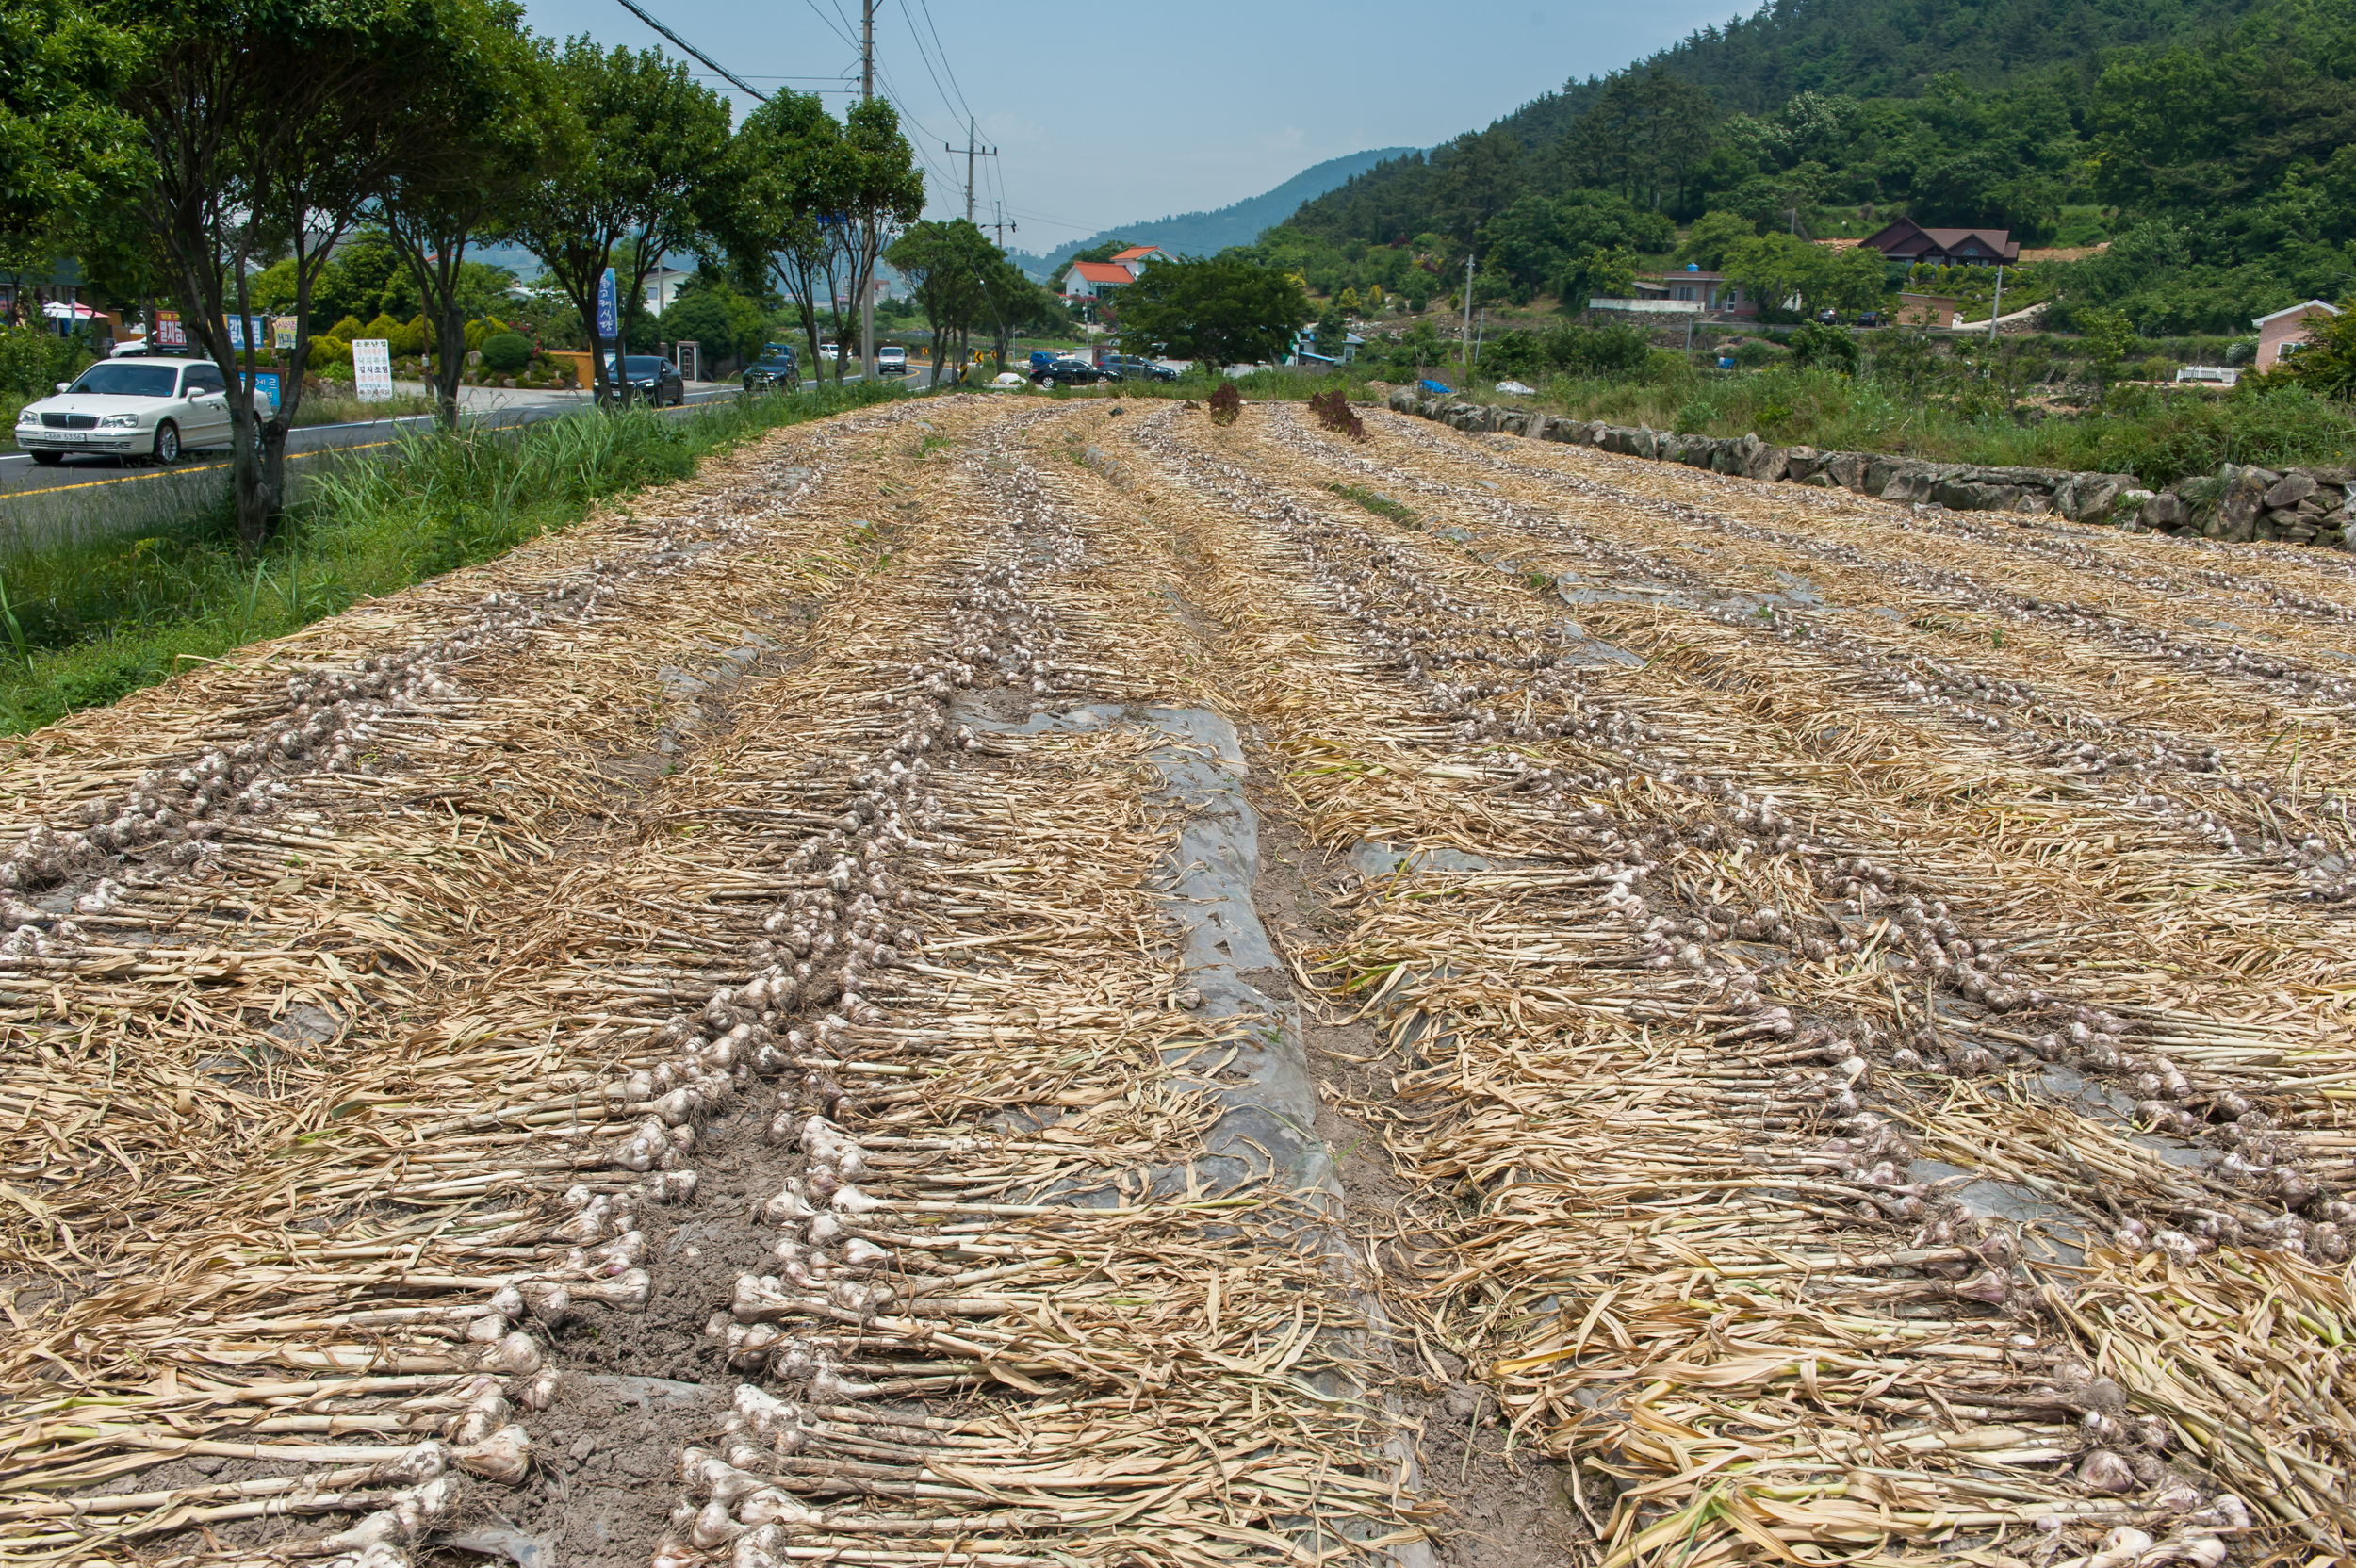
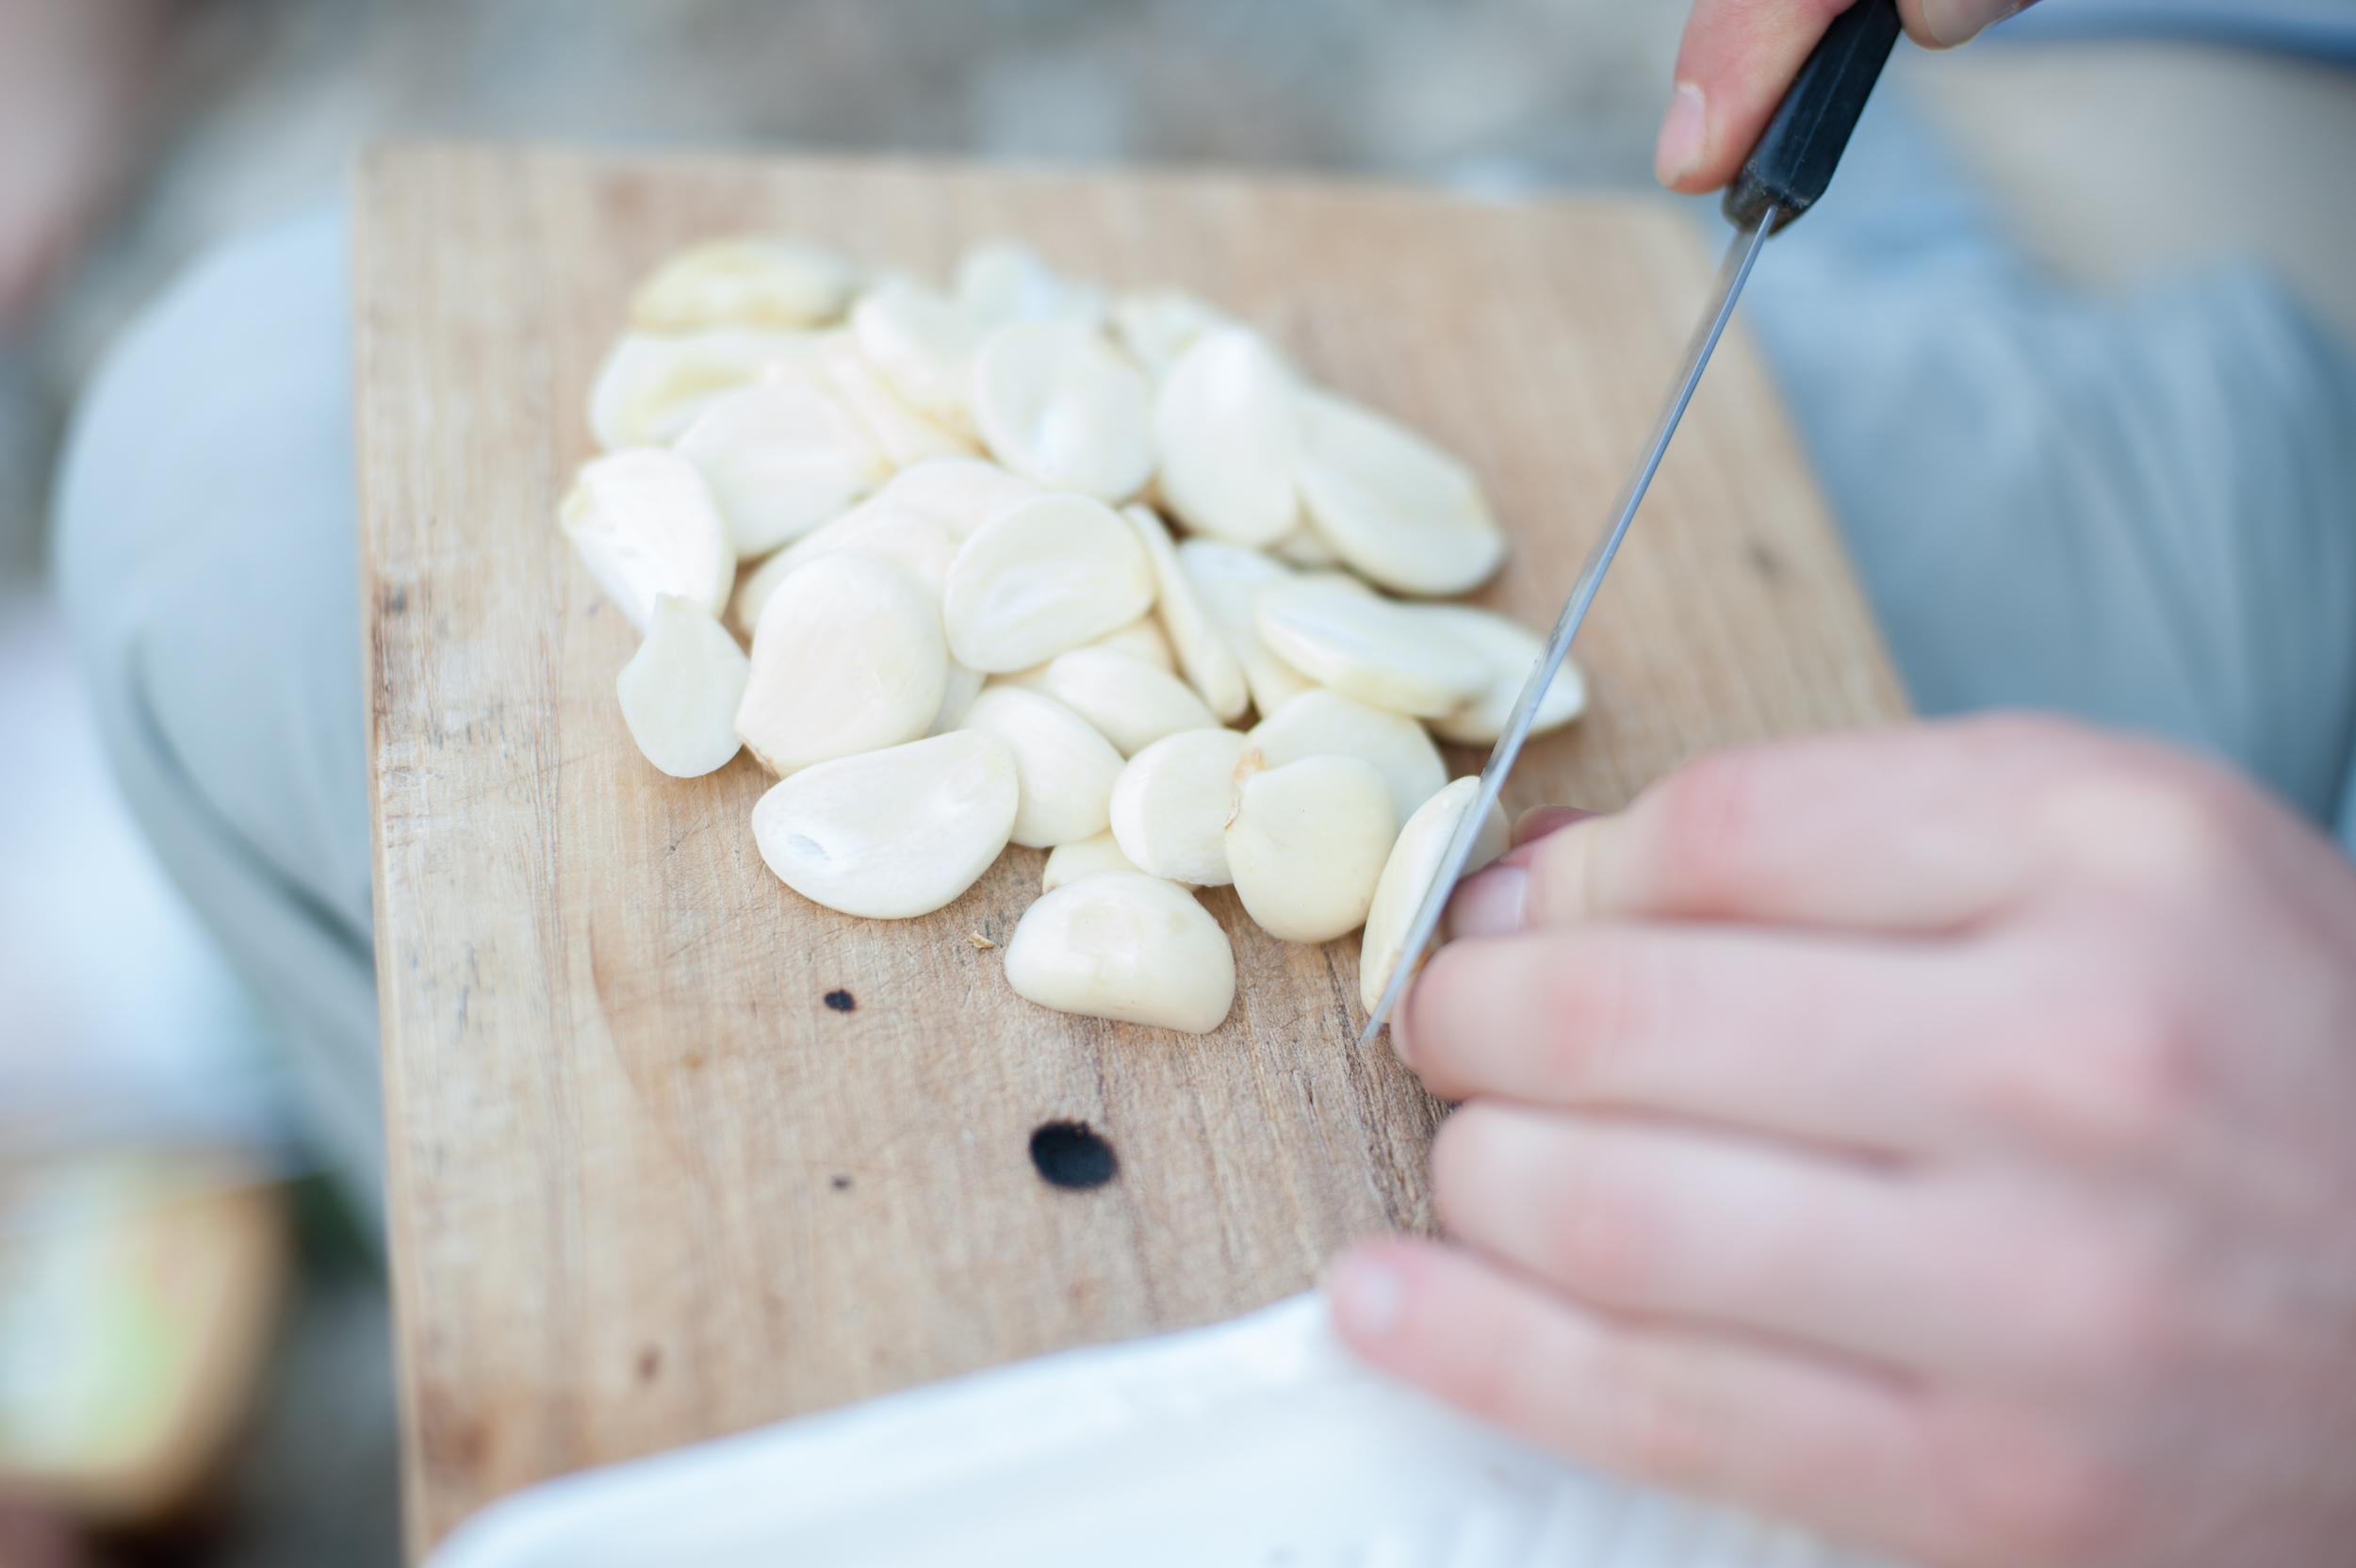
We spent the weekend on Namhae Island over Buddha's Birthday, one of the many long weekends here in Korea but what we hadn't realised is that it was also the famous Namhae Beef & Garlic festival. As we drive around the island we were greeted wit the warm smiles of of garlic farmers going about the business, reaping (is that even the right word?? must ask farmer husband) garlic. I have never seen so much garlic in all my life. We also managed to buy a small bunch/pocket/posie??? of garlic from a gaggle of adjumma's on the side of the road. They were full of smiles as we we drove away with our prized garlic in tow. 

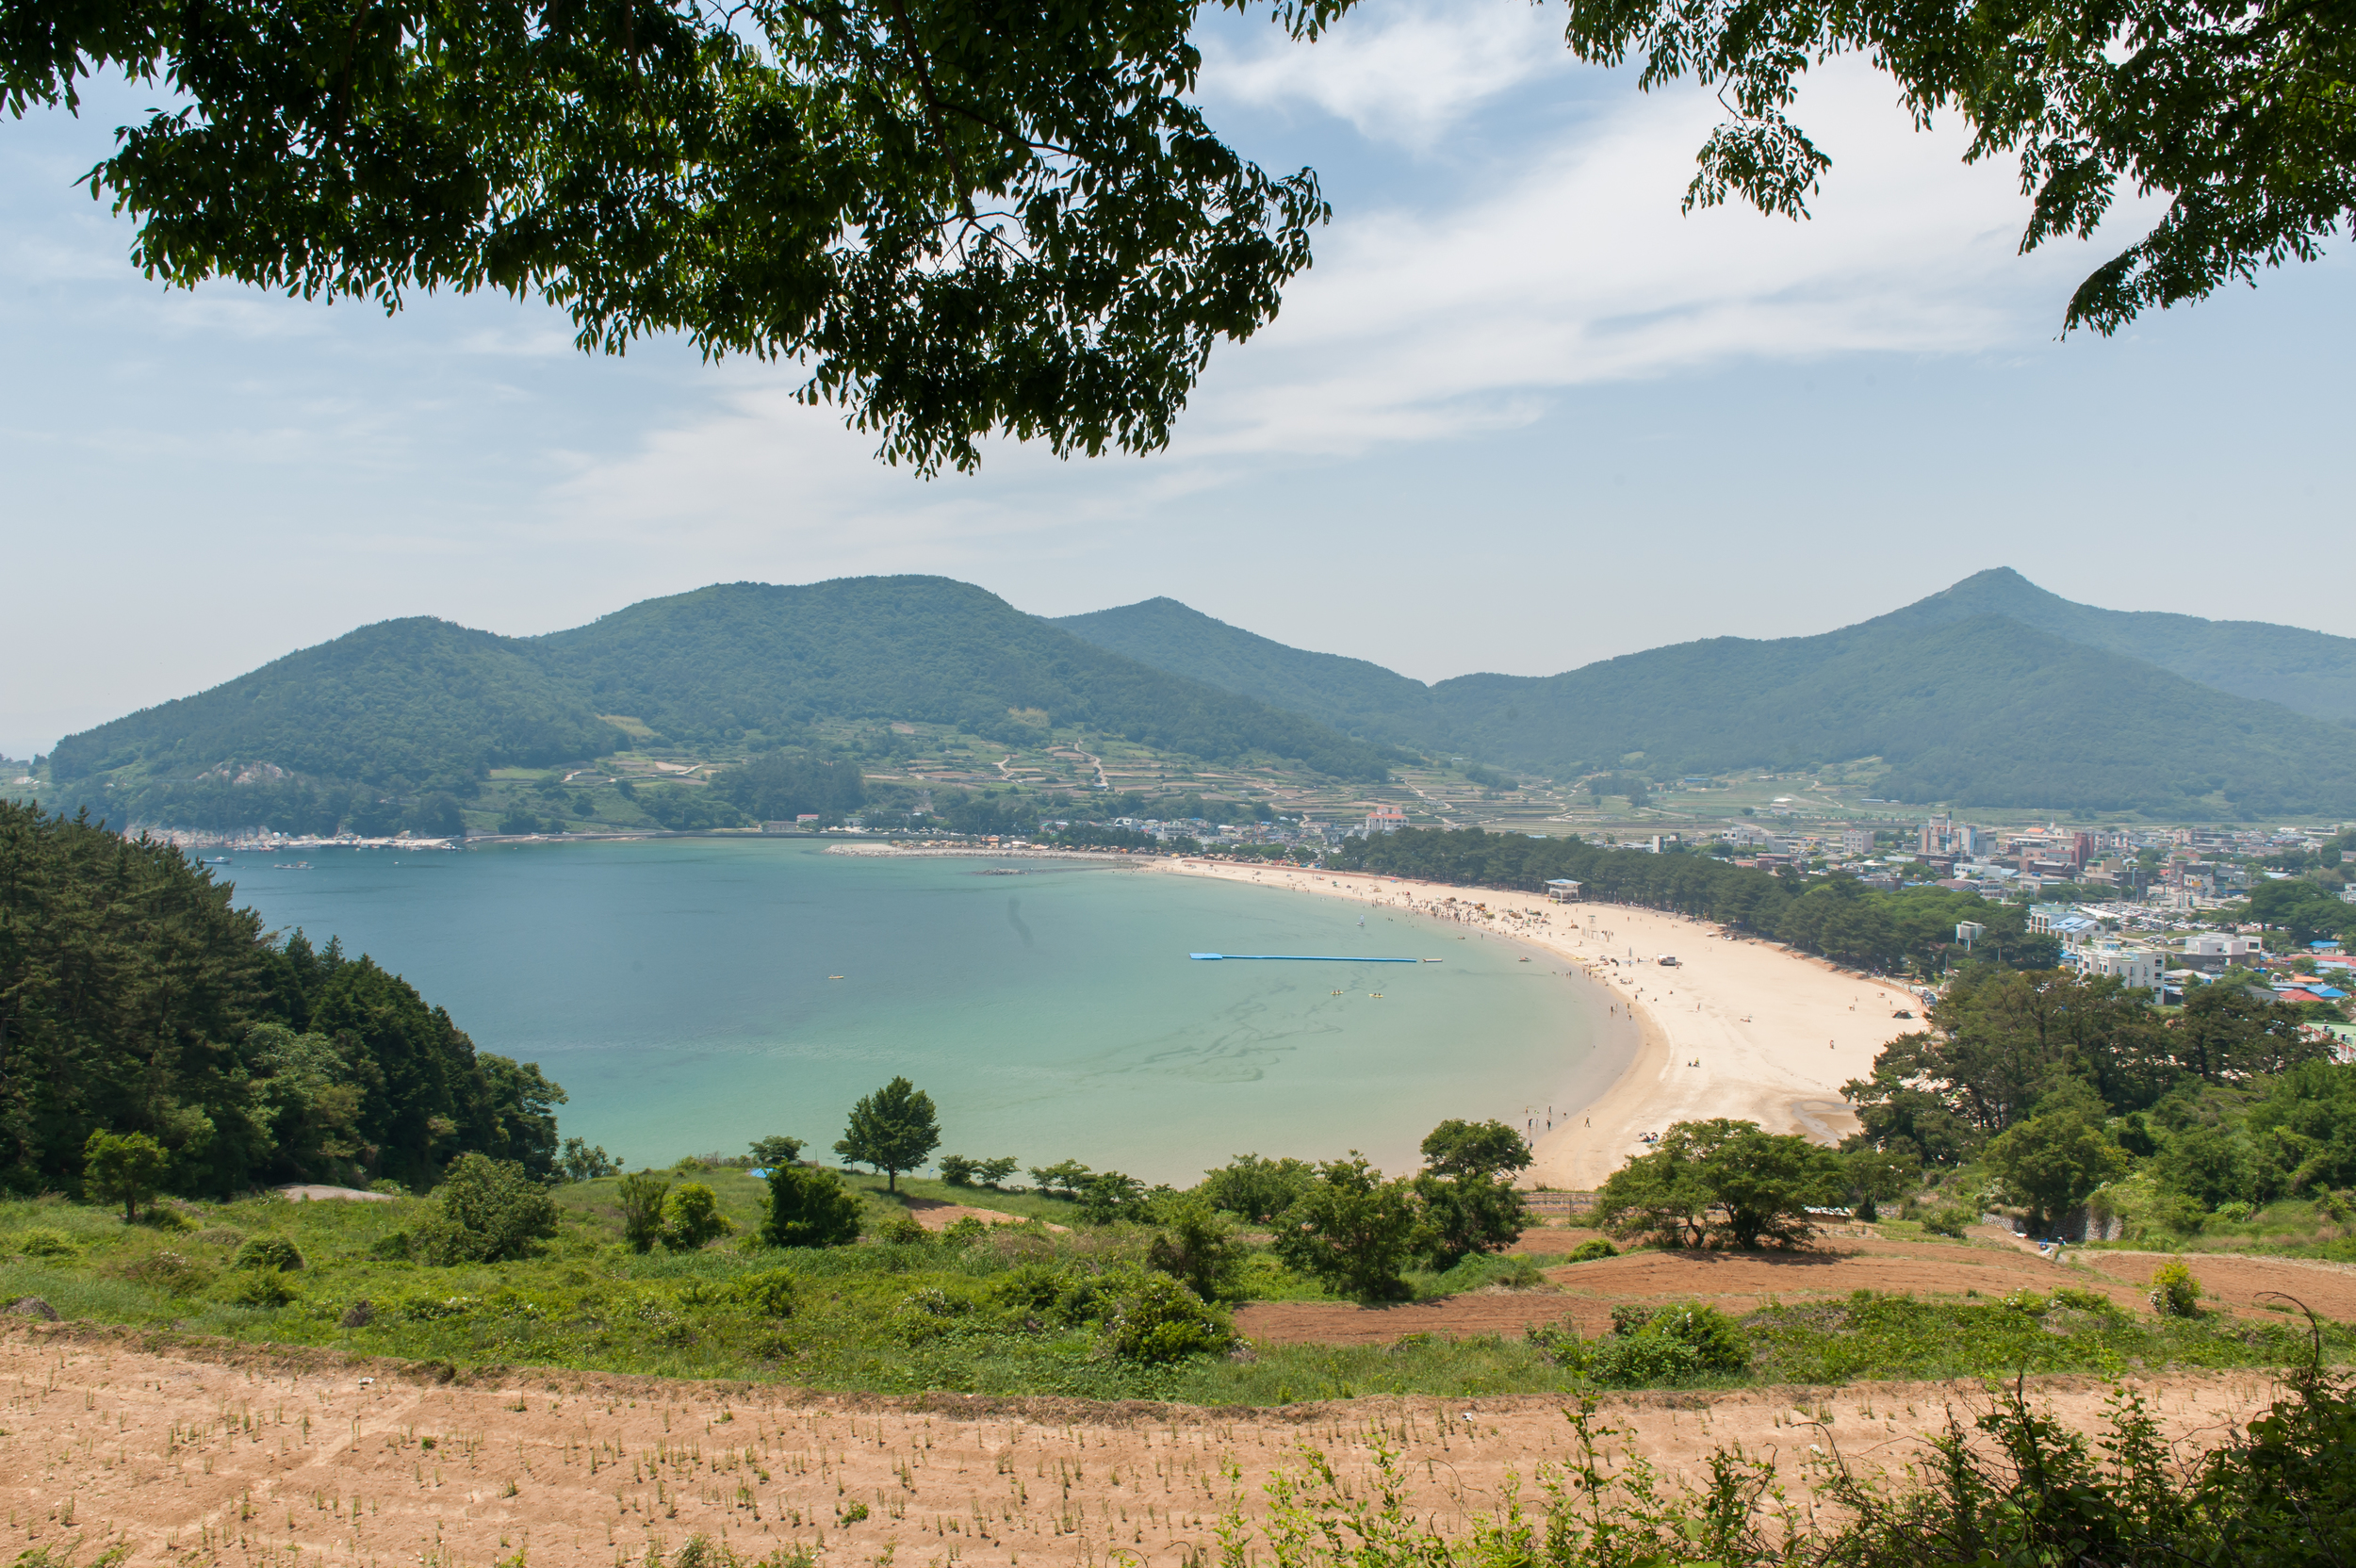
The first picture below is of the famous Silver Sands beach, which we avoided at all costs as it seemed like the whole of Korea had gathered to camp there. We prefer to stay away from all the noise and chaos of the traditional camp grounds here in Korea and were so happy to finally find our secret spot after many hours of driving and searching. 

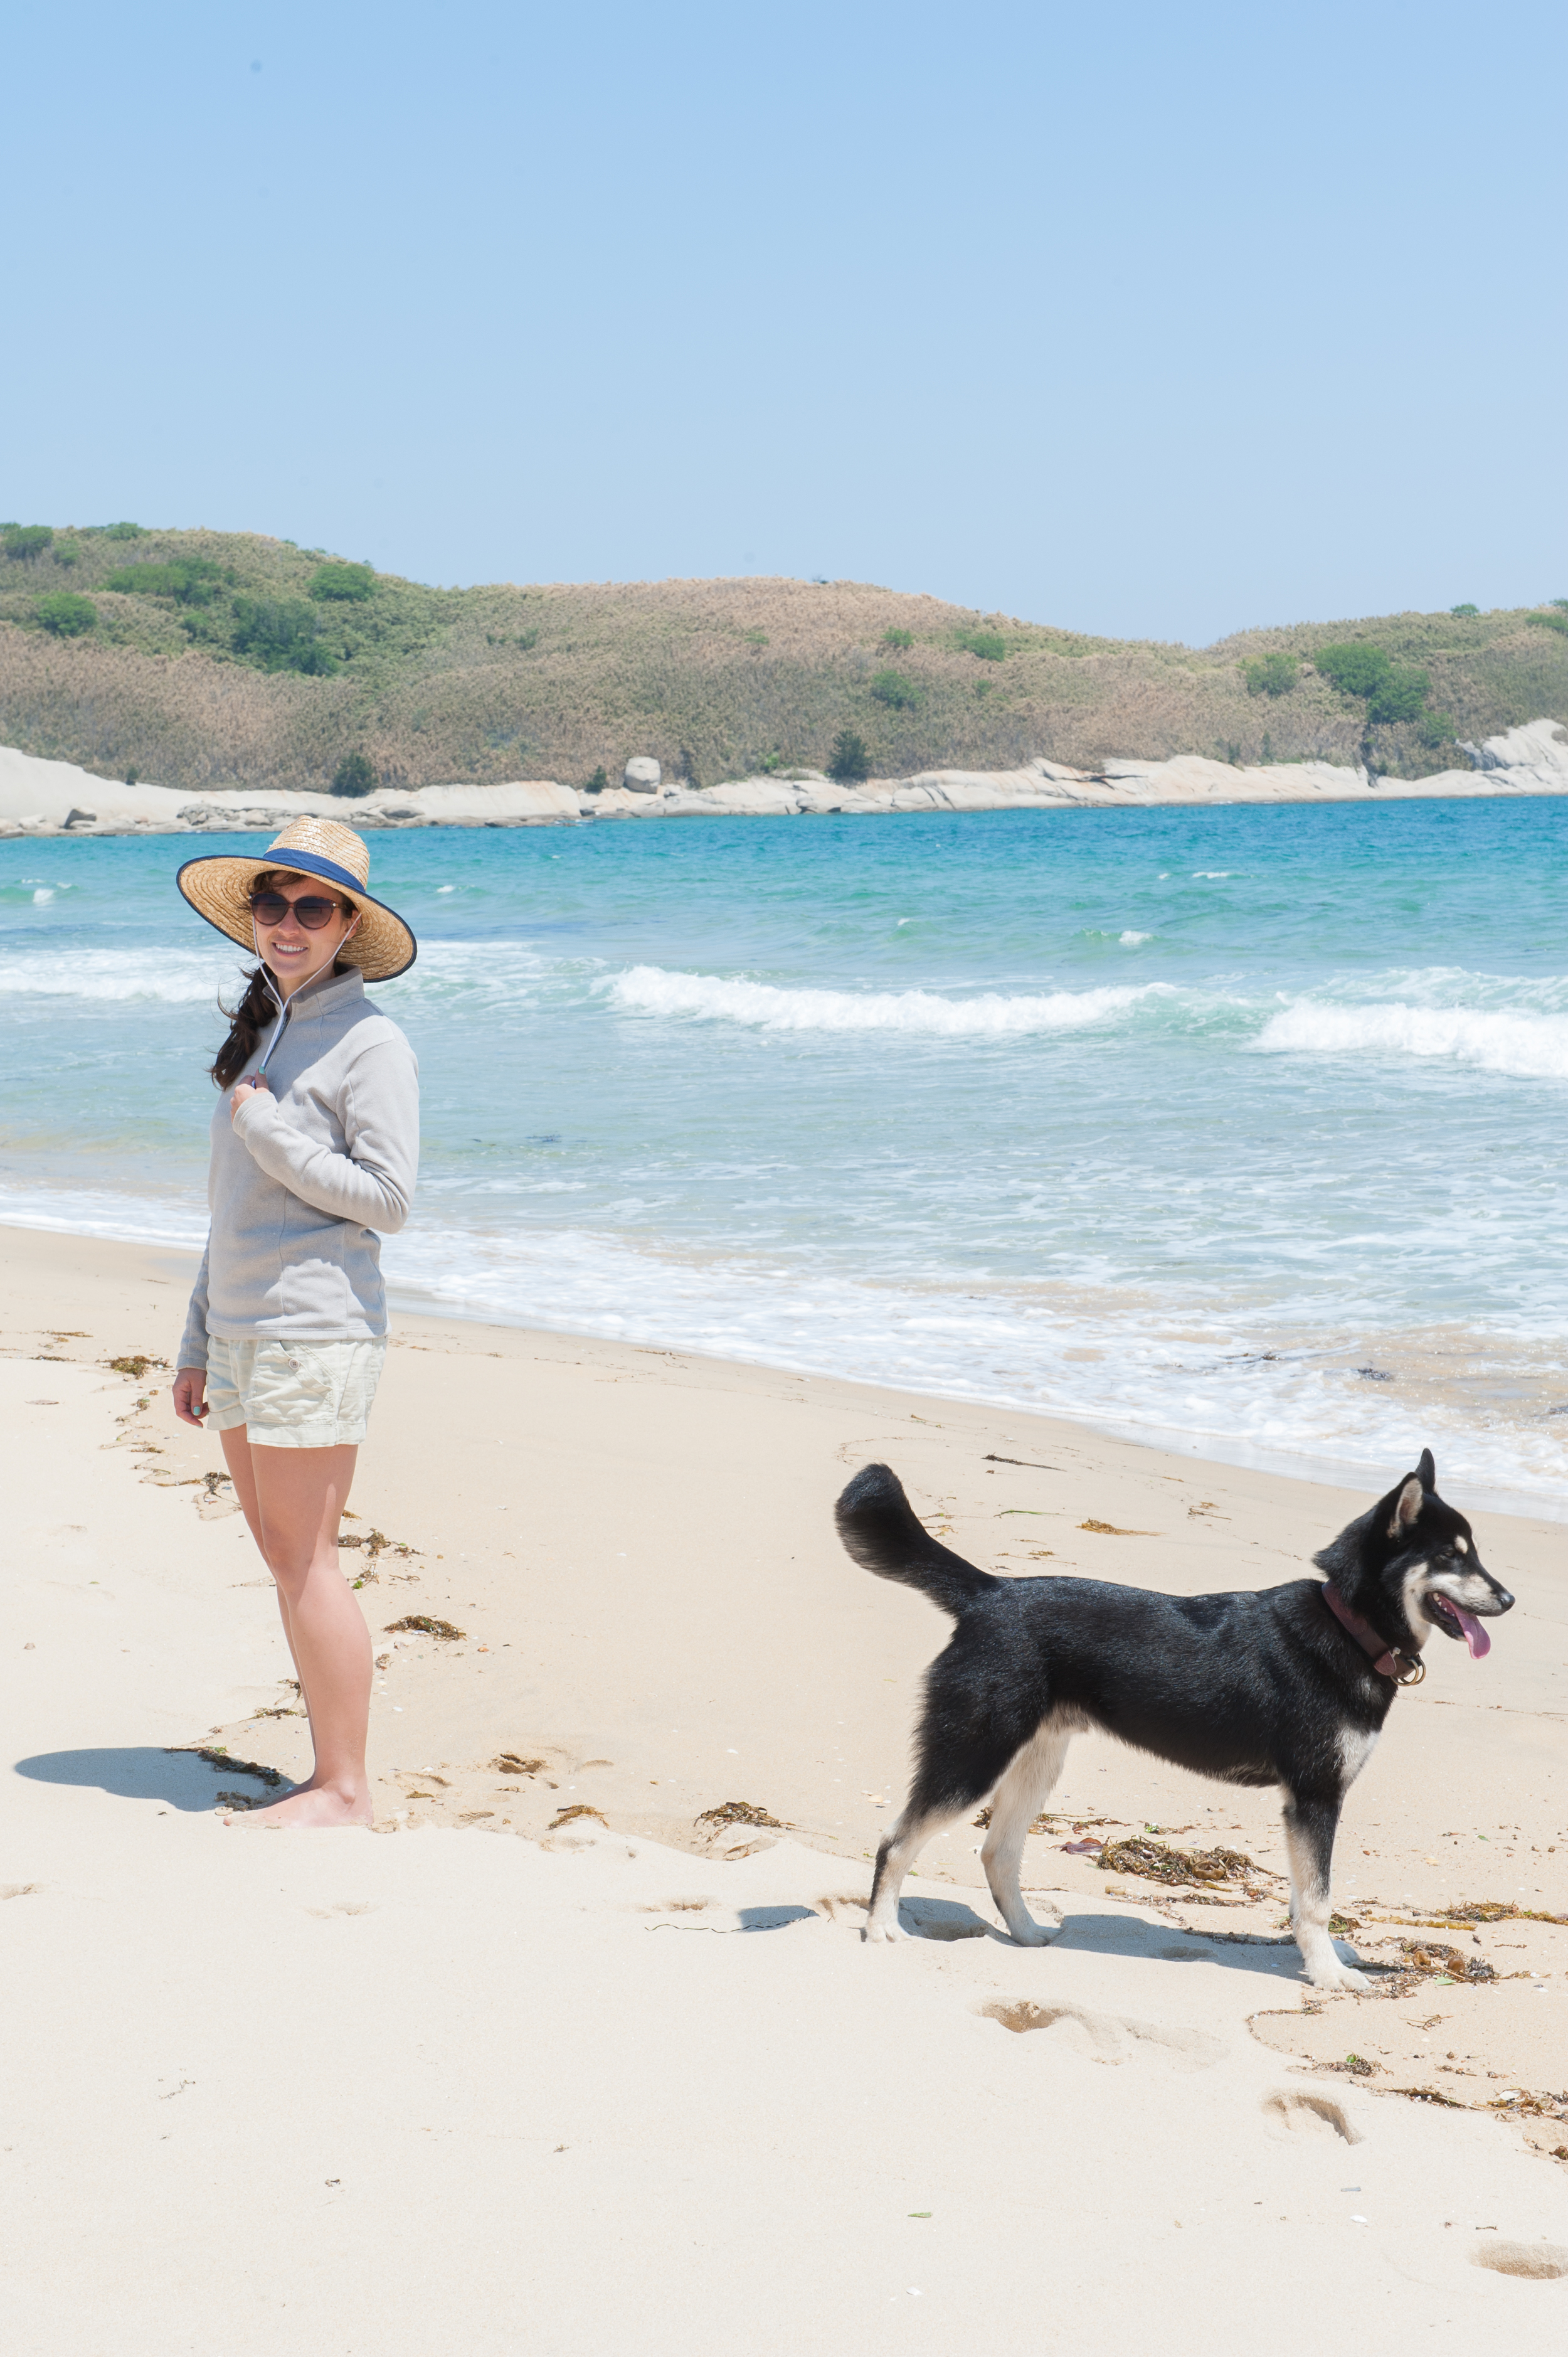
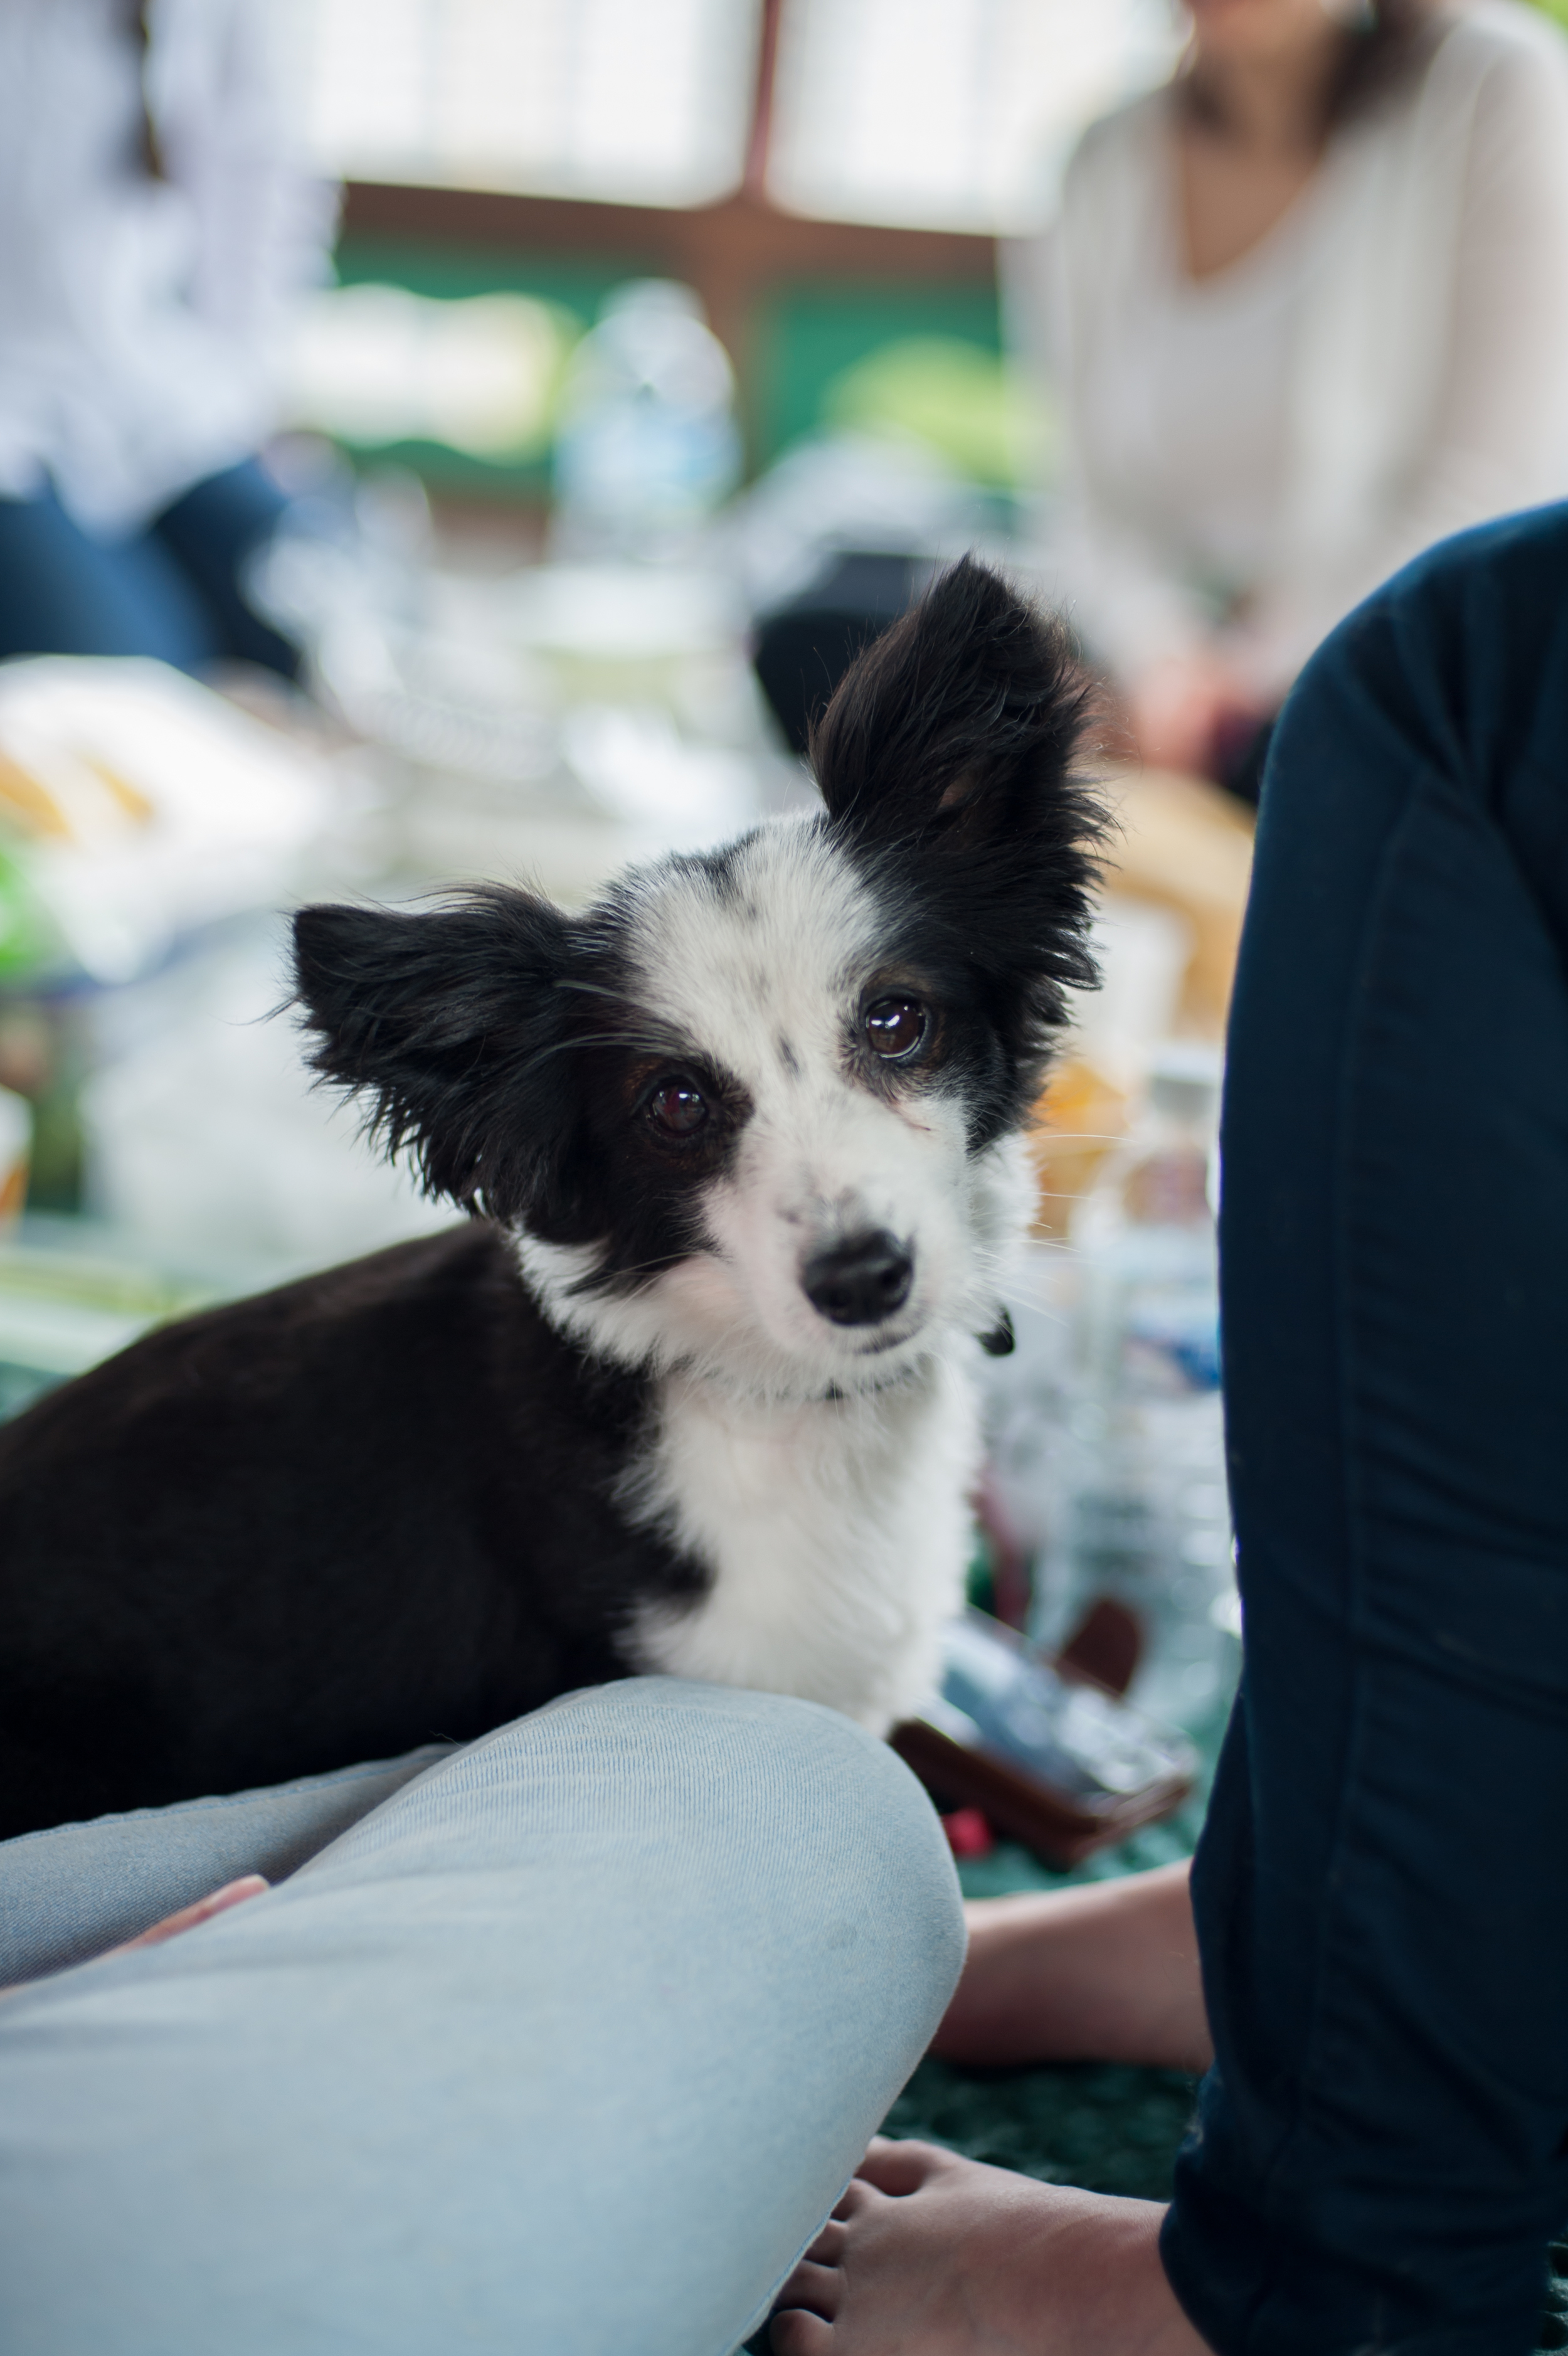
You can technically camp anywhere in Korea, as long as you clean up after yourself. We have on occasion when we have been able to find a land owner, asked permission to camp and have so far been greeted with a warm welcome (even with our pup!). 

Have you been camping here in Korea? Do you have any recommendations of places to stay? Please leave me a comment below, I'd love to hear from you!

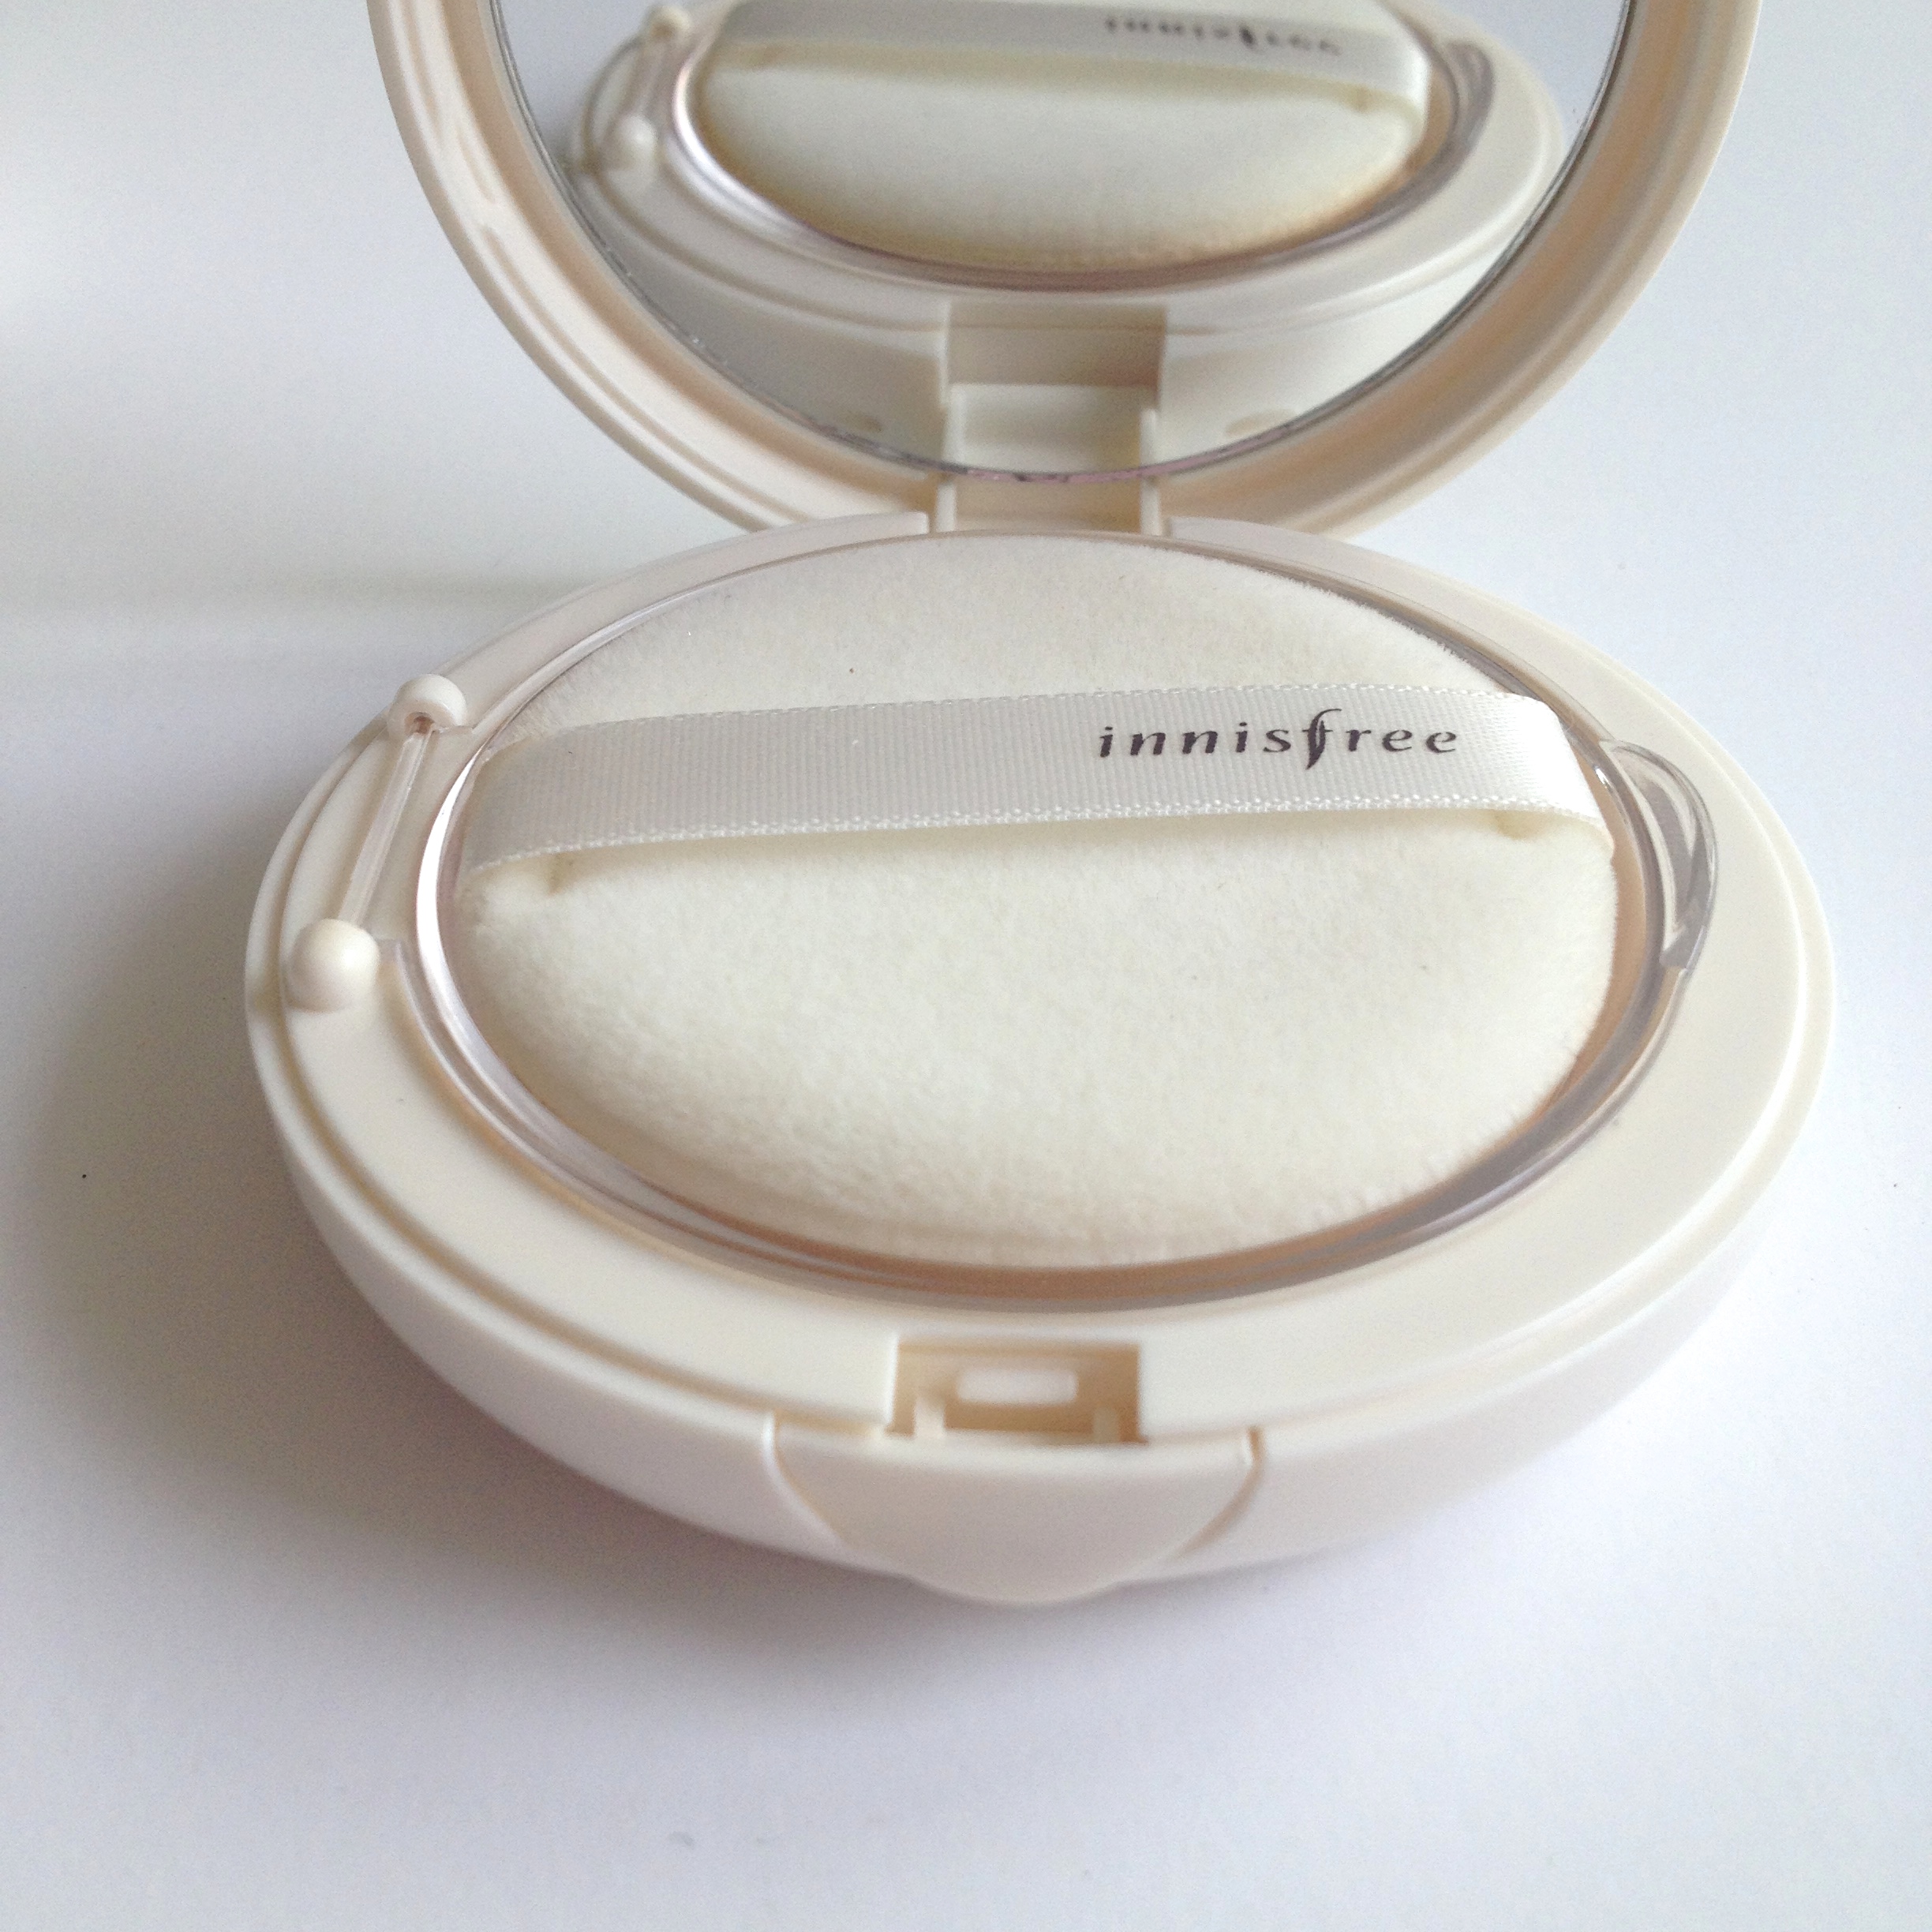
Innisfree Mineral UV Whitening Pact Powder Review

InnisfreeMineralUVWhiteningPactPowder

After finishing my third refill of my favorite Mac Studio Pressed powder I decided I needed to find a local Korean brand instead of forking out the exorbitant prices for international brands sold here. I have tried a few pressed powders but I just haven't been happy enough with them to post a review until I found this one at Innisfree. 

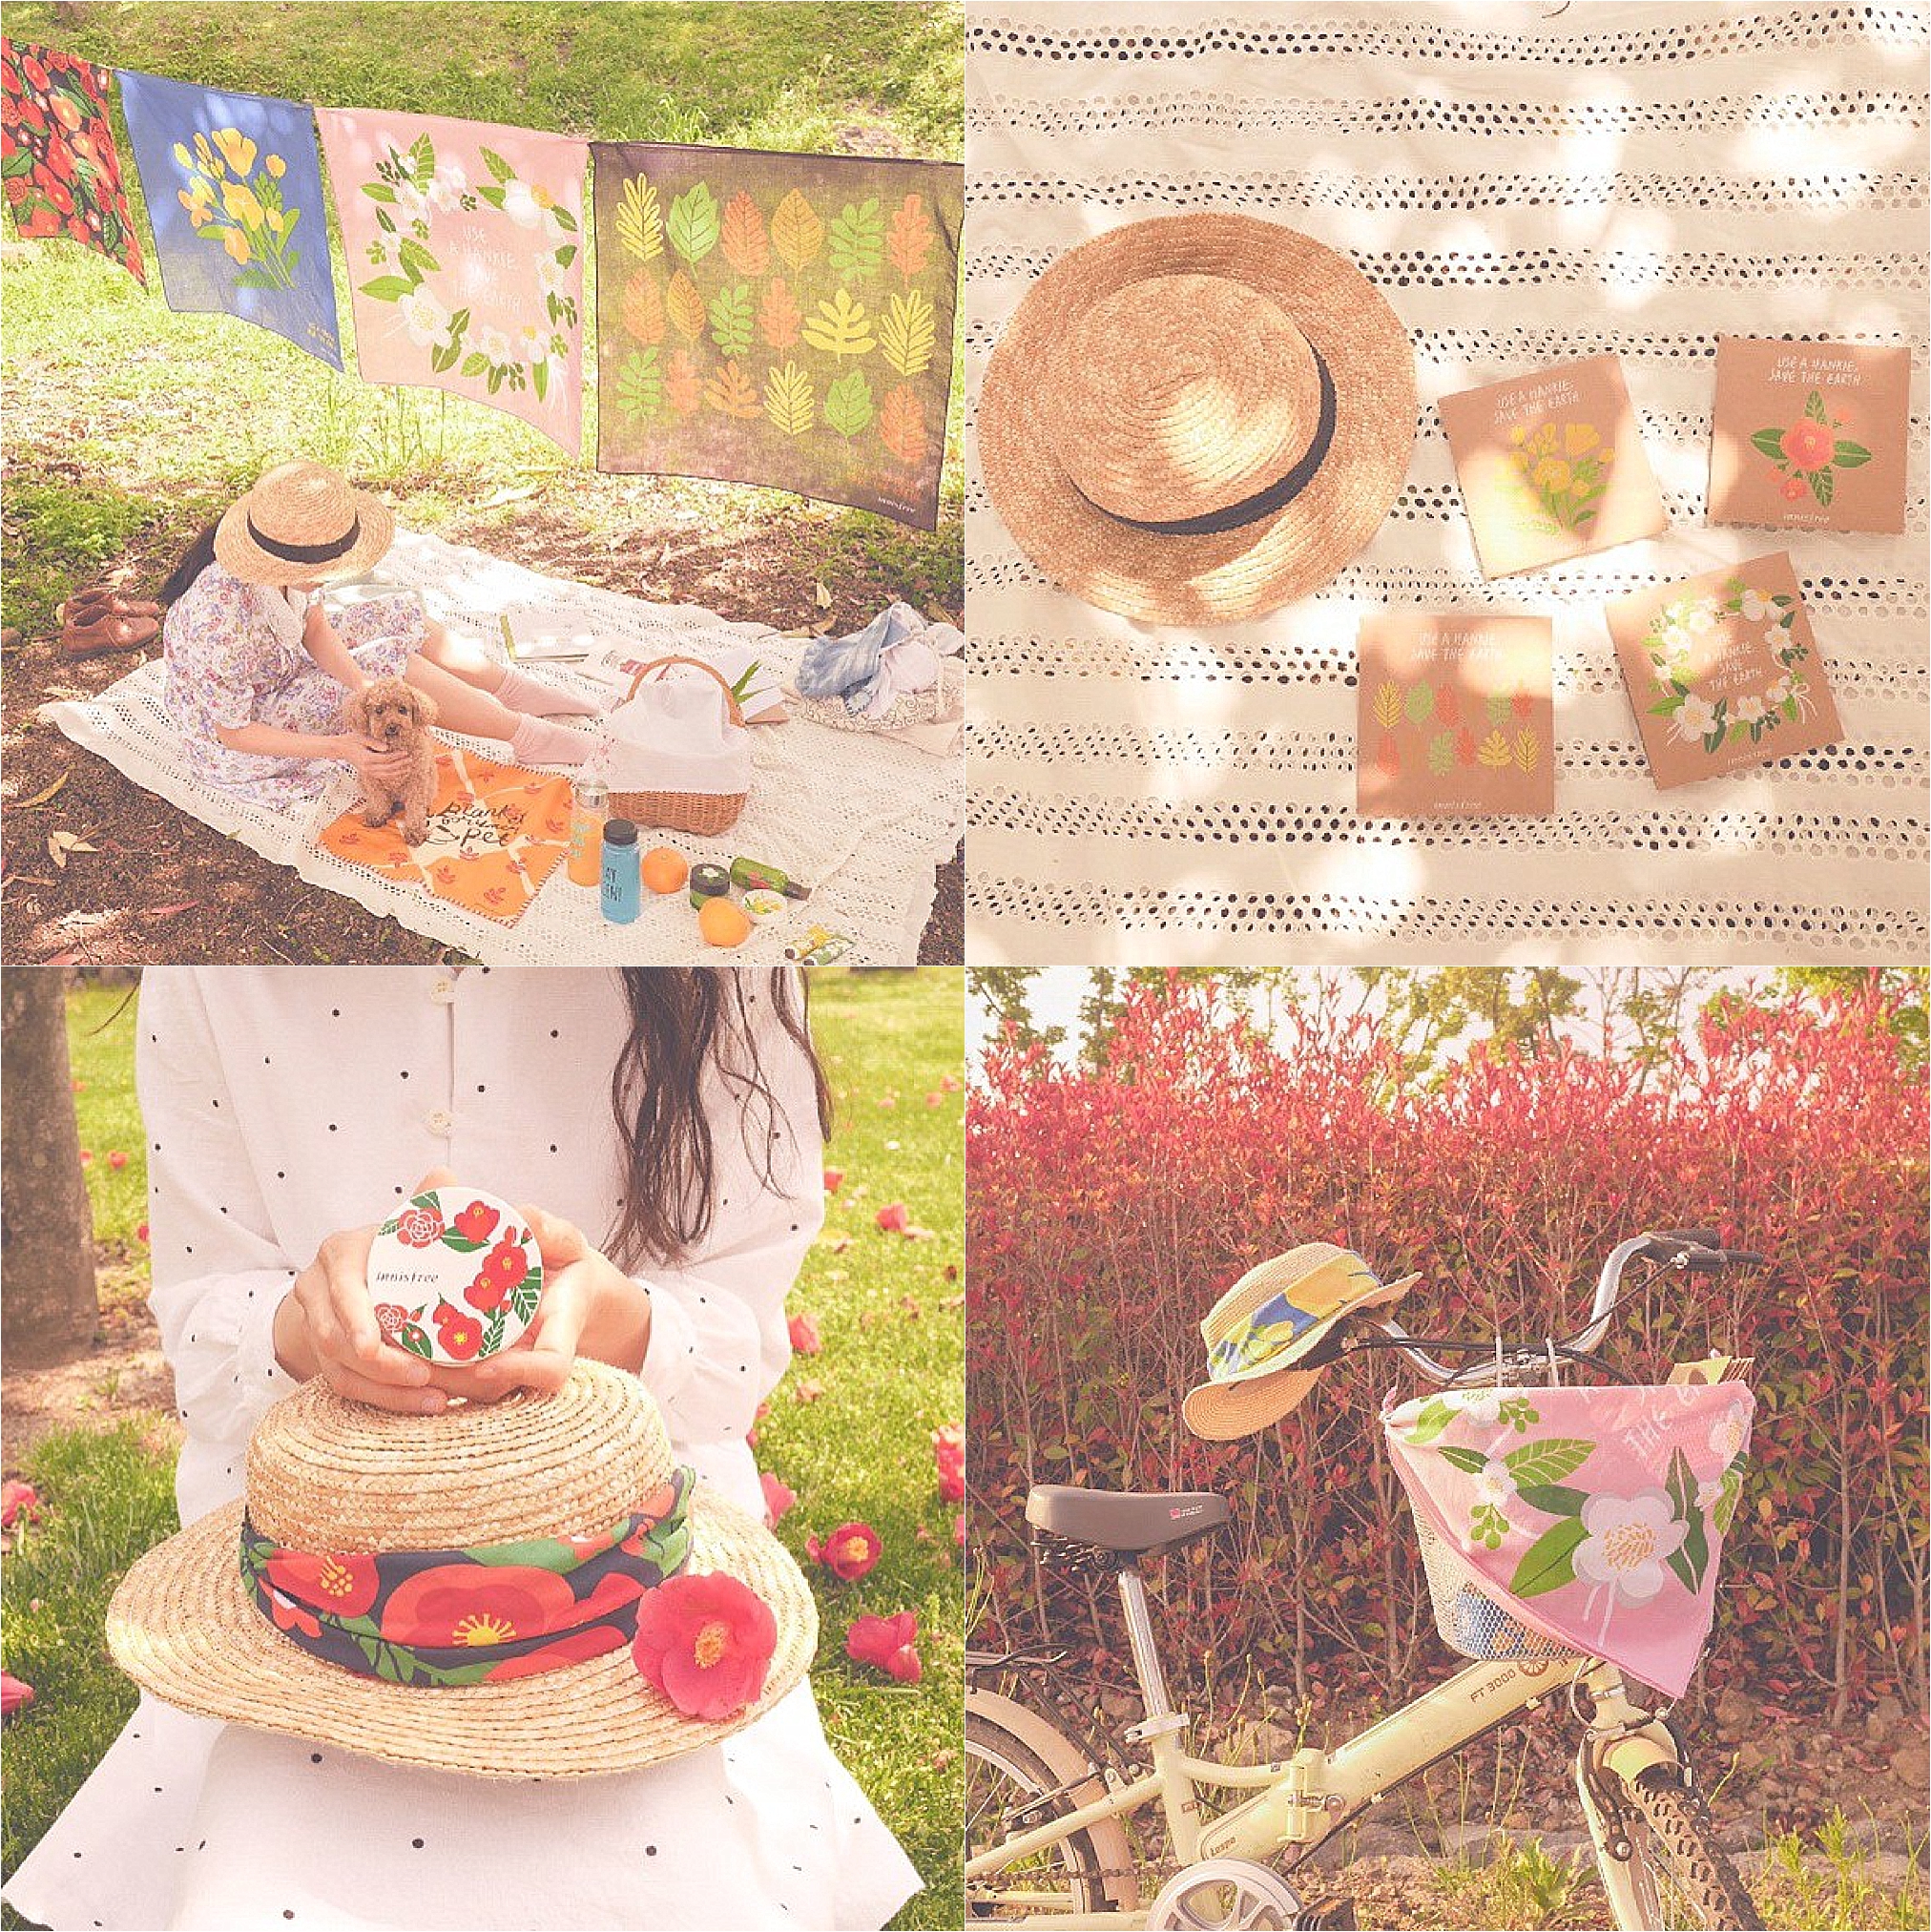
Innisfree is one of Korea's most popular skin care and makeup brands. Their products are made up of natural ingredients harnessed from Jeju Island and their packaging is all eco-friendly. They have been involved in a number of environmental projects like their Eco- Hankerchief Campaign:

GrowingUpJindoPhotoSeriesShadowTheJIndo_0010.jpg


"If the habit of using a handkerchief instead of tissues 
can save a tree, wouldn’t that make your skin and the Earth smile?


Your small contributions affect 
everyone and save trees, protect 
green forests, and reduce 
global-warming"

Innisfree Eco Hanky Campaign

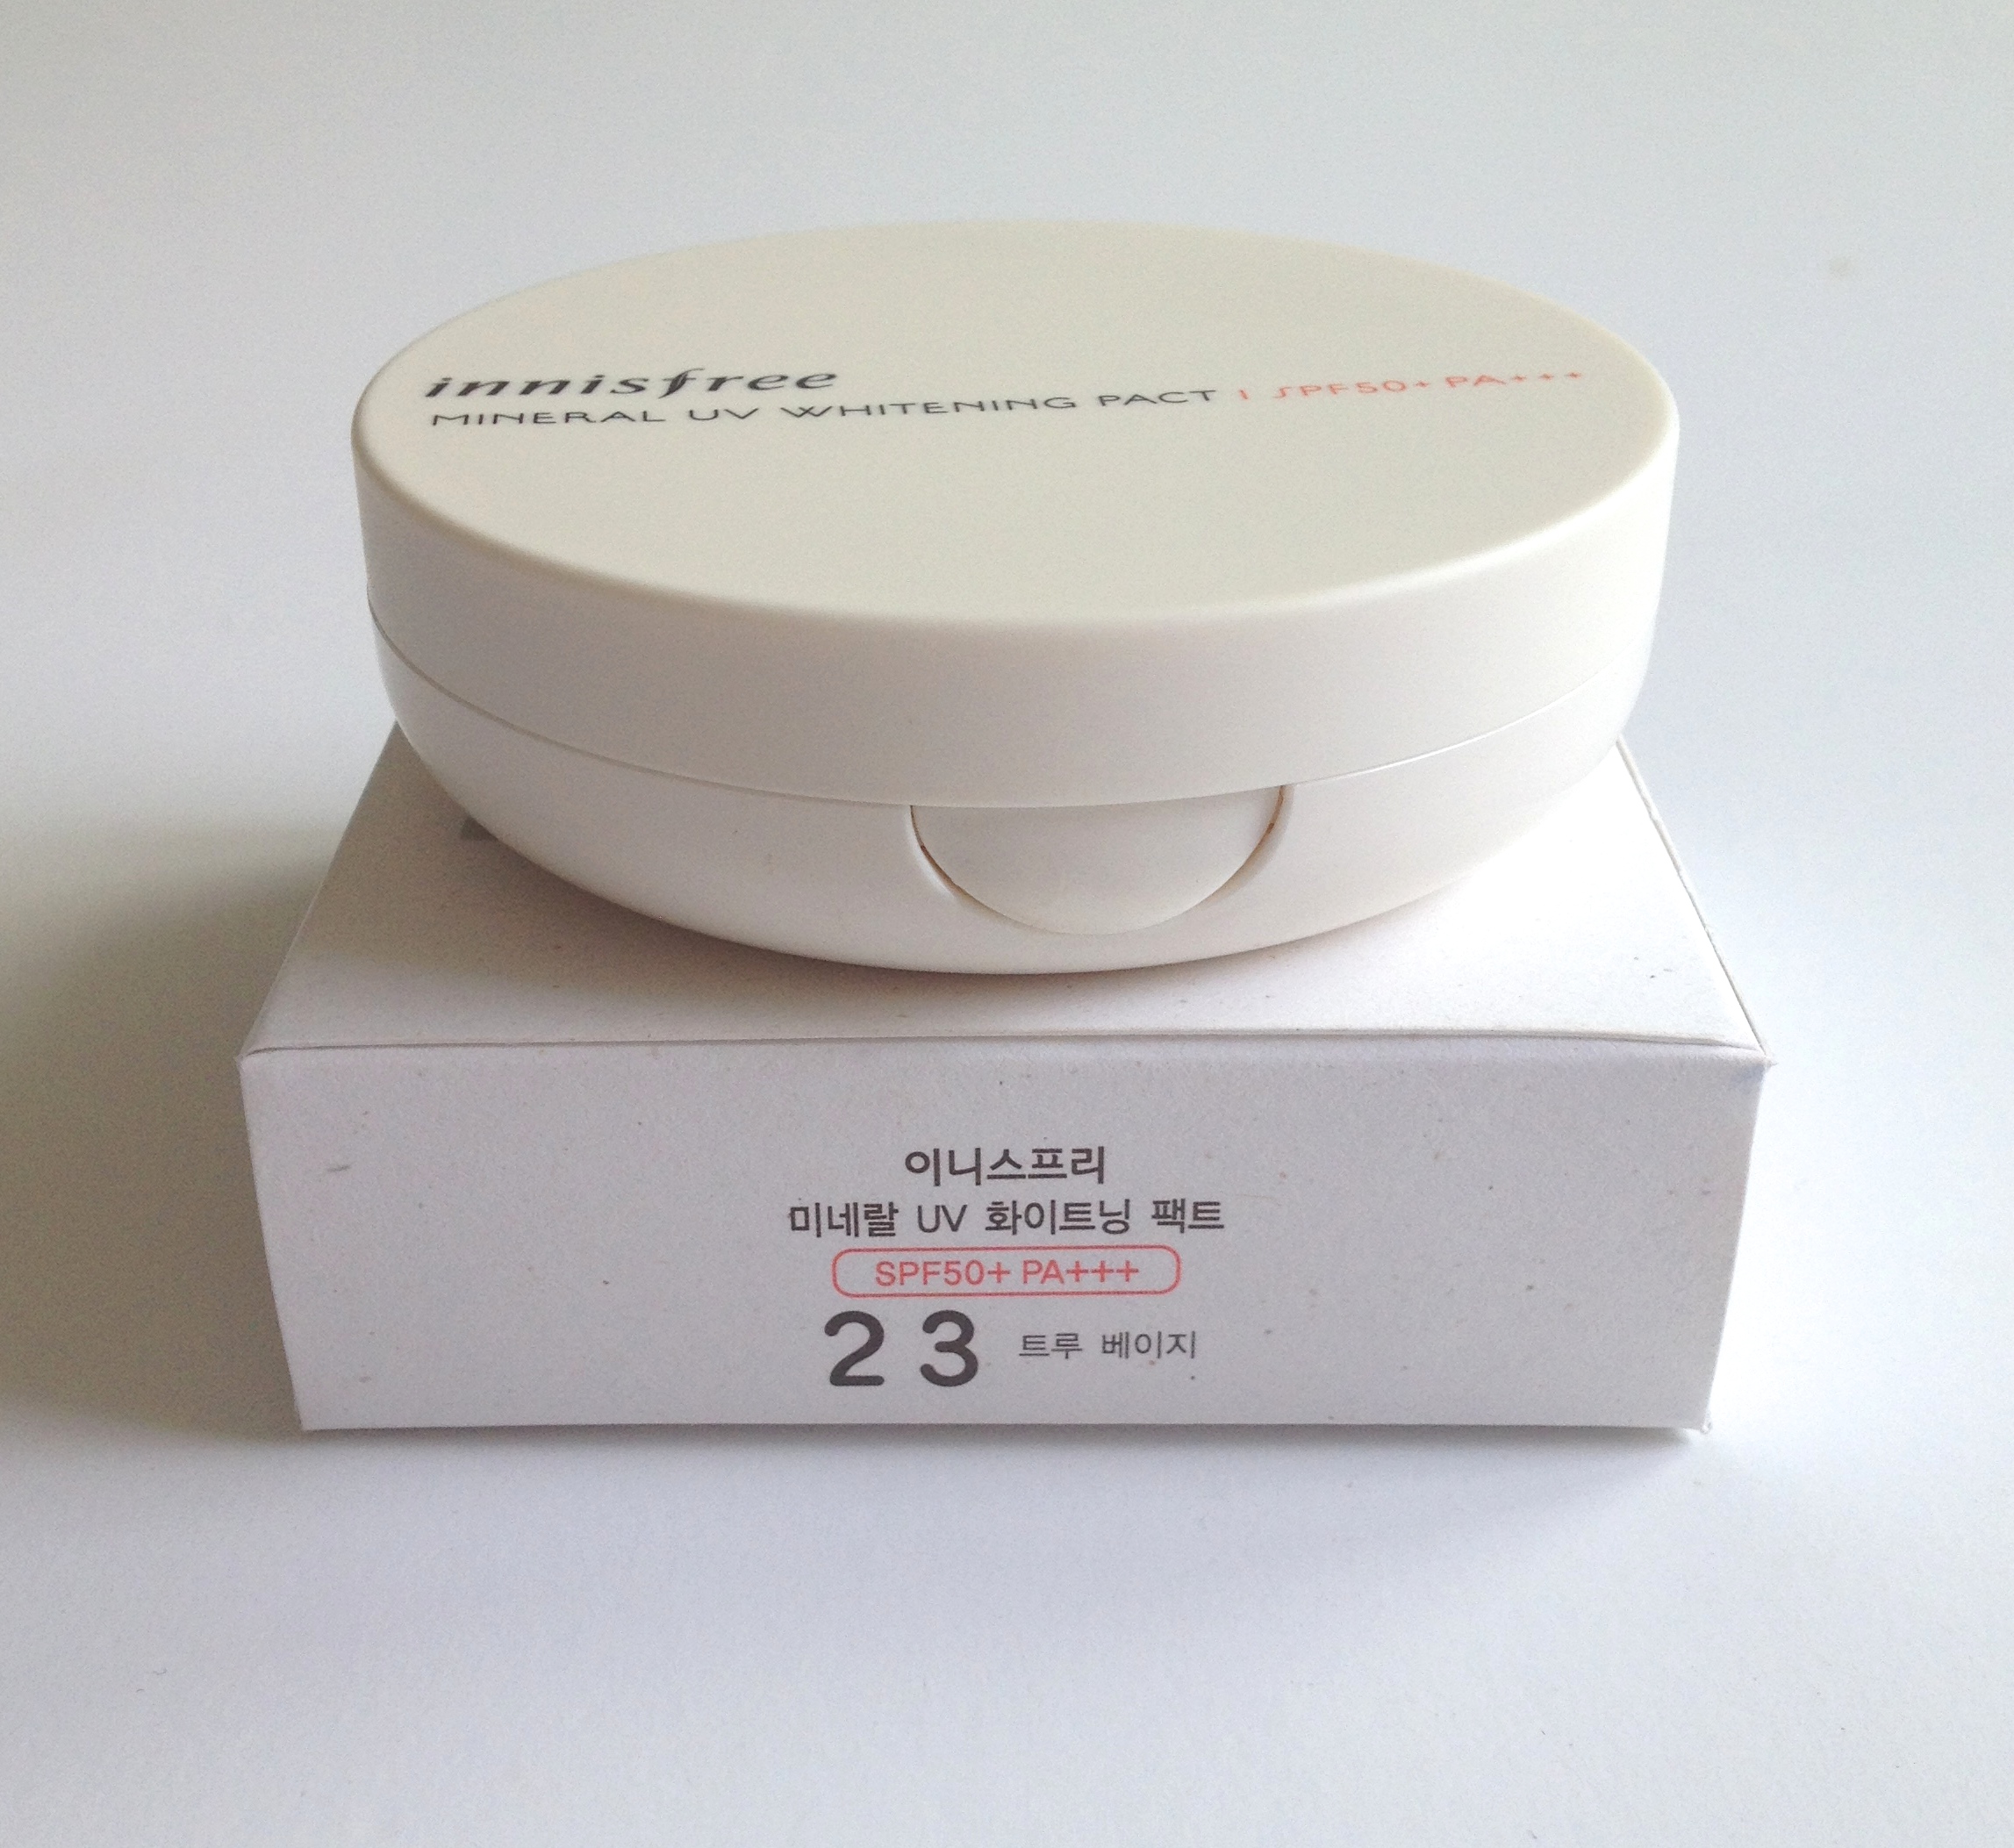
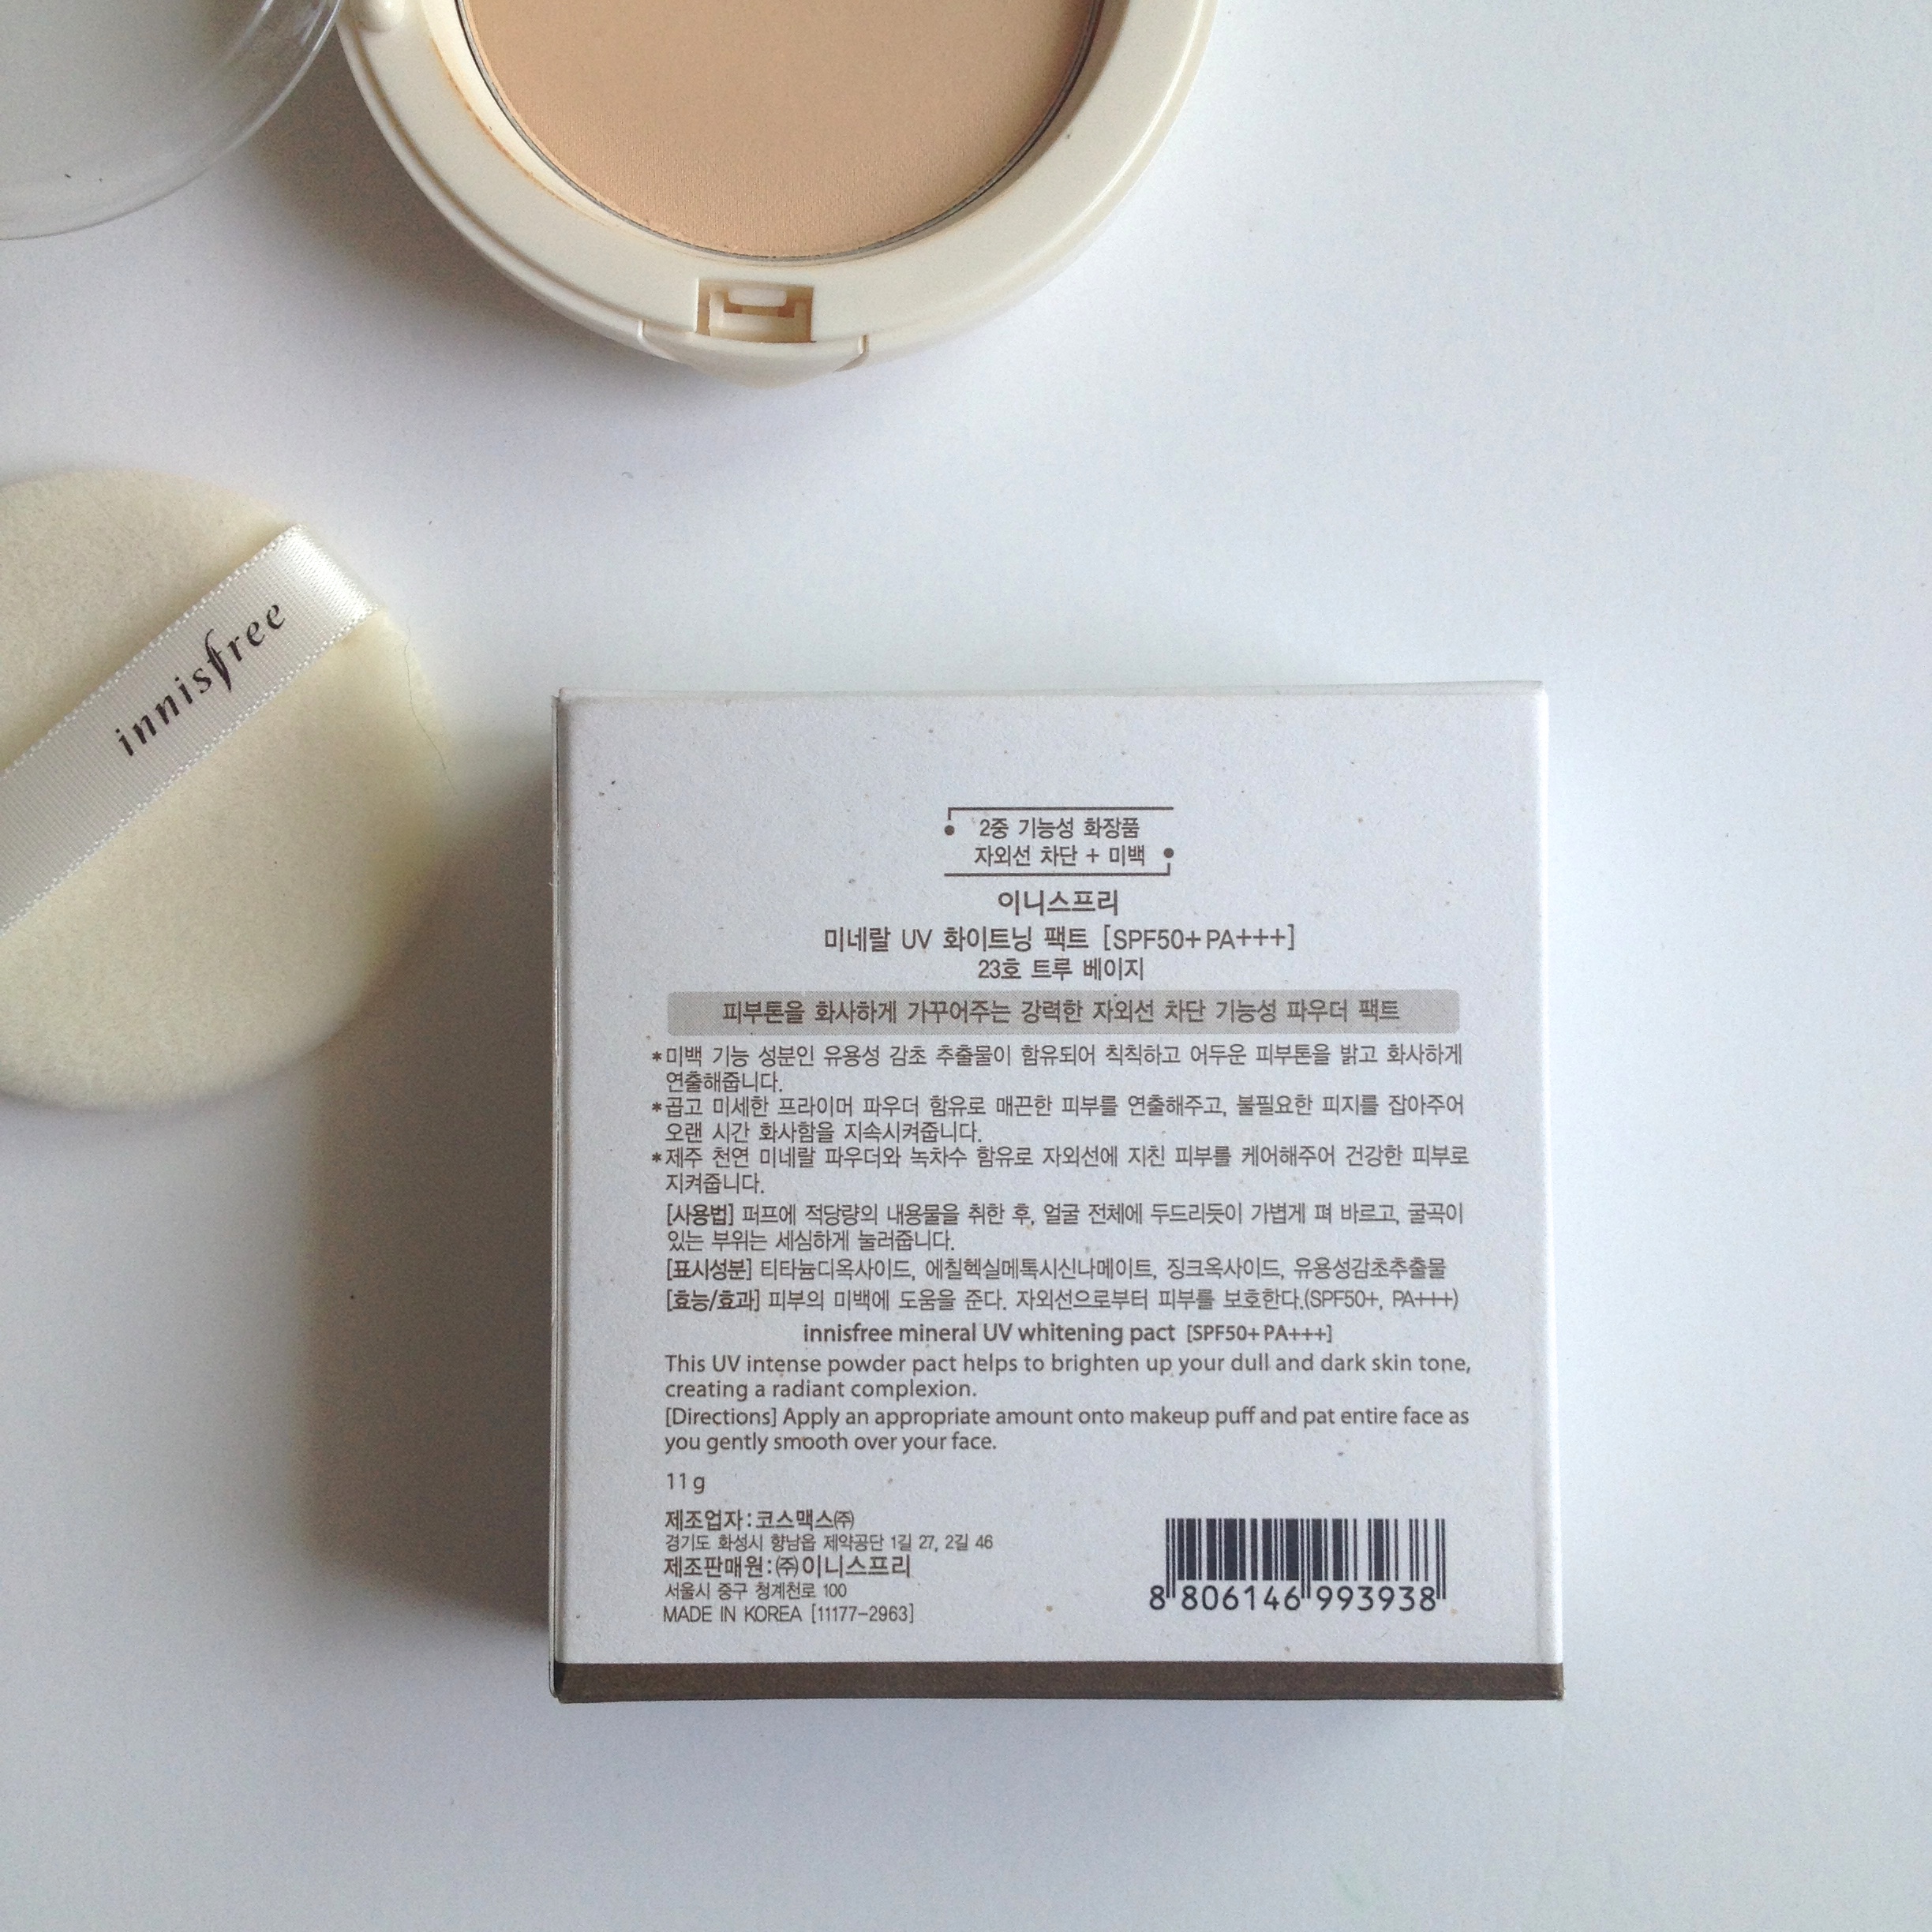
What first  drew me to this powder pact was the fact that it contains SPF 50+ which means that even though I use a sunscreen everyday, my skin is getting added protection from my makeup too. Along with the high SPF in this mineral powder, it also contains PA+++ which means greater protection from UVA rays (the ones that penetrate deeper into our skin and cause more long term damage). Although unofficial, the more plus signs a product is labelled with, the more protection it offers. This is however not something that is recognized by the FDA but rather just something you would generally find on Asian products. So it goes something like this: PA+ -> PA+++ with PA+++ being the highest (Thank you to A FINE MESS for the explanation of PA+++)

Don't get scared off by the 'whitening' part of the name of this product. Whitening means brightening here in Korea, and doesn't mean that the product is going to bleach your skin and make you look like Casper's long lost girl friend. Clear, bright and luminous skin is highly sought after here in Korea with many women covering up every part of their body exposed to the sun when outside (I'm talking about gloves, arm socks when driving, visors, peaks and even face masks). It's no wonder that Korean women have some of the most youthful looking complexions in the world. They really know how to take care of their skin, and this is particularly evident in their skincare products. 

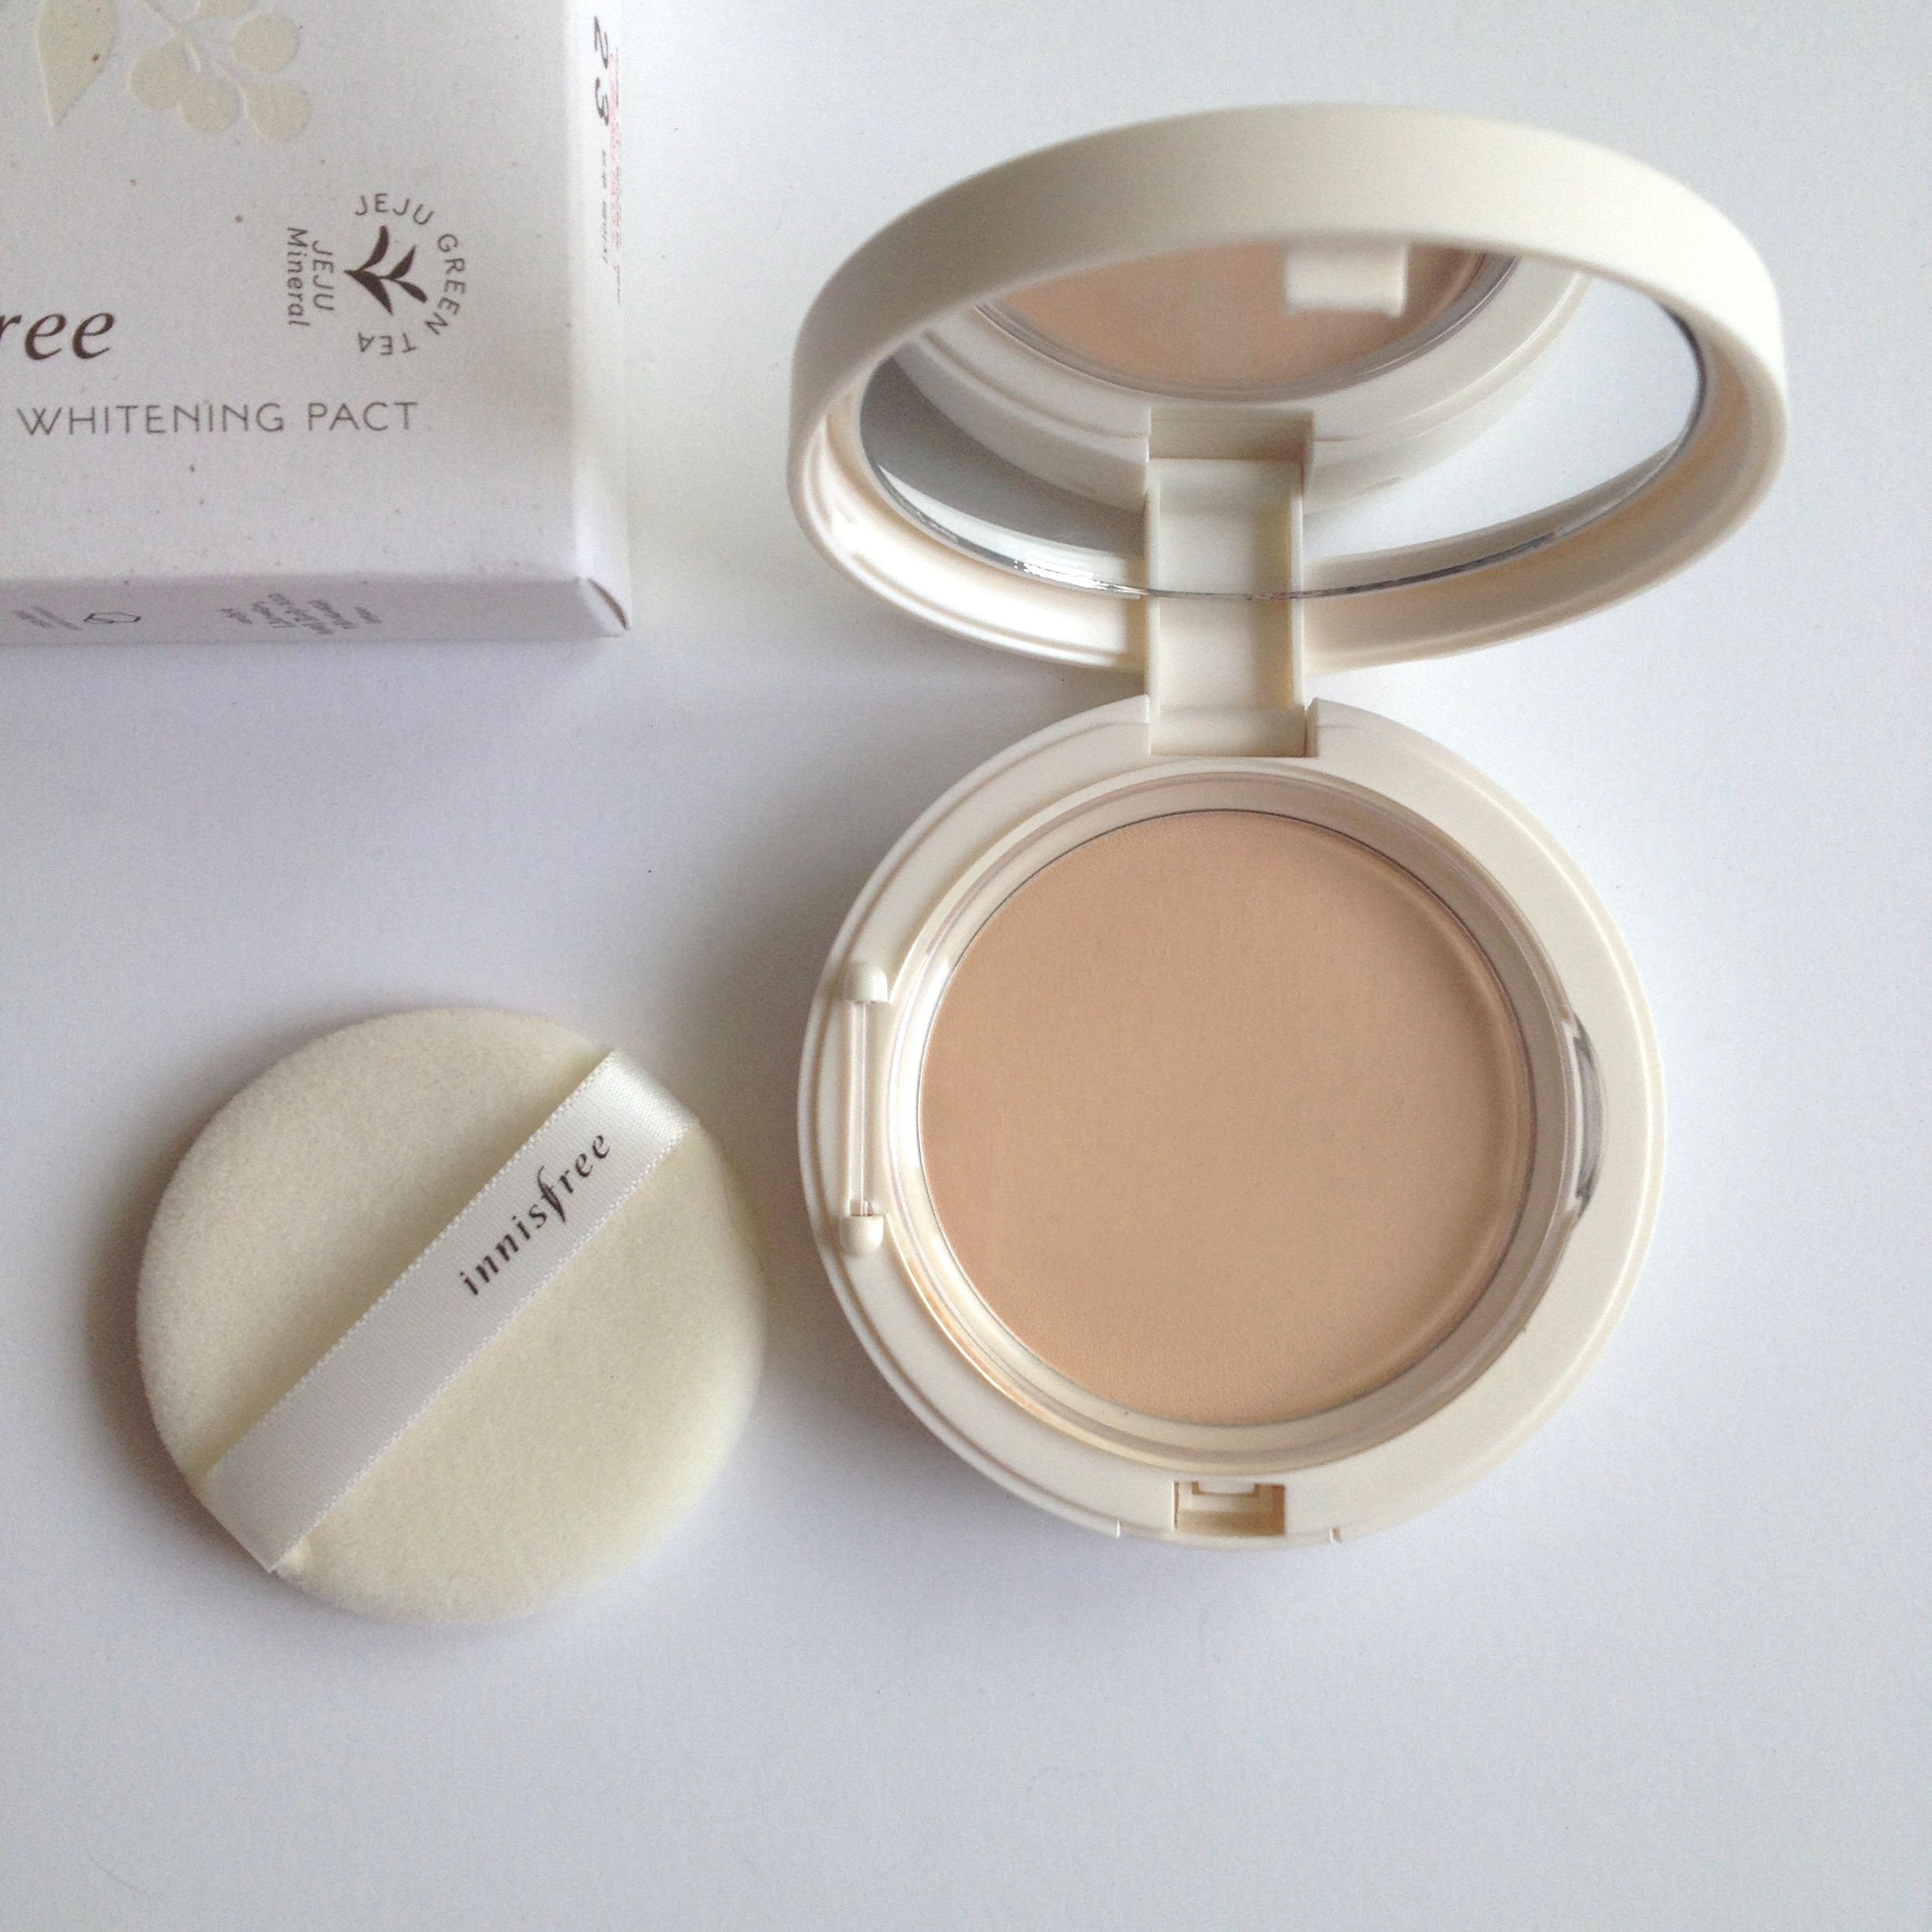
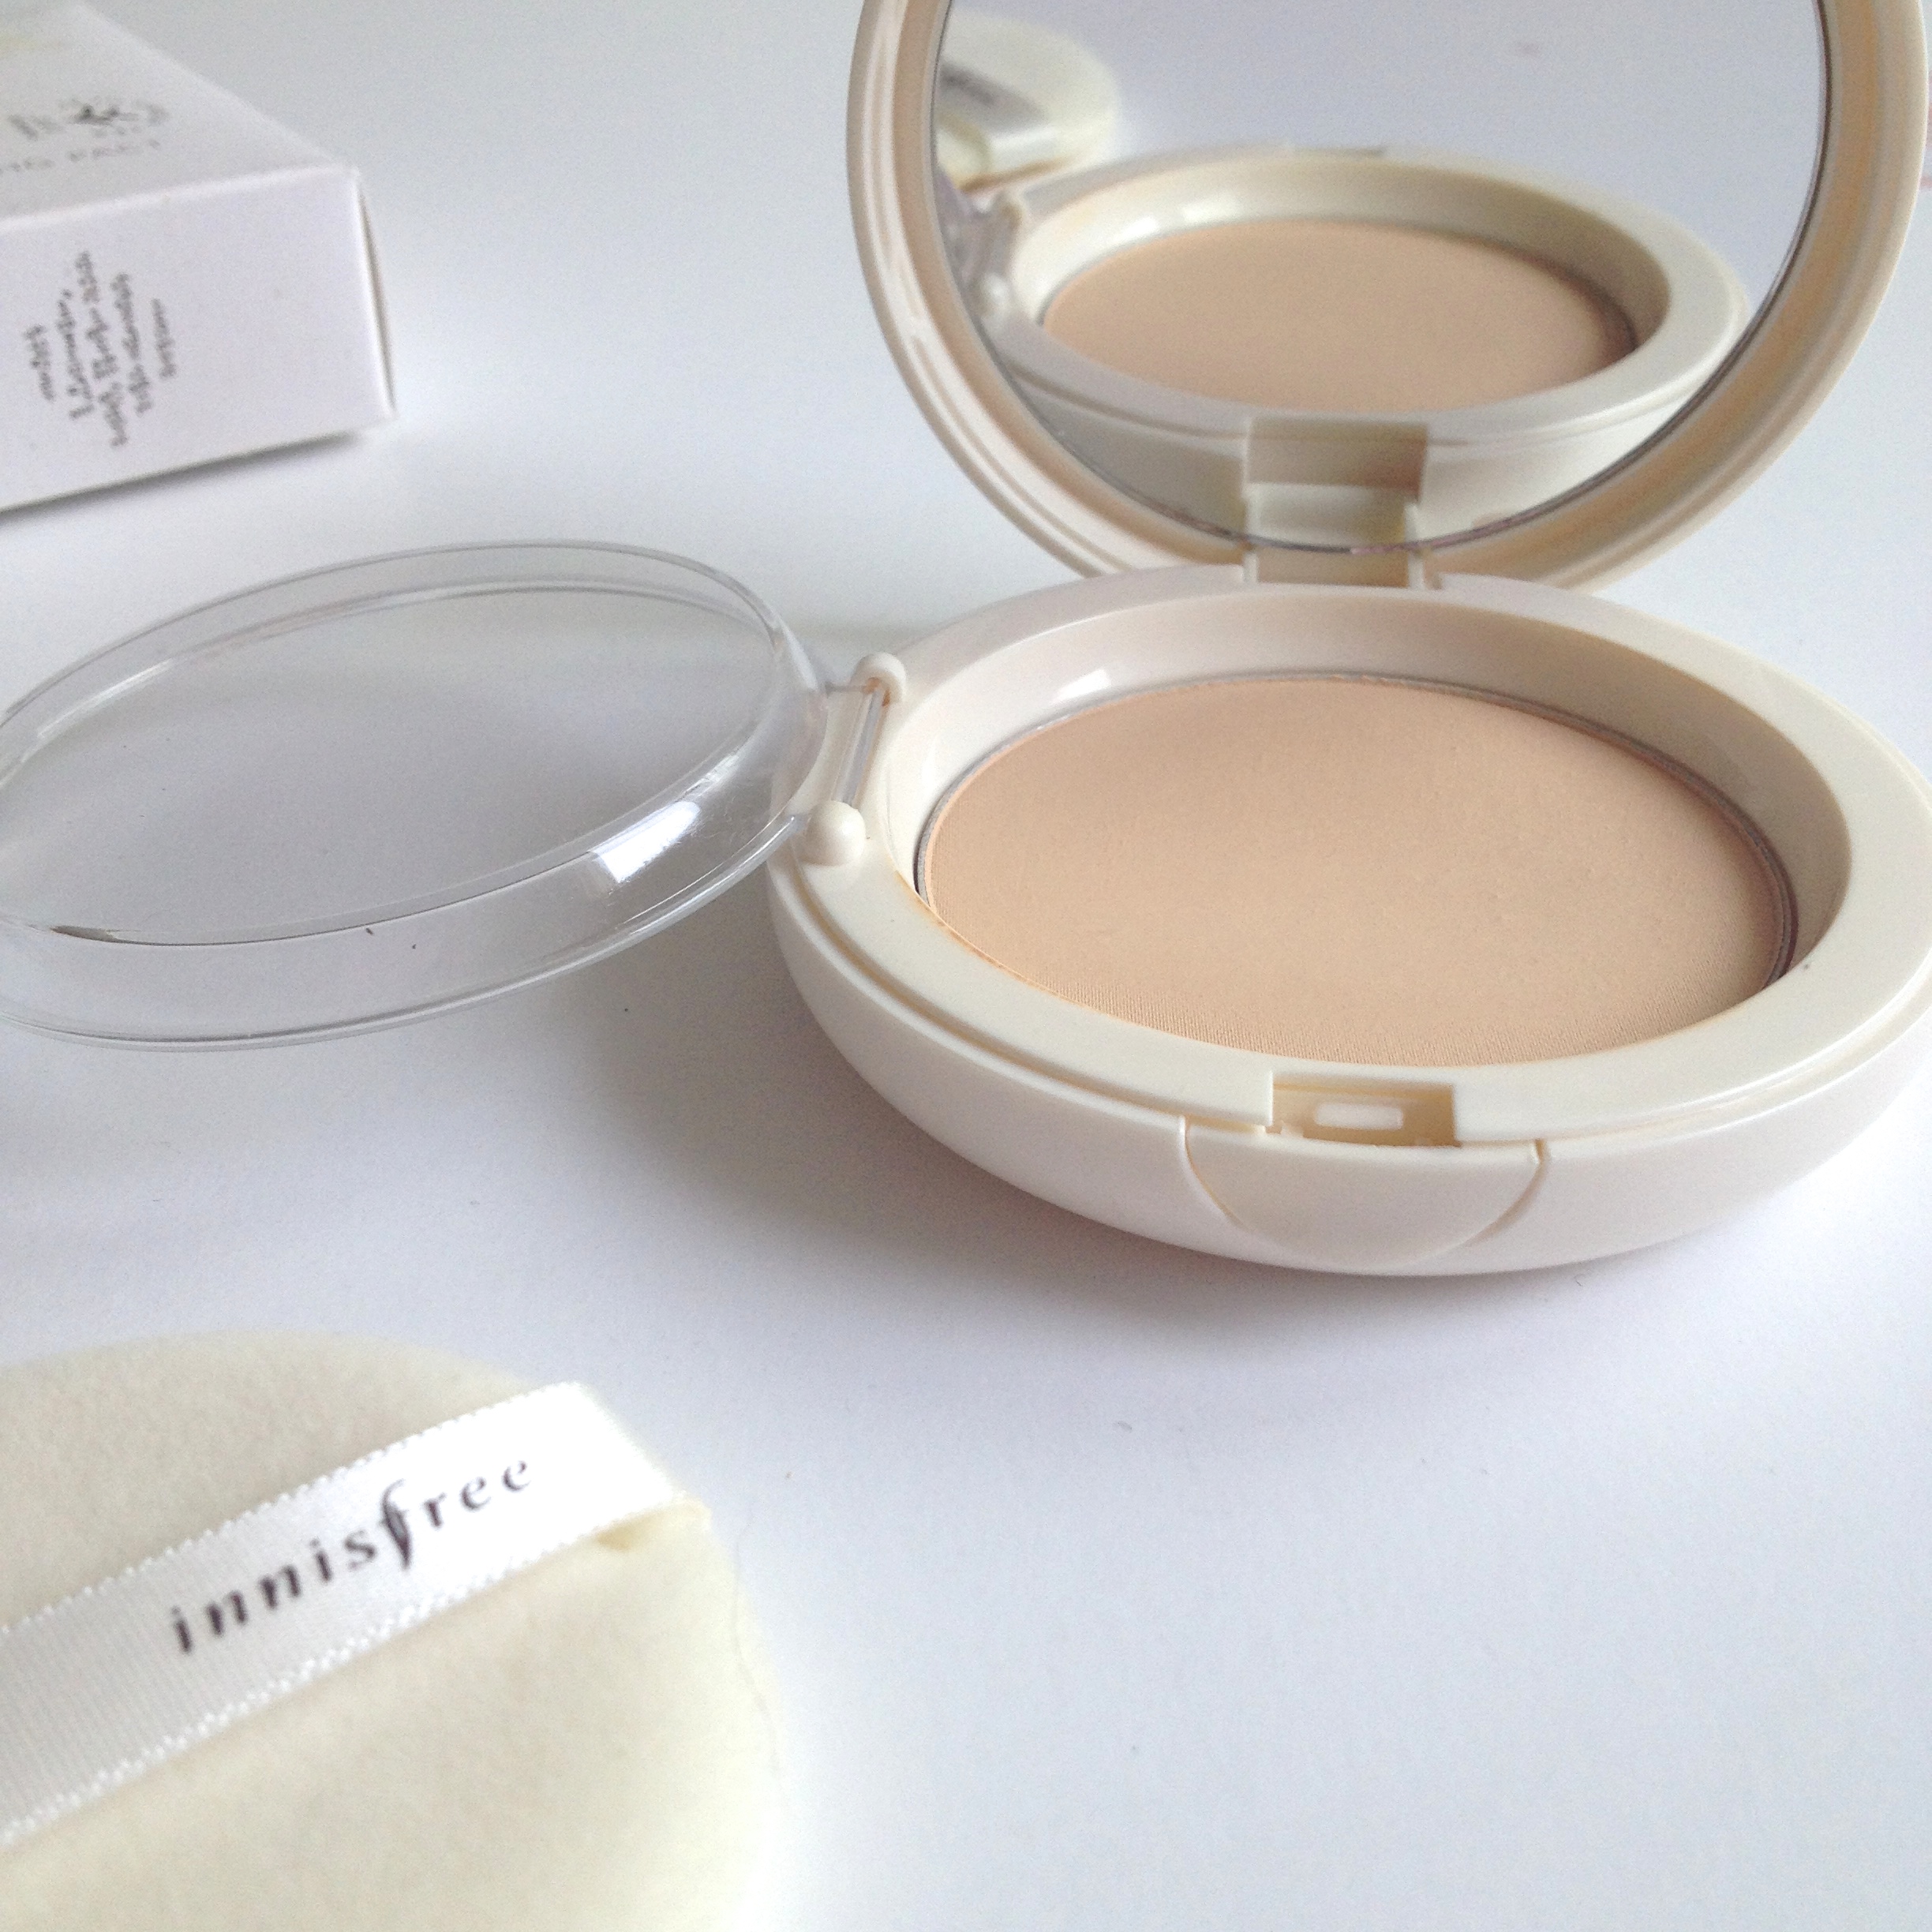
It's long-lasting a blends seamlessly into my skin, setting my foundation and concealer beautifully without looking cakey. I definitely have naturally darker skin than the majority of Koreans and yet I found this shade (#23 True Beige) is perfectly suited to my skin and doesn't give me a ghost like appearance like a lot of other powders I have tried. This product comes in 3 shades (#13 Light Beige, #21 Medium Beige & this one pictured, #23 True Beige).

 Here is a full list of the ingredients in English:

Talc, Mica (CI 77019), Titanium Dioxide (CI 77891), Ethylhexyl Methoxycinnamate, Methyl Methacrylate Crosspolymer, Silica, Nylon-12, Zinc Oxide (CI 77947), Trimethylolpropane Triethylhexanoate, Phenyl Trimethicone, Oil Soluble Licorice(Glycyrrhiza) Extract, Mineral Salts, Oryza Sativa (Rice) Powder, Aloe Vera Leaf Extract, Coconut Oil, Green Tea Extract, Orange Peel Extract, Orchid extract, Camellia Leaf Extract, Opuntia Coccinellifera Fruit Extract, Magnesium Myristate, Ethylene/Acrylic Acid Copolymer, HDI/Trimethylol Hexyllactone Crosspolymer, Methicone, Ethylhexylglycerin, Dimethicone, Triethoxycaprylylsilane, Glyceryl Caprylate, Hydroxyapatite,Water, Butylene Glycol, Fragrance, Yellow Iron Oxide (CI 77492), Red Iron Oxide (CI 77491), Black Iron Oxide (CI 77499) 

I paid W12 000 for this powder while it was on sale at my local Innisfree (the pact is usually W18 000). Another great thing about this power pact is that the powder itself is refillable, so you won't be having to pay the full price for the packaging when you repurchase. You simply buy the power insert which is W10 000 when not on sale.

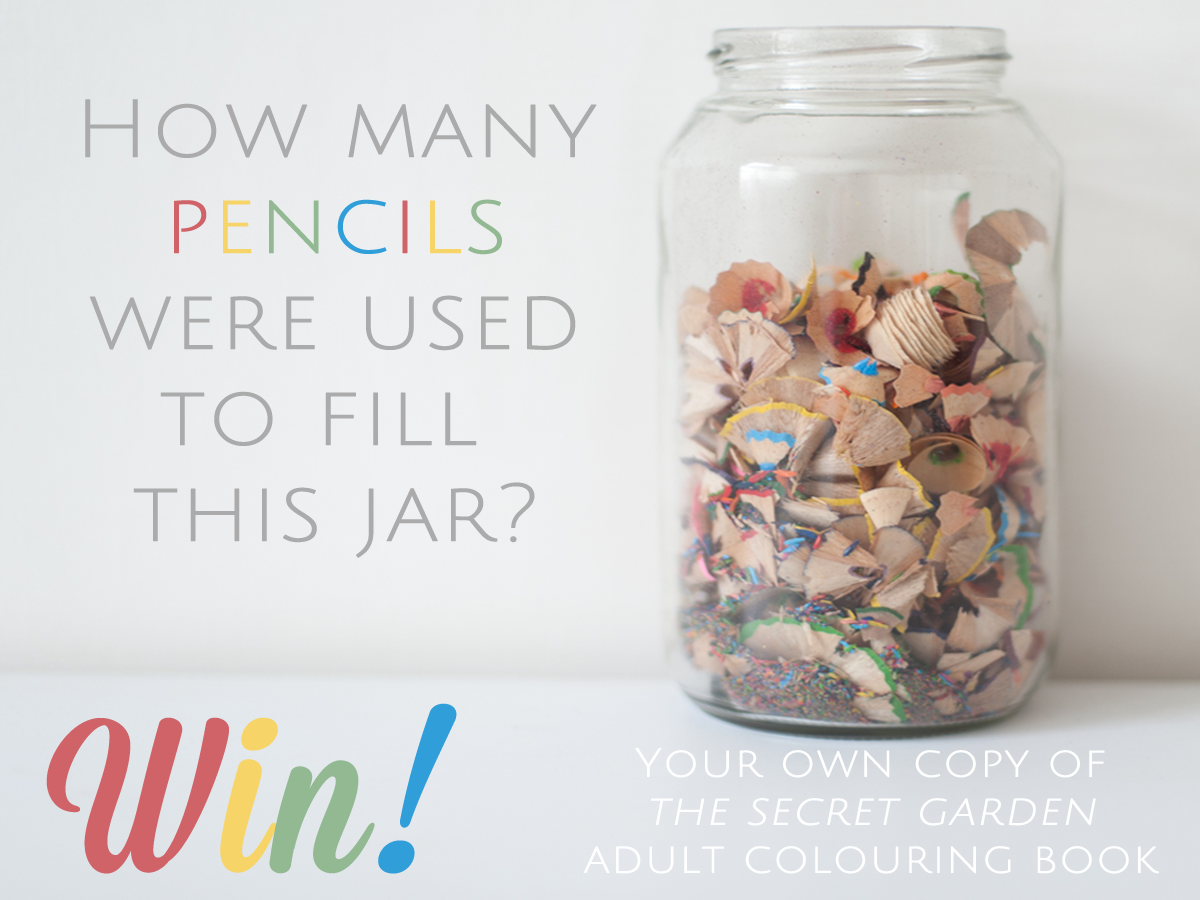
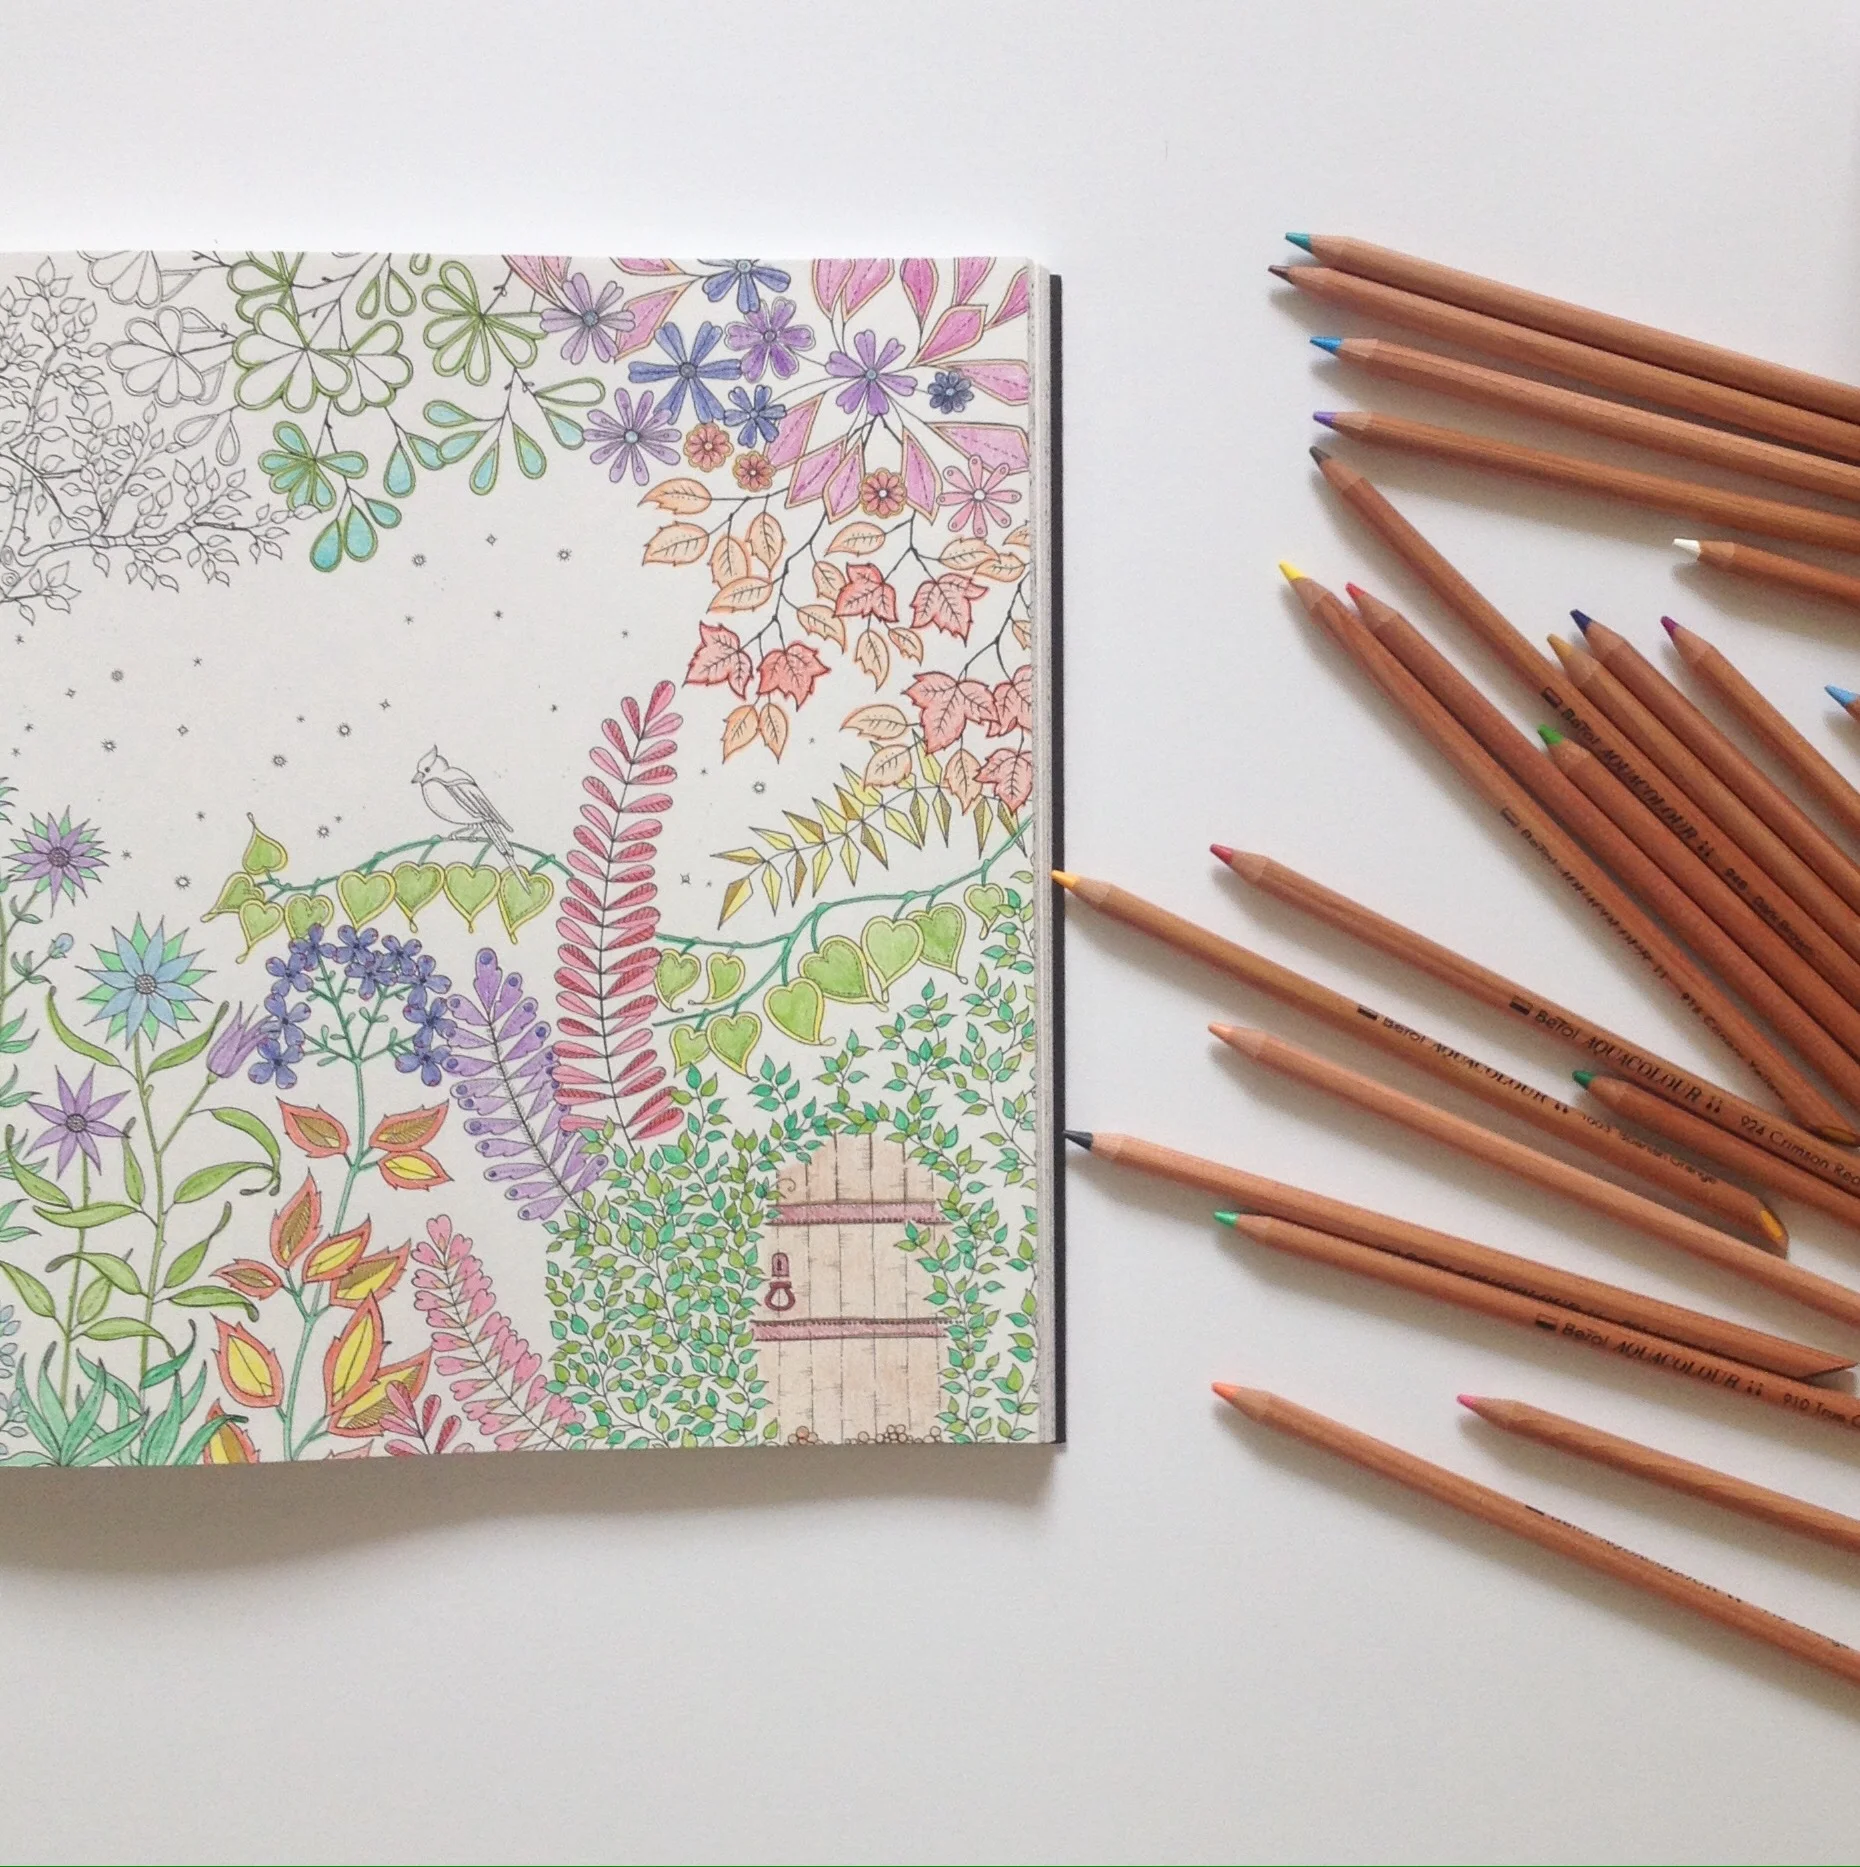
GIVEAWAY! Win a copy of The Secret Garden Adult Colouring Book

Adult Colouring Book Giveaway

I'm giving a copy of the beautifully illustrated The Secret Garden colouring book by Johanna Barsford. To enter all you have to do is head on over to my Facebook page and comment on the photo with your answer. 

>Giveaway open internationally.

>Winner will be chosen on Monday June 22nd at 10am Korean time.

Good luck! 

Low Carb Banting Crackers

LowCarbBantingCrackers

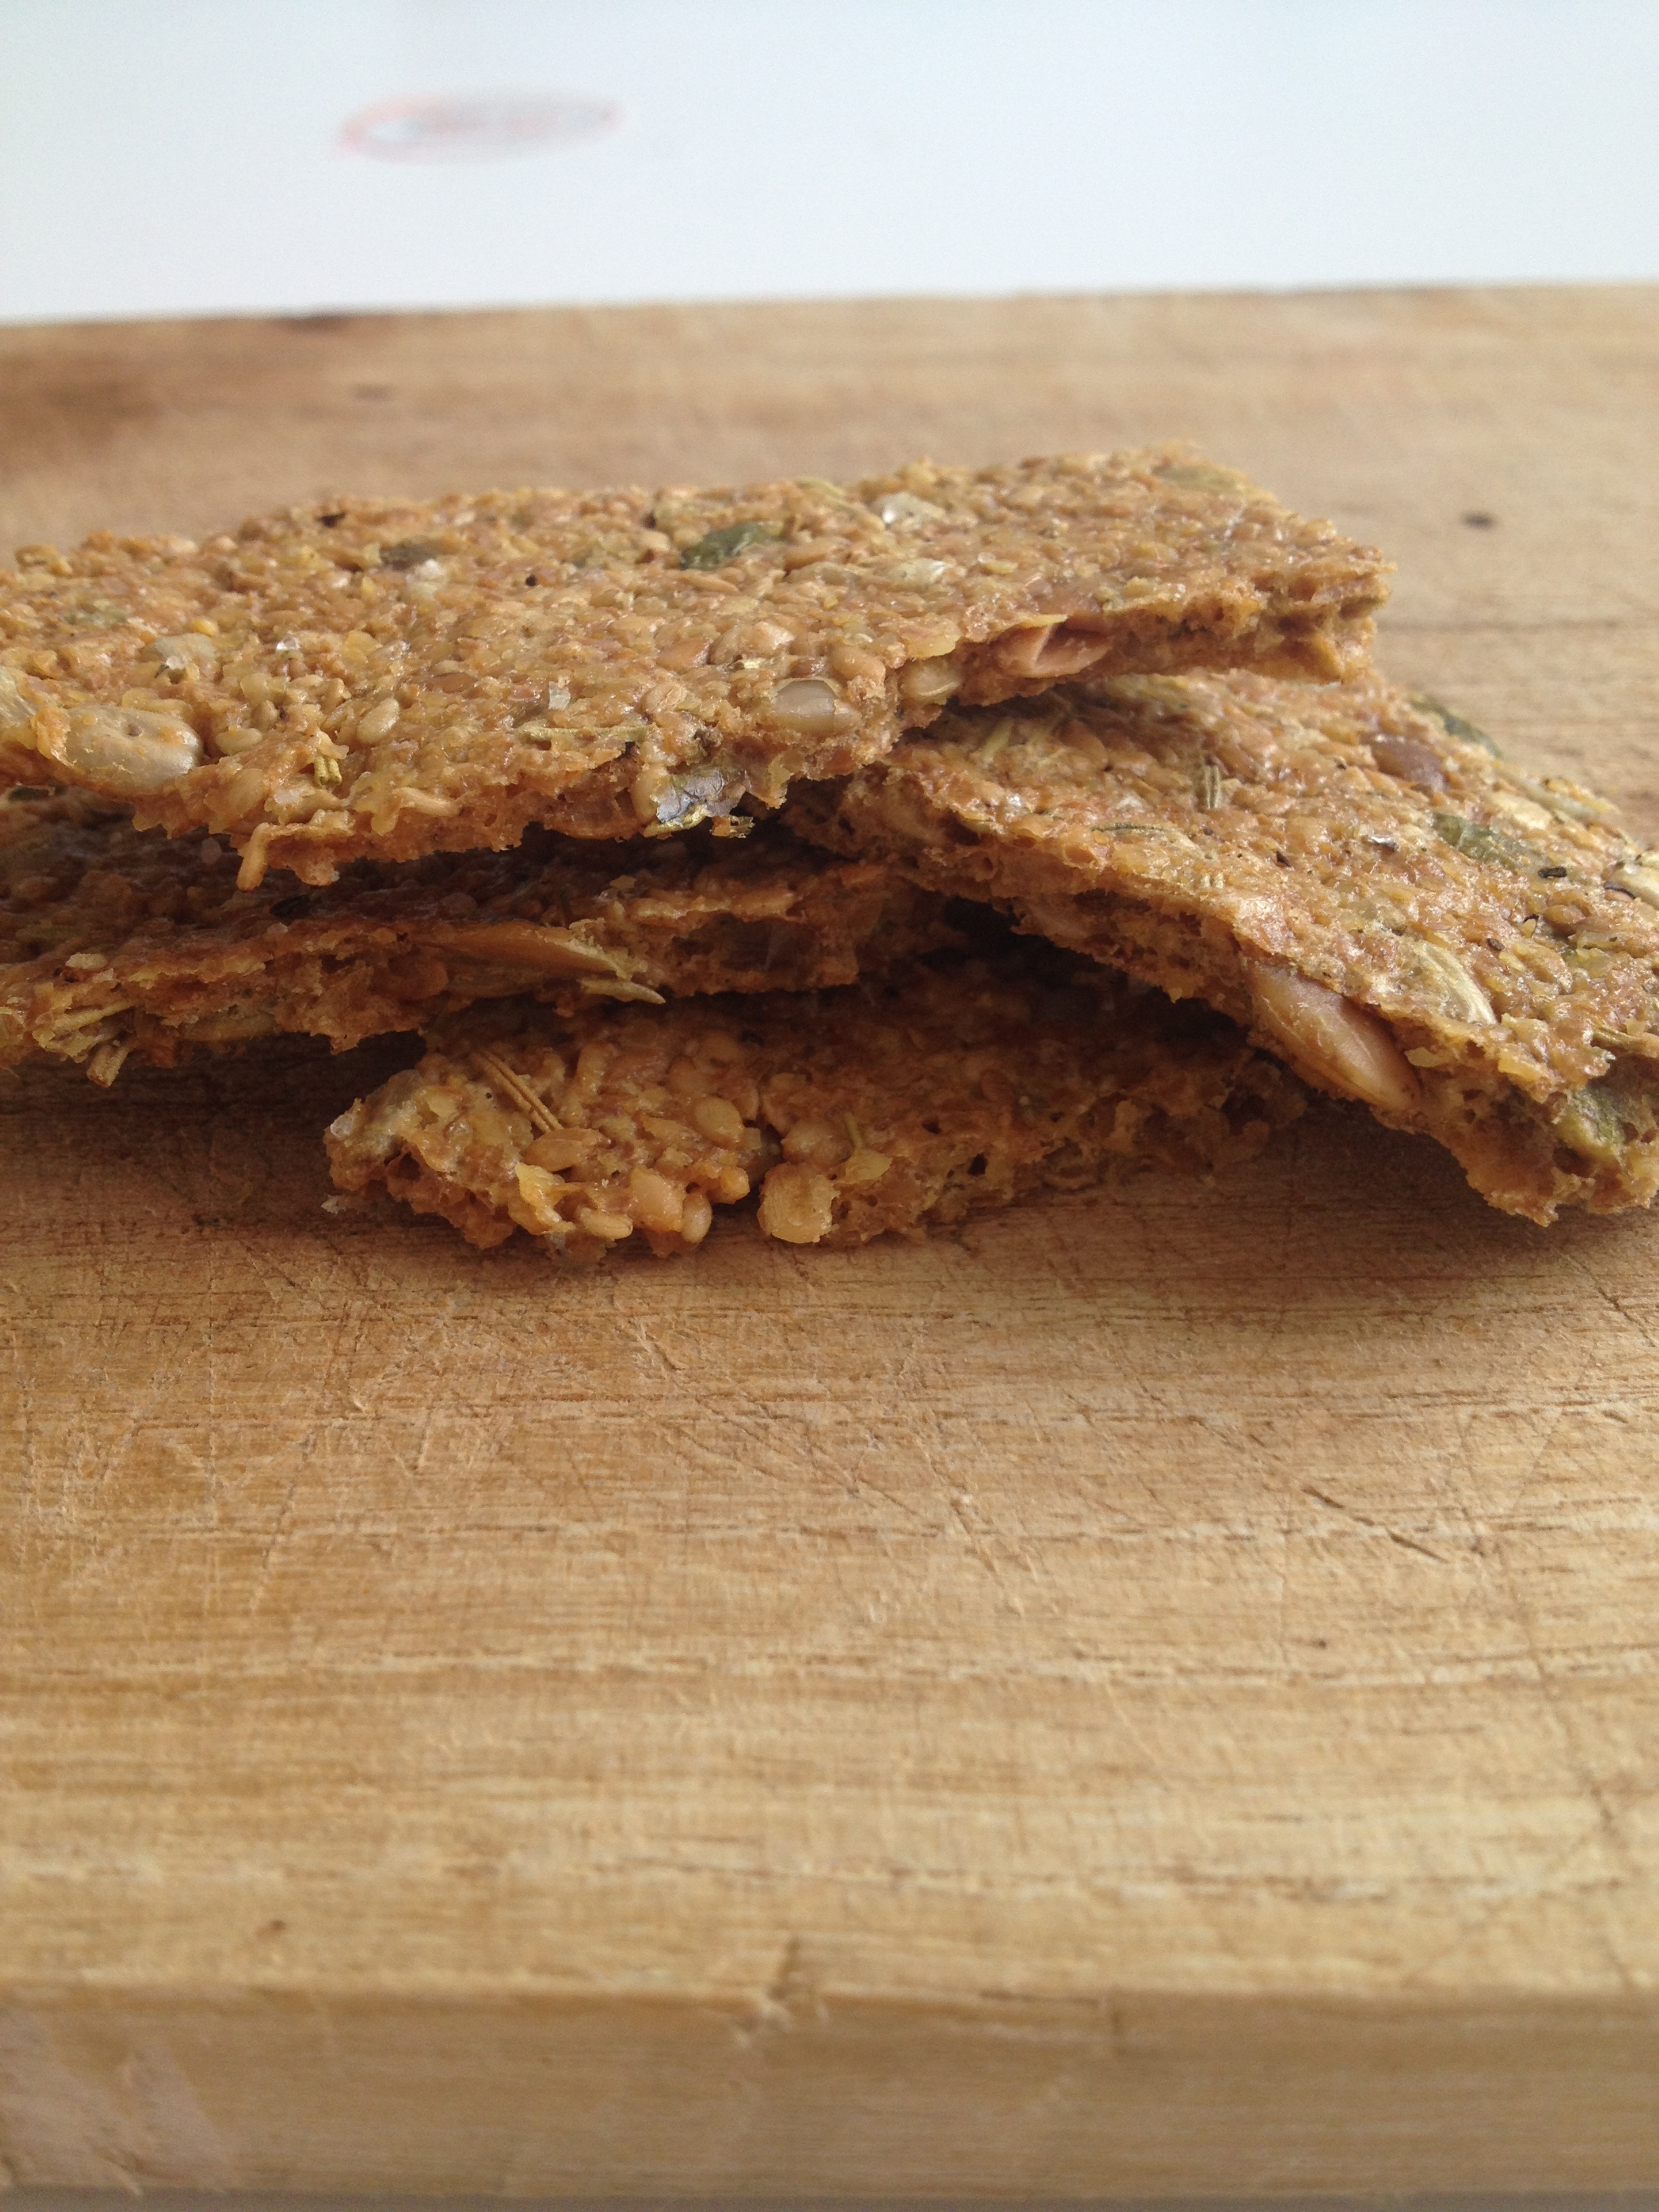
After Banting for a while, I have to be honest and say that I still get carb cravings. It's usually in the afternoon when I feel like I could devour a pizza/muffin/whole loaf of bread. If this sounds like you, then these crackers will be your new best friend. They are salty, crunchy and full of anti-oxidants thanks to all the seeds they contain plus they are super easy to whip together. There really is no reason to reach for that packet of chips anymore!

You can customise these crackers is so many different ways...add more or less seeds/parmesan, cheddar/onion/garlic or spices and adjust according to taste. I am also constantly changing this recipe depending on how I feel on the day; it's that easy to omit things that you don't like. I have included images of different batches of crackers that I have made so far to show you that you really can go wild with different ingredients until you create the perfect cracker.

Serve with a Banting friendly dip, home made pesto or just as they are. These crackers rarely last longer than 3 days in my house because I just can't.get.enough!

Low Carb Banting Crackers

Base Ingredients 

  • 1 medium onion, grated (or 1 TBS onion powder)
  • 1 TBS psyllium husk (you can order psyllium husk here in Korea through Iherb...click here)
  • 1/2 cup flax meal (you can make your own flax meal by grinding flax seeds in a blender...you can buy flax seeds on Gmarket or through Iherb here in Korea). You can also try substituting flax seed flour for almond flour.
  • 1 tsp garlic powder (or fresh garlic finely chopped)
  • 1 egg
  • 1 TBS water

Extra goodies that will make these crackers even better:

  • 2 TBS grated parmesan
  • 1/3 cup roasted pumpkin seeds (you can buy pumpkin seeds on Gmarket)
  • 1/4 cup sesame seeds
  • 1/4 cup sunflower seeds (you can buy sunflower seeds on Gmarket)
  • Sprinkles of your favourite Herbs & Spices (I usually use rosemary, roasted paprika & basil)
Carb Free Banting Crackers

Directions

  1. Preheat your oven to 300C (you will lower the temperature when your crackers are ready to bake).
  2. In a large bowl combine all your ingredients.
  3. Set aside for 5 minutes.
  4. Prepare a baking sheet /non stick mat & grease with coconut oil or use baking wax paper.
  5. Spread out the mixture onto your tray as thin as possible. A helpful trick is to lay a piece of wax paper over your crackers and then use a rolling pin to roll out the crackers. Roll the mixture out as thin as possible. The thinner the mixture, the crunchier your crackers will be.
  6. Lower the temperature of the oven and pop the crackers into for for 25 - 50 minutes (keep checking on them to make sure they don't burn). The reason I put such a large time gap is that my oven here in Korea is like a dragon and heats up so fast that most baked goods are done in 15 minutes, including bread. Turn then around to bake evenly at around the 15 minute mark. You may need to leave them in for as long as an hour, hour and a half depending on your oven. You want them to dehydrate and go as crunchy as possible without burning.
  7. Remove from the oven and slice into squares/rectangles/other cool shapes and serve. Store in an airtight container. 
LowCarbBantingCrackers

If your mixture is too gooey/wet, try adding in more pysillium husk. The psyllium is what binds the mixture and holds everything together. If you don't have any psyllium on hand you can add more flax meal or even ground chia seeds. If you are really in a pinch and your mixture is really wet try adding in a tablespoon of almond flour. 

Have you ever made low carb crackers before? Did you like them? I'd love to hear from you in the comments below!

Secret Garden Anti Stress Adult Colouring Book by Johanna Basford

Adult colouring book

Colouring in books were always my favourite thing to do when I was little. I loved the thrill of filling a page blank page with my own hand, creating a world of colour from nothing but a few black lines. That thrill doesn't have to stop just because I have grown up. Colouring in as a hobby is becoming more and more popular thanks to ladies like Johanna Basford, creator of The Secret Garden; and Andrea Barras, fellow South African blogger, entrepreneur and creator of You Biscuit

Adult coloring books posters you biscuit The Secret Garden

Andrea has had an amazing response from South Africans worldwide with her #ColourInSA A1 sized poster for children & adults. Her poster is inspired by South Africa's beauty and individuality as a country and showcases a lovingly illustrated collage of South African objects, animals, structures, plants, products, icons and symbols that all South Africans can relate to. To find out more about the poster and to place your order, click here. It's wonderful to see a piece of art uniting so many people all over the world. 

The Secret Garden Colouring Book Dults

I fist came across The Secret Garden while teaching my middle school students here in Korea. While walking around the classroom I glanced down and noticed a pair of students flicking through a beautifully illustrated book. Instead of being mad at them for not filling in their worksheets, I stopped to ask them about the book. The told me it was 'for stress' and then went on to show me pages and pages of intricate designs, just waiting to be adorned with colour.

I went online and searched for 'anti-stress' books and up popped The Secret Garden. There is an insane amount of pressure on middle and high school students in Korea to achieve the best grades in order to get into the few elite Universities. My students (13 - 15 year old girls) leave school at 6pm only to head straight to after school academies where they will study until until midnight before returning home to finish their homework. These colouring books have become a way for them to relax, to allow their creativity to engage while letting their minds unwind from the pressures of their textbooks.

Each and every page of this book is a treasure trove filled with illustrations of birds, flowers, owls, butterflies and so much more. And it's not just a colouring in book. The book opens with a list of treasures to be found, a design loves 'Where's Wally'; 63 beetles, 20 songbirds, 116 butterflies, 13 owls...this book will keep you entertained for hours. The Secret Garden has been translated into 14 different languages, the Korean version is the one pictured in this post. 

As a thank you to all you wonderful readers I will be giving away a copy of The Secret Garden this week! Make sure to pop on over to my Facebook page to find out how to enter. >>>

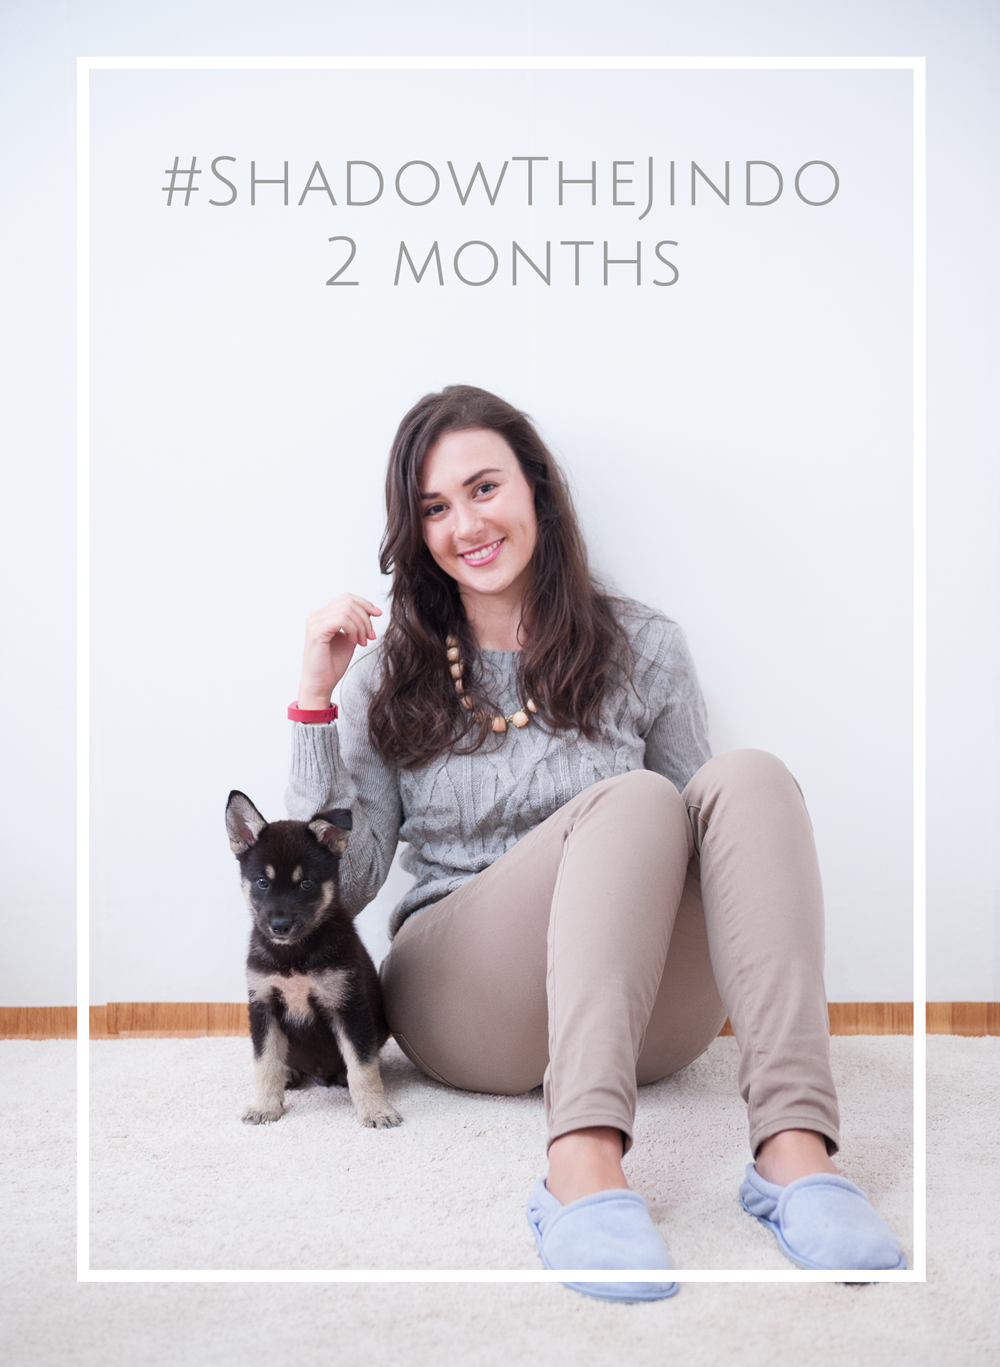
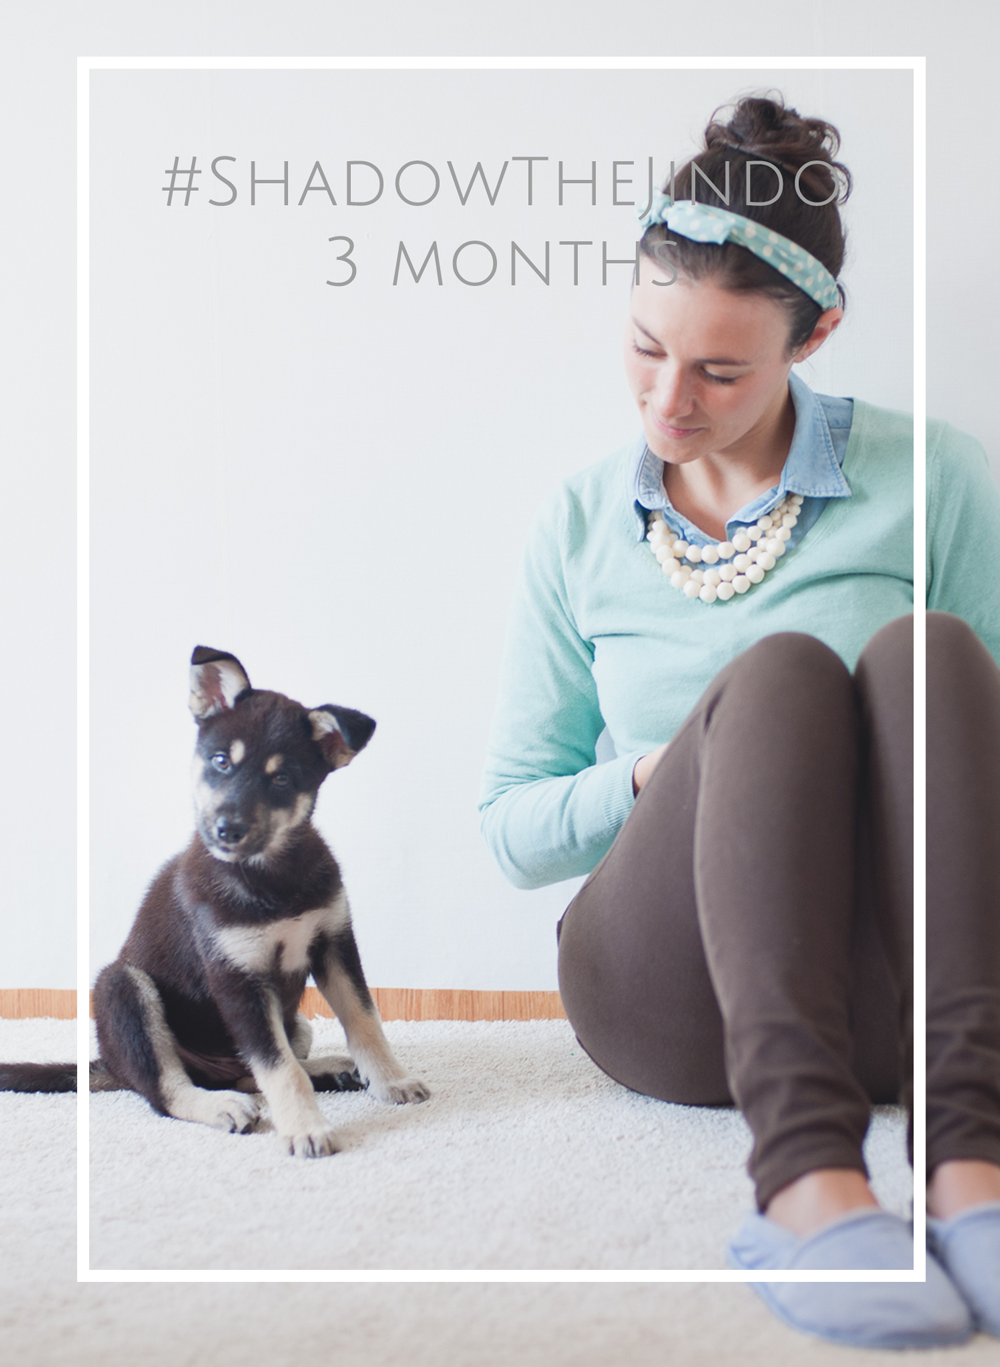
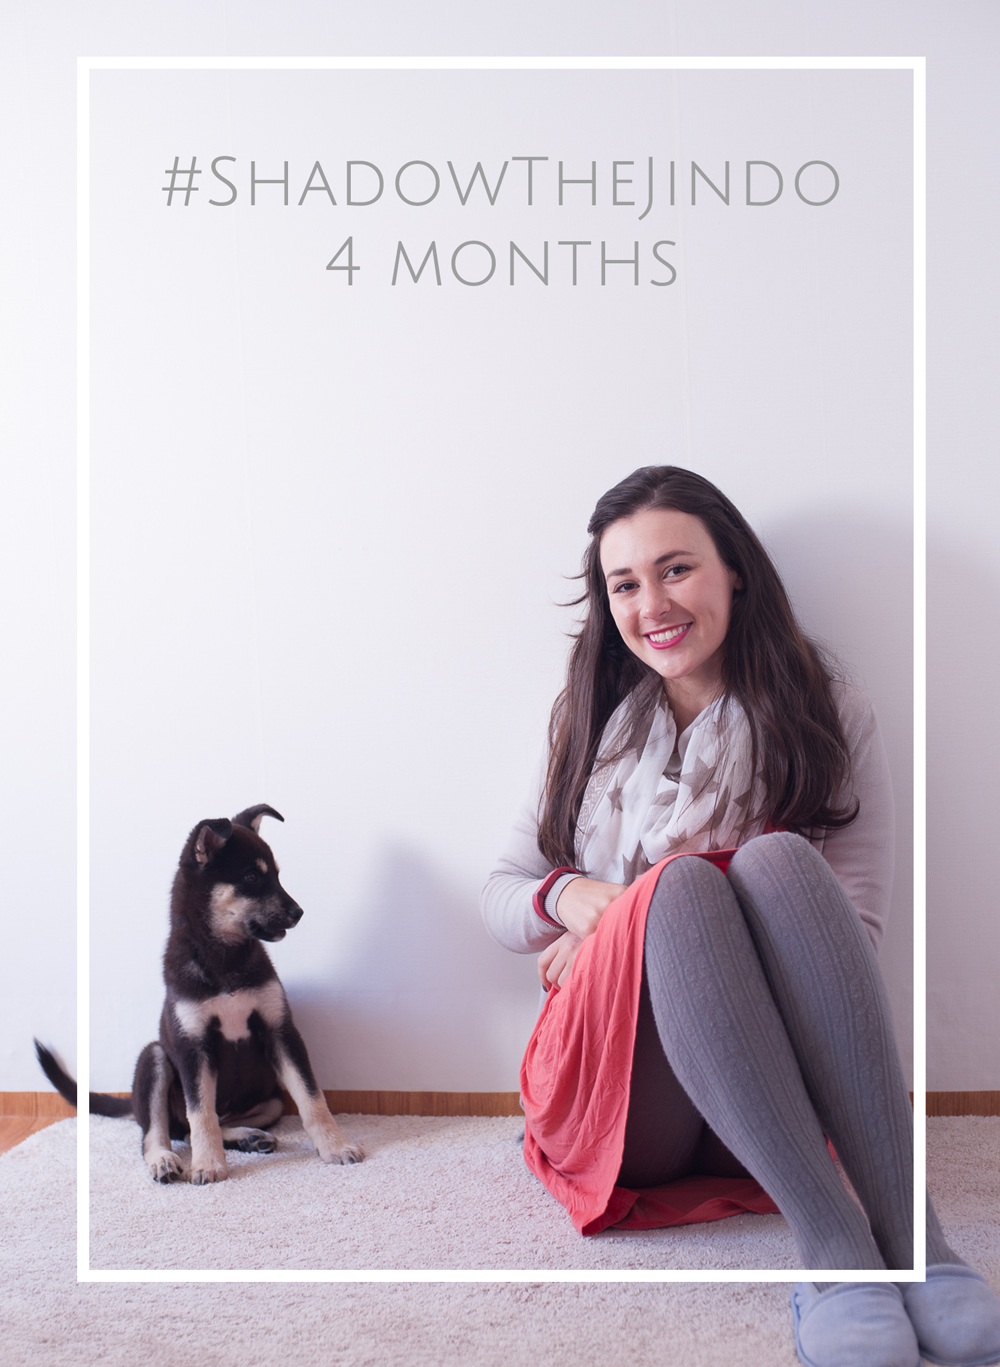
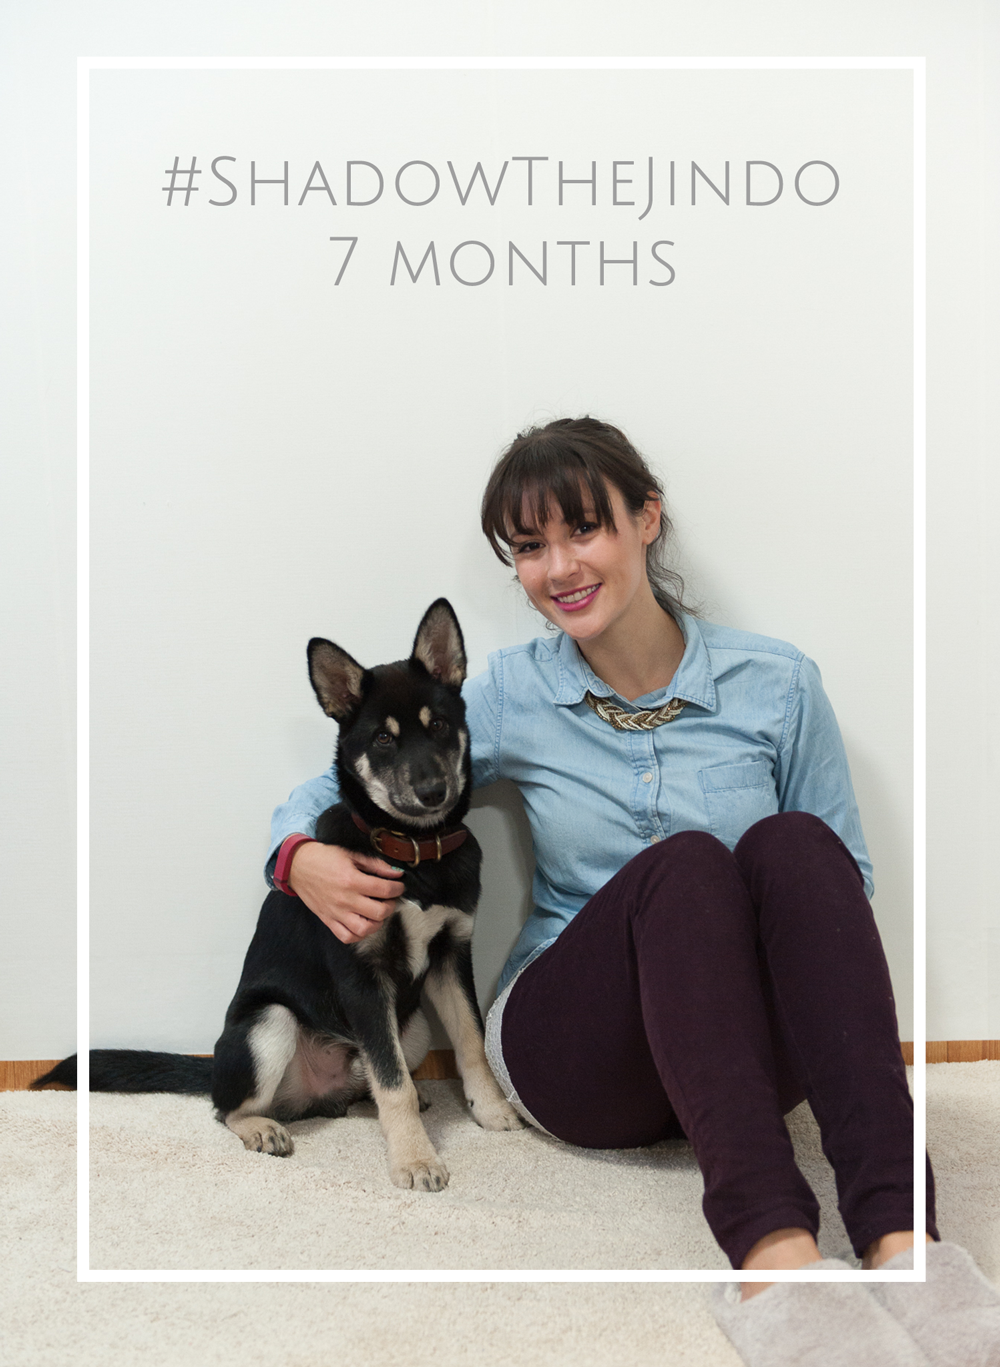
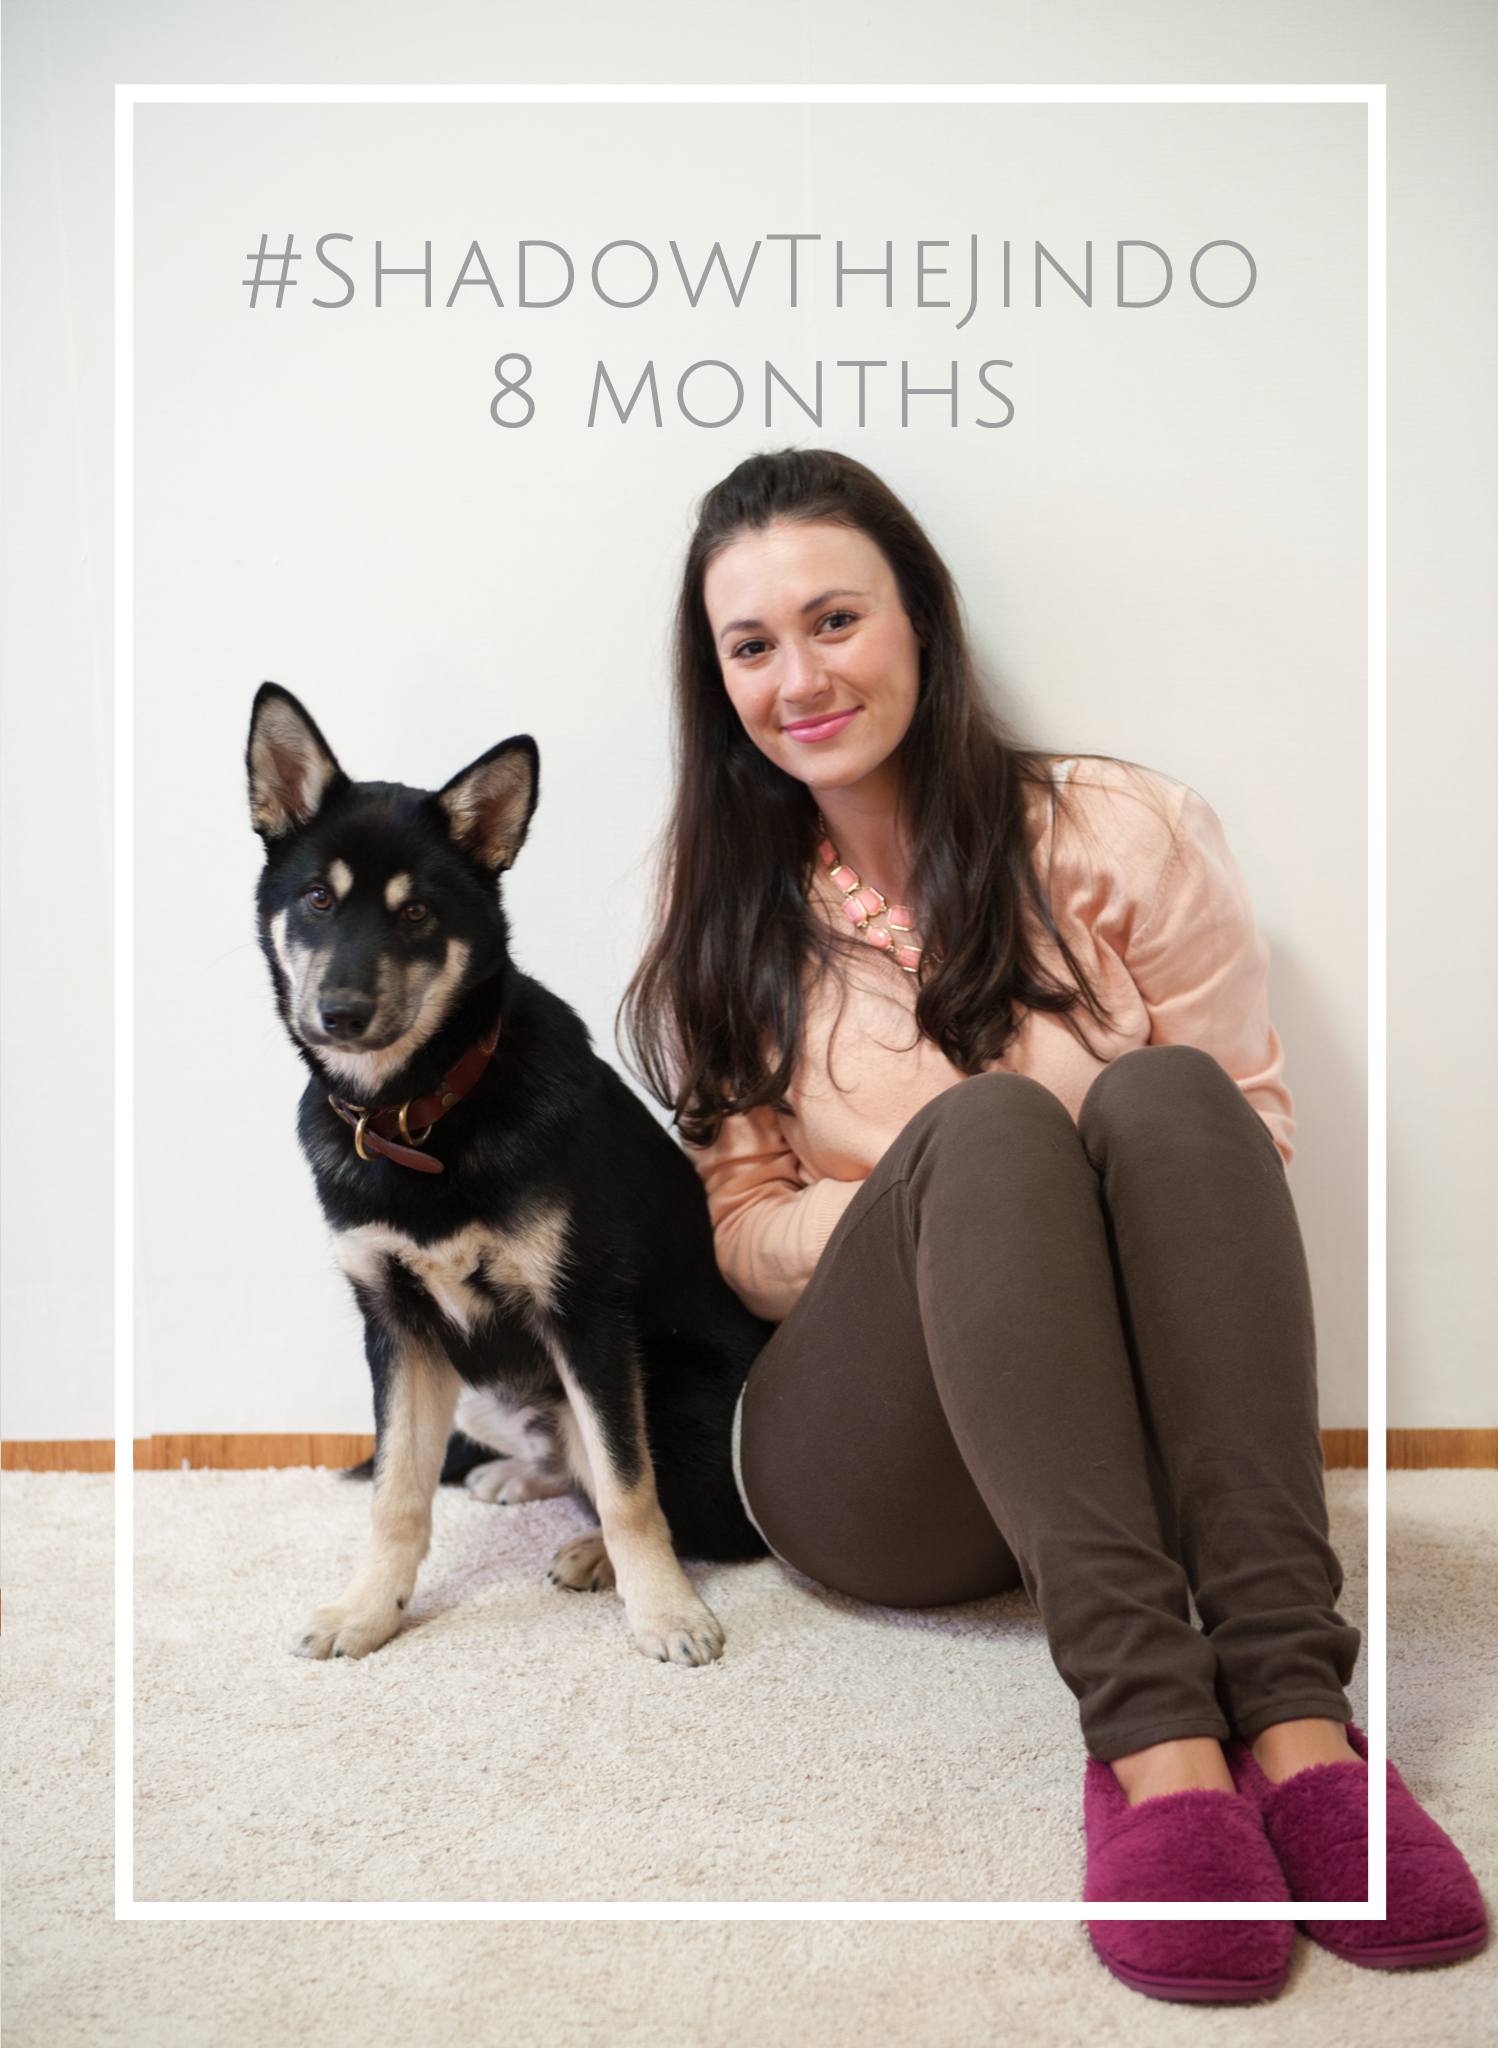
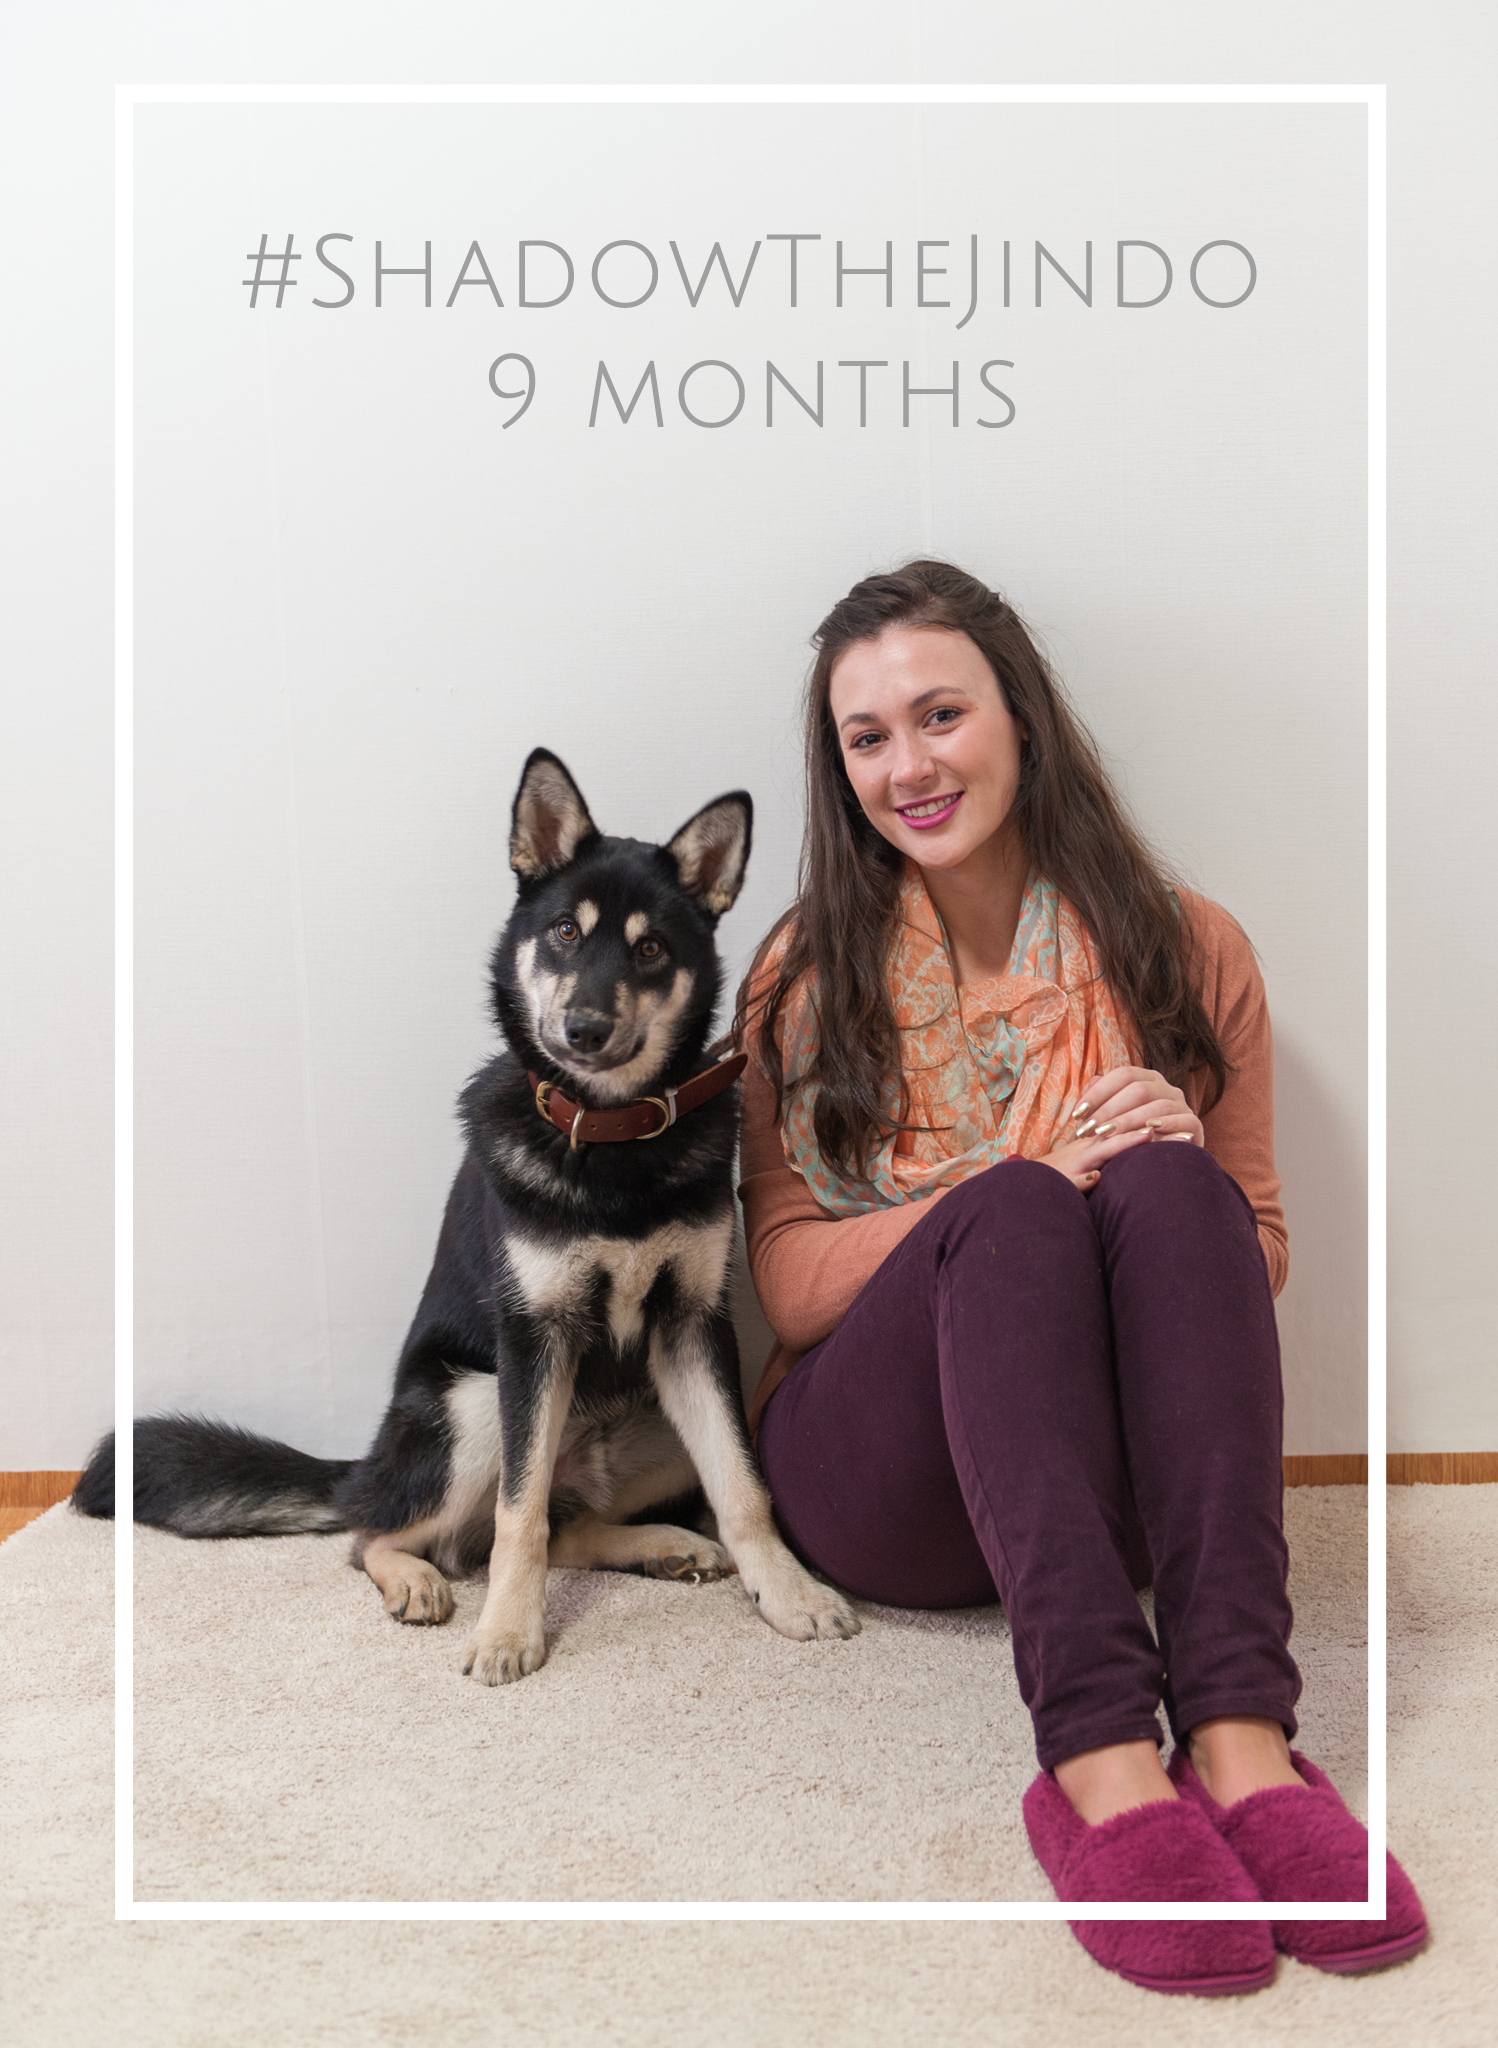
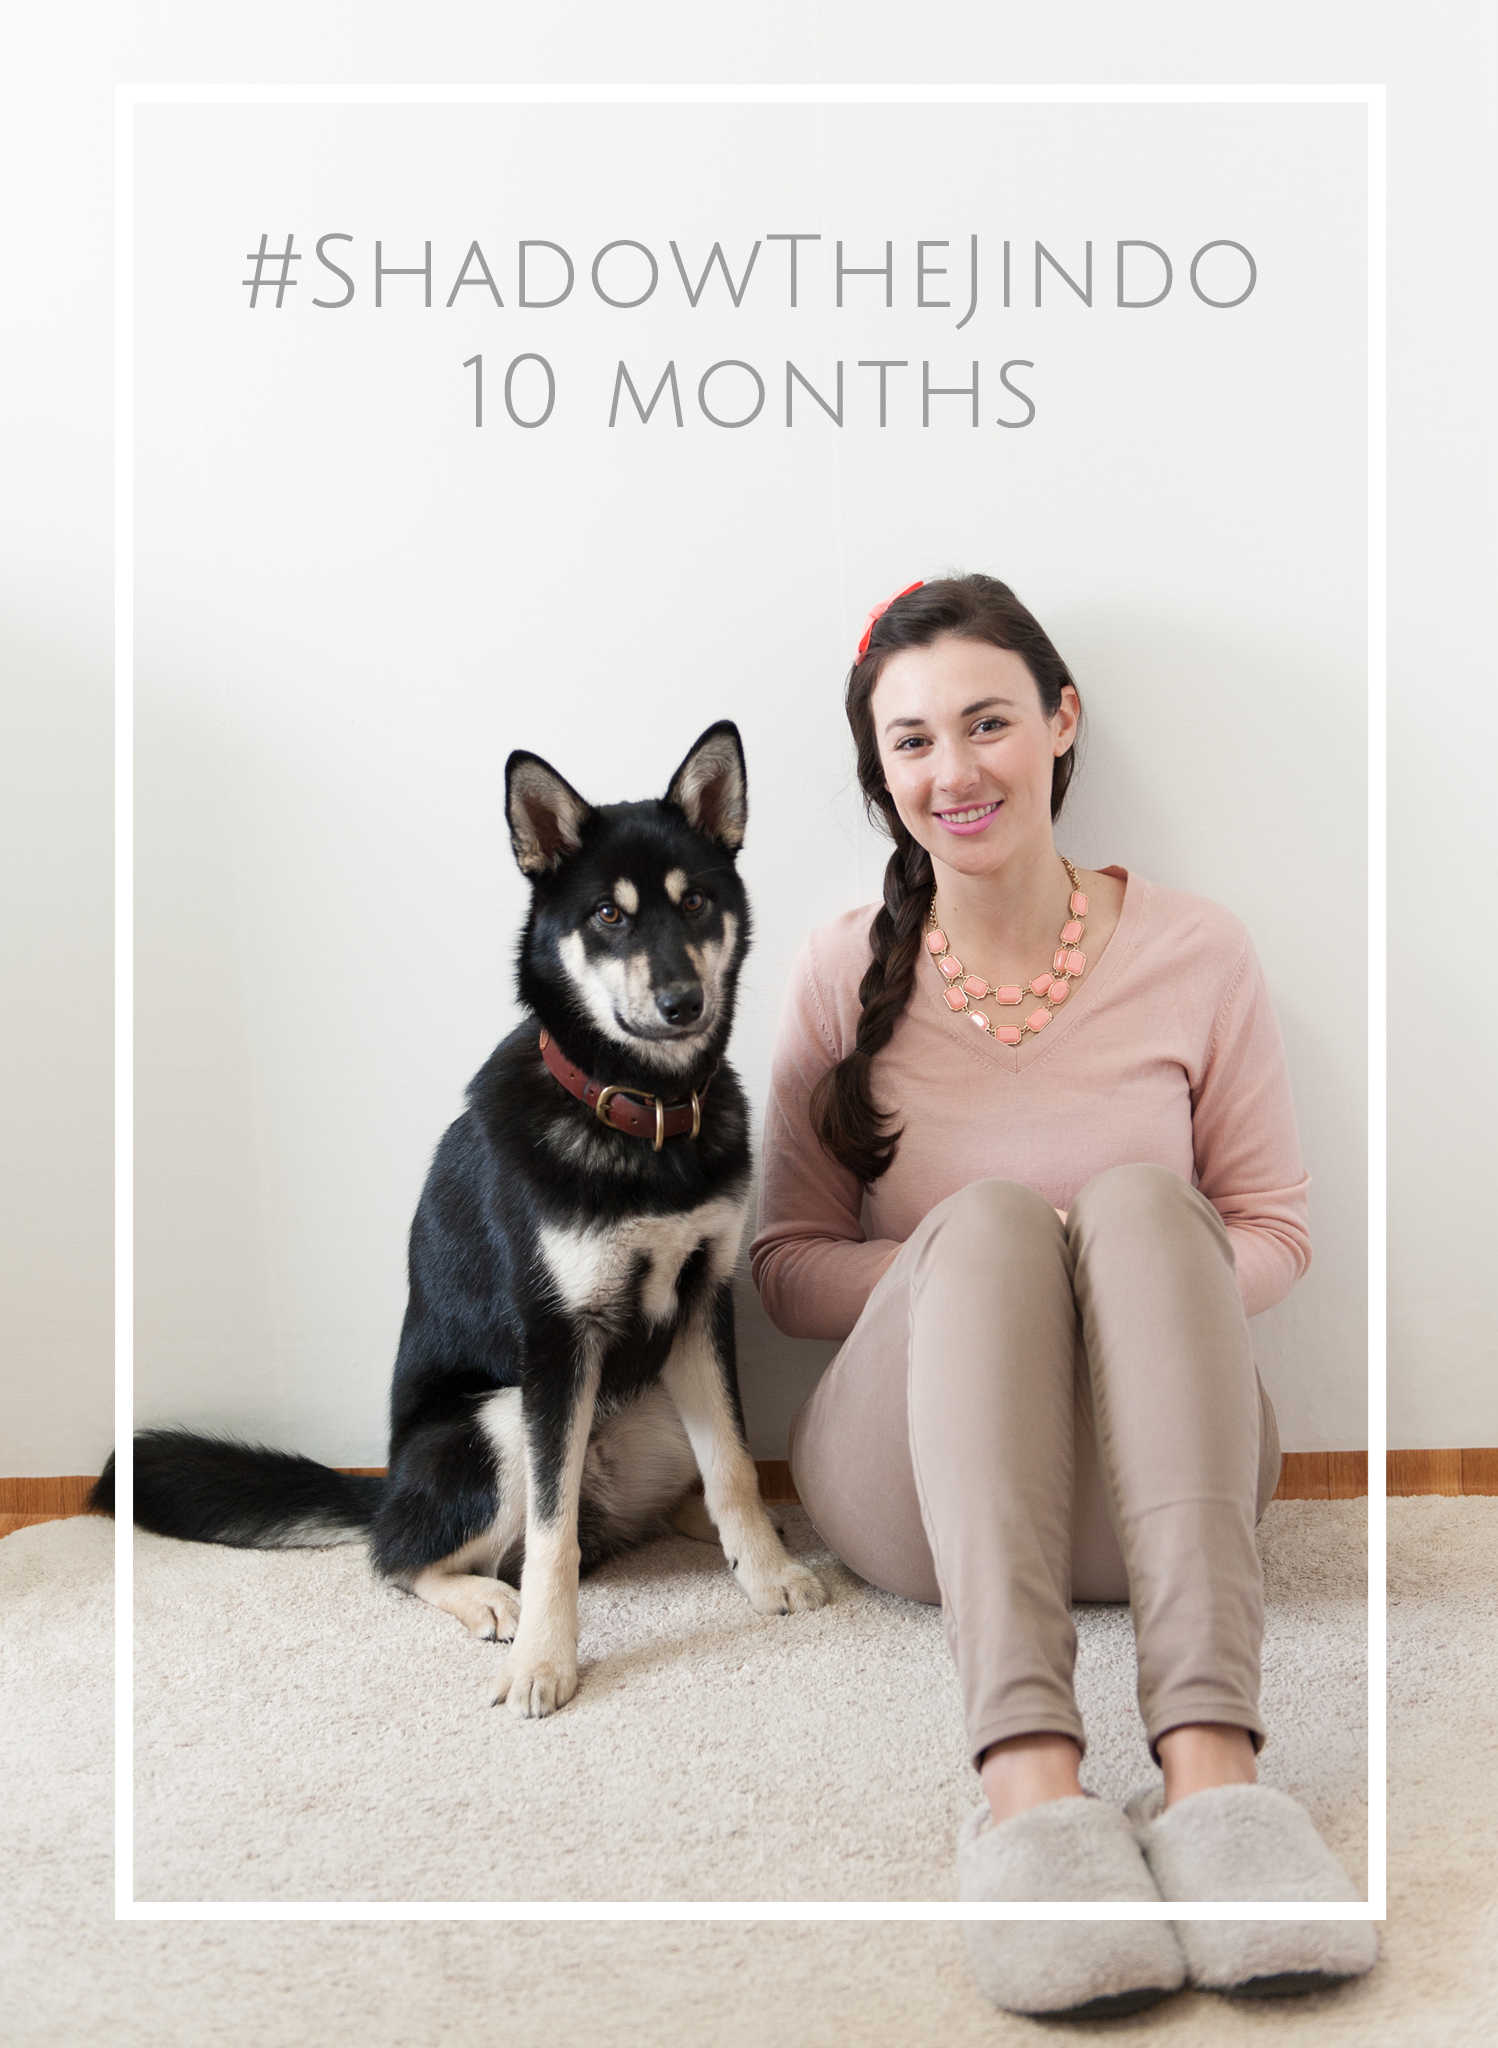
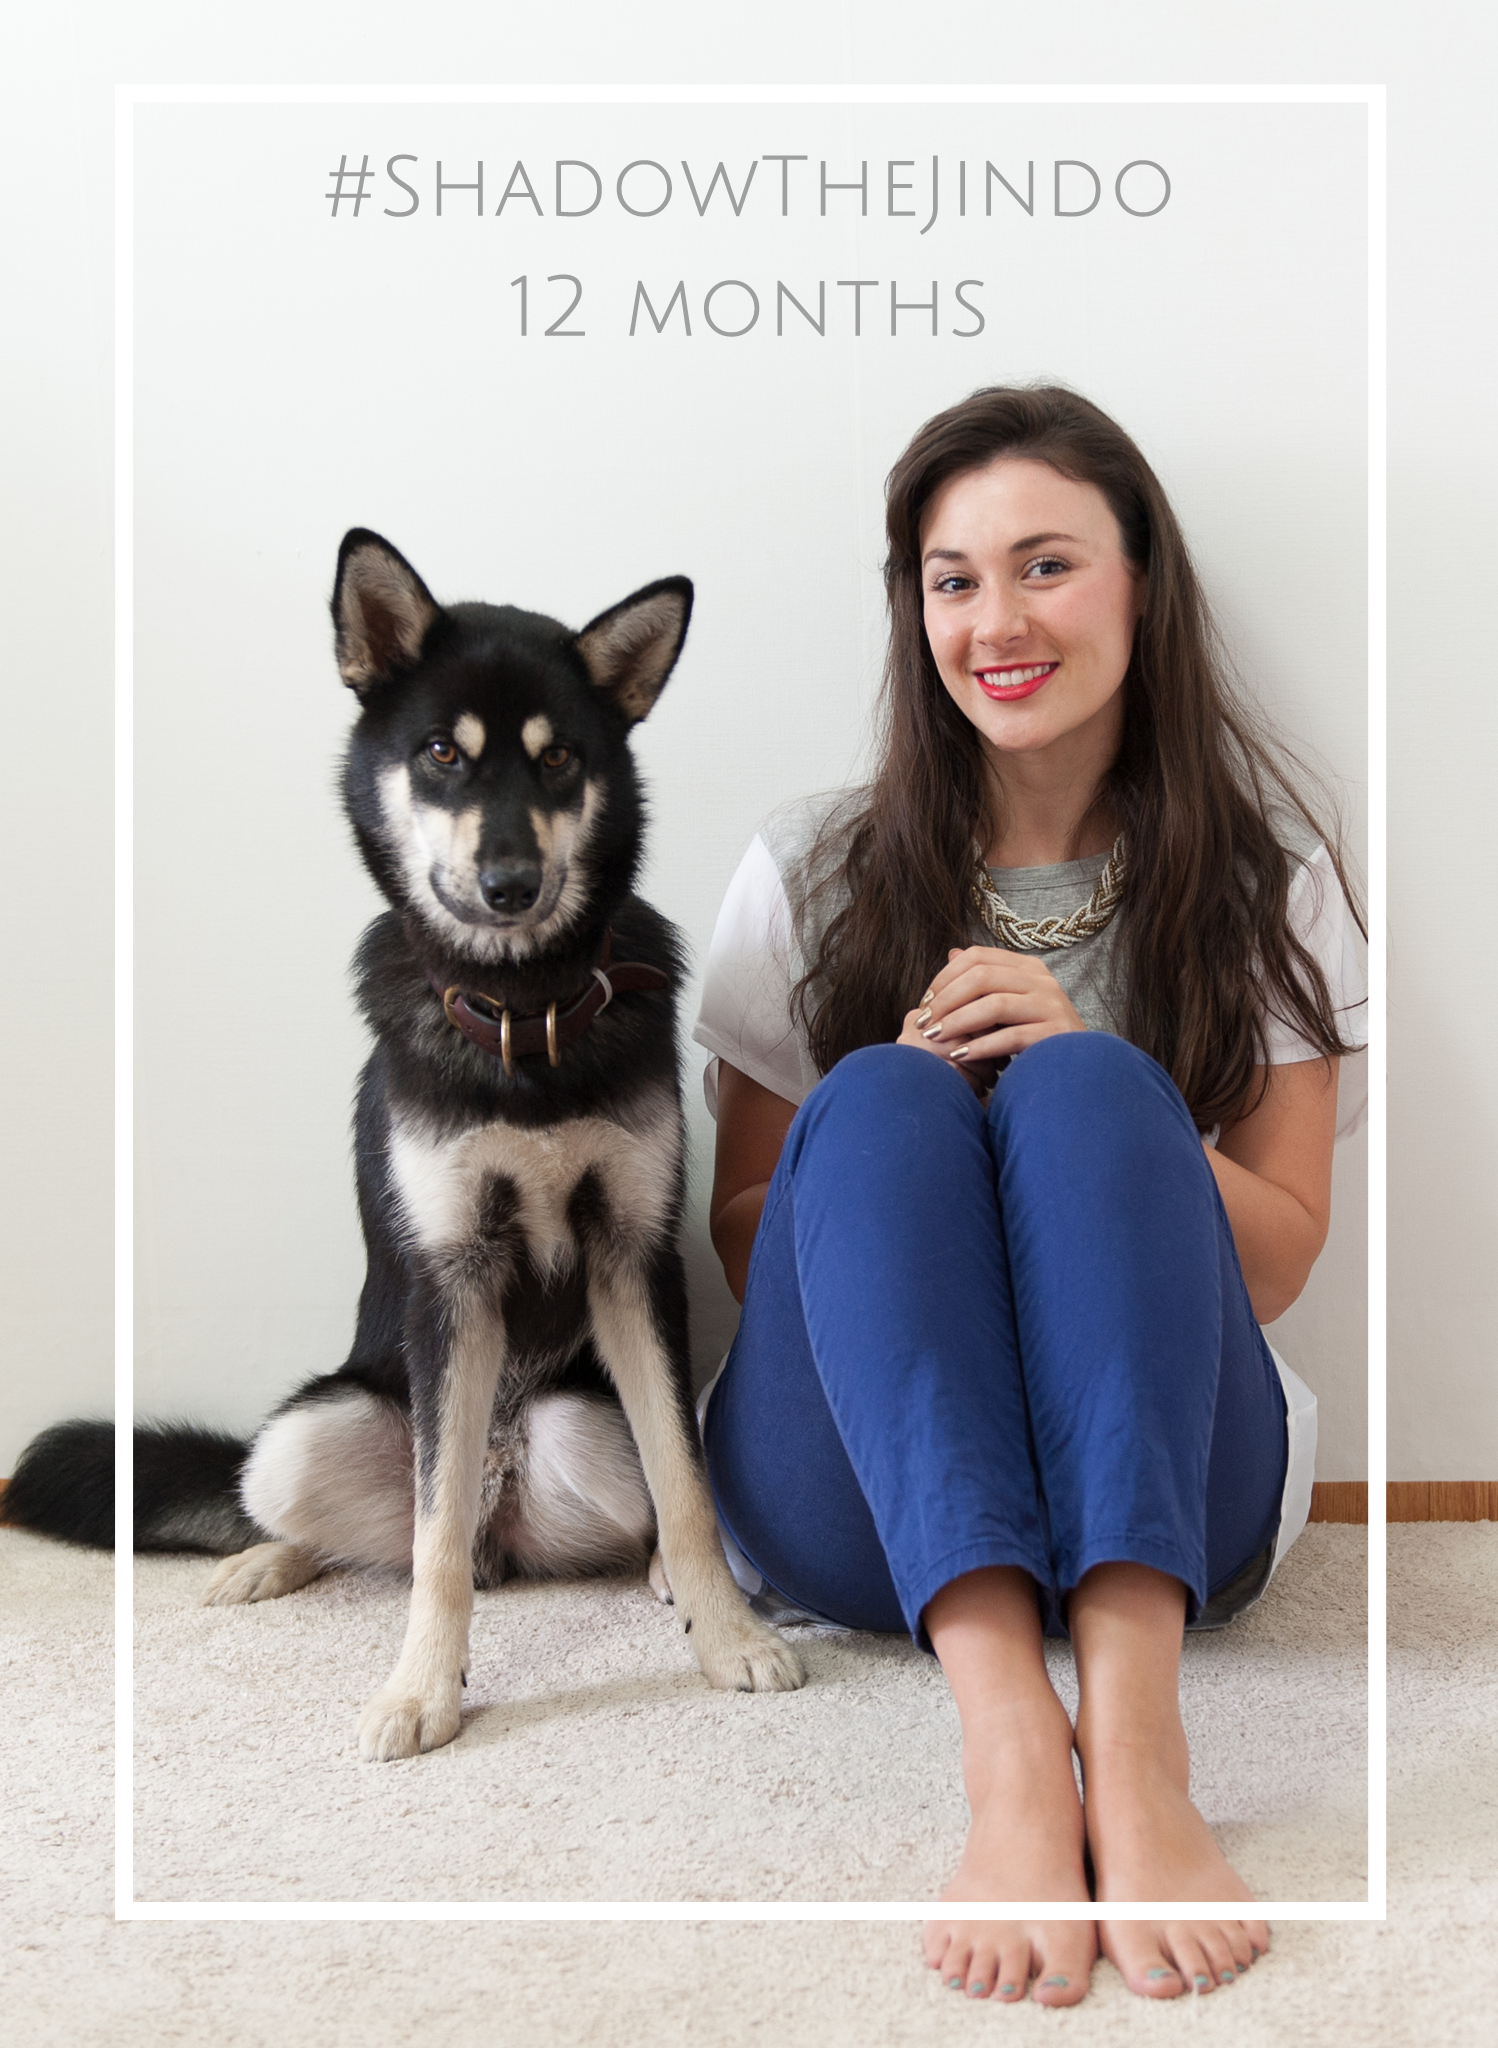
Growing Up Jindo: A series of photographs documenting #ShadowTheJindo's first year

ShadowTheJindo Korean Black Tan Jindo

On a late evening In September 2014, Farmboy and I were driving home from work when we came across a tiny puppy alone on a dark farm road. As we pulled over, cars appeared from nowhere, and the little ball of fluff was narrowly escaping becoming roadkill. I picked him up, and so began the start of life with #ShadowTheJindo. You can read more about his rescue by clicking here

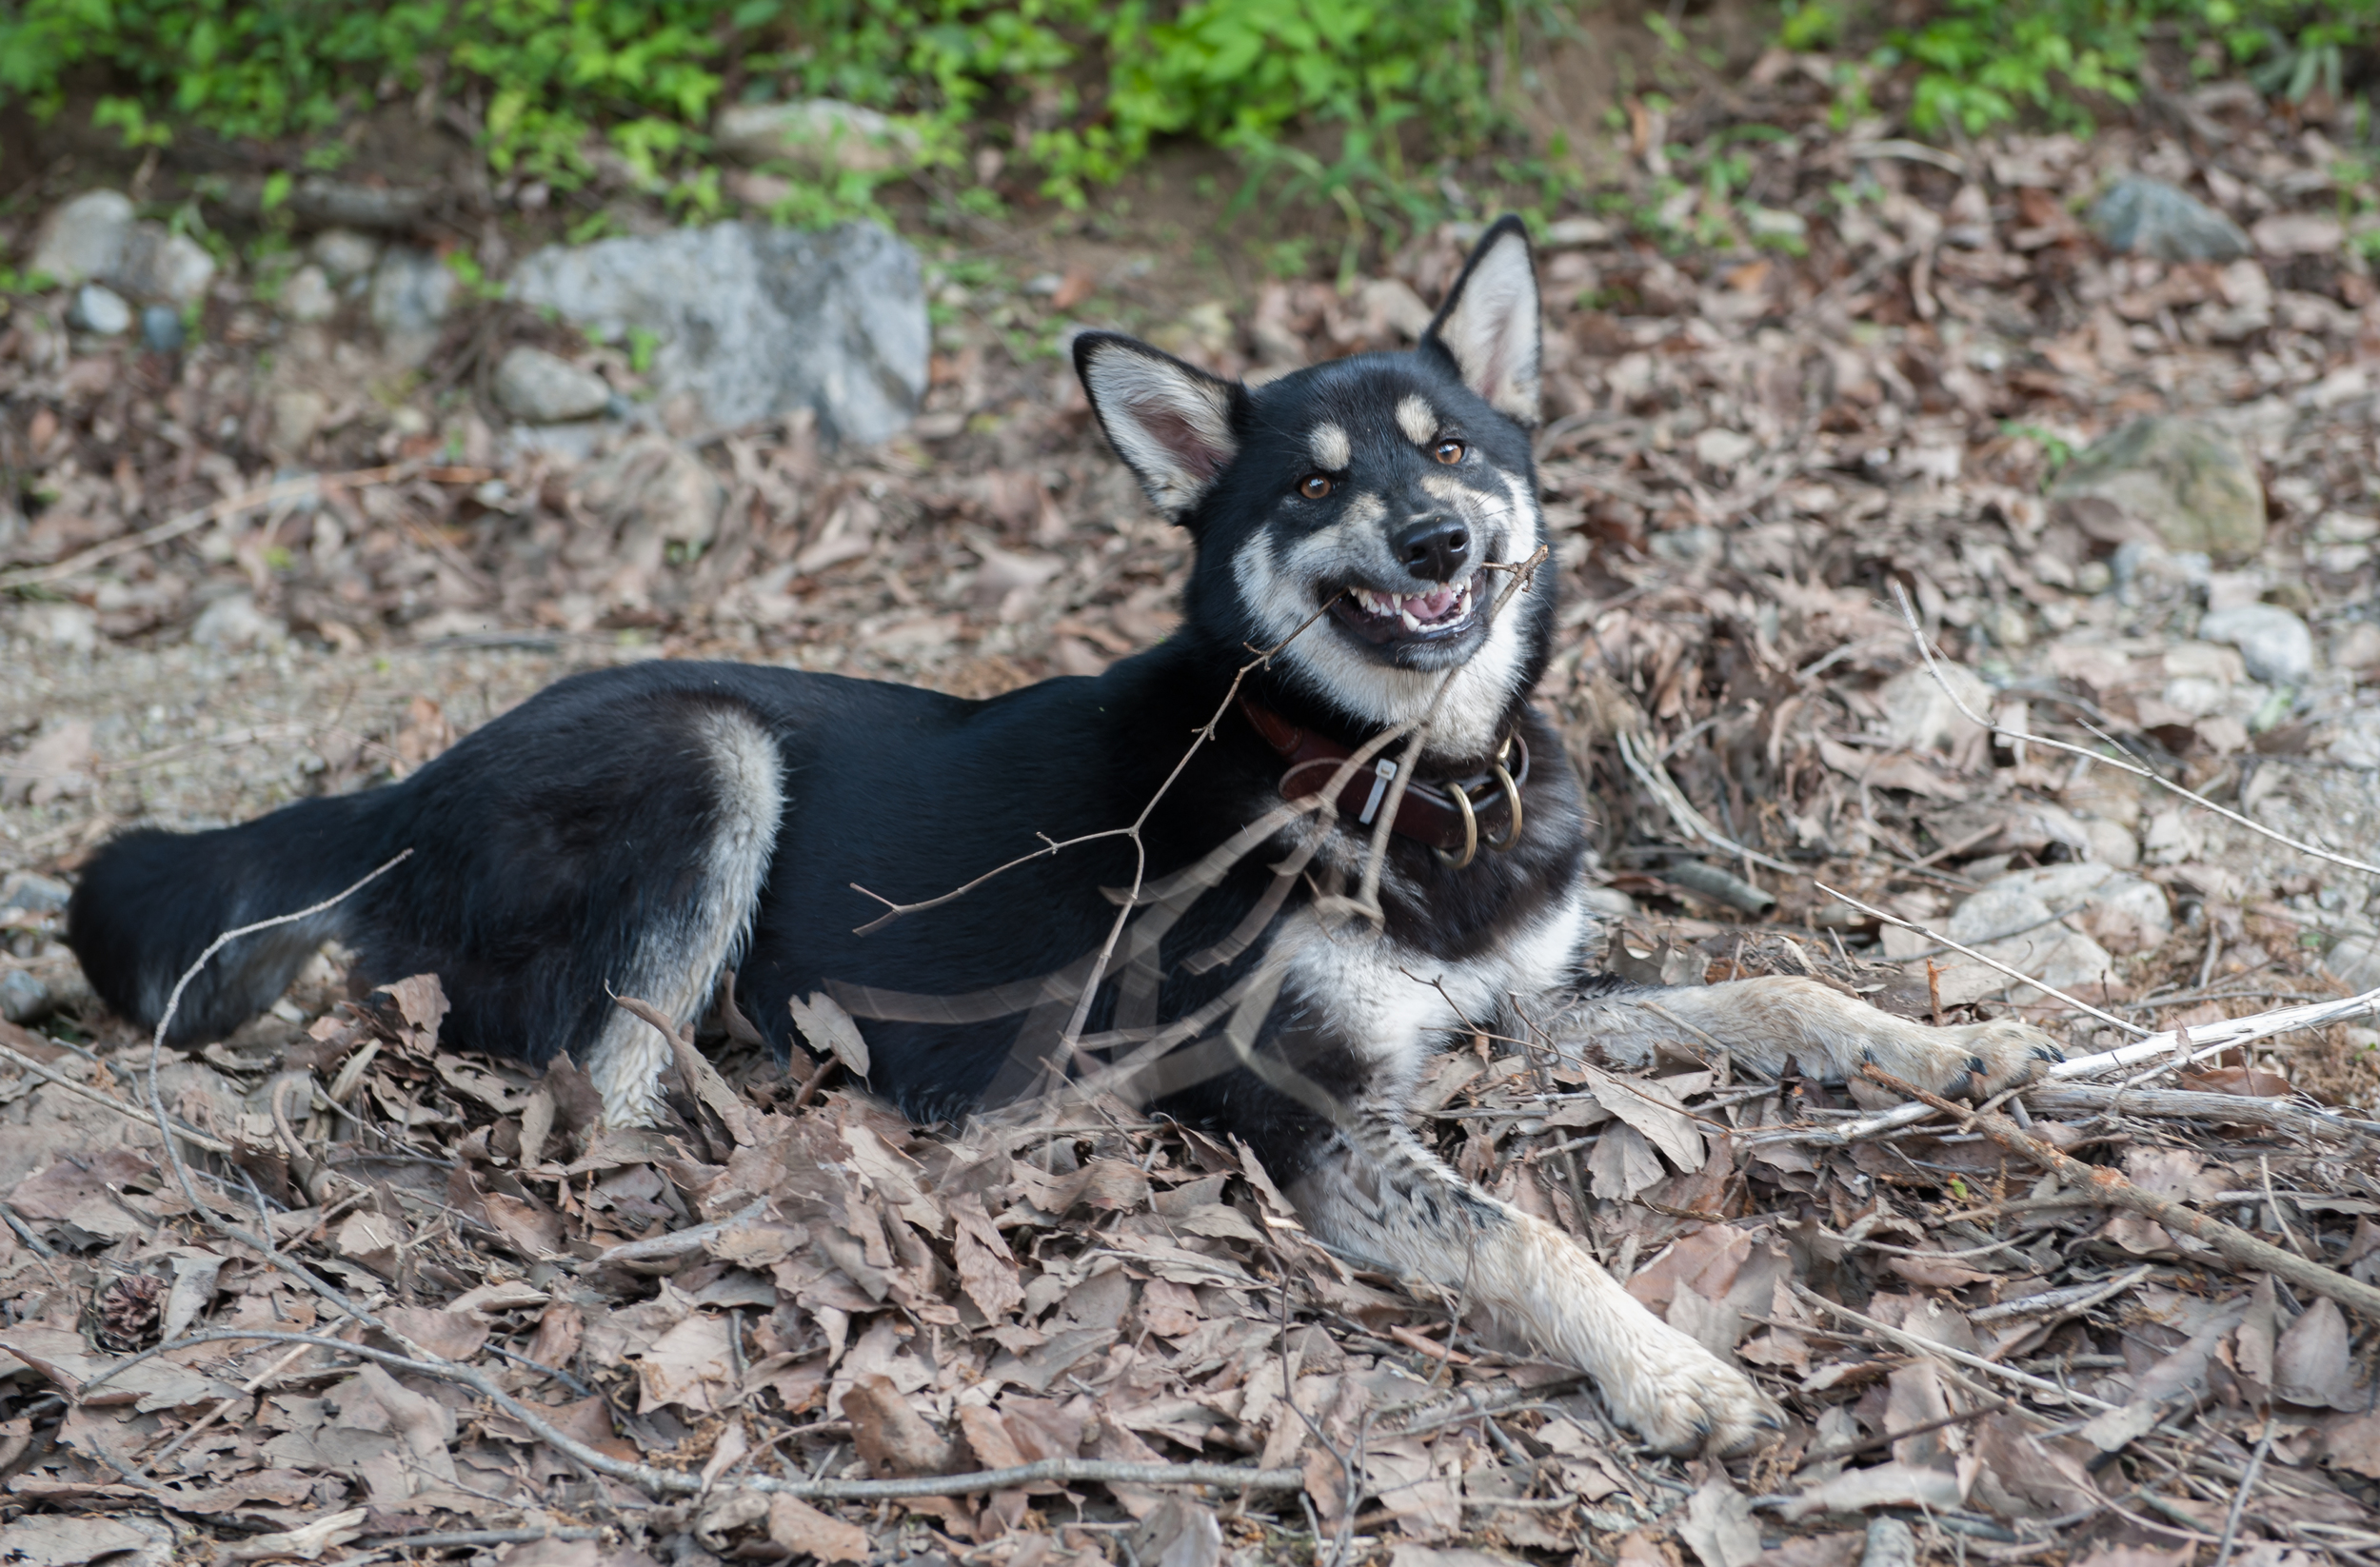
When we found Shadow he was around 2 months old and our local small town vet could only hazzard a guess as to his breed. We have since been told (and from our own observations of common dog breeds here in Korea) that he is a black & tan Korean Jindo. Of course we can't be certain if he is pure Jindo or mixed without a blood test but from his temperament and from the limited English information I can find on the breed, he is most definitely part Jindo; a breed of hunting dogs native to South Korea.

Since arriving in Korea in 2012, we had no intentions of ever having a pet due to the difficulties and costs associated with taking them back home to South Africa. We spent a great deal of time over the first few weeks of rescuing him, trying to make a responsible decision. We even had a wonderful home lined up for him in the US where it is much cheaper and easier to send pets from Korea. We would have had to wait until he was at least 4 months old before he would be allowed to travel, and I knew that I would never be able to give him away to someone else after caring for him for that amount of time. And so, after setting up a bank account in his name and starting the debit orders in preparation for taking him home in 2016, Shadow became a permanent part of the Hutton family.

I started this series of photographs to track his growth (thank you to my patient husband for being the one to actually take these photographs) and have loved looking back at them and watching his growth from tiny ball of fluff, to gangly teenager and finally to wolf dog.

I hope you enjoy this series and if you are inspired to do the same, please share your photos on Shadow's Facebook page, I'd love to follow along in your pets journey.

x

You can follow along in Shadows adventures on Facebook by clicking here.

How to Get a Korean Drivers License in Korea For South Africans

HowToGetKoreanDrivingLicenseForSouthAfricans

Buying a car in Korea has been one of the best decisions we have ever made as it has freed us up to travel and explore so much more of the country without having to worry about bus schedules. As we live in a small town, we were very much at the mercy of the last (usually very early) bus that returns to our town from all destinations. Having a car means we never have to worry about that anymore and can on a whim decide to make travel plans. Also, as we have a dog here, having a car has made life so much easier especially as he isn't small and can't be popped in my handbag or in a pet carrier. Now that the weather is so mild, camping has been a dream with a car (click here to see more posts on camping in Korea).

OwningaDogInKorea

There are two ways for South Africans to go about getting a Korean drivers license; either doing the whole test like you would have done in South Africa when first getting your drivers license, or exchanging your current license for a Korean one. This post is all about exchanging your current South African License for a Korean license.

You are also able to drive in Korea with an International Driving Permit (we got ours from the AA in South Africa, I was able to write a letter and have my mom apply for it for me in South Africa) but I had read conflicting information on how long it would be valid here and our insurance required us to both possess full Korean licenses in order to be fully covered.

HowToGetAKoreanLicenseInKoreaForSouthAfricans

Getting a Drivers License in Korea

As mentioned above there are two ways to obtain a Korean license. The first is the long and arduous process of taking the actual Korean licensing test. I simply didn't have time during my work hours to go to the nearest station and do the tests. The second, and easiest way of getting a Korean licence is to exchange your South African one for a Korean one.

What this means is you go to your nearest licensing station (click here for a list of all of them in Korea as well as their contact details). You basically hand over your current South African license and they give you a Korean license, which is then valid for 10 years. In this time your SA license will probably expire. If this happens, when you are next in SA take your expired license, copies of your ARC card and Korean license as well as proof of being abroad and you should have no problems renewing it (please note I have no first hand experience with an expired license but this is the information I have found online).

The License Office here in Korea will then keep your South African license on record, until you return to South Africa (either for a holiday or permanently). If you are going back to SA on holiday, you simply go to the same Licensing Office with a copy of your airline ticket and then they will give you back your SA license AND you keep your Korean license. You then will have both licenses.

Getting Started

You need to get your current SA license certified by the South African embassy in Seoul. You can do this in person, or you can send it via express mail. If sending it by post you need to send your original drivers license, as well as a return envelope with paid postage to the following address:

남아프리카공화국대사관 (South African Embassy)

1-37 Hannam-dong, Yongsan-gu, Seoul

Tel: 02-792-4855

I sent both mine and my husbands licences and got back the certified copies within 5 days.

What you need to take to the Licensing Office

  • Original South African Driver’s License
  • Original passport (with the stamp for most recent entry into Korea)
  • Original Foreigner Registration card (ARC card) or equivalent (issued from Korean government)
  • Colour photo x 3 (we had these taken at the Licensing Office for W7000 pp person for a set of 8 photos)
  • Confirmation letter or such from the South African Embassy stating the validity of the Foreign Driver’s License (this is the certified copy of your license)
  • Processing Fee : KRW 12,500

Then simply stand in the queue, look a little lost (this always helps!) but with big smile on your face so someone feels compelled to come up to you and offer you assistance. Then hand over all your documents to the teller. You will need to fill in a few forms and then do a test of sorts. We were only asked to do an eye test (done right there at the office) but I have heard some people being asked to do a written test. It seems to depend on the office. We did our test in Jeonju. I have even heard of people having to do very strange 'physical' tests; squats, jumping, raiding their hands in the air (I am not kidding! So be prepared for a few squats). Click here to find out more information on the aptitude tests sometimes required. 

Cherry even managed the snow without snow tires, what a good girl!

Cherry even managed the snow without snow tires, what a good girl!

Some Useful Info on Buying a Car in Korea

We bought our car second hand from a private seller on Facebook through one of the many Facebook groups for foreigners here in Korea. We paid W1 million (about $1000) and it was the best $1000 we've ever spent. Cherry, or Cheryl when she's struggling up hills, is a very old little Matiz, but she gets us safely from A to B and her fuel consumption is so good that we barely notice the cost of fuel. Also, as she is a small car (under 1000cc's) we are charged half price on all tolls and ferries #cherryforthewin!

Some Useful Info on Car Insurance

Insurance is something else to budget for when getting a car, and ours costs about W650 000 ($650) per year. If you are looking for an insurance agent I highly recommend Sami from Car Insurance in Korea (click here for his Facebook group) who offers a free price comparison of all major Insurance companies in Korea and is always such a pleasure to deal with. He helped us get our car registered in my name and sorted out all the hiccups we came across when it comes to insurance. 

Have you got a Korean license here before? Did you have any problems getting it? I'd love to hear from you in the comments below. If you have any questions, please feel free to leave a comment here and I'll get back to you asap.


How To Start A Blog

Blog Tips How To Start a Blog: a Beginners Guide by CGScreative

A while ago I was part of  Caitlyn DeBeer's Creative Business Series, a really great creative series in which a bunch of us bloggers got together and each wrote about something we specialised in. It's a little out of date and there seem to many broken links as most of us have updated our blogs since then but what I shared about blogging then still holds true! And so today I'm going to re-post my tips for those who want to start a blog but have no idea where to gegin. I hope you enjoy this post and find it helpful. I have a number of other posts on blogging that you might like too, click here to read more.

What is a Blog?

A blog is a 'mini-website' in that you ideally are able to run by yourself, without having to have designers make changes for you. A blog is a space for you to share what you love with the world, to journal, to keep memories and of course as a space for you to market and sell your product.

Here are some of the most popular blogging platforms, all of which cost nothing to set up:

Wordpress (to be clear I am referring to the free version of Wordpress, click here for more info), BloggerTumblr

My blog used to be on "Blogger" and that is why it had the 'blogspot' segment on the end. It is completely free and was my favourite platform due to it being so very user friendly and easy to navigate around. Also, it is implemented with Google so if you use Gmail/Google Plus etc everything works seamlessly.

Wordpress is another favorite in the blogging world, but I find it isn't as user-friendly as Blogger. But, if you have to time to fiddle and play around it can be a lot more powerful!

To go "dot com" and drop the 'blogspot/wordpress" you have to buy a domain name through a site like GoDaddy for Blogger, and through Wordpress.com for Wordpress (to learn more about the difference between Wordpress & Wordpress.org click here).

I launched my new website (this one) last year on a relatively new platform called SquareSpace (see image above). It doesn't have a free version (only a 14 day trial for users to test to see if they like it) but with the paid for package it includes a domain name, so you don't have to worry about going through an external site like GoDaddy. And the templates are just gorgeous! Have a look for yourself...click here. Their target markets are artists (photographers, designers, small business owners and bloggers) and their platform is built on providing users with a media rich experience. Think clean lines, and beautiful design. I am so happy with them! My blog looks a lot more professional with SquareSpace and I am able to change all the design myself without any coding!

At the end of the day, what platform you choose is all about personal preference. I know people are often very interested in Wix as their marketing is very good and you often see their adverts all over Facebook, but I found Wix was to hard to make changes an their free platform is very limiting. I would stick with bloggger or make the move straight away to Squarespace if you want to be taken seriously. 

HowToStartABlog

Why Blog?

This is a really important question to ask yourself before you even think about starting as it will form the building blocks of your business/brand. This is different for everyone. Some people enjoy seeing their words and thoughts come alive on the page, others enjoy the feeling of affirmation that comes from gaining another follower or like on Facebook. I have loved meeting new friends through my blog, as well as the outlet it has given me to be creative, something I never dreamed was possible.

Whatever your reasons are for first wanting to start your blog, write them down (I've created a fun brainstorm printable for you to download and print out to help you along your way), so when you start to feel guilty for not having written a post in months don't beat yourself up about it. Instead, go back to your list and remind yourself of the real reasons you wanted to blog in the first place, I'm sure you will feel inspired to get started again. You will go through times of frustration with your blog, and sometimes all thats needed is a little time off to feel inspired again.

BUT if the main motivation behind why you want to start a blog is to make money or to get sent items to review, then I am terribly sorry to bust your bubble but this only happens to a tiny amount of bloggers. If your main goal is to make money, your readers will very quickly pick up on this and stop reading. Your readers want to be entertained, inspired and motivated, so give them that. If you are passionate about your content your readers will be too!

Your Blog Name & Branding

As important as the why is behind your blog, your branding is what differentiates you from everyone else and makes your blog special. If you take your blog seriously, so will everyone who reads it. One way to make that leap into the realm of 'seriousness' is by building a brand around your blog. To help you with this, you need to create a consistent message, and have everything you do, on and off the blog, send the same message. Think email signatures, blog headers, blog side bars, business cards, stamps, personalized stationery...the list is endless. And all of this needn't cost a fortune. The simplest way to build the foundation for your brand is with choosing a particular colour scheme, fonts and a basic design. You can get the help of a graphic designer if you really want to go that extra step, but the majority of the basic blogging platforms like Blogger, offer loads of customization options built into them. Think about your target audience (are they young and funky, in which case bright colours would work well. Or are they slightly older and more conventional in their thinking? Then a modern, clean and classic design and layout would probably work better).

By filling in the free mind map printable found below, you will be able to build your brand around the 'What do you love' section. If you love nature and the outdoors, your chosen colour scheme might revolve around earthy colours like khaki and emerald. Here is a great website to get your mind around colour combinations...Design Seeds. Here are a few more tips for the basic design of your blog to help you formulate your brand {click here}

After you've given some thought to your branding, now here comes the hard part. Picking a name for your blog. Your blogs' name sets the tone for your brand (and of course will have implications for showing up in google searches) so pick carefully. See who already has your name, or anything similar to it with a basic google search. Choose something that won't be outdated in a few years (and you should definitely be seeing your blog in terms of the future and "In a few years time" kind of way. 

Don't let this overwhelm you. We all have to start somewhere (click here to see my first few blog posts, eek...I'm glad I have them to look back on!) we learn by experience and our tastes change as we get older. Embrace that and let your blog grow with you into something you are proud of. 

HowToStartABlog

How to Find or Create Content

I find I am at my least creative when I stare at other peoples awesome blogs all day. I find I am unable to think of anything new or original to write about. How I deal with this (and I have my incredibly creative husband to thank for most of my ideas) is to go for a walk, camera in hand, and snap away at anything and everything that takes my fancy. Sometimes I take a notebook and jot down notes about my day, about the people I see around me, about the things I want to do with my life. Pretty soon I have a messy jumble of potential content for my blog. Look around your world, your office, your family, your community for idea's. Do you work with some strange and fascinating people, what about interviewing them on your blog? What about doing a post about a day in your life (with photo's of everything that makes your day unique)? The world around us is so rich with colour and life, its an endless supply of idea's if we just take the time to look.

Your Blog Photographs

I used to think that my blog would become popular by just reposting great content I found on sites like We Heart It and Pinterest. I've now come to realise that there are too many mediocre blogs out there that just repost other peoples creative content. That's why I try to post original content on my blog. That doesn't mean I don't 'borrow' idea's from other bloggers, but it does mean that if I want to showcase an awesome DIY lampshade, I will try to make that lampshade myself, take my own photo's and write in my own words how to go about making one yourself. And I always make sure to link back to the original source of the idea, as a way of saying thank you for the idea.

But now I'm getting distracted...the title of this tip is to take your own photographs. You really don't have to have an amazing camera to take incredible photo's. You just need to play, and fiddle with your camera and the angles to get your photograph just right. This is how I started getting into photography. Etsy has a great article on taking better product photographs, click here to have a read. And I also wrote a post on styling photographs for your blog using just your phone. Click here to read more. 

Don't Over think things

Most bloggers would probably think I'm crazy for saying this, but for me it works. I am a very organised person, I love to plan EVERYTHING and my favourite past time is making lists (can you say *nerd*). But I find that if I spend too long planning a blog post, I lose interest in it and it stays in my draft box for weeks, even months without ever seeing the light of day. If an idea comes to mind, I straight away log onto my blog, start a new post, and I just roll with it. I try not to leave it till the next day to finish it, as I often get distracted by the next post. In some ways I find this helps me stay inspired as I am always putting new content up, and my readers know that they can come back every day or so for something new. This pressure helps me to stay motivated to continue putting posts out there!

HowToStartABlog

Always Be Yourself

Your readers want to know about you, so be true to yourself. This doesn't mean gushing about each and every last detail of your day and how depressed you feel after finding out that your local Woolies Food was out of fresh basil. But rather, this means writing in your own voice and letting your personality shine through the page. Don't be scared to put yourself/your business/your idea's out there, your readers will respond to your 'genuineness'.

Gaining Followers

This is the question I get asked the most by my readers, and it's what I still ask myself! But, I'm afraid there is not secret. There is no hard and fast way to gain 100 new followers on twitter, or to get 1000 new page views in minutes. 

You just have to be patient. You have to provide content that your readers will enjoy, and you have to do so constantly. There is nothing worse than stumbling onto an awesome blog only to see they haven't updated since last year January. A good way to share the blog love is to leave comments on other blogs that you enjoy reading. It's a wonderful feeling getting just one comment on my blog (I am speaking from my own experience here) and if that is the case with you too, then why not take some time to leave thoughtful and meaningful comments on some of your favourite blogs. Don't feel that your one comment may mean nothing if there are 999 others on the blog, as a blogger I can tell you that each and every single comment leaves me with a warm and fuzzy feeling.

Take some time to connect with your favourite bloggers on Twitter and Instagram, reply to each and every tweet your receive, as well as to each comment you may get on Instagram. This helps to build meaningful and long lasting relationships with your readers and followers.

Find your niche, whatever that may be, and stick with it. I have had a real hard time in narrowing down my focus here on CityGirlSearching, I was trying to do too much and was scared to commit myself to one box. I'm not a beauty blogger, but I like writing beauty reviews, I am not a travel blogger, but I do go to some amazing places and I want to share the photographs with my readers, I'm not an expert in fashion but I do like sharing the odd outfit post. All of these different elements led me to define myself as a 'lifestyle blogger' but I still don't let that term fully define who I am here on the blog. This blog is a space for me to share pretty-ness...be it in fashion, beauty, in the home or in another country.

HowToStartABlog

Inspiring Blogs

Here are some of my favourite bloggers (some are local South African ladies, and others are International). Use this list as a guide & to learn from what these ladies are doing right. Focus on their blog design, their photographs, their content, see how they engage with their followers, and then apply it to your own blog:

Nadia vd Mescht beautifully crafted blog by Durban (South Africa) creative Nadia

EmmaJaneNation one of the first blogs I ever started following by lovely local SA blogger Emma (her photography is gorgeous!

Vivianna Does Makeup one of my all time favourite beauty blogs written by Vivianna

A Beautiful Mess a funky and fresh lifestyle blog by Emma & Elsie

MilkTeef lovely beauty and lifestyle blog by the sweet Emma

WishWishWish fashion done right! A gorgeous blog by Carrie

SuperficialGirls another local SA lady; Carlinn, who focuses on fashion & beauty

PinkPeonies lovely Luzanne writes this beautiful beauty blog

PuglyPixel design tips and tutorials from the fabulous Katrina

Lost in Travels a travel blog to inspire your wonderlust (and lots of tips for traveling with your hubby, as well as keeping on a budget!) by Chelsea

I also recently shared a post on my favourite Creative Business inspiration bloggers, click here to see it. 

I could go on for days about starting up your first blog, but the biggest piece of advice I can leave you with today is don't ever give up. I {often} have days where I feel like no one reads this blog, and that I put so much time and effort into it and I get so little back. Other days I want to high five ever person I see because I got more than 3 likes on a photograph on Facebook. So keep at it!

HowToStartABlog

Above is a freebie printable I've created to help you in your blogging journey.

Try to fill it in before you start your blog, to give you more focus and direction. Here is mine, filled out and taped onto the wall, to help remind me of where I am and where I want go. Below is more detail to help you fill in the blog brainstorm printable.

  • Why blog: jot down all the reasons you want to blog, from wanting to be a superstar celebrity to wanting to create a place to journal your thoughts and dreams. Nothing is too small or insignificant.
  • What do you Love: write down all the things you love (eg family, friends, God, nature, fashion, beauty, design, interiors, photography...) then cross off those that are too personal, or those you wouldn't want to publish all over the interweb. What you are left with is a list of elements that make up you! This will help you with later on with your branding.
  • Sharing your Love: list the ways in which you want to blog (through photographs, by writing, by drawing and illustrating, by creating cartoons and other graphic based content). This is how you will express yourself on your blog.
  • Creating Content: List some of the ways I have outlined above here, and any others you can think of (reading other blogs, going for walks, photographing random events and elements, journaling...etc)
  • Growing Readers: List some of the ways I have outlined above (networking, leaving comments on other blogs, tweeting, Facebook mentions, emailing potential clients/others in your industry) and add your own ideas too.
  • Your branding: create a board on Pinterest (you can make it secret if you don't want anyone to see it just yet) and start pining every thing that takes your fancy from colours to fonts, to design, to blog layouts. Have a look at this board for some inspiration. You need to choose a maximum of 3 or 4 colours, then 2 fonts that you want to use to help keep your brand cohesive.

I hope you have enjoyed my post on blogging, and I hope that some of it has been useful to you. If you have any questions, please drop me a comment below and I'll get back to you as soon as I can.

Happy blogging everyone

x

Life After The Dress (Episode 20) Yalanda Ludtke

In this series I interview married women of all ages and from all walks of life and ask them real questions about their lives now, after all the glitter and sparkle of their wedding day is over.  You can read more about the other ladies I have interviewed so far by clicking here.

Today I've got Yalanda, a teacher & blogger living in Seoul with her husband (the very talented artist behind This Painted Life). Yalanda blogs over at LaughAnyway, a travel and lifestyle blog which will have you wanting to pack your bags and move over here to Korea instantly. 

I found Yalanda's blog one day via Instagram while searching for images of Seoul. She has an amazing collection of trendy & travel inspired photographs taken all on her adventures all over South Korea.

So grab yourself a cup of tea and get ready to be inspired her story.

x


LifeAfterTheDressBlogSeriesCGS

Q1: PLEASE INTRODUCE YOURSELF (AGE, OF BOTH YOURSELF AND YOUR HUSBAND, WHERE DO YOU LIVE, WHAT DO YOU DO & HOW LONG HAVE YOU BEEN MARRIED FOR?) 

Hey there! I'm Yalanda. Wife to one, friend to many and lover of all things food! My husband is of the bearded, artsy variety and his name is Jason. He's silly and I'm equally so making us a perfect match! Jason and I are both 30...lies. I'm 31. But I might become one of those women who perpetually turns 29. I haven't decided yet.

We are currently living in Seoul, South Korea teaching English although, we are both originally from the midwest. We met randomly while out with friends, but it turned out that we worked for different schools within the same school district. He's an art teacher and I'm a speech pathologist. We had an amazing 5 years of perfectly synchronized work/vacation schedules that has continued here in Korea. We have never had any excuses not to travel! 

Q2: WHICH DISNEY CHARACTER DO YOU FEEL SUMS YOU UP TO A ‘T’?

I have to buck the system here. I don't think I have a Disney kindred spirit. Although when I asked a Disney loving friend to help me with this one, her description of Merida sounded sort of like how I view life and one of my personal favorite Disney films is 'Alice In Wonderland'. So I'd be an adventurous character to isn't afraid to take the road less traveled.

Q3: HOW DID YOU AND YOUR HUBBY MEET?

After a midnight showing of a movie my friend and I decided we weren't ready to go home. We stopped to have a drink and as soon as we walked in Jason caught my eye. Because he was literally right in front of my face. He smiled a huge smile, said hi and meandered back to his friends. My friend and I spent the next hour or so chatting and if I'm honest, making jokes about Jason and his friends, because they were a big group and being pretty silly. Eventually, he got closer and closer and finally struck up a conversation. We talked for a long time and asked me on a coffee date. The rest is history! Don't let anyone tell you nothing good happens past midnight! 

Q4: WAS YOUR WEDDING EVERYTHING YOU HOPED IT WOULD BE? WOULD YOU GO BACK AND CHANGE ANYTHING? DO YOU HAVE ANY ADVICE FOR BRIDES-TO-BE?

This is a tough one. If I'm being honest, there are things I would change. I wish I could be one of those brides who remembered it being everything I dreamed of. But, there are always limitations. Couples have to settle for this or that when XY or Z isn't an option. Sometimes as much as you remind yourself, it's your wedding, there is still an amount of pleasing others you end up feeling obligated to do. And, being a bride is a little nerve wracking! More than anything, I wish I had enjoyed the process more. I was very anxious and stressed, even though I would have been and still am the first person to say, don't let it stress you out!  My advice is, go with your gut! 

Q5: HAS ‘LIFE AFTER THE DRESS’ BEEN AS YOU IMAGINED IT WOULD BE?

No. I didn't think I would think about our relationship differently. But I absolutely do. It's hard to describe, but I couldn't have possibly understood how marriage would feel to me before I got married. 

Q6: WHAT DO YOU THINK MAKES MARRIAGE WORK?

Honest communication. Even when things are hard to say. 

Q7: WHAT HAVE YOU LEARNT ABOUT YOURSELF SINCE BEING MARRIED?

I've learned that I'm even more stubborn than I ever could have thought, I'm a work in progress. I've learned how important it is to be a good person. This life isn't just mine, it's ours. I've also learned that being an only child has made it nearly impossible for me to share a bathroom nicely! 

Q8: IF YOU COULD DESCRIBE YOUR MARRIAGE IN 3 WORDS, WHAT WOULD THEY BE?

Team Ludtke Laughs :)

Q9: DO YOU HAVE ANY PEARLS OF WISDOM YOU WOULD LIKE TO SHARE WITH MY READERS ABOUT BEING MARRIED? PERHAPS SOMETHING SOME WISE PERSON ONCE TOLD YOU, OR SOMETHING YOU’VE LEARNT THE HARD WAY?

If something was working before you got married, don't stop! 

CGSLifeAfterTheDRessYalanda

You can find Yalanda at the following places:

I hope you have been enjoying this series as much as I have enjoyed putting it together.

If you would like to be featured here on the blog, you can drop me an email using the contact form above or leave me a comment below. I look forward to hearing from you!

Camping in Korea - Hwacheon, Gangwon Province

Camping in Korea, Hwacheon Gangwon-do, RIver bed camping in Korea

After a very successful camping trip with our pooch to Yongdam (click here to read more about this dog friendly camp site near Jinan) Farmboy and I, #ShadowTheJindo & our fellow SA friend and blogger Jenna (who blogs over at Komodoness) set off in search of adventure in Gangwon-do. It was a rather long, 8 hour drive to get there and so we broke up the trip with our first stop on a random gold course near Wonju. We left on the thursday after school and arrived at 10pm, and so we just set up camp in a very random place. It has been our experience that you can camp anywhere in Korea (we have camped on abandoned tennis courts, closed off roads and museum gardens) as long as you clean up after yourself. We did feel rather nervous about the golf course though, as it seemed very fancy, needless to say we packed up at first light and beetled out of Wonju and further up north to Hwacheon in search of a better site for the next 2 nights.

Before we set out we had looked on google and Naver maps and had found a load of great looking camp sites. We drove to a lot of them but didn't stay at them as they were very much the Korean set up on either gravel roads, or with tents right ontop of each other. We had something very particular in mind; a river/stream, shade and a whole lot of nothing else. After another 5 ours of driving we finally came across a stream and river bed with a very friendly looking farmer overlooking his crops. As it looked like he was the closest authority in the area, Farmboy used his Korean skills and asked the farmer is it was okay to camp on his stretch of the river. He was so friendly! With a big smile we told us that we could camp there for as long we wanted to. I wish I had gotten a photograph of him (note to self...take more photographs of the delightful people we encounter along our travels).

Bear in mind when looking for a camping spot, those neglected gravel roads are usually where the best spots are. Don't be afraid to go off-road a little. Our car has done some serious off-roading and hasn't failed us yet! 

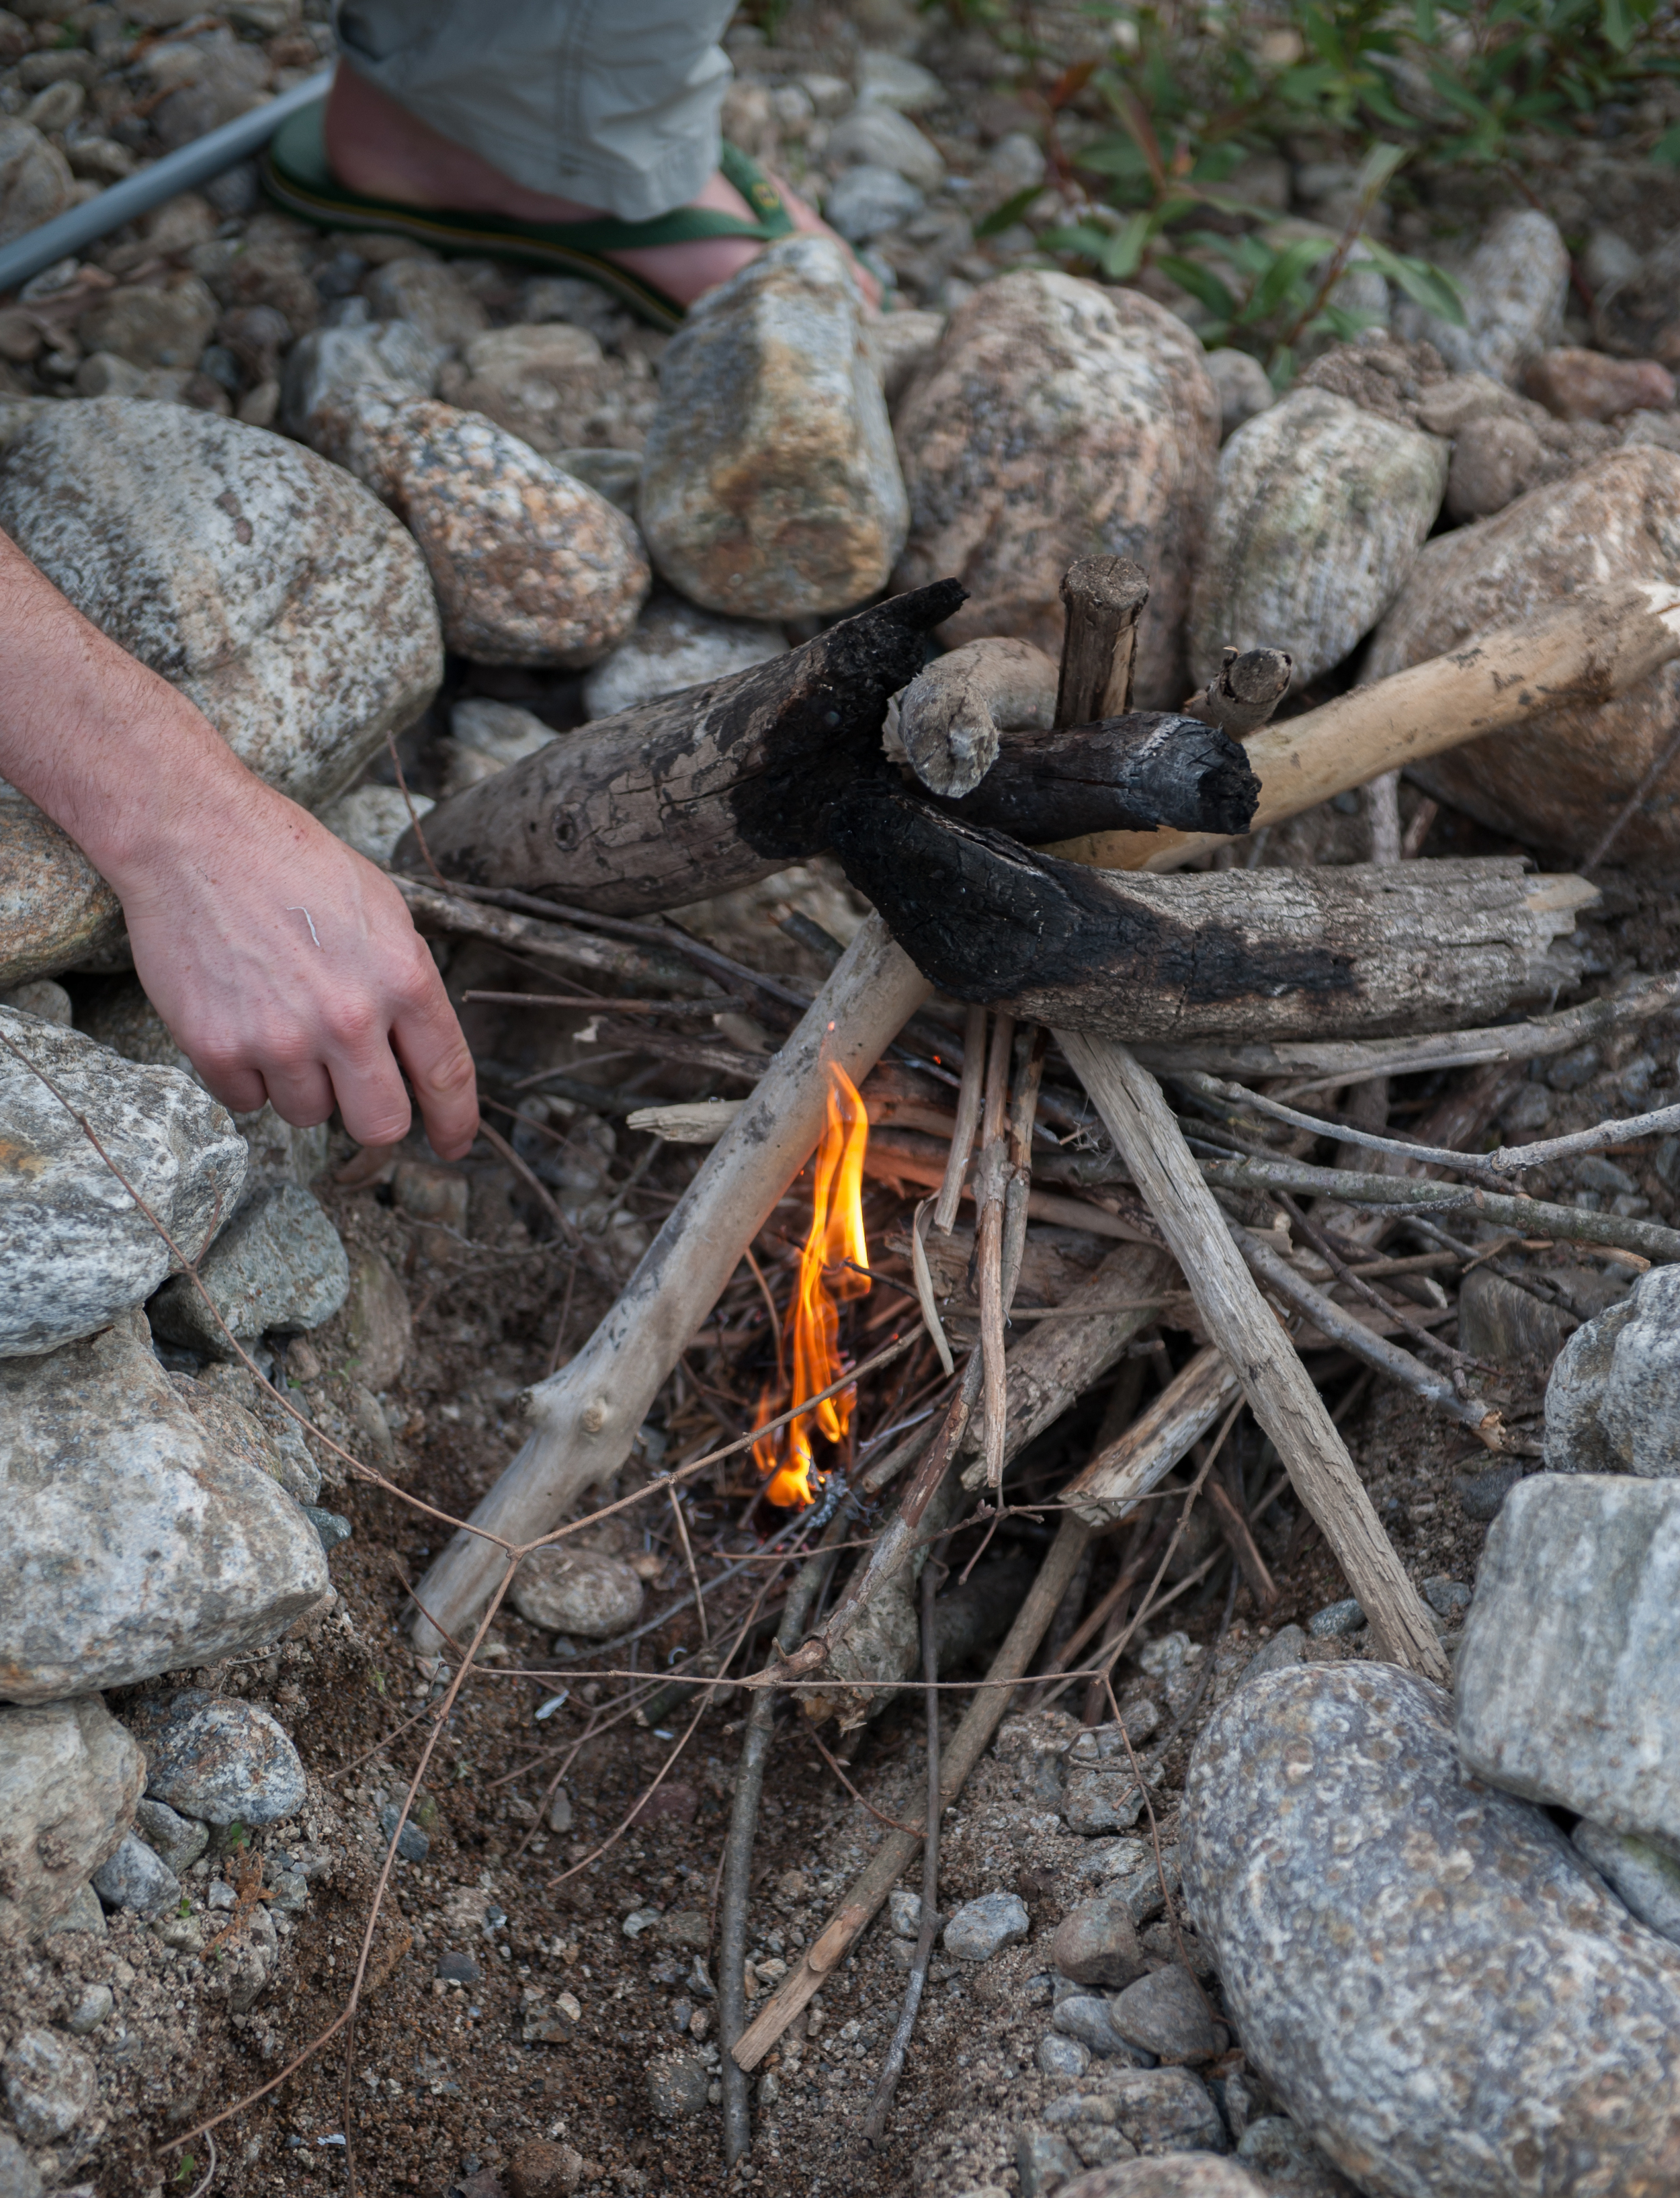
Camping is never complete without a roaring fire. Luckily I married a farm boy who knows exactly how to make the perfect fire.

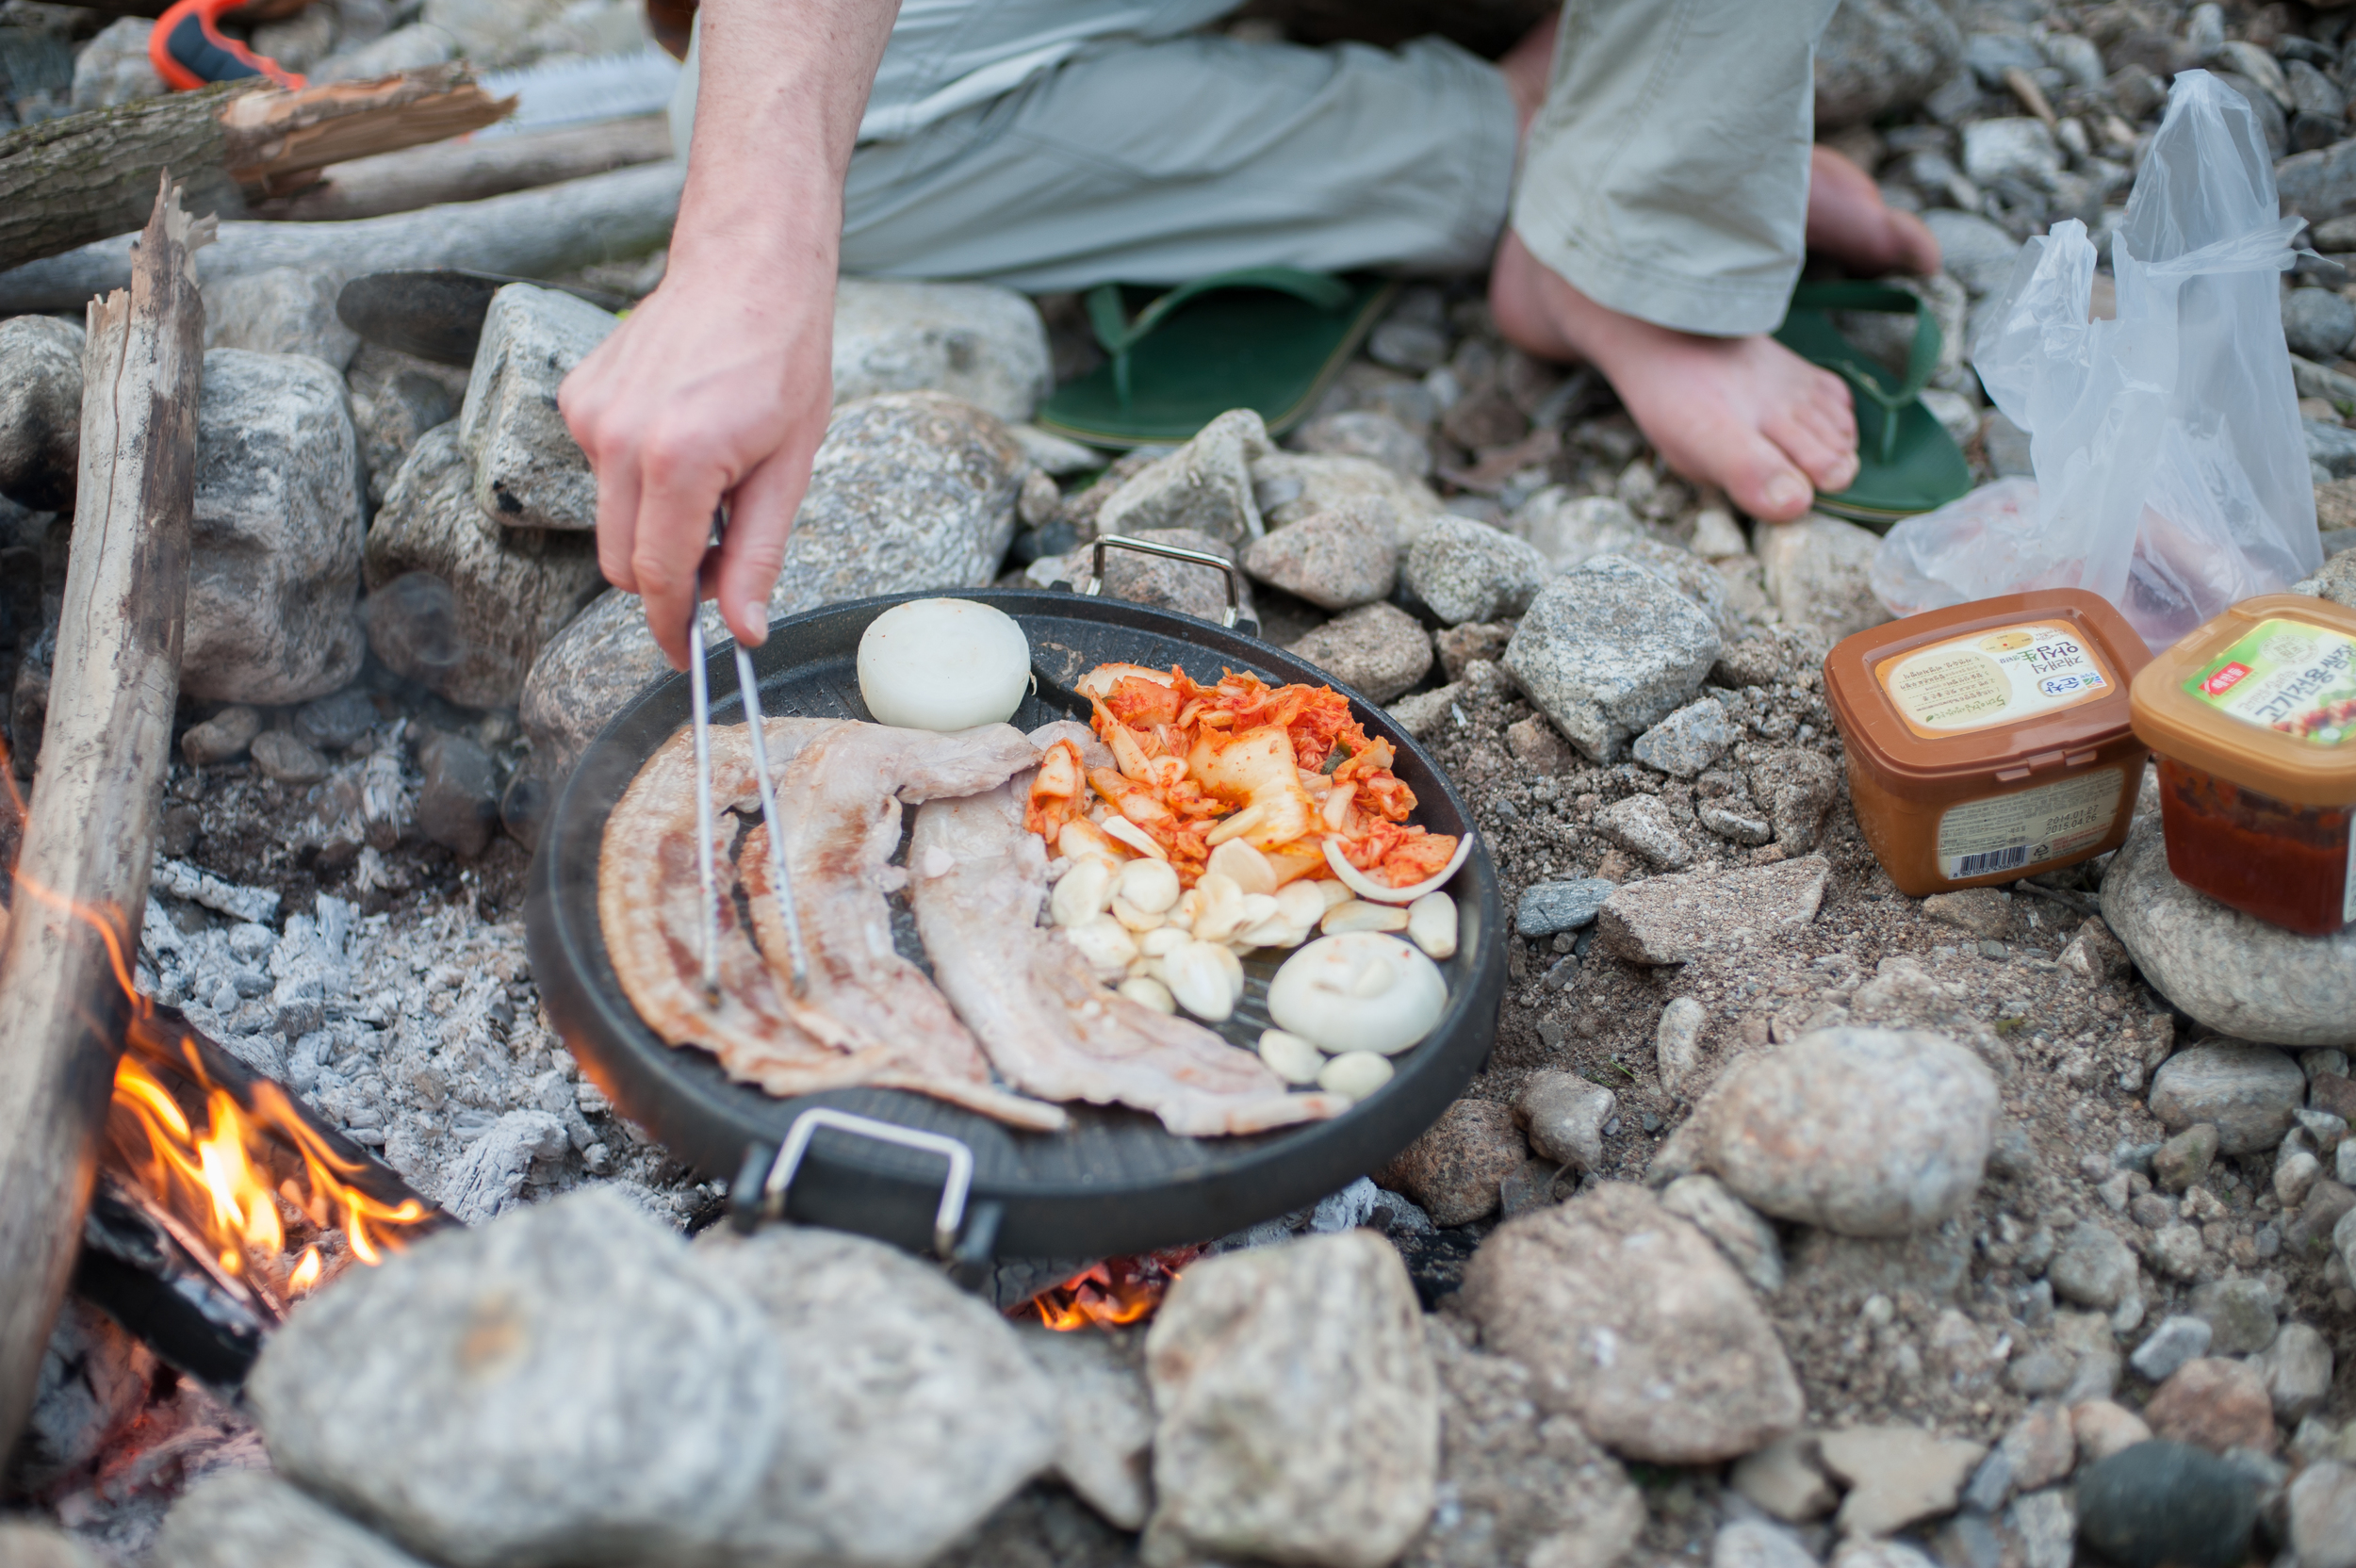
And then there's the food. Camping for 1 day is easy, but when you camp for 2 or more days there's lots to prepare and of course you have to figure out a way to keep everything cool. For this trip, we went to our local Baskins & Robbins ice cream shop and asked very nicely if we could buy some dry ice (our town is so small we know the manager by name and he was very kind to give us a huge chunk free of charge). The dry ice kept everything cold for 3 and a half days!

We are still working on the perfect menu, but here is a rough idea for 3.5 days worth of meals, from the thursday night dinner (it was a long weekend and we had dinner at one of the rest stops along the way) to the Sunday afternoon:

Day 1

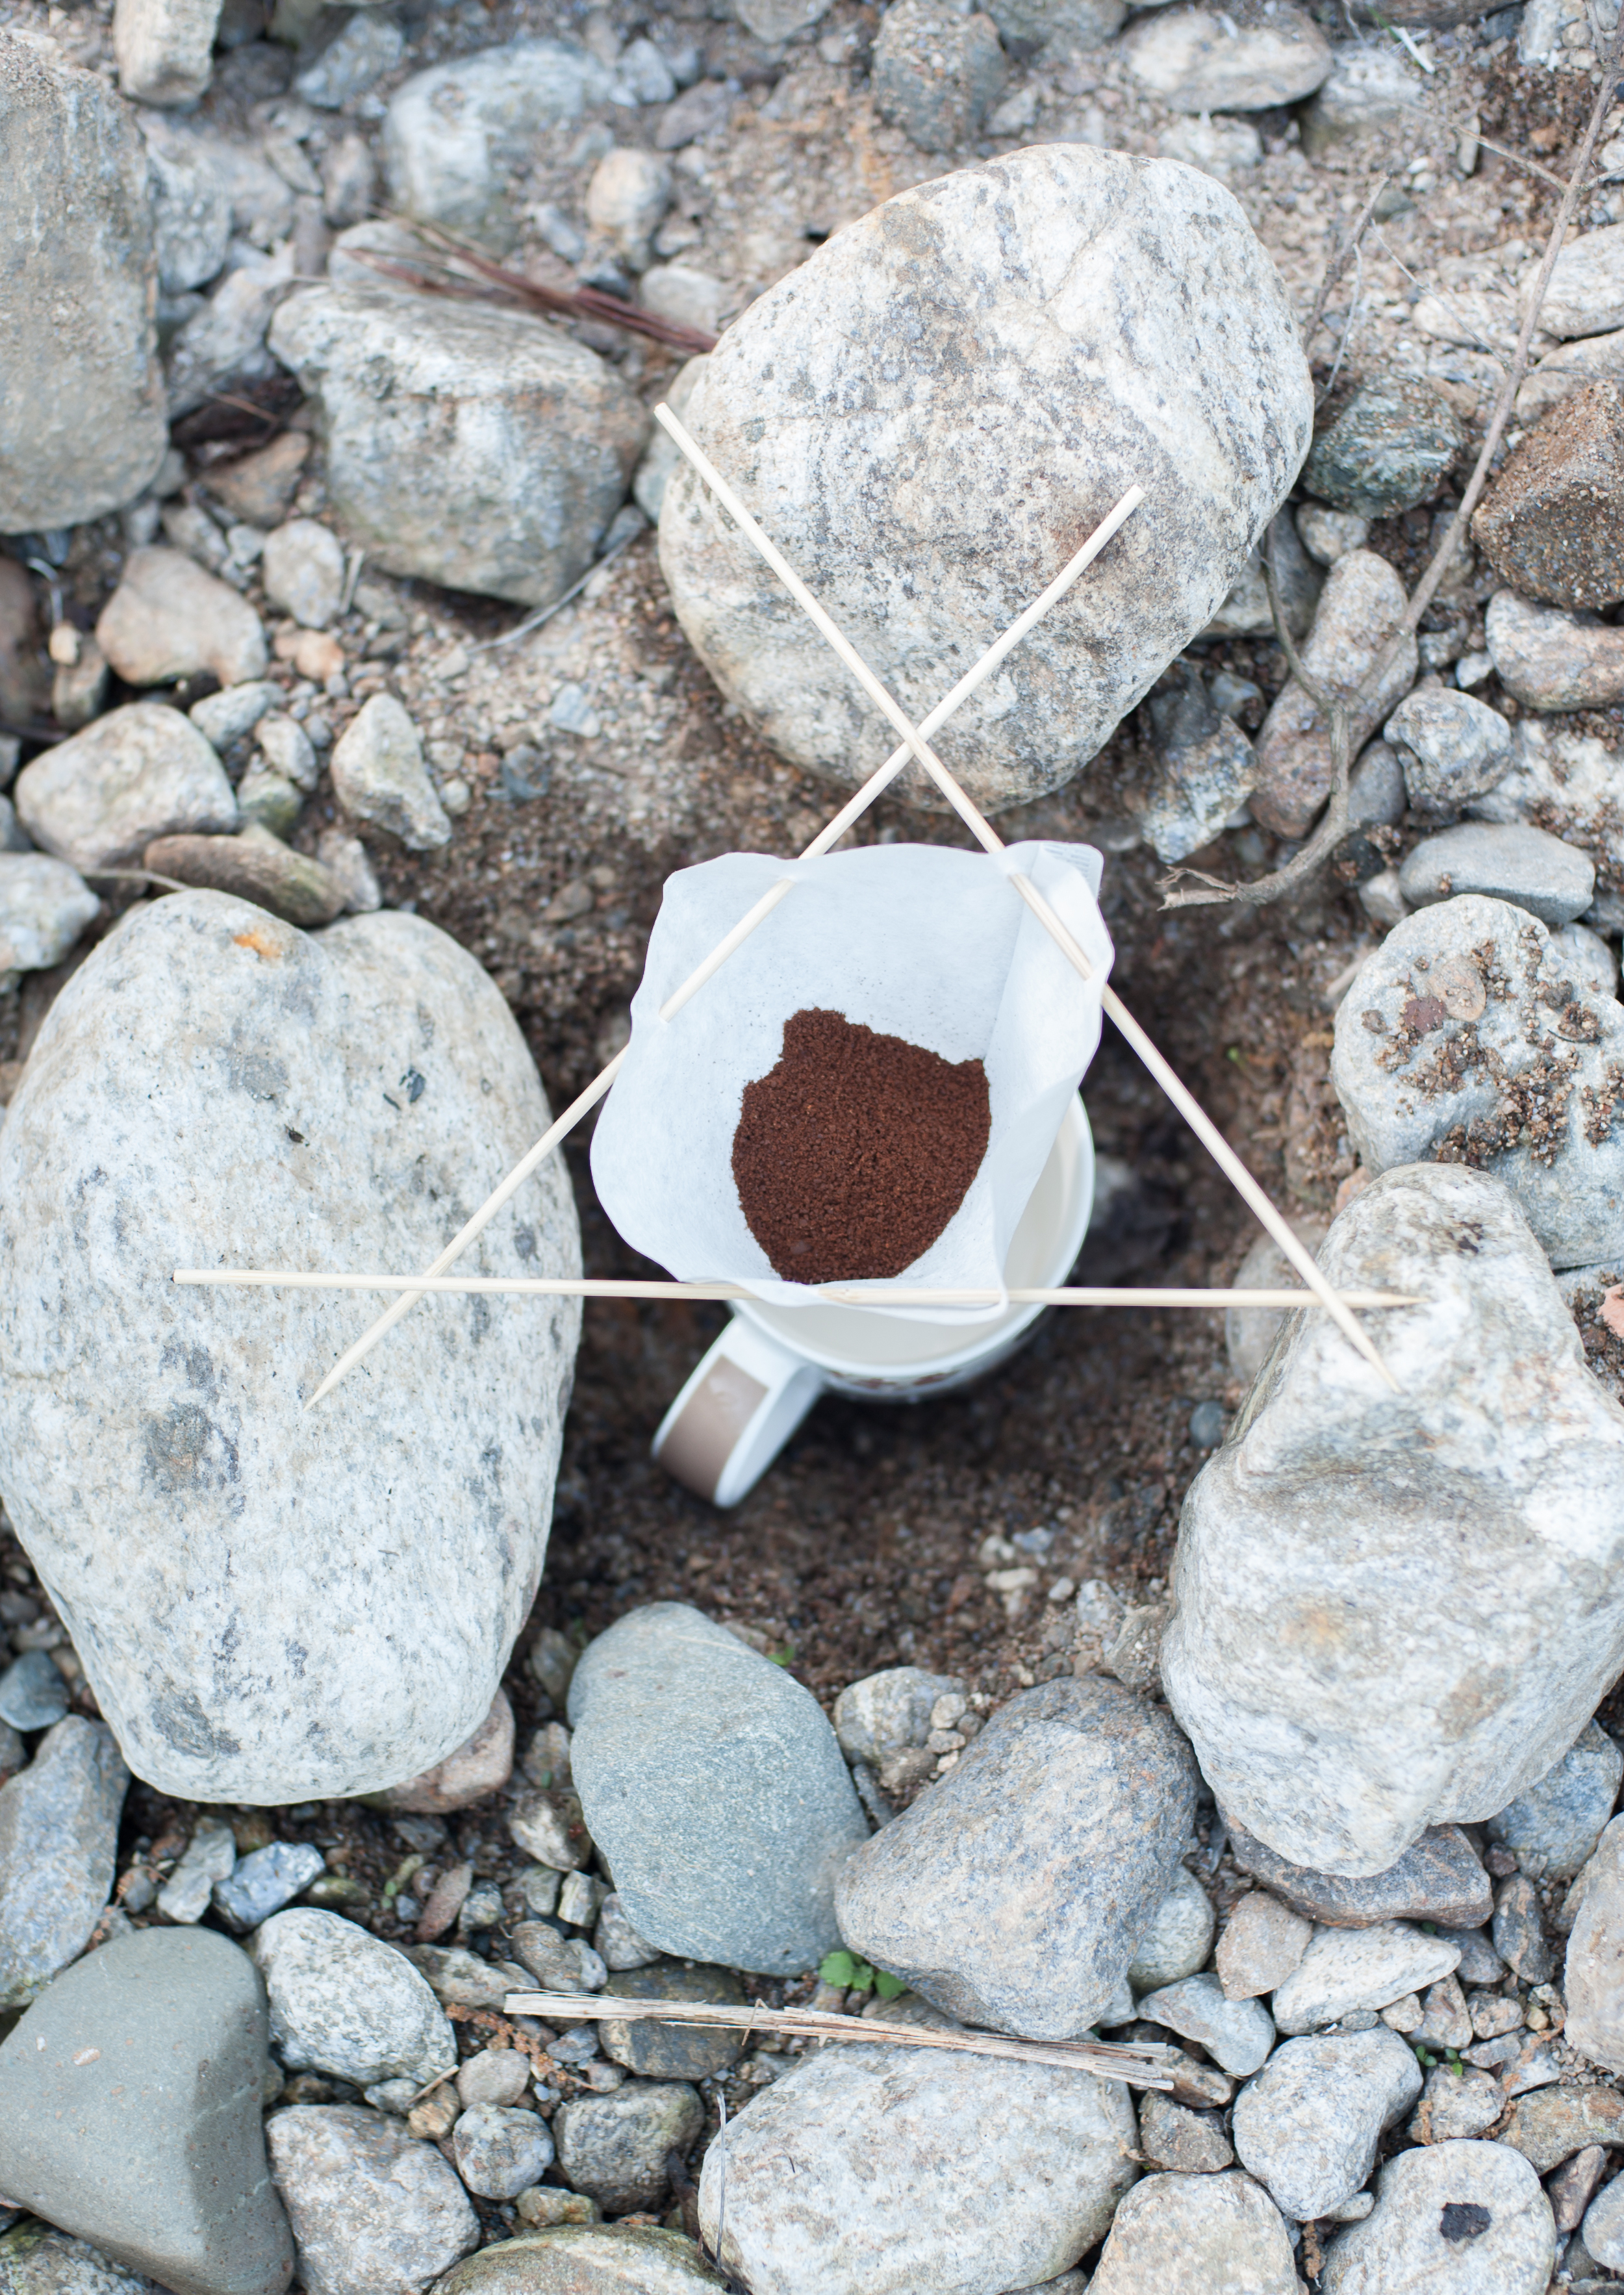
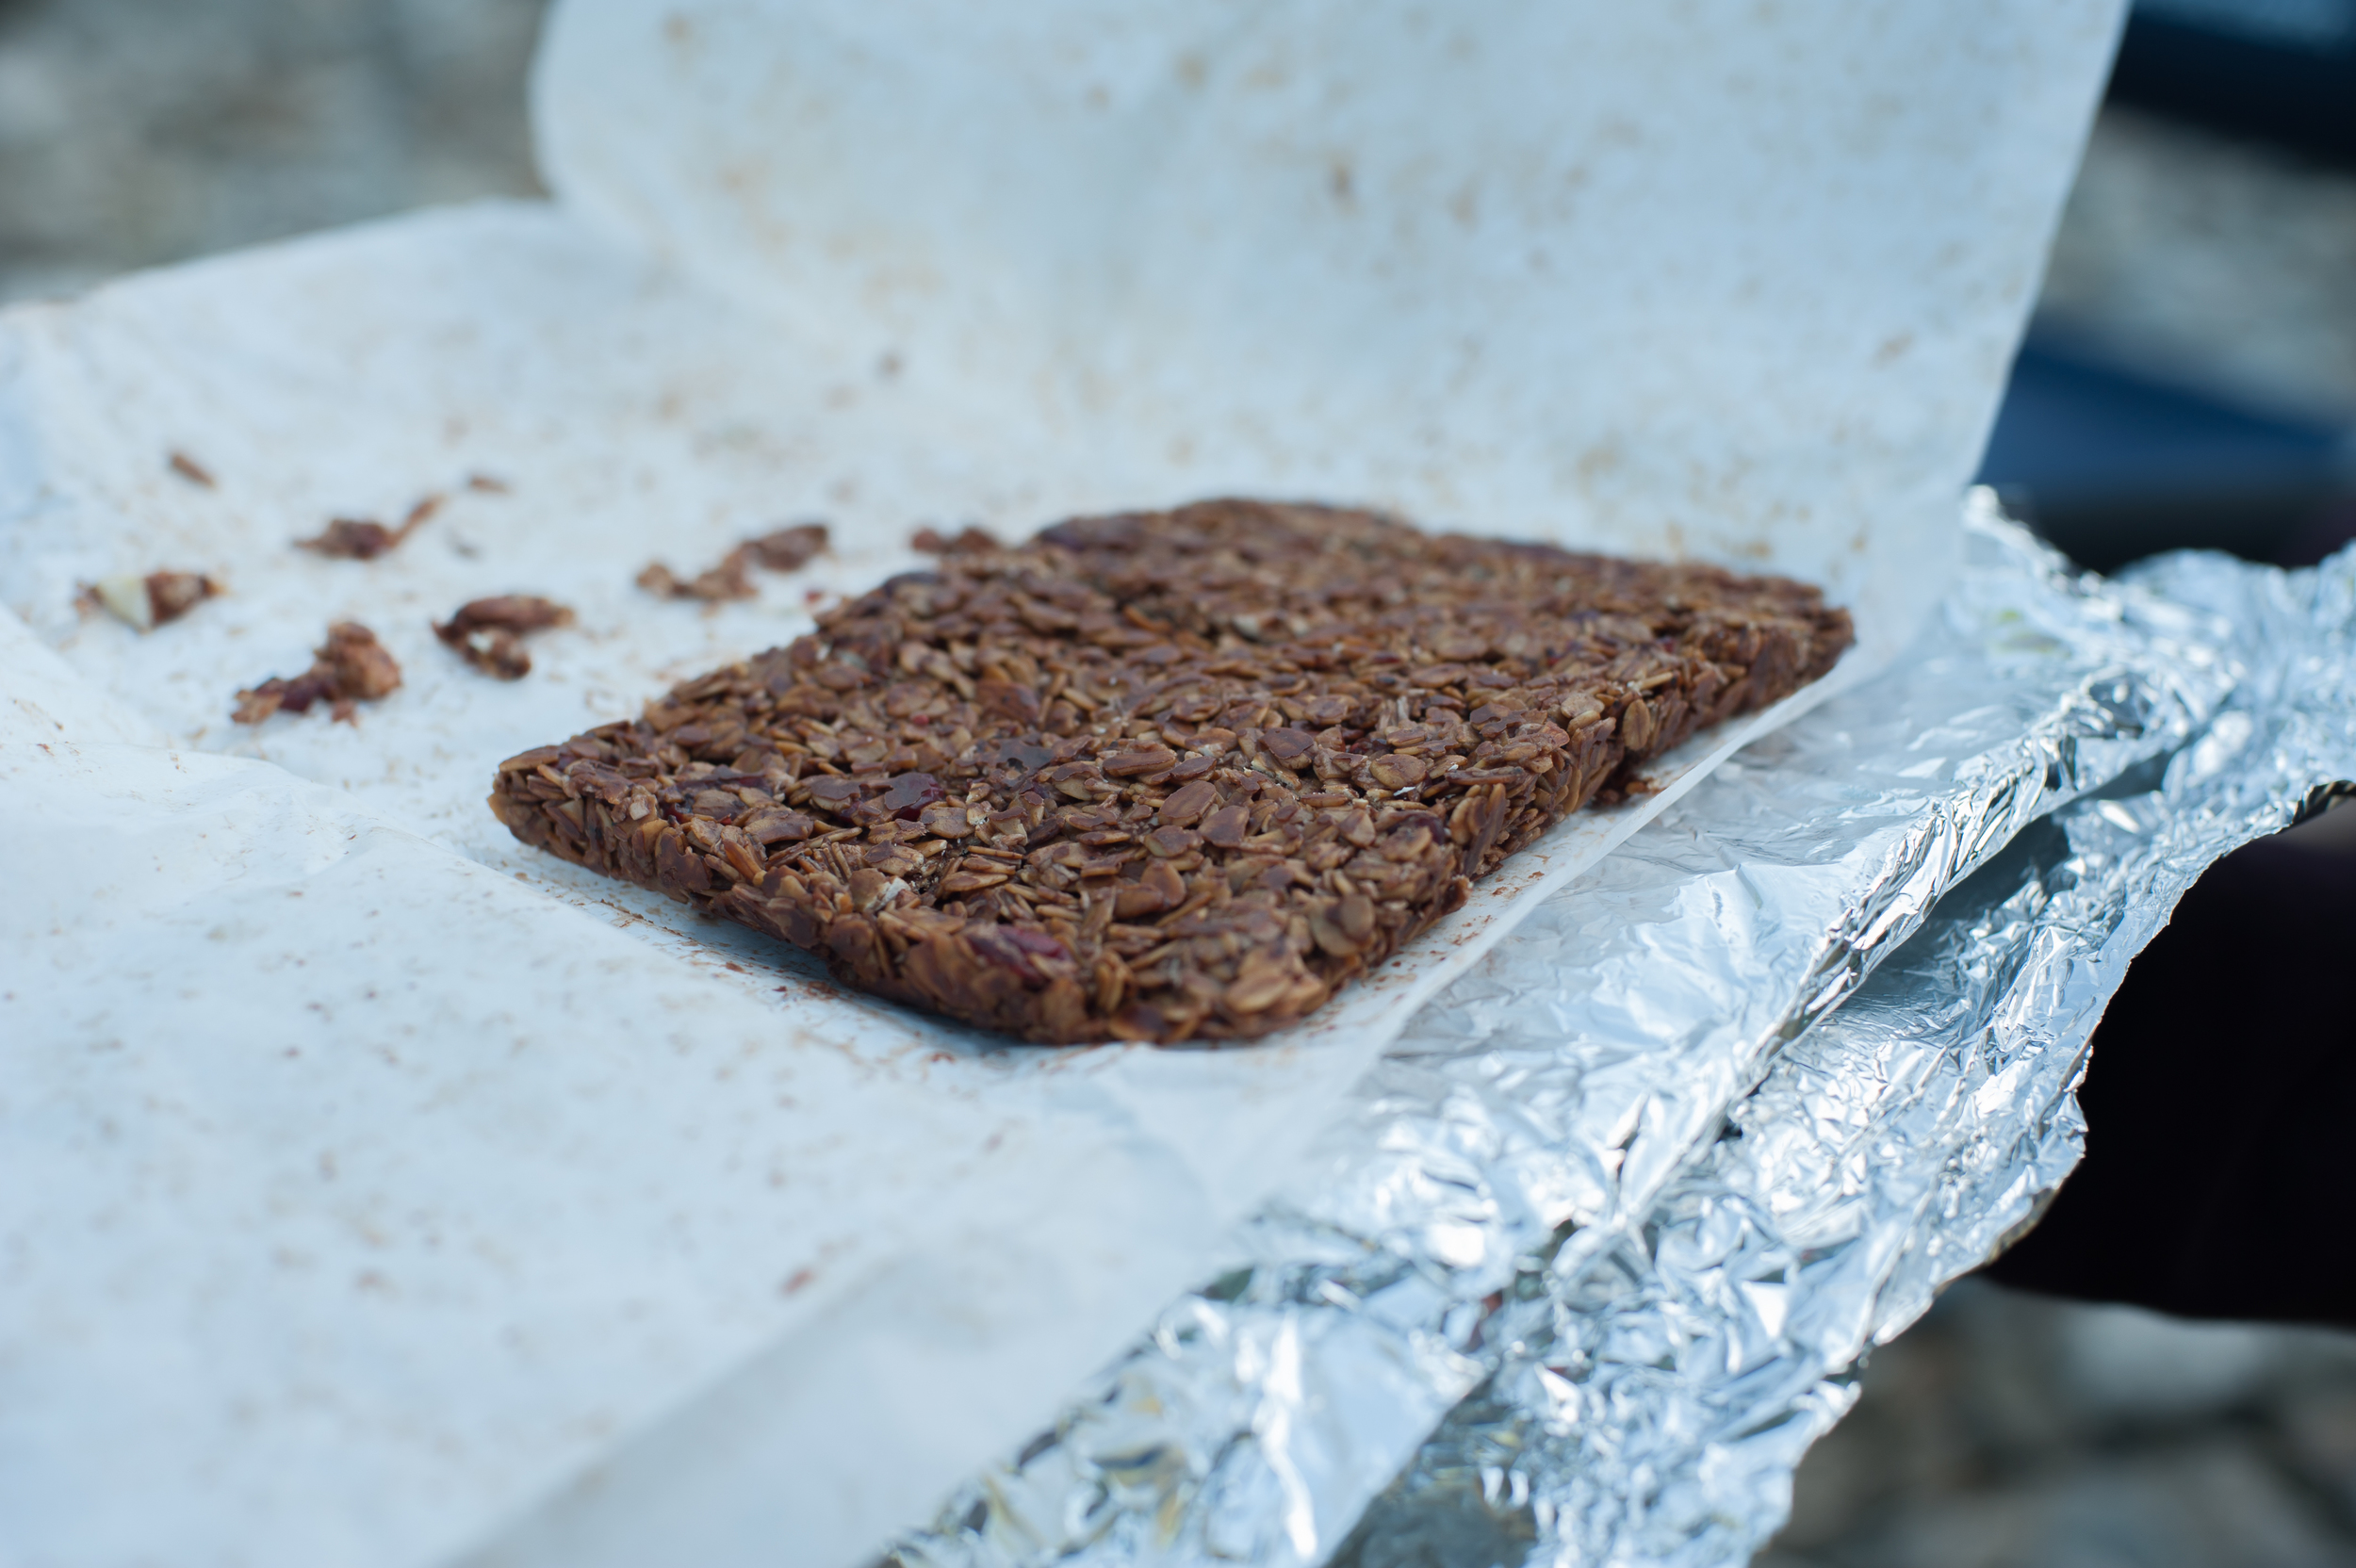
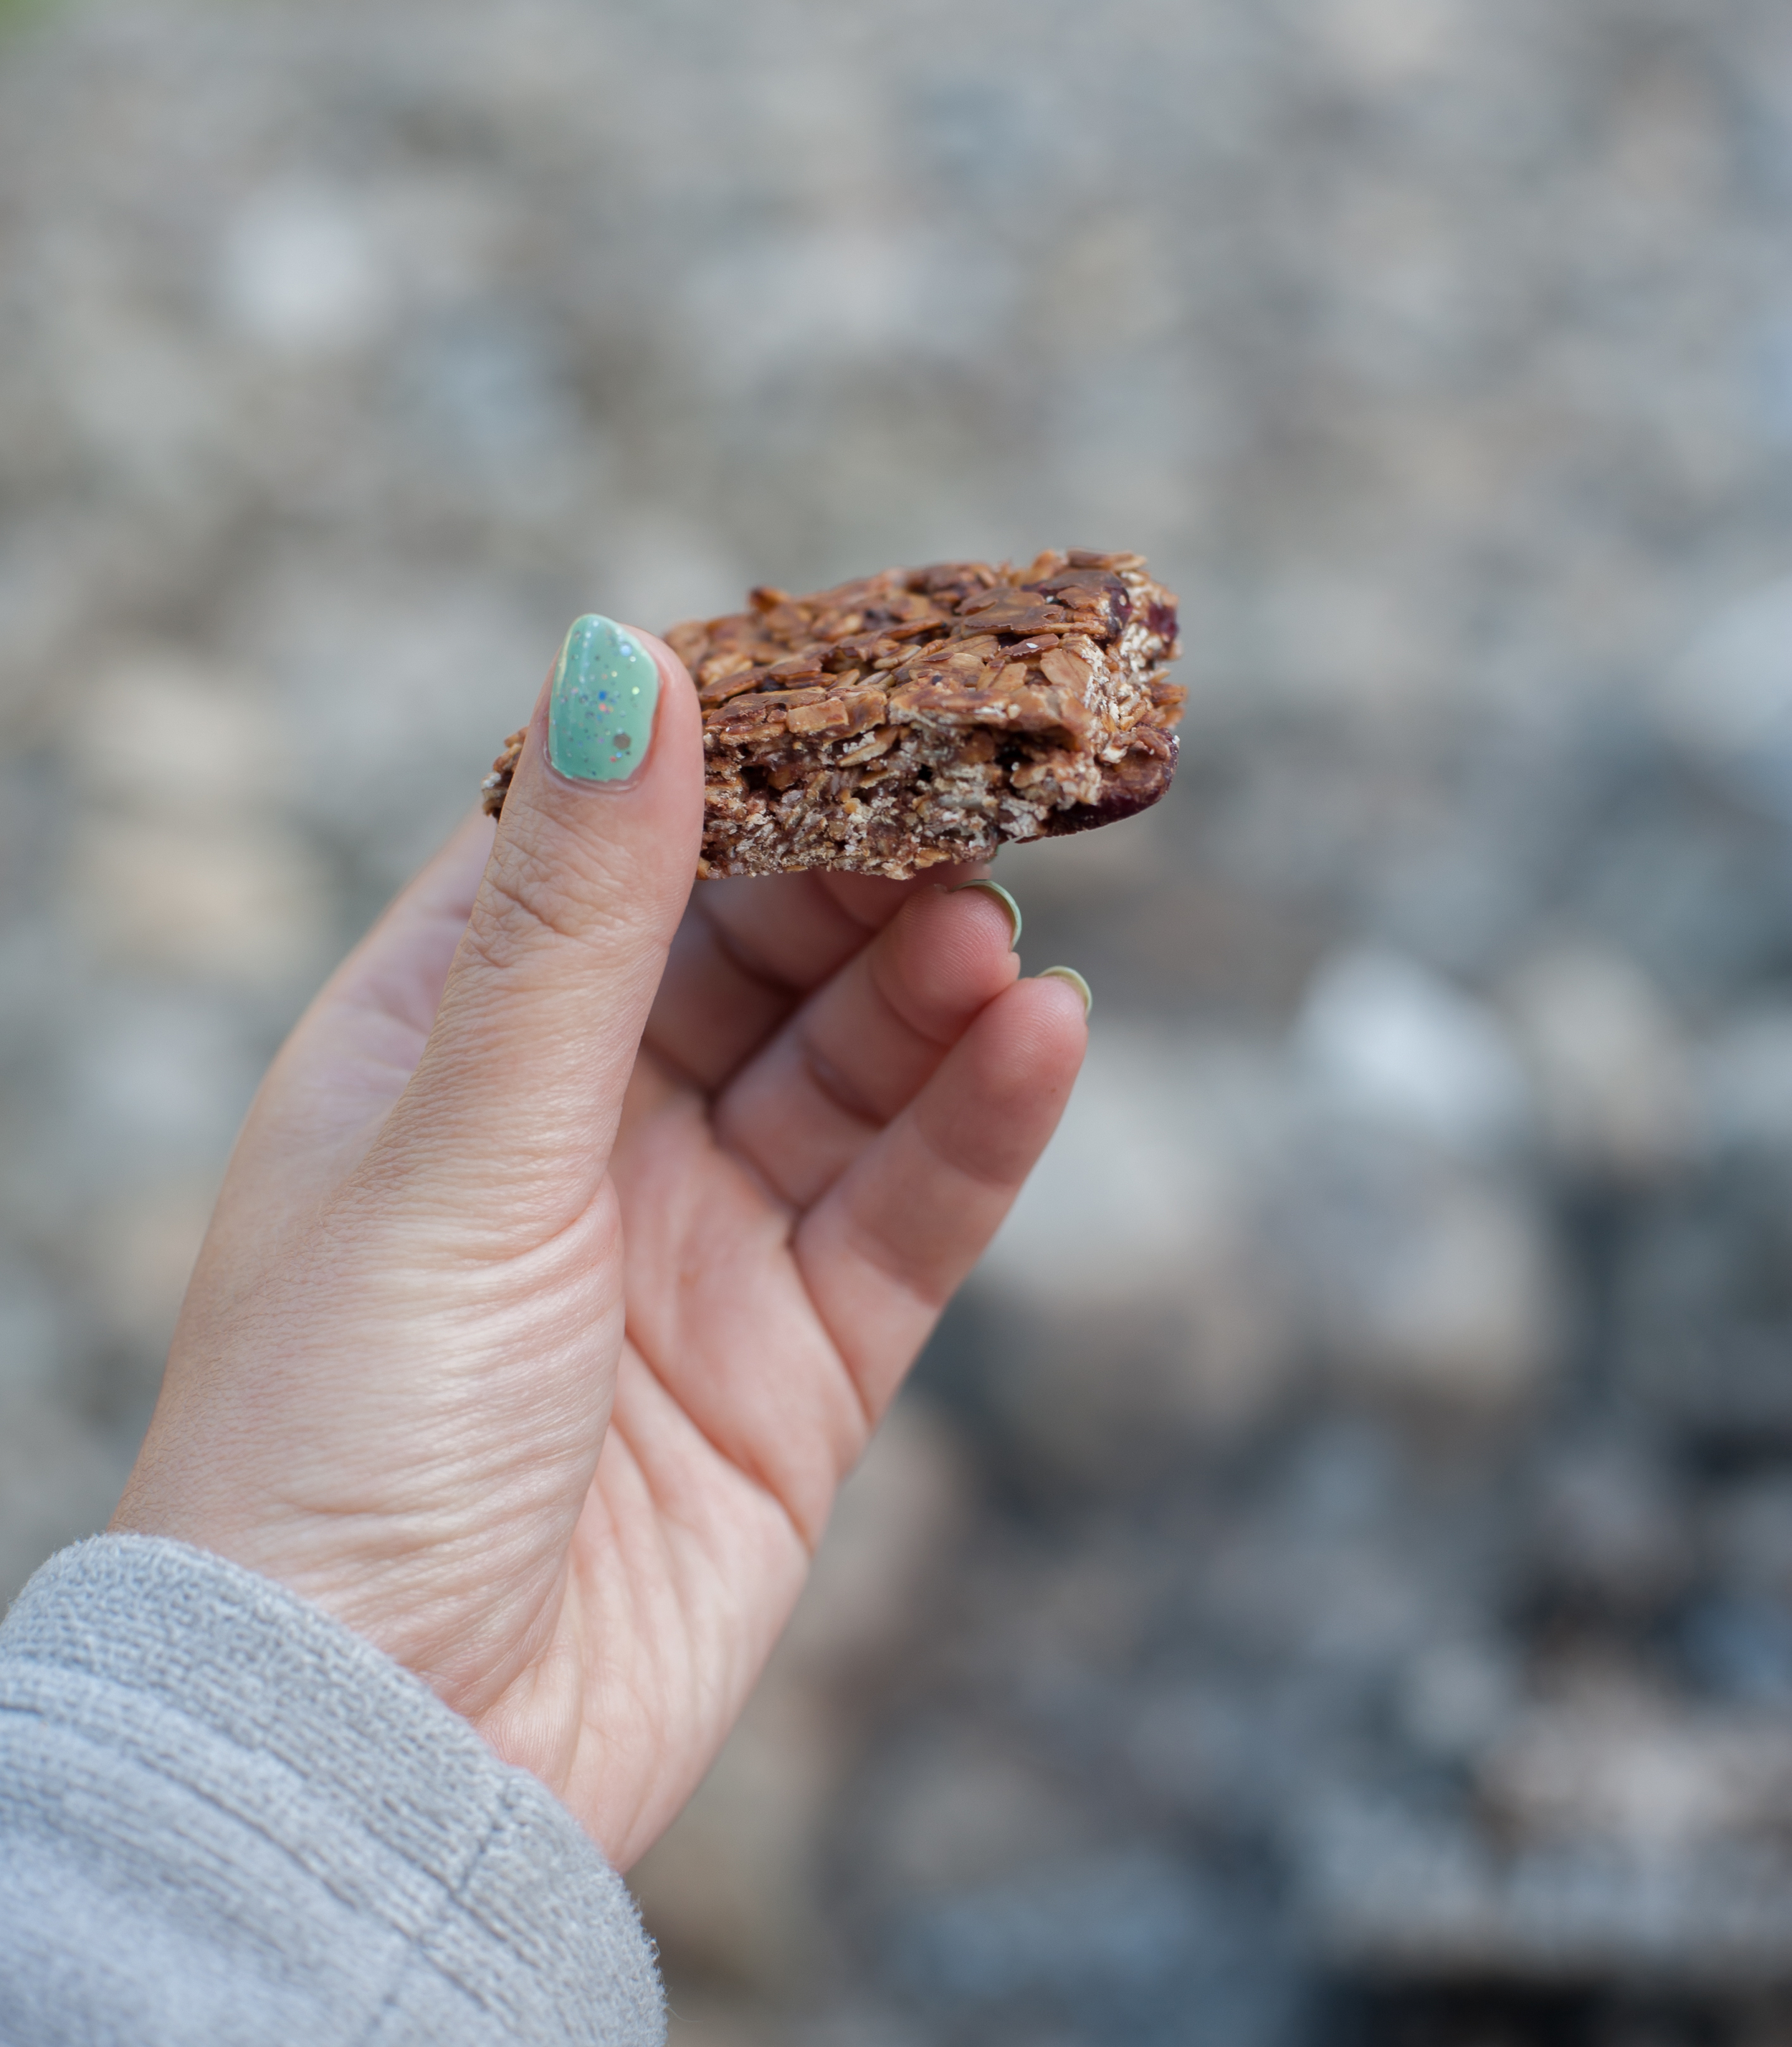
  • Breakfast: homemade granola bars, coffee, tea and digestive biscuits
  • Lunch: tuna wraps with salad
  • Snacks: store bought popcorn
  • Dinner: pre-cooked sausages/viennas, samgyupsal cooked on the fire with a grill plate with kimchi, garlic, lettuce & onion
  • Dessert: s'mores!

Day 2

  • Breakfast: homemade granola bars, coffee, tea and digestive biscuits
  • Lunch: pre-cooked bolognaise wraps with salad
  • Dinner: pre-cooked sausages and fire roasted sweet potatoes
  • Dessert: S'mores!

Day 3

  • Breakfast: coffee, tea and digestive biscuits
  • Lunch: left over Bolognaise mince, wraps & salad

If you make it all the way up to Gangwon Province, the east coast isn't too far a drive for the day and is incredible beautiful. The ocean at Gangneung was incredible blue, and the sand was like powder. It was still a rather windy day with a quite a cold breeze as summer has yet to hit Korea, but it was a great way to spend a few hours.

Can you recommend any great places to camp in Korea? I'd love to hear from you in the comments section below.

#DiyDaysInKorea {Picnic Meet-Up)

DiyDaysInKorea

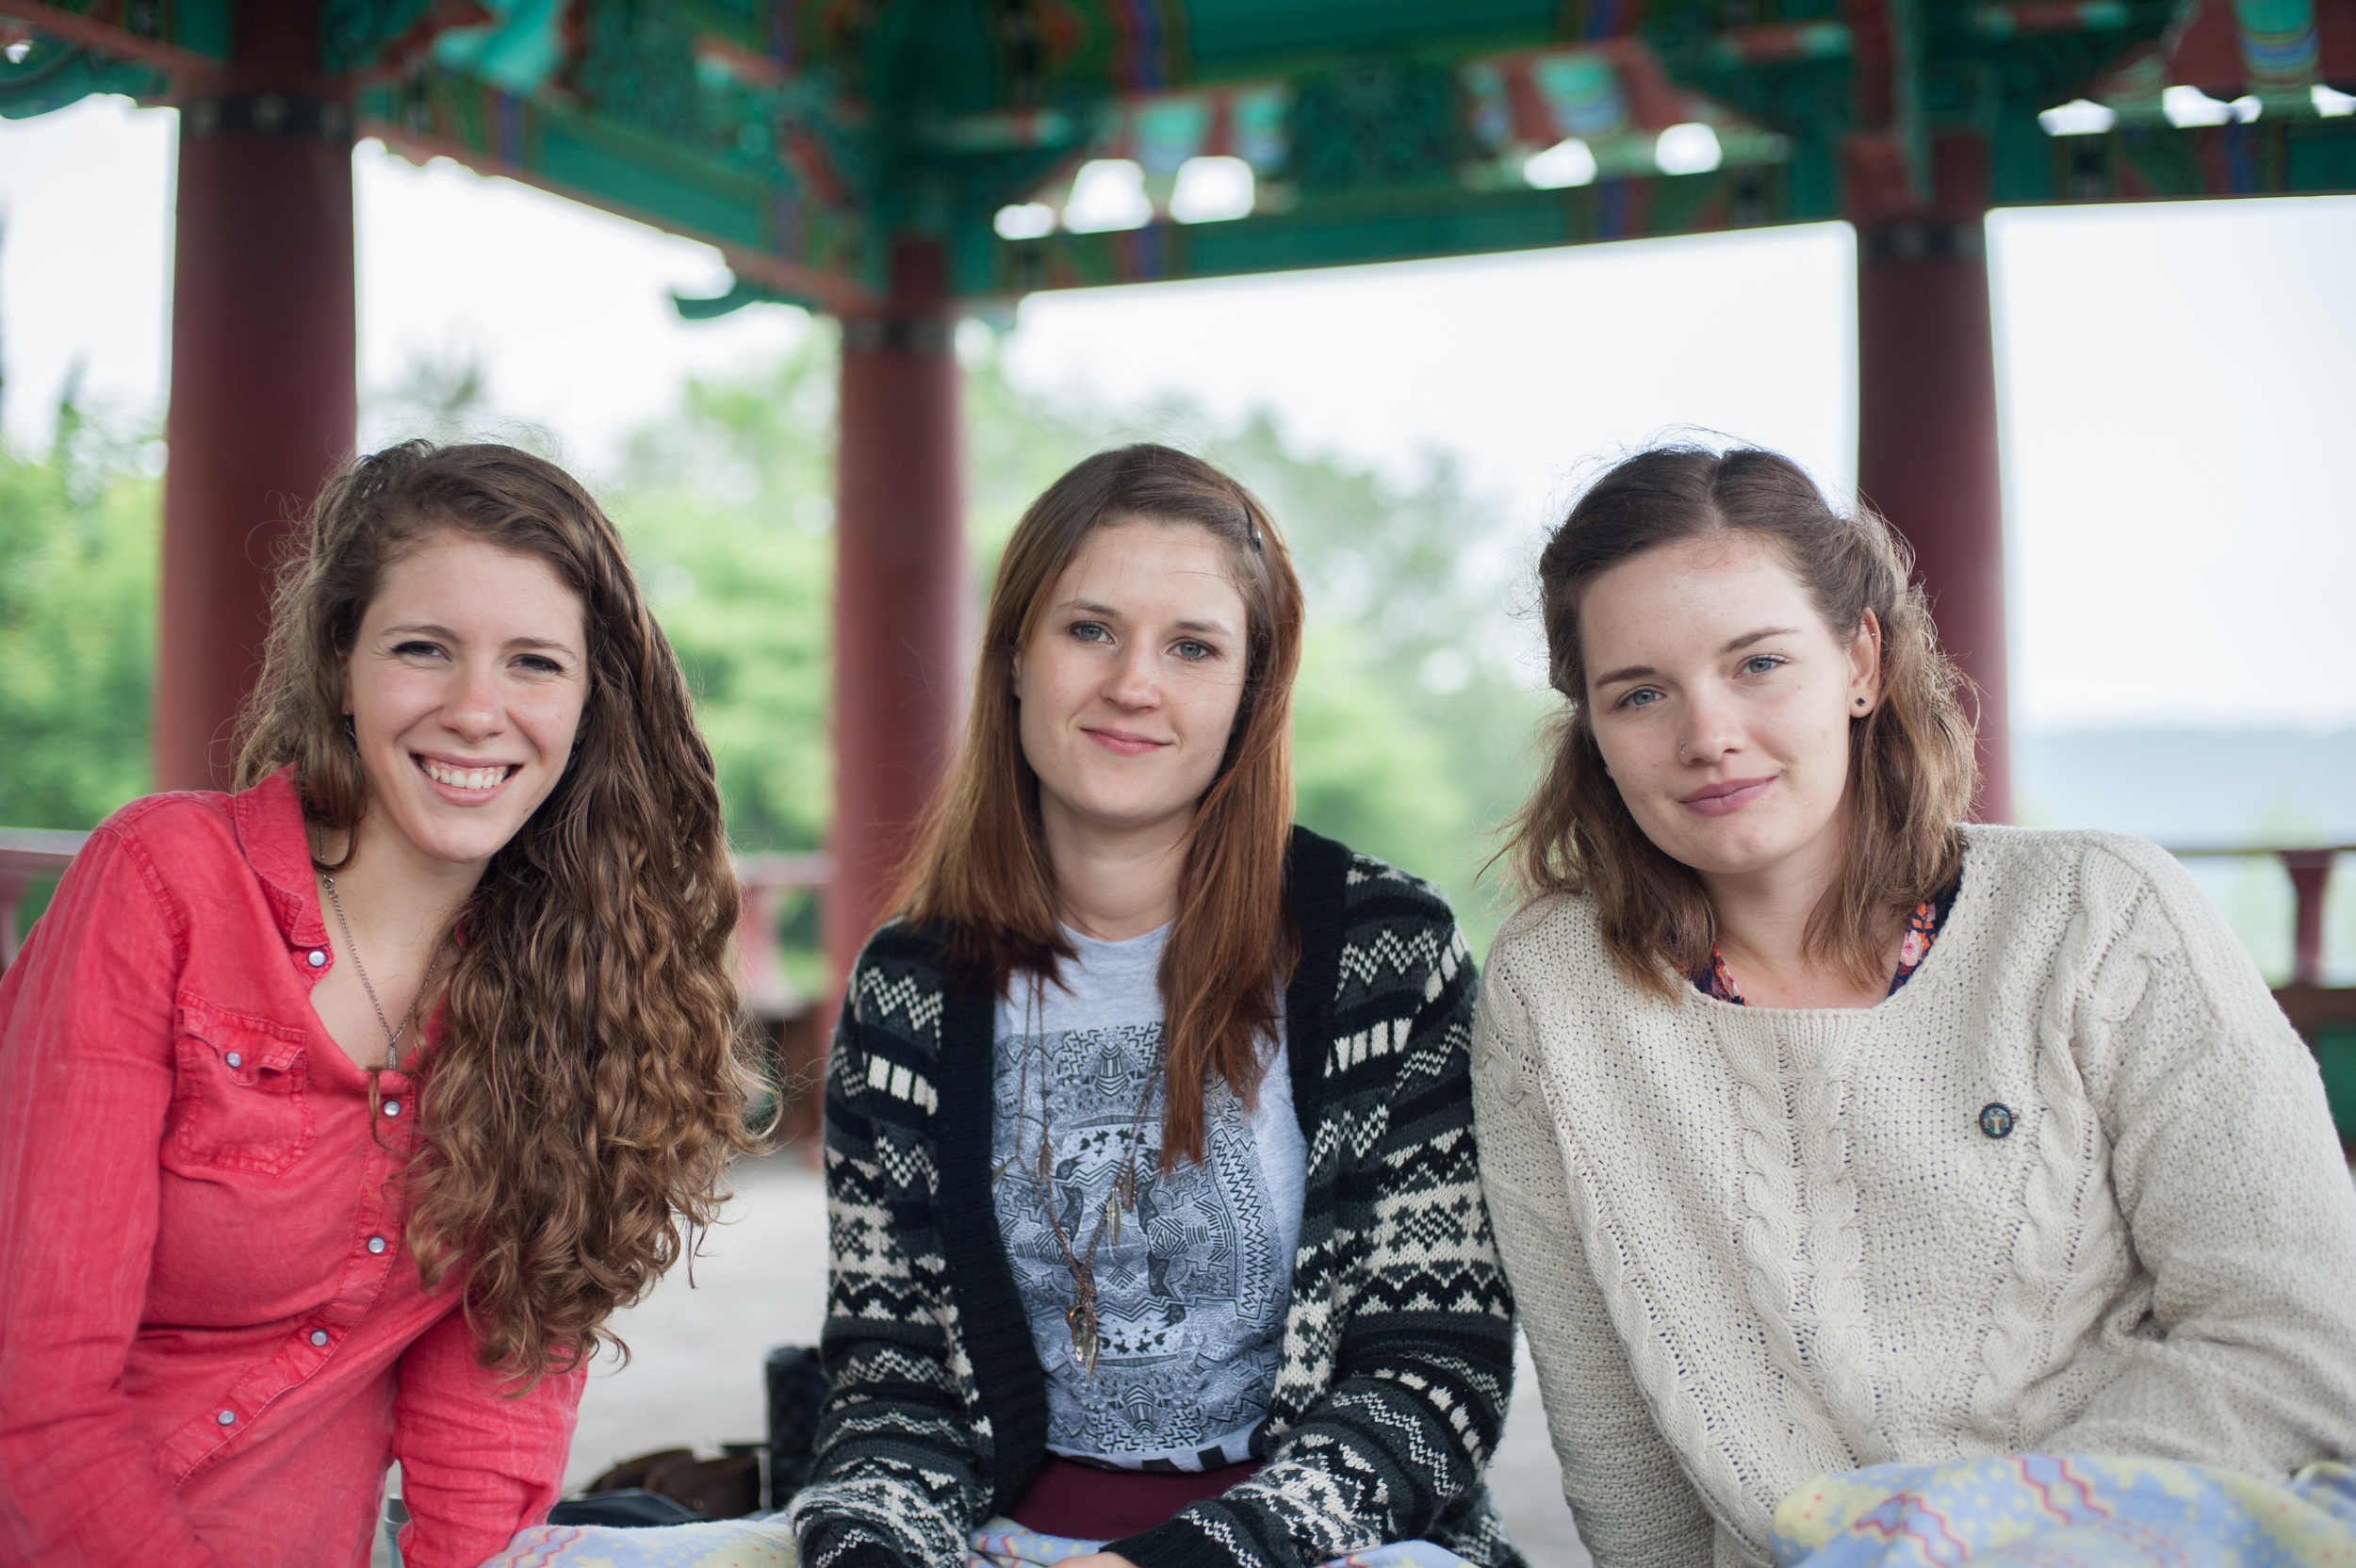
This past weekend I organised the #DIYDaysInKorea ladies a picnic meet-up in a little park in Jeongeup. Our usual get togethers usually involve doing some form of DIY (and chatting...there's always lots of that...oh and food...there's always so much good food!). These meet-ups are a way for us crafty (and in my case, definitely UNCRAFTY) ladies here in South Korea to spend quality time together. We even have a Pinterest board for us to share ideas and inspire one another, we're cool like that. 

It was such a nice opportunity to get together, without spending a whole lot of money, and while still having fun. 

If you're here in Korea and you'd like to join in the next time we get together, join our Facebook group (click here), we'd love to have you!

Here are some photographs from our afternoon together.

Enjoy!

x

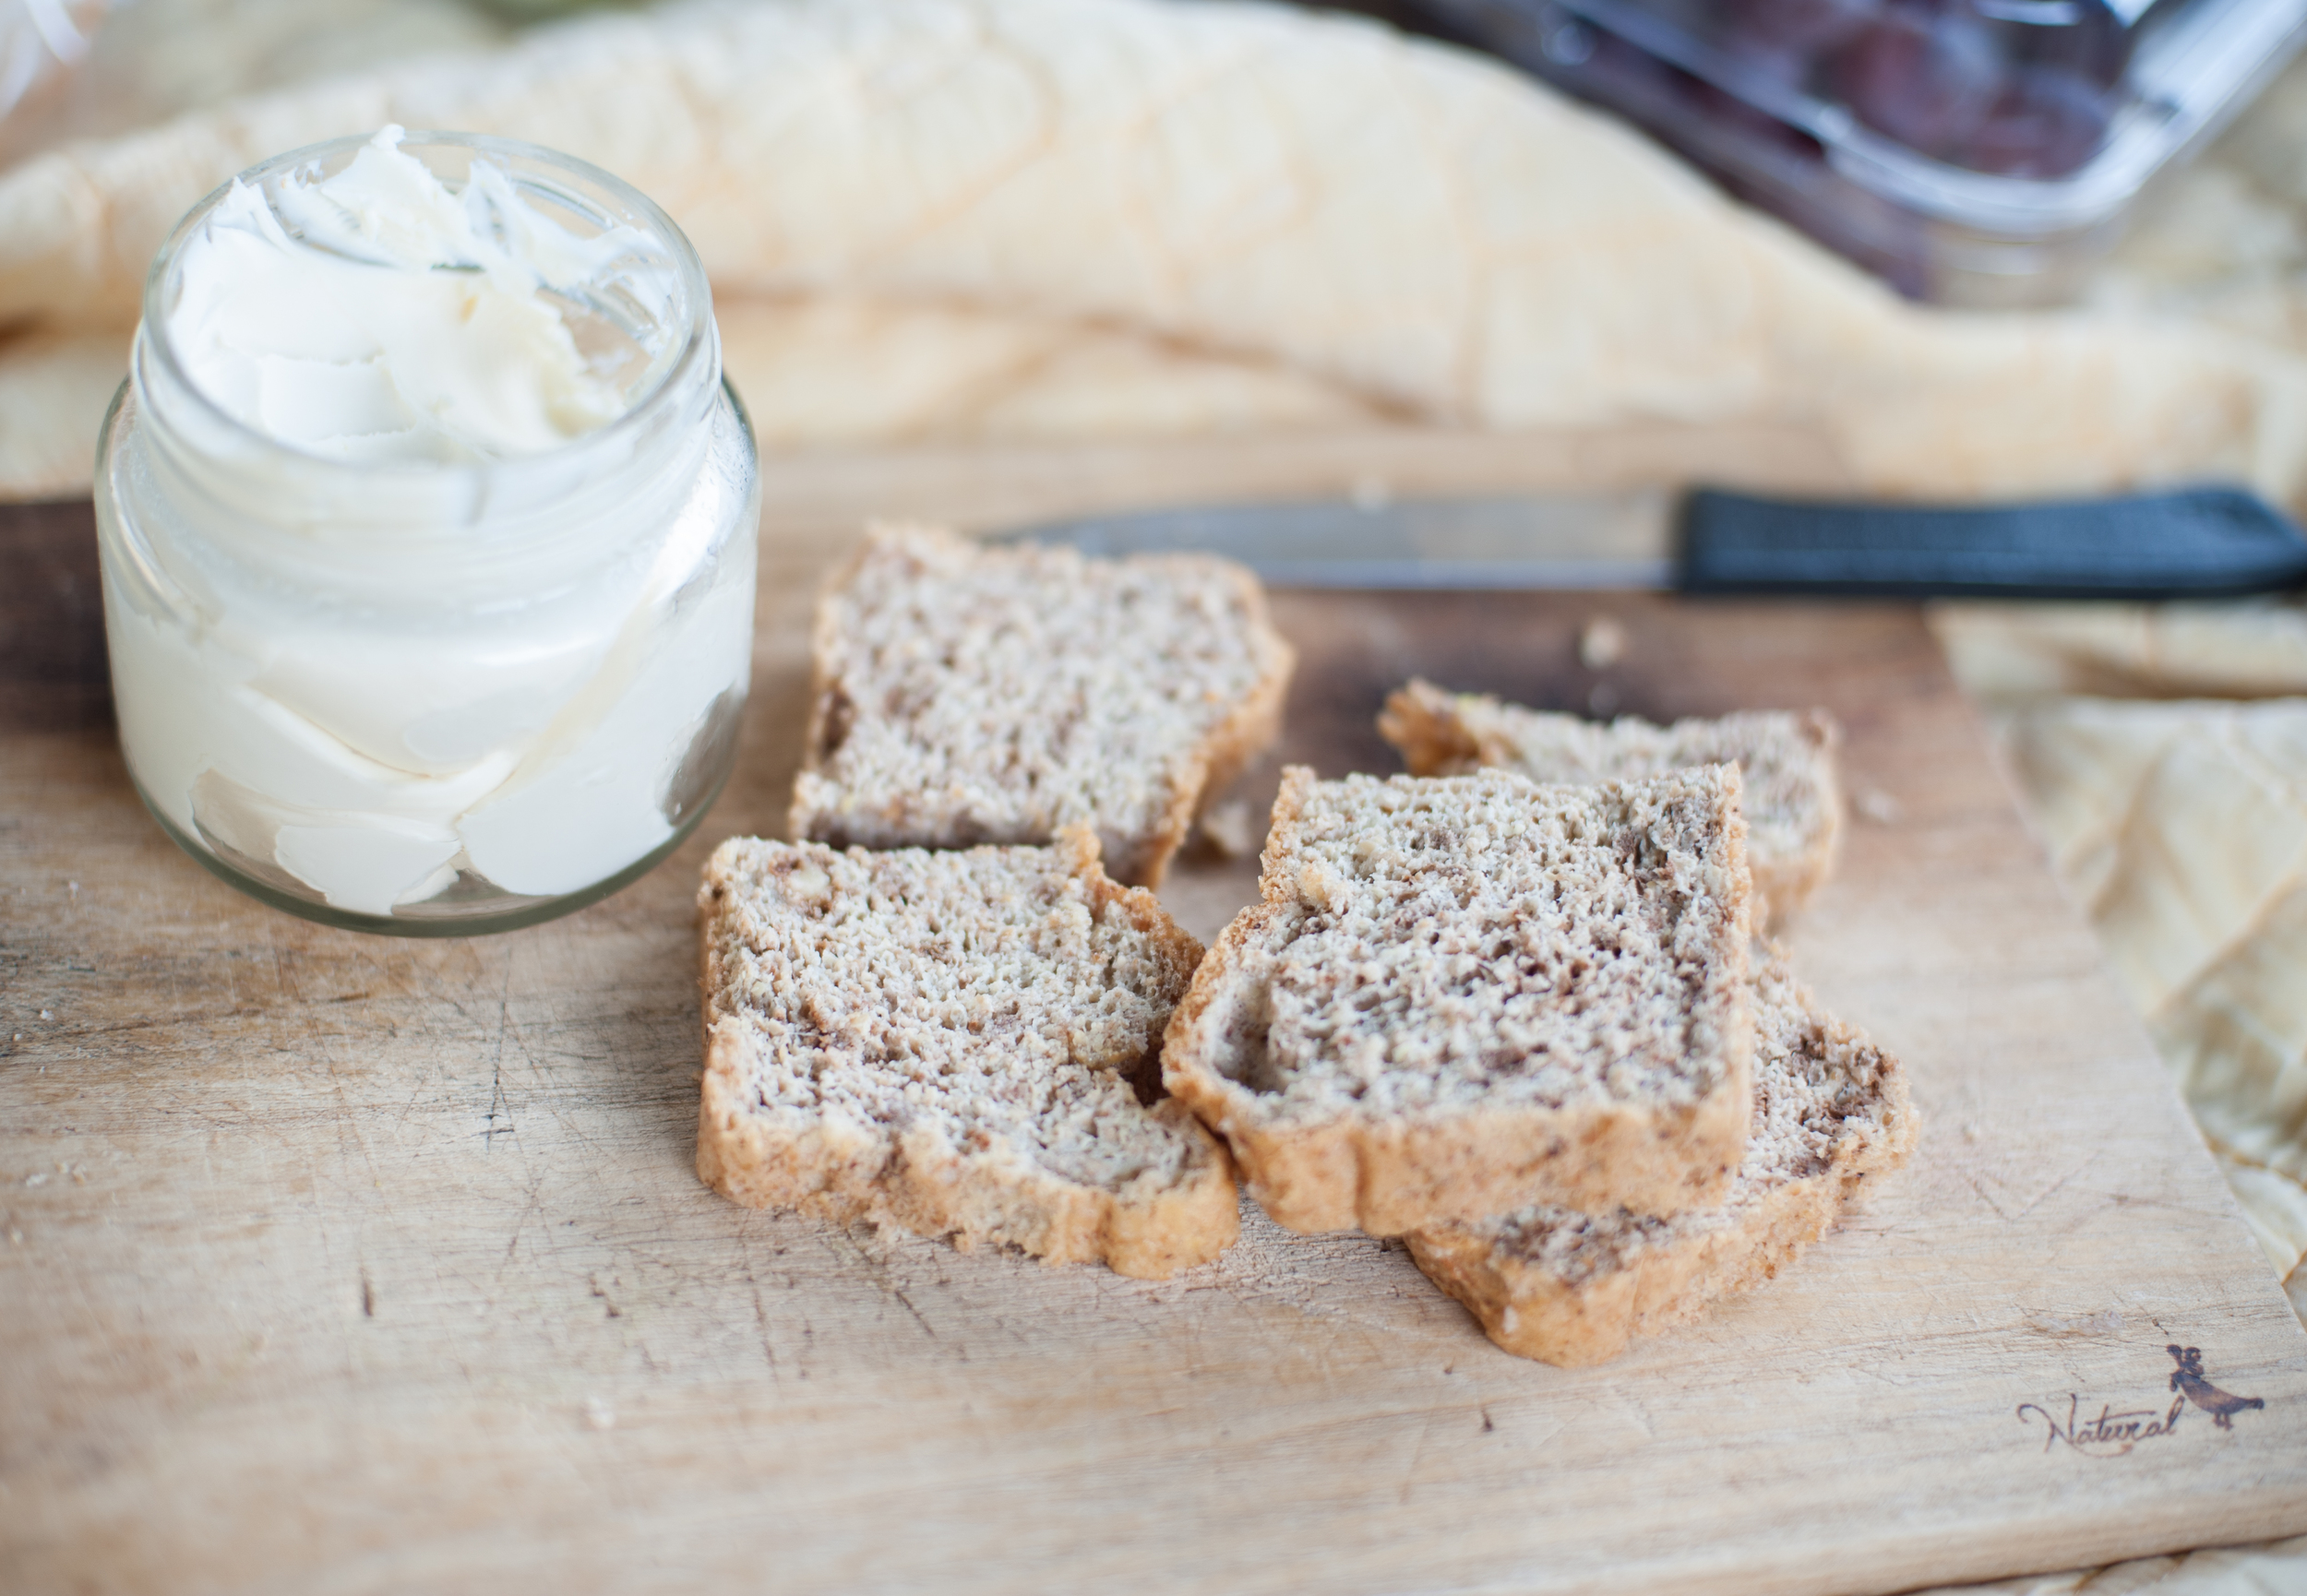
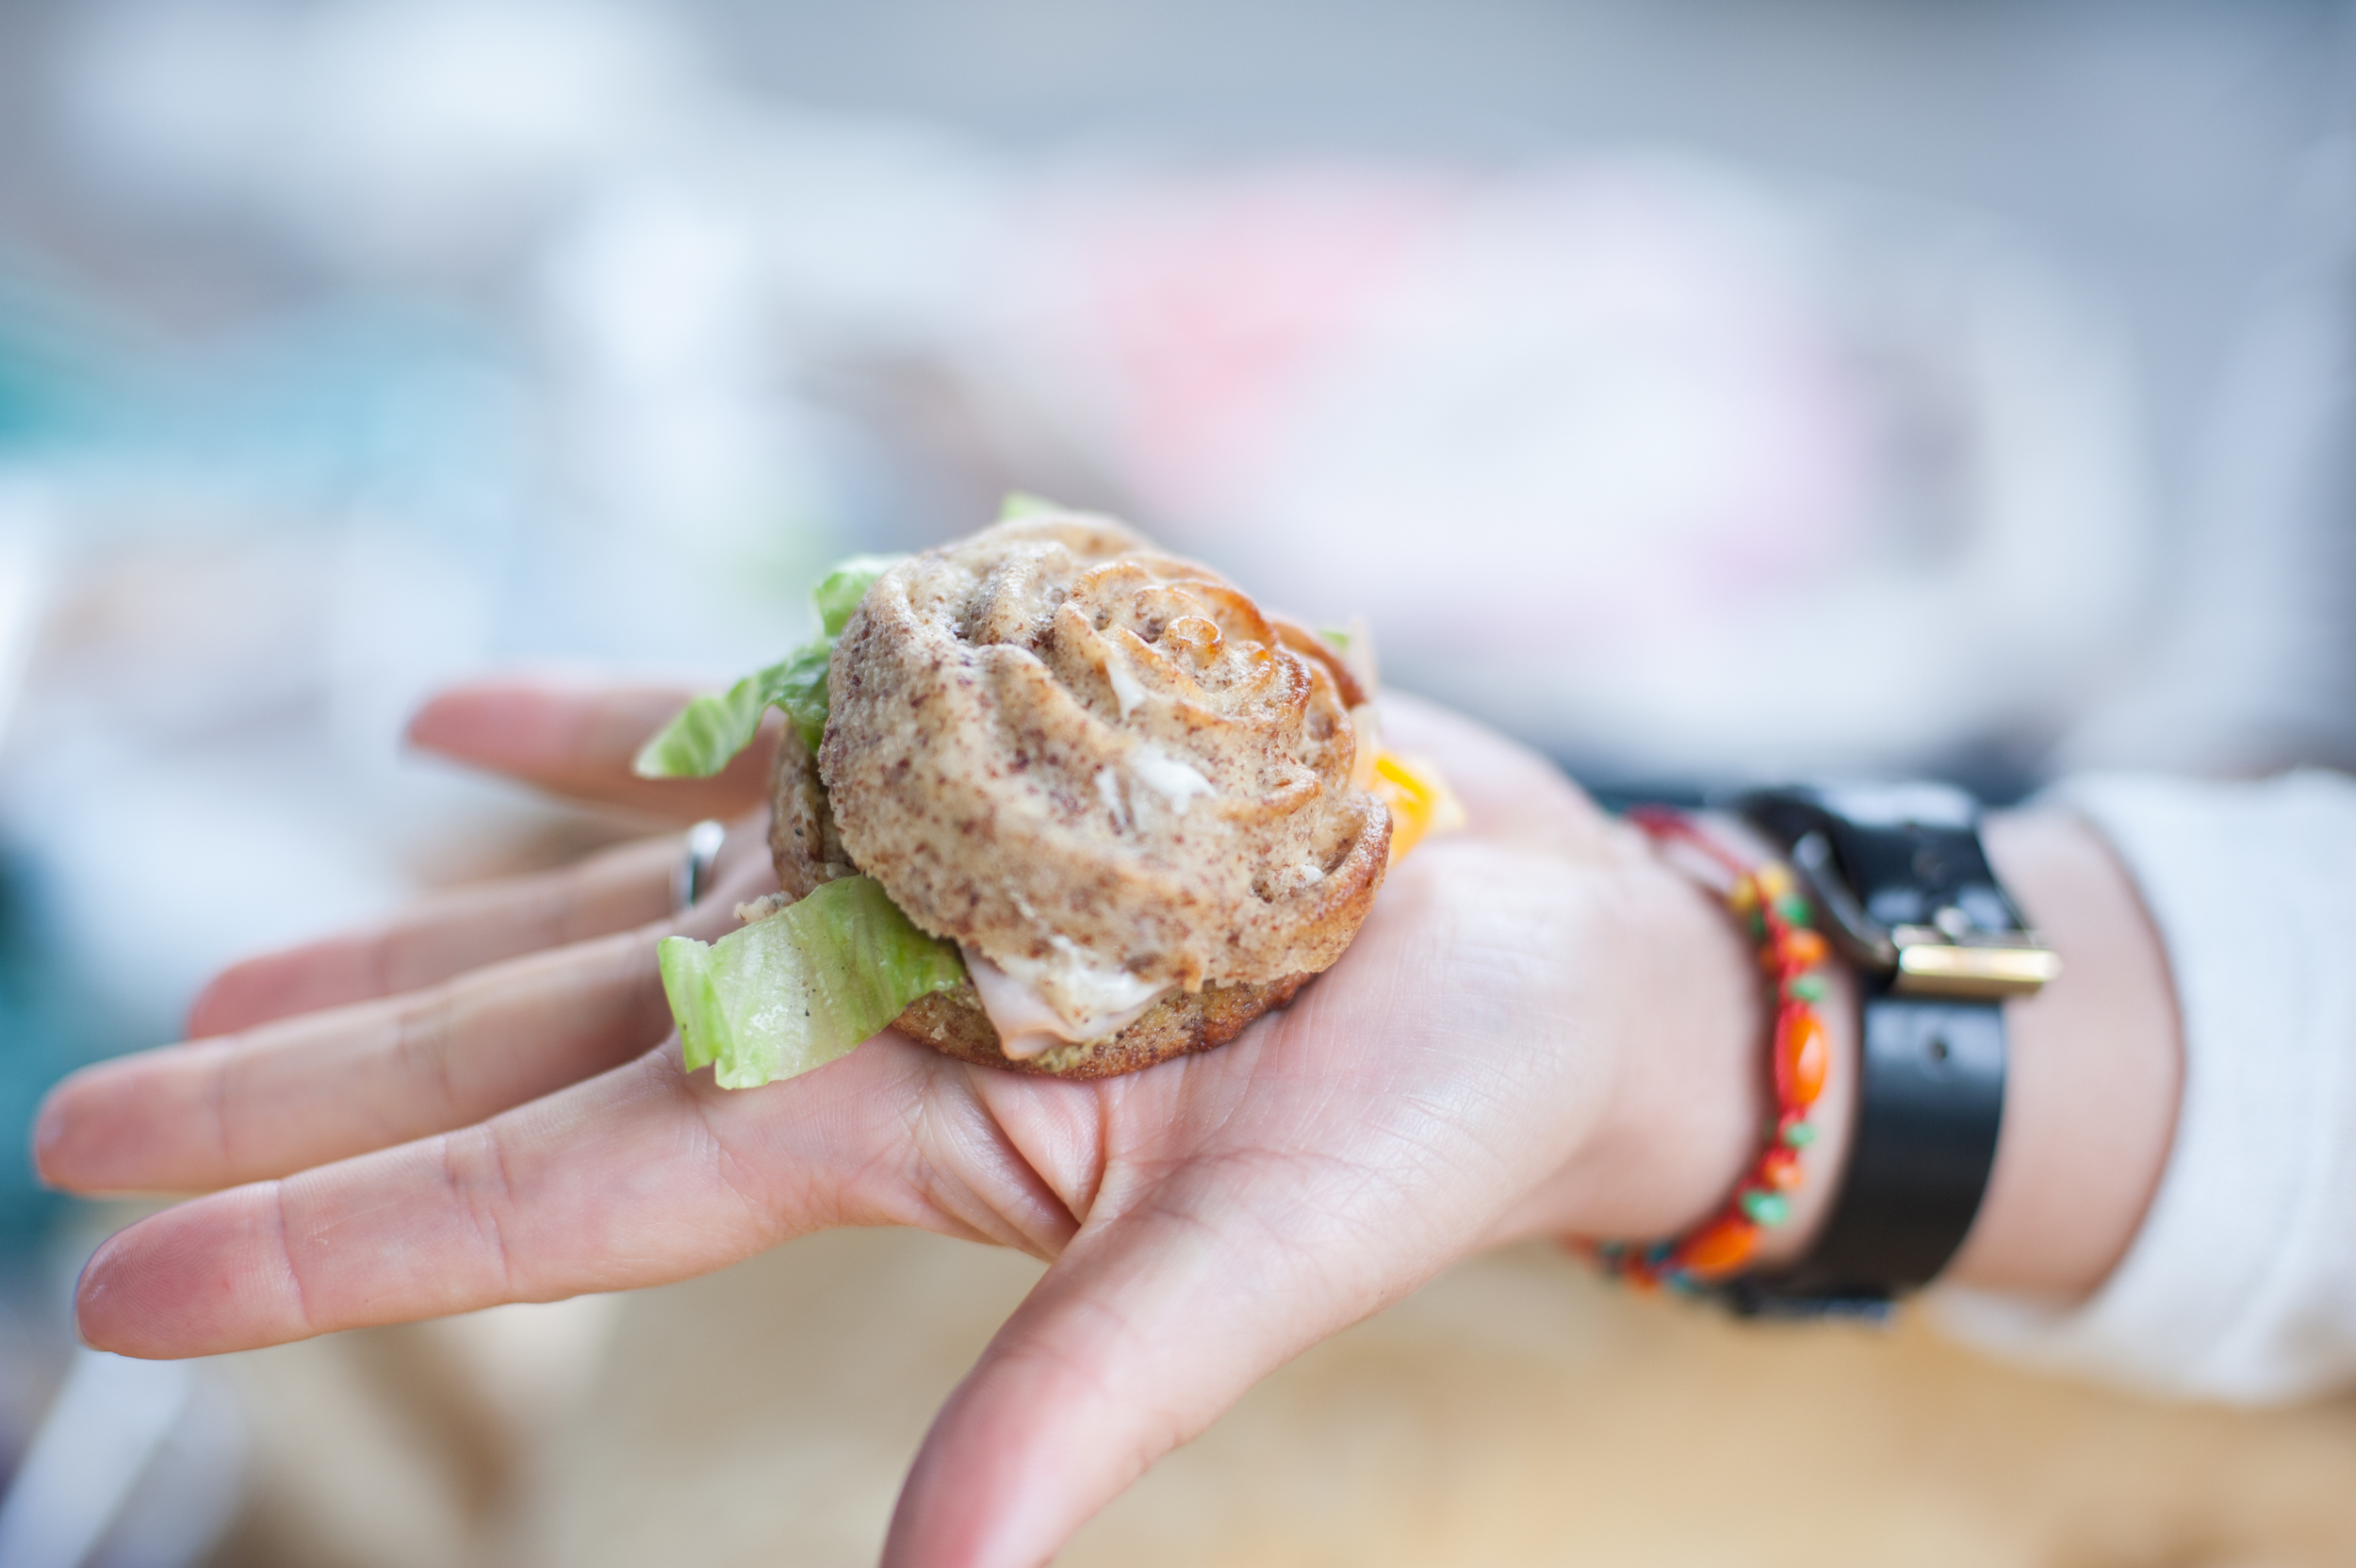
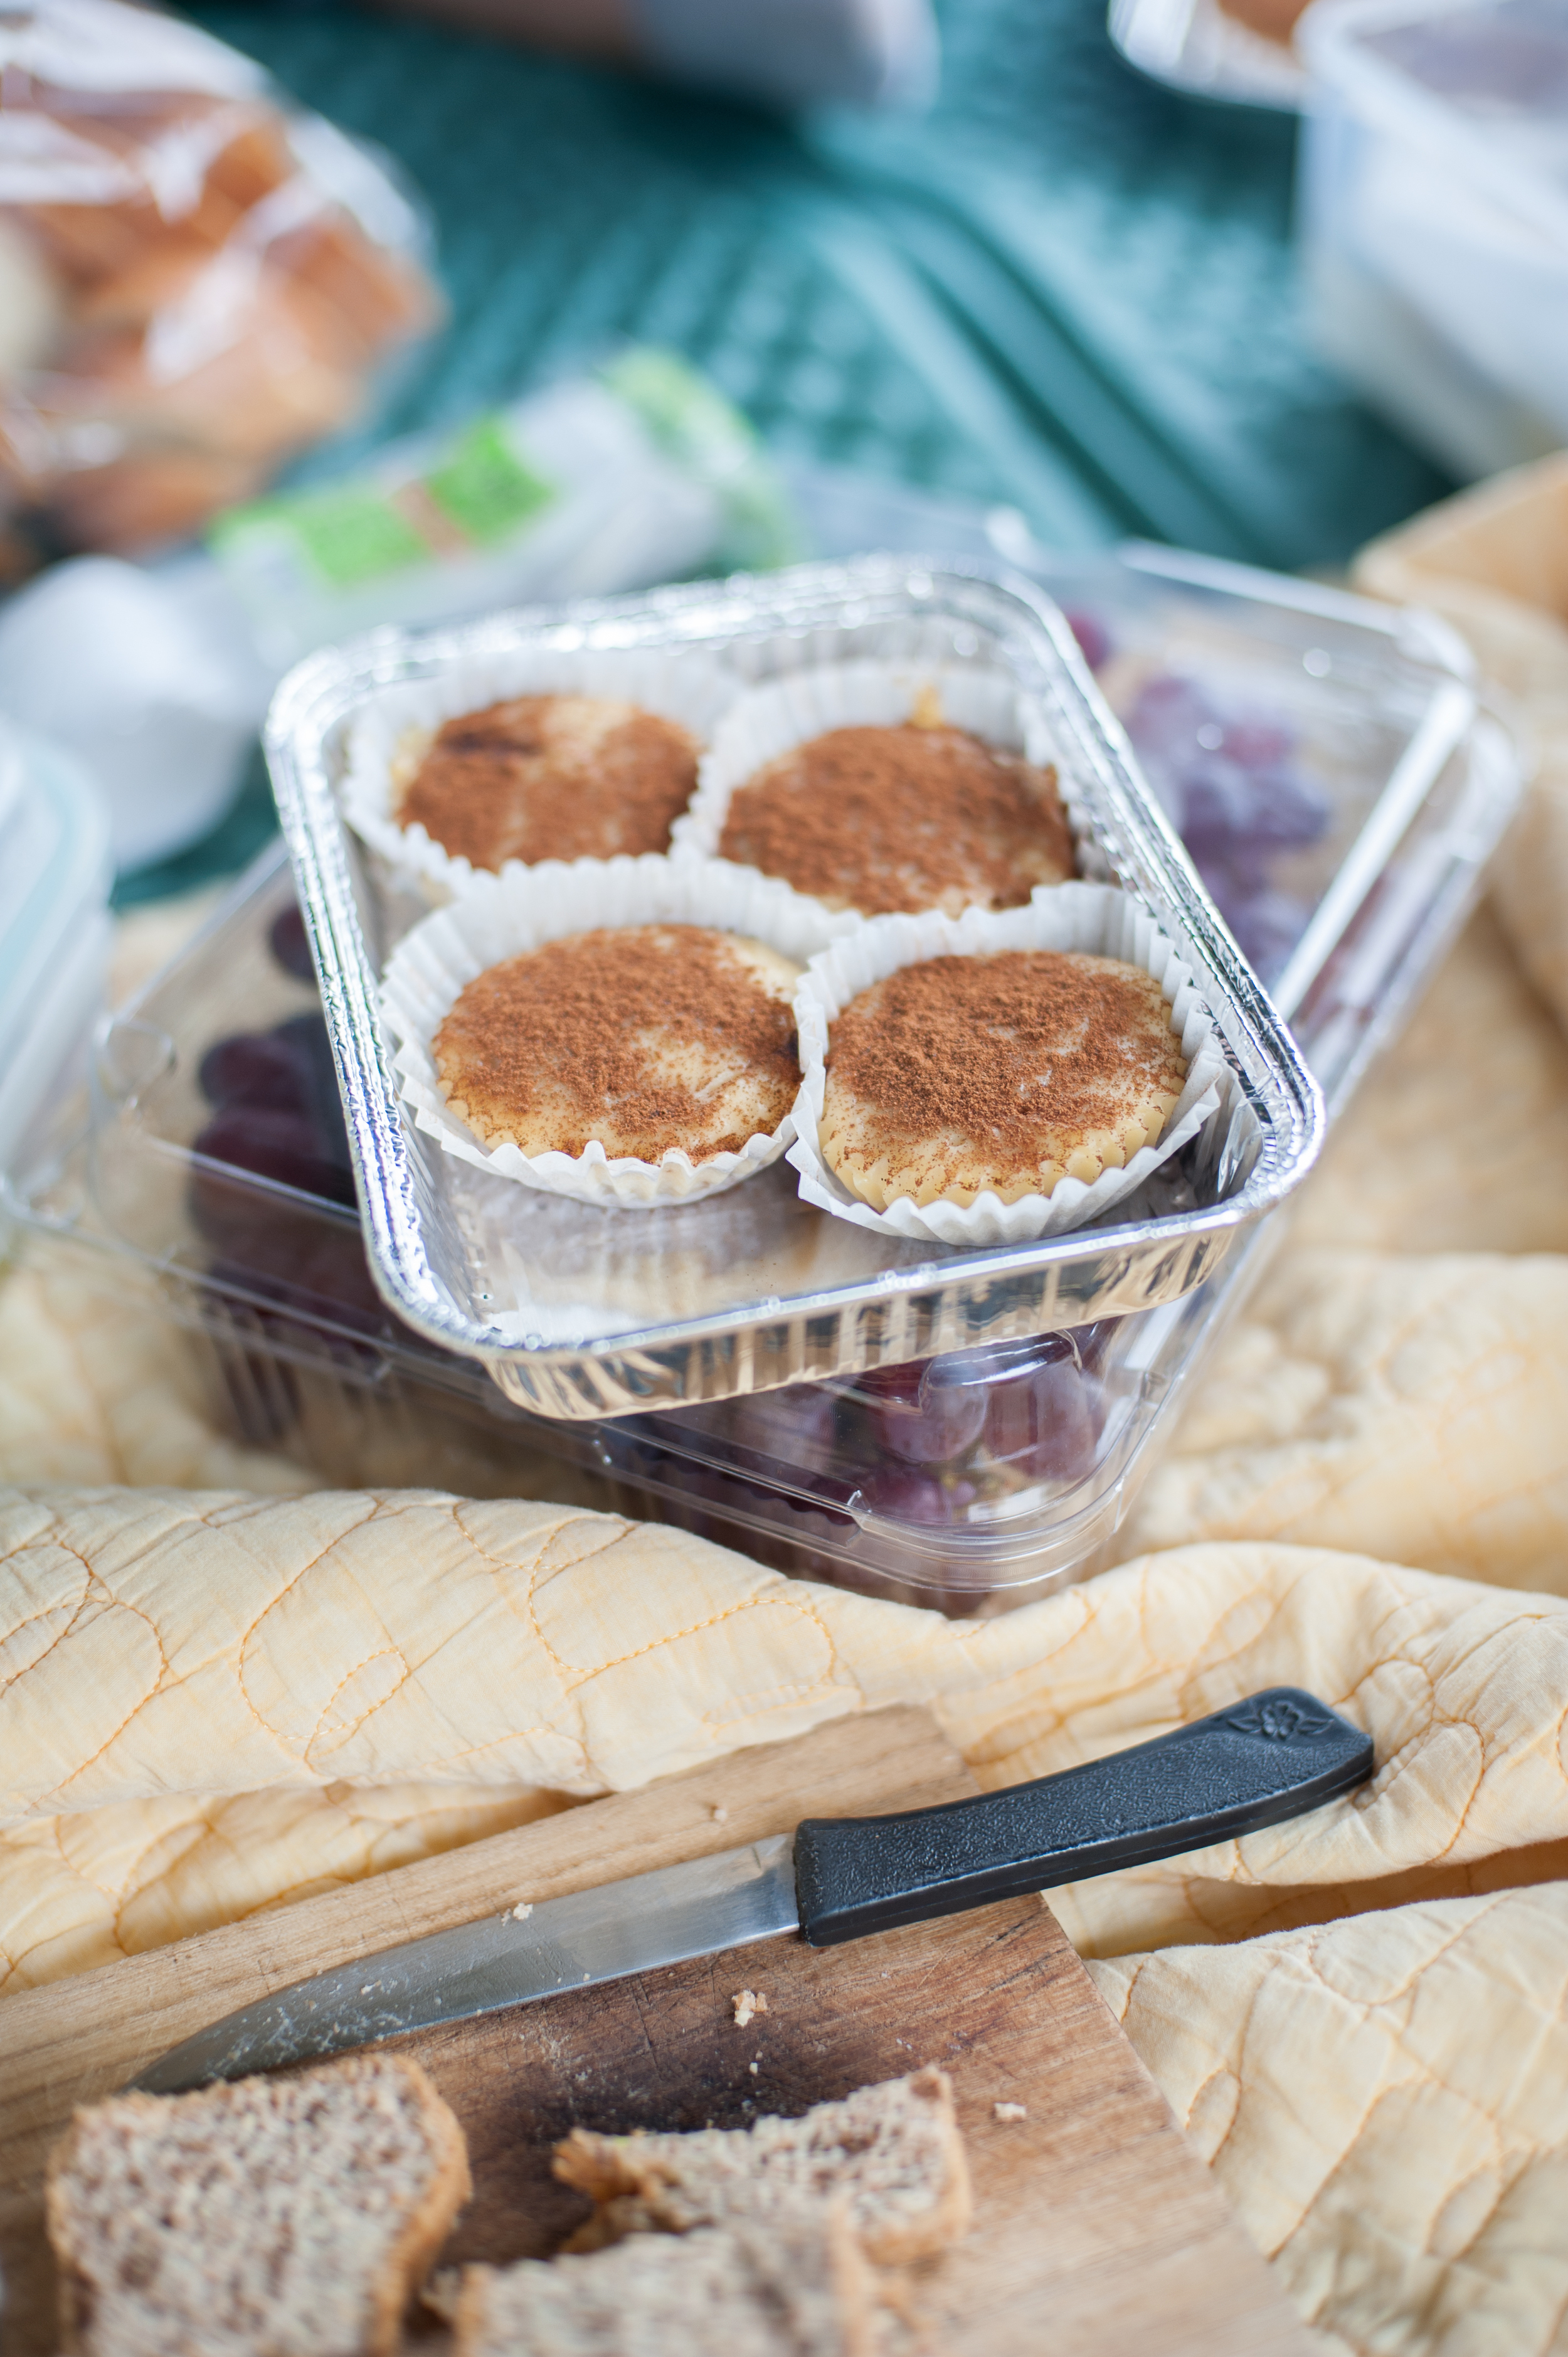
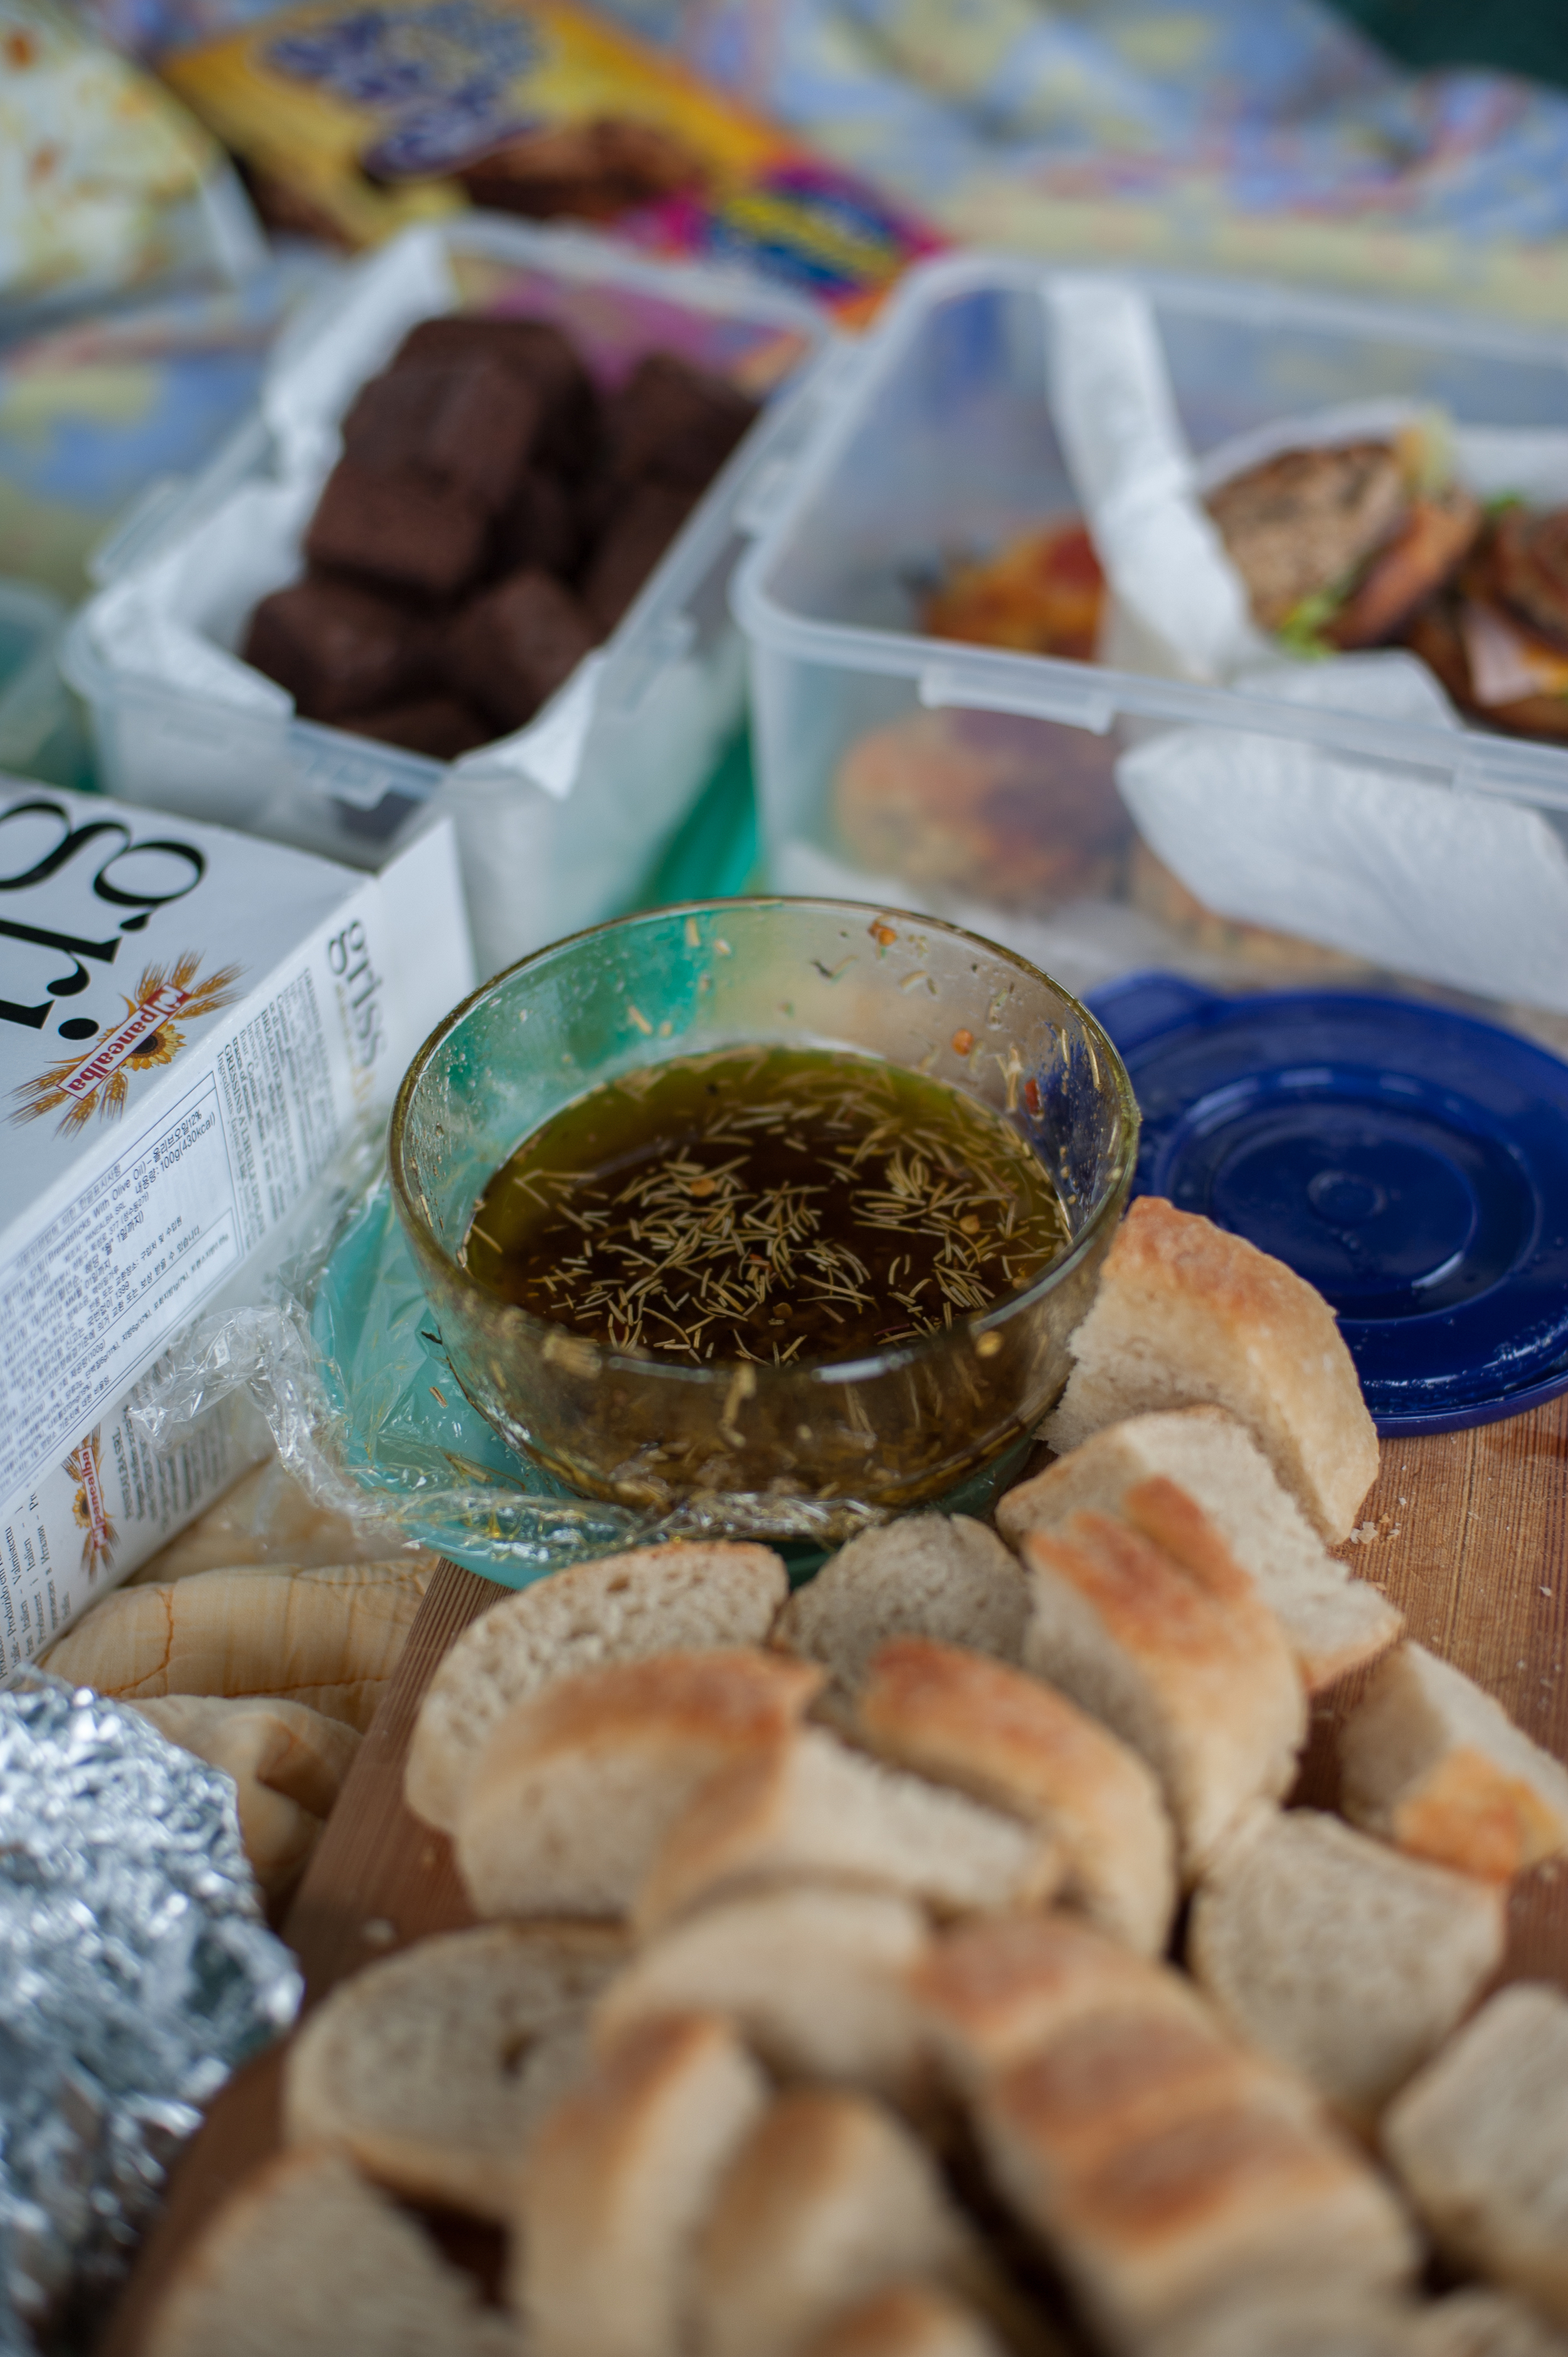
Everyone brought such amazing food (most of it home made...like those milk tarts and the bread). I even tried making a Banting bread (top photograph above) which came out quite well, although I will admit to eating a slice or two (or three) of Alysha's loaf. 

We even had three pups join us which provided us all with a lot of entertainment. My pup, Shadow (the big black one) and the white one are both Korean Jindos (of the mixed variety hehe) and all three dogs were rescue pups found here in Korea.

Thank you so much to Marilize who got hold of my camera and snapped the lovely photographs below. It's so nice to be on the other side of the lens for a change.

We would love for you to join us next time, simply pop on over to our Facebook group to join in.

I hope to meet you soon!

x

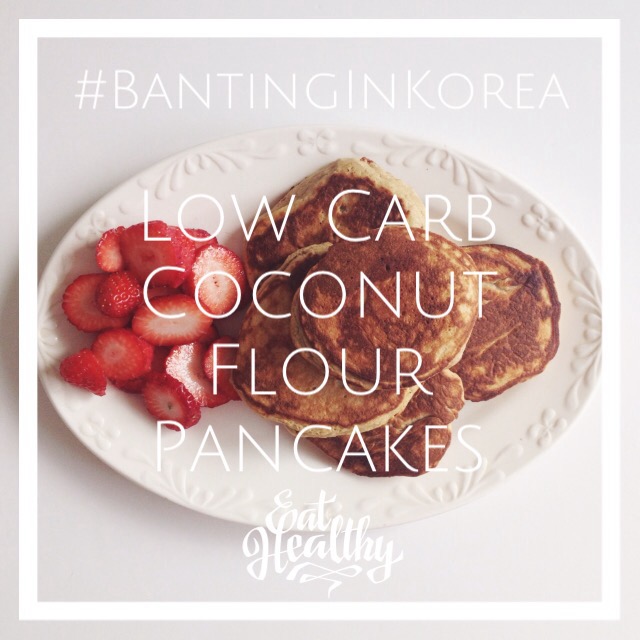
Banting Low Carb Coconut Flour Pancakes Recipe #BantingInKorea

LowCarbBantingPancakes

The weekend is the time to break away from the quick and easy but boring weekday breakfasts and treat yourself to some spoiling. These Banting friendly pancakes (click here to read more about the Banting High Fat Low Carb lifestyle) are light and fluffy while being incredibly filling, satisfying those carb cravings in seconds. Top with your favourite fruit or a smidgen of honey (remember your 1 TBS a day honey allowance when Banting).

These pancakes are wheat, grain & refined sugar free meaning they are as kind to your hips as they are to your tastebuds....enjoy!

LowCarbBantingCoconutFlourPancakes

Ingredients

  • 2 Whole eggs and 2 egg whites
  • 3 TBSs melted coconut oil (or melted butter)
  • 3 TBS coconut milk (or full cream milk)
  • 1 TBS xylitol (can be purchased on Gmarket)
  • 1 tsp sea salt
  • 3 TBS coconut flour (can be purchased here in Korea through >>> iHerb)
  • 1/2 tsp baking powder
  • 1 tsp cinnamon
  • 1 tsp all spice
  • 1/3 cup flax meal (flax seeds can be purchased here in Korea through >>> Iherb...simply grind the seeds in a blender to make your own flax meal)
  • 1 tsp vanilla essence (also purchased through >>> Iherb if here in Korea)

**Iherb has a flat $4 delivery rate to Korea for orders up to 7kg...use this code on checkout LCP131 to get $5 off your first iHerb order, or $10 if your order is over $40

LowCarbBantingCoconutFlourPancakes

Directions

  • Using a whisk, mix together eggs, coconut oil (or melted butter), milk, honey and sea salt.
  • Continuing to whisk, add the baking powder and coconut flour until thoroughly mixed. Add the cinnamon, all spice, flax and vanilla. Stir to combine. Coconut flour is incredibly absorbent so you might find the batter gets stiff too quickly. Simply add some milk, a little at a time to get the batter back to a smooth consistency.
  • Heat 1 tablespoon of butter (or coconut oil) in a pan on medium flame heat. Then wipe down the pan with a paper towel and put aside. This keeps the oil and heat consistent so your pancakes cook through evenly (re-use the paper towel, adding more coconut oil when needed).
  • Spoon 2-3 tablespoons of batter onto a pan and leave for a couple of minutes (making sure to keep an eye on it so it doesn't burn)
  • Turn over to make sure each side is thoroughly cooked.

Enjoy!

My favourite Go to blogs for Creative Business Inspiration

When I'm in a bit of a blogging rut I often turn to Pinterest in the hopes of being inspired by all the beautiful imagery and creativity on display. One of my favourite boards to pin to is Blogging Resources (click here to see all the awesome posts I've lined up for future reading) and it's been while scouring content for this board that I've come across some pretty fabulous bloggers. These bloggers have helped me to feel inspired again with their business advice and the overall awesomeness they exude.

Today I want to share their blogs with you so that you too can feel motivated to take your blog to the next level while gleaning from their infinite bloggy wisdom. 

download (1).png


First up is Lauren who blogs over at Elle & Company.  I check out the Elle & Company blog at least 3 times a week and I actually look forward to her newsletter instead of hitting the delete button as soon as it hits my inbox. 


Lauren is a fellow SquareSpace blogger who is completely open with her business and shares the how's and the why's behind her blogs success. She also offers great tips on blogging with SquareSpace and has really some really awesome posts on branding. I have learnt so much from Lauren with regards to my own branding for CityGirlSearching and since implementing her tips & advice I have noticed real growth in my readership.

Two of my favourite post she's done so are Why and How to Brand Photos & Why Branding Matters.  Speaking of branding, how gorgeous are her blog images? It's no wonder I was hooked as soon as I first saw her posts on Pinterest.

Elle&CompanyBlogTips

Next up is Regina who blogs over at ByRegina. Every time I head over to By Regina I am once again filled with an intense passion for my blog and I am reminded of all the reasons why I started blogging in the first place. ByRegina is for anyone who needs a little push in following their creative dreams and making those dreams a reality. Regina writes so well, and with each and every blog post she'll have you feeling as if she's talking directly to you and that the two of you are best buds. She is also hilarious and her blog makes for a fun read.

Below are two of my favourite posts which have both inspired me and really pushed my boundaries in terms of how I see myself and my blog as a business.


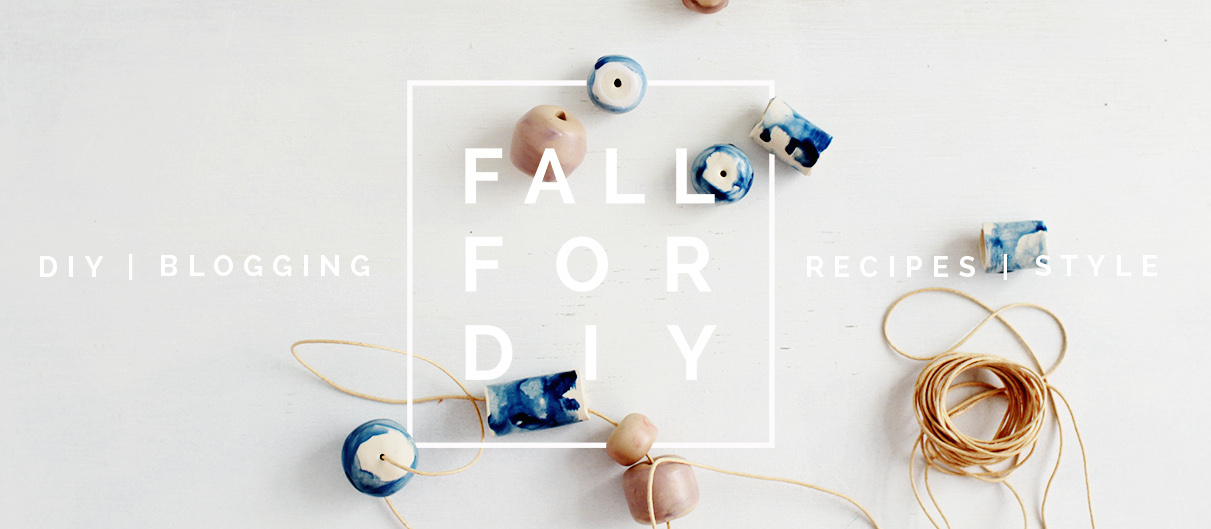
I have only recently stumbled upon Francesca's blog, Fall For DIY and have spent the last few days scouring through each and every beautiful post. Her posts are all accompanied by gorgeous photographs and graphics that tell a story.

Her DIY's seem so easy to do (unlike a lot of other Pinterest posts I find) and I can't wait to start making some of them. Her blog leaves me feeling inspired and ready to get creative with my camera.

I love the clean look and feel of FallForDIY, and I am especially drawn to her styling and use of lovely elements. I loved her post on making your Instagram feed more loveable, as it was filled with really useful ideas for growing my own account. I loved the idea she mentions of becoming a collector of objects or textures to shape your Instagram feed.

Another of my favourite posts from FallForDIY is about how to get stuff done when you're having an off day. We all have off days and the 5 practical steps she outlines in her post will have you feeling rejuvenated and ready to take on the world with your to do list in no time at all.


You may have seen me mentioning Melyssa from The Nectar Collective my Weekly Wishes posts. Those goal setting posts are a series Melyssa hosts weekly on her blog which helps women connect all over the world in an effort to write down our goals and then tick them off. Melyssa is super encouraging and is just such a lovely person. 

Melyssa blogs about the business side of blogging (with posts on freelancing, finance, & productivity) as well as great DIY & photography tips (like this guest post by Jessica Keller on creating colourful backgrounds for your blog posts!). The Nectar Collective was the first blog I ever found that catered to more of the business side of blogging, and it was this post How I grew My Blog that got me hooked. Also, her recent post on How & Why to Create a Media Kit is super useful for bloggers, and as she's so nice she has even included a free template so you can create your own. 


Erika is the sweet lady behind Olyvia and it was her blog tag line that first drew me in: 


BE DELIGHTFUL ONLINE


Isn't that a lovely tagline?


So much online marketing advice seems to imply throwing your brand into peoples faces and I am always worried about flooding my family & friends Facebook timelines with blog content (how else are us smaller blogs supposed to get our content seen???). Well this is exactly what Erika blogs about. Olyvia is all about showing you how to get your brand noticed online without seeming desperate. 

Erika's blog posts titles are awesome and clever in their own right and will draw you in (I have been trying to work on my own titles since noticing hers) and she writes in such a way as to keep you not only entertained but coming back for more. I loved Erika's video series,  How Do I get Noticed on Facebook and have found her tips soooo helpful for my own Facebook ages. I particularly love that she co-titled that post 'A Sleaze-Free Video Series to Help You go From Ho-HUm to Wow'. Her post on How To Get Pinterest Followers & Repins has been one that I keep going back to and is filled with practical, no nonsense tips for helping you get your Pinterest account noticed.

I hope you found this post helpful and that these wonderful bloggers help you to take your own blog to the next level.

I would love for you to share this post using the share button at the very bottom of this post so that we can help other bloggers feel inspired!

Gamcheon Art Village, Busan

GamcheonArtVillageBusan

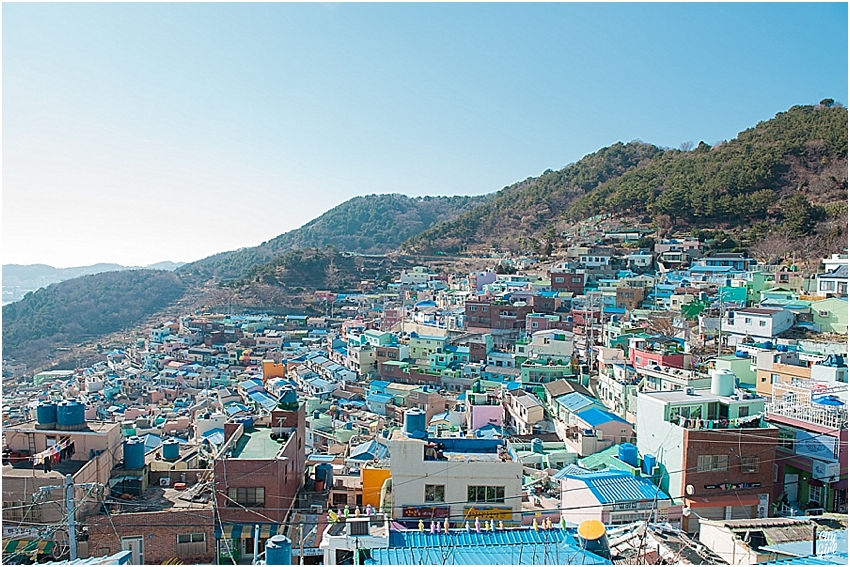
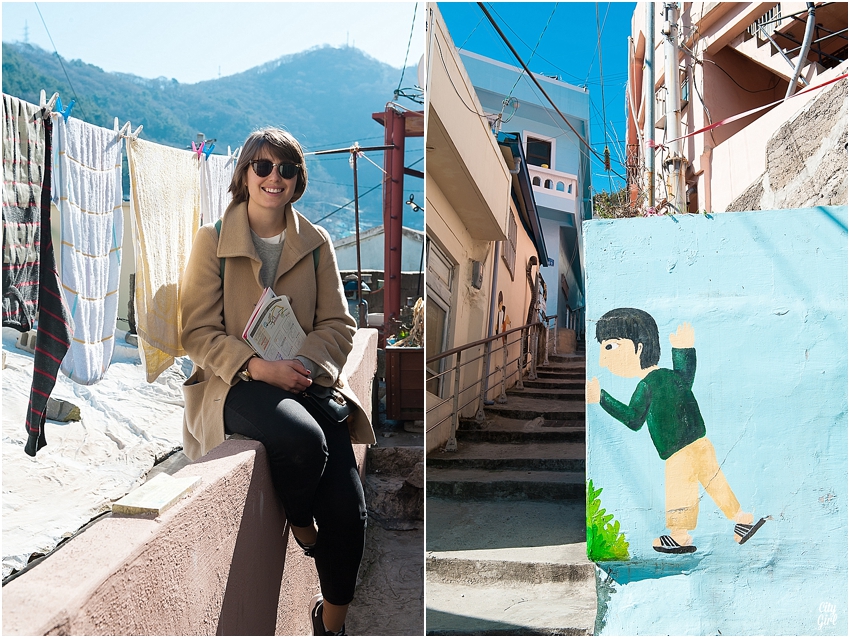
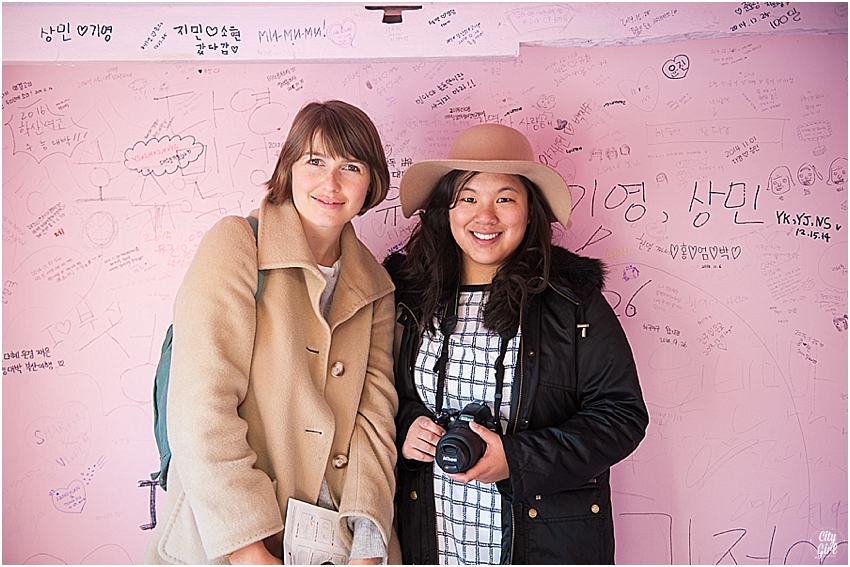
I didn't know much about Gamcheon Art Village except for having seen images of multicoloured house dotting a hillside in Busan. Armed with the knowledge of how to get there, and that it would be a very different experience to most festivals and temples in Korea, I set off in search of the village with a group of adventure loving friends.

GamcheonArtVillageBusan

Here is a little more on the history of the Art Village as written by Jessica Steele for the BusanHaps Website (all images are my own):

"Gamcheon has long been home to the city’s poorest residents. In the 1940s, only 20 or so houses dotted the hillside, but that number swelled dramatically at the beginning of the Korean War in 1950. War refugees fled their homes for the relative safety of Busan, the only area of the peninsula that remained free from fighting. Within a year, Busan’s population grew from 880,000 to 1.4 million people, and a half million homeless refugees needed a place to live–and fast. Approximately 4,000 people moved from the crowded port areas surrounding the Jagalchi Fish Market to nearby Gamcheon, erecting some 800 makeshift homes using scrap iron, wood and rocks.

GamcheonArtVillageBusan

Those shanty homes were built up into the brick-and-concrete Lego-like houses that you see today partially thanks to a man named Chol-je Cho. Cho founded Taegukdo, a religion that believes that the Taeguk, or yin and yang symbol, represents the true meaning of life and the universe. Practicing again after persecution and suppression during the Japanese occupation, Cho and his followers converted nearly 90 percent of the refugees living in Gamcheon with their gifts of rice and candy. With this help, residents were then able to funnel their earnings into rebuilding, and in 1955 the area became known as the Taeguk Village when Cho moved the religion’s headquarters there.


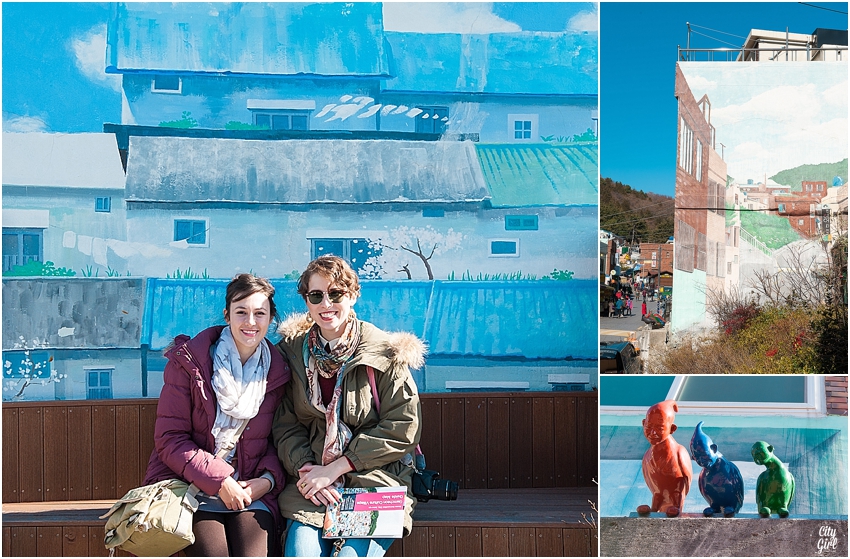
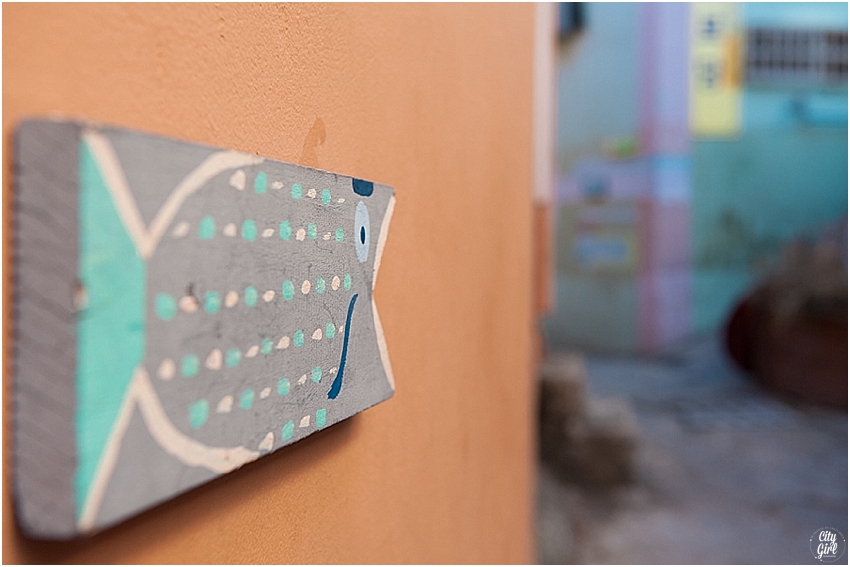
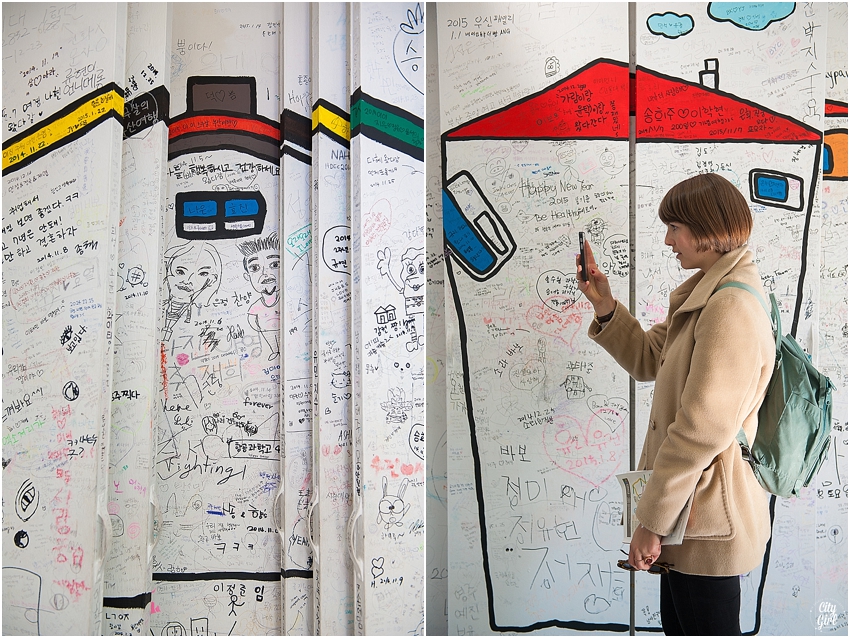
Although better established by the 1990s, Gamcheon and the Taeguk Village remained poorer than the rest of Busan, which busied itself by erecting skyscrapers and high-rises. In 2009, the Ministry of Culture, Sports, and Tourism stepped in with the Dreaming of Machu Picchu in Busan project. Reparations were made, artists were hired to paint murals and 10 artworks were installed, some created with the assistance of the residents. In 2010 the follow-up Miro Miro project saw the addition of 12 more works, including alley paintings and path markers perfectly suited to the project as miro means ‘maze’ in Korean. These days, visitors can see trick art, sculpture, and even rooms or buildings remodeled around a singular art concept, such as the Book Cafe shaped like a giant coffee mug, or rooms interpreting themes such as ‘peace’ or ‘darkness’.

GamcheonArtVillageBusan

While the village’s remaining 10,000 residents are now used to the influx of tourists, photographers and filmmakers, they are still wary of them, and many do not care to be the subject of photos. The village is open from 9:00 to 5:00, and is free of charge. For more information, and to buy the illustrated souvenir tourist map, you can head to the village’s Haneul Maru Tourist Information Center and Observatory, where you’ll also get a great view of the city".

GamcheonArtVillageBusan

When we arrived we headed straight for the tourist help centre and bought one of the super cool Gamcheon Village maps. There is a blank page inside the map for you to collect stamps that are hidden inside some of the art rooms. This made our walk into a sort of treasure hunt adventure and was lots of fun. My tip to the art village was one of the highlights so far of my 3 year stay in Korea and I highly recommend visiting it. Perhaps in Spring or Autumn when it's not so cold and try head there for early morning or late afternoon when the light isn't as harsh for photographs.

Directions

  1. Take Subway Line 1 (accessible from Busan Station) to Toseong Station.
  2. Come out at Exit 6.
  3. You will be facing an intersection. Turn right at the corner and walk straight. You will see a hospital on your right. The bus stop is right in front of the hospital.
  4. Take either Bus 2 or 2-2 (W800 pp)
  5. This will take you to Gamcheon Culture Village at top of the hill.

Life After The Dress {Episode 19} Marketa Forstova-Horton

LifeAfterTheDress

In this series I interview married women of all ages and from all walks of life and ask them real questions about their lives now, after all the glitter and sparkle of their wedding day is over.  You can read more about the other ladies I have interviewed so far by clicking here.

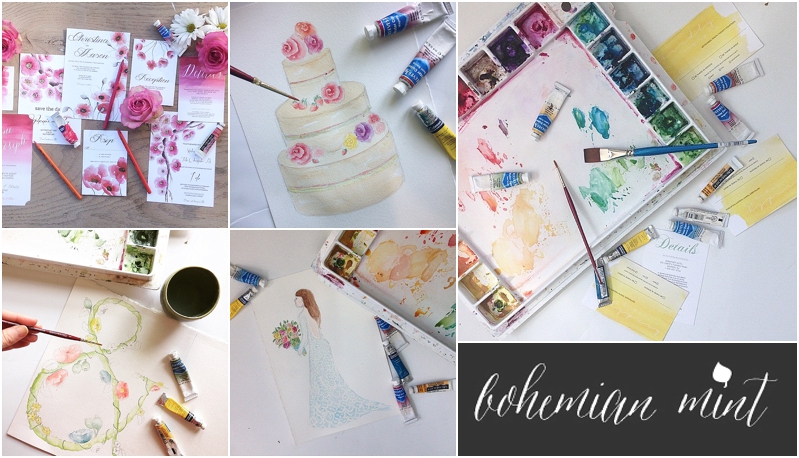
Today I've got Marketa, an incredible talented illustrator & creative who blogs over at Bohemian Mint. I found Marketa's blog one day on Pinterest and just loved her style and illustrations so much that I sent her a hello email. We have been friends ever since! Marketa is just such a lovely soul and I really hope to meet her in real life sometime soon. We are planning a very special collaboration in the next few months that I can't wait to share with you...watch this space! In the mean time, grab yourself a cup of tea and get ready to be inspired!

x

#LifeAfterTheDressMarriageSeries

Q1: Please introduce yourself (age, of both yourself and your husband, where do you live, what do you do & how long have you been married for?) 

Hi! My name is Marketa Forstova-Horton, I just turned 30 and I work in the wedding industry - I am a wedding invitation designer and an editor for a wedding website. My husband’s name is Eugene Horton, he is 32 and works for a  plumbing company. We have been married for almost 8 years and we currently live on Long Island, New York.

Q2: Which Disney character do you feel sums you up to a ‘T’?

Hmmm. In order to answer this question, I would need to take a trip to Disney world! J I grew up in the Czech Republic, so I am not gonna lie- there are gaps in my Disney knowledge! Is there something like a fairy with a whimsical sense of humor who loves insane amounts of chocolate? If not, somebody suggests to Disney to create that character, please.

Q3: How did you and your hubby meet?

We met in college. We both took the same class, and Eugene was sitting a few rows behind me. One day after class, he caught up with me and asked me how I liked the class. Turns out I liked him much more than the class (I ended up dropping the class, but kept him).

Q4: Was your wedding everything you hoped it would be? Would you go back and change anything? Do you have any advice for brides-to-be?

My wedding was nothing like I ever imagined for two reasons:

1.     At 22, I really never thought about weddings.

2.     We eloped, so I didn’t really have time to think about my dream wedding. It happened on a Tuesday night- I wore a white and black dress that I picked up at Macy’s and a pair of black pumps. (Since then, the dress fell apart but I save myself a little scrap from it!)

Looking back, the one thing I regret is not having my family there. My husband and I are actually planning to do a vow-renewal ceremony, where we invite our families. Oh, and I am having an awesome naked wedding cake with a ton of berries on it for sure. Considering I work in the wedding industry, I am overflowing with ideas!

My advice- and I think that’s the only advice I can give, considering my elopement, would be not to stress anything out. The ceremony became about us, not about the flowers, the shoes, or whether the favors are placed in the right or the left corner.

Q5: Has ‘life after the dress’ been as you imagined it would be?

Again, everything became so sudden that I had no time to think about it. It just happened. In a way, it was great, because there was no time for second-guessing and worrying. But we have been married for almost 8 years, so I suppose this strategy works! J

Q6: What do you think makes marriage work?

Though different for everyone, for me, it’s the idea of us being a team. “Marriage is like communism”, I say. There is no such thing as “my money”, or “I earned this, so this is mine.” We each have our career and passions but we always make the big decisions together.

At the same time, however, I think it’s important to have something that’s solely your own- your job and your hobbies.

But if you lie or cheat, then even communism can’t save you.

Q7: What have you learnt about yourself since being married?

Before I met my husband, I thought that I wouldn’t get married until I was like 35- I wanted a life of adventures first. I ended up getting married at 22 and I learnt that all the adventures I had in mind were more fun when I shared them with someone. I suppose I have learnt that I really love marriage and the idea of having a teammate for life.

Q8: If you could describe your marriage in 3 words, what would they be?

Love, Teamwork, Adventure

Q9: Do you have any pearls of wisdom you would like to share with my readers about being married? Perhaps something some wise person once told you, or something you’ve learnt the hard way?

Stuff I've learnt:

Don’t sweat the small stuff. And let stuff go. Dirty socks on the floor are not worth the fight- I learnt that after about 2 months of marriage.

Also, before I got married, I used to look at married couples and say: “I would never do…XY. Ever.” And then I caught myself doing XY. So the chances are that the stuff you say you would never do (like go to bed angry or throw out the dinner you cooked because you are just so damn mad), I bet your bottom dollar that you will- and it’s okay!  

Lastly, marriage is a marathon. If you are in it for the long run, there will be times when you are out of breath or when you trip over. (And there will be times when you will want to trip him over, believe me) Don’t sweat it. Love is beautiful, love is messy. And as long as you are running together and having fun, you are all right! 

LifeAfterTheDressBohemianMint

You can find Marketa at the following places:

I hope you have been enjoying this series as much as I have enjoyed putting it together.

If you would like to be featured here on the blog, you can drop me an email using the contact form above or leave me a comment below. I look forward to hearing from you!

Setting up NH Internet Banking in Korea

NHInternetBankinginKorea

If you are with the Public School program here in South Korea, you will have to set up a bank account with NH (Nonghyup). This is the standard bank the government/education department uses to pay your salary. You can open another account at a later stage for sending money home (we have an Easy One Account with KEB which we use to send money home easily to South Africa as KEB changes KRW straight into ZAR without having to first convert to US dollars).

Please Note: Internet Explorer & NH are best friends. I often have problems trying to use my Mac to do internet banking. Some days it works and some days it doesn't. But it always works with Internet Explorer on my school computer.

NHInternetBanking

To set up internet banking with NH you need to visit a branch. Do this straight away when you first go set up your bank account (hopefully you have a friendly co-teacher/friend to help you). Farmboy and I both have check cards that we can use for paying for goodies online (some internet sites accept these check cards and some don't so it's a bit of a luck of the draw). A check card is basically a debit card which acts as a credit card without any overdraft. You can use it to pay online but the money is automatically debited from your account. As far as I know, I can only use my check card here in Korea. I tried to use it to pay for flights online like I used to be able to use my South African check card, but no luck so far.

When you set up internet banking at the bank, you need to give them your passport (they will make a copy for you), you also need your ARC card (if you don't have this yet you need to show them your ARC certificate which you get from your nearest education office when you apply for your ARC card. It acts as a temporary ARC card until yours arrives). There is also a charge, it was a whopping W1000 when I opened mine.


What to Bring:

-passport
-ARC card/temporary certificate
-cash 
-address (of your apartment or school)

They will give you:

-an Internet banking registration form
-a banking password card (this looks like a credit card with a load of different number combinations)

The following will be given to you if you are setting your bank account up for the first time (ie you don't get a separate card & bank book for Internet Banking)
-a bank card 
-an account book (which is actually pretty important in Korea, and you can use it to withdraw money without your bank card, and to print out statements)

NHINternetBankingInKorea

Once you are all set up you will have to create an internet banking pin (usually 10 - 15 numbers and letters) to make transactions & another pin called a User ID to log onto internet banking. Keep those all somewhere safe. And you will need to have your card/ATM pin handy (4 letters).

You will then be given a OTP (one time pin) to use to set up internet banking for the first time. You usually one have 2 -3 days to use it before it expires.

To use internet banking you also need to have a digital certificate which gets loaded onto a USB. You use this every time you log onto internet banking so make sure you keep this on you all the time. If you lose it, its pretty easy to re-issue. You issue it for the first time through NH (click here) on the top menu bar = Certificate Centre. Keep this on a USB so that you can access Internet Banking from any computer in Korea. Whenever you do internet banking you will need this certificate so keep that USB safe!

Here are some wonderful step by step instructions from Asrune at TeachTravelLearn. Once you have been given the One Time Pin from the bank, you can set up Internet Banking at home/at school.

On a computer with Internet Explorer:

1. Go to http://banking.nonghyup.com/nhbank.html

2. In the bottom right hand corner, select "Global Banking" and "English"

3. You will see this page. It is prompting you to download a keyboard protection program. Click the left hand option to download and continue:

NHInternetBanking

4. Go to the "Certificate Center" and click "Issue a Certificate"

5. Enter your ID, which you created at the bank. It is listed on your registration form under "이용지명 ID:" on the second line of text.

NHInternetBanking

6. Enter your foreign number (National Identification Number), or passport number. Select the free certificate, and confirm

7. Accept the terms of Service

8. Register. Have your registration form (given to you at the bank) and password card ready.

NHInternetBanking

9. Create your banking password.

A pop up message will appear and ask you to create a Banking password. It must be 8 digits with both letters and numbers. You use this with your USB digital certificate every time you do Internet Banking 

10. Save your Certificate to a USB device.

You can use a USB so that you can log on any computer, or save it directly to your computer. You have to have a certificate to access Internet banking in Korea. A USB is recommended. After you have Internet banking set up, you can also add it to your phone, but that's a whole other blog post waiting to be written.

11. Log on! A pop up window like this will show up. Find where you saved your certificate, select your name, and enter your 8 digit banking password at the bottom (created in Step 9 above).

If you have any other problems, call the NH English customer service at 1588-2100 *730 for English Help.

Now that you have your digital certificate set up you can log in and start doing banking transfers. As the NH site is all in English it should be easy enough to follow. Good Luck!

Innisfree Soy Essence Curling Mascara {Review}

InnisfreeSoyEssenceMascaraReview

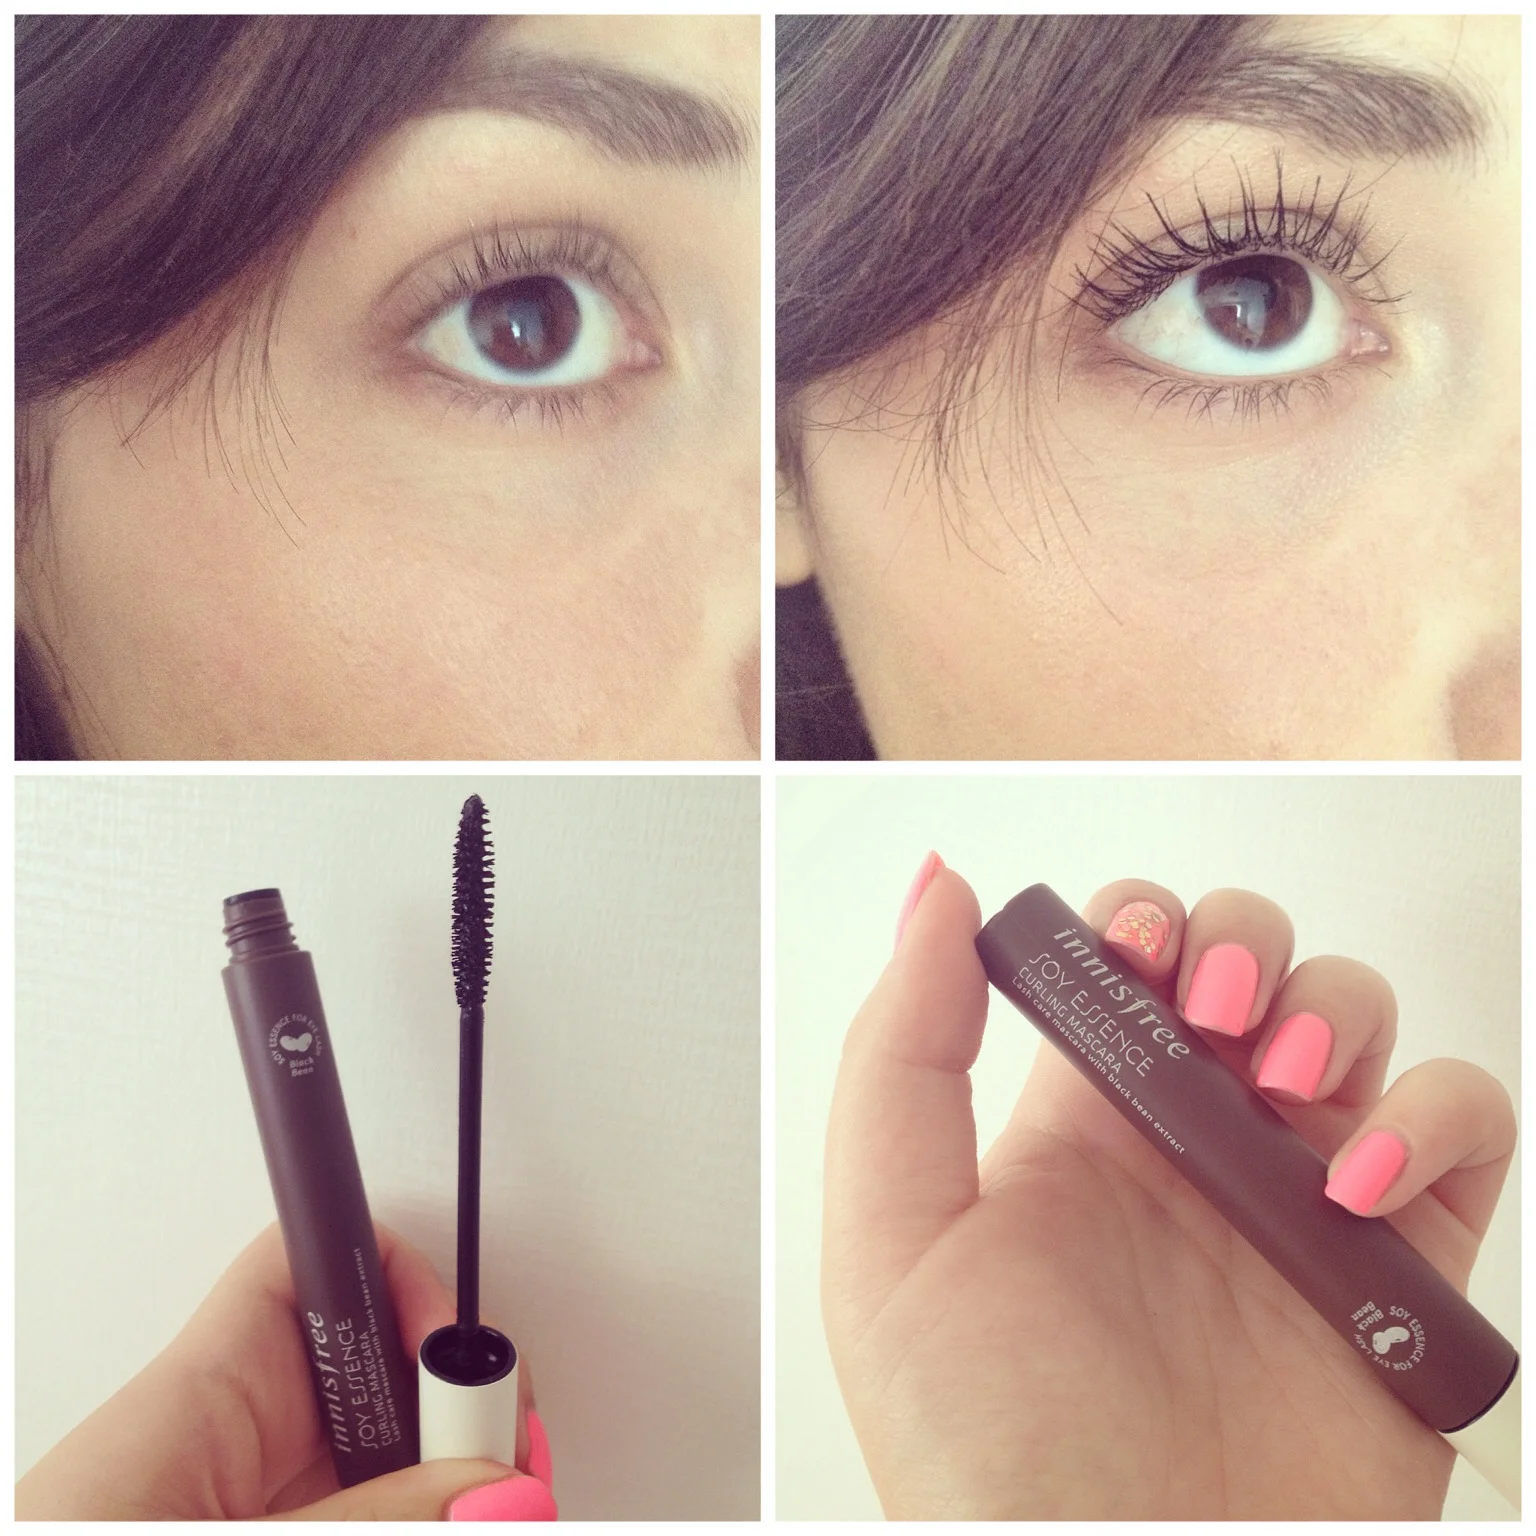
Who doesn't love a mascara that actually does what it says? This curling mascara from Innisfree does exactly as promised and curls my lashes to infinity. It doesn't provide much volume, but who needs volume when your lashes reach sky high right? My only grouch with it is just how tough it is to remove. You really need to go to town with your makeup remover, and even then you will probably need to do a double cleanse of your favourite cleanser; mine being this gentle deep cleansing oil from Klairs

But, even though it's hard to take off at the end of the day, this means it is most definitely able to stand up to a good cry or even worse, the hot and humid Korean summer which is well on its way.

InnisfreeSoyEssenceCurlingMascaraReview

The brush that comes with this Soy Essence Curling mascara is perfect for reaching each and every lash. You do need to work quickly though to avoid clumps. I find using an eyelash curler first before applying this mascara works best for me.

InnisfreeSoyEssenceCurlingMascaraReview

And now for some blurry Instagram photos to show you just how magical the length of your lashes can be.

InnisfreeSoyEssenceCurlingMascaraReview

Are there any Korean mascaras you've tried that you love? I'd love to hear from you in the comments below!

The #Hashtags you should be using on Instagram to get your photos noticed + FREE Printable Guide

When I first started using Instagram I was very afraid of the hashtag. I thought using them made me sound cheesy, like I was trying to be cool. But, having been an avid Instagram user for a while now I feel confident in saying that using hashtags will get you more likes and more followers and increase your engagement.

Why?

Well hashtags are a way of categorising your photographs so they are grouped together. This means you can look for things really easily. If you're a beauty blogger and you want to connect with and find other beauty bloggers you might use the following hashtags: #bblogger #beautyblogger #fotd (Face Of The Day)

By tagging your photographs with these hashtags you are ensuring your photo appears in anyones search for that particular subject. If you don't use hashtags, then the only people that can see your photos will be your followers. If you want to keep your photos private then you might deliberately choose not to use hashtags, but if you want to grow your blog/brand using hashtags will help your photographs be seen by more people. 

TIP: create a note on your phone with the hashtags you use most often (for me these are the hashtags under the 'lifestyle' heading below) and save it. That way you don't have to wrack your brains trying to remember all the hashtags and you can simply copy and paste them into the description box or comment below your photo.

There are hundreds of thousands of hashtags out there, and you can also make up your own like I did with #ShadowTheJindo & #WhatILoveMostAboutMarriage (although a few random people have popped on that one and started tagging their photographs with it so be open to the the idea that you can't 'own' a hashtag and anyone can tag their photographs with that particular tag and their photo will appear under it).

If you have a blog and want to create more of awareness for your brand as a blogger, why don't you consider starting a hashtag? It's not pretentious at all, see it rather as a way to connect with more people and to keep your ideas/photos categorised and easy to find. 

Here are some lists of the Hashtags I use when I post different things to Instagram. Some of them may seem obvious, but these are usually the tags that are widely used. Others I have found via searches and my own network of followers.

Beauty Products/Make up

  • #bblogger
  • #beautyblogger
  • #beautyjunkie
  • #beautyinkorea (if posting about a Korean product)
  • #southkoreanbeautyproducts
  • #skincare
  • #motd (makeup of the day)
  • #fotd (face of the day)
  • #beauty
  • #makeupaddict
  • #makeupjunkie

Nails

  • #notd (nails of the day)
  • #manimonday (when posting on a monday)
  • #manicure
  • #nailstagram
  • #instanail
  • #nailswag
  • #nailsofinstagram
  • #nailinspo

Dog

I had no idea that so many people had Jindos as pets until I started using hashtags! I found so many wonderful new friends to follow who share the same passion as I do for this unusual breed of dog. If you'd like to read more about our rescue pup, #ShadowTheJindo click here

  • #instajindo (or insta-  insert your dogs breed here)
  • #instapuppy
  • #dogsofinstagram
  • #woofwoof
  • #ilovemydog
  • #dogoftheday
  • #dogsagram 
  • #petsagram
What hashtags to use on Instagram

General Blog/Lifestyle Content

I have been using the following hashtags on all my photographs for the last 2 weeks and have noticed a general increase in engagement. These tags are really popular and are suited for lifestyle bloggers (those of use who post all sorts of content that doesn't always fit into one category).

  • #thatsdarling
  • #thehappynow
  • #petitejoys
  • #livecolorfully
  • #howyouglow
  • #myunicornlife
  • #abmlifeissweet (From the awesome blog A Beautiful Mess...there are a number of different hashtags you could use from A Beautiful Mess to connect with likeminded people)

The great thing about Instagram is that you can add new hashtags to your photographs after they have been posted and that way you can make sure to categorise even your older photographs. There are no hard and fast rules to Instagram so play around and have fun with your hashtags!

If you don't want to look like you are spamming Instagram with your hashtags you can post a few in the image description of your photo, and then post the rest of them in a comment under your photo. That way once people start commenting on your photo, your own comment with the hashtags will be pushed up to the top and hidden by the other comments. Its a little sneaky way to seem a little less brash while still getting your photos seen. 


To help you remember all of the hashtags mentioned in this post, I created a free cheat sheet just for you! This cheat sheet was created exclusively for members of my #CGScreative community. By joining this community of over 900 creatives you'll gain exclusive access to the CGScreative resource library. The resource library is filled with loads of worksheets, printables and what has made this community famous, beautiful stock photoraphs. Best of all, it's free to join! Simply click the image below to find out more:


What hashtags do you use when posting on Instagram? If you're on Instagram come by and say hello (@roxyhutton) I love making new friends there!
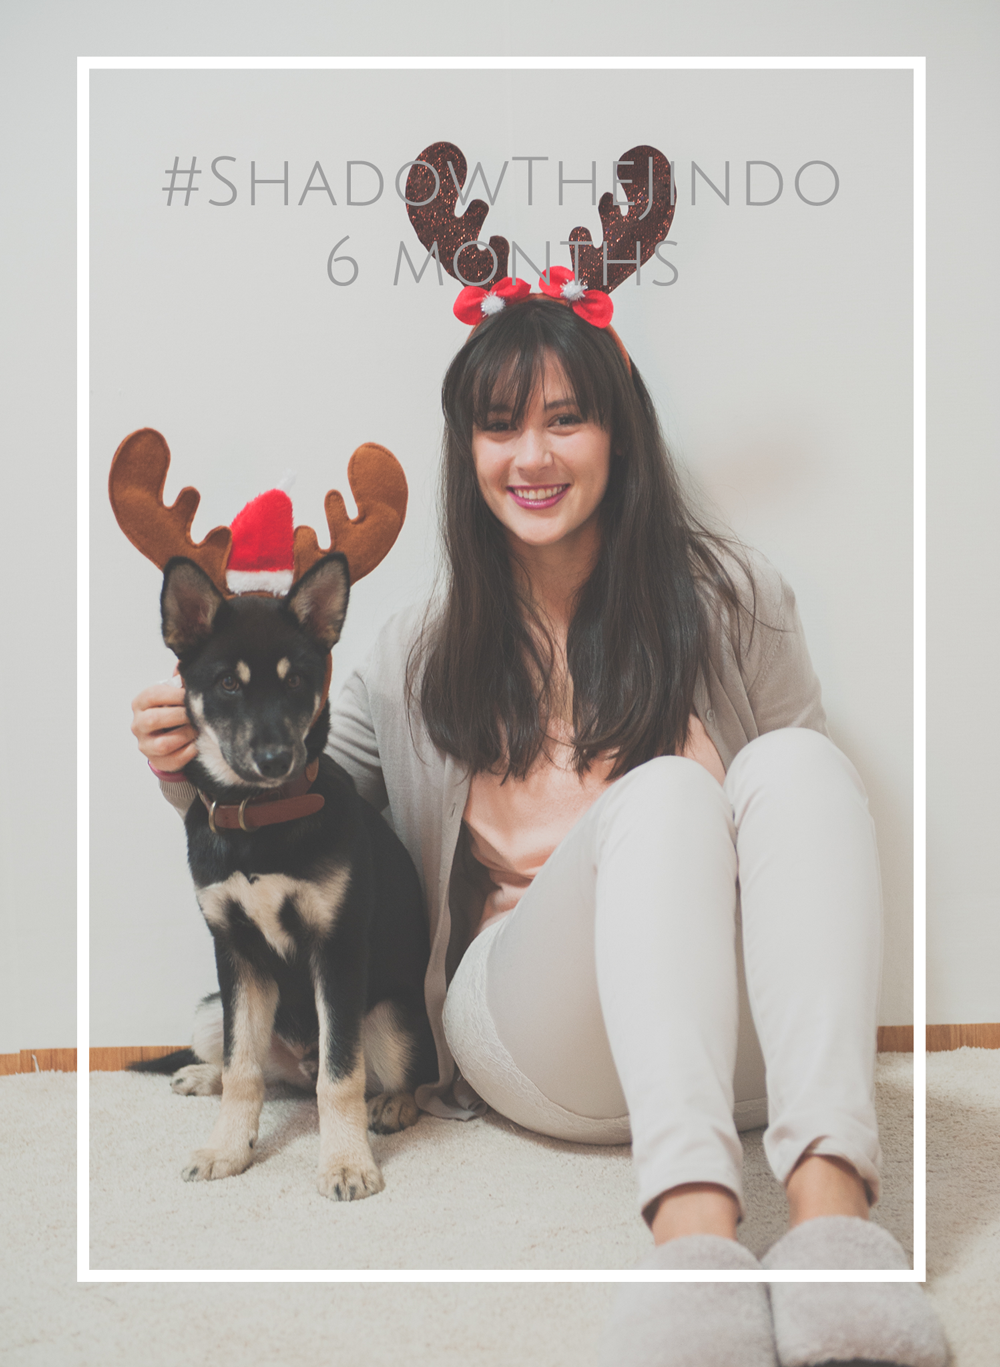
Camping in Korea - Yongdam, Jinan 섬바위캠핑장

Camping in Korea - Yongdam, Jinan 섬바위캠핑장

If you have a car here in Korea then camping is super easy and a wonderful way to spend the weekend. Even if you don't have a car, you can easily get to most camping spots by bus or train and if you have an International Drivers license you can easily and rather cheaply hire a car too! 

Camping is a very affordable way to spend the weekend, and the cost of your camping gear is easily covered by your first or second trip when you compare it to the cost of staying in a motel. Also, as we have a large dog, and so camping means we don't have to worry about him when it comes to finding places to stay here. Korea is not very dog friendly, and it is near impossible to find places to stay that allow dogs (especially bigger ones) and so camping makes life easier. And it's far more fun!

Read More

Bali & the Gili Islands Travel Guide

Welcome to Part 2 of my Bali Travel Guide. Part 1 was all about Ubud, which is where Farmboy and I landed from Korea and spent the beginning and end of our trip in July 2014. This part of the Bali travel guide is all about the Gili Islands.  We spent the middle of our trip, a total of 5 nights on these magical islands. 

The Gili Islands are made up of of 3 small islands (Gili Trawangan, Gili Meno & Gili Air) on the East coast of Bali. Gili Trawangan is the biggest of the three and home to the majority of restaurants and resorts. Gili Meno & Gili Air are the two smallest islands, with Air being the most remote. If coming from Bali mainland you will arrive by fast boat (a terrifying 1.5 hour ride...more on that to come later in this blog post) but you will arrive in one piece on Gili T (Trawangan). From there you can charter a private boat to Gili Meno or Air (usually for about $15) or you can take the public boat which only goes across to the smaller islands a few times a day. Prices for the public boat were about $3 pp. All of the Gili Islands are walkable, and there are no motorised vehicles allowed on them and everyone gets around by walking or using either bicycles or horse/donkey drawn carts called Cidomos. 

GiliIslandsTravelGuideBali

We loved our stay on the Gili Islands, and would have spent longer there had we known just how beautiful it would be. Here are a few photographs from Gili Meno where we spent most of our time.

**Keep in mind that July/August is peak season for Bali, and things start getting booked up as early as January. If a hotel has accommodation try to secure your booking with a deposit so you don't loose out while deciding where you want to travel to. Another very beautiful place to visit in Bali is Amed, a quiet coastal town in the North. If things are all booked up on the GIli Islands for your dates try looking at places in Amed. It seems to still be very untouched as most people head down South to Kuta, and the Gili Islands are starting to get more popular now too.

Getting to the Gili Islands

The GIli Islands are on the East Coast of Bali, and the easiest way to get there is by fast boat leaving either from Bali or from Lombok. A lot of people make the journey to the gIli Islands from Ubud. Because of this, many boat companies offer packages that will pick you up from your hotel in Ubud and drop you off there again if you book a return ticket. There are a number of online sites which you can book through before hand, but from the numerous scams and horror stories we had read, we decided to organise our boat tickets with our host, Dewa, when we arrived in Ubud. Dewa was able to get us tickets for $75 pp return (which included pick up at our accommodation in Ubud and transport to the port where the fast boat leaves from).

You will probably be picked up in a mini van to make the +-2hour ride from Ubud to Padang Bai where you will board the fast boat to the islands. Once you get to Padang Bai you will then need to queue up to collect your ticket (most people arrive with an email confirmation or tour group) and then you stand on the docks and wait for your boat. It's quite chaotic but definitely an interesting experience waiting for your boat. There are lots and lots of boat companies and boats going at the same time so make sure to keep your eyes peeled so you get on the right boat!

The prices vary with different companies, some also offer discounts for more than 1 ticket booked together. I would suggest booking your tickets for the fast boast as soon as you arrive in Bali rather than before your arrive, as the locals generally are able to secure better deals and will help you get onto a safe boat. Some of the tour companies we had looked at were Perama Tour & Marina Srikandi. It was very overwhelming as there are A LOT of companies that offer transport to the Gili Islands, and there are just as many people online telling stories about how they were scammed or how scary the ride there is. To be honest, the ride itself was pretty terrifying, but our boat was airconditioned and that helped ease the sea sickness a bit. Just be prepared that the trip there and back won't a walk in the park, and you'll be fine. Better to be prepared for a hard trip and then have it be easy that the other way around! It's only an hour and a half though and will just be a memory once you arrive in paradise. 

GiliIslandsBali

Where to Stay on Gili Trawangan

There are loads and loads of places to stay on Gili T, the biggest of the three islands. This is also where the majority of restaurants and shops are. The island is still small enough to walk around in an afternoon, especially if you want to get away from the crowds of people who frequent the most popular stretch of beach, 'Good Heart'. 

We spent our last two nights after Gili Meno on Gili T at Scalleywags Resort. It was wonderful. The rooms were clean, comfortable and so luxurious compared to our rustic beach hut on Meno. Scalleywags is definitely on the higher end of the scale in terms of resorts but it was worth every cent.

They also have an amazing seafood and meat buffet every evening where we stuffed our faces silly with delicious food. Scalleywags has a number of locations in Bali and offer lots of great deals. We paid $150 per night for a double room which included breakfast & all taxes. And they have a wonderful pool for guests which you can lounge around while ordering great food and drinks.

**Bear in mind Bali has Tax and Service charges which amount to 21% on top of most hotel accommodation and food and beverage bills (this consist of a 10% service charge and 11% Government Tax). This is terribly annoying and we were often mislead by the prices of things as they were quoted WITHOUT the tax. Just keep this in mind when it comes to paying and always ask before hand if accommodation quotes include this tax or not.

GiliIslandBali

Where to Stay in Gili Meno

We spent 3 wonderful nights at Sunset Gecko in a wooden bungalow on a very quiet stretch of beach on Gili Meno. There is a very fancy hotel that has been built next door which made me feel rather envious once we realised we were staying in the wooden shack next door, but the price of Sunset Gecko was great and within our budget. We ate at the fancy restaurant next door a few times and enjoyed a couple of cocktails there too. Staying at SunsetGheck meant we had the best of both worlds. And the outdoor showers and toilet were much better than I had anticipated.

Sunset Gecko has varying rooms, but at the time of booking we were only able to get space in their Big Beach Hut which is three stories and has private rooms on each level. We stayed on the top floor in a large room with two double beds. They have a few private beach cottages slightly closer to water and a few A-frame bungalows too. It's rustic, but clean and we just what we were after. Don't expect anything fancy, often times they were out of stock of several items on the menu (how do you run out of tea?!) but we loved our stay here and would highly recommend it to anyone looking for an authentic & relaxing beach stay. Just make sure to pack a sleeping bag liner/sheet if you are a little panicky about beds like I am. I had read reviews of bed bugs at Sunset Gecko and so was unable to relax at night. We didn't have any problems with bed bugs  though but because I had read about them I was unable to sleep peacefully in fear of waking up with my skin crawling. Silly me! And the sleeping bag liners I had ordered online for our were out of stock so we just went ahead without them. I was probably over acting but if bed bugs are something you just can't handle then make sure to pack a sheet/sleeping bag liner just in case.

The beach in front of Sunset Gecko was also where we swam with turtles and had the best snorkelling of our entire Bali trip! We spent every day on the beach pagoda's sipping fruit juice and watching the world go by. It was bliss.

The booking process seemed a little odd as you have to pay a deposit through a rather strange payment channel but it was all secure and my booking & payment was handled well. They also responded well to email (i had to change our booking slightly and they were very accommodating).

Here is a video that Farmboy put together of our time in Bali, with lots of footage of the Gili Islands:

Some things I learnt from this trip:

  • Even when compiling an extensive budget, have an international credit card on hand for emergencies. We forgot to include various elements in our budget (lunch & the smaller transport costs) and had to use my credit card a few times. 
  • Budget for souvenirs. Before a trip I always tell myself that I won't buy anything cliche (like floaty yoga pants and rugs) and without fail I have found something special on our travels in each country that I have wanted to buy. In Bali we bought a beautiful handwoven rug in soft pastel shades that has prize position on our living room. It was worth ever cent!
  • Read travel reviews with a pinch of salt. I really had heard terrible things about Sunset Gecko and was prepared for an absolute nightmare. It ended up being the highlight of our stay (and no, there were no bed bugs).
  • Try to pay for things before you arrive instead of having to have cash on hand (especially for accommodation).
  • Always pack a rash vest (swimming top) if you plan on snorkelling anywhere. Farmboy and I each have a lycra swimming top we bought online (through Gmarket for +-$18) two years ago and they have saved our skin too many times to count. It's just not worth getting sun burnt on your first day in the water.
BaliTravelGuide

Useful Travel Info:

  • Bali has a visa on arrival for most countries (including South Africa, UK, USA, New Zealand, Australia) which costs $35 and is valid for 30 days. You get this at the airport when you arrive in Bali.
  • Be aware of the departure tax which needs to be paid in cash when you leave the airport (I have read that as of Feb 2015 this departure tax is now included in your flight price but I'm not 100% so make sure to research thoroughly before hand).
  • Remember Bali imposes a 21% tax & service charge on most goods/services/facilities and this is not included in your bill.

I hope you found this travel guide useful! Please leave me a comment below if you have any questions.

You might also like these travel guides: