#DiyDaysInKorea {Picnic Meet-Up)

DiyDaysInKorea

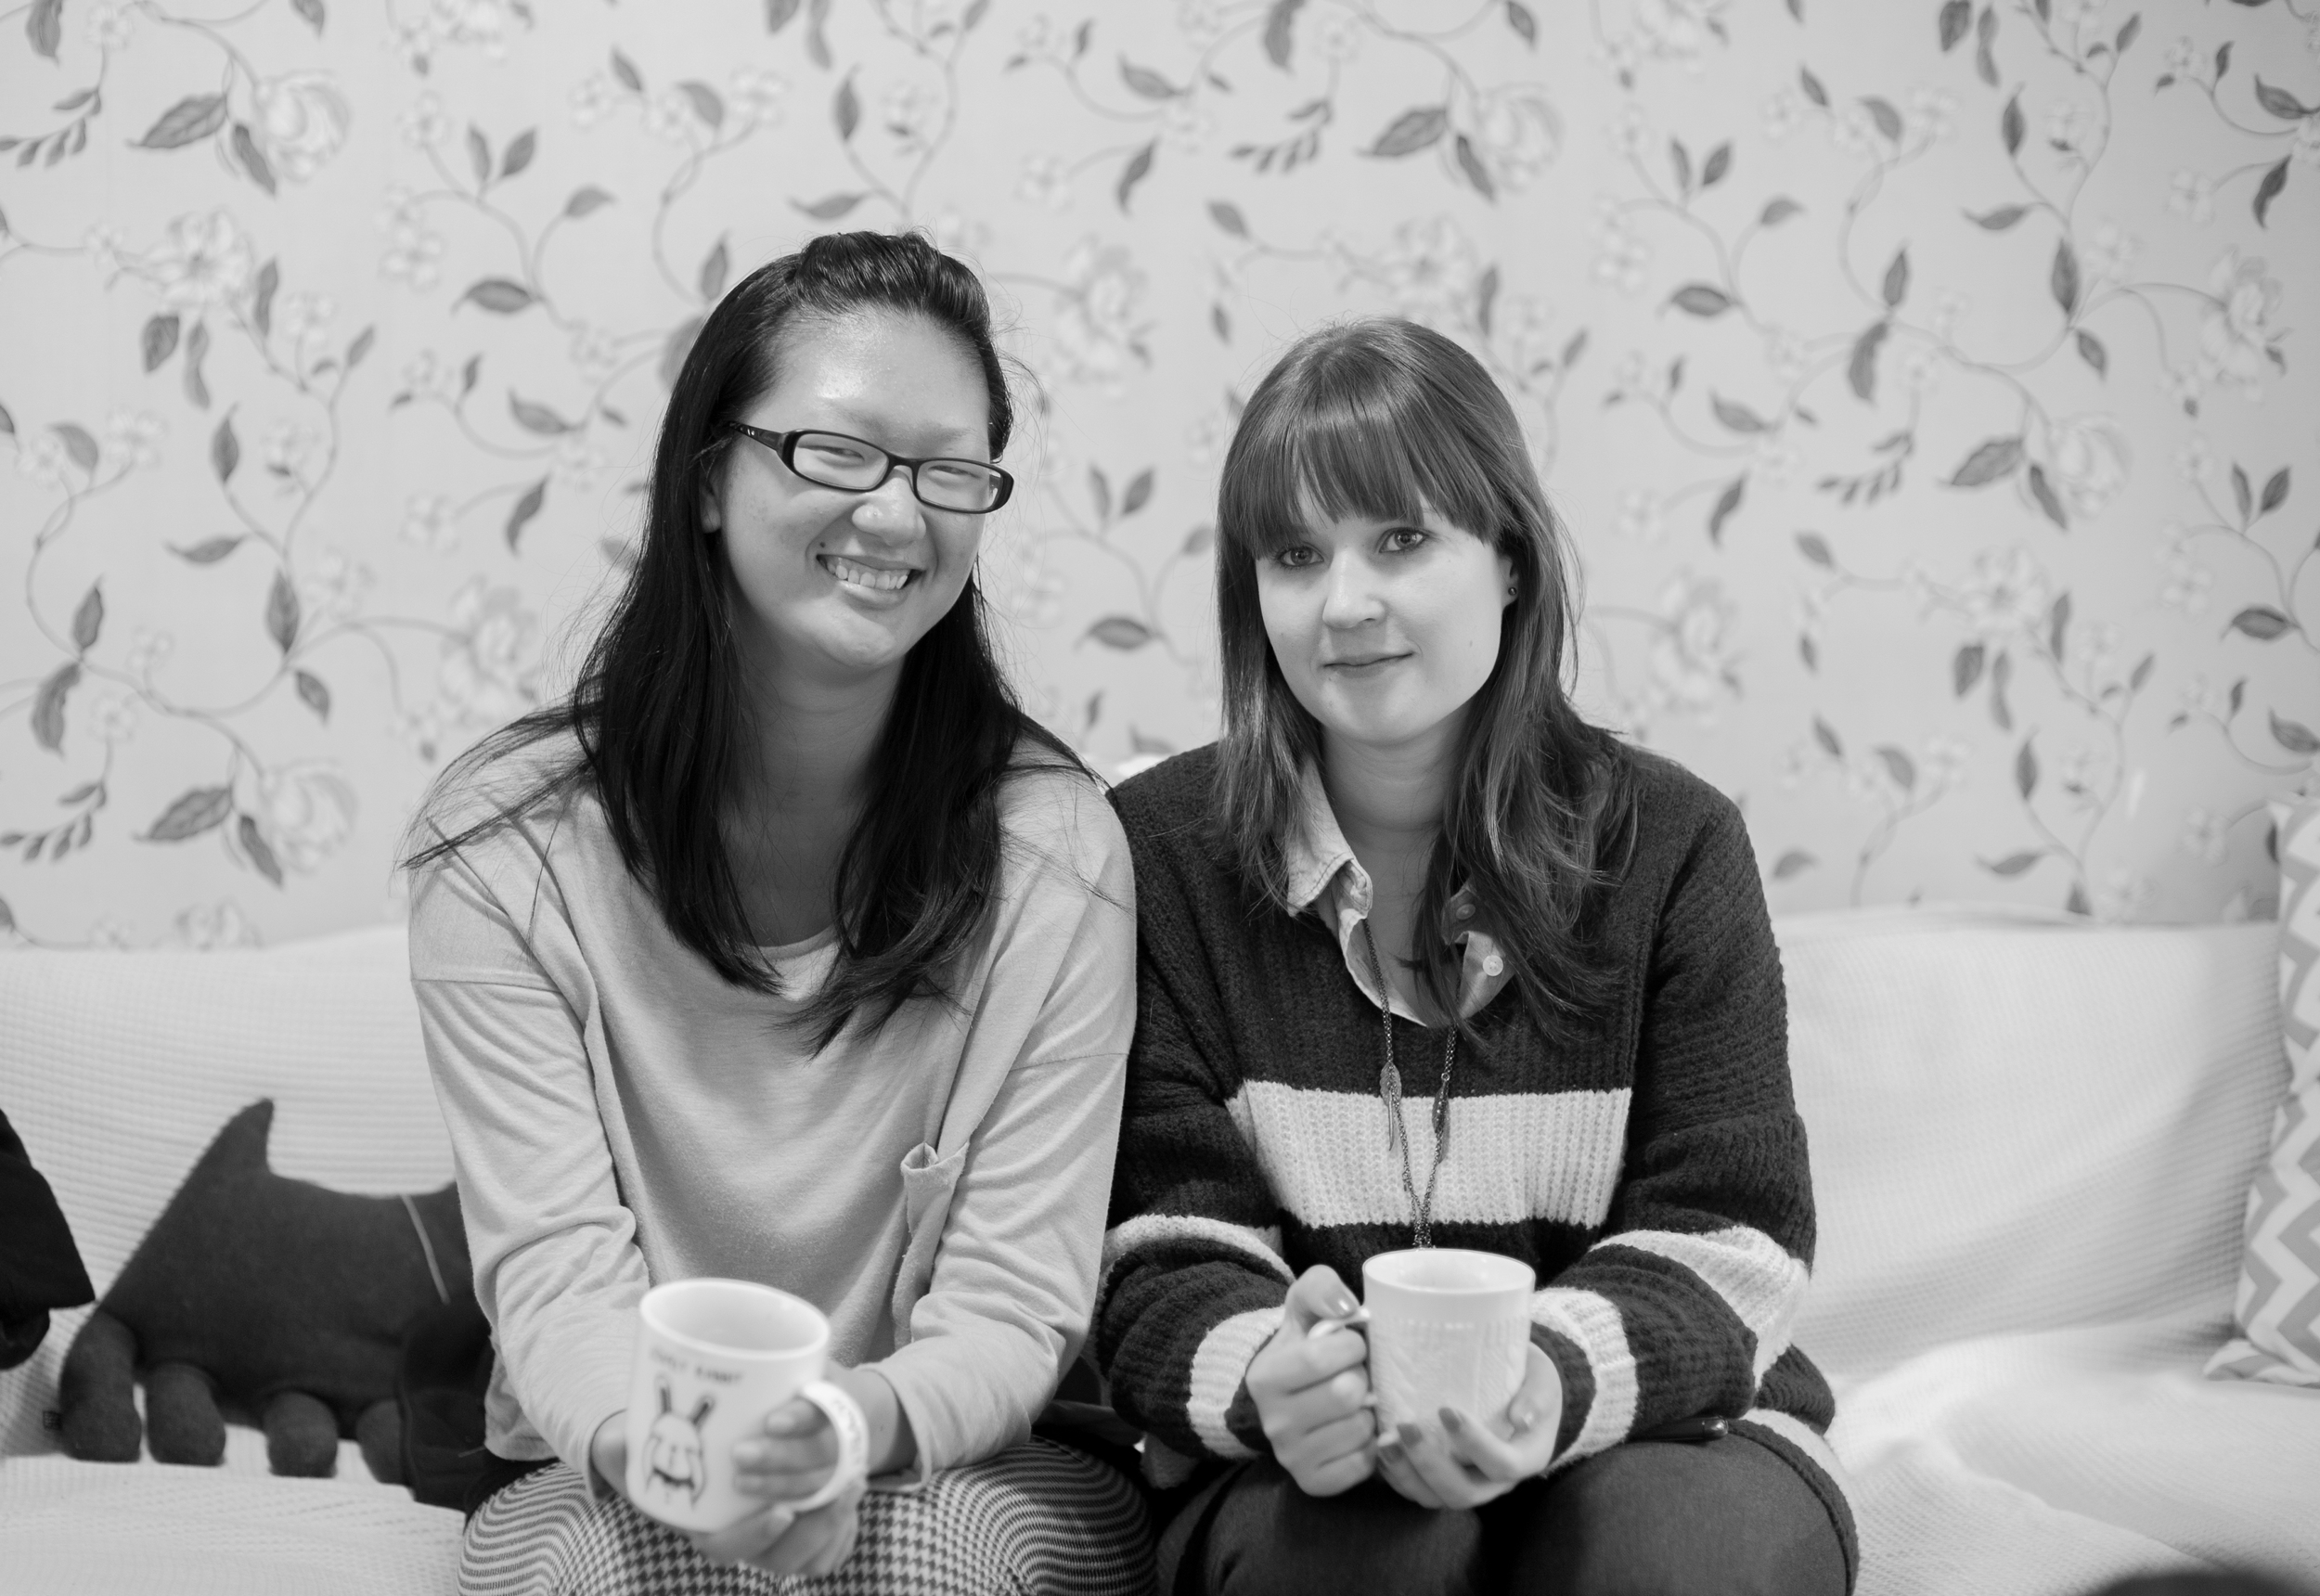
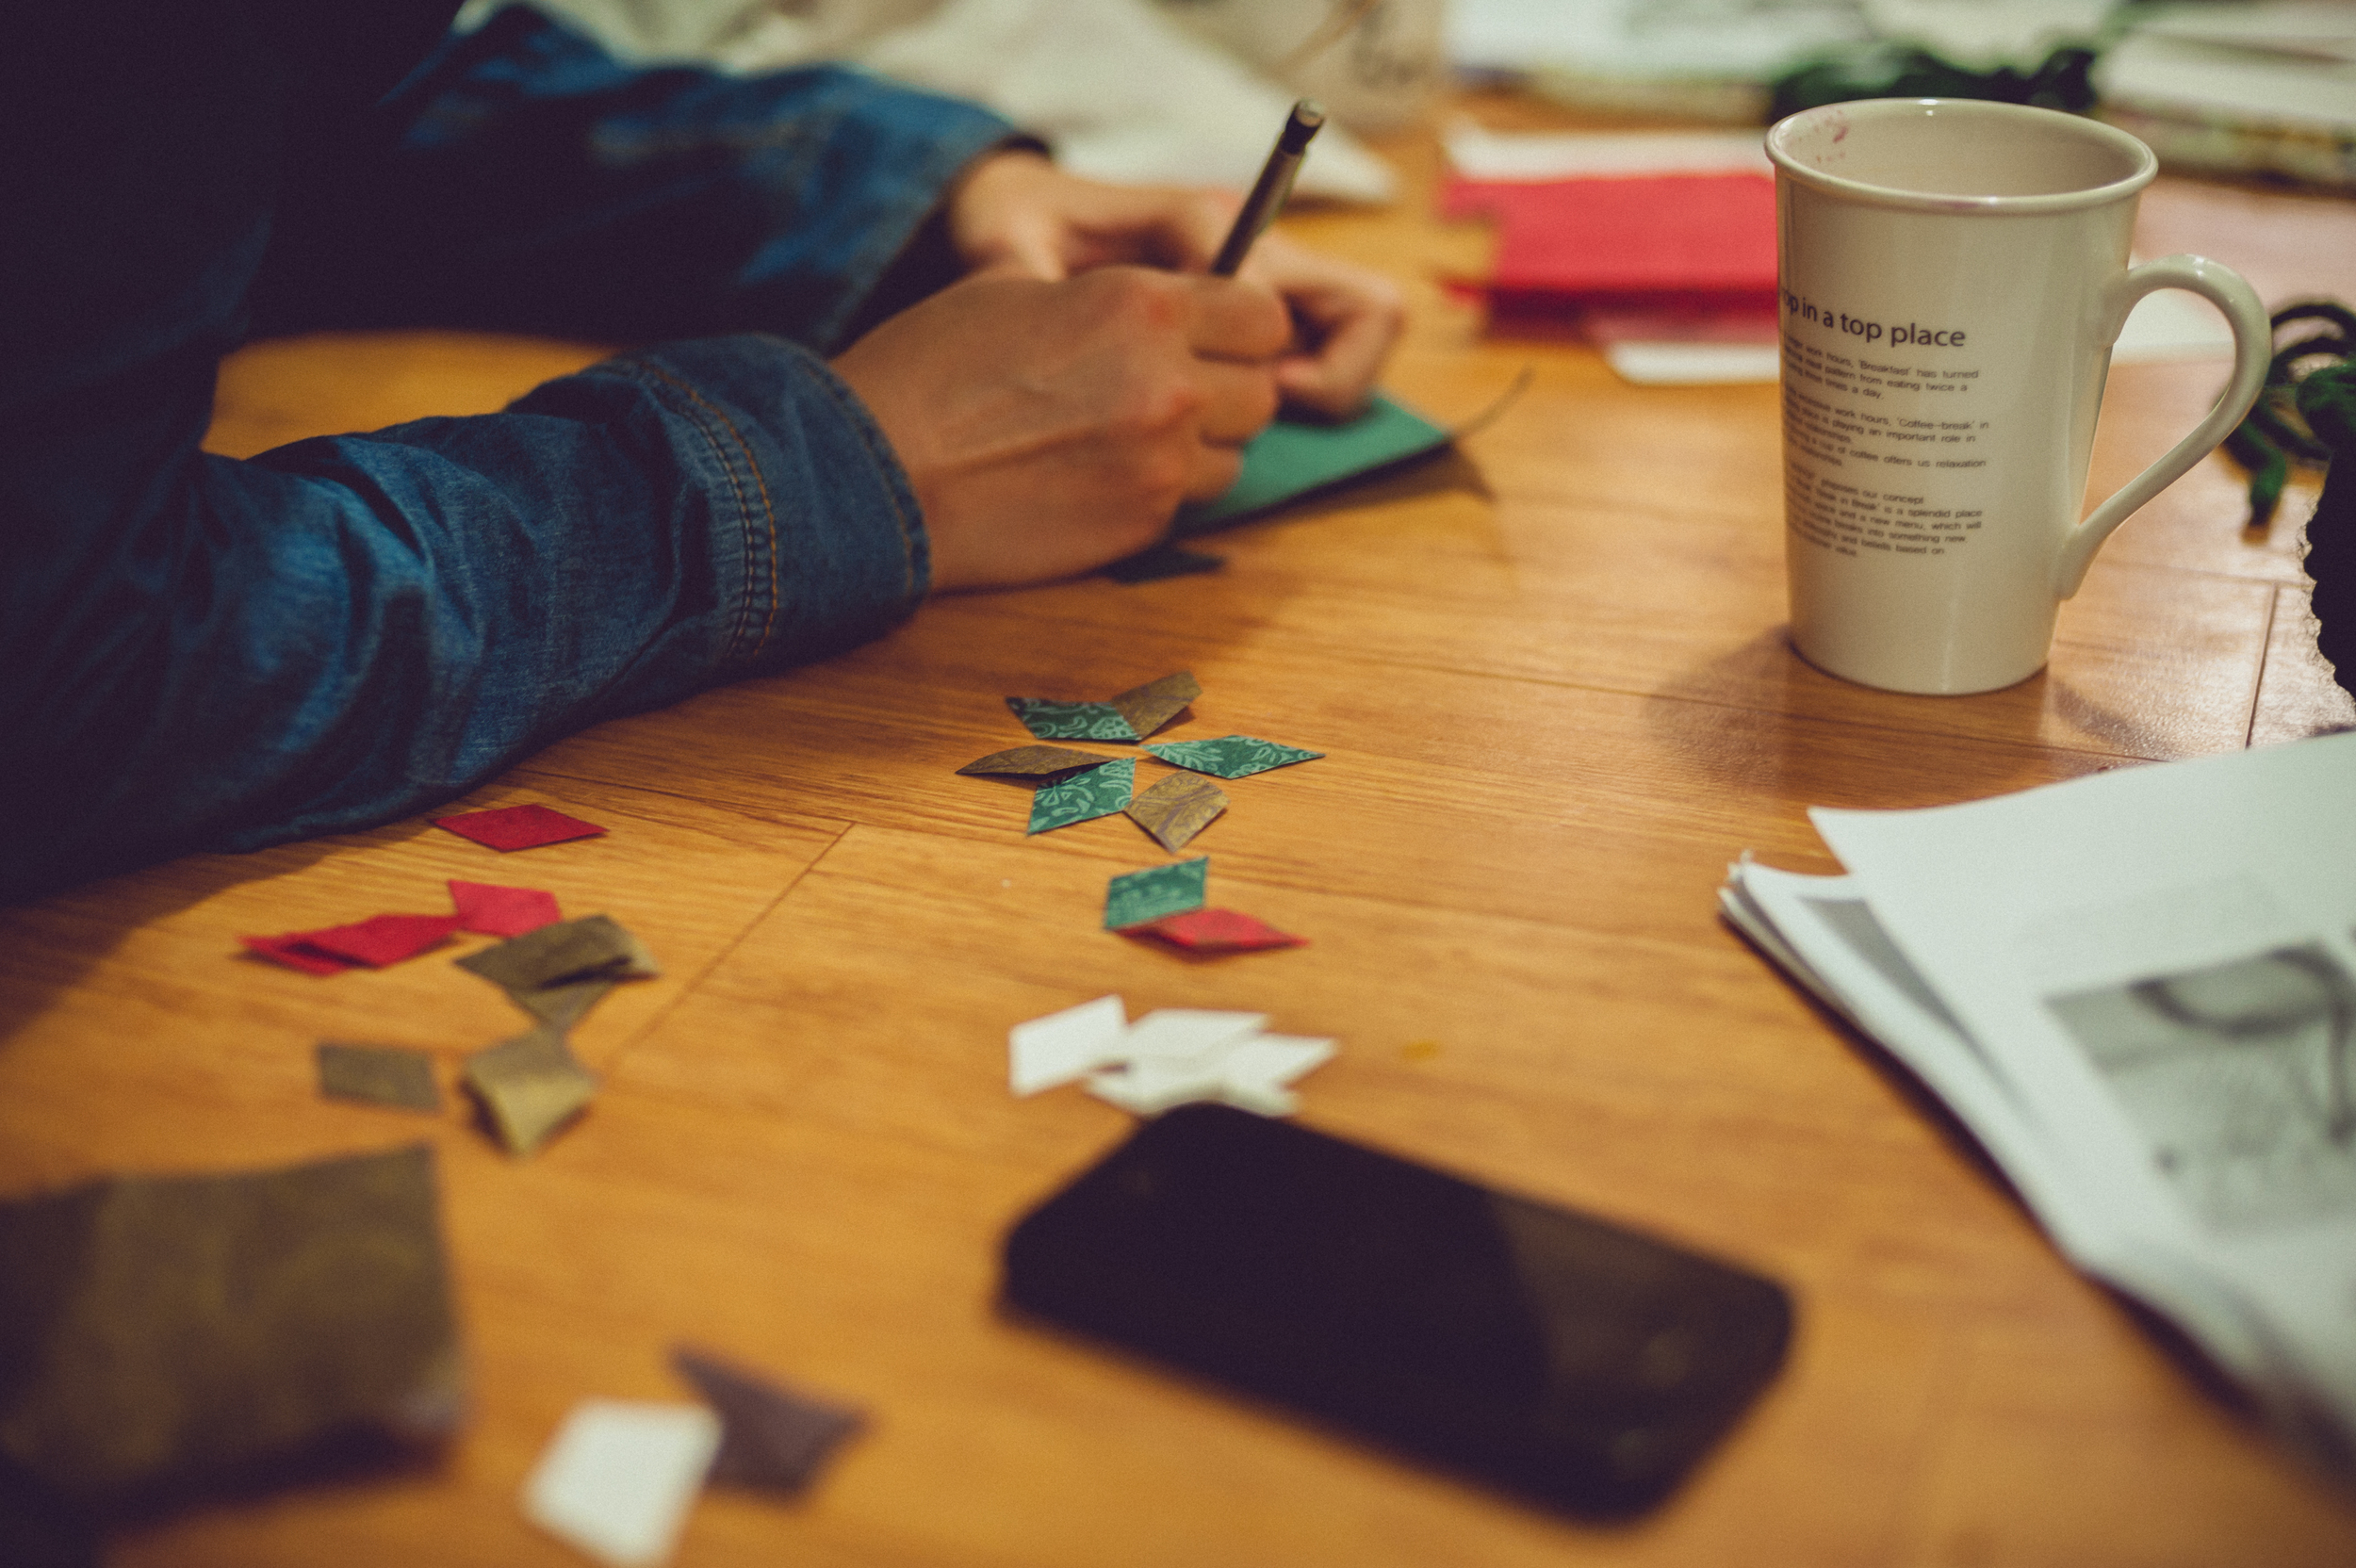
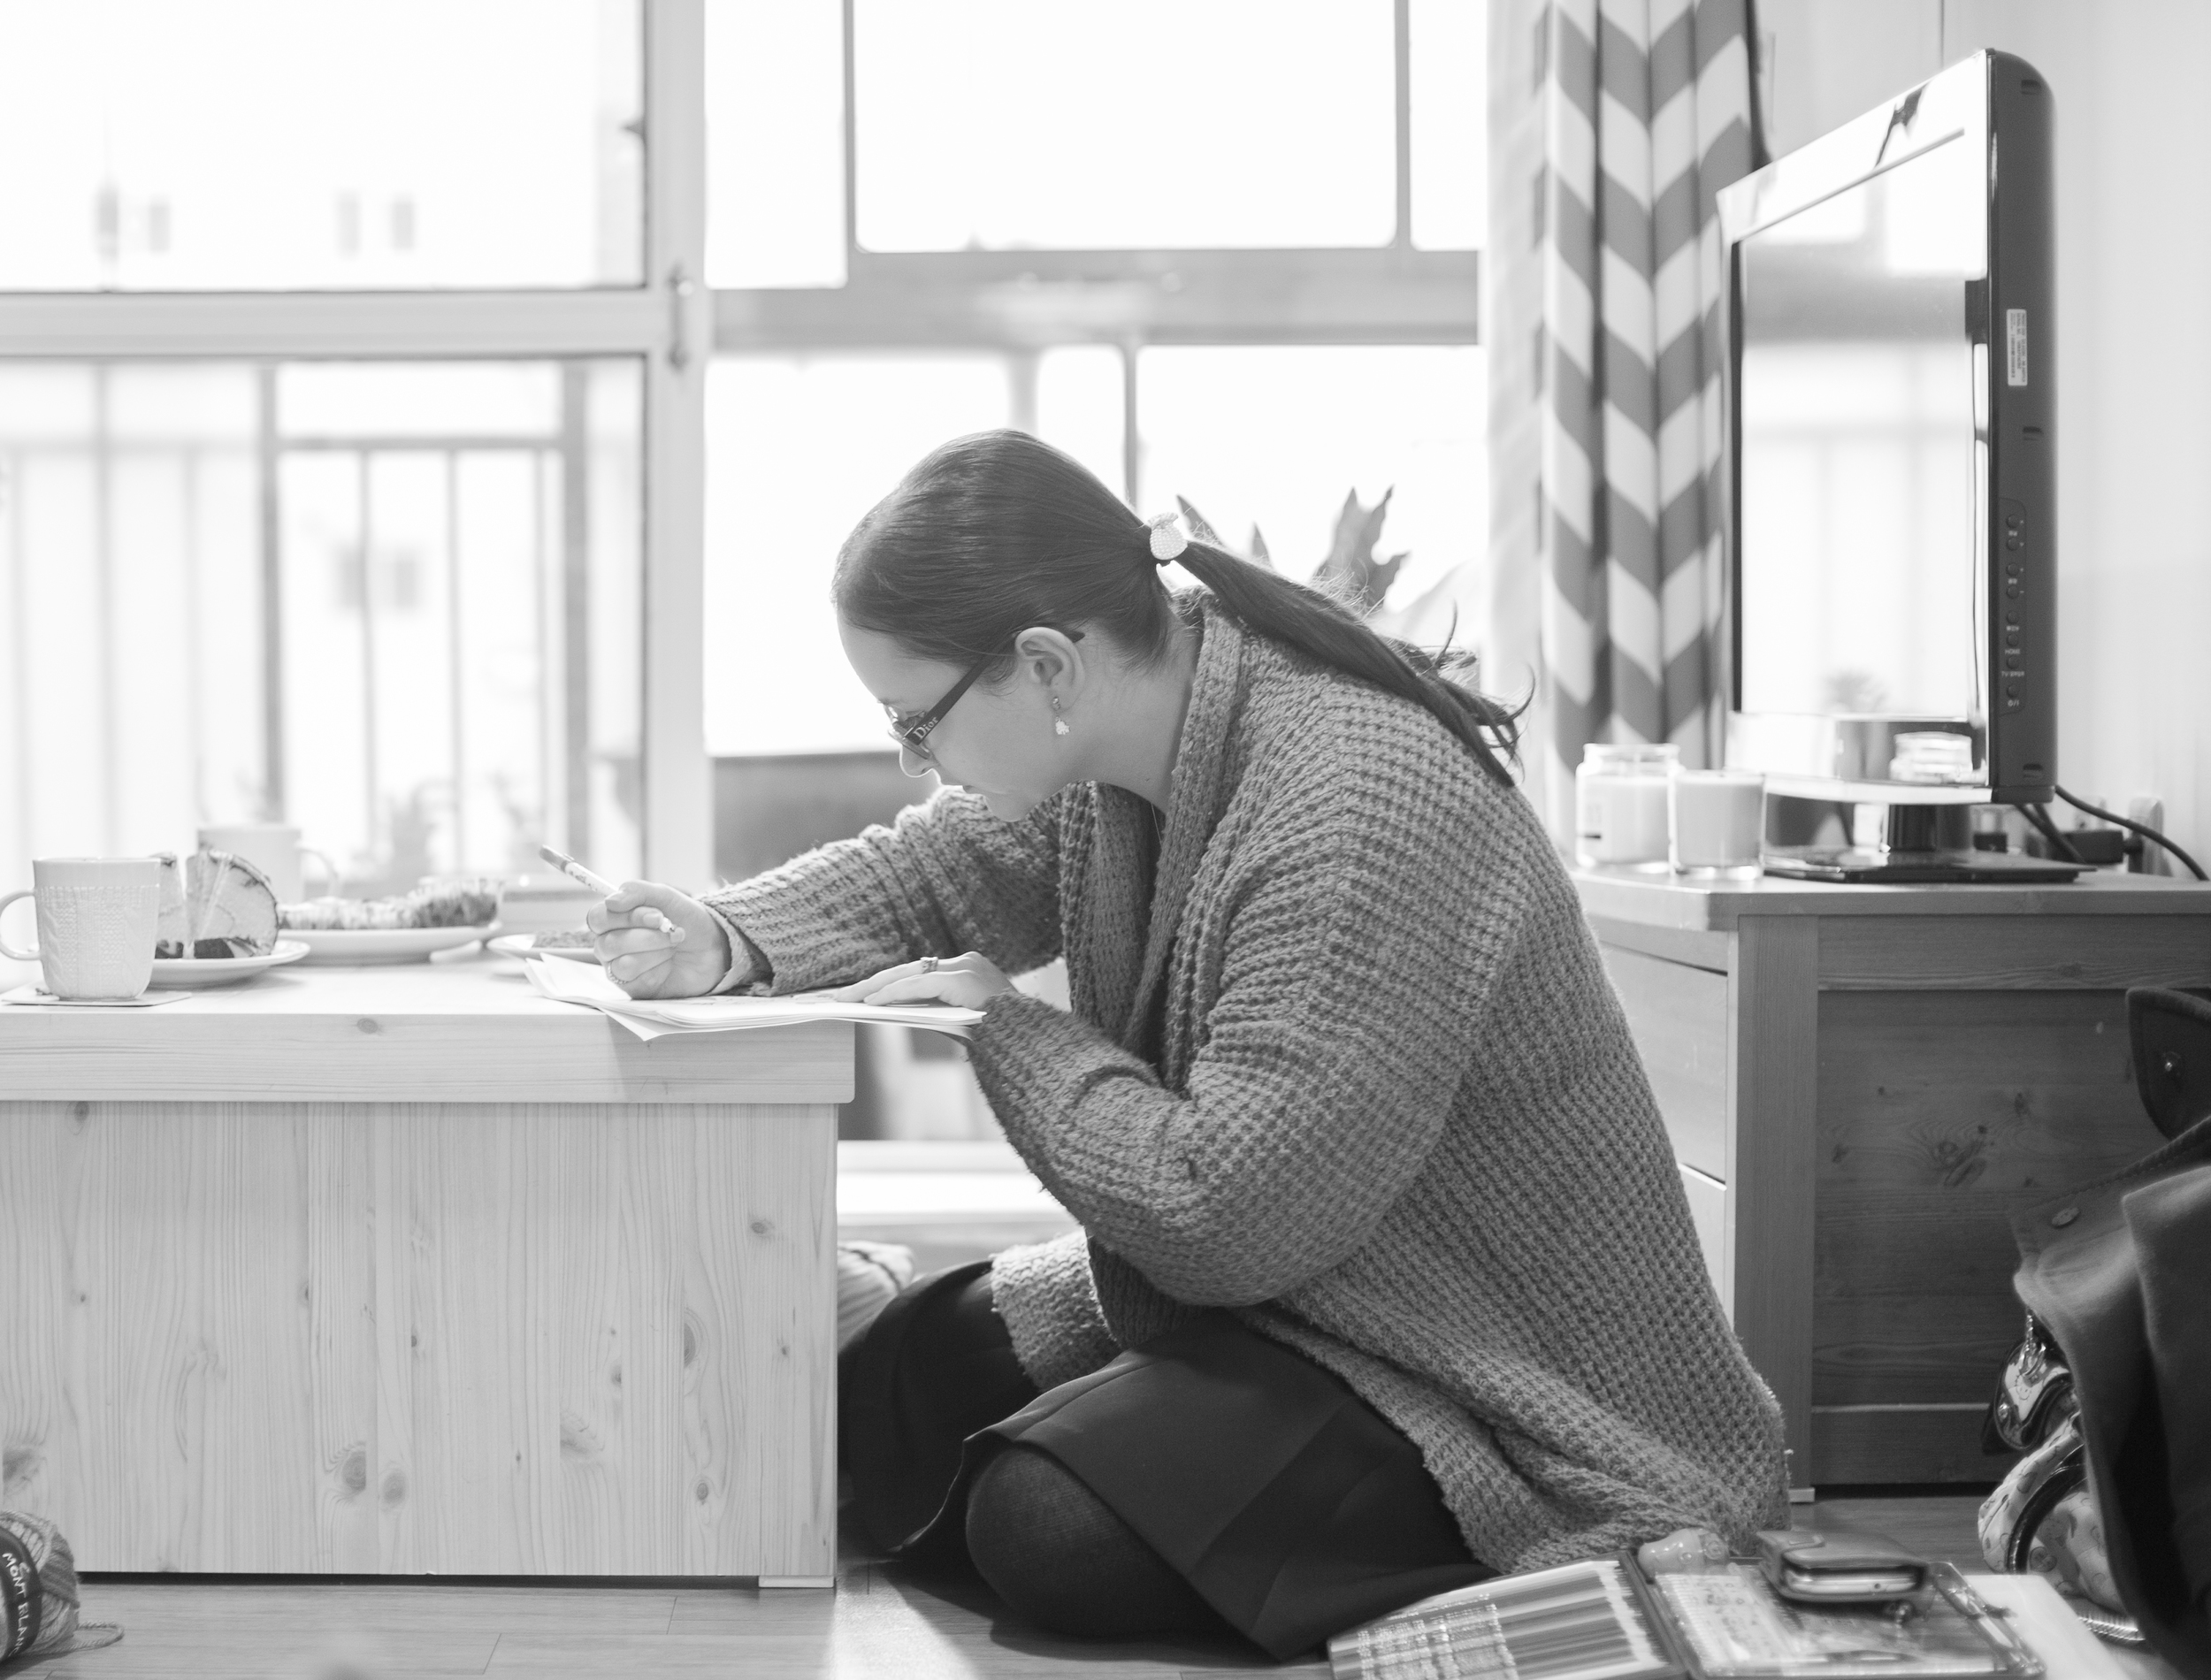
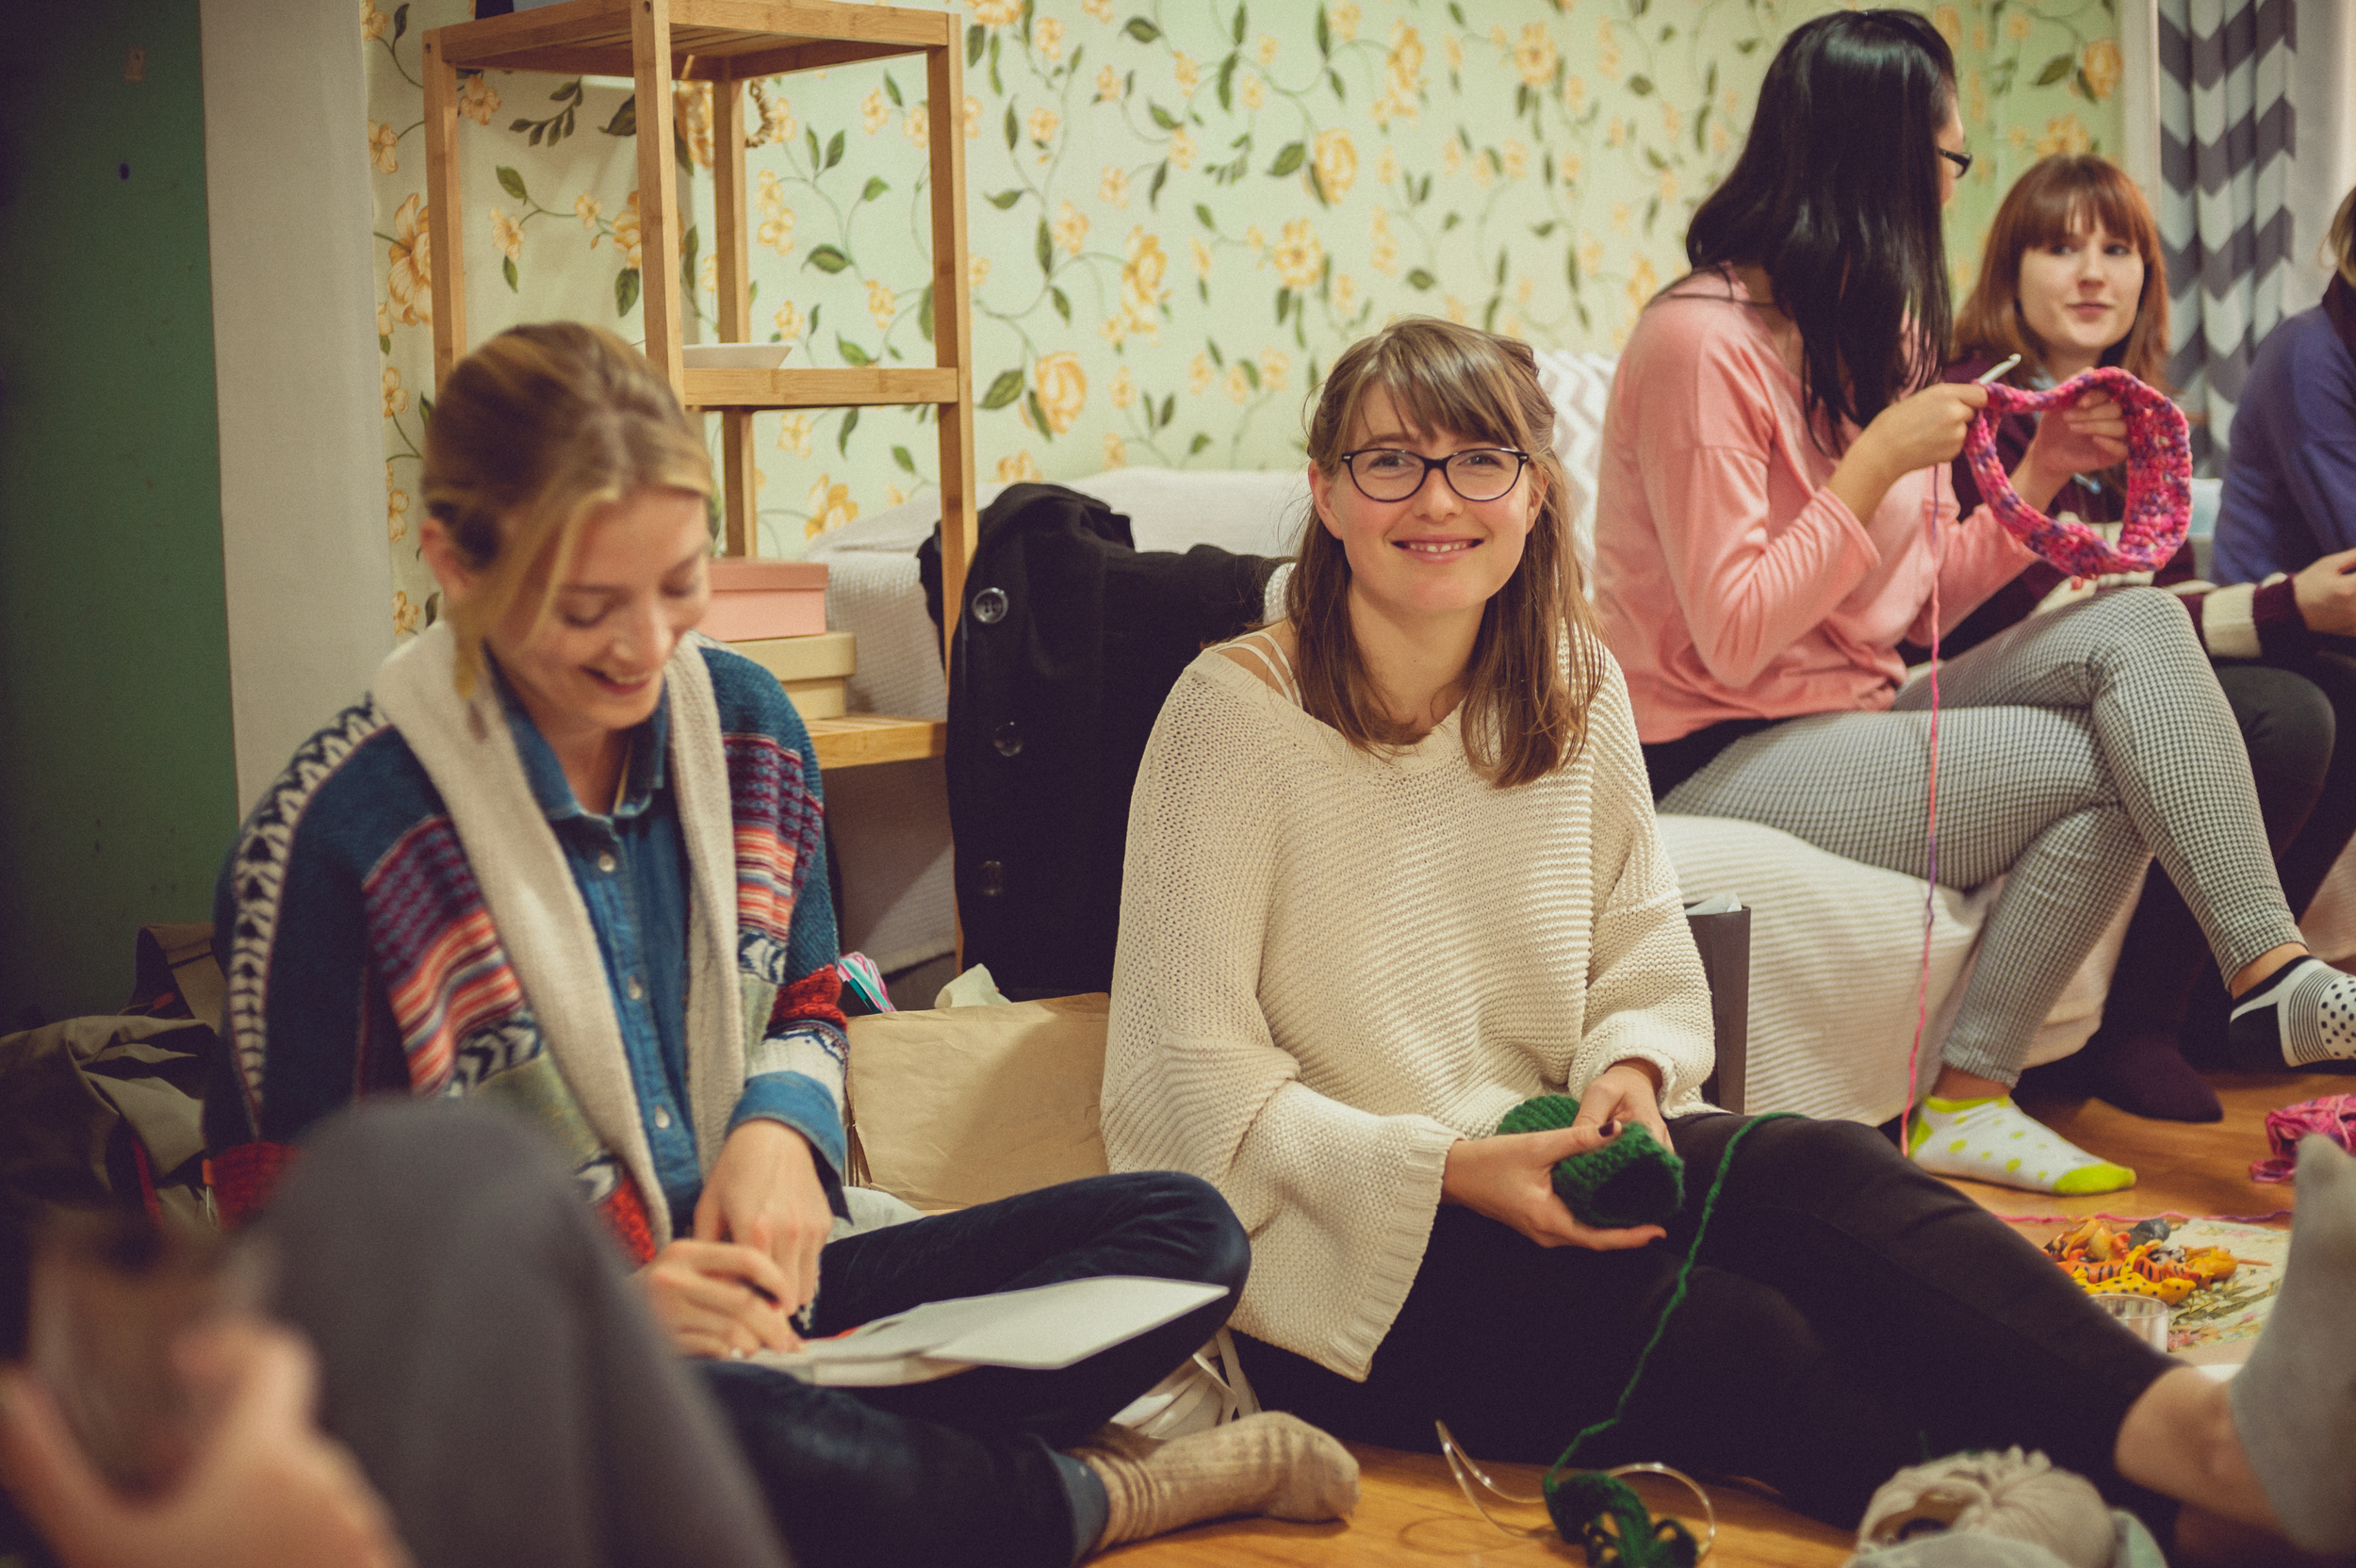
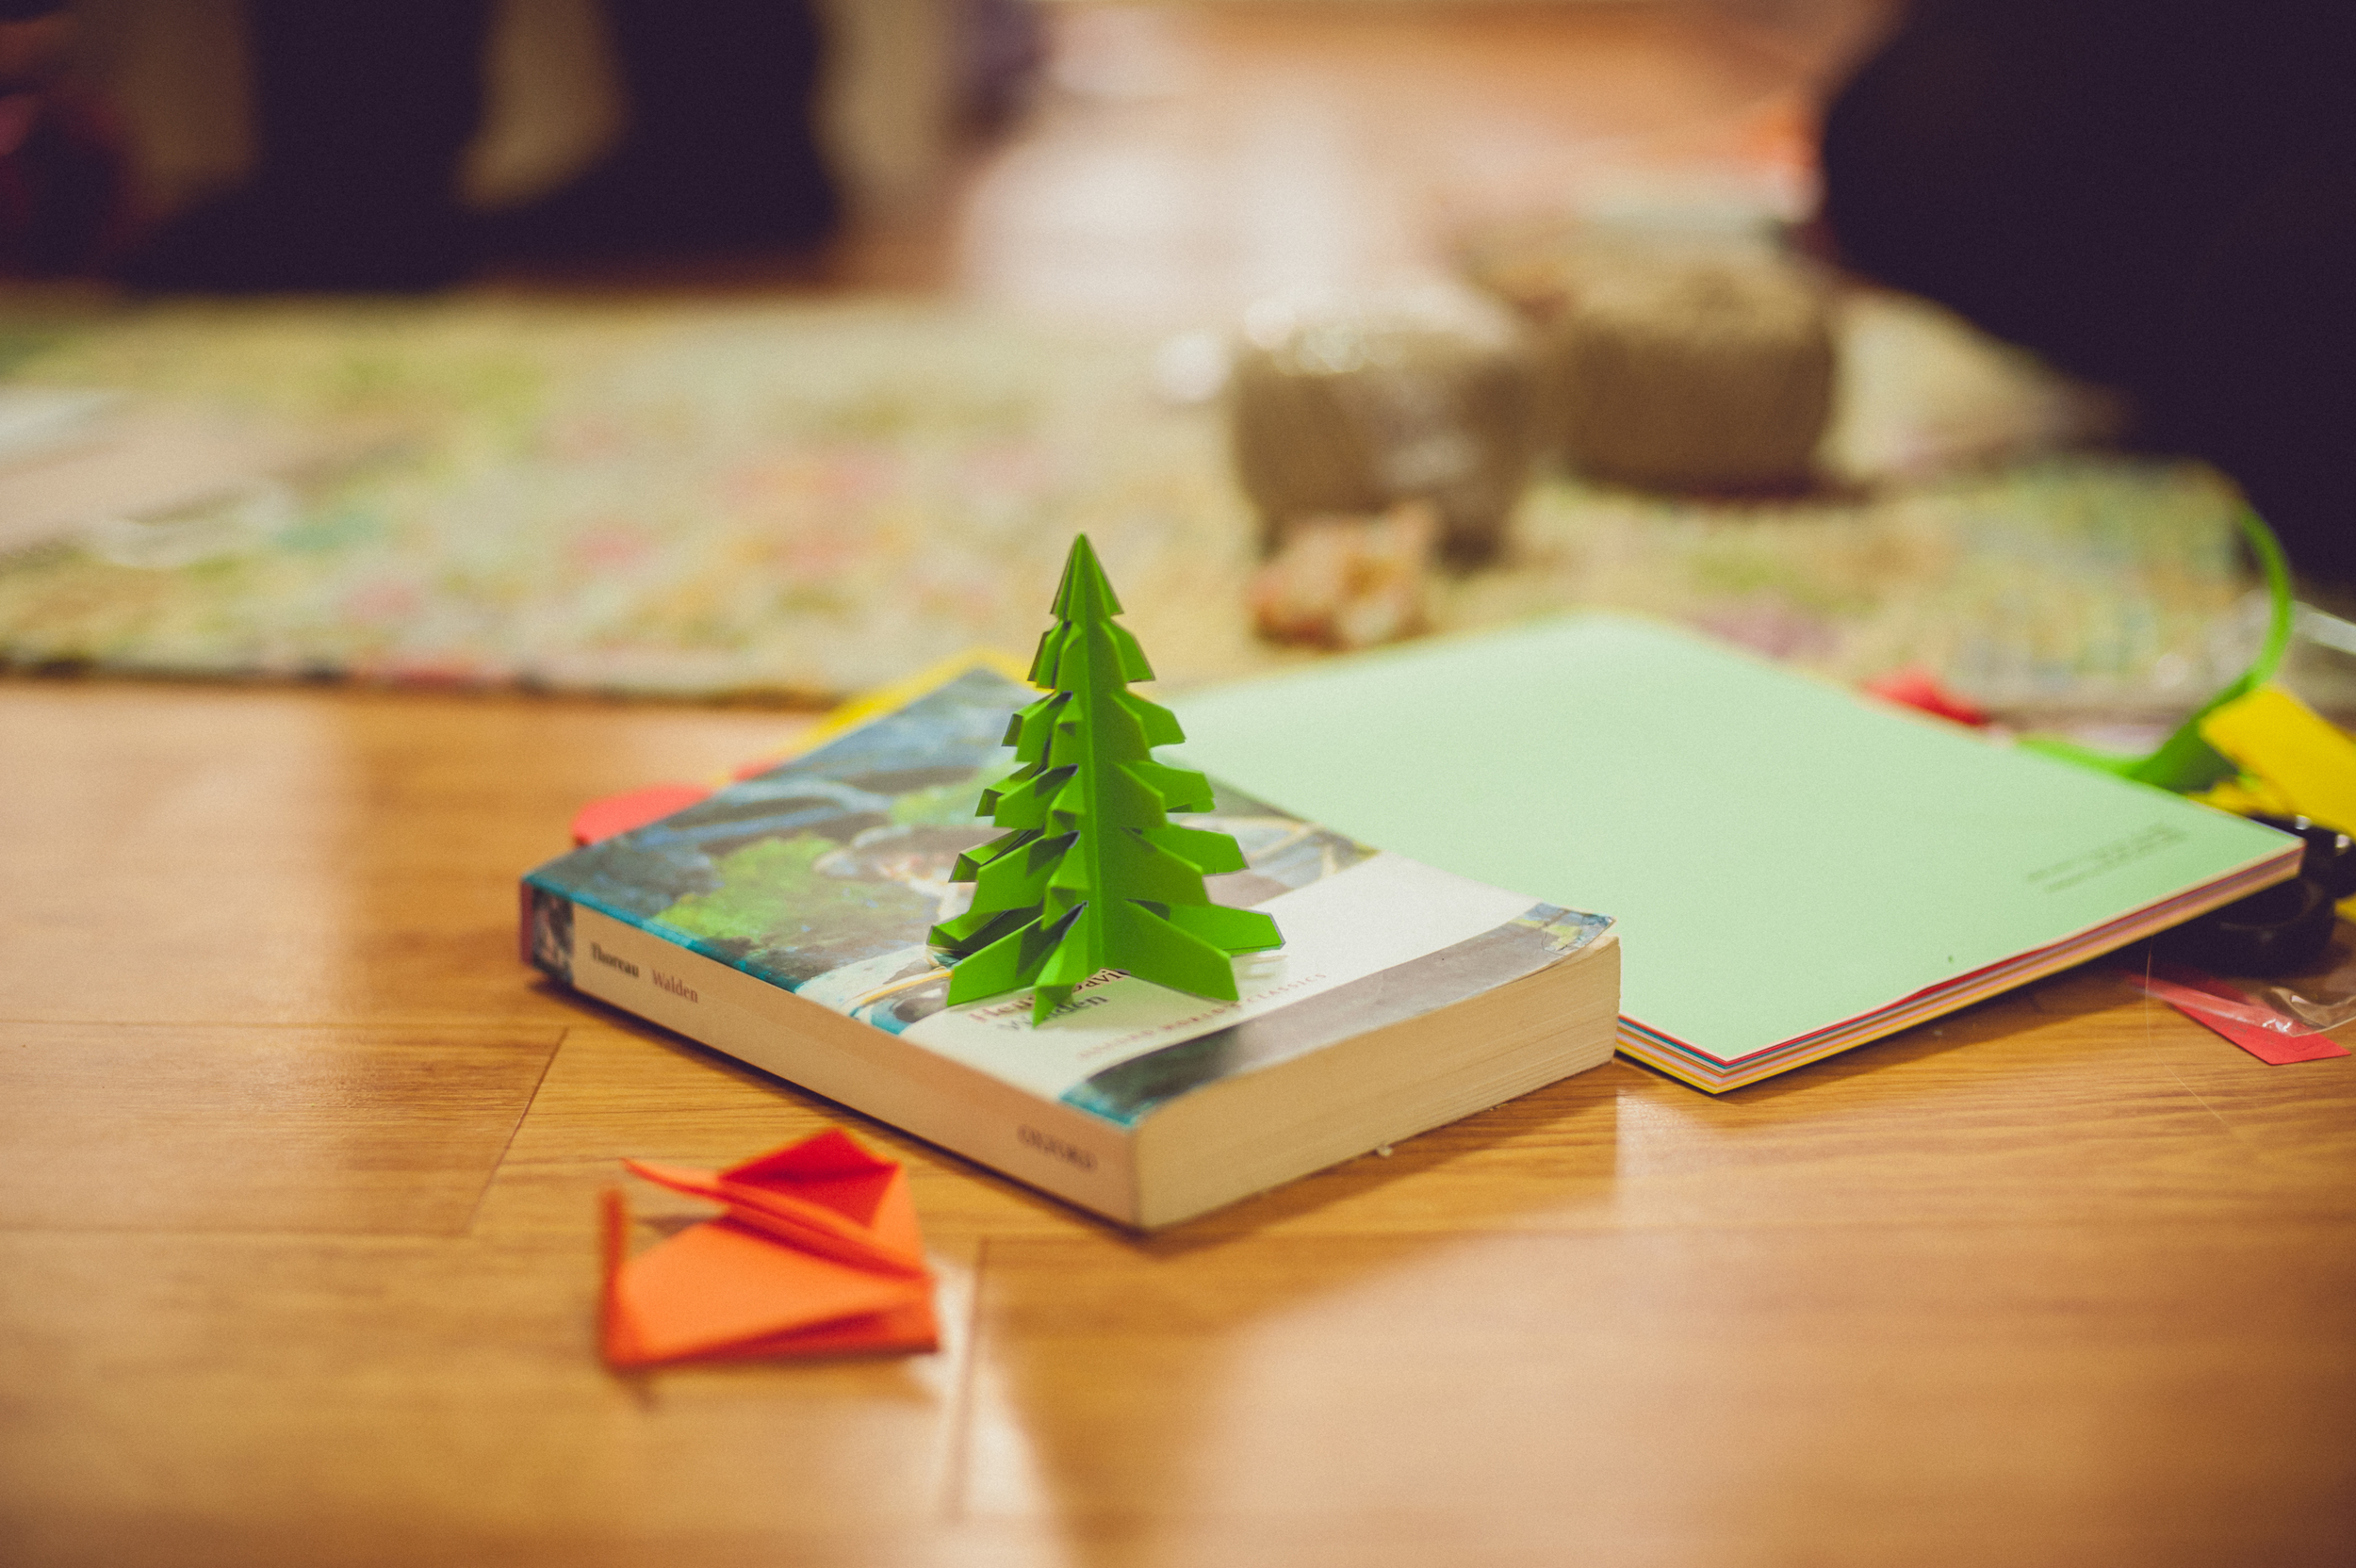
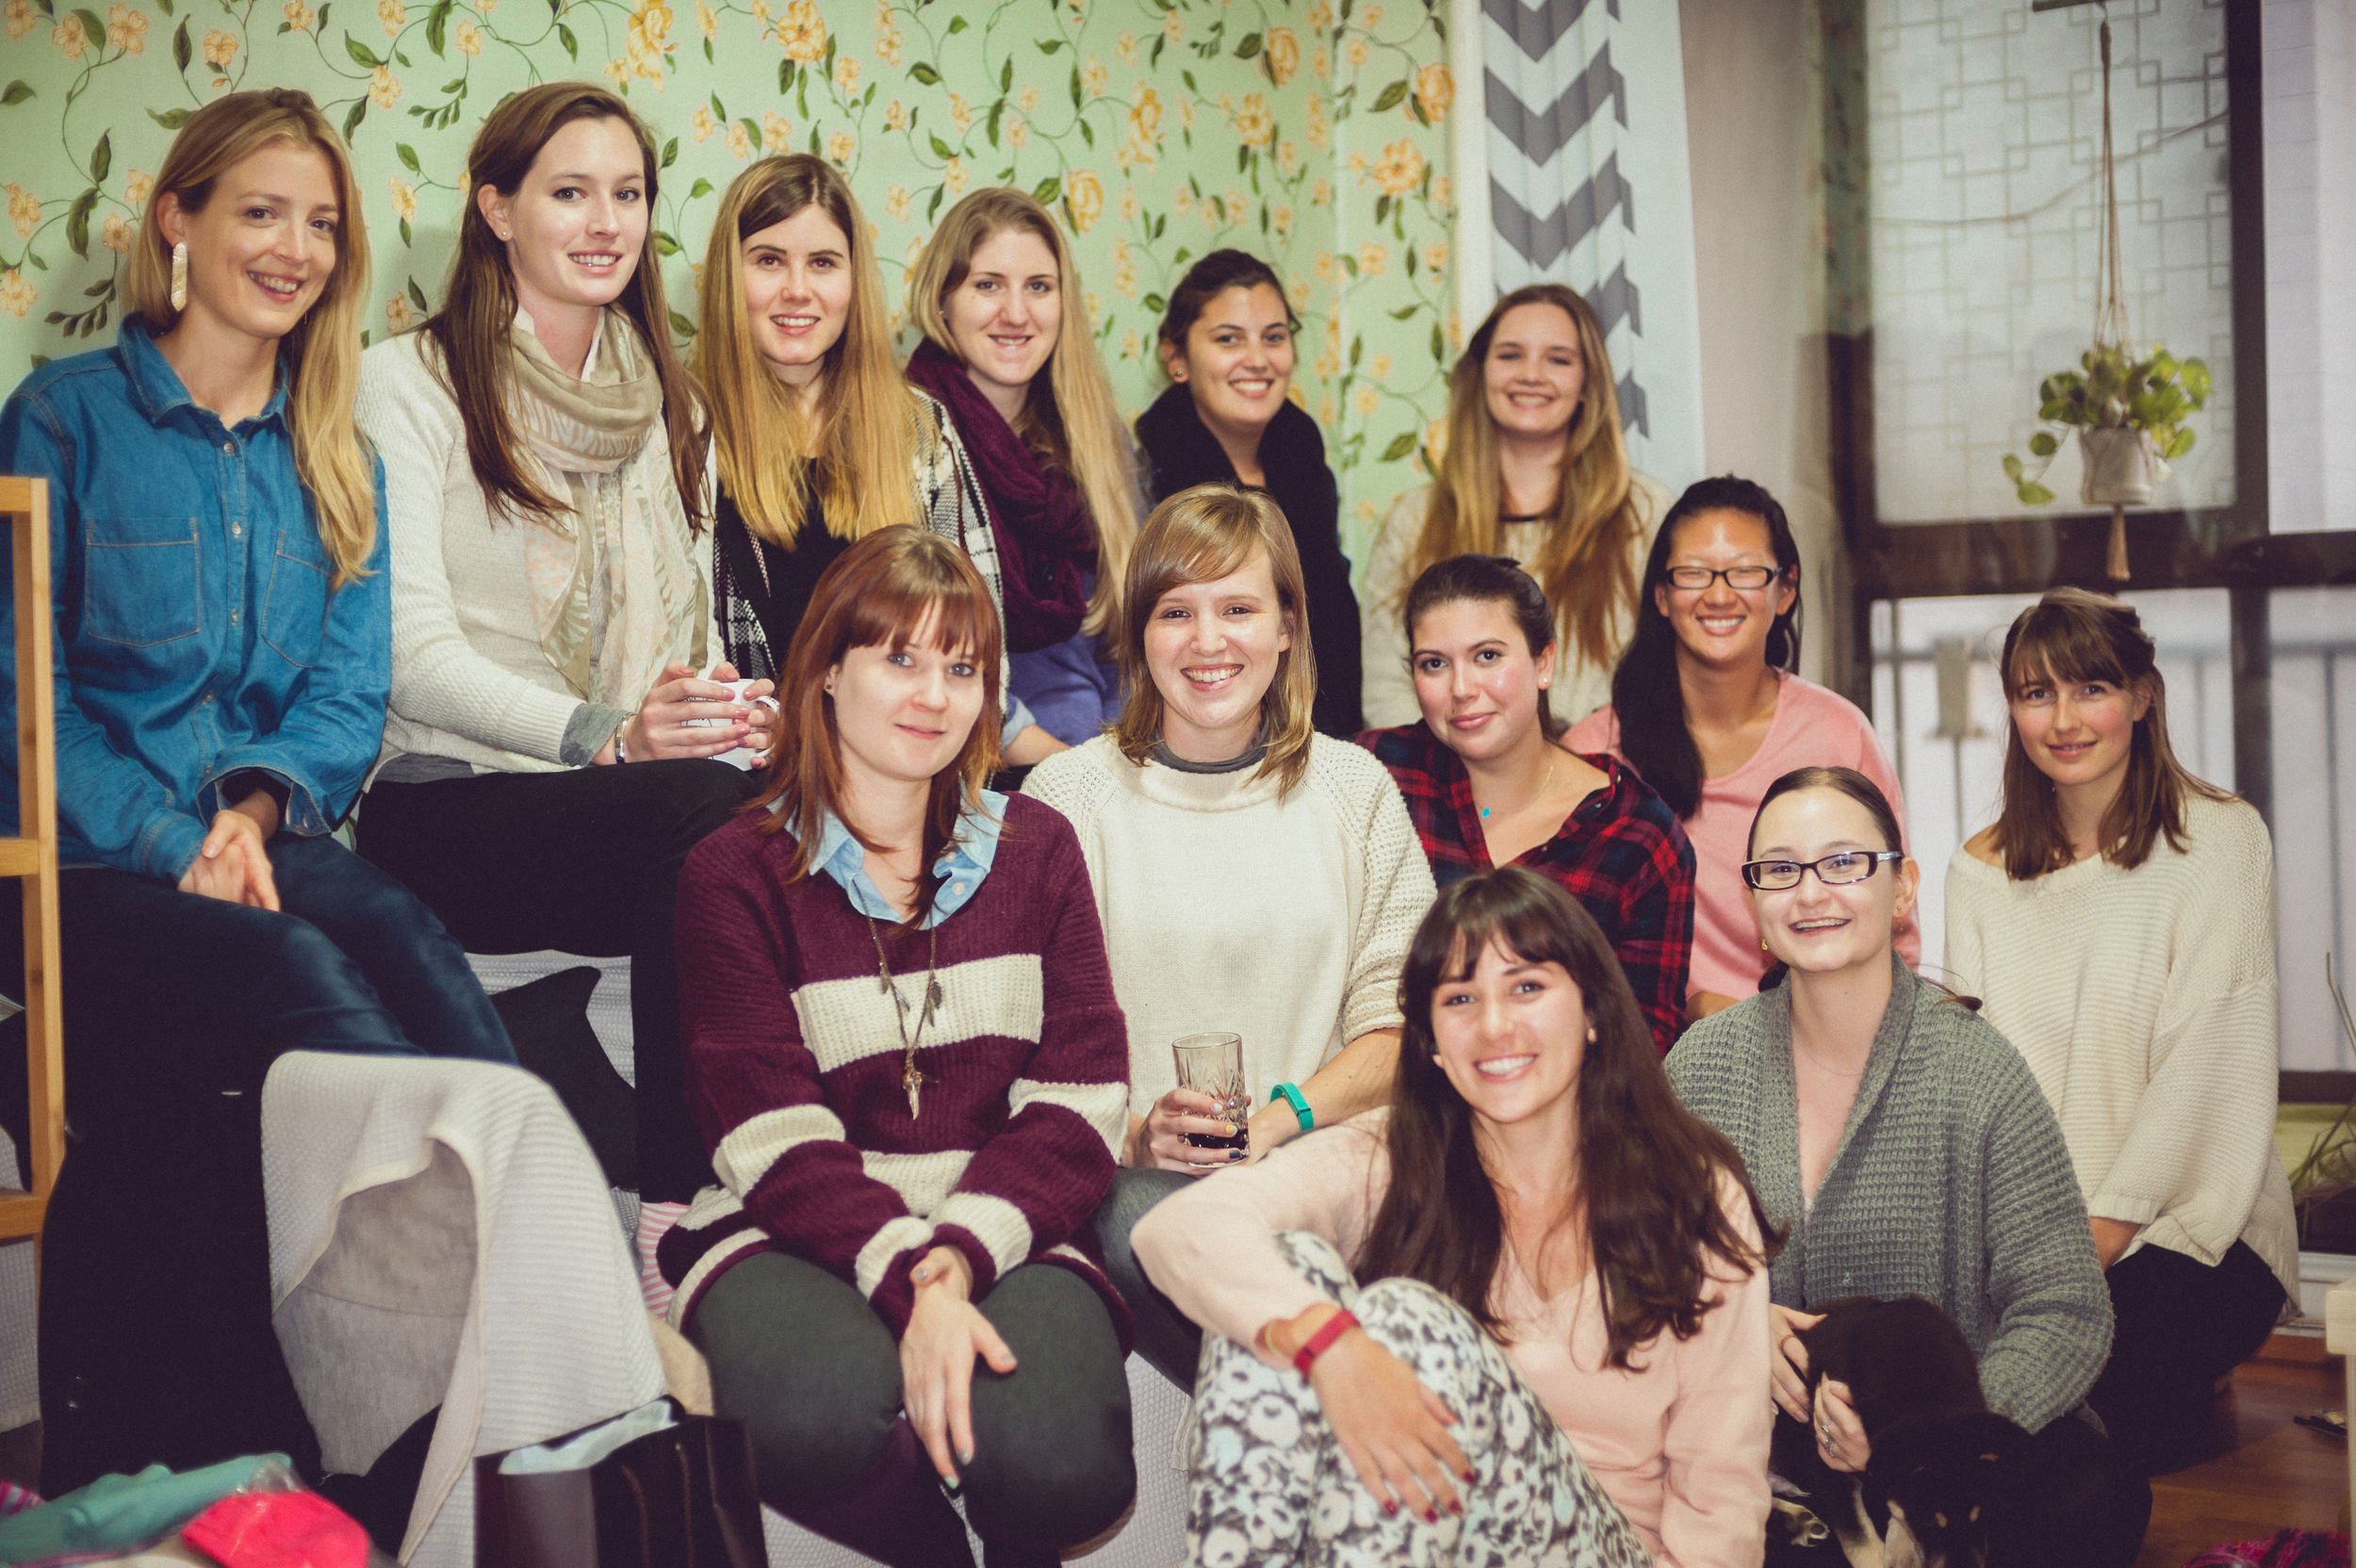
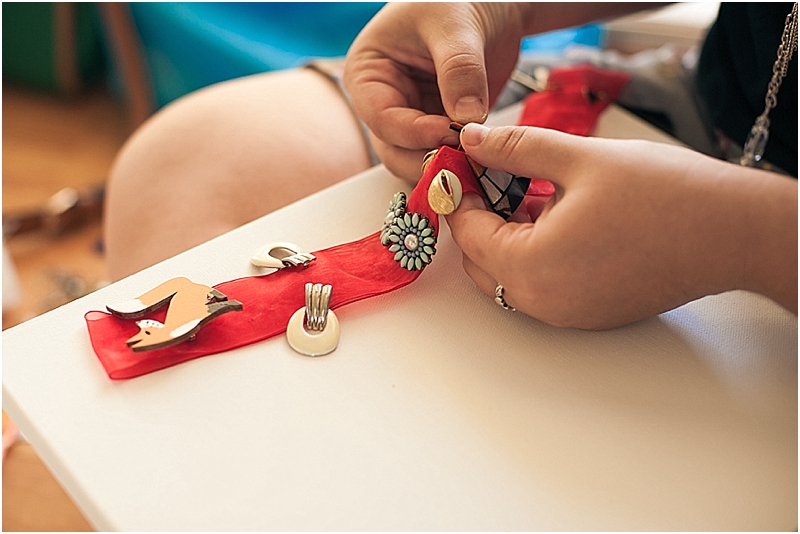
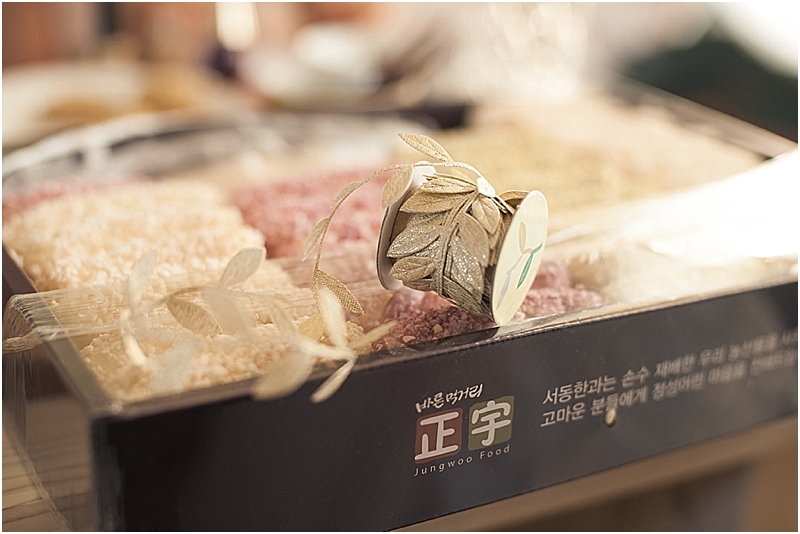
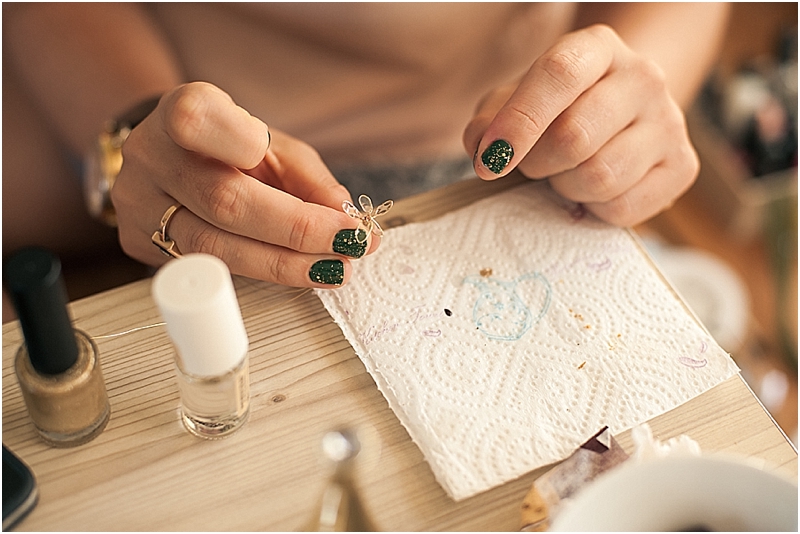
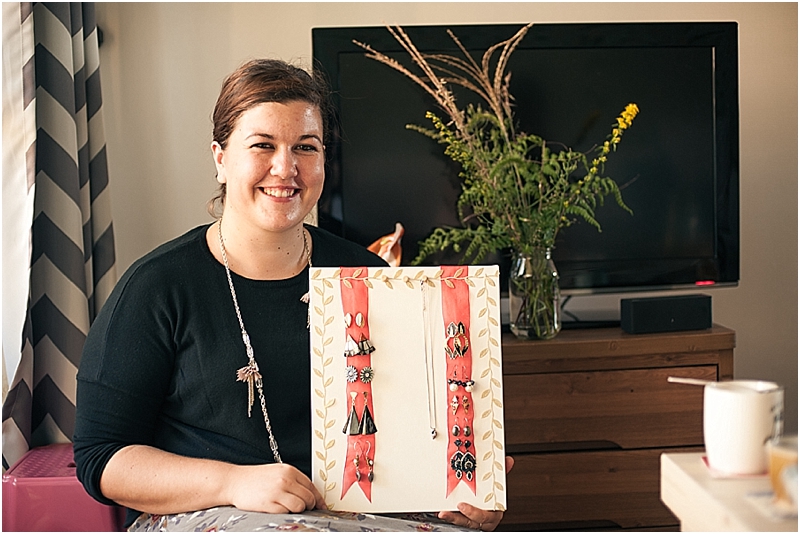
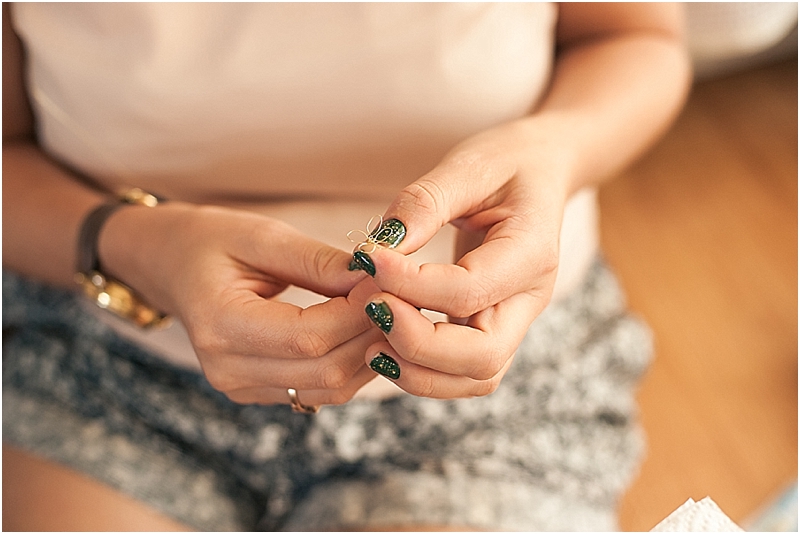
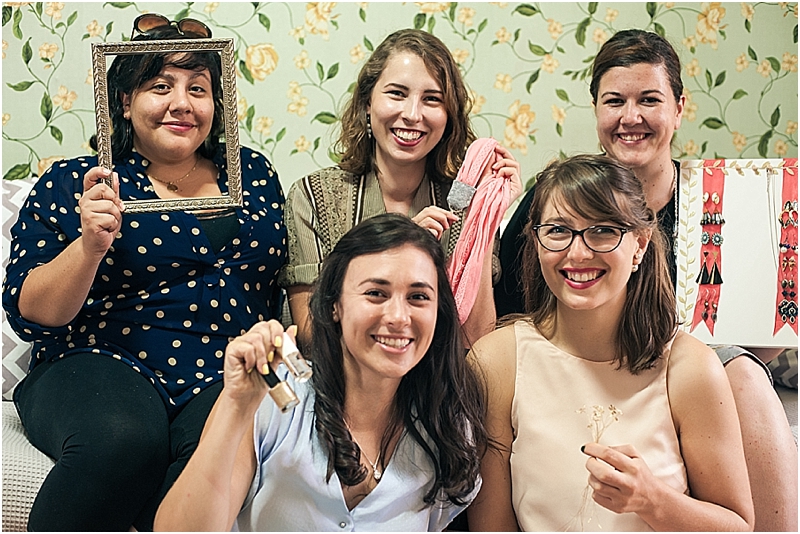
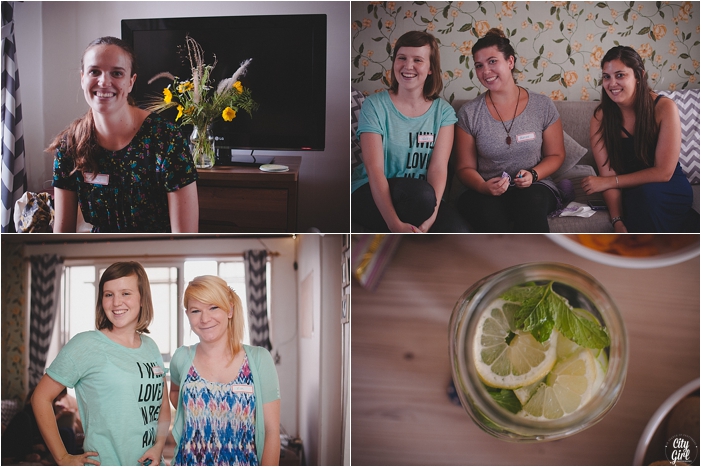
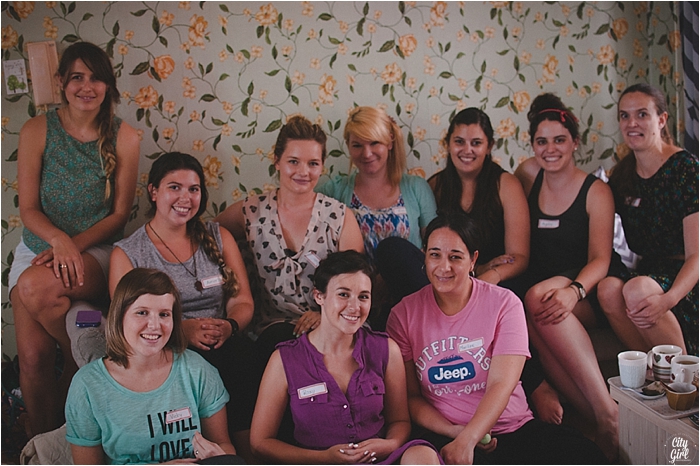
This past weekend I organised the #DIYDaysInKorea ladies a picnic meet-up in a little park in Jeongeup. Our usual get togethers usually involve doing some form of DIY (and chatting...there's always lots of that...oh and food...there's always so much good food!). These meet-ups are a way for us crafty (and in my case, definitely UNCRAFTY) ladies here in South Korea to spend quality time together. We even have a Pinterest board for us to share ideas and inspire one another, we're cool like that. 

It was such a nice opportunity to get together, without spending a whole lot of money, and while still having fun. 

If you're here in Korea and you'd like to join in the next time we get together, join our Facebook group (click here), we'd love to have you!

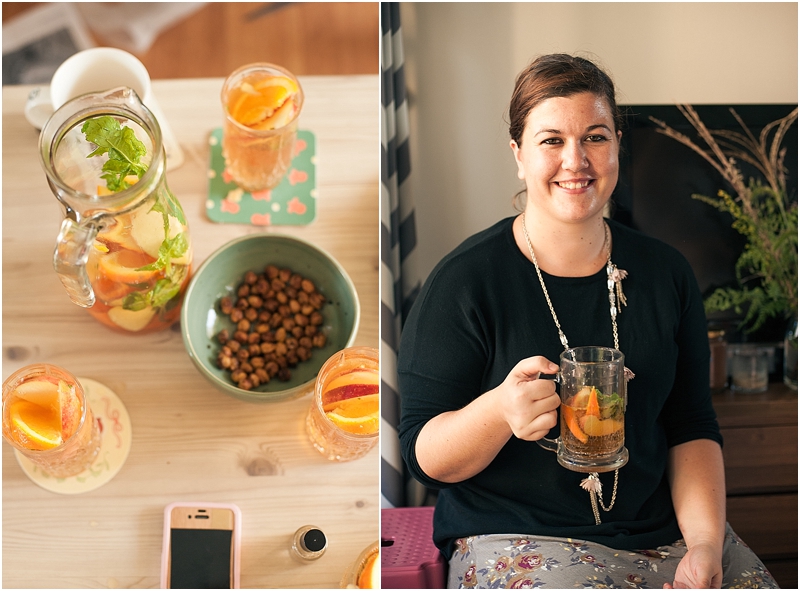
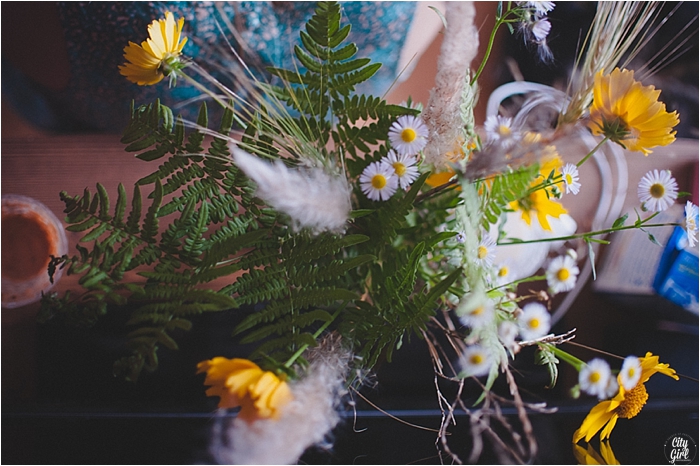
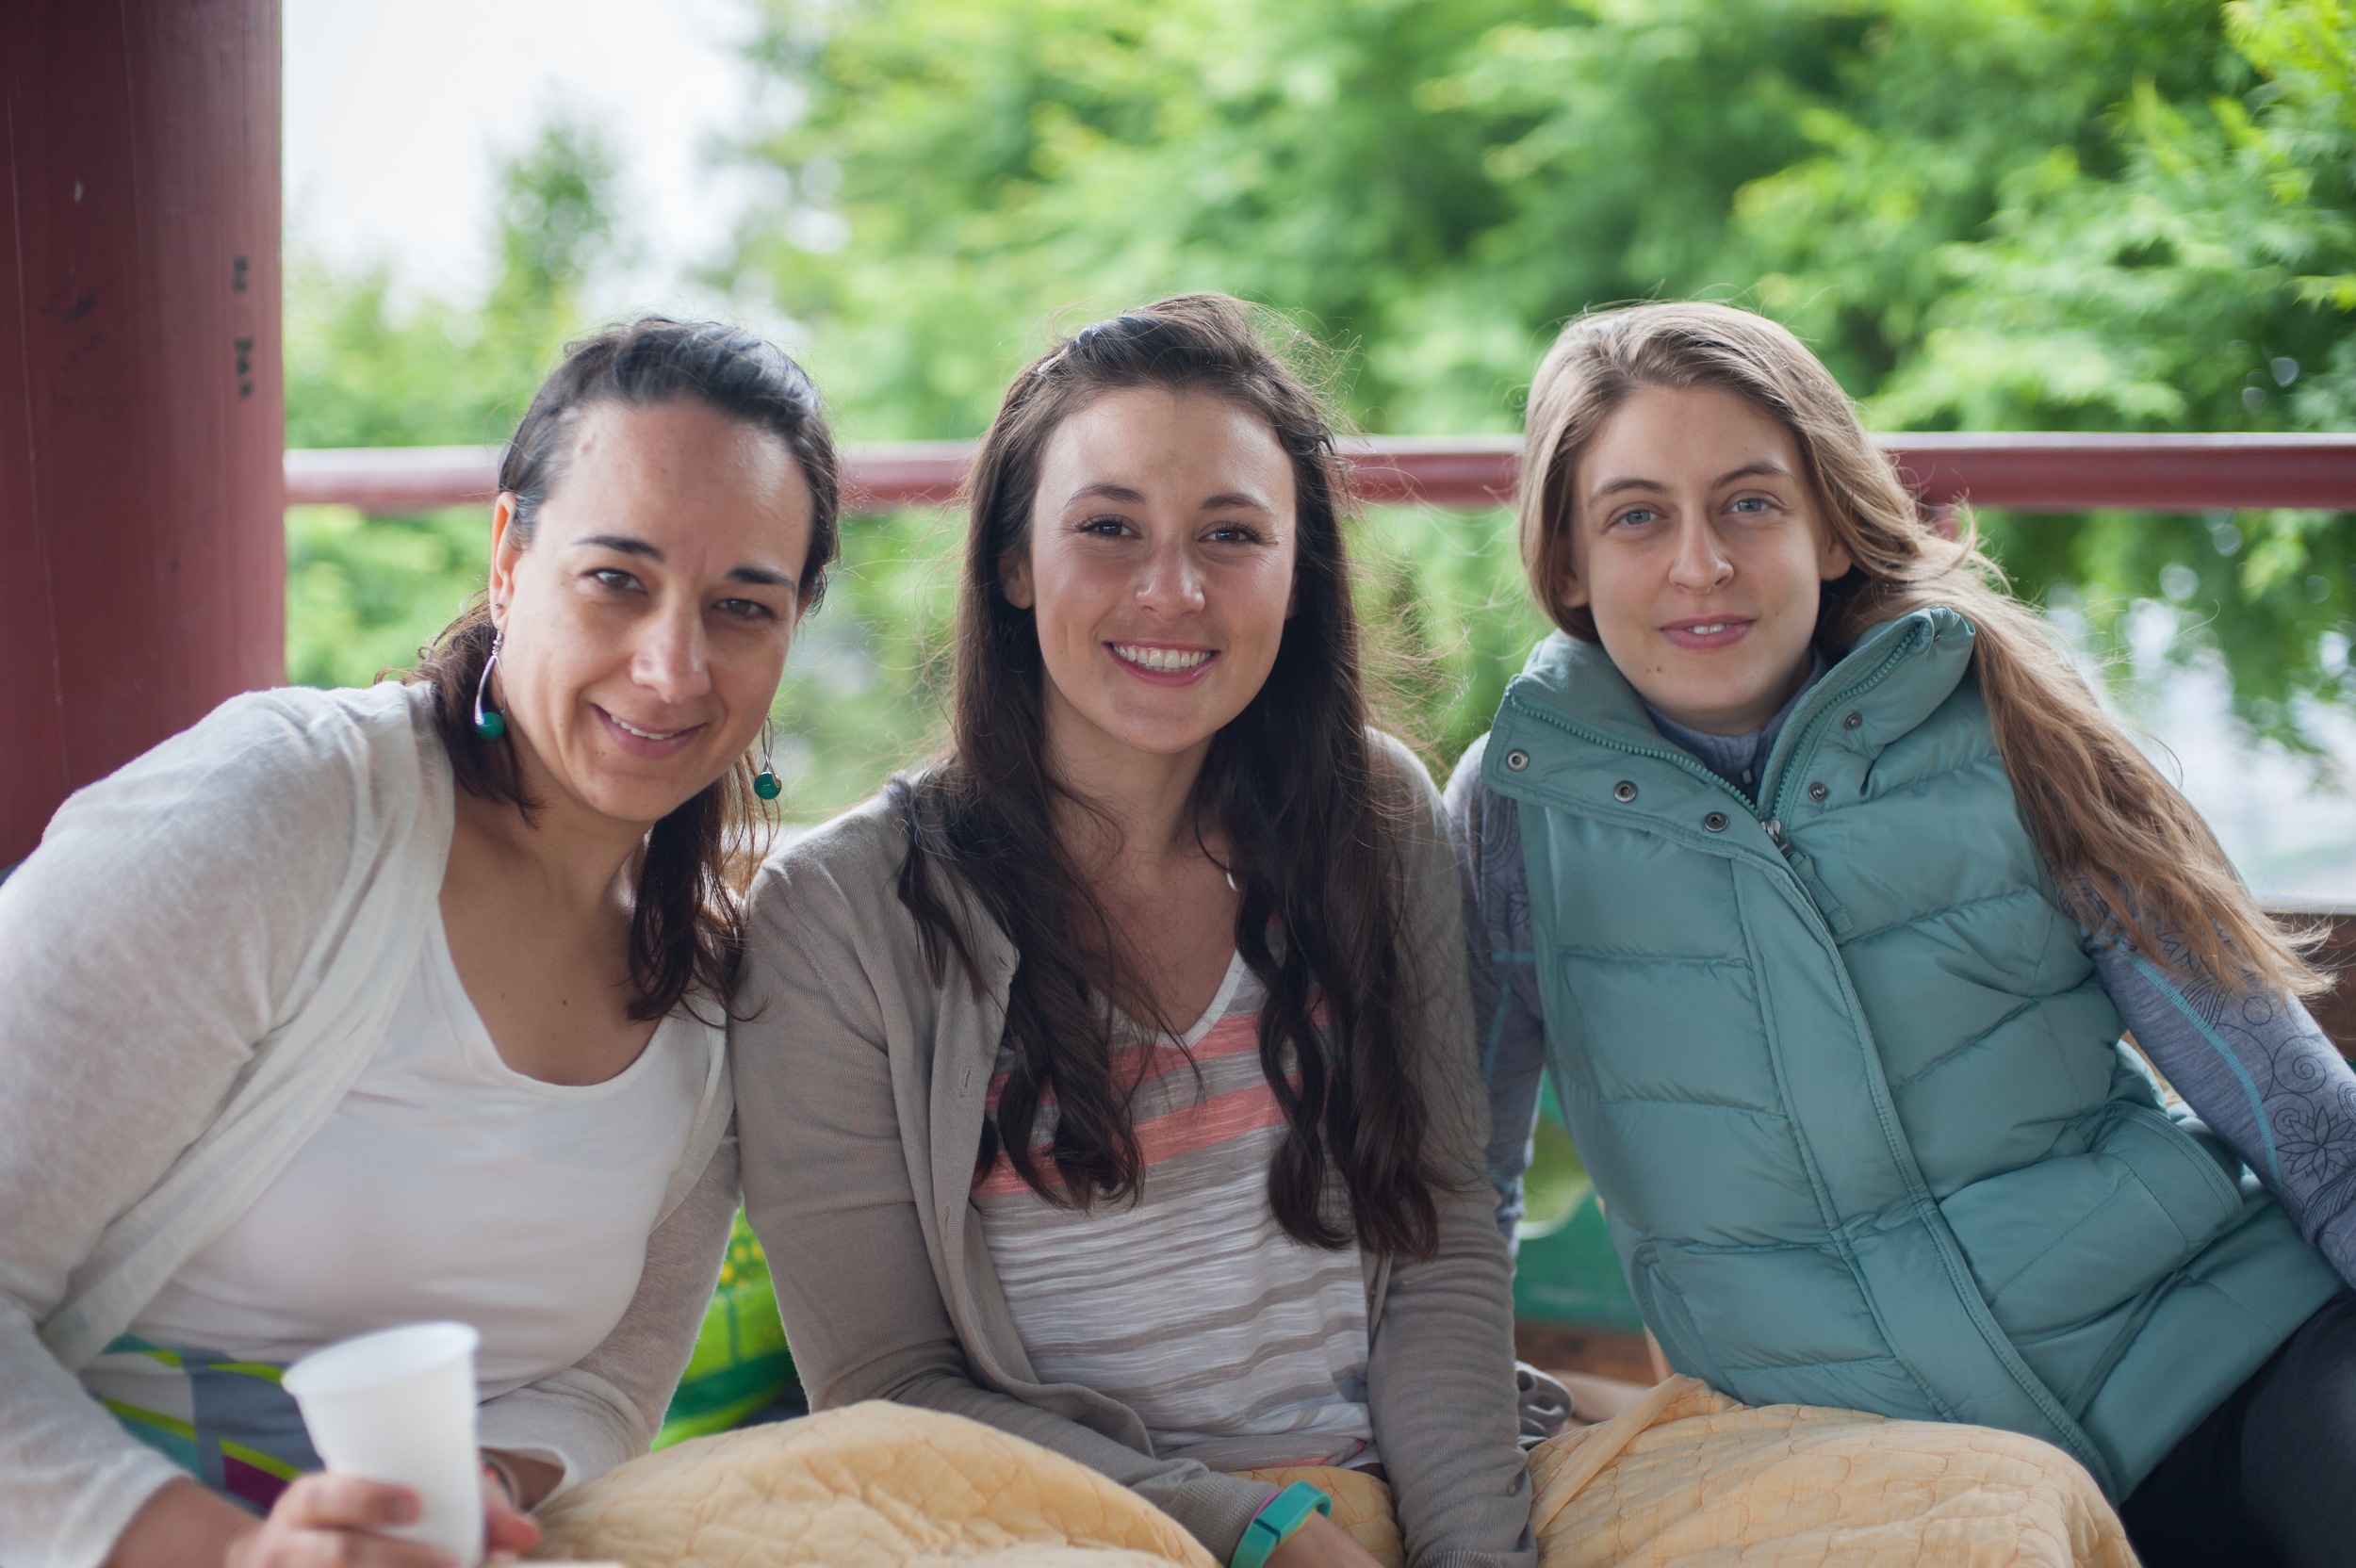
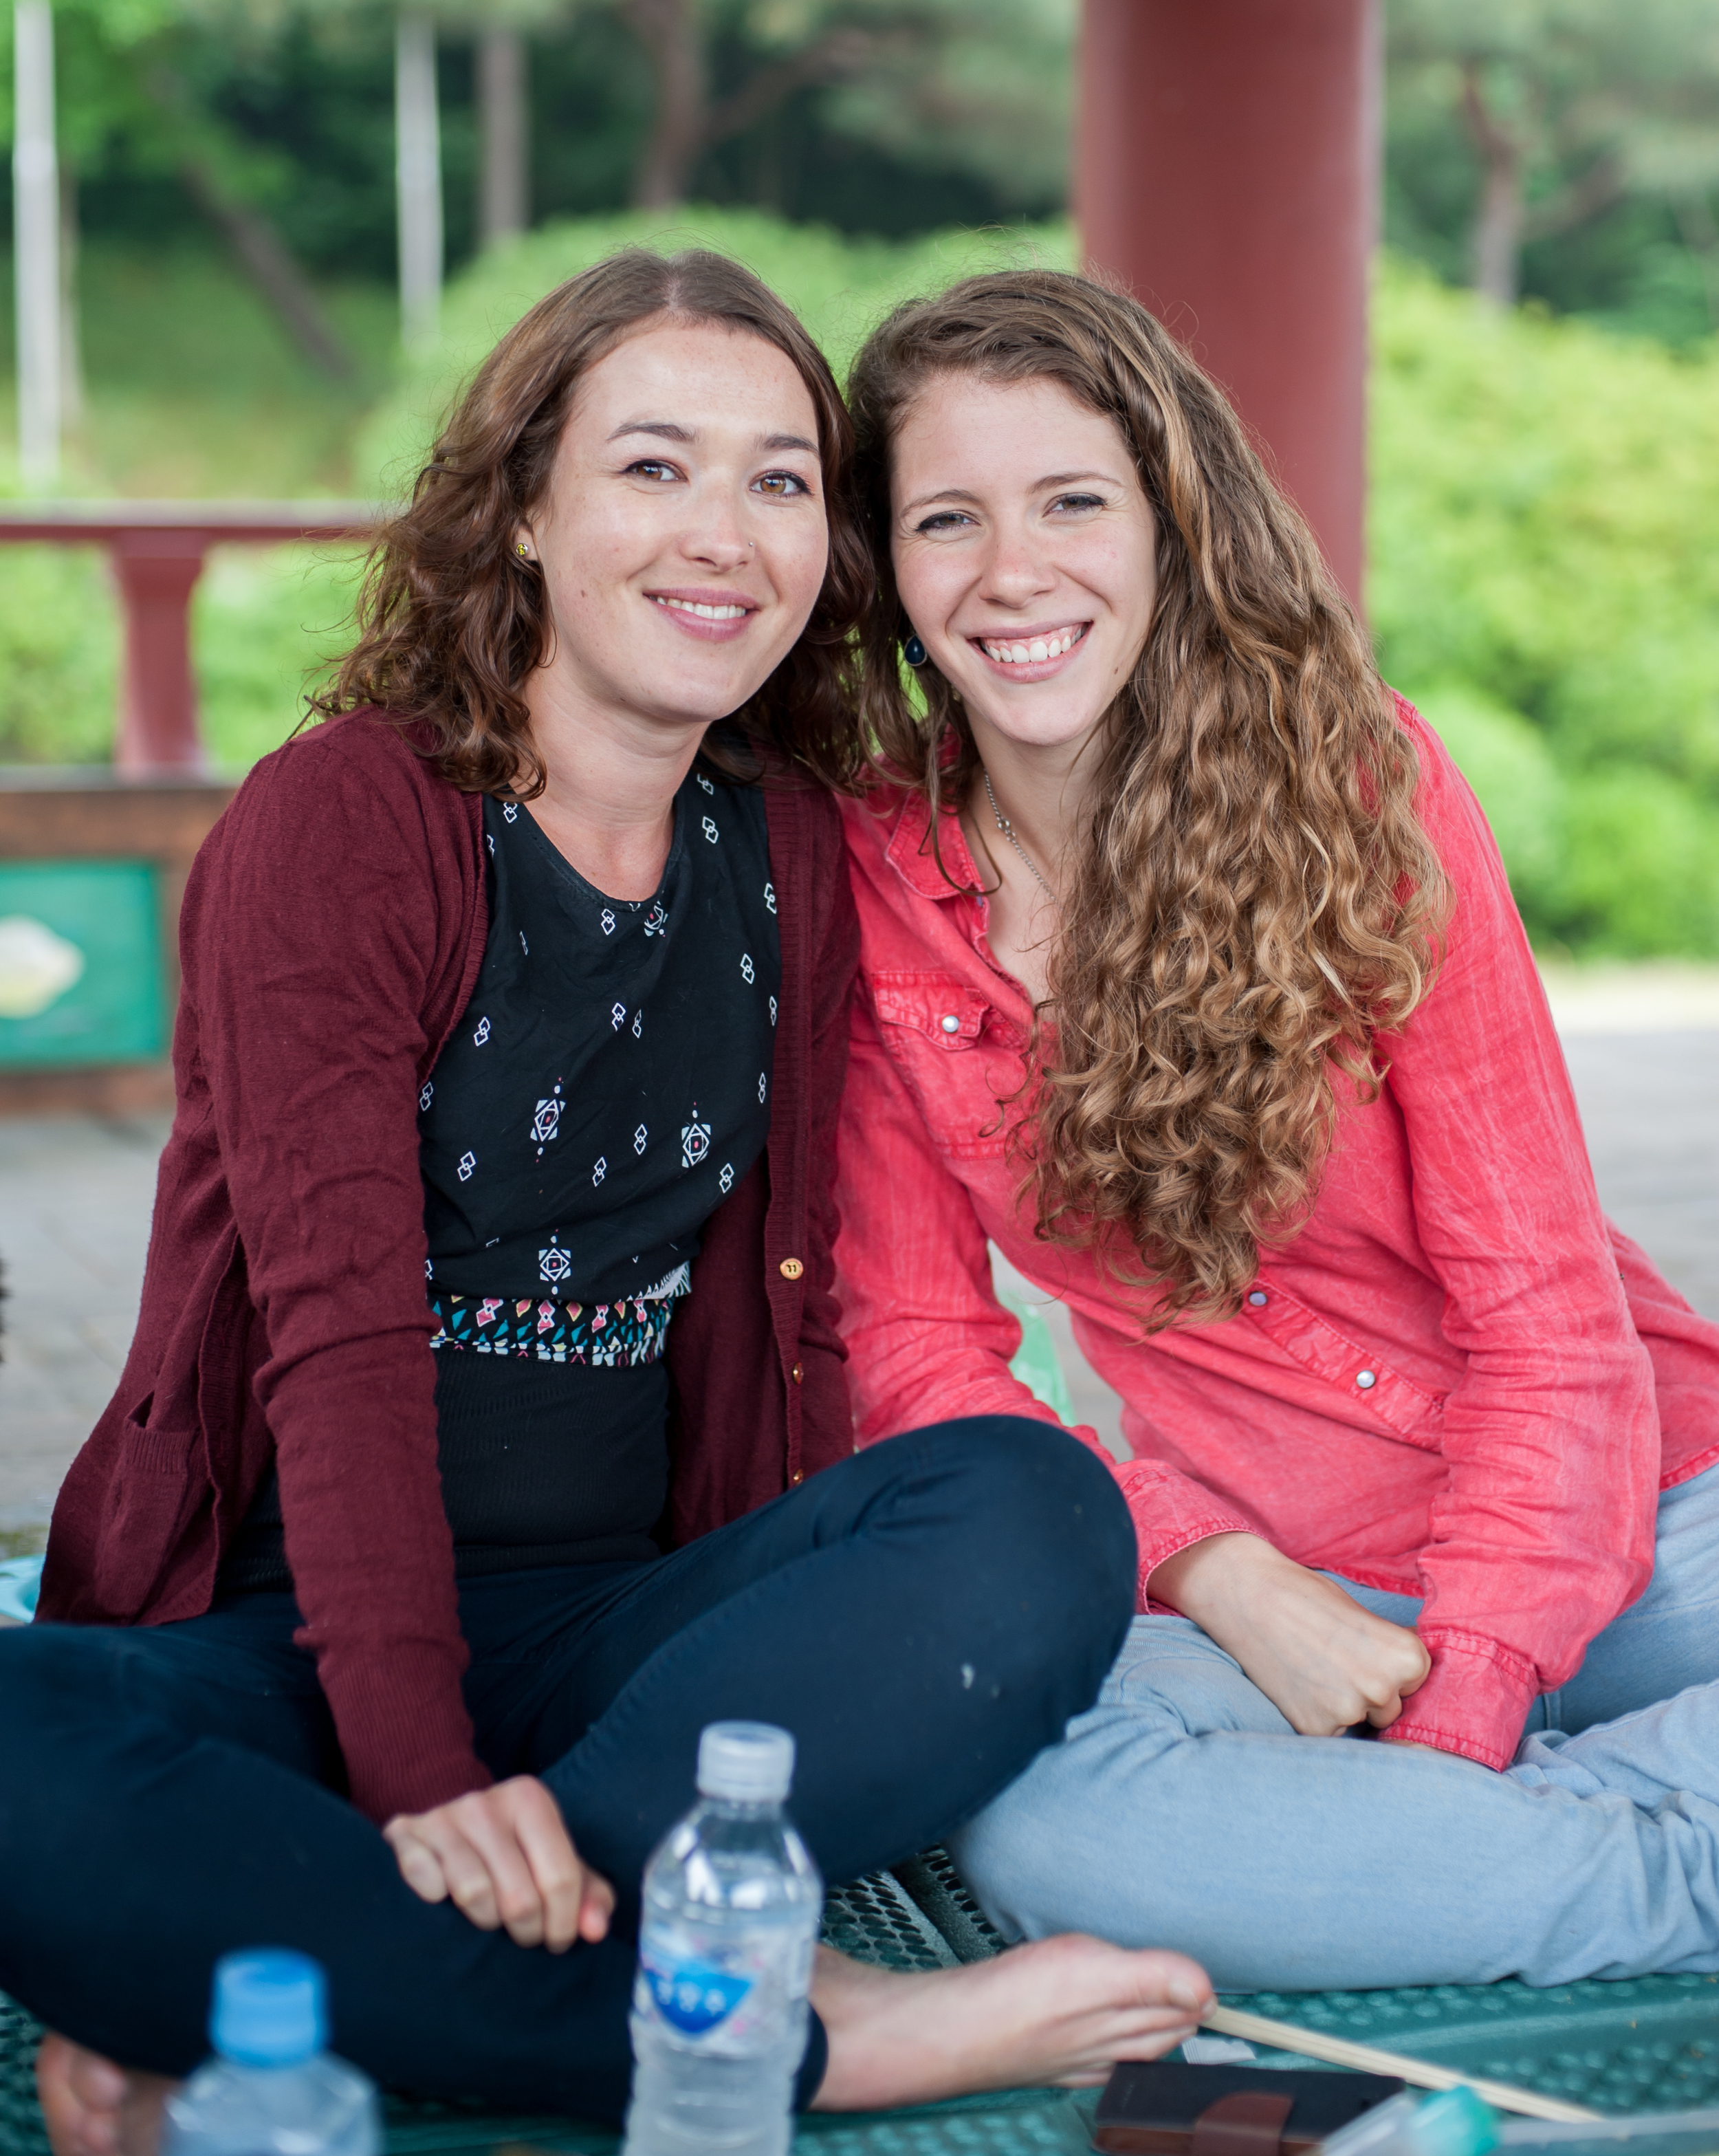
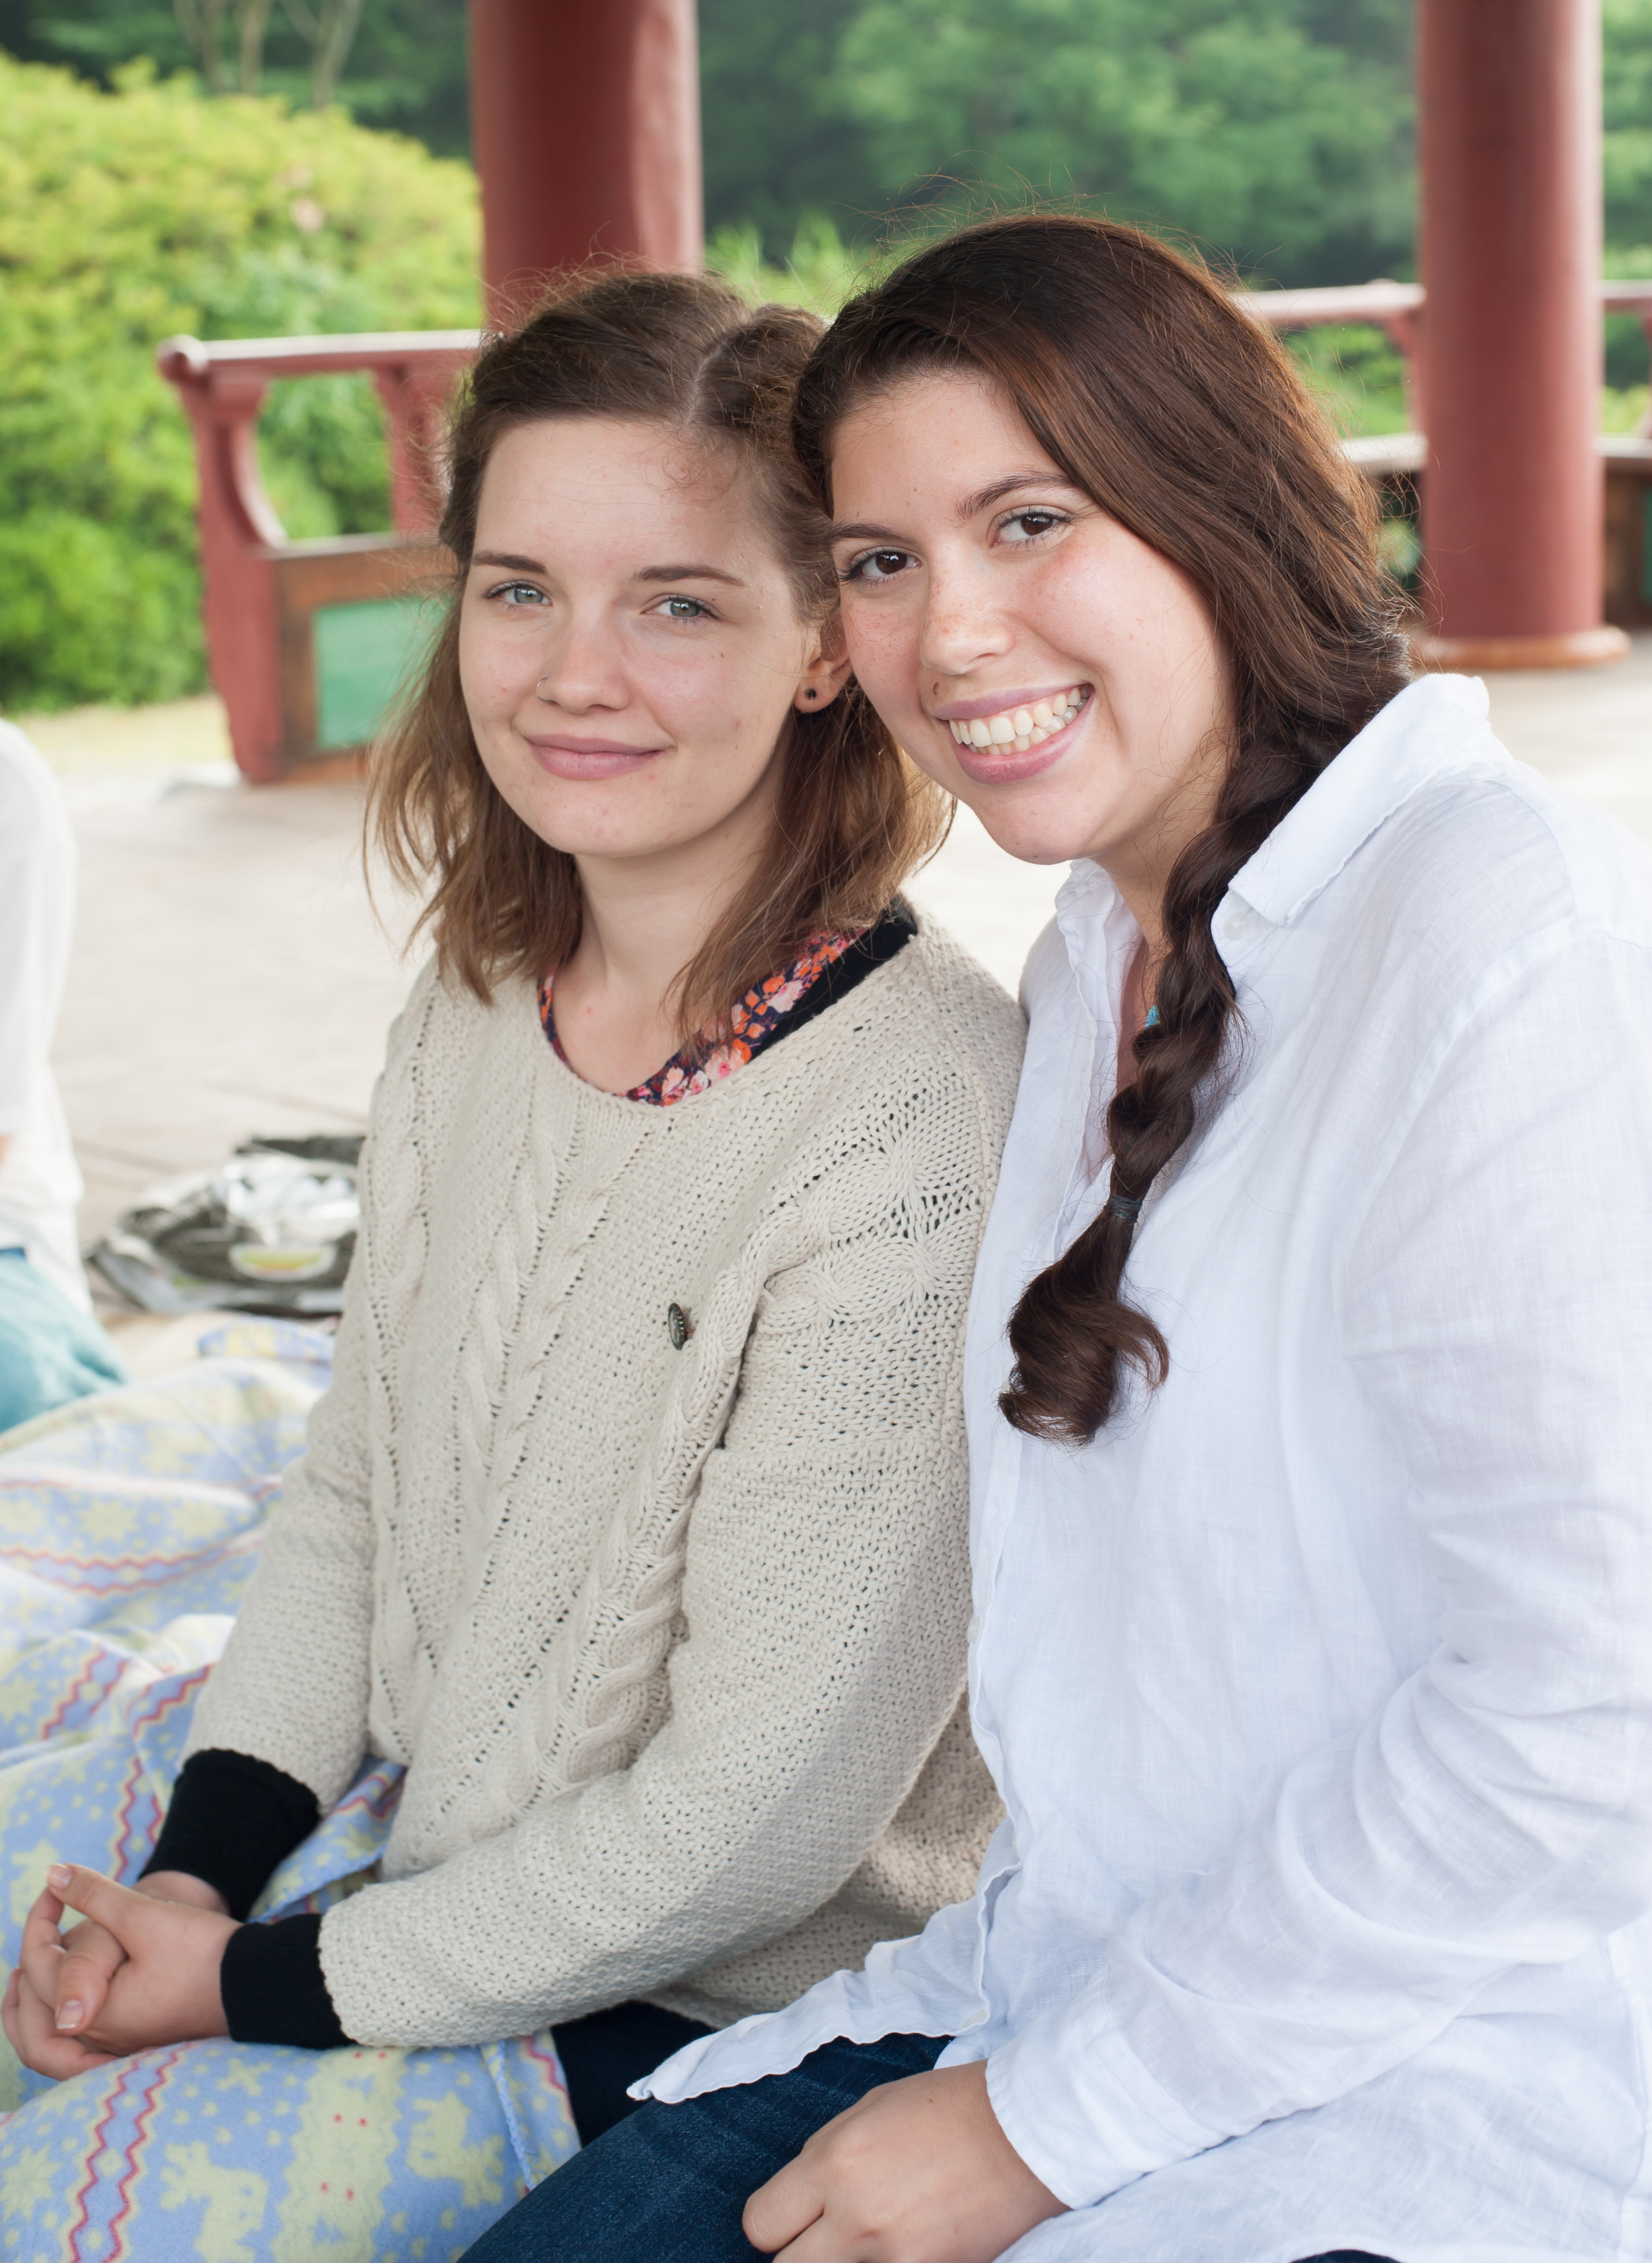
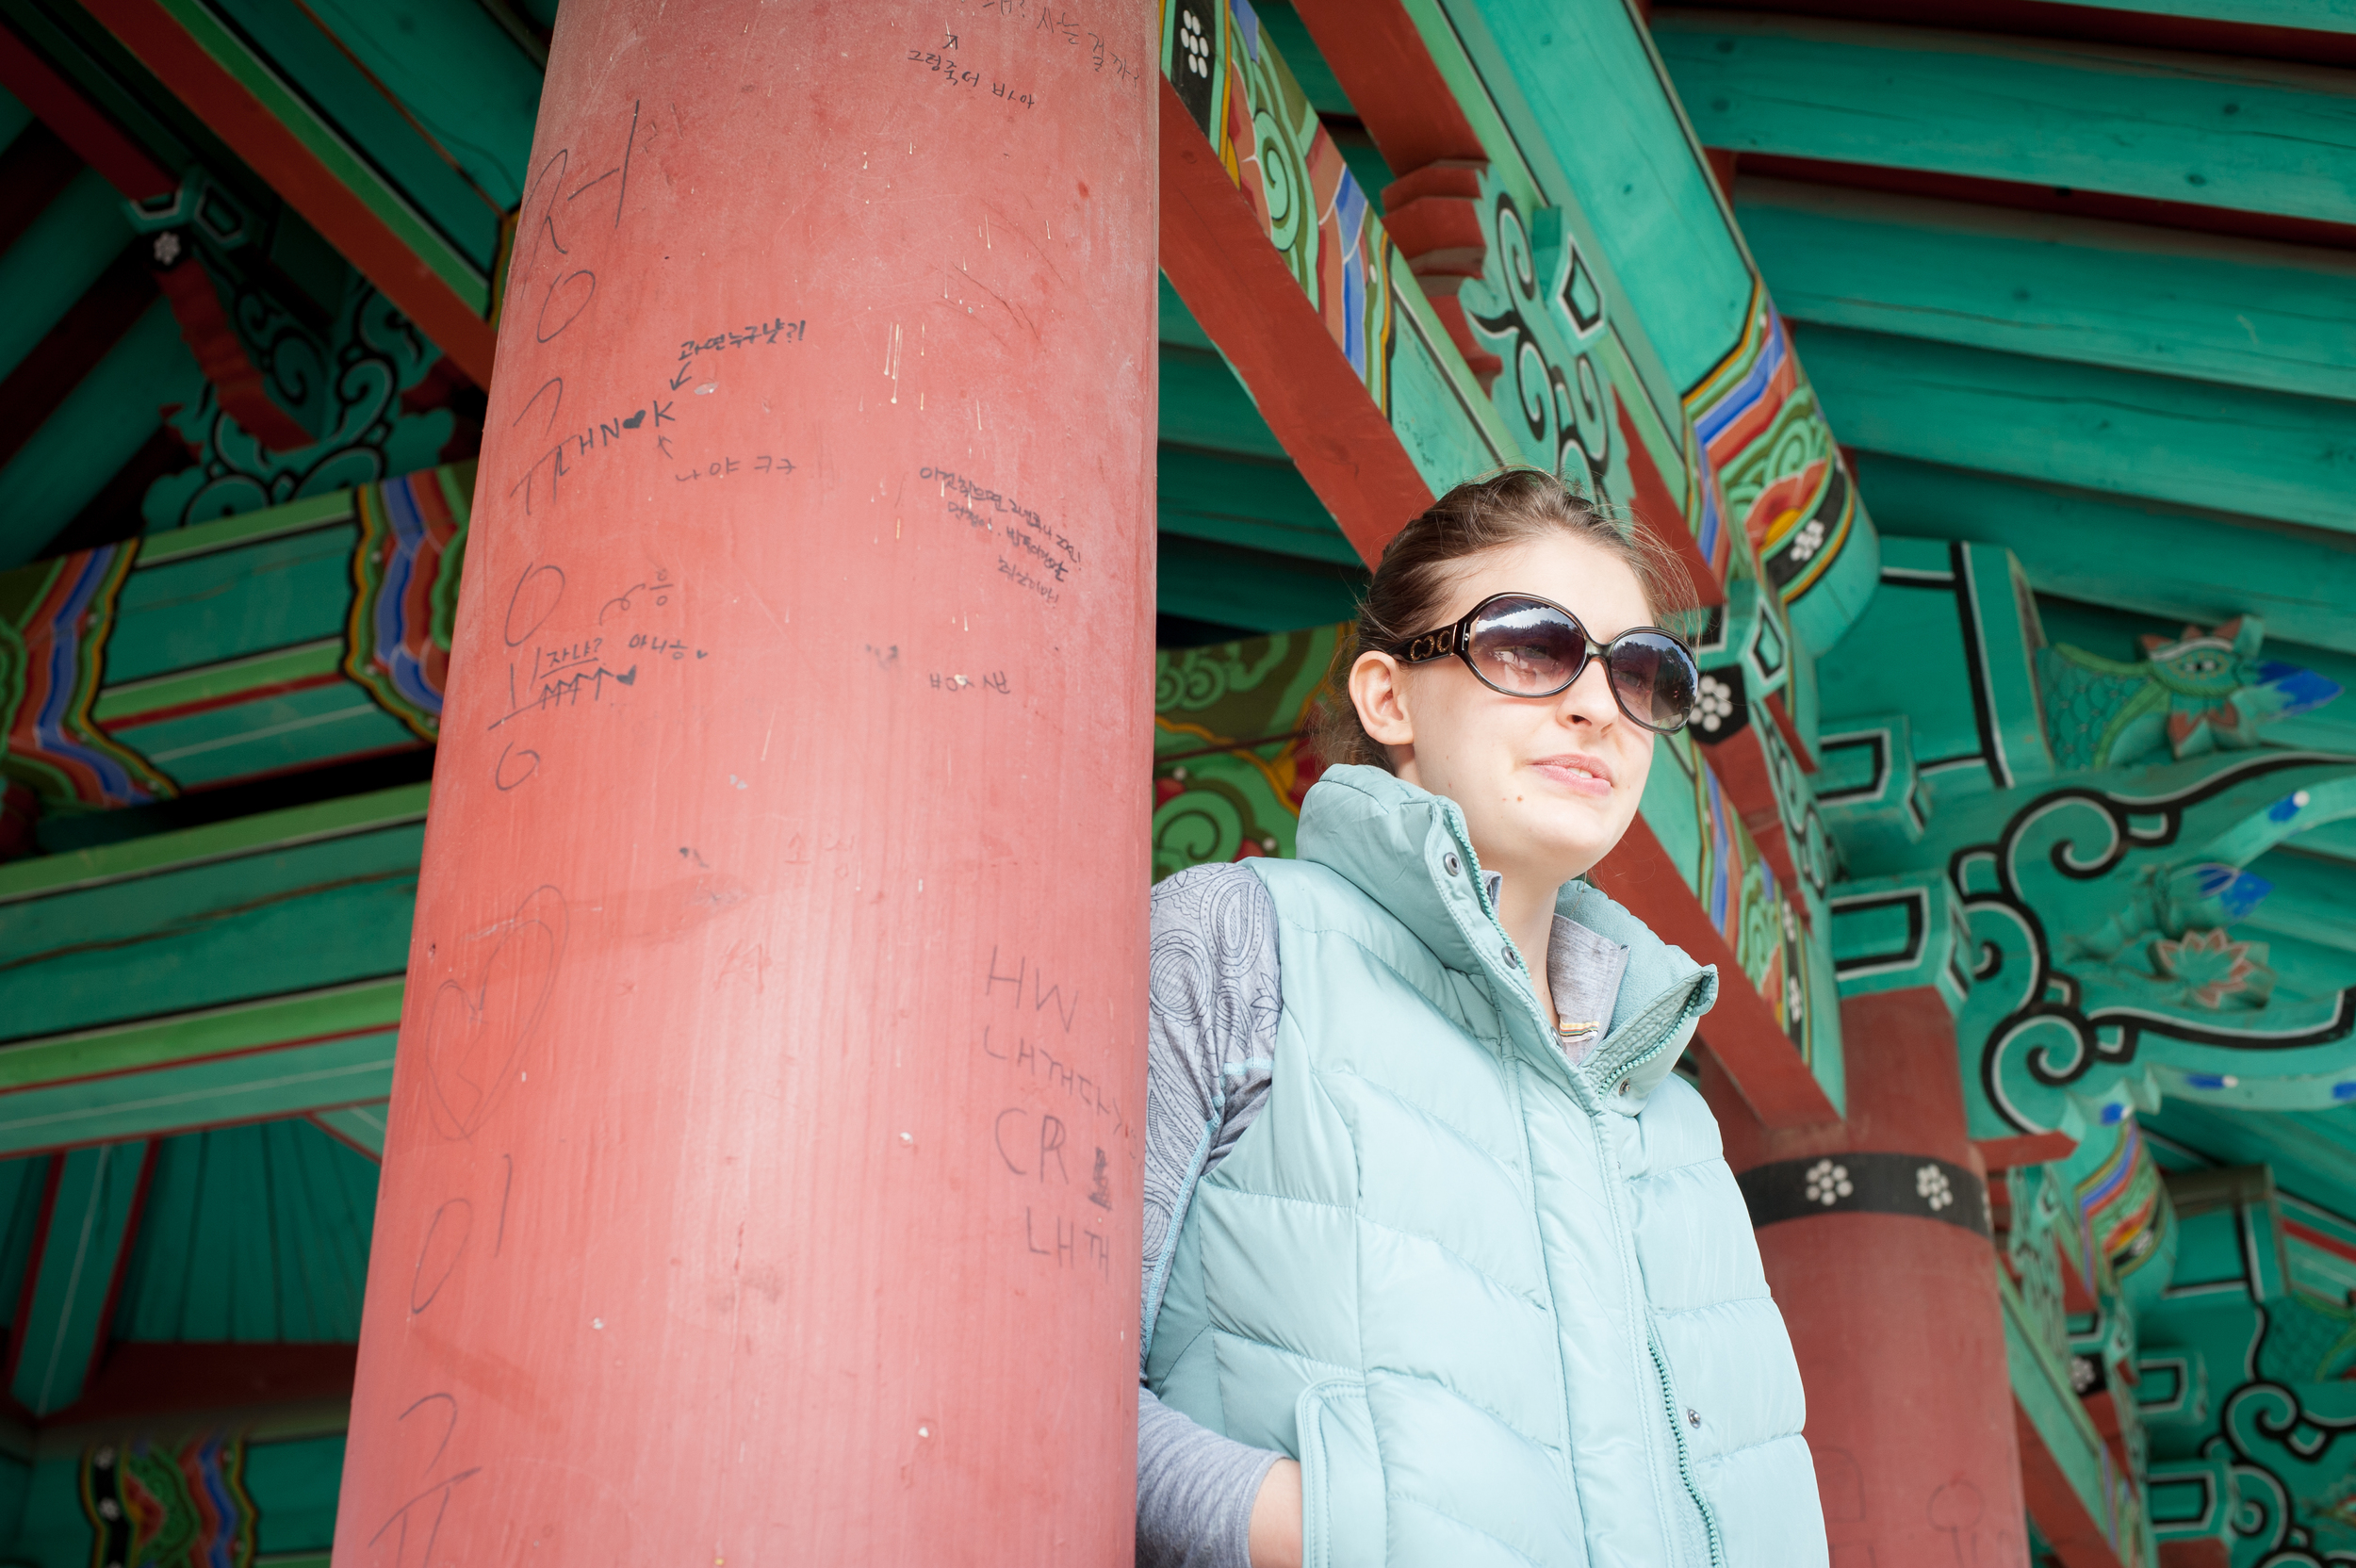
Here are some photographs from our afternoon together.

Enjoy!

x

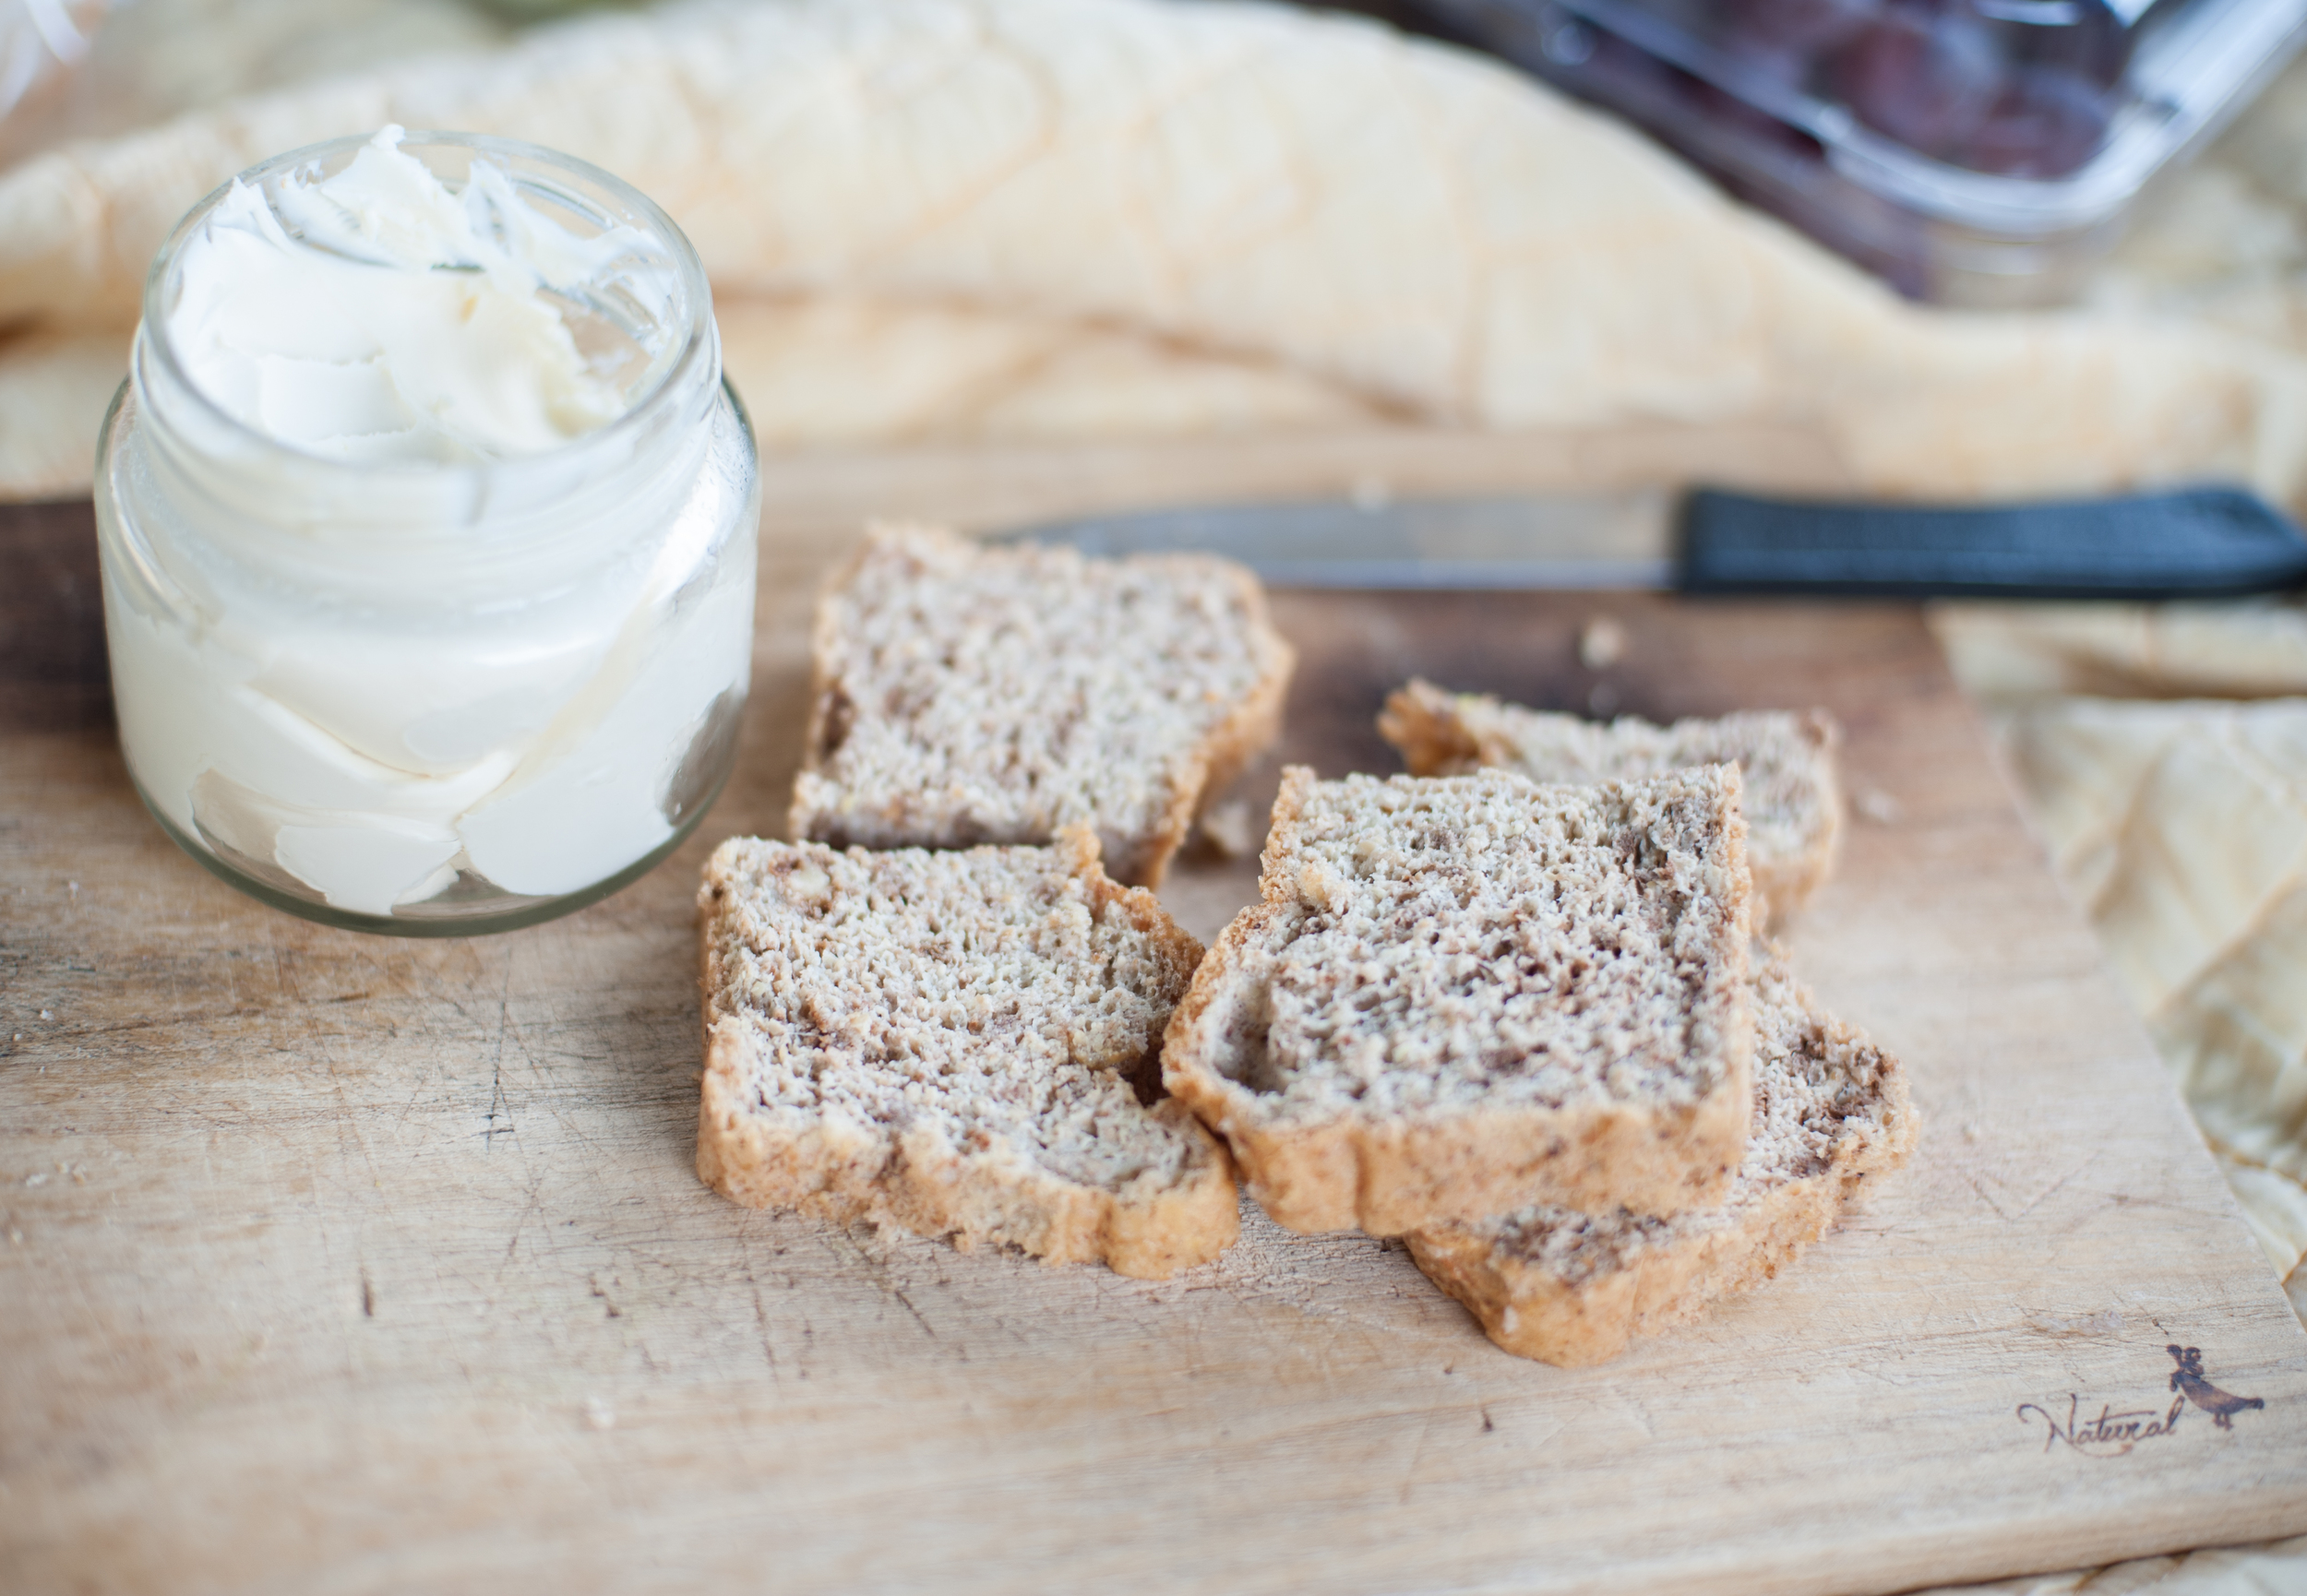
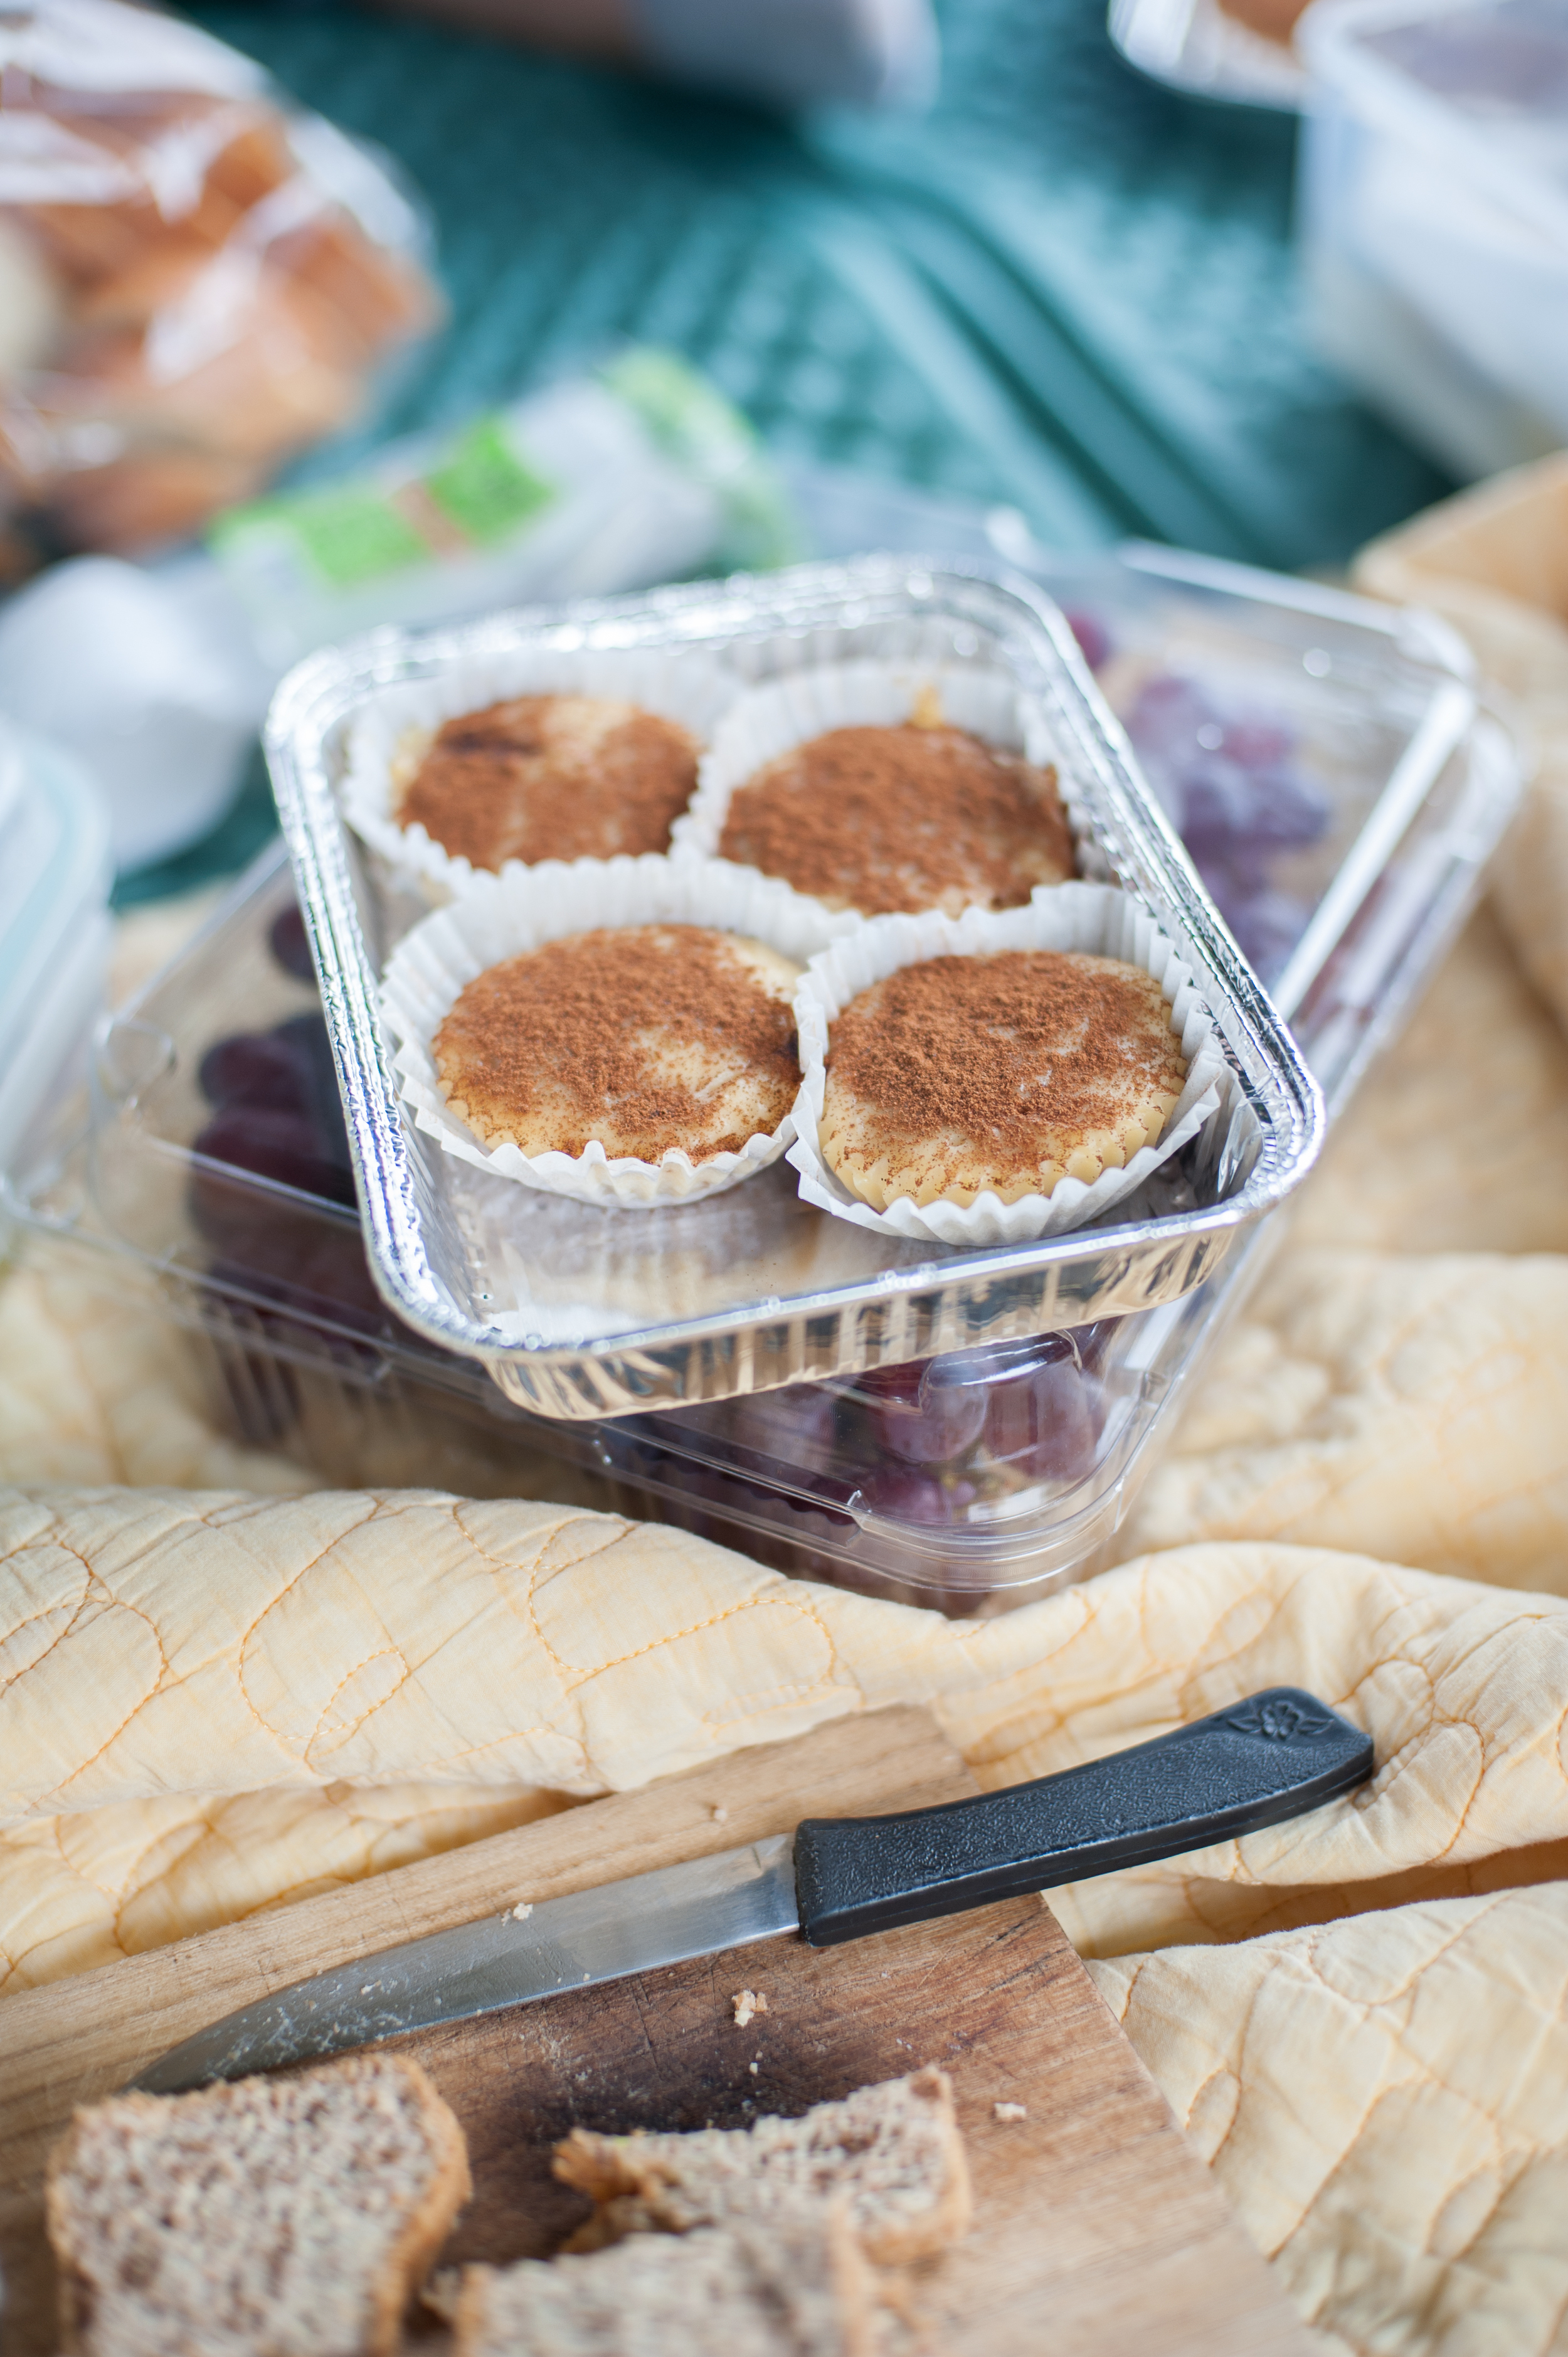
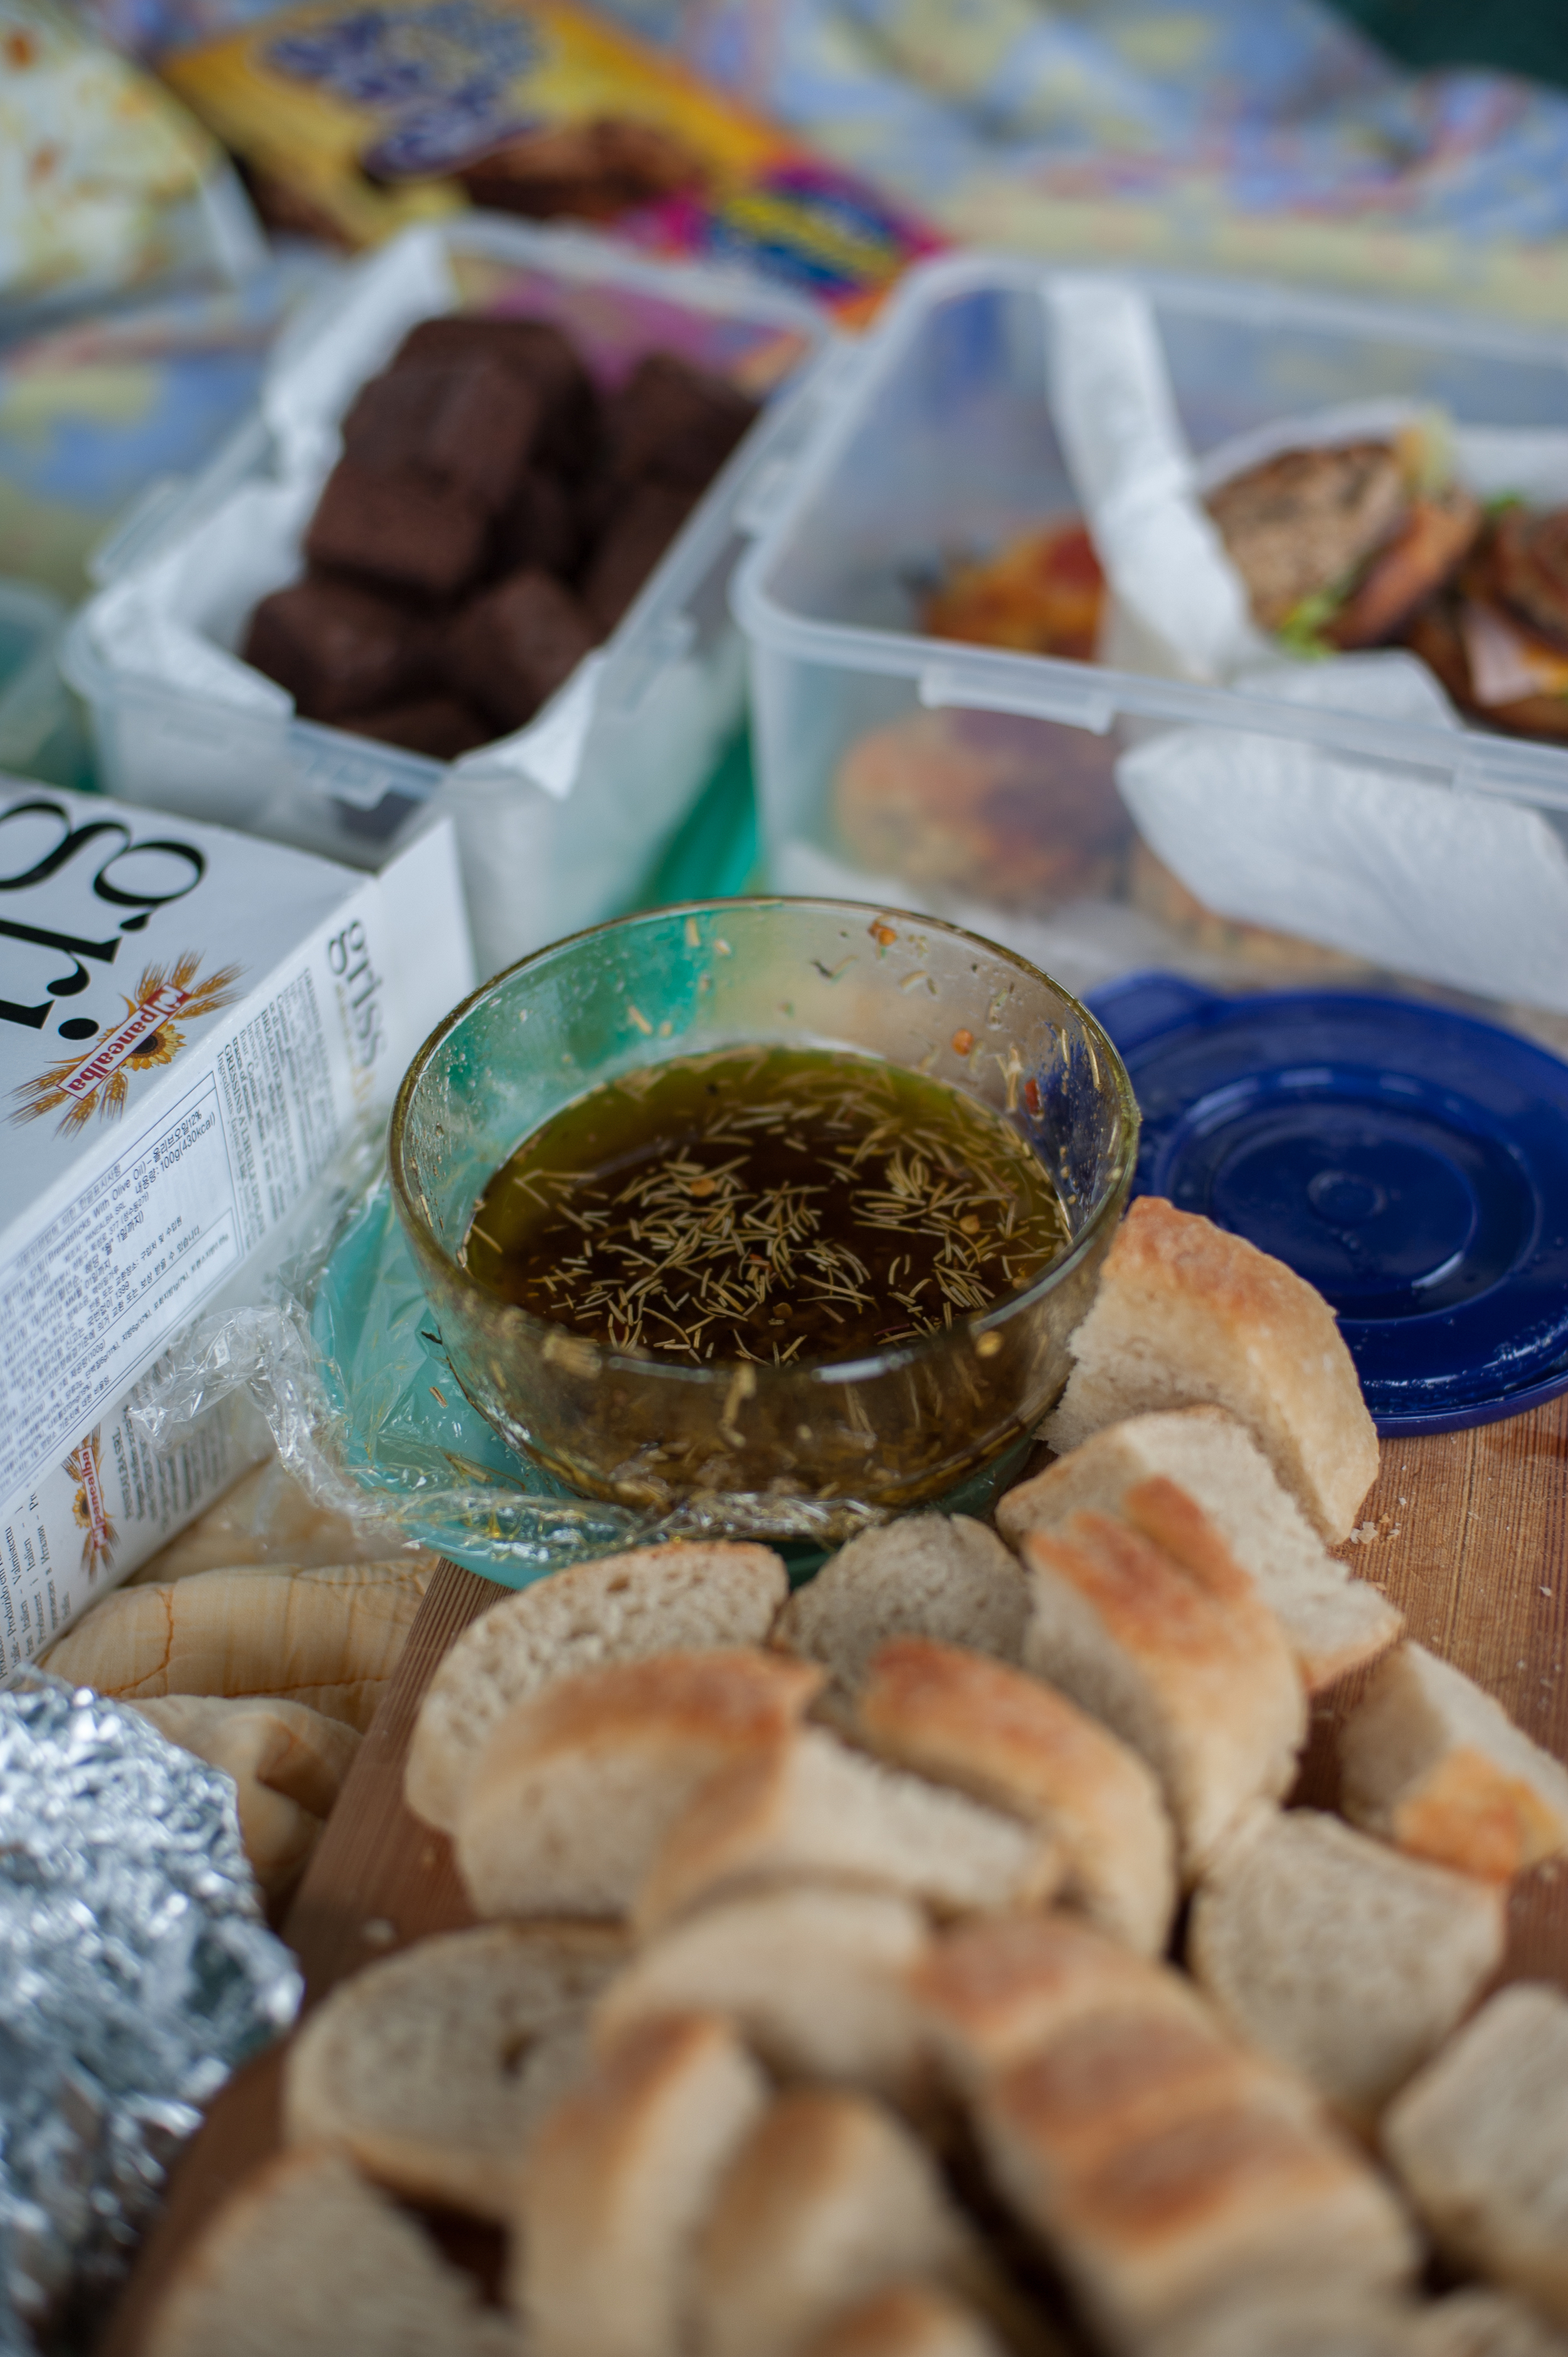
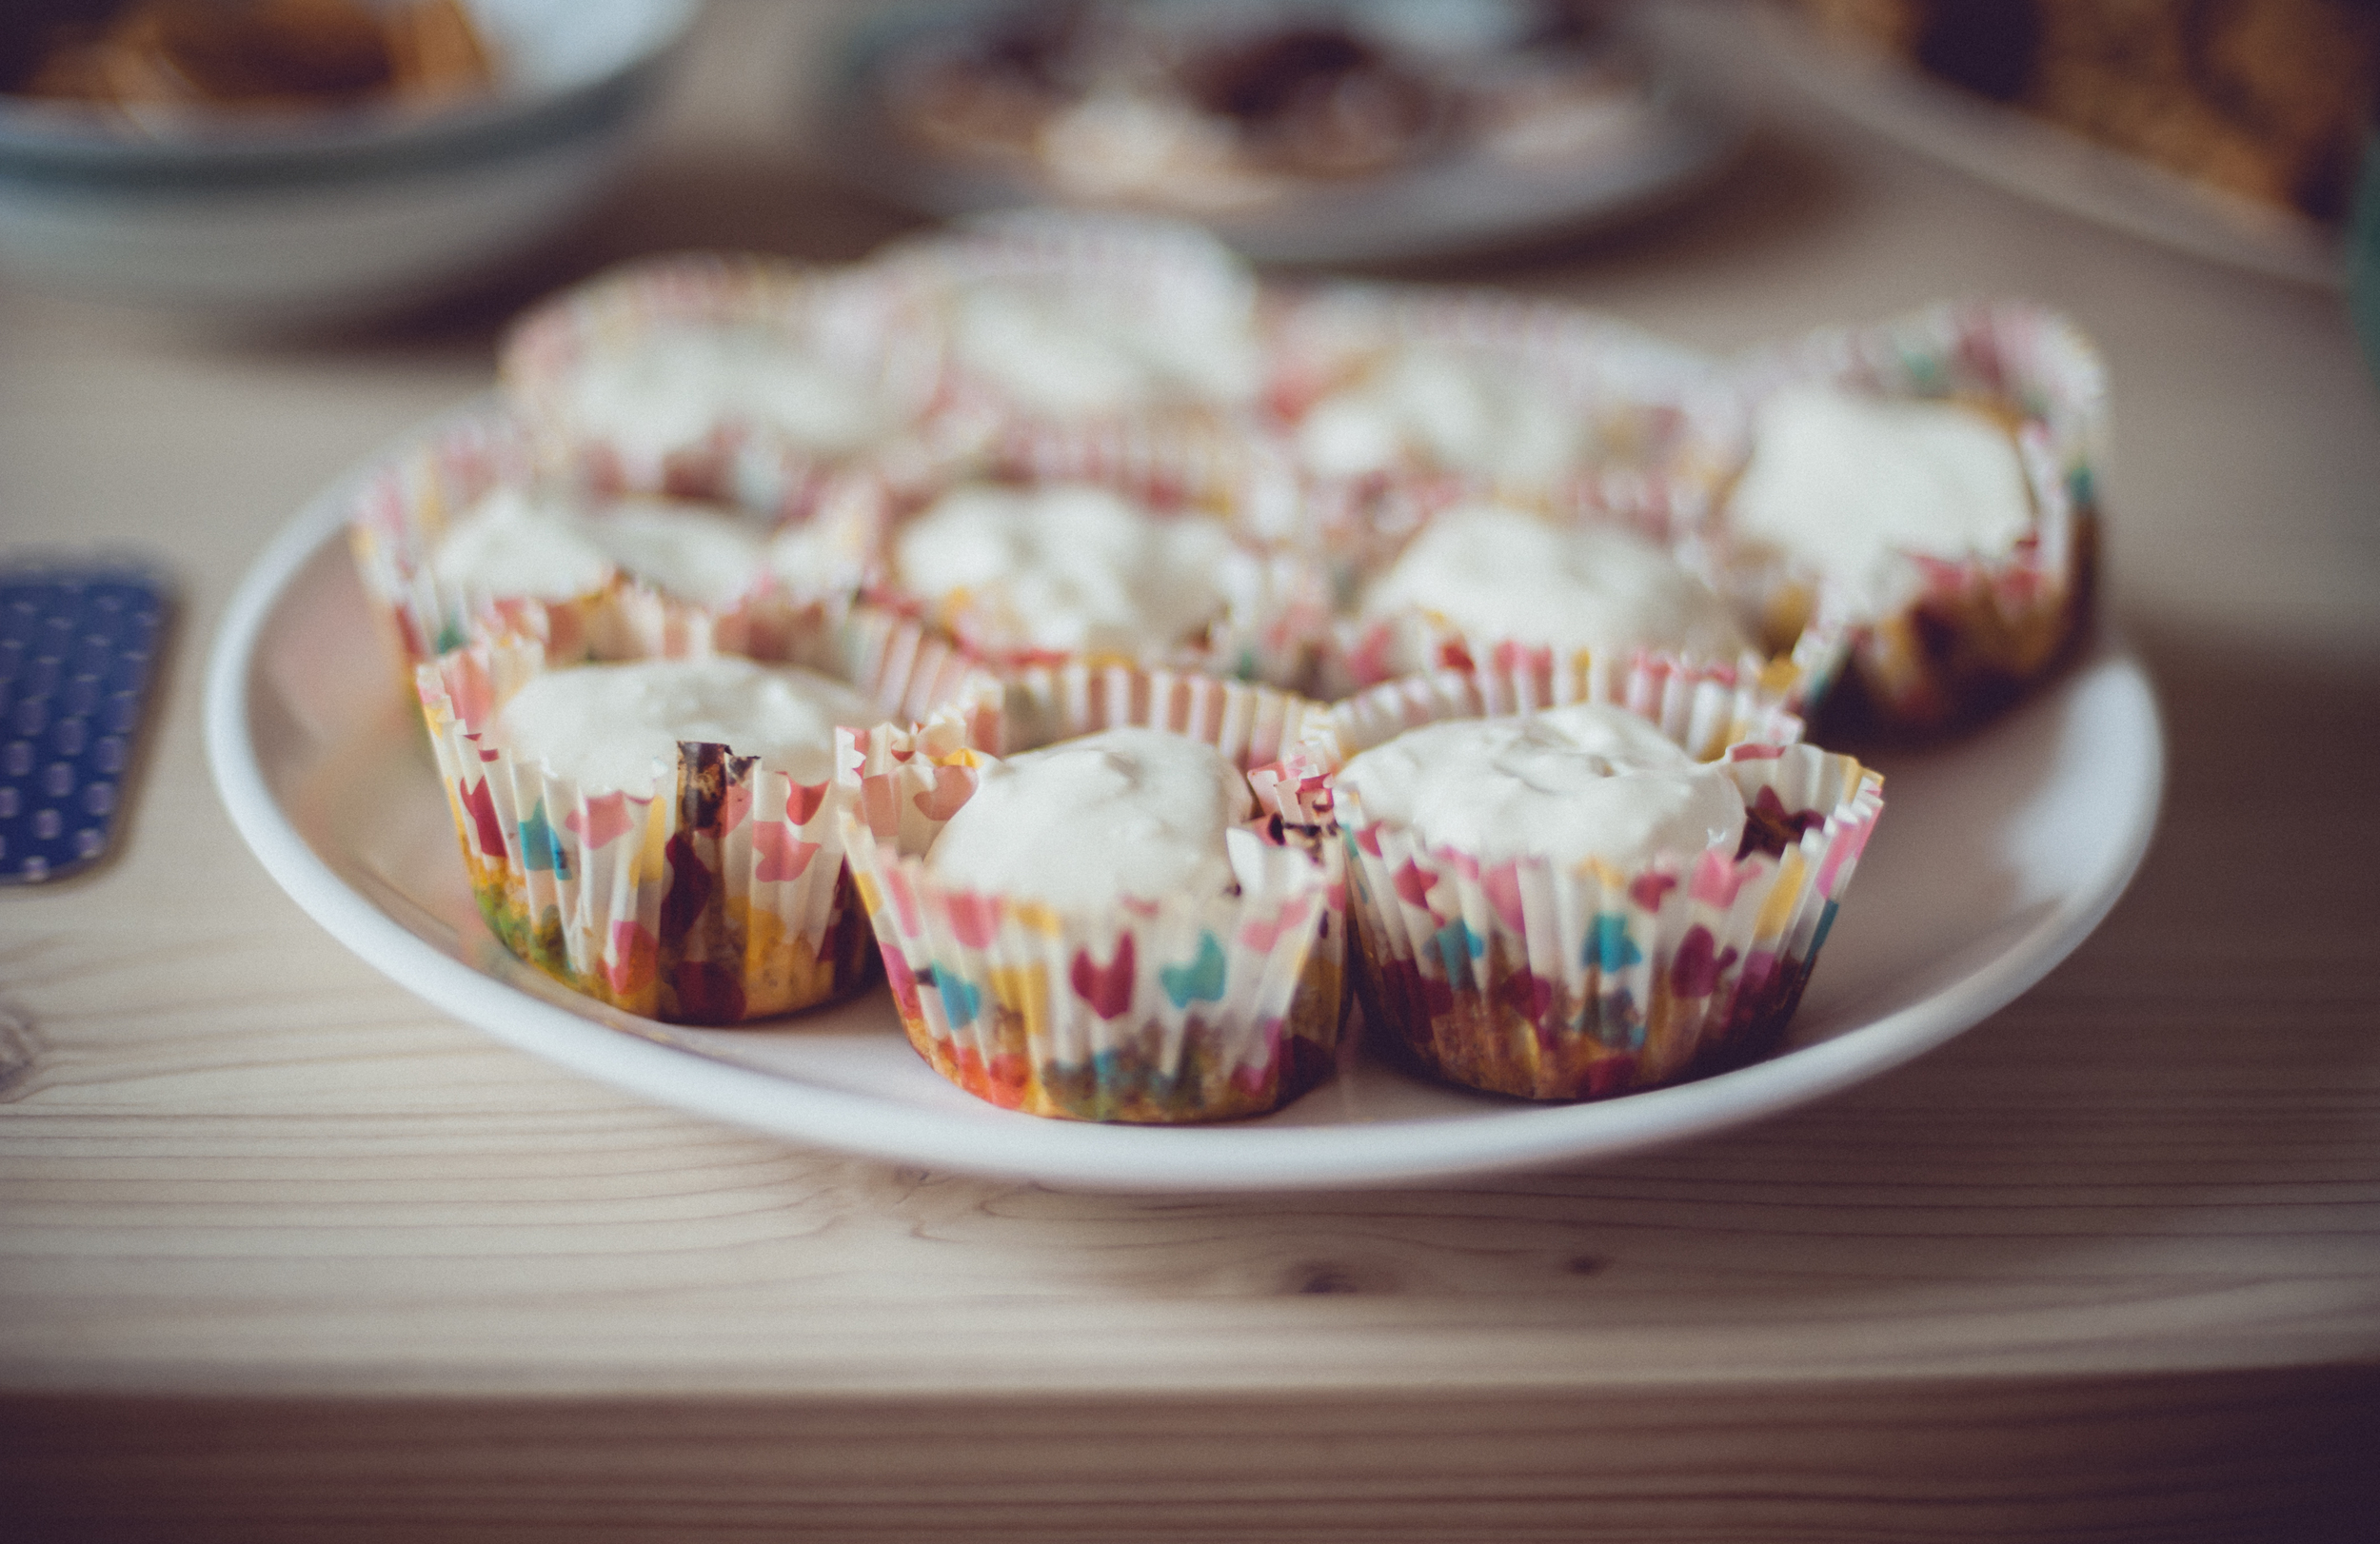
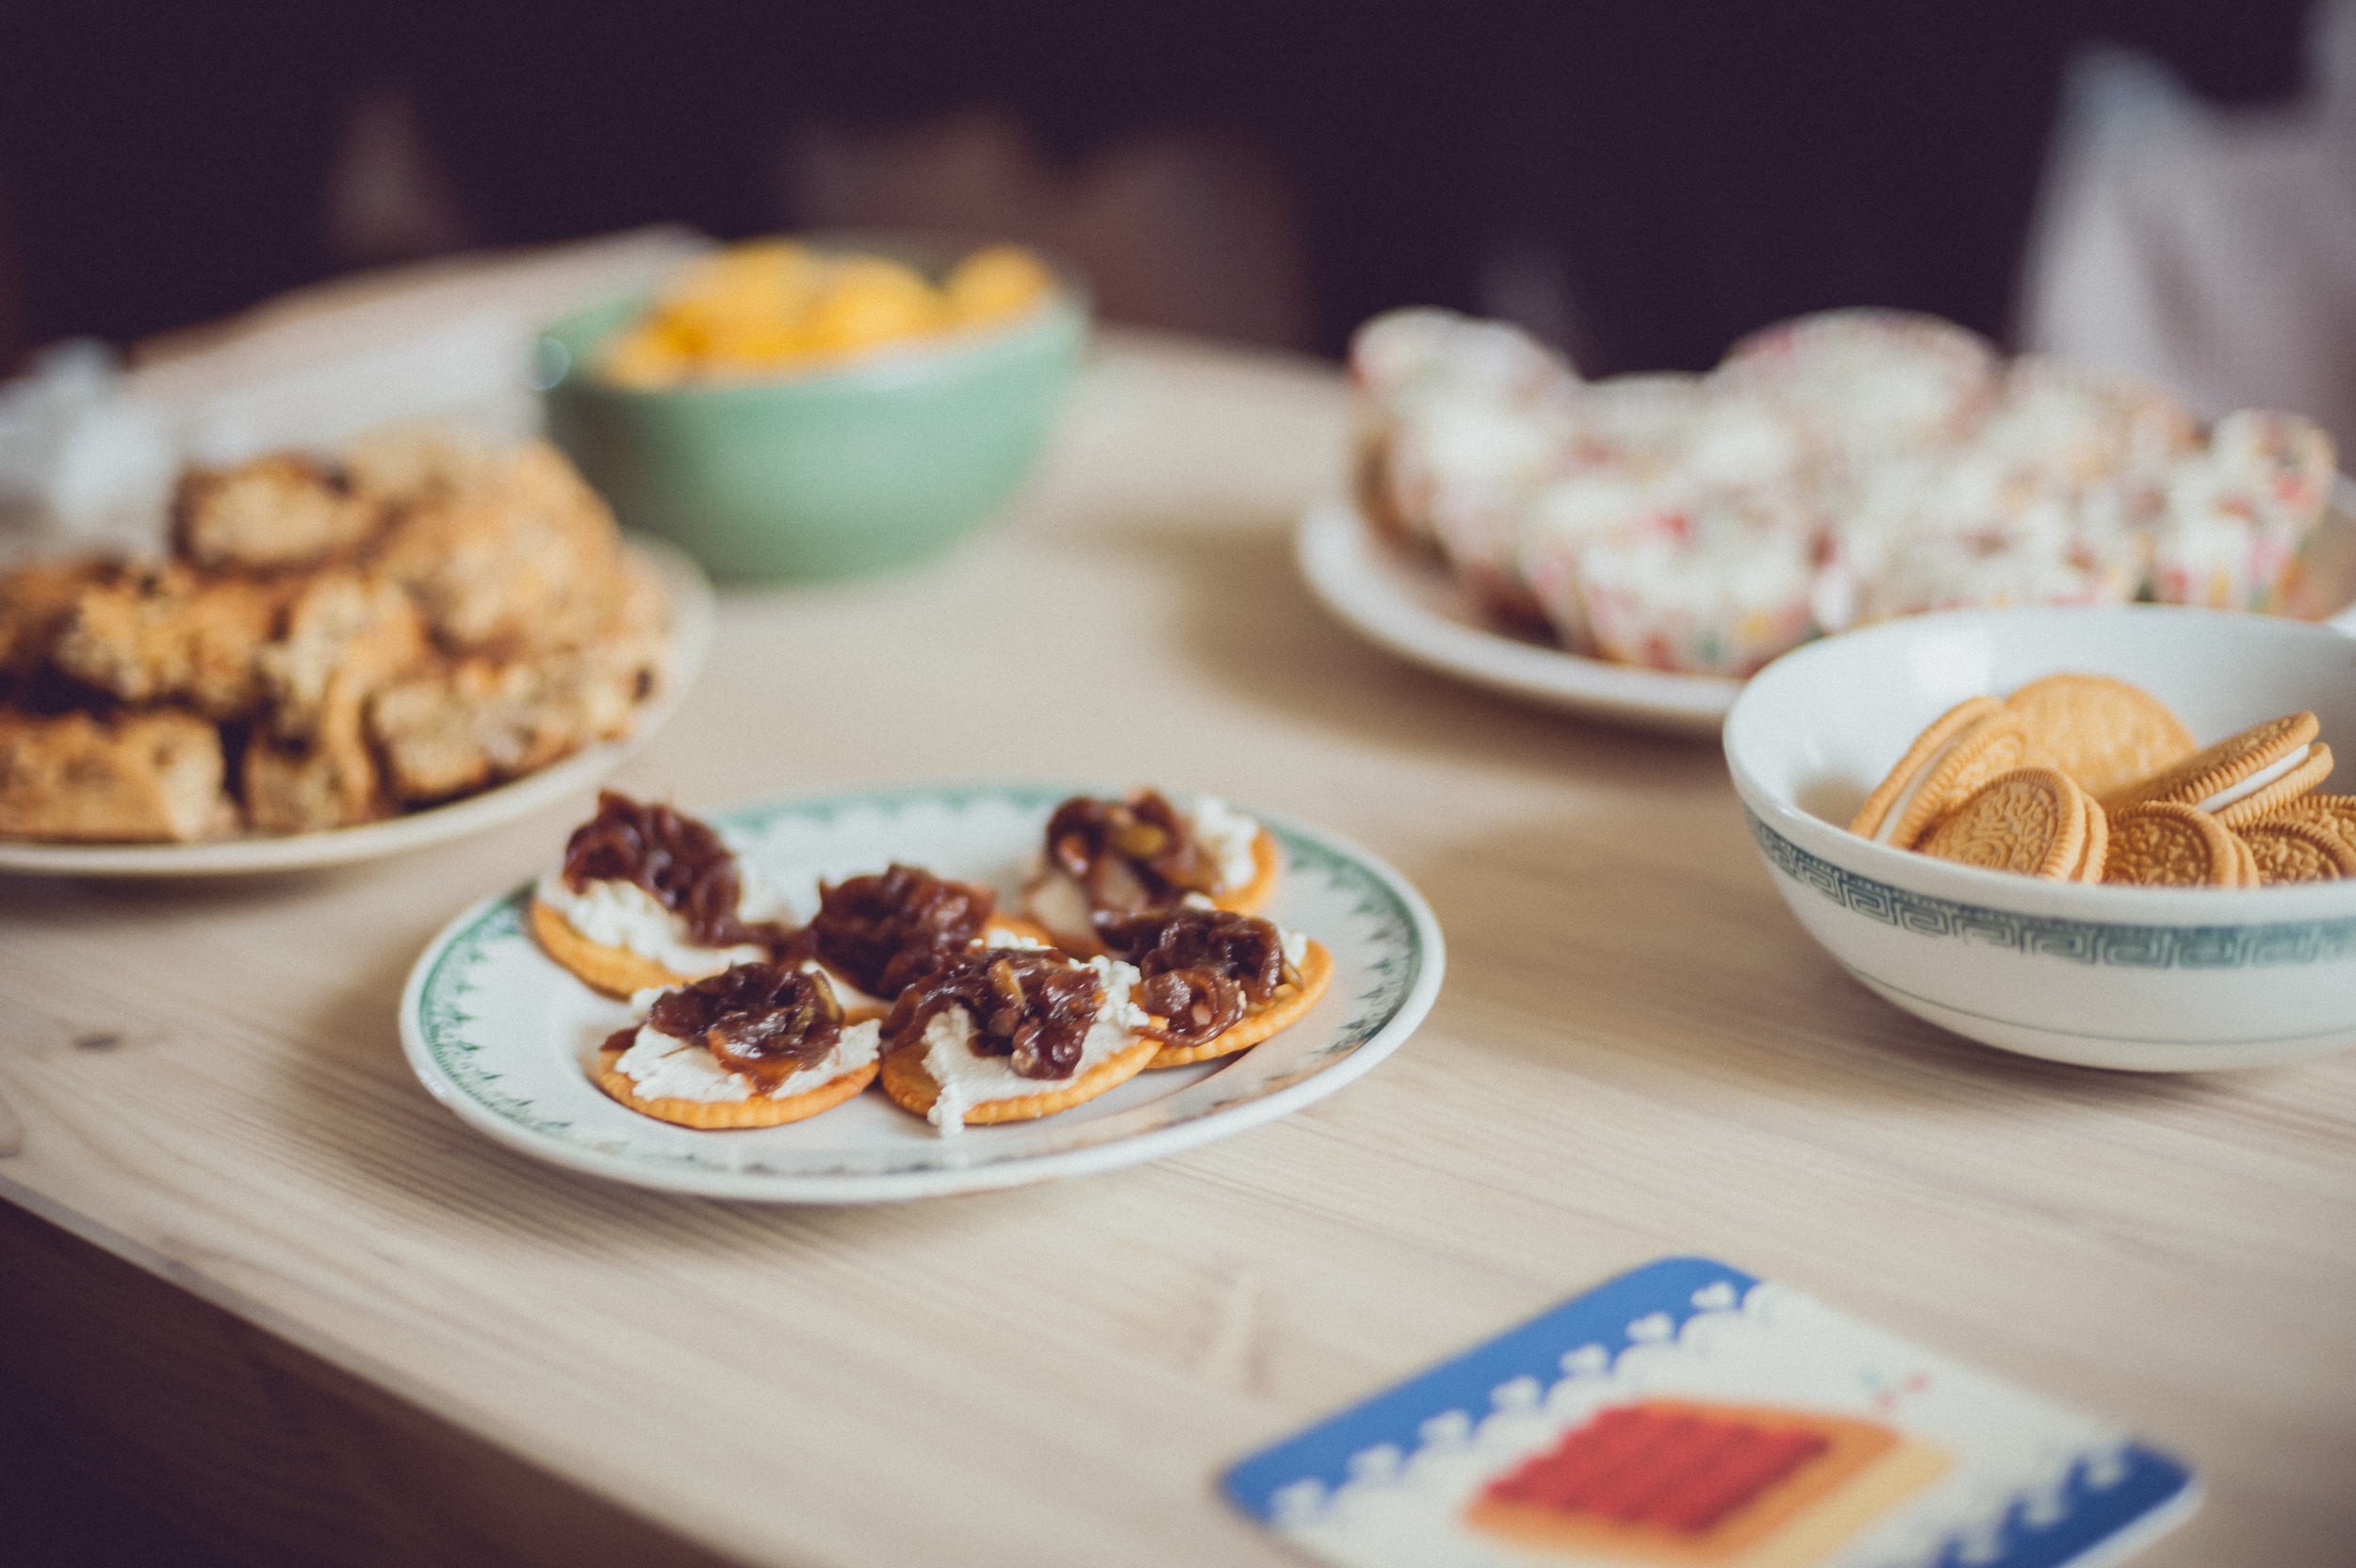
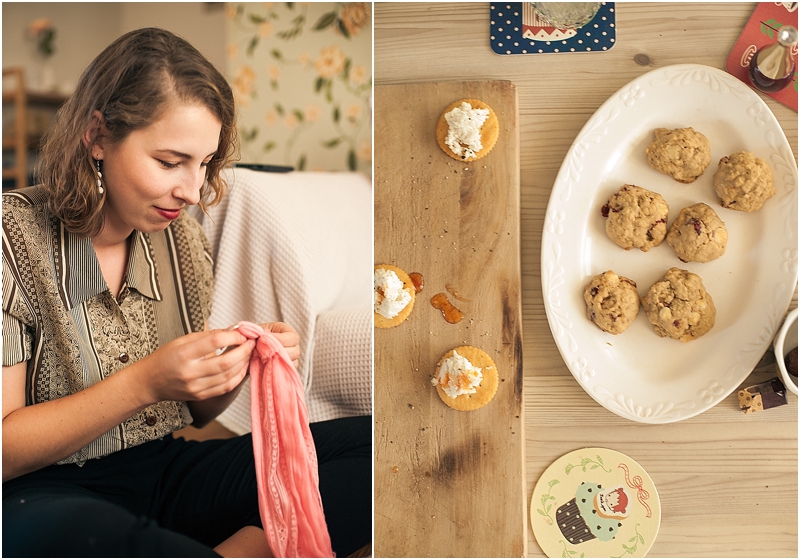
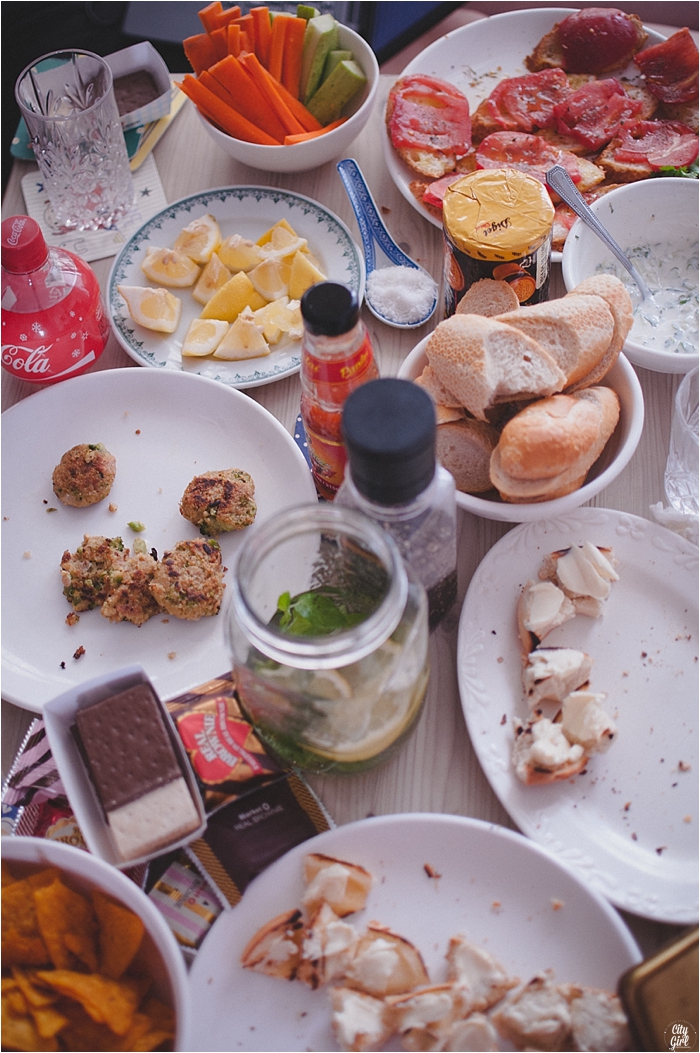
Everyone brought such amazing food (most of it home made...like those milk tarts and the bread). I even tried making a Banting bread (top photograph above) which came out quite well, although I will admit to eating a slice or two (or three) of Alysha's loaf. 

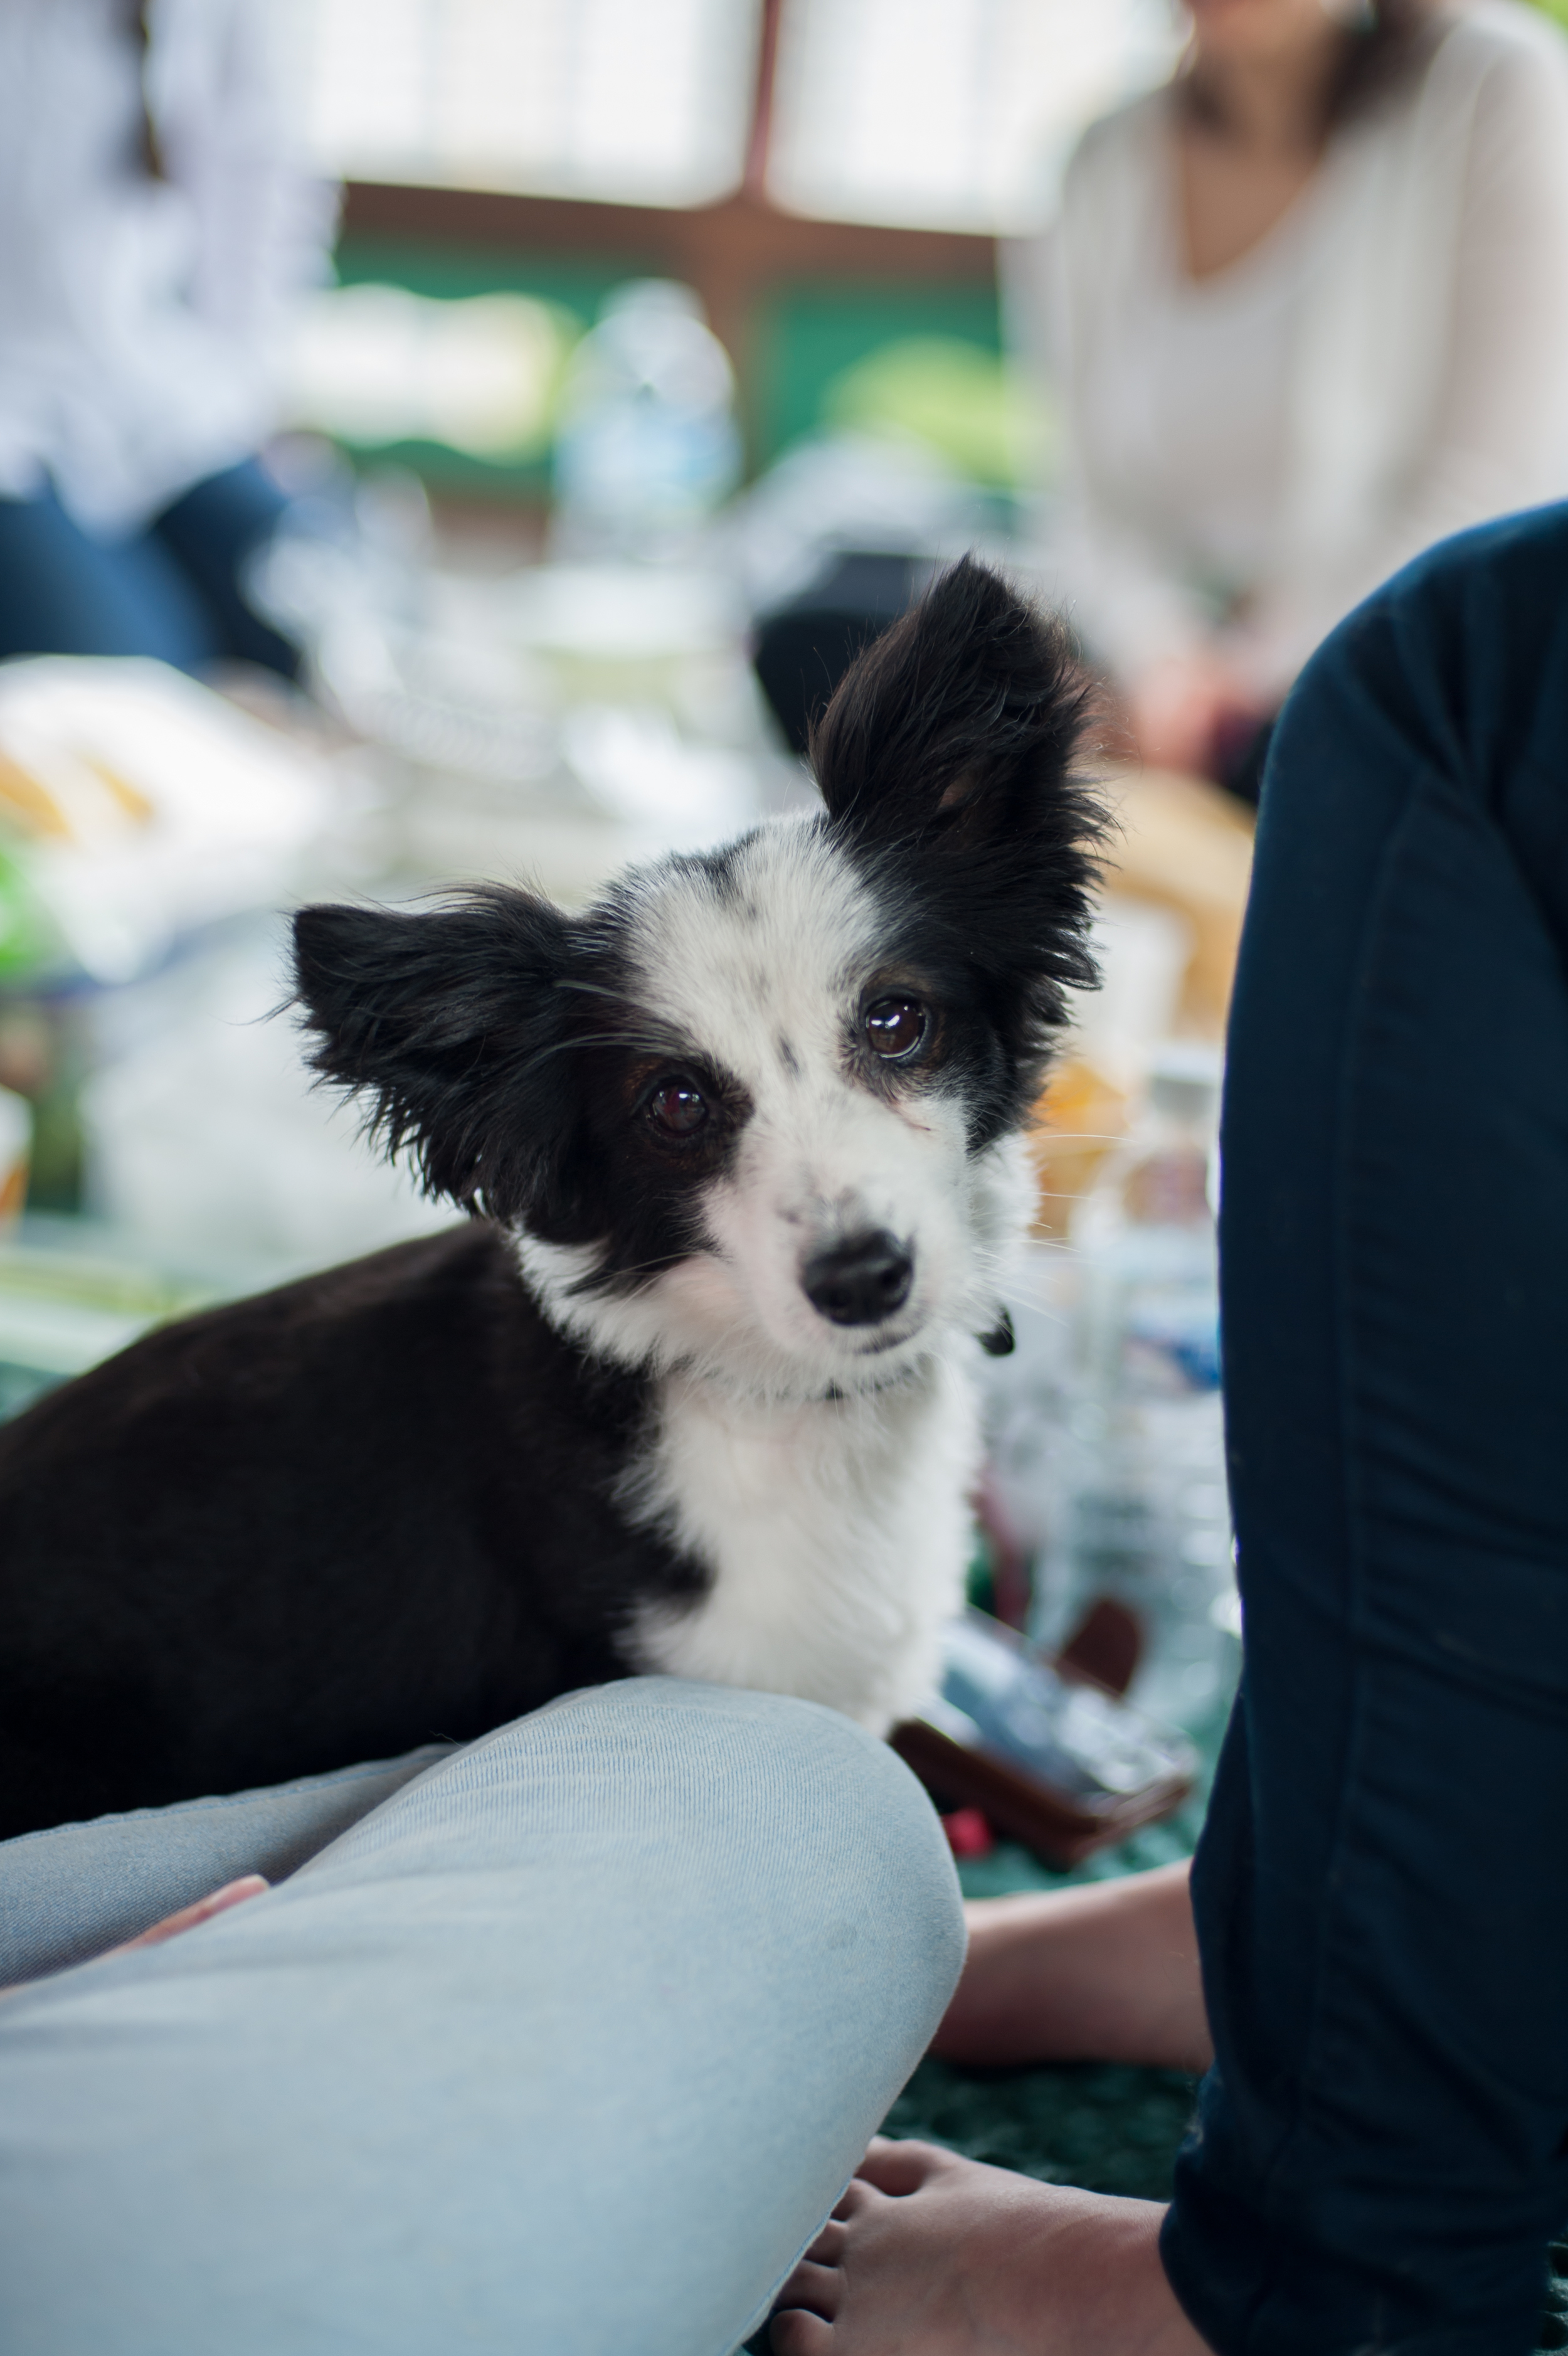
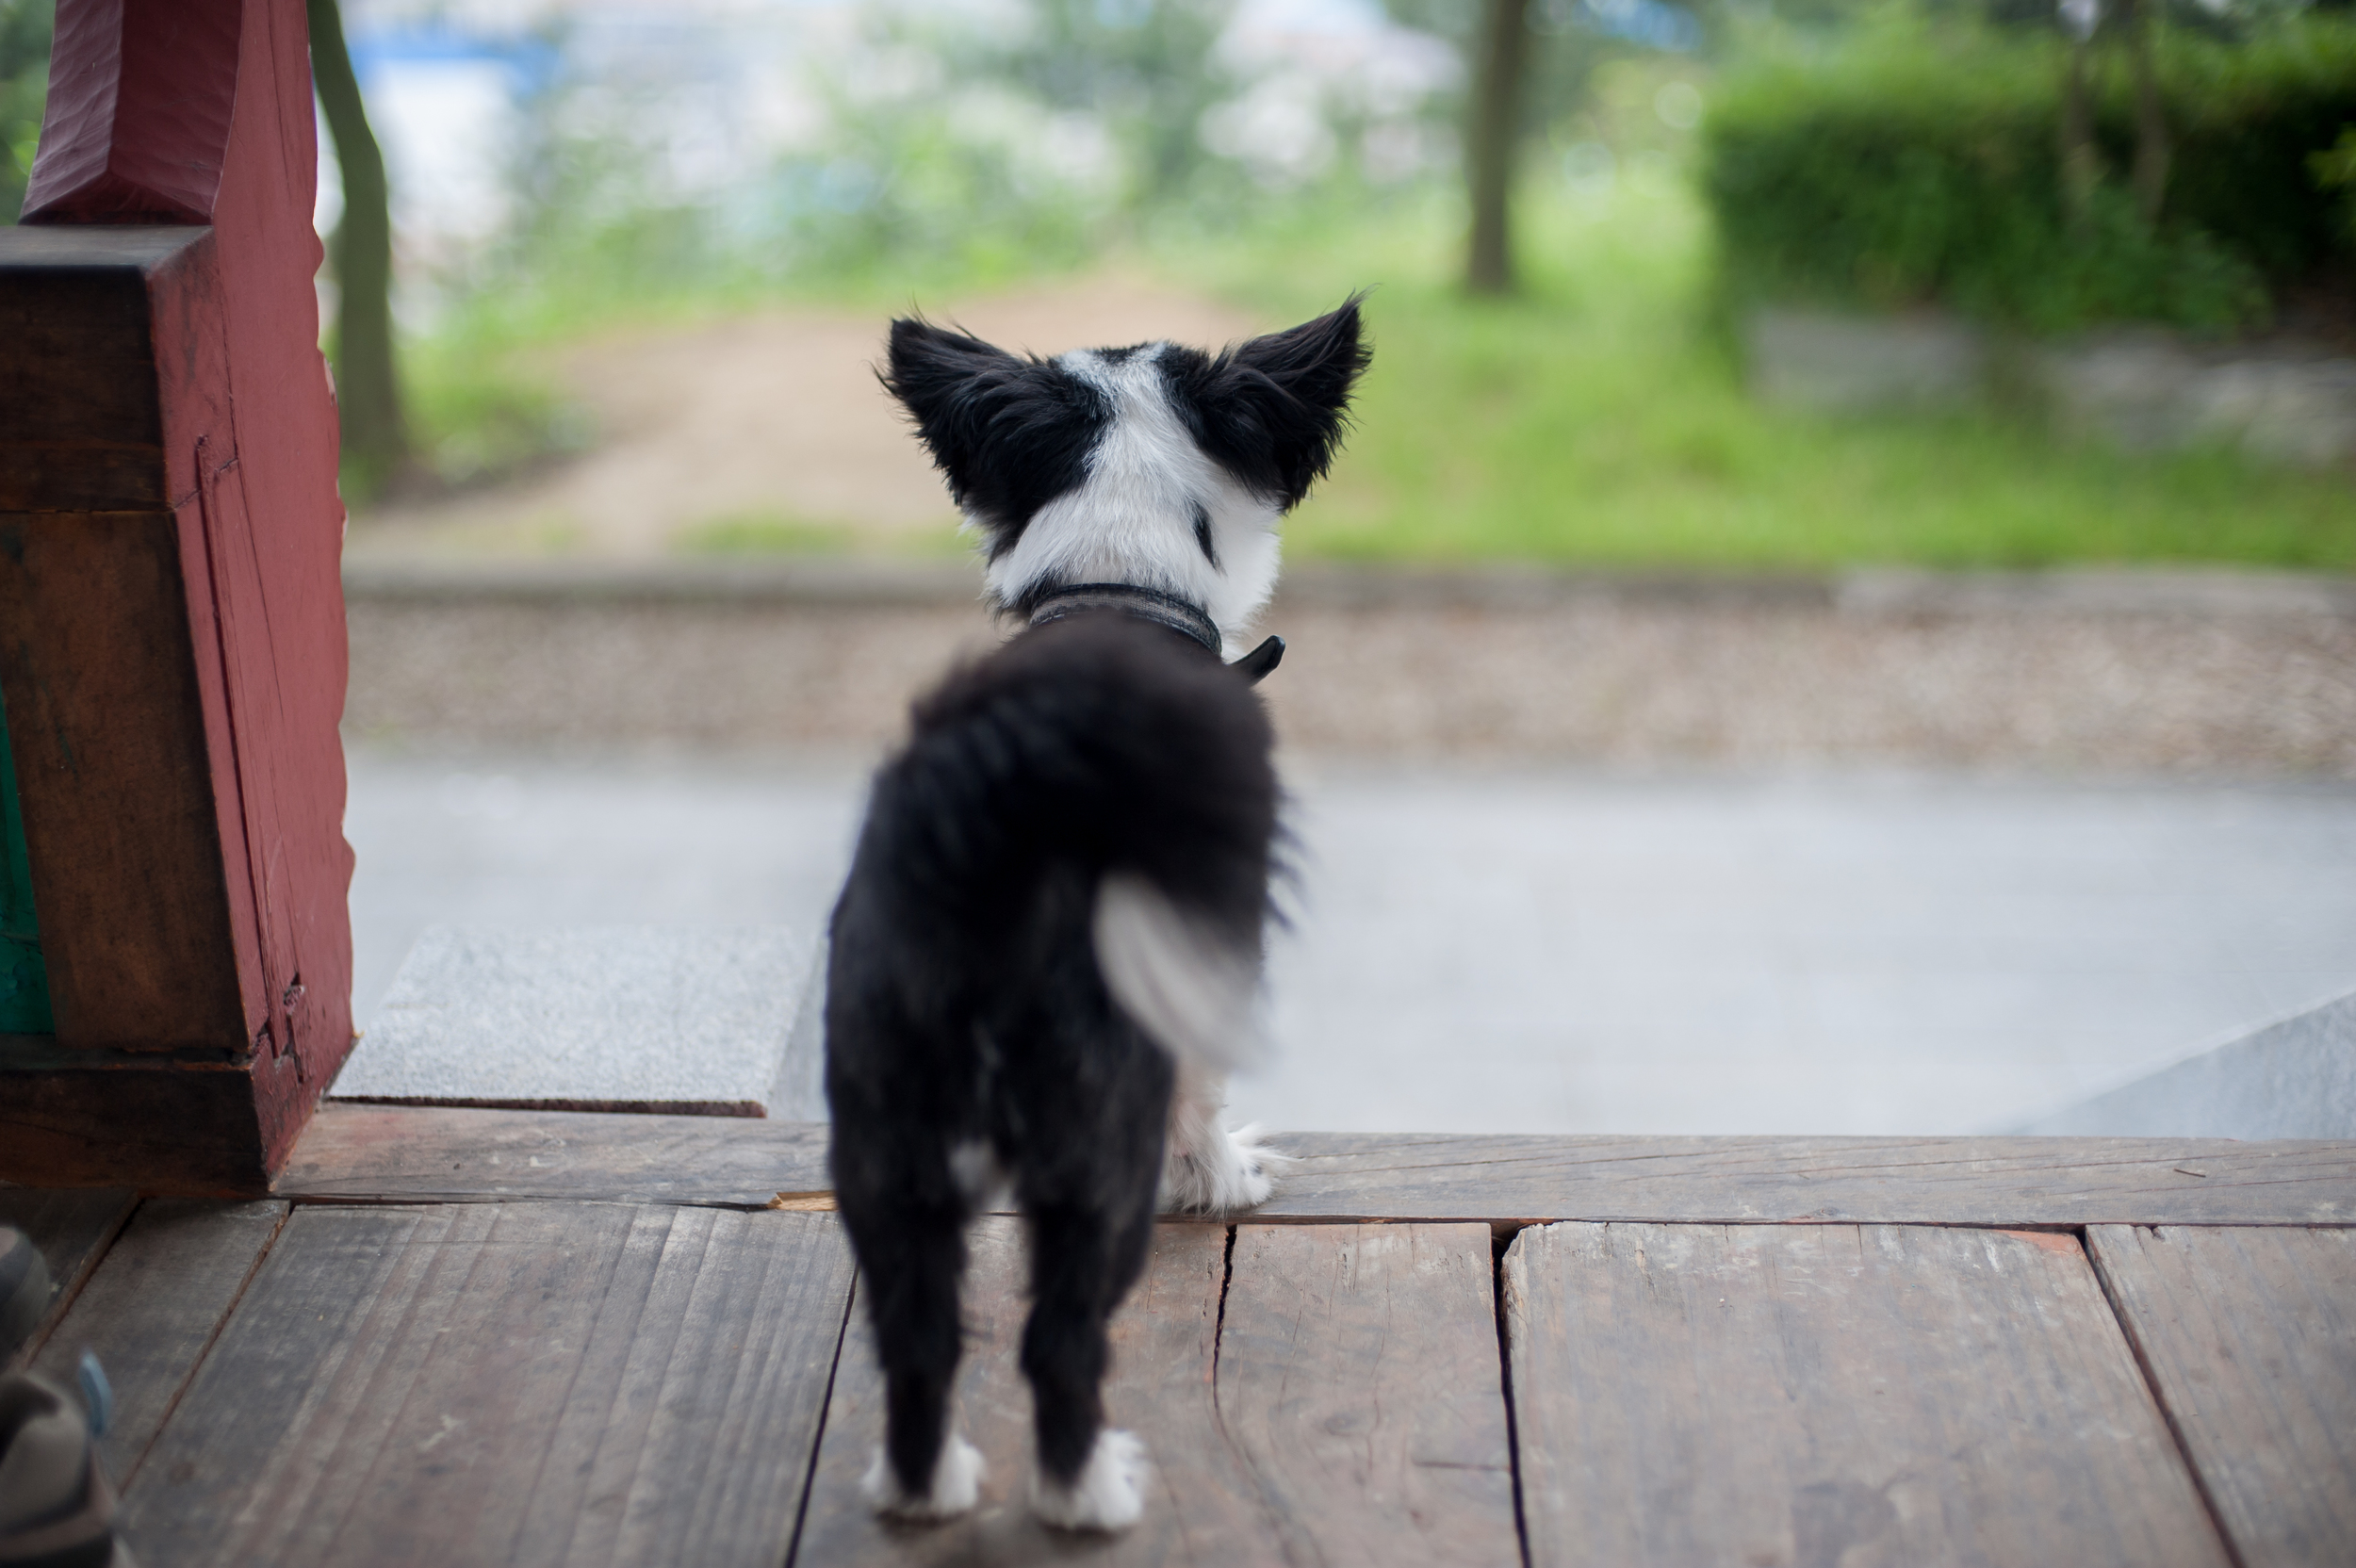
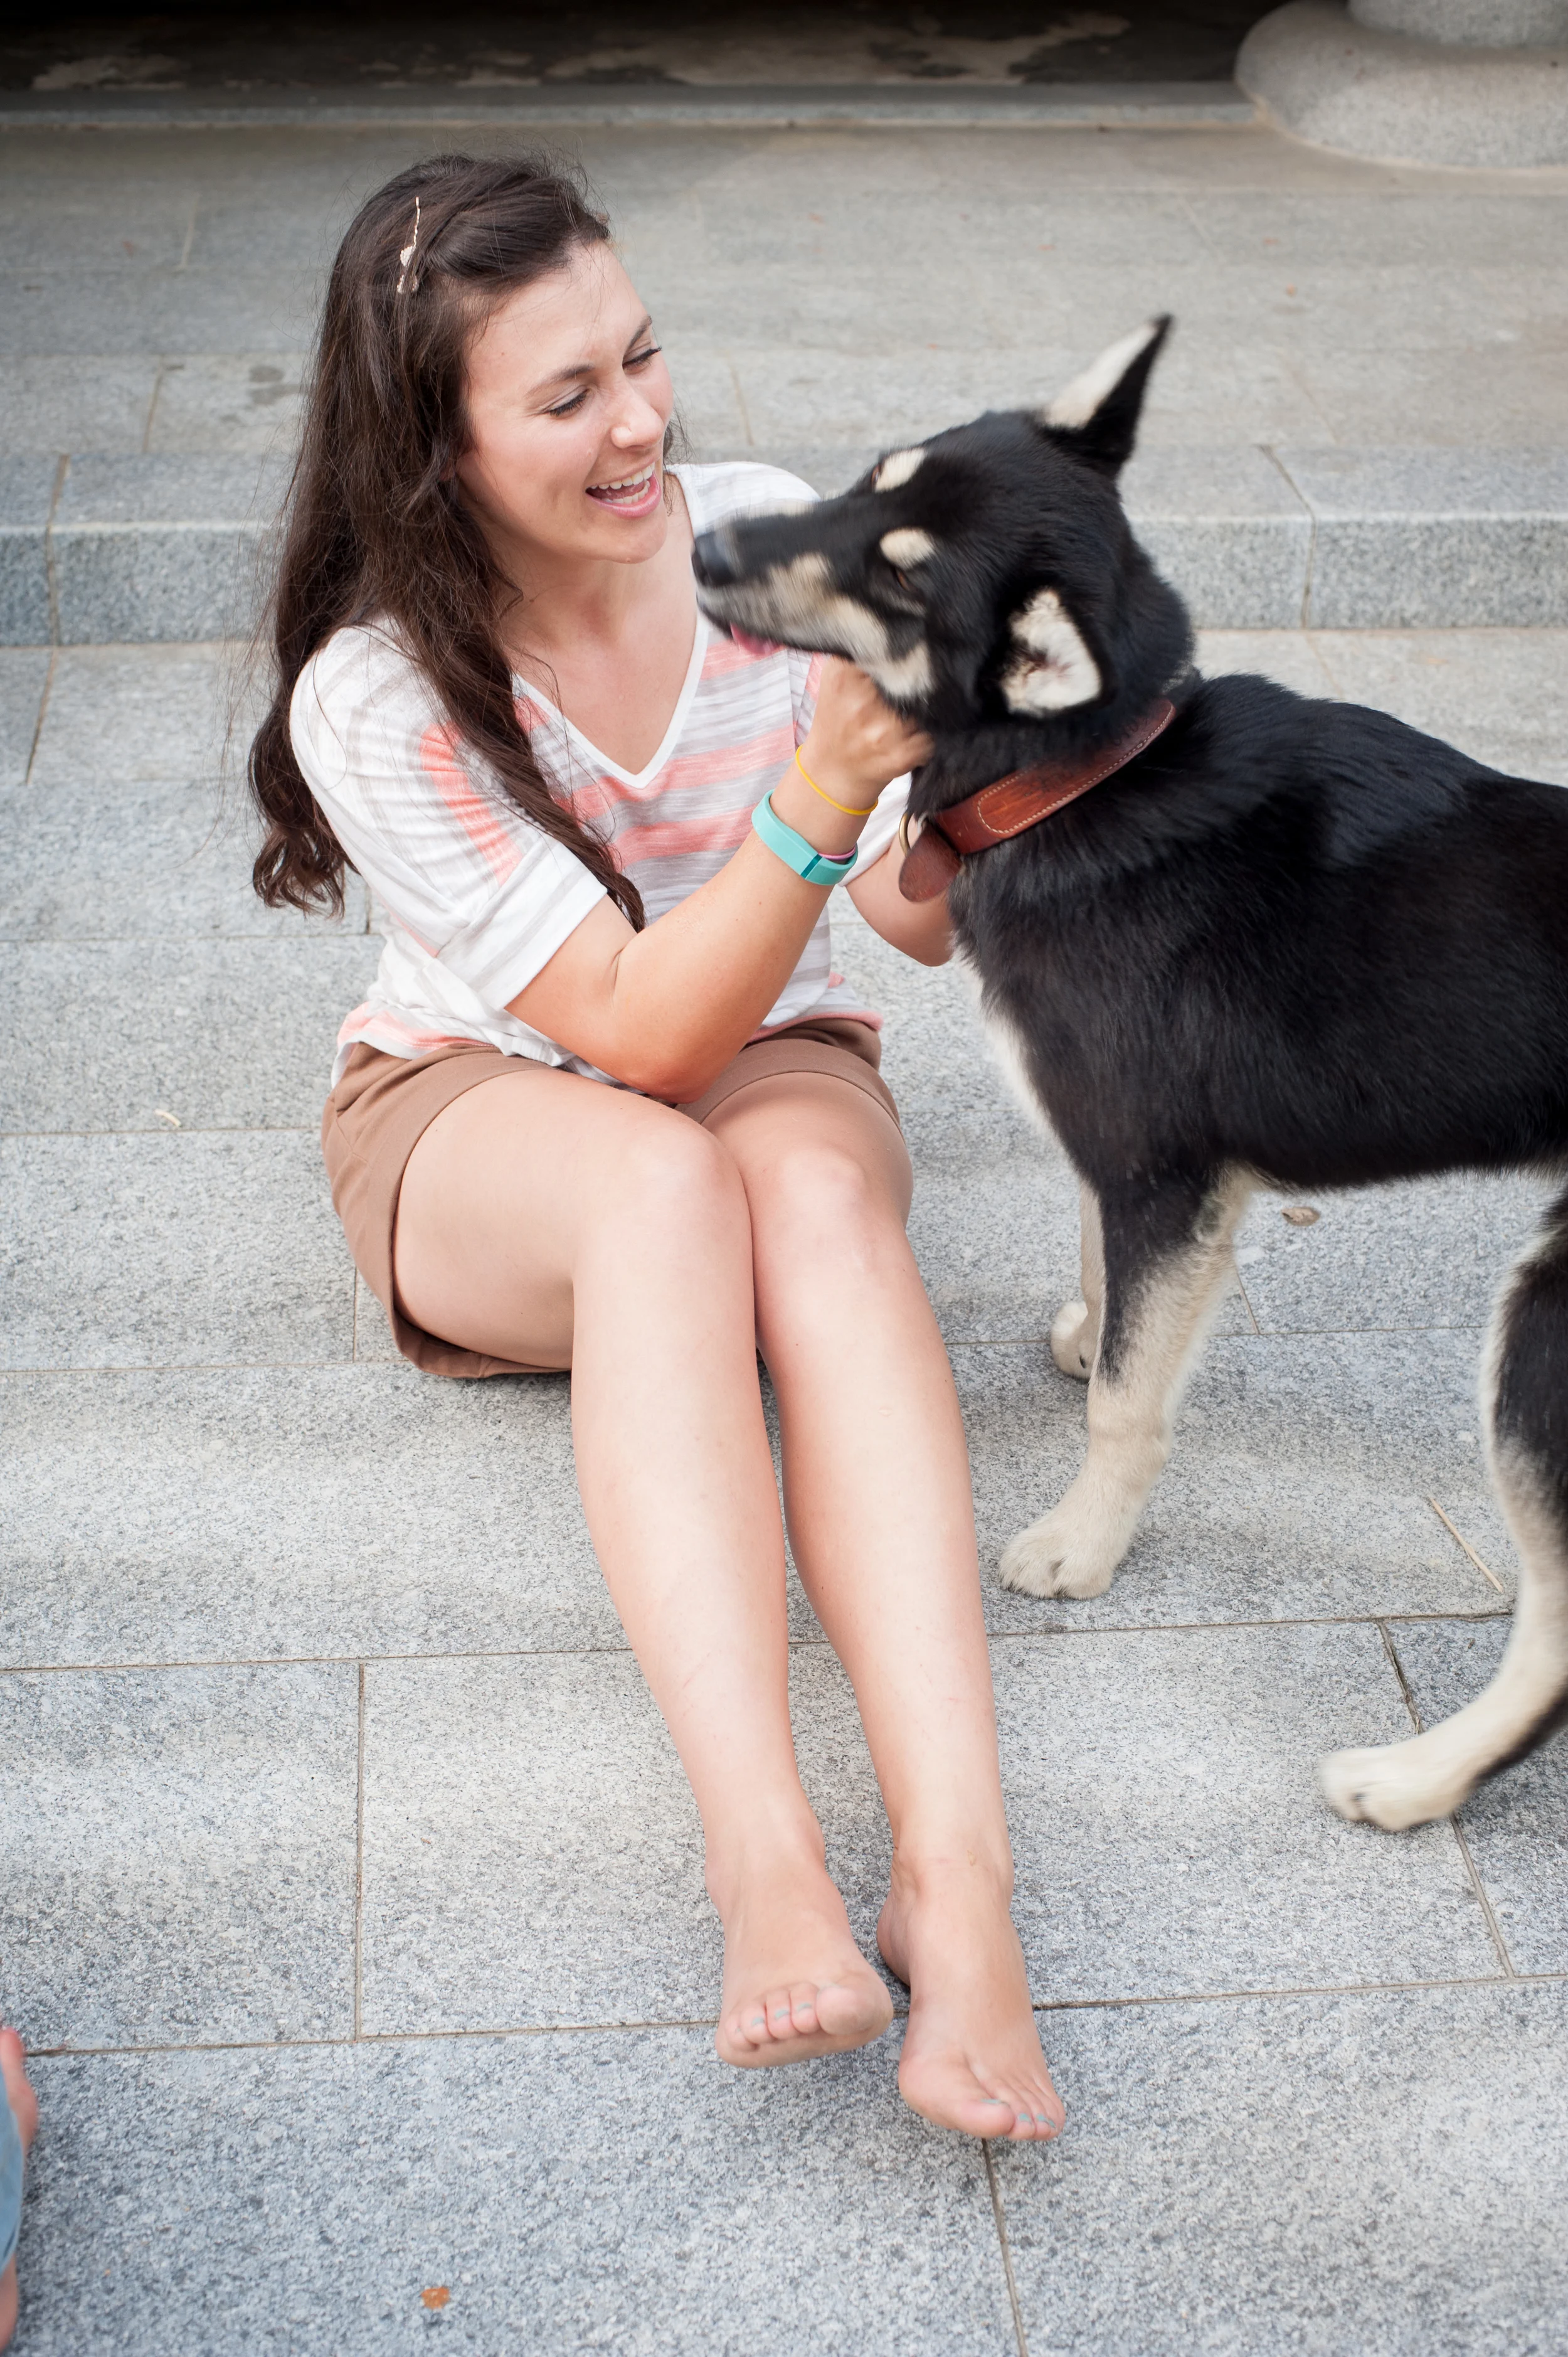
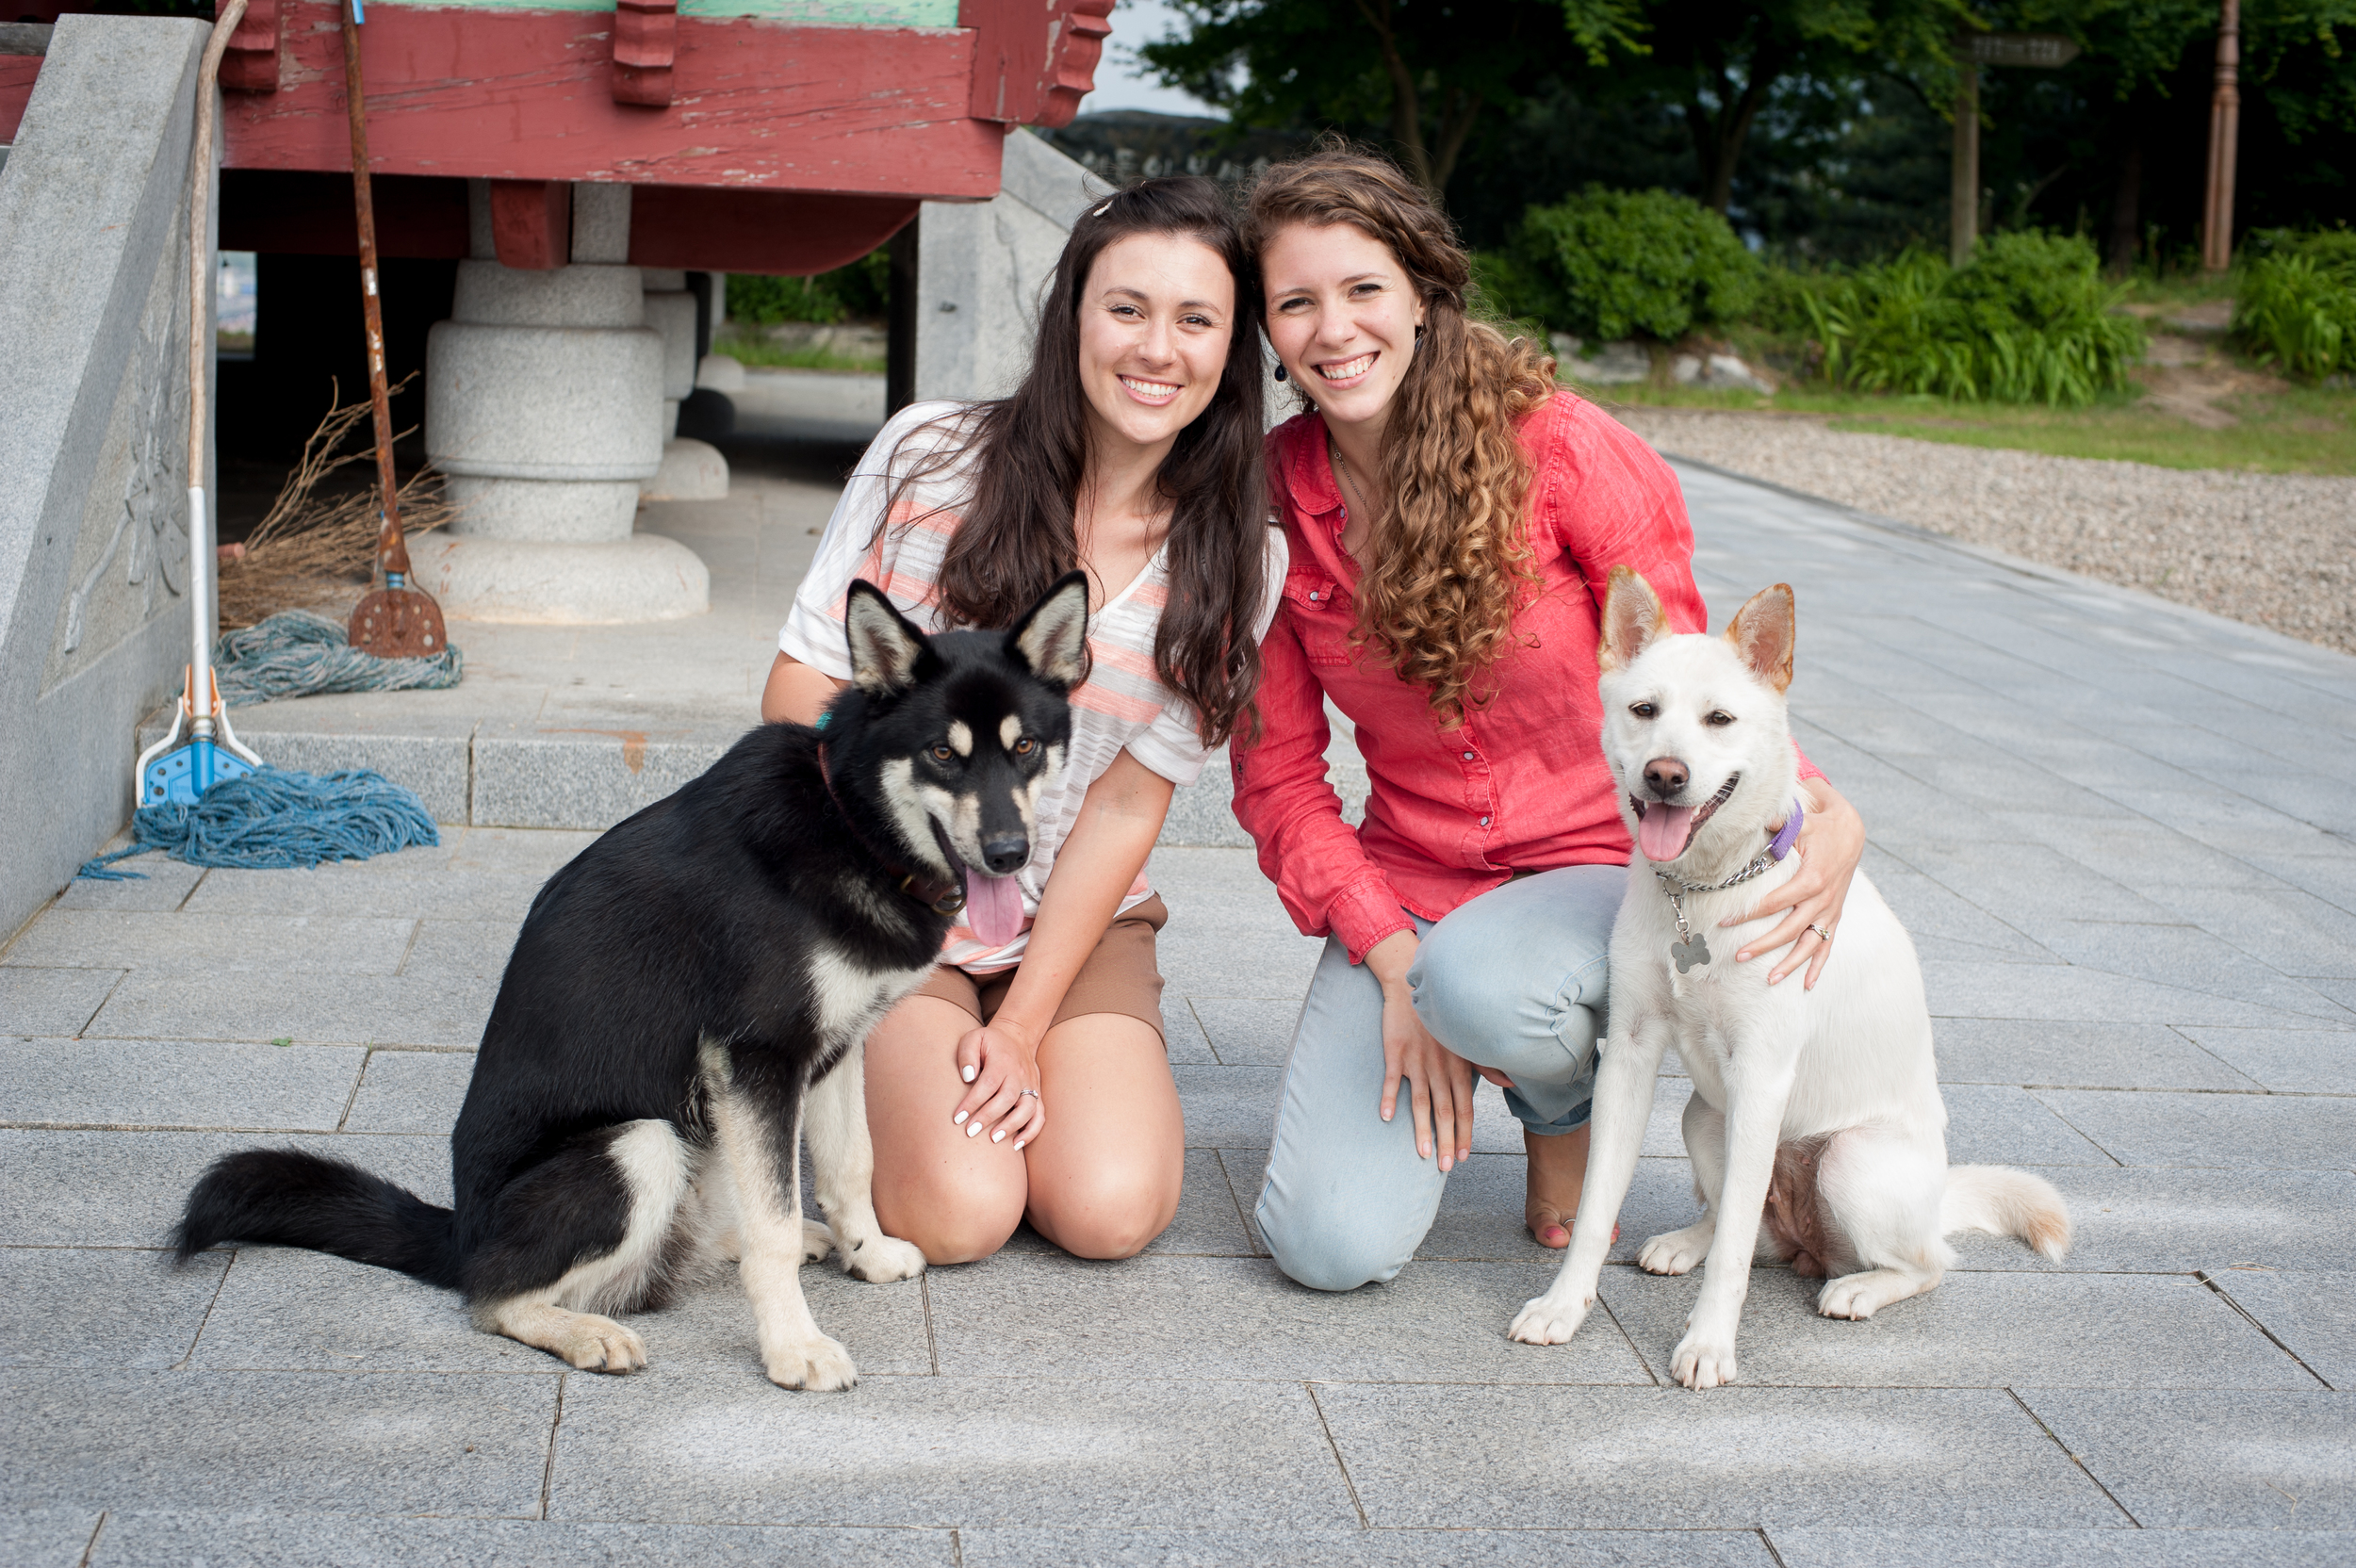
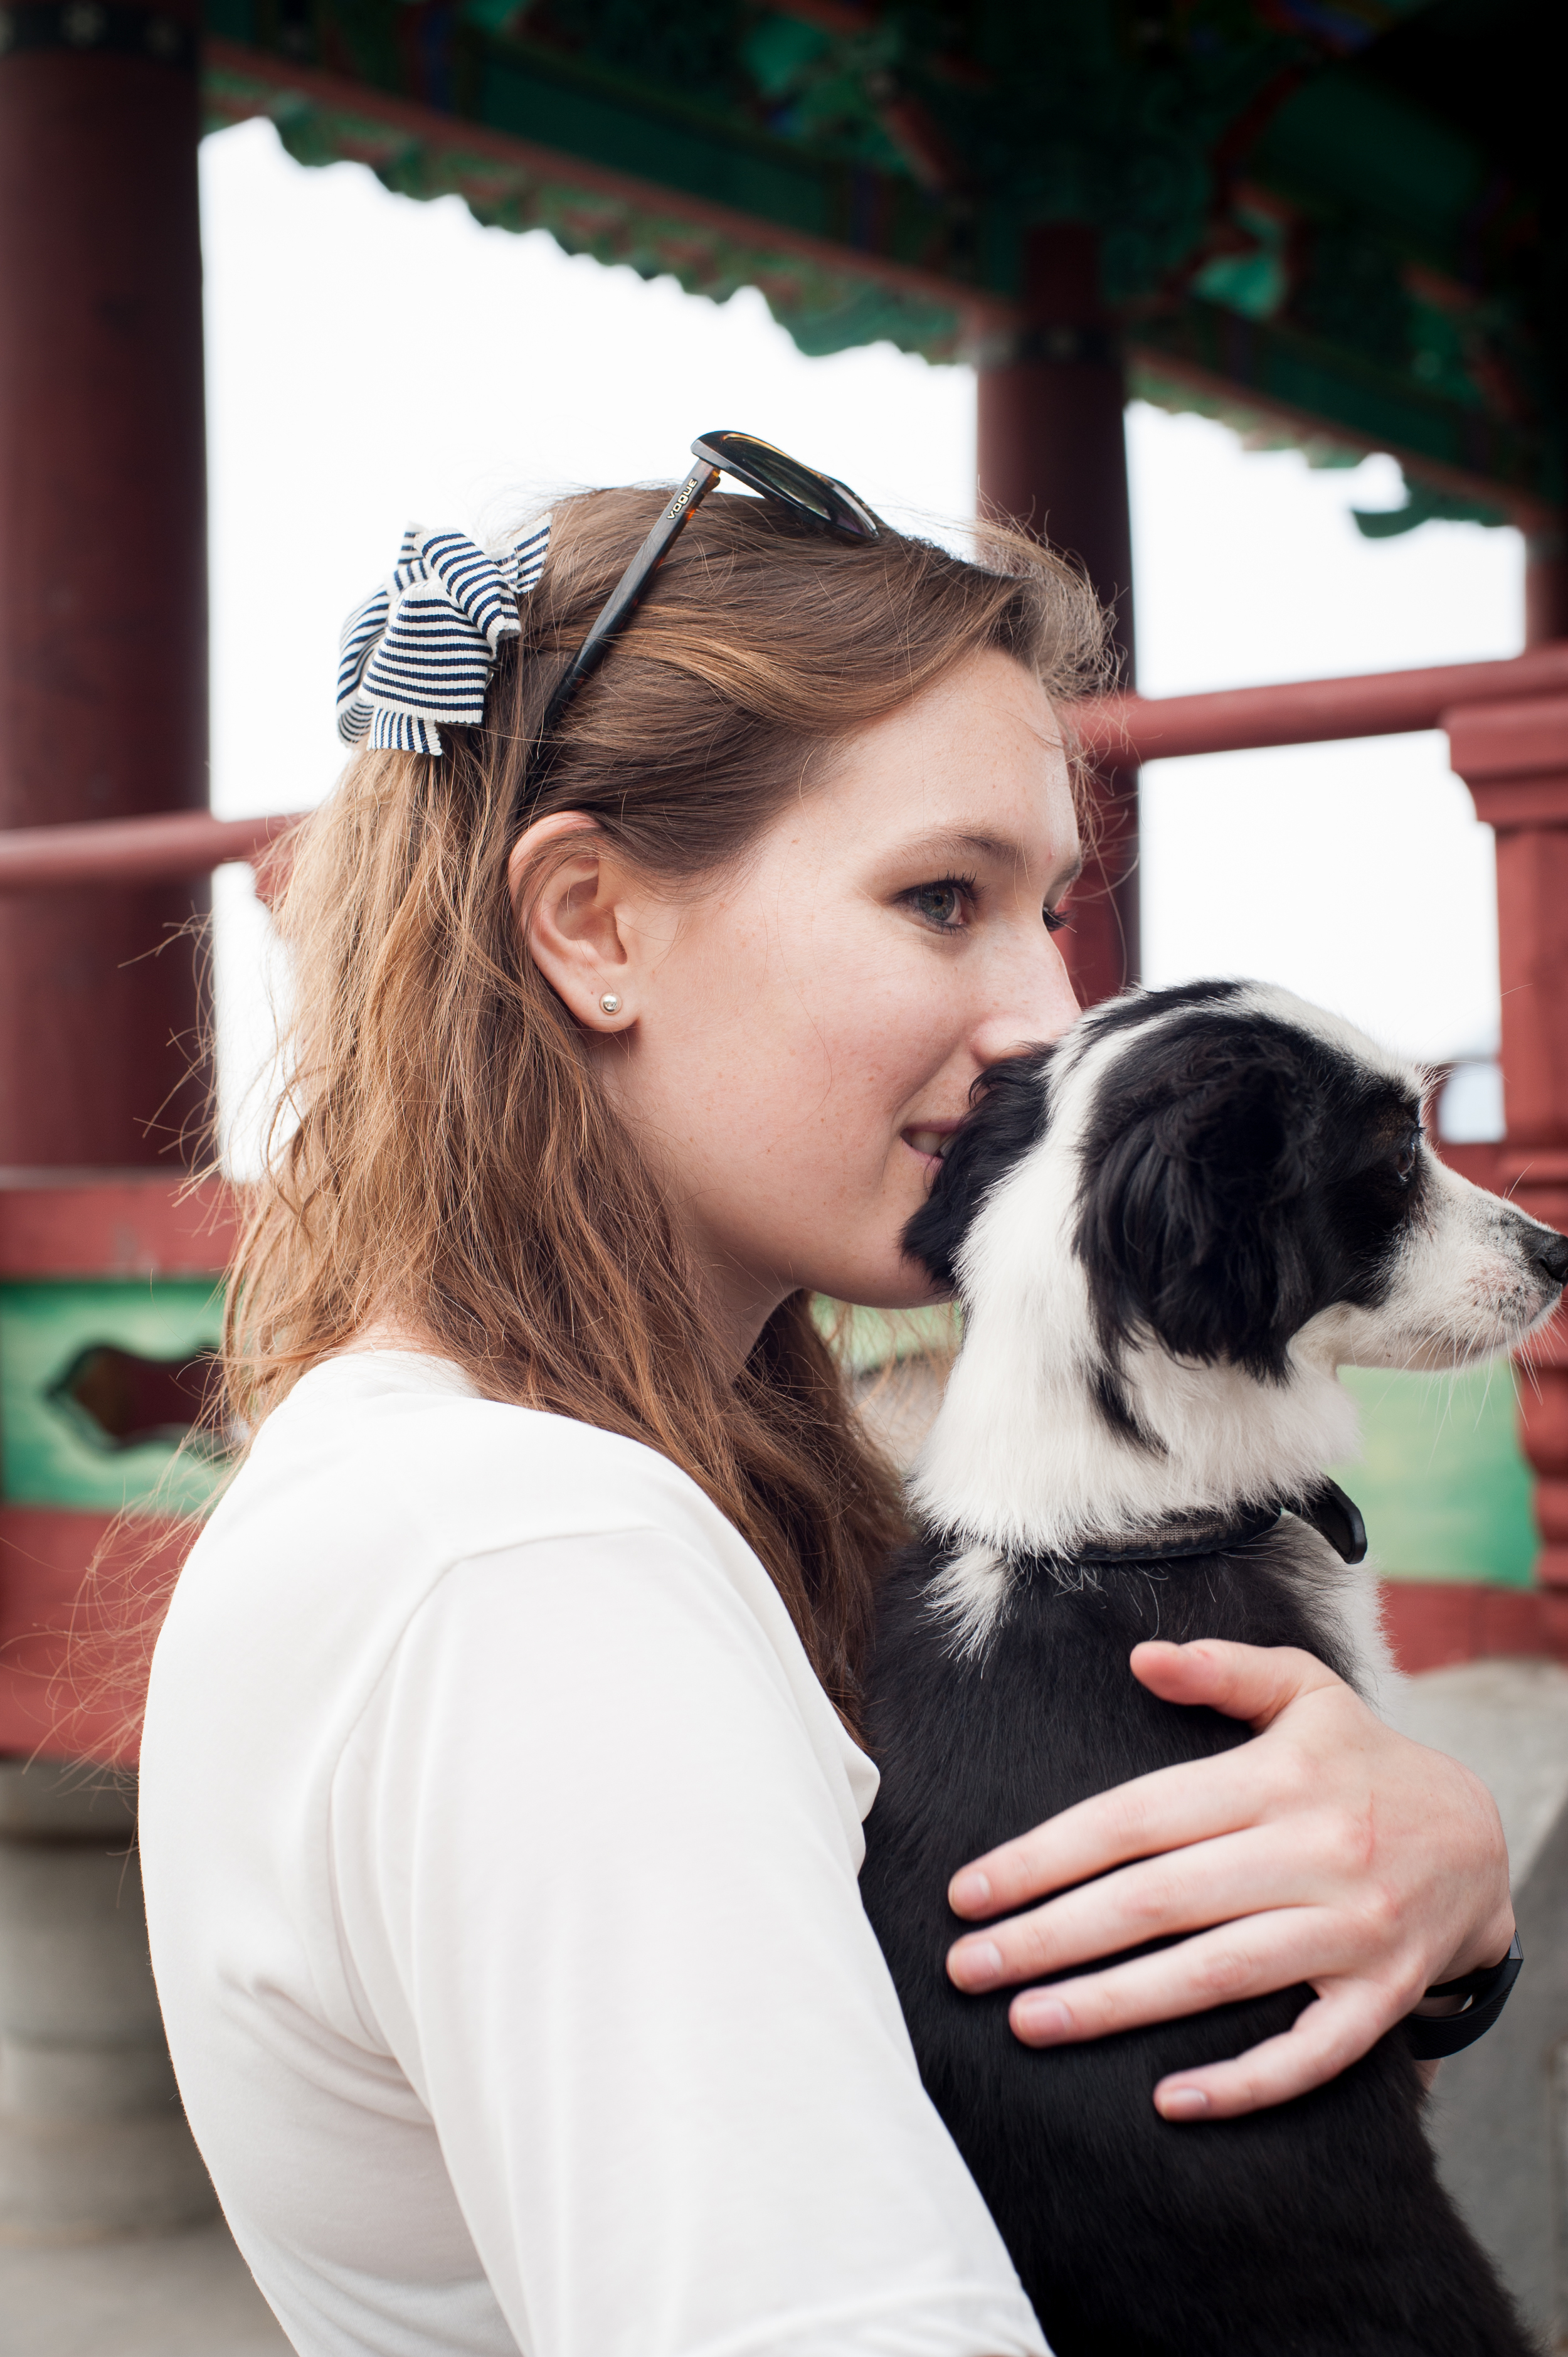
We even had three pups join us which provided us all with a lot of entertainment. My pup, Shadow (the big black one) and the white one are both Korean Jindos (of the mixed variety hehe) and all three dogs were rescue pups found here in Korea.

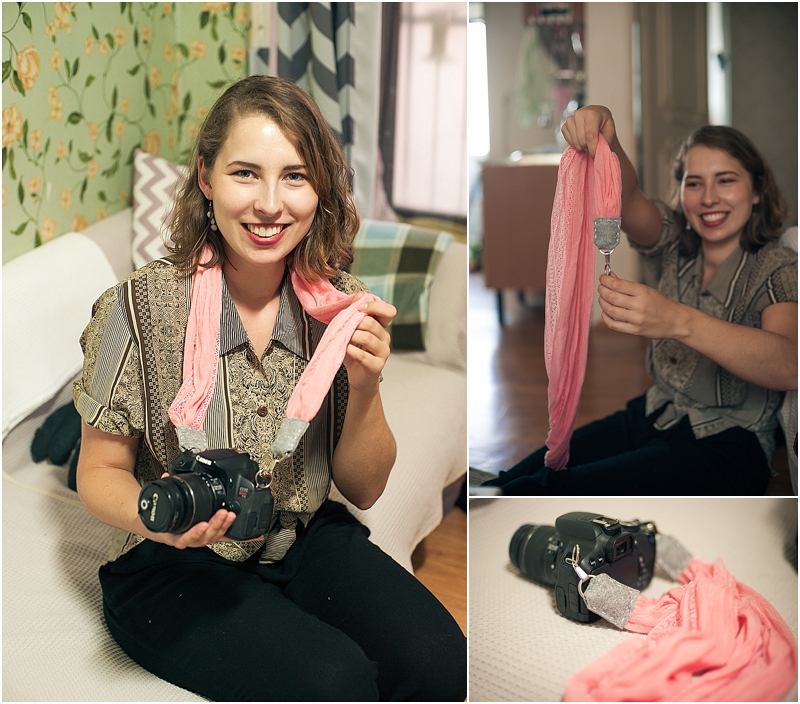
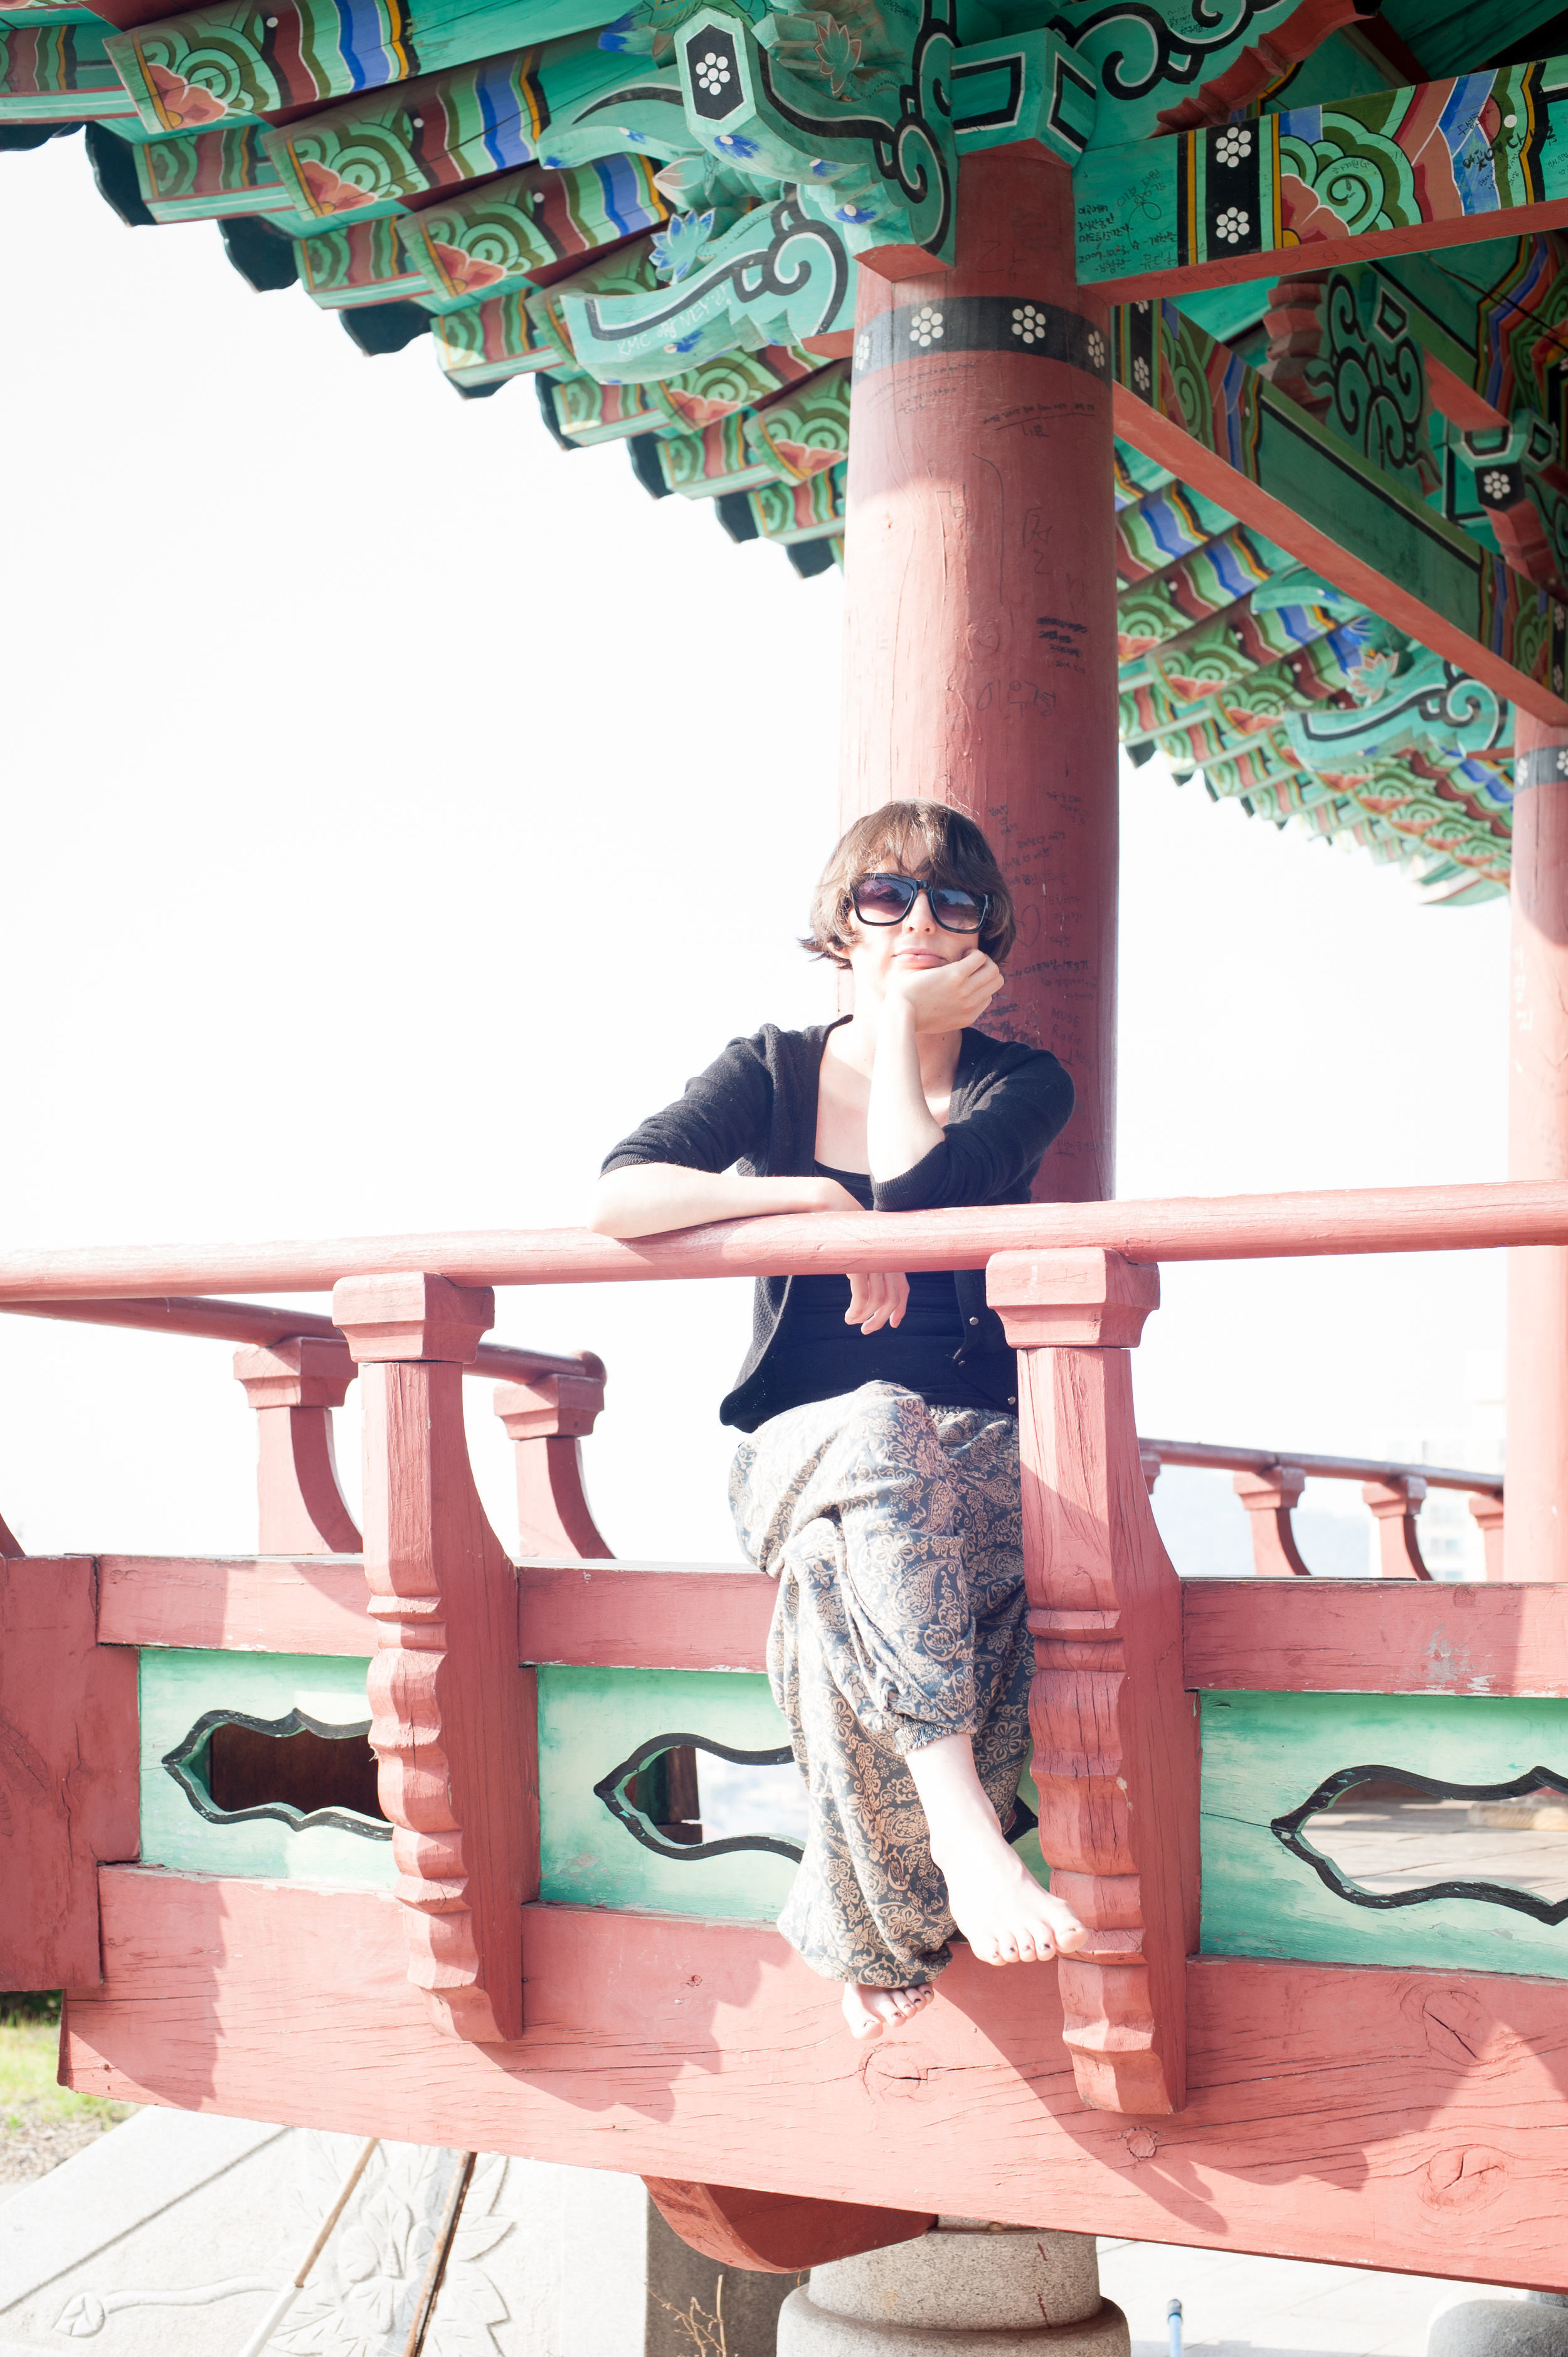
Thank you so much to Marilize who got hold of my camera and snapped the lovely photographs below. It's so nice to be on the other side of the lens for a change.

We would love for you to join us next time, simply pop on over to our Facebook group to join in.

I hope to meet you soon!

x

DIY How to Make Gold Animal Glass Jars

How To Make Gold Animal Glass Jars

Welcome to the next instalment in my #DIYDaysInKorea series. These posts are about making beautiful things for your home, whether that home is in South Korea, South Africa, or any where else in the world. This post follows on from the Gold Animal Fridge Magnets and these jars are what I used to store the Fig jam I blogged about last year.

If you are based here in Korea and would like to join one of my DIY days (click here to see what went on at the previous get togethers we've had) you can pop on over to the Facebook group for more information.  It's a wonderful place to meet new friends and spend an afternoon.

I hope you enjoy this series and that you leave feeling inspired.

x


DIY Gold Animal Glass Jars

#DIYDaysInKoreaGoldAnimalGlassJars

You Will Need

-plastic animals (I found these at my local Daiso here in Korea)

-can of spray paint (I found this gold one at my local DC Mart)

-glue

-your choice of glass jars/bottles

Directions

Spray your animals with the spray paint. Make sure to place some newspaper down or use a piece of cardboard to prevent your work surface from being covered in paint.

Make sure to hold your can of paint at an equal distance from the animals while spraying to ensure the are covered in an even layer of spray paint. This also stops the pint from dripping. 

Once your animals are dry, you can start gluing them onto the lid of your jars. Try not to use too much glue when sticking them down so the glue doesn't run and form puddles around the animal.

Leave to dry and repeat! Now you have beautiful jars to store all kinds of things in your home. Use your jars to store nuts and seeds, bugger jars and bottles for storing makeup and nail polishes, or use them to store home made jams like this Fig Jam. The options are endless!

I'd love to see your jars if you make them, please share your creations with me on Facebook, Twitter or Instagram using the following hashtag #citygirlsearching.

Happy DIYing!

DIY How to make Fig Jam

How To Make Fig Jam

Even though this jam is not banting friendly (if you haven't heard of the Banting diet make sure to read this post) but because it's fig season here in Korea, one has to improvise. Storm and I decided not to experiment with Xylitol just yet and made it with good old fashioned sugar. This recipe is incredibly easy to follow and will have your home smelling festive in no time at all. And of course, the jam itself tastes heavenly too.

HowToMakeFigJamEasyRecipe

What you need

Saucepan

Figs (we had about 8 figs)

1/4 cup brown sugar (adjust for the amount of figs...more sugar for more figs)

1 teaspoon cinnamon

a small piece of ginger, finely chopped

Directions

Quarter your figs. Add the figs to a pan and simmer on low heat while adding the sugar and ginger. Keep stirring until the sugar has completely dissolved. You can use a hand held blender to puree your jam, but it's not really necessary. 

When the sugar has completely dissolved add the cinnamon. Keep stirring on a low heat, making sure not to let the mixture burn.

Once everything has dissolved remove from the heat and allow to cool. 

Place in sterilised glass jars. There is an actual method to sterilizing glass jars properly, but we were on a tight schedule and so just soaked the jars in boiling water before use.

Best kept in the fridge and served with cheese!

You can store your jam in these cute gold animal glass jars (DIY coming to the blog soon) or in any glass jar you may have at home.

#DIYDaysInKorea {third meet-up}

DiyDaysInKorea

Last weekend I organised the third #DIYDaysInKorea get together for crafty ladies here in South Korea. 

It was such a nice opportunity to spend time together, without spending a whole lot of money but while still having fun.  There was good food, homemade Gluwein, laughs and a whole lot of DIYing (not too much from my end, I like to think my DIY part comes in taking the photographs!).

We even have a Pinterest board for us to share ideas and inspire one another, we're cool like that. If you're here in Korea and you'd like to join in the next time we get together (sometime in February next year) join our Facebook group (click here), we'd love to have you!

#DiyDaysinKorea {second meetup}

#DiyDaysInKorea

A few weekends ago I organised the second #DIYDaysInKorea get together for crafty ladies here in South Korea. 

It was such a nice opportunity to spend time together, without spending a whole lot of money but while still having fun.  There was good food, delicious Pimms cocktails, laughs and a whole lot of DIYing (not too much from my end, I like to think my DIY part comes in taking the photographs!).

We even have a Pinterest board for us to share ideas and inspire one another, we're cool like that. If you're here in Korea and you'd like to join in the next time we get together (it will be sometime in November), join our Facebook group (click here), we'd love to have you!

If you would like to join our next meetup just pop on over to our Facebook group, we will be getting together sometime in November. 

DIY Gold Animal Fridge Magnets #DiyDaysinKorea

DIYGoldAnimalFridgeMagents

Welcome to the next instalment in my #DIYDaysInKorea series. These posts are about making beautiful things for your home (whether that home is in South Korea or South Africa, or any where else in the world).

If you are based here in Korea and would like to join one of my DIY days (we are having our second meetup this weekend...click here to see what went on at the last we had in June) you can pop on over to the Facebook group for more information.  It's a wonderful place to meet new friends and spend an afternoon.

I hope you enjoy this series and that you leave feeling inspired.

x


DIY Gold Animal Fridge Magnets

DIYGoldAnimalFridgeMagnets

What you need

-plastic animals (I found these at my local Daiso here in Korea)

-can of spray paint (I found this gold one at my local DC Mart)

-saw/sharp knife to cut your animals in half

-heavy duty magnets (I found these small round ones at a local stationery store here in Korea)

-super glue

-drill to bore holes in the plastic (we bought our drill online through Gmarket...click here for the link))

DIYGoldAnimalFridgeMagnets

Directions

Using your saw or sharp knife, cut your animals in half. Try to keep cutting as straight as possible to ensure your magnet will be flush against the fridge when you're done.

Use a drill bit that is the same or a similar size to your magents. This is where I would suggest round magnets as then inserting the magnets is much easier if the hole is the same shape.

Then spray paint your animals in your desired colour. I found gold spray paint the the local DC Mart here in my small town in Korea. Leave to dry overnight.

DIYGoldAnimalFridgeMagnets

Finally super glue your magnets into the back of your animals and leave to dry.

DIYGoldAnimalFridgeMagnets

Here are some photographs of my magnets on the fridge. They are the perfect thing for holding up snail mail packges from friends (like this one from Nadia) and of course my favourite free monthly printable calendar from HappinessIs.

DIY Painted Vase and How to Arrange your own Flowers #DIYDaysInKorea

DIY Vase Flower Arranegment #DIYDaysInKorea

Welcome to the next instalment in my #DIYDaysInKorea series. These #DIYDaysInKorea posts are about making beautiful things for your home (whether that home is in South Korea or South Africa, or any where else in the world).

If you are based here in Korea and would like to join one of my DIY days (we had our first official meet up a few weeks ago and it was such fun...click here to see what went on) you can pop on over to the Facebook group for more information. 

I hope you enjoy this series and that you leave feeling inspired.

x


DIY Painted Vase & Flower Arrangement

Myself and my very talented friend Storm, who moonlights as a stylist & florist, had some time on our hands and found this pretty cheap glass vase at our local Daiso here in Korea. Storm straight away had an idea to repurpose it with a lick of paint, and off we went on a scavenger hunt for flowers around our neighbourhood. 

Today Storm is going to show you how to arrange your own flowers in such a way that they look beautiful, artsy and, expensive.

CGSDIYHowtopaintaflowervasewhiteDIYSouthKorea (20 of 25).jpg

What You Need

glass vase or something you can turn into a vase such as a glass, bowl etc (does not need to be expensive or fancy) 

spray paint

flowers, bought or foraged from the garden or sidewalk

DIY Painted Vase & Flower Arrangement  Myself and my very talented friend Storm, who moonlights as a stylist & florist in her spare time, had some time on our hands and found this pretty cheap looking vase at our local Daiso here in Korea. Storm str…

Directions

Easy peasy lay some newspaper down and spray the outside of the vase (I would omit spraying the inside as it was in fact unnecessary) wait to dry and get creative. 

Place sticky tape in a grid formation to help give the flowers shape and volume. It also gives the foliage more structure and keeps the flowers in place. 

Get creative with your flowers and make an arrangement from the heart. You can't go wrong with flowers, start with your foliage (the green leaves and other bits of non blooming elements) then your focal flowers (the big ones) at the base and go from there.

And there you have it, your own beautiful floral creation, without the price tag of a fancy florist.

If you create your own arrangement, please tag me in your photograph (twitter: @roxyhutton Instagram: @roxyhutton Facebook @CityGirlSearching) I'd love to see what you create.

Happy DIYing and flower arranging!

#DIYDaysInKorea {first meet-up}

#DiyDaysInKorea

A few weekends ago I organised a little get together for some of us crafty ladies here in South Korea. We even have a Pinterest board for us to share ideas and inspire one another, we're cool like that. 

It was such a nice opportunity for us to spend time together, without spending a whole lot of money, and while still having fun.  There was good food, lots of spray paint fumes, laughs and a whole lot of DIYing (not too much from my end, thank goodness I had hubby nearby to help me cut some animals in half with a saw, for the most part I was too busy taking photographs).

If you're here in Korea and you'd like to join in the next time we get together, join our Facebook group (click here), we'd love to have you!

How to make a Flower Crown #DIYDaysInKorea

DIY How To Make A Flower Crown

Myself and my very talented friend Storm, who moonlights as a stylist & florist in her spare time, created this flower crown for a styled photo shoot we did a few weeks ago. We got together one day to brainstorm ideas for fun and creative activities we could do without spending lots of money and so we have started a #DIYDaysInKorea series (we even started a 'hashtag' so you can follow along too!).

If you are based here in Korea and would like to join one of our DIY days (we will be having our first official one on a Saturday in a few weeks time) you can pop on over to the Facebook group for more information. 

These #DIYDaysInKorea posts are about making beautiful things for your home (whether that home is in South Korea or South Africa, or any where else in the world). We hope you enjoy this series and that you leave feeling inspired.

x

How to make a flower Crown #DIYDAYSINKOREA 

CityGirlSearching#DIYDaysinKoreaHowtoMakeaFlowerCrown

Step 1

Get your tools, foliage and flowers together.

You will need a pair of scissors, florist wire, your flowers of choice and of course a cup of tea. 

Forage, pick, buy or pinch a few flowers and foliage for your crown. The crown will need need sturdy foliage to give it structure, as well as comfort for the wearer and to add a green element to it too. We used Boxwood as it is plentiful on the Korean sidewalks. Other foliage that can be used is willow or olive branch as they have flexible stems that twist easily

CityGirlSearching#DIYDaysinKoreaHowtoMakeaFlowerCrown3

Step two

To create the base of your crown you need to use sturdy foliage. We used Boxwood, but willow or olive branch works well too.

Start by gathering a few stems of your foliage (you can use a combination of greens if you’d like) and wrap your florist wire around the base. Continue to add in stems of foliage wrapping the wire around each piece to make sure it is secure. Once it is long enough, join the two ends and secure with wire.

CityGirlSearching#DIYDaysinKoreaHowtoMakeaFlowerCrown2
CityGirlSearching#DIYDaysinKoreaHowtoMakeaFlowerCrown4

Step 3

Next is to add your flowers. For the flowers we chose to use a mixture of silk and fresh flowers. We found that using a selection of bold flowers, such as peonies and roses mixed with a few whimsical flowers such as jasmine or honeysuckle worked well. Make sure the flowers you choose are hardy so that they don’t wilt too quickly while you are working with them.

CityGirlSearching#DIYDaysinKoreaHowtoMakeaFlowerCrown5

To add the flowers cut off the stem at the base of the flower. Pierce florist wire through the center of  the flower and make a hook. This make is easier to attach the flower and position them in an appealing arrangement. 

Secure the flower to the base by wrapping the wire around the foliage.

CityGirlSearching#DIYDaysinKoreaHowtoMakeaFlowerCrown6

Step 4

Lastly enjoy your floral crown! To make your pretty floral crown last a bit longer you can spritz the fresh flowers with water; however the fresh flowers won’t last out of water for longer than a day or two.

CGSTravelBlog_0039.jpg
One of my favourite photographs from the styled shoot...click here to see more.

One of my favourite photographs from the styled shoot...click here to see more.

How to make a macramé plant hanger #diydaysinkorea

CityGirlSearching How To Make A Macrame Plant Holder DIY

Today's post is the first in a new DIY series #DIYDaysInKorea that my friend Storm and I are starting. Storm did all the styling for our Flower Crown Shoot a few weeks ago and is one very creative lady. I am so happy to have someone to get crafty with.

These posts are going to be about making beautiful things for your home (whether that home is in South Korea or South Africa, or any where else in the world). We hope you enjoy this series and that you leave feeling inspired.

x

How to make a macramé plant hanger #diydaysinkorea

CityGirlSearchingHowToMakeAMacramPlantHolderDIY3
CityGirlSearchingHowToMakeAMacramPlantHolderDIY#DIYDaysInKorea

What you need:

pot plant

string/rope/hessian string/twine

scissors

tape

CityGirlSearchingHowToMakeAMacramPlantHolderDIY6

Directions

Measure your wall space and decide how long you want your plant hanger to be. Take into consideration how big your pot plant is.

CityGirlSearchingHowToMakeAMacramPlantHolderDIY#DIYDaysInKorea

For this macramé hanger, we used 21m of twine (7 x 2.5m for the structure of the hanger + 1 x 3.5m for the wrapping)

Measure out 7 pieces of string of 2.5m and measure the 8th piece of string longer, at 3.5m

Fold all the strings in half except your extra-long piece. Secure with tape to make a small loop.

CityGirlSearchingHowToMakeAMacramPlantHolderDIY#DIYDaysInKorea

To make your macrame loop

Use the longest piece of string to make a knot around the other 7 pieces of string (see pictures below). Continue making knots in this way until you complete the hanging loop.

CityGirlSearchingHowToMakeAMacramPlantHolderDIY7

To secure the hanging loop, make a knot. Take the outer right string across the front, then take the outer left string in front of the right piece and then take it behind all the other pieces to the right hand side (see pictures below) and put it through the gap and tighten. Repeat this by alternating the next outer string (so taking the left in front this time, and the right behind). Repeat 6 times.

CityGirlSearchingHowToMakeAMacramPlantHolderDIY8

To create the mid section using Josephine knots

Divide your strings into 4 sections, each section should have 4 pieces (16 in total). Secure 3 of the sections with tape. Using the fourth section, measure down 35cm and mark with tape (this is where your Josephine knot will start). Divide this section into 2 parts, make sure the strings are kept flush to ensure your finished knot is flat.

Start with two cords on the left and make a loop, then take the the right cords and place them over the loop. Securing with your left hand, take the right cords and place them under the bottom left cords and up and over them again.Then thread them through the loop (as in the pictures below).

CityGirlSearchingHowToMakeAMacramPlantHolderDIY9
CityGirlSearchingHowToMakeAMacramPlantHolderDIY#DIYDaysInKorea

Make sure all your strings are flat and tighten to your marked off tape. Repeat with the remaining 4 sections.

To make the basket:

Split the 4 sections in half and join two cords from each section next to each other to create a new group. Tie a simple knot in these cords and continue for each new group. Make sure when making the groups they are the correct cords to ensure your basket doesn't get tangled. 

CityGirlSearchingHowToMakeAMacramPlantHolderDIY11

Measure down 5cm to create new groups with simple knots again as before.

Measure another 7 cm and gather all the strings together and tie into one large knot.

CityGirlSearchingHowToMakeAMacramPlantHolderDIY12

Neaten off the hanging ends to make a tassel. Place your pot in the middle of the basket. Hang up and enjoy.

CityGirlSearchingHowToMakeAMacramPlantHolderDIY13