Why I switched from Mailchimp to Convertkit - Email marketing for beginners
/
When I first started CityGirlSearching back in 2012 I didn't have the first clue about email marketing never mind how to even write a newsletter. But, it seemed to be what you did as a blogger, plonk a widget in your side bar with the title 'Sign up to my Newsletter'. I have no idea how I managed to get over 200 people to subscribe to my 'newsletter' because there really wasn't anything to get excited about in my emails.
In 3.5 years I managed to collect about 200 subscribers and send out about 5 emails to those people. I really had no idea what I was doing, but it seemed like 'the thing' to do and so I did it too. I sent out a few emails with my latest blog posts (again, because this seemed like something bloggers should do) and I sent a couple of emails with coupon codes for my stationery store. I wasn't engaging with my readers, and I felt bad every time I sent an email because I felt like I was spamming people. It didn't even occur to me that people voluntarily gave me their email addresses because they wanted to hear from me.
This is a long post, so grab your cup of coffee and let's dive into the nitty gritty of why I made the switch from Mailchimp to Convertkit, and why it's been one of the best business investments I've made.

I started off my email marketing journey on Mailchimp because Mailchimp is the easiest and simplest email management platform around. Bonus points are that it's free for your first 200 subscribers. I really loved my time with Mailchimp, and if I was only planning on sending out a newsletter every now and again, I would have definitely stuck with them. I don't dislike Mailchimp, in fact, there are a few things I miss about their platform, but for what I am wanting to do with my blog now, Mailchimp isn't quite the right fit for me anymore. I recently made the switch to Convertkit, a fairly new kid on the email marketing block. I am so happy I made the move, and am excited to share with you what I love about Convertkit and why I chose it over all the other email service providers out there.
If you are just starting out and want to grow your email list, then I highly recommend starting out on Mailchimp. You may find it suits your needs perfectly and you won't ever need to switch to anything else. Something I really love about Mailchimp is how pretty you can make your emails. You can create templates for different emails and then save those templates to use again and again. If you've spent any time on this blog at all, you'll know I am ALL ABOUT THE PRETTY. Convertkit's plain text emails have taken me a bit of time to get used to, but I have found my groove and now have to challenge myself to create content that makes up for the lack of pretty
Just a note, this blog is run on SquareSpace and I have successfully been able to use all of Convertkit's features with my SquareSpace site. There are a few things that require work arounds (especially if you use SquareSpace cover pages and want to capture emails that way) but it can be done and it can be done well.
Keep reading to find out more.
*This is an honest, unsponsored post but affiliate links have been used. What this means is that if you do choose to purchase Convertkit through one of the links in this post, then I receive a small commission. This helps me maintain this blog and keep it running with your support.*
At the beginning of 2016 I started spending more time researching how to make money online. What I noticed was that more and more bloggers and creatives were offering e-courses and info products. I also started looking into how they were doing this, and what platforms they were recommending. Up until this point I was very happy with Mailchimp and would have continued using it (at least until I had reacher their free 2000 subscriber limit) but I wanted to start seriously growing my email list by creating content upgrades and I was finding Mailchimp to be too clunky for me.
Here are a list of reasons why I ended up making the switch to Convertkit.
1. Opt-in Forms with Multiple content upgrades
With Mailchimp, it's very easy to set up beautiful, functional newsletters. It is also easy to set up a an opt-in offering for subscribers. An opt-in offering (or opt-in freebie) is what you give to your readers in exchange for their email addresses. When I first started blogging, I don't think blog readers were as picky as they are today. Nowadays, our inboxes are filled to the brim with nonsense, so we become pickier with who we want to give our email addresses out to. If you are offering something your readers want or need (like a checklist, printable, resource guide or e-book) then they are more likely to hand over their email address.
I recently purchased ListSurge, a fantastic e-course on growing your email list by Melyssa over at The NectarCollective, and I have been following her advice in offering content upgrades to blog posts. Content upgrades are basically opt-in freebies (checklists/worksheets/printables etc) that you offer in your blog post in exchange for someones email. This helps you grow your email list, but you are doing so by offering something valuable to your readers. The more value you give people, the more likely they are to keep coming back to your blog....but more on content upgrades in another post. Convertkit allows you to have as many different sign up forms as you want, and each form can be set up with a different opt-in freebie. This was something I was unable to do in Mailchimp.
2.Custom Tags & Segments: Allow you to group different subscribers within the same list & Customise who will RECEIVE your emails
When you send out an email (this is called a campaign in Mailchimp & a Broadcast in Convertkit) you can choose exactly who the email will go out to. This is all done by tagging & segmenting your subscribers.

Every time you create a form, you can choose:
which tag those people will be added to (you can add as many tags as you want to a subscriber)
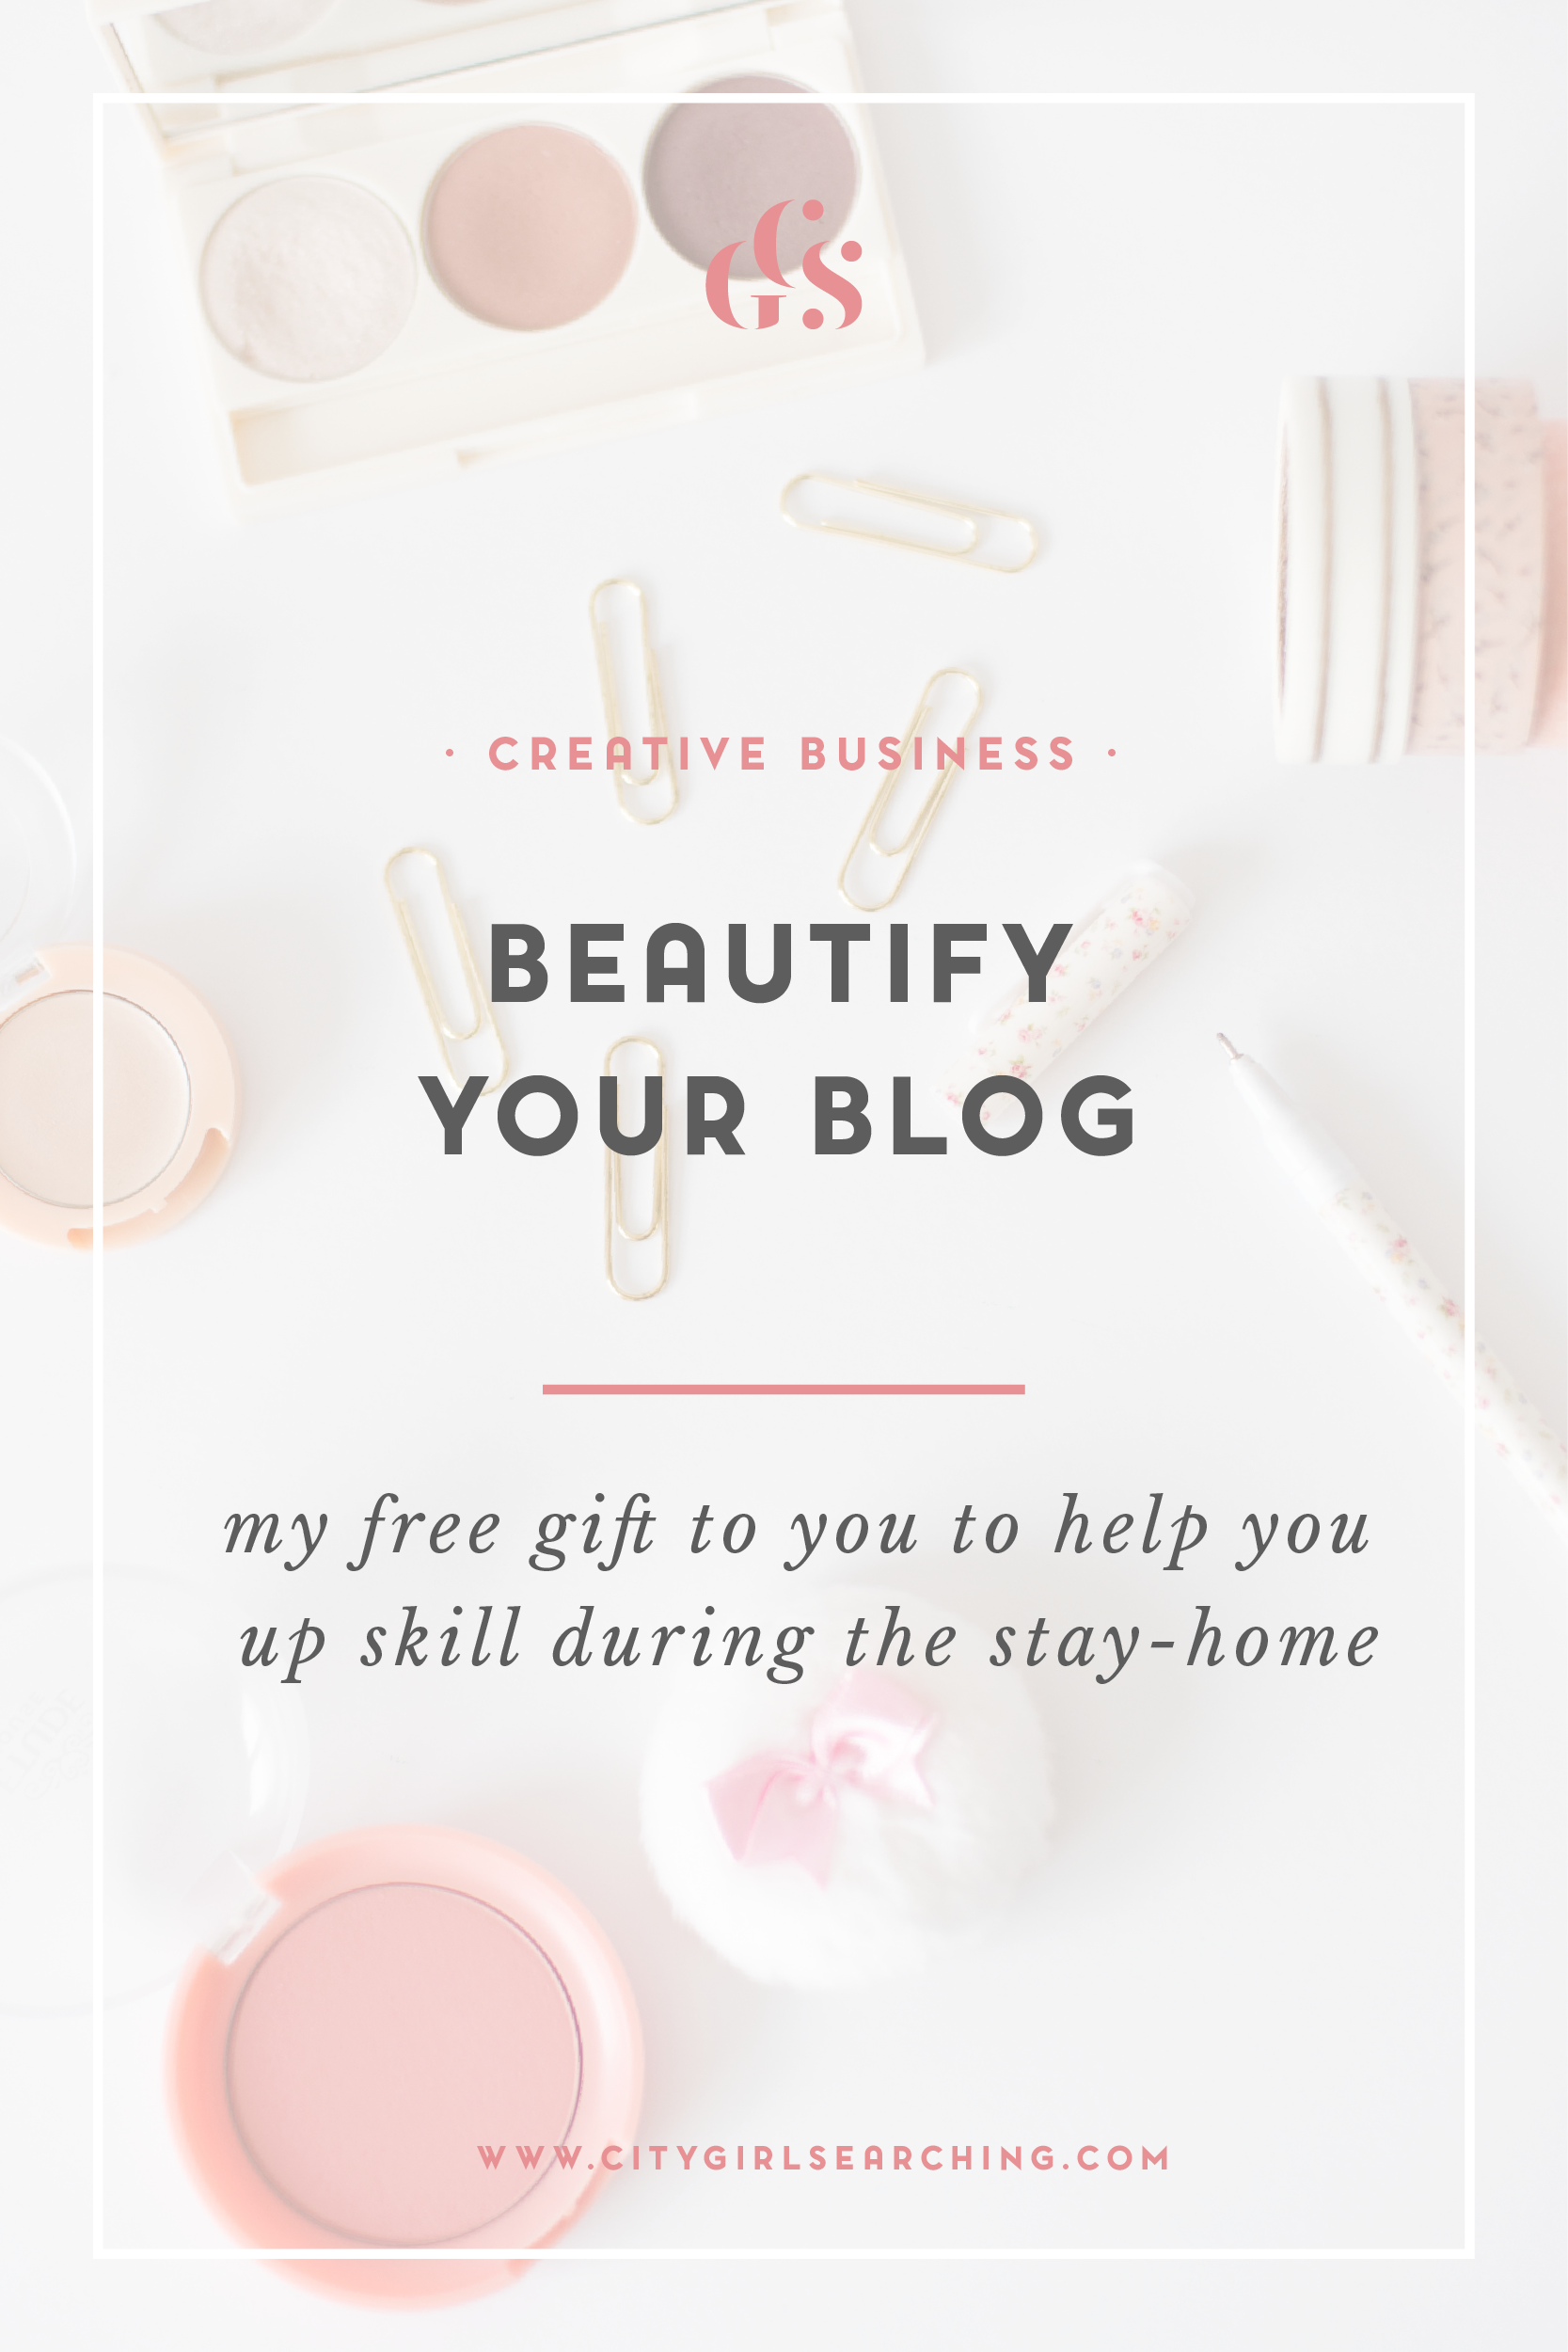
whether you want them to be automatically added to a Sequence (this is how I created my Free e-course...BeautifyYourBlog)
what segment to add them to
You can see that you have complete control over who should get what email you send, meaning that you can ensure that some people get certain emails, and others don't.
People don't want to be bombarded with emails that are not related to them . Using tags and segments means you are able to create a number of different audiences within you list. For example, my whole list is full of people who are interested in blogging. Some subscribers may be full time bloggers, some may be interested in blogging but are more interested in my photography tips and stock photo offerings. I also have a seperate tag for all the people who have joined my list via a blogging resource content upgrade so that I can target them with specific emails related to blogging tips. Another tag I have is for people who have completed all the lessons in my e-course. If they have opened each email, by the end of the course they are tagged. This means I know there were invested in the course and would most likely be interested in another similar course I could offer in the future.
3. One Master List: No more double subscribers eating into your subscriber count
Your subscriber list is just what it sounds like, the list of people who sign up. Each person (subscriber) gets added to a list (or lists if you have more than one) and this is traditionally how you would separate people and send different subscribers different things.
There are two kinds of list formats for email platforms; subscriber-based or list-based.
List Based email systems, like Mailchimp, focus on the actual list rather than the unique subscriber. This means a person who subscribes to your checklist content upgrade & your worksheet upgrade will be added to your list twice. You can see how this would mean you would fill those first 2000 subscribers in the free plan on Mailchimp really fast. If you are growing your blog or business with content upgrades, products and webinars, you are going to hit that 2000 subscriber limit in no time at all, as it's very likely your readers will be interested in more than one of your offerings
Subscriber based email systems, like Convertkit, have just one list or database of subscribers. At first I thought this would be super limiting, until I realised the power behind the tags and segments. Each person who subscribes to your list can opt in to multiple forms, sequences, tags or segments while still only counting as one subscriber. You have complete control over adding/removing those tags & segments which means you can customize exactly who should get what email from you.

Each subscriber is given a personalised profile so you can easily see when they subscribed, what tags and sequences they have been added to and what emails they have be sent. This is SO helpful when people have queries as to why they haven't been sent a certain email. You can easily go and look at their profile and see what email was sent/when & whether it was opened or not.
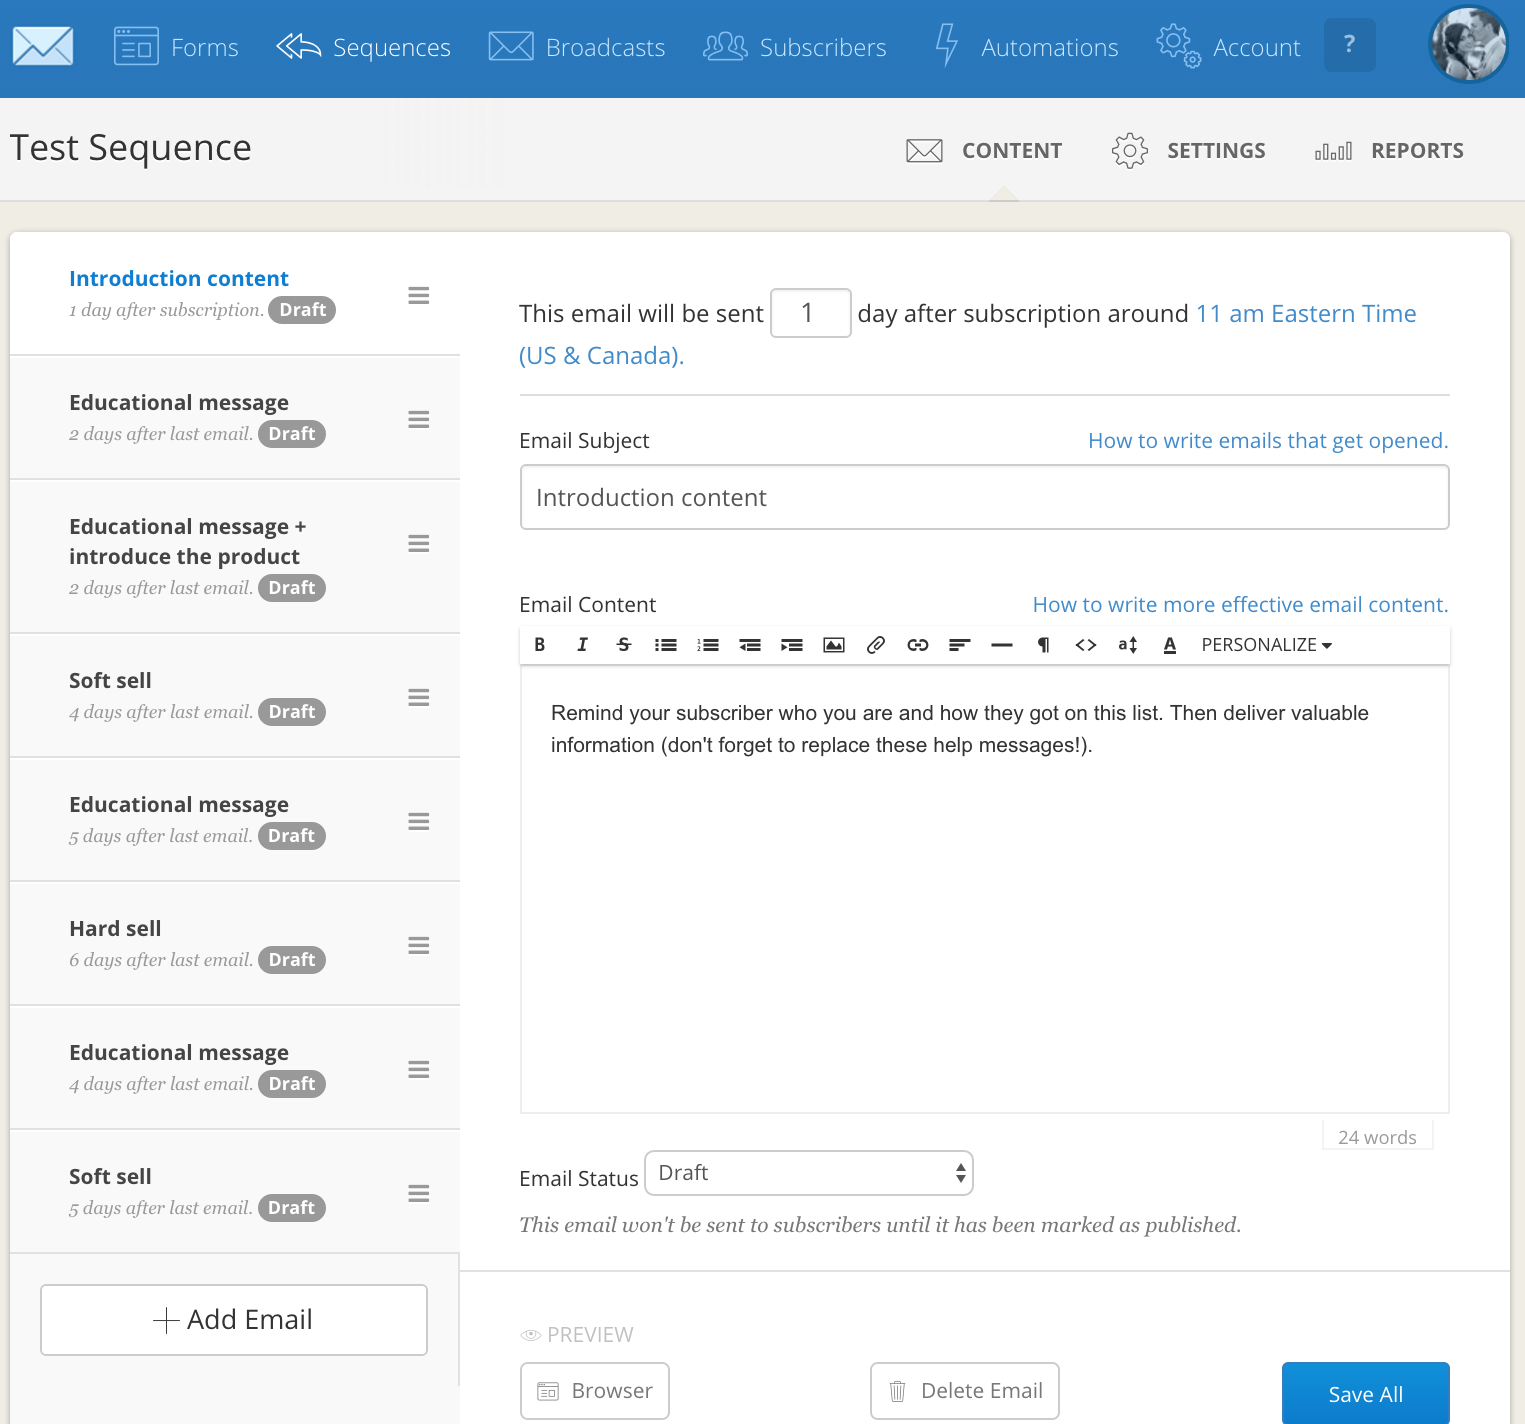
4. Sequences: Easy to Set up & Deliver Drip Email Content (like E-courses & Welcome emails)
This has been my favourite feature of Convertkit! I recently launched my first ever e-course BeautifyYourBlog which is a FREE 6-part email course designed to help you create a more beautiful blog (re-launching soon).
Every step is laid out for you, you simply have to delete the 'help prompts', write your content, choose when to send each email and then click save.
Each sequence has a Report feature that shows you how many emails were opened, how many people unsubscribed to the course and when they were added to the course.
I currently have two sequences; my Free e-course & a welcome email which sends out access to my Resource Library (which you can join by clicking here). Here is a great article on from the founder of Convertkit, Nathan Barry, which explains more about why you should use Sequences rather than Broadcasts. (click here).
5. Automation Rules
These are some of the most powerful features of Convertkit. These rules are simple if-this-then-that systems. These are what similar to what Mailchimp calls Triggers.

This gives you the ability to add so many more functions to your email. For example, my favourite rule is the 'Link Trigger'. I can set up a link in an email that, when clicked upon, adds a tag to the subscriber who clicked on that link. Here's how I've put that into use:
In my BeautifyYourBlog e-course, I included a link for people to click through to see some optional paid for resources that they could purchase. That link was part of a Link Trigger Automation that I set to tag subscribers with a tag entitled "Interested in Course Upgrade'. I included this same link a few times throughout the course as a 'soft sell'. A soft sell is like a gentle reminder of your paid for offerings, as opposed to hard direct selling. After the course I was able to see how many people had clicked on that link (ie. they were interested in the upgrade), and then I sent out a boradcast email to just those people who were interested in the upgrade. I already knew those people must have been at least a bit curious as to the content upgrade, because they had clicked on the upgrade link at least once. I was then able to target them specifically to offer them a time sensitive special offer on the upgrade.
Extra Features
ConvertKit DOES work with SquareSpace using a few small workarounds. I have had to use Zapier to connect SquareSpace forms to Convertkit, but this is done easily and only took me a small amount of time to set up. This is particularly useful when if you use SquareSpace cover pages because you can't embed a signup form on them. Now you can have the SquareSpace form send subscribers to an excel spreadsheet, and then Zapier will automatically add those subscribers to your ConvertKit form or sequence. I did this when I was collecting pre-launch sign-ups for my BeautifyYourBlog E-course.
Landing Pages - ConvertKit offers a few basic landing page templates. Please note that to really customize the templates you will need to know a little bit of CSS to really get them looking pretty. But they are very functional and are easily integrated with Wordpress (and with a few more Tweaks, with SquareSpace as well).
Analytics showing you how many people have opened, clicked on or unsubscribed from your Broadcast or Sequence.
You can re-send unopened emails to people! This has been something very handy that I have used a handful of times, especially when I had something very valuable to offer my readers. When you re-send a broadcast, the email is only sent to those people who haven't opened your email.
You can create pop up & slide in sign-up forms in the Forms Dashboard. This means there are lots of options for how you want your forms to look like within your site.
ConvertKit is constantly adding new features and integrations to the platform, for example LeadPages, GumRoad, Teachable, Zapier, Wordpress, Shopify and lots more. Please bear in mind that these integrations (especially LeadPages) will require a little bit of fiddling and playing around to get right. It won't simply be a plug in and play sort of set up. BUT it means Convertkit is listening to it's customers and they want you to be happy.
There are so many email service providers out there and each of them have their pros and cons. Like I mentioned at the beginning of this post, I would probably have stayed with Mailchimp if I only planned to send out a monthly or weekly newsletter to my readers. But as I have bigger plans for my this site, I needed something that allowed me to get very specific with my target audience and that's why I chose to go with Convertkit.
Where are you in your email marketing journey? Have you been thinking about getting started with email marketing? I'd love to hear from you in the comments below.