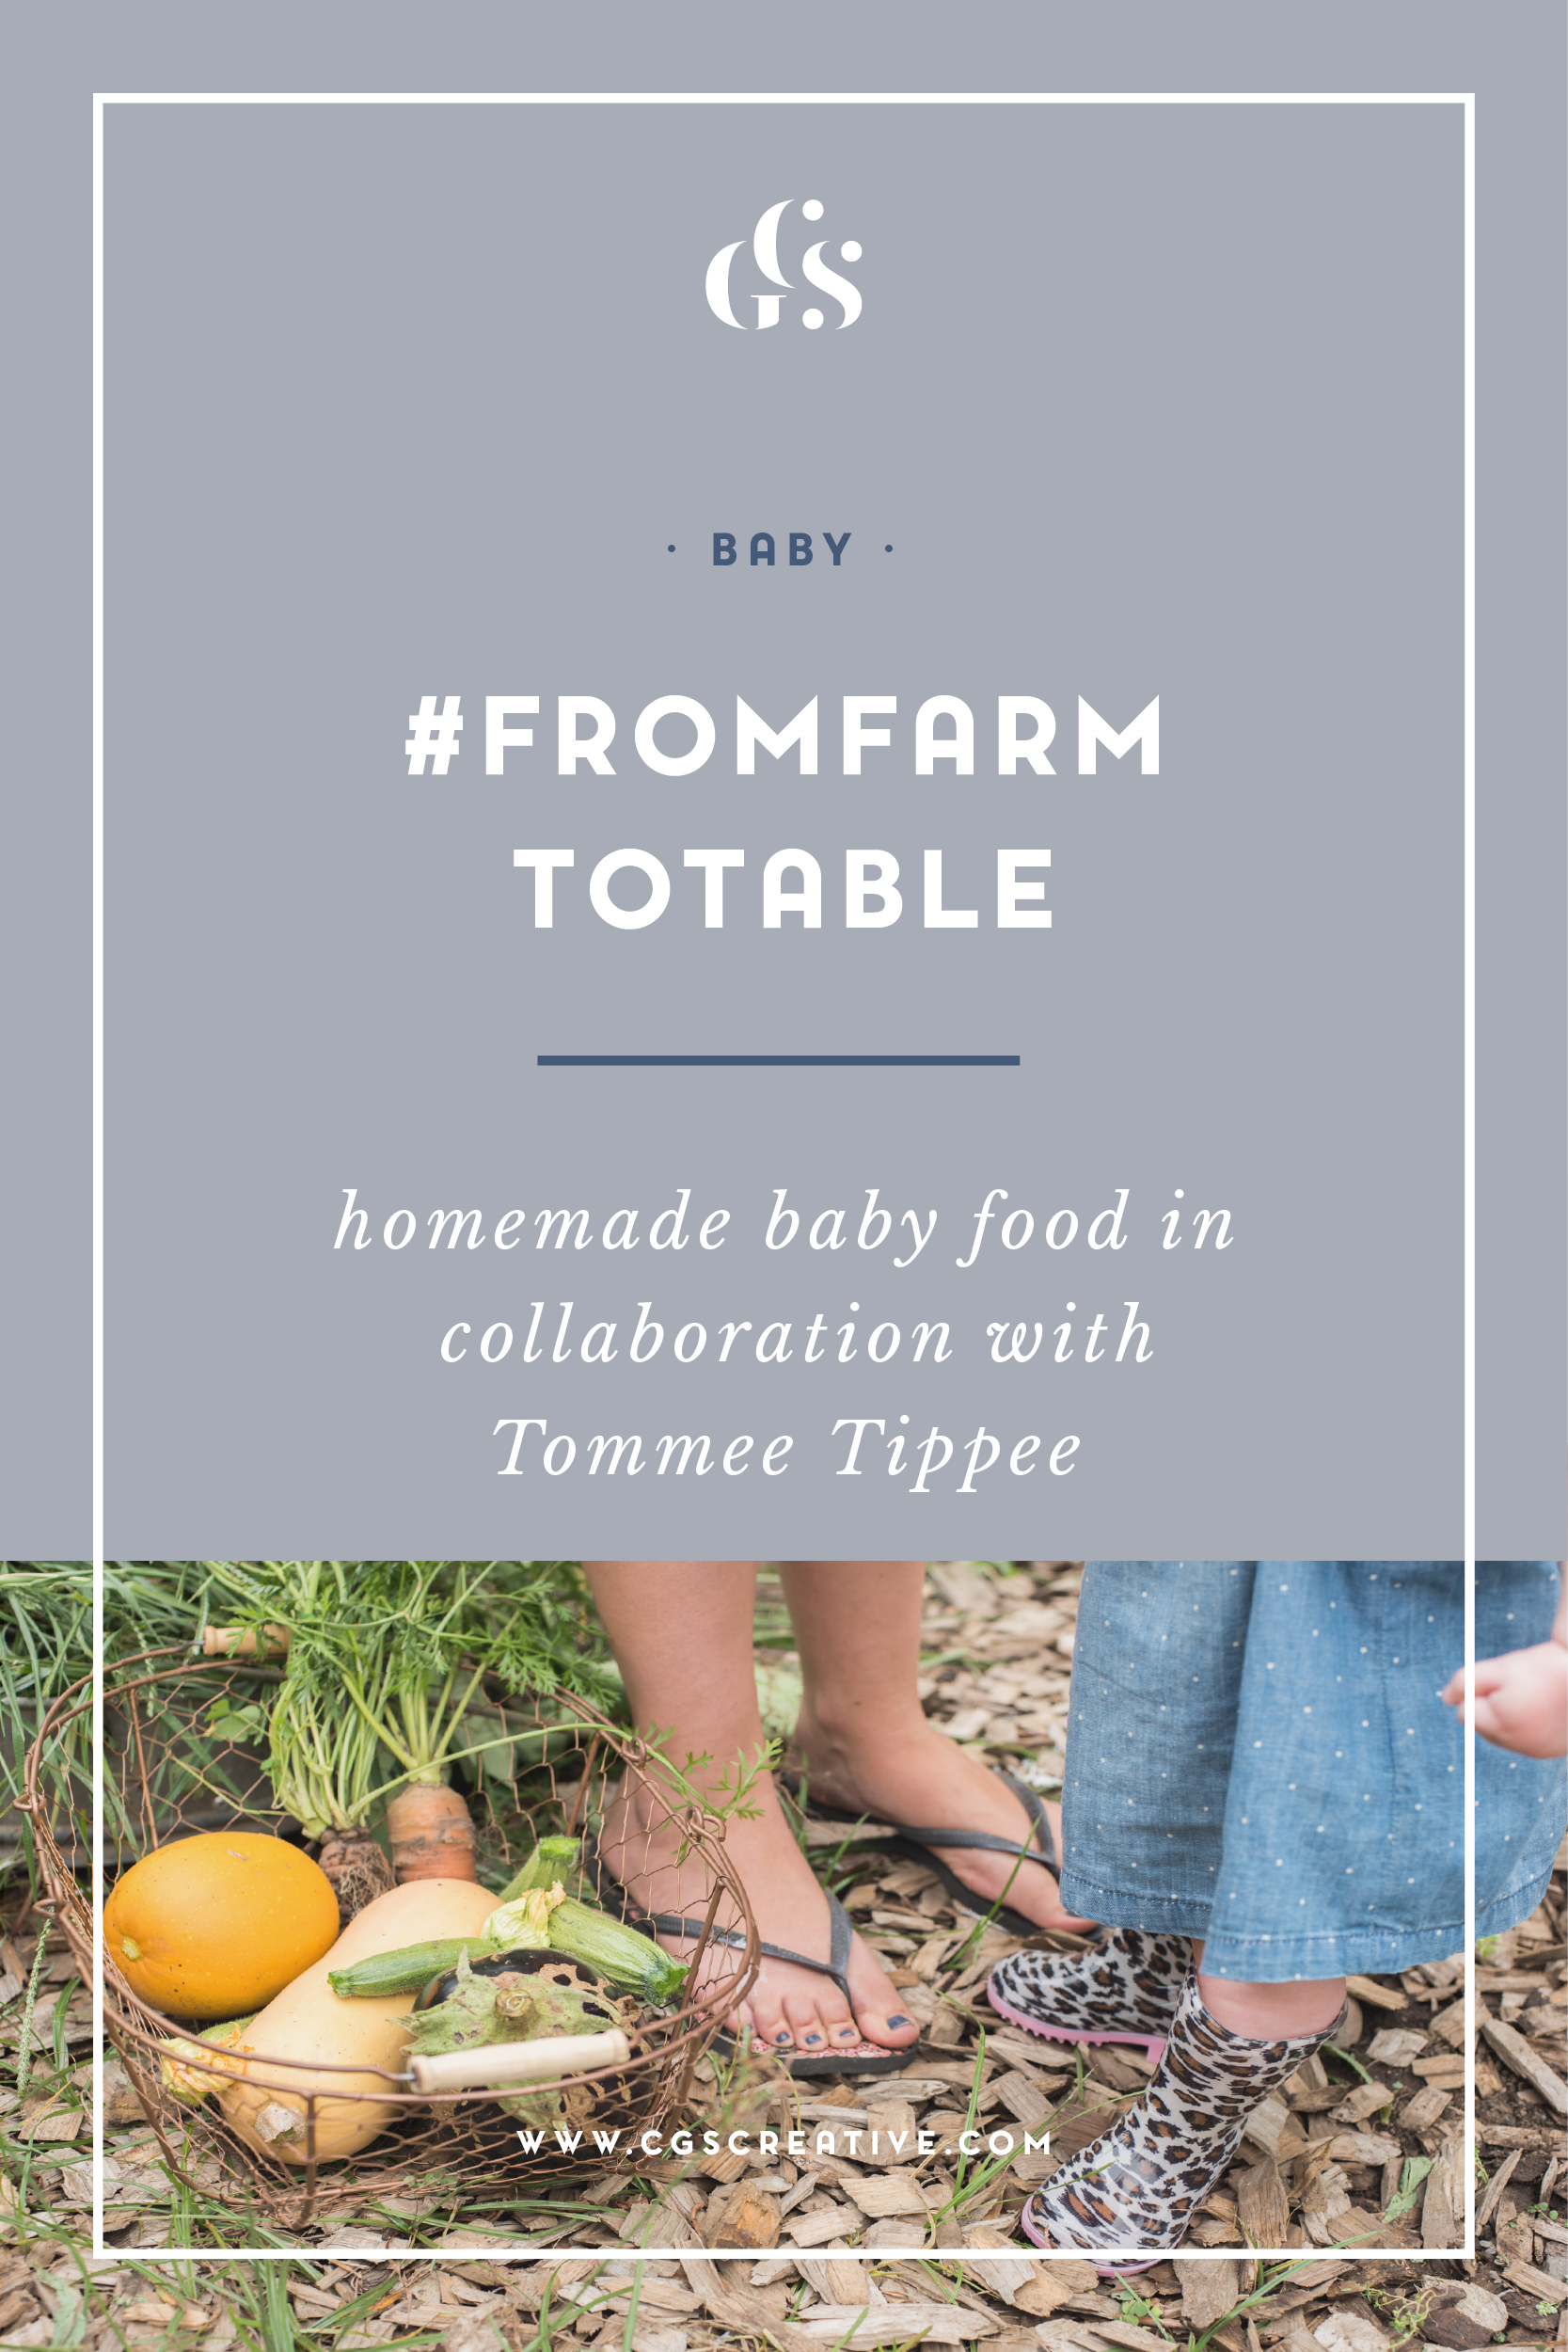
Day 1 of the 2018 Flats & Handwashing Nappy Challenge - Why are you taking the Flats and Handwashing Challenge?

2018 Flats Handwashing Nappy Challenge South Africa CityGirlSearching Blogger Mommy Blogger Cloth Nappies-01.png

Hello again and welcome to Day 1 of the 2018 Flats and Handwashing Challenge hosted by Cloth Diaper Revival.  

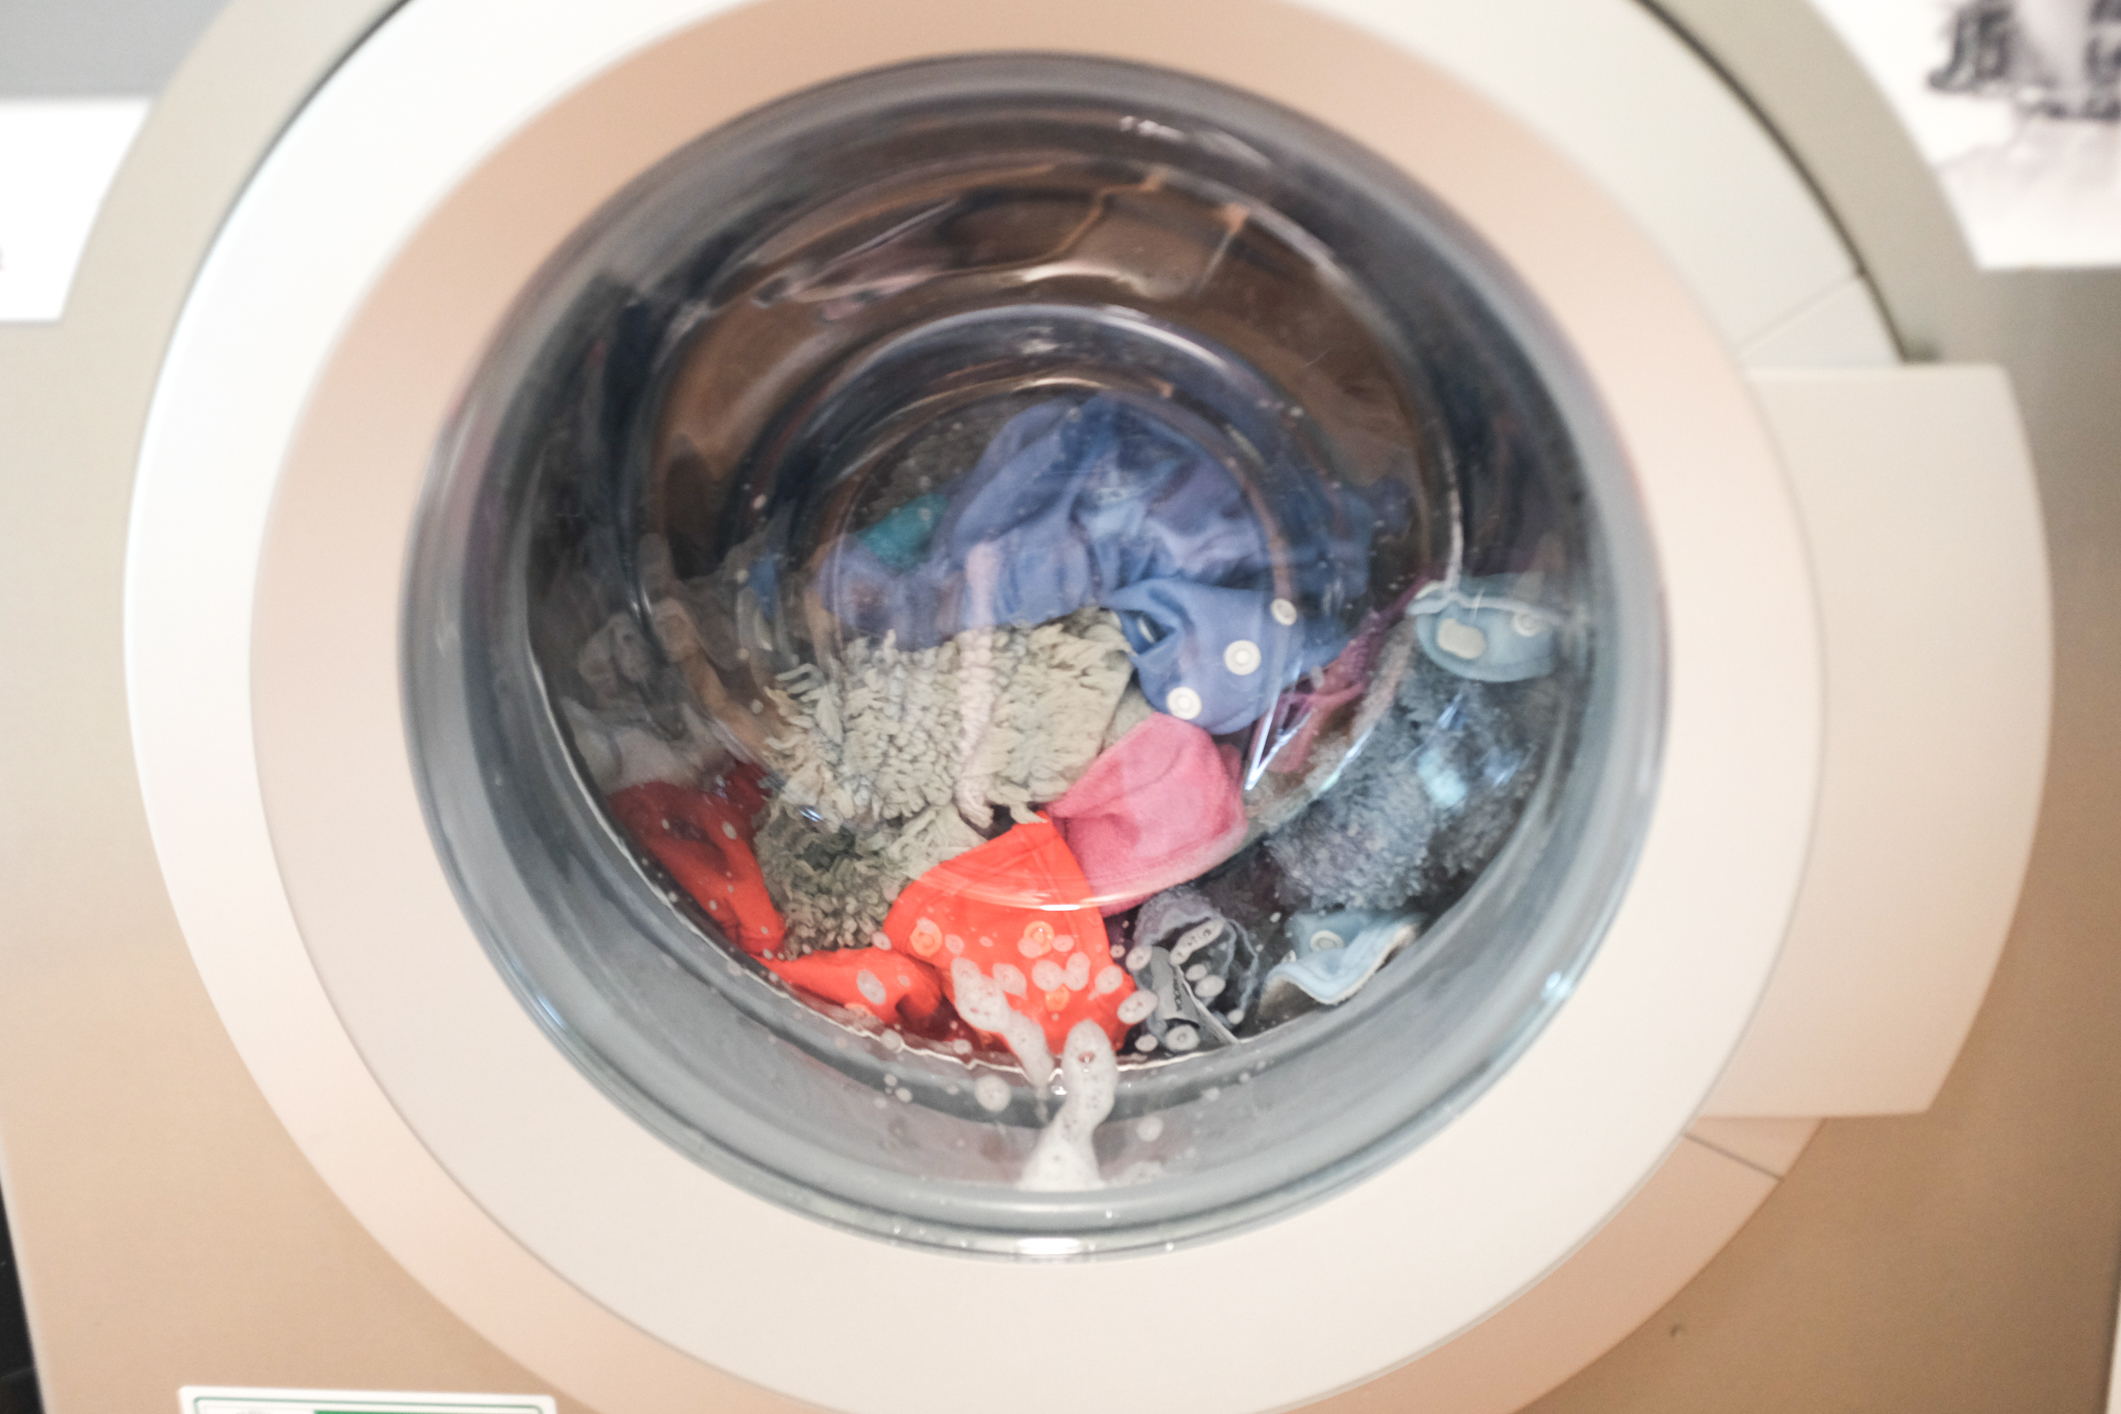
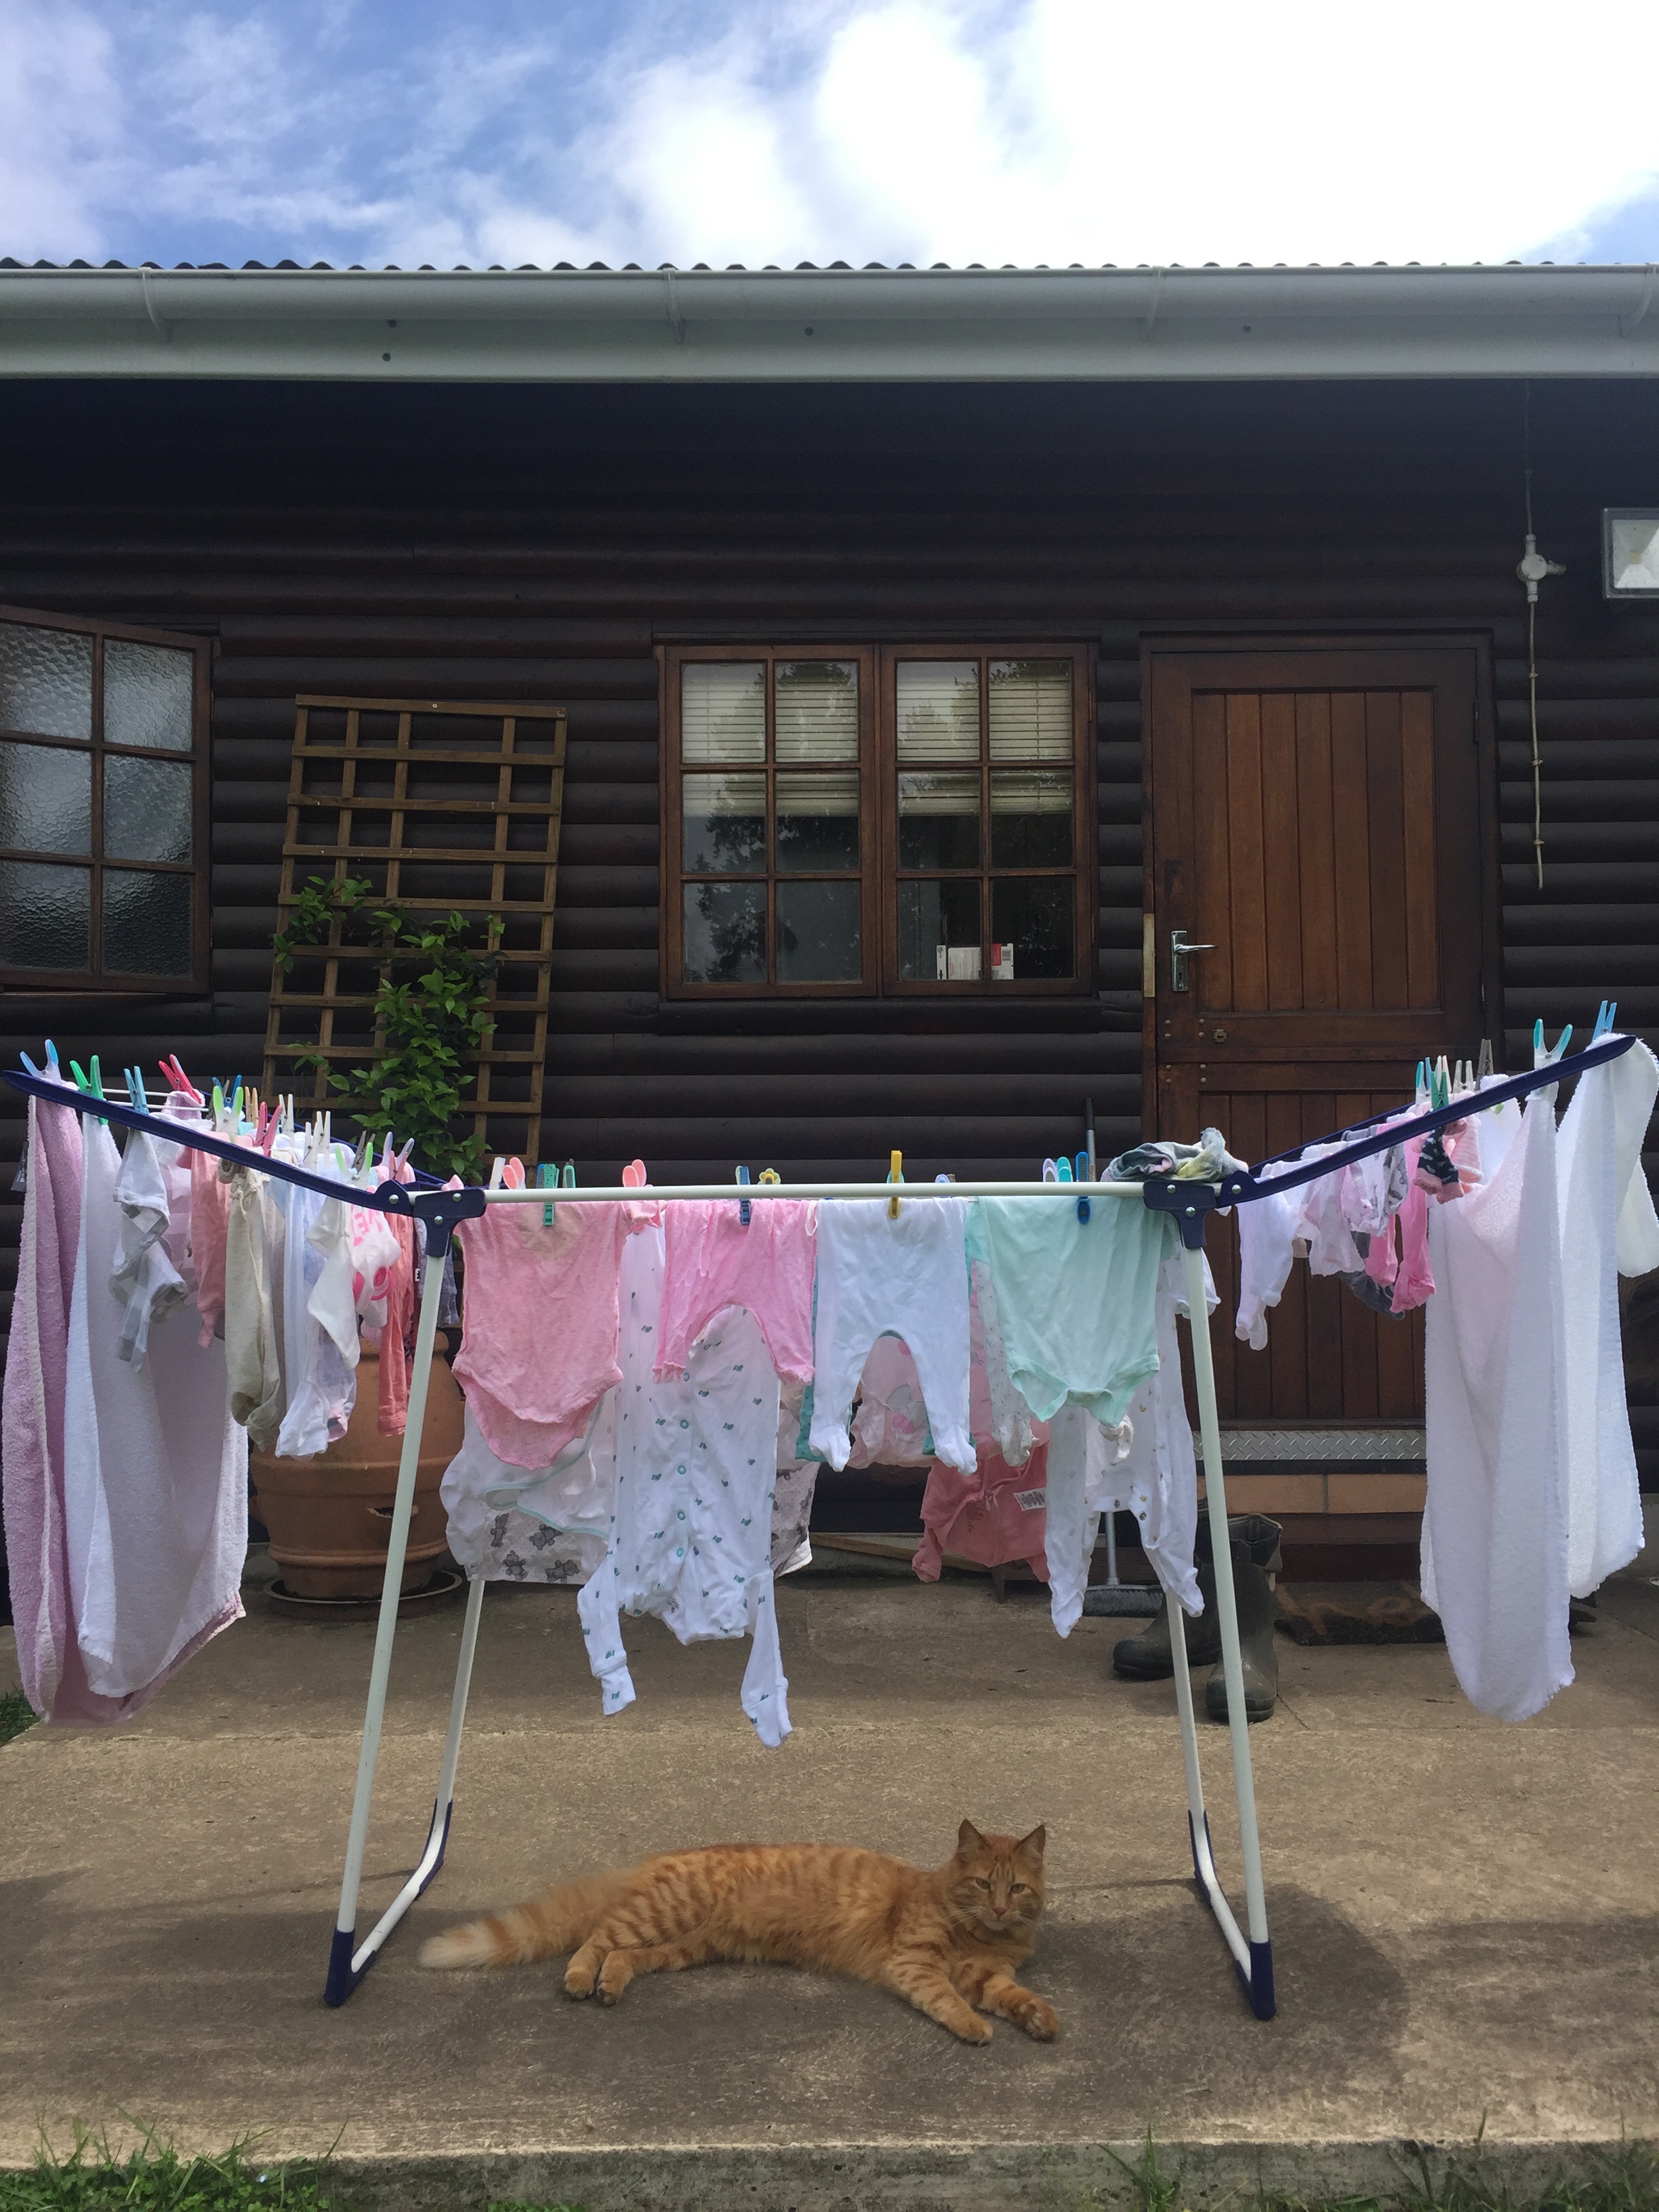
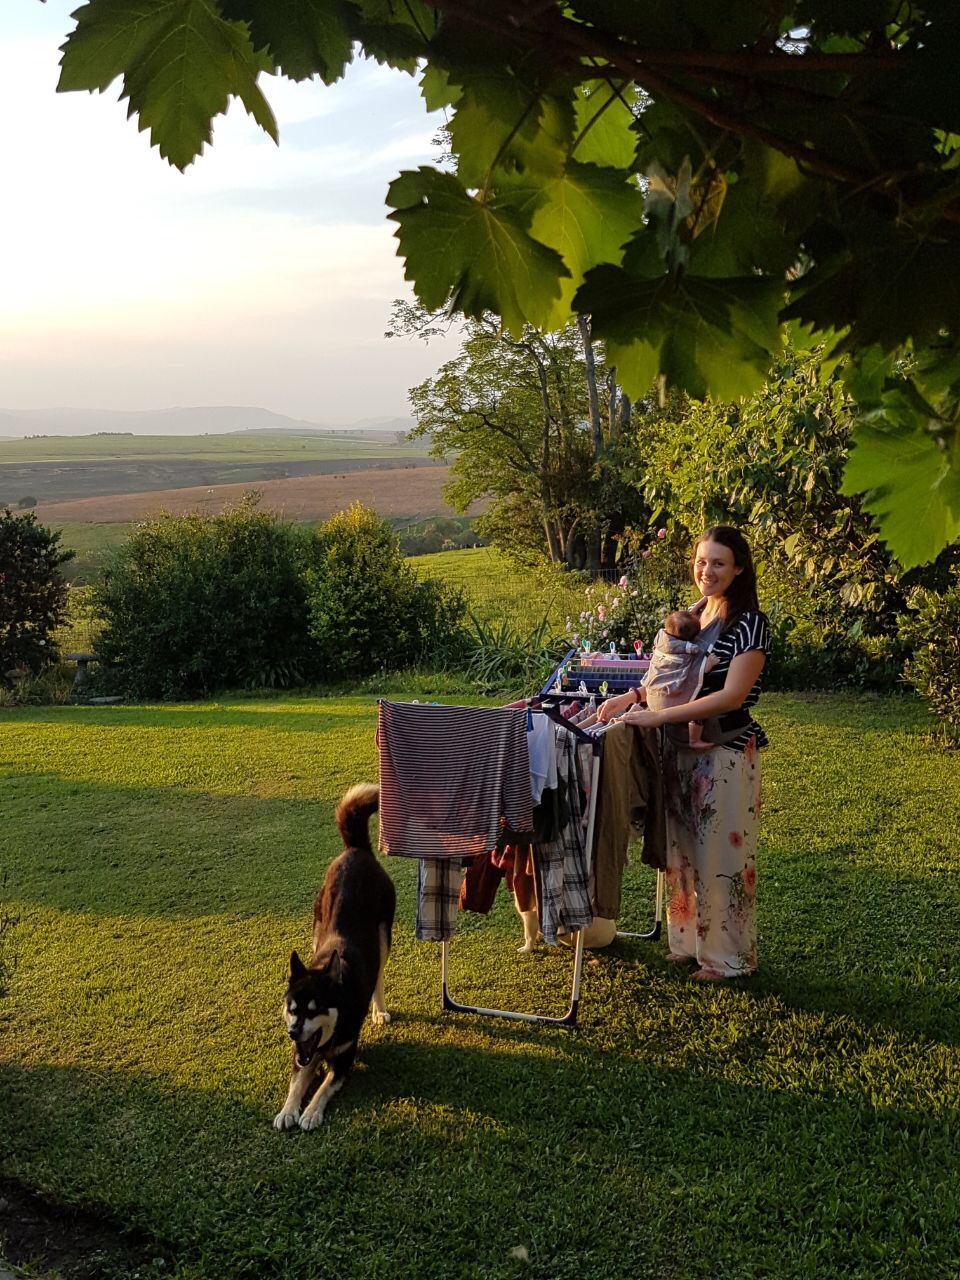
Today marks the start of the 7 day challenge, during which I will be using only flats and covers as nappies, and I will be handwashing them to get them clean. No modern cloth nappies, no washing machines & no tumble dryers. Am I crazy? Probably! But I am up for the challenge and I can't wait to bring you along with me through my blog and Instagram.

You can scroll through my previous cloth nappy posts here:


For those of you wondering what on earth the flats challenge is all about, here is some more info for you:

Kim at Dirty Diaper Laundry founded the Flats and Handwashing Challenge eight years ago as a way to bring awareness that cloth diapers are a valid option for families in need, struggling to provide diapers for their baby. 

"Our aim is not to say that every poor family facing the supremely difficult choice of buying diapers or food should use cloth diapers. That would be short-sighted of us to think it's an answer for every family. The flats challenge is a way to show that for families willing and able, babies can be diapered for less than $100 or even $50 and without owning a washing machine. It is a viable option for families who are in homes without washing machines and an effective one." ~Kim Rosas, Dirty Diaper Laundry

Why are you taking the Flats and Handwashing Challenge?

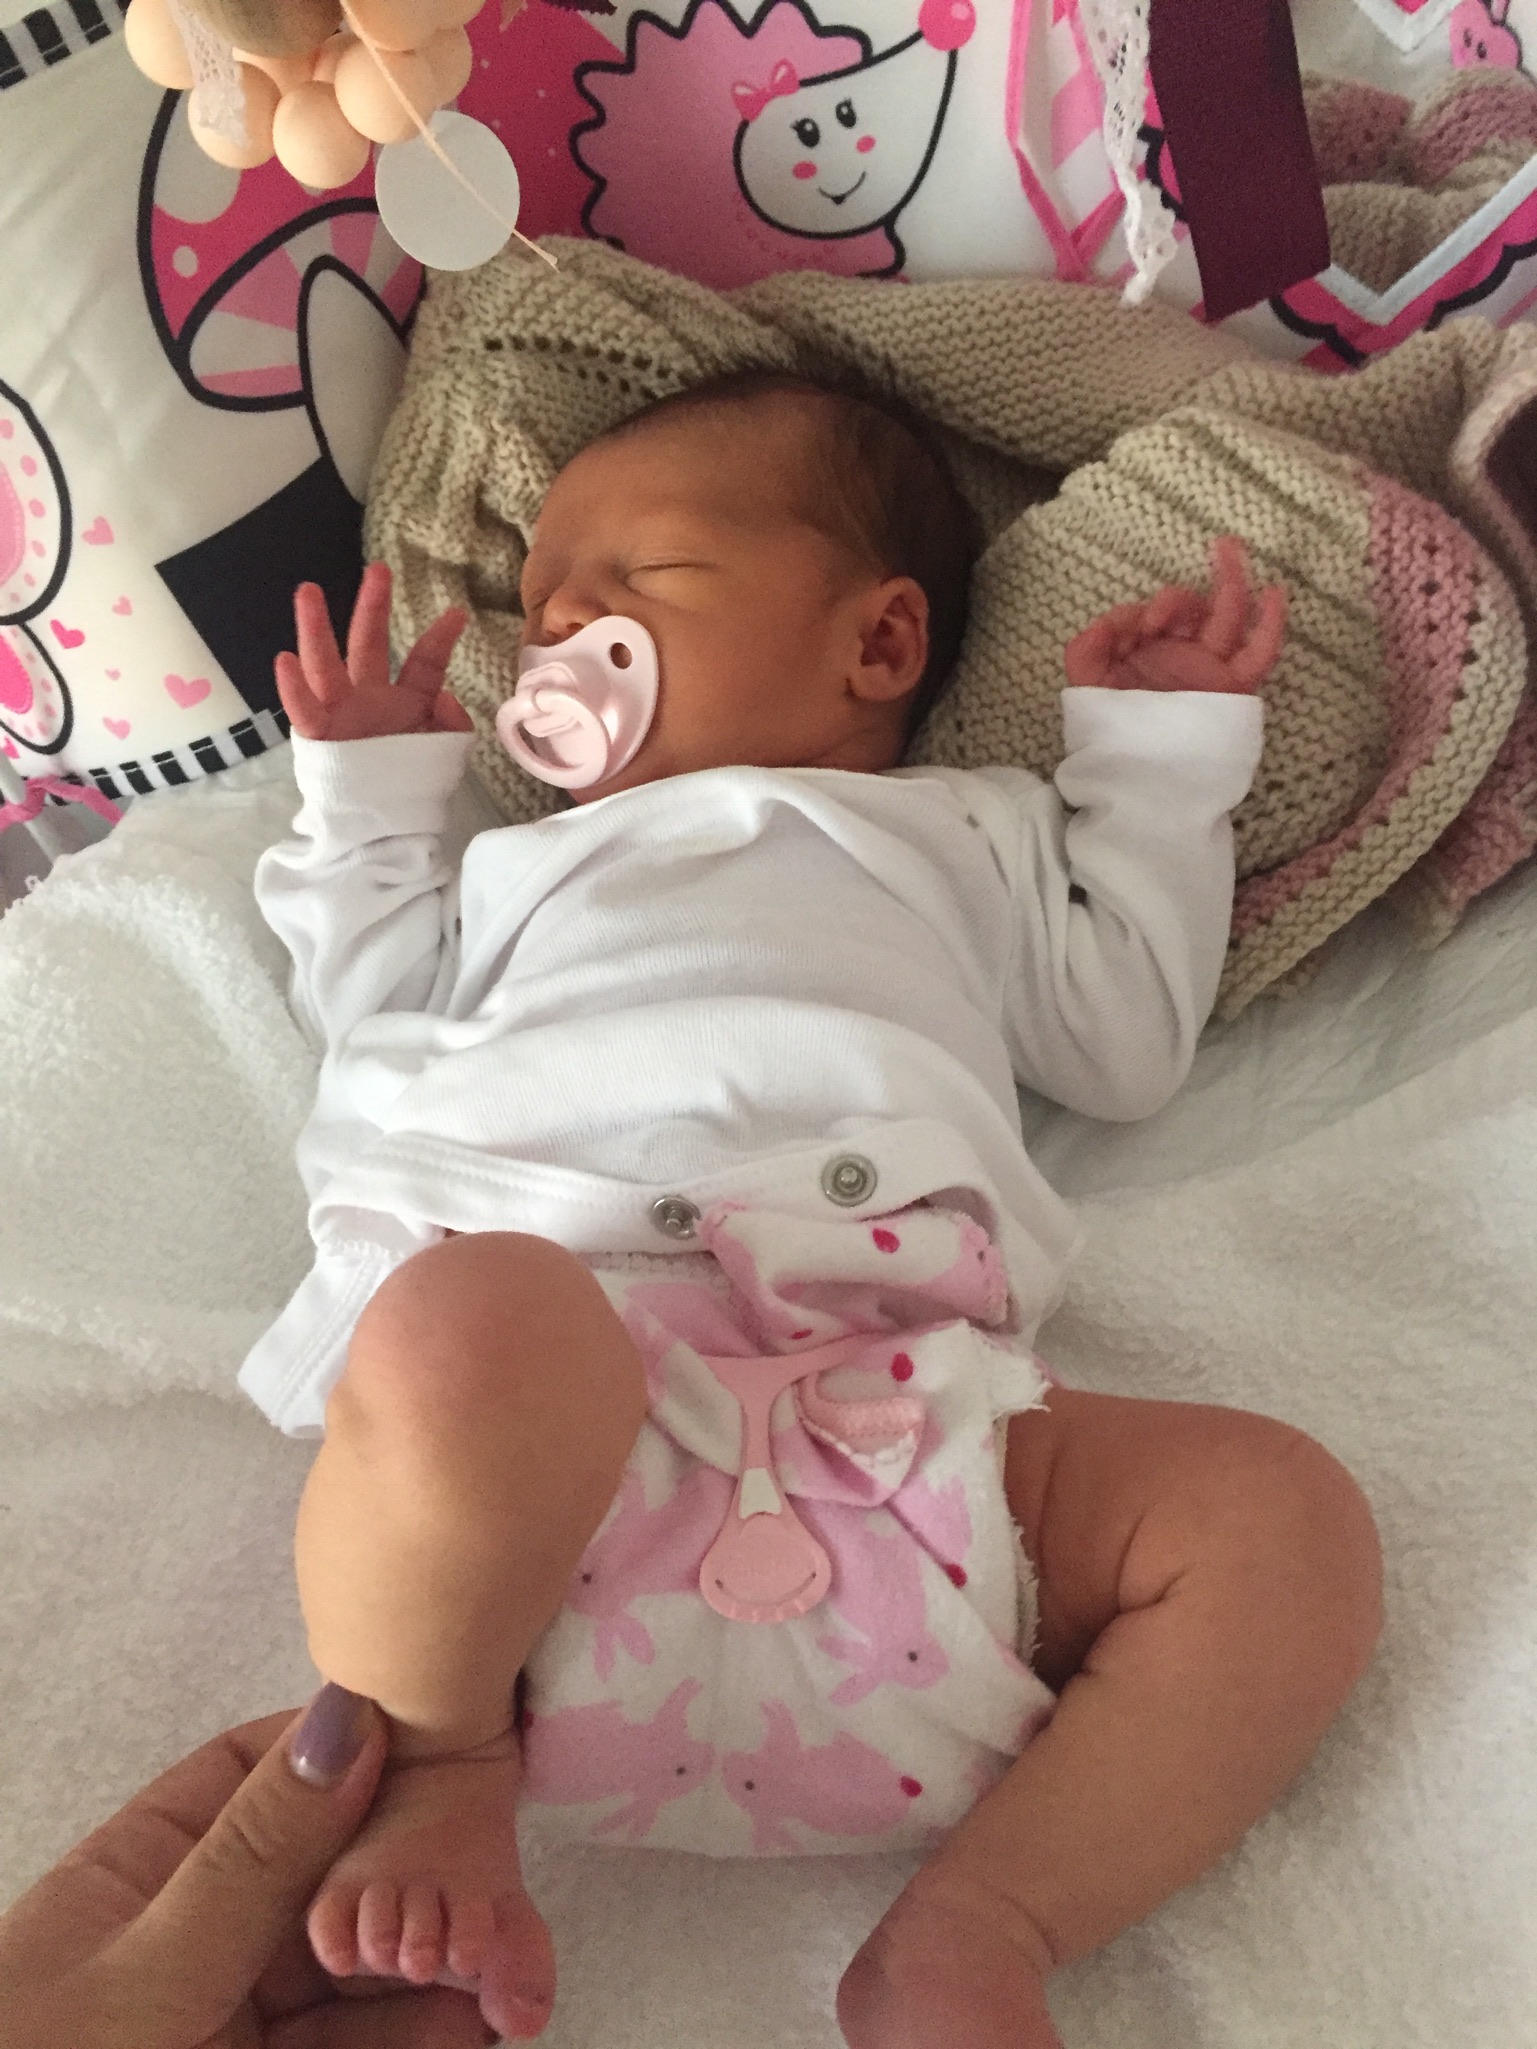
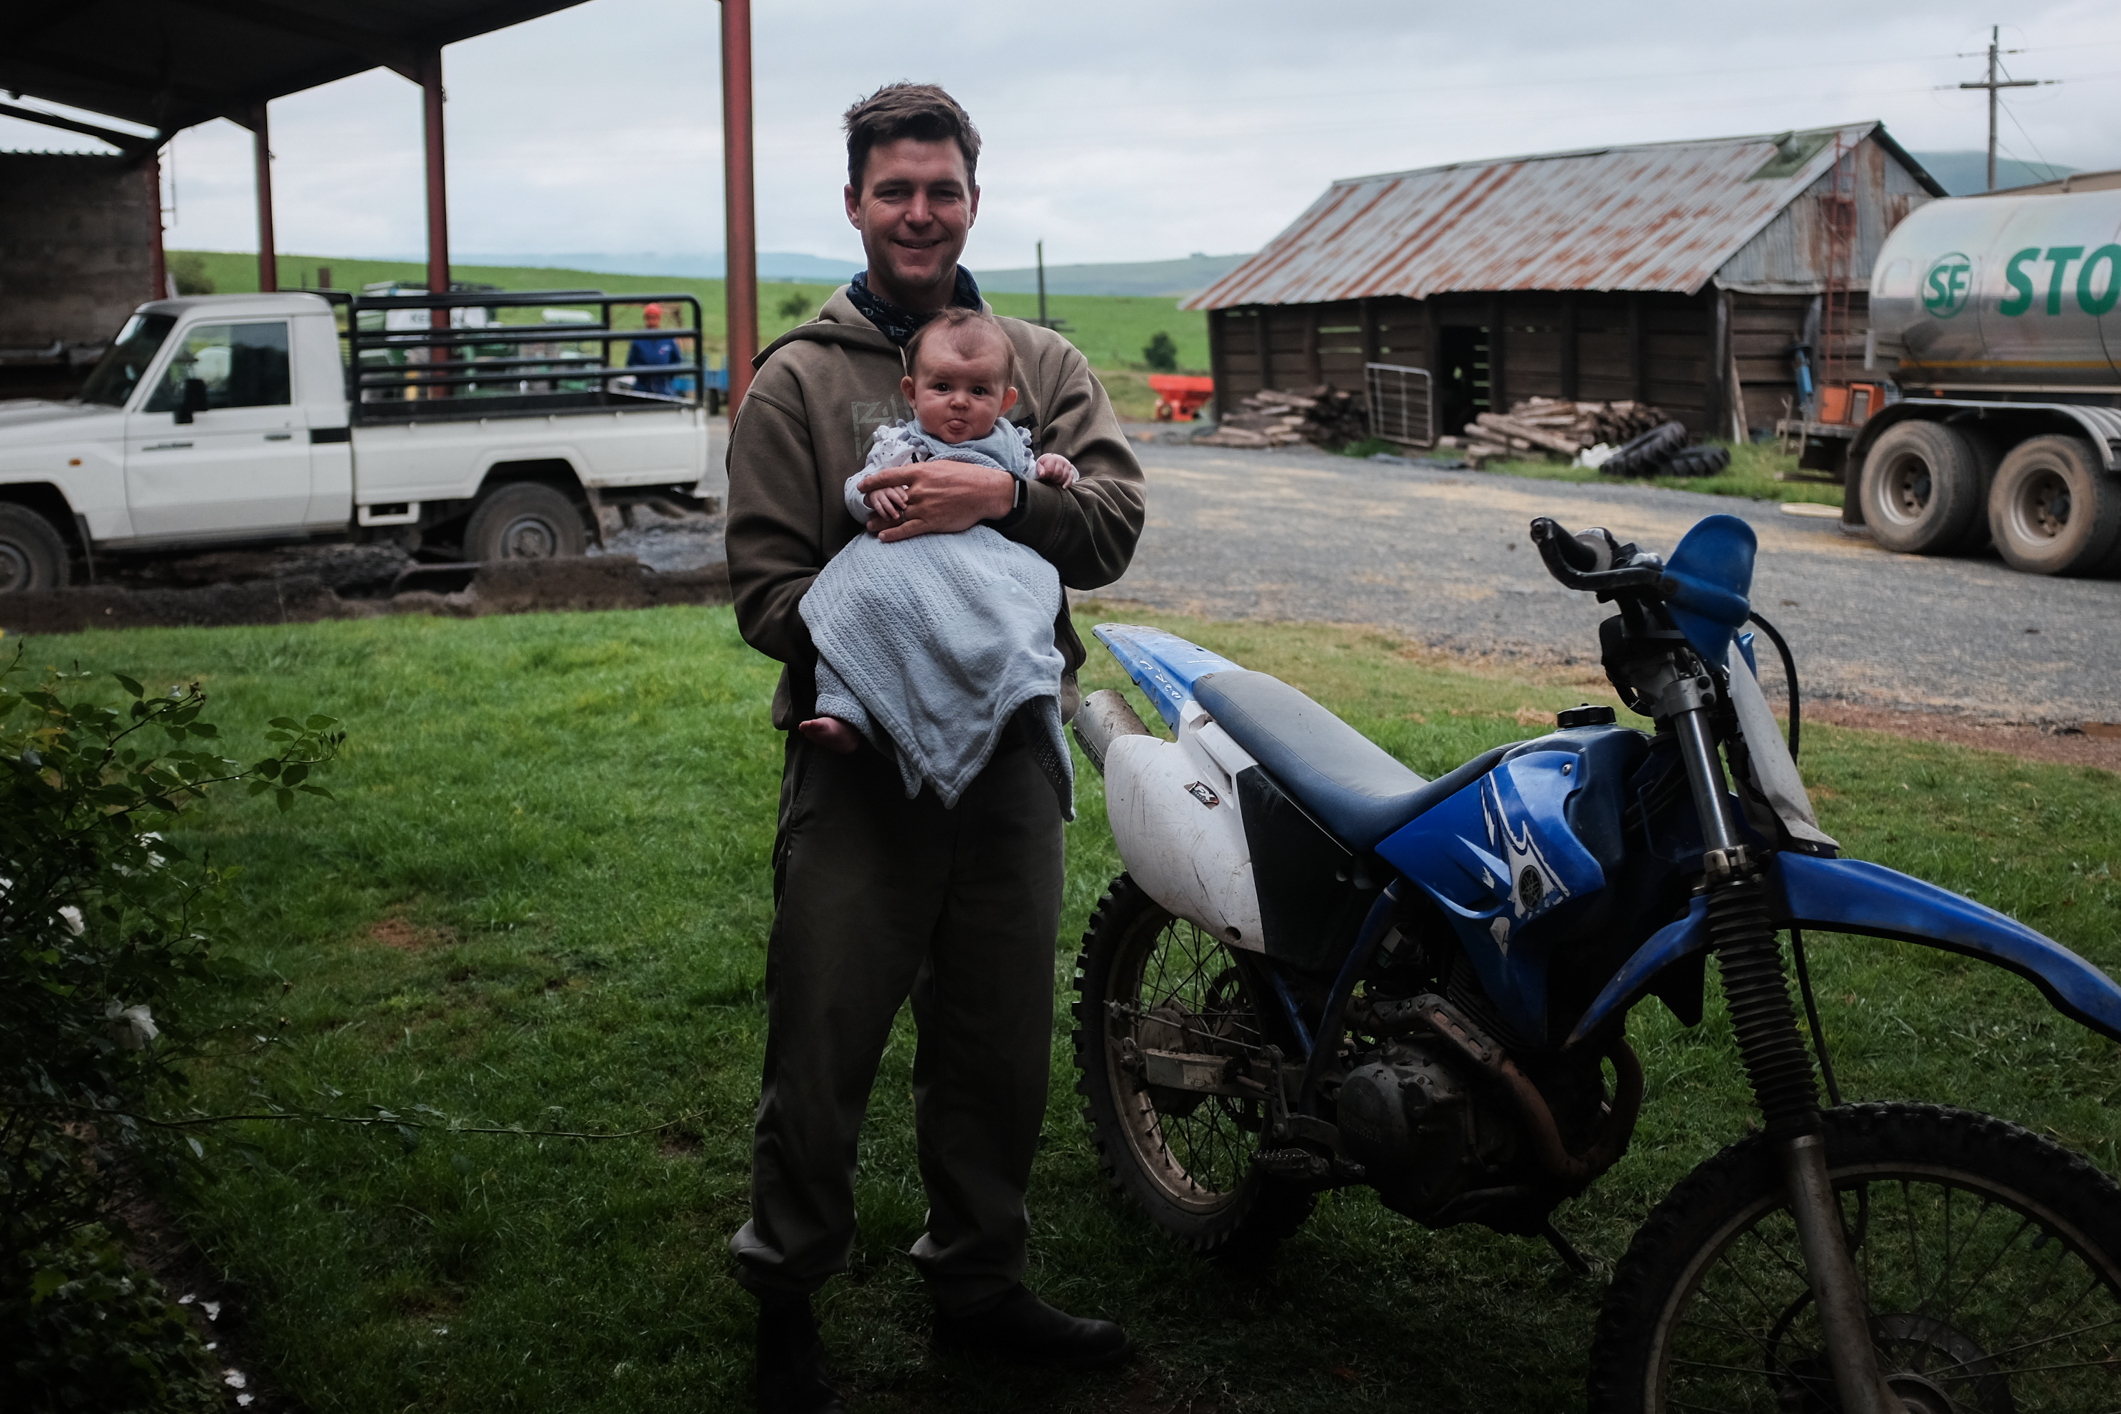
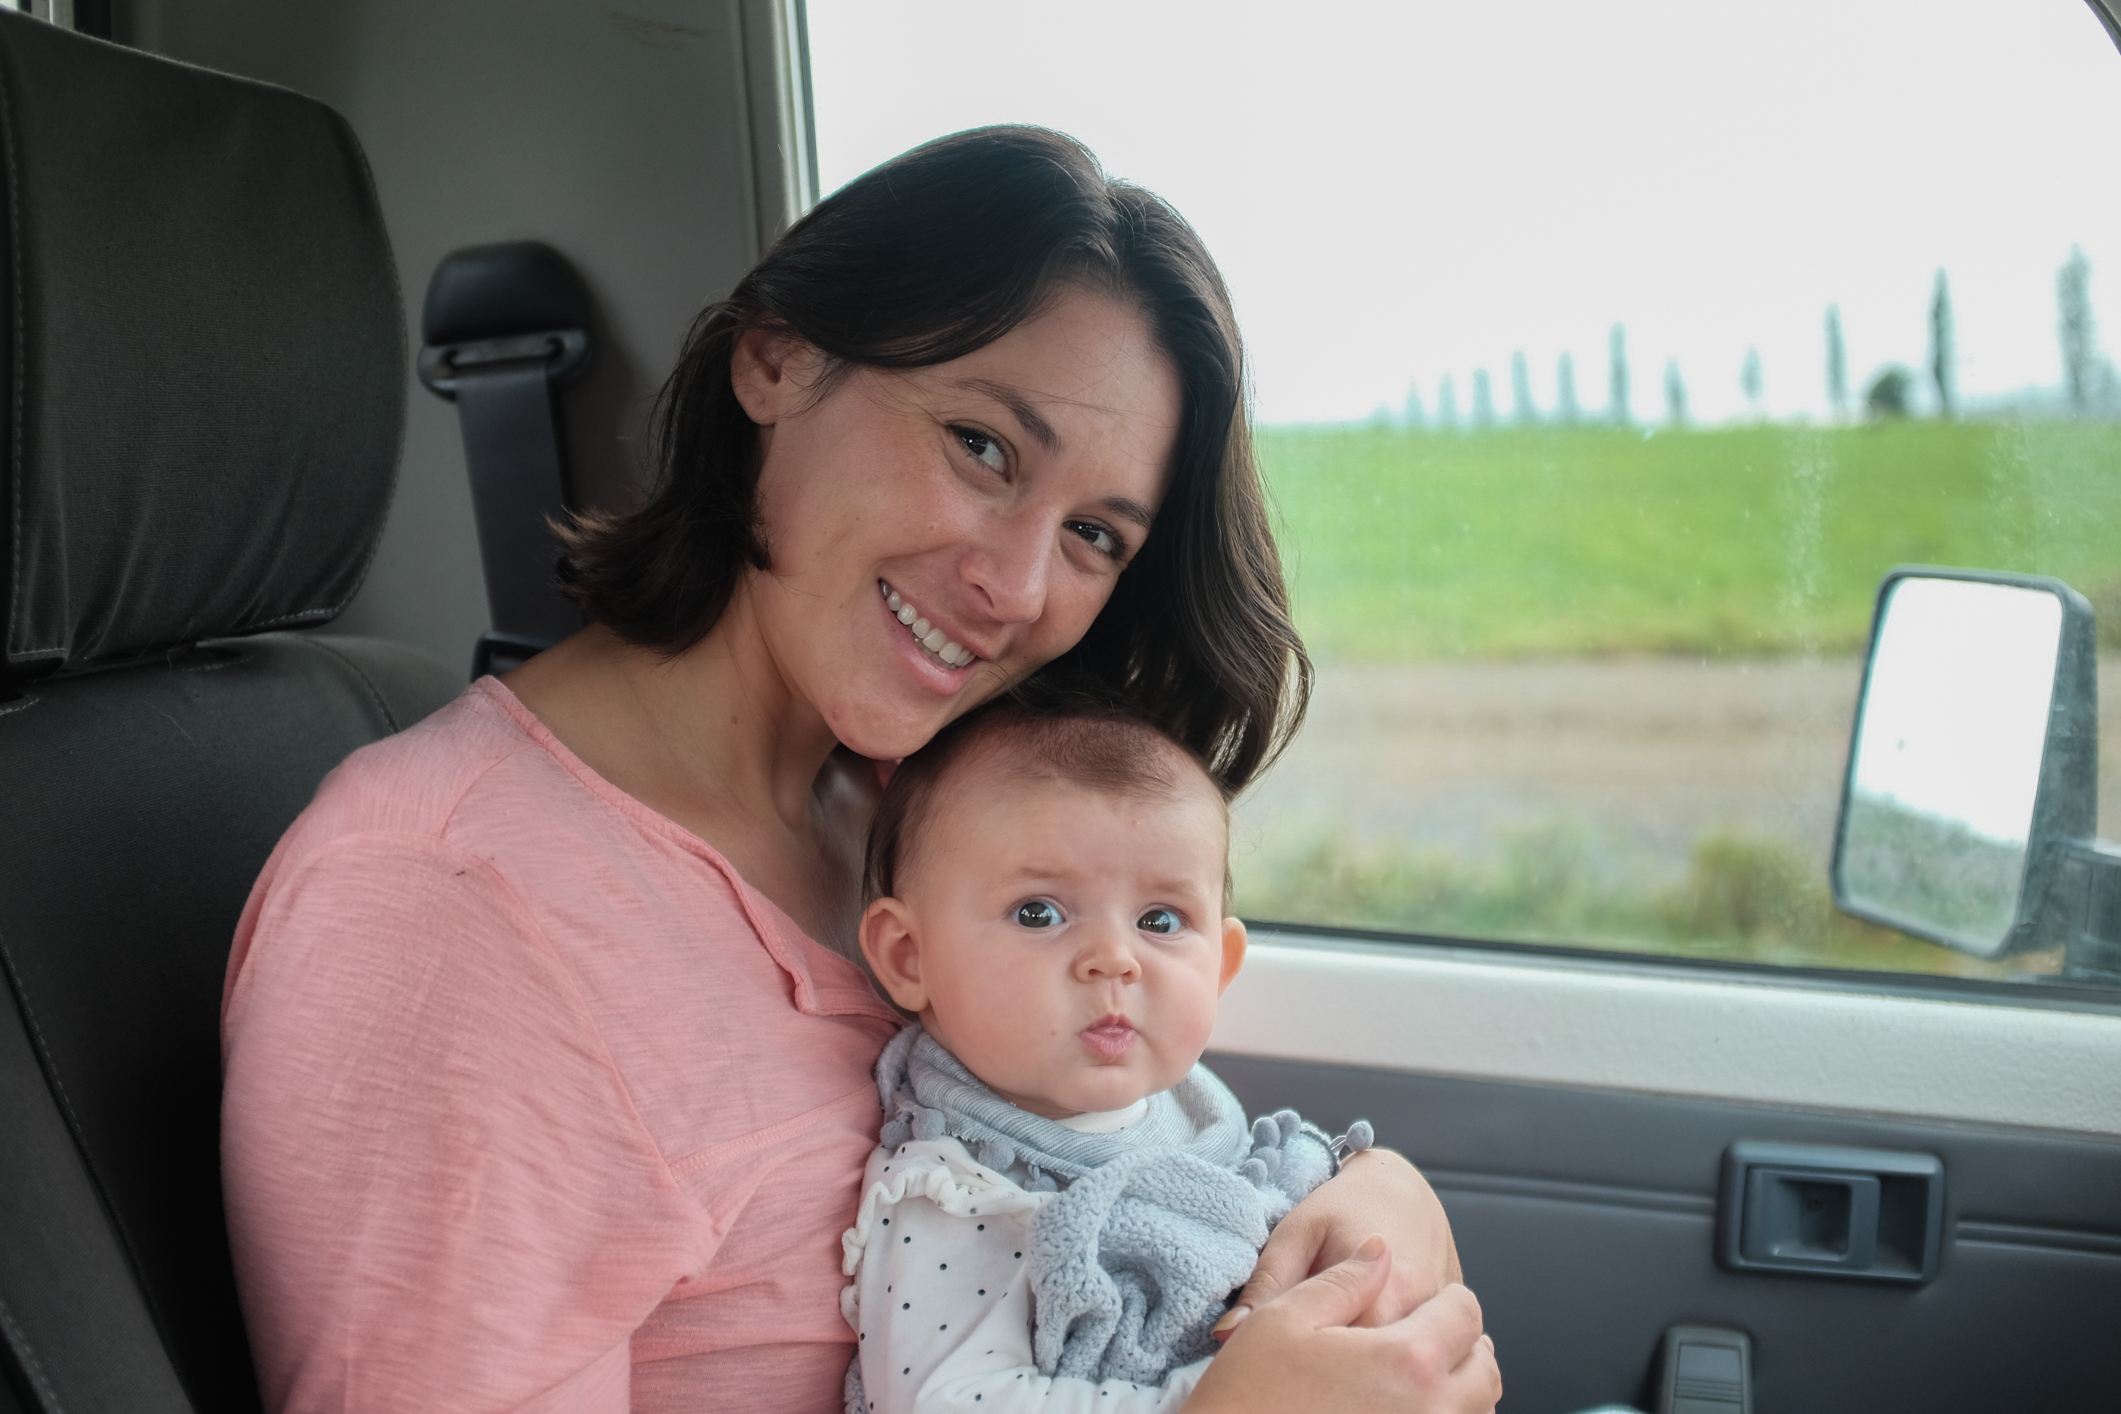
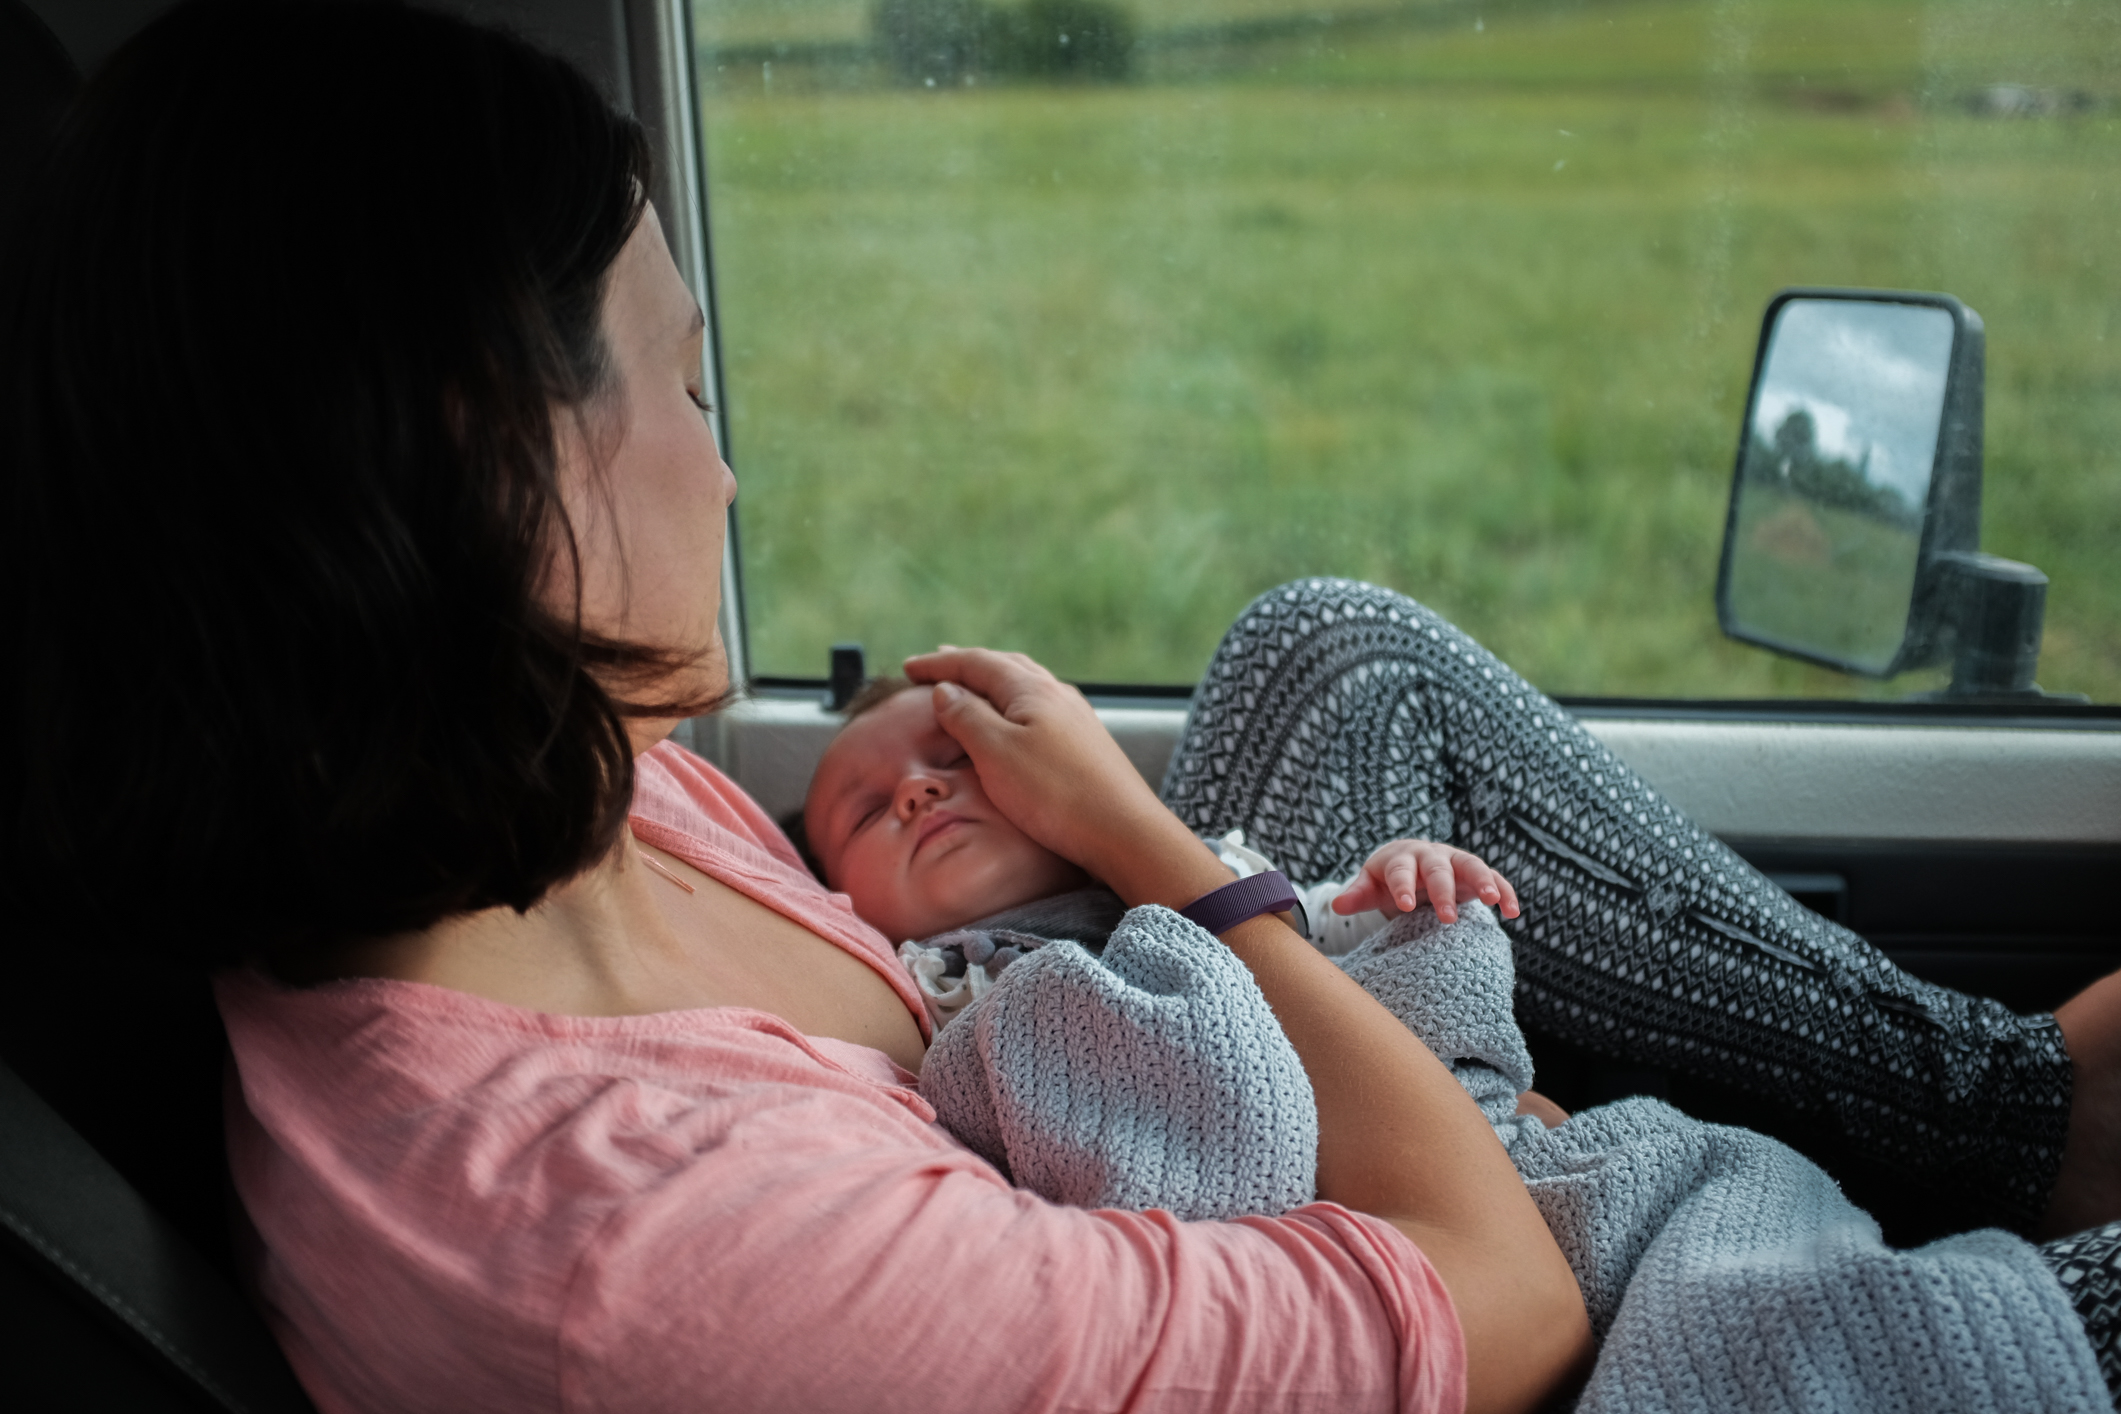
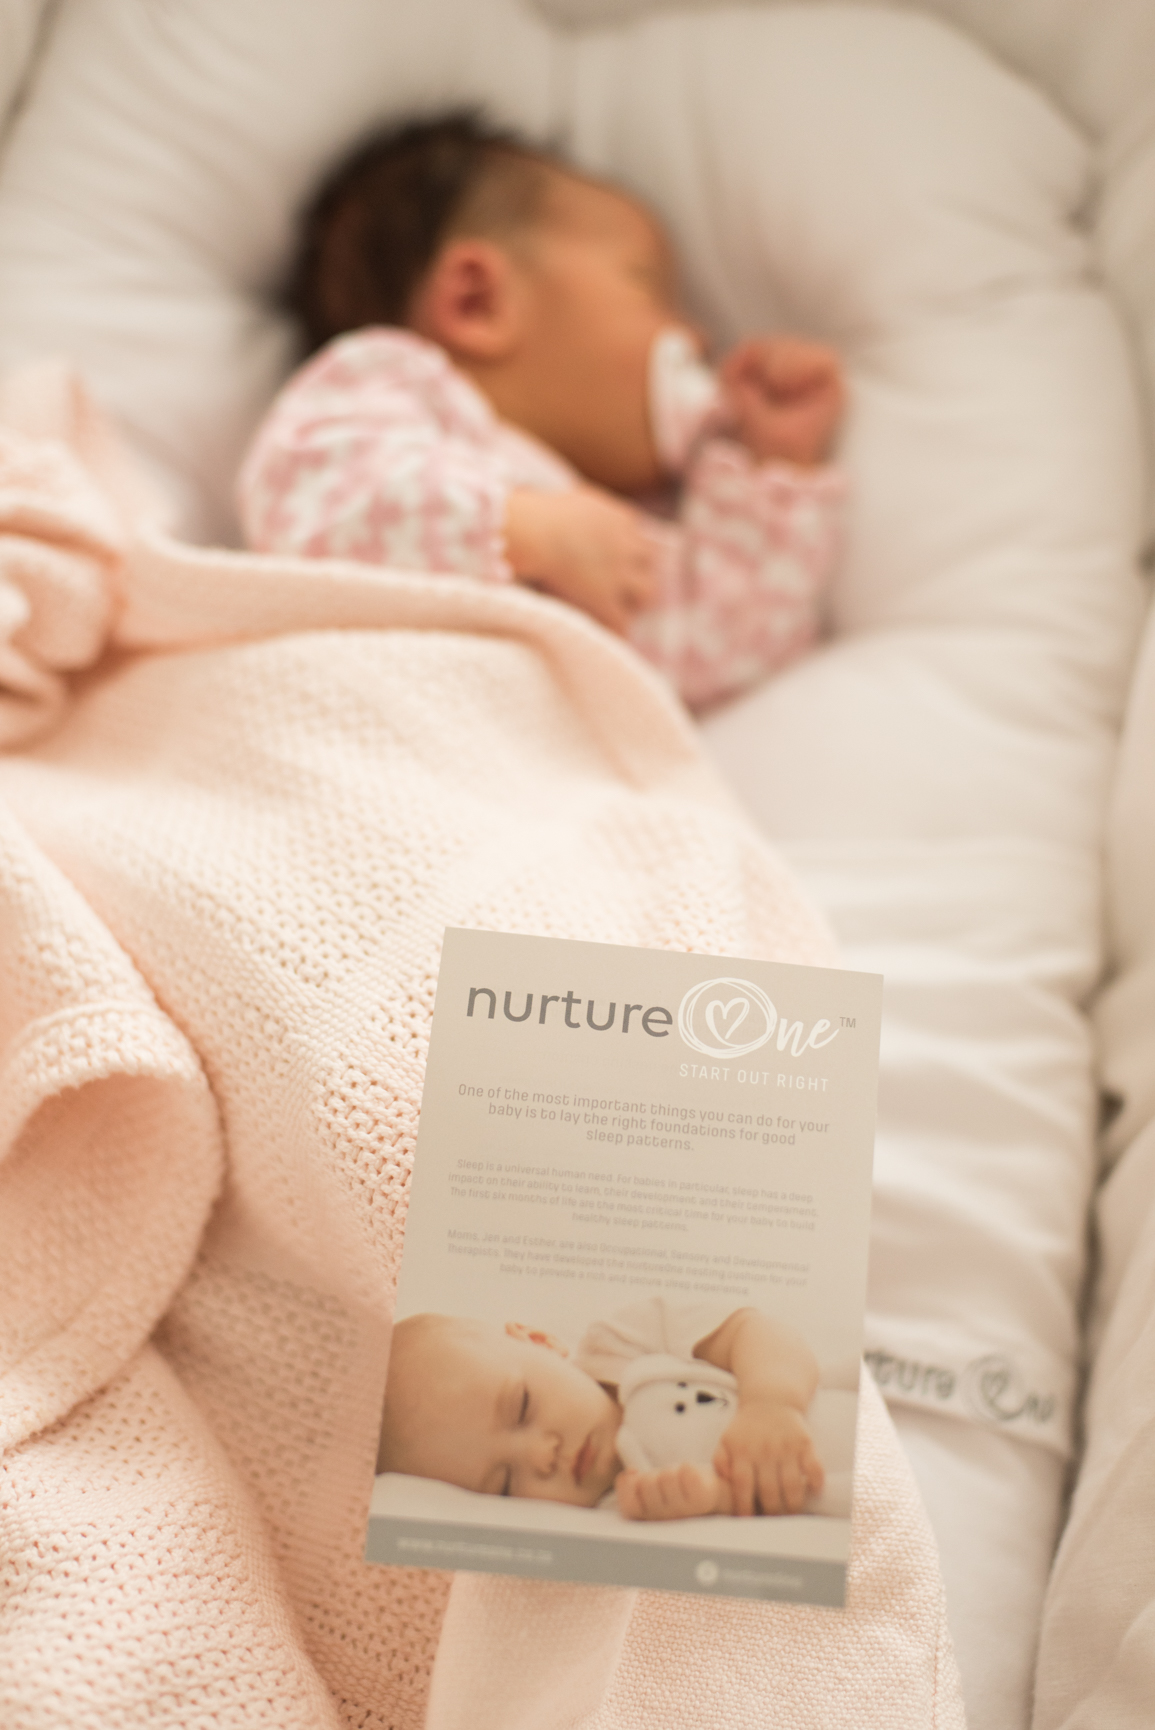
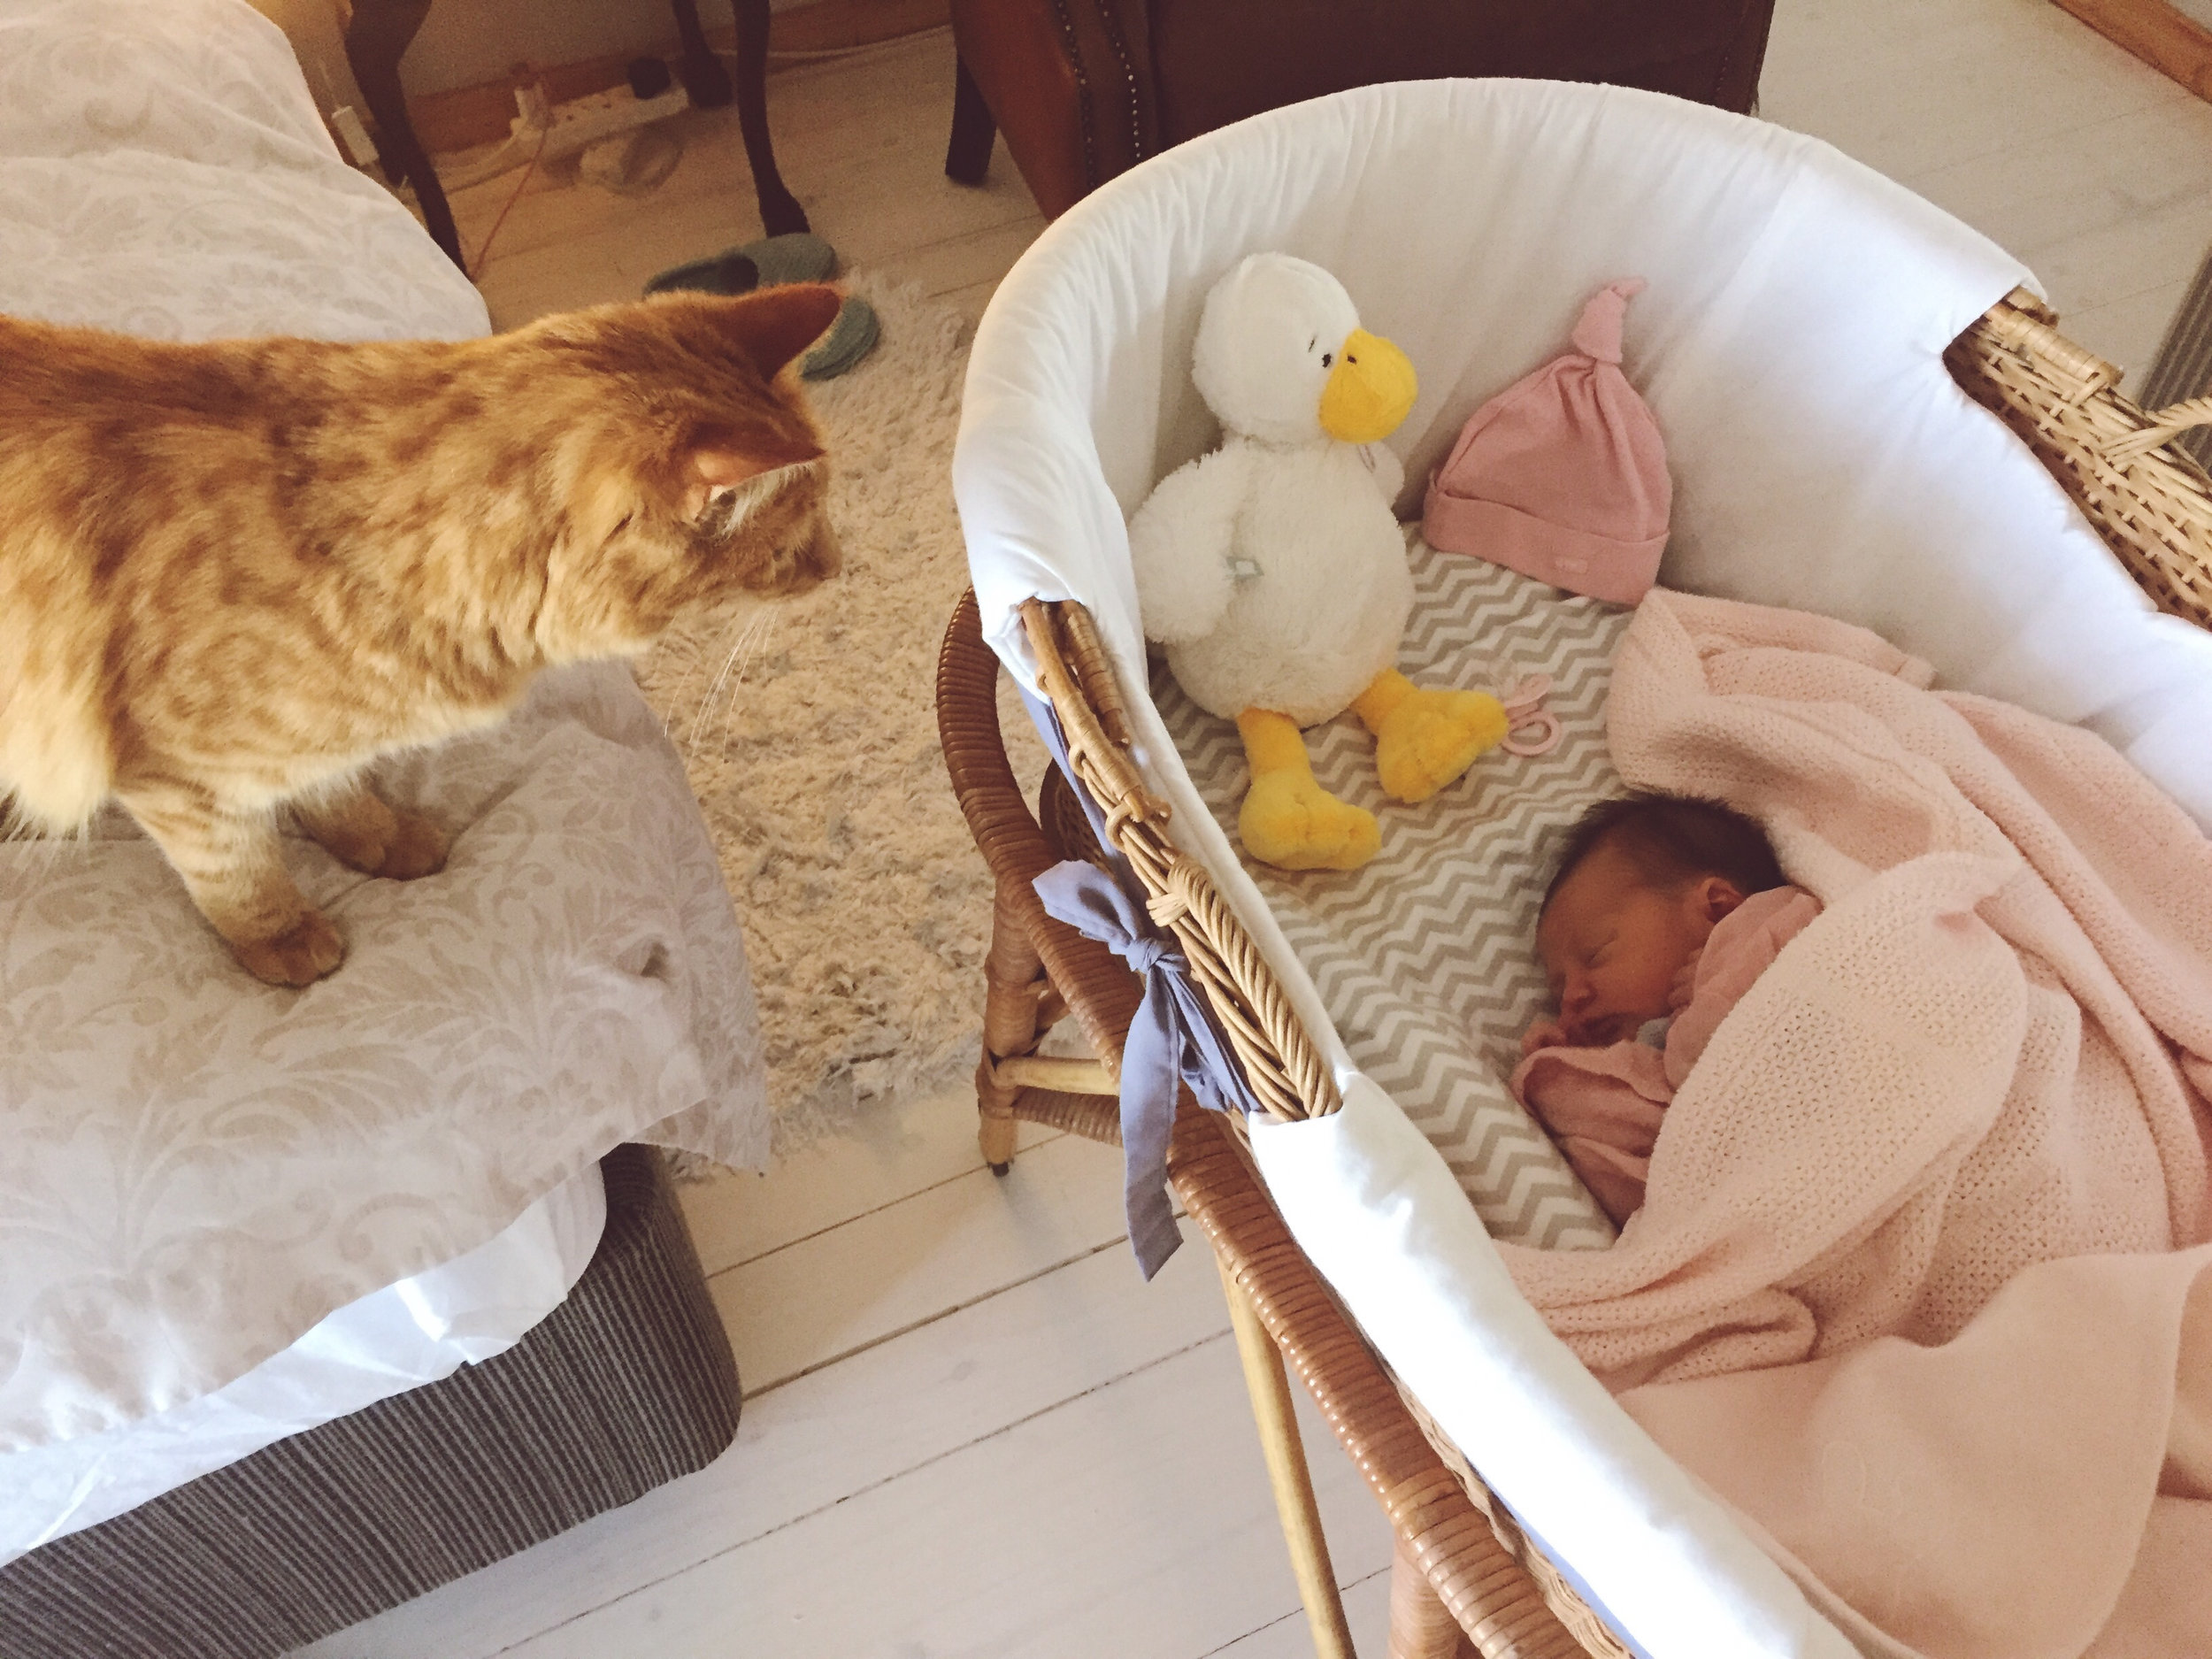
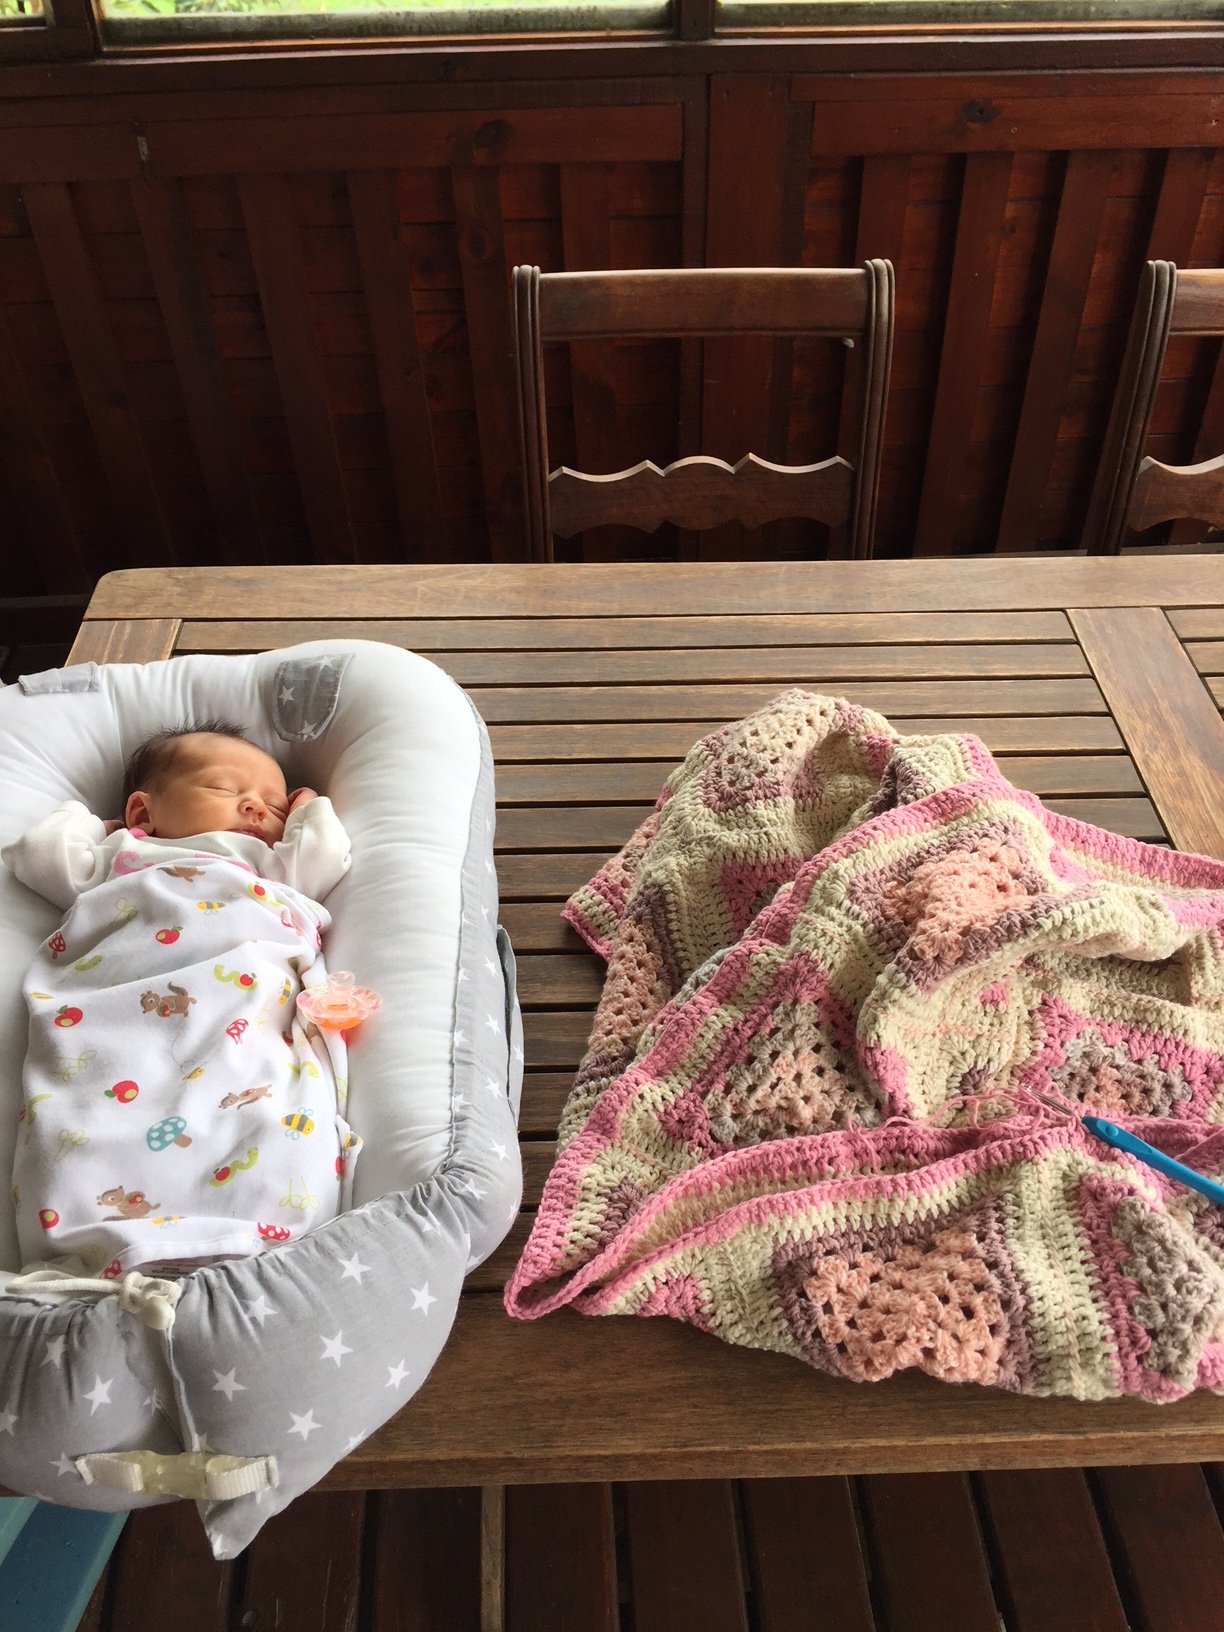
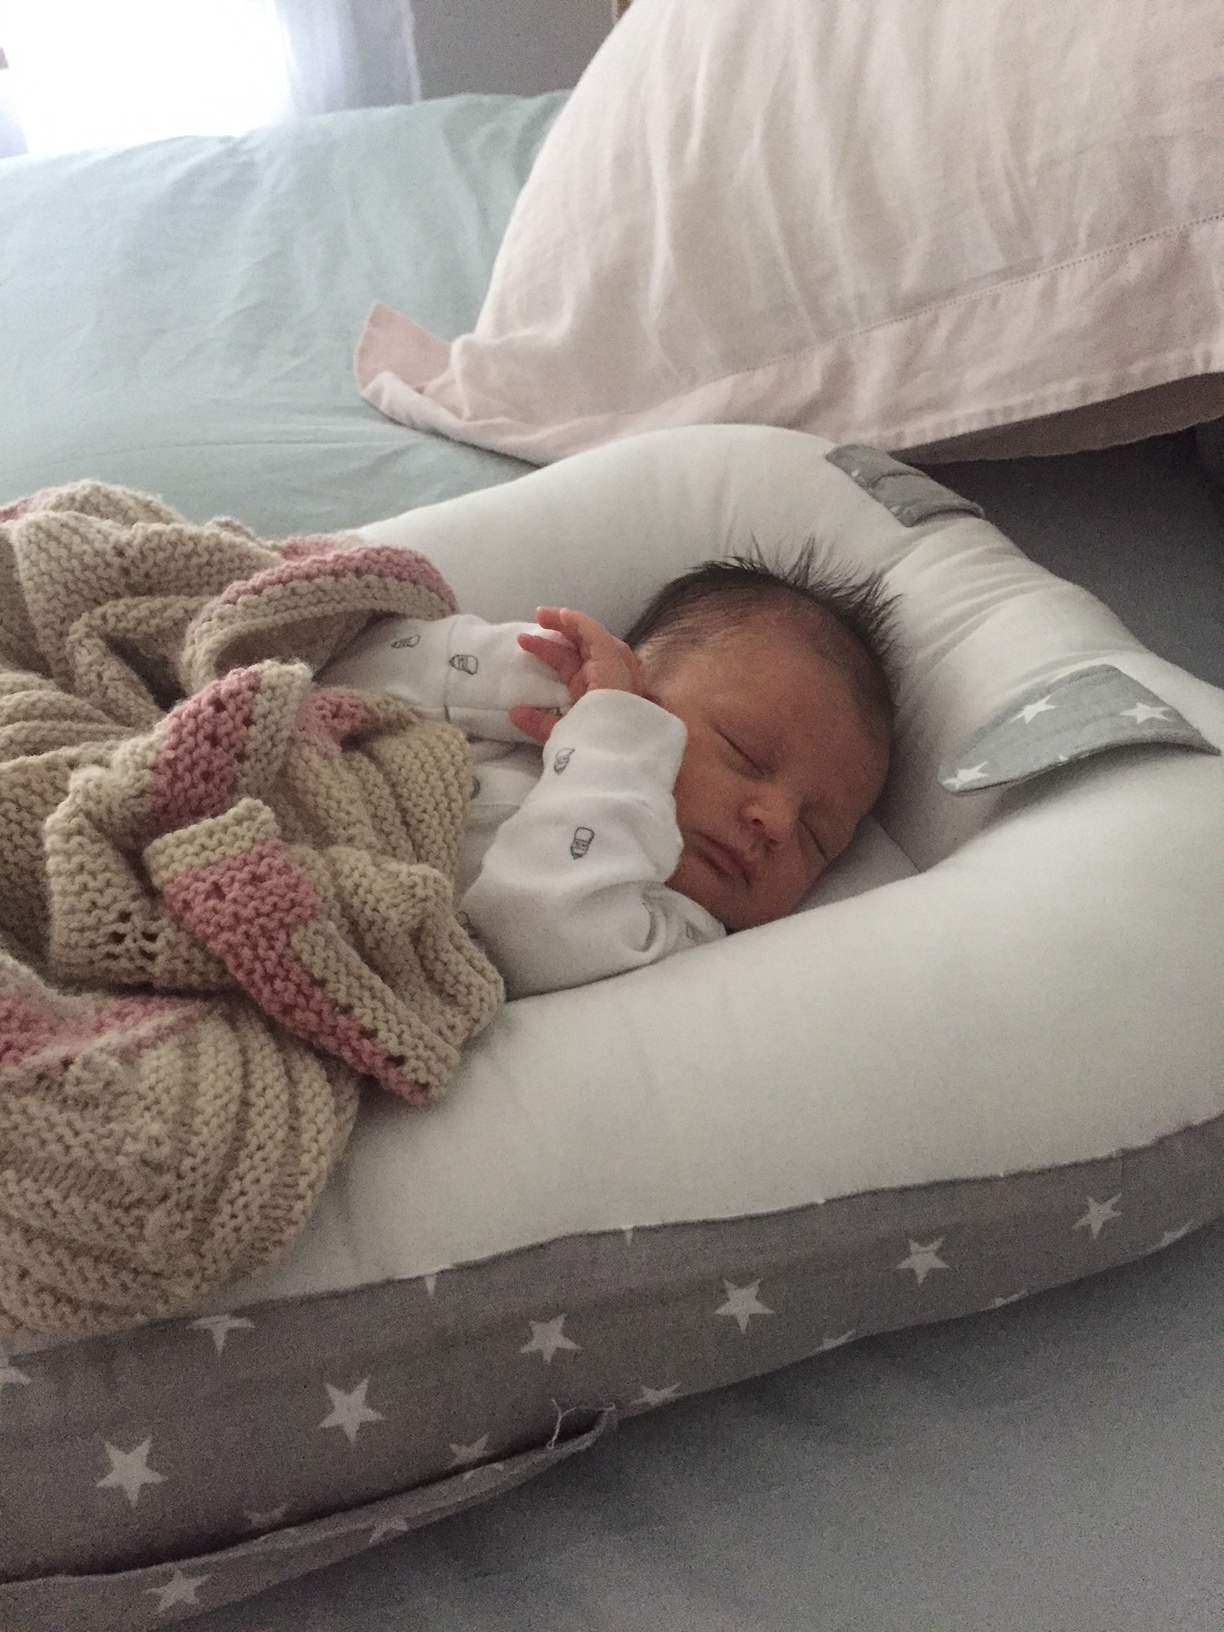
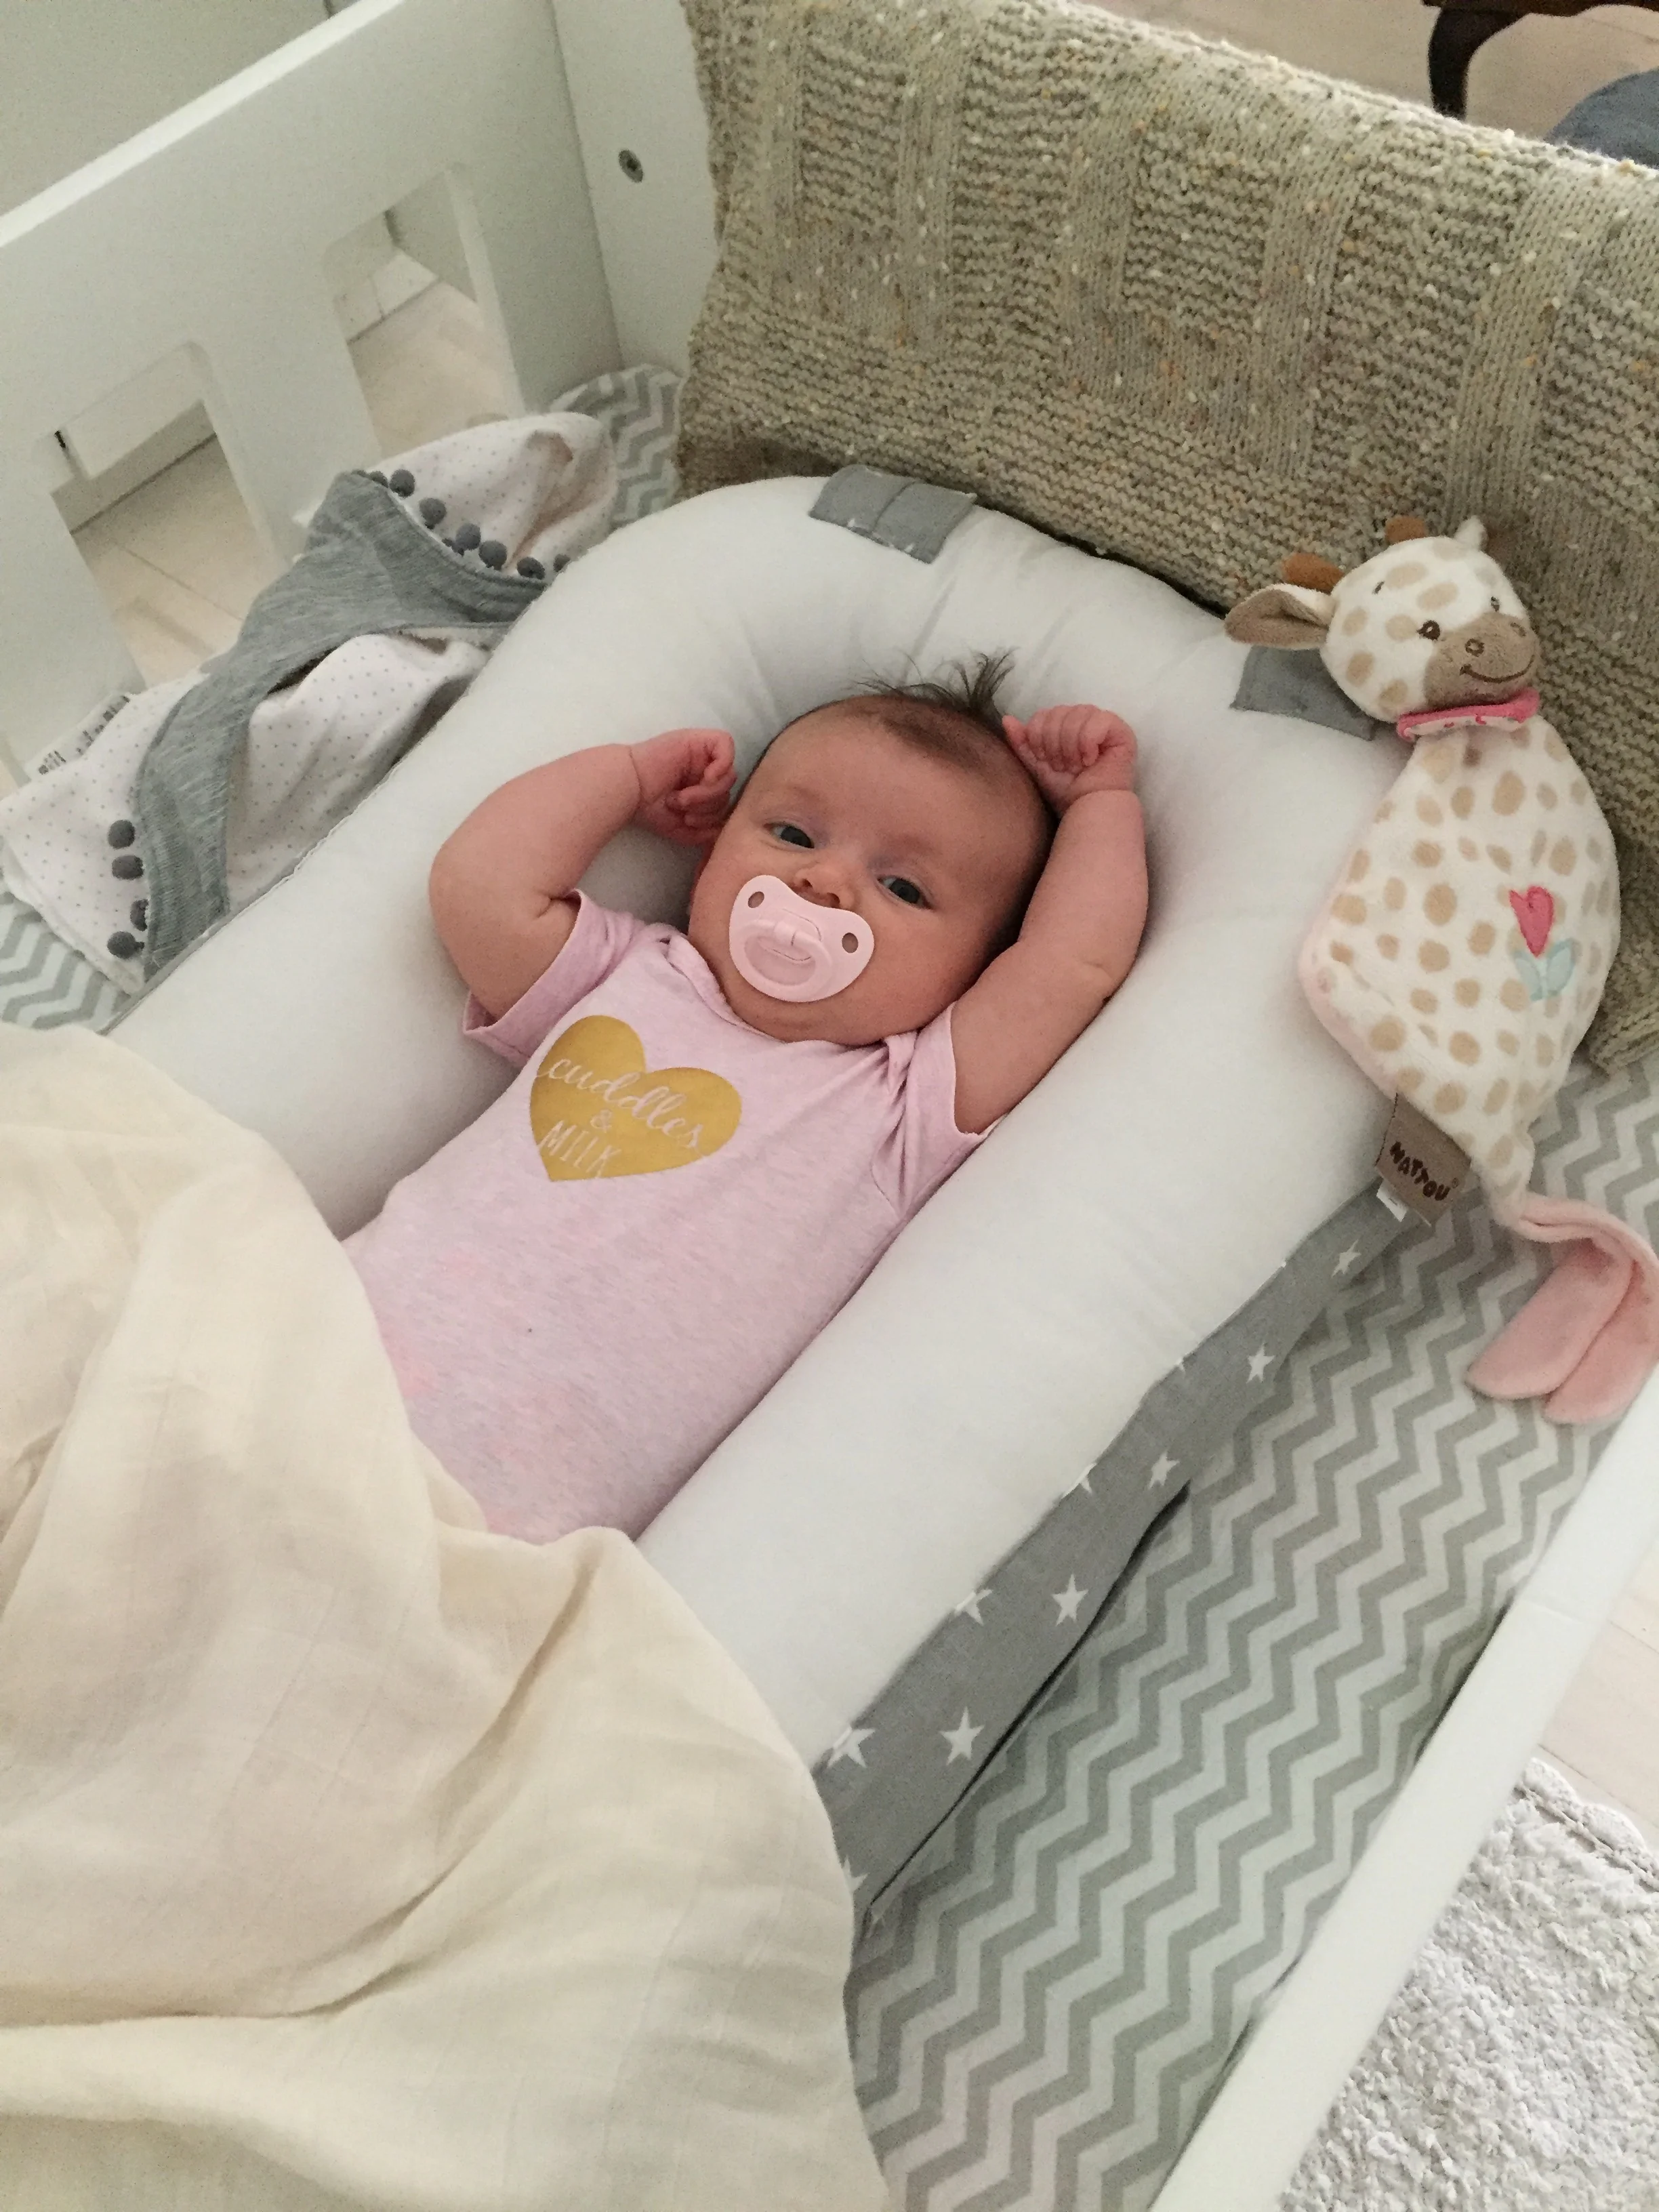
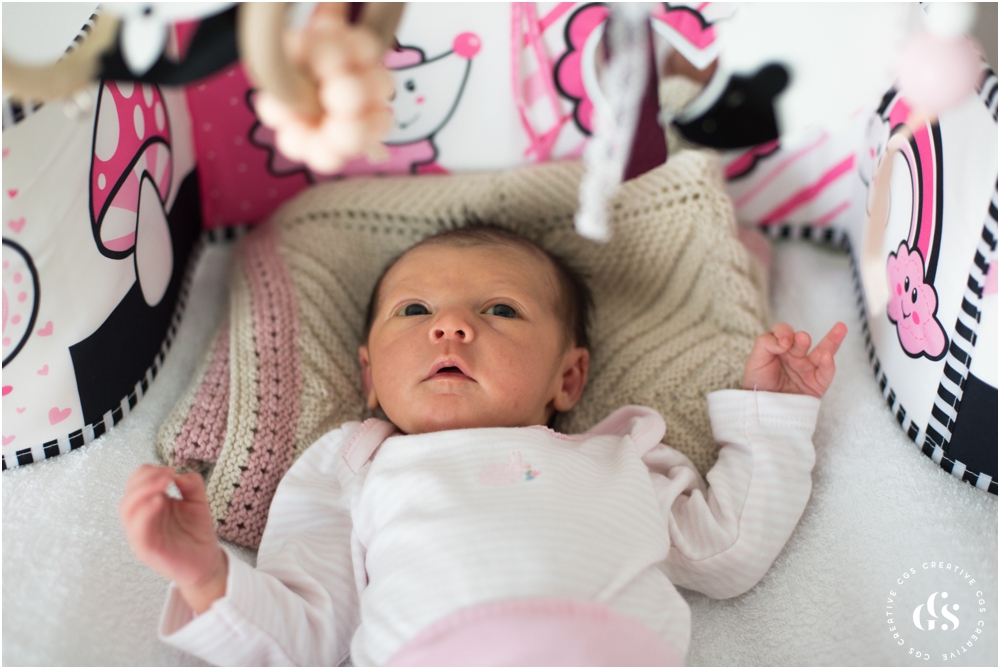
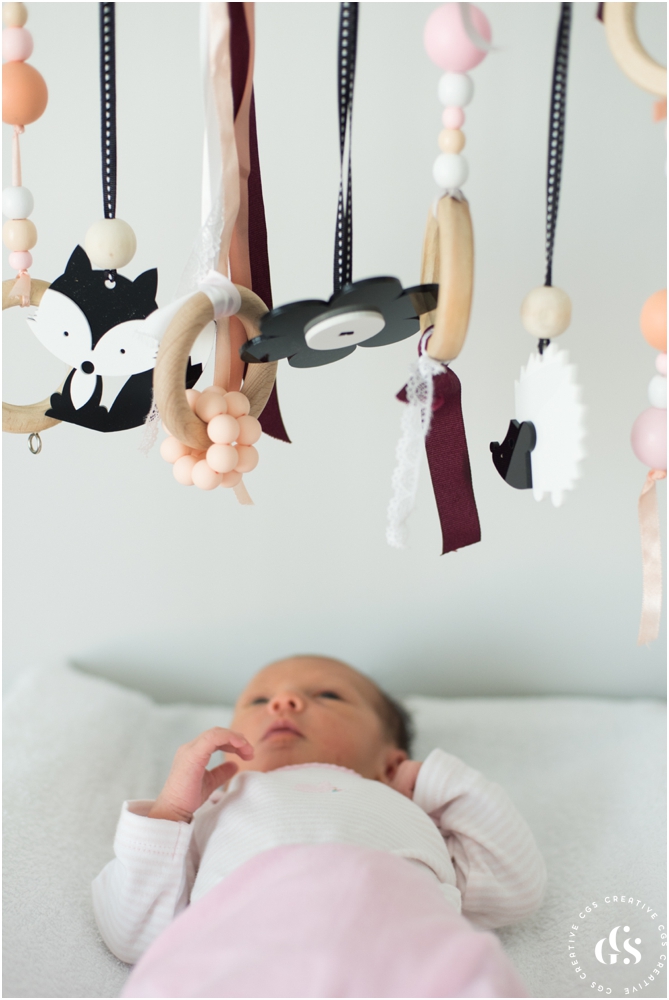
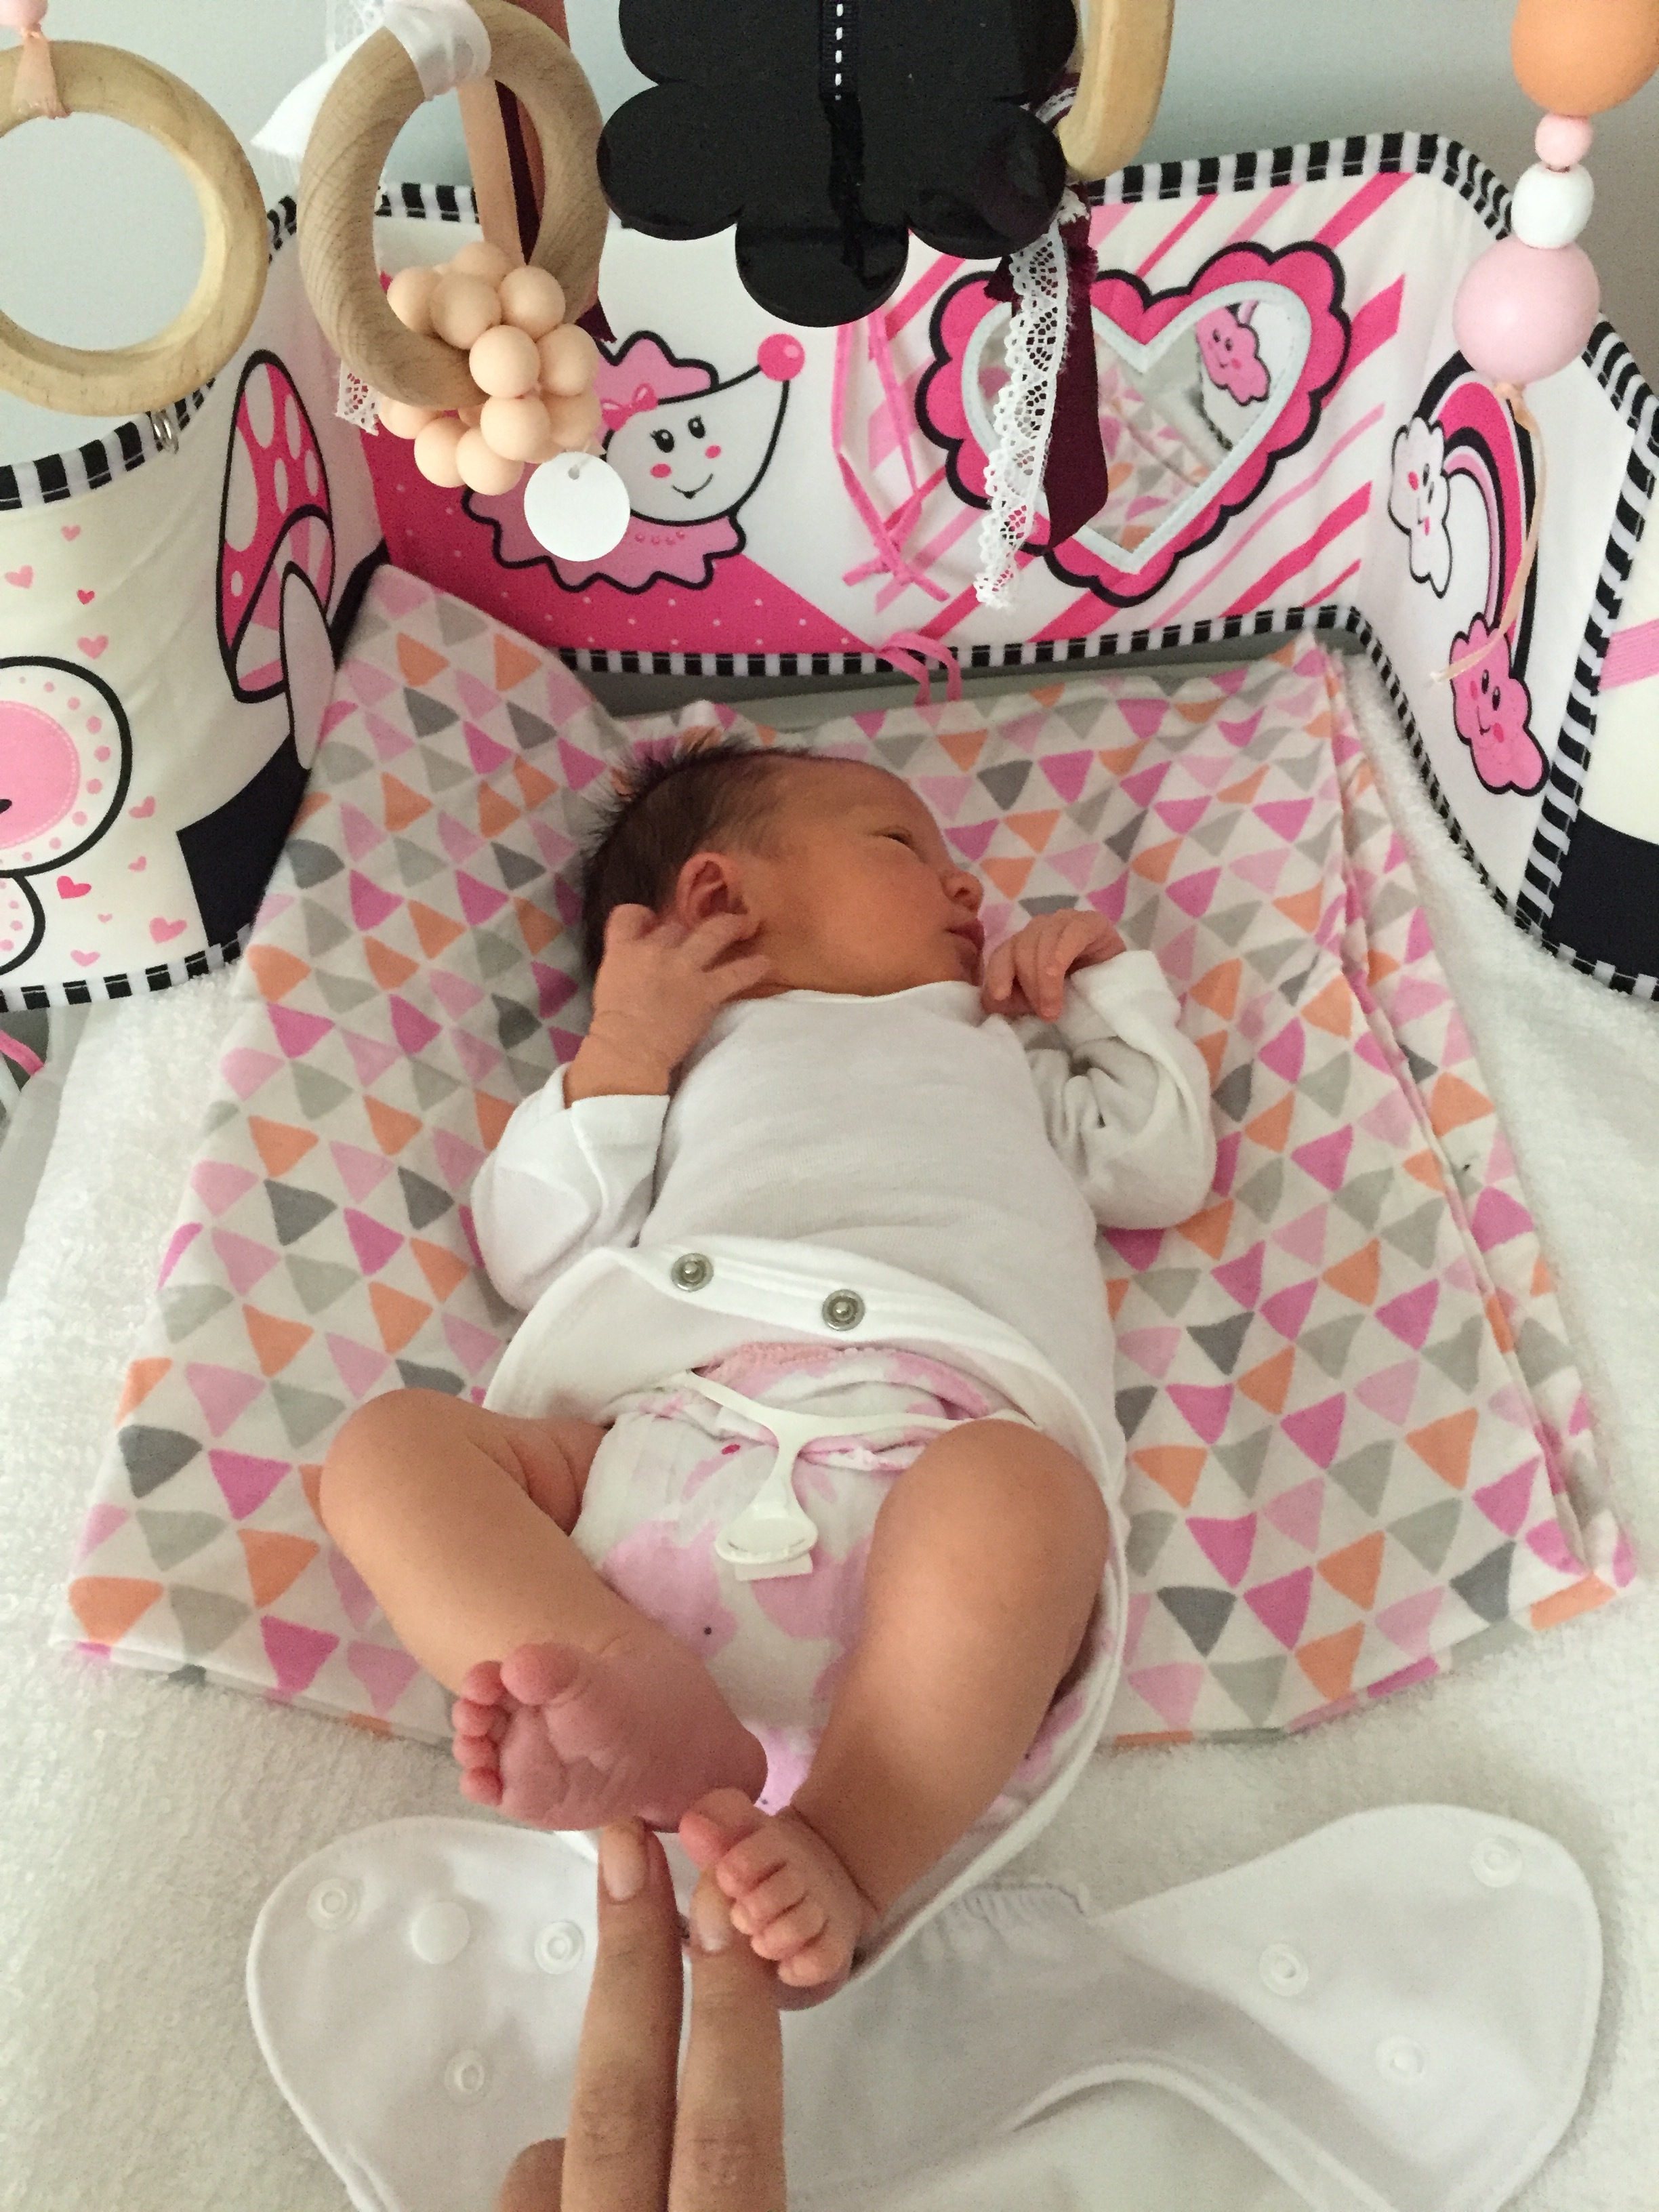
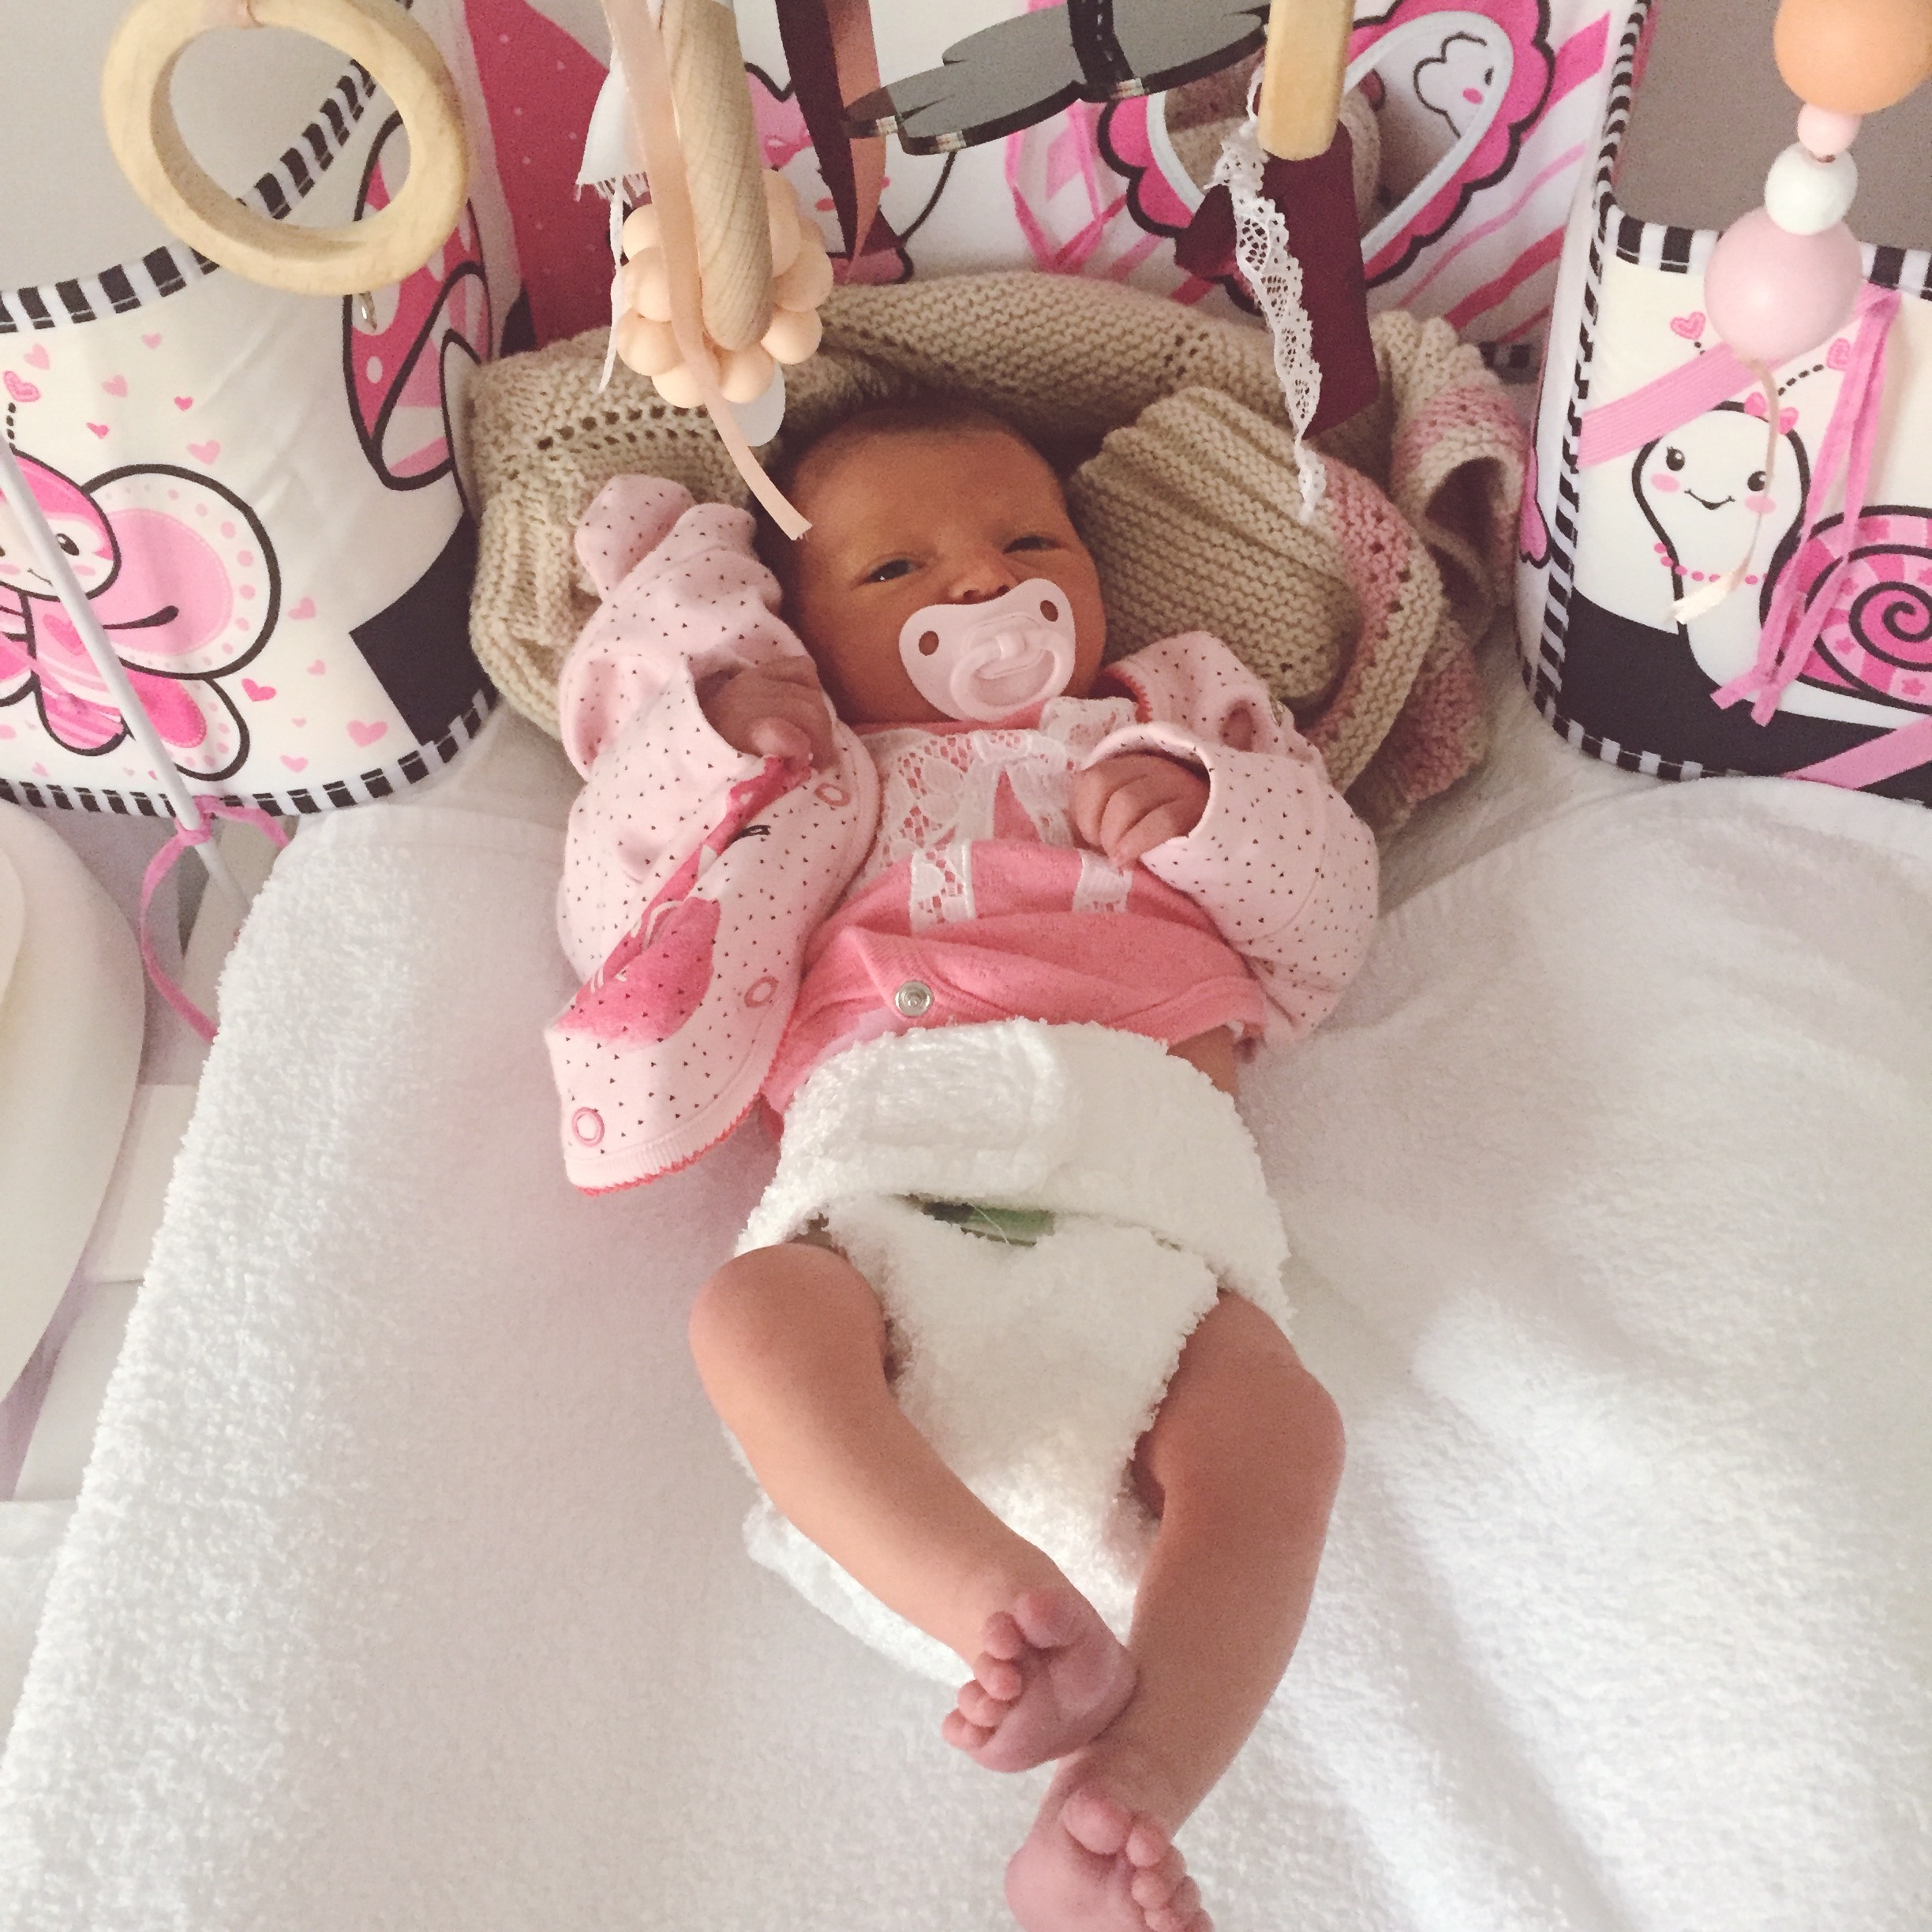
When I first started using cloth nappies on my little girl (she was born on the 5th September 2017) so a little over 8 months ago, I did extensive research...which meant I basically spent hours and hours trawling through the awesome South African Cloth Nappy Users Facebook group (click here to go check it out) during those sleepless nights during my pregnancy.

The vast majority of people recommended flats & covers for newborns, because you are able to fold the flats so that they PROPERLY contain all those runny newborn poosplosions. Plus you're able to get a nice tight fit on those teeny tiny legs, unlike the other nappies which work better once baby is a bit older. I took their advice and started putting together a varied stash of nappies (another great tip is to buy a few different kinds of nappies from different sellers so that you can work out which ones suit you and your baby best).

Click below to read my post all about cloth nappies and newborn babies.

As I enjoy a challenge, I knew that I wasn't scared of the whole 'folding' thing, and, again, because I enjoy a challenge, I set about making my own flat nappies (with the help of my mom!) because I wanted to show people that cloth nappies really don't have to be expensive. You can make it work on a very tight budget, it just takes a bit more time and effort.

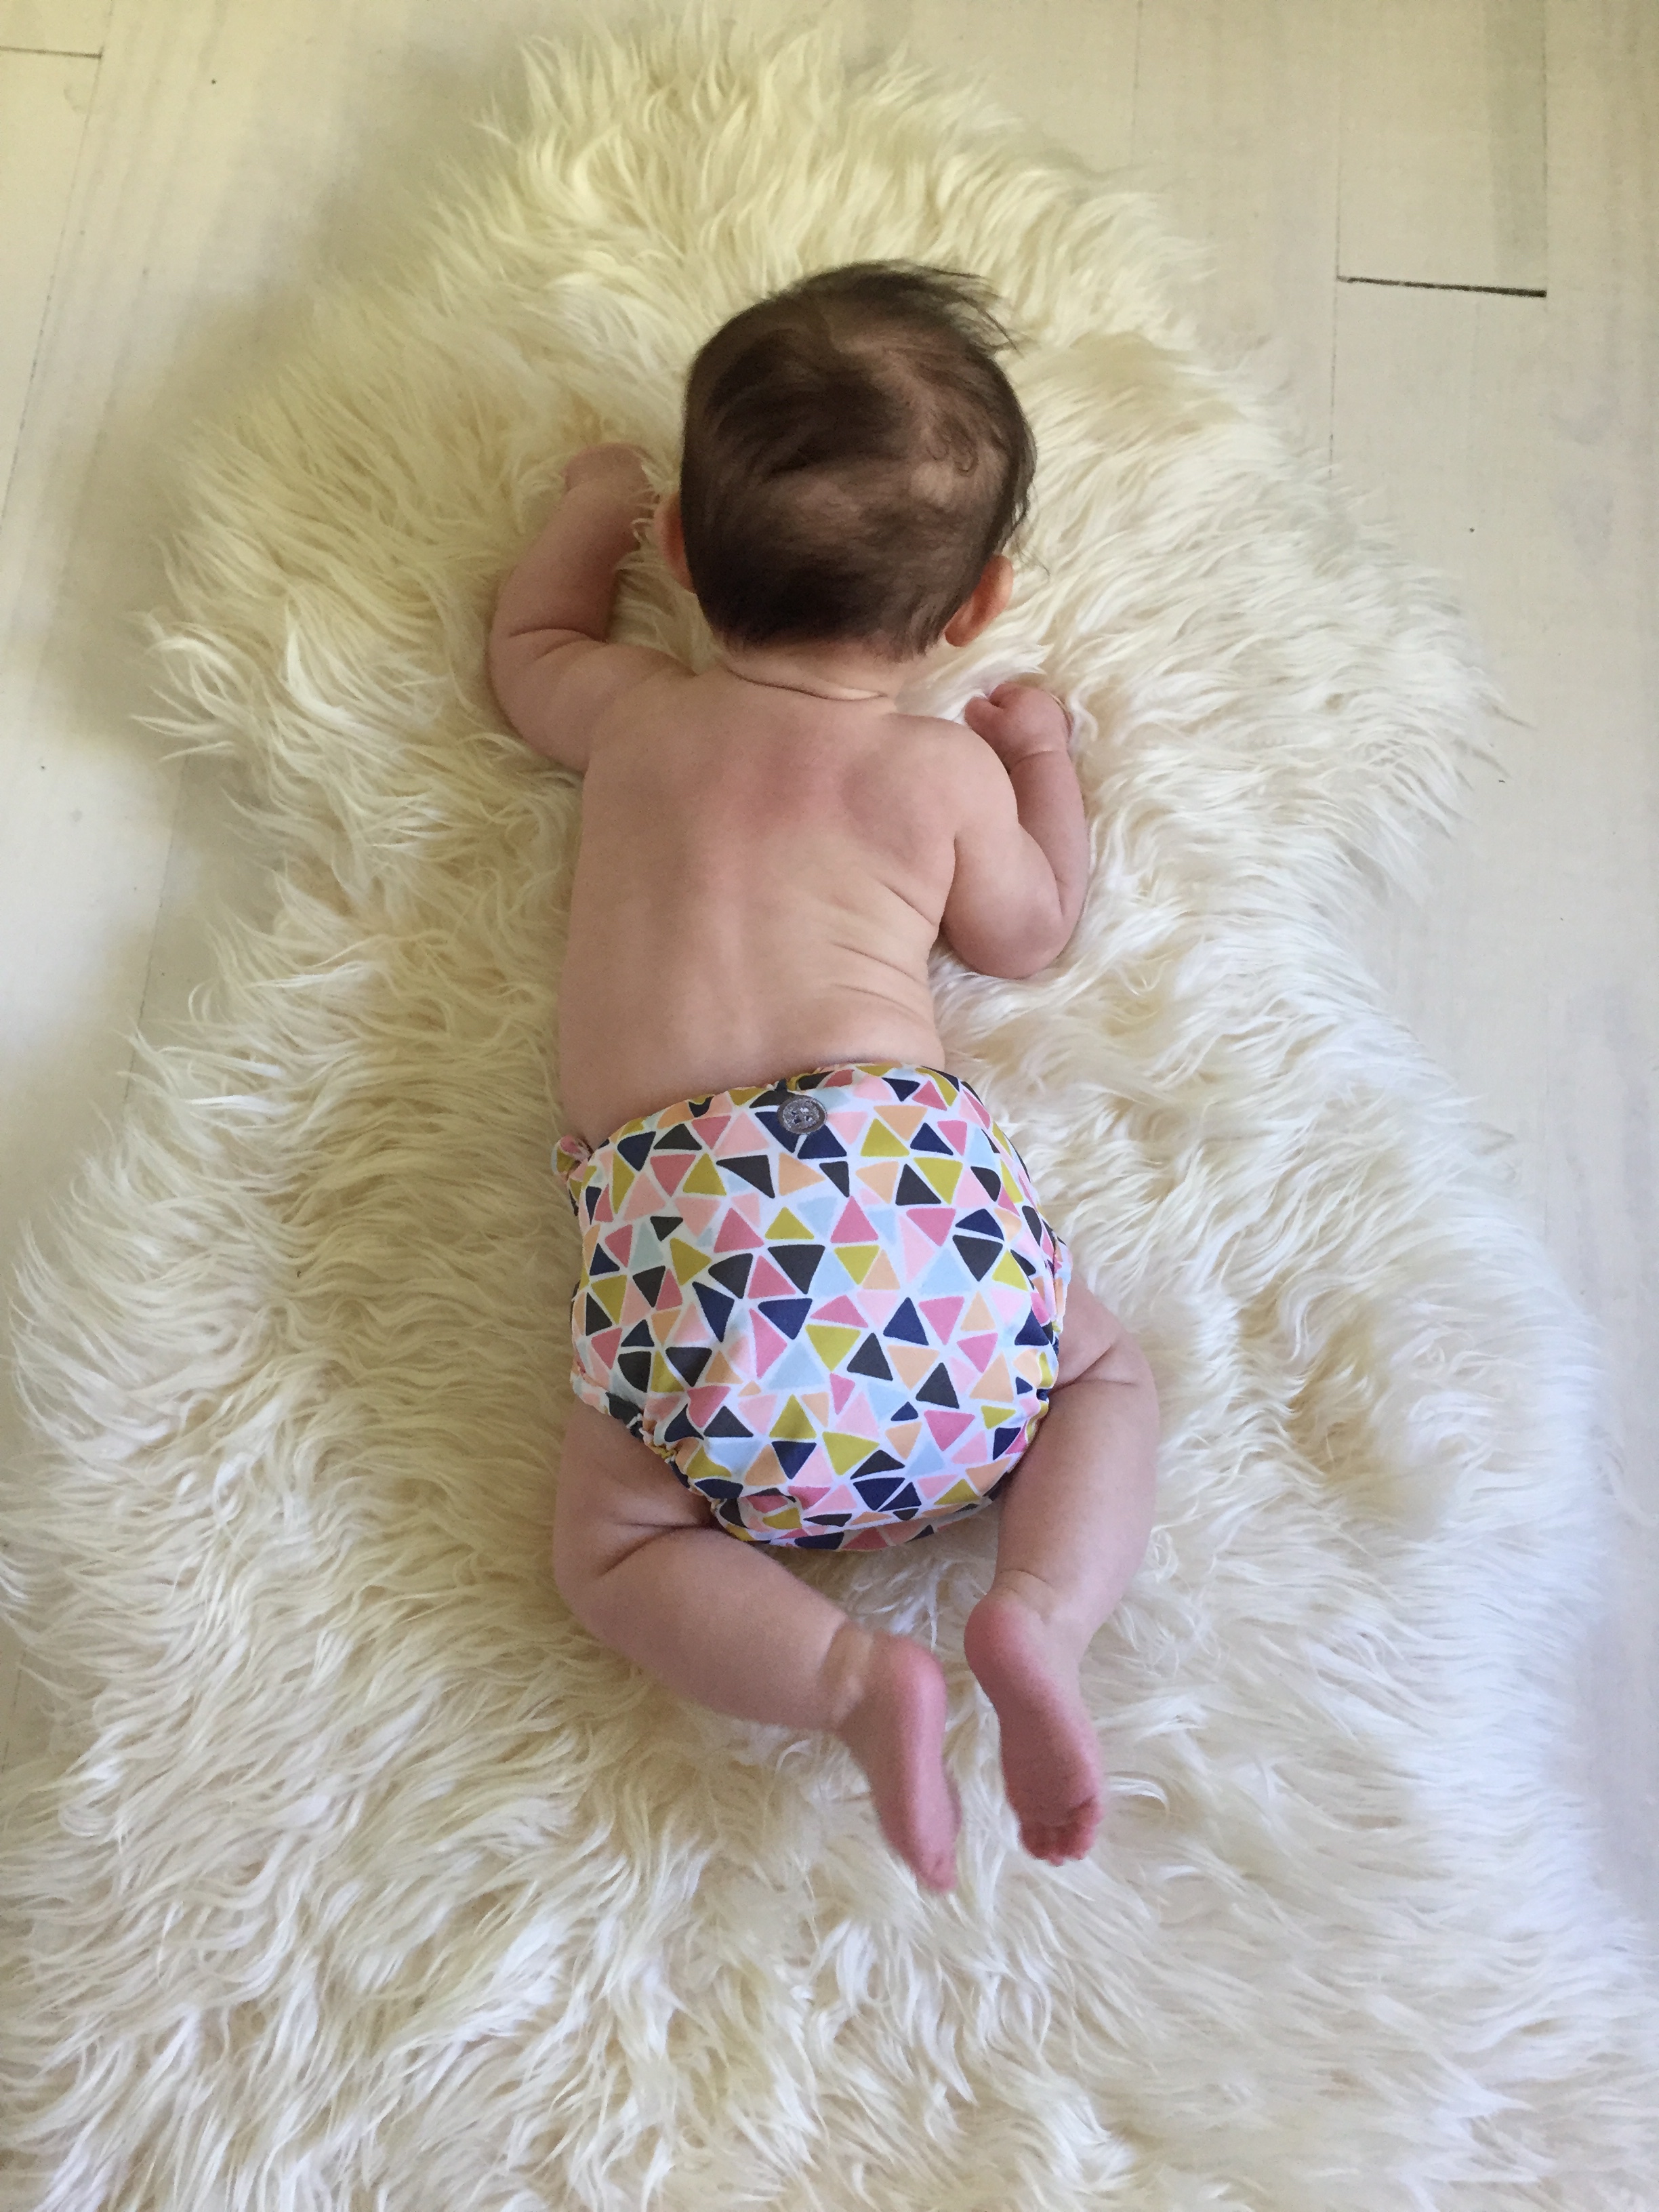
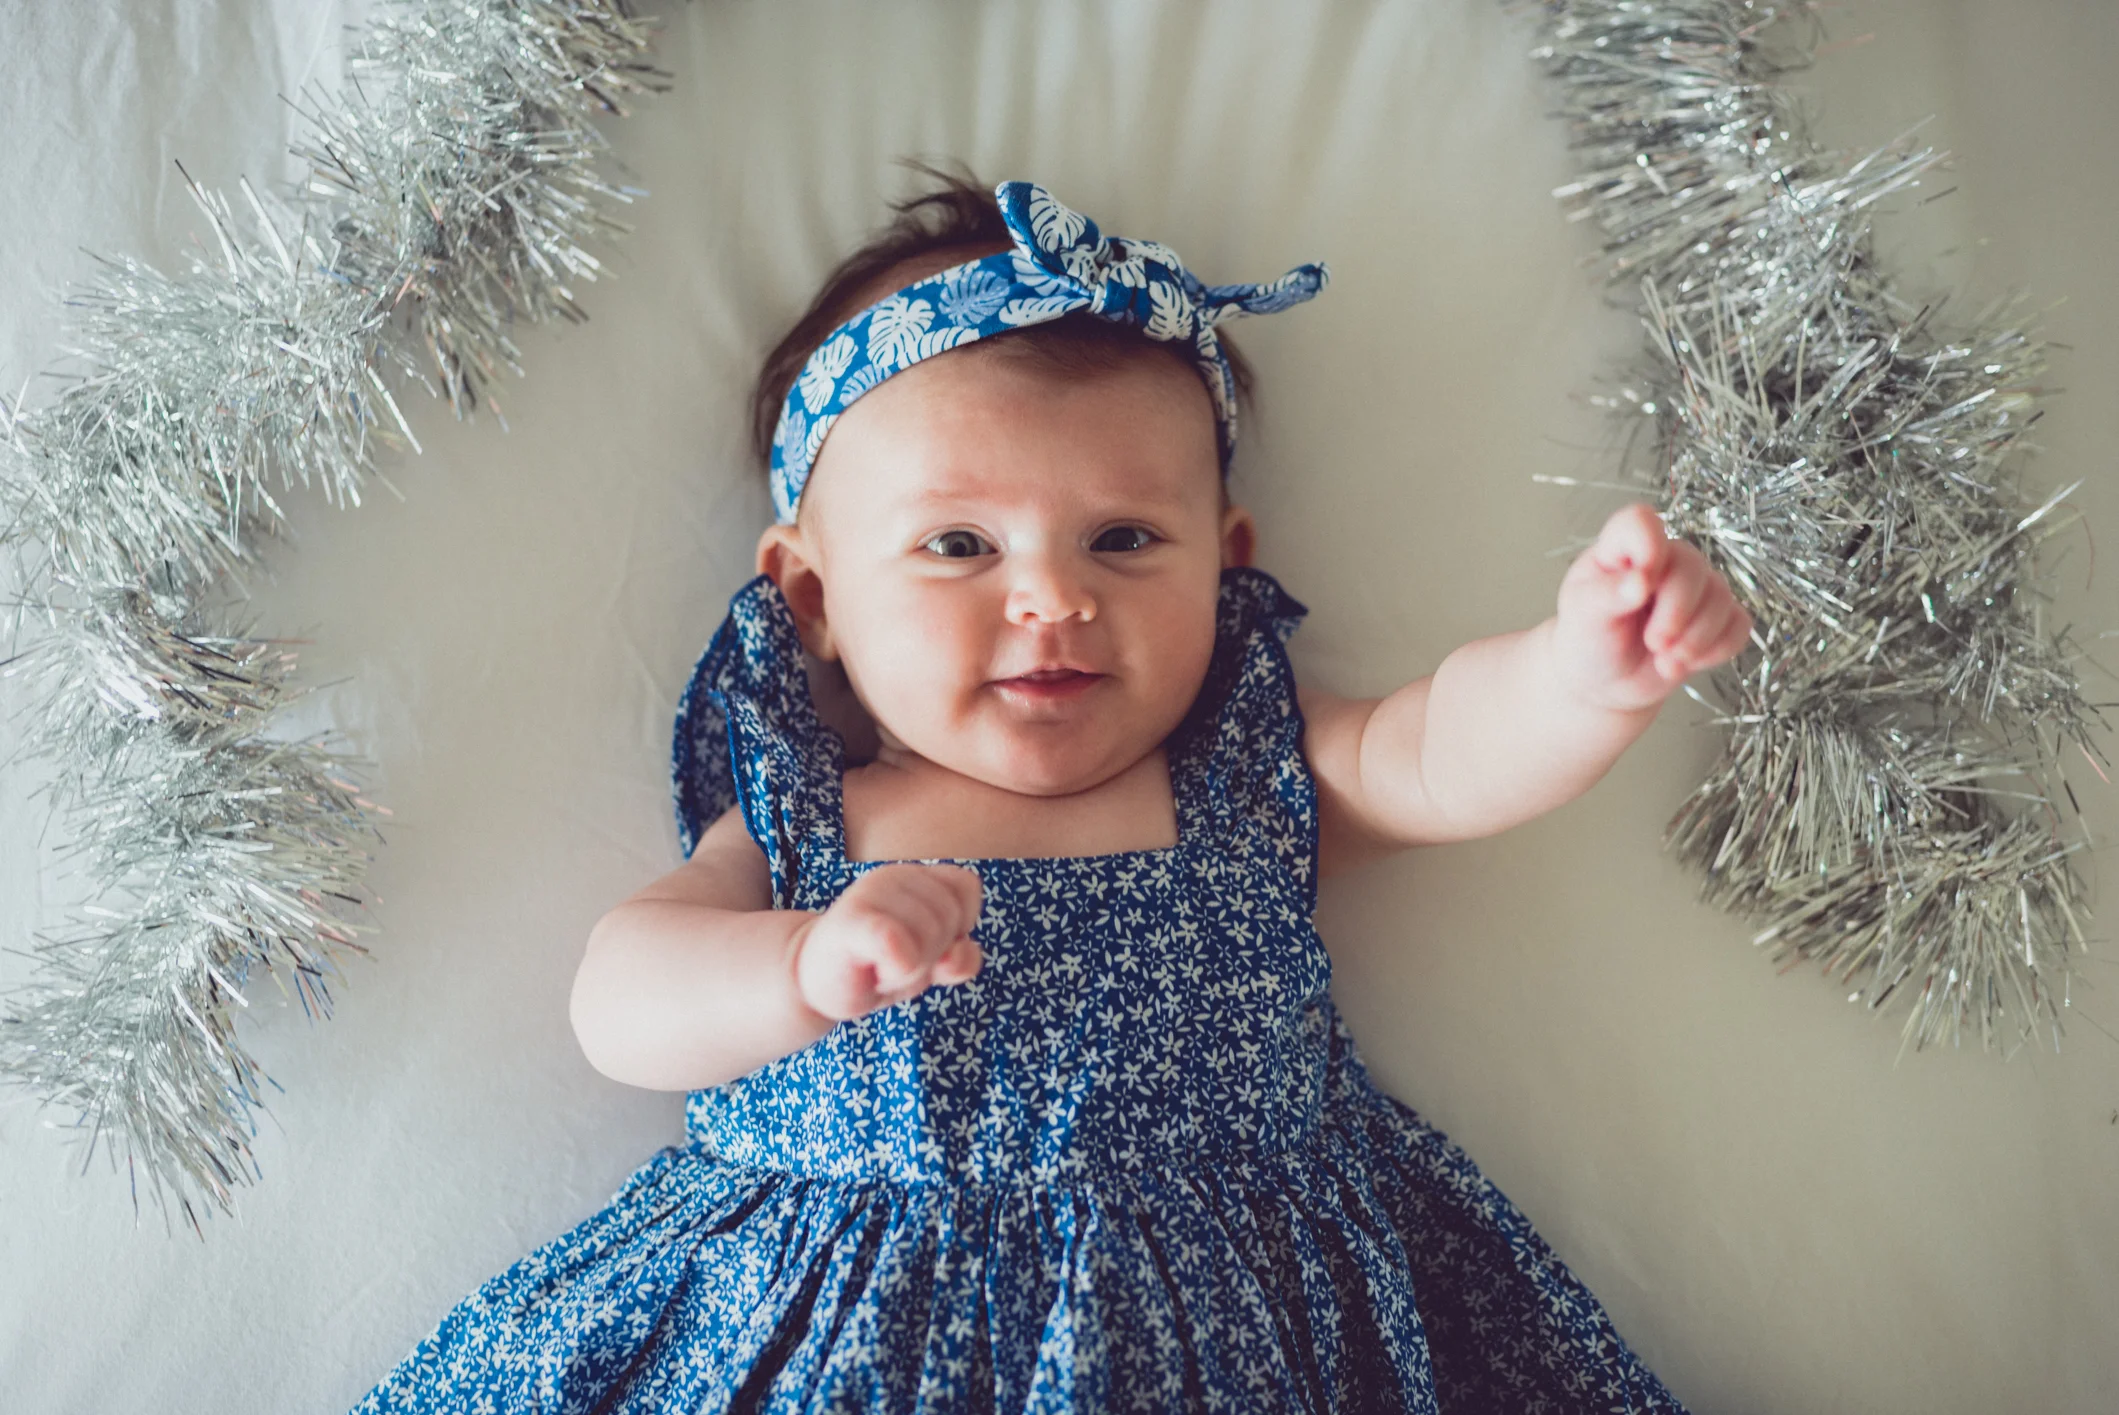
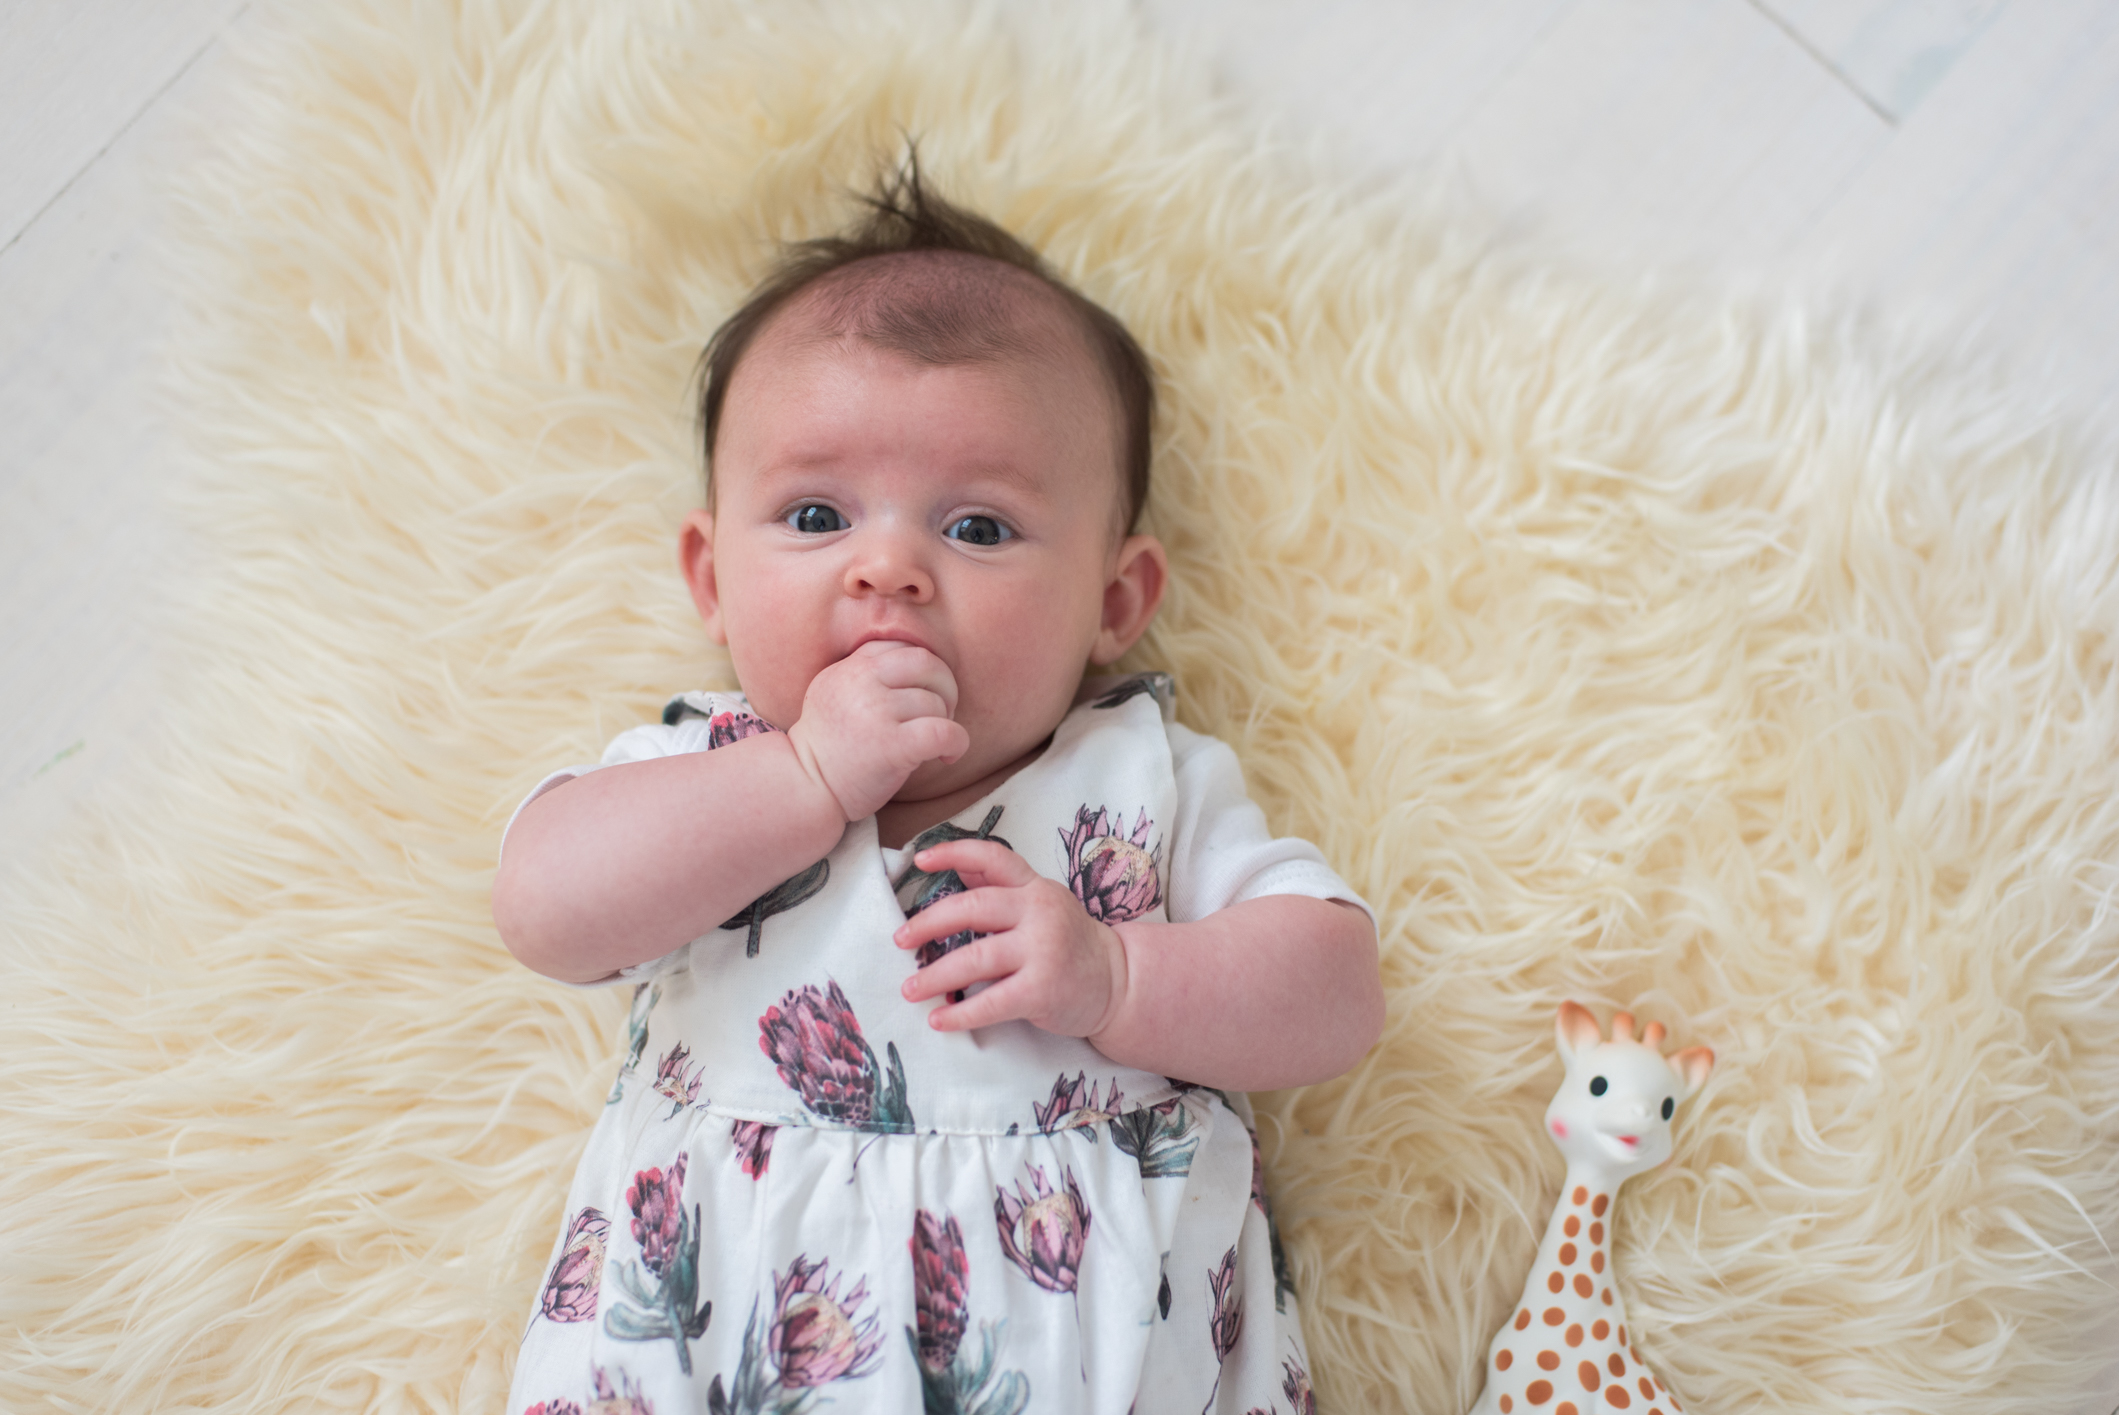
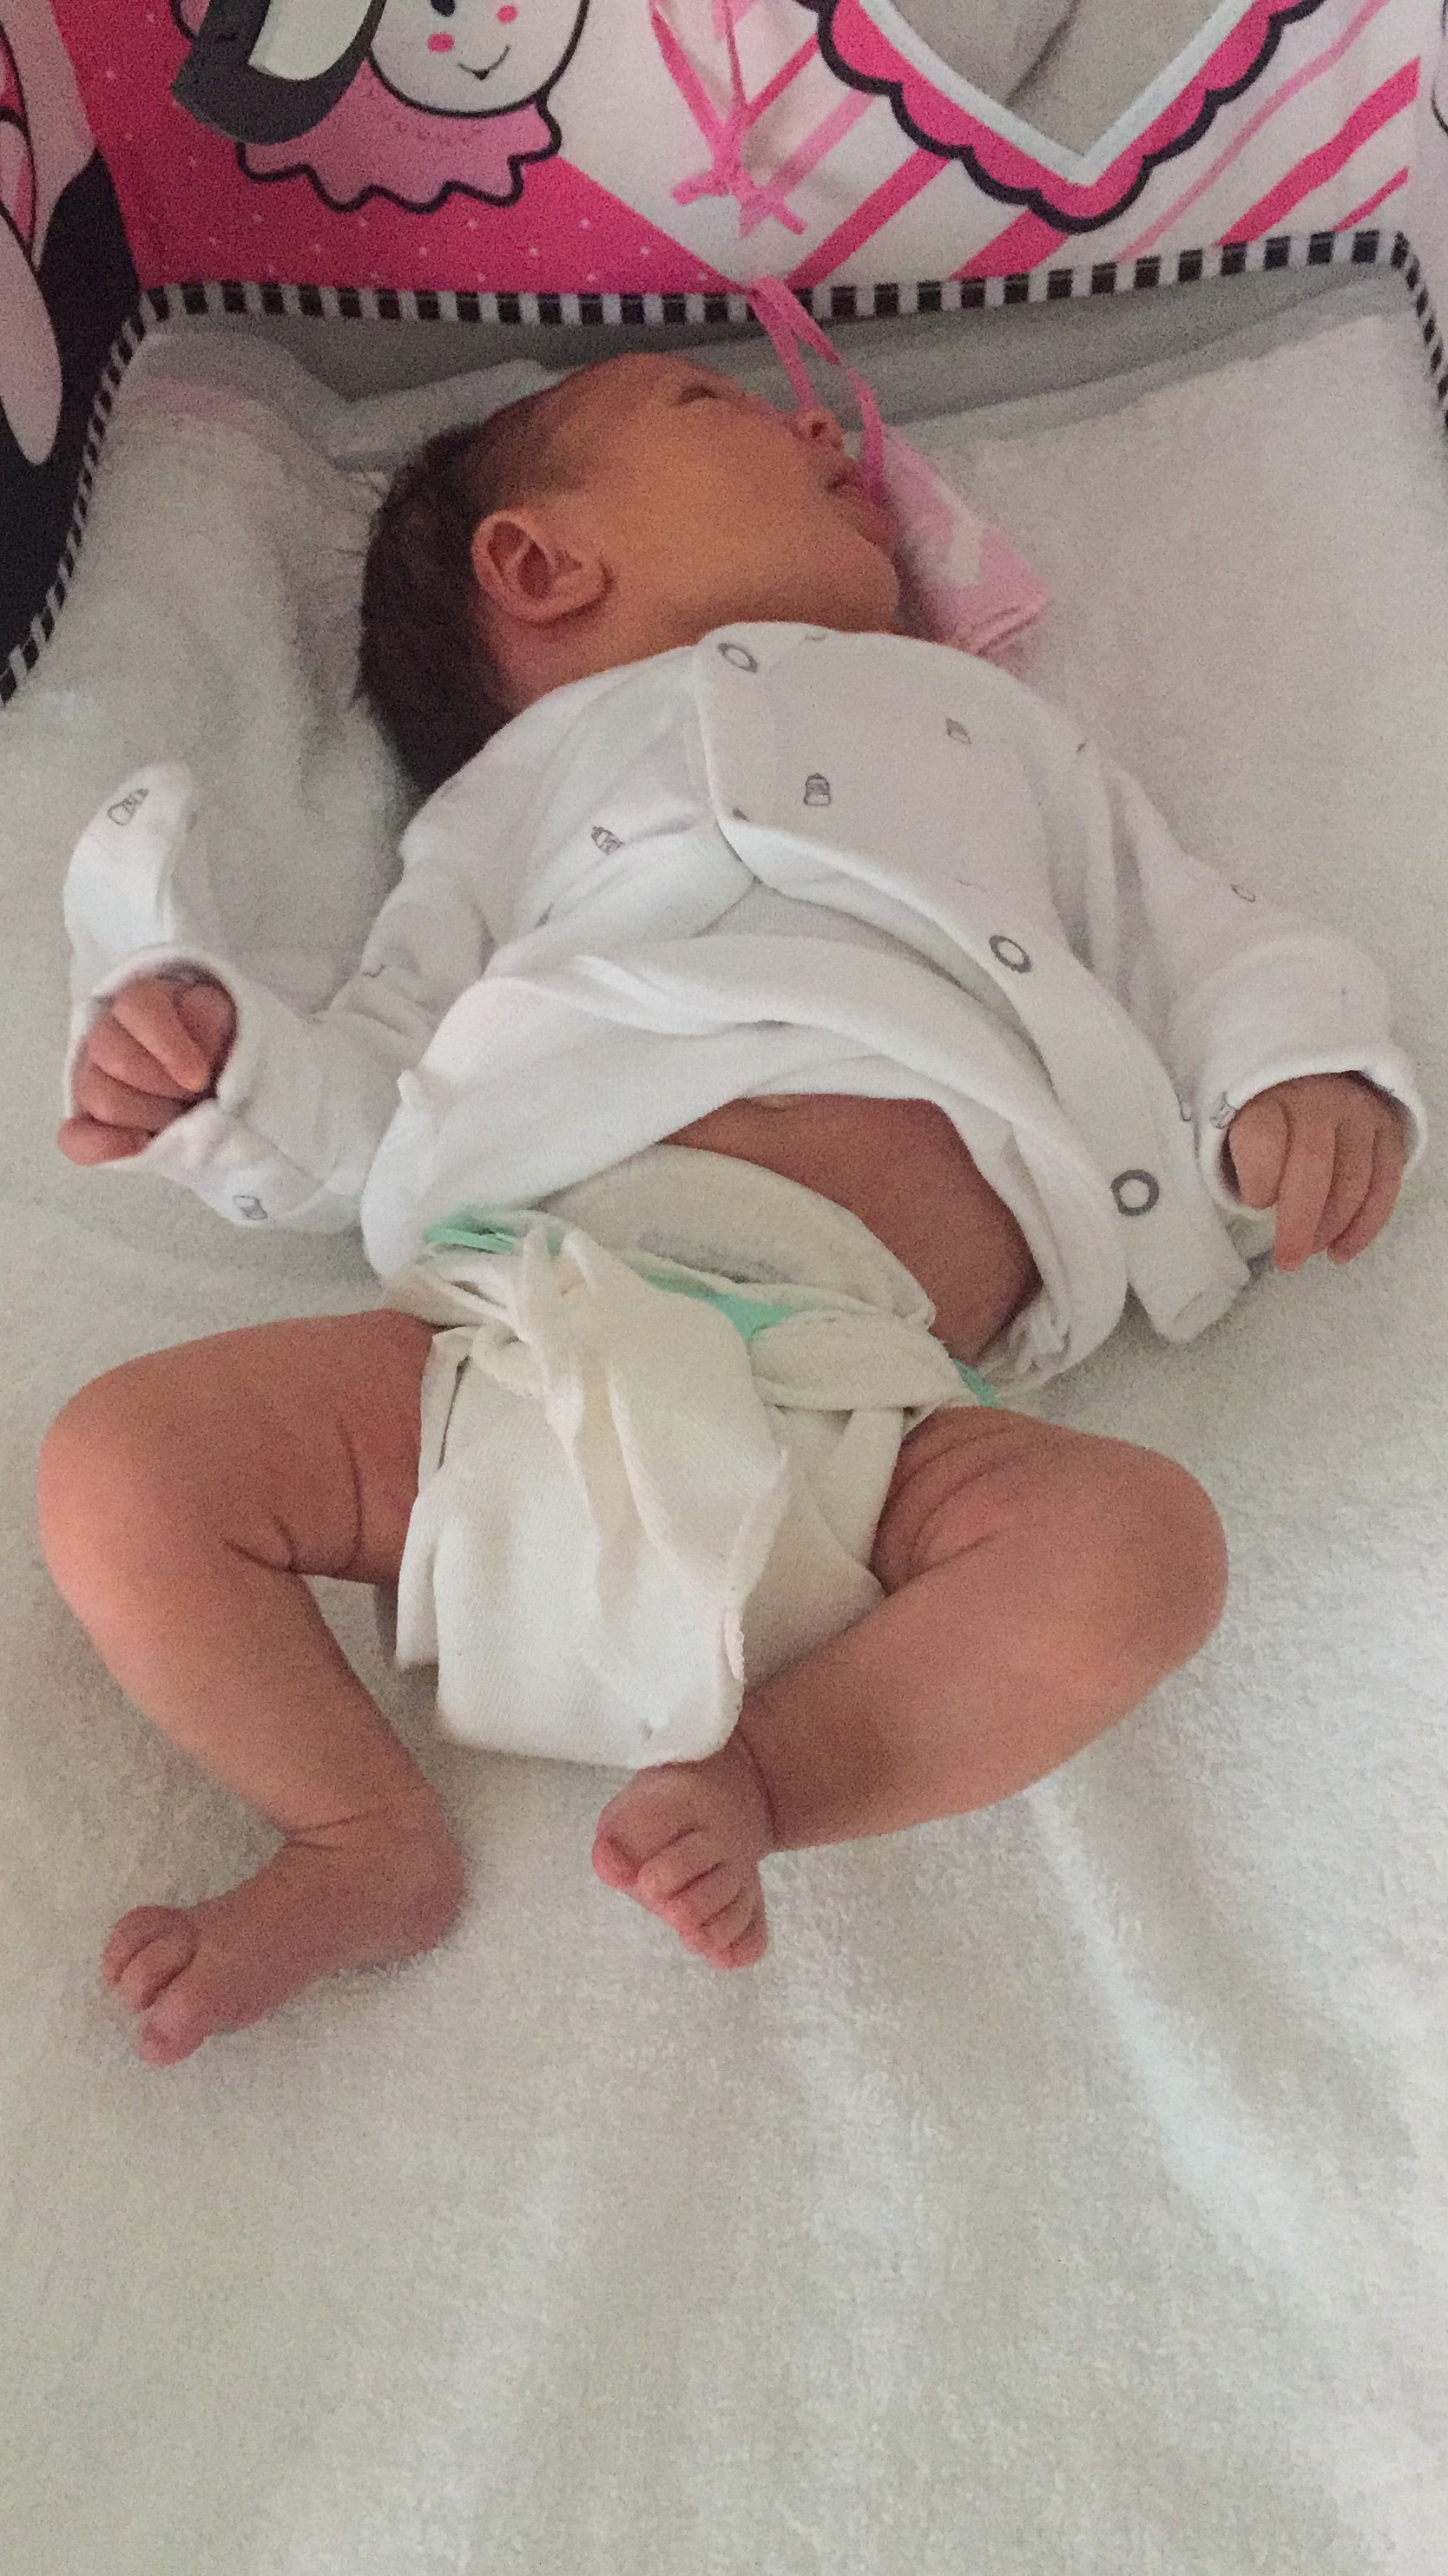
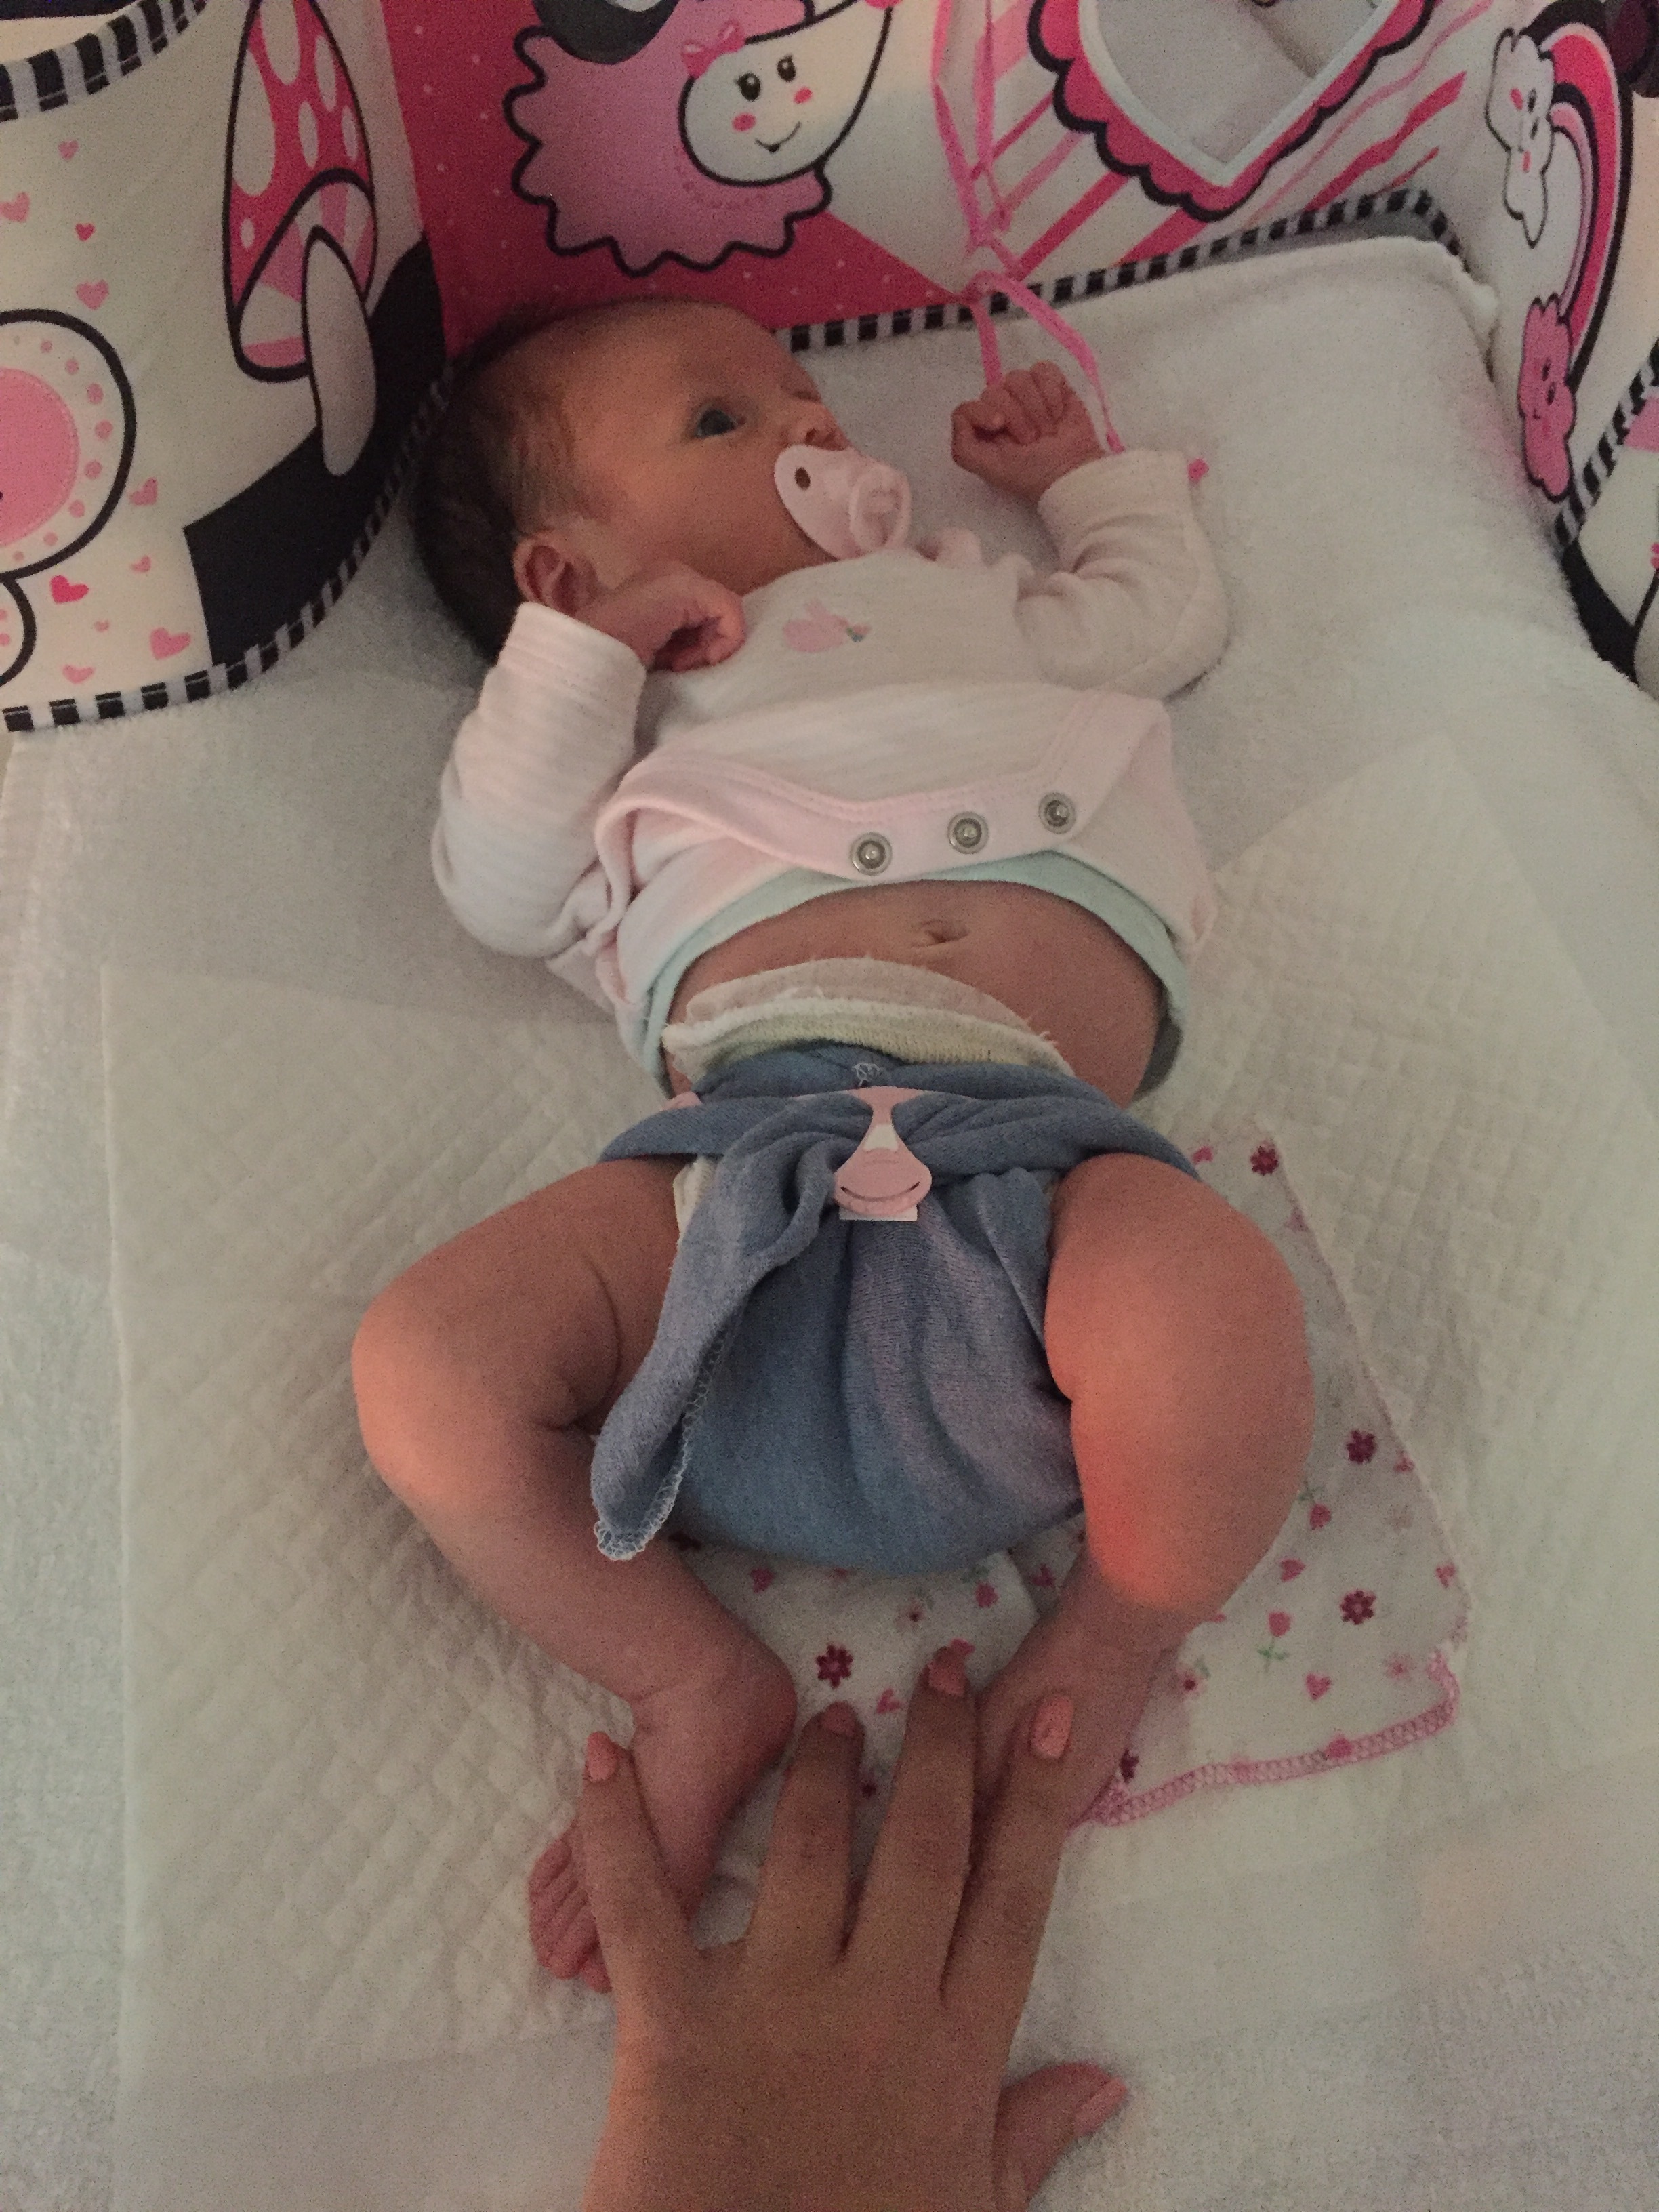
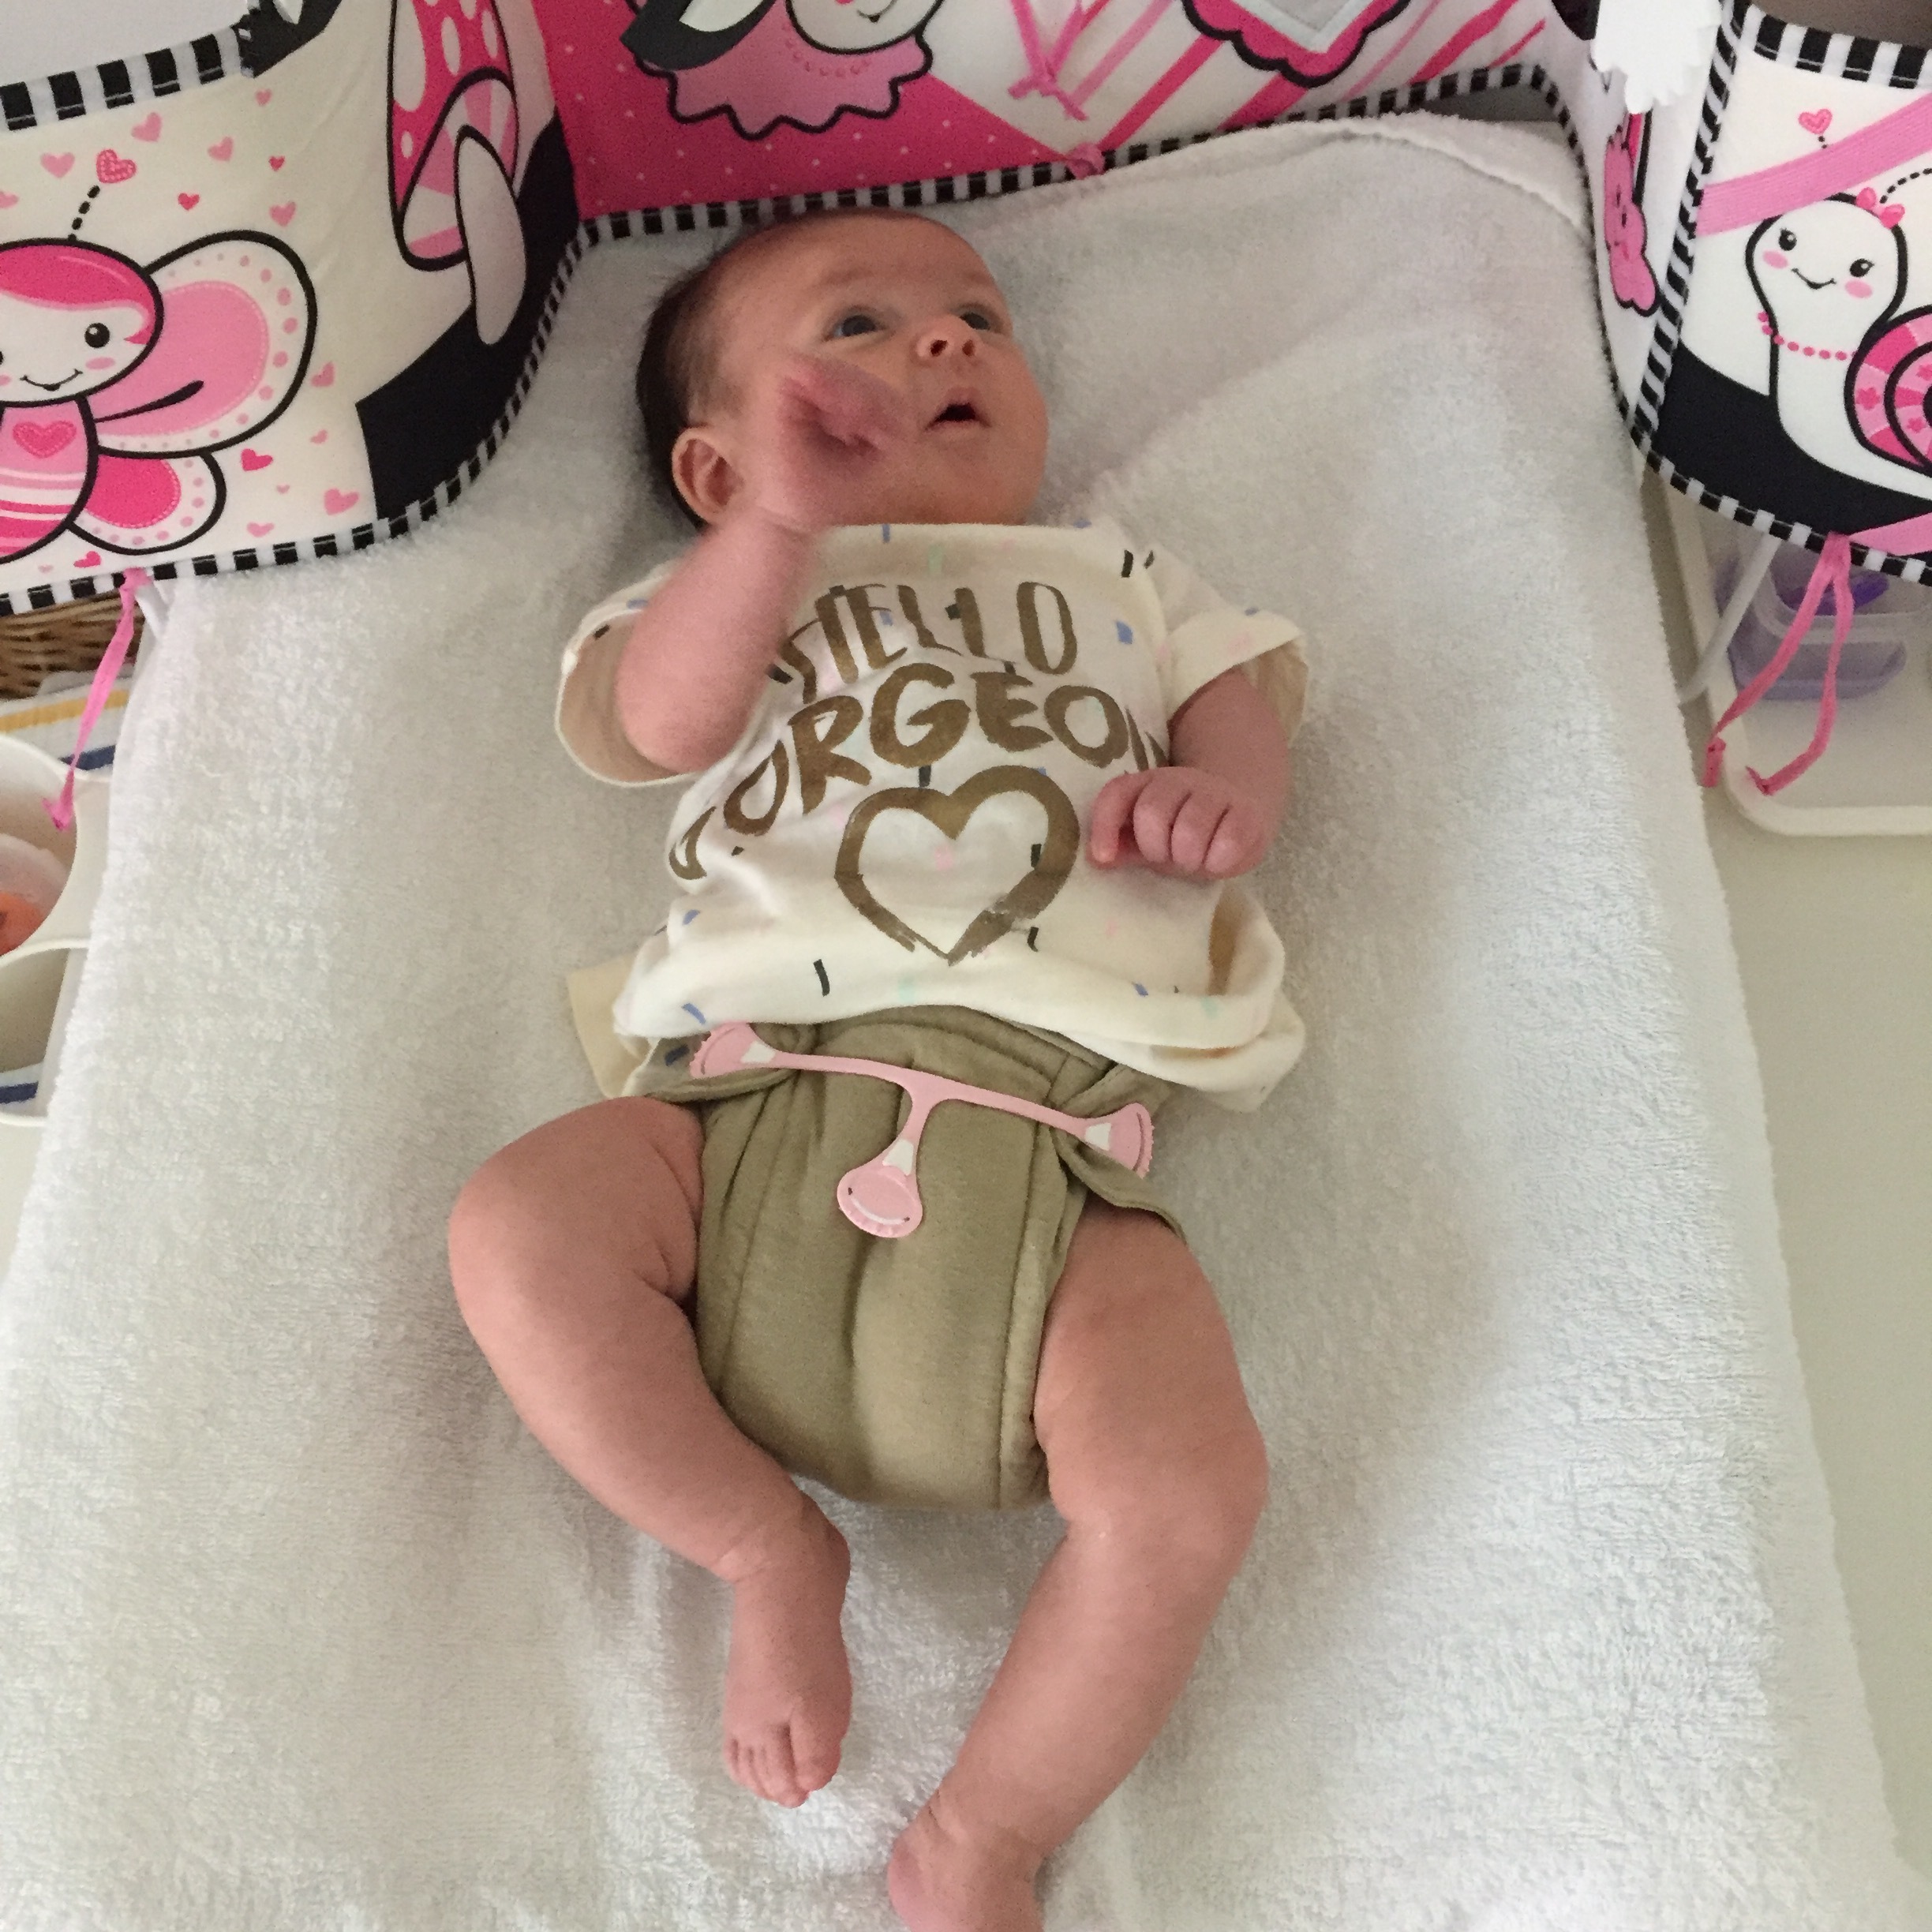
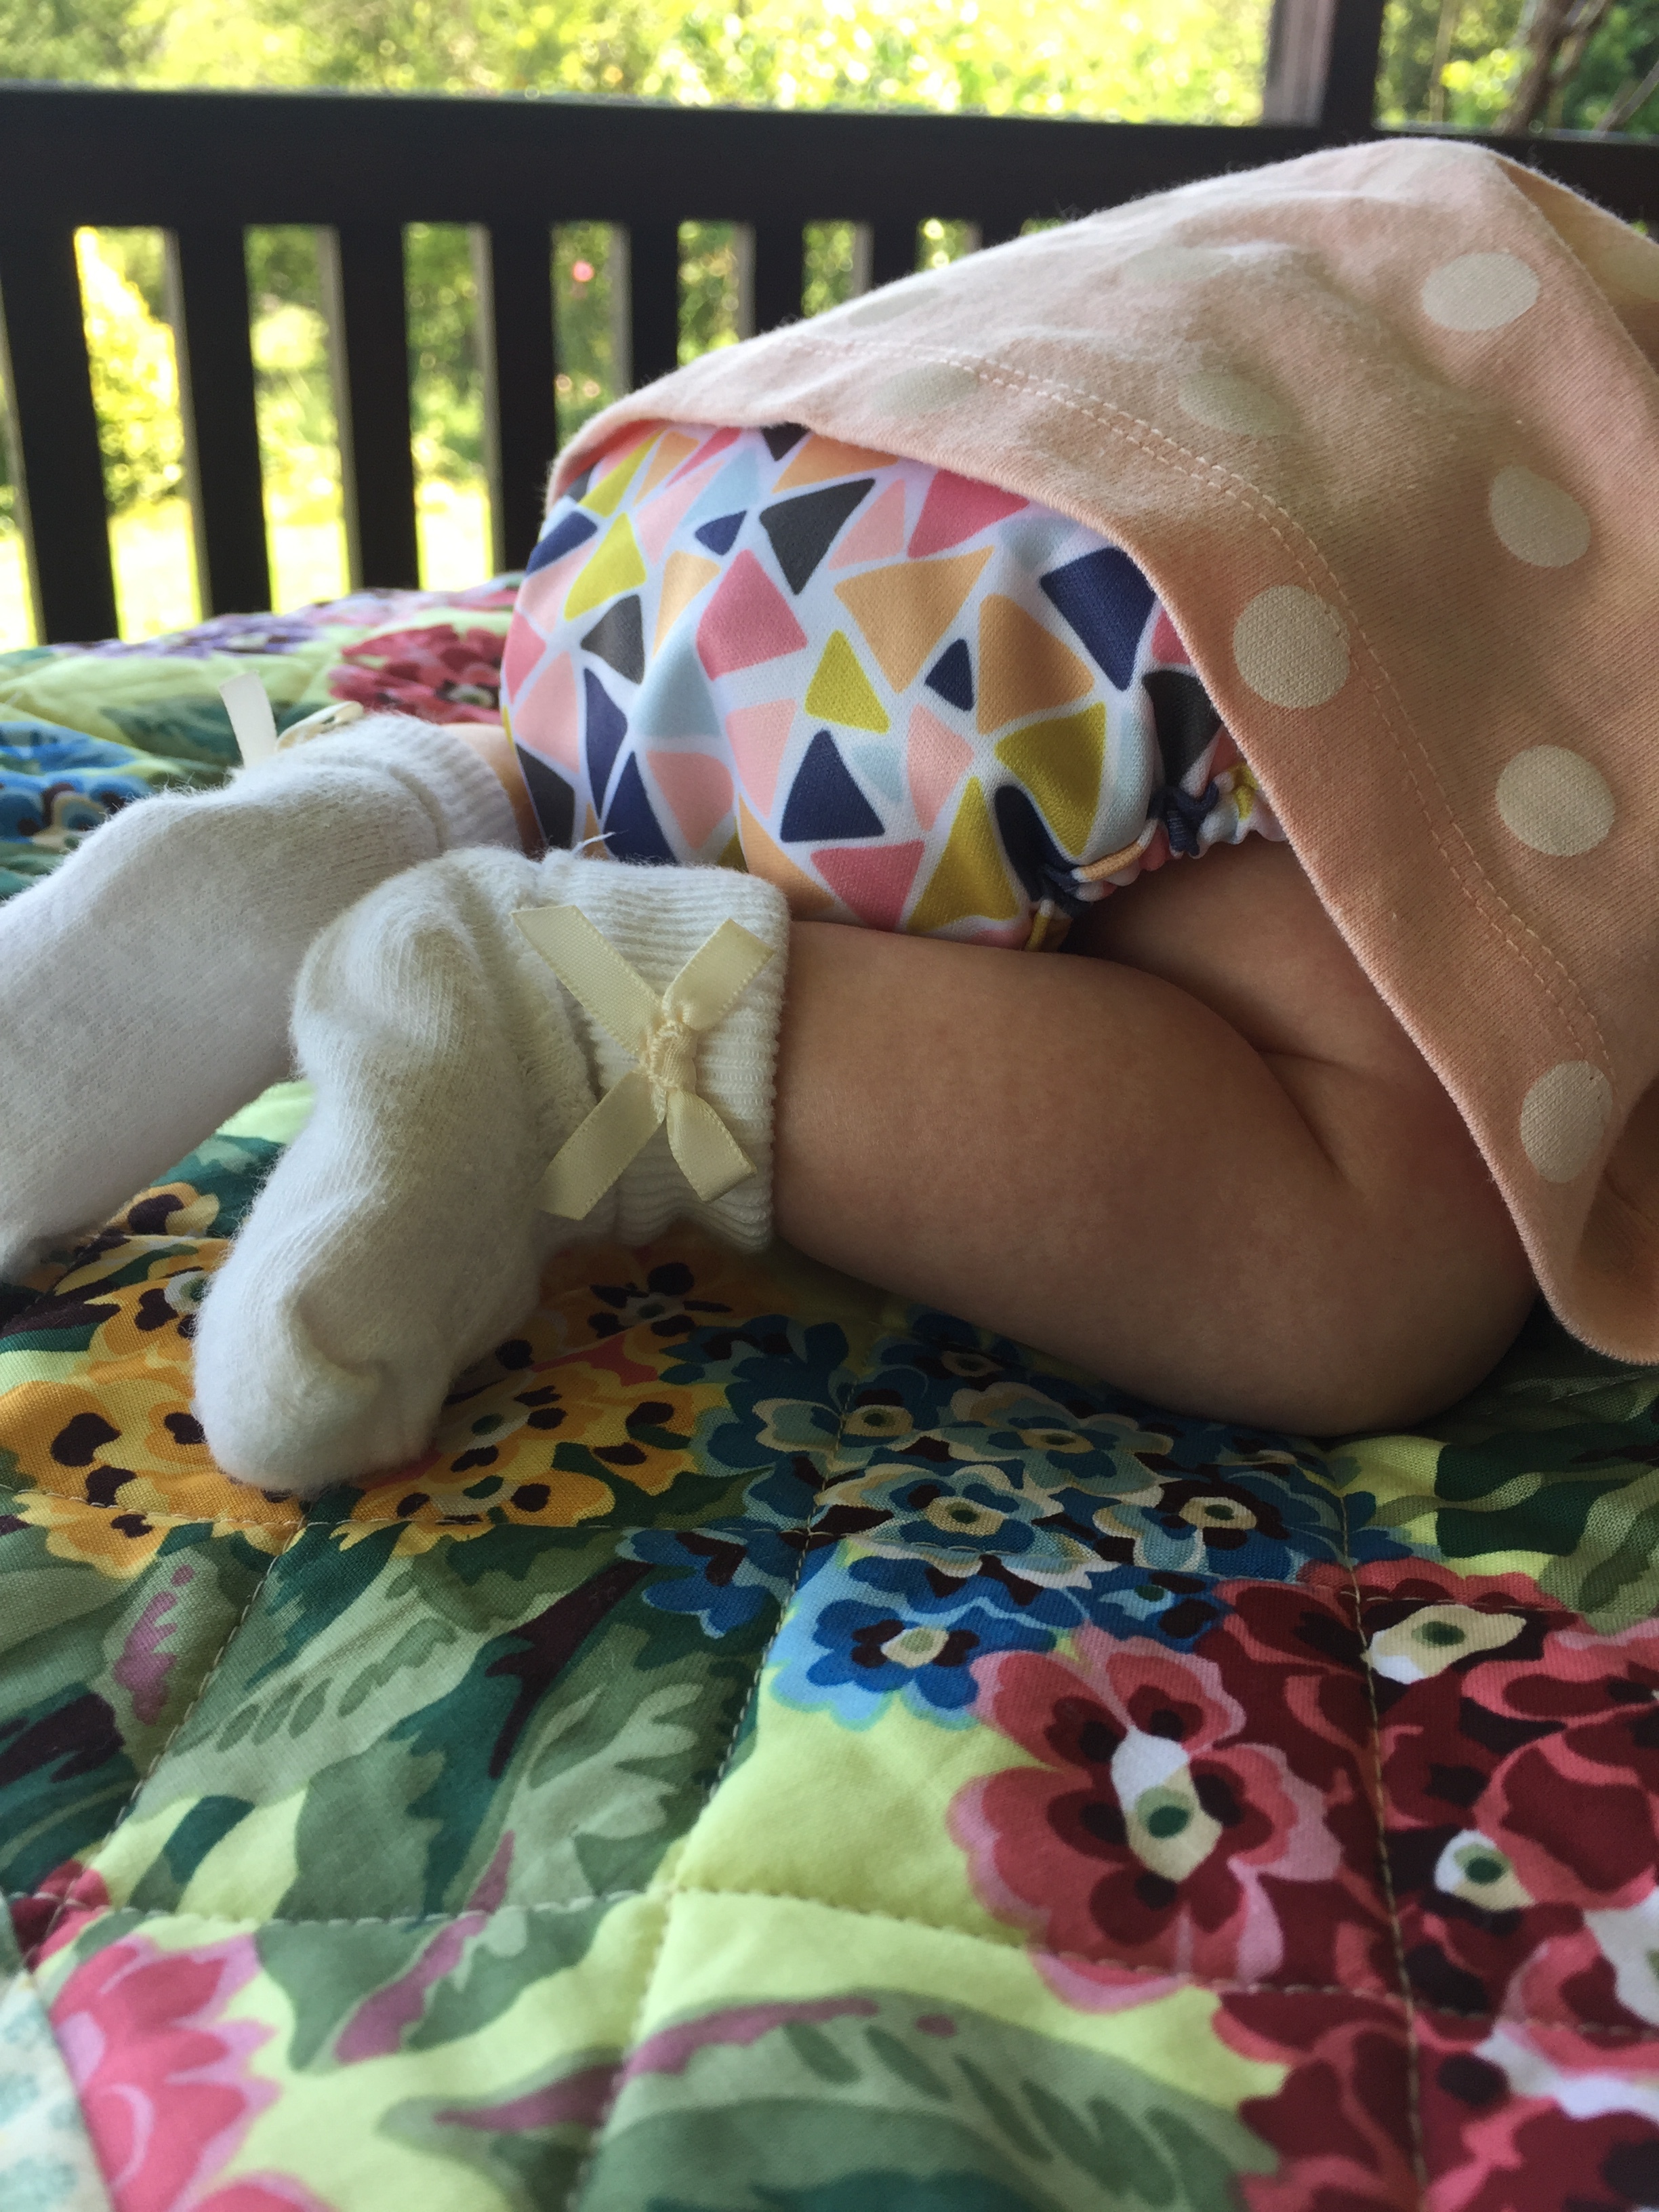
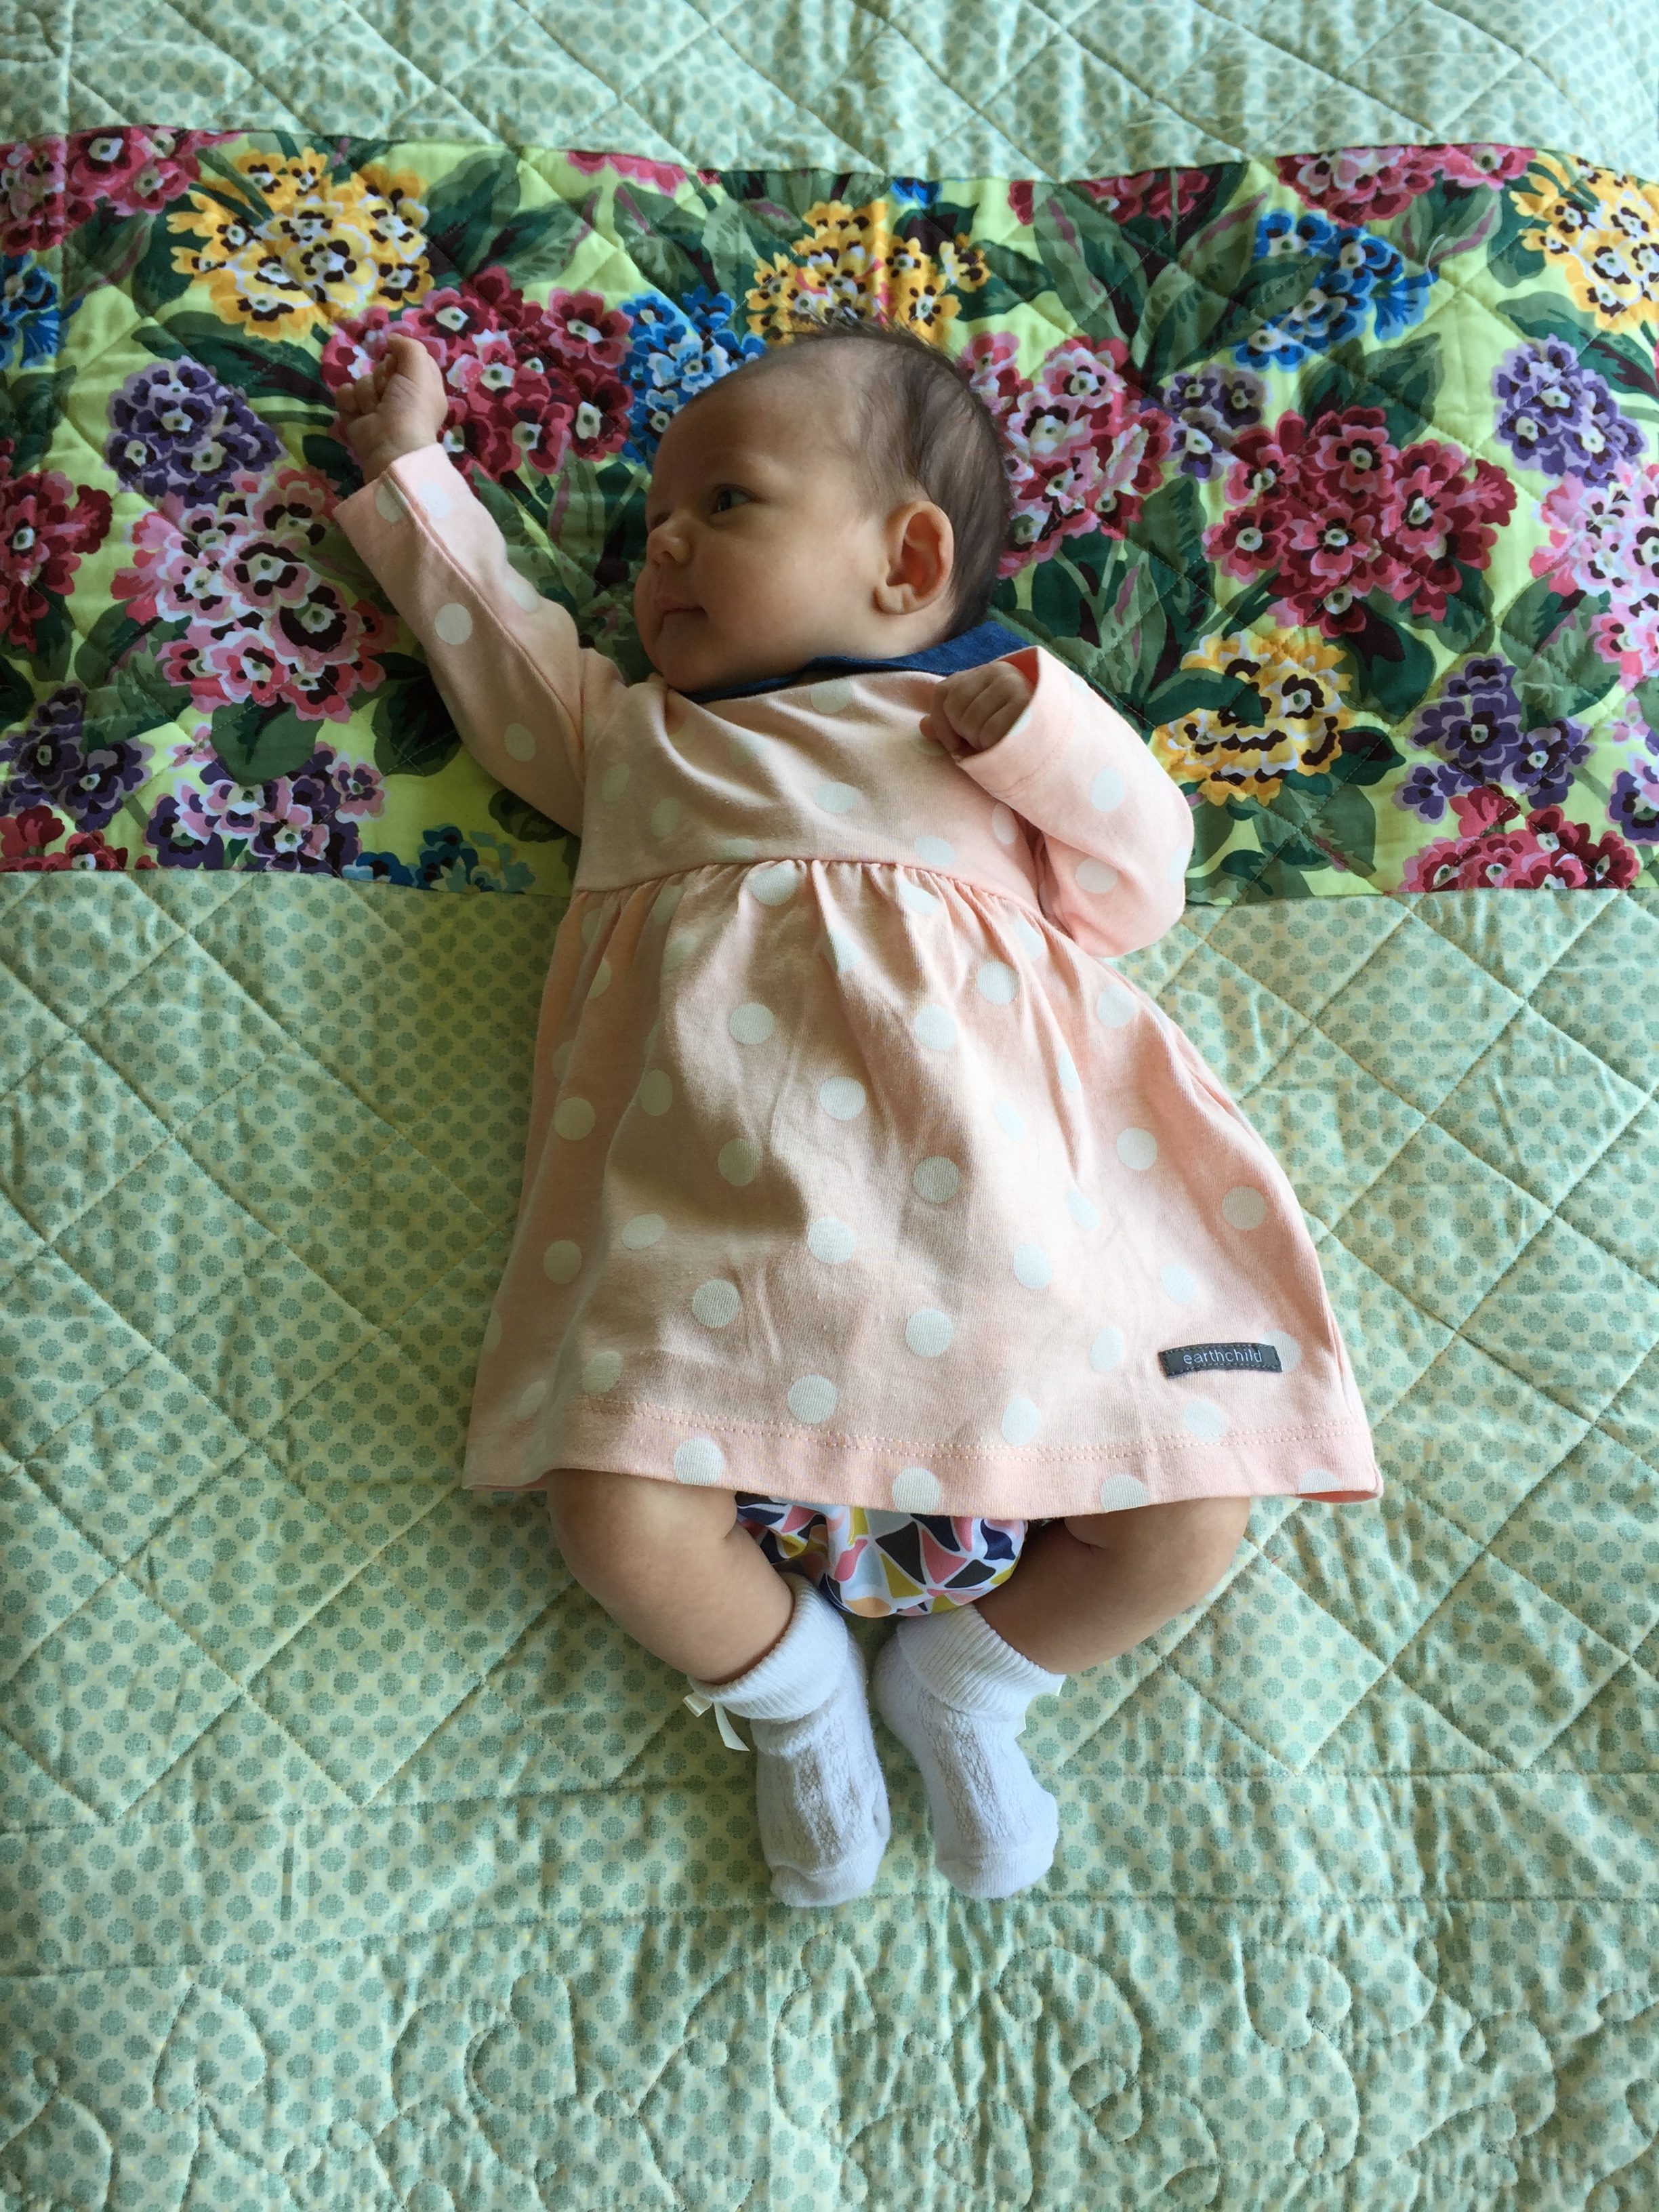
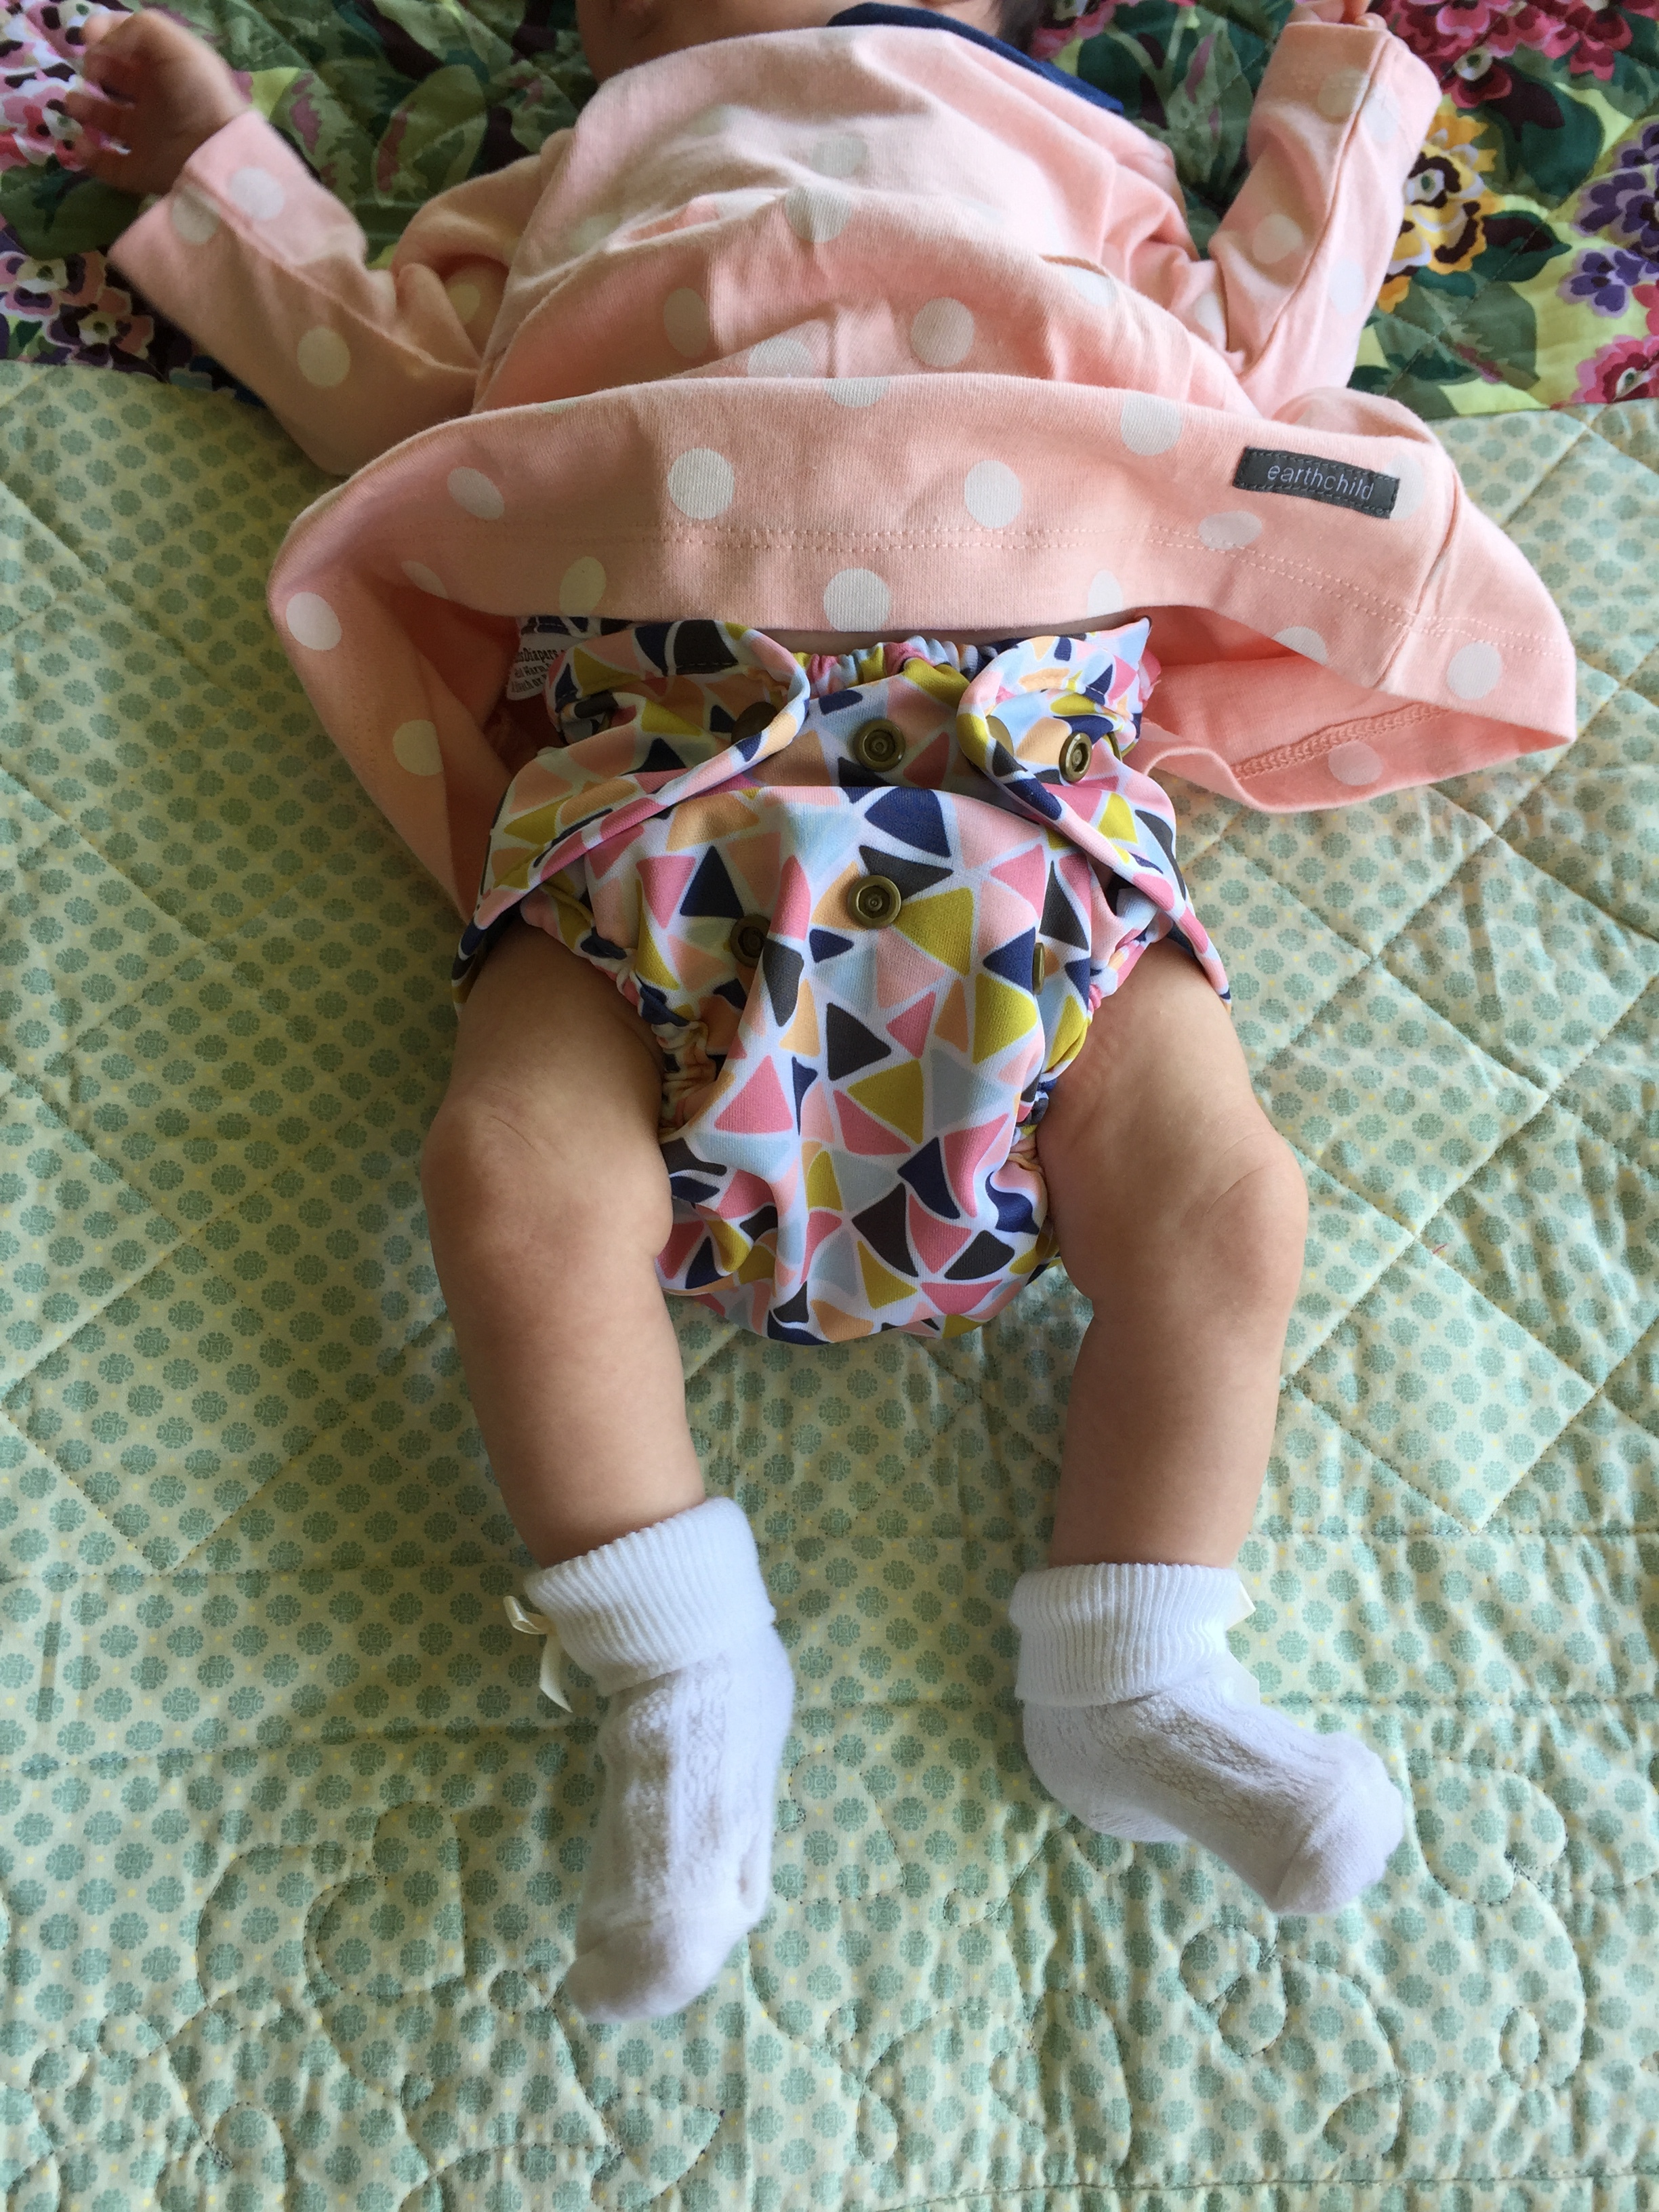
As Everly has gotten bigger, I've been able to use all the other types of nappies as they now fit her nicely...All-In-Ones, pockets, All-In-Two's, Hybrids, Fitteds. These nappies are much more like the disposable nappy design, and so I've gotten a bit lazy, and find myself reaching for them over and over again, and neglecting my stash of flats. 

And so, this challenge couldn't have come at a better time. I have a stash of flats that I loved using, but that have been relegated to the back of the cupboard lately, and so I am determined to bring them back and fall back in love with them...that's the idea, and I'll be sharing how I feel about them at the end of the challenge.  

2018 Flats Handwashing Nappy Challenge South Africa

{2018} 8th Annual Flats and Handwashing Cloth Nappy Challenge

#FlatsChallenge Annual Flats & Handwashing Cloth Nappy Challenge South Africa Cloth Diaper Challenge CityGirlSearching Blog-01.png

Hello, my name is Roxy and I'm a cloth nappy mommy!

My little girl, Everly Rose, is just over 8 months old, and from the day we brought her home from the hospital, we have been using cloth nappies (or cloth diapers for my US friends).

There are lots of reasons why I decided to go the cloth nappy route:

  • The Environment: living out on a farm means there is very limited access to proper waste disposal. Everything gets burned or buried, and considering a disposable nappy takes 200 to 500 years to decompose (eeeeek!) you can imagine just how bad that is for our environment
  • The Challenge: I love a challenge, and felt even more determined to do cloth nappies full time after a number of people rolled their eyes at my decision, saying 'we'll see how long that lasts'. Haha, call me stubborn, but I was determined to prove them wrong, and here we are, 8 months later and still going strong!
  • Cost Effectiveness: cloth nappies, because they are re-useable, cloth nappies can and will save you money. Of course, this does depend on just how cloth crazy you get when it comes to the prints and designs you can buy. Also, if you use your cloth on more than one baby, the savings are huge! And even when you factor in the cost of washing nappies in your washing machine (electricity, water, washing powder etc) you can and should still be saving when it comes to nappies. 
  • Cuteness: cloth bums are just soooo cute! There are some incredible designs and prints out there, and it's no secret that cloth nappies can become very addictive. I laughed when I first heard someone say this, but let me tell you, it IS addictive!
Everly Rose 6 Months (3 of 19).jpg

Here are some of the other blog posts I've written on cloth nappies:


Tomorrow marks the start of the annual Flats & Handwashing Cloth Nappy Challenge hosted by Jenny over at Cloth Diaper Revival.

For seven days I will be using just flats & Covers, and handwashing them to get them clean. No modern cloth diapers, no washing machines and no tumbledryers. Just simple, affordable cloth diapering!

Although Jenny is based in the US, there are a number of us here in South Africa (like Marisa & Gerda over at Hippie Safari) who are taking part in this fun challenge.


For those of you wondering what on earth the flats challenge is all about, here is some more info for you:

Kim at Dirty Diaper Laundry founded the Flats and Handwashing Challenge eight years ago as a way to bring awareness that cloth diapers are a valid option for families in need, struggling to provide diapers for their baby. 

"Our aim is not to say that every poor family facing the supremely difficult choice of buying diapers or food should use cloth diapers. That would be short-sighted of us to think it's an answer for every family. The flats challenge is a way to show that for families willing and able, babies can be diapered for less than $100 or even $50 and without owning a washing machine. It is a viable option for families who are in homes without washing machines and an effective one." ~Kim Rosas, Dirty Diaper Laundry

Why Flats?

  • Flat cloth nappies are inexpensive. They are the most affordable nappy option, selling for around R50 - R80 depending in the type of fabric when bought new or they can be DIY-ed for free using almost any excess material (receiving blankets, t-shirts, old onesies, terry towels etc.) found in your home.
  • Flat cloth nappies are easy to care for. With only one layer of fabric, flats are easy to handwash and quick to dry! Even the smallest stash of flat cloth nappies work well as they only take a few hours to dry in the warm sun or overnight indoors.
  • Flat cloth nappies are easily accessible. Flats can be found in your local online cloth nappy store (my favourite being Pokkelokkie 's selection of hemp flats). A DIY project to create your own flats stash can be completed in minutes using materials found around your home.

While modern cloth nappies, like pockets and all-in-ones, are excellent diapering options, the simplicity of flats is something to fall in love with. I have quite the varied cloth nappy stash, but from the newborn stage, I've always been a fan of flats. I started by making my own flats out of cut-up receiving blankets, and then slowly started adding hemp flats to my stash. Here are some photos of newborn Everly wearing a hemp flat (left) and a homemade recieving blanket flat on the right.

I also own a number of cotton flats, but I have to say that hemp are the trimmest, and are definitely the quickest to dry. I also love using two hemp flats folded together for night time, and they last a full 12 hours without any leaks!

It's my hope that this challenge inspires you to give flat nappies a try, and that it shows families out there that flats and handwashing are viable, affordable, full time solutions for diapering your baby. And if flats aren't for you (maybe you find the idea of folding too daunting) that maybe you are still up for giving modern day cloth nappies a try for your little one.


IMG_0057.jpg


Flats and Handwashing Challenge Rules

Materials Allowed

  • Any flat cloth nappy, store bought or handmade. A flat is defined as 1 single layer of material for easier handwashing and drying
  • One nighttime diaper of your choice, although it is preferred that you make flats work for nights. This nappy must be handwashed
  • Doublers (not inserts meant to be absorbent enough to stand alone) if absolutely necessary
  • Nappy Sprayer
  • Wet bags/Pails
  • Handmade washing machine, such as a camp style washer
  • Non-electric portable washing machine 
  • Waterproof covers, store bought or handmade
  • Detergents, store bought or handmade
  • Snappi, Boingo, or diaper pins
  • Pocket diapers stuffed with FLAT DIAPERS
  • Fleece liners, store bought or handmade
  • Iron to expedite drying or sterilizing diapers
32349309_1800264696698815_2738843568838803456_o.jpg

Materials NOT Allowed

  • Washing machine or dryer
  • Pockets with inserts other than flats, AIOs, Fitteds, Prefolds, AI2s, etc.
  • Flushable liners

Rules for Everyone

  • You cannot use your washer/dryer.
  • If something comes up and you must make an exception, you must disclose this in the Conclusion Survey or on your blog if you are a blogger.
  • There is no limit on the number or flats/covers you can use. However, a reasonable amount is preferred (no more than enough for a day or two of cloth diapering).
flats and handwashing challenge 8th ann.png

If you'd like to follow along on social media, you can find all the posts related to the challenge under the #flatschallenge and #bringingflatsback hashtags. I'm going to attempt to blog everyday during this challenge, and will be sharing with you how I'm finding it as well as any tips and things I learn along the way. Armed with some snappies, a bucket and a plunger, I'm quite excited (but also nervous!) to start tomorrow!

See you soon!

x

Watercolour Heart - Fine Art, Illustration & Design {A creative Business Feature}

Although I have yet to meet Jess in real life, I feel like we are old friends. This is one of my absolute favourite things about blogging & social media, and although it may seem strange to older members of my family, I think it's just wonderful.  

Watercolour Heart Fine Art Illustration & Design in Cape Town South Africa
Watercolour Heart Fine Art Illustration Design in Cape Town

Jess, pictured above looking so lovely in her recently updated studio space, is the beauty and brains (as well as the illustrator & designer) behind Watercolour Heart. Jess specialises in wedding stationery design, custom illustration & design projects, small business branding & personalised gifting. The latter of these is really showcased with the images I'm sharing with you today.

To celebrate the launch of her own, newly updated branding, Jess sent out beautiful packages to business owners who have inspired her in her own business journey. What a wonderful surprise to be a recipient of a beautifully put together collection of stationery goodies.

If my package is anything to go by, I can only imagine that the personalised gifting service Jess offers will wow and delight each and every person lucky enough to receive a gift put together by Watercolour Heart.

Thank you Jess for the incredibly thoughtful note that accompanied my package, your words meant more to me than I can say.

You can find Watercolour Heart in the following places

#FromFarmToTable - Homemade Baby food in Collaboration with Tommee Tippee

#FromFarmToTable Homemade Baby Food with Tommee Tippee -01-01.png

If you've been following me for a little while now, you might have seen my previous posts here on the blog and on Instagram where I’ve been sharing the beginning of our #EverlyStartsSolids journey.  My little girl is now 6 months old, and we are well into the swing of things when it comes to weaning her onto real food. I'm so excited to share this post with you, showing you how easy it is to make your own baby food, ensuring you avoid all those nasty additives and preservatives that are in store bought purees.

Although we are using fresh veggies from our own little veggie garden, you can still make delicious and nutritious meals for your little ones using store bought fruit & veg. 

EverlyStartsSolids from Farm to Table Starting Solids with a Baby (27 of 117).jpg

Our veggie garden goes through a lot of ups and downs. Sometimes it looks amazing and is bountiful, and other times I spend my life picking off the millions of snails that find their way onto anything and everything that grows. Plus there's the constant battle with the weeds. But even though it takes a bit of work, there's nothing quite like the feeling of picking your own homegrown vegetables, and eating them fresh from the garden.

Having our own veggie garden has also inspired me to make all my own first meals for Everly. We live out in the middle of nowhere, and so it's pretty much impossible to pop to the shops and stock up on ingredients. But I'm really not going to complain, when these are the views we look out on every day...

EverlyStartsSolids from Farm to Table Starting Solids with a Baby (110 of 117).jpg

Today I want to share with you one of the recipes from Meg Faure's Weaning Sense recipe book. This is her Rainbow Veg Mash, and is a really lovely 'base' to start with, and then to add other more exciting flavours to once your little one is used to it. So far I've added chicken stock, liver and cream cheese to it, and Everly has loved it! The recipe makes about three baby cup fulls which you can freeze easily for future use.

I've really been liking the Tommee Tippee Explora Freezer pots for freezing, as they have a very clever rubber base that allows you to ‘pop’ out the frozen food easily. They are also dishwasher, microwave & steriliser safe, although I prefer to heat up Everly’s food using hot water as I’m not a huge fan of the microwave. I also love the Essentials food pots (the pink see-through pots pictured below with the pinks lids) for storing left over food, and particularly for heating up her meals. They stack beautifully, taking up less space in your freezer, and are ideal for traveling too. Also, as they are see-through, you can easily tell what food is inside. This is particularly helpful if you are like me, and like to make & freeze in bulk. You can tell at a quick glance whether it’s butternut or beetroot, and grab what you need.

EverlyStartsSolids Colaboration with TommeeTippee CGScreative (57 of 90).jpg

When it comes to actually steaming & blending baby food, I can't get over just how easy it is to do with the Steamer Blender machine from Tommee Tippee. I was sent over one to try, and at first I thought it to be a bit of an extravagance. I mean, can't you just use a pot and then transfer everything to another bowl and blend using a hand blender or blending machine? Well, read on friends!

Now, while you can just use any old pot you have at home to steam and then blend with another device, the Steamer Blender just makes things sooooooo easy. It's as simple as; chop veggies, pop into the jug, press some buttons and voila, a perfectly steamed & blended meal…ready to be eaten (or frozen for later).

When steaming veggies, it's really easy to forget that a lot of the goodness stays behind in the water. With this machine, the water stays in the jug, and then is used to blend the mixture. This way, all the goodness goes right back into the meal. And if you are already past the first few weeks of starting solids with your little one, you'll be happy to know that you can set the amount of 'blending' you'd like. You can make really smooth purees for the beginning stages of your solid food journey, or you can leave it chunkier as baby progresses to more textured food. Or you can skip the blending stage altogether…there are so many different options. I have to say this gadget really does make life simpler.

I've even been known to whip up a good couple of batches of sweet potato mash for Farmboy and myself, so believe me when I say you really will get a lot of use out of the Steamer Blender, even as baby gets older.

I have been freezing extra 'single' food into ice trays (ice cubes are the perfect size for Everly's first meals as she isn't eating that much just yet). Then I go shopping in the freezer, picking out a few ice cube combinations and then pop them into a cup to defrost. You can also take the frozen cubes out the night before and put them in the fridge to defrost overnight if you're the sort of person who remembers to do that. I always plan on doing that and then forget!

Another huge bonus when it comes to the Steamer Blender machine is how easy it is to clean. I know not everyone is as crazy about doing the dishes as I am (for realsies, I genuinely find doing the dishes to be relaxing and FAR prefer it to cooking!). So for those moms or dads out there who despise doing the dishes, this piece of tech is going to change your life! There aren't a million and one pots and pans and spoons. It's one jug that is easy to rinse clean, and then can be popped into the dishwasher if you're feeling really lazy. Otherwise it's a quick rinse in hot soapy water and then you're good to go!

Want to see the steamer blender in action? We made a fun little video showcasing our meal prep and would love to share it with you. You’ll also be able to see our menagerie of animals, in particular, #AmberTheGinger & #ShadowTheJindo. 

We hope you enjoyed the little glimpse into our lives here on the family dairy farm. I've got lots more video ideas (including a few on cloth nappies!) which I'm going to be putting up on my youtube channel soon. Let me know in the comments below if there's anything in particular you'd like me to make a video about. 

I post a lot of behind the scenes photos & videos over on Instagram Stories, so make sure you're following me over there too. Please do drop me a message and say hi, I love making new friends! 

Gallery Block
This is an example. To display your Instagram posts, double-click here to add an account or select an existing connected account. Learn more

Interested in finding our more about other Tommee Tippee products? The brand is very active on Facebook and have just launched their South African Instagram Account for you to connect with them and ask any questions you might have.

This post is sponsored by Tommee Tippee but all thoughts & views are honest and my own. 

My Cloth Nappy Wash Routine - A How to Guide to Washing Cloth Nappies

How to wash cloth nappies washing routine for cloth diapers -01.png

I think 'the washing' is one of the biggest things that puts people off even trying out cloth nappies. I know when I first heard about cloth nappies, my first thought was 'you want me to willingly put poo into my washing machine?!' I really thought the process would be difficult, or time consuming, or just plain old gross...but the reality is, it really just takes an extra 5 minutes of your day once you get into a god routine.

Please do bear in mind that it does take a bit of time to figure out what works best for you and your cloth. Your routine will depend on your water (we have hard boerhole water here on the farm), the kind of nappies you have (I have a good mix of flats & covers, pockets and snap in ones), and the type of machine & detergent you use. The South African Cloth Nappy Facebook group is a wonderful place to troubleshoot and ask for advice. 

And for my Cape Town friends, I have loads and loads of water saving tips that are allowing moms to carry on using their cloth, even in the current water crisis.

Make sure you keep reading to find out more!

Cloth Nappy Wash Routine How to Wash Cloth Nappies South Africa by CityGirlSearching Blog (11 of 14).jpg

The basics of washing cloth nappies: 

(I'll post my routine down below too)

  • If you are exclusively breastfeeding your baby (ie you aren't feeding formula or solids) then you baby's poo is water-soluble and the poo nappies can go straight into the machine without needing a rinse. This is a personal preference...you may want to rinse them all before hand, as I do now. Although, I didn't for the first four months or so. This first rinse can be done in your machine, or in a bucket/bath before you put them in the machine. Once you start solids (or are feeding formula) you need to rinse the poo nappies to make sure your washing machine doesn't get clogged.

  • Once babies are bigger and eating solids, you can use install a Bidet sprayer/use the shower head on your bath (or even a garden spray bottle) to remove most of the poo before washing. Alternatively, use liners** (flushable/disposable/fleece liners) to catch most of the grossness before rinsing or putting into the machine

  • You need to use a loooonnnnng cycle (so there is lots of agitation i.e. the nappies get rubbed against each other long enough to get thoroughly clean). This is usually the cotton cycle on your washing machine. FYI just because the cycle is long, doesn't mean it uses up more water than the other cycles in your machine.

  • Temperature: Most nappies are safe at 40 Celsius, but make sure to check with the brand/seller before hand. Some nappies can be washed at a higher temperature. I have been washing all of mine at 40C and haven't had any problems. A few loads have even gone through a 60C cycle a few times by accident and all survived.

  • Washing machine should be 3/4 full (you can bulk up a load with towels...even dedicating a particular set of old towels as your nappy towels)

  • No softener should ever be used (this includes washing powders that are '2in1')

  • All Washing Powder/Detergent without softeners are safe to use with cloth (always follow the recommended dosage...a good tip is to follow the amount suggested for 'heavily soiled'). I use Ariel powder, and use Ariel liquid for our clothes and towels.

  • Technically, it's recommended to do a wash and 2 rinses: ie a pre-rinse in the machine, then a long wash cycle, and then a final rinse. See my routine below for how I've adapted this slightly.

  • I have started tumble-drying my nappies (on low heat) and found this just makes my life SO much easier. And the nappies come out super soft (in the case of my hemp flats and cotton/bamboo fitteds). Most people I have spoken to warned against tumble drying nappies as they said extensive heat could damage the natural fibres (ie the hemp/bamboo). If you have pockets, these generally dry very quickly and you wouldn't need to tumble dry.


How often should you wash your nappies?

I wash every day. Why?**

  1. Because I don't have a HUGE stash of nappies,

  2. I don't like dirty nappies sticking around

  3. I love doing laundry...haha call me crazy!) but you can wash as often as you like. Most moms I know wash every 2 - 3 days.

**Everly is now using less nappies than she was when I first wrote this post, and now I wash every second day. Although since having Aaron (I actually do the odd wash every day when he has gone through loads more nappies than usual).

Bear in mind drying time. Hemp nappies take a lot longer to dry than microfibre or cotton.

If you live in a humid area, your nappies will probably take longer to dry. This is also a big reason I chose to use flats and covers for the first few months. They dry SUPER fast. Some nappies can be popped in the tumble dryer to speed up the drying process (just make sure to read your labels/ask the seller about tumble driers). Also note that nappies with a plastic/waterproof cover & covers shouldn't be exposed to the sun. These can either be dried in the shade (most covers dry within an hour or so) or turned inside out so the PVC (plastic part) is not exposed to the sun.


What about those horrid stains?

You won't even believe it, but the majority of nappy stains will disappear in the sun! For any stubborn stains that aren't removed by the sun, you can rub them with a green sunlight bar before washing (the sunlight soap bars are cloth safe) or rub after washing and pop into the machine again. I've yet to need to do this, as the magic of the sun has taken care of all my stains so far (it is particularly effective for breastmilk stains...so pop your damp burp cloths into the sun for instant whitening & bleaching!).

Here's some proof:

IMG_0006.jpg

If you've still got stains, then a good rub with the green sunlight bar, and popping the item back in the machine should take care it.


My wash routine:

Up until 5 months (i.e. before I started solids), this was my routine for Everly's nappies:

I'd wash every morning:

1. Off the bum & into the nappy bin:

All nappies go straight into the nappy bin till the next morning (will do a blog post on what I use for a nappy bin soon).

2. Quick Rinse:

After her first morning nappy change, I put all the dirty nappies straight into a bucket of hot water for a quick rinse (this is especially important for night nappies that will be on your baby for longer than the recommended 2-3 hours during the day, as they will be full of wee/ammonia and need a warm rinse to make sure you don't get any stinky nappies...the warm water breaks down the ammonia crystals). You can skip this step and add a pre-rinse to your washing machine cycle. This does use more water so if you're wanting to cut down water usage, a bucket of water works just as well. Some moms rinse their nappies in their baby's bath water. I bath Evy at night and like to wash in the morning so that didn't work for me.

**I have since gone back to doing a quick wash cycle/pre-rinse on the machine, without any detergent, as my pre-rinse. I now only hand rinse night nappies in hot water, and then these also get added to the quick wash cycle with the other nappies.

3. Set Washing Machine:

Cotton cycle on the machine (about 2.5 hours) with an added rinse (40 degrees C with the recommended amount of detergent  for a very dirty load). I have done a few 60C washes as pictured below and haven't had any problems.  I also wash Evy's burp clothes (I use the old school white towelling nappies...BEST ones are the Glodina Baby towels which you can buy at Baby City...the ones from Pep and even the ones from Woolies aren't nearly as durable). It's also important for your washing machine load to be 3/4 full so that the dirty nappies get enough agitation. I often throw in our towels to bulk up the load. Another idea is to have two or so old towels that you dedicate to your 'nappy load' so you always throw them in your machine with the nappies. 

4. Hang nappies up to dry/pop into tumbled dryer

Hang up nappies in the sun to dry(soft fabric side up in the case of pocket nappies & all-in-one's...PVC/plastic side of nappies down). I hang my pail liners (the washable PVC bags I use inside my nappy bin and my covers in the shade as the sun can delaminate them and cause tearing.

I have just found out that it's possible to tumble dry your nappies on low. This works especially well for hemp flats and cotton/bamboo/microfibre inserts. This isn't always recommended by retailers, but if you live somewhere where it takes forever for your nappies to dry (or you just like the feeling of very soft nappies) then it's possible to tumble dry them on low. You can also iron hemp flats to make them nice and soft again, or line dry them and then pop them in the tumble dryer for 10 mins or so on hot.

That's the basic just of washing your cloth nappies. If you're having issues with anything at all, the South African Cloth Nappy Users Facebook Group is amazing! Head on over there and ask the friendly community your questions, there is always someone on hand to help. 

A few extra notes:

  • Stinky nappies? Could be from a variety of reasons ie. an ammonia build up and your washing routine needs to be adjusted or you might need to do a strip (with bleach to 'strip' your nappies of any detergent buildup etc. Don't freak out about the bleach...click here for more info on stripping your nappies.) 

  • Bought some pre-loved nappies? Give them a good hot wash and then strip them (follow the link above to find out more about stripping them)

  • Hemp & Bamboo nappies need to be 'prepped' before they reach optimal absorption. This usually means they need to be washed 8 - 10 times before they become really absorbent. Instead of wasting water washing them multiple times, simply start using them and keep in mind they might leak a little in the first week or so of use.

Water Saving Tips

  • Instead of pre-rinsing in machine, rinse in the old bath water or the floor of the shower while you shower (use your feet to stamp on the nappies to really give them a good rinse). You can catch grey water*from the shower by placing buckets in the shower. Alternatively you can transfer your bathwater to buckets. The easiest option is to use the bucket & plunger method (see below) to rinse nappies in grey water. When you are done rinsing your nappies, this water can be reused again to flush your toilets. Alternatively, you can pour the water into your top loader to do a rinse in the machine.

  • Catch the grey-water from the washing machine outlet and re-use it the toilet/to water your plants/to rinse your next load of nappies

  • Consider replacing your washing machine if you have an older model. Older models, especially top loaders tend to use a LOT of water to wash. Newer HE models and especially front loaders are much more water friendly. Other options to consider are a twin-tub or Sputnik. 

  • If you are using a nappy sprayer, consider hooking it up to a grey water system. Remember the rubber gloves if you are using the bucket method! Spraying one nappy uses approximately the same amount of water as flushing a toilet. 

  • Hand washing often uses a lot less water than machine washing. Hand washing doesn't have to be difficult either - the bucket and plunger method is very effective and quite straight forward to use. You can do a spin cycle in the machine afterwards to skip wringing out by hand and speed up drying time.

Handwashing - Bucket & Plunger Method

For flats & Covers

  1. Place flats and covers in a bucket of cold water Make sure the flats and covers are completely submerged in water.

  2. Using a plunger, plunge the nappies 50 times to get rid of the urine.

  3. Drain the water and remove the covers.

  4. Fill the bucket with your flats in, with warm water (just enough to cover your nappies).

  5. Add about 100ml Sunlight Gel (you can make this yourself...blog post to come) for about 12-14 flats and plunge 100 times. You can also use your regular powder/hand washing detergent.

  6. Empty the bucket and fill it again with cold water.

  7. Plunge another 50 times to ensure all the soap has been rinsed out.

  8. Drain and wring out our flats.

  9. Shake to get excess water off and hang to dry on the line.

For your covers: Give them a quick wash a little soap/detergent and water, rinse, towel dry and then hang to dry.

*There have been a few queries as to whether grey water (water coming from domestic equipment other than toilets eg washing machines, baths, sinks etc)  or black water (water from toilets ie. water that has come into contact with fecal matter) is safe for re-use in gardens. You would need to use 100% biodegradable and ph neutral detergents to make full and proper use of your grey water in your garden. But, reusing the water from your washing machine to flush your toilet would be a very good use of that water. As with most things, use your common sense and do your research if you are very concerned. The main idea here is to try and save as much water as possible, and re-use where you can.

IMG_0035.jpg

**Please note, although certain brands of liners say Flushable/Biodegradable, please don't ever actually flush them down the toilet! All they end up doing is clogging the toilets and causing lots of problems down the line. I would advice using biodegradable liners, as these are much more environmentally friendly, and you can just rest easy knowing that even though they are going into the refuse, they will break down easily. If you really want to go the extra step, rather use fleece liners (literally just pieces of fleece fabric that you can make yourself, that you just rinse off and wash along with your nappies...these dry super fast and rinse very easily!). Here is a photo of my selection of liners (fleece & biodegradable):

Poo literally slides right off the fleece, so using these when your onto solids makes SUCH a difference when doing the washing. These fleece liners also give a stay dry effect, so if your little one is sensitive to wetness (like mine) using these liners really helps keep their bums dry.


Cloth Nappy Wash Routine How to Wash Cloth Nappies South Africa by CityGirlSearching Blog (8 of 14).jpg

Although it may see like an awful load of work, you will quickly get into your own routine. Washing Everly's nappies only takes me an extra 5 minutes of time in my morning to rinse and place them in the machine, an then another few minutes to hang them up.

Do you have any other tips for washing your nappies? Does this post make you feel more confident to give cloth nappies a try? I'd love to hear from you in the comments below!

Previous Client Work: Brand Photography for Whisky of the Week

Brand Photography for Whisky Blog Whisky Of the Week by Roxy Hutton of CGScreative-01.png

A little while ago, I had the pleasure of working with the fabulous Jeanette from the whisky & lifestyle blog, Whisky Of The Week. Jeanette was in need of some updated brand imagery for her blog, and we spent a great afternoon together capturing the essence of her brand. I created a mixture of styled lifestyle shots, flatlays, and also took some updated headshots for Jeanette to use on her social media channels.

All of the above forms part of my Creative Head Package (click here to find out more about this package) and I always so enjoy mixing all of the elements together to create brand imagery for a range of different uses.

The WhiskyOfTheWeek brand is sophisticated, but still down to earth and fun. The main readership has been male, but Jeanette wanted to show women how whisky can also be a ladies drink. She also blogs about whisky pairings with food, from pairings with cheese to chocolate, and also whisky cocktails.

For her brand photoshoot, she was after something different to the generic 'whisky & cigar look' that is common amongst whisky bloggers. She also didn't want to alienate men, but rather, to appeal to both.

Below are a selection of the images I created exclusively for Whisky Of The Week


If you're interested in finding out more about my headshot packages, then please feel free to get in touch. Each package includes a good mixture of styled stock type images as well as pretty portraits.


Jeanette and her husband have been collecting whisky for over 9 years, and both are truly passionate about the drink.

They have an incredible whisky tasting room in their home, where they keep their vast collection of whiskies. It's also where to spend most of their Friday evenings, tasting a new whisky and relaxing after a long week. I knew we had to get some great shots there too. 

I had such a great time with Jeanette, and I've loved working with fellow bloggers and helping them create a professional, but pretty look for their brands. It's one of the biggest reasons I started my business and it has been a dream of mine to work with more bloggers.


Here are some very kind words from Jeanette about our time together:

"I met Roxy at one of the Blogger #Jozimeetups after having followed her journey to the East online.  She had a slot as a speaker and her way of looking at the world around her made an impression.  They had just returned to SA and I jumped at the opportunity of working with her. I needed updated profile photos and header photos for my blog and also some guidance on how to creatively take photos of bottles.  It was towards the end of the year and I also asked Roxy to take a few photos of me and my little one so that I can give it as a gift for the grannies over Christmas.

We had a few Skype calls to chat about my requirements and I voiced my frustration at my struggles of taking photos of glass bottles.  Roxy arrived with loads of ideas of how to position bottles with props and used this to create beautiful header photos for my blog. The best of all was she gave me so much inspiration and ideas on how to take my own photos for blog posts.   Roxy also took amazing profile photos.  It was so easy to work with her and to be comfortable in front of the camera with her chatting and giving guidance.  The true skill came out in her photos of my daughter which captured her wonderful nature perfectly.  These photos made very special gifts for the grannies.

Working with Roxy was an amazing experience which enhanced my blog with professional photos.  She is creative and wonderful to work with." Jeanette - Whisky Of The Week  


Find out more about working with me on your own brand images by clicking the button below. I'm so looking forward to hearing from you!


Want to see more of my previous client work? I've worked with florists, skincare product designers, copyrighters, yoga enthusiasts, life coaches, bloggers and just about everyone in between. Click here to see more of my previous work.

Skin Creamery - Everyday Cream & Oil Milk Cleanser {Review}

Skin Creamery Everyday Cream & Oil Milk Cleanser Review Flatlay by RoxyHutton of CGScreative CityGirlSearching Blog-01.png

Ever since I stumbled across Skin Creamery on Instagram (I think I found them via my friend Keri Bainborough) I have lusted after their products...probably mostly due to their gorgeous Instagram feed (have a look for yourself).

skin creamery blogger review by citygirlsearching


I love their minimalist approach to their branding, their beautifully packaged products, and the fact that their products are made from only the finest of natural ingredients. 

"The Skin Creamery vision is a hope; a hope to instill a daily ritual of simple self-care, which translates into a loving appreciation for who you are, just as you are."

How lovely is that?!

Skin Creamery Everyday Cream & Oil Milk Cleanser Review Flatlay by RoxyHutton of CGScreative CityGirlSearching Blog (11 of 12).jpg

In the run up to Christmas last year, I hinted at a few ideas to Farmboy of things that were on my wishlist. I had just seen that SkinCreamery were having a special offer on their shipping costs, and so the hints became less hint like and more direct. Anyway, after a little while I forgot all about the products, and come Christmas I was delighted to find a very pretty package of SkinCreamery goodies waiting for me under the tree.

Everyday Cream for Face & Body R350 200ml

I have very sensitive skin, and often have eczema flare ups on my hands and wrists (you can read all about my skin care routine during my pregnancy, which was when eczema really flared up, by clicking here).

Anyway, I am always really nervous about trying out body creams (and face creams because by default the cream always ends up on hands and causes a reaction) but I have been pleasantly surprised by Skin Creamery's The EveryDay Cream for Face & Body. 

  • Suitable for all skin types

  • Honours the skin’s natural balance

  • Easily absorbed

  • Certified organic ingredients

  • Hypoallergenic

  • 100% natural fragrance

Flatlay by RoxyHutton of CGScreative CityGirlSearching Blog (8 of 12).jpg

I have had little to no reaction to the ingredients (yay!) and love the soft and gentle fragrance of the Jojoba oil. The cream also contains Coconut & Baobab Oil:

Coconut oil is praised for its anti-aging properties. It deeply regenerates and rejuvenates the skin thanks to its high protein content. Baobab oil is an excellent moisturiser and works to improve skin elasticity – naturally. Rich with vitamins A, D, E and F, it helps restore the skin’s natural glow. Jojoba oil contains naturally occurring iodine and is packed with anti-microbial properties. This helps inhibit harmful bacteria that cause pimples, blackheads and acne breakouts. SkinCreamery

For those of you who like to know exactly what's inside your products, here is a full list of ingredient listing:

Water (Aqua), Cocos Nucifera (Coconut) Fruit Oil*, Sesamum Indicum (Sesame) Seed Oil*, Glycerin*, Glyceryl Strearate, Butyrospermum Parkii (Shea) Fruit Oil*, Adansonia Digitata (Baobab) Oil*, Isoamyl Laurate, Glyceryl Stearate Citrate, Cetearyl Alcohol, Simmondsia Chinensis (Jojoba) Seed Oil, Glyceryl Caprylate, Xanthan Gum,Dehydroacetic acid, Benzyl Alcohol, Mentha Spicata (Spearmint) Leaf Oil*, Cananga Odorata (Ylang Ylang) Flower Oil*, Ascorbyl Palmitate, Vanilla Planifolia Extract*, Citric Acid, Pogostemon Cablin (Patchouli) Oil*, Tocopherol (Vitamin E), Linalool**, Limonene**, Geranoil

***certified organic ingredients

**component of natural essential oils

I also love how it leaves my skin feeling soft and supple, but doesn't leave my face looking greasy. It's the perfect day cream! 


Oil-Milk Facial Cleanser R375 200ml

I hadn't expected to also recieve this lovely face cleanser, but my hubby really did spoil me.

While I also have to be very careful with face washes/scrubs/oils (again, do to my very sensitive hands) this cleaner has been a wonderful addition to my skincare routine, leaving me again, with little to no reaction when on my hands after use!

It's got the most invigorating and refreshing fragrance which is perfect for an early morning wake up. Once dispensed, the oil quickly creams up and becomes milky, making it a wonderful texture to wash your face with. it also doesn't leave any oily residue, and also doesn't leave your skin feeling stripped. 

Here is a little more info:

  • Suitable for all skin types

  • Effortlessly removes make-up

  • Leaves skin feeling nourished

  • Soap and alcohol free

  • Made using certified organic oils

Flatlay by RoxyHutton of CGScreative CityGirlSearching Blog (9 of 12).jpg

And for those wanting to see a full list of ingredients:

Prunus Amygdalus Dulcis (Almond) Oil, Decyl Glucoside, Sesamum Indicum (Sesame) Seed Oil, Glycerine*, Rhus Verniciflua (Berry) Peel Cera, Butyrospermum Parkii (Shea) Fruit Oil*, Sodium Levulinate*, Sodium Anisate*, Adansonia Digitata (Baobab) Oil*, Sucrose Laurate, Citrullus Lanatus (Kalahari Melon) Seed Oil, Aqua (Water), Pelargonium Graveolens (Rose Geranium) Oil*, Rosmarinus Officinalis (Rosemary) Leaf Extract, Citrus Aurantium Dulcis (Orange) Peel Oil, Linalool**, Limonene**, Geranoil**, Citronellol**, Citral**

* certified organic ingredients
** component of natural essential oils


The melon seed is what really gives this cleanser such a delightful fragrance. And the best part about it? It removes all traces of makeup, gently, so youre skin is left feeling zingy clean, but without any horrible tightness. Here's a little more info on one of the other main ingredients, Sesame Oil:

Sesame oil is anti-inflammatory and anti-bacterial. It repairs damaged skin cells and deeply moisturises and strengthens tissues to improve the appearance of the skin. Sesame oil contains important fatty acids, linoleic acid and beneficial vitamins and minerals, and has the ability to penetrate deep into the skin to help reduce the appearance of scars, old or new, and regulate blood flow to the skin surface. SkinCreamery

Both products have become firm favourites in my beauty routine, and their beautiful glass packaging is the cherry on the cake for me, as they look so pretty on the shelf. And another bonus, you can purchase refill for both of these products! Yay for being environmentally friendly, and easier on the pocket when it comes time to stock up.

My only concern in having gone through a bottle of each and a refill of each product over the past 2 years is that the pumps don’t work so well when your product is nearly finished. This is a general problem I have found with pump dispensers. It’s a bit of a pain as it means you have to work really hard to get the last bits of product out (I take the pump off and then use the straw part to scrape the jar and then wipe it onto my hands…a bit of a mess bit it does get the job done). But seeing as that has been the only downside of the brand, I am VERY happy to keep recommending it to my followers.

Flatlay by RoxyHutton of CGScreative CityGirlSearching Blog (6 of 12).jpg

Have you tried any of the Skin Creamery's products yet? I'd love to hear from you in the comments below!

#EverlyStartsSolids - our baby weaning journey...the beginning

#EverlyStartsSolids Baby Weaning 5 months-01.png

Starting solids is scary for some, and exciting for others. I must say, I was so excited at first, and now that I am a little more experienced (i.e. I've had to deal with all the extra work that goes into it) I do wish I had hung in there and waited until she was actually 6 months old. Something else than can happen when you start introducing food too quickly (and too much of it) is that baby gets full quicker, therefore drinking less milk, and therefore there is a good chance your milk supply will start to get less and less. I plan on breastfeeding for at least a year, and so as soon as I started getting a bit too caught up in the whole 'she needs 3 meals a day' mentality, I realised I needed to take a step back and make sure that my milk is still her number one food source.

When to start Solids

I started introducing solids when Everly had just turned 5 months old. After consulting good old google, and all of the baby books collecting dust on my shelf, I thought it to be a good time. She was displaying most of the 'ready' signs (sitting up, reaching for our food, showing a lot of interest in food, the tongue thrust reflex disappearing etc), and to be honest, I was SO EXCITED to move on to the next baby chapter. If following a more traditional approach to weaning (ie making puree's and spoon feeding, most recommendations are to start somewhere between 4 & 6 months).

On that note...there are SO many different opinions on when to start solids, and just as many differing ideas on how to go about it. While I always thought I would be following the 'baby led weaning' approach, I also wanted to try my hand at making my own puree and so decided to go ahead with a bit of a mixed approach.  Also, as I started before 6 months (baby led weaning advises waiting until baby is 6 months old or even older) this meant I could really get stuck into preparing 'meals' For Everly. 

EverlyStartsSolids 5 Months Old (8 of 12).jpg

Meals is such a loose term, as most babies barely touch the food they are given for the first few days/weeks. But this is okay, after all, when starting out, all you are wanting to do is expose baby to as many different textures and tastes as possible.

Your milk/formula still makes up the bulk of their nutrition.

Farmboy and I have also followed a Banting/low carb high fat way of eating for the last couple of years (although we are far less strict with this now!) and so have chosen to avoid rice cereal as a starter food. Instead, after reading Tim Noakes' Raising Superheroes / Super Food for Super Children (thanks mom), The Nourishing Traditions Book of Baby & Child Care (again, thanks mom) and this blog post, I decided to start with egg yolk as a first food. It wasn't the only thing I gave my little girl, she also had some pre-chewed up apple and pear, as well as some raw carrot thrown into the mix. She absolutely loved the egg yolk the first two times I have it to her, and subsequently hasn't been too impressed with it. I am going to keep trying as egg yolks are jam packed with essential nutrients important for the development of the brain (the are full of choline, good cholesterol and iron!).

*NB Raising Superheroes is not a Banting cookbook; it doesn’t offer no-carb eating for kids. It does, however, advocate low-sugar, low-refined-carb, real food eating.

*NB Raising Superheroes is not a Banting cookbook; it doesn’t offer no-carb eating for kids. It does, however, advocate low-sugar, low-refined-carb, real food eating.

But, as I have learned, you really can't/shouldn't force a baby to eat something they don't want to. But, it is important to keep trying as some babies take something like 10 attempts at trying a food before they realise they actually like it.

Somewhere along the way, Evy had a few good pukes (who knows whether this had to do with the egg I had given her, a stomach bug that had been making the rounds or just from me giving her too much for her little tummy to handle), and so I decided to slow things right down, give her a break from solids, and go back to basics. This is where I found the Weaning Sense book by Meg Faure to be really useful. It's got a great guide and meal plan for starting solids, which really does help to get your mind around the whole solids thing. 

#EverlyStartsSolids Weaning Baby 5 months start solids

We are only really a month into the whole solids thing, and so I wanted to write this blog post and share with you all my mindset behind starting when I did, and to share what it's been like so far.

A few things I've learned in the past month:

  • ALWAYS have a cloth on hand as well as a bib...the food really does go EVERYWHERE

  • Use a transparent bowl/cup/container...babies like to see what they are eating

  • Experiment with temperature...it seems that my baby prefers cold food to warm food (weird, I know!)

  • Don't take your own judgement of flavour into account. Mixing avo and pear sounds really gross to me, but babies don't know any better. Also, try to expose your baby to as many different (age appropriate) foods so they don't become fussy eaters (like their parents!)

  • If you'd also like to avoid rice cereal, but aren't brave enough to attempt egg yolk, oats make a very good first food and from then on a good base food to add other things to.

  • You don't need to spend a fortune on goodies and gadgets to help you prepare meals...I very nearly spent over R600 on a couple of fancy ice-trays until my mom found these pretty pastel ones from Plastic Land. On the other hand, there are some gadgets that are amazing, and I would highly recommend purchasing (blog post to come soon). At the end of the day, if you like to have matching ice trays in a variety of co-ordinating colours, do it! If it makes the whole food prep thing more enjoyable for you, then I say go for it.

  • I do wish I had waited till she was 6 months before starting (mostly because breastfeeding is just so convenient when it comes to 'meal' time...and whipping out a boob is far easier than preparing/packing/heating up a meal. It's also less mess, less dishes and overall no worrying about whether they've eaten enough. Although I do wish I had given myself another month of convenience, I have had a lot of fun so far with experimenting with foods and seeing what her little taste buds to when exposed to a whole new world of tastes and textures


Equipment I found useful for the first few days/weeks:

Farm Afternoons spent Gardening in Creighton (1 of 6).jpg
  • Spoons (I've been using the Munchikin range which I bought at Mr Price Home). The tips change colour to white when the food is hot

  • A mesh baggy thingy (also from Munchikin and also bought at Mr Price Home) which is great for putting pieces of food in to suck on

  • Ice-trays from Plastic Land to freeze freshly prepared food in

  • Clear zip lock bags to store the food from the ice trays in (these takes up a lot less space in the freezer)

  • Avent cups (I bought these on Takealot and mainly use them for freezing breastmilk as they also fit my breastpump...but they work a charm for serving food too!)

  • Bumbo seat (I plan on buying one of those white plastic high chairs from Game when she gets too big for the bumbo...which won't be far off because, well...#thunderthighs haha)


On a side note, it's very easy to get REALLY caught up in the whole solids thing, especially when it comes to their very first taste of something other than milk. But, at the end of the day, you aren't going to 'ruin' your baby if you don't give them the most perfect/organic/made from unicorn tears meal...so take it easy on yourself and have fun with it! 

The best piece of advice I've come across so far for introducing solids is

'Food before One is just for Fun'

and that little rhyme has helped me not get too caught up in the whole thing, especially when Everly refuses to eat anything solid for 2 days and then has a bad night and I get all in a tizz thinking that it's because she's 'starving' due to not having eaten all the fancy food I prepared her. And while we are on the topic, be prepared for the disappointment when your little one isn't as taken with your freshly prepared dish, preferring to chew on the wet face cloth you've placed beside her to help keep some sort of order in the chaos.

So that's where we are right now in the journey to solids.

Do you have any advice for us? Anything that helped you or any great products (or any nice recipes) you'd like to share? I'd love to hear from you in the comments below!

Early misty farm mornings || Life on a dairy farm

Early Mosty Farm Mornings on the Dairy Farm with Farmboy & CityGirl South Africa-01.png

After a particularly bad night (or rather a week of a lot less sleep than usual) I'm going through my photos and reminding myself of all the things I have to be thankful for. And at the top of the list, living in such a beautiful place...even when the whether is grey and cold.

Here are a few photographs from an early morning adventure to feed the calves with Dad. Most mornings, after Evy wakes up and I feed and change her, we walk down to the dairy office to see what Dad is up to. On this particular morning we caught him just in time to hop in the bakkie and go with to feed the calves. What a fun adveture for little Everly.

Everly had so much excitement, she promptly passed out halfway through. I'm treasuring these rare moments of her falling asleep in my arms. She used to easily fall asleep with me holding her, no matter where we were. But now that she's bigger and more alert as to what's going on, it rarely happens anymore.

I'm not sure where the last 6 months have gone to, it's sort of passed in a blur and yet in those hard moments, time has dragged on. It really is true when they say 'The nights are long but the years are so very short' and so I'm going to keep reminding myself to pick up my camera and keep capturing the every day moments so I can look back on them and remember.

Everly's Top 5 Sleep Essentials - Newborn to 3 months

Baby Sleep Essentials Newborn to 3 months CityGirlSearching Blog-01.png

When it comes to babies, I think sleep (or lack there of) has got to be one of the biggest, most debated topics around...although it's probably right up there with starting solids/breastfeeding vs formula and oh wait, don't forget natural vs cesar birth. I guess just about anything and everything to do with babies will elicit wanted (and unwanted) advice and recommendations from everyone and their granny. 

I want to share what things have worked for us when it comes to our little girl, because I have always loved reading blog posts from other mommies (I find blog posts are easier to digest than spoken advice, plus I can 'turn them off' and come back to them if I want to and if I like the way the blogger has shared her experiences). I hope you find this post useful, and as always, please leave me a comment below if you have any questions about anything I've written about, or whether you'd also like to share something that has helped your little one sleep well/better.

1. Swaddle Blanket - Groswaddle 

Baby sleep essentials citygirlsearching blog newborn to 3 months swaddle blanket

Groswaddle Swaddle Blanket

I'm sure you have heard that babies like to be swaddled, right? And while I'm sure any old blanket would work, the Groswaddle is a lovely soft and stretchy cotton fabric that wraps perfectly around little newborns. It's also very easy to use (it's designed in a 'T' like shape), so even Dad can help with those early morning wraps after nappy changes. We were given two, and they were just amazing. I had a selection of other swaddles, but somehow Everly was always able to undo them. She stayed pretty snug in her Groswaddle though. She wanted to have her arms out, and would fuss no end until we took them out. You can get your hands on the Groswaddle and other Gro Company items on Takealot.

We used these swaddle blankets until she got too big for them, at around 2 months. Although it may seem like a short time to invest in such a fancy swaddle blanket, it's one of the items that I would buy again and again!

Baby Sleep Essentials Newborn to 3 months GroSwaddle swaddle blanket

2. Nurture One Nesting Pillow 

Baby Sleep Essentials CityGirlSearching Blog Newborn to 3 months Nurture One Nesting Pillow Cushion

Nurture One Nesting Pillow

This was probably one of the more expensive sleep accessories, but Everly loved this pillow and even if it only ended up giving us a few peaceful hours of sleep, it would have been worth it. It gave us a LOT more than just a few hours of good sleep though, and had it not gotten so hot here, I probably would have bought it in all the next sizes.

The only downside that I found, is that the stuffing gets 'stuck' on the one side of the pillow, and now matter how much poofing and fluffing I did, I wasn't able to get it even. It's not a big problem though, as you can flip the pillow around, and put a blanket under the other side to make it even. The NurtureOne Nesting pillow is easy to clean, simply pop into the washing machine. I still popped a receiving blanket over the pillow to keep it extra clean though, as I didn't want to have to wash it every time it got dirty. You don't realise just how long it can take to get into the swing of getting all those burps out, and of course getting a good system right with your nappies (we use cloth nappies and had our fair share of leaks until I figured out the correct fit/best absorbent ones to use on her).

What I really loved about the NurtureOne Pillow, is how easy it is to transport a sleeping baby. We were able to pick her up, while sound asleep, and move her to the couch, to the other room, and the best part, it fit perfectly in our pram bassinet! So she could carry on sleeping peacefully while we moved her from our house to Granny across the garden. We have the size 2 (75 cm x 45 cm).

We used the pillow until she was about 2 months old.


3. Bassinet

This will all depend on where you decide that you want your baby to sleep. We decided Everly would sleep in her own room, and were able to borrow the family bassinet until she moved to her cot.

We had her in a bassinet, in our room for the first night after we got home from hospital. I didn't sleep a wink. I had the bassinet right next to me, and I spent the whole night putting my hand on her chest to make sure she was breathing. We did have a monitor, but didn't use it the first night as I was so close to her. From that moment on, I knew we needed her to sleep in her own room so we that we would be able to rest as much as we could. I had no idea just how noisy newborns are! They grunt, and moan, and squirm, and all while being fast asleep! Our house is pretty small, and the two bedrooms we have (hers and ours) are right next door to each other, so we were able to hear her when she woke up and started crying. From day 2, Everly slept in her bassinet, in her own room (on her Nurture One Pillow and wrapped in her Groswaddle). We used the family heirloom bassinet, a lovely wicker one with homemade bedding borrowed from my sister in law. 

NKRI3619.jpg

I also didn't find it easy feeding her in bed, and I really didn't enjoy the mess of breastmilk all over the sheets (I had a pretty forceful letdown, and every feed I had to have towels and breastpads on hand...it wasn't a pretty sight, and poor Everly learned very quickly to be at the ready or else risk being squirted in the eye/up her nose/all over her face haha). Although feeding her in her room did mean having to get up and go to her room when she woke at night, I really didn't mind.

Those first few weeks were a blur, and I don't know what I would have done without my amazing husband who accompanied me on every night feed and nappy change for those first weeks. It was a very special time, sitting there in our daughters room together.

I would feed her, and then pass her to him and he would burp her (I really didn't like the burping part!) and then we would change her nappy together. He was so patient with me, especially as I insisted we were going the whole cloth nappy route and so every nappy was a bit of a learning curve. Here he is at 04h50 on morning...bear in mind he has to be at work (ie in the dairy for milking) at 04h30...this must have been a weekend morning. So even on his weekend off (he works two weekends a month) he sat with me.

newborn sleep essentials citygirlsearching blog

I put two chairs in the nursery, but hadn't intended for the one to be used by my hubby, we just didn't actually have anywhere else to put it. But it worked out so well having two chairs, and the second chair still gets used by visitors all the time. Some people put a bed in their nursery, and if I had had space I probably would have done the same. 

Girl Woodland Nursery South Africa citygirlsearching blog

In the above photo you can see both the chairs I have in the nursery (my feeding chair on the right & spare chair on the left).


4. Nightlight

I spent an unhealthy amount of time during my pregnancy, trying to find the perfect night light. As I'm sure other moms can sympathise, it became the one thing I obsessed over. It doesn't get an sillier friends. Thank goodness I stay on a farm in the middle of nowhere, or else I would have spent countless hours perusing shop after shop in search of 'the one'. Although I didn't visit any physical stores, I did spend my fair share of WIFI date, and after getting so dispondant that the 'perfect little bunny night light' was sold out in all the online stores I could find, I realised how silly I was being. 

rose quartz lamp nursery baby room south africa citygirlsearching blog night light for baby room

Towards the end of my pregnancy (when I was feeling #ALLtheachesandpains) I booked myself in for the most incredible full body massage here in our town. I know...can you believe we have not one, but two, amazing therapists here #smalltownforthewin! It was while having that massage that I feel in love with the beautiful Rose Quartz lamp that lit up the room, casting a beautiful glow. And the fact that it was pink didn't hurt either. I spent the next few days trying to track down a Rose Quartz lamp, not an easy feat I tell you, mainly because most of the pink stone lamps out there are salt lamps. Salt lamps are also lovely, but tend to crumble and you need to be careful of the heat from the light bulb, and so I chose to rather go with a Rose Quartz lamp. I know nothing about crystals, but thank goodness for Instagram, and I remembered I had a fellow blogger friend who knows everything about crystals. Thank you Siobhan for answering all my questions!

I ordered my pretty pink lamp from Static Energy, and it is my absolute favourite thing about Everly's nursery. It casts a very soft and warm glow on the whole room, and although I now turn it off when I put Everly to sleep (it's rather bright and now that she's older she wakes up more easily), it goes on every evening during bath time and bedtime, and helps Everly know that it's time for bed.


5. Baby Nest

Our Baby Nests have come from BumBumz, a lovely local business run by the delightful Sharon. If you order our BabyNest from her, tell her Roxy sent you. She is a dear friend, and runs her business with love and passion.

She also running a special on her products for the month of February...15% off everything a flat rate courier fee of R100.

Although similar in function to the NurtureOne Cushion, the Baby Nest has been our absolute favourite sleep accessory. So much so, that we are still using one (we have a bigger sized one now) and will probably even get the large size in a month or two. A Baby Nest is sturdier and hardier than the Nurture Pillow, and so, is very easy to travel with and take anywhere and everywhere. It's also really great for slightly older babies, as they can't roll of it.

Once it got too hot for the NurtureOne cushion, I put the Baby Nest in the bassinet, and then was still able to move her around the house while she slept. We also moved Everly to her cot at about 2.5 months (for no other reason that I wanted her to start using it, and the bassinet was really hurting our backs from picking her up and putting her down in it).

She carried on sleeping in her Baby Nest, inside the bassinet, right up until she just got too big for it!

I recently went on holiday to the beach for a week, and instead of having to take a camp cot/bassinet, I just took the Baby Nest and Everly slept like a dream the entire time. 

This is Everly at nearly 5 months old in a custom size (Medium/Large) Baby Nest from BumBumz

This is Everly at nearly 5 months old in a custom size (Medium/Large) Baby Nest from BumBumz

The BabyNest is super easy to clean, simply pop it in the wash and then put it out in the sun to dry. I have been very pleasantly suprised at how well both of them have washed in the washing machine. The spin cycle generally sorts out most of the left over water and then the sun does the rest of the job beautifully. You can also spot clean by hand, which I am proud to say I have had success with.

The other sleep essential is a dummy/pacifier. Everly only gets it when it's nap/sleep time, and pretty much puts herself to sleep when she has it in her mouth. I also give it to her in the car for long journeys. Although there is (again) much debate about the use of a dummy, we are grateful she will take one, and like that she uses it for sleeping. 

So there you have it, our favourite sleep accessories for our little girl. Is there anything you would recommend to new moms? I'd love to hear from you in the comments below!

x

The #CGScreative February Photo Challenge - an easy & fun way to grow your Instagram account

The #CGScreative February Photo Challenge - an easy & fun way to grow your Instagram account

There is no time like the present to grow your Instagram following, and I'm going to make it really easy for you! 

Introducing the CGScreative 30 Day Instagram Photo Challenge

This is the third challenge I have hosted over on Instagram, and I am delighted to invite you to join in the challenge for the month of August.

If you're wanting to learn tips on how to build a more cohesive feed, connect with like minded people and ultimately grow your Instagram following and influence, then you are definitely in the right place!

Read More

Life with a Baby - Week 15

Life with a baby week 15 less sleep but more smiles by CityGirlSearching

Oh goodness me...it feels like someone has swopped my sleeping newborn cherub for a wide awake and ready for action infant, literally overnight! 

It was just the other day that I was thinking that the 3 month stage is just the best...and then just as I was getting used to all the giggles and smiles, along comes more changes which have left me feeling a bit frazzled. Before I go on with this post, I do want to give myself a big pat on the back for keeping a little human alive for the past 3 and a half months. I have completely surprised myself, mostly because I was absolutely terrified about becoming a mom (see posts below for more on my pregnancy journey): 

I loved being pregnant so much that there were times when I wished I could stay like that forever!And the idea of what was to come really scared me. Mostly, I was scared of being 100% responsible for something so small, who depended on me for every.single.thing, and then the worries of what exactly I would do with her all day. Those first few weeks went by in such a blur, I needn't have worried. Mommy instincts do indeed kick in, and before you know it, they are no longer a newborn.


I have been wanting to share a post on life with a Newborn for ages, but, life with a newborn doesn’t allow for much of anything other than keeping said newborn alive! I have a handwritten draft of that post which I will hopefully share with you all soon. I’m going to include lots of the baby things/paraphernalia we loved and that made our lives easier, and the items we felt were a bit of a waste of money...stay tuned for that soon!


According to the plethora of baby books I own, here are a few possible explanations, as well as a few others I have thought up :

  • The dreaded 4 Month sleep regression (eeek!)

  • A growth spurt

  • Teething (she has been drooling A LOT! but no sign of any pearly whites just yet)

  • A Wonder Weeks developmental leap

  • Travel or disturbance of environment/routine (we flew to Joburg a couple of weeks ago? Also we have been visiting lots of family and friends so this could be an added element?)

  • Since returning from Joburg, we have moved her out of her bassinet and into her cot...her baby nest has also become far too small and now she is just in the cot as is, perhaps she's missing the snugness of the baby nest?

  • And the most probable one...she's just being a regular baby, growing and changing with no real explanation as to why she does what she does!

15 week sleep regression life with a 15 week old baby citygirlsearching blog

Up until now...

Evy has been a wonderful sleeper from day one. I had mentally prepared myself for literally NO sleep for the first year of her life, and so the fact that she would sleep 3-4 hours at a time during the day, and 5-6 hours at night in between feeds (Evy is Exclusively Breast Fed Or EBF) in the first few months was a wonderful surprise. I can't really say that it's one particular thing we do that makes her sleep like she does (or rather...DID!), I think a large part of it has to do with luck and her being a really content baby. But I'll share the routine we follow, because I'm pretty sure it does at least play a part.

I know it doesn't really need to be said, but I want to say it here...all babies are different, and some babies, not matter how much 'sleep training/crying it out/routine fixing' you do, just want to be close to mommy and are never settled until they are on their mommy. I am a general busy body, and wanted to try my best to have Everly fit in with our lives (this is only really possible up until a point) instead of us fitting in with her. I also want to say that a lot of my friends have babies who have had terrible reflux and so their journey's have been very different to ours. If you think your baby has reflux and you've been having a really really hard time, I'd love to share these two blog posts by my friend Sophie (an extraordinary mommy I'm so lucky to call my friend)...click here.

We try to be quite flexible in our routines, but our bedtime schedule goes a little something like this:

  • 6pm bath time (depending on her afternoon nap I’ll either feed her one side right before bath time or when she wakes up from her last nap which can be anywhere between 4 & 6pm). Then once out the bath it’s a quick massage, a nice big clean nappy (we are using cloth nappies...click here to read more about our cloth nappy journey so far) and pyjamas. She generally screams blue murder if we take too long to get her clothes on after her bath, and I guess I would too if I was left to get cold on a changing mat after a lovely hot bath.

  • +- 6:30pm feed the other side and burp her

  • +-7pm sleep time

In the last few weeks she was sleeping right through until about 3 or 4am when she would wake and I would go in and feed her (and change her nappy if she needed) and then pop her straight back down again where she would sleep until around 6 or 7am.

We have been pretty strict about Everly’s sleeping right from the very beginning. I had been told to put her to sleep in a way that I could realistically do at 1 in the morning, and so a dummy works best for us. I knew there was no way I wanted to be up rocking a baby to sleep every time they woke up and so we were pretty firm with putting her down and letting her settle herself to sleep. 

Here's how put Everly to sleep at night:

After her bath & last feed & burp, we pop her straight down in her cot while she is awake but drowsy, put her dummy in and walk out the room. Depending on whether she’s sleeping on her side or back, we’ll give her a few bum pats (gosh I will someone had told me before having a baby how life changing bum pats would be! Pretty much never fails to calm her down when she gets niggly). This is the only time of the day that I feed before her sleep.

And during the day:

I try to follow a 'wake-eat-change-play-sleep' routine during the day so that she doesn't associate sleeping with feeding, as feeding before sleeping makes life really hard as baby ends up refusing to go to sleep without a feed. This has become so much harder to do lately as she is awake so much more. From about month 1 to month 3, she would sleep about 3 hours at a time during the day, which meant every time she woke up it would be time for a feed (I have fed on demand and she would generally go around 3 hours in between feeds during the day). We do the same sleep routine during the day as at night. Except this time she gets put down after play time, and it can take a little longer depending on how tired she is/how much of a good mom I've been and actually played with her vs. popping her on her play mat to play by herself.

Everly Rose .jpg

And now...

For the last week or so, she's been waking up after quick 45 minute naps during the day (sometimes stretching two 45 minute naps together...what is called 'linking' in baby lingo) and it's just not nearly enough time to get anything Adult/Roxy/Non-Mommy related things done. This has been really hard for me to adjust to, and I have found myself getting more and more frustrated. But, this is just part of the mommy-hood journey, and I'm sure there will be lots more moments like these to come. But please, comment below and let me know I'm not alone!

Her new night time wakings have also been harder to adjust to. She's been waking up a few times, and I've managed to get through some of them by going in and popping her dummy back in, patting her a few times and then walking out. When that has failed (and I've been back and forth with the dummy numerous times) I have resorted to feeding her and then putting her back down to sleep. We do have it relatively easy, but still...the last couple of weeks been an adjustment.

I wanted to share this post here (and anymore 'Life with a Baby' posts I am ever actually able to write) as a way to document my journey through motherhood. If you have a baby or if you're having a baby soon, I hope you find it useful or inspiring (or perhaps you'll just have a good old chuckle at the things I find difficult now as I'm sure there are worse to come).

But most importantly, I want to share this post because each of us first time moms are walking our own paths through motherhood, and our struggles, no matter how big or small they might seem in comparison, should unite us together, rather than making us feel alone <3.

Everly Rose 3 Months (3 of 13).jpg

Now for the fun stuff...

Current fav nickname: Bobbin

Loves: Being sung to and any and all music! Likes to face forward when being carried so she can see the world. LOVES being naked so she can kick and squirm and fling her arms and body about.

Hates: Tummy time! The amount of tears we ave both shed as I have watchd her squiggle and scream on the mat has left me traumatised. But, there is light at the end of the tunnel! After a good 3.5 months of really struggling with this, it seems that she has graduated from blue murder screams to mumbling her distaste at being placed face down on the floor. It was a pretty viscous cycle for a while, the more she cried the less I forced her to do tummy time (an the more judgey eyes I'd get from my mommy friends), and therefore the harder it was when I did pluck up the courage to do it. But I am happy to say, we seem to have found a position she can tolerate, and this has made tummy time on the floor a bit easier as she is getting stronger.

Here's my absolute favourite photo of her doing tummy time (and the ONLY time she has ever actually stopped crying and actually smiled...#mommywin!). Let me know if you'd like em to write a blog post on tummy time, and how you can actually make it a fun activity rather than a horrible chore.

15 week baby sleep regression life with a baby citygirlsearching

Teething: Loads of drool, both hands always in the mouth (a few choking episodes where she's opened her hand while it's in her mouth and her fingers have gone down her throat...poor thing!). Everything goes into the mouth now, her hands, my hands, any and all toys, and her favourite thing to grab and suck on...my hair (ouch!).

Eye Colour: Grey? Dark Blue?

Hair Color: Dark Brown 

Weight: Weighing in at 6.2 kg's, Everly has officially doubled her birth weight! 

Feeding: Breastfed

Sleeping Aids: Her hands, a dummy & a little soft giraffe taglet/doodoo blankie

Current clothing sizes: 3-6 months (although she has been in this size for a good while). I'm going to blame it on the cloth nappies ;) I have still managed to squeeze her into one or two of my favourite 0-3 month outfits, but these were mostly her sweet little jackets and jerseys. The 0-3 month onesies and leggings haven't fitted her for a good many weeks! 

Currently eating/not eating: in the beginning, I found that the only thing that really seemed to upset Everly in my diet was tinned tomatoes. I pretty much carried on eating everything I had eaten during pregnancy. Something that I am pretty sure plays a big role in her afternoon grumpiness and something which I try to avoid is caffeine. The days when I do drink caffeine, I try to have it as early in the day as possible. This has seemed to lessen the 4 - 5pm bbay meltdown period  considerably!

3 month baby 15 week sleep regression life with a baby by CityGirlSearching

That's all for now friends. I'm hoping she settles back into her usual sleeping pattern, and if not, all the smiles and the talking and general cuteness will undoubtedly make up for it all.

Wishing you all a wonderful Christmas and festive season from all of us here on the farm.

Camera Cafe 꿈꾸는사진기 - Dreamy Camera Cafe just outside Seoul, South Korea

Dreamy Camera Cafe in Seoul South Korea Cute Korean Coffee Shop_Artboard 3.png

I am rather late to writing this blog post and sharing these pictures (in the time since I visited Dreamy Camera Cafe, Farmboy and I...and our pup Shadow, moved back home to South Africa, settled on the family dairy farm and I had a baby! Whew...An awful lot considering these photos were only taken a year and a half ago!).

A quick recap if you're reading this post and wondering what on earth we were doing in South Korea...

Farmboy and I moved to South Korea for our second stint of teaching English (the first was for a year in 2010 when we had just started dating, and ended up living in Daejeon...our second round we returned as a married couple and were placed in the teeny tiny rural town of Buan...which you can read more about by scrolling through the posts here:

One of our absolute favourite things about Korea has got to be their plethora of themed cafes.

Koreans sure do love their coffee, and what they love more than good coffee, is a cute place to enjoy it in.

I'm linking below, some of the other cafes we visited (there's a racoon cafe, dog cafe, cat cafe, flower cafe, teapot cafe...the list goes on!):

And now back to Dreamy Camera Cafe...

The cafe is situated outside of Seoul, and isn't that easy to get to. We had in a car while living in Korea and so were able to get drive there ourselves. But, the owners are so friendly, and before we had a car I had been in touch with them and they had given me really good directions for using public transport. I'll put those details at the end of this post.

We took our pup, Shadow (he went everywhere with us) and he had a ball meeting the two local pups who live with their owners (the camera cafe owners) in a sweet little house next to the cafe. You'll find them in one of the polaroid pictures below.

The cafe itself is set inside a model of an actual classic Rolleiflex twin-lens camera. The cafe is a double storey building, with seating upstairs as well as downstairs. Every square inch of the cafe is filled with cameras and camera paraphanalia. It's a photographers dream!

It ended up taking us a good hour and a half driving through the peak holiday traffic in Seoul, and so we spent the morning at the cafe, drinking coffee, eating cheesecake and being served delicious homemade pink lemonade! The owners, Park Sung-hwan and his wife Kwak Myung-hee began construction on their dream in 2012, and first opened their doors a year later. 

Both Sung-hwan & Myung-hee built the cafe in the hopes that people would visit for longer than the time it takes them to snap a photo in front of the iconic building and gulp down a cup of coffee. They encourage their customers to spend time dreaming and leave inspired to bring their dreams to life.

They even take photos of their customers with a polaroid camera, encourage them to write down their dreams and hopes for the future. Here is our Bucket List...and I often look back at it with fond memories of our visit to the cafe:

IMG_0307.jpg

They even take photos of their customers with a polaroid camera, encourage them to write down their dreams and hopes for the future. Here is our Bucket List...and I often look back at it with fond memories of our visit to the cafe:

Farmboy and I fit right in with our collection of cameras (I had my Nikon d750...used for the photos here in this post, and my polaroid, and Farmboy came armed with his GoPro).

If you're looking for a fun daytrip from Seoul, I highly recommend heading out to Dreamy Camera Cafe. Take a book, your journal or even your knitting, and spend a few hours in the peaceful surroundings. The cafe is also just as magical in each of the 4 seasons. Head on over to their Instagram account (click here) to see more photos of the cafe in the snow, the blossoms and the Autumn leaves.

Dreamy Camera Cafe Cuet Korean Cafe Seoul South Korea by Roxy Hutton of CityGirlSearching Blog_0020.jpg

Address:  

341-13 Jungwon-ri, Yongmun-myeon, Yangpyeong, Gyeonggi-do, South Korea

Phone:

 +82 31-771-3264

Opening Hours: 

Tuesday - Saturday 11:00 AM - 6:00 PM
Closed on Mondays, Sundays & Public Holidays

Directions: 

If you come from seoul, there are two ways.
1. Use the Subway:
Jungang line station (youngsan, oksu, wangsimni, Cheongnyangni station...etc). 
Transfer to the Jungang line and go Yongmun station(용문역). 
Get out from yongmun station(용문역) Exit 1

* 2hrs need from Chungnyangni station to Yongmun station

2. Use Mugunghwa Train (usually once every two hrs)
You can only start your journey at Cheongnyangni station.
Cheongnyangni station (use the subway) and take the Mugunghwan Train to Yongmun station.
It takes 40minutes from Cheongnyangni station to Yongmun station.
At Youngmun station, take exit 1.
Take a taxi (it's 7km to the cafe). Tell/Show the taxi driver  "중원리 꿈꾸는 사진기"
+-10,000won need (about US$ 9~10)

Find the camera cafe online:


More posts on life in South Korea:

Blueberry Cafe in the Midlands - Great food in the Midlands

Blueberry Cafe Brunch Lunch Breakfast Nottingham Road Midlands Meander_Artboard 3.png

Blueberry Cafe is a special place. It's nestled just outside Nottingham Road in the Natal Midlands, and from the moment you start up the winding driveway, you just know your in for a treat.

This is our second visit, and even though we have yet to have sunshine on our visits, the weather never takes away from our experience.

Both of our visits have been over breakfast time, and this visit we had their Harvest Table which consisted of a blueberry pancake, muesli, yoghurt, fresh fruit and honey for starters with a 'cocktail' of fresh fruit juices that you mix yourself.

This is then followed by your choice of eggs, a side of bacon....yum! 

Blueberry cafe is most famous for it's bluebweey cheescake, but we were so full from breakfast, we didn't have any room for dessert. We did have a great cappuccino though!

One of the highlights of this cafe is a trip to the bathroom...I won't spoil the suprise entirely, but here's some photos to give you a little hint.

Pull the Wool

The cafe also has an amazing room filed with locally produced gifts and artwork. If it wasn't the middle of summer, I would have bought ALL the woollen items from cape town based Pull The Wool.

Instead, I had to make do with my camera in capturing the gorgeous colours and  textures.

You can find Pull The Wool online here >>> https://pull-the-wool.com/

Leigh Woodgate Paintings

I have long since been a fan of Leigh Woodgate's beautiful artwork, and have seen her paintings for sale all over KZN. My mom in law has a number of gorgeous roses in her home here on the farm, and I know that her work adorns a lot of the local ladies here in my town.

I'm hoping own one of them someday soon!

You can connect with Leigh Woodgate and her artwork on Facebook >>> Leigh Woodgate Art

Moth Home

And now on to my favourite things...these bags from Moth Home! How gorgeous are they?! These duffel bags make me want to jet off to a magical island right now.

Our visit to Blueberry Cafe was during our first family weekend away in the Berg. We spent one night at the gorgeous Forty Winks Guesthouse in Rosetta (blog post to come soon) and then another two nights with family in the Berg.

And finally, here are some shots of my little girl, who had just started smiling and cooing, and only had eyes for Dad...

Have you been to Blueberry Cafe? Did you enjoy it as much as we did? I'd love to hear from you in the comments below!

In the mean time, here are some more posts on places to visit in SA:

#BBUndercover Hair Care Challenge with Beauty Bulletin South Africa

#BBundercover hair car challenge review with Beauty Bulletin South Africa y Roxy Hutton of CityGirlSearching Blog-01-01.png

I am a little late to the #BBundercover party as I live out in the middle of nowhere on a farm and only received this package yesterday, but I am SO excited to be taking part in this challenge!

As mentioned, living out in the middle of nowhere makes it harder to get hold of products and find new beauty products to try. Because of this, the package that arrived from BeautyBulletin couldn't have come at a better time.

Having also just had a baby, my hair has taken a bit of a backseat and is NEEDING some extra TLC.

#BBUndercover Hair Care Challenge with Beauty Bulletin South Africa


I've only used the products once so far, and I have been pleasantly surprised by how soft and shiny my hair is looking...from just one wash.

I'm not mad about the smell of these products, as they remind me of another (mid range beauty) brand that I'm not too fond of. BUT I am always up for giving products and brands a second chance, so this challenge may just change my mind about the brand I referred to, if it ends up being the brand I think it is!

Needless to say I am VERY intrigued by both products and can't wait to see if my suspicions on the brand are correct!

#BBUndercover Hair Care Challenge with Beauty Bulletin South Africa

A little background on this undercover project:


A group of 'testers' have been selected to participate in an exciting blind shampoo and conditioner project. We know NOTHING about these products apart from the fact that they contain nourishing Shea butter and top quality natural ingredients. They are also suitable for all hair types (yay!).

Here's a video where I'm sharing my first impressions on this exciting shampoo & conditioner!


Stay tuned for the big reveal, coming soon!

x

High Contrast Baby Mobile Dangle Toys - Little Interiors

High Contrast Baby Mobile Dangle Toys from Little Interiors Photos by Roxy Hutton CityGirlSearching Blog_Artboard 4.png

When starting to plan my little girls nursery, I headed straight to Pinterest and so began my dreams of pretty pastel shades of pink, peach and cream. You see, I was planning a space for ME, not for a teeny tiny newborn who couldn't tell the difference between marshmallow pink and soft apricot. And so, when my step mom told me about the 'gorgeous' black & white mobile dangle toys from Little Interiors she had found at the Decorex show in Joburg, I was sceptical at first.

You see...I had already made my own gorgeous mobile dangles (complete with cute kitty)...

baby mobile toy girl nursery newborn toys

I added a 'high contrast' burgundy ribbon, as I had read that babies are naturally drawn to high contrast colours (like black and white) which, according to this article on visual stimulation by Dr Sears "registers powerfully on baby’s retina and sends the strongest visual signals to your baby’s brain. Stronger signals mean more brain growth and faster visual development" - Dr Sears.

So I thought my little piece of burgundy was going to do the trick and give my little girls endless hours of stimulation on her changing mat. But alas, she was not as taken with my pretty pastel mobile as I was.

I did a little more research into the high contrast mobile dangles from Little Interiors, and found two wonderful post that Mariette has written on her blog. The first post (click here) detailed why high contrast colours are so important for newborn, and the second (click here) went on to show you how you can incorporate high contrast colours into your nursery, even if you've chosen a soft pastel theme for your decor. 

Well, I thought it couldn't add any harm to try adding one of the black and white dangle toys to the mobile (the flower you can see in the picture below), and low and behold, if it hasn't become Everly's absolute favourite toy.

Little Interiors High Contrast Dangle Toys for Newborn Photos by Roxy Hutton of CGScreative & CityGirlSearching (7 of 20).jpg

I also have a set of woodland creatures that hang flat when looked straight at them, but her favourite one has got to be the little flower than hangs flat for her when she's on her back on the changing mat.

Hubby and I are absolutely certain this little flower has magical powers, because whenever she starts crying on the mat, all we have to do is spin the flower and she goes into a trance. It's incredible!

I've since taken down all my pastel dangles, and have just left the Little Interiors black and white high conrast dangles up as those are what she loves (for now).

I'm hoping that in a few weeks time I can put them back up and she'll respond to them.

Otherwise I'll have to find another use for them..any ideas on what I could do with them?

I can't recommend these dangles enough, and there are so many lovely designs to choose from. I'm wanting to add more of the flat hanging ones, seeing as she loves her flower so much.

Well done Mariette on creating such an amazing visually stimulating toys for newborns!

You can shop for the dangles online by >>>clicking here<<<.

In case you're wondering, the change mat mobile frame  is from RubyMelon.

P.S these photos were taken a good few weeks ago, and it's safe to say she is just as in love with the flower now at 10 weeks, as she was at 2 weeks :)


Do you have any toy recommendations for newborns? I know that teeny tiny babies are generally too young for toys, and that homemade things work just as well, but I'd love to know if you have had any experience with toys/decor items that have been stimulating for your little one. Drop me a comment below, I'd love to hear from you!

Newborn Cloth Nappies 101 - What you need to get started

Cloth Nappies for Newborn what you need to get started_Artboard 4.png

Hello and welcome to the first post in my cloth nappy journey! I have been using cloth nappies (or diapers) on my little girl ever since we arrived home from hospital, and I'm so excited to share my experiences with you. 

I was only vaguely aware of cloth nappies before being pregnant, and of course the idea of a cloth nappy was very much old school...ie. a huge square of white towel, held together with some torture device called a snappy which needed to be dunked in a big bucket of bleach every day.

Well, I couldn't have been more wrong. 

So grab yourself a cup of tea and settle down for a mammoth of a blog post (the first of many!) on how to use cloth nappies!

How to Use Cloth Nappies South Africa CityGirlSearching Blog (42 of 100).jpg

Modern day cloth nappies are a far cry from the terry towel nappies our moms would have used on us growing up, and let me tell you, they are addictive! Once I dived down the rabbit hole of all things cloth, I found myself spending those sleepless nights during my pregnancy glued to cloth nappy Facebook groups of fellow moms and moms-to-be selling preloved fluff (the affectionate name given to cloth nappies) and scrolling through endless threads on washing routines. These days there are so many different types of cloth nappies to choose from, fabrics to decide on and folds to learn that it can be incredible overwhelming. And depending on the type of nappy you choose to use, it can also be incredibly expensive, with fancy brands and custom made designs leading to some nappies costing R400 - R500 a pop!

Cloth nappies don't have to be expensive though, and can be done on any budget. I'm going to go through all the different types of nappies in another post, but today I'm going to share with you my choice of cloth nappies for my newborn, what you need to get started & hopefully I will inspire you to start your own cloth journey.

How to Use Cloth Nappies South Africa CityGirlSearching Blog (61 of 100).jpg

Let's start the the very beginning with the question of why you would want to choose cloth nappies over regular disposable nappies.

{A lot of this information has been taken from the South African Cloth Nappy Users Website (SANCU)}

There are so many benefits to using cloth, but here is a little list to help you with your decision:  

  • Saves money (you can re-use your nappies for baby number 2 & 3 etc and even re-sell afterwards if cared for correctly)

  • Better for the environment (disposable nappies sit in landfills for years and years and years before breaking down...with a single child going through on average of 4000 disposable nappies by the time they are potty trained, one can't even fathom how much waste that is just sitting in landfills the world over)

  • Beautiful patterns & designs

  • They contain no hydrogels which leads to less skin irritations & reactions


Cloth nappy myths

Let's set the record straight here and show you that it's actually much easier to go the cloth nappy route than you might have thought:

  • Cloth nappies leak >>> Cloth nappies contain runny poo better than disposables...bye bye poopsplosions

  • Cloth nappies are time consuming >>> Using cloth nappies takes roughy an extra 10 minutes of time per day

  • You need special (expensive) detergent to wash cloth >>> Regular detergent is just fine, simply skip the softner

  • Cloth nappies smell really bad >>> No hydrogel in cloth means nothing for wee & poo to react with meaning no nasty chemical smells

  • You don't really save with cloth due to extra detergent, electricity & water bills >>> Even when taking into account all of these costs, it's still possible to save anywhere from R11 000 - R26 000+ when using cloth

  • Cloth nappies delay milestones like sitting/crawling/walking >>> Cloth nappies give better hip support, are more comfortable, have extra padding to cushion any falls

  • Cloth nappies are unhygienic >>> With cloth nappies the poo gets disposed of where it should (in the toilet) as opposed to sitting in landfills. Cloth usually gets washed more frequently than rubbish is disposed of. Cloth nappies generally get changed more frequently than disposables.

Washing nappies does not take up hours and hours of your precious time. In reality, the washing machine does all the hard work for you. All you need to do is give them a quick rinse, pop into the machine, and then hang out to dry.


I could go on and on about how great cloth nappies are, but I'd rathe point you in the direction of the SACNU website as it's filled with everything you could possibly want to know about cloth nappies. They also have a fantastic Facebook page (click here) and then there is also a fantastic Facebook group for buying and selling cloth nappies...click here to head on over.


How to Use Cloth Nappies South Africa CityGirlSearching Blog (70 of 100).jpg

my choice of cloth nappies for newborns

I will be writing another post on all the different types of cloth nappies, but for today I want to share with you what types I've chosen to use for my newborn, why I've chosen these particular nappies and which brands I recommend.

Before we go any further, it must be noted that there is definitely a learning curve to cloth nappies. It takes time to learn what works best for you and your baby, and to learn how to fold nappies to ensure you don't get any leaks. I've had my fair share of leaks and wet clothes from covers not fitting properly, and with those skinny newborn legs it can take a while to work out just the right techniques to ensure the right fit for your baby. Even with the leaning curve, I absolutely love using cloth nappies and you get used to how 'big' their bums are in cloth. Being a first time mom and learning how to hold a newborn, I loved having a big bum to hold onto when carrying her around. Also, I have found that most of the baby clothes generally fit very well over bigger cloth bums so there's no need to worry about that at all.

Flats, Prefolds & Covers

These are by far the cheapest way to do cloth nappies, but these are also the most time consuming.

Let me explain.

Flats and pre-folds require folding, whereas the other types of cloth nappies are very similar to the design of disposables, the biggest difference being you wash them as opposed to throwing them away.  I think the biggest motivator behind me choosing flats and covers is the challenge of these types of nappies (yup, I'm the kind of person that when told I can't do something, goes out of my way to prove people wrong hehe). But also, babies grow so fast and don't stay 'newborn size' for very long.

Flats are the most economical of nappies as once your baby has outgrown them, they can be pad-folded and used as booster and added to other nappies for extra absorbency.

How to Use Cloth Nappies South Africa CityGirlSearching Blog (43 of 100).jpg

Flats

Flats are just what they sound like, a flat piece of fabric (usually a square) that you fold and secure in place with a snappy (or a pin). Flats are made of all different sorts of fabric (which all range in absorbency and therefore price).

The cheapest fabric for flats is cotton flannel (i.e. receiving blankets). I simply cut up some cheap receiving blankets I found at PEP and my mom made some more for me out of receiving blankets I found at a discount towel shop in Joburg (the pink bunnies and grey bears pictured above). She doubled some of them (placed two squares together and overlocked them) and these work amazingly well for nighttime when my little girl sleeps for longer periods of time.

My absolute favourite flats are made from Hemp fabric which is the most expensive fabric. My favourite hemp flats are from Pokkelokkie (the blue ones you can see in my photos). I also have some I ordered online from Biddykins (the white cover pictured above) but I prefer the Pokkelokkie ones. Most cloth moms will tell you that hemp flats make the best nighttime nappies as hemp is the most absorbent fabric. I have found my flannel flats work fantastically too!

How to Use Cloth Nappies South Africa CityGirlSearching Blog (44 of 100).jpg

Pre-folds

Pre-folds are what they sound like, pre folded nappies sewn into folds to make for easier putting together. I have a small number of newborn pre-folds from MiniMatters (the brown ones pictured above) which I like to use for daytime naps.

How to Use Cloth Nappies South Africa CityGirlSearching Blog (52 of 100).jpg

I also have a small selection of Little Lamb Bamboo fitted nappies which I had a family member bring over from the UK for me. From my research I read that they are an awesome nighttime solution, and they are perfect for those very late/very early nappy changes when you're still half asleep (or when Dad is on nappy duty and isn't quite into all the folding required for flats). These look like and work just like disposable nappies (the fluffy white ones pictured), and they fasten together with velcro. They do also require a waterproof cover just like the flats and pre-folds.

Here are some photos of my little girl wearing her flats, pre-folds & Little Lamb fitted:

Covers  

Covers are the waterproof outer shell that goes on top of your flats, fitteds & pre-folds to ensure that your nappies don't leak. Most covers are made from PUL (a laminated polyester fabric) and have 'snaps' on them that you clip into place to make bigger/smaller. Different brands offer different sizes. I have 10 newborn Biddykins covers (the grey and mint ones pictured below) which I bought second hand (or pre-loved as they are called) from a lovely lady in Durban who never got a chance to use them as her girl was too big for them when born.

You really can build your cloth nappy stash entirely from second hand sales. Some items I would be hesitant to purchase second hand, but covers I am all about buying pre-loved!

How to Use Cloth Nappies South Africa CityGirlSearching Blog (47 of 100).jpg

I have a small selection of Bambino Mio covers (the white ones pictured) which have velcro fasteners; and which I also bought preloved from a lady on the buy & sell Facebook group (click here). My favourite cover to use in the last few weeks now that Everly's little legs have fattened up, is a 'OSFM' (One Size Fits Most) Blueberry cover I also ordered from the UK but which you can get here in South Africa from TineyHiney. It's the red one pictured above).

I mentioned it before that cloth nappies are addicive. Here's a photo to show you why...how gorgeous is this Buttons nappy cover. I bought this one pre-loved but you can buy them here in South Africa online through TineyHiney (click here):

I don't own many pretty print covers as I wanted to get as many neutral nappies as possible so I can use these all again for baby number 2 (and possibly number 3 & 4 too!). I do have a rather stash of bigger nappies with pretty prints for when Everly is bigger as she will get a lot more use out of them as opposed to the smaller newborn nappies. 

Fleece covers are also very popular. I have a few newborn sized fleece covers (also bought pre-loved on the Facebook group mentioned above) which work for quick naps and I like them because they are soft on the bum. I find I get quite a lot of leaks with them though, and so only use them for short naps when I know I'll be changing her nappy after only an hour or so.

How to Use Cloth Nappies South Africa CityGirlSearching Blog (50 of 100).jpg

And if you're really on a budget, the plastic covers from Pep (yellow, blue & pink pictured above) work just as well! I'm not such a fan of them as they are very plasticky and don't breath at all...not so nice for newborn skin. But they do work well and have lots of stretch in the elastics to go over very big and bulky nappies. These would work particularly well over toweling nappies if you really want to go the traditional nappy route.

Inserts & Boosters

To boost the absorbency of your nappies, you need extra bits of fabric called inserts or boosters. Again, hemp is the most absorbent, but it's also the most expensive. Bamboo is very popular, but the most popular fabric for inserts is microfibre. While microfibre is the cheapest option, it doesn't hold much moisture and so you get compression leaks. It all depends on whether your baby is a light or heavy 'wetter', but usually a combination of different fabrics work well (and of course this also depends on your budget).

My mom made me a few boosters from bamboo towel and mutton cloth (which she found at different hardware stores and it comes in different weaves which means different levels of softness/coarseness).

How to Use Cloth Nappies South Africa CityGirlSearching Blog (57 of 100).jpg

You can boost your nappies with just about anything. Cotton flannel (receiving blankets) work very well, and the nice thing about flats and pre-folds is the can be used to boost nappies too. Simply fold and pop into your nappy cover between the nappy and the cover for extra absorbency, or layer inside your nappy between bum and the nappy itself.

Extra Bits & Pieces

A few of the extra bits and pieces needed (not all of these things are needed but are nice to have) for your cloth nappy journey:

How to Use Cloth Nappies South Africa CityGirlSearching Blog (56 of 100).jpg

Wipes:

I use a mixture of cloth wipes & lovely biodegradable 'throwaway' wipes. The cloth wipes are just off cuts from the receiving blanket flats I made. It's a great way to use up extra bits of fabric you might otherwise have thrown away. If you got lots of face cloths for your baby shower, you could also use those are wipes. I fill a little tub with warm water before each change and then use one of the wipes dipped in warm water to clean up all the pooey mess. It's much nicer on her little bottom than a cold wipe, especially when it's cold or in the middle of the night.

I then also use these awesome biodegradable baby wipes from Pure Beginnings. I stocked up at the MamaMagic Expo in Durban, but you can also buy the 3 packs of Pure Beginnings wipes at Dischem.

How to Use Cloth Nappies South Africa CityGirlSearching Blog (54 of 100).jpg

Liners:

Liners aren't necessary for newborn nappies but they are nice to use. When you do need to use liners is when you use bum creams that aren't cloth safe like Bepanthen, Fissan or Sudocream etc as these creams can clog up the natural fibres of cloth nappies. Using liners protects the nappies from the cream by creating a barrier between the nappy and cream. When baby is bigger and eating solids, liners are a life saver helping you avoid getting your hands really messy. Although these liners claim to be flushable, it's not advised to flush them as they can clog up toilets. I bought these FancyPants liners on Takealot for a bundle price of R300 for 3, they usually retail for about R110. Biddikins also stock bamboo liners. I have also heard that Checkers stock the Cherubs liners which are much more affordable, but they always seem to be out of stock when I go shopping.

How to Use Cloth Nappies South Africa CityGirlSearching Blog (55 of 100).jpg

Bum Cream:

While it's not necessary to use bum cream with every nappy change like you would when using disposable nappies (this is because babies in cloth nappies tend to be less prone to rashes) you may choose to use bum creams as more of a preventative measure. As mentioned above, most commercial bum creams are not safe to use on cloth nappies, and that's why it's recommended to use a liner if you do use them. If some cream accidentally gets onto the nappy, you can remove it by scrubbing the residue with sunlight dishwashing liquid and an old toothbrush.

Here is a list of locally available bum creams that are safe to use with cloth nappies without having to use liners:

  • Pure Beginnings

  • Mother Nature

  • Wriggly tin

  • Bloublommetjies

  • Earthly Lure

  • Natraloe

  • Cheeky Monkey Bum balm (Little Lily, Biddykins, Little Details)

  • Little Ladybugs bum balm

  • Foxybums bum balm

  • Ladybird

  • Sproglets (Smart Bums)

  • Naturally Beauty-full

  • Earth Babies

  • Oshana baby natural barrier cream

  • Cotton tails bunny bum balm

  • Kylie Co little bum balm

You can also use Coconut Oil!

How to Use Cloth Nappies South Africa CityGirlSearching Blog (46 of 100).jpg

Snappies:

These sharp, spikey little things are what hold your nappy together. Traditionally pins would have been used, and you can still use them if you aren't afraid of stabbing your little one hehe.

Snappies come in all sorts of colours and you can find them at Pep and Ackermans for +- R20 for a pack.

How to Use Cloth Nappies South Africa CityGirlSearching Blog (62 of 100).jpg

I store my nappies in the wicker baskets in my compactum, but there are so many creative ways to store cloth nappies. Here is also a photo of my changing station setup so you can see where  keep everything. I found my compactum at an amazing second hand store in Durban. I found the advert on Gumtree and then headed over to Umbilo area to pick it up.

The trick with cloth nappies is not to put all your eggs in one basket when putting together your stash. I highly recommend buying different brands and varied types of nappies until you figure out what works for you and your baby. I went with flats at first because they are the most versatile of nappies and are the cheapest. They work really well for me I don't mind the extra minute or two that I spend folding. I do also keep a very small stash of disposable nappies (sposies) on hand, just in case. 


How to Use Cloth Nappies South Africa CityGirlSearching Blog (42 of 100).jpg

Whew!

It you got through this loooong post I want to commend you and suggest you reward yourself with another cup of tea. I will save my washing routine & how I store my wet nappies for another post, so look out for that post coming soon.

Please let me know if you have any questions, pop them in the comments below and I'll get back to you as soon as I can.

Yours in cloth <3

x

Farm Foraged Flowers - foraging for flowers with The Holloway Shop

Farm Foraged Flowers with Storm Ross of The Holloway Shop Photos by Roxy Hutton of CGScreative & CityGirlSearching_Artboard 3.png

A few months back my friend Storm (of The Holloway Shop in Cape Town) came to visit us here on the farm.

We spent a wonderful few days catching up, drinking tea, eating delicious homemade meals and delicacies that Storm whipped up from our veggie garden, and most notably, I photographed Storm doing what she does best...forage for flowers and create the most beautiful floral arrangements out of thin air. Click here to see what the warm winter afternoon light looks like on our farm,

Here are some photographs of her working her magic with flowers and fruit and leaves she collected around my home.

Enjoy!

If you're based in Cape Town and looking for a florist, I can't recommend Storm more highly enough. She is incredible talented when it comes to flowers and is so creative with her unique designs, she is in a league of her own. Here are some photos of bouquets she whipped up for her portrait shoot last year:

#KZNbloggers Meetup - August 2017

#KZNbloggers Meetup in Durban Photos by Roxy Hutton of CGScreative & CityGirlSearching-02.png

Last month I attended the #KZNbloggers meetup which was held at I Want My Coffee in Umhalanga. The venue itself was delightful and we were greeted with a wonderful selection of eats and drinks.

I Want My Coffee is situated just opposite Chris Saunders Park, which is just round the corner from Gateway Shopping Centre. I was so happy I arrived early because this meant I was able to spend some time admiring the decor and awesome little quotes punctuating the wall space. It was the perfect venue for our meet-up, and I can highly recommend their hot chocolate!

I had booked tickets for both myself and my lovely fellow photographer & blogger friend Julie (of Julia Jane Photography & Design) who you can see looking cute with the glass of 'wine' & coffee below. I also was able to meet Claire (from the blog Design By Claire) in person after having known each other for many a year online.

The line of speakers included Verushka from SpiceGoddess (who spoke about her blogging journey and what she wished she knew when she started blogging and whom I've known 'digitally' for years and so it was soooo nice to finally connect in person);  Nelisiwe from Conversation Lab (who spoke about how influencers are identified for brand campaigns); we had a spokesperson from MUD (Make-Up Designatory) sharing more about the brand and finally Ryan from Rain Africa.

Rain Africa had a beautiful display of some giveaway items. I loved their use of natural elements (like the pine cones you can see in the pictures below):

I loved what Susan from Goddess  has said about these meet-ups: "A bloggers’ meet-up is not so much about the goodie bag (but that sure is nice too!) as it is about stepping out of your own space. A meet-up offers you the opportunity to meet other bloggers, meet PR people and experience brands". While goodie bags are a lovely extra, the entire experience of meeting new people and learning from one another is what makes an event like this so special.

On the note of the goodie bag, here are some close up shots of all of the amazing things we were all gifted with.  I can't wait to start using all of these amazing products! 

Rain Africa


Origin Stationery

Personalised stationery from Origin Stationery (I LOVE how Origin went out of their way to ensure I got a package of pretty pink items!)


A huge thank you to Susan from Goddess who was our host and who did such a fantastic job bringing us all together and organising the event. I so enjoyed my time at the meet-up, especially meeting new (and old!) bloggers and creatives. I will most definitely be attending the next one!

If you want to attend the next #KZNbloggers meet-up, make sure to keep an eye on their Facebook page by clicking here. If you're not in Durban, don't worry!

These blogging meet-ups also took place this year in:

I'm so looking forward to the next one here in Durban!

Pregnancy Essentials - A list of things I couldn't have lived without during my pregnancy

My Pregnancy Essentials List - Items that have made my pregnancy happy & comfortable CityGirlSearching_Artboard 4.png

Yesterday (19th September) was my official due date, and so I had planned to have this post up a few days ago.

However, my little girl decided to surprise us all by arriving exactly 2 weeks early.

Let's just say, life with a newborn has been a wild ride so far (a good, fun ride at that) but still a rather crazy rollercoaster of ups and downs. So far (touch wood!) she sleeps verrrrryyyyy well, and feeds like a dream. This is why I am able to pop the odd blog post up every few days or so. By the way, I share a lot more over on Instaram & Instagram Stories (click here to follow along) so head on over there if you'd like to see a bit more of the behind the scenes.

And now back to this post of my pregnancy essentials. These are all things that helped me cope with the highs and lows of 9 months of growing a teeny tiny human. If there is anything you feel deserves a mention that you found helped you in your preganncy, please leave me a comment below, I'd love to hear from you and I'm sure the rest of my readers would too!


IMG_6575.JPG

Stretchy Tops

I bought all of my Cherry Melon maternity wear online through the Spree app on my phone. Spree often have amazing discounts and specials and so I was able to buy most of my items at a discount. Throughout my pregnancy I bought a pair of their linen shorts (they have an awesome stretch waistband!), two of their capped sleeve T-shirts, 2 vests, 1 pair of leggings and a strappy tank top. The tank top and T-shirts were worn the most by me (especially the pretty coral coloured one pictured above) and as it was Winter, I wore the strappy tank top just about every day.

IMG_6569.JPG

Bath & Shower Essentials

Bio-Oil, Epimax bath oil & Epimax cream

My skin went through all kinds of different phases. My face broke at at the beginning, and then my eczema flared up (click here to read how I coped with Winter dryness and eczema) and so I used just about all of the products in the Epimax range. I loved the Epimax & Epimax Junior bath oil for showering and bathing, and then used the Epimax & Epimax Junior cream all over my body. I did also use Epizone which has a similar formulation to the Epimax but is a little bit cheaper. I bought all of those products at Dischem.

I then liberally applied Bio-Oil all over my tummy, boobs, thighs and bum every day and am happy to report that I only got two little stretch marks under one of my boobs. Not bad going considering I put on about 20kg's of weight during my pregnancy. I also drank a lot of water and tried to do as much exercise as my body allowed me to (the best being pilates). I think the Pilates helped keep not just my muscles supple, but my skin nice and flexible too.

IMG_6570.JPG

Heat Device

Hot water bottle or a Wheatie (microwave bean bag)

Towards the end of my pregnancy, I got horrible back pain (click here to read more). I did eventually go to a physio which sorted me out in two ticks, but before and after my physio session I used a wheatie bean bag and/or hot waterbottle to soothe all the aches and pains. 

IMG_6568.JPG

Craft Project

Crochet baby blanket

Ah yes, this 'little' project is probably what kept me sane during the 9 months. A friend of mine (Candice) introduced me to the wonderful world of crochet, and from the first stitch I was hooked (see what I did there hehe). And silly me thought making a baby blanket would be the best project to start with. Well, needless to say, I am STILL not finished the blanket (to be fair, I have kept changing and adding squares and borders to make it bigger) and I was still crocheting while in labor two weeks ago. I am just about done though, and I can't wait to wrap my little girl up in it (just in time for the sweltering heat of summer!).

I'll be sure to share photos with you once it's done.

IMG_6571.JPG

Caffeine Free Drink

Lemon, Ginger & Honey Tea

I drank the odd cup of tea and coffee throughout my pregnancy, but I definitely went off milk and so my 5 cups of tea a day habit went down to one. To make sure I was drinking enough fluids (and because water is so boring) I got into the wonderful habit of drinking lemon, ginger and honey tea. Simply pour hot water over a few slices of fresh lemon, a slice or two of fresh ginger and a teaspoon of honey, let steep for a few minutes and voila! It's really good for you, cleanses your system and has loads of vitamins to keep you health.

IMG_6572.JPG

Face Cloth

This was to use in the bath, to keep my huge tummy warm. We have a HUGE bath and yet my round belly would always stick out above the water and I'd get cold very quickly. I ended up having a few face cloths on hand to keep me warm.

IMG_6573.JPG

Prenatal Vitamins

PregOmega Plus

I've spoken more about prenatal vitamins in this blog post , but the PregOmega Plus is the brand I ended up liking the most and am still taking now. It's one of the pricier brands on the market, but I would wait until it went on special at Clicks or Dischem (or at the Baby Expo!) and then stock up.

IMG_6574.JPG

Comfortable Bras

Mr Price Sports Bras 

I lived in these sports bras from Mr Price since week 1 of pregnancy. They have removable padding (which I didn't ever remove because the pads are soft and I like having a little 'lift' in that area) and are very soft. 

IMG_6576.JPG

Slippers

Woolworthes

Not much more needs to be said about having your feet comfy :)

IMG_6578.JPG

Comfortable PJ's

Soft & stretchy cotton nightie from Woolworthes

These nighties from Woolies are the absolute BOMB! I wore them throughout my pregnancy, and have found them to be the most comfortable thing to wear for breastfeeding. They have enough support in the boob area to hold breast pads now, and they are so oft and comfortable. They are also very stretchy and so are not restricting on the tummy as your belly grows and grows.

the items that helped make  my pregnancy happy &  comfortable so far

So there you have it, my list of things that helped make the past 9 months as comfortable as possible.

Is there anything that you found to be essential for you during your pregnancy that I've left out? I'd love to hear from you in the comments below!

I've linked up all my pregnancy posts here. Simply click each post to read more: