Cloth Nappy 101 - The different types

Different Types of Cloth Nappies-01.png

Once you dive down the rabbit hole of cloth nappies, it can be so incredibly overwhelming to know where to even begin when it comes to what to buy first. I hope this post makes things a little clearer for you, and that you feel a little less overwhelmed. Please feel free to leave me a comment below with any questions you might have along the way, I could talk all things cloth for days!

Cloth Tip #1: Not all cloth nappies are created equal. There is a reason some are more expensive than others, and there is a reason why some brands are voted number 1 time and time again. I’m going to share my favourite brands and types of nappies in this post, but as always, bear in mind these are the nappies I’ve had first hand experience with and have used over the past 2.5 years with two kiddos.

Cloth Tip #2: the best way to start is just to start! It can be soooo daunting in the beginning, especially when it comes to putting that first nappy on, but just start! The worst that can happen is baby is comfy enough to leave you a lovely surprise in the nappy, and then you just whip it off and start again. And now you will have had experience with two nappies and suddenly it doesn’t feel quite so overwhelming.

Sizes

There are two ‘sizes’ of cloth nappies; newborn & OSFM (one size fits most).

Newborn Size:

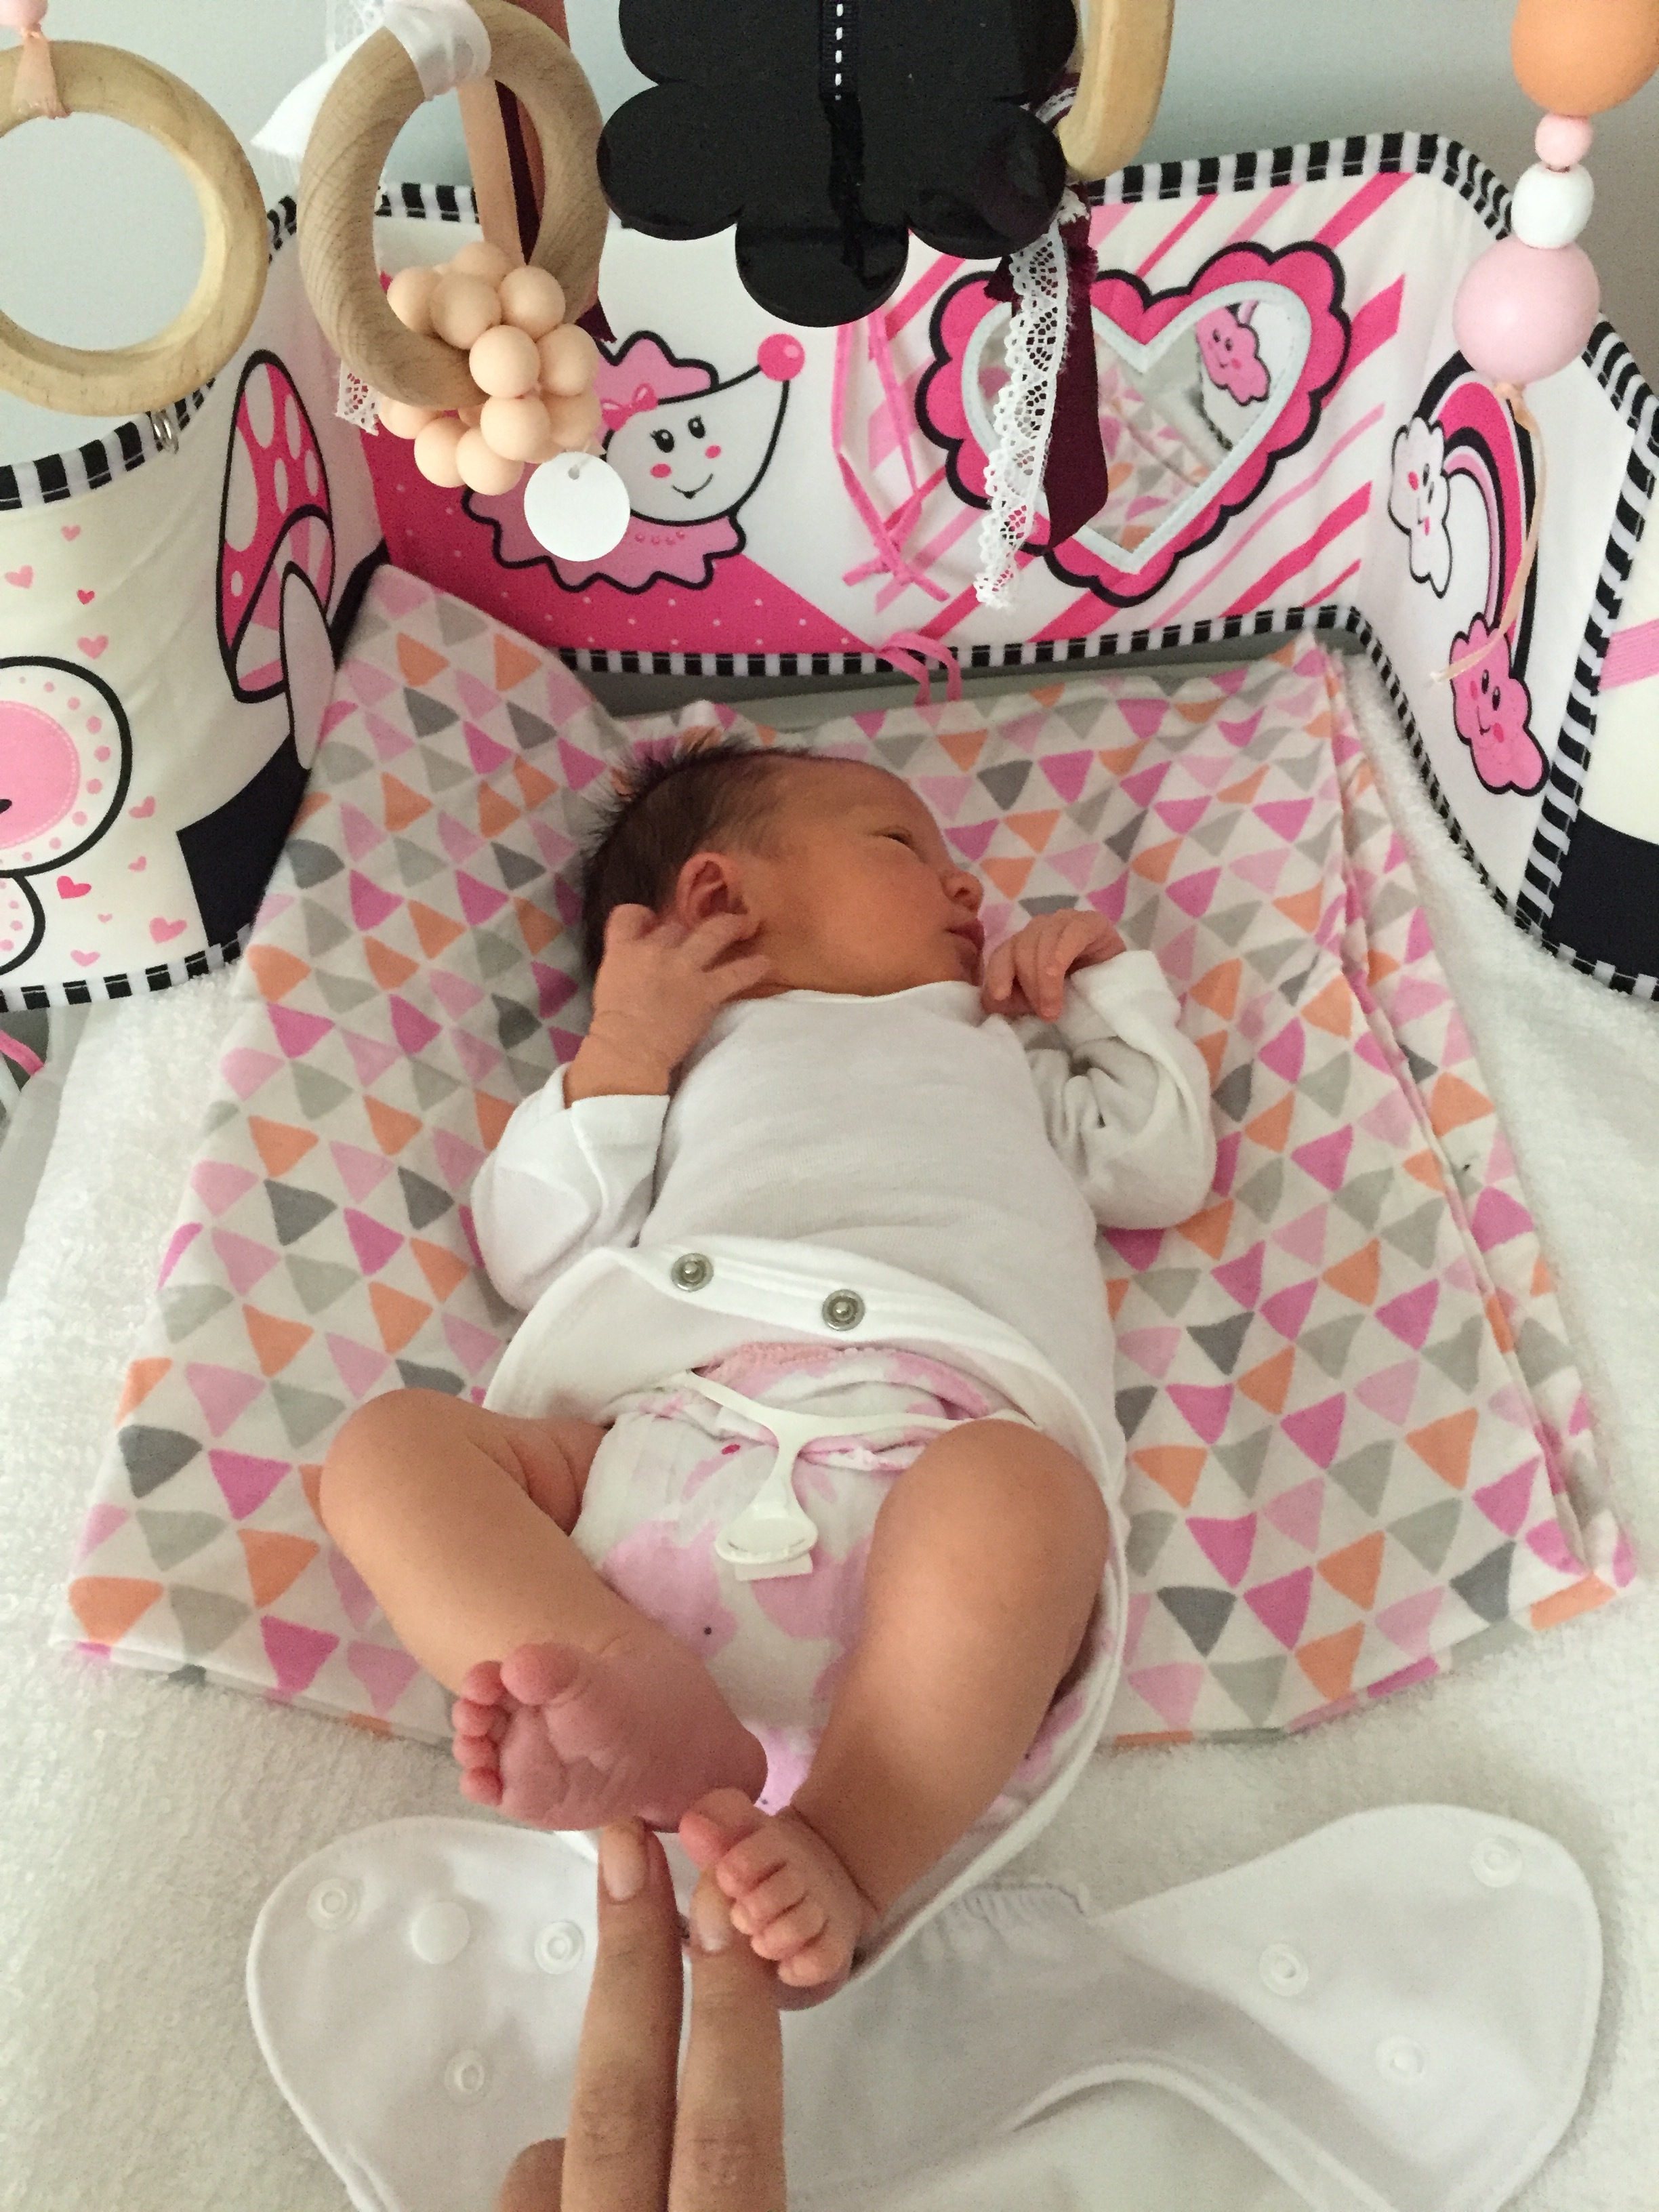
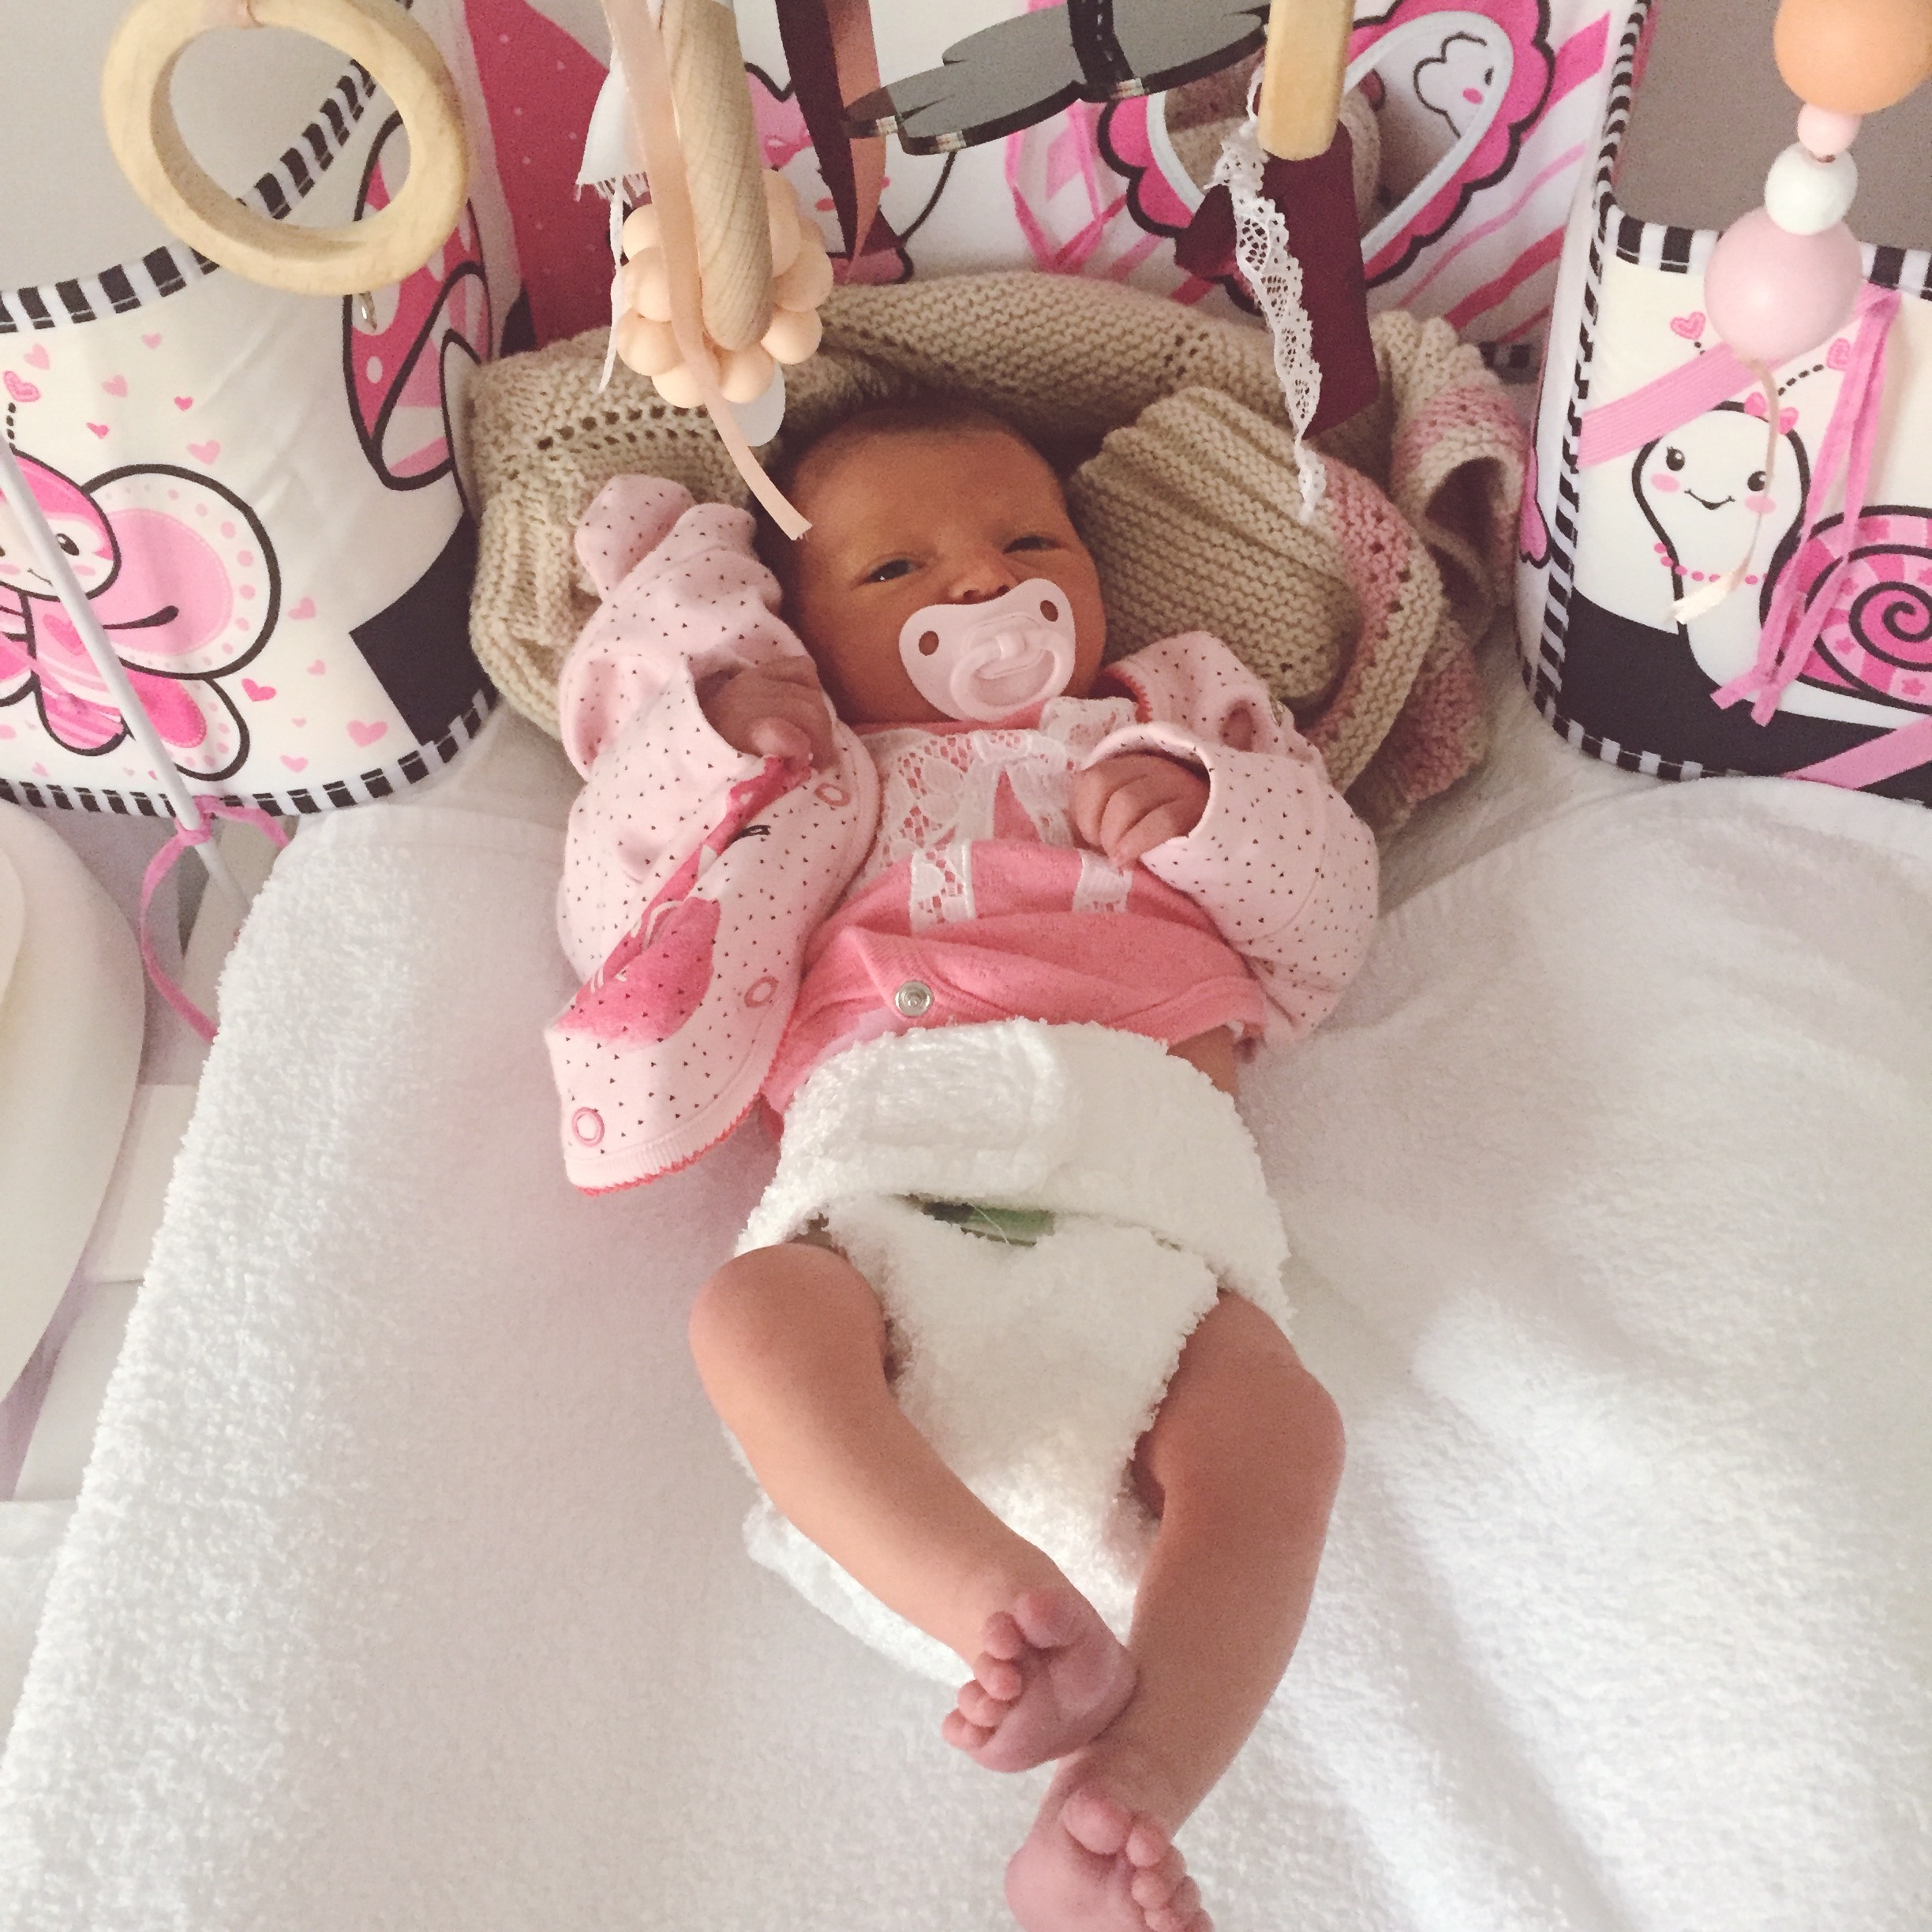
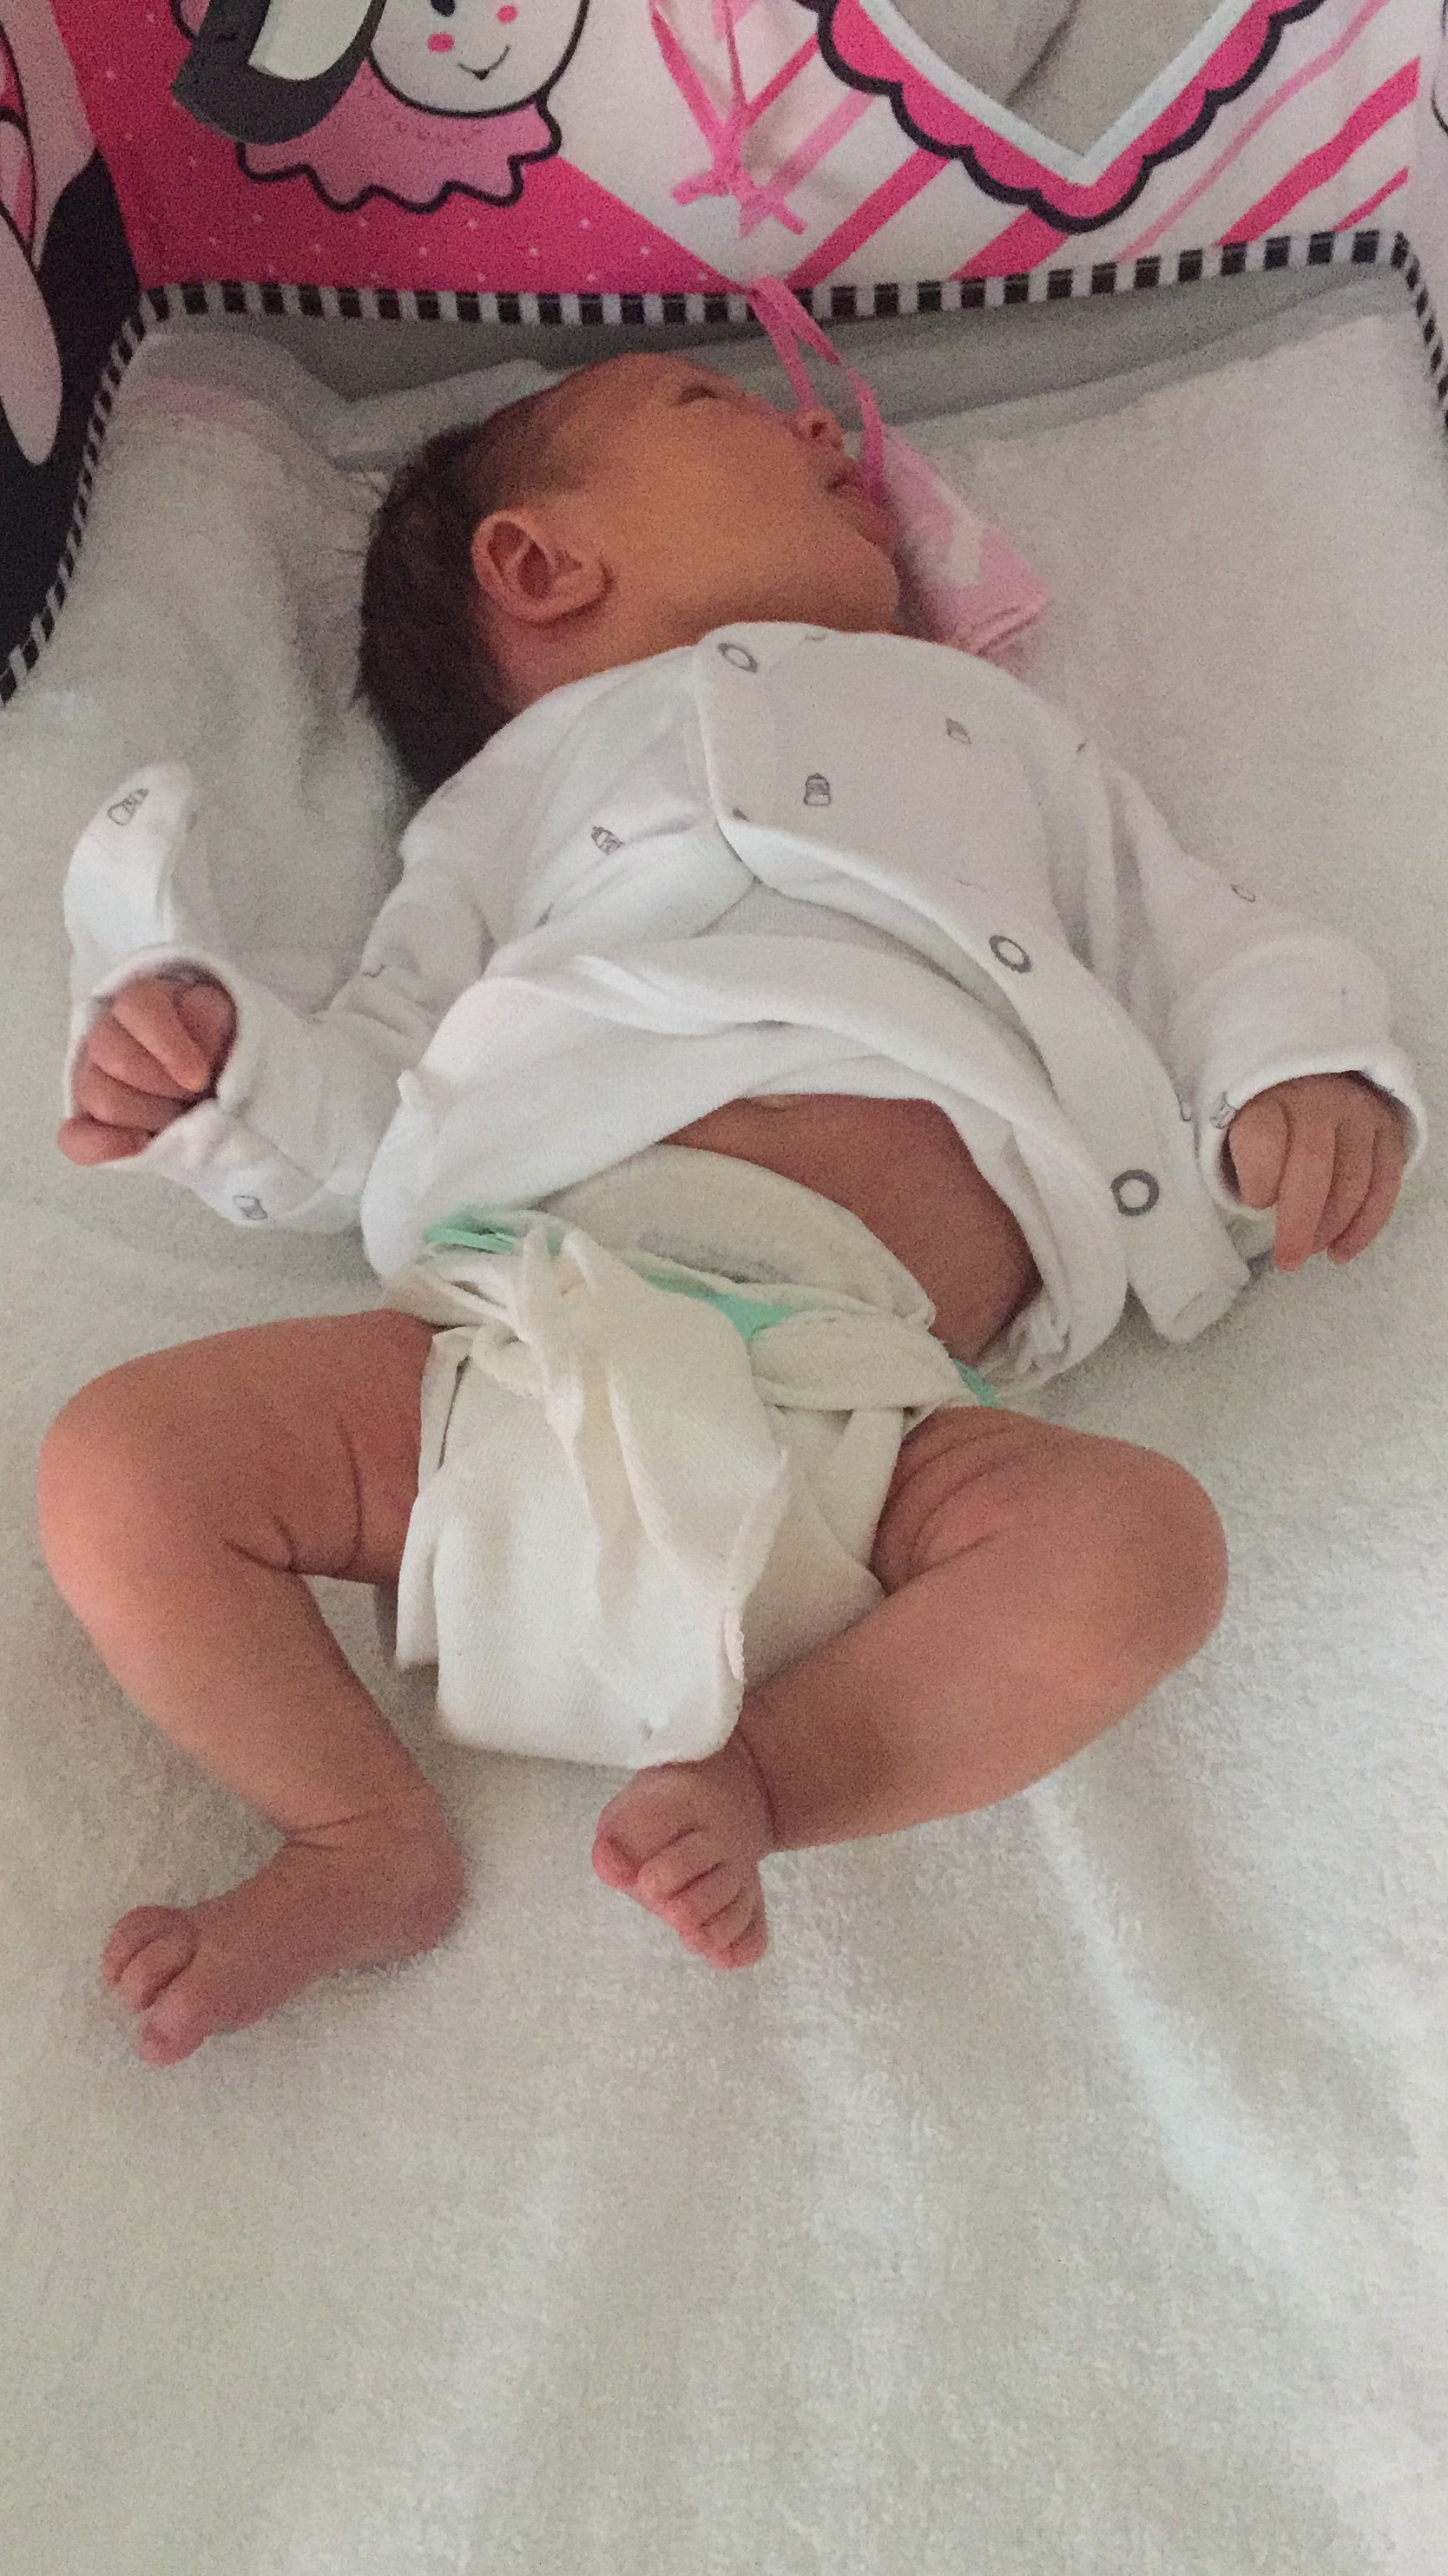
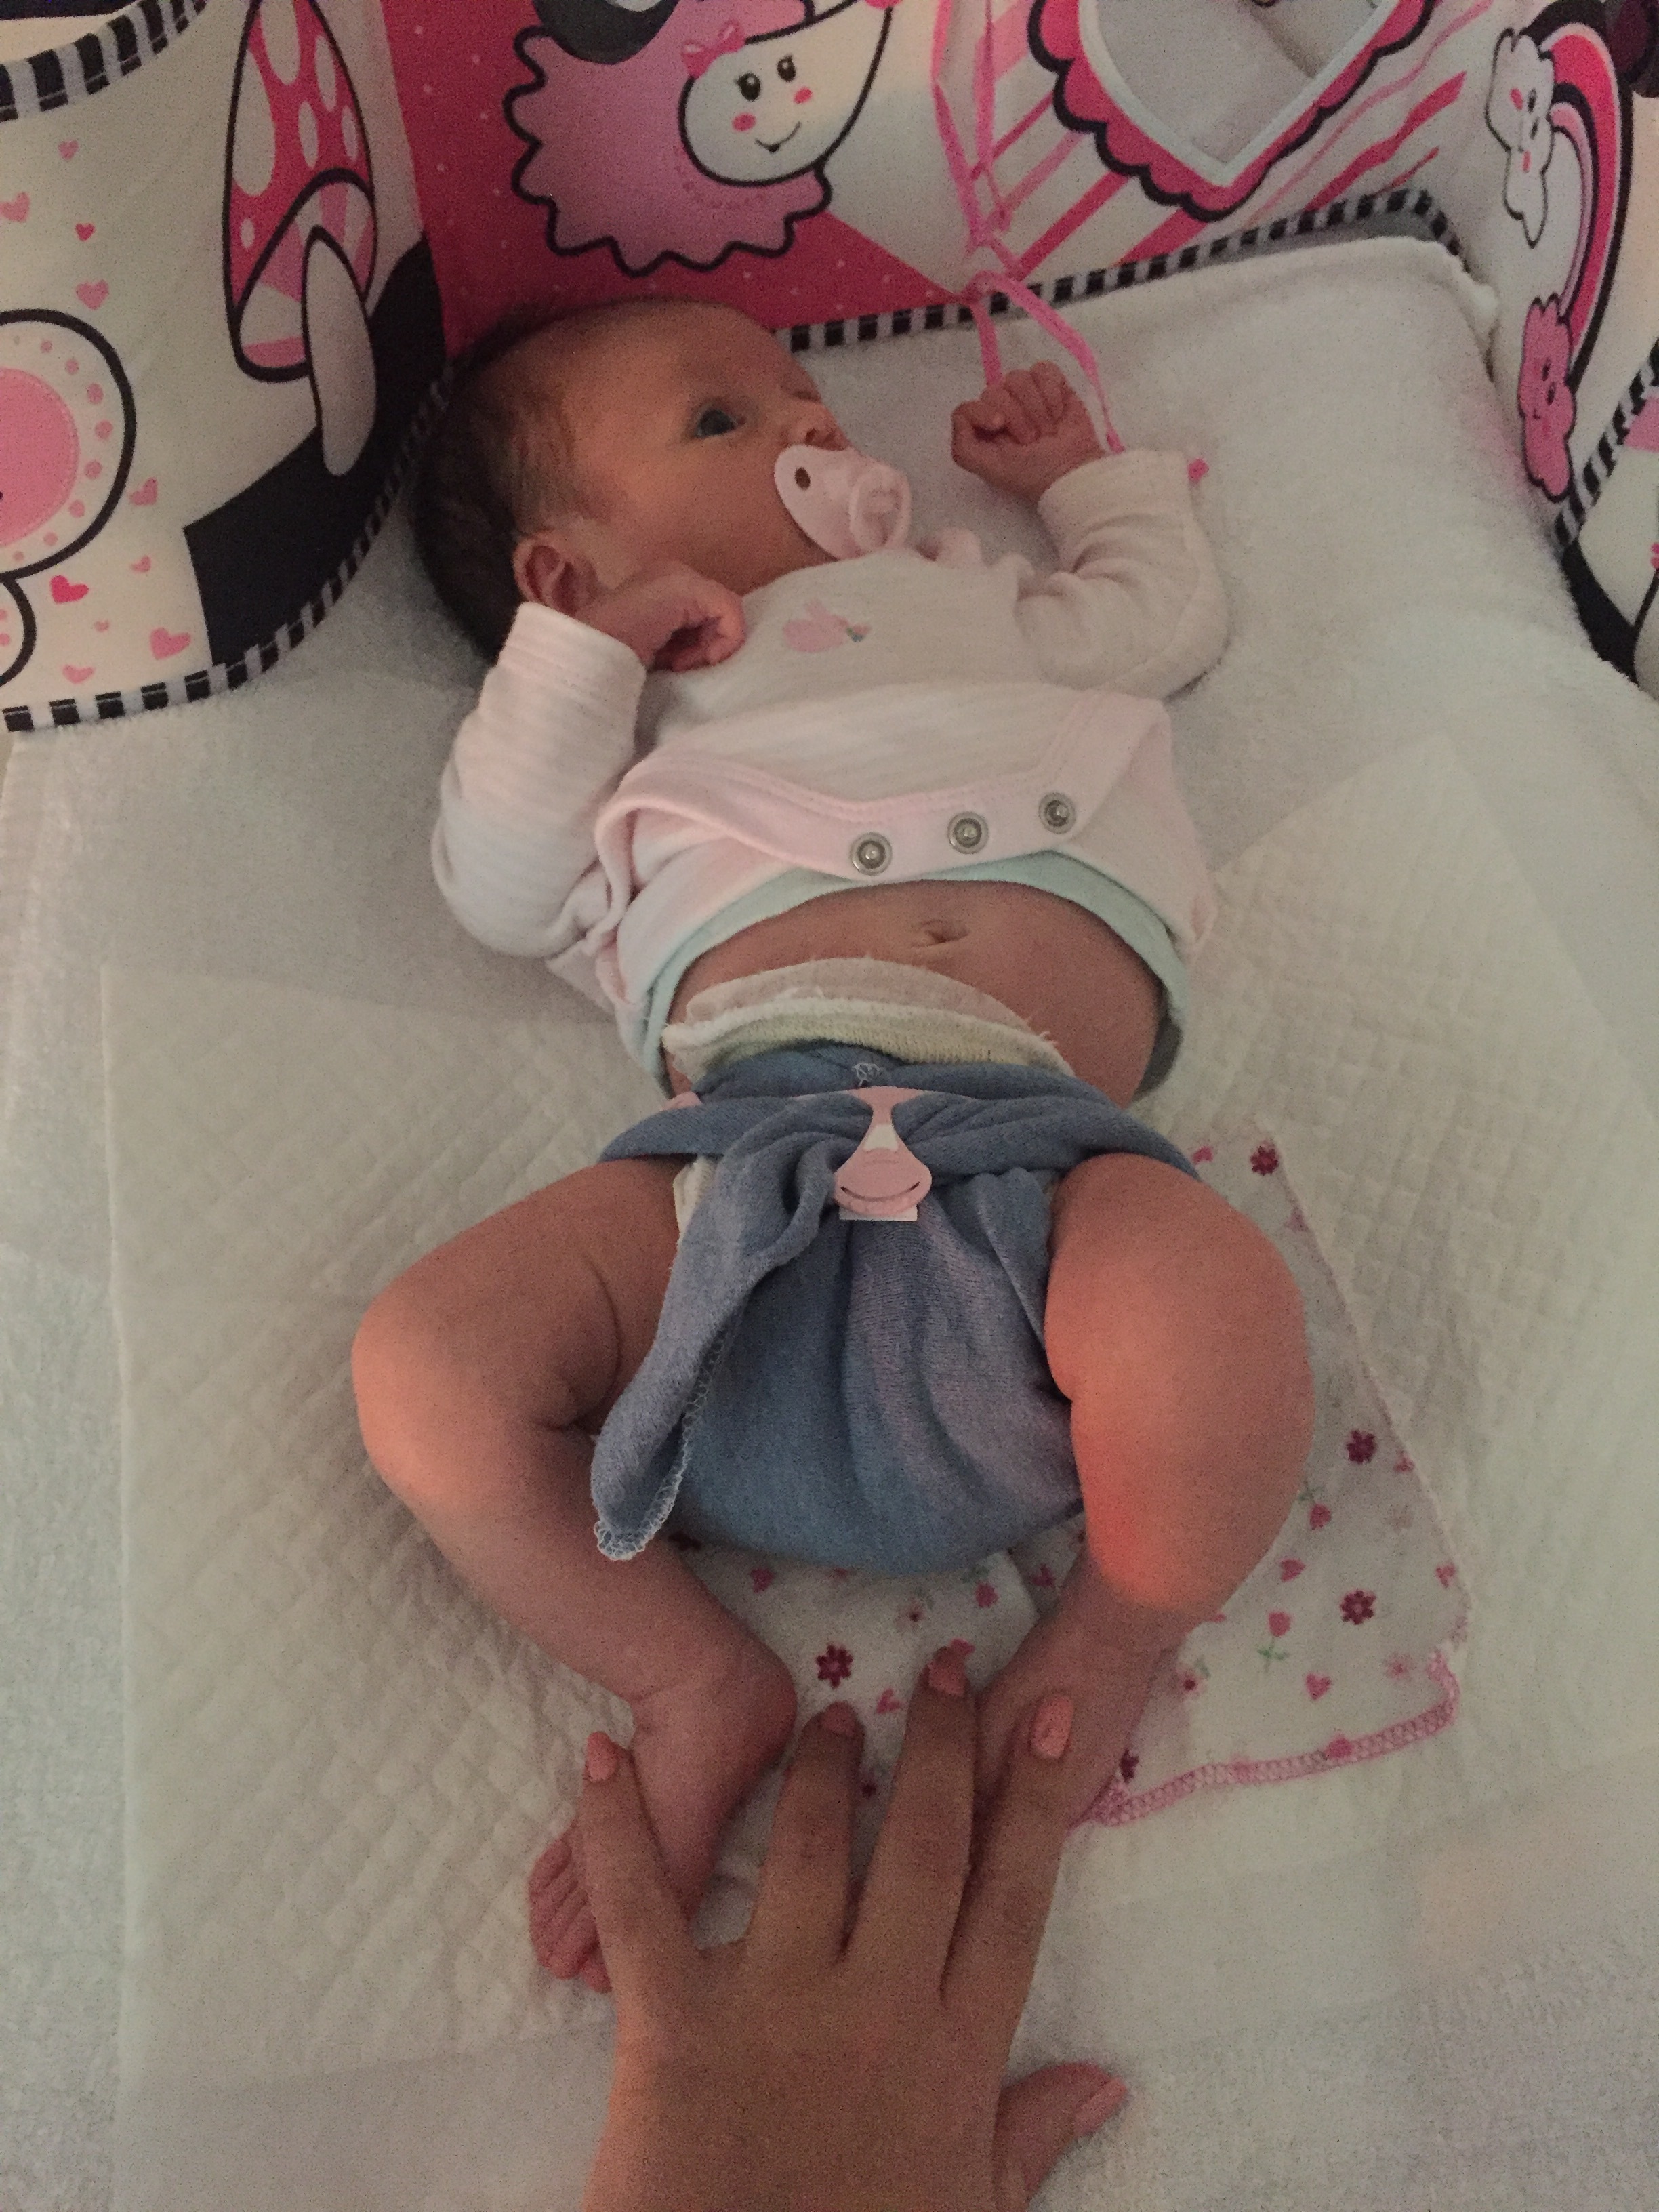
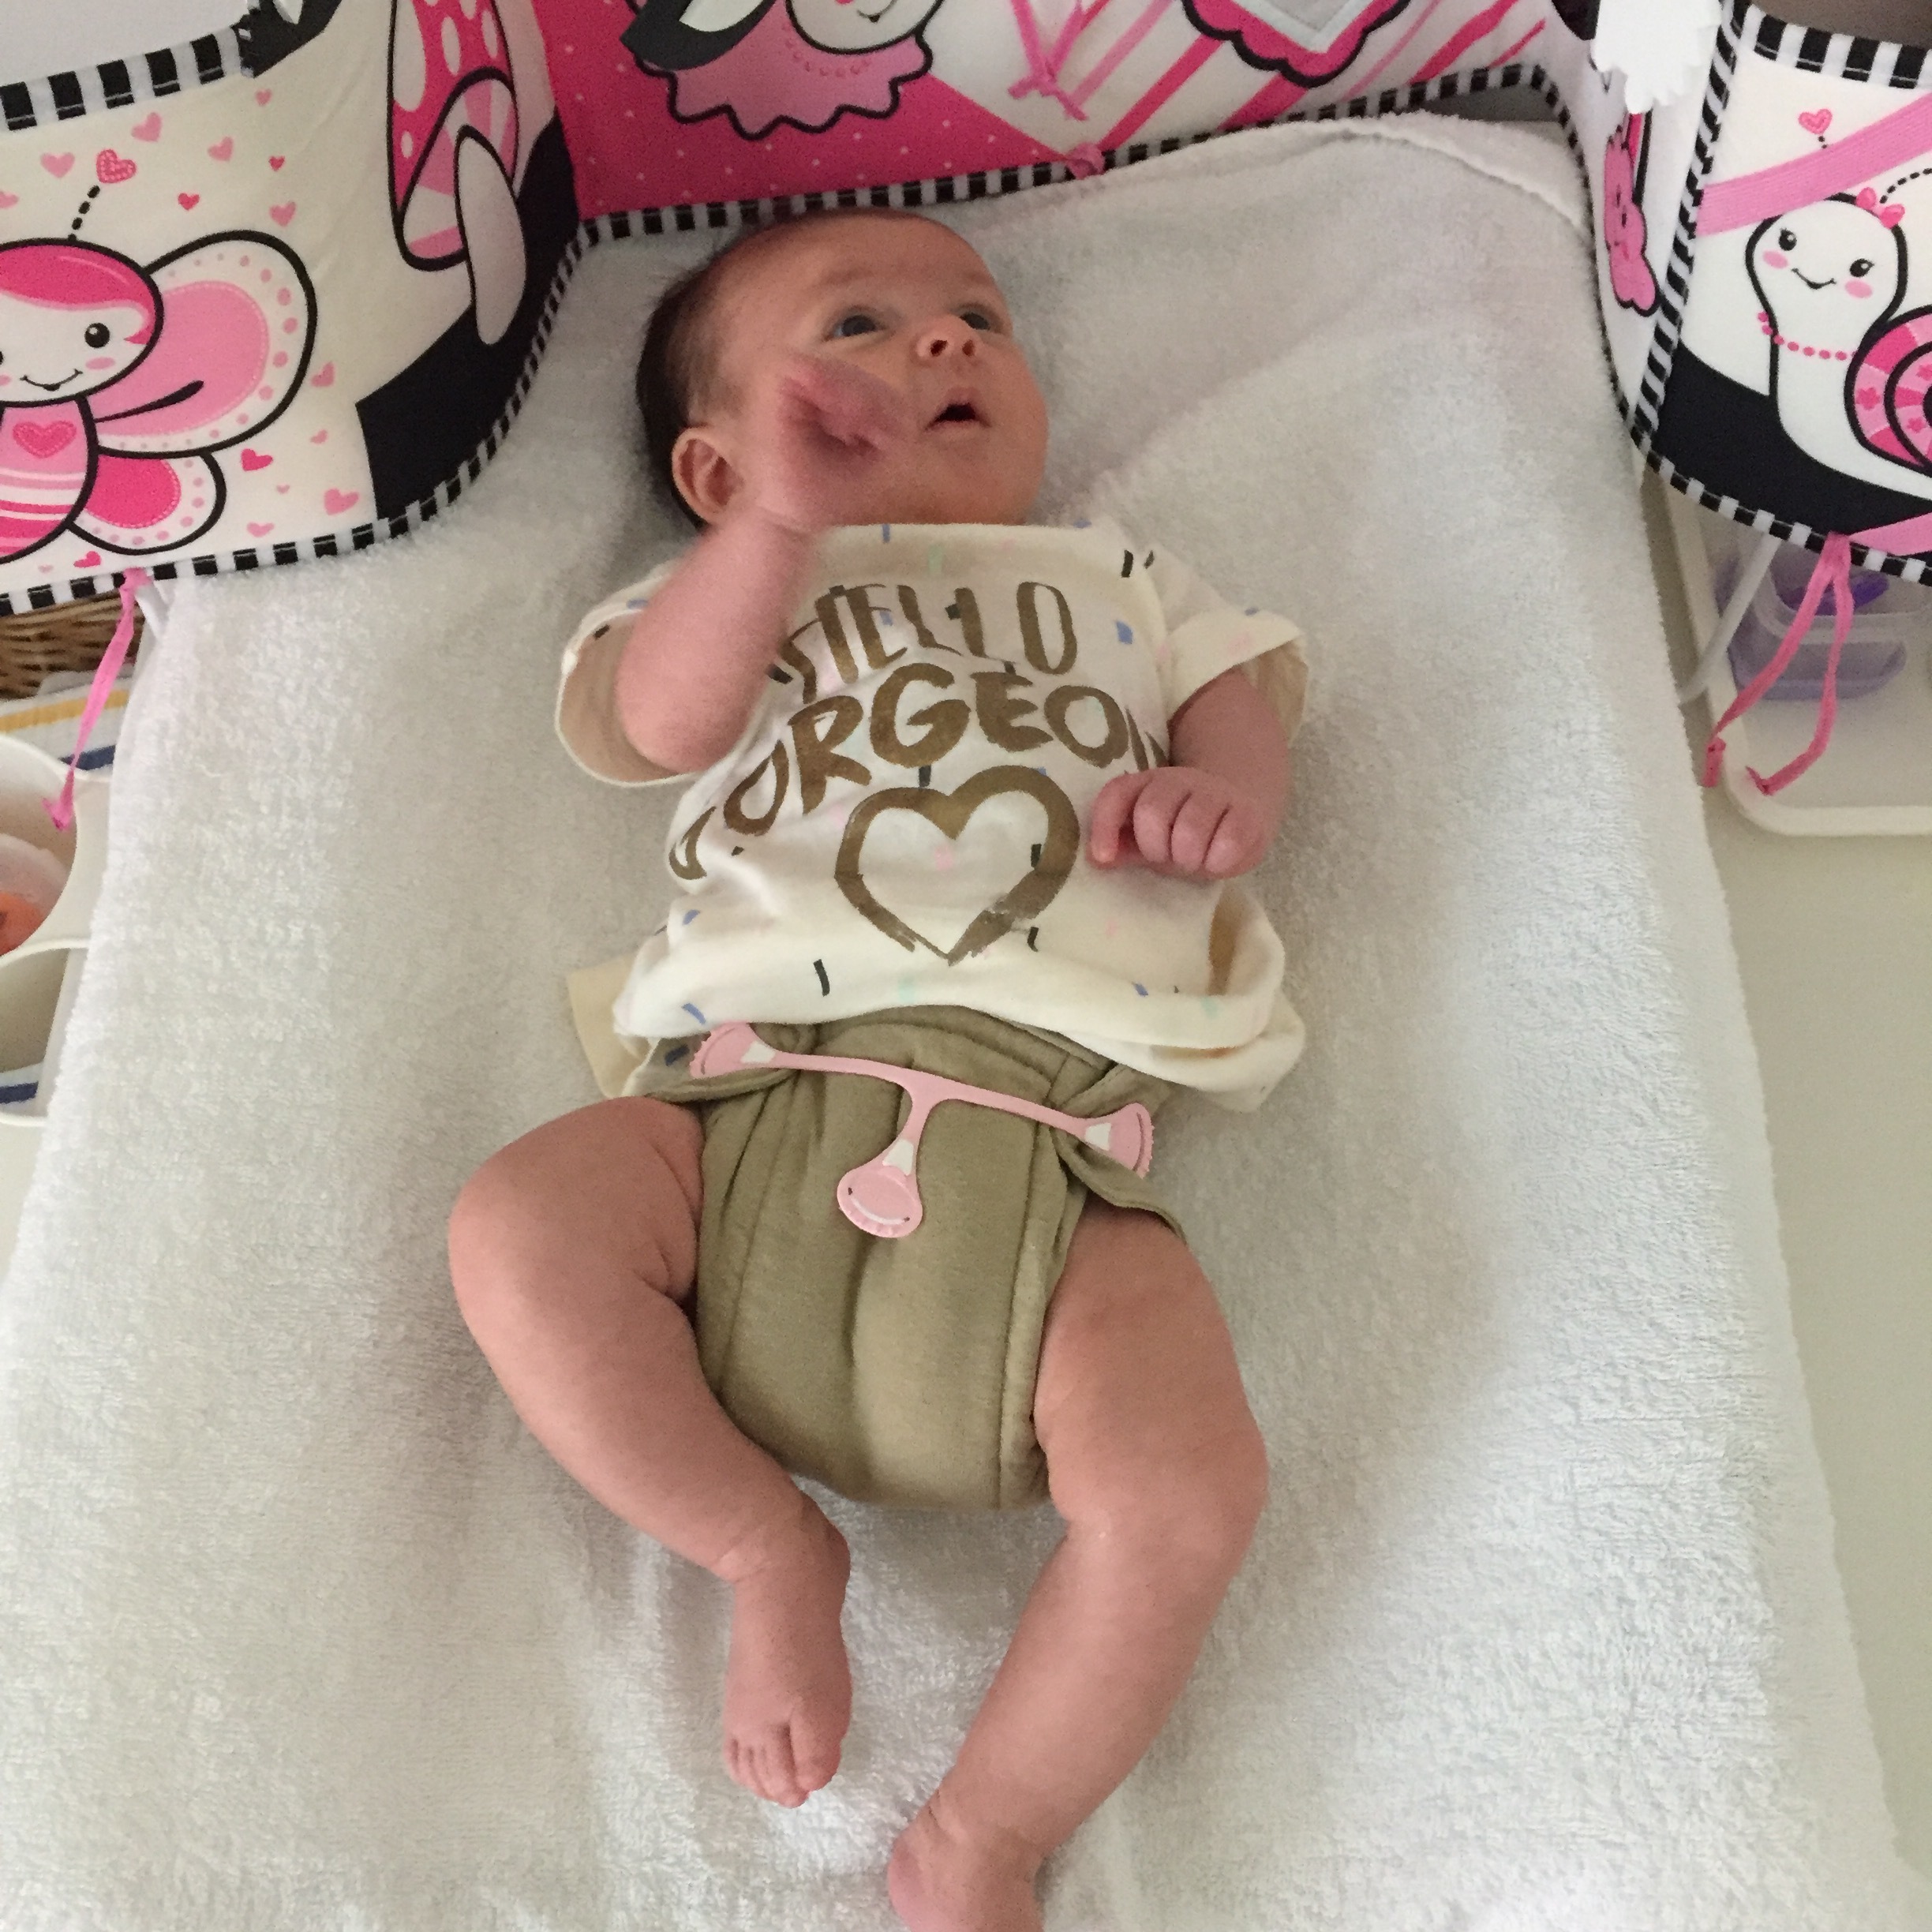
Newborn size generally fits until about +-5kgs or around the 4/5month mark, all depending on the size and chunk of your baby. For flats, the newborn size is 50cm x 50cm.

OSFM (one size fits most)

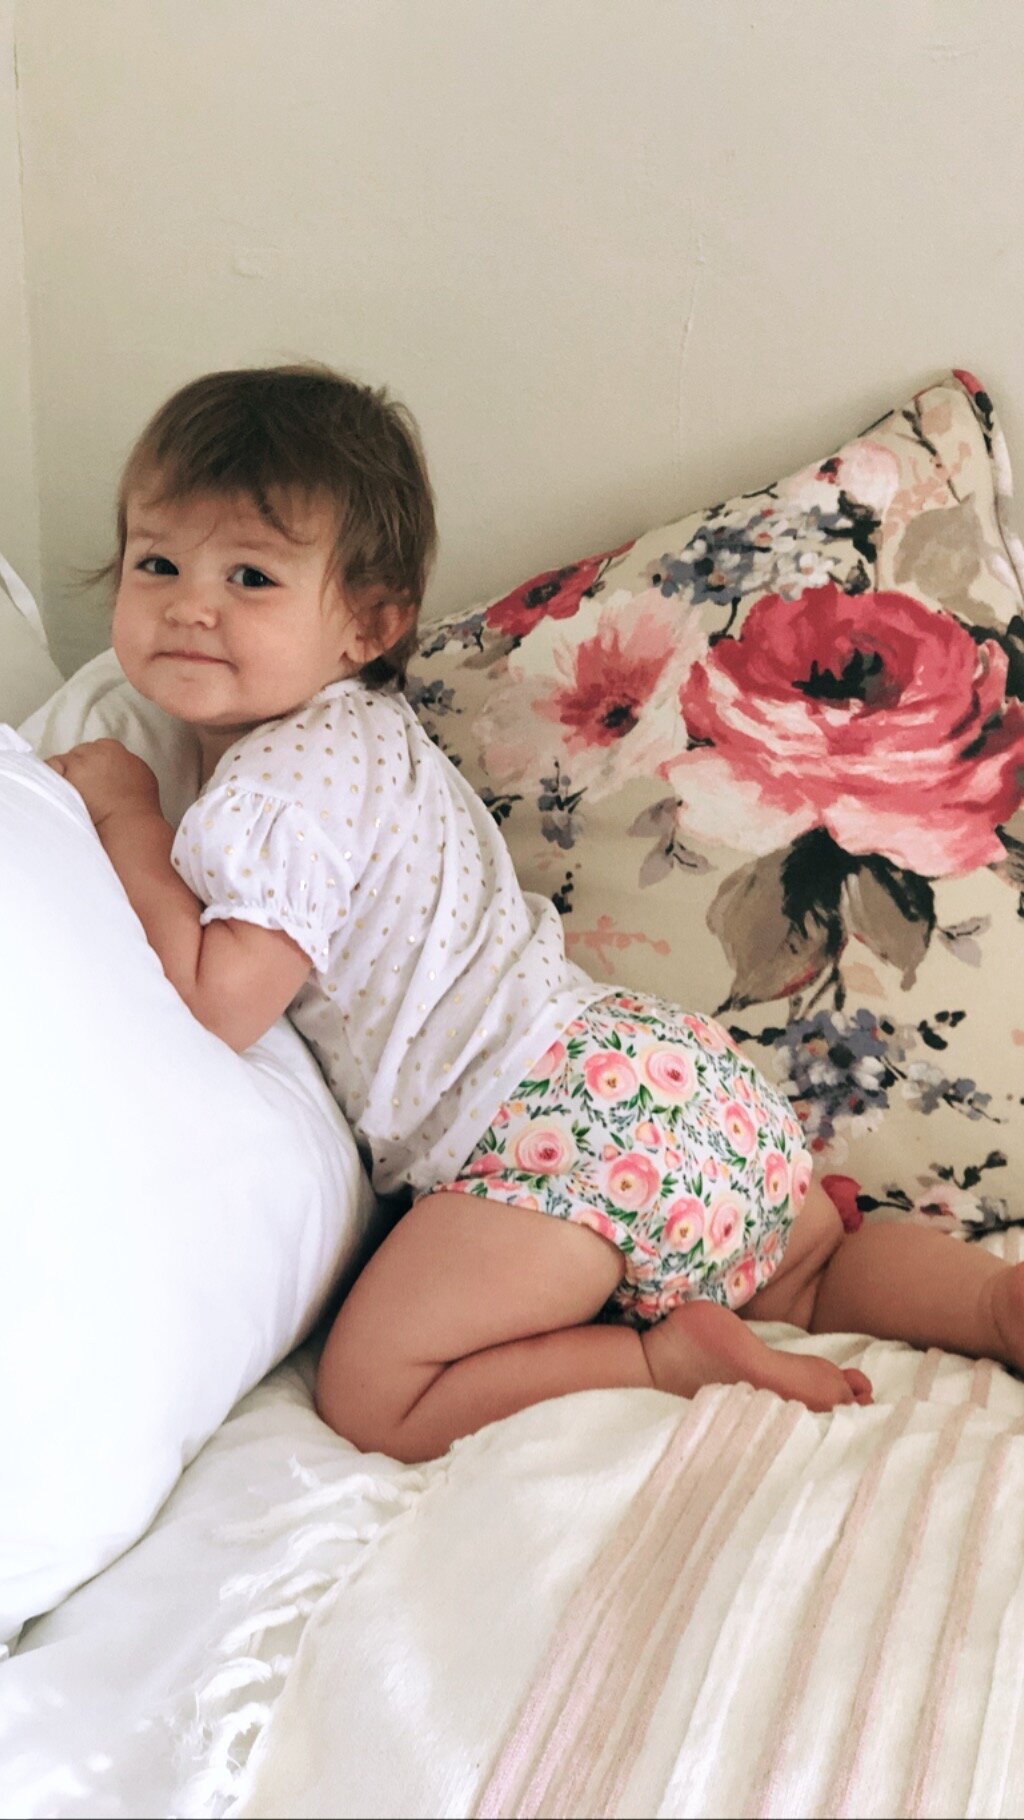
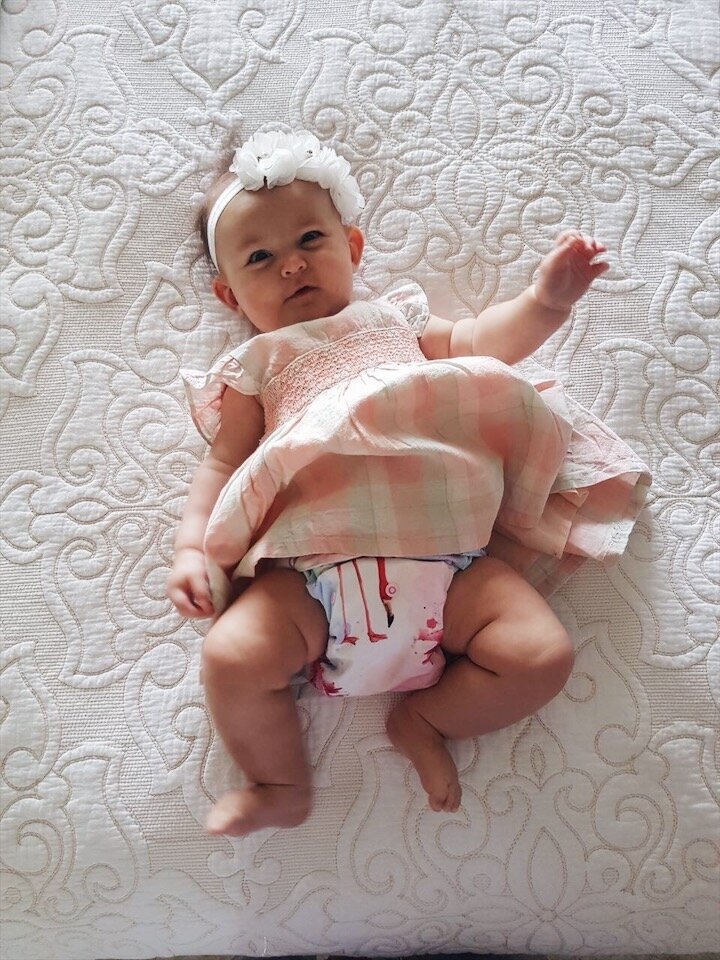
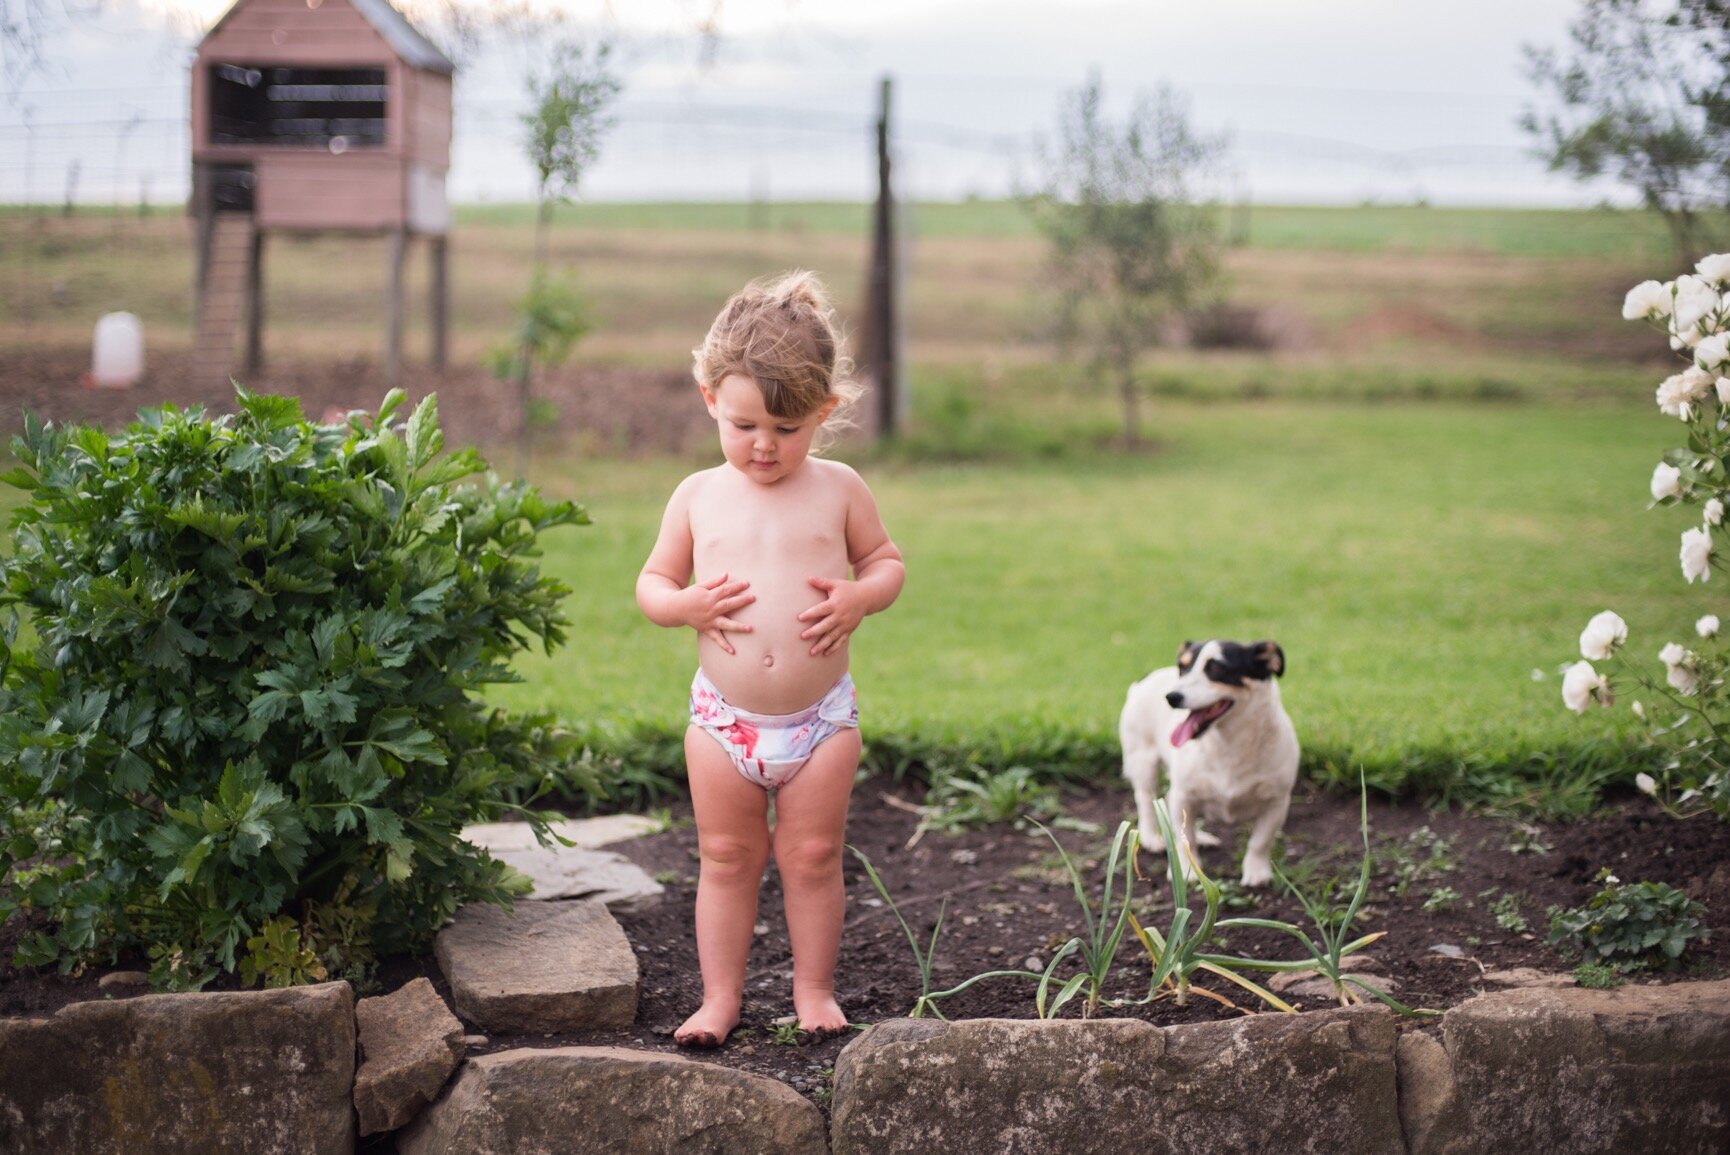
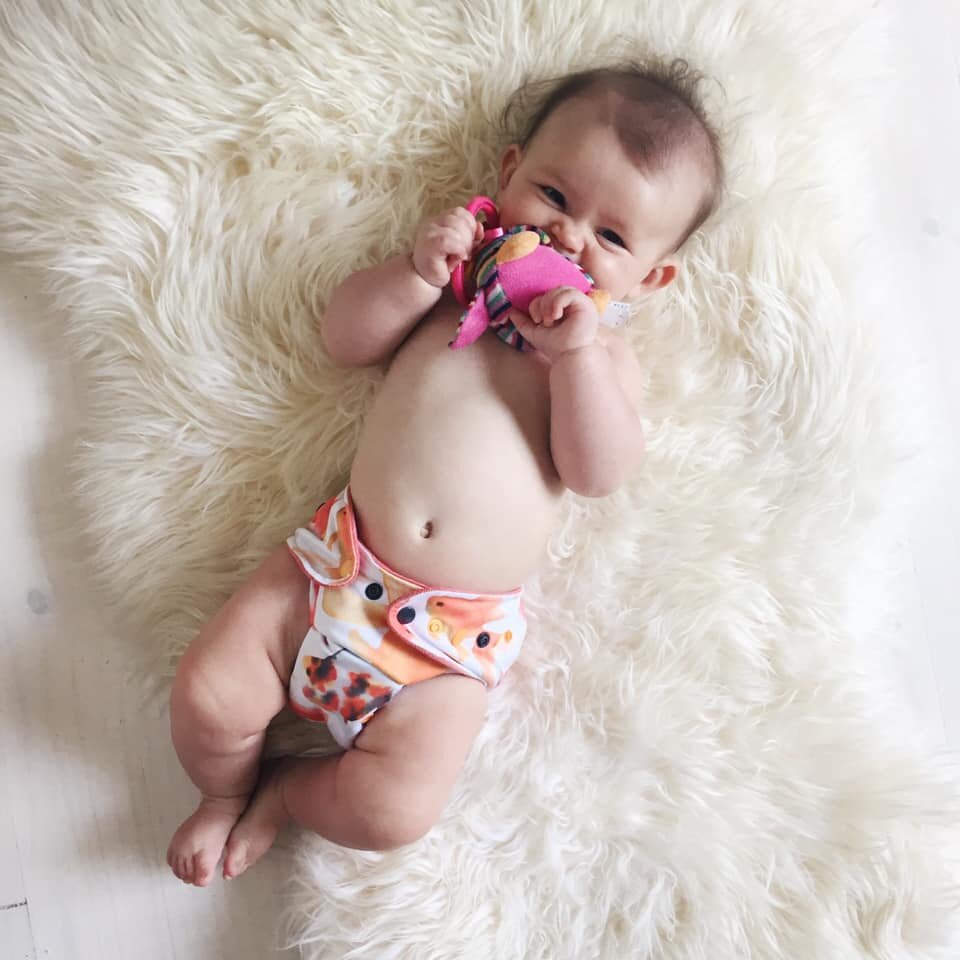
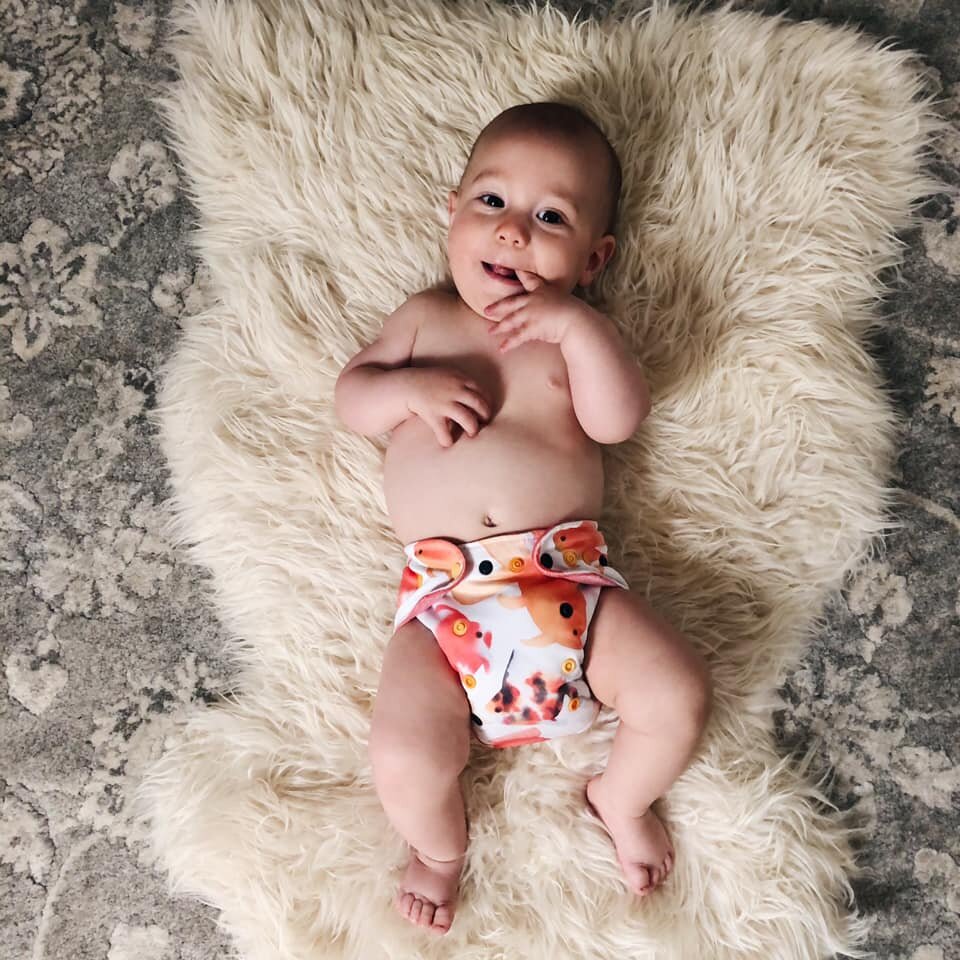
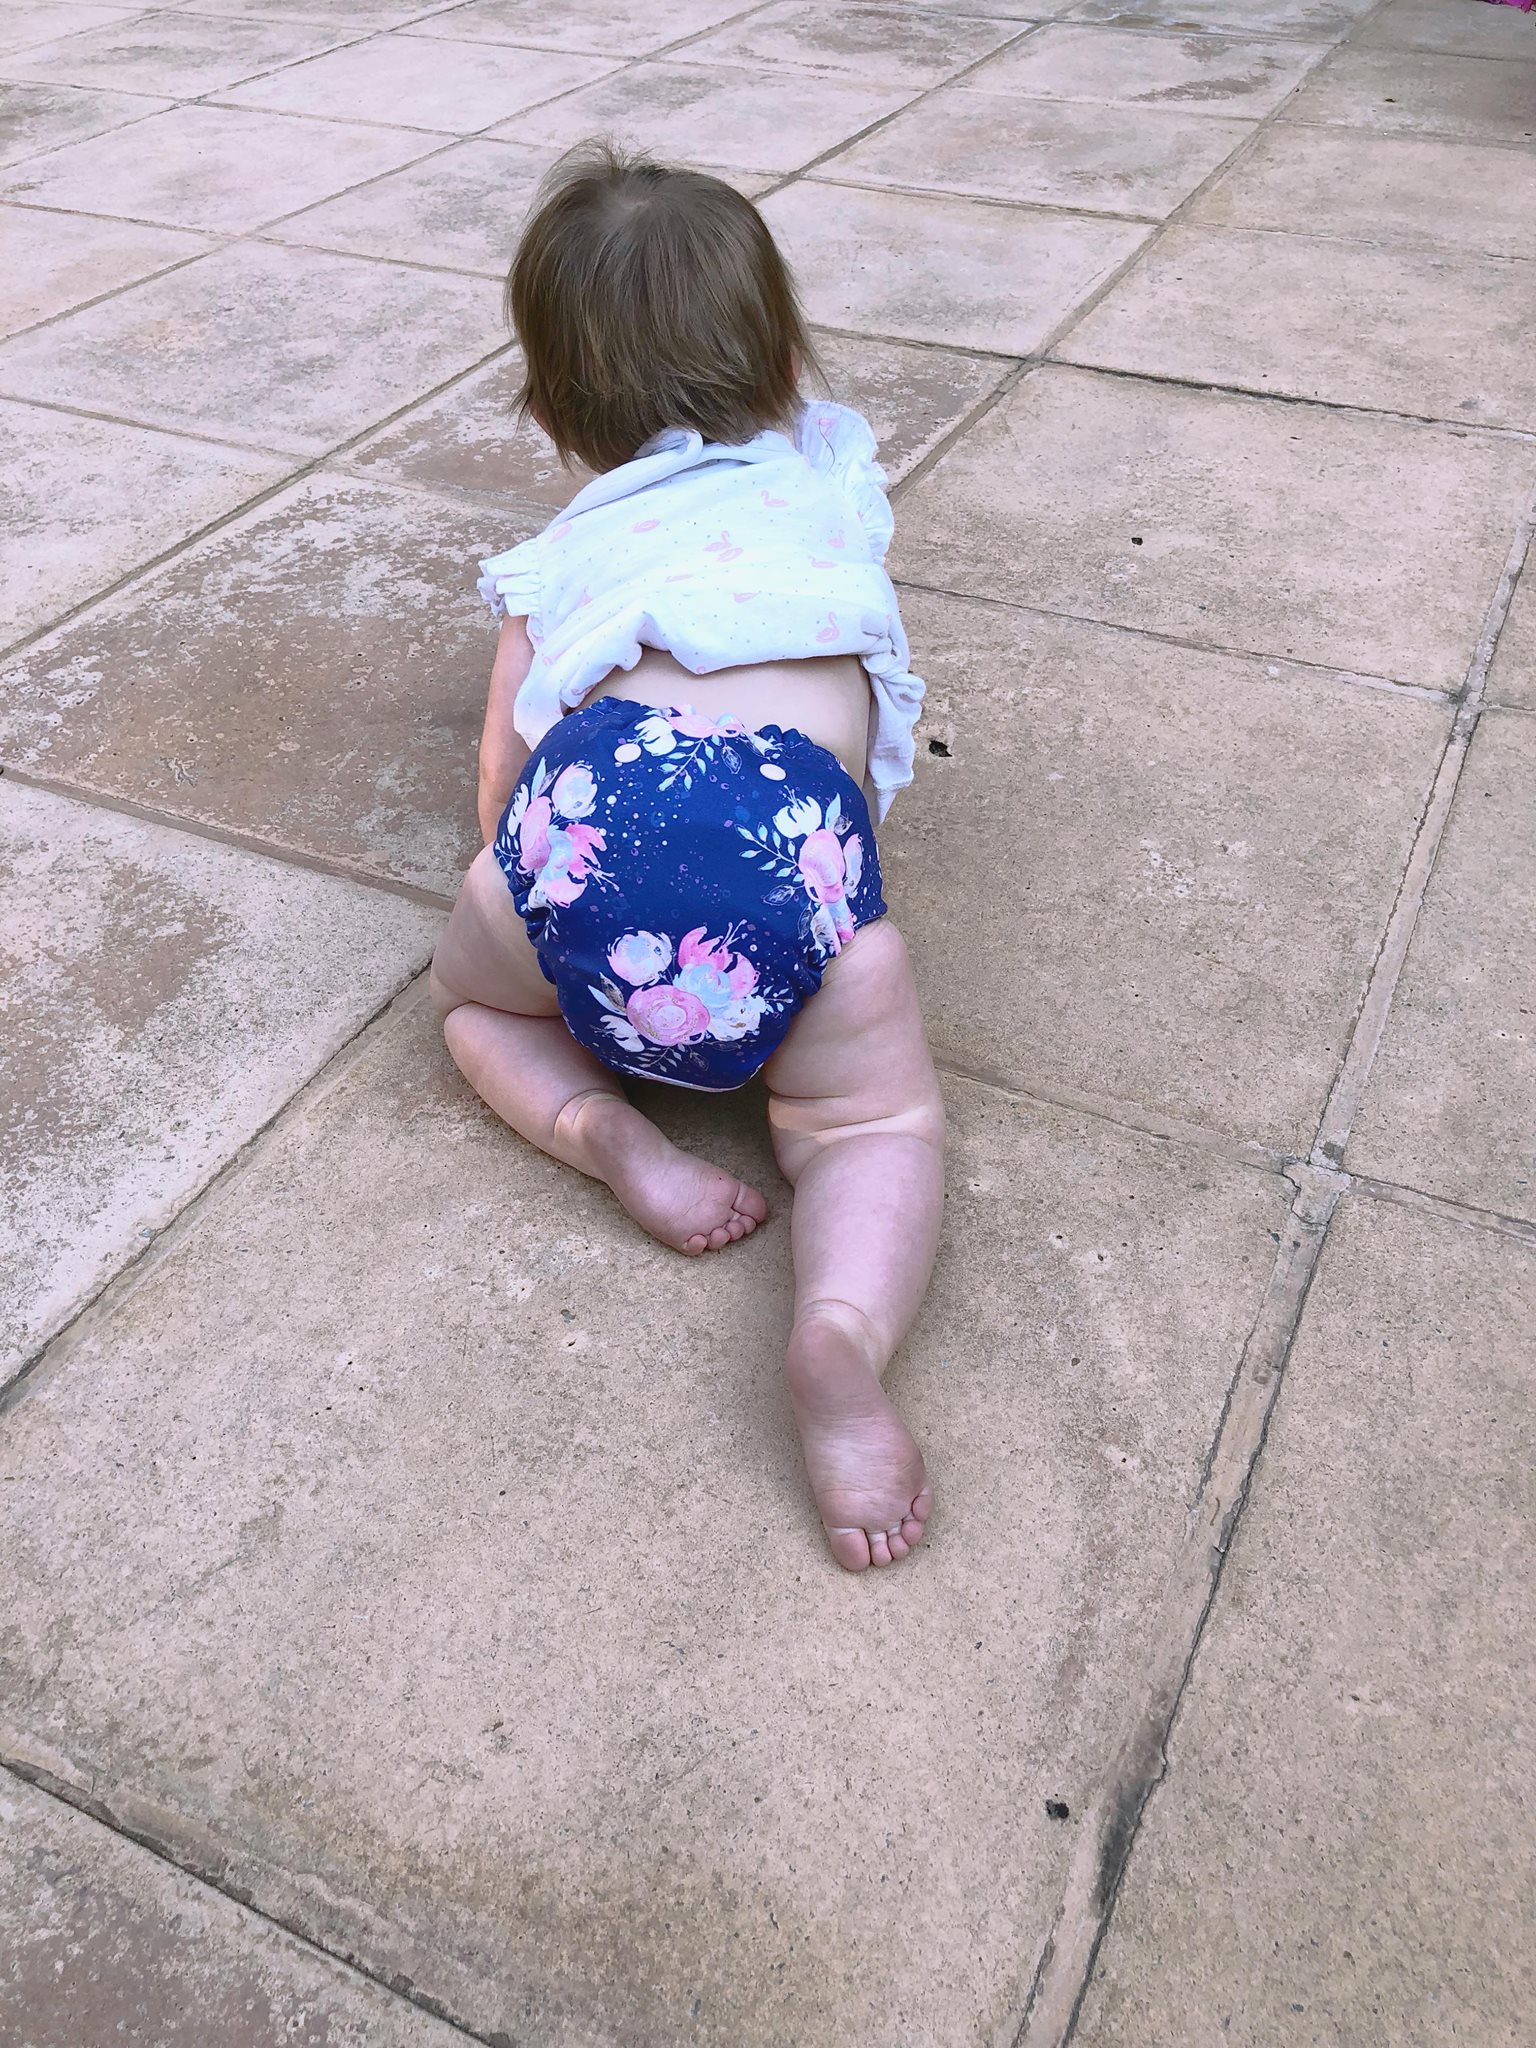
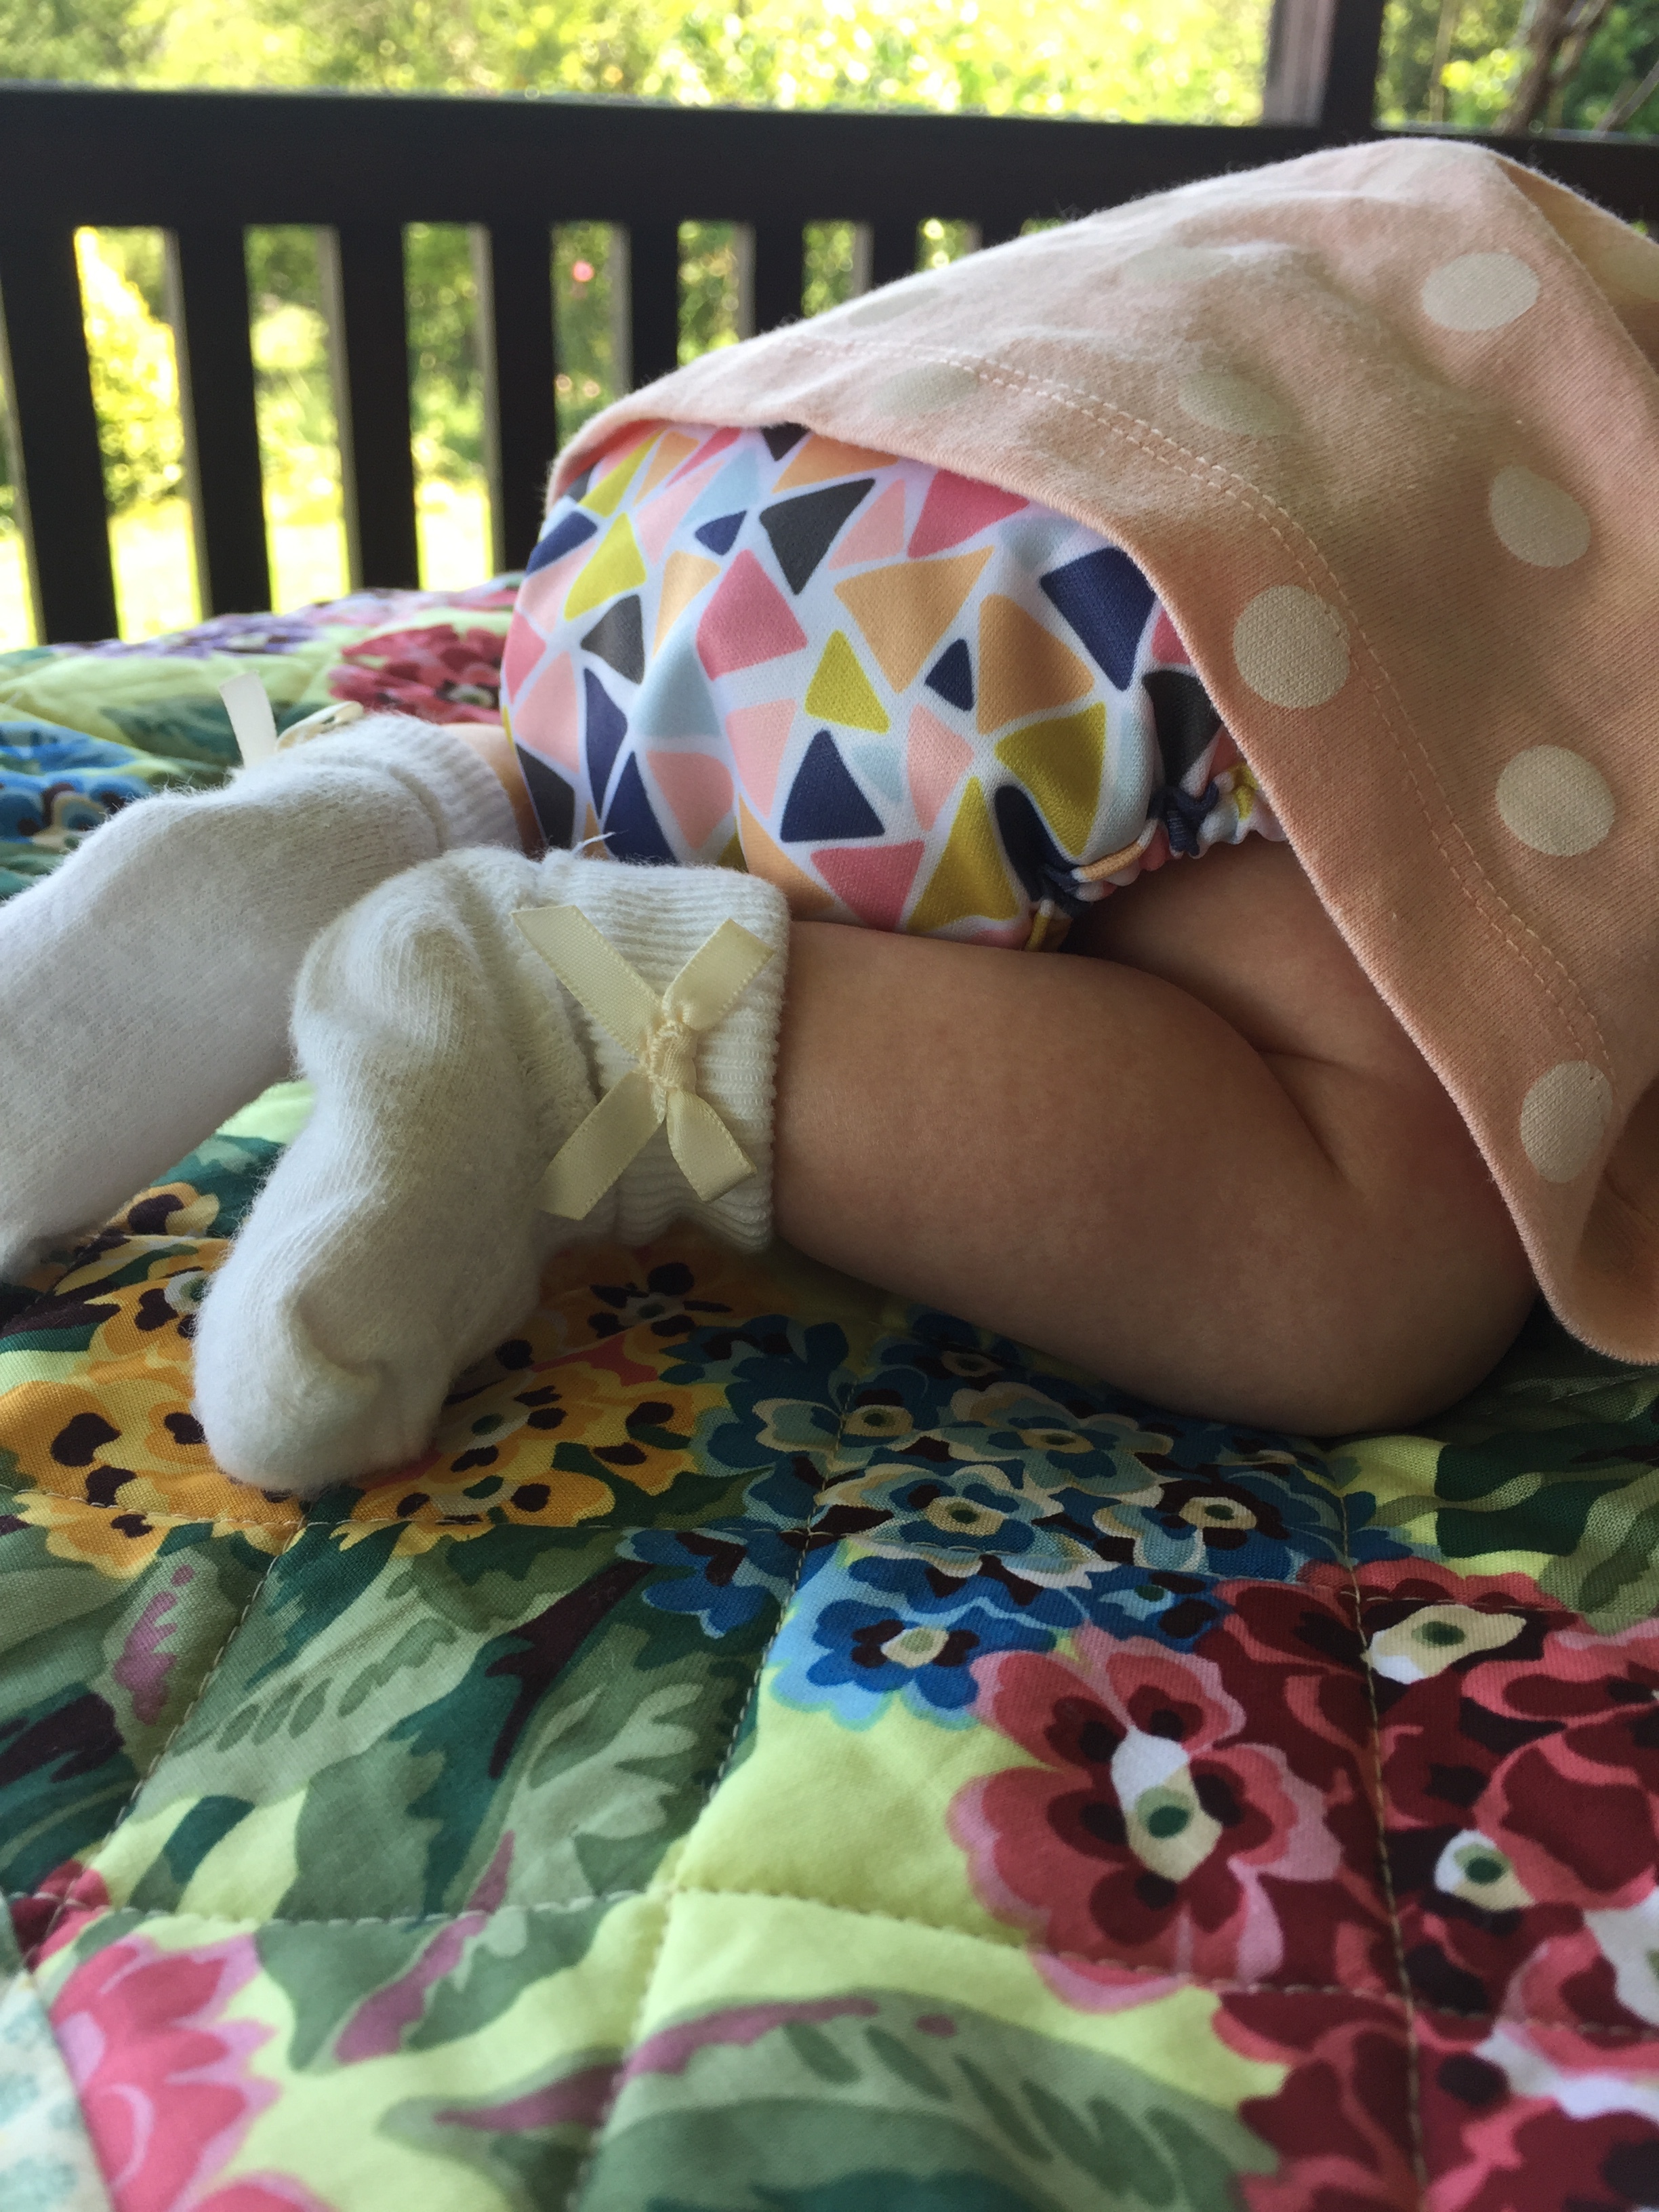
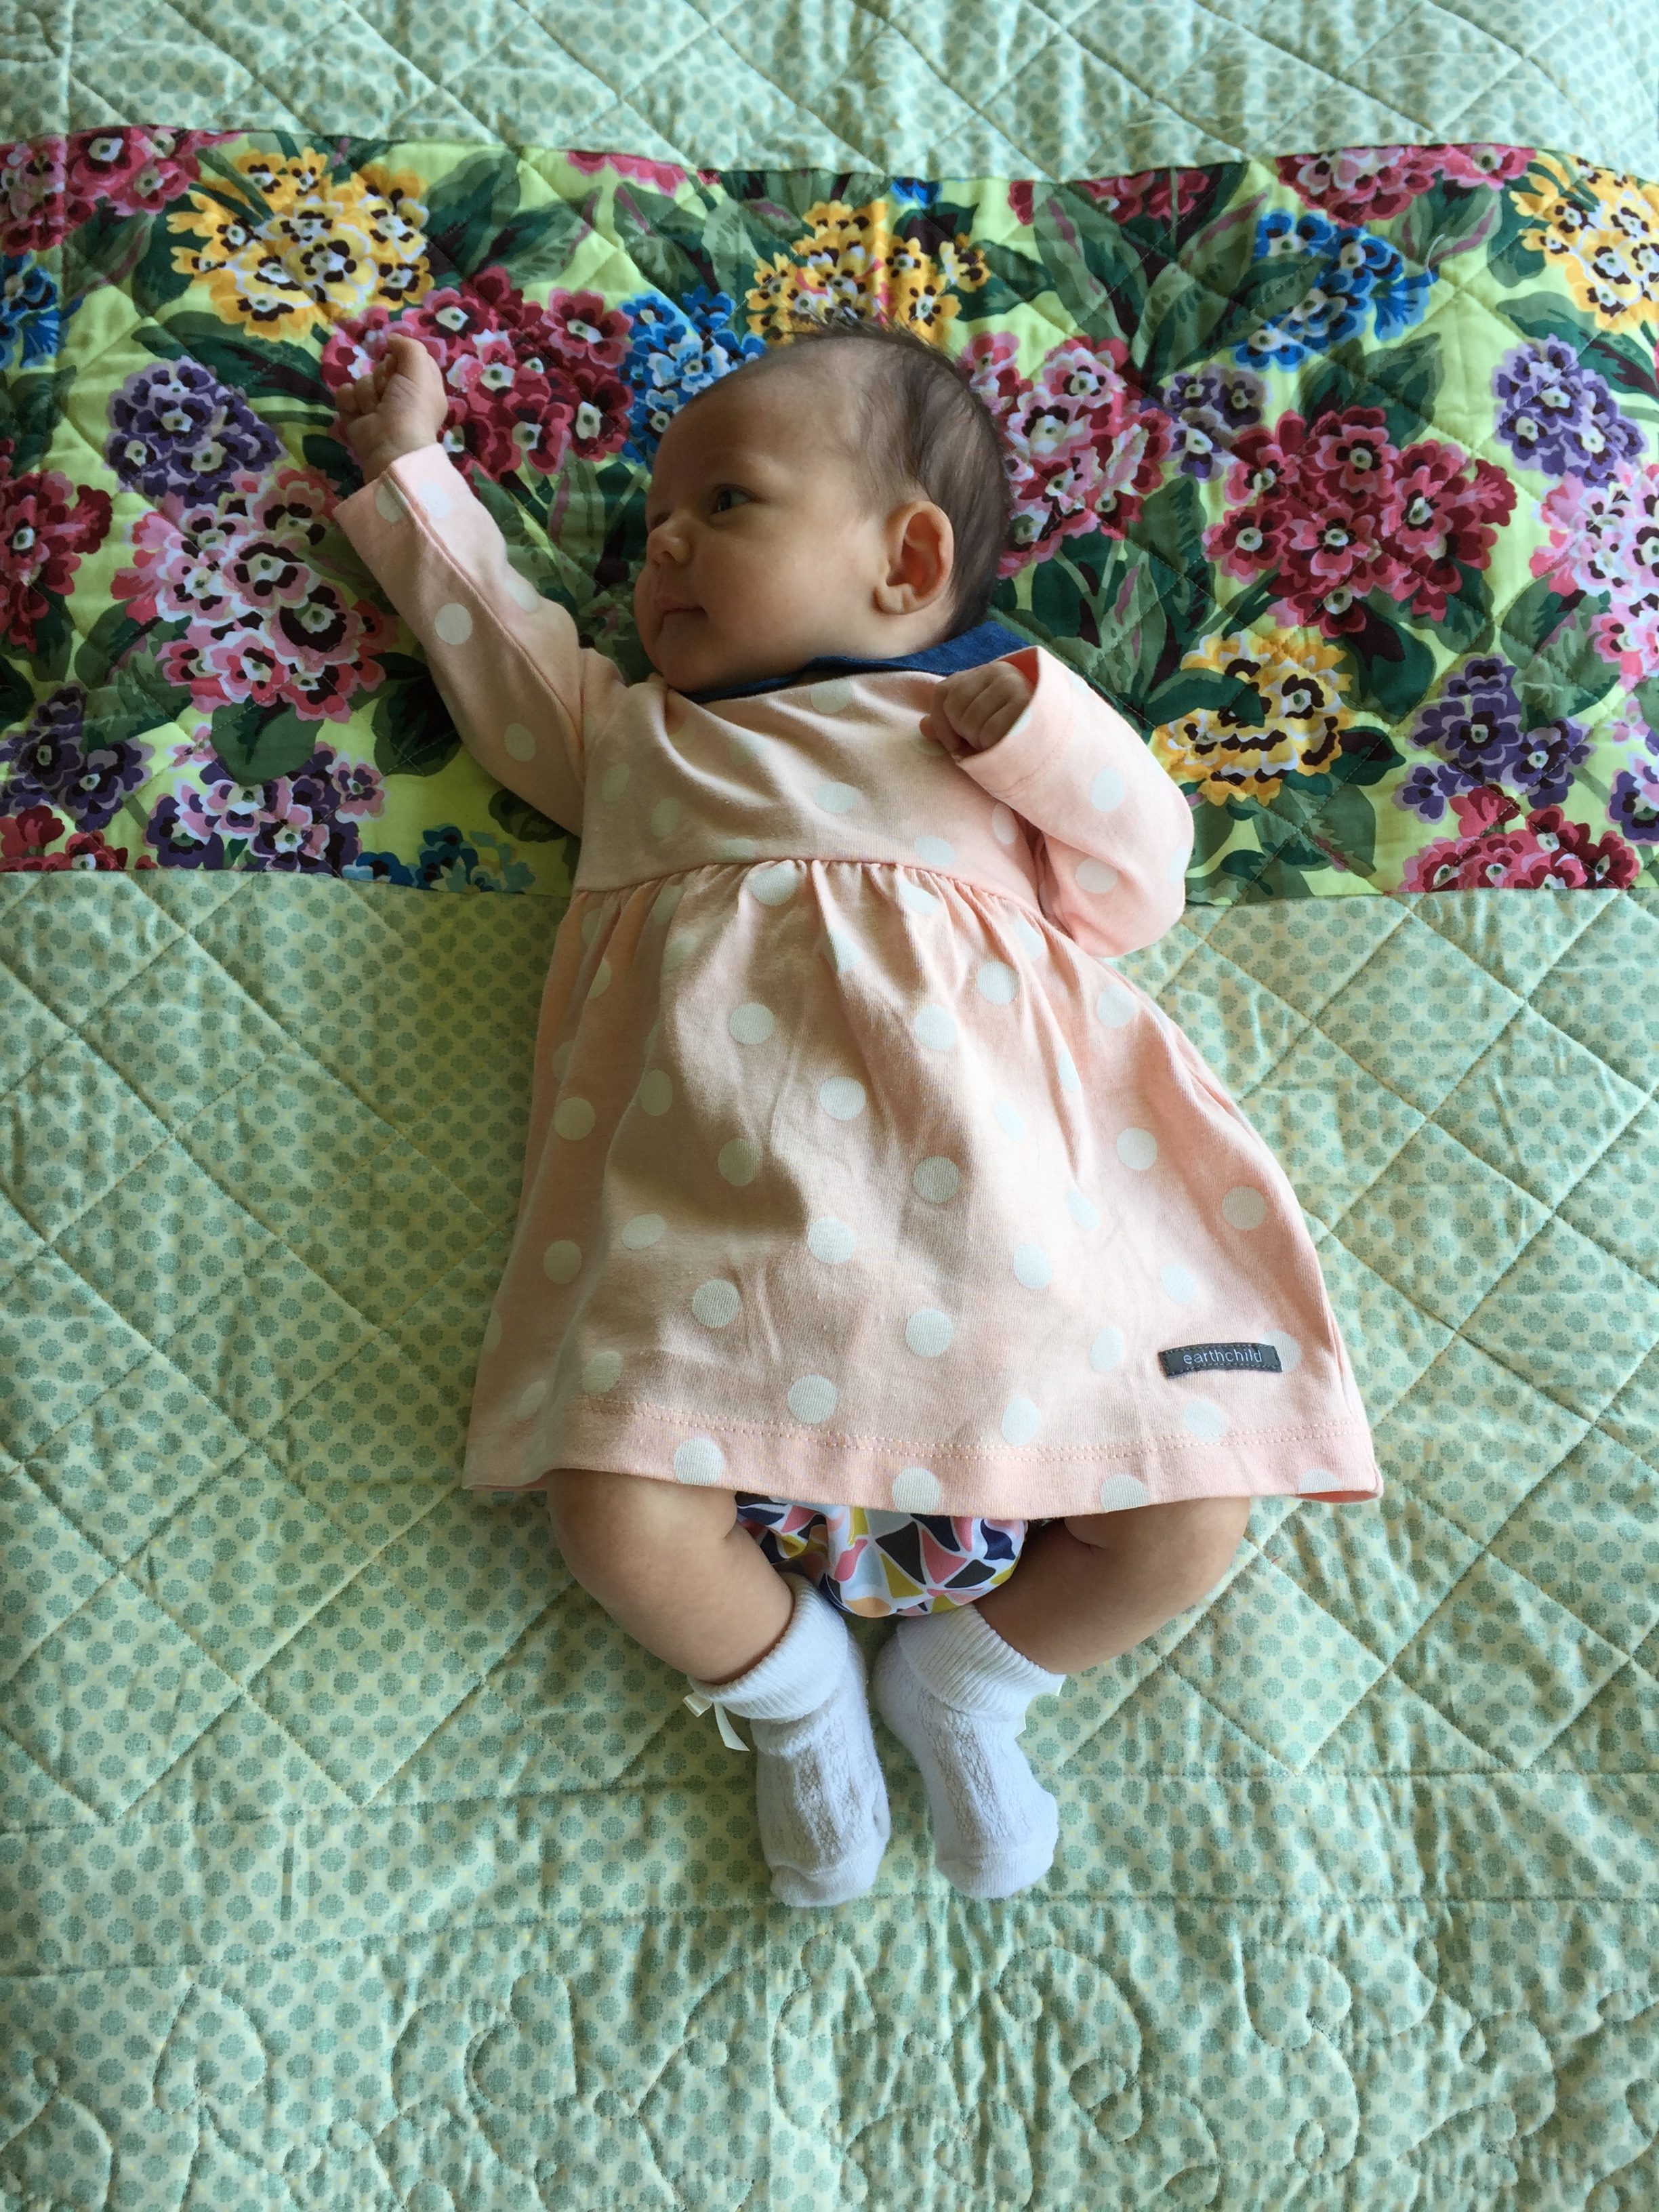
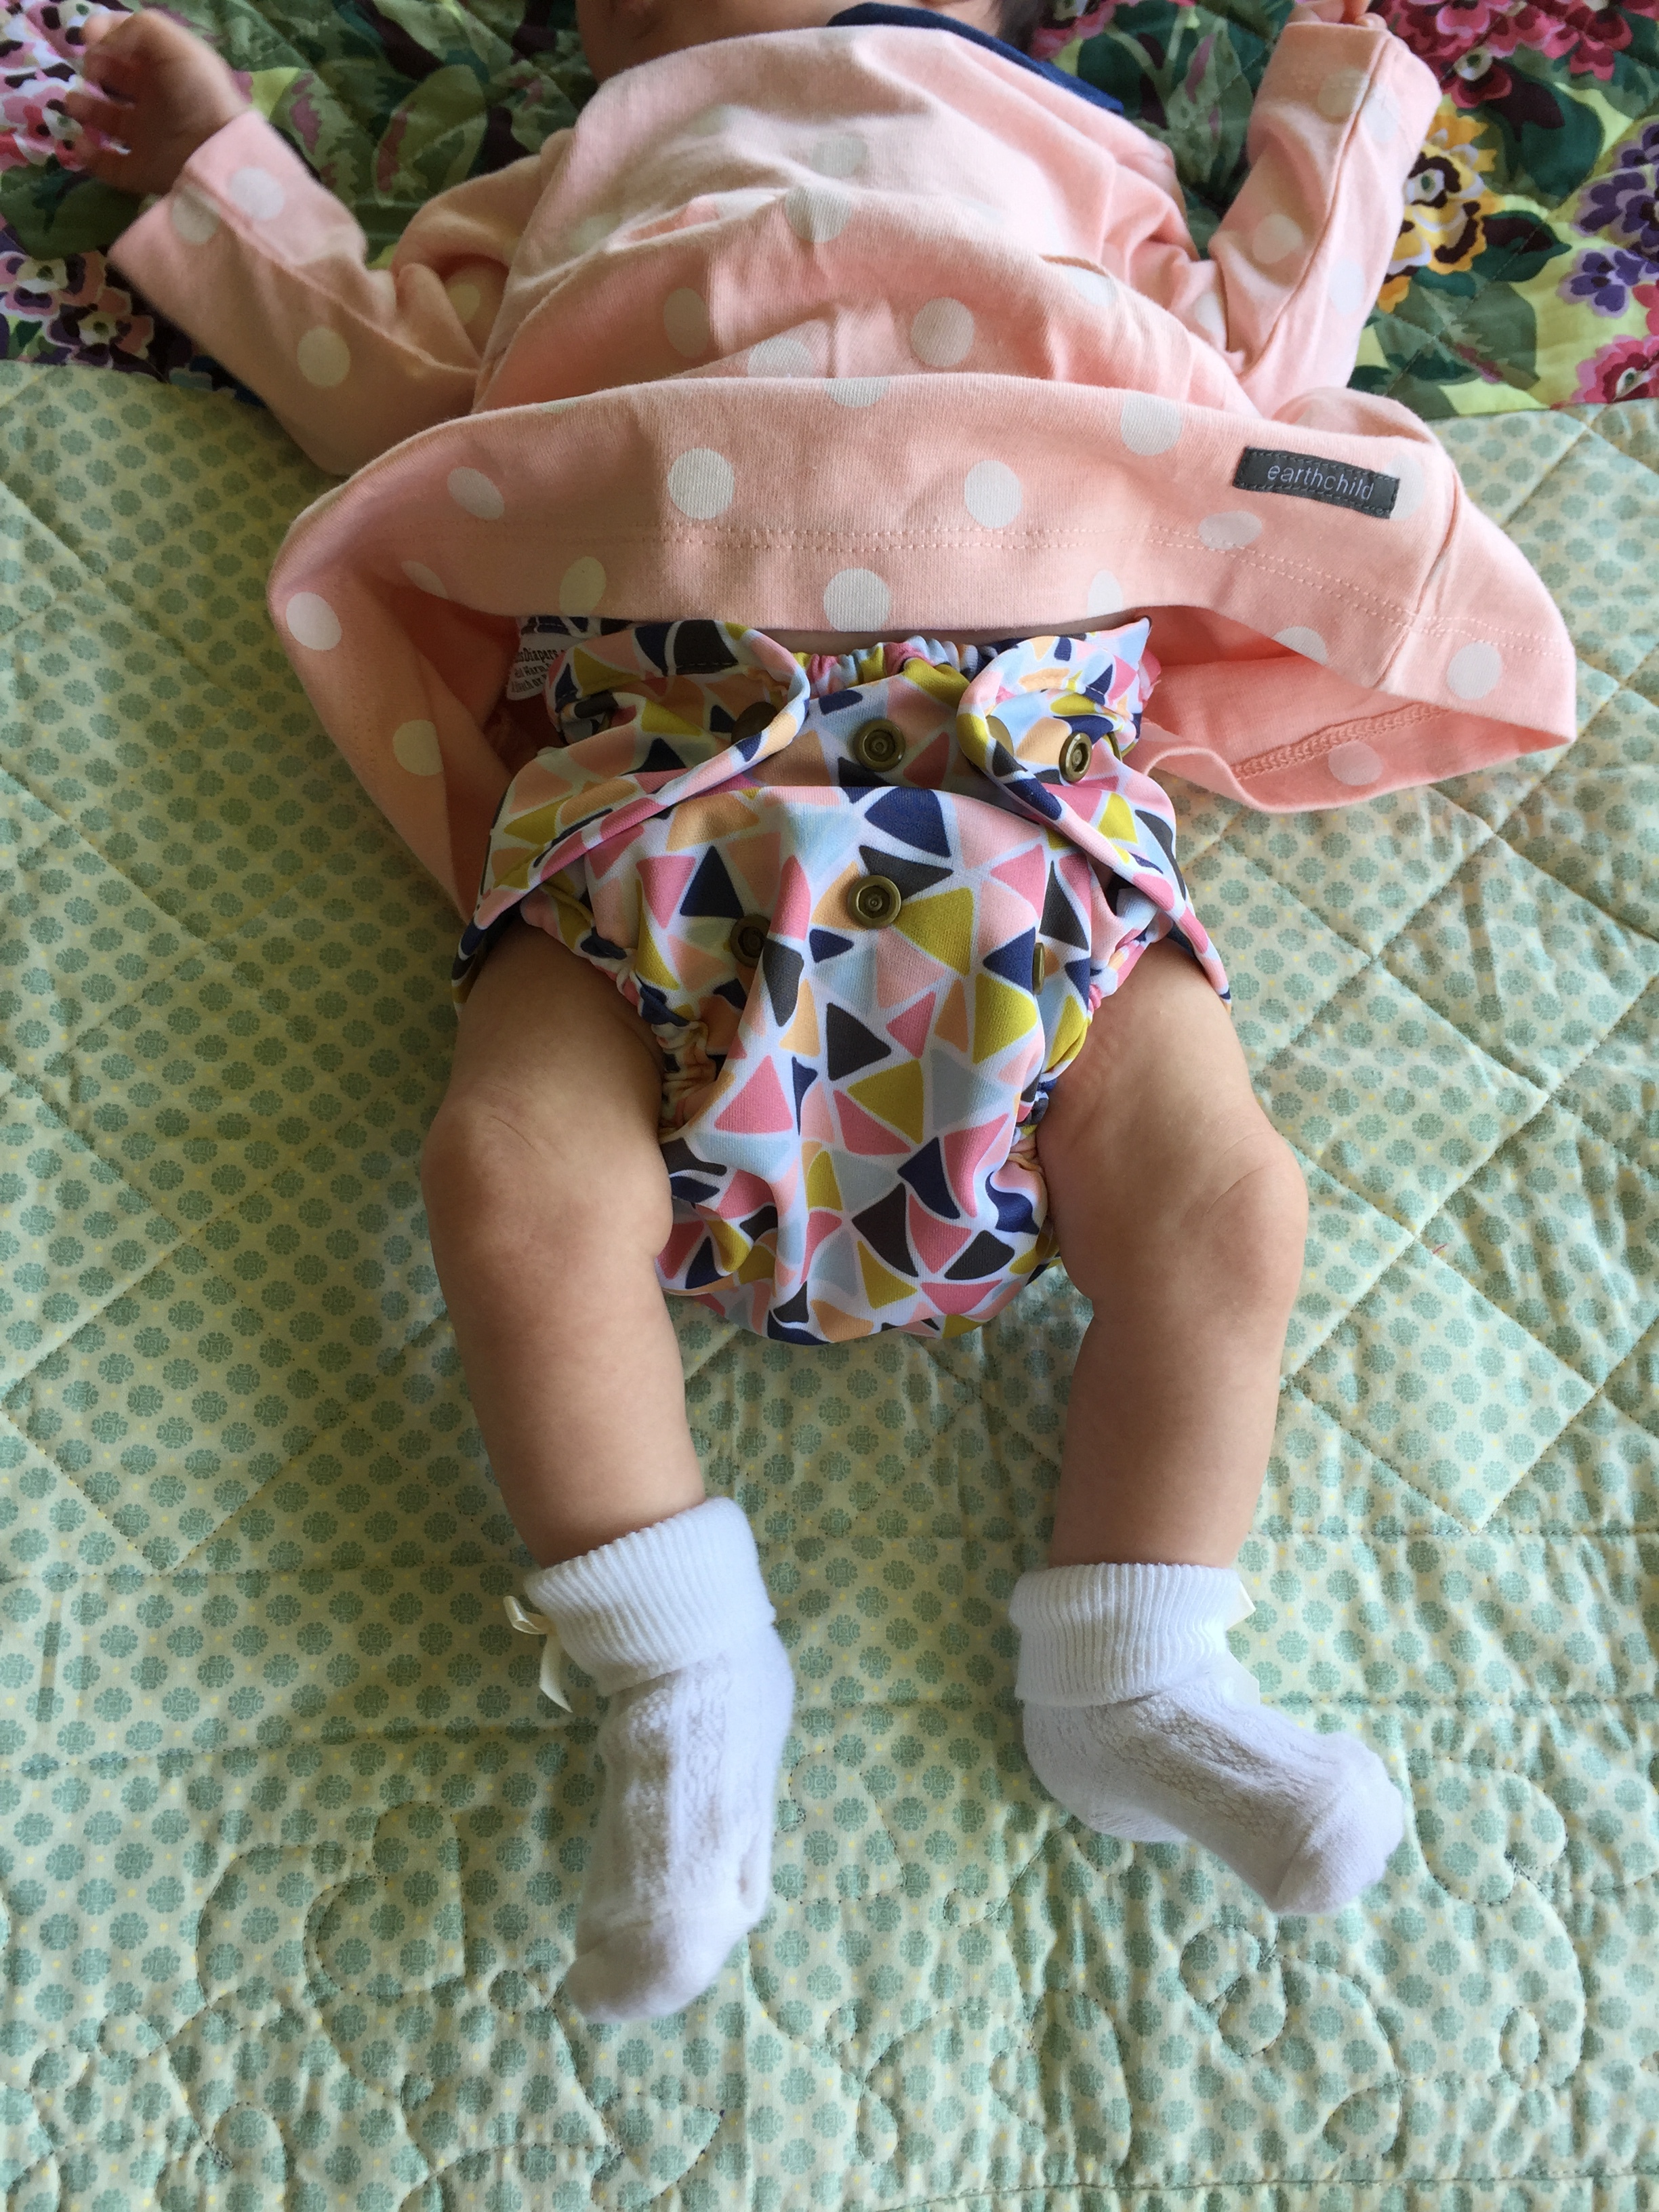
This is the ‘regular’ size nappies, and unless stated, most people refer to this size when talking about nappies. Most babies fit into OSFM from around the 5 months mark, some sooner and some later, all depending on your baby’s body shape, chunkiness & weight. Most OSFM nappies will last until potty training, due to the snaps that can be ‘opened/closed’. Everly, who at 2 is currently potty training, wears OSFM nappies for nighttime & naps, and is still wearing the same nappies she wore at 6 months old. Aaron moved into OSFM from about 5 months. When babies move from baby to toddler, they generally slim down, and you might find you are tightening up your nappies again and that they can go on to fit much longer than you had thought they would. Here are some photos of Everly to show you how OSFM grows with your baby:

The same nappy at 8 months & 14 months:

The same nappy at 6 months & 25 months:

The different Types of cloth nappies

There are lots and lots of different types of nappies on the market today, and it is always suggested that you build of a stash of different ones to try before committing to one type or brand. This way you’re able to get a feel for them all, and you can get more of an idea of the types that you prefer, as well as what fits/works for baby. When I first started out, I bought a lot of my nappies pre-loved (second hand) from the South African Cloth Diaper Buy/Sell/Trade Facebook group, and this way I was able to build my stash on a budget. I also bought some of my nappies in the UK & Canada when I had family who could bring them over to me.

There are SO many different brands out there, and to help you, I’ve linked my favourite ones below. My recommendations are purely from experience, and there are lots more great brands out there that I haven’t tried so do keep that in mind when you start your cloth nappy journey.

types of cloth nappies

All-In-One (AIO):

The most expensive type of nappy, but also the most convenient & the most like a disposable with the ease of which they go on and off. They are ready to go on the bum straight from the washing machine & don’t need any fancy assembly. These are the easiest for first timers to use, and the ones that Dad’s/Grannies usually reach for first. If you don’t have a budget to consider, then AIO’s are the bomb! I found them to not be absorbent enough for my daughter until about a year, after which I would still boost with an extra padfolded small sized hemp flat. They are very trim, and great when out and about but they do take long to dry because all the parts are ‘sewn together’. I loved using AIO’s from about 15 months, and they became my most used after that. My favourite brands of AI'O’s are Biddykins, Smart Bottoms, Grovia & Thirsties. You can buy Grovia nappies here in SA through Biddykins & Little Sams.

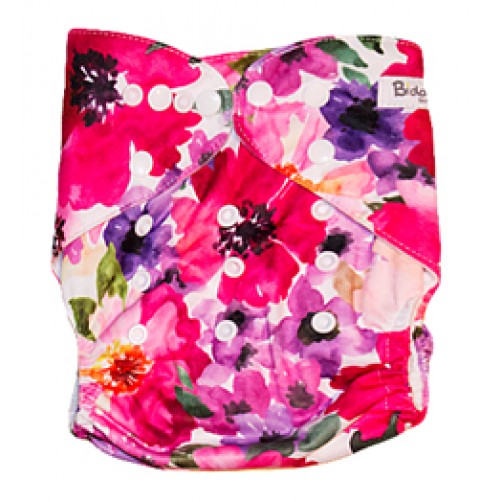
Pocket:

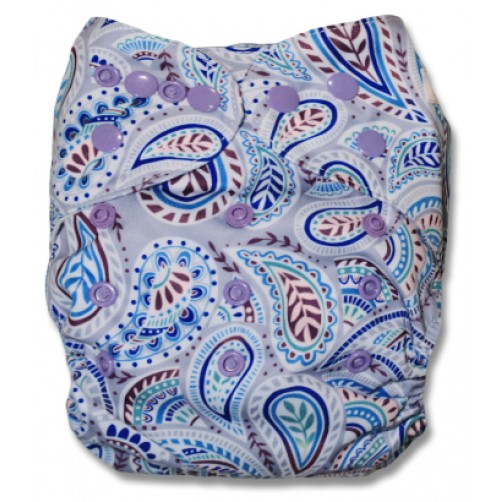
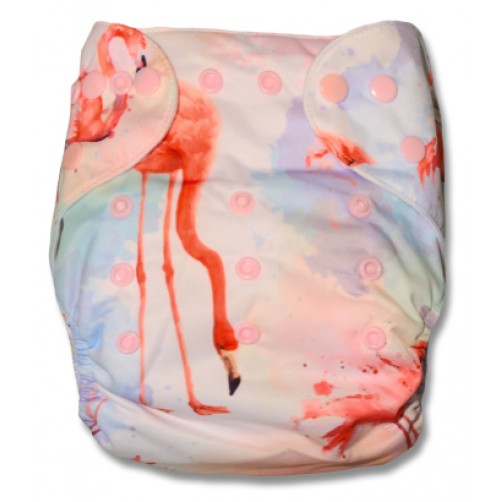
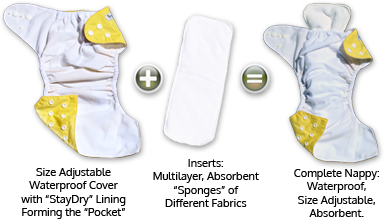
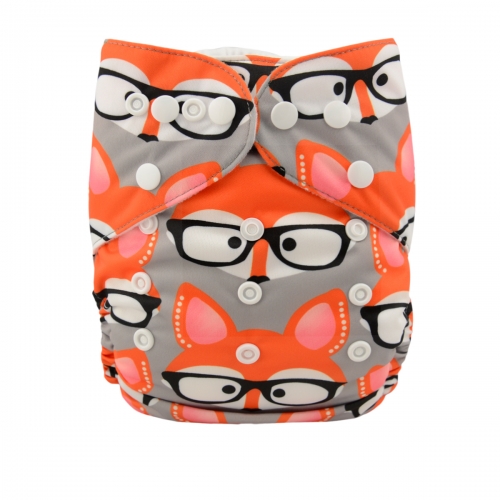
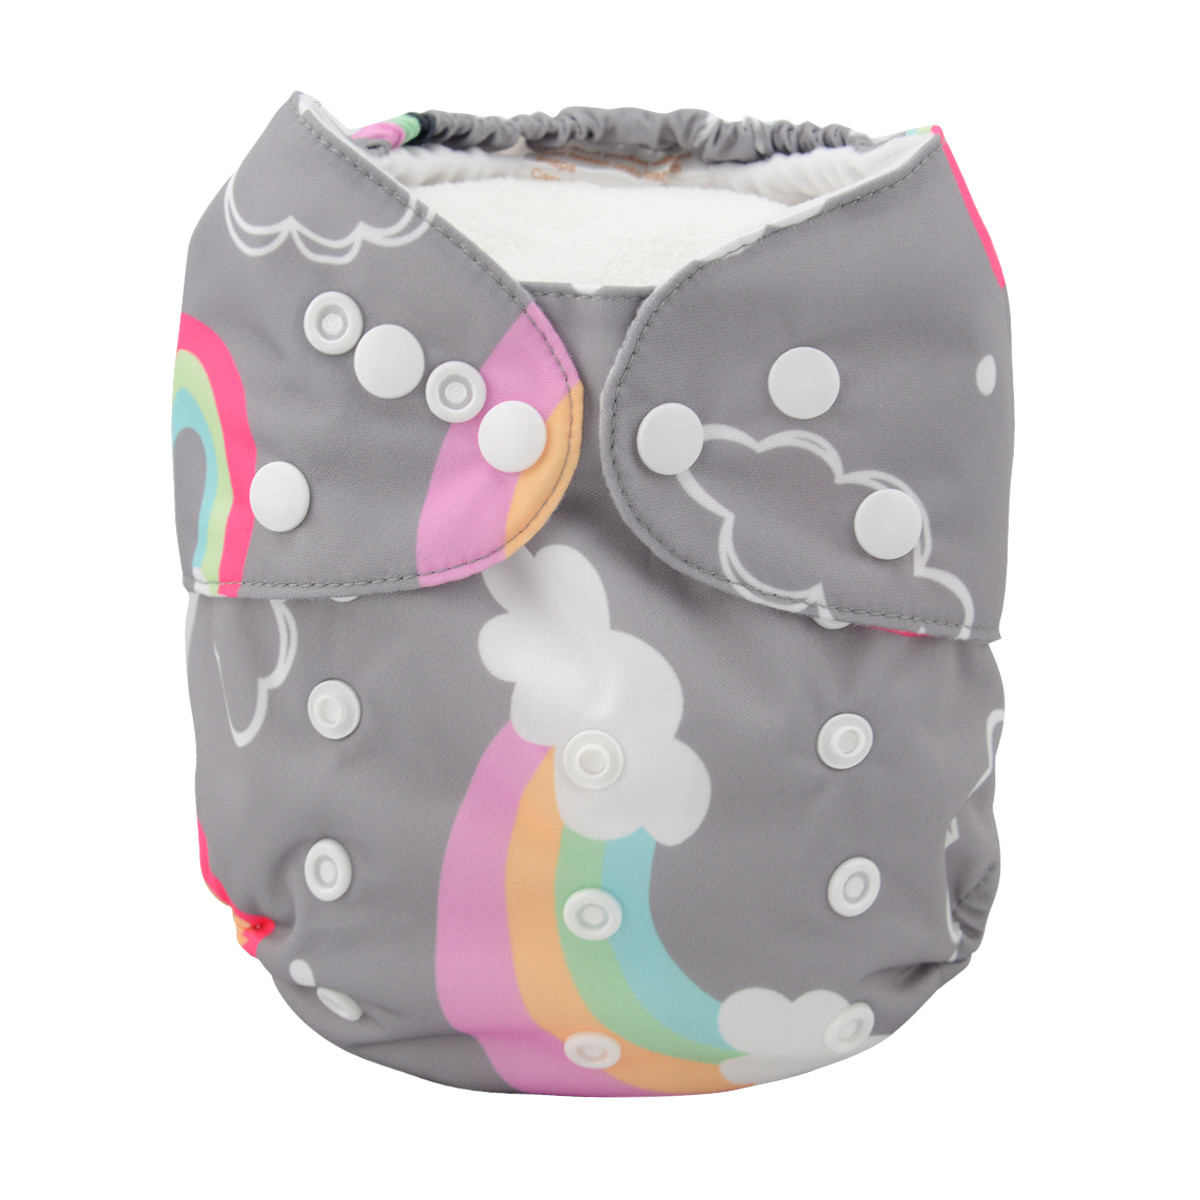
A sleeve type nappy that you ‘stuff’ with different inserts (namely microfibre, hemp or bamboo) depending on much much/little absorbency you need. Come in a huge variety of prints & designs, they are quick drying (because the inserts and the cover are separate) are very affordable & you have control over the absorbency as you can add/remove inserts as you need.

Downside to them is it can be a pain to ‘stuff’ the nappies and they aren’t suited to night time (because you need A LOT of absorbency for nights). I love pockets for day time wear, and my daughter (2 years old & day time potty trained) uses these for her naps with a hemp & a bamboo insert as they are my most absorbent ‘day’ nappies). My favourite brand of pocket nappy is Biddyins.

Snap-In-One (SIO):

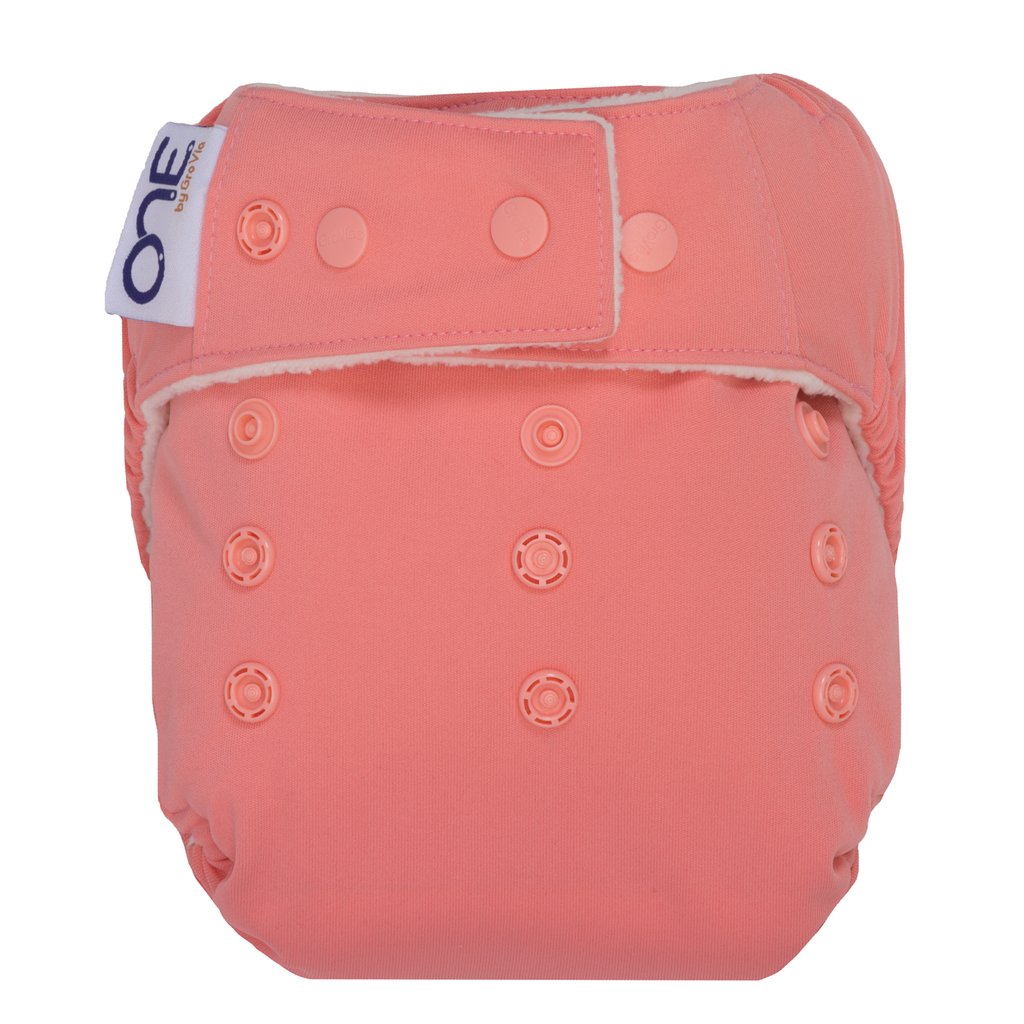
Basically an All-In-One nappy whose inserts ‘snap in/on’ as opposed to being sewn on. These have all the convenience of an AIO but they dry quicker because the inserts wash separately. My favourite SIO nappy is the Grovia O.N.E (which you can buy here in South Africa through Biddykins & Little Sams).

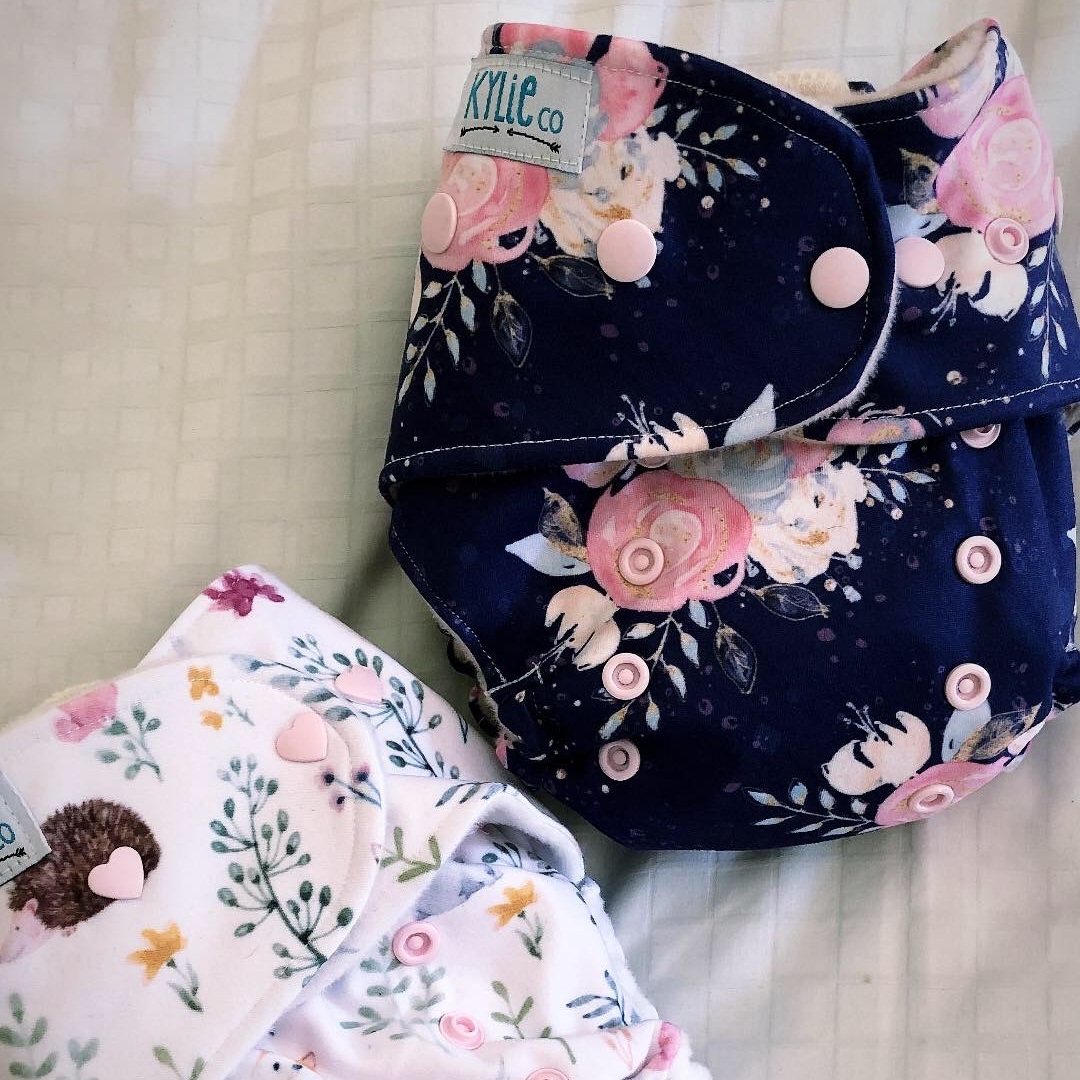
Another lovely local SA brand is KylieCo which makes GORGEOUS custom designed nappies, but they are on the pricier end at about R450 a nappy. Although they are beautiful (and their squishiness & prettyness justify their hefty price tags, I don’t find them to be as absorbent as my other nappies).

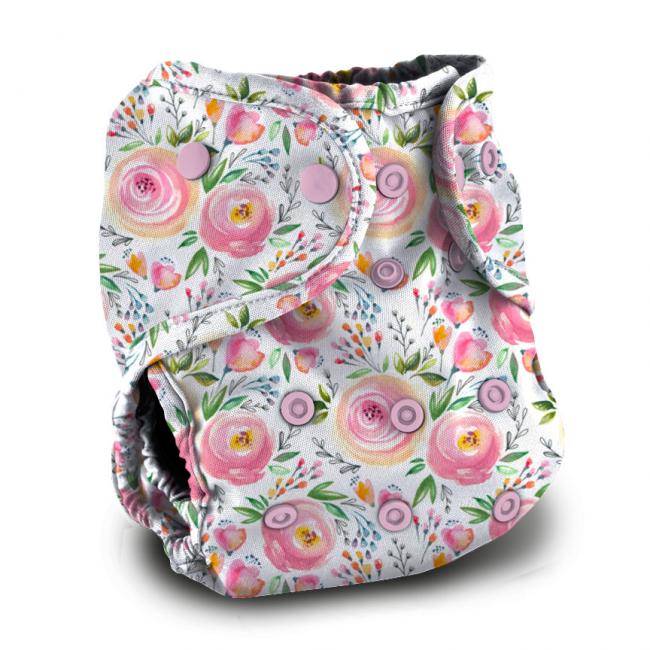
All-In-Two (AI2):

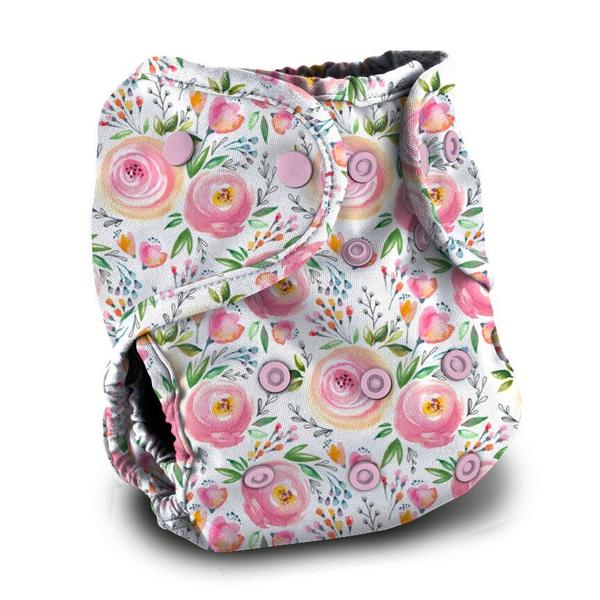
These are generally made up of a waterproof cover with inserts that lie/clip into the cover. In this way they are similar to SIO’s but their shell (the waterproof outside part) is able to be re-used in between nappy changes because you can simply give it a wipe unless it has been heavily soiled.

My favourite brand of AI2’s is Buttons Diapers (available here in SA through TinyHiney & Smitten Baby Boutique.

Fitted:

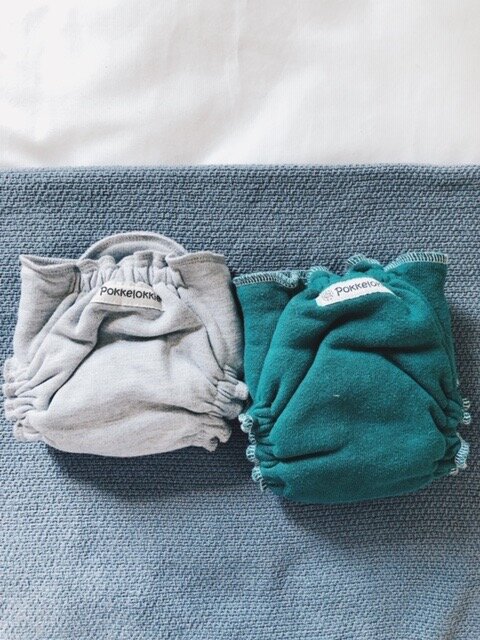
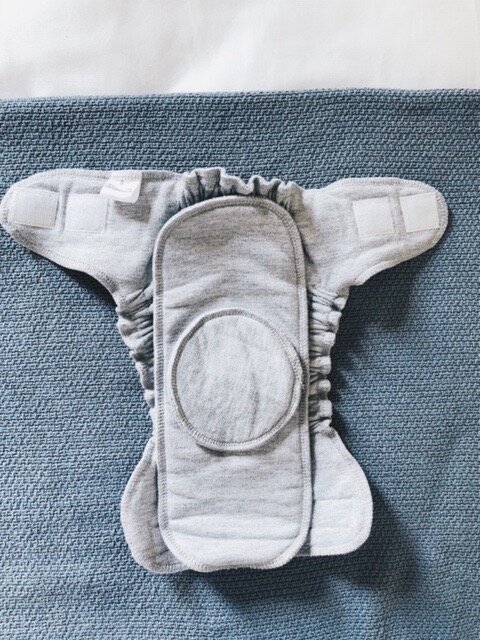
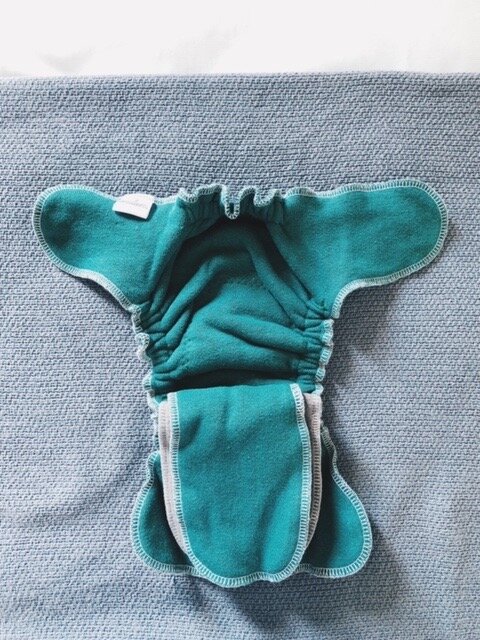
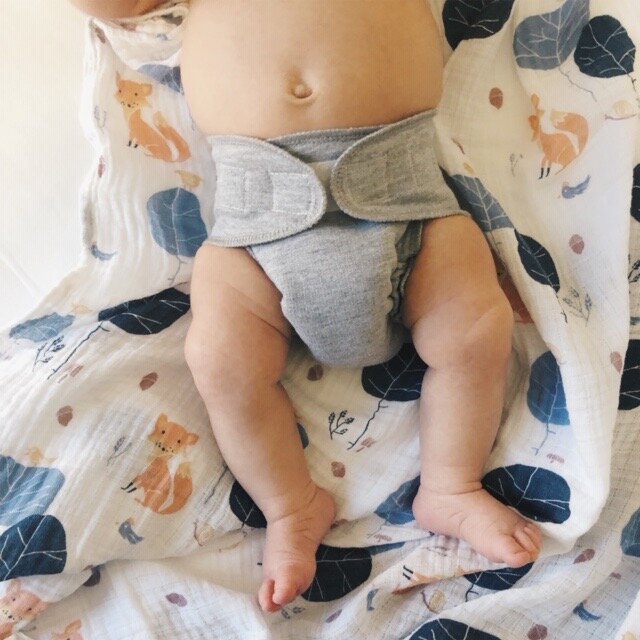
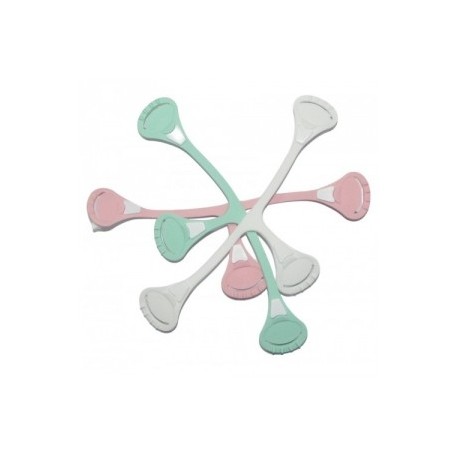
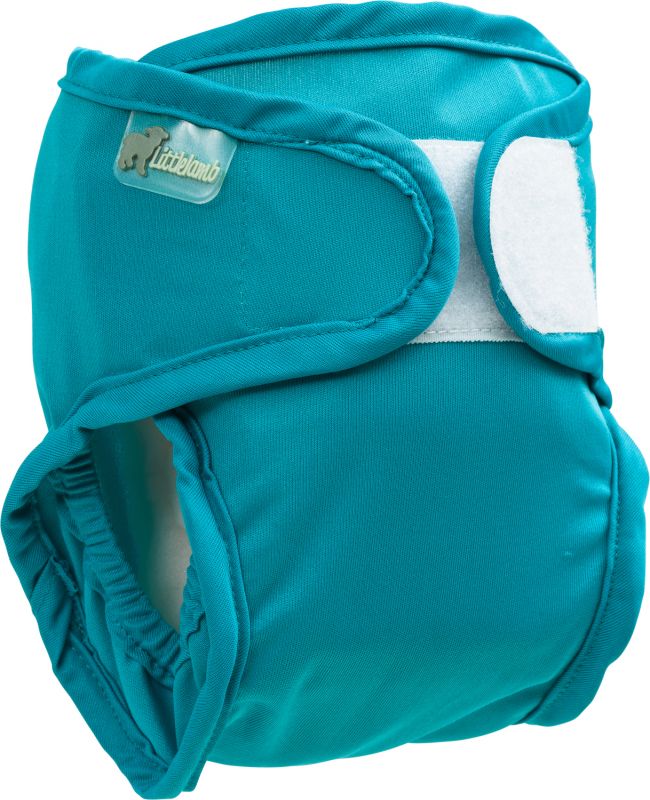
A full absorbent nappy that needs a waterproof cover. They come in different fabrics (usually bamboo cotton or hemp) and are an amazing night nappy. They do tend to be bulky (but this is the case with all night nappies) and are either snap-less (which means you need to use something like a snappy to close them) or they come with snaps/velcro for easy clipping open/closed. They take a while to dry, but are very absorbent. My favourite fitteds are:

-daytime: Pokkelokkie Dawnpatrol

- nighttime: Pokkelokkie Sleepy Dust & Sloomb

Hybrid Fitted:

Usually made by WAHM's (work at home moms) and they have a water-resistant layer (fleece) sewn in but do need a cover to be fully waterproof.

These are my least favourite nappies because both of my kids have been heavier wetters and so the beautiful prints that these nappies can come in are always going to have to be covered by a waterproof cover, and then I don’t see the point in having such a pretty nappy that you will never see. If you have a light wetter, you would get away with using these with no cover. In saying that these are my least favourite nappy, the fish print below has been one of my favourite nappy prints and has gone on both of my kids. I think there is a time and a place for hybrids, and as I mentioned, if you have a light wetter you could get away with not needing a cover.

I bought the nappy below preloved on the South African Cloth Diaper Buy/Sell/Trade group.

Flat:

These are the ‘old school’ nappies that our mums and Grans used to use (remember the ‘terry towel squares’?, but these days they come in lots of different fabrics. - The fabrics that are popular today are just trimmer than the old terry towelling nappies, and of course there are loads of different colours around nowadays. Flats are just that, a flat layer of fabric, cut into a square, that you fold and then secure with a snappy or a pin. They usually come in 3 sizes: newborn/small (50cmx50cm), medium (60cmx60cm) and then OSFM or large (70cmx70cm). I LOVE flats and have used them on both of my little ones from birth. They are the most versatile nappies for the newborn stage, and they make the best night nappies because they are trim, super absorbent and can be easily boosted. I use flats for both my kids at night, with a fleece cover for Aaron, and with a nice stretchy blueberry coverall cover for Everly.

My absolute favourite flats are Pokkelokkie hemp flats (the blue ones pictured below). I am STILL using Everly’s old newborn sized flats to boost her night & day nappies, and they are still going strong on Aaron.

Newborn Cloth Nappies Flats Pokkelokkie Mommy blogger citygirlsearching (1 of 7).jpg

Prefold:

These are similar to the flats as they are also square/rectangular, but they have an extra absorbent middle layer (basically the middle of it has already been boosted and sewn together) giving you more layers for absorption. They are fastened with a snappy/pin & need a cover. They can come with ‘wings’ cut out (making it much easier to fold onto baby, and I love using these on Everly at night and have done so since she was about 15 months old. These are easier for Dad to work with that a plain flat. My favourite prefolds are the winged help ones from Kanini (but mine are very well used as you can see from the pic below, and they have little holes from being fastened with a snappy).

I fold the bottom of the nappy up (pictured on the flat) to make it a bit smaller for Everly, and then padfold another small sized hemp flat in the middle before folding the sides over. I then put another small padfolded hemp flat between the nappy & the cover, and this is what I do for Everly for nights. It’s a very bulky nappy but works like a bomb for 12-13 hours of wear.

Well done if you go this far without feeling totally overwhelmed! As I mentioned in this post, it can seem very daunting but once you become familiar with all the different types, it all starts falling into place. The best advice I can give is to meet up with a cloth nappy mommy in your area who can show you the ropes and then you can see first hand how things work. It’s not as scary as it seems, and everyone who uses cloth nappies that I have come across is so happy to help you troubleshoot/share tips/troubleshoot/give advice.

Next I’ll do a blog post on the different types of inserts, which are the most absorbent, and my recommendations on which ones to use when. Stay tuned for that!

And, as always, leave me comment below if you’d like to as me anything cloth related.

How I store dirty cloth nappies in between wash days

How to store dirty cloth nappies citygirlsearching blog-01.png

I’ve been using cloth nappies full time, right from newborn with my little girl (she’s 18 months old now) and now on my little boy (he’s 6 weeks old now) and I am often asked about the best way to keep/store dirty nappies if you’re not washing every day.

Most of the info out there recommends storing dirty cloth nappies in a basket/container with holes in it, as this gives the nappies air which, contrary to what you might think, makes them less smelly. I didn’t like the idea of having an open nappy bin, and so want to share what I use to store dirty nappies.

As I wash every second day, my dirty nappies aren’t left to get terribly smelly. I also rinse Everly’s night nappies straight away in hot water, and then leave these in a bucket next to the washing machine until wash day. So the nappies that go into the nappy bin are mostly wet (wee) nappies. For poo nappies, I ‘deposit’ the solids into the toilet (depending on just how ‘solid’ things are I may need to also rinse anything left behind off the nappy). I do this with a pair of gloves in the toilet. Then that nappy is either put in the bucket with her night nappies (if it was a shocker of a poo nappy) otherwise it goes into the nappy bin.

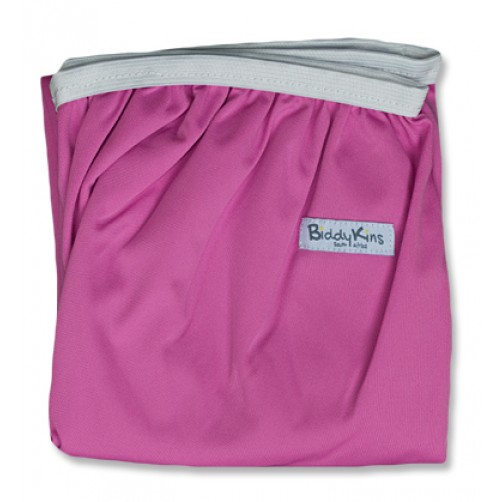
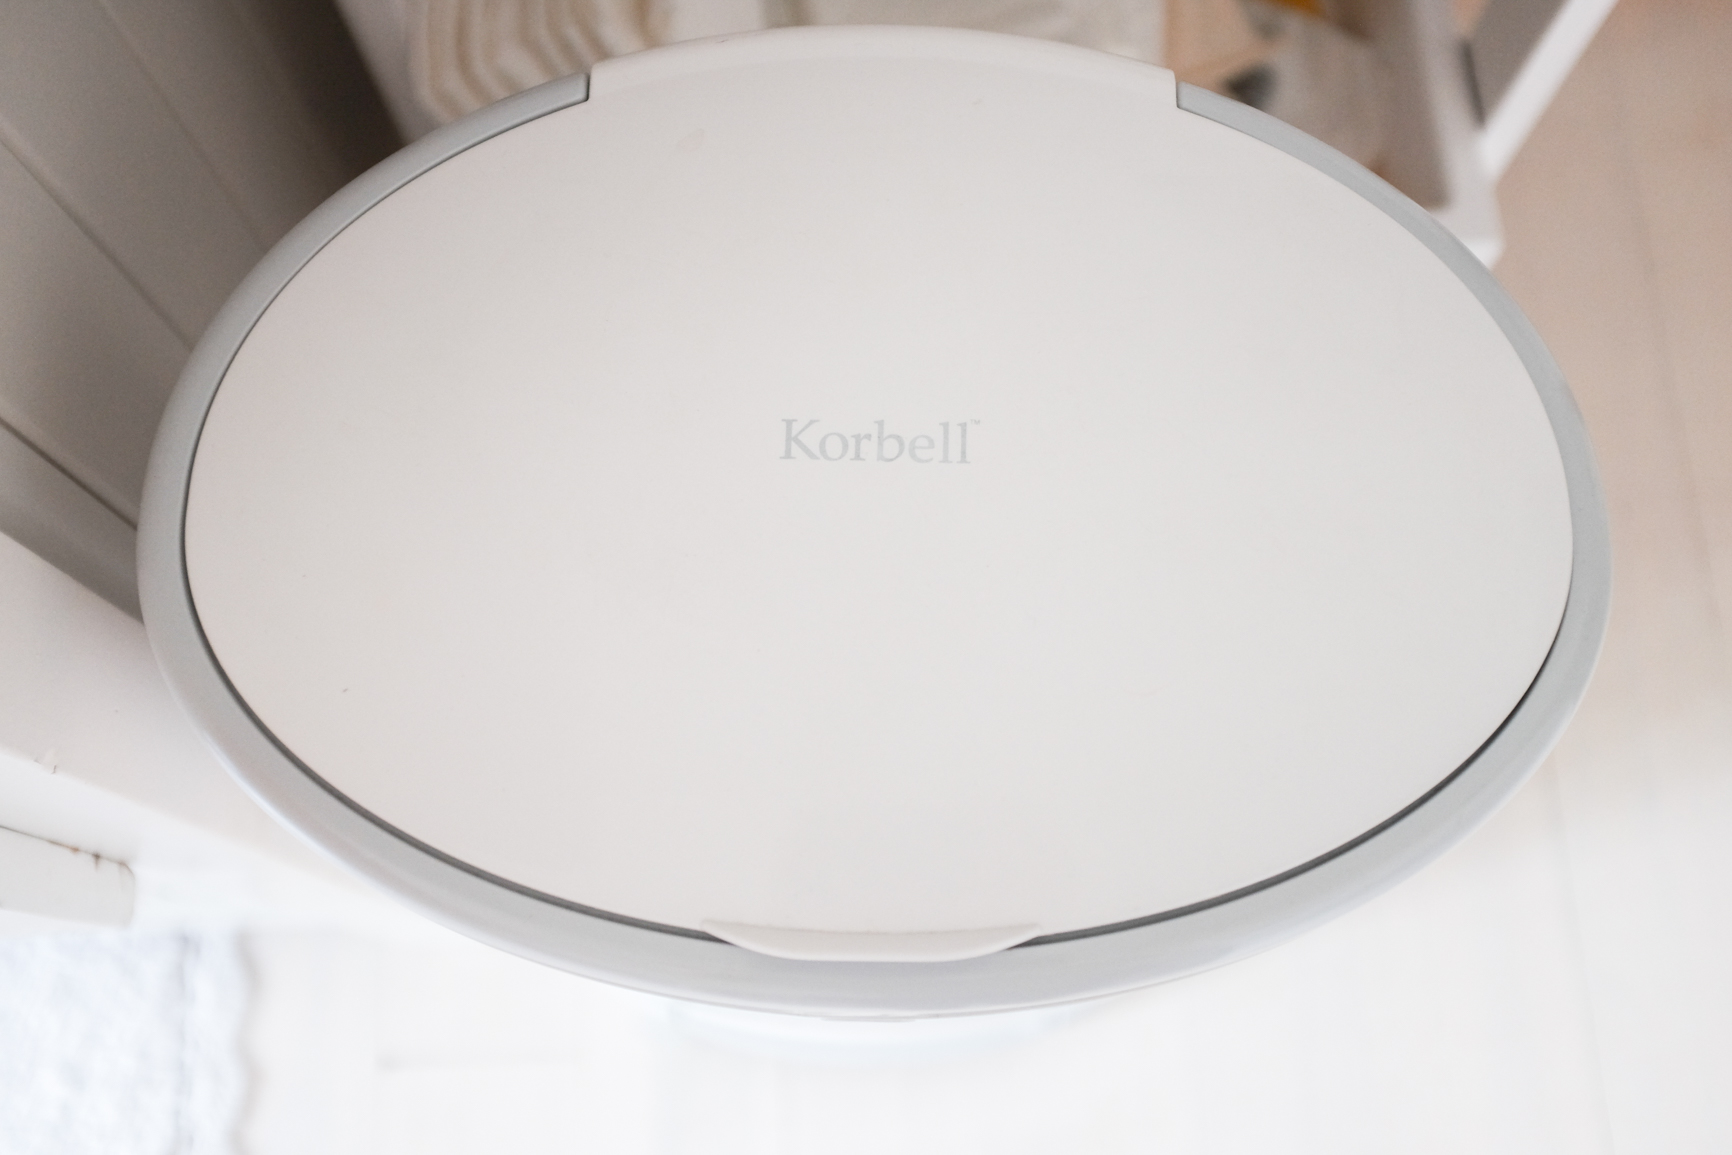
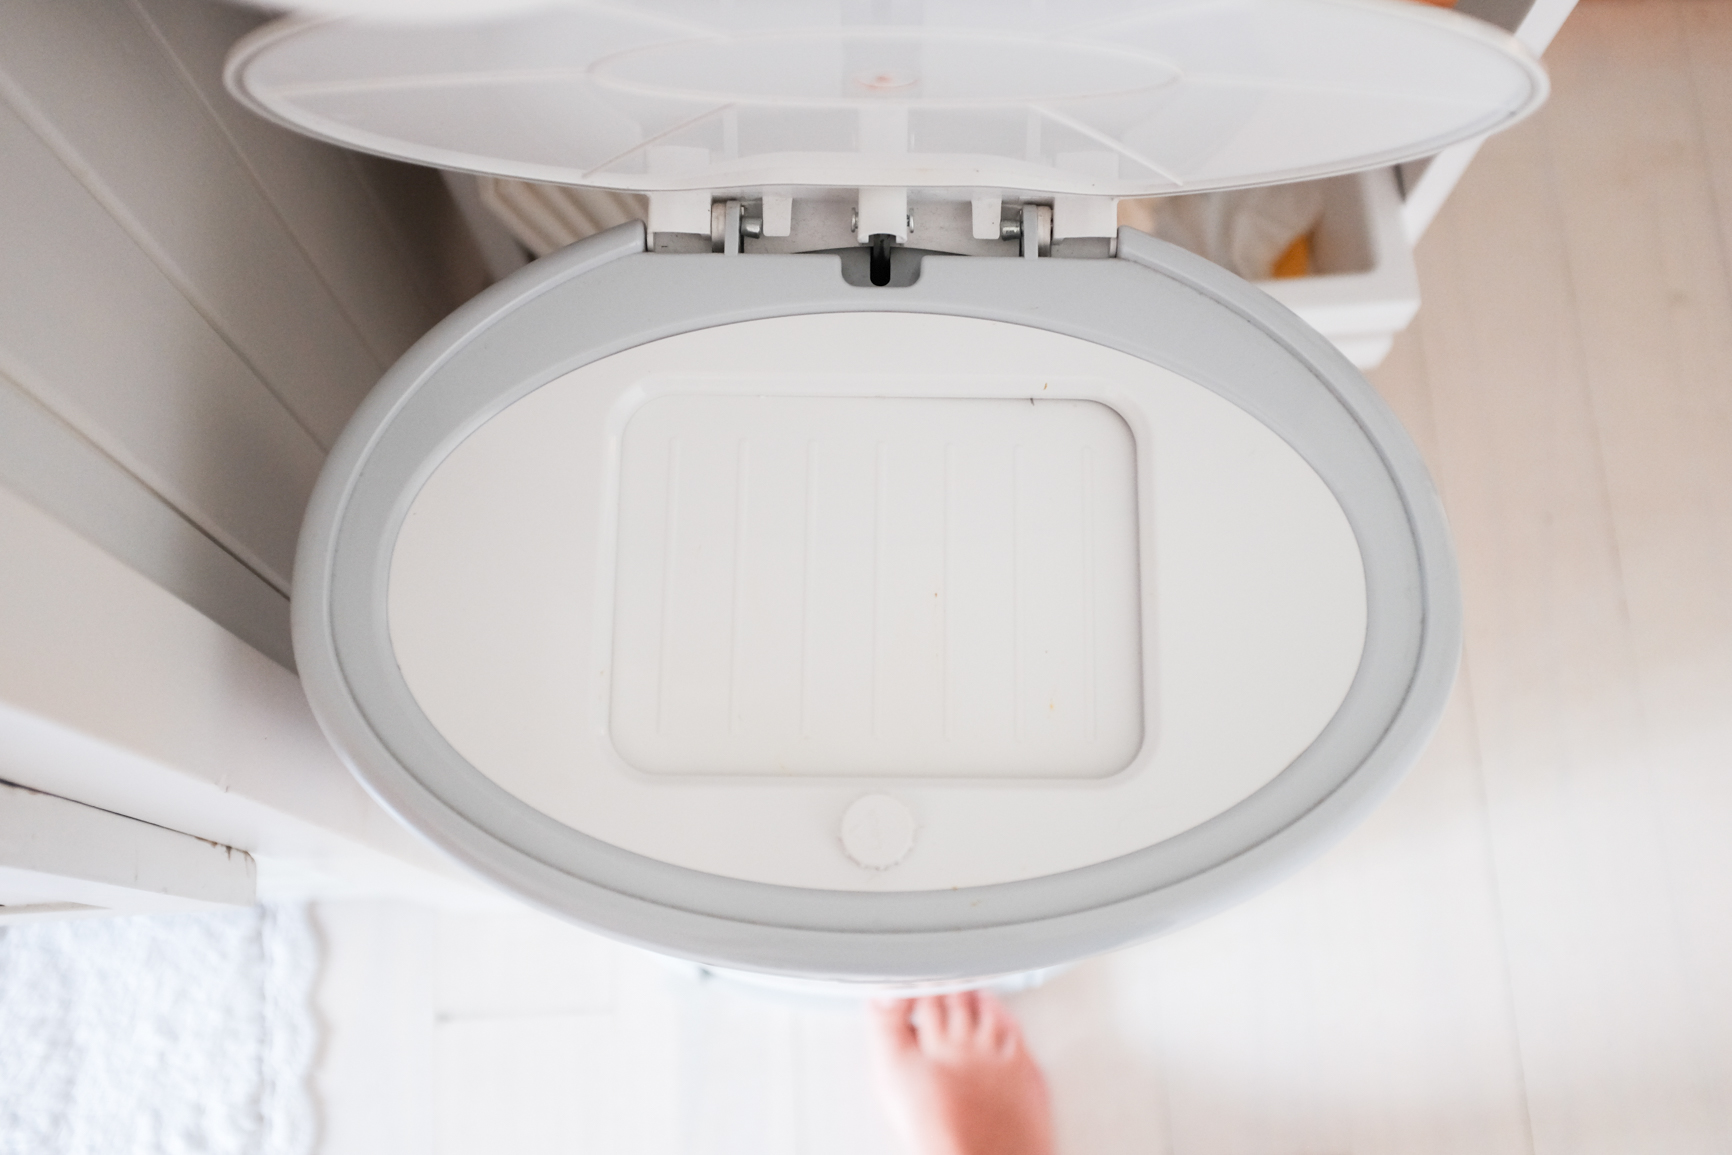
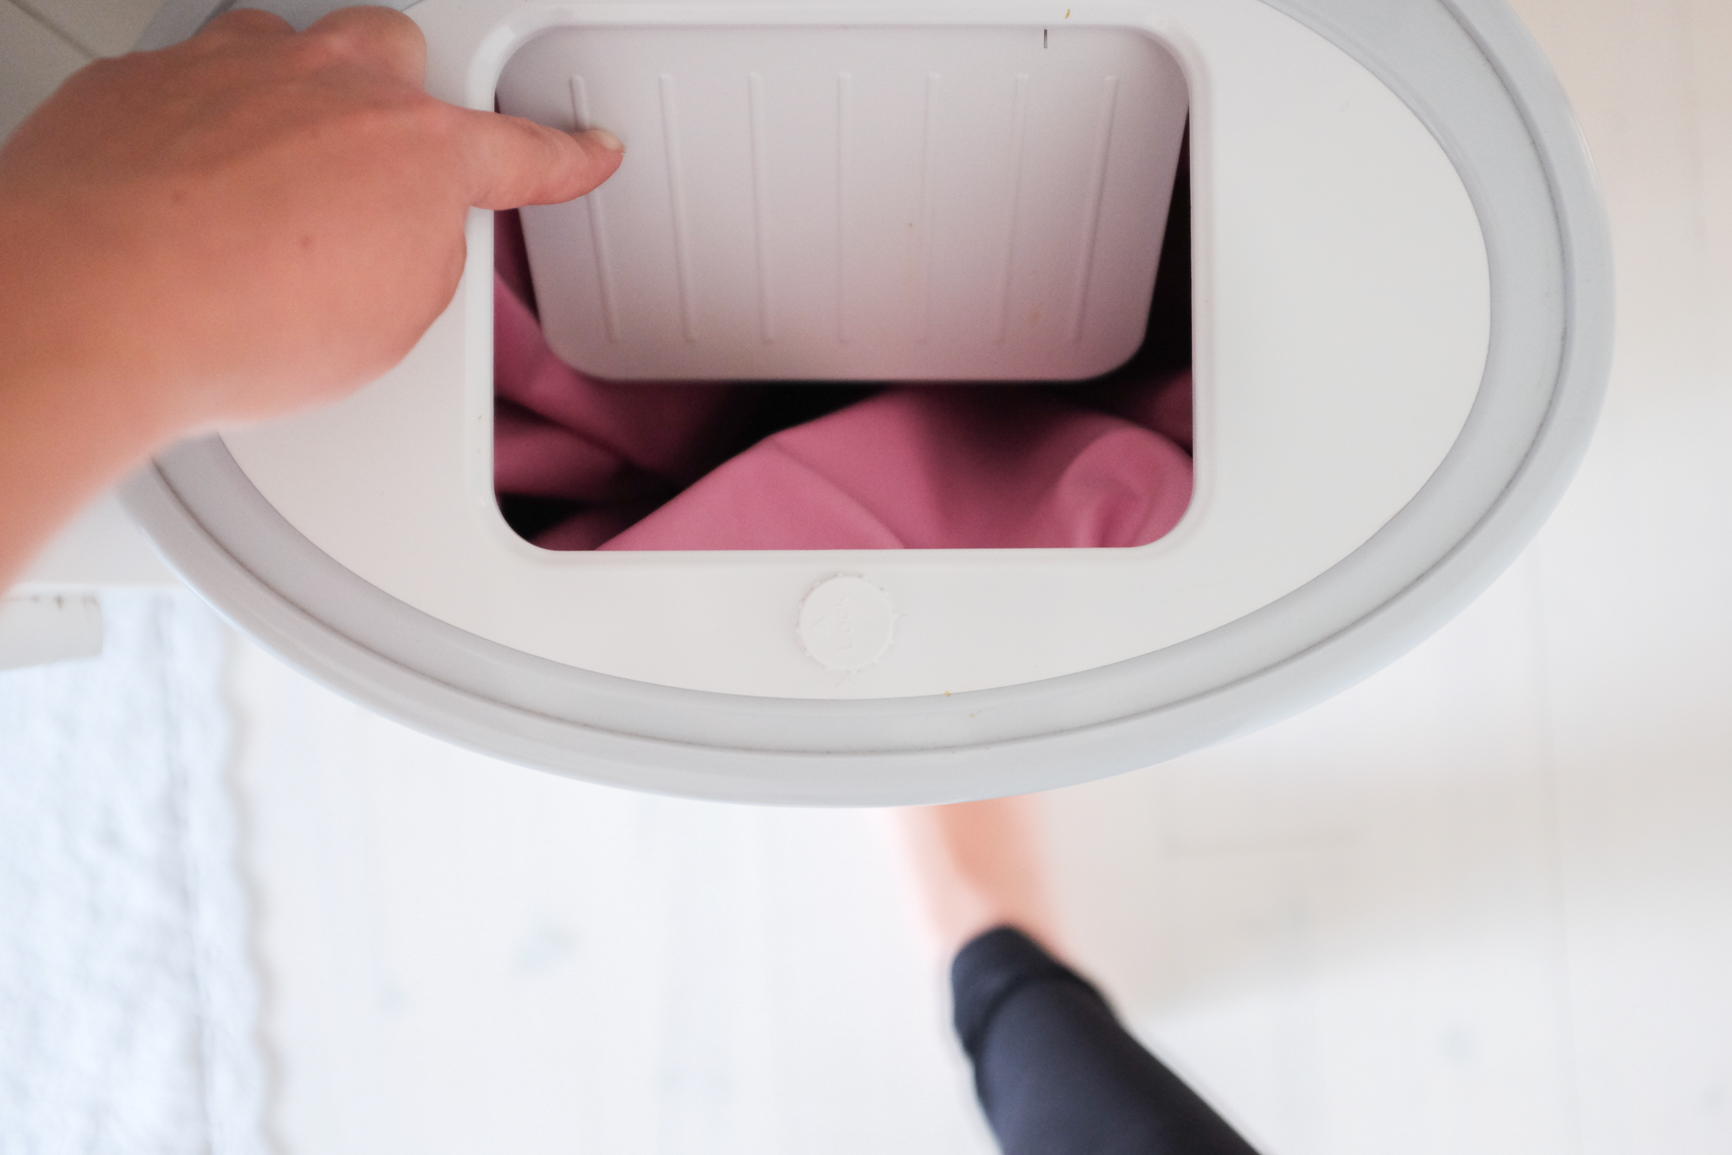
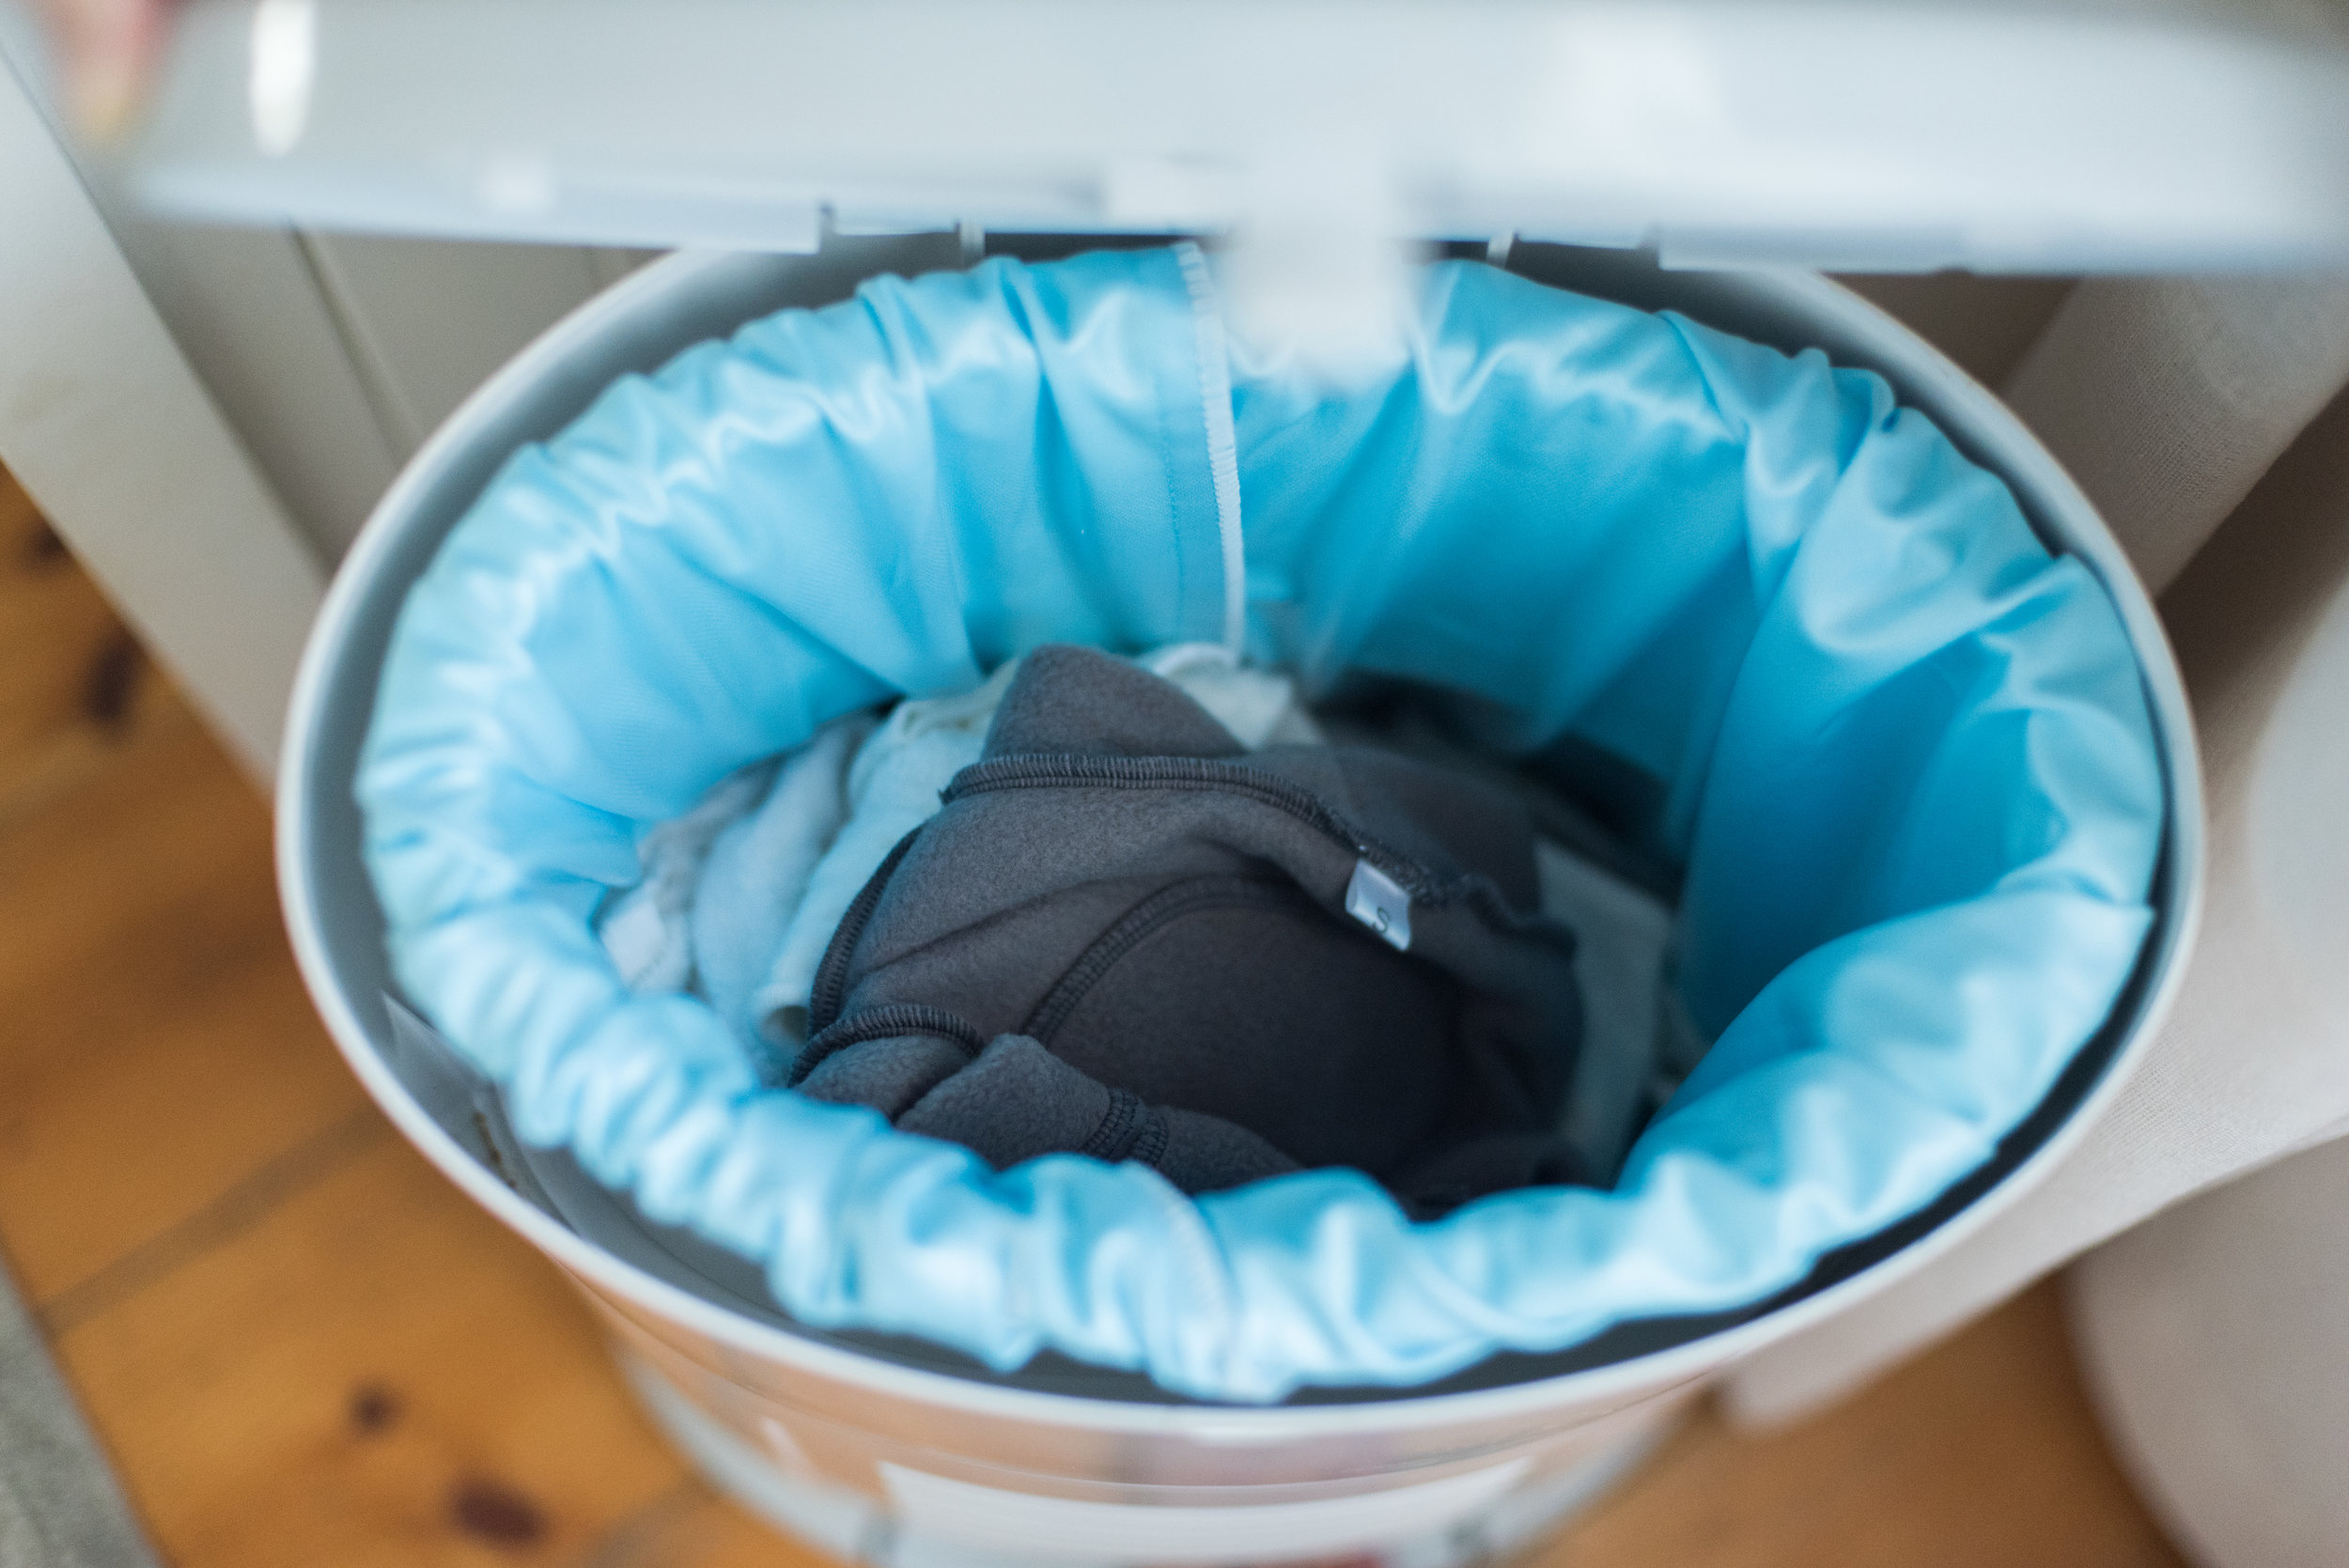
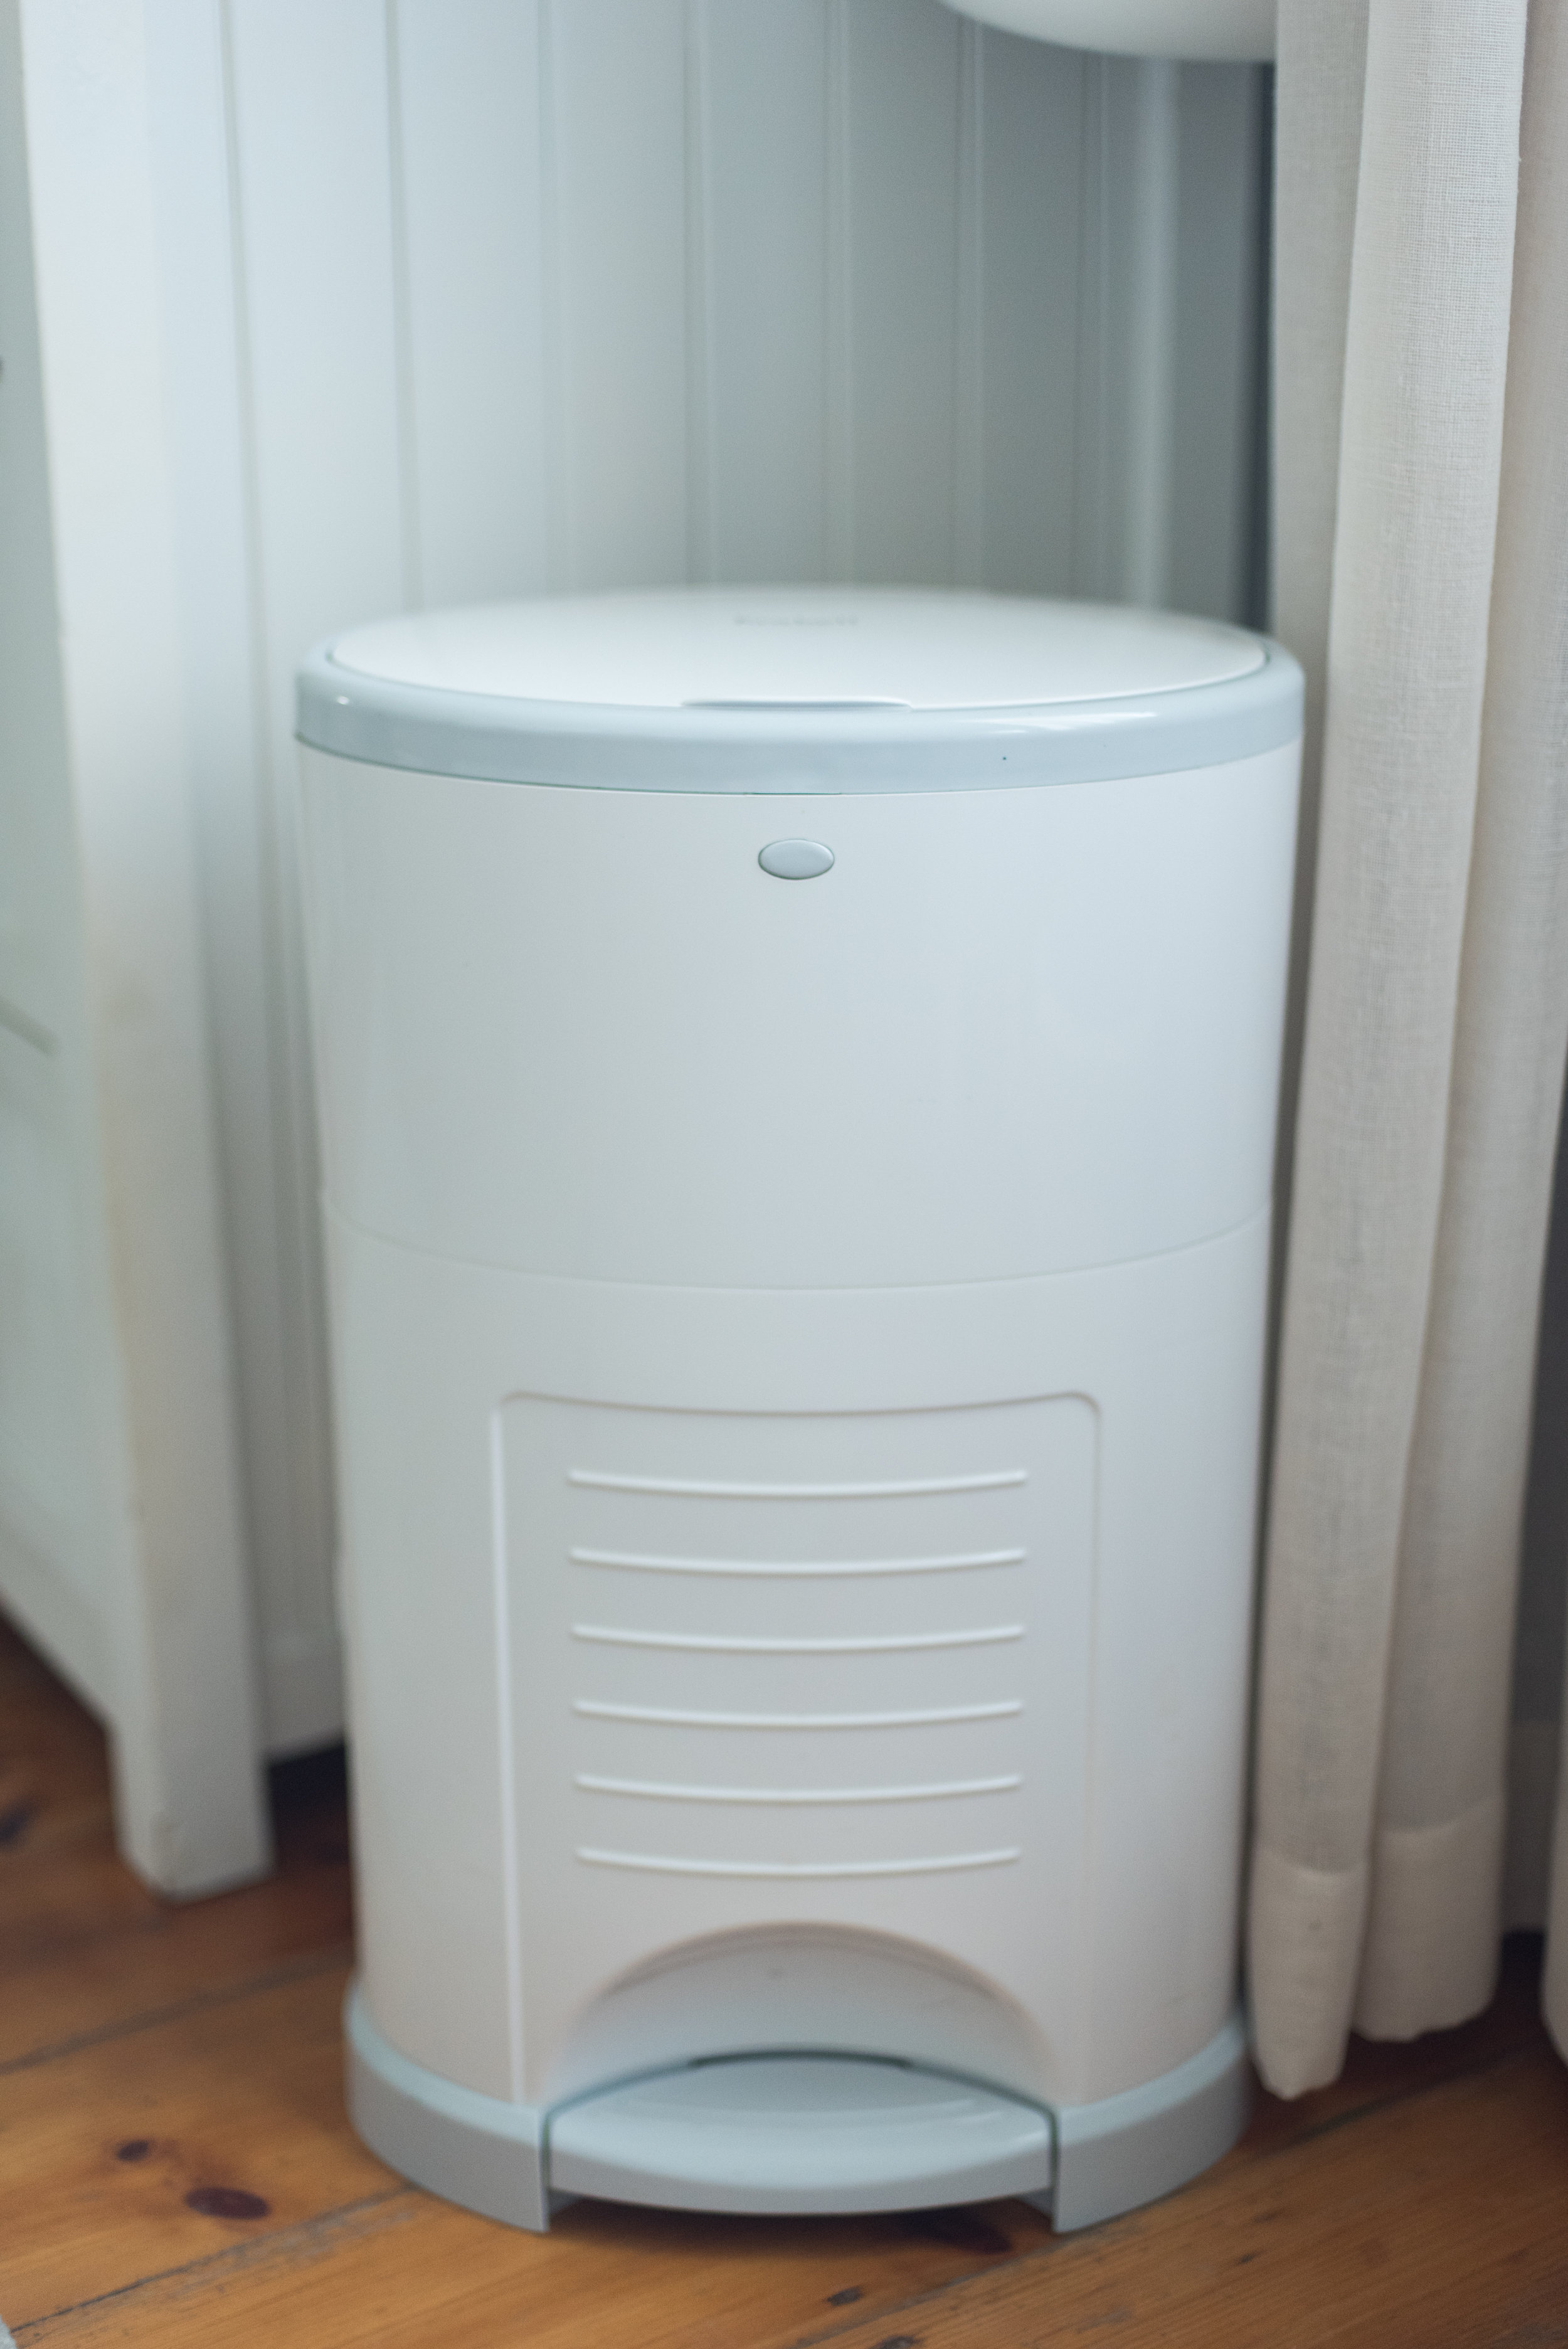
I wanted a nappy bin that looked nice in her nursery, and that’s where the Korbell Nappy Bin wins hands down. Even though it’s designed as a disposable nappy bin (and you use it with refillable nappy sack things) I just use it without them and use a washable pail liner from Biddykins instead. On wash day, I take out the pail liner full of nappies, and put everything into the washing machine (pail liner included).

I’ve got two pail liners for Everly…a pink one and a white one. So when one is in the wash, I alway have the other in the nappy bin.

I had planned on using Everly’s nappy bin for Aaron, but seeing as Everly is still in nappies (she is only 18 months), and the fact that newborns go through SOOOOO many nappies…they can’t practically share one bin. And so, I found another one second hand (I also bought Everly’s second hand) and then bought two more pail liners for Aaron’s bin…a blue and a grey one. If you’re wondering where to look for second hand baby items, I’ve always had great luck with Facebook marketplace!

I have yet to have any stink issues when using this nappy bin to store dirty nappies, but if you aren’t able to wash every day/every second day, then it might be a different story. When we go away, I generally wash every day as I don’t take ALL our nappies with us, and then I often just use an ordinary bucket. And I have to say, even though the bucket has no lid, it’s not very smelly either. So you could use something similar. I have been told a laundry basket (the ones with the holes in the sides) works well too, and it’s been said that you can add a few drops of tea tree oil on a face cloth and pop that in the nappy bin to help with the smell.

What have you found works best for you when it comes to storing your dirty nappies? Let me know in the comments below!

An ode to cloth nappies - sharing the love for modern day cloth

Sharing the love for modern day cloth nappies and why I love using cloth nappies-01.png

My oh my we have come a loooooonnnng way in our cloth nappy journey. I mean look at how teeny tiny Everly was when we first started. I am very proud to say that we have officially made it to this point, doing cloth full time (not an easy feat!) and we have loved (just about!) every moment of it.

Today I’d like to share more on our cloth journey, along with what brands and types of nappies we love, the ones that worked for us in the beginning, and what works for us now. I’m also always SO happy to answer questions, so please feel free to fire away in the comments section below.

The majority of my nappies have come from wonderful local South African businesses, how amazing is that! While a lot of the fancy brands are from overseas, we have incredibly talented ladies like Kerryn from Pokkelokkie who HANDMAKE their own nappies. Pokkelokkie are hands down my favourite brand for hemp flats, and are worth every cent! I’ve used Kerry'n’s newborn hemp flats right from newborn to toddler, as I now use them to boost absorbency in my other nappies.

Newborn - the first few weeks & months:

We mostly used flats and covers (click here for a full post on newborn cloth) for the newborn phase, until she was able to fit into the OSFM (One Size Fits Most size which is the next sizing in cloth nappies). There are basically just two sizes you need to worry about with cloth nappies (Newborn & OSFM) as most toddlers are out of nappies by the time their OSFM stop fitting. But, a lot of brands do make larger sizes for bigger & older toddlers too. I also had a small selection of bamboo fitteds and then my mom also helped me DIY our own flats and pre-folds that we made from cotton receiving blankets

For night time we used pretty much what we were using during the day (flat and covers). Newborns really do go through a lot of nappies, and we ended up changing every 1.5 - 2 hours on some days. Everly was a wonderful sleeper right from the very beginning, sleeping up to 3 hours at a time during the day between feeds, and generally 5 - 7 hours at a time at night (please can her little brother be like this too!!!) but this did mean that her night time nappies really needed to be able to hold up for those long stretches. I would use two hemp flats folded together in origami fold, with a bamboo booster at night, and then a cover.

Here are the types and brands we used (I’m linking to the online stores where you can buy them too…although I can see that some of these particular styles from certain brand are no longer in their stores):

+/-Month 4 - 11

Once Everly got to be about 6kgs, she was finally able to fit (sort of) into the ‘easier’ types of nappies. I say easier, as pockets and AIO (All in One’s) don’t require any folding, you just put them on the same way you would put on a disposable and you’re good to go. We used a mixture of pockets and AIO’s, and then still used flats and covers too.

For nighttime, I found pockets and AIO’s weren’t absorbent enough, and so alternated between flats and covers, and Little Lamb Bamboo Fitteds with a cover.

  • Pockets - a mixture of pre-loved Charlie Banana pockets which were sent to me by a friend in the US and then new Biddykins pockets. I was able to use a microfibre inserts in her pockets until about 5/6 months, after which I had to add a bamboo with the microfibre for more absorbancy. At around 8 months I got rid of the microfibre completely and boosted her pockets with a bamboo and a hemp insert. My bamboo inserts are from Little Lambs and the hemp inserts are from Biddykins.

  • AIO’s - a mixture from Biddykins and Pipapo

  • Hemp Flats - a mixture bought preloved & new in medium size (60cm x 60cm) from SugaBums & Fluff & Stuff

  • Covers: Buttons & Blueberry Coveralls (bought overseas but I have linked to South African stores where you can get your hands on them)

I do have a good giggle when I see how big some of the nappies look on Everly in the photos below. It can be a bit of a struggle getting a good fit when their legs are so teeny tiny, but (apart from the Charlie Banana pockets) she is still wearing the nappies pictured below today (almost a year later!).

A year on and still going strong

Once Everly got to be about a year, her ‘output’ increased drastically, and I found I needed to boost all of her nappies a lot. I also started changing her before every nap, as well as changing after her naps.

I still use a bamboo with a hemp insert with her pockets, and sometimes boost her AIO’s with either a pad folded hemp flat, or a hemp/bamboo insert.

Now her stash is mostly made up of pockets, SIO (Snap in One’s) and AIO’s for daytime, and then for night time I use a mixture of hemp flats, pre-folds and bamboo fitteds. I was using Little Lamb Bamboo Fitteds, but found that they weren’t holding up very well and I was getting leaks. There are loads of great tips for troubleshooting leaks, but I found that I was having to boost the nappy so much that it was just so big and bulky, that her covers wouldn’t fit properly and thats why I was getting leaks. But we used these Little Lamb fitteds from about 8 months to now. I have been using the same 3 Blueberry waterproof covers since newborn to now, they are my absolute favourite covers, with soft elastic at the legs, and a double gusset to prevent leaks.

Everly’s Daytime Nappies:

  • She has a mixture of SIO’s (Snap In One’s) or All-In-Two’s from Grovia (which you will soon be able to buy from Biddykins) these are the purple and pink ones below, and I love the Grovia O.N.E.’s. She also has two very special Kylie Co nappies (the floral and white woodland one below), and she also has a couple of Buttons covers and inserts:

Everly’s Nightime Nappies

  • I have two winged Hemp Pre-folds from Kanini. These are the grey ones below. I boost these with a Pokkelokkie newborn hemp flat (these are the same ones I used on Everly when she was a newborn…you really will use your newborn flats all throughout your cloth journey!) which I fold in three, and then a LittleLamb Bamboo Insert.

  • I have 2 Bamboo Fitteds from Sloomb that we only recently got to add to her stash. I got these from a Canadian site called Lagoon Baby and had family bring them over.

  • I have 3 waterproof covers from Blueberry (these are the same ones I used on Everly when she was teeny tiny…they are well worth the price!) but you can also buy lovely covers from Biddykins.

  • Snappies to fasten nappies (I bought most of my Snappies from Pep).

And now for some incredibly cute on the bum shots:

My stash has changed a lot over the past 16 months, and I’m glad I took everyones advice when I started down this path, and that was not to buy all of the same brand/type before baby arrived. I was advised to build up a variety of brands and types, so that I could see what fitted baby the best, as well as what styles I preferred to use. I had family visit the UK just before Everly arrived, and that’s where I bought a lot of my ‘fancier’ overseas brands to try out. Cloth nappies can be as cheap or as expensive as make them, and trust me when I say it becomes addictive! I also bought a variety of nappies pre-loved (second hand) from the South African Cloth Diaper Buy/Sell/Trade Facebook group. This is an excellent place to start looking and building up your stash because you can get some great deals on nappies that people bought but didn’t end up using/didn’t work for them.

I also HIGHLY recommend browsing through the South African Cloth Nappy Users website, as they have everything you need to know about where to start with cloth nappies, how to troubleshoot problems you may experiece along the way, as well as loads of info on all things cloth.

Here are all my posts on cloth nappies (including how to do newborn cloth and what we used, as well as how to wash your nappies).

Let me know if you have any questions at all…I really am passionate about cloth and love sharing what I’ve learned with people.

Day 6 of the 2018 Flats & Handwashing Nappy Challenge - What Worked for me & what hasn't

2018 #FlatsChallenge Handwashing Cloth Nappies South Africa Baby Blogger CityGirlSearching-01.png

Hello again and welcome to Day 6 of the 2018 Flats and Handwashing Challenge hosted by Cloth Diaper Revival.  

It's day 6 of the 7 day challenge, during which I will be using only flats and covers as nappies, and I will be handwashing them to get them clean. No modern cloth nappies, no washing machines & no tumble dryers. Am I crazy? Probably! But I am up for the challenge and I can't wait to bring you along with me through my blog and Instagram.

You can scroll through my previous cloth nappy posts here:


For those of you wondering what on earth the flats challenge is all about, here is some more info for you:

Kim at Dirty Diaper Laundry founded the Flats and Handwashing Challenge eight years ago as a way to bring awareness that cloth diapers are a valid option for families in need, struggling to provide diapers for their baby. 

"Our aim is not to say that every poor family facing the supremely difficult choice of buying diapers or food should use cloth diapers. That would be short-sighted of us to think it's an answer for every family. The flats challenge is a way to show that for families willing and able, babies can be diapered for less than $100 or even $50 and without owning a washing machine. It is a viable option for families who are in homes without washing machines and an effective one." ~Kim Rosas, Dirty Diaper Laundry

What's worked and what hasn't

Today's blogging prompt is all about what has worked for me, and what hasn't worked during the past 6 days of this challenge.

First of all I have to be honest and say I've found this to be an incredibly challenging challenge! I also feel rather chuffed with myself for making it this far, as I'm really not sure where I found the time to hand wash anything while having a baby to look after.

As I don't have a huge amount of flats, I ended up having to wash every day. How I made this work was to wash in the afternoon during Everly's nap, so that I could get the nappies out into the sun for the last few hours of afternoon sunshine. This meant that they ended up being dry late morning the next day. What also worked really well was to hang the flats over two of the washing lines on the clothes horse, so that the air could circulate nicely and the flat got the most amount of 'wind' drying possible.

I also ended up washing the nappies in the bath instead of a bucket. I found the bucket just didn't give me enough space to really agitate the nappies even with the plunger, and I ended up making a huge mess. With the bath I could really get stuck in with the plunger, and I was able to see what I was doing better than in a bucket.

I really loved having hemp flats for this challenge. I do own cotton flats which are really nice and thirsty (ie they absorb really well) but they do tend to be bulkier than hemp. With hemp, you are able to get a really nice trim fit, and I found using two flats (one folded in origami fold and the other in a pad fold in the wet zone...click here to read more about how I fold my flats) worked really well for my medium wetter.

I am really looking forward to the end of this challenge! Not because I want to stop using flats (in fact I have fallen back in love with flats after this week!) but rather because I have missed my washing machine sooooo much! I don't think I was able to get my flats as clean as my machine is able to, and I just really struggled to find the time to wash her nappies while still doing the other million and one things I need to get done in a day. So, I think if I had no washing machine, using cloth nappies would still be possible, and would be a very real option, you just would need to have a good stash of flats. And to make it budget friendly (because hemp, although it's the nicest fabric to use, it's also the most expensive) towelling nappies would be the ultimate solution...as well as using old cotton t-shirts!

So there you have it, my thoughts on the last 6 days of only using flats and covers, and hand washing my nappies! My arms are looking quite nice and toned from all the plunging, but I am definitely looking forward to using my washing machine again on Monday!

Day 5 of the 2018 Flats & Handwashing Nappy Challenge - My favourite waterproof nappy covers

#FlatsChallenge Handwashing Cloth Nappies South Africa Waterproof Covers CityGirlSearching Blog-01.png

Hello again and welcome to Day 5 of the 2018 Flats and Handwashing Challenge hosted by Cloth Diaper Revival.  

It's day 5 of the 7 day challenge, during which I will be using only flats and covers as nappies, and I will be handwashing them to get them clean. No modern cloth nappies, no washing machines & no tumble dryers. Am I crazy? Probably! But I am up for the challenge and I can't wait to bring you along with me through my blog and Instagram.

You can scroll through my previous cloth nappy posts here:


For those of you wondering what on earth the flats challenge is all about, here is some more info for you:

Kim at Dirty Diaper Laundry founded the Flats and Handwashing Challenge eight years ago as a way to bring awareness that cloth diapers are a valid option for families in need, struggling to provide diapers for their baby. 

"Our aim is not to say that every poor family facing the supremely difficult choice of buying diapers or food should use cloth diapers. That would be short-sighted of us to think it's an answer for every family. The flats challenge is a way to show that for families willing and able, babies can be diapered for less than $100 or even $50 and without owning a washing machine. It is a viable option for families who are in homes without washing machines and an effective one." ~Kim Rosas, Dirty Diaper Laundry

My favourite waterproof (& leakproof!) nappy covers

Today's is an open topic for the those of us taking part in the annual #FlatsChallenge, and so I wanted to share with you my favourite covers. If you're using pockets or all-in-ones, you won't need to worry about covers as those nappies have a waterproof cover built into them.But if you are wanting to use fitteds/hybrids or flats, you're going to need a cover to go over the nappy to ensure it's waterpoof.

I've tried all sorts of covers in my cloth nappy journey so far...Little Lambs Wraps, Buttons Diaper Covers & Biddykins Covers:

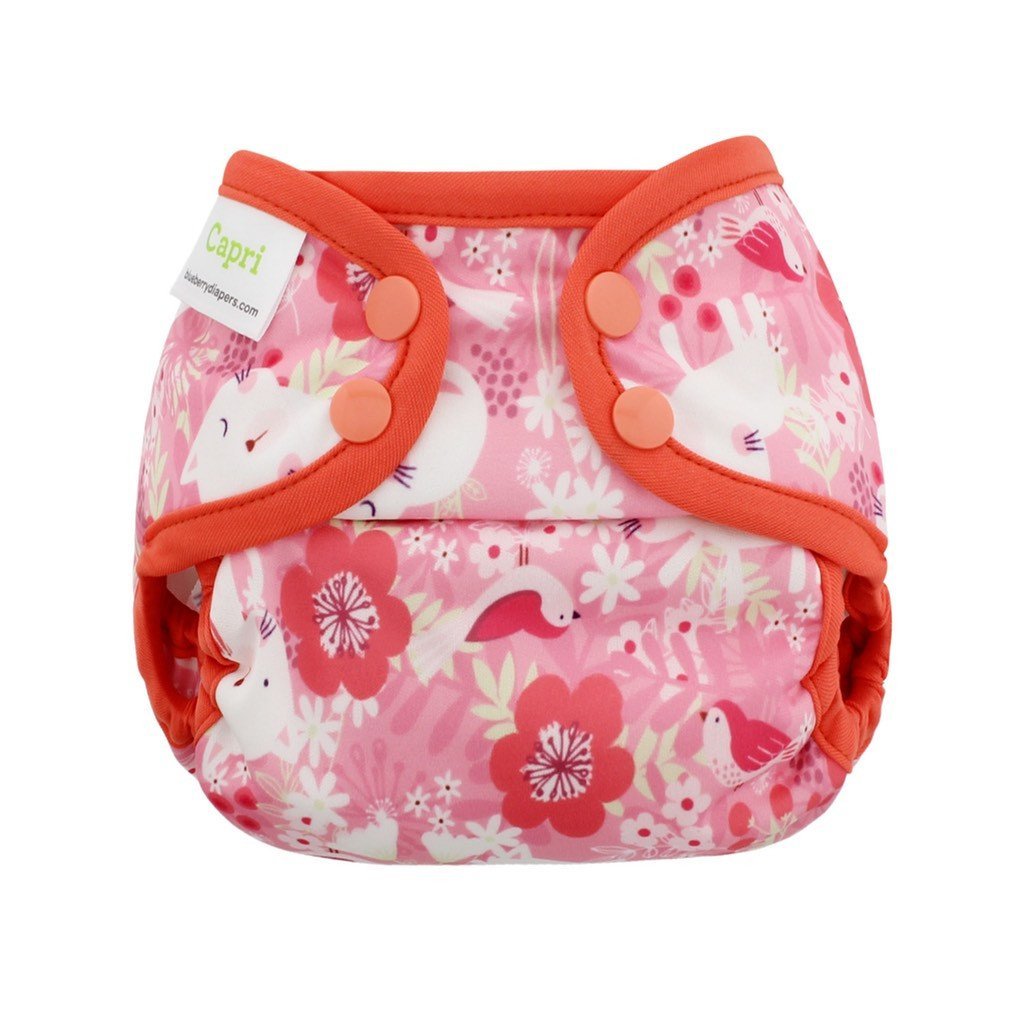
But my absolute favourite waterproof covers have got to be my Blueberry Coveralls (now called Capri's).

They have really soft double gussets (which have never let me down) even when my little girl was newborn. I was able to use these covers from the very beginning, because they are so adjustable. They are made of a very soft waterproof fabric, and are very gently on baby's delicate skin. I use these every night (I have 3 of them that I ordered online from FillYourPants in the UK and have them brought over for me by family members).

While I find the Buttons Diapers have nicer looking prints in real life (the prints pictured online aren't a true refection of what they look like in the flesh) I just find the Blueberry covers to be incredible soft and gentle. And because they are big (but can be adjusted by their snaps to fit smaller babies) they fit really well over big and bulky night nappies.

Here are the three prints I have. I tried to be gender neutral so I can use these on my next baby(ies) but I just couldn't resist the kitten print:

Do you have a favourtie cover you find yourself reaching for over and over? I'd love to hear from you in the comments below!


Day 4 of the 2018 Flats & Handwashing Nappy Challenge - Share your wash routine

2018 #FlatsChallenge Handwashing Cloth Nappies Wash Routine CityGirlSearching Blog-01.png

Hello again and welcome to Day 4 of the 2018 Flats and Handwashing Challenge hosted by Cloth Diaper Revival.  

It's day 4 of the 7 day challenge, during which I will be using only flats and covers as nappies, and I will be handwashing them to get them clean. No modern cloth nappies, no washing machines & no tumble dryers. Am I crazy? Probably! But I am up for the challenge and I can't wait to bring you along with me through my blog and Instagram.

You can scroll through my previous cloth nappy posts here:


For those of you wondering what on earth the flats challenge is all about, here is some more info for you:

Kim at Dirty Diaper Laundry founded the Flats and Handwashing Challenge eight years ago as a way to bring awareness that cloth diapers are a valid option for families in need, struggling to provide diapers for their baby. 

"Our aim is not to say that every poor family facing the supremely difficult choice of buying diapers or food should use cloth diapers. That would be short-sighted of us to think it's an answer for every family. The flats challenge is a way to show that for families willing and able, babies can be diapered for less than $100 or even $50 and without owning a washing machine. It is a viable option for families who are in homes without washing machines and an effective one." ~Kim Rosas, Dirty Diaper Laundry

Share your wash routine

Today's prompt is all about sharing the way I wash my flats. If you'd like to see what my wash routine is on a normal day (ie when I'm not handwashing like I am during this challenge and I am instead, using a washing machine...then click the image below)

But, the point of this challenge is to show people how cloth nappies can be used on a very tight budget. And so, I have been washing my nappies during this challenge, by hand. I've learned a thing or two about hand washing nappies, and I will share these useful tidbits with you at the end of this post, in the hopes that I can save you some frustration.

My Handwashing Routine for Washing Flats & Covers

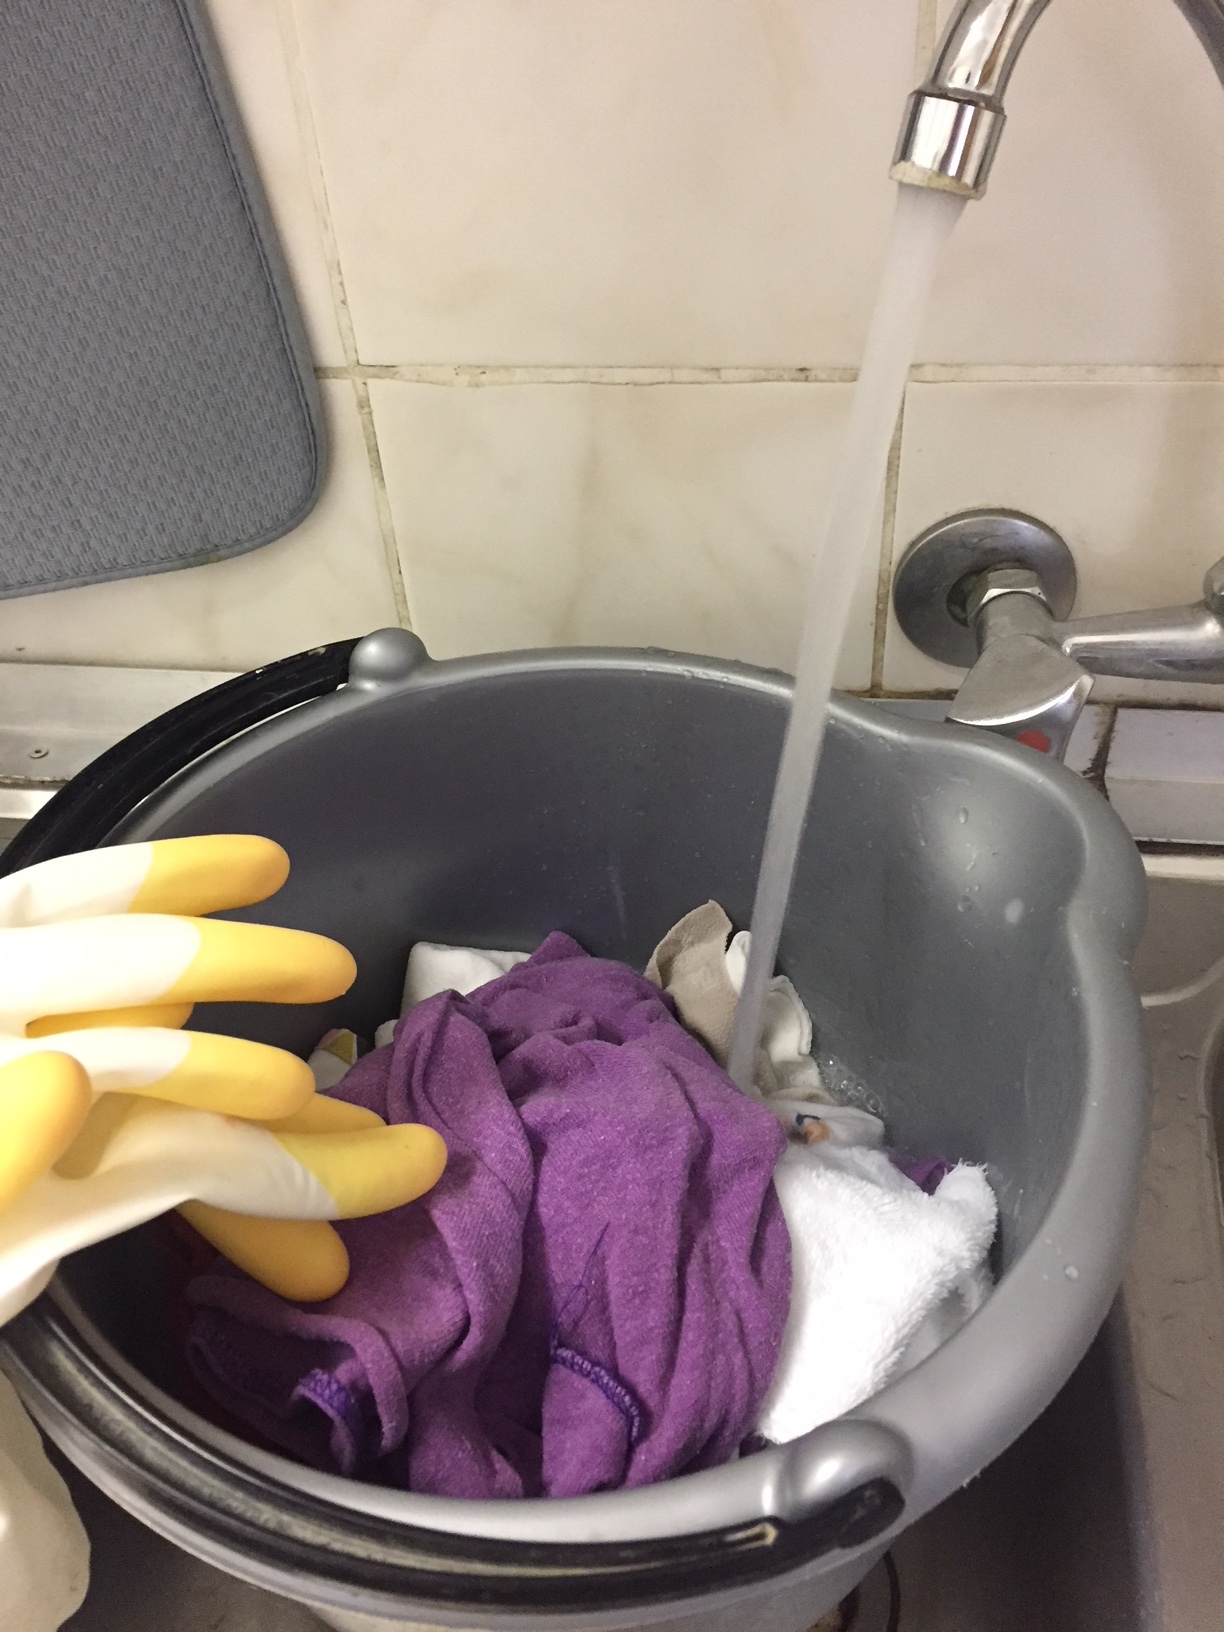
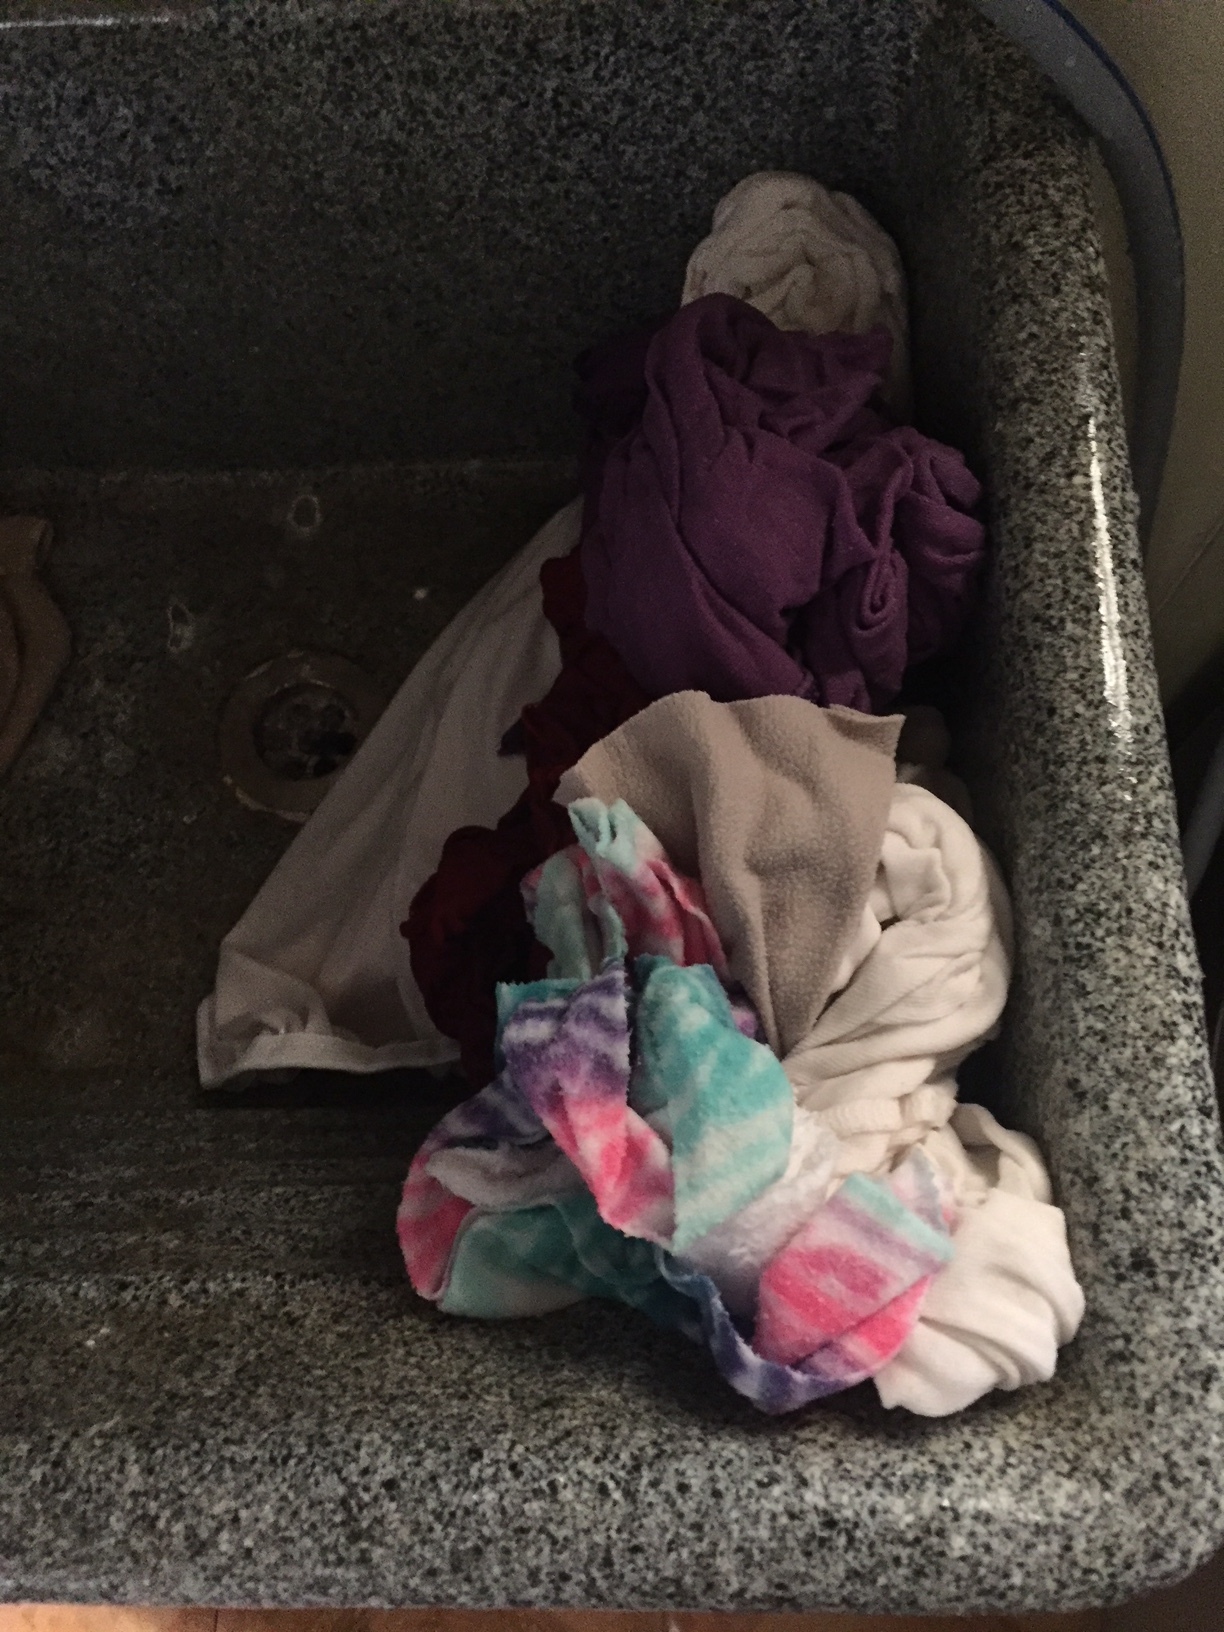
1. Rinse all nappies and covers in hot water (you can use your baby's left over bath water/put the nappies on the floor in your shower while you take a shower). I find the hot water is especially important when washing night nappies as it helps to get ride of the ammonia build up from long wearing night nappies. I use either my hands or a plunger. Drain the nappies.

2. Add water (I use warm water) & detergent to your bucket/bath and let the nappies soak for a few minutes. 

3. I give my covers a very quick wash in the detergent and then rinse them and put them aside to be hung up.

3. Get to work with your plunger on the rest of the nappies! Plunge about 100 times to make sure the nappies are well agitated.

4. Drain the nappies, and fill again with warm/cold water. Plunge for another 50 or so times. I found this took my ages to do because I used too much detergent the first time and my nappies were soooo soapy. You are basically now rinsing the nappies to get rid of all the detergent. I find it helps to hand rinse each one.

5. Drain & wring out each flat.

6. Shake and shape the flat while wet, before hanging up to dry. Don't hang your hemp flats up by the corners as they tend to loose their shape quite easily. I hang mine in half, over the washing line.

1. Don't overdo the washing powder!

A little really does a long way, and unless you feel like rinsing flats till the cows come home (a very REAL scenario for me!) then I suggest using a little less rather a little more.

2. Wash at night

We had terrible weather on Monday, and by the time I actually got a chance to wash and hang up my flats (and even though flats are very quick drying compared to modern day cloth) they took forever to dry! I even resorted to bringing them inside in the afternoon and they took all night to finally dry. I also very nearly ran out of flats because too many were in the wash. I changed my tactics and did my second load that night, giving them the night and the next day to dry....thankfully we had lots of sun the next day. I also recommend washing at night once baby(ies) have gone to sleep so you can actually get the washing done without needing to tend to baby. My little girl was SO good playing by herself for the first 10 minutes, and then had a full blown meltdown leaving me with half washed nappies and it taking me twice as long to get the job done. 

3. Use (fleece) liners to save yourself the trouble of having to deal with too much poo!

Fleece liners are amazing, and poo literally just slides right off them (well, the more solidy poo that comes when baby is eating solids...I don't think much can really help the messyness of newborn poo!). You also save your nappies from needing stains to be scrubbed from the, as your basically just dealing with wee nappies...oh the joys!

4. Wash your nappies in the bath.

Even though the pictures above show me washing nappies in a bucket, I have since changed my routine to washing in a bath. I found a bucket just too small to work with, but if you are washing just one or two nappies (or if you have lots of time to do one nappy at a time) then a bucket will work well. 

5. Wear gloves!

This tip is just as much to protect your hands from the harsh chemicals in washing powder as it is to keep your hands clean and dry when dealing with dirty nappies.


Here's my little girl, sitting pretty in her origami folded flat nappy and Buttons cover...

2018 flats challenge cloth nappies south africa citygirlsearching blogger

Day 3 of the 2018 Flats & Handwashing Nappy Challenge - Share your favourite flat fold

Hello again and welcome to Day 3 of the 2018 Flats and Handwashing Challenge hosted by Cloth Diaper Revival.  

It's day 3 of the 7 day challenge, during which I will be using only flats and covers as nappies, and I will be handwashing them to get them clean. No modern cloth nappies, no washing machines & no tumble dryers. Am I crazy? Probably! But I am up for the challenge and I can't wait to bring you along with me through my blog and Instagram.

You can scroll through my previous cloth nappy posts here:


For those of you wondering what on earth the flats challenge is all about, here is some more info for you:

Kim at Dirty Diaper Laundry founded the Flats and Handwashing Challenge eight years ago as a way to bring awareness that cloth diapers are a valid option for families in need, struggling to provide diapers for their baby. 

"Our aim is not to say that every poor family facing the supremely difficult choice of buying diapers or food should use cloth diapers. That would be short-sighted of us to think it's an answer for every family. The flats challenge is a way to show that for families willing and able, babies can be diapered for less than $100 or even $50 and without owning a washing machine. It is a viable option for families who are in homes without washing machines and an effective one." ~Kim Rosas, Dirty Diaper Laundry

Share your favourite flat fold

Today's prompt is all about sharing the different flat folds you can get.

The beauty of a flat nappy, is that there are so many different folds you can do.

Some folds put more layers in the front/back and are therefore better suited to boys, and others to girls. Some folds are bulkier, and others are quicker to do. I only really know how to do the origami fold (pictured below) and so this is my favourite fold. Oh, I just realised a padfold is a type of fold too. Padfolding is literally folding your flat to make a pad. I use a smaller flat padfolded to boost the wetzone of my origami fold, which you can see below (red flat is in origami fold and white flat is pad folded):

Origami fold for flats cloth nappies south africa.jpg
Origami fold on baby flats challenge cloth nappies south africa

The fluffy white piece of fabric folded next to the flat is a fleece liner, which goes on top of the middle part of the nappy and creates a stay-dry layer for baby. It also makes it very easy to remove the poo from the nappy. I've found fleece liners invaluable during this challenge (most poops just slide right off the fleece meaning washing nappies later is much easier because your only really dealing with wet nappies which come clean with lots of soaking and rinsing. It's as easy as fold the dirty fleece liner and plop the poop straight into the toilet. Fleece liners are also very easy to wash and dry very, very quickly. 

You can buy disposable/biodegradable liners,but even though those liners say they are flushable and biodegradable, they definitely will clog up your toilet system, so using fleece liners is definitely the better way to go. They are also REALLY cheap and you can make them yourself at home. Just cut up an old fleece blanket (or buy some fleece fabric from a fabric store) and your good to go. No sewing required!

Here's a quick and easy step by step breakdown of the origaimi fold by Gypsy Hippie Mamma:

origami-fold cloth flat nappies.jpg

The above may look a little complicated, but I promise you it's really easy once you practice a few times. You can even fold up all your flats in once go and store them in a pile to save time when it comes to putting the nappies on later.

And now here's my little girl, sitting pretty in her origami folded flat nappy and Buttons cover...

2018 flats challenge cloth nappies south africa citygirlsearching blogger

Day 2 of the 2018 Flats & Handwashing Nappy Challenge - What's in your stash & how much did it cost?

Hello again and welcome to Day 2 of the 2018 Flats and Handwashing Challenge hosted by Cloth Diaper Revival.  

It's day 2 of the 7 day challenge, during which I will be using only flats and covers as nappies, and I will be handwashing them to get them clean. No modern cloth nappies, no washing machines & no tumble dryers. Am I crazy? Probably! But I am up for the challenge and I can't wait to bring you along with me through my blog and Instagram.

You can scroll through my previous cloth nappy posts here:


For those of you wondering what on earth the flats challenge is all about, here is some more info for you:

Kim at Dirty Diaper Laundry founded the Flats and Handwashing Challenge eight years ago as a way to bring awareness that cloth diapers are a valid option for families in need, struggling to provide diapers for their baby. 

"Our aim is not to say that every poor family facing the supremely difficult choice of buying diapers or food should use cloth diapers. That would be short-sighted of us to think it's an answer for every family. The flats challenge is a way to show that for families willing and able, babies can be diapered for less than $100 or even $50 and without owning a washing machine. It is a viable option for families who are in homes without washing machines and an effective one." ~Kim Rosas, Dirty Diaper Laundry

2018 Flats Handwashing Challenge Cloth Nappies South Africa

What’s in your stash & how much did it cost?

Here's a breakdown of what is in my stash for this challenge, as well as a breakdown of what each item cost:

  • 5 x Sugabums purple Hemp Flats: R50 each (I bought these pre-loved) = R250
  • 5 x Fluff & Stuff red Hemp Flats: R70 each = R350
  • 4 x Biddykins white Newborn Hemp Flats: R60 each = R240
  • 3 x Pokkelokkie blue Newborn Hemp flats: R75 each =R225
  • Snappies: R13 for a pack of two at Pep 
  • 3 x ButtonsDiapers Covers: R300 (I bought two of the preloved and the other from Smitten Baby Boutique)
  • 1 x BottomsOn Hemp Flat: gifted by BottomsOn
  • 1 x BottomsOn Windpro Softshell Cover: gifted by BottomsOn 
  • 3 x Blueberry Coveralls Covers: R230 each (bought these overseas) =R690
  • 1 x Little Lamb Bombproof Cover: R130
  • Bucket: R60
  • Plunger: R35 (thank you to my friends Sophie & Cam for the gift!!)
  • 10 large homemade flats I bought pre-loved for R500 (these are my emergency stash incase the current grey and wet weather means my nappies don't dry in time!) 
  • 10 x Fleece liners: R50
  • Ariel Washing Powder: +- 200g for this challenge R6 (R60 for 2kg's)

Grand Total: R2362 (+ R500 emergency stash = R2862)

I handwashed the first load of nappies this morning (and learned a few hard lessons which I'll be sharing later this week) and it looks like the weather is not going to be on my side. I've had to move the nappies inside in the hopes that it's warmer in here than it is outside! Holding thumbs they dry by this afternoon, as I'm running out of flats!

I'll be back again tomorrow!

x

Day 1 of the 2018 Flats & Handwashing Nappy Challenge - Why are you taking the Flats and Handwashing Challenge?

2018 Flats Handwashing Nappy Challenge South Africa CityGirlSearching Blogger Mommy Blogger Cloth Nappies-01.png

Hello again and welcome to Day 1 of the 2018 Flats and Handwashing Challenge hosted by Cloth Diaper Revival.  

Today marks the start of the 7 day challenge, during which I will be using only flats and covers as nappies, and I will be handwashing them to get them clean. No modern cloth nappies, no washing machines & no tumble dryers. Am I crazy? Probably! But I am up for the challenge and I can't wait to bring you along with me through my blog and Instagram.

You can scroll through my previous cloth nappy posts here:


For those of you wondering what on earth the flats challenge is all about, here is some more info for you:

Kim at Dirty Diaper Laundry founded the Flats and Handwashing Challenge eight years ago as a way to bring awareness that cloth diapers are a valid option for families in need, struggling to provide diapers for their baby. 

"Our aim is not to say that every poor family facing the supremely difficult choice of buying diapers or food should use cloth diapers. That would be short-sighted of us to think it's an answer for every family. The flats challenge is a way to show that for families willing and able, babies can be diapered for less than $100 or even $50 and without owning a washing machine. It is a viable option for families who are in homes without washing machines and an effective one." ~Kim Rosas, Dirty Diaper Laundry

Why are you taking the Flats and Handwashing Challenge?

When I first started using cloth nappies on my little girl (she was born on the 5th September 2017) so a little over 8 months ago, I did extensive research...which meant I basically spent hours and hours trawling through the awesome South African Cloth Nappy Users Facebook group (click here to go check it out) during those sleepless nights during my pregnancy.

The vast majority of people recommended flats & covers for newborns, because you are able to fold the flats so that they PROPERLY contain all those runny newborn poosplosions. Plus you're able to get a nice tight fit on those teeny tiny legs, unlike the other nappies which work better once baby is a bit older. I took their advice and started putting together a varied stash of nappies (another great tip is to buy a few different kinds of nappies from different sellers so that you can work out which ones suit you and your baby best).

Click below to read my post all about cloth nappies and newborn babies.

As I enjoy a challenge, I knew that I wasn't scared of the whole 'folding' thing, and, again, because I enjoy a challenge, I set about making my own flat nappies (with the help of my mom!) because I wanted to show people that cloth nappies really don't have to be expensive. You can make it work on a very tight budget, it just takes a bit more time and effort.

As Everly has gotten bigger, I've been able to use all the other types of nappies as they now fit her nicely...All-In-Ones, pockets, All-In-Two's, Hybrids, Fitteds. These nappies are much more like the disposable nappy design, and so I've gotten a bit lazy, and find myself reaching for them over and over again, and neglecting my stash of flats. 

And so, this challenge couldn't have come at a better time. I have a stash of flats that I loved using, but that have been relegated to the back of the cupboard lately, and so I am determined to bring them back and fall back in love with them...that's the idea, and I'll be sharing how I feel about them at the end of the challenge.  

2018 Flats Handwashing Nappy Challenge South Africa

{2018} 8th Annual Flats and Handwashing Cloth Nappy Challenge

#FlatsChallenge Annual Flats & Handwashing Cloth Nappy Challenge South Africa Cloth Diaper Challenge CityGirlSearching Blog-01.png

Hello, my name is Roxy and I'm a cloth nappy mommy!

My little girl, Everly Rose, is just over 8 months old, and from the day we brought her home from the hospital, we have been using cloth nappies (or cloth diapers for my US friends).

There are lots of reasons why I decided to go the cloth nappy route:

  • The Environment: living out on a farm means there is very limited access to proper waste disposal. Everything gets burned or buried, and considering a disposable nappy takes 200 to 500 years to decompose (eeeeek!) you can imagine just how bad that is for our environment
  • The Challenge: I love a challenge, and felt even more determined to do cloth nappies full time after a number of people rolled their eyes at my decision, saying 'we'll see how long that lasts'. Haha, call me stubborn, but I was determined to prove them wrong, and here we are, 8 months later and still going strong!
  • Cost Effectiveness: cloth nappies, because they are re-useable, cloth nappies can and will save you money. Of course, this does depend on just how cloth crazy you get when it comes to the prints and designs you can buy. Also, if you use your cloth on more than one baby, the savings are huge! And even when you factor in the cost of washing nappies in your washing machine (electricity, water, washing powder etc) you can and should still be saving when it comes to nappies. 
  • Cuteness: cloth bums are just soooo cute! There are some incredible designs and prints out there, and it's no secret that cloth nappies can become very addictive. I laughed when I first heard someone say this, but let me tell you, it IS addictive!
Everly Rose 6 Months (3 of 19).jpg

Here are some of the other blog posts I've written on cloth nappies:


Tomorrow marks the start of the annual Flats & Handwashing Cloth Nappy Challenge hosted by Jenny over at Cloth Diaper Revival.

For seven days I will be using just flats & Covers, and handwashing them to get them clean. No modern cloth diapers, no washing machines and no tumbledryers. Just simple, affordable cloth diapering!

Although Jenny is based in the US, there are a number of us here in South Africa (like Marisa & Gerda over at Hippie Safari) who are taking part in this fun challenge.


For those of you wondering what on earth the flats challenge is all about, here is some more info for you:

Kim at Dirty Diaper Laundry founded the Flats and Handwashing Challenge eight years ago as a way to bring awareness that cloth diapers are a valid option for families in need, struggling to provide diapers for their baby. 

"Our aim is not to say that every poor family facing the supremely difficult choice of buying diapers or food should use cloth diapers. That would be short-sighted of us to think it's an answer for every family. The flats challenge is a way to show that for families willing and able, babies can be diapered for less than $100 or even $50 and without owning a washing machine. It is a viable option for families who are in homes without washing machines and an effective one." ~Kim Rosas, Dirty Diaper Laundry

Why Flats?

  • Flat cloth nappies are inexpensive. They are the most affordable nappy option, selling for around R50 - R80 depending in the type of fabric when bought new or they can be DIY-ed for free using almost any excess material (receiving blankets, t-shirts, old onesies, terry towels etc.) found in your home.
  • Flat cloth nappies are easy to care for. With only one layer of fabric, flats are easy to handwash and quick to dry! Even the smallest stash of flat cloth nappies work well as they only take a few hours to dry in the warm sun or overnight indoors.
  • Flat cloth nappies are easily accessible. Flats can be found in your local online cloth nappy store (my favourite being Pokkelokkie 's selection of hemp flats). A DIY project to create your own flats stash can be completed in minutes using materials found around your home.

While modern cloth nappies, like pockets and all-in-ones, are excellent diapering options, the simplicity of flats is something to fall in love with. I have quite the varied cloth nappy stash, but from the newborn stage, I've always been a fan of flats. I started by making my own flats out of cut-up receiving blankets, and then slowly started adding hemp flats to my stash. Here are some photos of newborn Everly wearing a hemp flat (left) and a homemade recieving blanket flat on the right.

I also own a number of cotton flats, but I have to say that hemp are the trimmest, and are definitely the quickest to dry. I also love using two hemp flats folded together for night time, and they last a full 12 hours without any leaks!

It's my hope that this challenge inspires you to give flat nappies a try, and that it shows families out there that flats and handwashing are viable, affordable, full time solutions for diapering your baby. And if flats aren't for you (maybe you find the idea of folding too daunting) that maybe you are still up for giving modern day cloth nappies a try for your little one.


IMG_0057.jpg


Flats and Handwashing Challenge Rules

Materials Allowed

  • Any flat cloth nappy, store bought or handmade. A flat is defined as 1 single layer of material for easier handwashing and drying
  • One nighttime diaper of your choice, although it is preferred that you make flats work for nights. This nappy must be handwashed
  • Doublers (not inserts meant to be absorbent enough to stand alone) if absolutely necessary
  • Nappy Sprayer
  • Wet bags/Pails
  • Handmade washing machine, such as a camp style washer
  • Non-electric portable washing machine 
  • Waterproof covers, store bought or handmade
  • Detergents, store bought or handmade
  • Snappi, Boingo, or diaper pins
  • Pocket diapers stuffed with FLAT DIAPERS
  • Fleece liners, store bought or handmade
  • Iron to expedite drying or sterilizing diapers
32349309_1800264696698815_2738843568838803456_o.jpg

Materials NOT Allowed

  • Washing machine or dryer
  • Pockets with inserts other than flats, AIOs, Fitteds, Prefolds, AI2s, etc.
  • Flushable liners

Rules for Everyone

  • You cannot use your washer/dryer.
  • If something comes up and you must make an exception, you must disclose this in the Conclusion Survey or on your blog if you are a blogger.
  • There is no limit on the number or flats/covers you can use. However, a reasonable amount is preferred (no more than enough for a day or two of cloth diapering).
flats and handwashing challenge 8th ann.png

If you'd like to follow along on social media, you can find all the posts related to the challenge under the #flatschallenge and #bringingflatsback hashtags. I'm going to attempt to blog everyday during this challenge, and will be sharing with you how I'm finding it as well as any tips and things I learn along the way. Armed with some snappies, a bucket and a plunger, I'm quite excited (but also nervous!) to start tomorrow!

See you soon!

x

My Cloth Nappy Wash Routine - A How to Guide to Washing Cloth Nappies

How to wash cloth nappies washing routine for cloth diapers -01.png

I think 'the washing' is one of the biggest things that puts people off even trying out cloth nappies. I know when I first heard about cloth nappies, my first thought was 'you want me to willingly put poo into my washing machine?!' I really thought the process would be difficult, or time consuming, or just plain old gross...but the reality is, it really just takes an extra 5 minutes of your day once you get into a god routine.

Please do bear in mind that it does take a bit of time to figure out what works best for you and your cloth. Your routine will depend on your water (we have hard boerhole water here on the farm), the kind of nappies you have (I have a good mix of flats & covers, pockets and snap in ones), and the type of machine & detergent you use. The South African Cloth Nappy Facebook group is a wonderful place to troubleshoot and ask for advice. 

And for my Cape Town friends, I have loads and loads of water saving tips that are allowing moms to carry on using their cloth, even in the current water crisis.

Make sure you keep reading to find out more!

Cloth Nappy Wash Routine How to Wash Cloth Nappies South Africa by CityGirlSearching Blog (11 of 14).jpg

The basics of washing cloth nappies: 

(I'll post my routine down below too)

  • If you are exclusively breastfeeding your baby (ie you aren't feeding formula or solids) then you baby's poo is water-soluble and the poo nappies can go straight into the machine without needing a rinse. This is a personal preference...you may want to rinse them all before hand, as I do now. Although, I didn't for the first four months or so. This first rinse can be done in your machine, or in a bucket/bath before you put them in the machine. Once you start solids (or are feeding formula) you need to rinse the poo nappies to make sure your washing machine doesn't get clogged.

  • Once babies are bigger and eating solids, you can use install a Bidet sprayer/use the shower head on your bath (or even a garden spray bottle) to remove most of the poo before washing. Alternatively, use liners** (flushable/disposable/fleece liners) to catch most of the grossness before rinsing or putting into the machine

  • You need to use a loooonnnnng cycle (so there is lots of agitation i.e. the nappies get rubbed against each other long enough to get thoroughly clean). This is usually the cotton cycle on your washing machine. FYI just because the cycle is long, doesn't mean it uses up more water than the other cycles in your machine.

  • Temperature: Most nappies are safe at 40 Celsius, but make sure to check with the brand/seller before hand. Some nappies can be washed at a higher temperature. I have been washing all of mine at 40C and haven't had any problems. A few loads have even gone through a 60C cycle a few times by accident and all survived.

  • Washing machine should be 3/4 full (you can bulk up a load with towels...even dedicating a particular set of old towels as your nappy towels)

  • No softener should ever be used (this includes washing powders that are '2in1')

  • All Washing Powder/Detergent without softeners are safe to use with cloth (always follow the recommended dosage...a good tip is to follow the amount suggested for 'heavily soiled'). I use Ariel powder, and use Ariel liquid for our clothes and towels.

  • Technically, it's recommended to do a wash and 2 rinses: ie a pre-rinse in the machine, then a long wash cycle, and then a final rinse. See my routine below for how I've adapted this slightly.

  • I have started tumble-drying my nappies (on low heat) and found this just makes my life SO much easier. And the nappies come out super soft (in the case of my hemp flats and cotton/bamboo fitteds). Most people I have spoken to warned against tumble drying nappies as they said extensive heat could damage the natural fibres (ie the hemp/bamboo). If you have pockets, these generally dry very quickly and you wouldn't need to tumble dry.


How often should you wash your nappies?

I wash every day. Why?**
  1. Because I don't have a HUGE stash of nappies,

  2. I don't like dirty nappies sticking around

  3. I love doing laundry...haha call me crazy!) but you can wash as often as you like. Most moms I know wash every 2 - 3 days.

**Everly is now using less nappies than she was when I first wrote this post, and now I wash every second day. Although since having Aaron (I actually do the odd wash every day when he has gone through loads more nappies than usual).

Bear in mind drying time. Hemp nappies take a lot longer to dry than microfibre or cotton.

If you live in a humid area, your nappies will probably take longer to dry. This is also a big reason I chose to use flats and covers for the first few months. They dry SUPER fast. Some nappies can be popped in the tumble dryer to speed up the drying process (just make sure to read your labels/ask the seller about tumble driers). Also note that nappies with a plastic/waterproof cover & covers shouldn't be exposed to the sun. These can either be dried in the shade (most covers dry within an hour or so) or turned inside out so the PVC (plastic part) is not exposed to the sun.


What about those horrid stains?

You won't even believe it, but the majority of nappy stains will disappear in the sun! For any stubborn stains that aren't removed by the sun, you can rub them with a green sunlight bar before washing (the sunlight soap bars are cloth safe) or rub after washing and pop into the machine again. I've yet to need to do this, as the magic of the sun has taken care of all my stains so far (it is particularly effective for breastmilk stains...so pop your damp burp cloths into the sun for instant whitening & bleaching!).

Here's some proof:

IMG_0006.jpg

If you've still got stains, then a good rub with the green sunlight bar, and popping the item back in the machine should take care it.


My wash routine:

Up until 5 months (i.e. before I started solids), this was my routine for Everly's nappies:

I'd wash every morning:

1. Off the bum & into the nappy bin:

All nappies go straight into the nappy bin till the next morning (will do a blog post on what I use for a nappy bin soon).

2. Quick Rinse:

After her first morning nappy change, I put all the dirty nappies straight into a bucket of hot water for a quick rinse (this is especially important for night nappies that will be on your baby for longer than the recommended 2-3 hours during the day, as they will be full of wee/ammonia and need a warm rinse to make sure you don't get any stinky nappies...the warm water breaks down the ammonia crystals). You can skip this step and add a pre-rinse to your washing machine cycle. This does use more water so if you're wanting to cut down water usage, a bucket of water works just as well. Some moms rinse their nappies in their baby's bath water. I bath Evy at night and like to wash in the morning so that didn't work for me.

**I have since gone back to doing a quick wash cycle/pre-rinse on the machine, without any detergent, as my pre-rinse. I now only hand rinse night nappies in hot water, and then these also get added to the quick wash cycle with the other nappies.

3. Set Washing Machine:

Cotton cycle on the machine (about 2.5 hours) with an added rinse (40 degrees C with the recommended amount of detergent  for a very dirty load). I have done a few 60C washes as pictured below and haven't had any problems.  I also wash Evy's burp clothes (I use the old school white towelling nappies...BEST ones are the Glodina Baby towels which you can buy at Baby City...the ones from Pep and even the ones from Woolies aren't nearly as durable). It's also important for your washing machine load to be 3/4 full so that the dirty nappies get enough agitation. I often throw in our towels to bulk up the load. Another idea is to have two or so old towels that you dedicate to your 'nappy load' so you always throw them in your machine with the nappies. 

4. Hang nappies up to dry/pop into tumbled dryer

Hang up nappies in the sun to dry(soft fabric side up in the case of pocket nappies & all-in-one's...PVC/plastic side of nappies down). I hang my pail liners (the washable PVC bags I use inside my nappy bin and my covers in the shade as the sun can delaminate them and cause tearing.

I have just found out that it's possible to tumble dry your nappies on low. This works especially well for hemp flats and cotton/bamboo/microfibre inserts. This isn't always recommended by retailers, but if you live somewhere where it takes forever for your nappies to dry (or you just like the feeling of very soft nappies) then it's possible to tumble dry them on low. You can also iron hemp flats to make them nice and soft again, or line dry them and then pop them in the tumble dryer for 10 mins or so on hot.

That's the basic just of washing your cloth nappies. If you're having issues with anything at all, the South African Cloth Nappy Users Facebook Group is amazing! Head on over there and ask the friendly community your questions, there is always someone on hand to help. 

A few extra notes:

  • Stinky nappies? Could be from a variety of reasons ie. an ammonia build up and your washing routine needs to be adjusted or you might need to do a strip (with bleach to 'strip' your nappies of any detergent buildup etc. Don't freak out about the bleach...click here for more info on stripping your nappies.) 

  • Bought some pre-loved nappies? Give them a good hot wash and then strip them (follow the link above to find out more about stripping them)

  • Hemp & Bamboo nappies need to be 'prepped' before they reach optimal absorption. This usually means they need to be washed 8 - 10 times before they become really absorbent. Instead of wasting water washing them multiple times, simply start using them and keep in mind they might leak a little in the first week or so of use.

Water Saving Tips

  • Instead of pre-rinsing in machine, rinse in the old bath water or the floor of the shower while you shower (use your feet to stamp on the nappies to really give them a good rinse). You can catch grey water*from the shower by placing buckets in the shower. Alternatively you can transfer your bathwater to buckets. The easiest option is to use the bucket & plunger method (see below) to rinse nappies in grey water. When you are done rinsing your nappies, this water can be reused again to flush your toilets. Alternatively, you can pour the water into your top loader to do a rinse in the machine.

  • Catch the grey-water from the washing machine outlet and re-use it the toilet/to water your plants/to rinse your next load of nappies

  • Consider replacing your washing machine if you have an older model. Older models, especially top loaders tend to use a LOT of water to wash. Newer HE models and especially front loaders are much more water friendly. Other options to consider are a twin-tub or Sputnik. 

  • If you are using a nappy sprayer, consider hooking it up to a grey water system. Remember the rubber gloves if you are using the bucket method! Spraying one nappy uses approximately the same amount of water as flushing a toilet. 

  • Hand washing often uses a lot less water than machine washing. Hand washing doesn't have to be difficult either - the bucket and plunger method is very effective and quite straight forward to use. You can do a spin cycle in the machine afterwards to skip wringing out by hand and speed up drying time.

Handwashing - Bucket & Plunger Method

For flats & Covers

  1. Place flats and covers in a bucket of cold water Make sure the flats and covers are completely submerged in water.

  2. Using a plunger, plunge the nappies 50 times to get rid of the urine.

  3. Drain the water and remove the covers.

  4. Fill the bucket with your flats in, with warm water (just enough to cover your nappies).

  5. Add about 100ml Sunlight Gel (you can make this yourself...blog post to come) for about 12-14 flats and plunge 100 times. You can also use your regular powder/hand washing detergent.

  6. Empty the bucket and fill it again with cold water.

  7. Plunge another 50 times to ensure all the soap has been rinsed out.

  8. Drain and wring out our flats.

  9. Shake to get excess water off and hang to dry on the line.

For your covers: Give them a quick wash a little soap/detergent and water, rinse, towel dry and then hang to dry.

*There have been a few queries as to whether grey water (water coming from domestic equipment other than toilets eg washing machines, baths, sinks etc)  or black water (water from toilets ie. water that has come into contact with fecal matter) is safe for re-use in gardens. You would need to use 100% biodegradable and ph neutral detergents to make full and proper use of your grey water in your garden. But, reusing the water from your washing machine to flush your toilet would be a very good use of that water. As with most things, use your common sense and do your research if you are very concerned. The main idea here is to try and save as much water as possible, and re-use where you can.

IMG_0035.jpg

**Please note, although certain brands of liners say Flushable/Biodegradable, please don't ever actually flush them down the toilet! All they end up doing is clogging the toilets and causing lots of problems down the line. I would advice using biodegradable liners, as these are much more environmentally friendly, and you can just rest easy knowing that even though they are going into the refuse, they will break down easily. If you really want to go the extra step, rather use fleece liners (literally just pieces of fleece fabric that you can make yourself, that you just rinse off and wash along with your nappies...these dry super fast and rinse very easily!). Here is a photo of my selection of liners (fleece & biodegradable):

Poo literally slides right off the fleece, so using these when your onto solids makes SUCH a difference when doing the washing. These fleece liners also give a stay dry effect, so if your little one is sensitive to wetness (like mine) using these liners really helps keep their bums dry.


Cloth Nappy Wash Routine How to Wash Cloth Nappies South Africa by CityGirlSearching Blog (8 of 14).jpg

Although it may see like an awful load of work, you will quickly get into your own routine. Washing Everly's nappies only takes me an extra 5 minutes of time in my morning to rinse and place them in the machine, an then another few minutes to hang them up.

Do you have any other tips for washing your nappies? Does this post make you feel more confident to give cloth nappies a try? I'd love to hear from you in the comments below!

Newborn Cloth Nappies 101 - What you need to get started

Cloth Nappies for Newborn what you need to get started_Artboard 4.png

Hello and welcome to the first post in my cloth nappy journey! I have been using cloth nappies (or diapers) on my little girl ever since we arrived home from hospital, and I'm so excited to share my experiences with you. 

I was only vaguely aware of cloth nappies before being pregnant, and of course the idea of a cloth nappy was very much old school...ie. a huge square of white towel, held together with some torture device called a snappy which needed to be dunked in a big bucket of bleach every day.

Well, I couldn't have been more wrong. 

So grab yourself a cup of tea and settle down for a mammoth of a blog post (the first of many!) on how to use cloth nappies!

How to Use Cloth Nappies South Africa CityGirlSearching Blog (42 of 100).jpg

Modern day cloth nappies are a far cry from the terry towel nappies our moms would have used on us growing up, and let me tell you, they are addictive! Once I dived down the rabbit hole of all things cloth, I found myself spending those sleepless nights during my pregnancy glued to cloth nappy Facebook groups of fellow moms and moms-to-be selling preloved fluff (the affectionate name given to cloth nappies) and scrolling through endless threads on washing routines. These days there are so many different types of cloth nappies to choose from, fabrics to decide on and folds to learn that it can be incredible overwhelming. And depending on the type of nappy you choose to use, it can also be incredibly expensive, with fancy brands and custom made designs leading to some nappies costing R400 - R500 a pop!

Cloth nappies don't have to be expensive though, and can be done on any budget. I'm going to go through all the different types of nappies in another post, but today I'm going to share with you my choice of cloth nappies for my newborn, what you need to get started & hopefully I will inspire you to start your own cloth journey.

How to Use Cloth Nappies South Africa CityGirlSearching Blog (61 of 100).jpg

Let's start the the very beginning with the question of why you would want to choose cloth nappies over regular disposable nappies.

{A lot of this information has been taken from the South African Cloth Nappy Users Website (SANCU)}

There are so many benefits to using cloth, but here is a little list to help you with your decision:  

  • Saves money (you can re-use your nappies for baby number 2 & 3 etc and even re-sell afterwards if cared for correctly)

  • Better for the environment (disposable nappies sit in landfills for years and years and years before breaking down...with a single child going through on average of 4000 disposable nappies by the time they are potty trained, one can't even fathom how much waste that is just sitting in landfills the world over)

  • Beautiful patterns & designs

  • They contain no hydrogels which leads to less skin irritations & reactions


Cloth nappy myths

Let's set the record straight here and show you that it's actually much easier to go the cloth nappy route than you might have thought:

  • Cloth nappies leak >>> Cloth nappies contain runny poo better than disposables...bye bye poopsplosions

  • Cloth nappies are time consuming >>> Using cloth nappies takes roughy an extra 10 minutes of time per day

  • You need special (expensive) detergent to wash cloth >>> Regular detergent is just fine, simply skip the softner

  • Cloth nappies smell really bad >>> No hydrogel in cloth means nothing for wee & poo to react with meaning no nasty chemical smells

  • You don't really save with cloth due to extra detergent, electricity & water bills >>> Even when taking into account all of these costs, it's still possible to save anywhere from R11 000 - R26 000+ when using cloth

  • Cloth nappies delay milestones like sitting/crawling/walking >>> Cloth nappies give better hip support, are more comfortable, have extra padding to cushion any falls

  • Cloth nappies are unhygienic >>> With cloth nappies the poo gets disposed of where it should (in the toilet) as opposed to sitting in landfills. Cloth usually gets washed more frequently than rubbish is disposed of. Cloth nappies generally get changed more frequently than disposables.

Washing nappies does not take up hours and hours of your precious time. In reality, the washing machine does all the hard work for you. All you need to do is give them a quick rinse, pop into the machine, and then hang out to dry.


I could go on and on about how great cloth nappies are, but I'd rathe point you in the direction of the SACNU website as it's filled with everything you could possibly want to know about cloth nappies. They also have a fantastic Facebook page (click here) and then there is also a fantastic Facebook group for buying and selling cloth nappies...click here to head on over.


How to Use Cloth Nappies South Africa CityGirlSearching Blog (70 of 100).jpg

my choice of cloth nappies for newborns

I will be writing another post on all the different types of cloth nappies, but for today I want to share with you what types I've chosen to use for my newborn, why I've chosen these particular nappies and which brands I recommend.

Before we go any further, it must be noted that there is definitely a learning curve to cloth nappies. It takes time to learn what works best for you and your baby, and to learn how to fold nappies to ensure you don't get any leaks. I've had my fair share of leaks and wet clothes from covers not fitting properly, and with those skinny newborn legs it can take a while to work out just the right techniques to ensure the right fit for your baby. Even with the leaning curve, I absolutely love using cloth nappies and you get used to how 'big' their bums are in cloth. Being a first time mom and learning how to hold a newborn, I loved having a big bum to hold onto when carrying her around. Also, I have found that most of the baby clothes generally fit very well over bigger cloth bums so there's no need to worry about that at all.

Flats, Prefolds & Covers

These are by far the cheapest way to do cloth nappies, but these are also the most time consuming.

Let me explain.

Flats and pre-folds require folding, whereas the other types of cloth nappies are very similar to the design of disposables, the biggest difference being you wash them as opposed to throwing them away.  I think the biggest motivator behind me choosing flats and covers is the challenge of these types of nappies (yup, I'm the kind of person that when told I can't do something, goes out of my way to prove people wrong hehe). But also, babies grow so fast and don't stay 'newborn size' for very long.

Flats are the most economical of nappies as once your baby has outgrown them, they can be pad-folded and used as booster and added to other nappies for extra absorbency.

How to Use Cloth Nappies South Africa CityGirlSearching Blog (43 of 100).jpg

Flats

Flats are just what they sound like, a flat piece of fabric (usually a square) that you fold and secure in place with a snappy (or a pin). Flats are made of all different sorts of fabric (which all range in absorbency and therefore price).

The cheapest fabric for flats is cotton flannel (i.e. receiving blankets). I simply cut up some cheap receiving blankets I found at PEP and my mom made some more for me out of receiving blankets I found at a discount towel shop in Joburg (the pink bunnies and grey bears pictured above). She doubled some of them (placed two squares together and overlocked them) and these work amazingly well for nighttime when my little girl sleeps for longer periods of time.

My absolute favourite flats are made from Hemp fabric which is the most expensive fabric. My favourite hemp flats are from Pokkelokkie (the blue ones you can see in my photos). I also have some I ordered online from Biddykins (the white cover pictured above) but I prefer the Pokkelokkie ones. Most cloth moms will tell you that hemp flats make the best nighttime nappies as hemp is the most absorbent fabric. I have found my flannel flats work fantastically too!

How to Use Cloth Nappies South Africa CityGirlSearching Blog (44 of 100).jpg

Pre-folds

Pre-folds are what they sound like, pre folded nappies sewn into folds to make for easier putting together. I have a small number of newborn pre-folds from MiniMatters (the brown ones pictured above) which I like to use for daytime naps.

How to Use Cloth Nappies South Africa CityGirlSearching Blog (52 of 100).jpg

I also have a small selection of Little Lamb Bamboo fitted nappies which I had a family member bring over from the UK for me. From my research I read that they are an awesome nighttime solution, and they are perfect for those very late/very early nappy changes when you're still half asleep (or when Dad is on nappy duty and isn't quite into all the folding required for flats). These look like and work just like disposable nappies (the fluffy white ones pictured), and they fasten together with velcro. They do also require a waterproof cover just like the flats and pre-folds.

Here are some photos of my little girl wearing her flats, pre-folds & Little Lamb fitted:

Covers  

Covers are the waterproof outer shell that goes on top of your flats, fitteds & pre-folds to ensure that your nappies don't leak. Most covers are made from PUL (a laminated polyester fabric) and have 'snaps' on them that you clip into place to make bigger/smaller. Different brands offer different sizes. I have 10 newborn Biddykins covers (the grey and mint ones pictured below) which I bought second hand (or pre-loved as they are called) from a lovely lady in Durban who never got a chance to use them as her girl was too big for them when born.

You really can build your cloth nappy stash entirely from second hand sales. Some items I would be hesitant to purchase second hand, but covers I am all about buying pre-loved!

How to Use Cloth Nappies South Africa CityGirlSearching Blog (47 of 100).jpg

I have a small selection of Bambino Mio covers (the white ones pictured) which have velcro fasteners; and which I also bought preloved from a lady on the buy & sell Facebook group (click here). My favourite cover to use in the last few weeks now that Everly's little legs have fattened up, is a 'OSFM' (One Size Fits Most) Blueberry cover I also ordered from the UK but which you can get here in South Africa from TineyHiney. It's the red one pictured above).

I mentioned it before that cloth nappies are addicive. Here's a photo to show you why...how gorgeous is this Buttons nappy cover. I bought this one pre-loved but you can buy them here in South Africa online through TineyHiney (click here):

I don't own many pretty print covers as I wanted to get as many neutral nappies as possible so I can use these all again for baby number 2 (and possibly number 3 & 4 too!). I do have a rather stash of bigger nappies with pretty prints for when Everly is bigger as she will get a lot more use out of them as opposed to the smaller newborn nappies. 

Fleece covers are also very popular. I have a few newborn sized fleece covers (also bought pre-loved on the Facebook group mentioned above) which work for quick naps and I like them because they are soft on the bum. I find I get quite a lot of leaks with them though, and so only use them for short naps when I know I'll be changing her nappy after only an hour or so.

How to Use Cloth Nappies South Africa CityGirlSearching Blog (50 of 100).jpg

And if you're really on a budget, the plastic covers from Pep (yellow, blue & pink pictured above) work just as well! I'm not such a fan of them as they are very plasticky and don't breath at all...not so nice for newborn skin. But they do work well and have lots of stretch in the elastics to go over very big and bulky nappies. These would work particularly well over toweling nappies if you really want to go the traditional nappy route.

Inserts & Boosters

To boost the absorbency of your nappies, you need extra bits of fabric called inserts or boosters. Again, hemp is the most absorbent, but it's also the most expensive. Bamboo is very popular, but the most popular fabric for inserts is microfibre. While microfibre is the cheapest option, it doesn't hold much moisture and so you get compression leaks. It all depends on whether your baby is a light or heavy 'wetter', but usually a combination of different fabrics work well (and of course this also depends on your budget).

My mom made me a few boosters from bamboo towel and mutton cloth (which she found at different hardware stores and it comes in different weaves which means different levels of softness/coarseness).

How to Use Cloth Nappies South Africa CityGirlSearching Blog (57 of 100).jpg

You can boost your nappies with just about anything. Cotton flannel (receiving blankets) work very well, and the nice thing about flats and pre-folds is the can be used to boost nappies too. Simply fold and pop into your nappy cover between the nappy and the cover for extra absorbency, or layer inside your nappy between bum and the nappy itself.

Extra Bits & Pieces

A few of the extra bits and pieces needed (not all of these things are needed but are nice to have) for your cloth nappy journey:

How to Use Cloth Nappies South Africa CityGirlSearching Blog (56 of 100).jpg

Wipes:

I use a mixture of cloth wipes & lovely biodegradable 'throwaway' wipes. The cloth wipes are just off cuts from the receiving blanket flats I made. It's a great way to use up extra bits of fabric you might otherwise have thrown away. If you got lots of face cloths for your baby shower, you could also use those are wipes. I fill a little tub with warm water before each change and then use one of the wipes dipped in warm water to clean up all the pooey mess. It's much nicer on her little bottom than a cold wipe, especially when it's cold or in the middle of the night.

I then also use these awesome biodegradable baby wipes from Pure Beginnings. I stocked up at the MamaMagic Expo in Durban, but you can also buy the 3 packs of Pure Beginnings wipes at Dischem.

How to Use Cloth Nappies South Africa CityGirlSearching Blog (54 of 100).jpg

Liners:

Liners aren't necessary for newborn nappies but they are nice to use. When you do need to use liners is when you use bum creams that aren't cloth safe like Bepanthen, Fissan or Sudocream etc as these creams can clog up the natural fibres of cloth nappies. Using liners protects the nappies from the cream by creating a barrier between the nappy and cream. When baby is bigger and eating solids, liners are a life saver helping you avoid getting your hands really messy. Although these liners claim to be flushable, it's not advised to flush them as they can clog up toilets. I bought these FancyPants liners on Takealot for a bundle price of R300 for 3, they usually retail for about R110. Biddikins also stock bamboo liners. I have also heard that Checkers stock the Cherubs liners which are much more affordable, but they always seem to be out of stock when I go shopping.

How to Use Cloth Nappies South Africa CityGirlSearching Blog (55 of 100).jpg

Bum Cream:

While it's not necessary to use bum cream with every nappy change like you would when using disposable nappies (this is because babies in cloth nappies tend to be less prone to rashes) you may choose to use bum creams as more of a preventative measure. As mentioned above, most commercial bum creams are not safe to use on cloth nappies, and that's why it's recommended to use a liner if you do use them. If some cream accidentally gets onto the nappy, you can remove it by scrubbing the residue with sunlight dishwashing liquid and an old toothbrush.

Here is a list of locally available bum creams that are safe to use with cloth nappies without having to use liners:

  • Pure Beginnings

  • Mother Nature

  • Wriggly tin

  • Bloublommetjies

  • Earthly Lure

  • Natraloe

  • Cheeky Monkey Bum balm (Little Lily, Biddykins, Little Details)

  • Little Ladybugs bum balm

  • Foxybums bum balm

  • Ladybird

  • Sproglets (Smart Bums)

  • Naturally Beauty-full

  • Earth Babies

  • Oshana baby natural barrier cream

  • Cotton tails bunny bum balm

  • Kylie Co little bum balm

You can also use Coconut Oil!

How to Use Cloth Nappies South Africa CityGirlSearching Blog (46 of 100).jpg

Snappies:

These sharp, spikey little things are what hold your nappy together. Traditionally pins would have been used, and you can still use them if you aren't afraid of stabbing your little one hehe.

Snappies come in all sorts of colours and you can find them at Pep and Ackermans for +- R20 for a pack.

How to Use Cloth Nappies South Africa CityGirlSearching Blog (62 of 100).jpg

I store my nappies in the wicker baskets in my compactum, but there are so many creative ways to store cloth nappies. Here is also a photo of my changing station setup so you can see where  keep everything. I found my compactum at an amazing second hand store in Durban. I found the advert on Gumtree and then headed over to Umbilo area to pick it up.

The trick with cloth nappies is not to put all your eggs in one basket when putting together your stash. I highly recommend buying different brands and varied types of nappies until you figure out what works for you and your baby. I went with flats at first because they are the most versatile of nappies and are the cheapest. They work really well for me I don't mind the extra minute or two that I spend folding. I do also keep a very small stash of disposable nappies (sposies) on hand, just in case. 


How to Use Cloth Nappies South Africa CityGirlSearching Blog (42 of 100).jpg

Whew!

It you got through this loooong post I want to commend you and suggest you reward yourself with another cup of tea. I will save my washing routine & how I store my wet nappies for another post, so look out for that post coming soon.

Please let me know if you have any questions, pop them in the comments below and I'll get back to you as soon as I can.

Yours in cloth <3

x