Introducing the Banting Blondes...What is the Banting Diet and why should you be following it too.

For the past few months I have been following this seemingly odd diet/eating program called the Banting Diet. The bottom line is high fat, Low carbs.  This way of thinking isn't new, with past diet trends like the Atkins and the Paleo Diet.

I am guilty of the 'eat all the fat' mindset that most people enter into when they first hear about this eating plan. I went cream cheese crazy for the first week, but have since been trying to increase my veggie intake so that I can keep the 4kg's I have lost so far. And I am happy to report that I have had no problems keeping the weight off, even when I slip off track every now and again. 

I am not working out as nearly as hard as I used to (it's  terribly cold and dark here in Korea) but I am amazed at the changes in my body that have come about from this eating plan. I have never been one to diet, and in the past have simply upped my exercise to combat flabbier areas, but the changes I have seen and felt so far in my body have been so dramatic that I am going to be 'Banting' for a long time to come! 

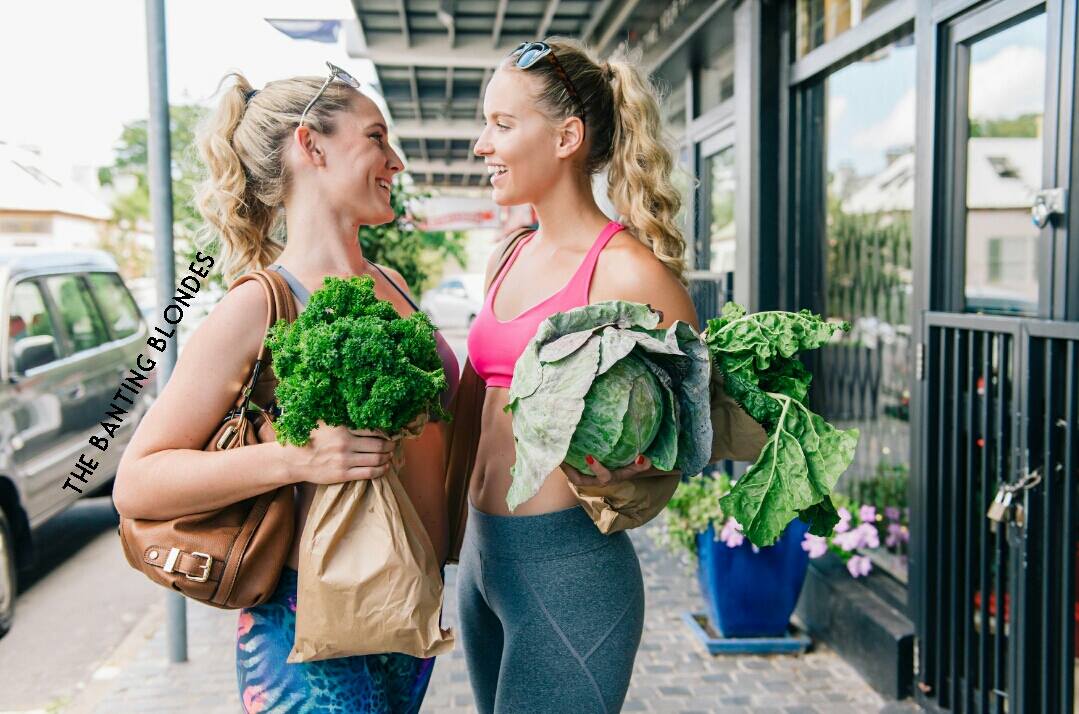
So for those of you who have yet to hear about the latest diet craze to hit South Africa, let me introduce to you two ladies (one of them being my sister) who are taking South Africa by storm. Don't they make Banting look sexy?!

1. Who are the Banting Blondes?

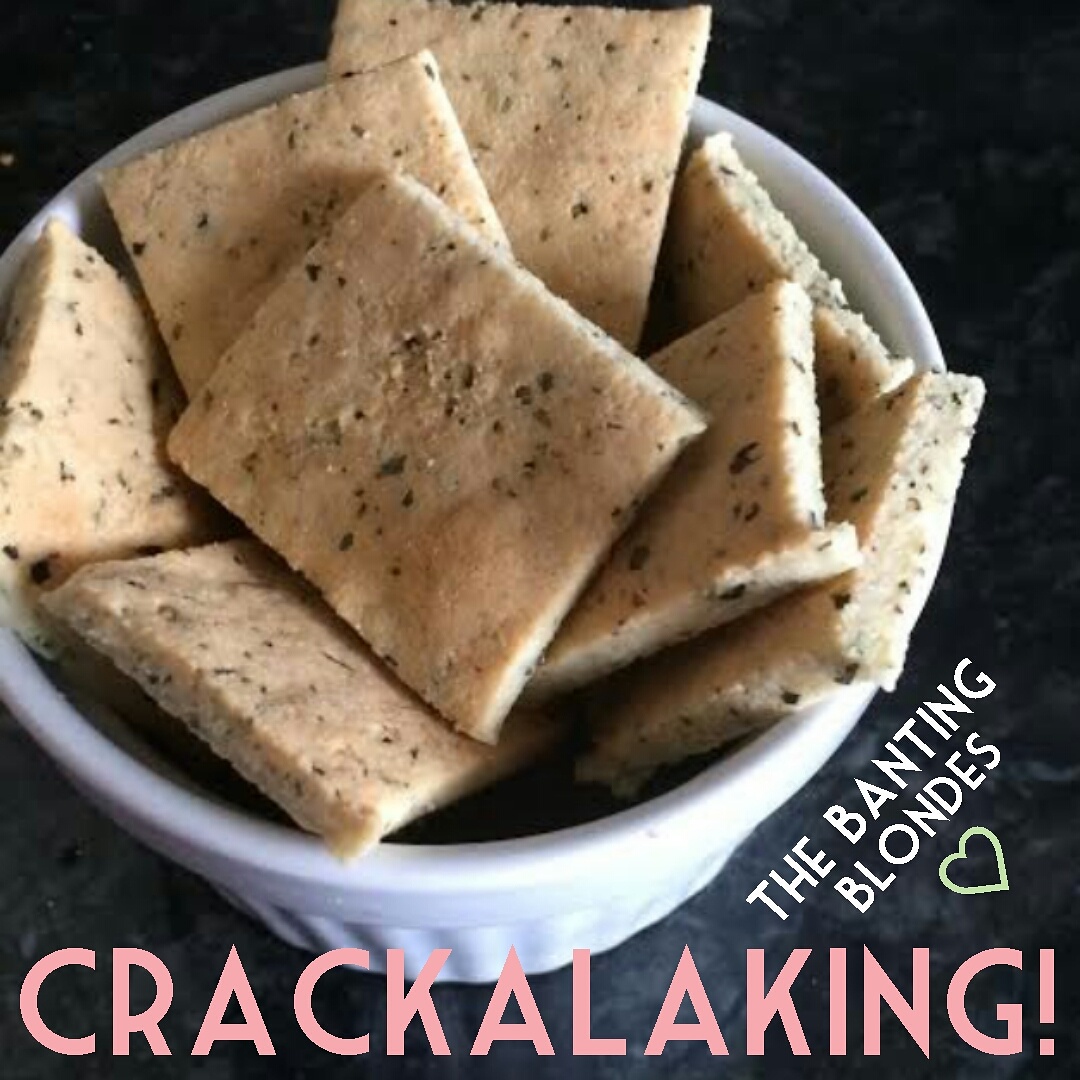
We are! Two girls who have been friends since high school and have always been a massive part of each others lives while still pursuing our individual goals and dreams - together every step of the way! Roxane Hayward is a proudly South African actress, model and singer working in South Africa and London, and Julia Pietersma is a passionate pilates instructor currently working in London - both physically demanding careers where being in shape and healthy is a top priority! This Banting journey of ours started when we both moved to London in May 2014 - inspired by the incredible Tim Noakes book 'Real Meal Revolution' and all the success stories we had heard. We became super creative with our meals and treats in order to make this lifestyle change a bit of an easier transition, and through doing this, created some incredibly delicious recipes that we thought we just HAD to share with other banters out there! Pancakes, Nutella, cinnamon buns, low carb bread, but to name a few. It started as an Instagram page and then grew to a Facebook page with nearly 5000 followers in just over a month! It's growing everyday and we are loving the journey.

TheBantingBlondes

2. What exactly is Banting/The Banting diet?

We like to look at Banting as a change in lifestyle rather then a 'diet' - ewww, we hate that word! Banting is known to be a Low Carbohydrate, High Fat eating plan - but we stress wherever we can that it is, in fact, a 'No Sugar, Low Carbohydrate, Moderate Protein, High Fat and SUPER High Vegetable' eating regime. Yip! You heard right! NO sugar. Sounds impossible, but it is not! There are so many delicious meals and treats you can make using healthier, lower carbohydrate substitutes - and that is what we share with you on our Facebook and Instagram pages. Banting also cancels out any processed, synthetic or refined foods from your diet, leaving you healthy and glowing from the inside out!

TheBantingBlondes

3. What makes it different from Paleo?

They are actually very similar in theory and both extremely healthy ways of eating. Differences would be that Paleo says absolutely no dairy, whereas Banting you are allowed dairy in moderation. Paleo doesn't limit you on your daily fruit intake, but Banting does. Other differences would be that with Paleo you are still allowed sweeteners such as agave, coconut sap, honey and maple syrup - all sweeteners which are not allowed while Banting (honey in moderation). Reason being, these foods are still relatively high in carbs and therefore going to spike up your sugar levels, causing your pancreas to release insulin - insulin being the fat producing hormone; no thanks! Banting is also safe for diabetics whereas we wouldn't recommend Paleo if your sugar levels are already high.

TheBantingBlondes

4. What can I eat? What can’t I eat?

That is quite an extensive question, haha. Simple answer and without going into too much detail would be that you have to avoid anything and everything that is toxic to your body (processed, refined or synthetic) which includes sugar, margarine, artificial sweeteners, soya etc. You'll also have to cut out anything that is high in carbohydrates which includes all grains, legumes, fruit juices and starchy vegetables like potatoes, peanuts and peas. Instead, you would want to fill your plate with food that nourishes your beautiful body. This includes green leafy vegetables and other vegetables grown above the ground. You can also eat 80g of protein with each meal. And lets not forget the fat! Mmmm...nuts, seeds, animal fats, coconut oil, butter and olive oil are all things that will help keep your body, tummy and mind fully and satisfied. Sweet tooth? You are allowed fruit in moderation as well as natural sweeteners such as xylitol, stivia and erythritol. If you want the full list, we recommend going to www.realmealrevolution.com/real-food-lists

TheBantingBlondesRecipe

5. Why is it good for me?

Where do we begin! Firstly, lets not forget that your body is a machine and in order for it to run smoothly, you need to give it the correct fuel. i.e. don't fill your diesel 4X4 with petrol and wonder why it breaks. Blondes talking cars hey? Yip, we're that cool. But seriously, with Banting you are only filling your body with nutritious basic foods that our bodies were designed to process. You are eating actual FOOD, no more 'food like products' and the benefits that go with doing that are insane! Hold onto your seats cause here is a list of just a FEW of those benefits (if you want to find out the rest, you'll have to start Banting!) - increased energy levels, clear skin, healthy nails and hair, stronger immune system, no carb or sugar cravings, and of course (the one everyone wants to hear about) weight loss!

TheBantingBlondesRecipe

6. So what you’re saying is I can stuff myself silly with cream cheese and still loose weight?

Haha, well not exactly. That is where a lot of people go wrong with banting. They read 'Low Carb, High Fat' but all they see is 'HIGH FAT! HIGH FAT! HIGH FAT!'. They forget that this eating plan includes tons of vegetables and moderate protein. The fat is permitted and included in order to keep you satisfied and sustained for longer until your next meal. So yes, eat your cream cheese, but have some steamed spinach or broccoli with it. Don't overeat, don't snack, only eat when hungry and focus on the nutrition that is going into your body.

TheBantingBlondesRecipe

7. And eggs? I see that you're allowed to eat as many as you like. Wouldn't that increase my cholesterol?

This is actually a really interesting question, which calls for a super interesting answer. Time to put our brunette wigs on... haha. Firstly, cholesterol isn't all bad. Our bodies naturally produce it, because without cholesterol, we would die - gasp! There are two types of cholesterol in your body - the bad kind known as LDL (which can clog your arteries and lead to heart attacks and strokes) and the good kind known as HDL (which actually removes LDL and sends to back to the liver to be processed). BUT, there are two subtypes of LDL:Small, Dense LDL (ewww) and Large LDL (yay). 

Recent studies have shown that it is the Small, Dense LDL that you want to watch out for and try lower. Saturated fats (such as eggs, coconut oil, animal fats and butter - all which are 100% from nature and 100% yay while banting) increase the Large LDL and HDL cholesterol and decrease the Small, Dense LDL. So eat your eggs, make sure they are free range and organic, but also don't get stuck in a pattern of eating the same thing every day (seperate from the cholesterol issue).

You're body is designed to be a hunter gatherer and graze on different food types that it can find for that season. So mix things up a little and give your body a change up every now and then. This is a very concise answer on quite a detailed subject, so if you'd like some more info and would like to do your own research, make sure you do this by searching 'Small Dence LDL Cholesterol, Saturated Fats'.

TheBantingBlondesRecipe

8. Isn’t it expensive? What if I live somewhere that I can’t get hold of the ‘good’ foods easily? Are there things I can substitute?

You'll definitely be able to get hold of the correct food easily. That's because they are all food types that are in their most basic form - no processing and no specific commercial products. So no need to stress about that! It can be expensive if you are eating tons of the expensive fats such as avocados, nuts, cheeses and coconut oil, but you shouldn't be eating TONS of these in any case - only enough to satisfy you. Another tip is when you go to your local butcher to buy your grass-fed meat, ask for the fattier off-cuts - these will be cheaper and are perfect for your high fat banting meals! Also, don't forget the most important ingredient - vegetables! If you are banting correctly, this should be a large part of your eating plan; something which is relatively inexpensive. As you body goes into ketosis you will find that you don't need to eat as much as you used too. The fat helps you body feel sustained for long periods of time, so we find that we're only having to eat two meals a day - another factor that saves on money (and time) big time!

8. Do I need to exercise too?

Definitely! Exercise is a must if you are trying to adopt a healthier lifestyle. It starts in the kitchen, but it ends in your sweat pants! And you'll want to show off your sexy new banting bum in those yoga tights you've been hiding at the back of your cupboard. Exercise is the cheapest, most underused anti-depressant, so get moving! Find something you enjoy like yoga, pilates, kickboxing, surfing, dancing, or even ping-pong!

TheBantingBlondesRecipe

9.  Where can I find recipes and inspiration so I don’t get bored?

You came to the right place! Follow us on our Instagram page @thebantingblondes and our Facebook page 'The Banting Blondes'. We post tasty and delicious Banting friendly recipes, meal ideas, health tips and motivational quotes. We also answer any questions you might have whenever we know the answer! 

***TheBantingBlondes have recently launched an incredible E-Book packed full of all their recipes posted on their Facebook page, as well as loads more! Click here to order one for yourself!

10. What is your favourite thing about Banting?

Oooo, we have so many favourite things! But if we had to pick just one it would be this - because you are having to cook your meals, treats and yummy eats from scratch, rather than just buy already-made, store-bought products, it forces you to become more creative and experiment cooking with ingredients that you would never normally look twice at, like coconut flour and flaxseeds for example. Therefore, you create and try out recipes that are delicious, guilt-free and packed with nutrients and goodness. So come and join us on this Banting journey! We have a cheesecake in the oven and it serves 8 people - who's joining us for tea? ;)

You can find The BantingBlondes at the following places:

Facebook

Instagram 

Buy their E-Book

And for those of you here in South Korea, I am going to be using the #BantingInKorea hashtag when I post recipes that I have made right here in Korea, using local ingredients that I have been able to find here. I hope you'll join me in this journey to a healthier you!

5 Tips for the Perfect Blog

Blog Tips for the Perfect blog

Here are my top 5 tips for the perfect blog. 

I spend a lot of time devouring blogs, and these are the elements that make up my favourite sites, which you can use to help your blog stand out from the crowd.

There are so many more I'd like to include, but here are my top 5 to help you get started.


1. Clear and Concise Header graphic/image

I want to know what your blog is about from the moment I land on your site. If I have to dig around to find out what is is you actually blog about then I am more likely to loose interest and move on. I really like looking at blogs that are clean and free from clutter. Images and photographs are really important to me too, and so the image quality of blogs plays a huge role in my overall impression of the blog. This doesn't mean you have to have a fancy camera (click here for styling photographs from your blog using just your phone).

Try and take your own photographs and only use images from other blogs and Pinterest if you can cite the original source for the image...it's not really fair to use someone else's hard work on your blog without giving full credit (click here for more help in citing image sources). In the end it's much easier and safer to just take your own photographs for your blog. Don't worry if they don't look that great at first...practice makes perfect!

Back to the header.

-Your header could be a photograph with your tag line (a sentence that sums up what your blog is about).

-It could be your logo.

-It could be a graphic which incorporates all the things you like blogging about in an image or text form.

-Or it could be simply your blog name, and the rest of your blog could be summed up in a graphic in your side bar.

Take a moment to ask your friends or a family member the question that if they stumbled across your site, would they know what it is you blog about. If they're not sure then haul out your notebook and get brainstorming. I don't like very large headers that take up too much space on a blog, so I suggest trying to keep them their height small enough so that visitors are able to still see the first section of your latest blog post.

2. An About Page

Your readers want to know about you. They want to know who you are, where you are and what it is you do and blog about. Click here for an excellent resource on writing the perfect 'about page'. Help them feel connected to you by including a few fun and interesting facts about you.

Make sure your About Page is in an obvious place on your blog. Either in your menu bar at the top of your blog, or somewhere in your sidebar. Make it easy for your readers to find out more about you.

3. White Space

Keep your blog clean.

If you have a background image or pattern, make sure it isn't too distracting and that it doesn't take away from your blogs content. If you have a quick look at Pinterest, it's very likely that a lot of the most popular pins are products/items/rooms with a white or very light background. This helps your blog post images pop and draws your readers focus to what's really important...your content.

4. Image Size

Keep your blog image size consistent. This helps ensure your blog has a clean and well organized feel to it from the moment your readers arrive. You can use free online image re-size sites like PicMonkey or set your preferences before hand when exporting your images from Lightroom/Photoshop or Blogstomp.

It helps to know your blogs actual width (in Blogger you go to template>customize>adjust widths). Most PC computer displays are set at 1024 x 788.

My blog width is set to 1000 pixels so that my blog can be viewed on most screens without having to scroll sideways. You should be able to see the entire width of my blog on most computers and laptops. The exception is mobile devices, for which my blog automatically adjusts (mobile responsive) so that you can view the site by scrolling up and down and not having to scroll across to read the content.

My images are all formatted to be 650 pixels wide using my favourite image re size program, Blogstomp. You can also manually adjust your image sizes on your computer, but it's such a pain to do it for each photograph. As I shoot in raw, my photographs are HUGE and so Blogstomp takes care of all the heavy lifting, reducing my images from 4250 pixels wide to 650pixels. This is also important because if your readers are looking at your your blog from a slow internet connection, your pictures won't take forever to load. There's nothing worse than coming across a blog and having to wait for ages for the images to load. A lot of my readership is in South Africa, and I know just how poor the connection speed is there, and so I try to accommodate and make my pictures smaller and easier to load on their computers and mobile devices.

5. Clear Social Media Buttons

Make sure you have clear ways for your readers to follow you. This means displaying your social media links at the top of your blog, and then possibly underneath each blog post. This makes it much easier for readers to follow along and and be notified when you post something new. Make it as easy as possible for them to be able to contact you (via email or any of your social platforms).

Pin it now for later! Hover over the image below to start pinning.

5 Tips for the perfect blog by CGScreative

Do you have any other tips you'd like to share? Please pop me a comment below, I love hearing from you!

Autumn Festivals in Korea 2014

FestivalsInKoreaSeptemberOctober2014

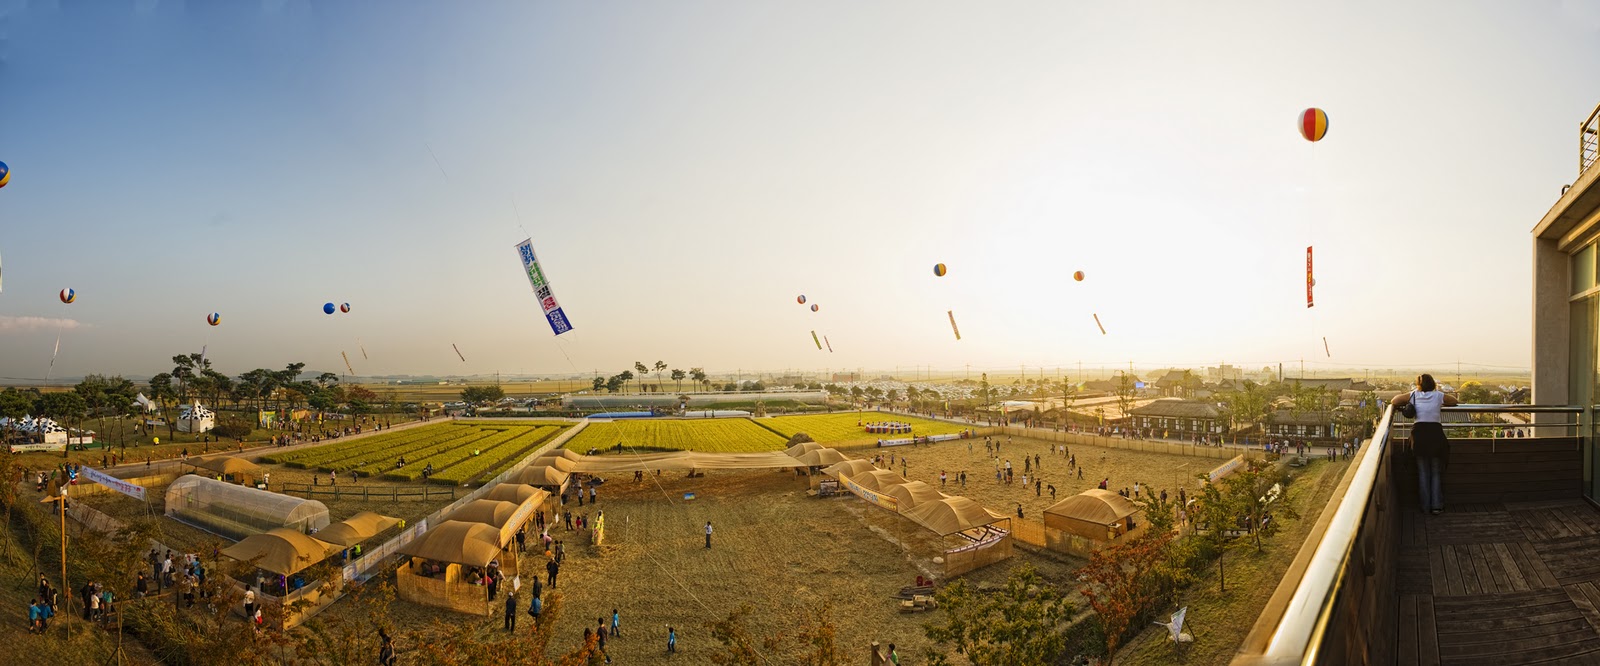
Summer will slowly be drawing to a close here in Korea, and with that we can expect a break from the humidity and of course something that Korea is very famous for, it's Autumn/Fall foliage.

Here is a list of upcoming festivals to look forward to in September & October. The leaves won't be turning yet, that happens towards mid November, but there are enough interesting things to see before that happens.


September 2014

25th September – 28th September Wonju Hanji Festival in Wonju (Traditional Korean Paper)

Hanji Theme Park in Wonju-si, Gangwon-do

26th September - 5th October Andong Maskdance Festival

Downtown Andong, Talchum Park, Hahoe Village and surrounding areas in Andong-si, Gyeongsangbuk-do

Source

Source

26th September - October 5th Suncheon Bay Reeds Festival

Suncheon Bay in Dongcheon, Suncheon-si, Jeollanam-do

Source

Source

October 2014

1st October - 12th October Jinju Lantern Festival

Namgang River in Jinju-si, Gyeongsangnam-do

1st October - 5th October Gimje Horizon Festival

Byeokgolje in Gimje-si, Jeollabuk-do

1st October - 5th October Anseong Namsadang Baudeogi Festival

Anseong Matchum Land in Anseong-si, Gyeonggi-do

Source: VisitKorea

Source: VisitKorea

2nd October - 11 October Busan International Film Festival

Theater District in Nampo-dong, Suyeong Bay Yachting Center, Haeundae Beach, and other locations in Busan

Busan InternationalFilmFestival

3rd October - 9th October Mungyeong Traditional Chasabal Festival (Traditional Tea Bowls)

Mungyeongsaejae Provincial Park in Gyeongsangbuk-do

Source: VisitKorea

Source: VisitKorea

October 4th - October 8th Gwangju World Kimchi Culture Festival

Jungoe Park in Buk-gu, Gwangju

Source

Source

23rd October - 26th October Jeonju Bibimbap Festival

Jeonju Hanok Village in Jeonju-si, Jeollabuk-do

Source: VisitKorea

Source: VisitKorea

Thank you to Visit Korea for the above information. 

Backpacking in Bali & What to Pack

image.jpg

On Monday, Farmboy and I are off on our summer holiday to Bali. It's been a long semester of teaching and boy oh boy do we need this holiday. As I've been packing, I thought it would be fun to show you what I pack in terms of toiletries for a backpacking trip. I say backpack, because that is what we travel with, and even though we do treat ourselves along the way with nice hotels, we spend a lot of our time in backpacker type accommodation.

Here is what I pack for each of the trips we've done (you can see more about our last trip to Malaysia by clicking here and Vietnam by clicking here). 

There are one or two items that I haven't packed yet (toothbrush, deodorant and mosquito spray) but this is what I will be taking for our trip to Bali:

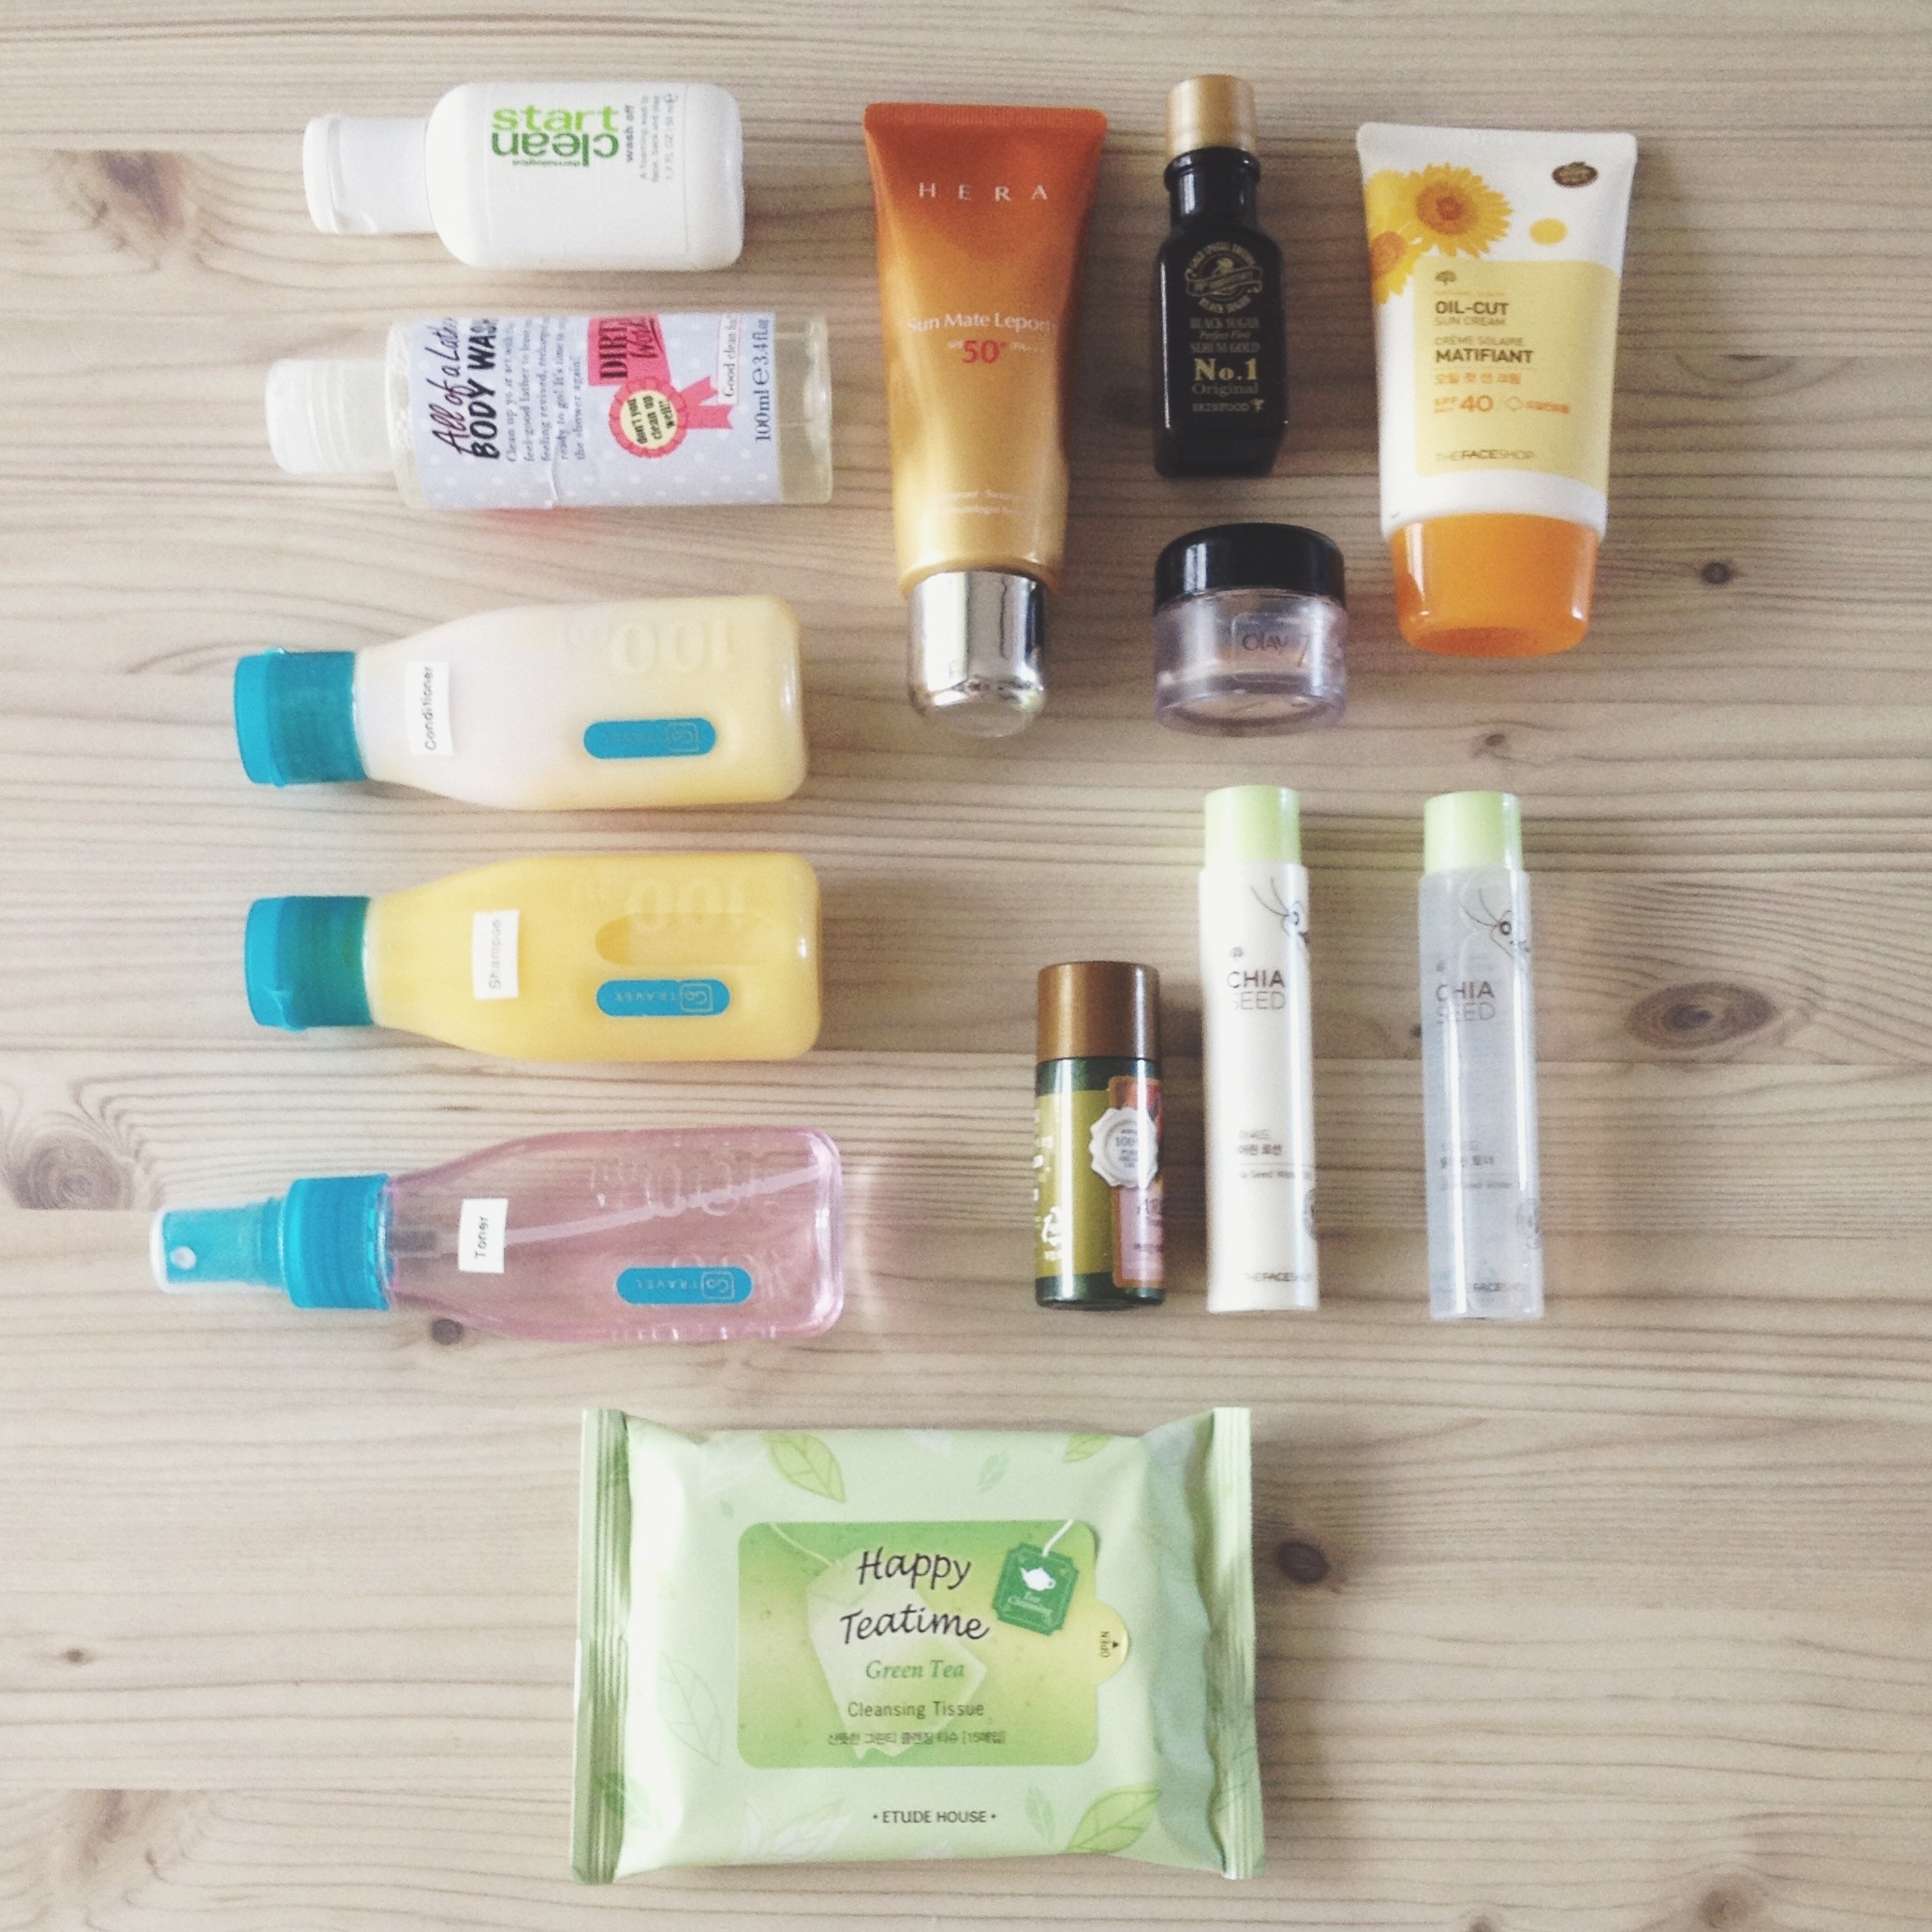
Toiletries:

image.jpg

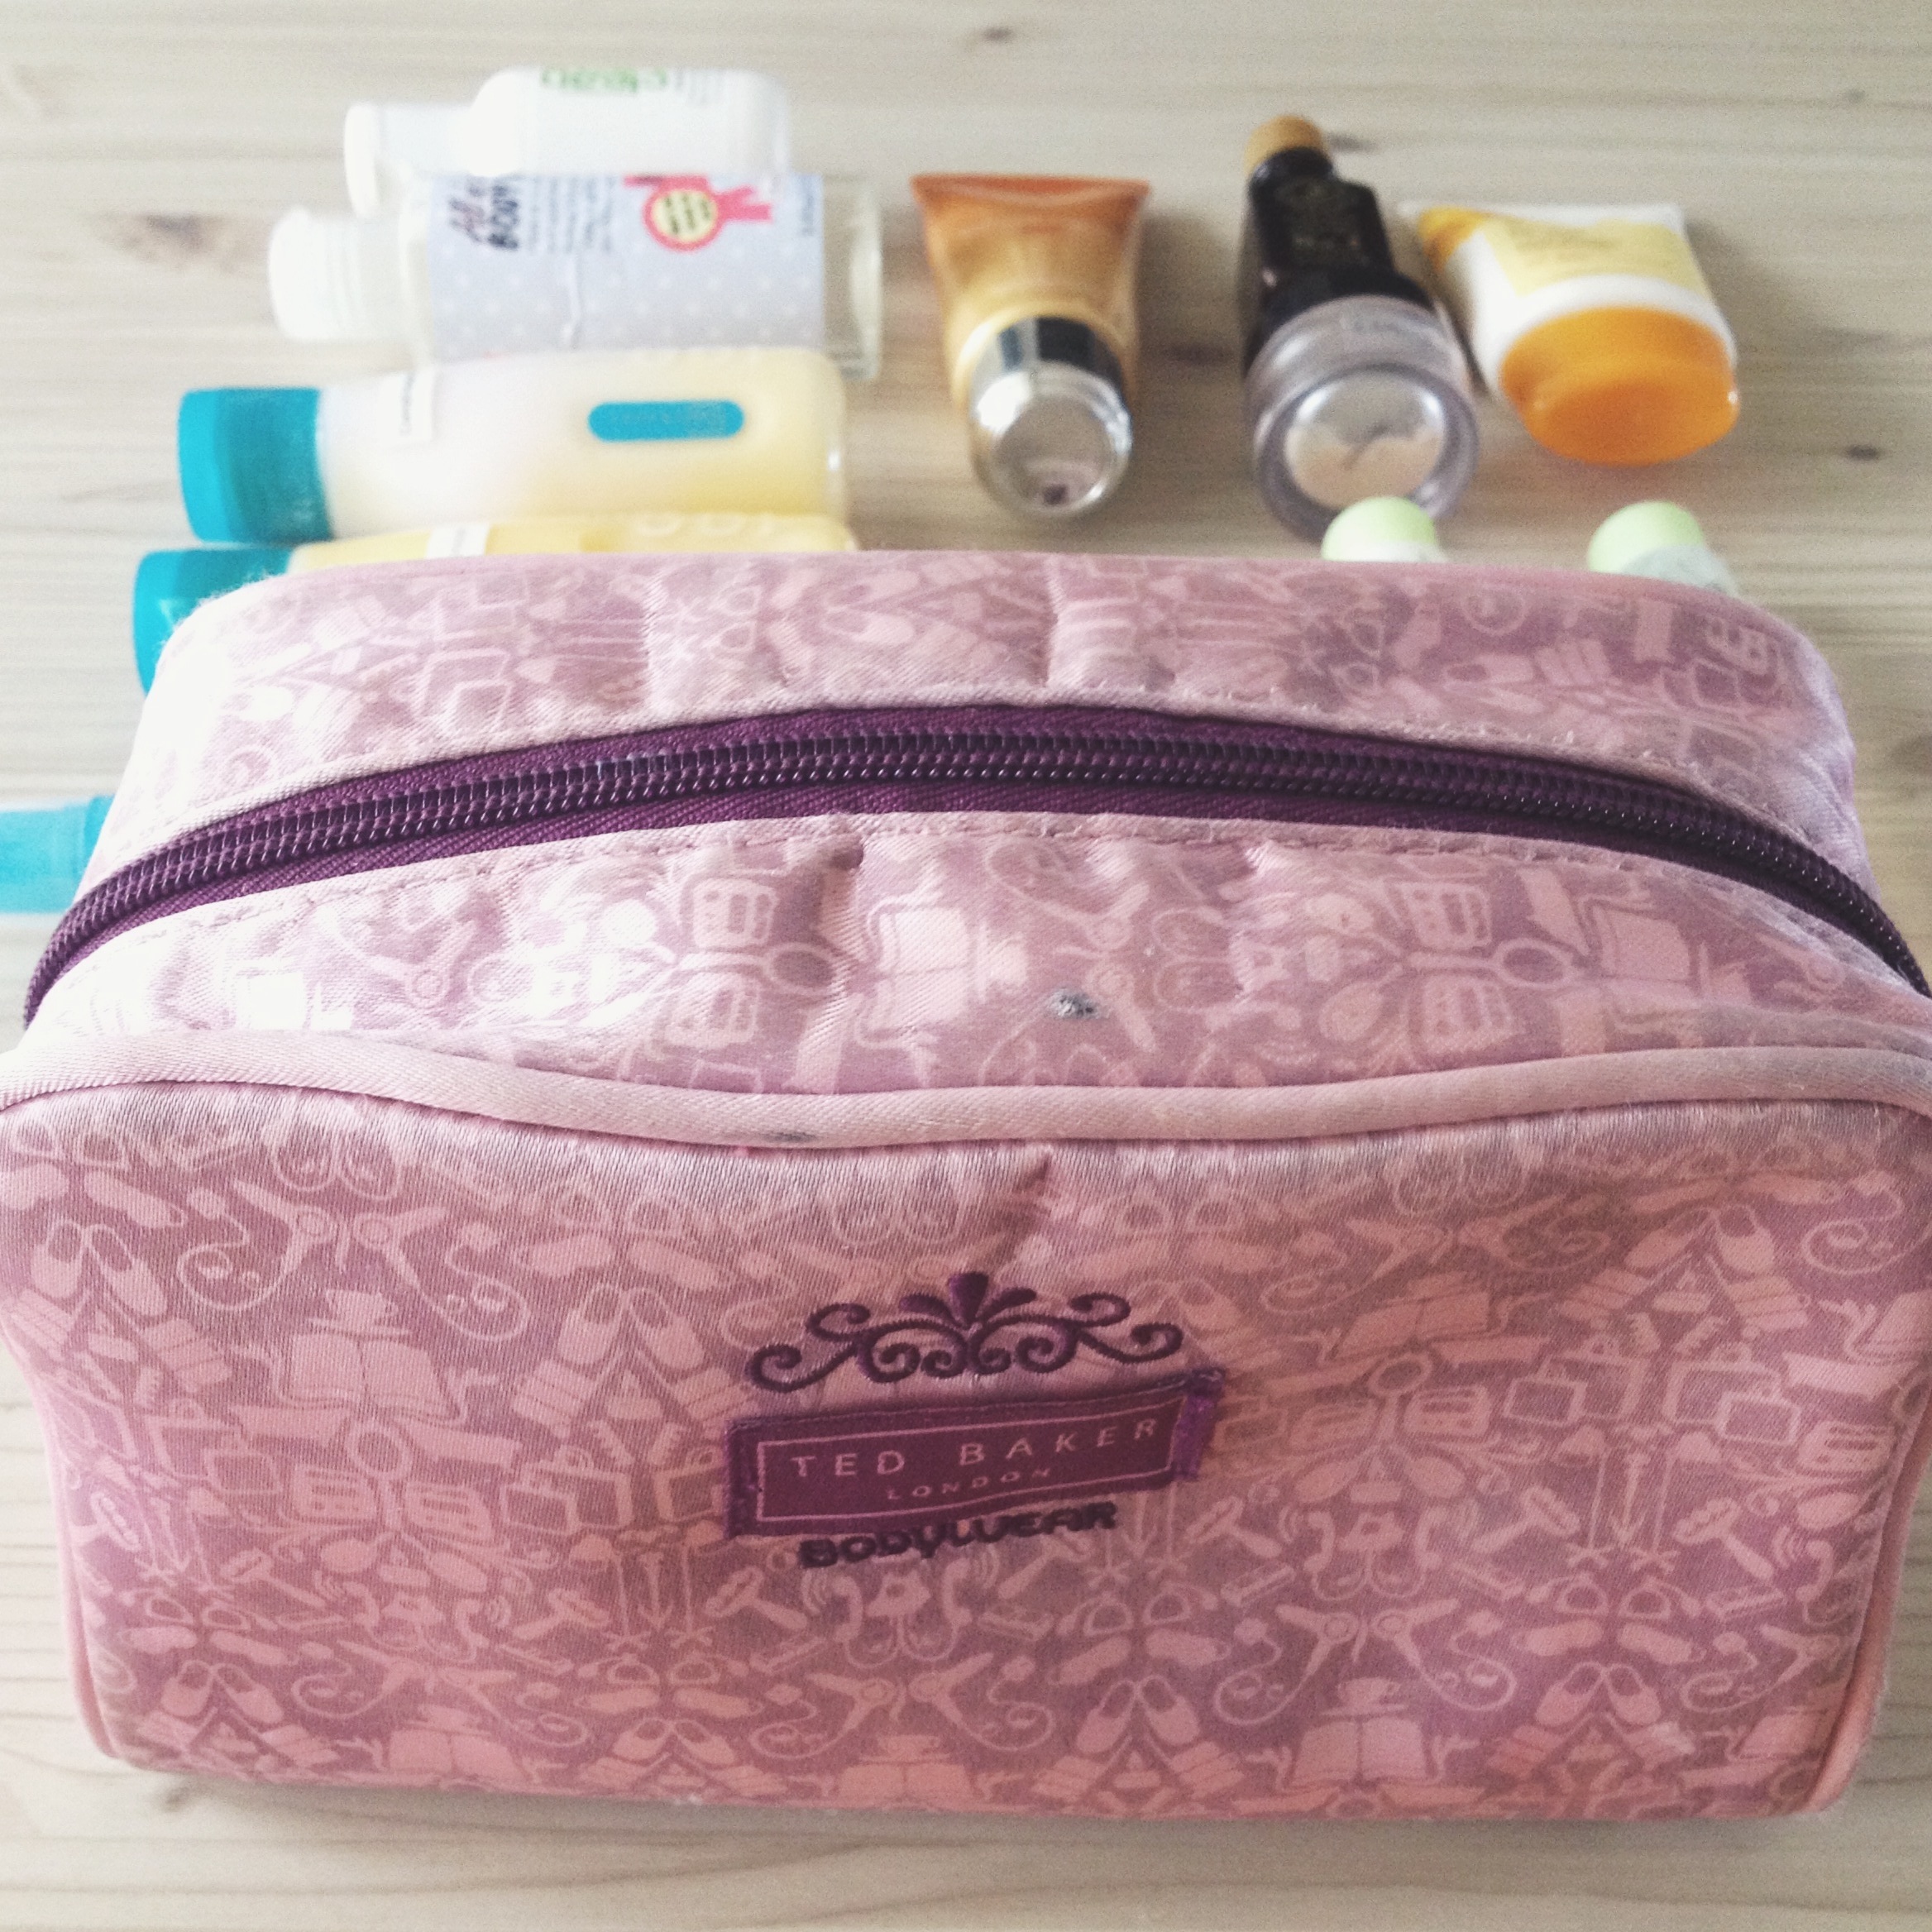
I found the handy travel sized bottles at Dischem back in South Africa and top them up with whatever products I am using to the time.

-My shampoo and conditioner were half full with Loreal Elvive from back home in South Africa and I just topped them up with the little I had left of their full sizes.

-A spray bottle with IQ DermaQuench Rose Blossom Toner (also from back home).

-Body wash bottle filled with whatever wash we have in the bathroom here (a fresh citrus smelling wash from Happy Bath here in Korea)

-Face Wash from the youth range of skincare from Dermalogica (also bought back home).

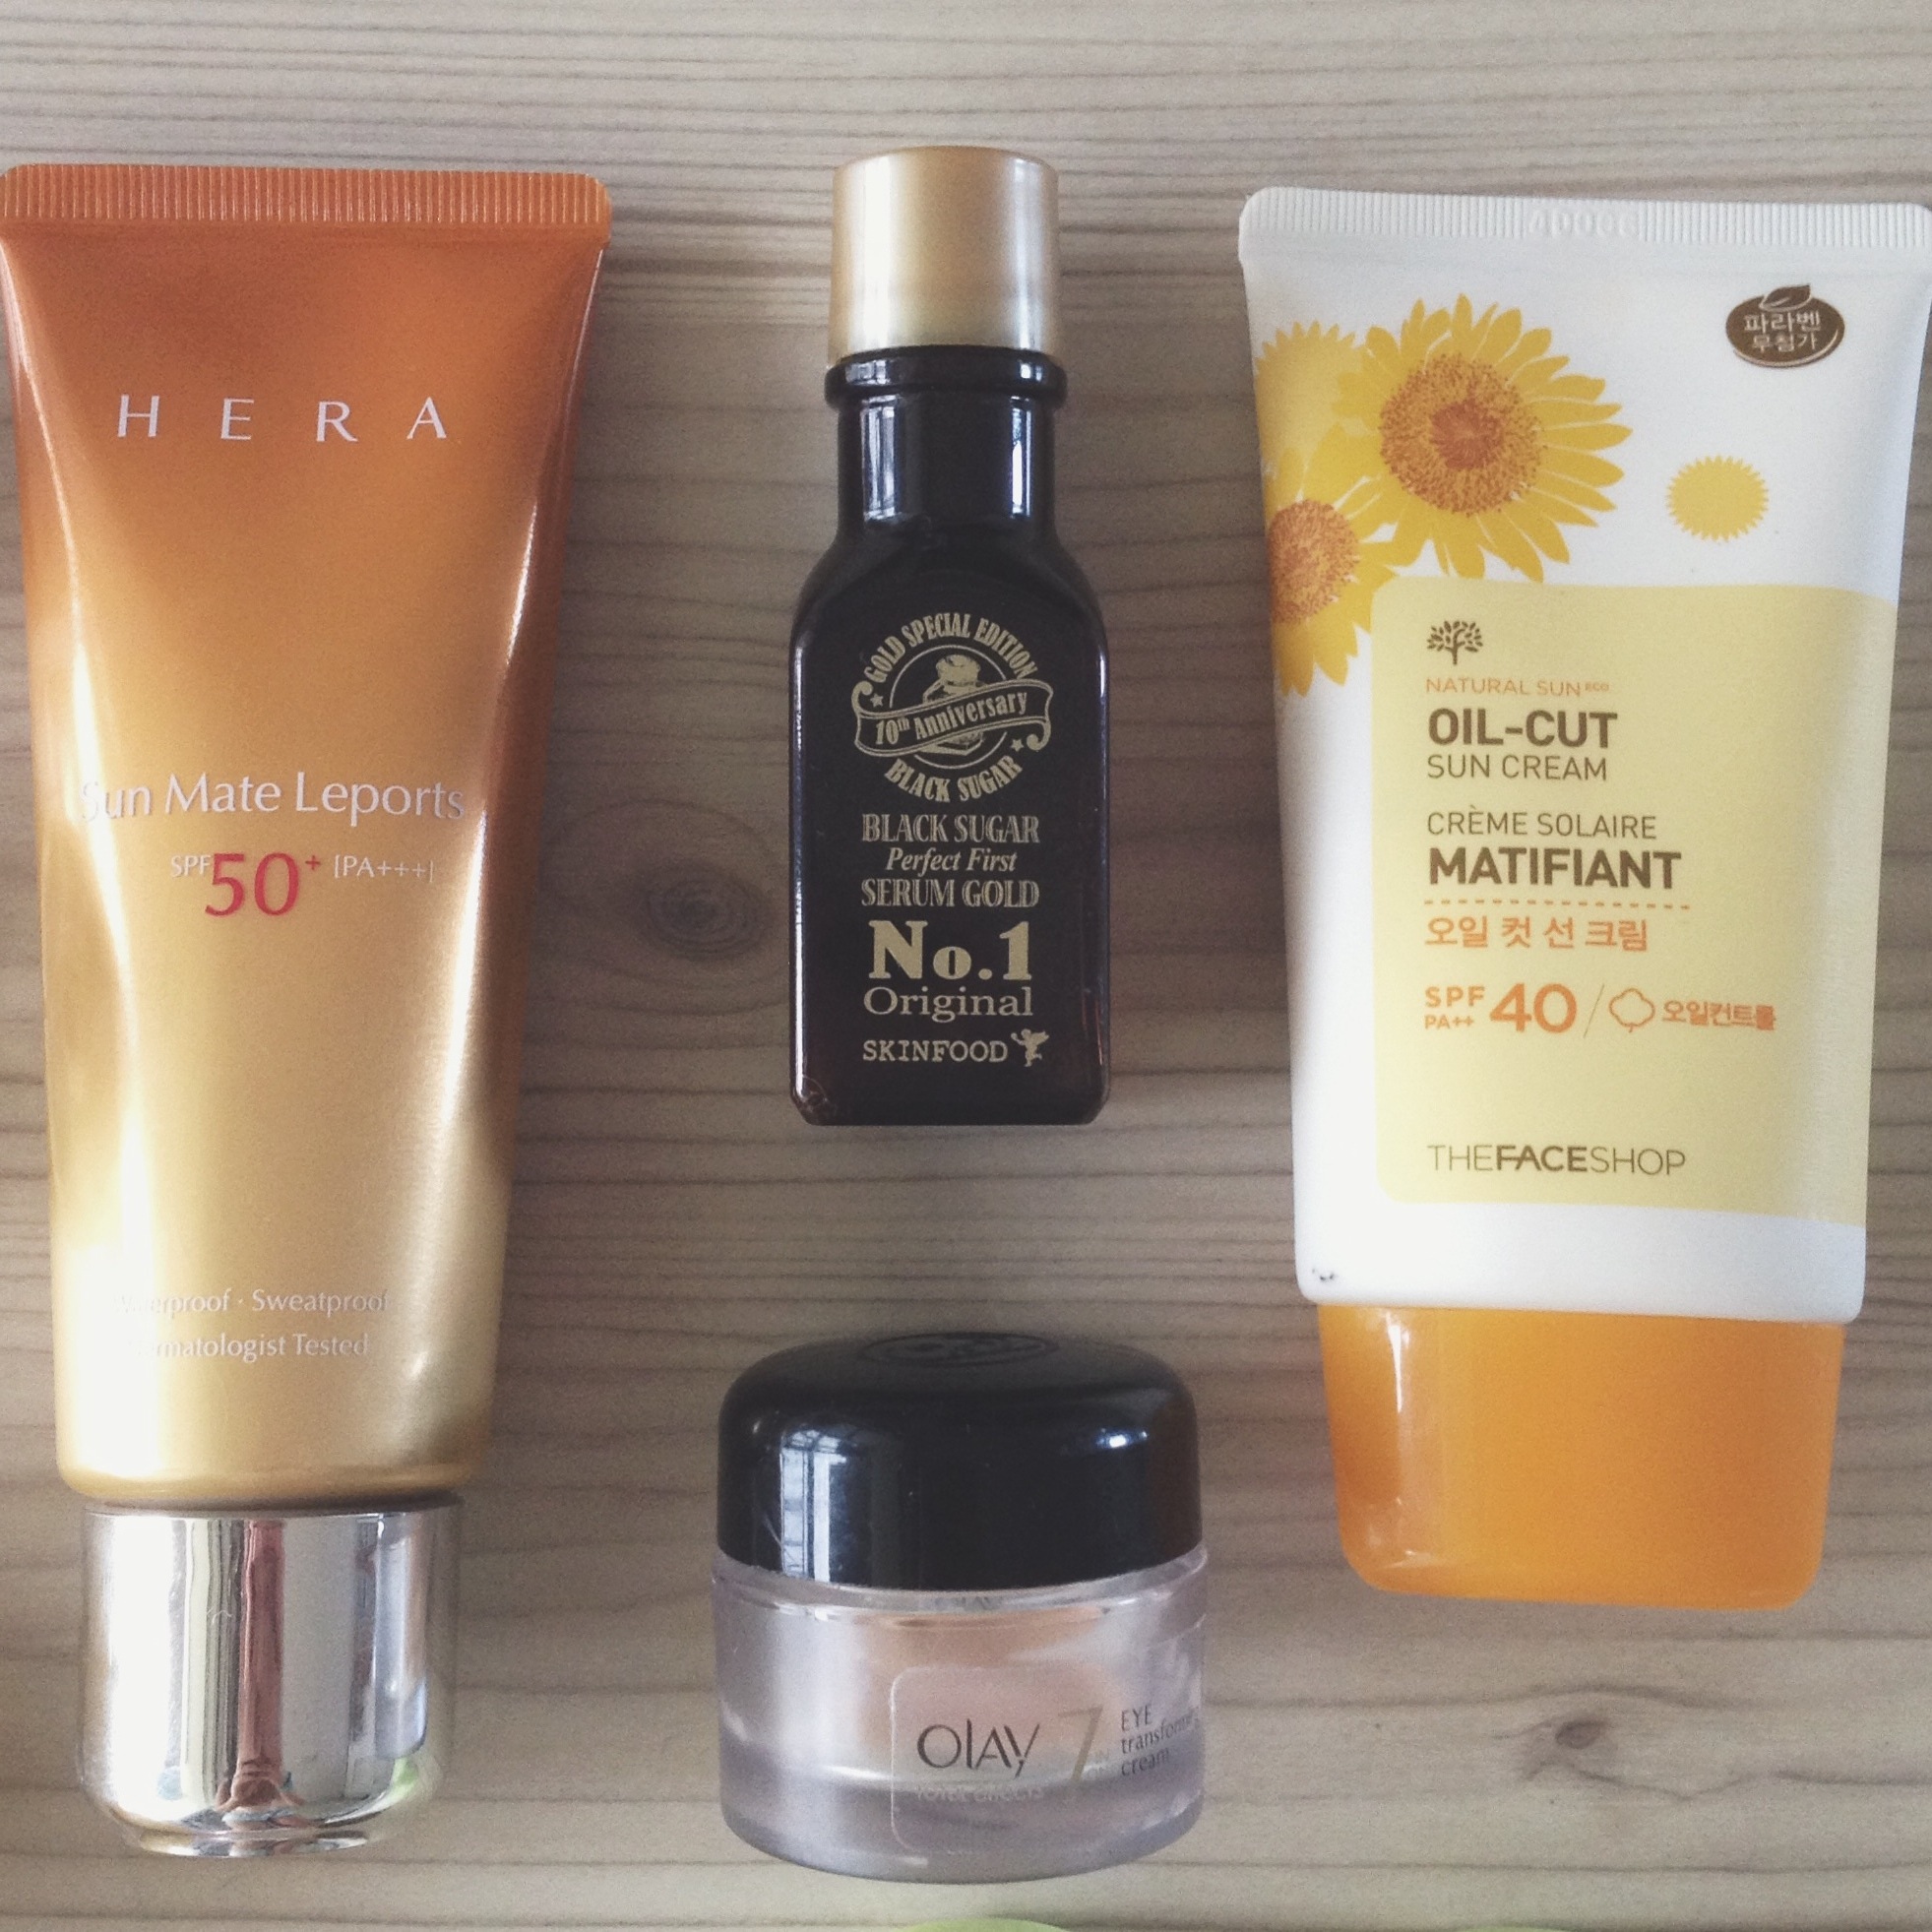
-Hera 50+ Sun Mate Leports waterproof sunscreen

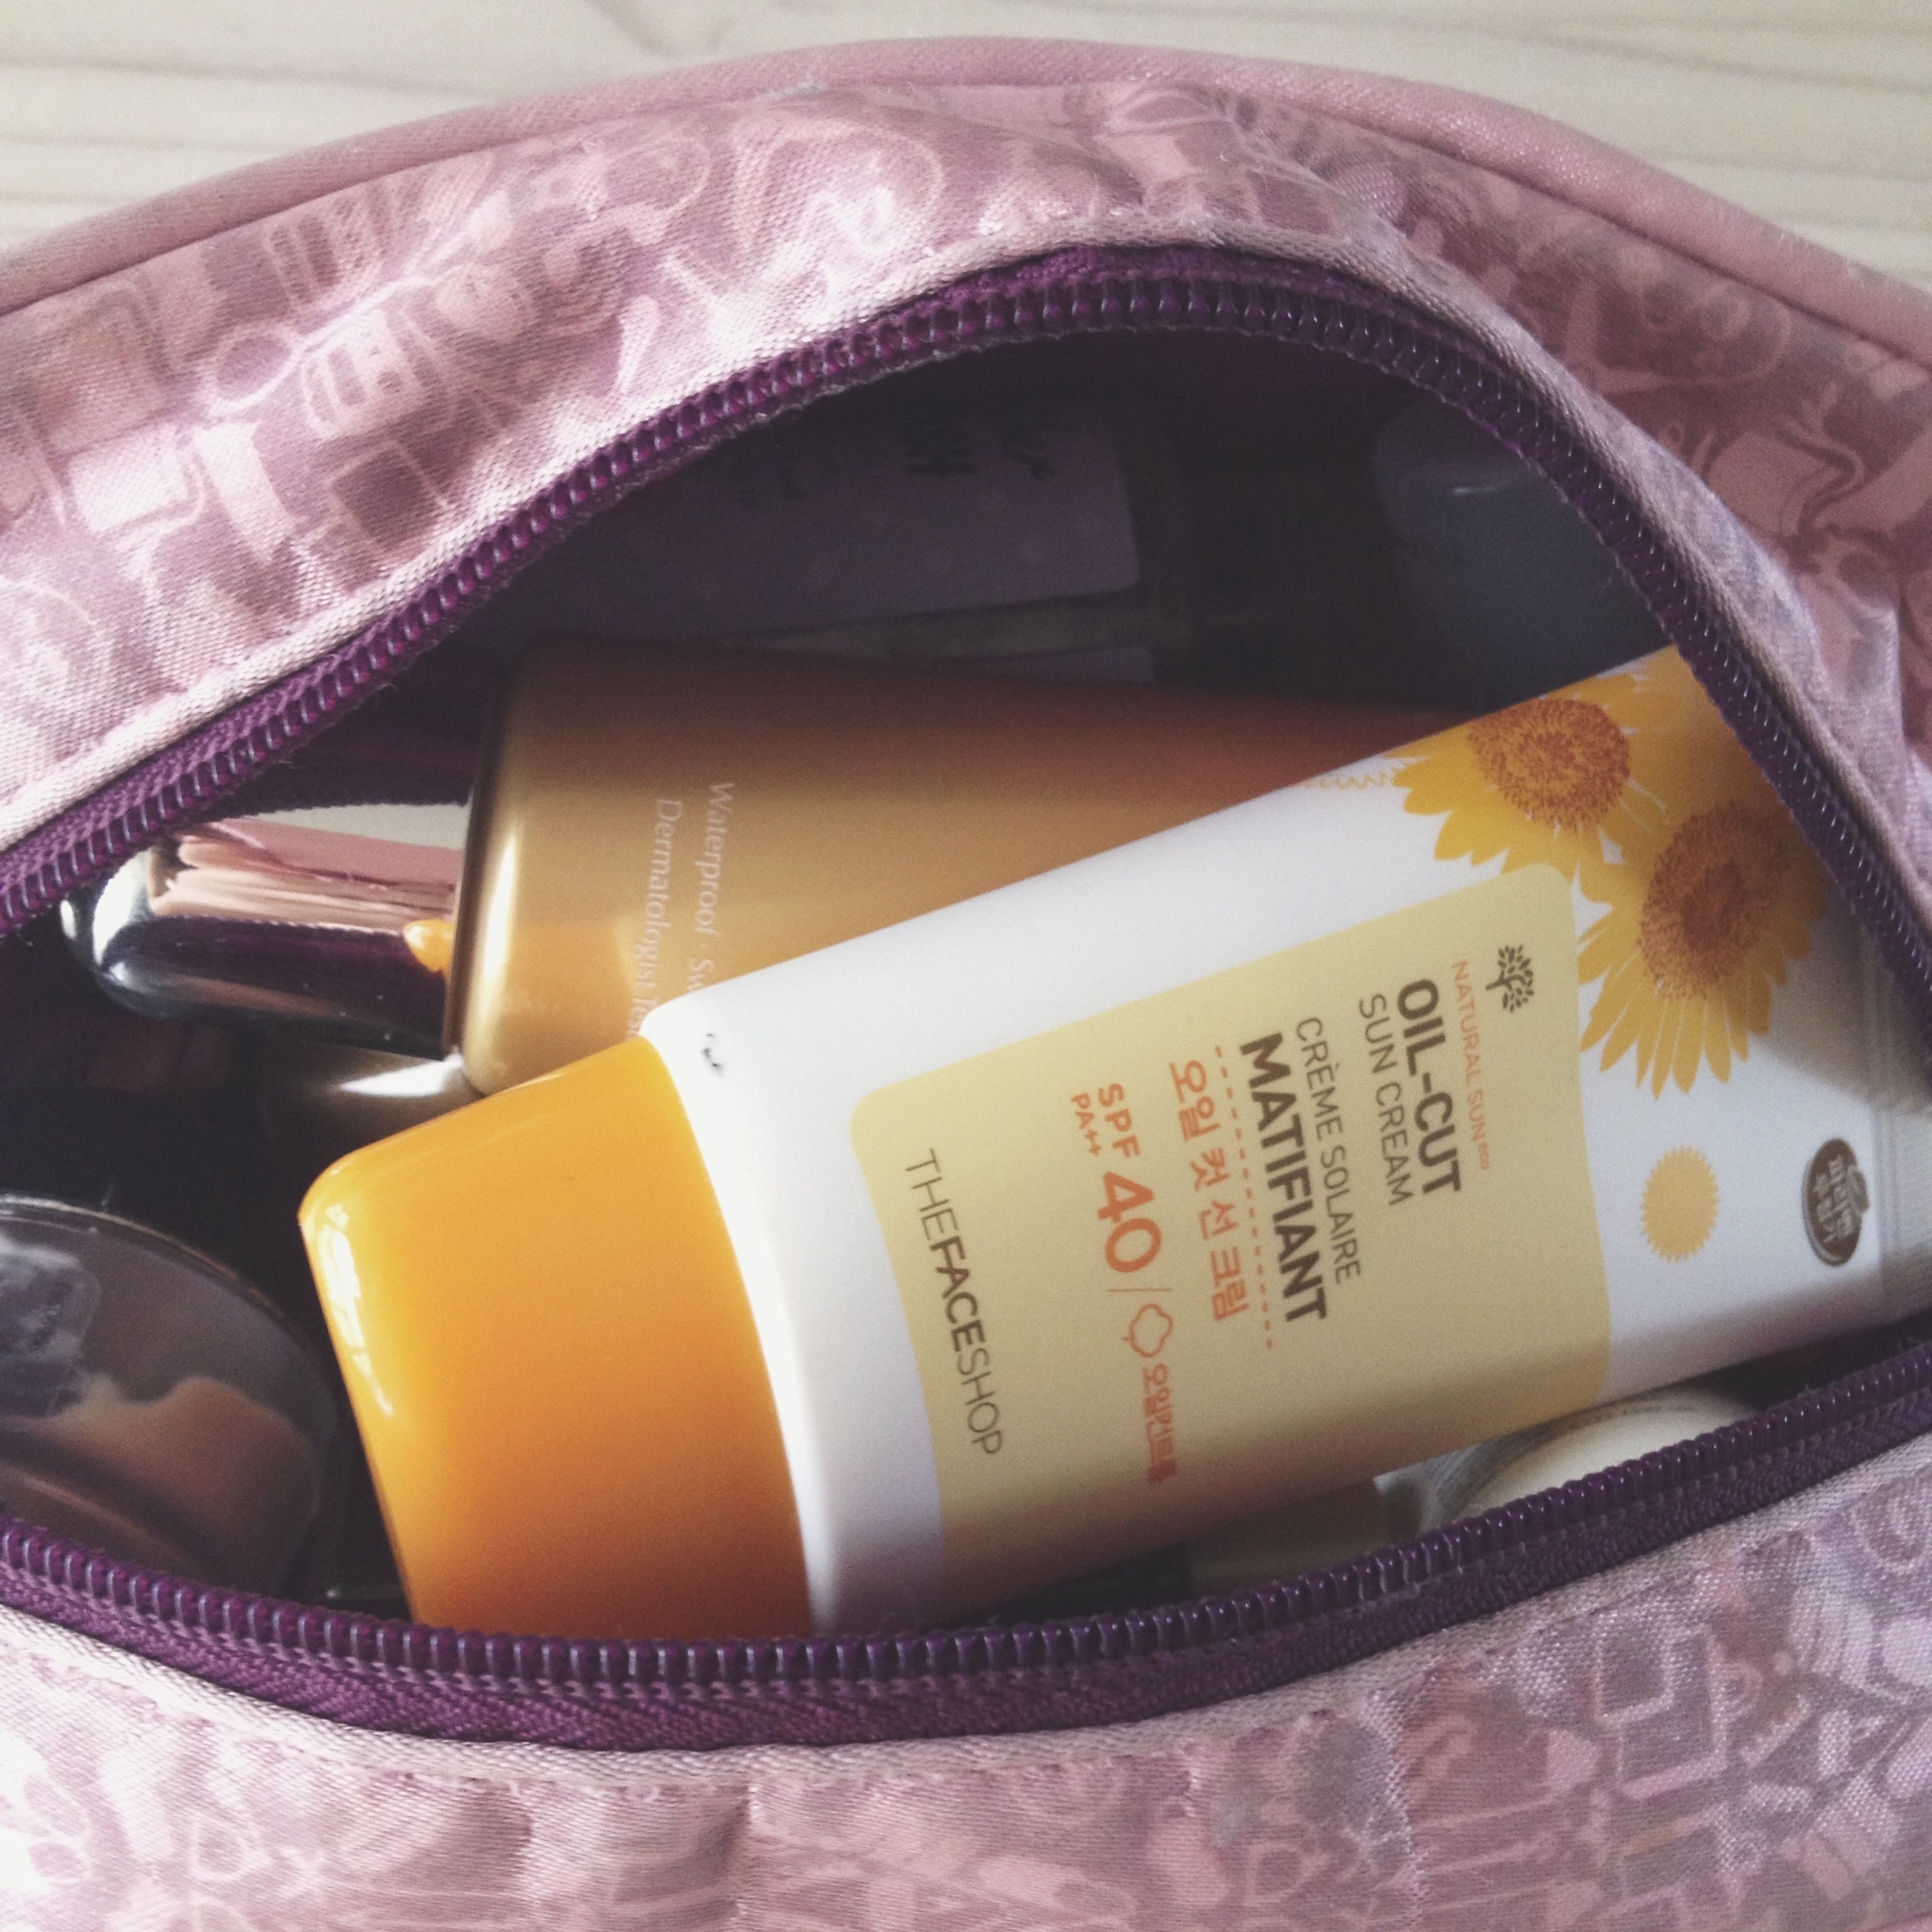
-My favourite sunscreen for face, Oil Cut SPF 40 from The Face Shop Korea.

-Olay Total Effects Eye Transforming Cream

-Travel sized Black Sugar Perfect First Serum Gold from SkinFood

-A sample sized Argan hair treatment oil from Confume (review to come soon, this stuff is amazing!!)

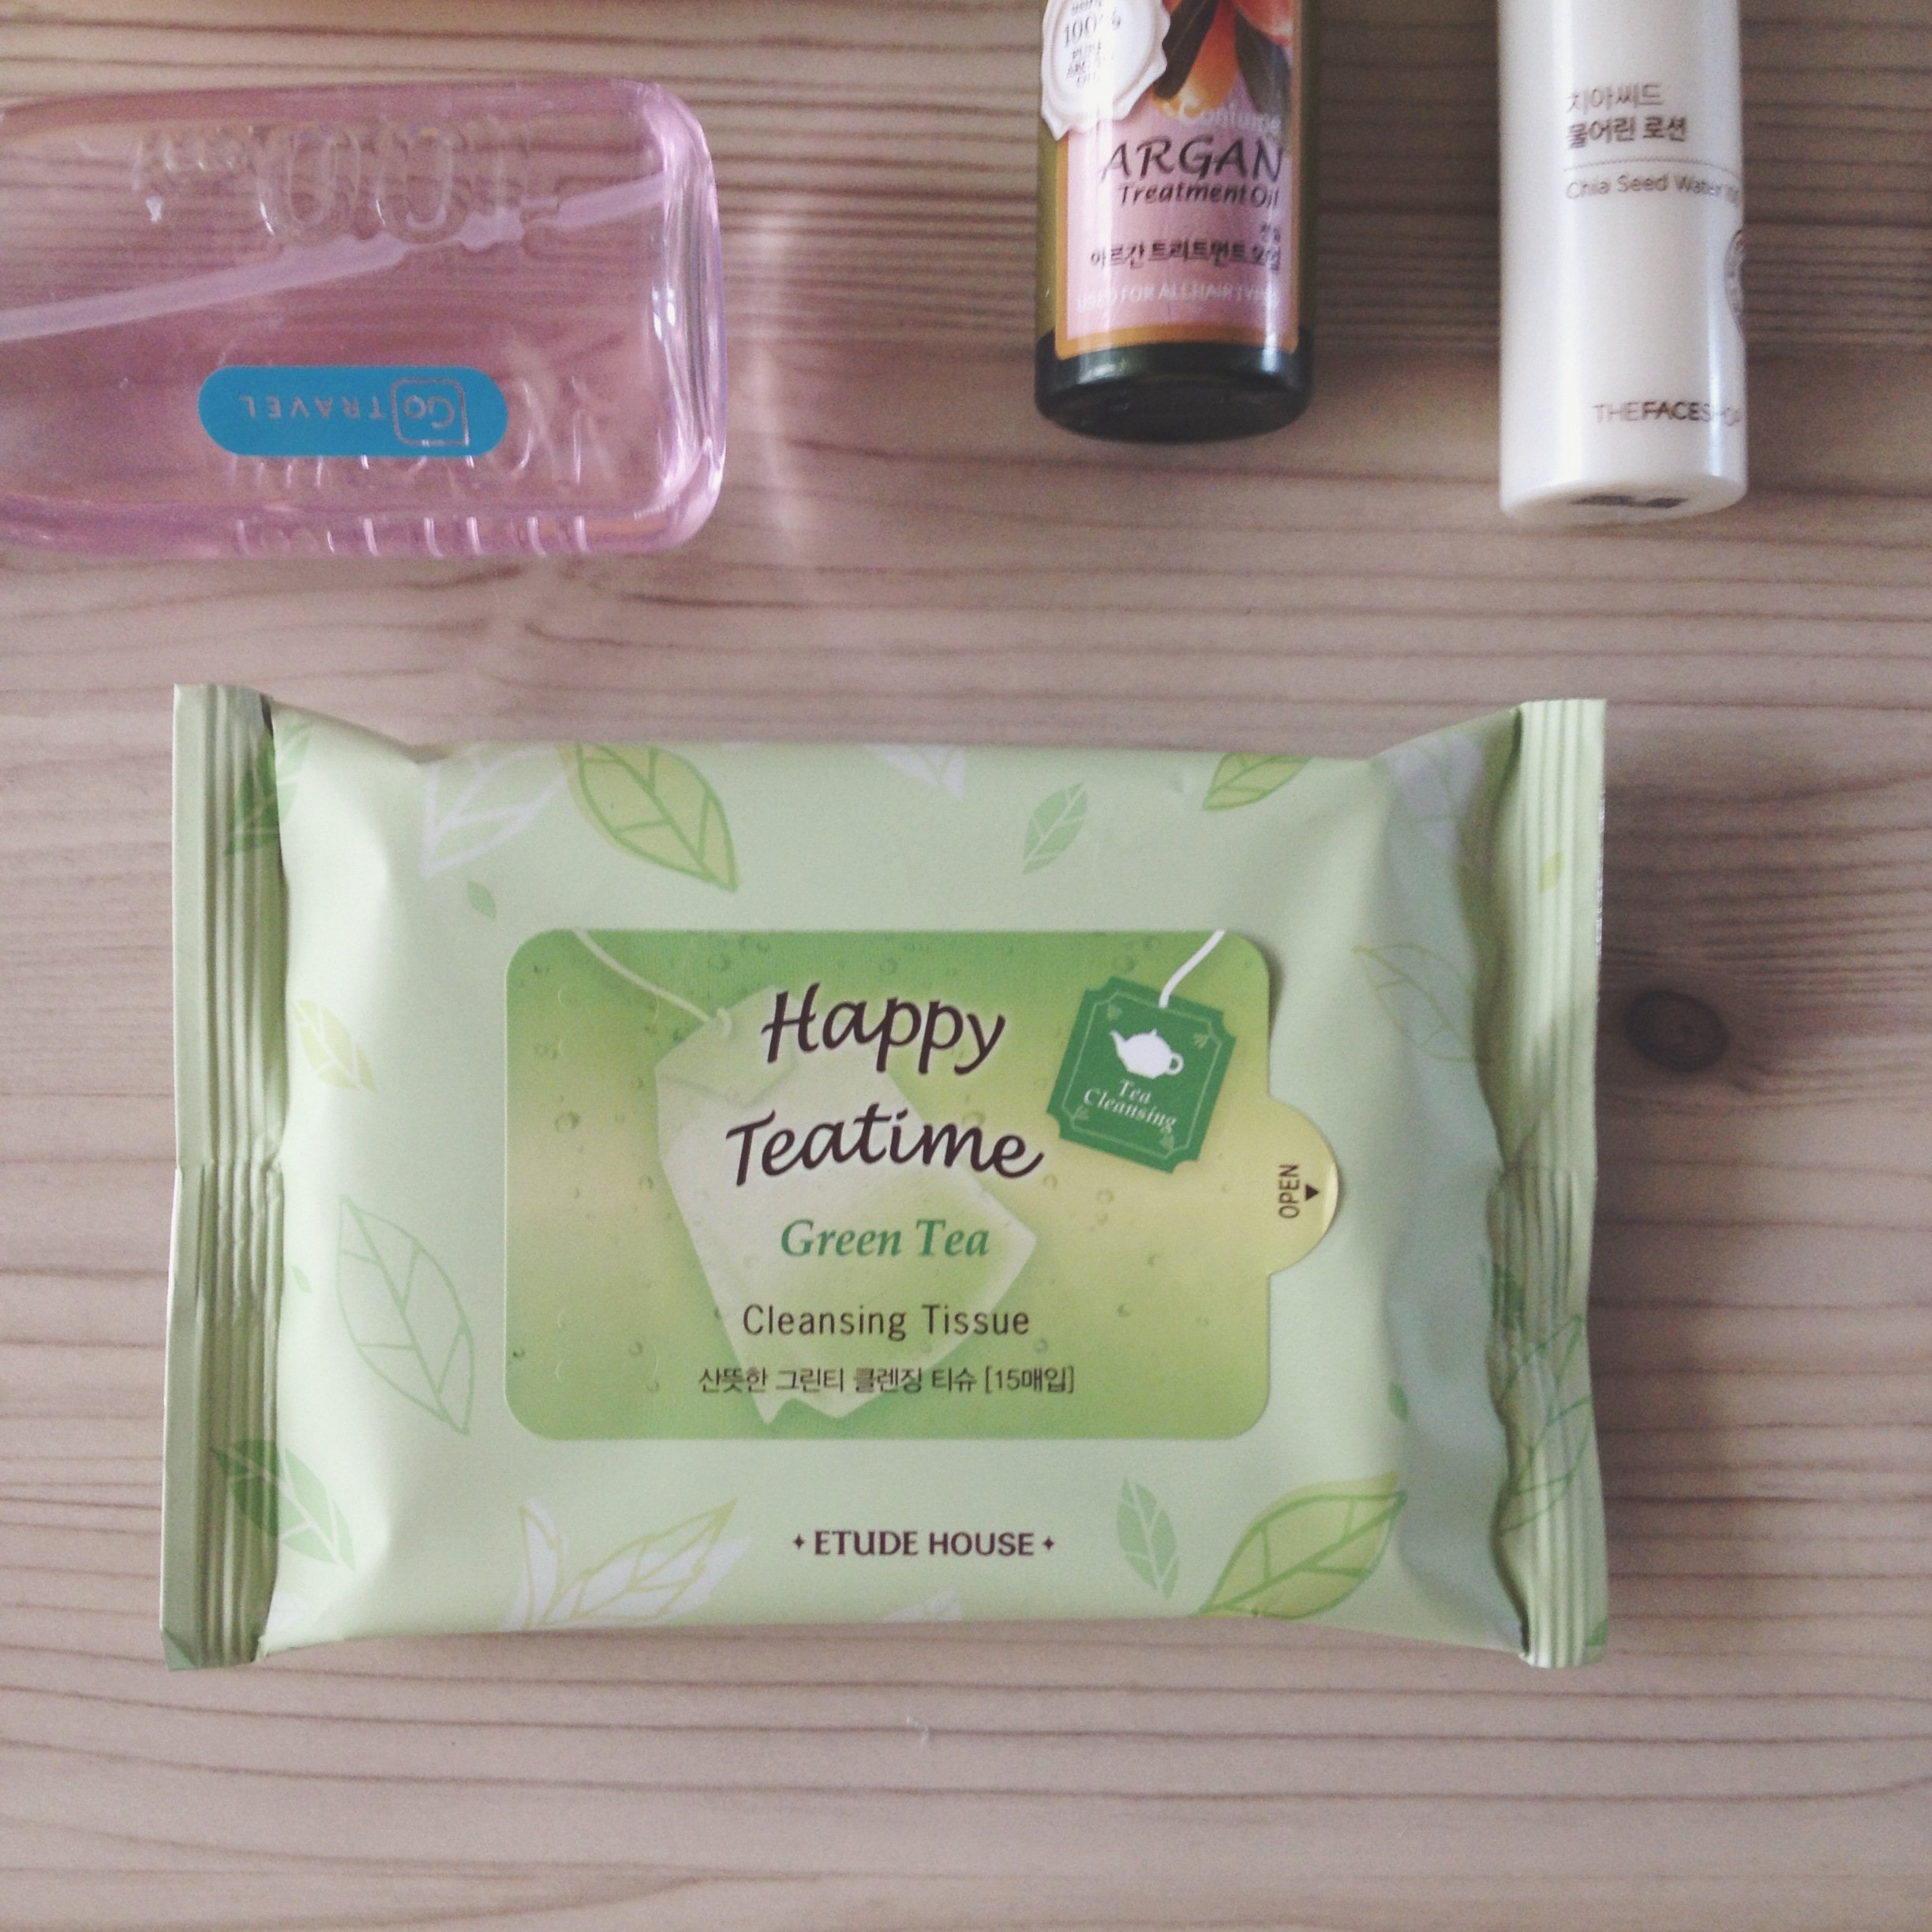
-My favourite Chia Seed Water toner and lotion from The Face Shop in  their cute travel sized containers. And lastly, the most useful skincare product, Green Tea facewipes from Étude House

Makeup:

image.jpg

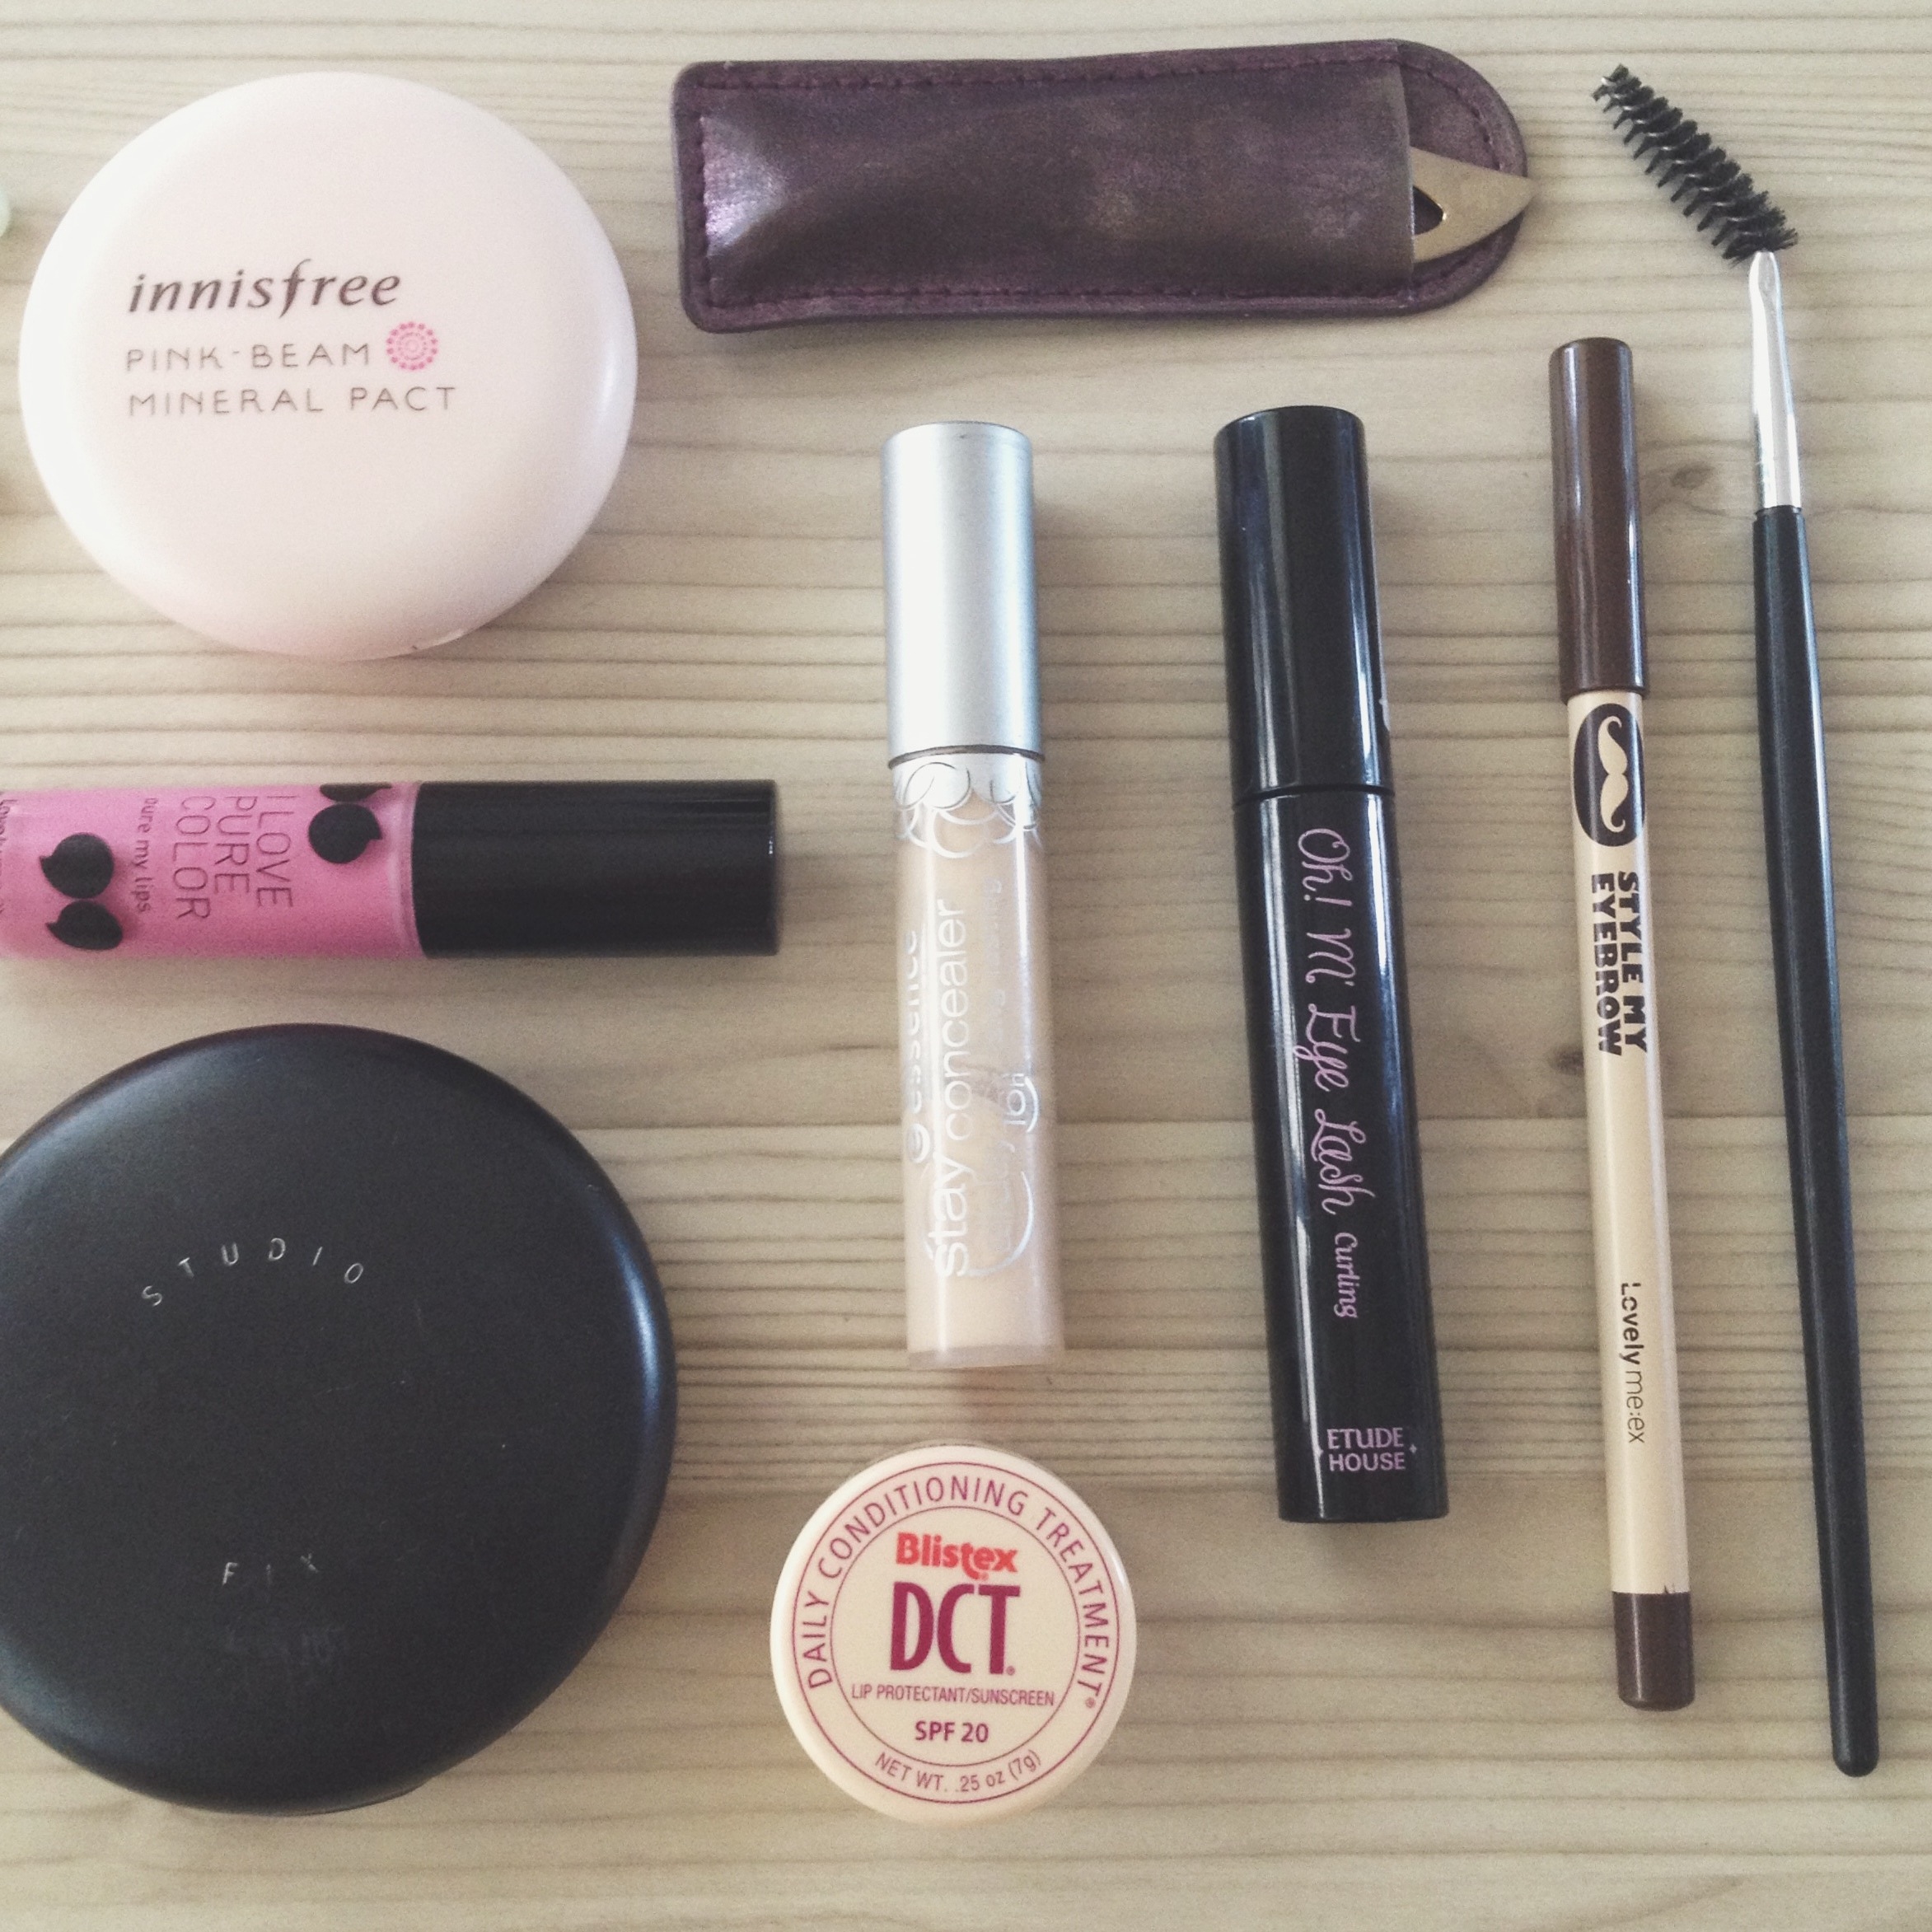
-Mac StudioFit pressed powder

-Innisfree Pink Beam Mineral Pact highlighter which I use for a blush, highlighter and eye shadow

-Essence Stay All Day Concealer as you always end up getting at least one pimple while being away on holiday. This concealer is light and stays put all day.

-Lipgloss from TheFaceShop

-Tweezers

-Eyebrow comb and pencil from The Face Shop. I have only recently delved into eyebrow care and I can't believe just how much of a difference it makes to your face. The pencil can also be used as an eye liner.

-DCT lip balm (the ultimate lip care product!). it is so expensive back home in South Africa, but I have found it on Iherb for just over $2...it's nearly $9 back home!

-Oh! M' Eye Lash Curling  mascara I just picked up from Etude House. It's not waterproof as I just don't want to deal withe hassle of taking off waterproof mascara on holiday. Most people would advise you packing waterproof mascara especially when going on holiday to a topical island, but the mascara I have that is waterproof takes nearly 4 products to remove, and although my lashes look amazing all day, while taking it off I nearly always loose a few lashes. So I'm trying this one out, and just hoping for the best!
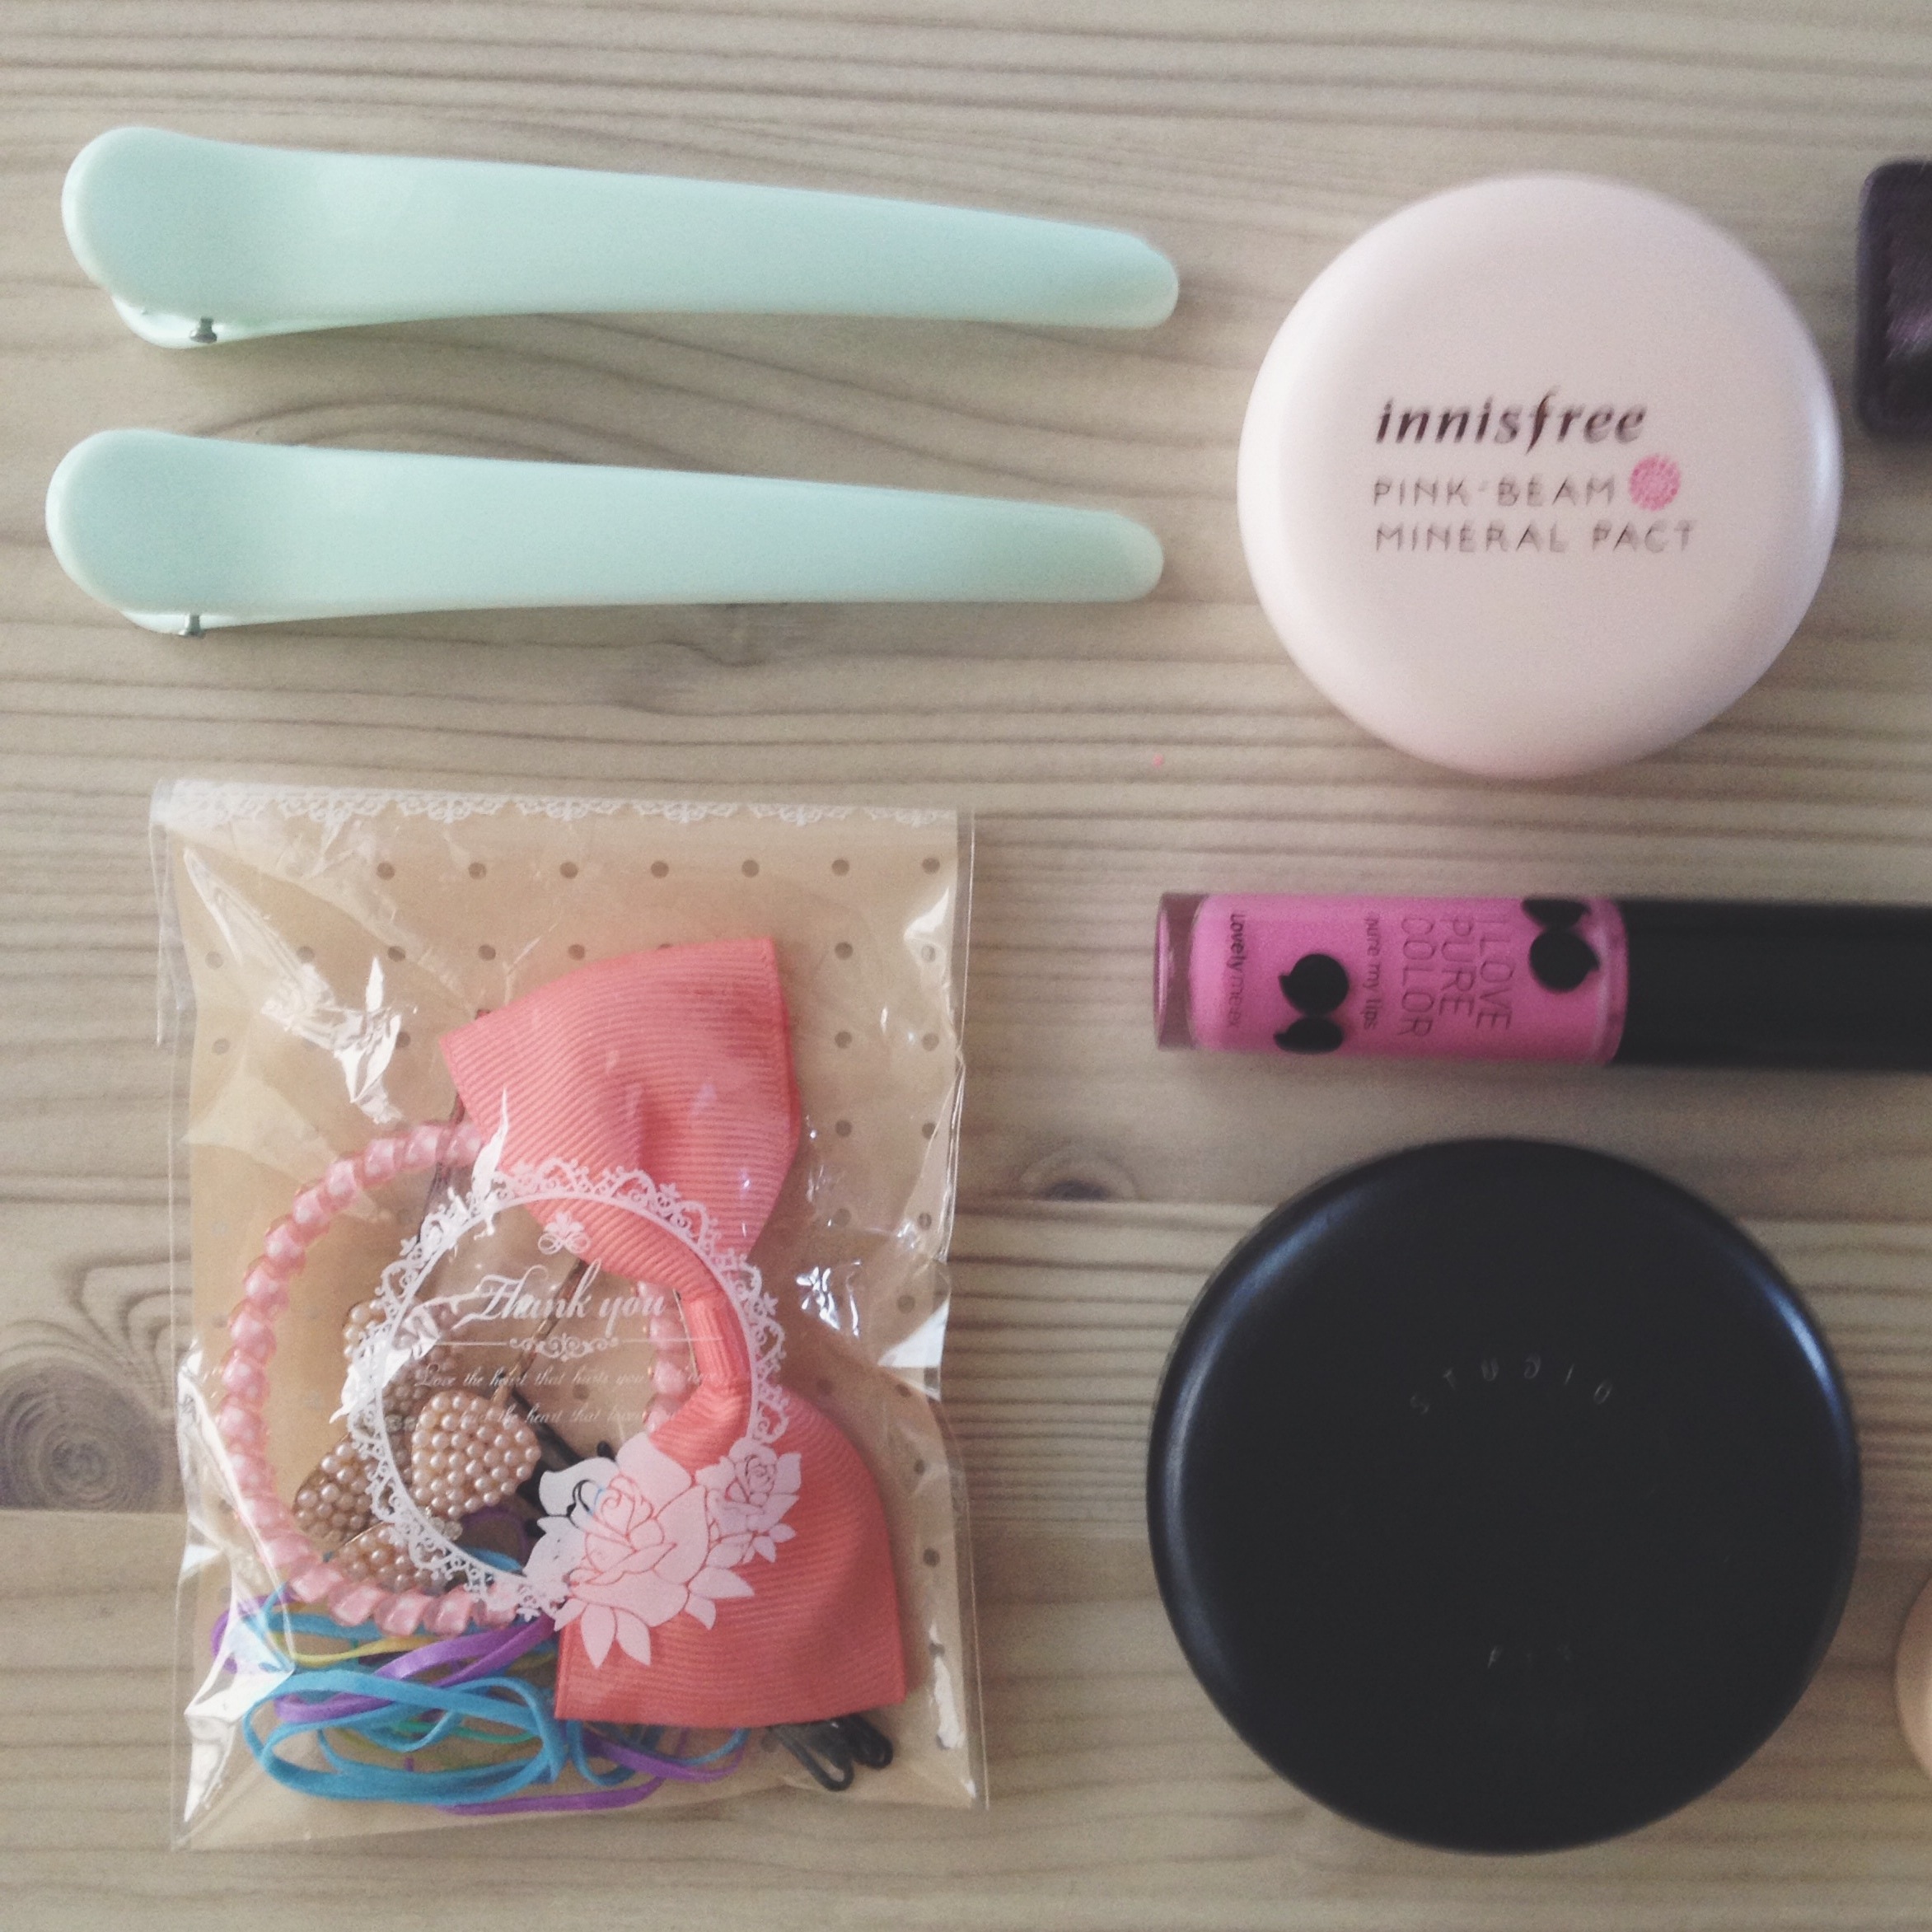
-a selection of hair accessories (hair ties, clips and most importantly, bobby pins)

First Aid Kit

firstaidkitwhattopackbali

Without fail, one of us ends up getting sick in same way while on holiday. We always pack a little bag  of medicine just in case. We usually use a clear zip lock bag which helps when trying to find it in your backpack, as well as making things easier for yourself when going through check in at the airport:

-Medlemon sachets for colds and flu

-Nurofen for pain and fever

-Disprin for headaches and fever

-Genpain, a generic form of myprodol for really bad headaches or body pain

-Strepsils for sore throats

-Buscopan for stomach cramps

-Valoid for neasuea

-a local pill for diarrhoea (I have been warned about Bali Belly, so best be prepared I think!)

-plasters, mosquito bite cream, mosquito repellant and ear buds

Is there anything else you would suggest travelers pack for their backpacking trip? Or anything you can see I have forgotten, please drop me a comment below! I have today to still rush out and make sure I'm all ready...

Vietnam Travel Guide

VietnamTravelGuide

Farmboy and I visited Vietnam in January this year (2014). We had a wonderful time, and it was one of our favourite holidays we have been on so far. You may be thinking of heading there soon (or sometime in the future) so to help you plan your trip, I have put together a rough budget, as well as some tips from our stay. Please keep in mind that my husband and I may travel very differently to you, and have different likes and preferences for things. I prefer the more luxurious path, while Farmboy would stay in a hammock for the entire trip if it was up to him. So we plan accordingly, and of course, try to stick to the budget.

For this trip we made the terrible mistake of missing our flights home, having to fork out another $1000 for the trip (not included in the budget set out below). Apart from this unfortunate accident, Vietnam was a relatively cheap holiday, the biggest expense was the taxi rides to and from airports as the airports in Vietnam are situated really far from the tourist areas. We budgeted in US$ and were able to pay for the majority of things with dollars, with my Korean credit card or by withdrawing at local banks into Vietnamese Dollars.

This was our first trip planning all our accommodation ahead of time (unlike the Philippines, Cambodia and Malaysia) and we learnt a lot from this experience. There are pros and cons to booking ahead of time (often the photographs online are very misleading, and sometimes you have such a good time in one place that you wish you could prolong your stay). I suggest booking your first and last nights before your trip, and then winging the middle days as you go.

We were away for 13 days, exploring Hanoi, Hoi Ann, Sapa and Halong Bay. 

Hanoi 3 nights (first 2 nights and last night)

Halong Bay 3 nights

Sapa 3 nights (2 of which were spent on the over night train)

Hoi Ann (3 nights)

Sapa (Northern Vietnam)

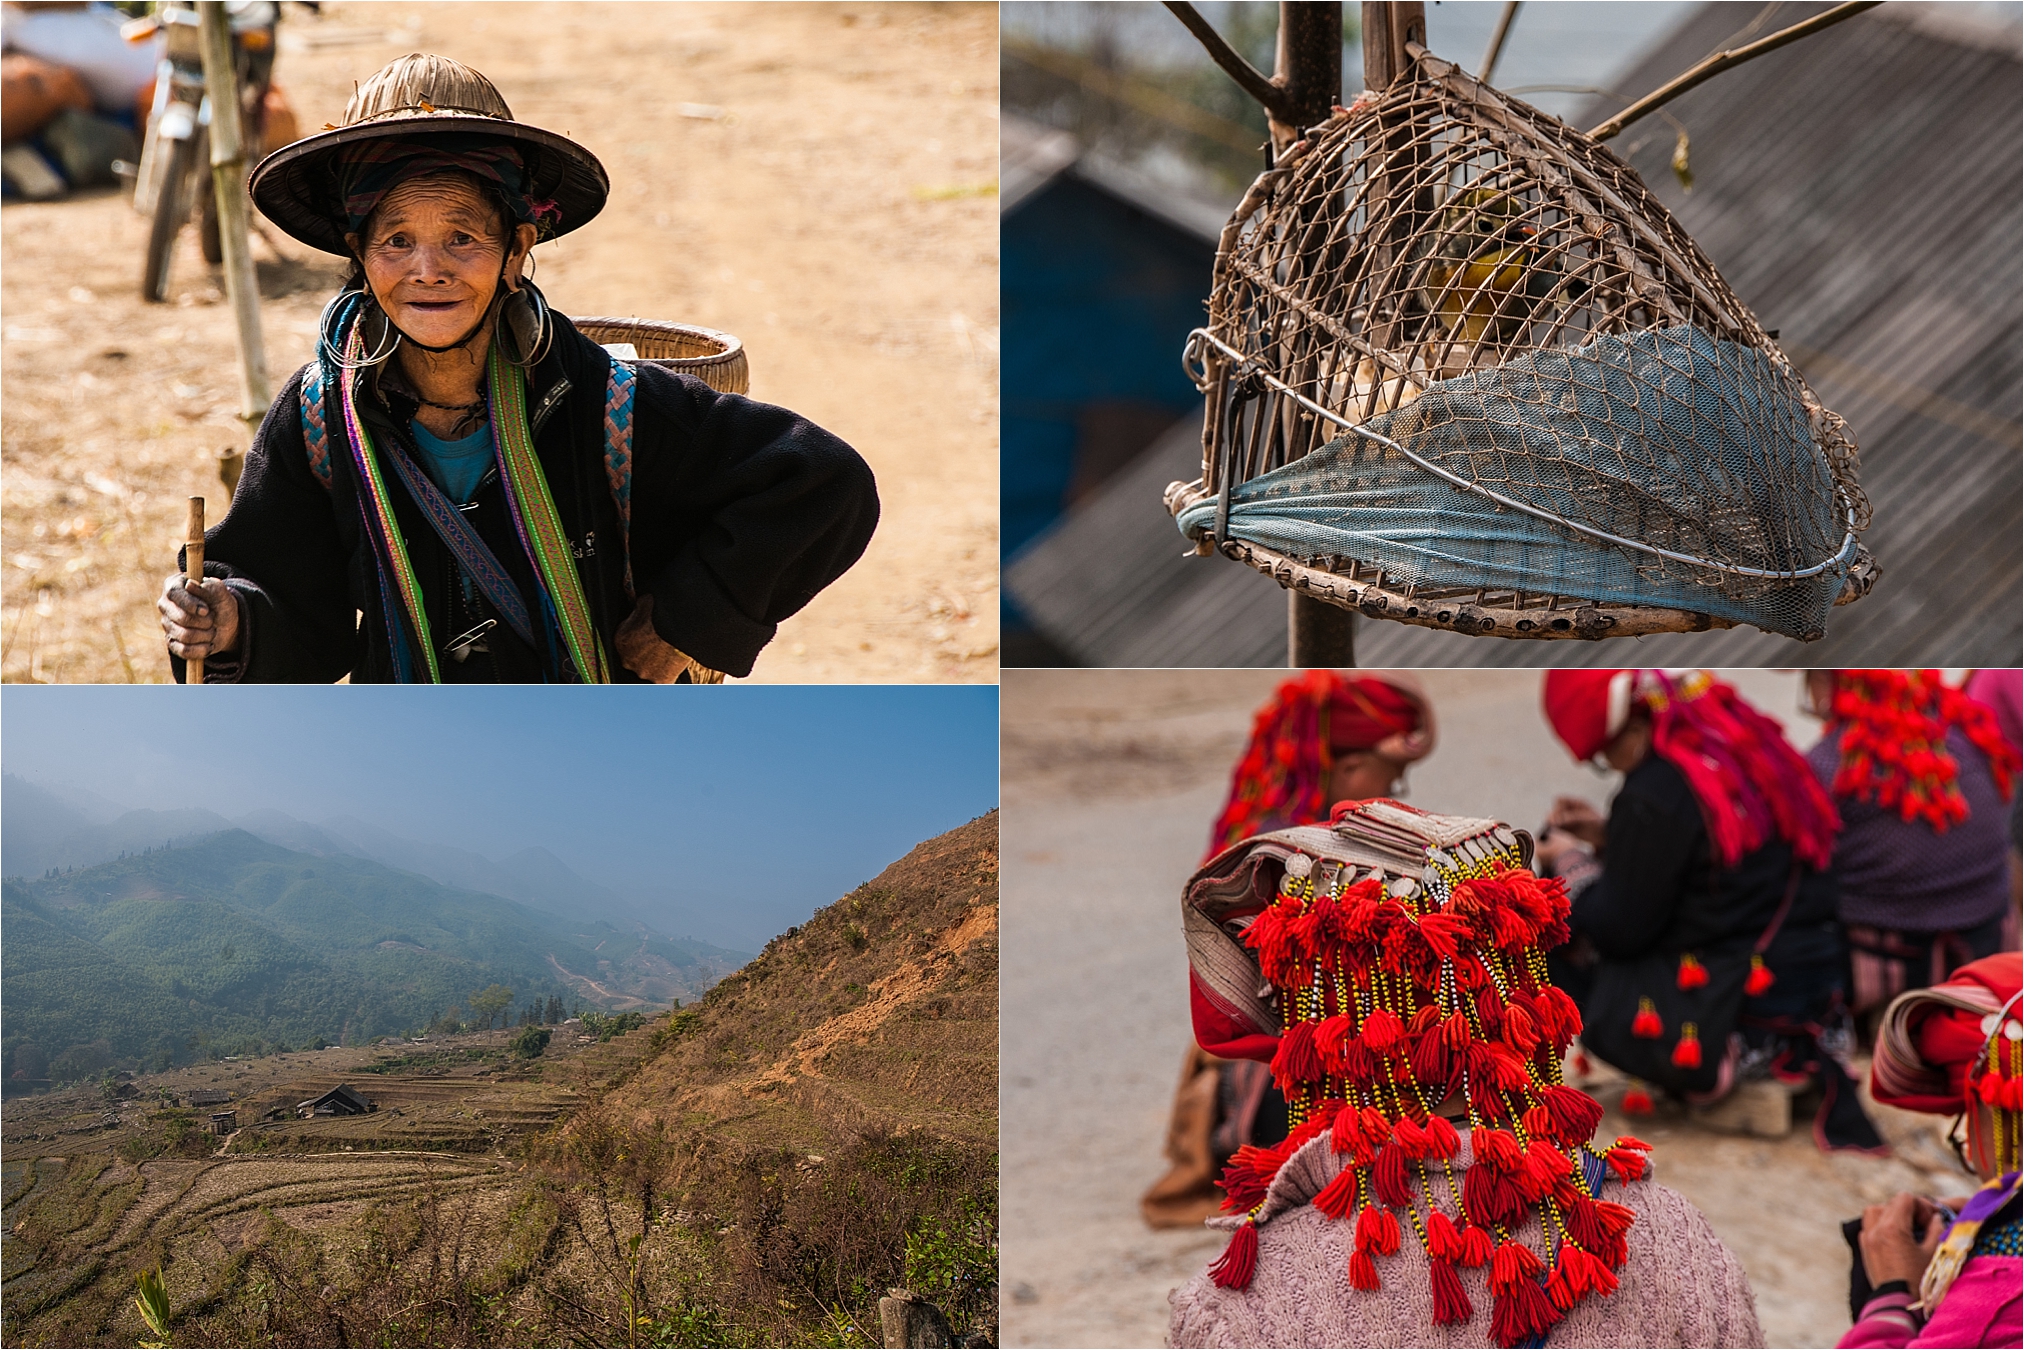
We went during the winter season (I hadn't actually checked the weather before booking our flights...silly me) and so this effected our planning quite a bit. Vietnam is very different in the summer time (especially the Northern parts) and can get rather cold. But the summer is a different story. Instead of rolling green hills and rice field terraces we had heard about in Sapa, we were met with dry, barren landscapes, which were beautiful in their own ways, just not what we were expecting.

VietnamTravelGuideSapa

We both enjoy making the most of our holidays, and so spend very little time in one place, opting to instead see as much as we can in the time that we have. This isn't for everyone, and the holidays tend to be more fast paced than lounging about and relaxing. This works for us. Most travel forums advised against only spending one actual night in Sapa, as the train journey is quite tiring but we found that 2 full days were just fine (the overnight rains arrives at 5am in Sapa and departs around 7pm leaving 2 full days of travel if you only book 1 night in the actual town).

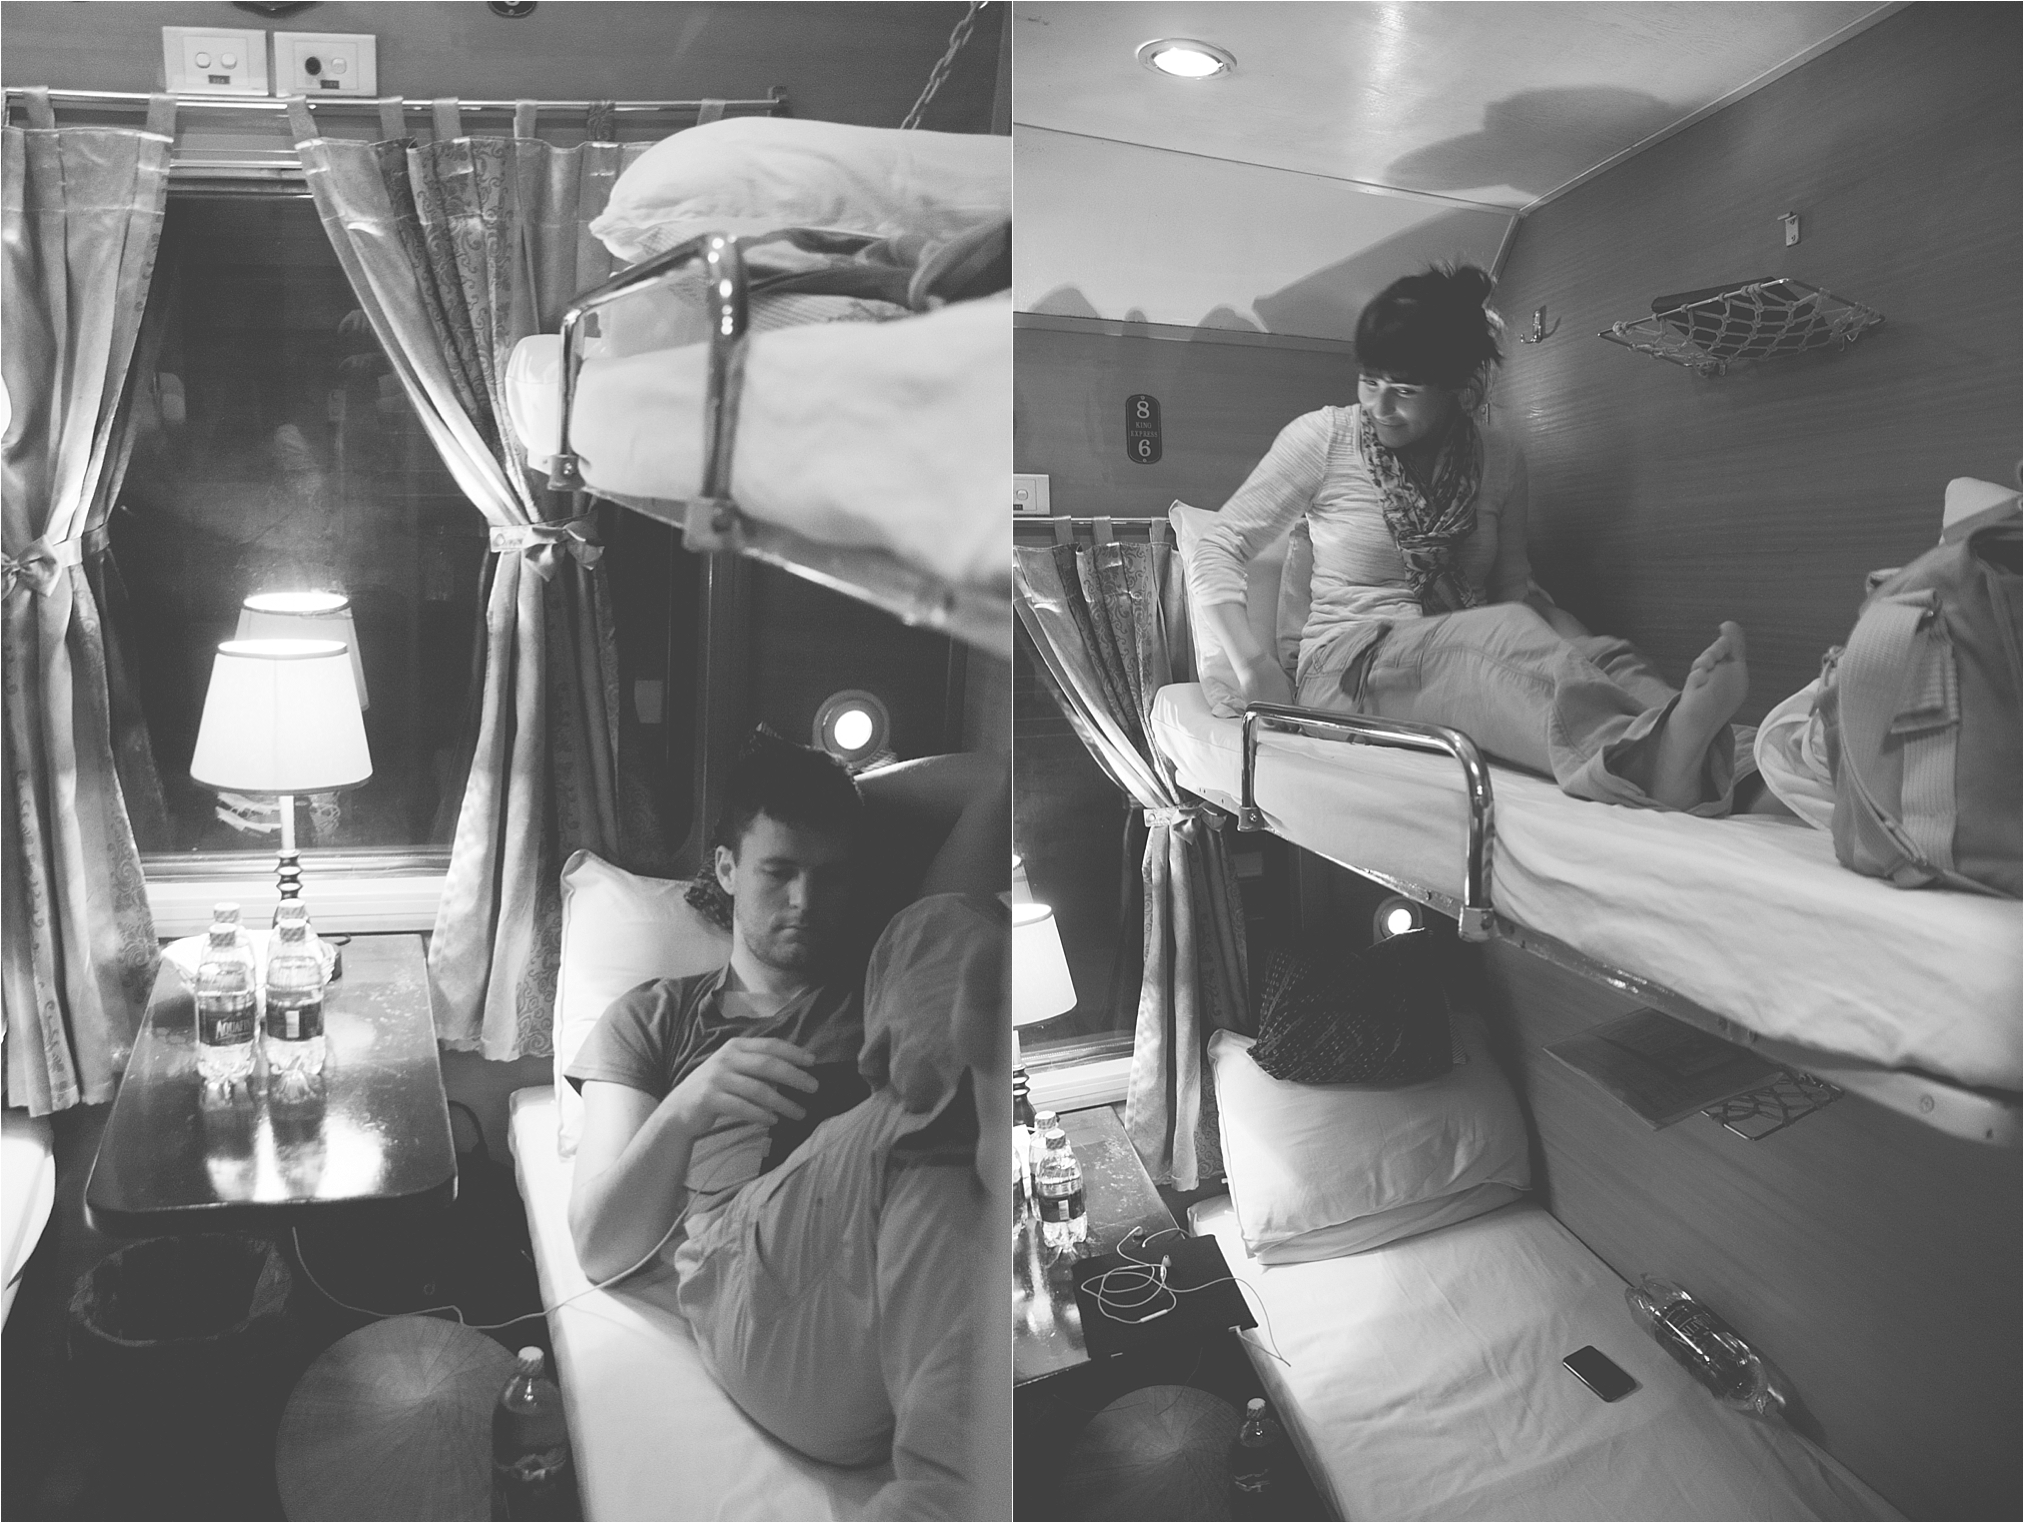
As you can see from the pictures below, the over train was clean and comfortable. We paid $40 pp each way for the 4 bed room. We had room mates on both trips which wasn't ideal, but everyone kept to themselves and our belongings were very safe under the bed and in front of my top bunk above the door.

VietnamTravelGuide

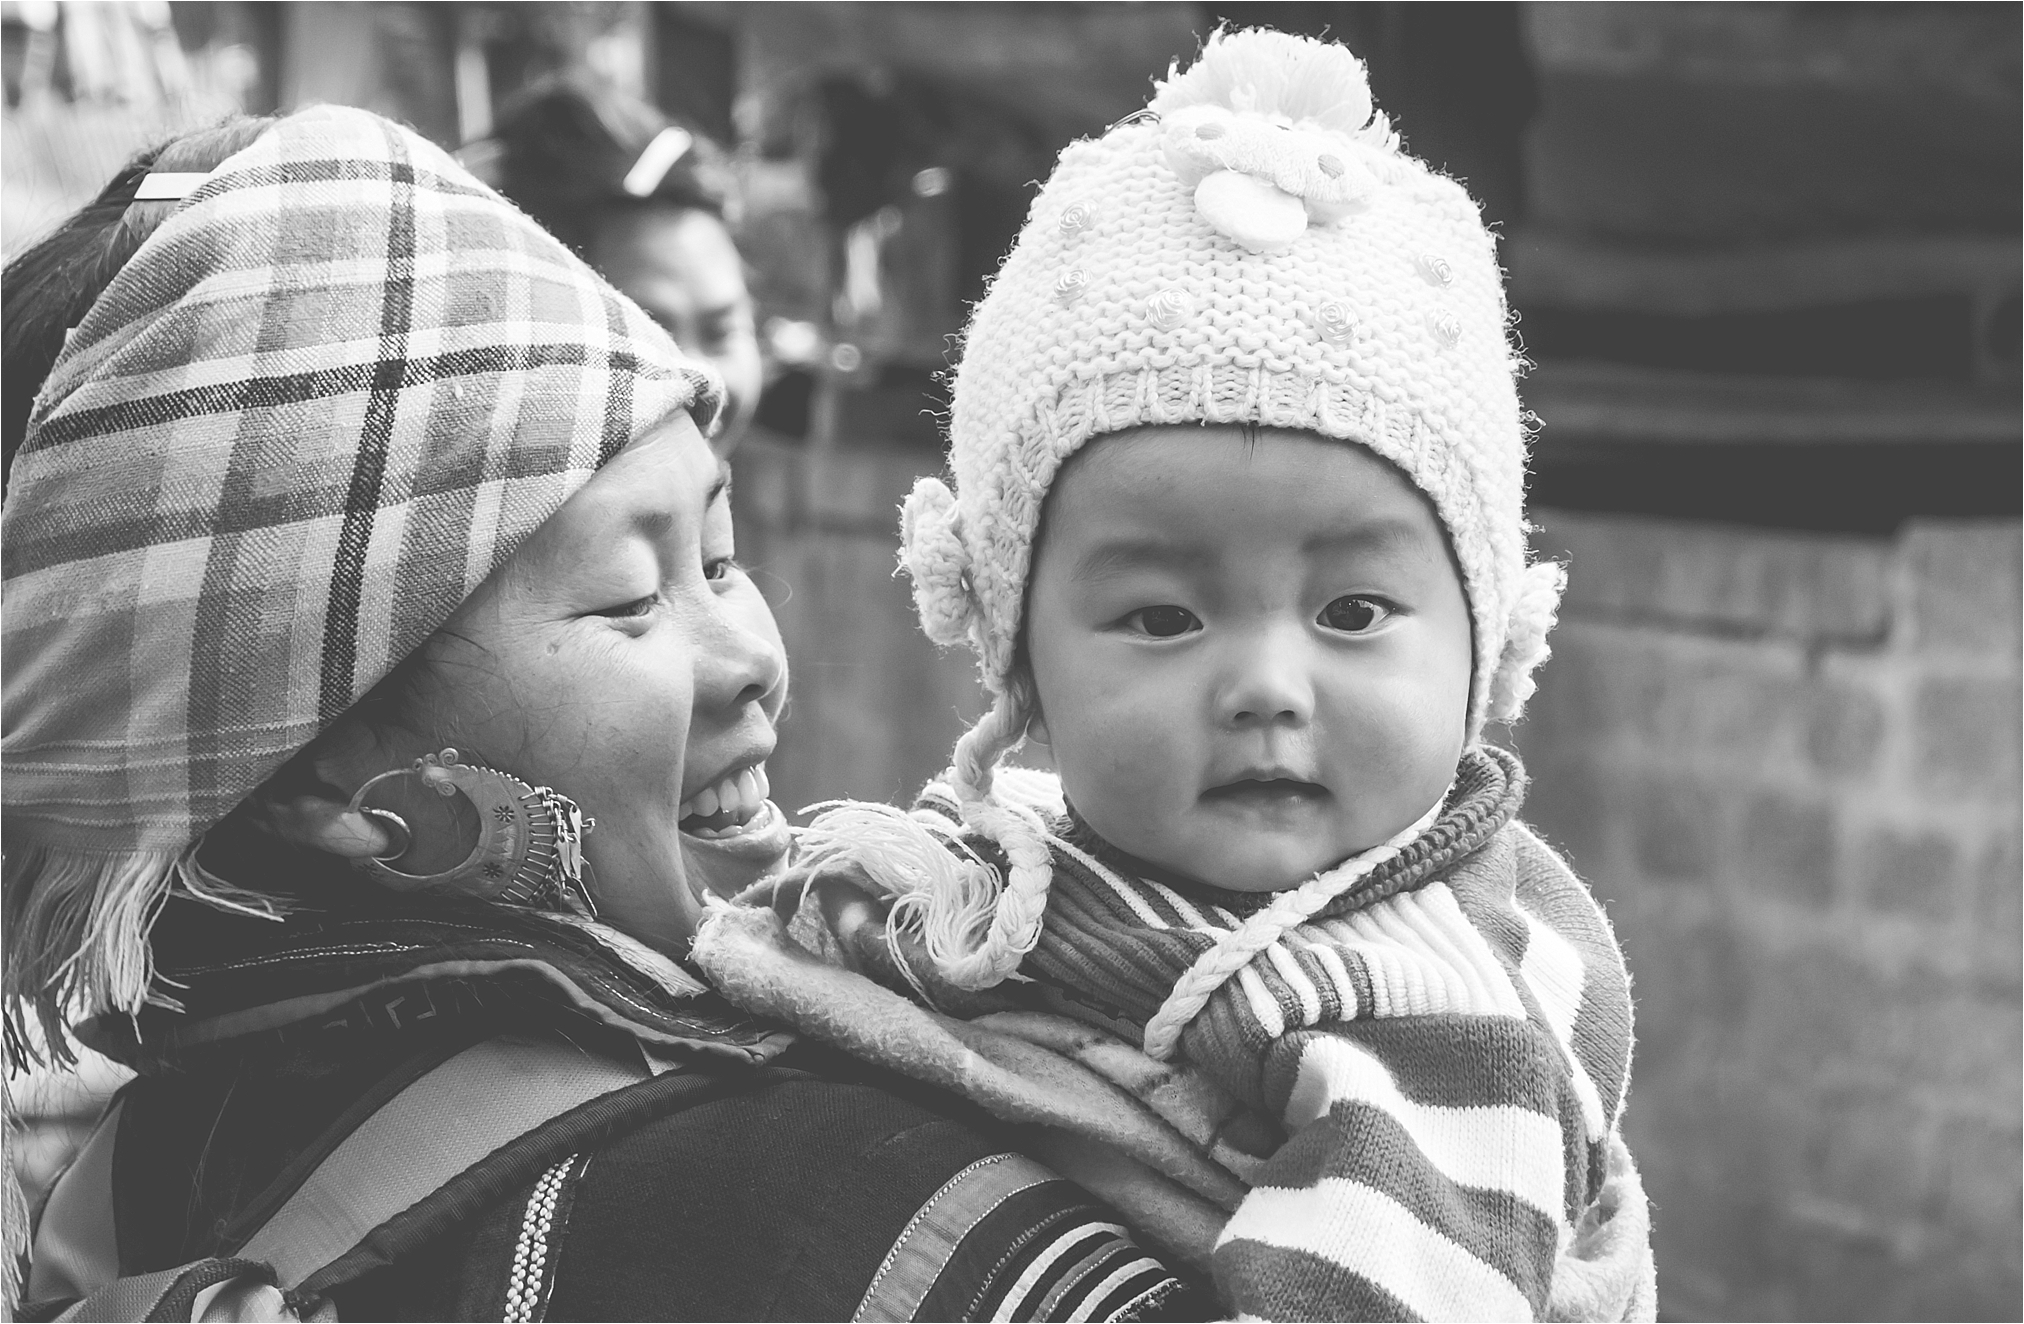
We booked a tour guide for $70 and really felt like we had been ripped off. Rather make your own way with a map. I think you would see much more if you trekked around by yourself. Our 4 hour trek took us into our tour guides' home (more so she could feed her baby than for us to see her authentic home) and then through the fields. It would have perhaps been better in summer if the rice paddies were luscious and green, but it was hot (even though it was winter) and rather boring, even though we were able to get some great photographs.

The town itself is fully geared for tourists, with the main roads looking like you've stepped into a Swiss resort. All the restaurants and massage parlours are geared towards tourists and are very pricey (a meal ranging from $12 - $20 and a good massage deal from $15 - $30). We found a little corner cafe away from the main road and ordered delicious bowls of Pho (Vietnamese noodle soup) for a much more reasonable $3 a pop.

We did buy knock off North Face jackets for a steal at $22 each, and they look JUST like the real thing. You can get your hands on a whole range of North Face/Jack Wolfskin items, make sure to budget accordingly! They had everything from hiking boots to sports shoes, ski jackets to fleeces.

Halong Bay

We made yet another mistake by not heading right for an island off Halong Bay. The bay itself is very touristy with hundreds of different tour companies offering you 1 - 4 night boat trips. We weren't really interested in being cooped up on a boat for 3 days and so booked a hotel in Halong Bay City. This was a mistake as the taxi ride from the city to the port (where you catch the boats to the islands) was a $25 fare EACH way! We wanted to go climbing with Asia Outdoors who are situated on Cat Ba Island. The ferry schedule was very limiting so we actually ended up not staying in our fancy hotel for one night so we could have longer on Cat Ba. We booked a super cheap $10 room on Cat Ba Island, and looking back I would have not booked any nights at the Halong Bay DC Hotel (but the two nights we stayed there were in super comfy rooms which included breakfast and we are able to order room service and get our clothes laundered - which sounded like a great idea and one that we presumed would be cheap...it wasn't, $37 for our clothes was an absolute waste of money, but one can only learn).

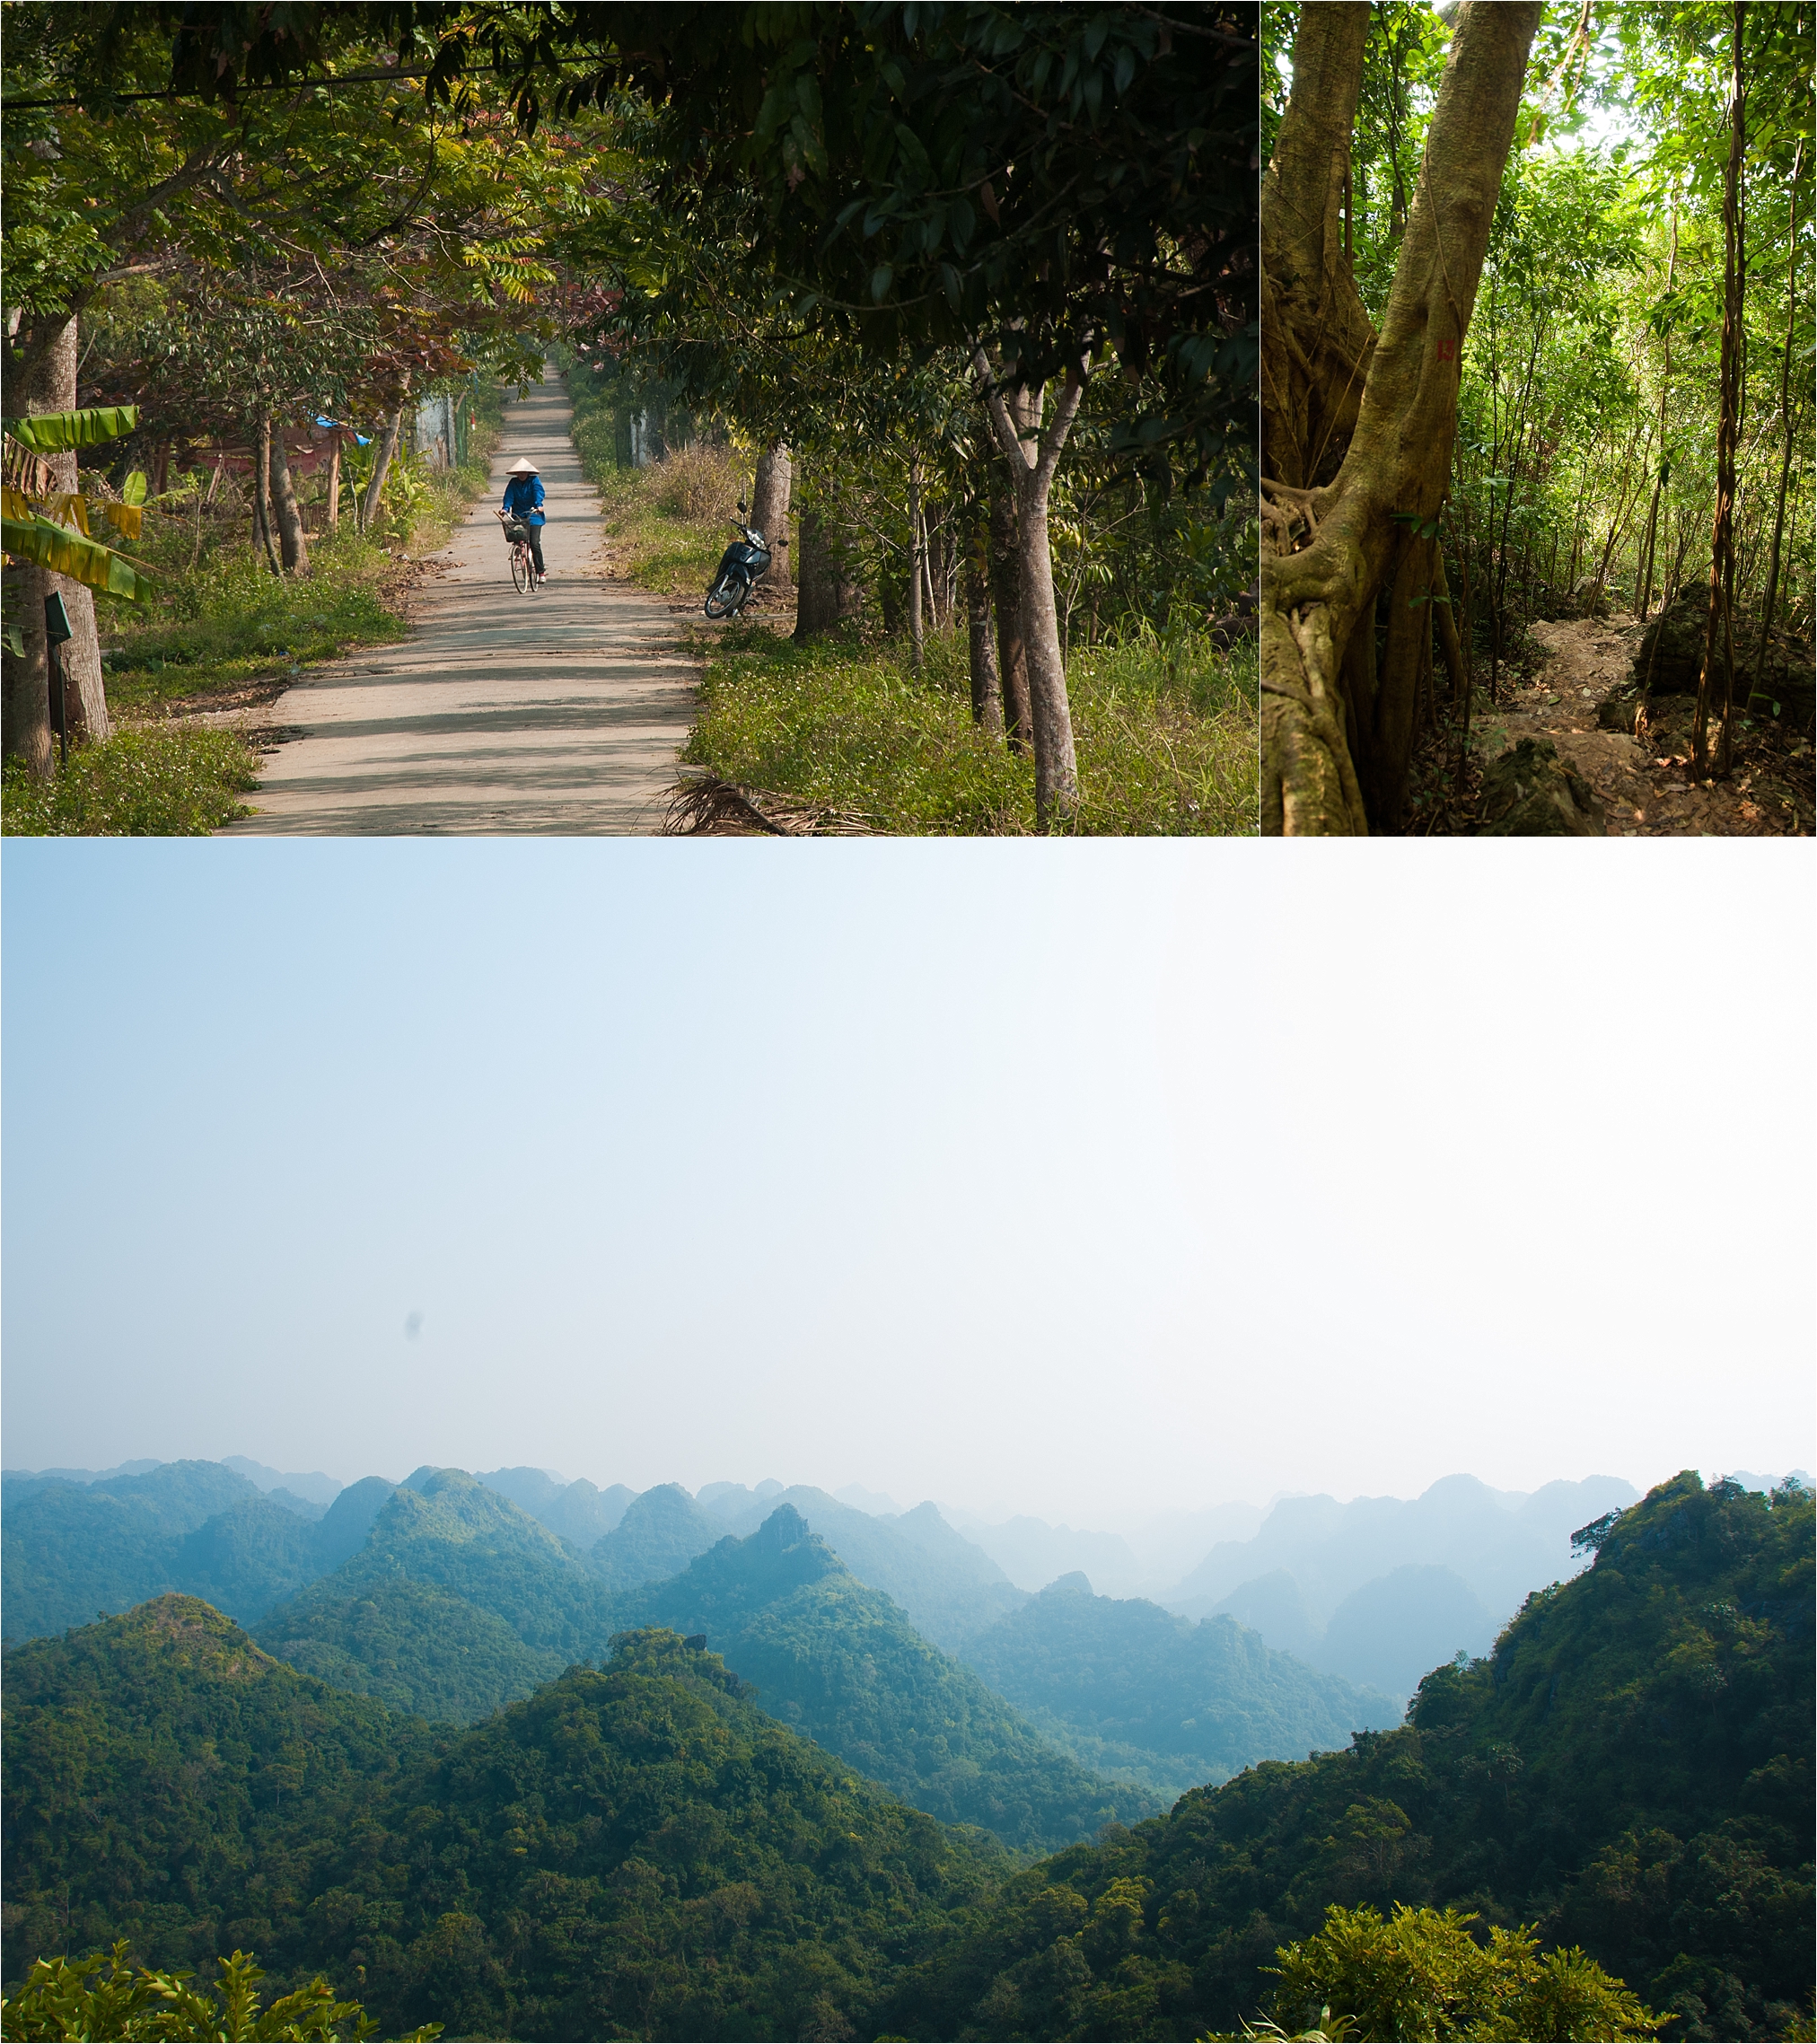
On Cat Ba Island we went on a fantastic climbing trip the first day, and the second day we hired a scooter to explore Cat Ba National Park. The hike up the peak of Cat Ba National Park was one of the highlights of our trip. 

Hanoi

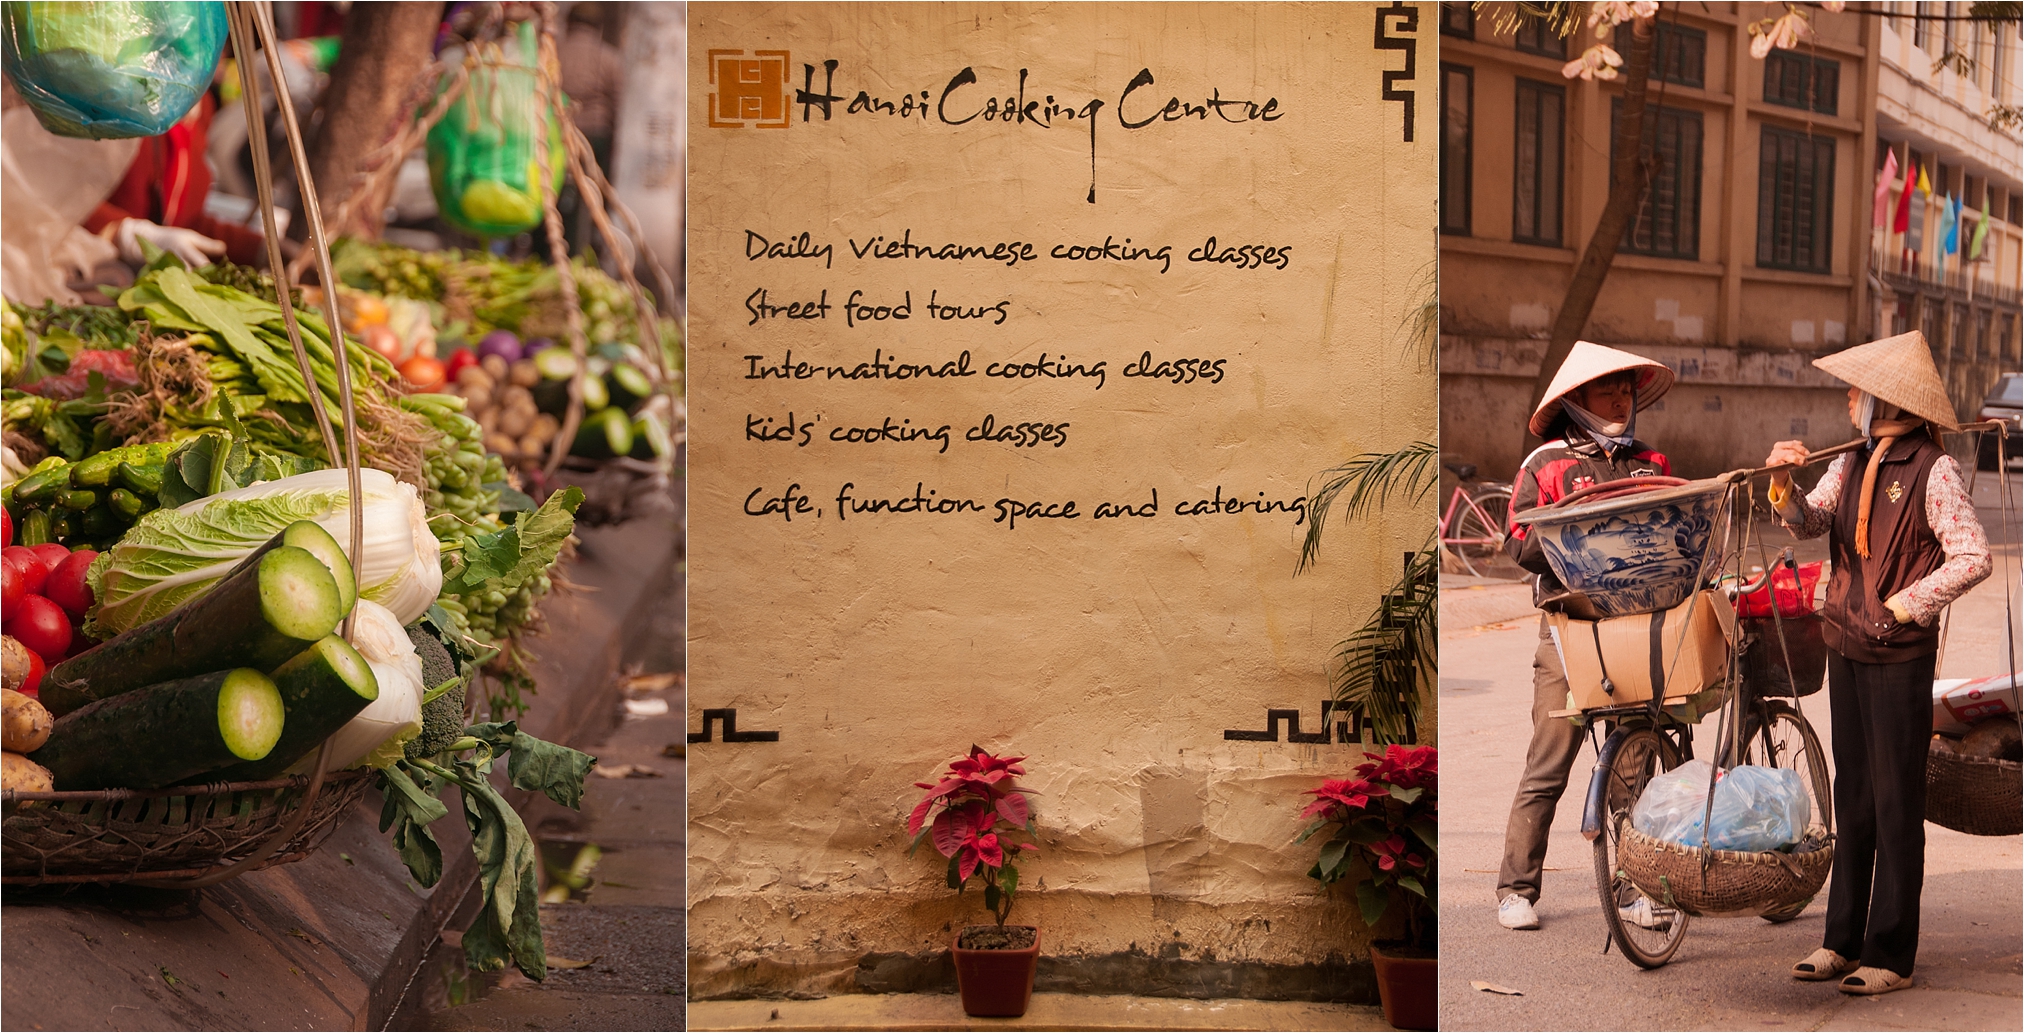
Our first full day was spent on an amazing cooking course in the Old Quarter of Hanoi.  We had a great time and learnt so much about Vietnamese food and culture from our wonderfully experienced chef. Doing a cooking course at the start of your holiday is the perfect way to get to know the local cuisine, so when you walk past street vendors you know whats what. Often street food is delicious and much cheaper than eating in restaurants. We did our course through Hanoi Cooking Centre which included an early morning market walk to buy all our ingredients.

Our last day in Hanoi was spent visiting the local markets around the Old Quarter and drinking Vietnamese coffee while stuffing our faces with as much Pho as our bodies could handle. Pho is very cheap, a bowl going for $2 - $4 a pop and is one of the most delicious meals I have ever had.

Hoi Ann

We booked cheap internal flights through JetStar Airlines from Hanoi Noi Bai Airport to Danang Airport, and they also offer a bus service (click here) that runs from the Old Quarter to the airport. It was very cheap to use this bus, and it saved us a lot of stress too once we found the bus terminal (thank goodness for the GPS function on our iPhones). From Danang Aiport it was a good 40 minute drive to Hoi Ann (this is what caught us out the most with our budget, all the taxi rides to and from the airports).

Hoi Ann was our favourite place in Vietnam, and perhaps, in the whole of South East Asia. It reminded us a lot of Siem Riep in Cambodia (lantern lit streets to stroll down at night, great food, fabulous cocktails....it's a wonderful, 'vibey' town filled with something for everyone). The beach was only 20 minute cycle away (most hotels have free bicycle rental) and we were able to swim even in the middle of their winter time. Hoi Ann is most famous for its tailors, so make sure to budget accordingly! We hadn't planned to have anything made, but once we saw the quality of the suits we ended up having two made for Farmboy. Be prepared to bargain. You can everything from swim suits to lace skirts, to silk shirts and suits, as well as every leather item imaginable. In particular the leather boots and luggage looked beautiful. It wasn't incedidly cheap, but the quality is amazing, and compared to back Korea or South Africa, the prices were reasonable. 

We spent 2 nights at Thanh Van 2 Hotel which was great, and then spent our last night at the incredible Hoi An Ancient House Village Resort. We like to spend our last night or two in luxury, especially if we have been staying in backpackers or really cheap hotels for the rest of the time. We felt like we were on honeymoon again, and the suite was a very reasonable $90 for the both of us including breakfast.

We also did an early morning tour to Masan Temple to see the ruins. There are quite a few tours you can do that leave from Hoi Ann, and your hotel will be able to help you with booking.

A few tips

  • Download the Orbitz and Hotels.com apps on your phone. We booked most of our accommodation through the app and always got at least a 15% discount on each booking for using the app. We were also able to book at the last minute and never had a problem with our bookings. 
  • Book accommodation that includes breakfast. You will save yourself money, and save yourself the stress of trying to find something to eat that doesn't taste too strange, especially early in the morning (or do what we do and pack small ziplock bags of oats, almonds and cranberries to have for emergency breakfasts on the run).
  • When booking flights be sure of what is included in your flight booking, especially with Air Asia. We booked flights for Malaysia for really cheap, and then only after booking did we realise that we could only take carry on luggage (which was restricted to 7kg's a person, and they were super strict at the airport, weighing all our bags including my big camera bag).
  • If you're short on time, look to see if you can find cheap local flights on sites like AirAsia (this has saved us so much time and we have been able to book flights for reasonable prices). Download the AirAisa app, it's super easy to use. For Vietnam we booked our internal flights on Jetstar for $160 for two people return from Hanoi to Hoi Ann.
  • Take your smart phone with you. We didn't have data, although we were told that sim cards were readily available and pretty cheap. But we were able to jump on a lot of free wifi in all the hotels we stayed at and a lot of the cafes. The GPS function on our iPhones was an absolute life saver, as it functions in helping you navigate, even when not connected to wifi.
  • Jot down your expenses, this helps you stay on track. We took only cash for our 2 week trip and writing what we spent where helped us to stay within the budget (well, apart from the missed flight and tailored clothes that had to go on the credit card).
  • Visa Requirements: For South Africans we had to 'book' our visa on arrival online, pay by credit card and then print out the emailed copy to take with us to when we arrived in Vietnam. It was painless to organise. I used Visa Vietnam and the price was $26 for two people (not included in the budget below)
  • Pack a sense of humour. You will get lost. You will fight with your husband/boy friend/friends. You will get sick at least once and you will have an amazing holiday all the same. 

The budget below is the expenses for both myself and my husband, including our flights from South Korea.

VietnamBudgetTravelGuide

If you have any questions, please leave me a comment below and I'll get back to you as soon as I can.

Happy travels!

How to make 'no-cook' play dough in Korea

MakingPlayDoughinKorea.jpg

And it's edible too for little hands that like to eat everything!

I used this activity to teach my students shapes and colours in a more hands on and fun way. It was during an English camp and so we had a whole afternoon for the activity (it takes at least 1 hour for them to actually make the dough and play with it a little so keep that in mind when planning your lesson).

You can buy all sorts of fancy clay in the stores here...but it's nowhere near as fun as actually making it yourself. This recipe is easy, and the kids all did it themselves (no need for boiling water or any fancy ingredients). A lot of edible dough recipes call for Kool-Aid to make your dough smell and taste good, but this is pretty much impossible to get hold of here in Korea. To colour the dough I had ordered a set of food colouring on Gmarket  but they didn't arrive in time, so we used the next best thing, water based paint (although eating the dough with the paint would not be a very good idea so keep an eye on your kids).

This dough will keep for 2 - 3 weeks when kept in a sealed container/ziplock bag. If it starts hardening, simply add more oil and knead until soft.

Here is a photograph of most of the ingredients with their Korean branding (except salt which my teachers found in the Science calssroom).

Here is a photograph of most of the ingredients with their Korean branding (except salt which my teachers found in the Science calssroom).

Ingredients

cold water (1/4 cup per batch/child)

flour (1 cup per batch/child)

oil (1 tablespoon per batch/child)

salt (1 tablespoon per batch/child...use ground salt instead of course salt. The salt is used to help preserve the dough)

a few drops of colour (food colouring or a water based paint)

*make sure to have big enough bowls for each student too!

photo 5.JPG

Method

1. Combine flour and salt.

2. Add water & oil. Mix until combined (knead well, you might need to help little hands as they will get tired quickly).

3. Add food colouring/paint and knead well until combined.

If mixture is too wet, add more flour. If mixture is too dry, add more oil

photo 1.JPG
photo 2.JPG

I then called out a shape and the students had to 'create' it with their dough. You will be suprised at just how creative the can be. 

Happy playing!

x

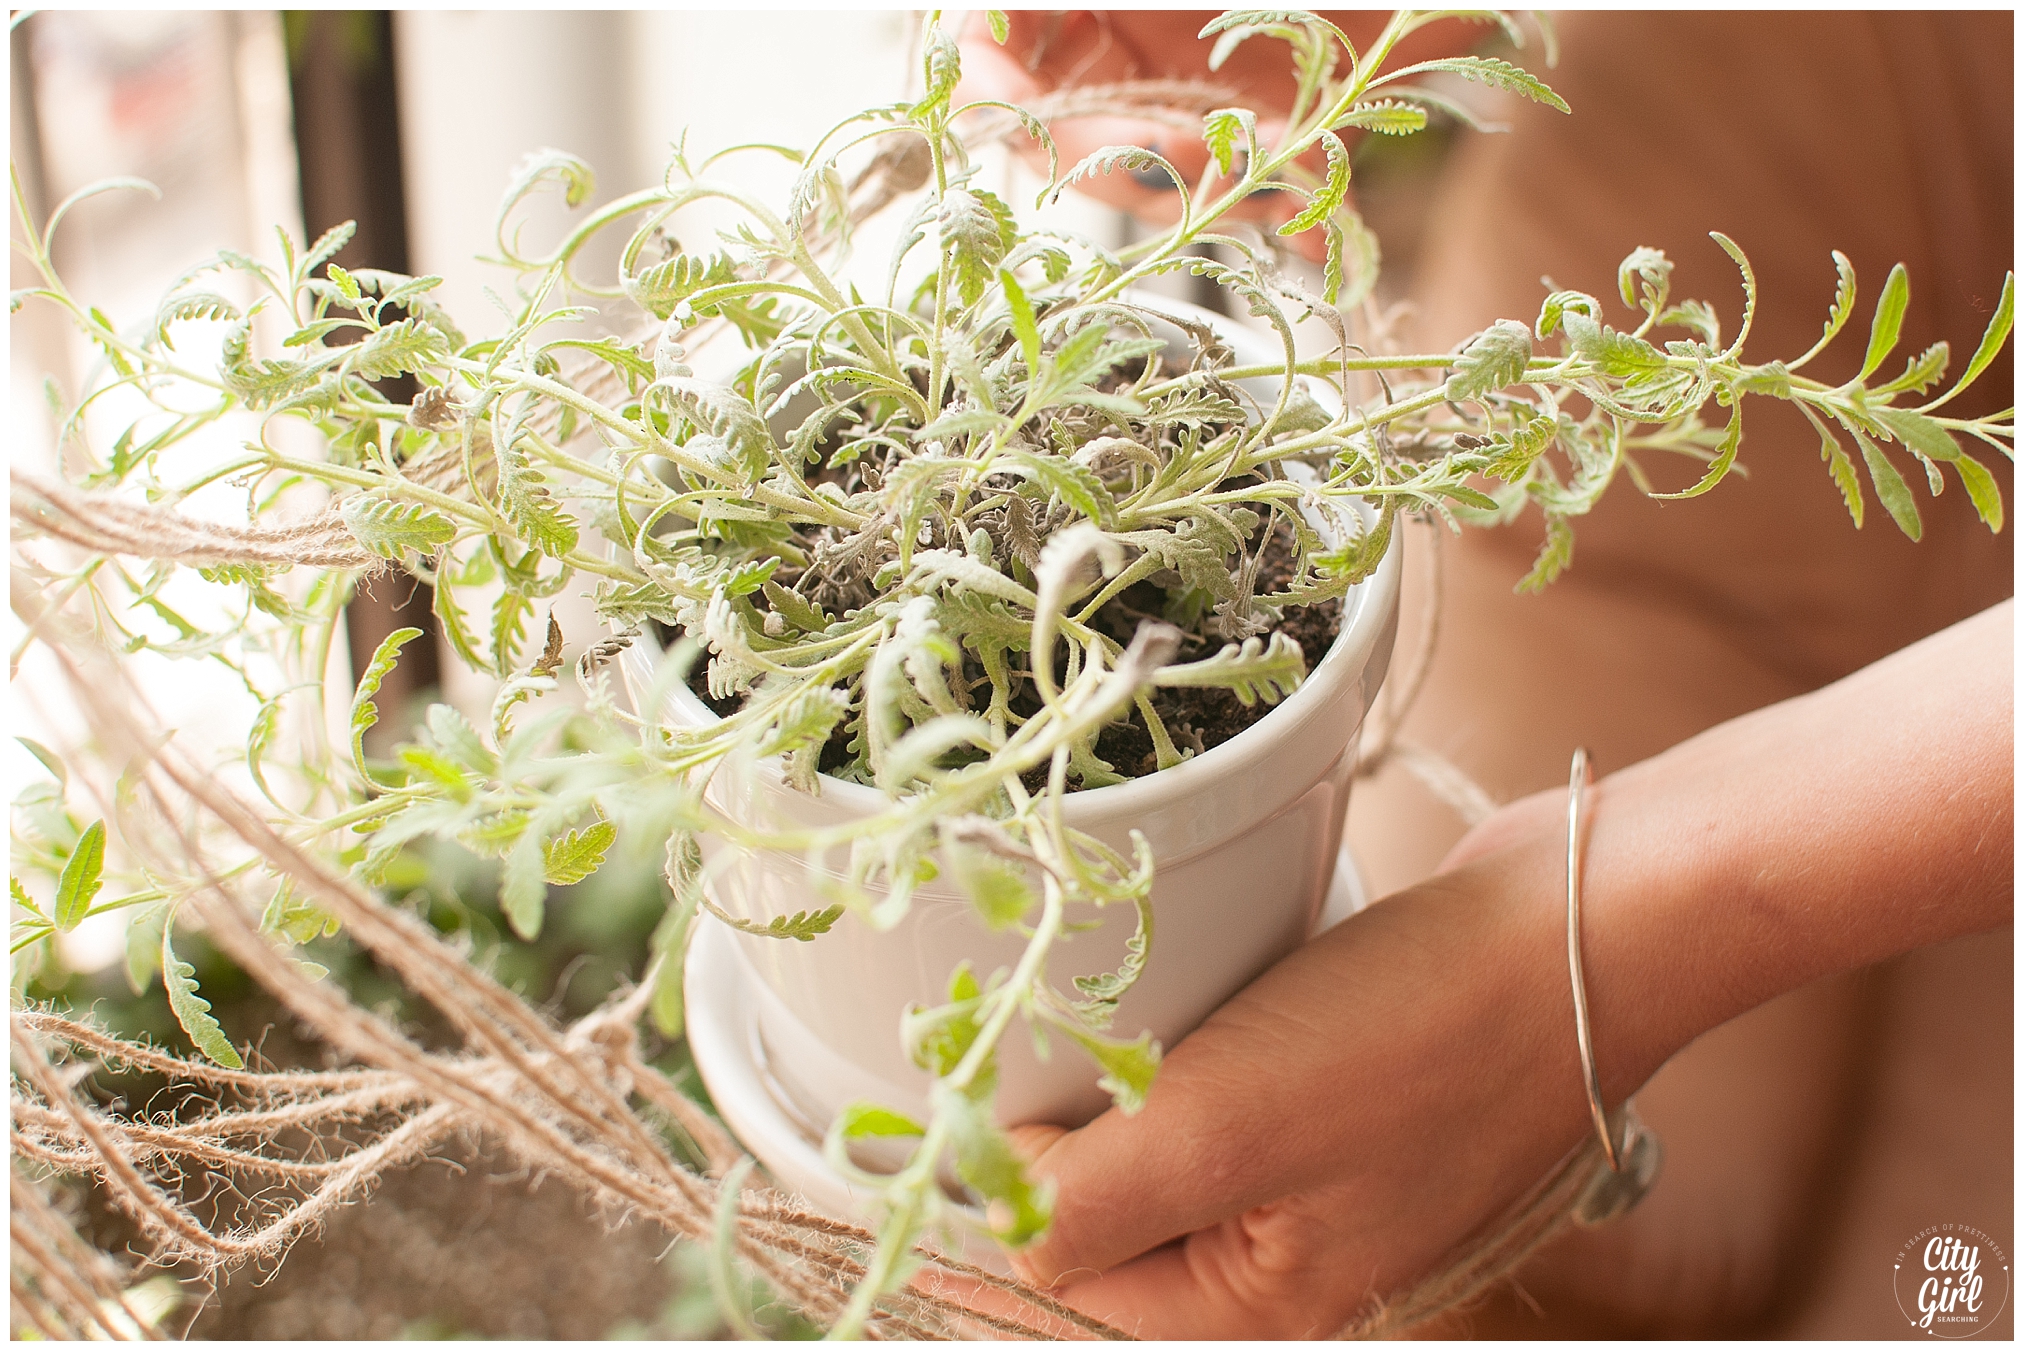
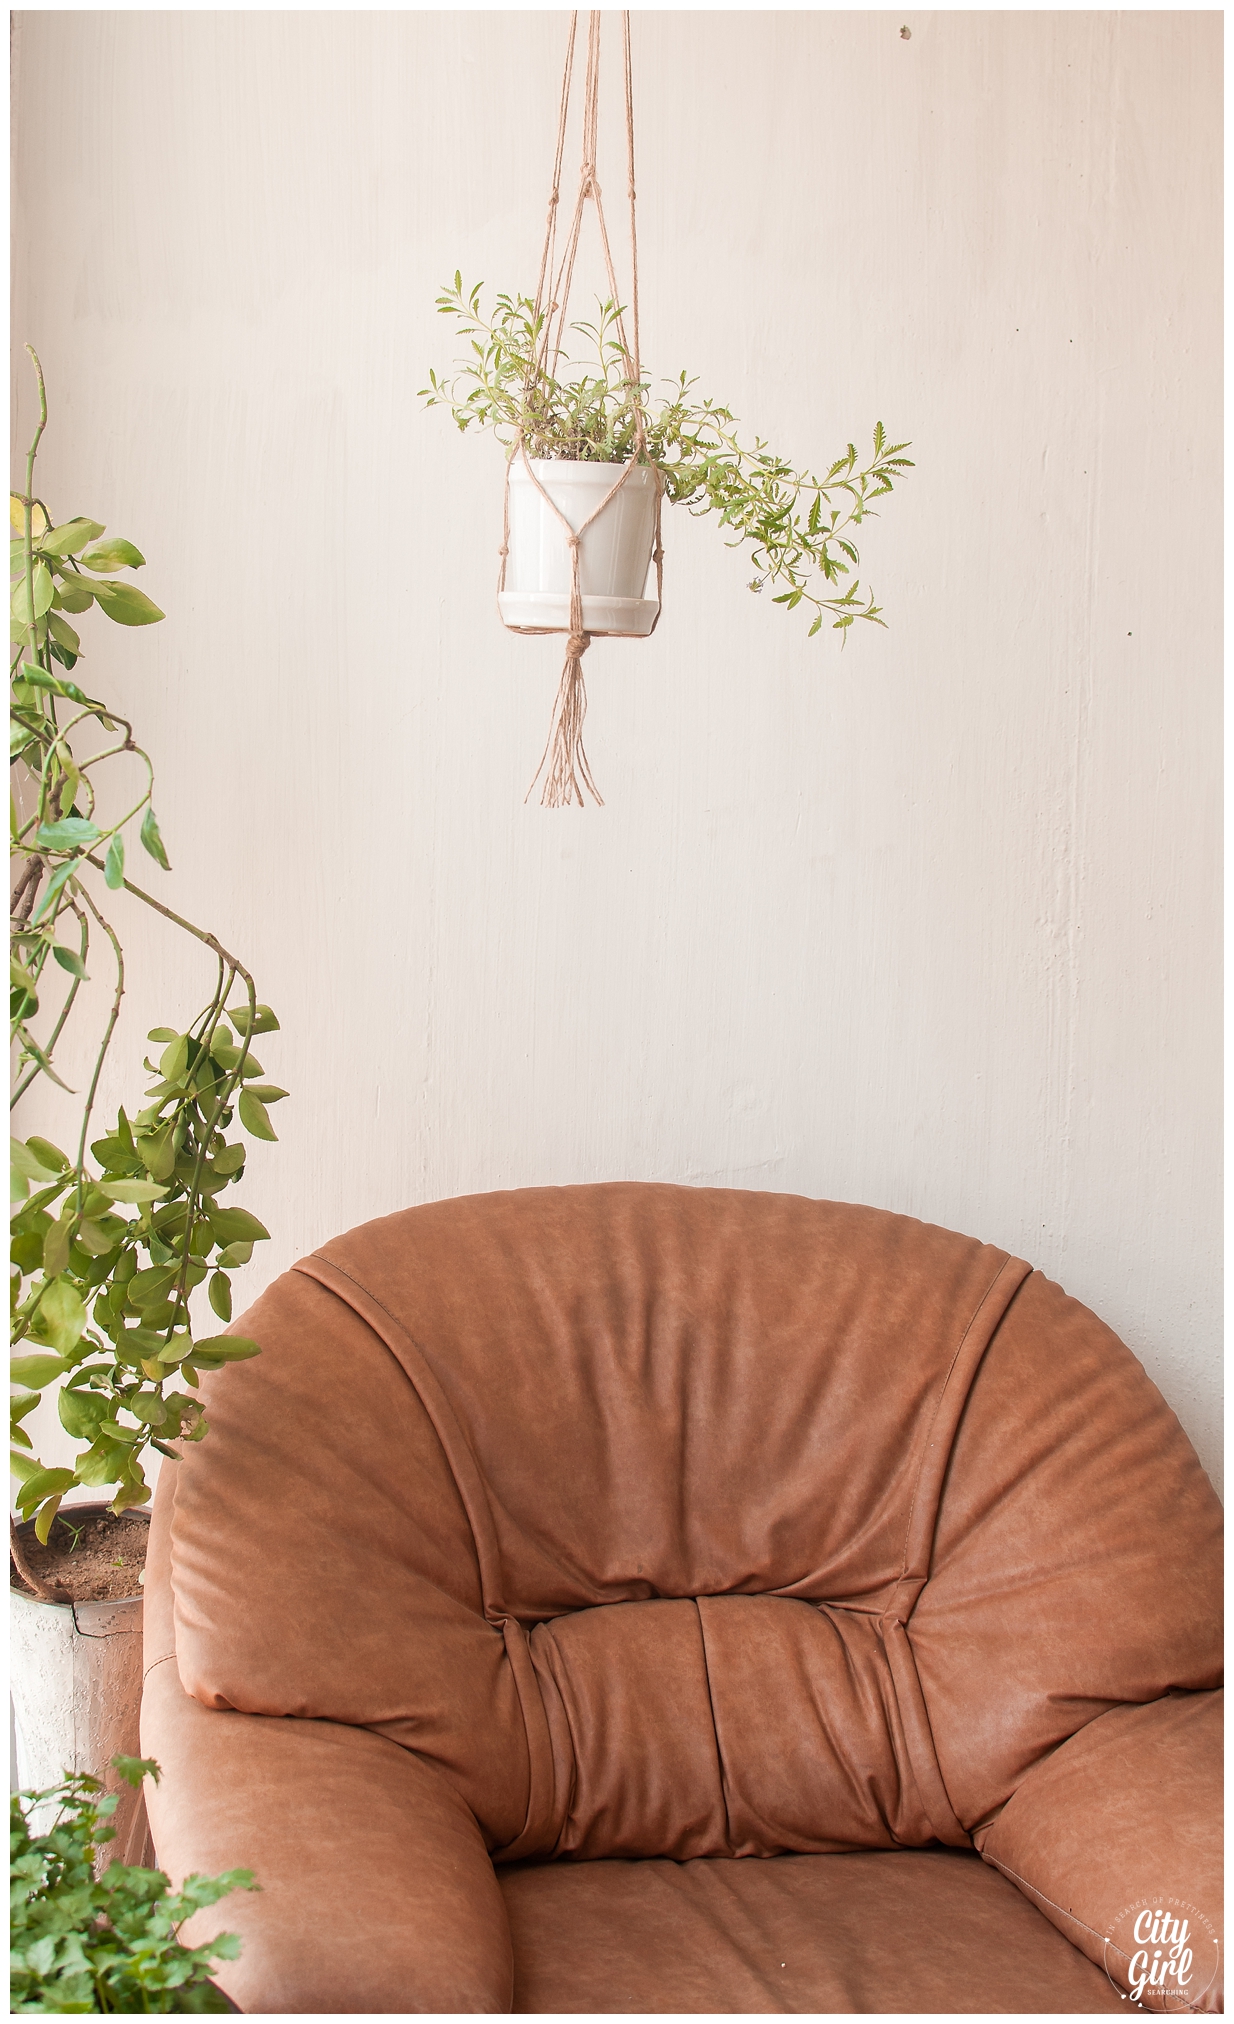
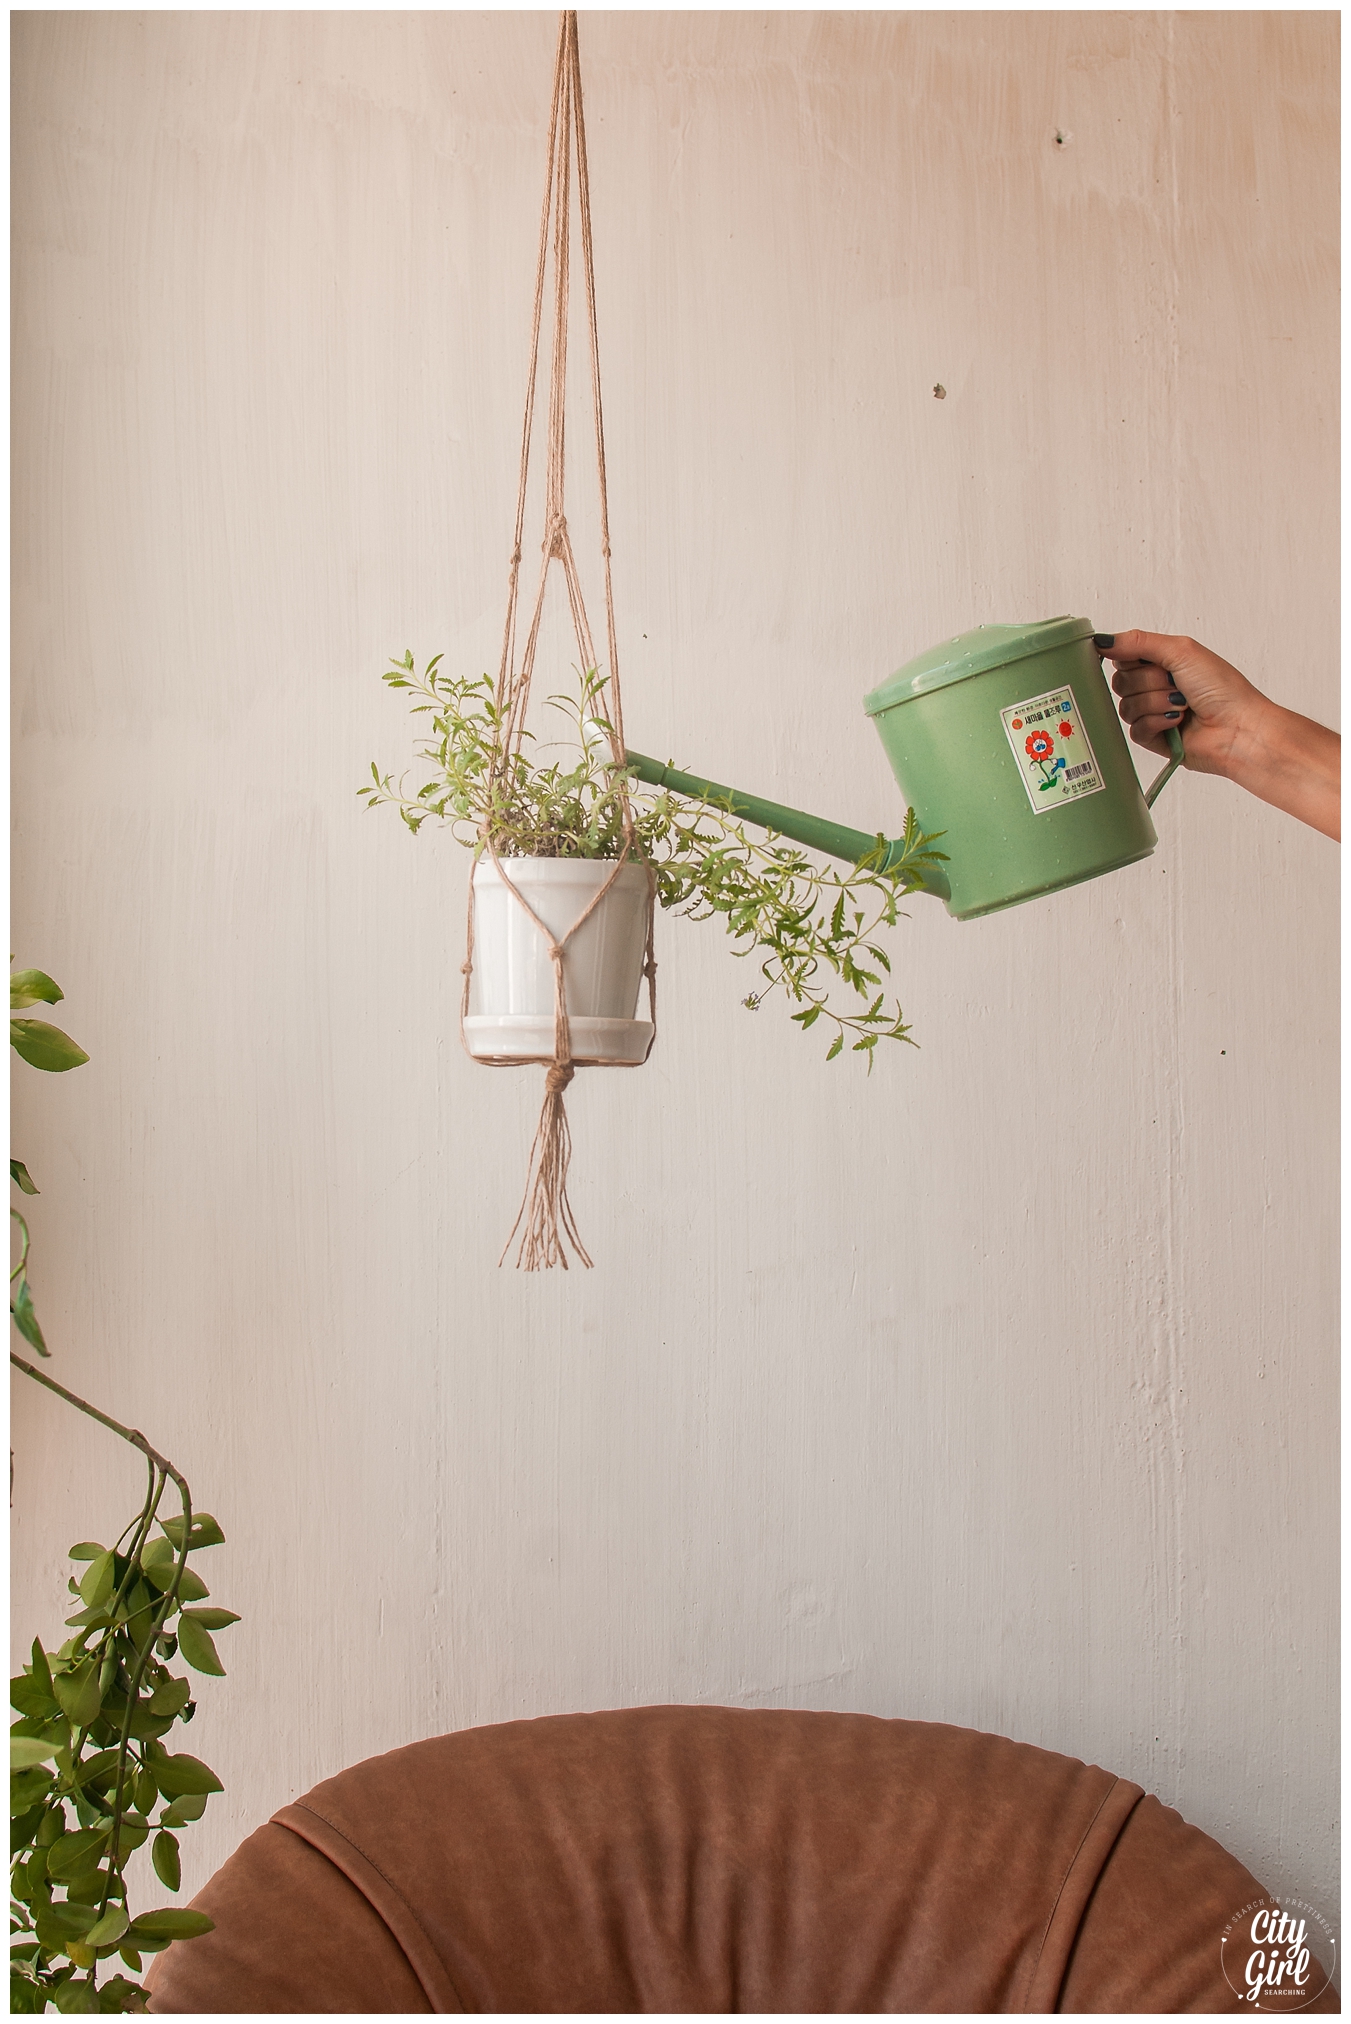
How to make a macramé plant hanger #diydaysinkorea

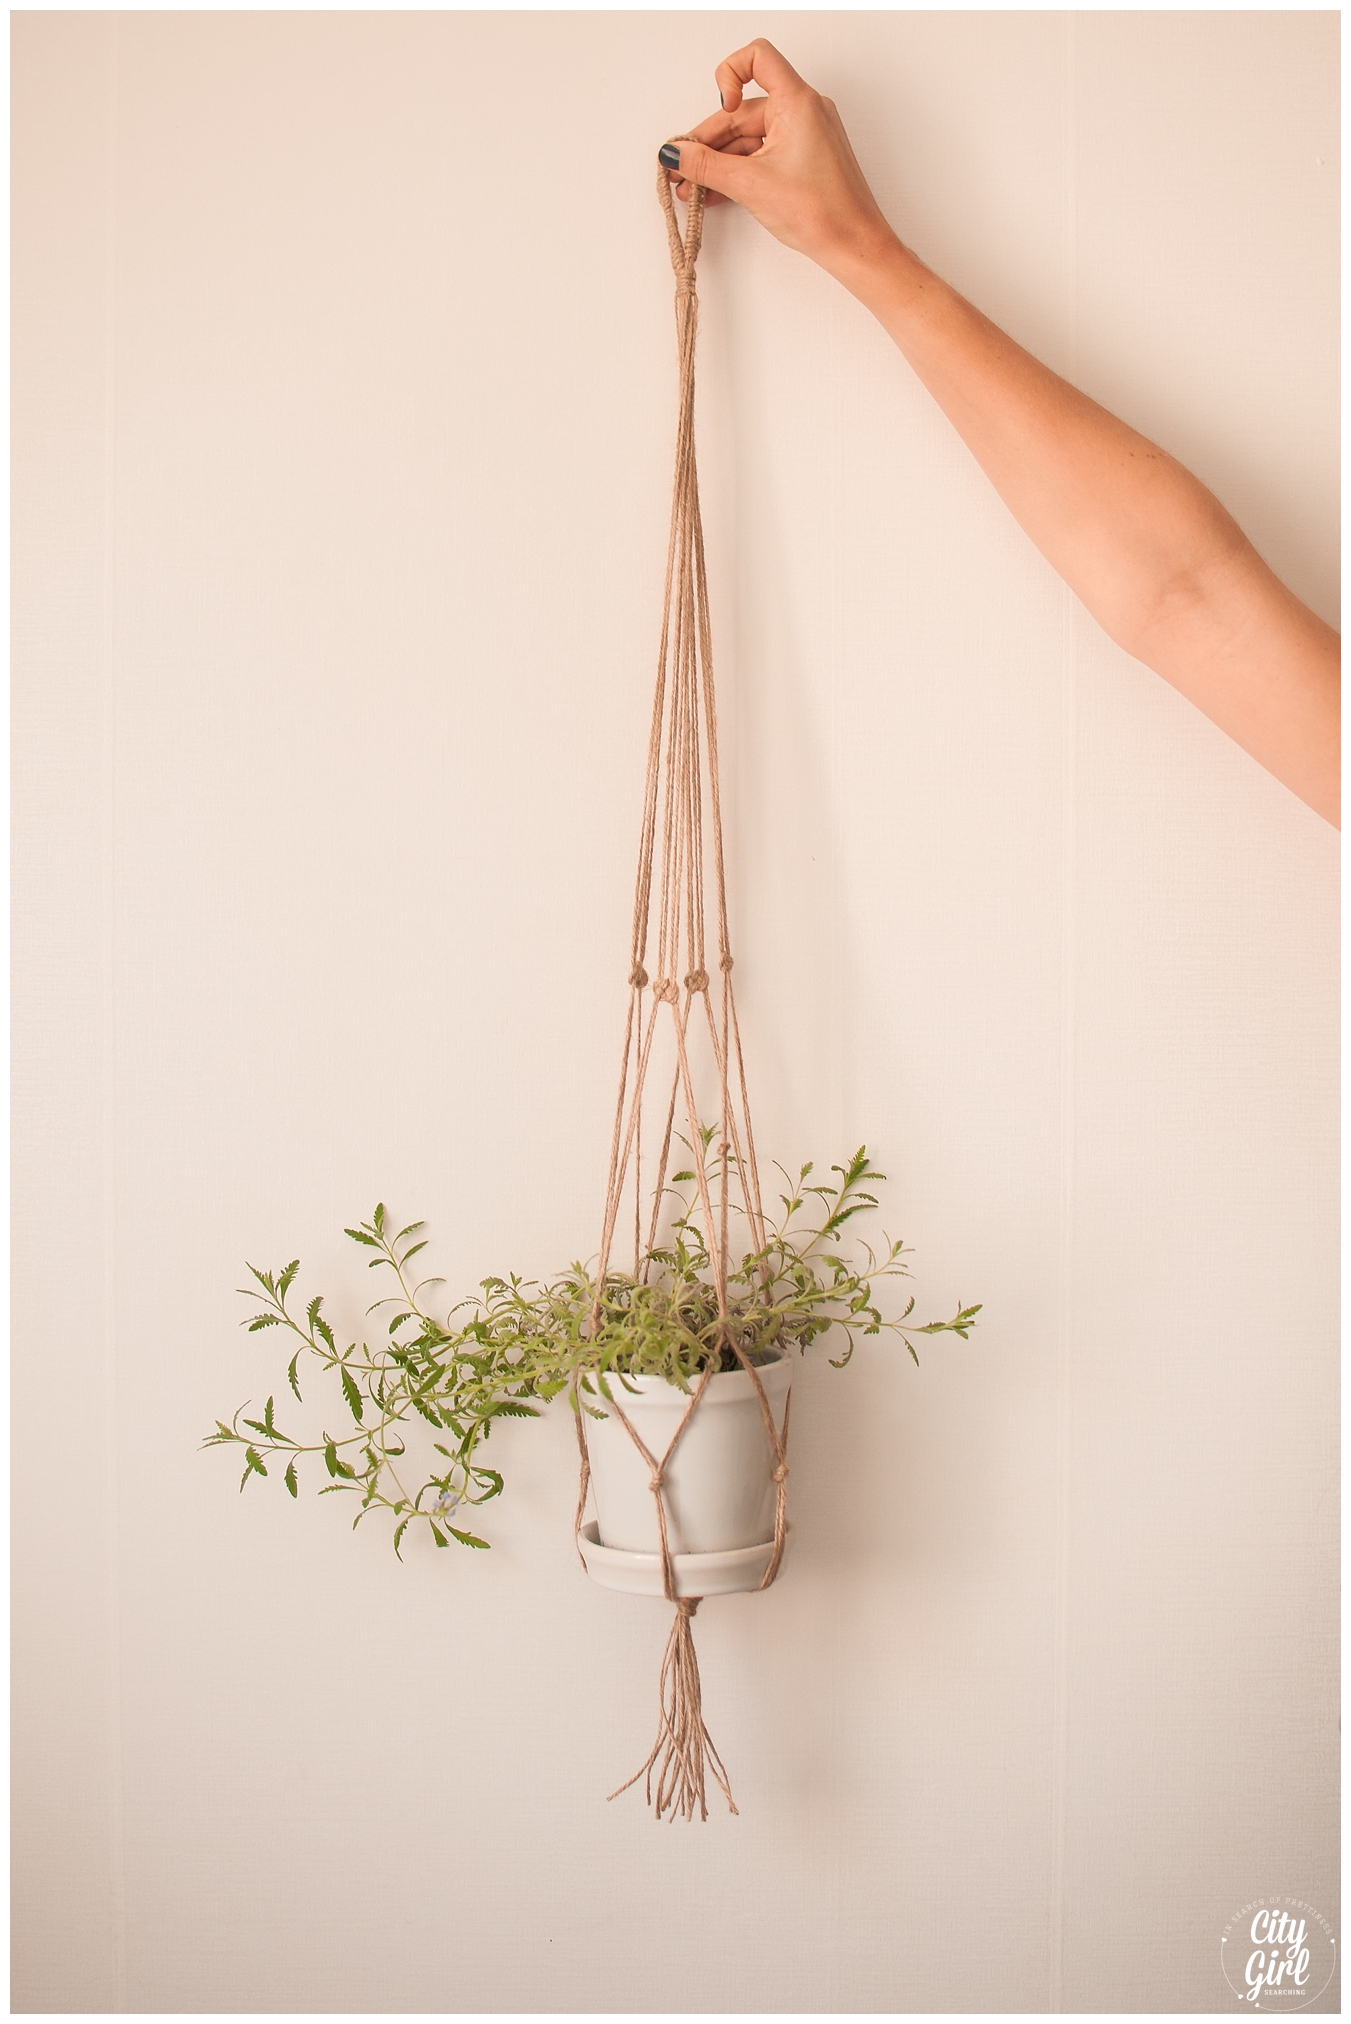
CityGirlSearching How To Make A Macrame Plant Holder DIY

Today's post is the first in a new DIY series #DIYDaysInKorea that my friend Storm and I are starting. Storm did all the styling for our Flower Crown Shoot a few weeks ago and is one very creative lady. I am so happy to have someone to get crafty with.

These posts are going to be about making beautiful things for your home (whether that home is in South Korea or South Africa, or any where else in the world). We hope you enjoy this series and that you leave feeling inspired.

x

How to make a macramé plant hanger #diydaysinkorea

CityGirlSearchingHowToMakeAMacramPlantHolderDIY3
CityGirlSearchingHowToMakeAMacramPlantHolderDIY#DIYDaysInKorea

What you need:

pot plant

string/rope/hessian string/twine

scissors

tape

CityGirlSearchingHowToMakeAMacramPlantHolderDIY6

Directions

Measure your wall space and decide how long you want your plant hanger to be. Take into consideration how big your pot plant is.

CityGirlSearchingHowToMakeAMacramPlantHolderDIY#DIYDaysInKorea

For this macramé hanger, we used 21m of twine (7 x 2.5m for the structure of the hanger + 1 x 3.5m for the wrapping)

Measure out 7 pieces of string of 2.5m and measure the 8th piece of string longer, at 3.5m

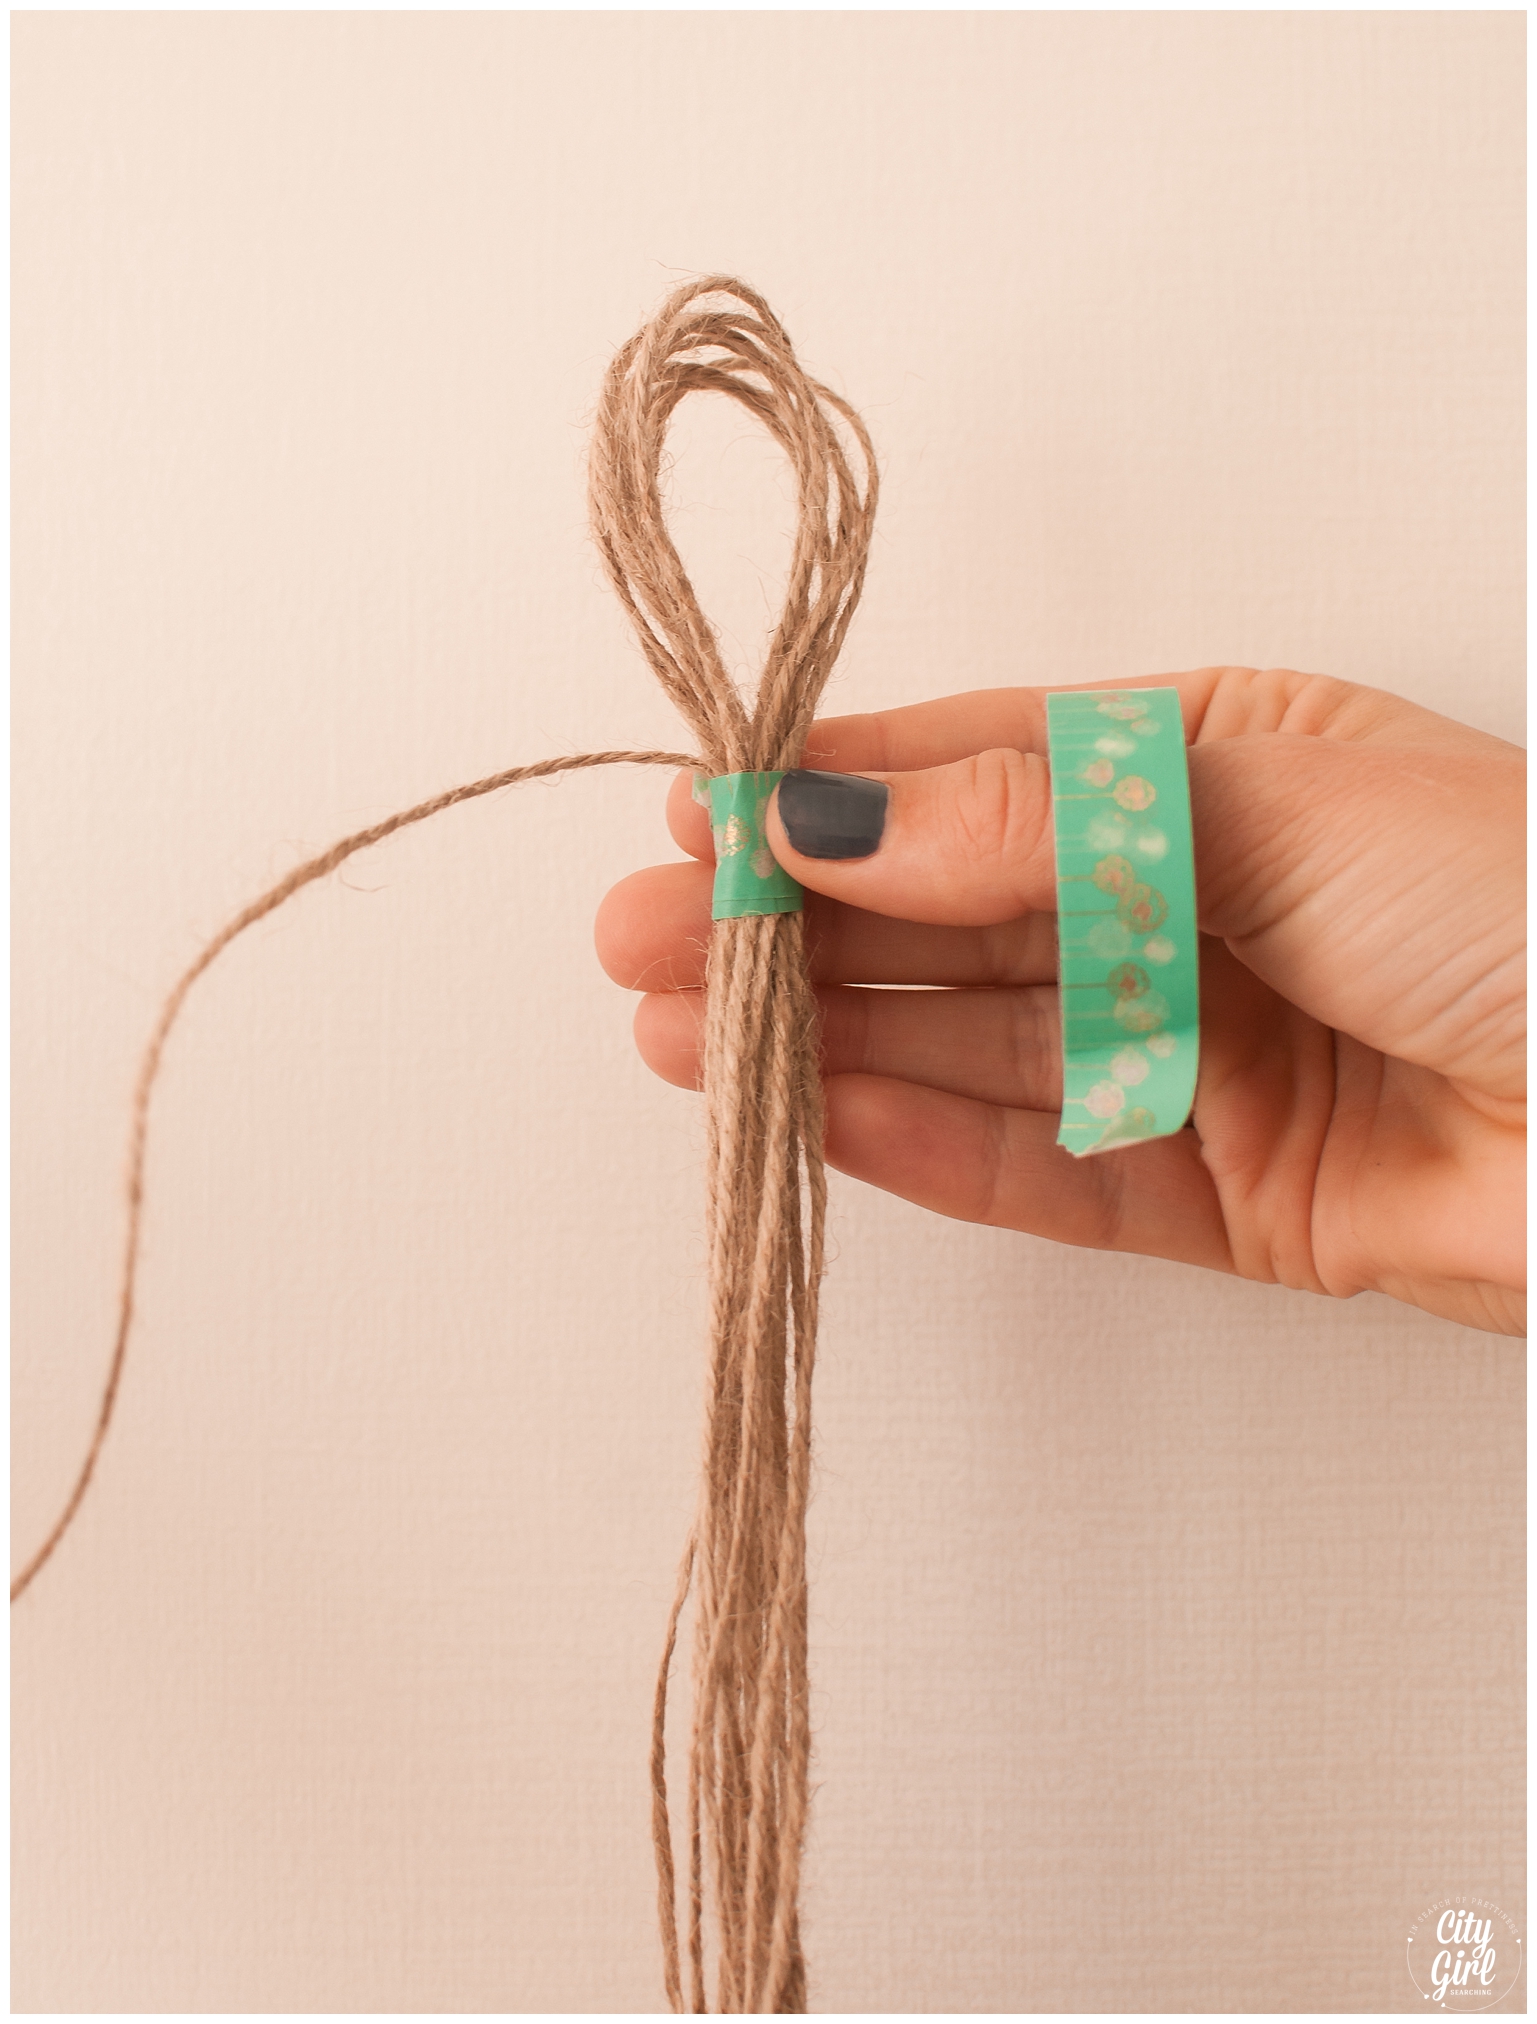
Fold all the strings in half except your extra-long piece. Secure with tape to make a small loop.

CityGirlSearchingHowToMakeAMacramPlantHolderDIY#DIYDaysInKorea

To make your macrame loop

Use the longest piece of string to make a knot around the other 7 pieces of string (see pictures below). Continue making knots in this way until you complete the hanging loop.

CityGirlSearchingHowToMakeAMacramPlantHolderDIY7

To secure the hanging loop, make a knot. Take the outer right string across the front, then take the outer left string in front of the right piece and then take it behind all the other pieces to the right hand side (see pictures below) and put it through the gap and tighten. Repeat this by alternating the next outer string (so taking the left in front this time, and the right behind). Repeat 6 times.

CityGirlSearchingHowToMakeAMacramPlantHolderDIY8

To create the mid section using Josephine knots

Divide your strings into 4 sections, each section should have 4 pieces (16 in total). Secure 3 of the sections with tape. Using the fourth section, measure down 35cm and mark with tape (this is where your Josephine knot will start). Divide this section into 2 parts, make sure the strings are kept flush to ensure your finished knot is flat.

Start with two cords on the left and make a loop, then take the the right cords and place them over the loop. Securing with your left hand, take the right cords and place them under the bottom left cords and up and over them again.Then thread them through the loop (as in the pictures below).

CityGirlSearchingHowToMakeAMacramPlantHolderDIY9
CityGirlSearchingHowToMakeAMacramPlantHolderDIY#DIYDaysInKorea

Make sure all your strings are flat and tighten to your marked off tape. Repeat with the remaining 4 sections.

To make the basket:

Split the 4 sections in half and join two cords from each section next to each other to create a new group. Tie a simple knot in these cords and continue for each new group. Make sure when making the groups they are the correct cords to ensure your basket doesn't get tangled. 

CityGirlSearchingHowToMakeAMacramPlantHolderDIY11

Measure down 5cm to create new groups with simple knots again as before.

Measure another 7 cm and gather all the strings together and tie into one large knot.

CityGirlSearchingHowToMakeAMacramPlantHolderDIY12

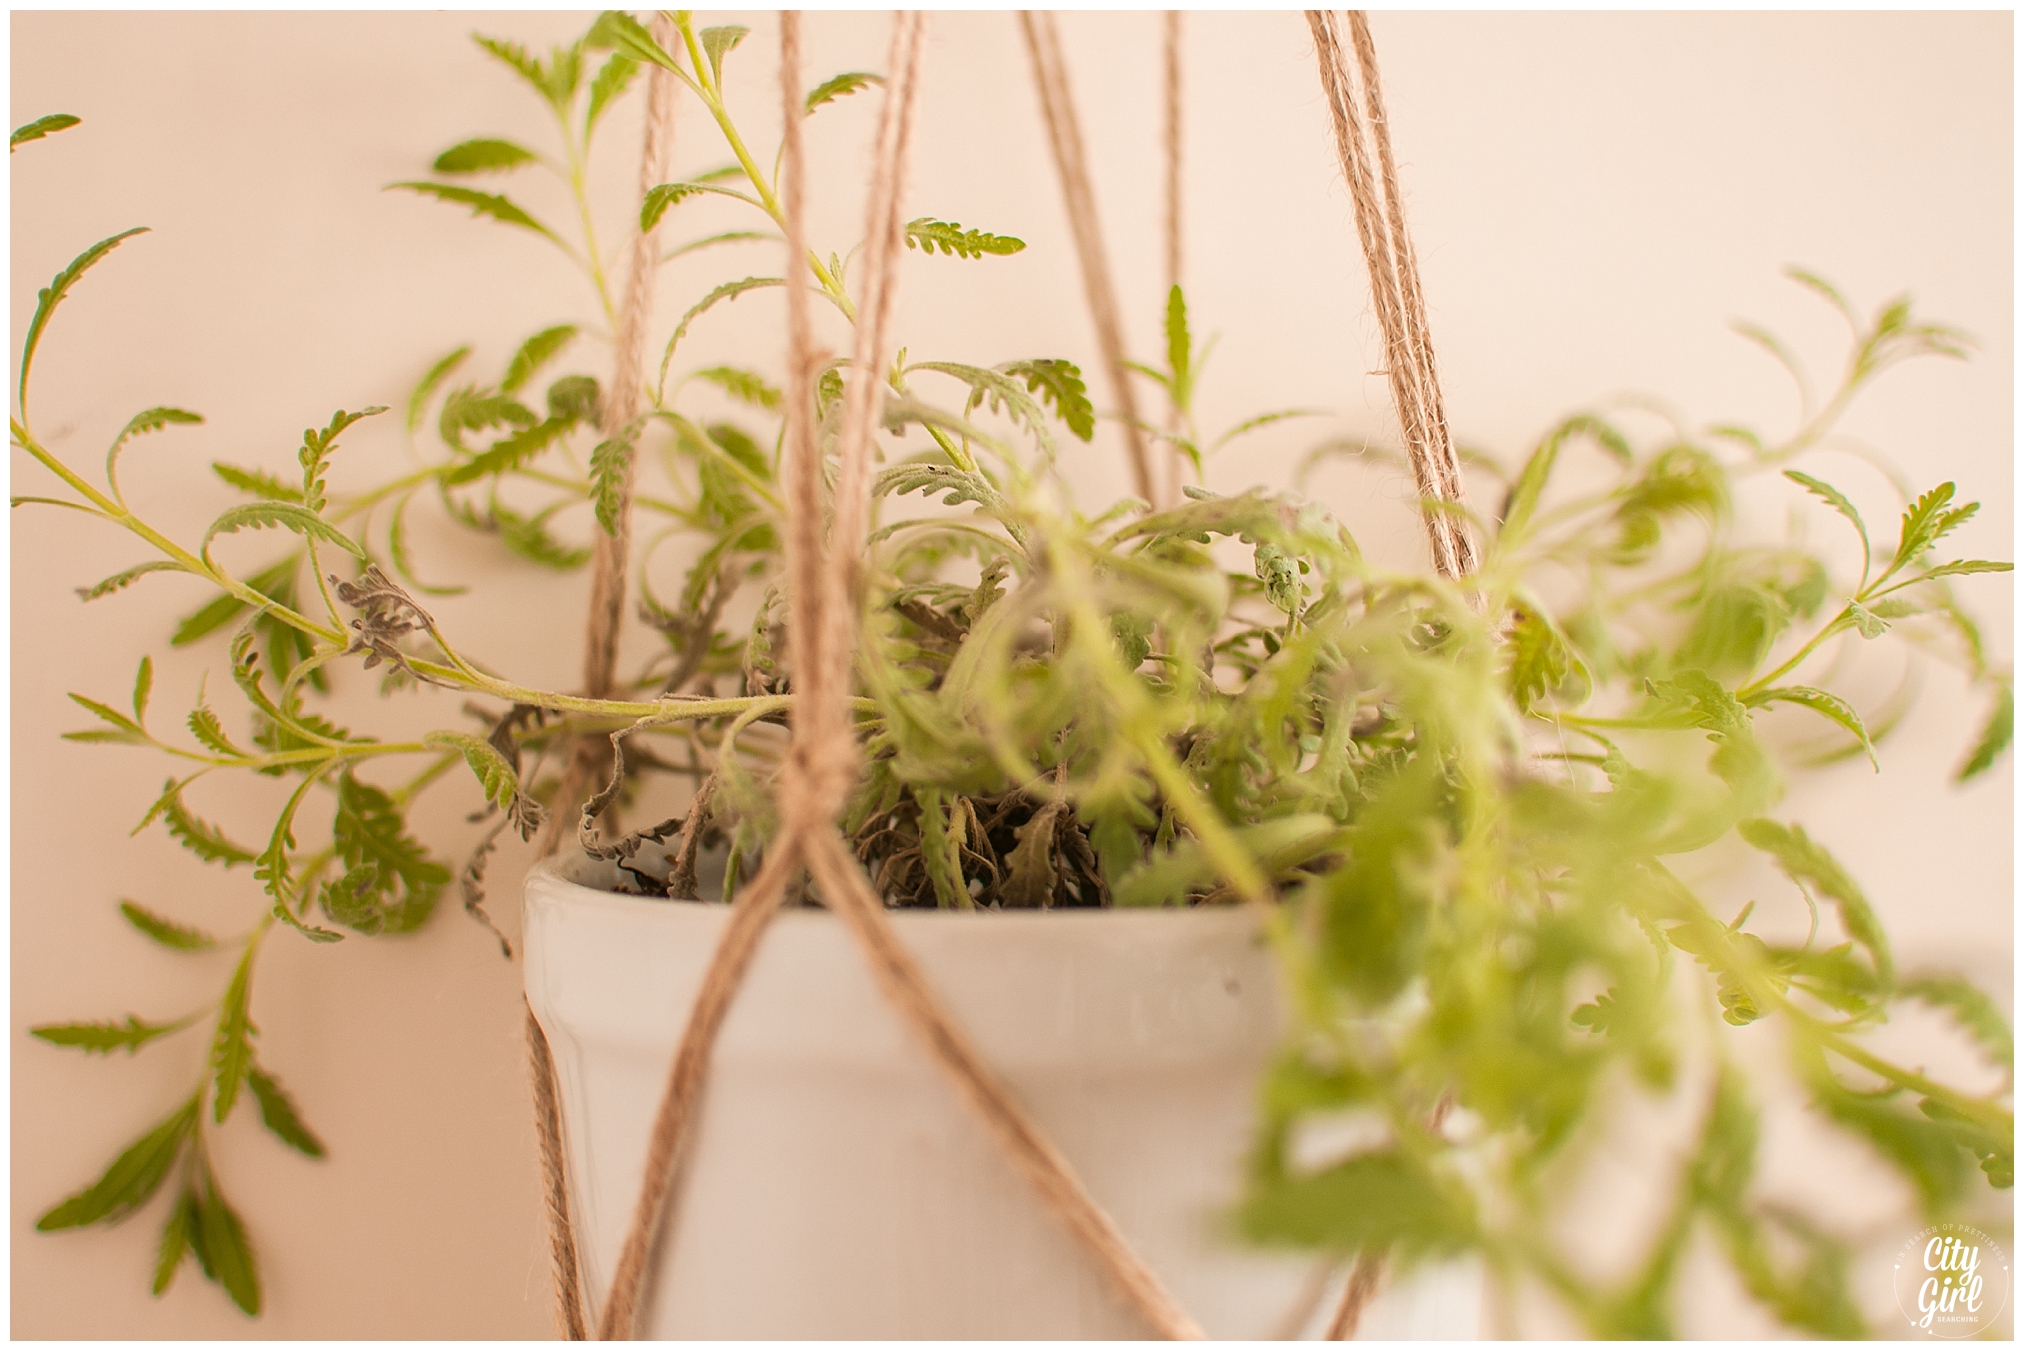
Neaten off the hanging ends to make a tassel. Place your pot in the middle of the basket. Hang up and enjoy.

CityGirlSearchingHowToMakeAMacramPlantHolderDIY13

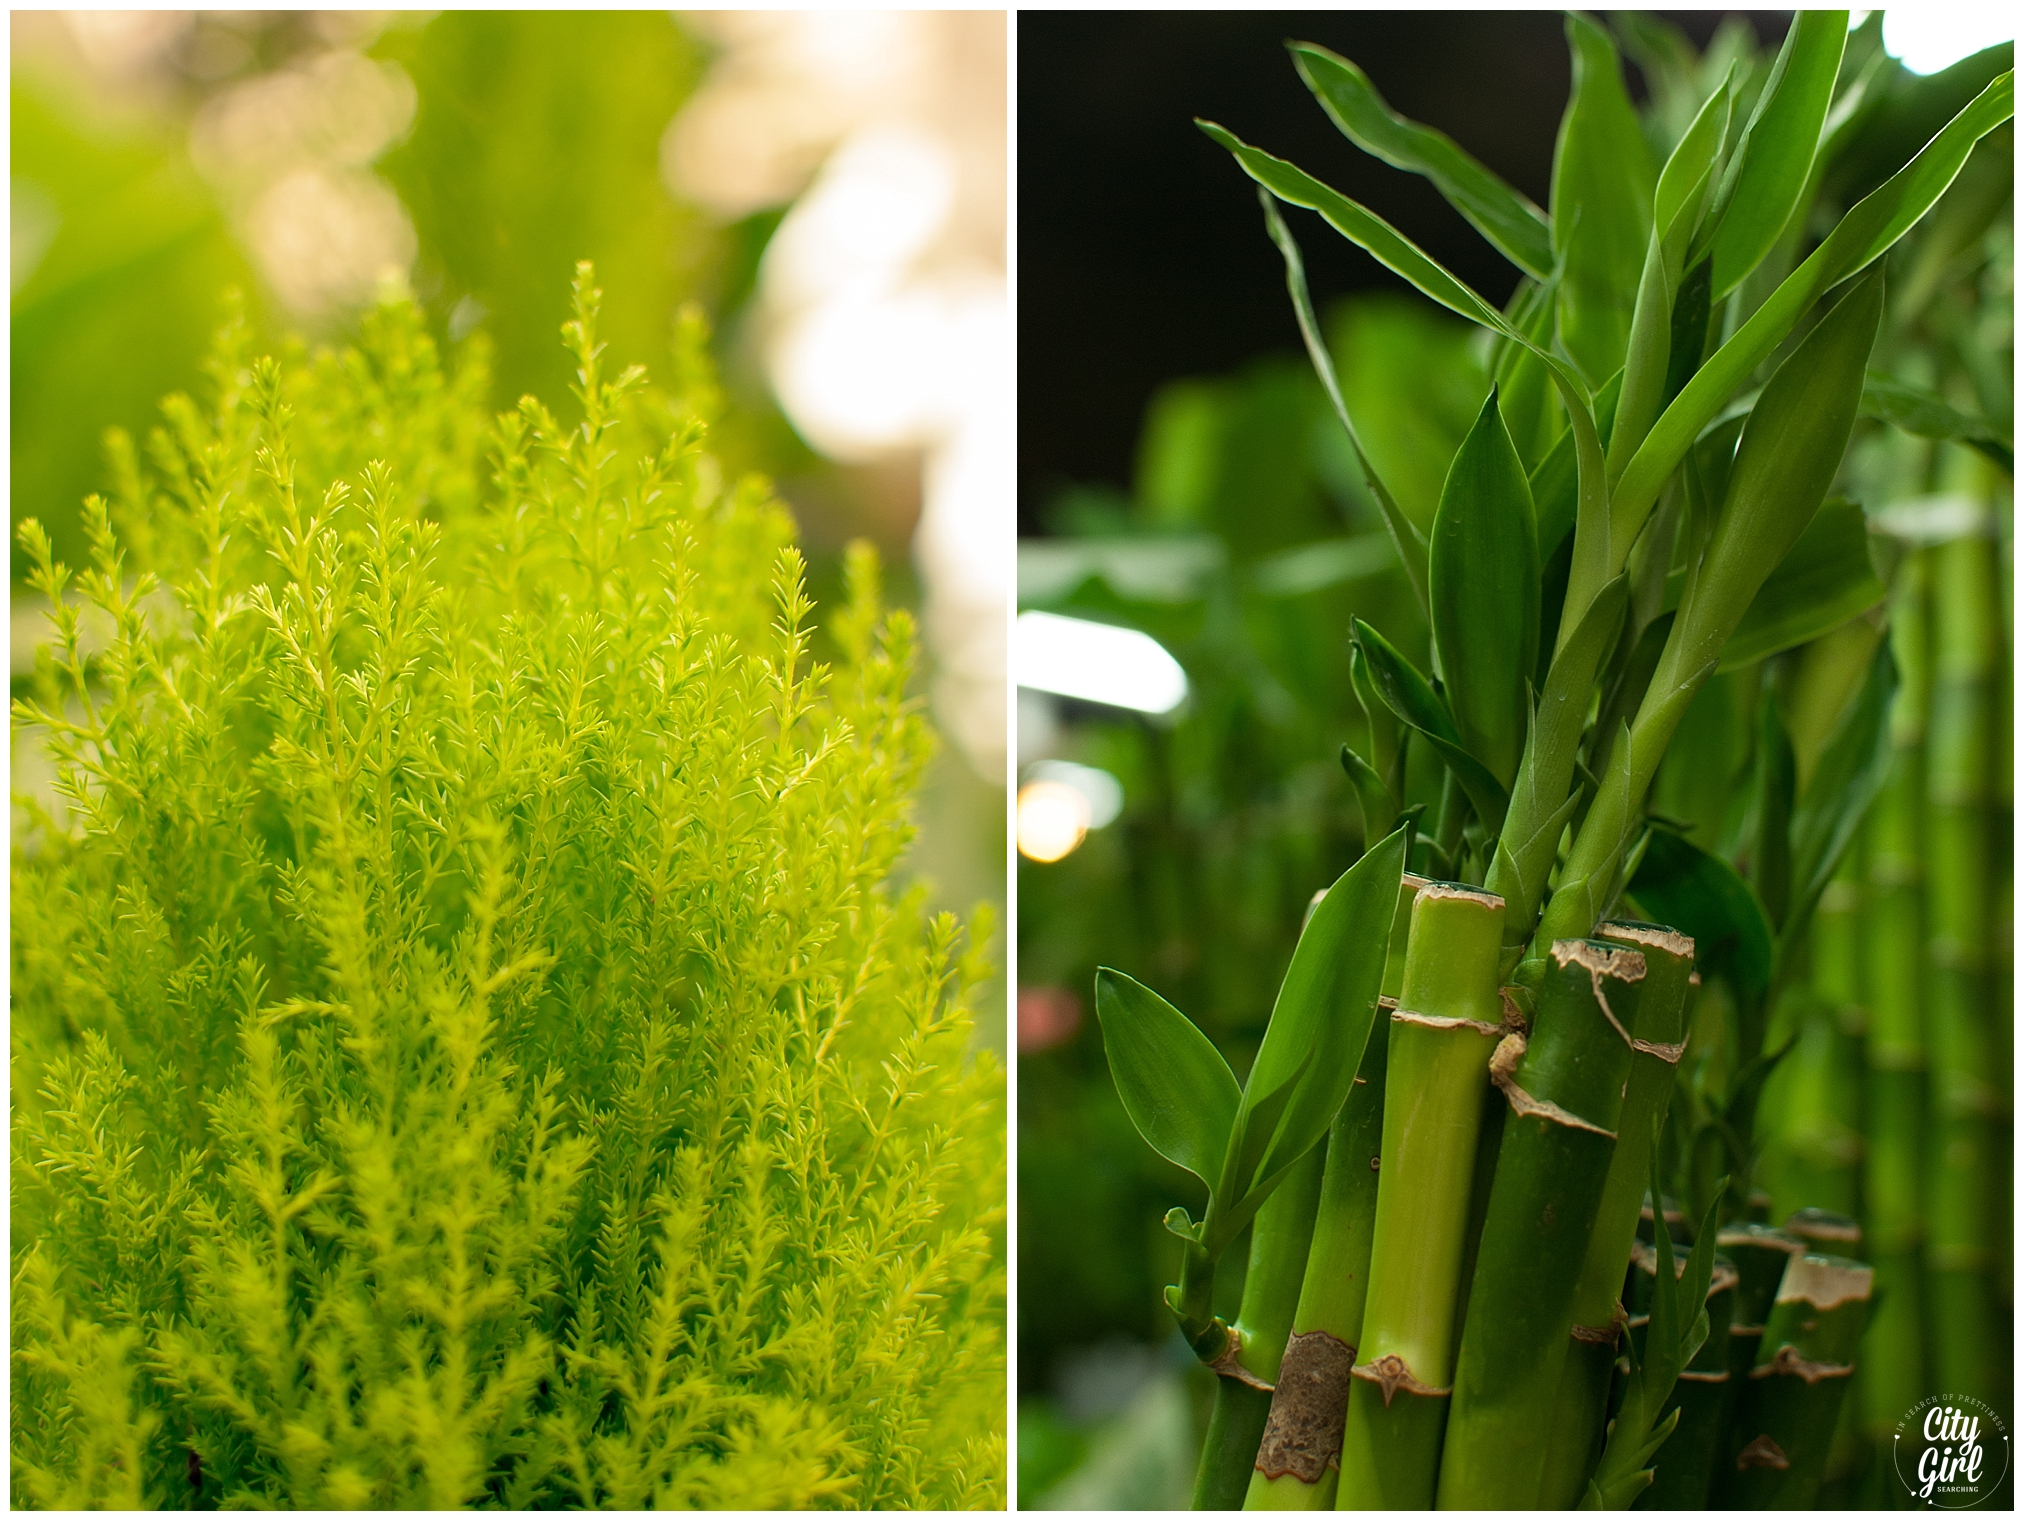
Yangjae Flower Market, Seoul (양재동꽃시장)

YangjaeFlowerMarketSeoulSouthKorea

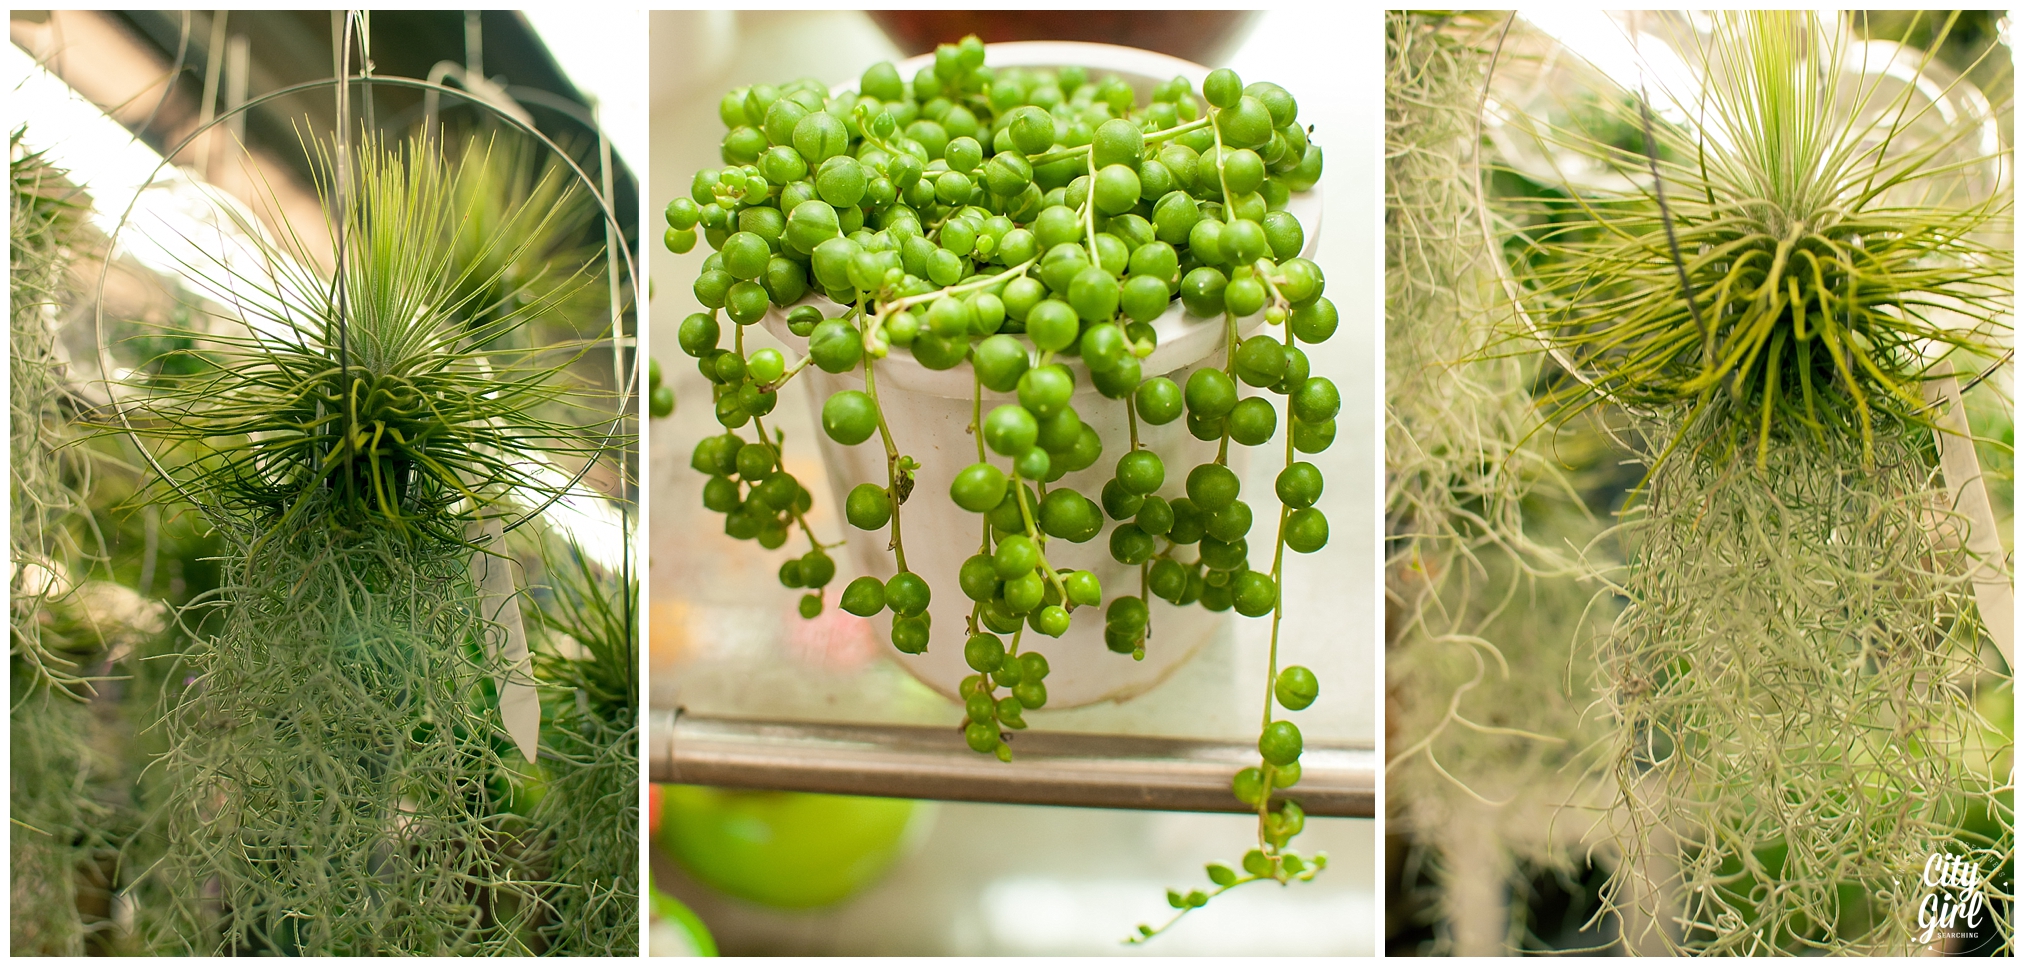
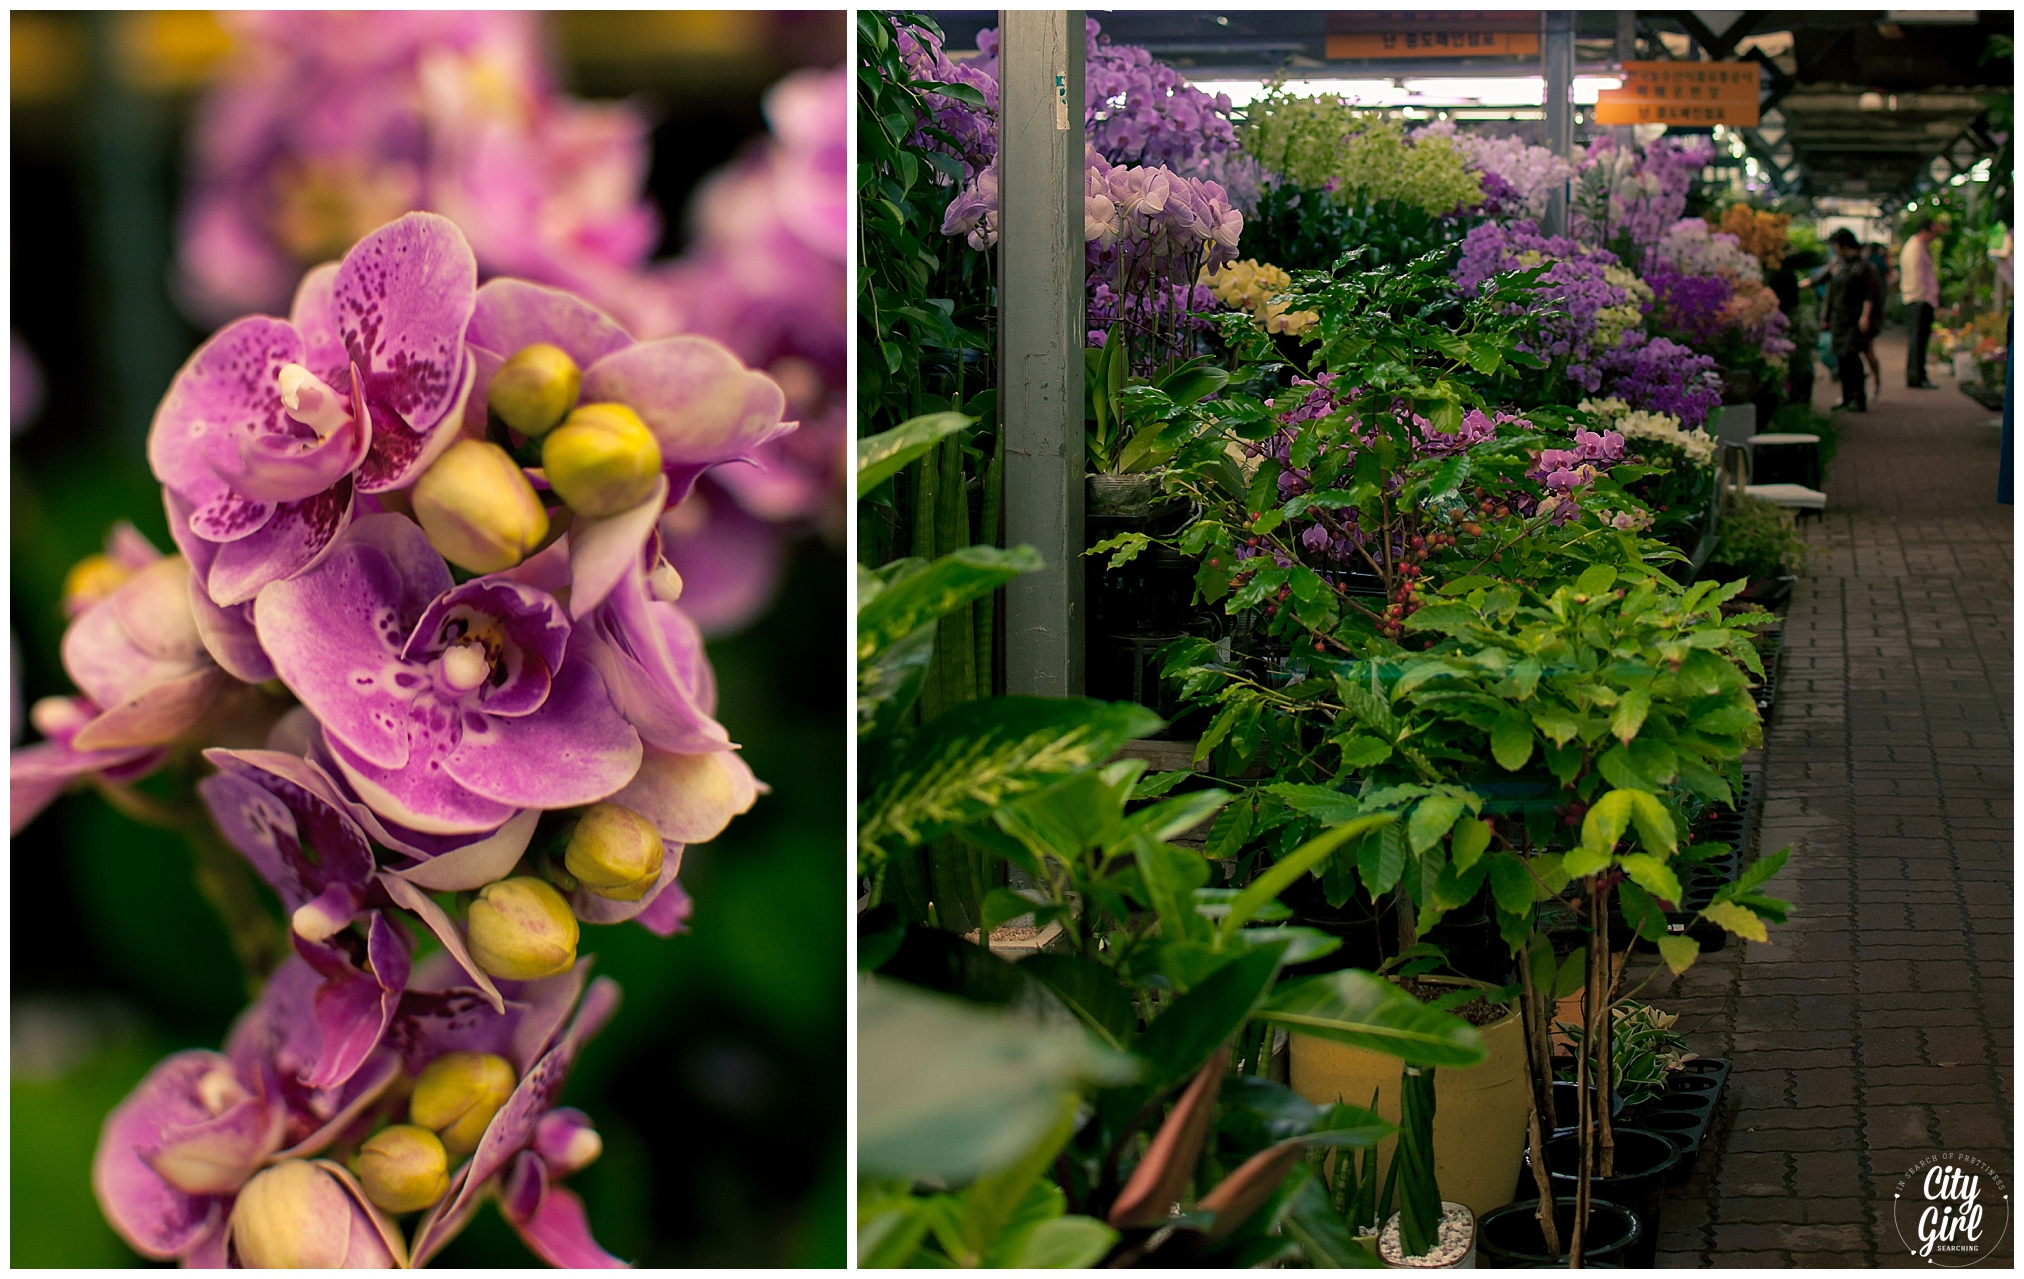
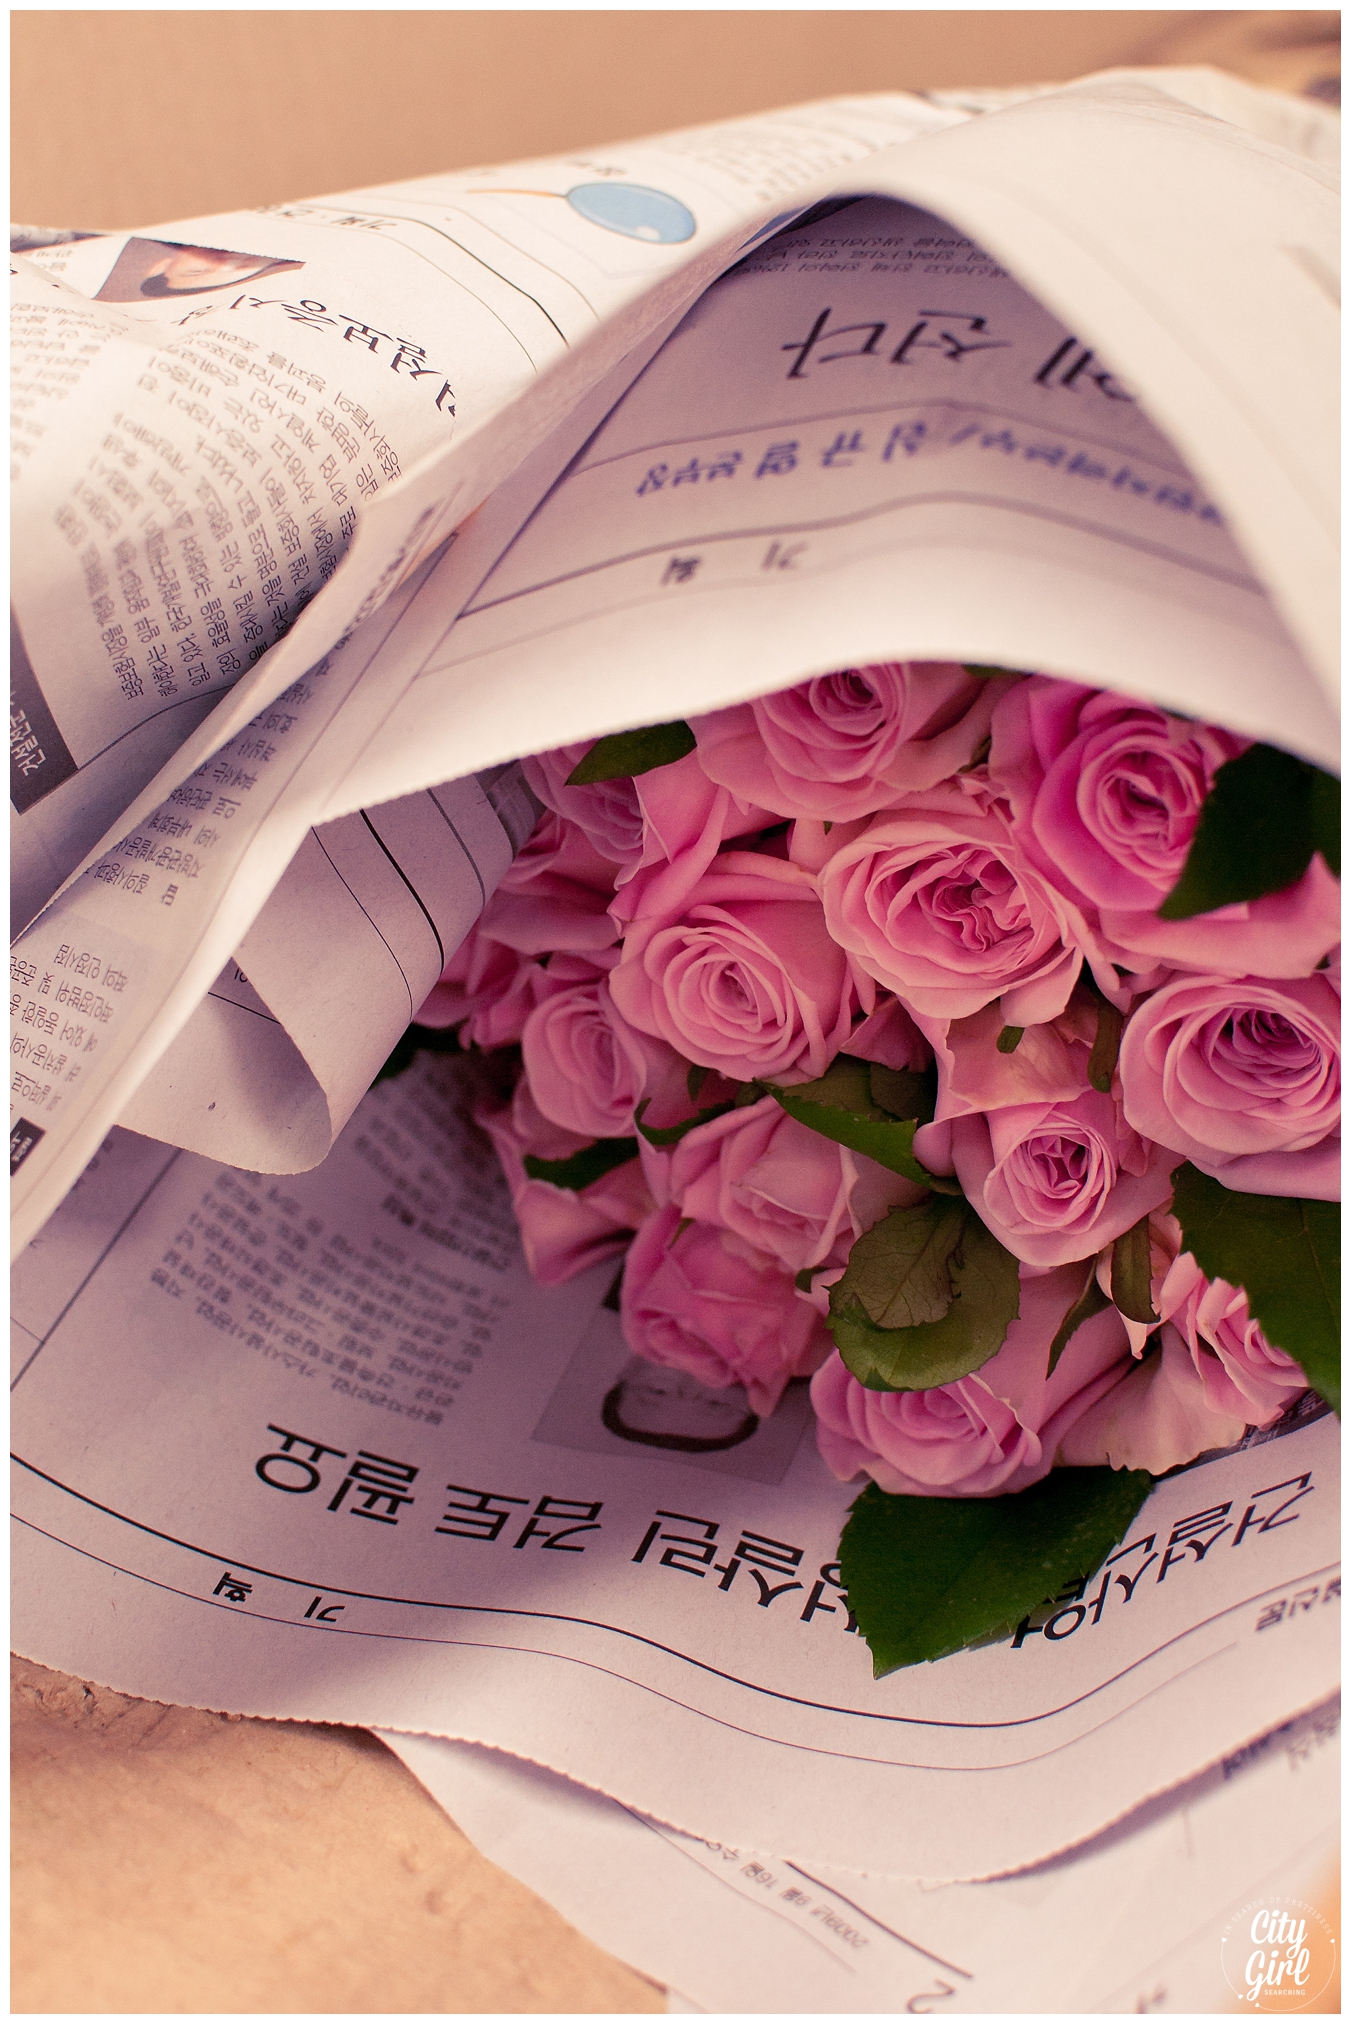
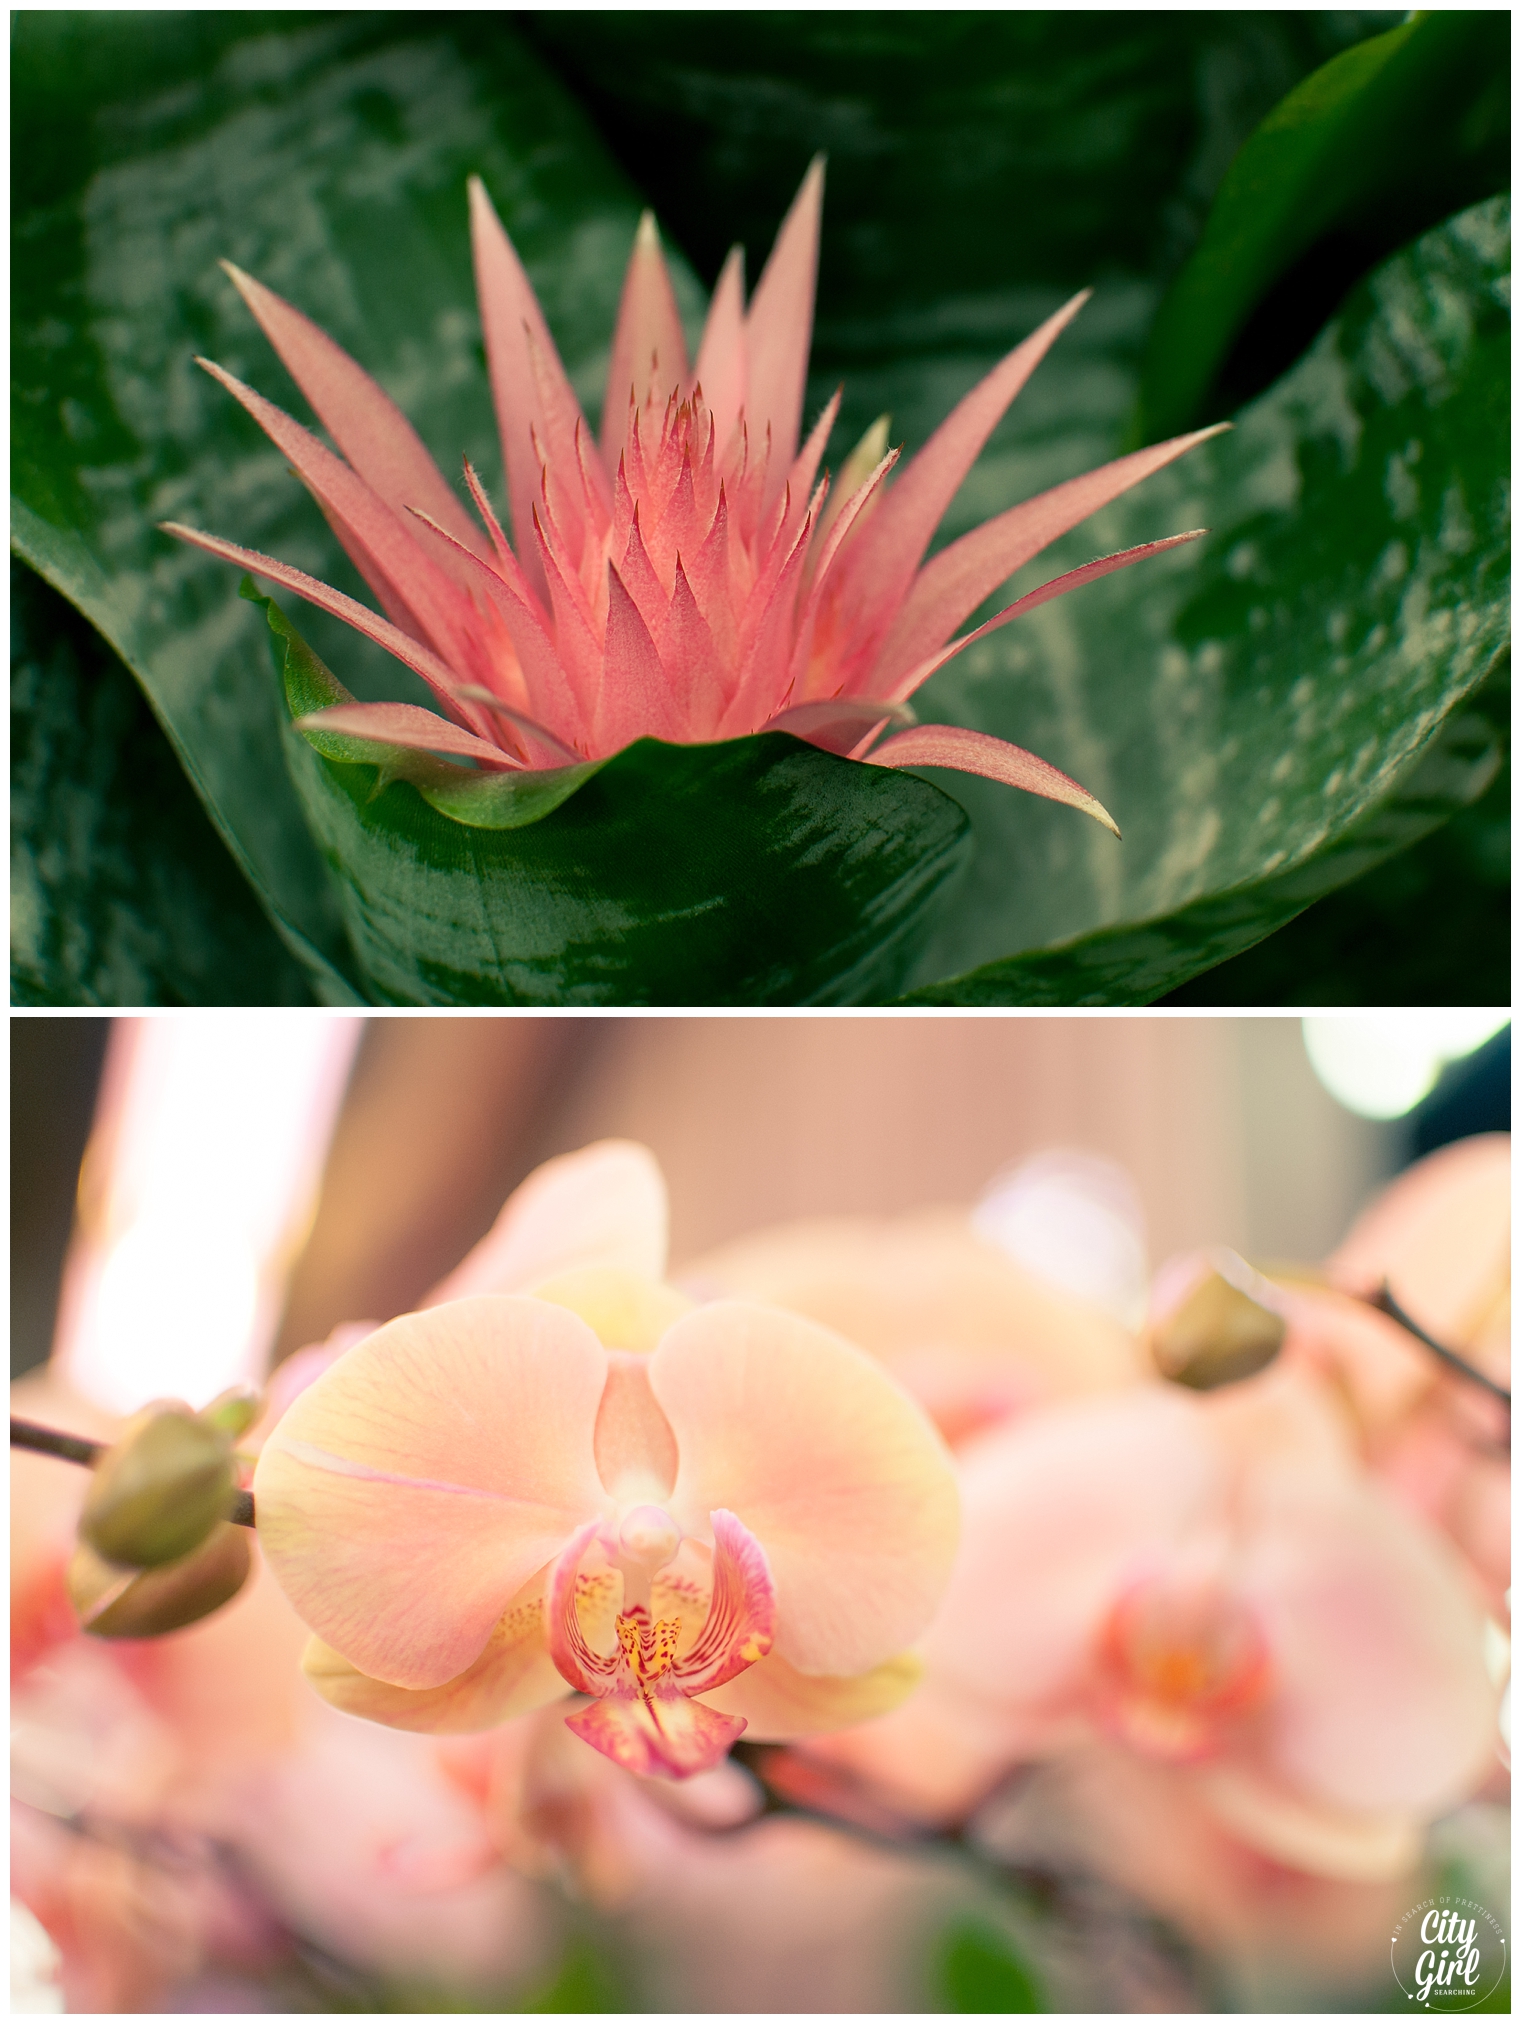
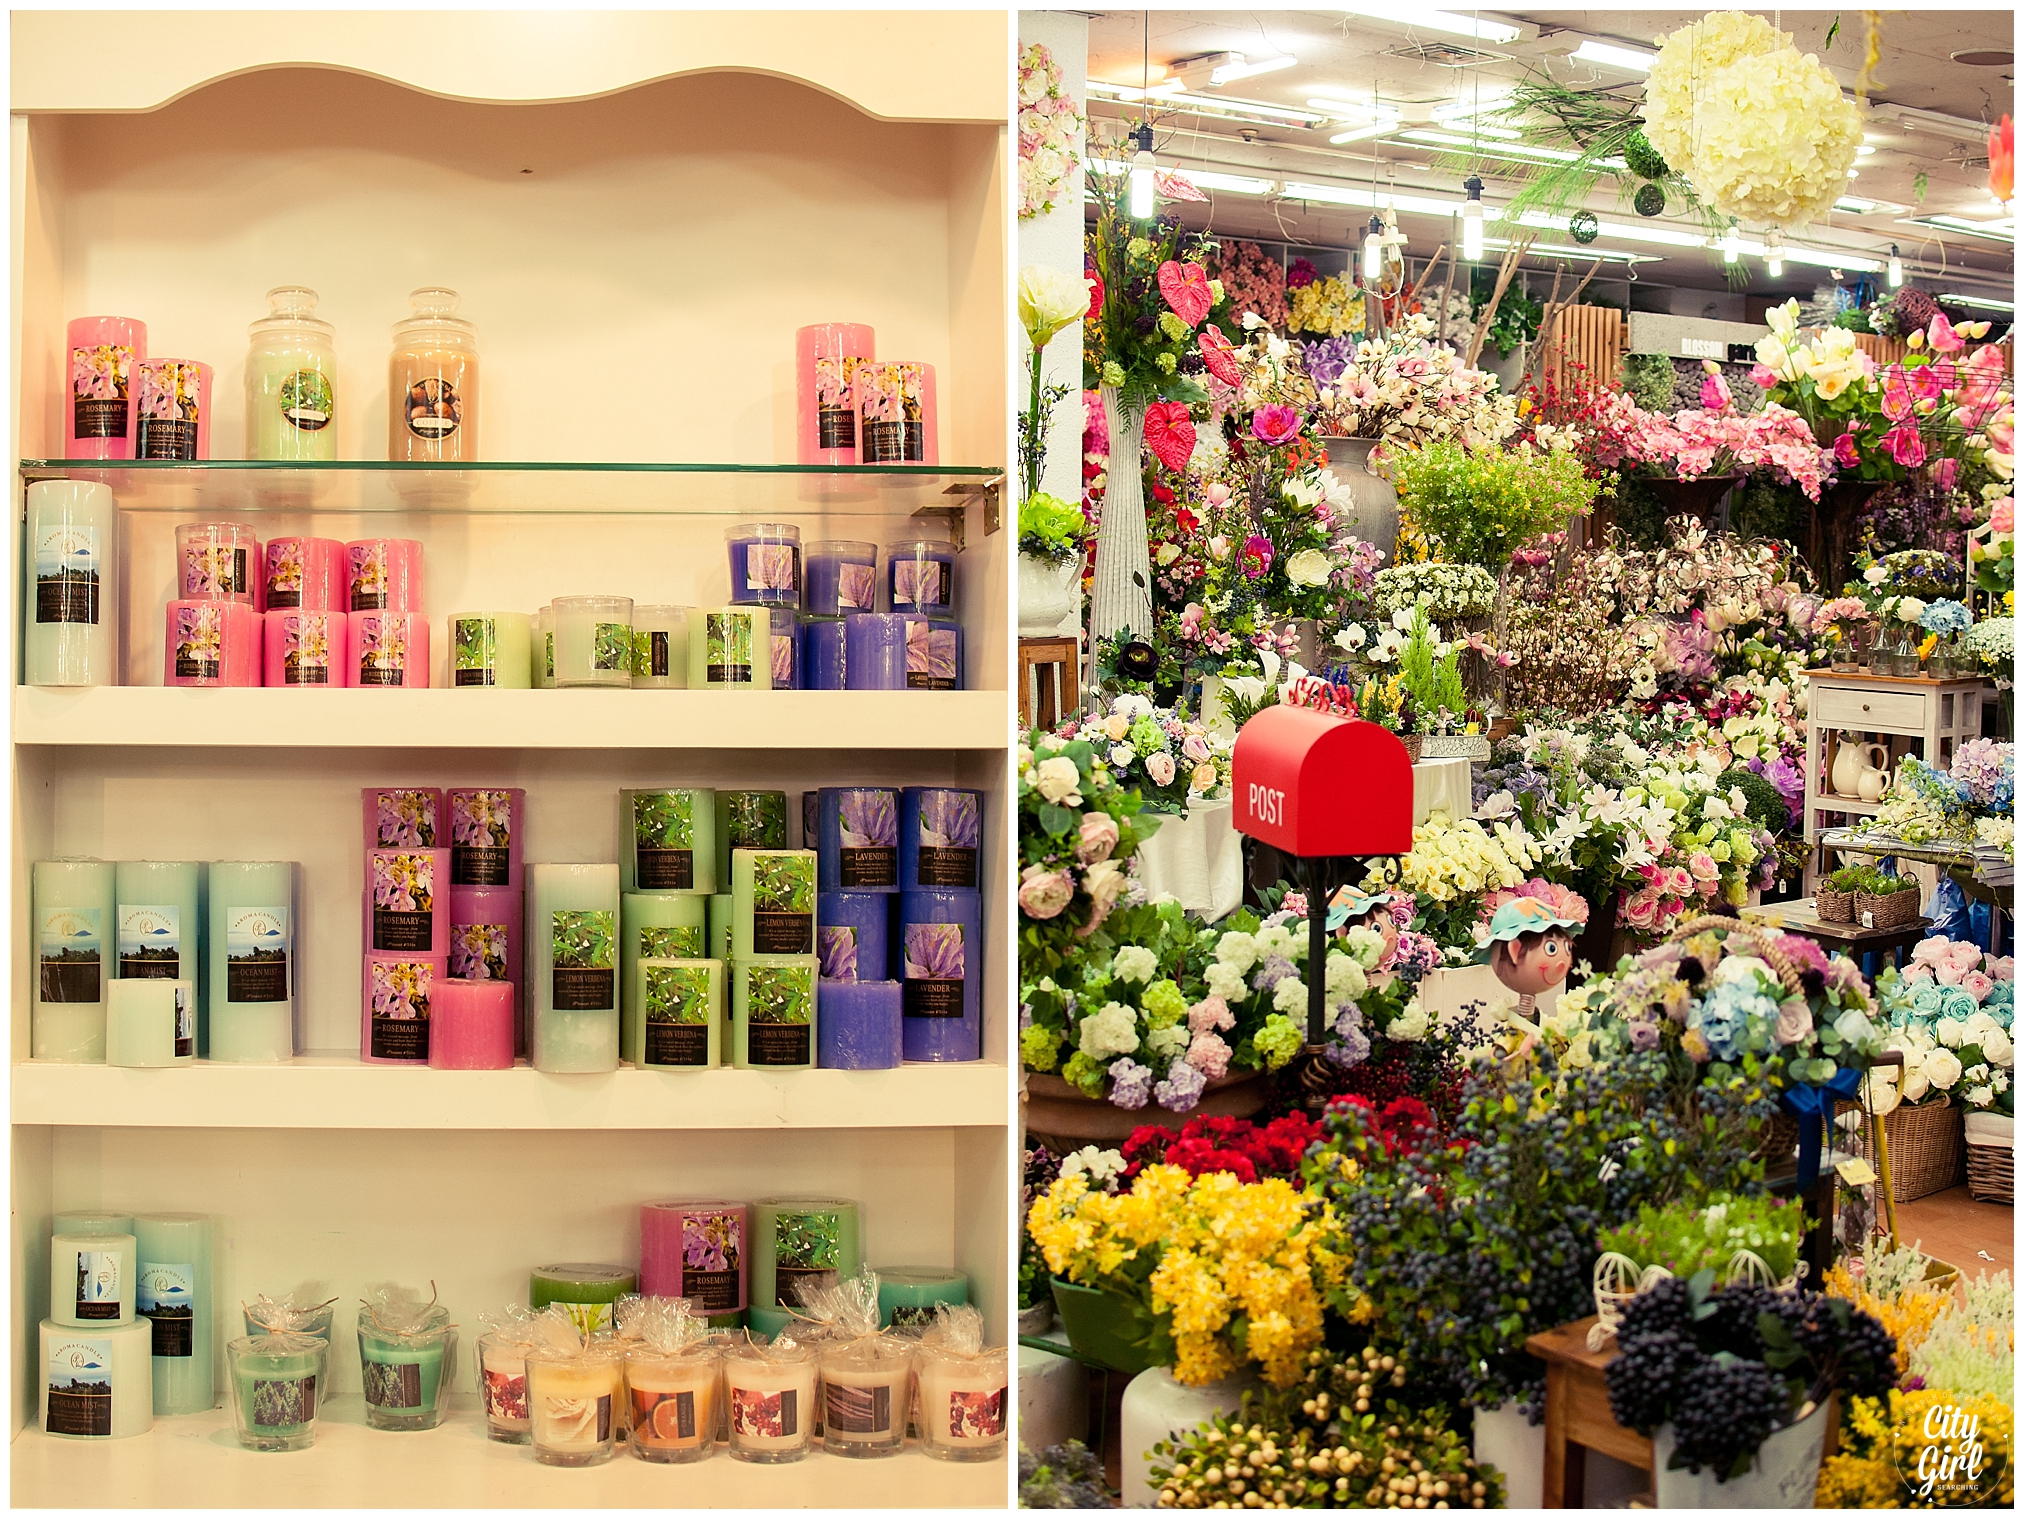
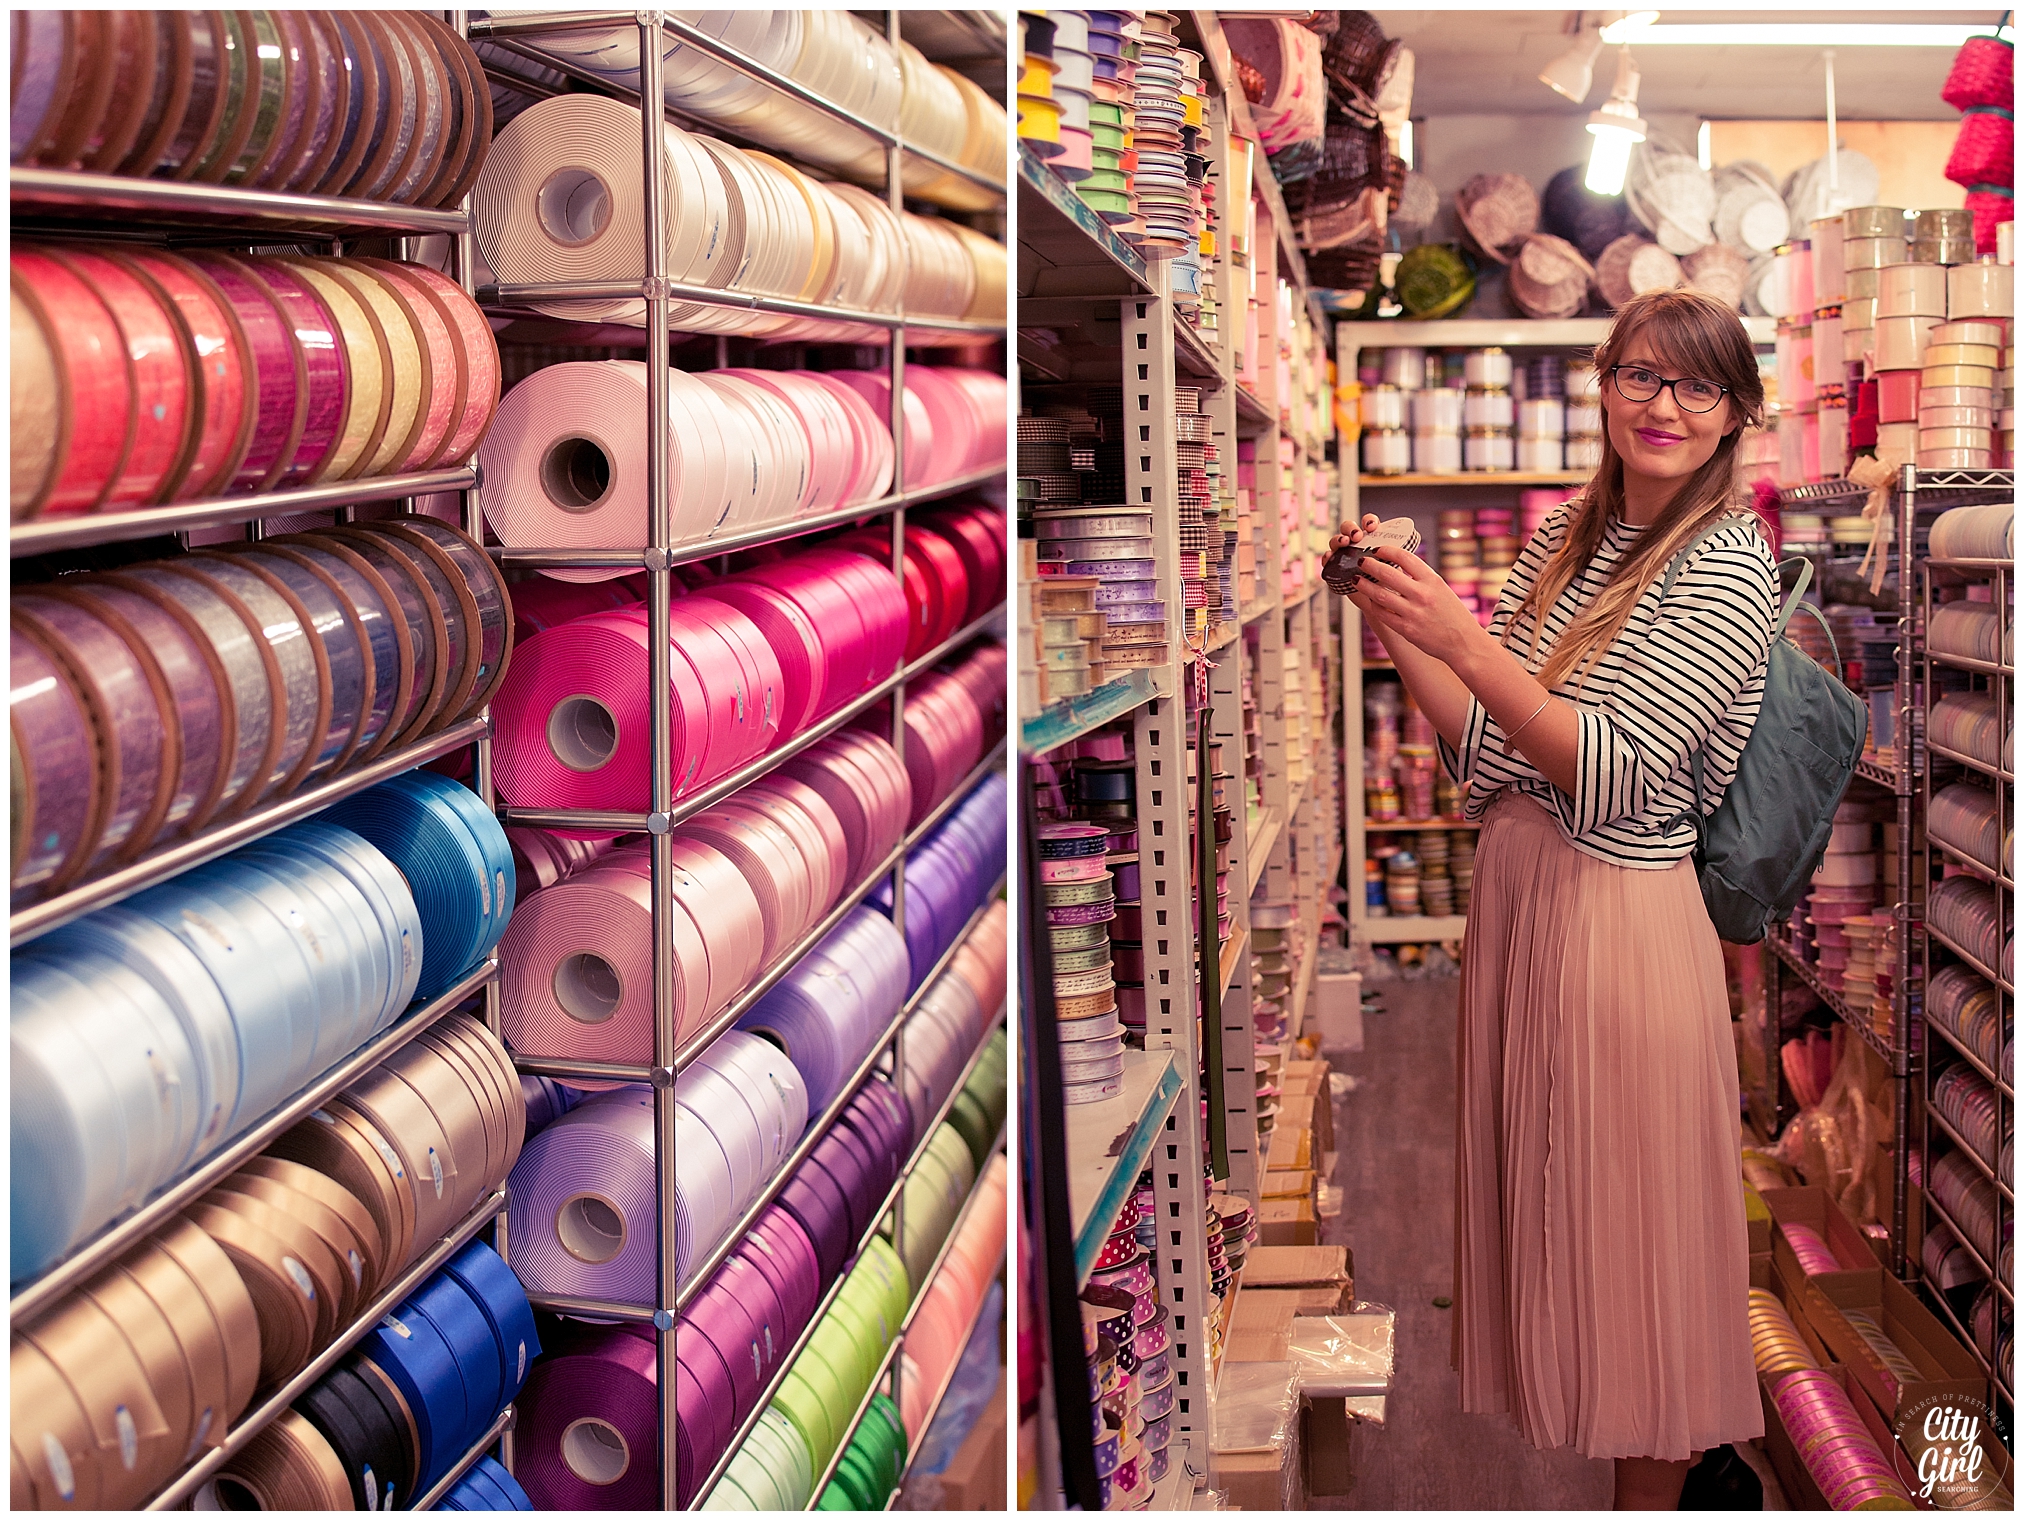
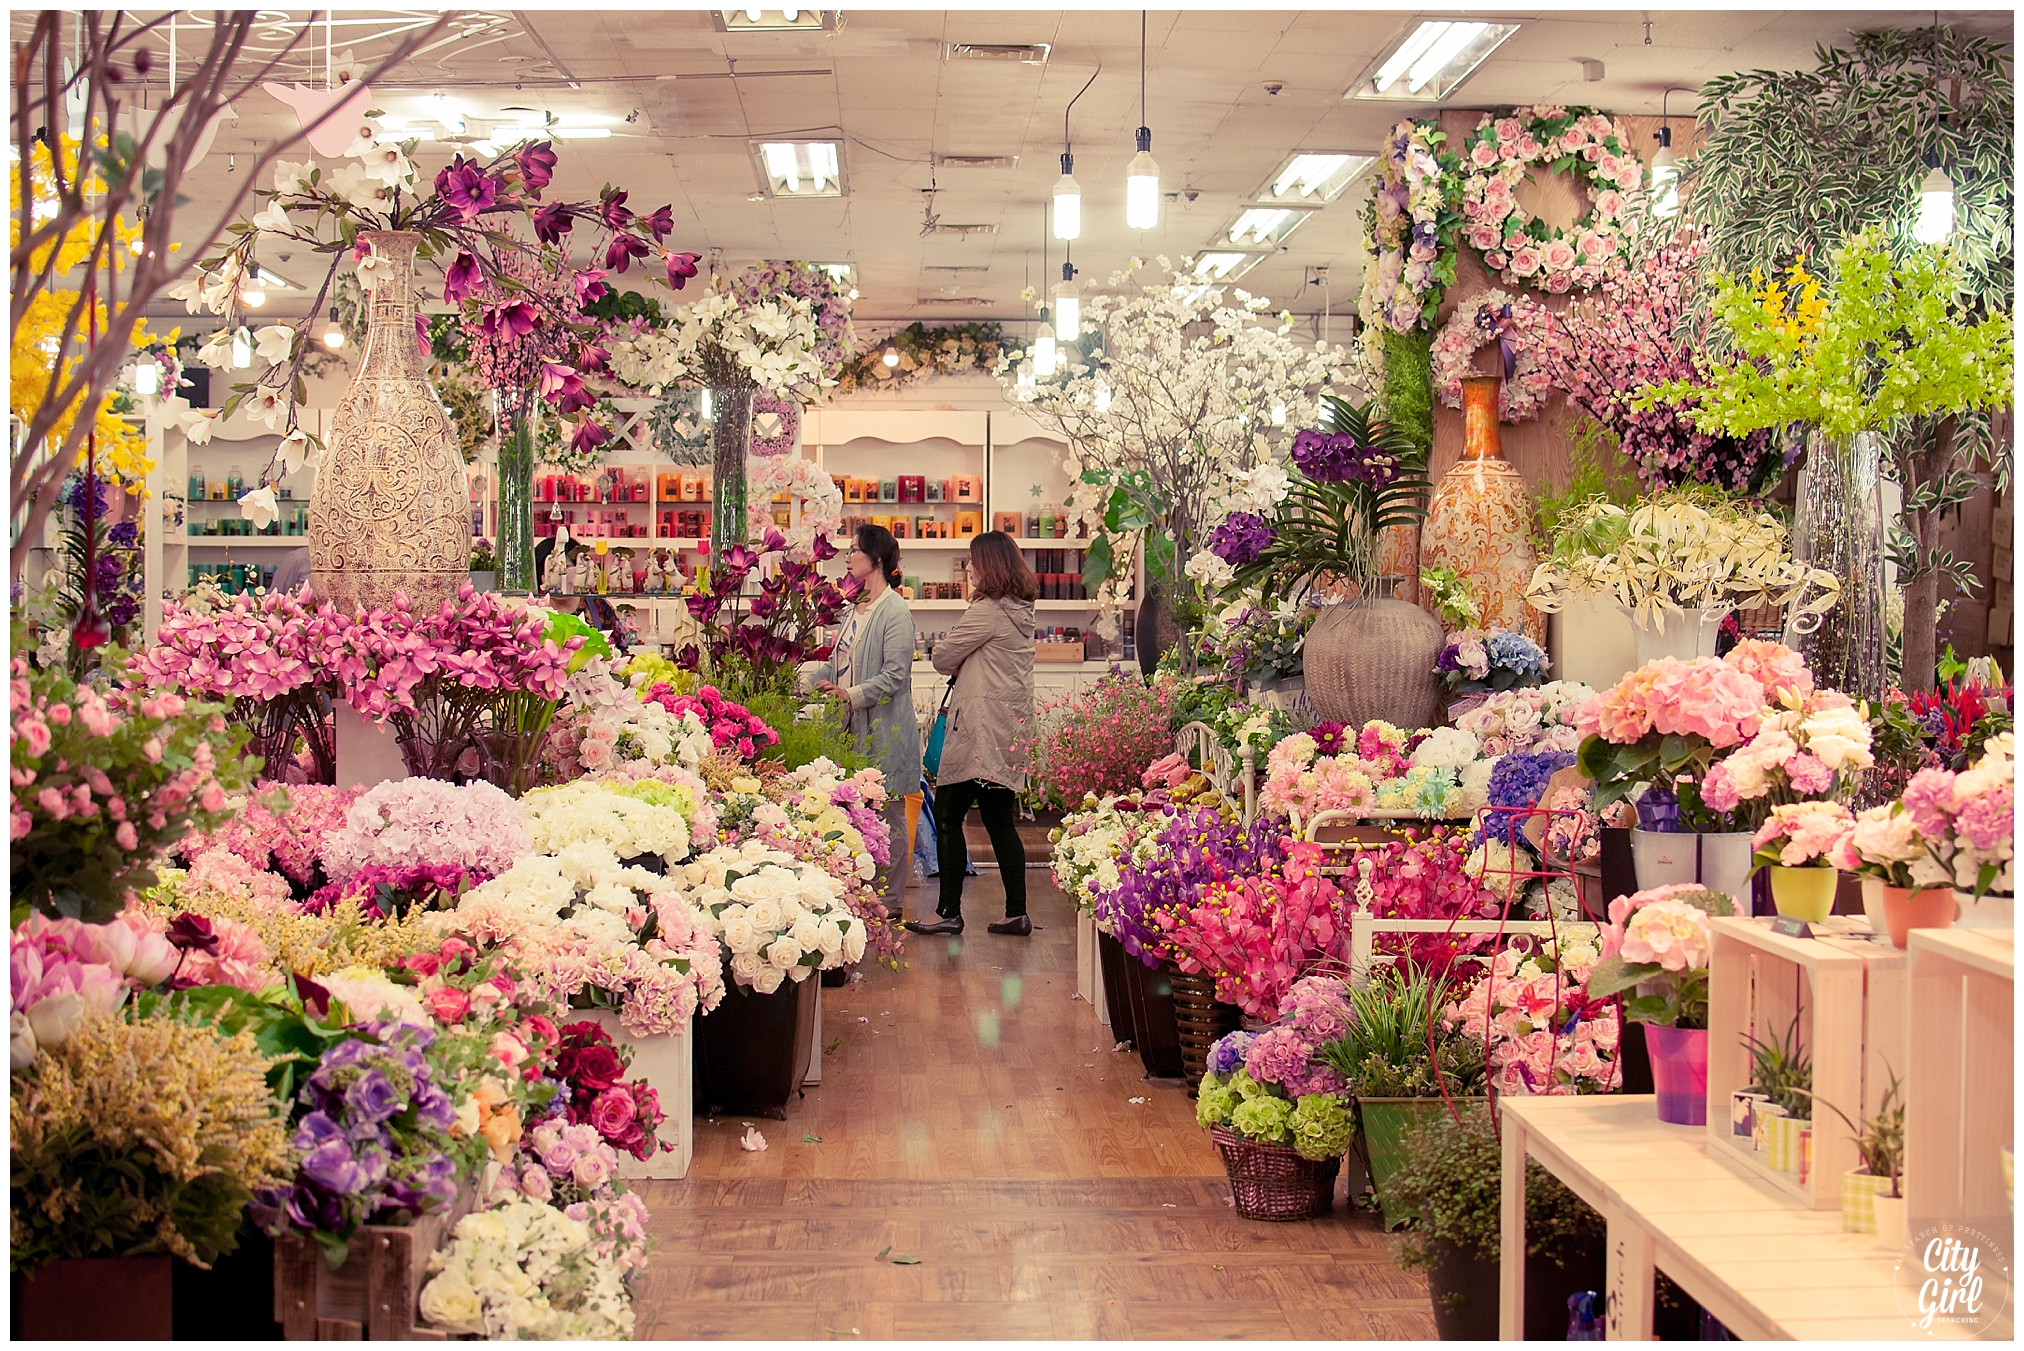
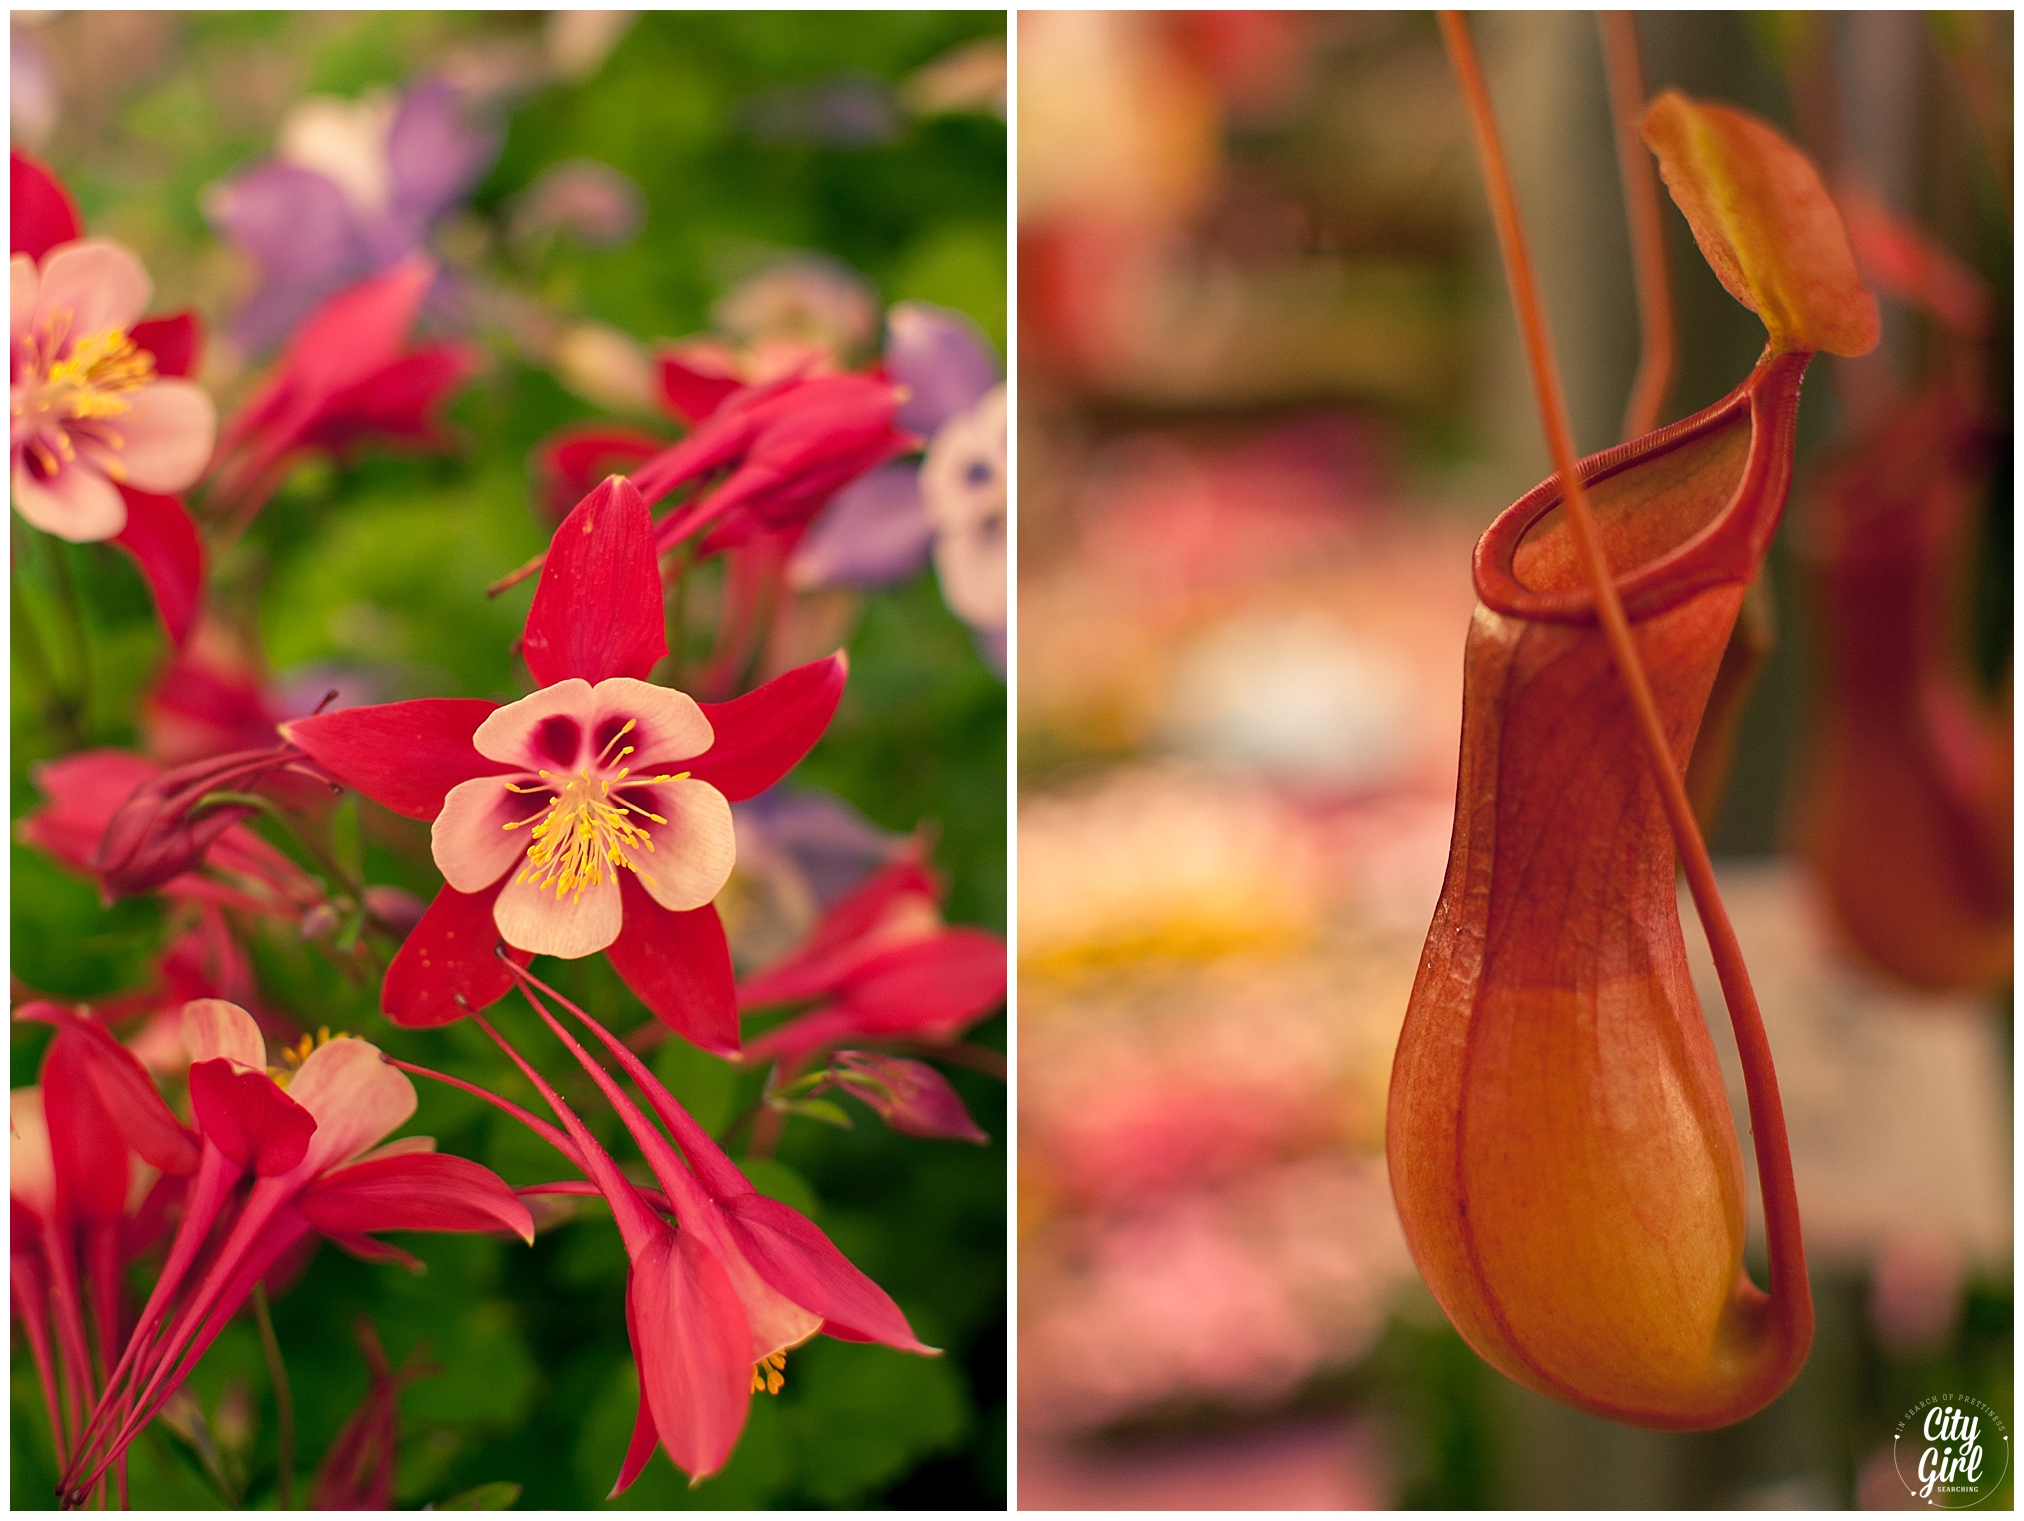
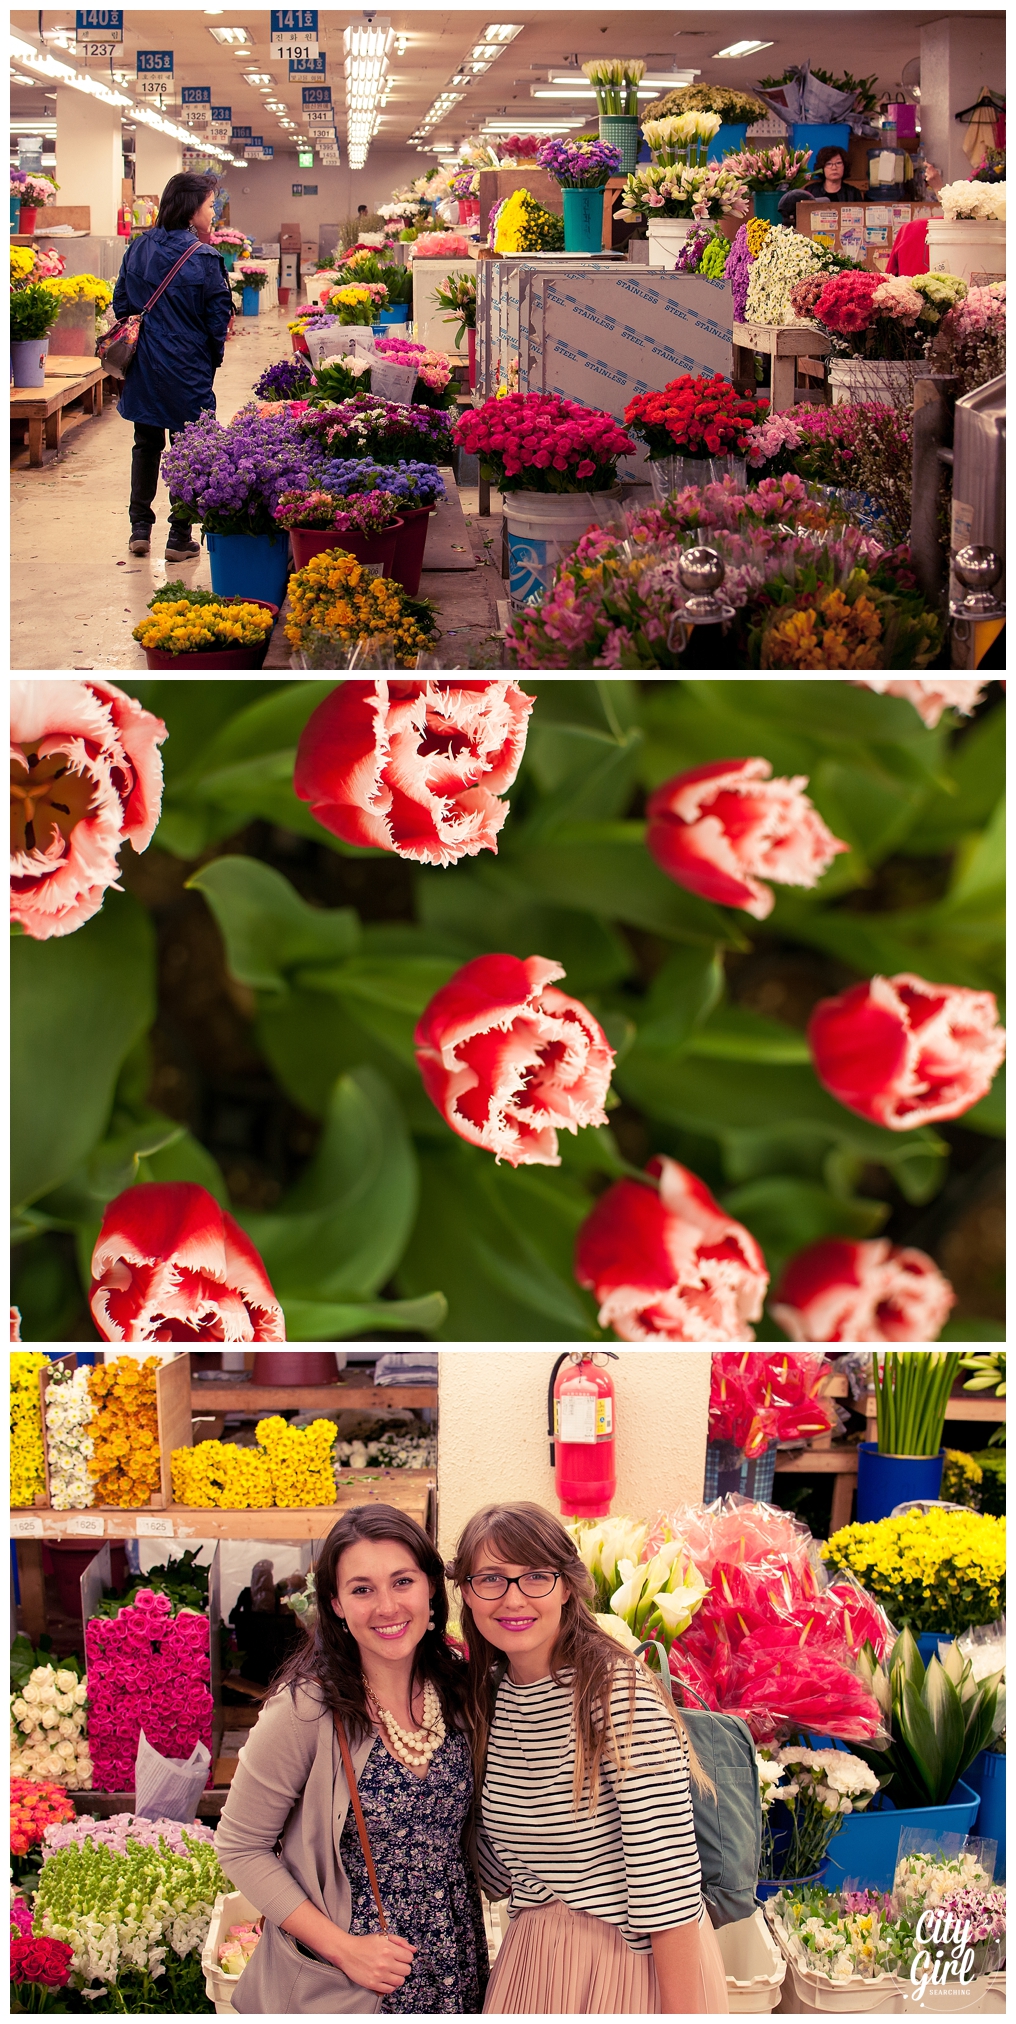
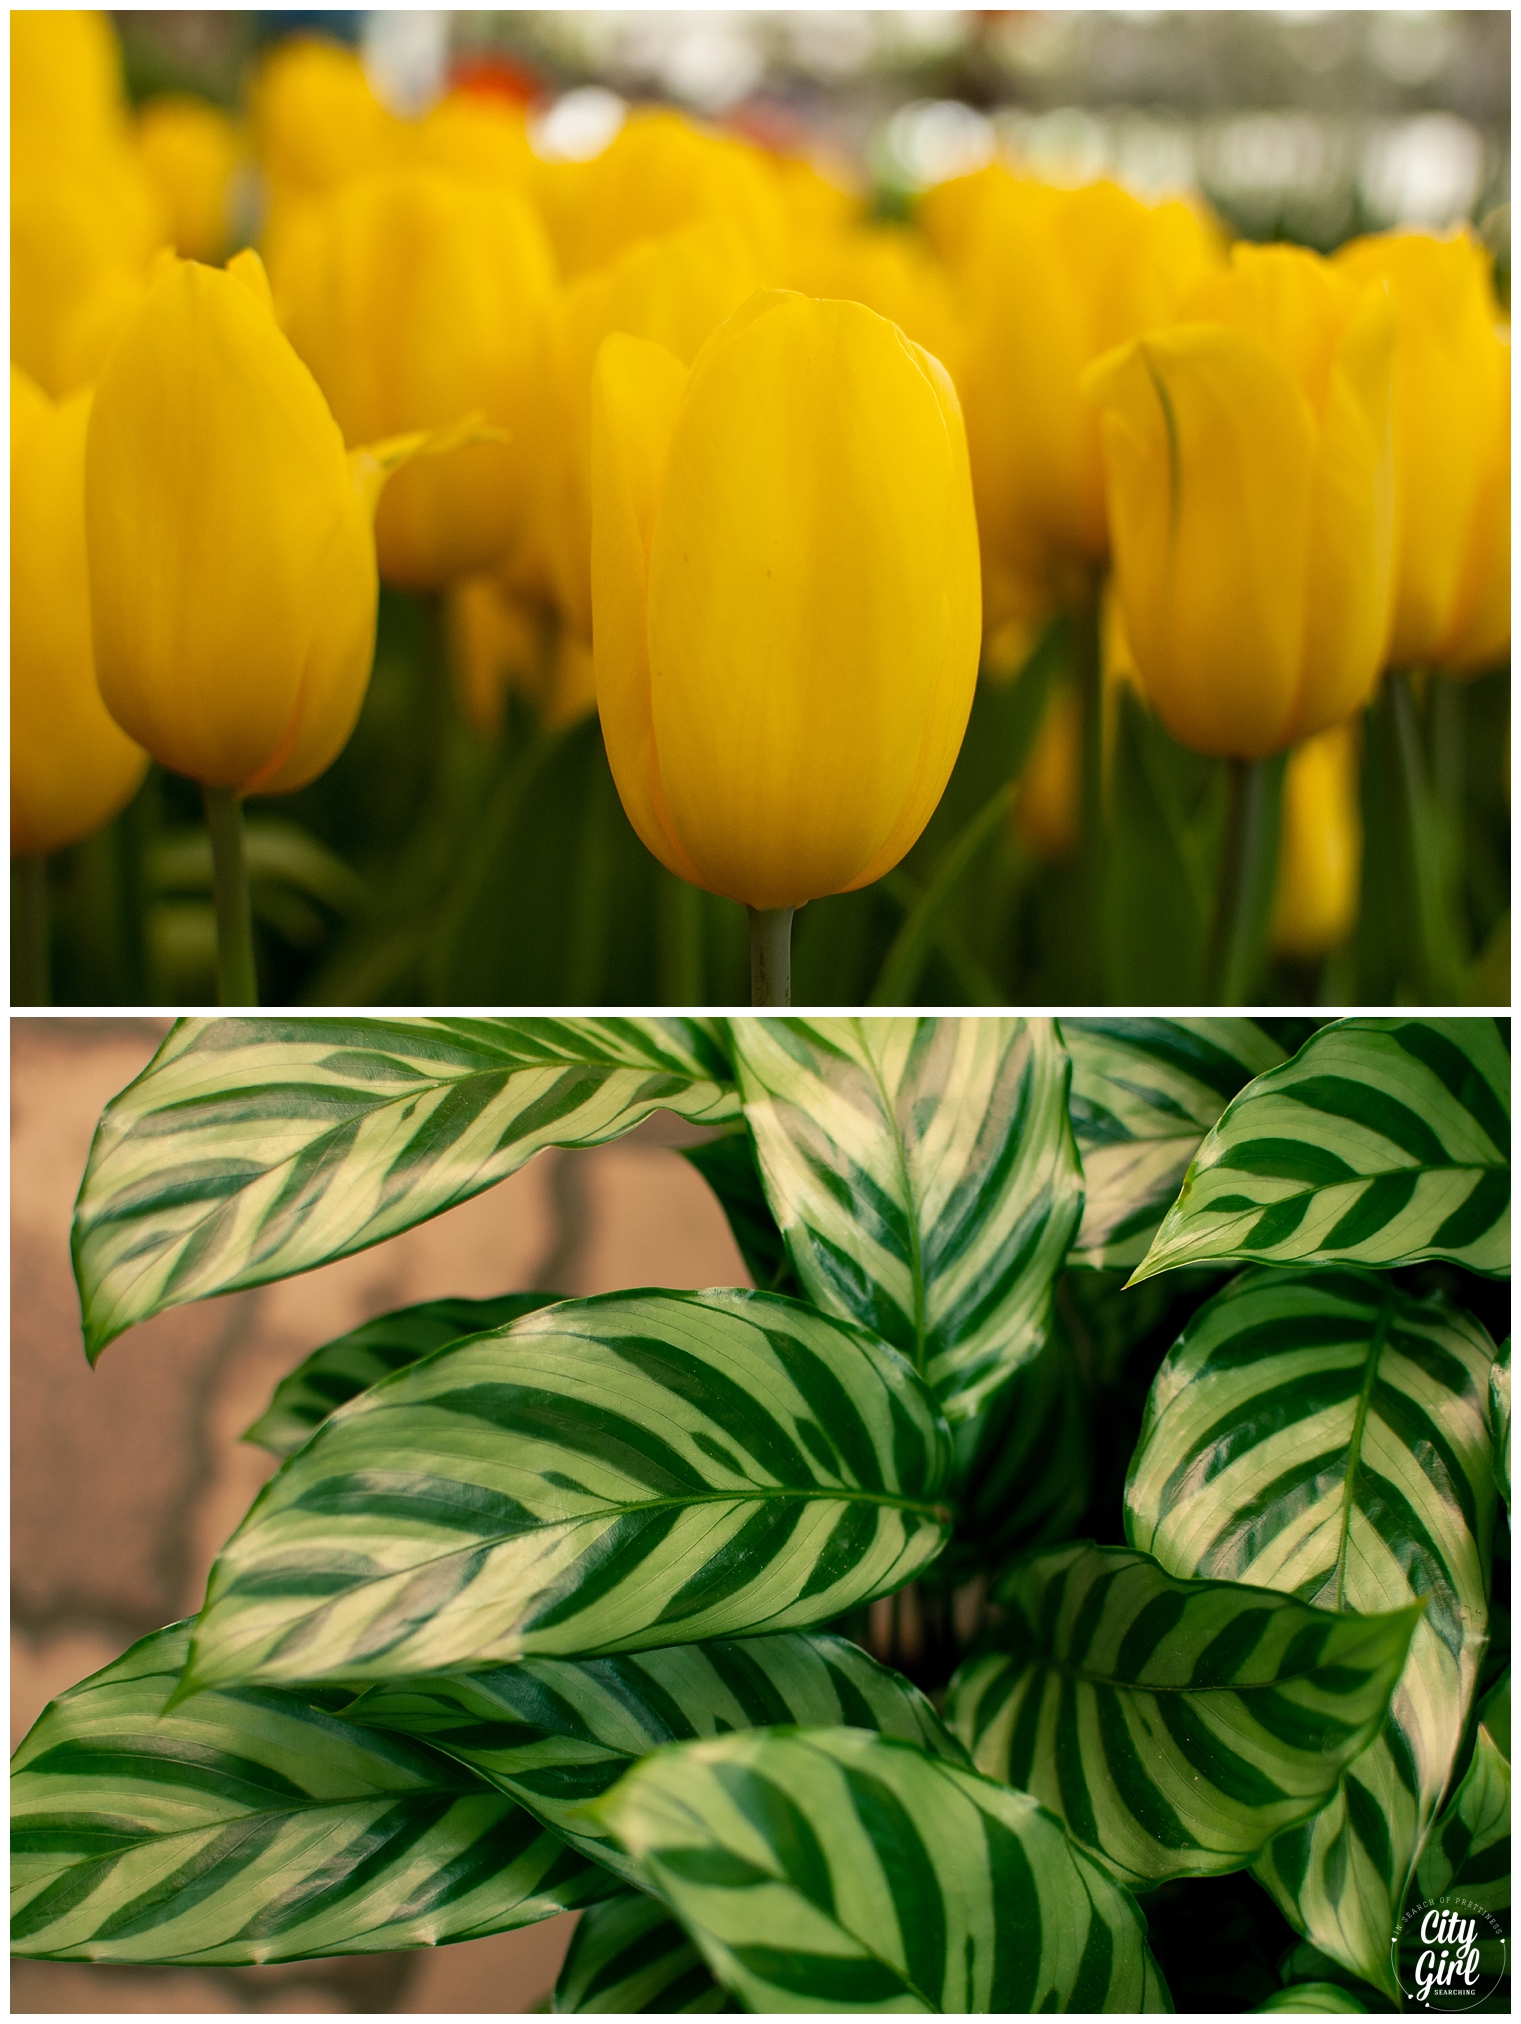
Yangjae Flower Market in Seoul is one of the largest in Korea. It is divided into several different zones, from whole sale to retail, it also has auction house and a whole floor of silk flowers, ribbons and other flower arranging items. The whole sale section of the market is open from 1am and closes at 1pm while the rest of the green houses and artificial sections are open until about 3pm. I headed there with a friend a few weeks ago, and even though I did't think I was mad about flowers, we spent a good number of hours wondering around, purchasing greenery and snapping photographs. It is well worth the trip, and I'm sure you won't leave empty handed. And succulents like these ones (click here) were only W1000 a pop...win!

Directions

Take the Sin Bundang Line to Yangjae Citizen's Forest Station (Exit 4). 
Continue walking for 200 meters to reach the market on the right.

Opening Hours

Wholesale Area : 1h00-13h00
Retail Area : 7h00-20:00
Potted Flower Area : 7h00-19h00

The Wholesale Area is closed on Sundays.

Some stores in the Retail Area and Potted Flower Area are closed on Sundays.

Vacuum Bags in South Korea

VacuumBagsinSouthKorea

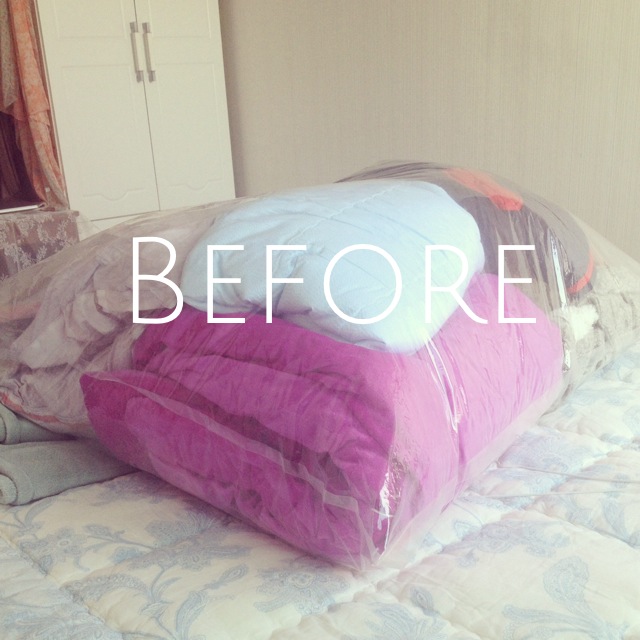
The title of this post should really be something like "How to squeeze mountains of clothing and bedding into a small bag" but that is a little long winded. With spring in full swing, (and being in the small apartment that we are in) we have needed to do something with all of our feather jackets, coats, blankets and duvets to make way for the hot and humid weather that is going to hit soon. Space is very limited in our house, limited to a tiny square of open floor underneath our bed. I found the perfect solution in Daiso a few weeks ago. Vacuum sealing bags. I have seen these before in South Africa, but have never really needed to use them. 

VacuumBagsSouthKorea

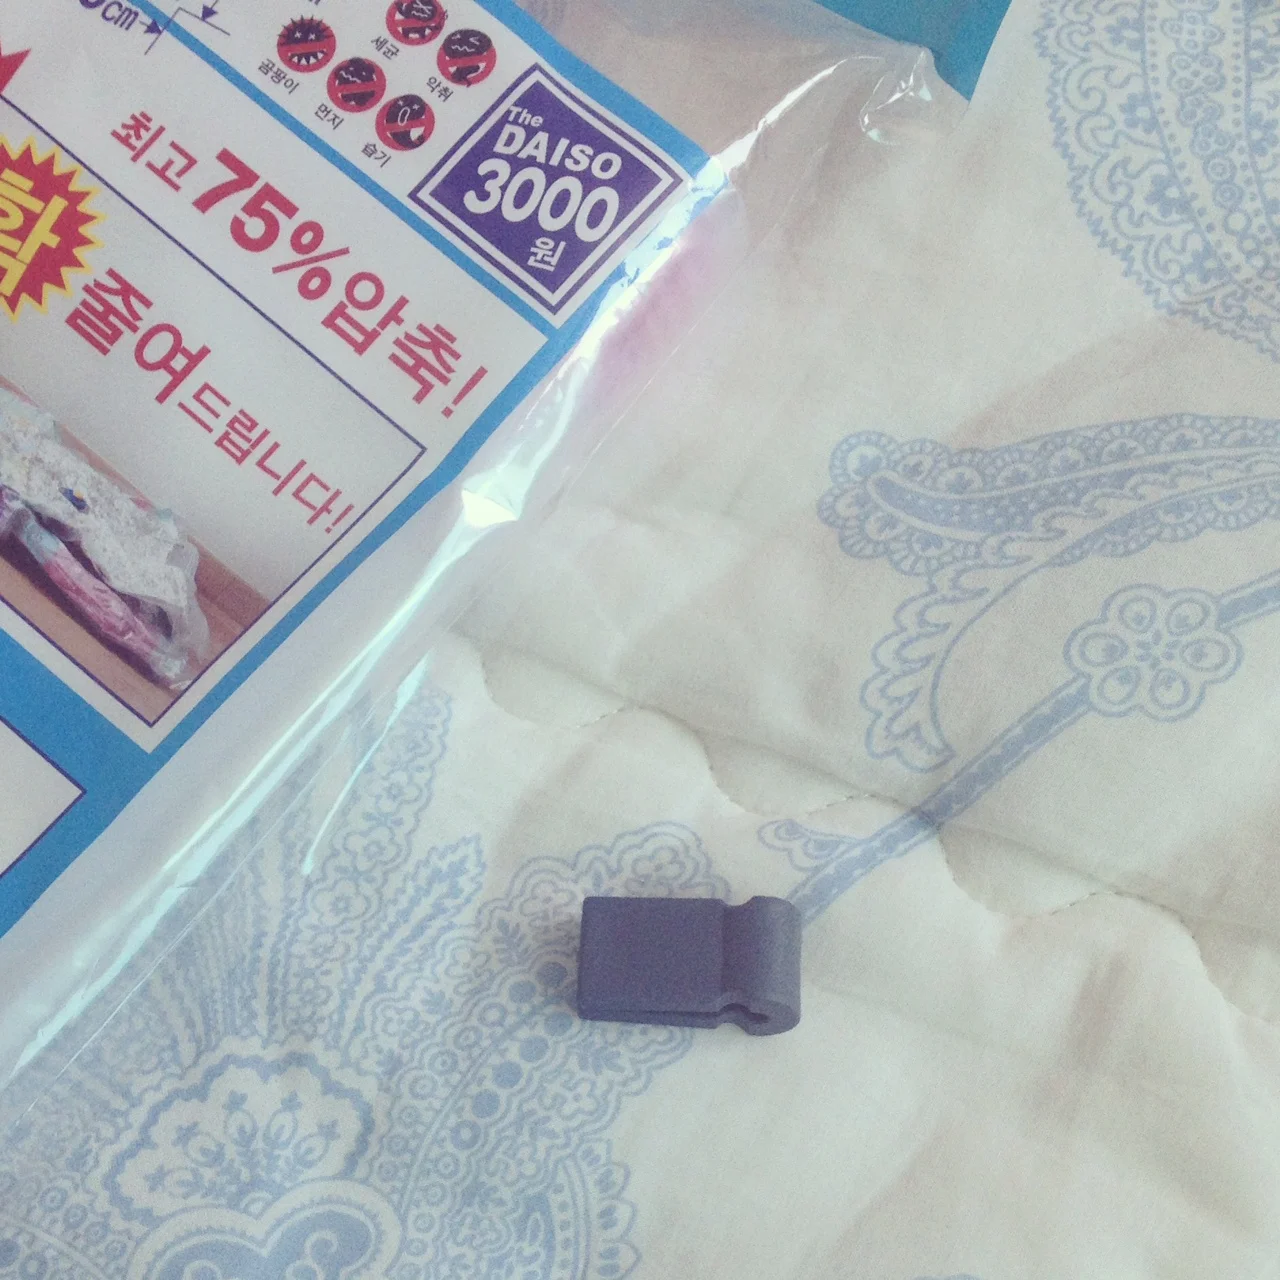
Basically, these bags are designed to store big and bulky (soft) items by reducing the space they take up. You use a vacuum cleaner to suction out all the air and you're left with a compact, and easy to store bag. You can buy these at any mart here in Korea, but I got these in Daiso as they seem to have the biggest selection and the best prices. When you buy them make sure that your bag included the little grey clip thingy, which helps seal your bag before removing the air (see picture below). Not all of the bags I bought included this handy gadget, so just make sure to keep an eye out and buy at least on that does. You only need one of them, and you can use it for every bag you have. Once you've sealed the bag, make sure to open the valve (the round shaped suction area) by removing the white cap. Then simply place your vacuum cleaner on the valve opening and bombs away. Packing has never been so much fun! Every time we pack away something, Farmboy and I are both mesmerised by the suction, it's amazing. Here's ate some pictures of what the bags look like as well as a before and after of our winter clothes and bedding. 

VacuumBagsSouthKorea
VaccumBagsSouthKorea
photo 1.JPG
VaccumBagsSouthKorea

I hope you found this post useful! Look out for more space saving posts coming soon!

How to style photographs for your blog

How to style your own photographs for your blog

This post is all about helping you create beautiful photographs for your blog, using tools that you already have around the house. I want to show you that you don't need to have a big, fancy camera to create pretty pictures.  All of these photographs have been shot using an Iphone 4S, and when edited, they have been edited in Instagram.

The most important part of blog posts for me, is the images and photographs that go along with the text. If a blog post has terrible photographs, now matter how good their content is, I tend to move on to the next one and probably won't go back. I am a very visual person, and tend to skim over long, wordy blog posts but if a blog has pretty, creative photographs I can spend hours pouring over the details of the photo's, and I'm always left feeling inspired for my own blog. So this post is going to give you some tips for styling your photographs and making them look beautiful, without the need for any fancy equipment.

5.JPG

Step 1 {Think}

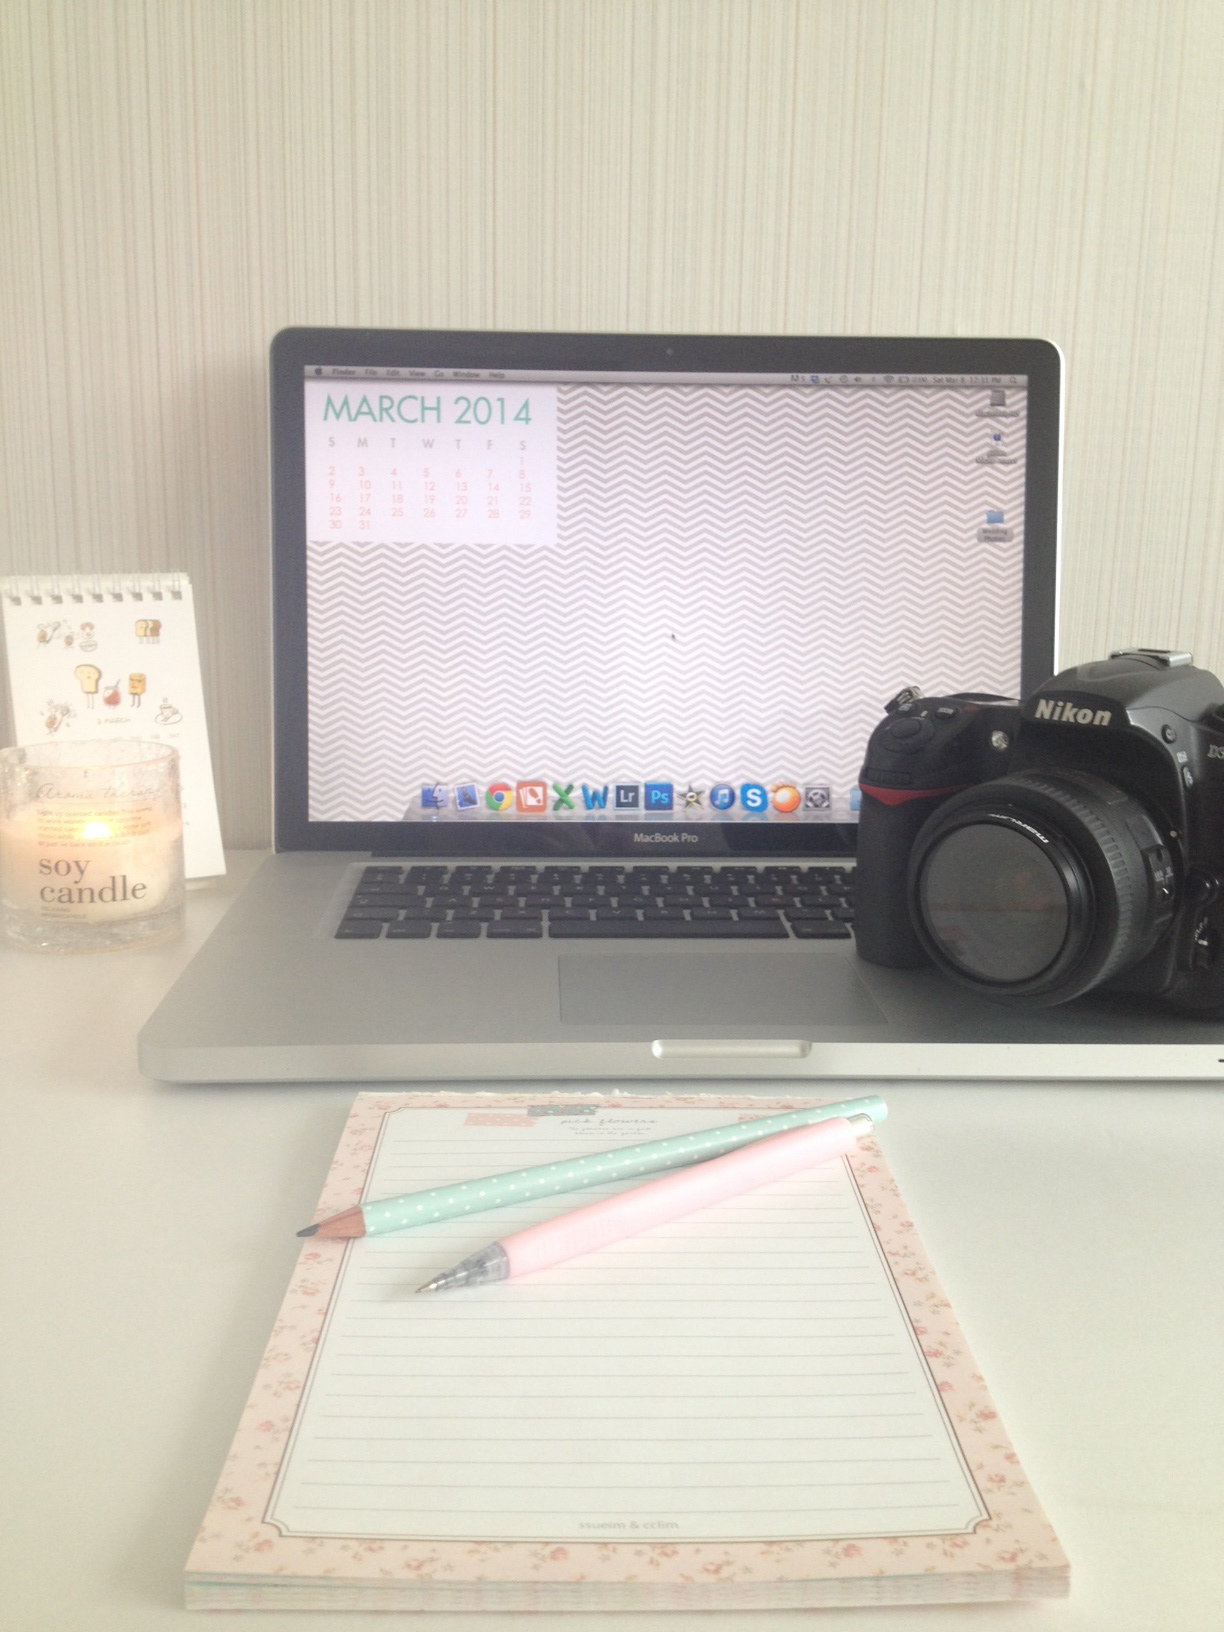
Think about the type of photograph you want to take. Are you going for soft and whimsical, or clear and bright? The kind of photo you want to create will determine the sorts of props you will need to make it happen. I wanted to create images images for this blog post that made use of the pretty bits if stationery I have. Most of my stationery colours are pastel and so I decided to go for a muted, warm feeling and added a candle for a little extra ambiance. If you want to style photographs for a recipe post, think about bright colours (possibly adding a variety utensils/fruit/bowls/chopping boards to the mix to give it a kitcheny feel). 

Step 2 {Studio Space}

The base for most styled shoots is a white background/surface so as not to distract from the actual content of your photograph. White also reflects light and when paired with natural light (place your products near a big window for the best natural light) creates a beautiful, soft glow and always looks very professional. I used 2 pieces of white foam board from my local stationery store. One piece for the 'table' or rather to cover my horrible green crates that I use for height, and then I used the other for the background in some of my images. When I didn't use the white board for the background I made sure to set up my 'studio' with a simple section of wallpaper in our apartment.

My studio (unedited). As you can see, you really don't need anything fancy. I used these crates instead of the table as I could move them to the big natural light source in our bedroom.

My studio (unedited). As you can see, you really don't need anything fancy. I used these crates instead of the table as I could move them to the big natural light source in our bedroom.

Step 3 {Play}

Now that you've got your space set up you need to play around with your props until you are happy. Try different angles, try playing with height, move objects around. The options are endless. This is the best and the worst part of styling for me. I love making things look pretty, but sometimes it can take up to 20 tries before I am happy with the photo's. 

9.JPG
photo 1.JPG
6.JPG
8.JPG
photo 2.JPG
photo 1-1.JPG
photo 3.JPG
photo 2-1.JPG

Once you feel you've got some great photos, delete the ones you don't like (there's no use having 50 photographs of the same thing when you only need about 5 - 10 good ones). 

Styling your photographs is easy...you don't even need to be a very creative person, just play round with your props and have fun! You can read about more tips and apps for editing your phone pictures by clicking here and here.

5.JPG

My top South African online stores

Online shopping in South Africa is definitely on the up with more and more stores offering free delivery and other great specials when purchasing online. But, it is a relatively new concept and a fair amount of shoppers prefer to physically touch the products they plan on spending their hard earned money on. Also, there is the age old fear of credit card fraud and the South African postal service to contend with too. I have been fighting with the post man when it comes to delivering my packages from my online store, but I am very happy and I hate to say it, surprised, to have had a 99% success rate on all my deliveries so far (the 1% being a package I sent to my mom last year which I believe has made its way back to me here in Korea after a rather unfortunate loss of the post mans arrival notification). I have a long term business plan for a nation wide delivery service, just for South Africans, that is fast, reliable and affordable...who wants to invest??? :)

BUT...the postage services are increasing in efficiency, with many online stores choosing to send packages with private services with a more reliable track record and all the shop owners I have spoken to have had no issues whatsoever. Which is good to know as today I want to highlight some of my favourite South African online stores. I haven't shopped at all of these yet as I have been out of the country for a while now, but there are a fair amount of birthdays coming up for my family & friends, I think I will just have to make some purchases soon.

(I had planned to blog about my Top 5 favourite stores and then spent hours scouring the web to fill my last 2 spots, but thanks to all the input from my lovely readers on Facebook, I was able to narrow their loooong list of great recommendations down to 7!).

And here they are, in no particular order:

OnlineShopping.png

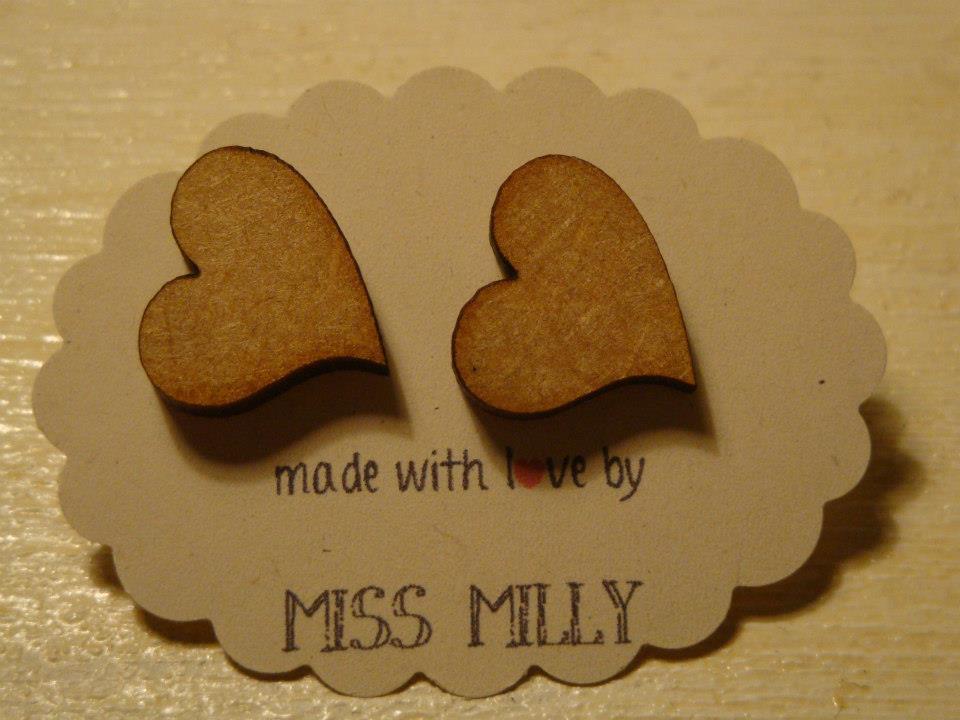
Meet Miss Milly & a {Giveaway}

MissMilly11.png

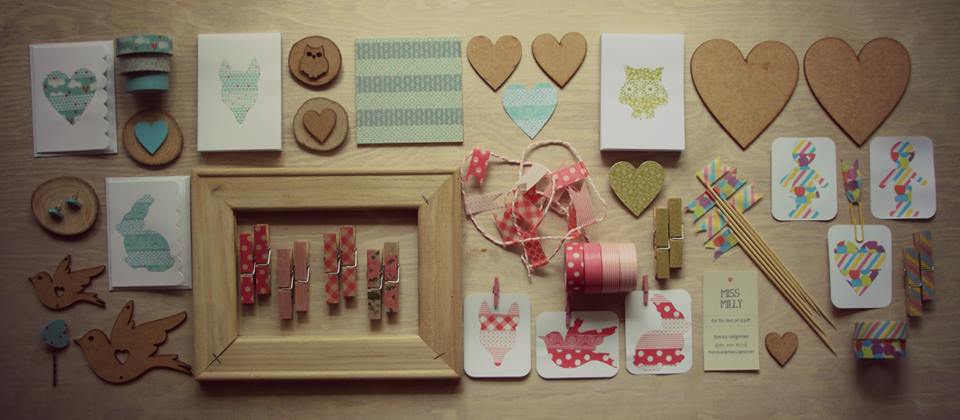
Today I am really happy to introduce you all to a lovely lady, business owner and new blogger; Theresa from MissMilly.

Theresa is from South Africa (yay for local talent) and is the brains behind her creative craft business called Miss Milly. 

Miss Milly is about
birds and the beauty of vintage
craft and being happy
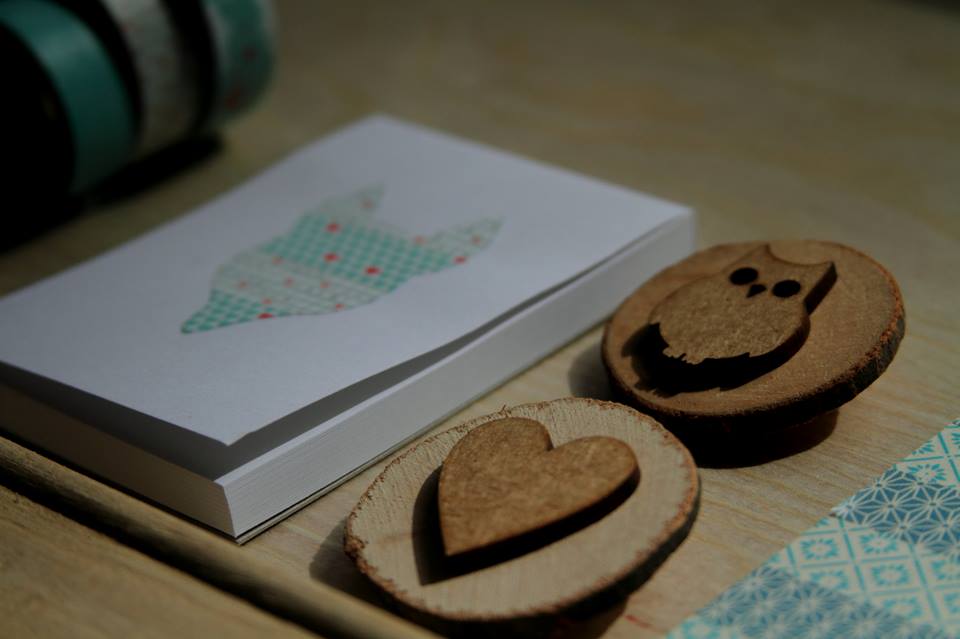
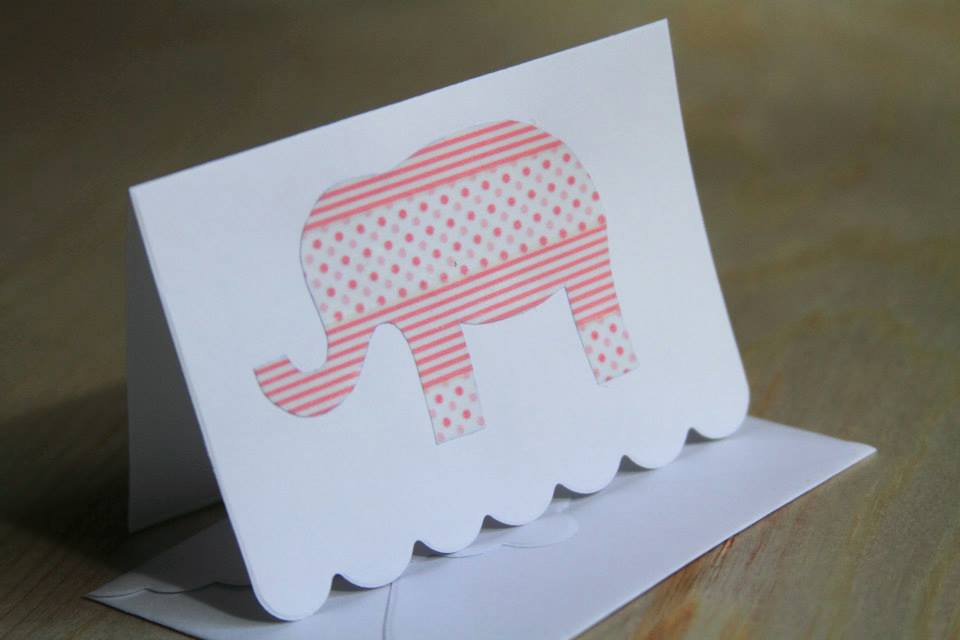
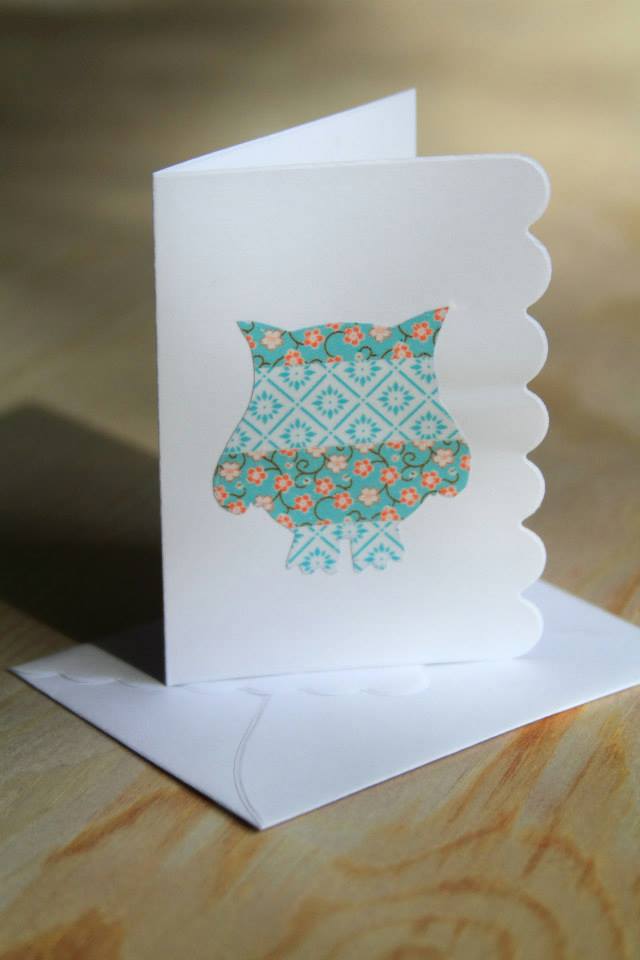
washi tape and wood
hearts and handmade
pastel and pretty
owls and foxes

It's all about {pink} ice cream!
And above all God.

For prices you can visit her Facebook page (click here) which has all her current stock. And to contact Theresa directly you can pop her an email on missmillysa{at}gmail{dot}com.

You can visit MissMilly at the following places:

Blog

Facebook & Store

Pinterest

CityGirlSearching & MissMilly Be Your Own Valentine Giveaway

MissMillyGiveAway.jpg

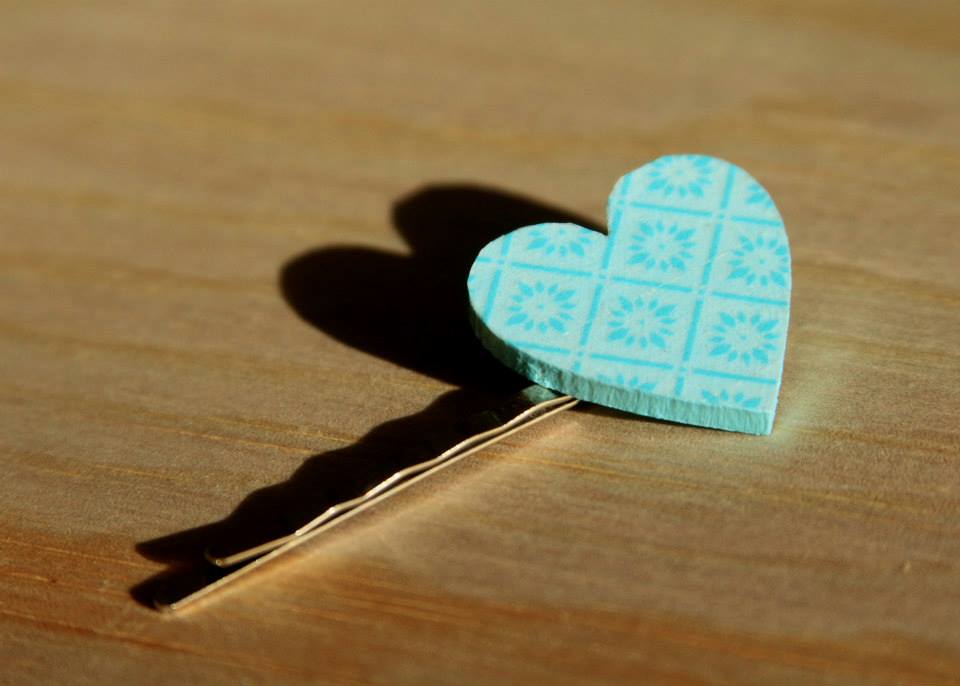
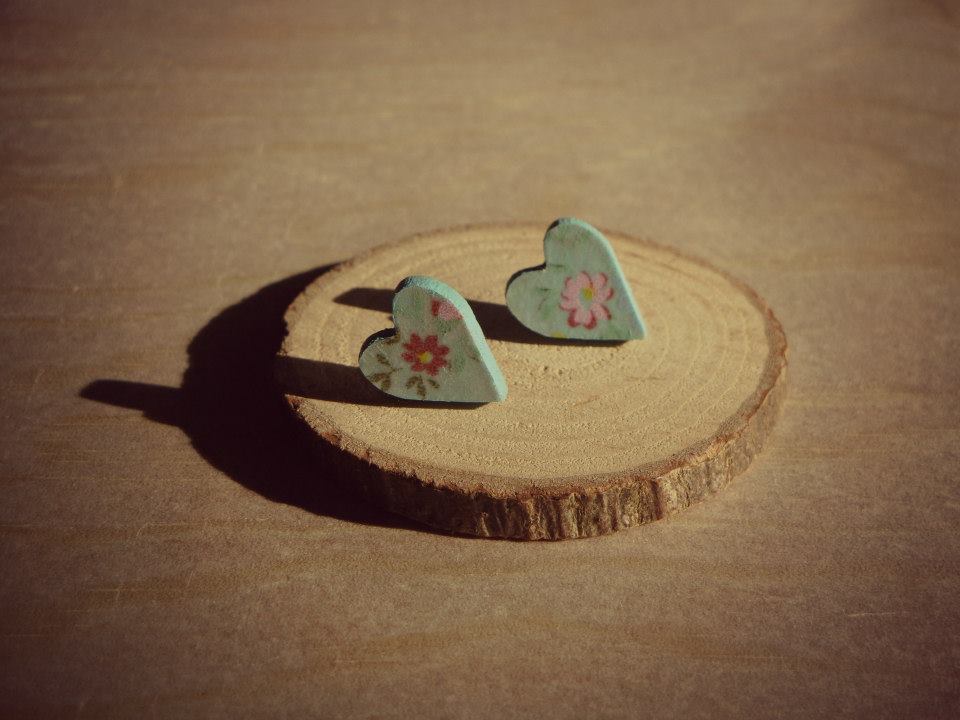
To introduce you all to her products, MissMilly is giving away some beautiful hand crafted washi taped goodies; a pretty heart brooch, matching earrings and a matching bobby pin. All you have to do is use the fancy Punchtab giveaway thingymagiggy below. You can enter in a variety of different ways (a few of the mandatory but most of them are extra's) and each way earns you another entry {please let me know if you have any problems, I know the entry system has given people hassles in the past when using Internet Explorer. If you are having issues, try refreshing your browser, or if you are able to, try visiting my blog again using Google Chrome}.

*Giveaway ends on Friday 31st January at 11pm (South African time).

*This giveaway is only open to South African readers.

Good Luck!

x

15 easy marketing ideas for bloggers + FREE checklist!

15 easy marketing ideas for bloggers plus a free checklist

Today I want to share with you 15 easy ways for you to get your blog out there. Some of them may seem obvious, and others not so much. I have been doing these things for a while now, and I have really noticed an increase in my readership here on my little corner of the web.

Blogging should be about sharing your passions with others, it shouldn't be something you have to force yourself to do. If you don't enjoy blogging, change what you're blogging about. Post a survey to your readers and ask them what they would like to see on your blog, so you can get some more inspiration for content. I have a constant internal battle with this though.

Sometimes the number of likes I get fuels my passion for blogging, and I feel drawn to post what is currently trending. But most of the time, I know that this blog is me, it is about me and what I like. It may be a small niche (searching for the  pretty-ness in everything is not everyone's cup of tea) but if I stick to blogging about what I like and what I find interesting as opposed to what I hope other people will like, then that's real.

And that makes me happy.

15 Easy Networking Tips for Bloggers

1. Network. Network. Network. In other words, use the social media accounts you have to actively engage with your followers.

2. Reply to every comment on your blog/Facebook/Instagram feed. 

3. Comment on other blogs, often! This seems obvious, but it really does help to get your blog noticed. When I see a reader has commented a couple of times on my blog, I am more likely to search out her blog (if they are a blogger) or spend some time finding them on twitter/Instagram and sharing some love on their accounts.

4. Email bloggers whom you admire, tell them that you like their blog. Be real. Don't just write something like 'Hey. Love your blog. Here is mine...etc'. Be honest with what you like about them, then just leave a simple link to your blog at the end of your email. There is nothing nicer than getting a email from a happy reader who wants to share her love for your work.

5. Start a Facebook page and use it for your blog rather than your personal Facebook page. I could tell from the decrease in engagement I got from my posts on Facebook after the first few weeks of spamming my friends and family with my blog posts on my personal page. 

6. You don't have to be a wizz at every social media platform. Rather choose one that you can commit to as opposed to having four accounts with little to no activity. Choose a platform that you genuinely enjoy using. Social media is fun, it shouldn't be a chore, and you shouldn't dread your time spent on it (on the other side of the coin, make sure to schedule in 'breaks' from the screen to ensure a healthy balance between real life and the online world).

7. You don't have to blog every day. This is tiring and you lead to you producing mediocre content rather than interesting and engaging material. But try to post at least 2 to 3 times a week to keep your content fresh.

8. Email other bloggers and ask about doing a guest post on their blog. This gives them new content and you get a chance to reach new readers. The worst they can do is not reply. At least you've put yourself out there and most likely they will at least click through to your blog and you might gain a new reader.

9. Ask questions at the end of your blog/Facebook posts. People are more inclined to respond to a question and comment, you are inviting them to actually do something as opposed to them passively taking in your content and moving on to the next post.

10. Use Facebook for short, catchy posts like quotes and photographs. People are visual, and drawn to interesting graphics and images as opposed to long lines of text. When you do use text, break it up into easy to digest chunks (the same goes for your blog posts). With Pinterest, people are being exposed to so much great content all the time, us bloggers have to work harder to make our blogs appealing to people. Why would someone go you your blog for recipes when they can go onto Pinterest and have thousands of red velvet cake recipes at their fingertips in seconds. No matter how many hours you spent prepping that post, you need to work on being different. What can you offer your readers that Pinterest can't? You might have a great sense of humour when you write your recipes, something that they can't find on Pinterest..put those thinking caps on!

11. Carry business cards with you...everywhere. You don't have to have a massive following to be allowed to have a business card. It makes you look professional, and you can quickly whip one out to give new friends you meet (people qill quickly forget your web address, even if you think it's the easiest name to remember).

12. Find other bloggers in your area and connect with them on Facebook/Twitter/Instagram. This means following all of their accounts and not expecting them to do the same (don't announce to the world that you've followed someone in the hopes that they return the favour). Follow them because you genuinely want to read about what they are up to, then engage with them in an honest and real way and they will in all likely hood follow you back.

13. Meet up with other bloggers. Don't be scared off by the fact that they might have 893 likes on Facebook and you have 12. We all start somewhere. I have met a lot of new friends this way (and I'm sure a few of them thought I was some crazy stalker when I first got in touch with them lol). But gently does it. You should be getting to know them through their blog and twitter accounts first before ambushing them into a coffee date.

14. Take your own photographs. Always. And when you can't find the right photograph, make sure you properly credit the rightful owner or email them for permission first. Rather have a blog post delayed while you get permission for using an image than get into legal trouble like this blogger. Oh, and Pinterest, just like Google, is not a source (read this great post on sourcing images from Pinterest). 

15. Have patience. You should be blogging because you like blogging. Not because you want to become famous. Although that's nice too.


Want a handy, printable checklist of all the tips mentioned in this post? All my blogging resources are waiting for you inside the CGScreative Resource Library which you can get free access to by clicking the image below: 


Happy Blogging friends!

x

How to Vote for South Africans living Abroad (especially those in South Korea)

As Farmboy and I will be here in South Korea during the next South African elections, we will have to do a little more homework when it comes to voting. It is now possible for South Africans living abroad to vote {yay!} so here is some more information on it for those of you who would like to vote but will be out of the country. Thanks to SAPeople for the information below:

  • How do I register abroad?

In order to vote in the elections you must be registered.

If you are already registered on South Africa’s National Voters’ Roll you DO NOT have to re-register. (Check your registration status online at www.elections.org.za)

If you are not already registered

  • You will need to register at your nearest South African Embassy, High Commission or Consulate-General (See http://www.dirco.gov.za/foreign/sa_abroad/index.htm for a list and see below for South Africans living in South Korea
  • Bring both a valid green bar-coded South African ID book, smart-card ID or temporary identity certificate AND your valid South African passport 


  • When should I register?

You can register until 7 February 2014 during office hours of your local South African Embassy, High Commission or Consulate-General.  For office hours please contact your relevant Embassy, High Commission or Consulate-General. You will not be able to register after 7 February 2014.

Provision has also been made for two special registration weekends, on 18 and 19 January and 25 and 26 January 2014, to accommodate those South Africans living abroad who are unable to register at their nearest South African foreign mission during normal working hours.

  • Registering to Vote abroad in SOUTH KOREA:

Registration services for South African citizens who are eligible to vote and are not currently registered, will be rendered at the South African Embassy Seoul, situated at 104 Dokseodang-ro, Yongsan-gu Seoul.

Working hours for the registration services are as follows:

Monday - Thursday 09h00-12h00 & 13:30-16h00

Friday 09h00-12h30 & 13h30-15h00

Weekends 18 & 19, 25 & 26 January 09h00-16h00

Please note: Only a green bar-coded ID, a valid Temporary Identification Certificate or a Smart Card are accepted for registration purposes.  No other document will be accepted.

*If you do not have your ID book here in Korea you will need to work on getting it posted here before the registration date is over. This has been done with success by many South Africans here in Korea. Send it via fast mail but do not write ID Book on the envelope. Just write 'gift' to be safe (we all know how the South African postal service is, unfortunately).  If it doesn't end up arriving and gets 'lost' somehow, you can apply for a new one when you get back to South Africa with your passport. It is definitely worth taking the risk to get as many people to vote as we can...your vote can make a difference.

Source: AllPosters

Source: AllPosters

  • How do I apply to vote abroad?

Once you have registered (either in South Africa or abroad) you must then complete an online VEC10 form available on www.elections.org.za. This form notifies the IEC of your intention to vote abroad and indicates at which Embassy, High Commission or Consulate-General you will vote.

The form will only be available once the election date has been proclaimed and must be completed within 15 days from the proclamation date. (The President will only announce the election date after 9 February.) Voters will receive confirmation of receipt of the VEC10 form and approval to vote abroad via SMS or email.

  • How do I vote abroad?

The receipt that informs you whether you qualify to vote (which you will receive only following the submission of your online VEC10 form) will indicate the South African Embassy, High Commission or Consulate-General where voting will take place and the date on which voting will take place (usually a week before the election day in South Africa).

You must take your valid green, bar-coded South African ID book, smart-card ID or temporary identity certificate AND your valid South African passport with you to the diplomatic mission to vote.

For voting times, please check the website of the relevant Embassy, High Commission or Consulate-General.

  • Can I vote before I leave South Africa?

If you are going to be abroad on Election Day and would like to vote in South Africa before Election Day, you may be able to apply for a special vote at your local IEC office. To read more about special votes visit www.elections.org.za and/or to find your nearest IEC office.

  • More Info

Click here for more detailed info on voting abroad.

You can find the Electoral Commission (IEC) at:

How to create beautiful collages in minutes

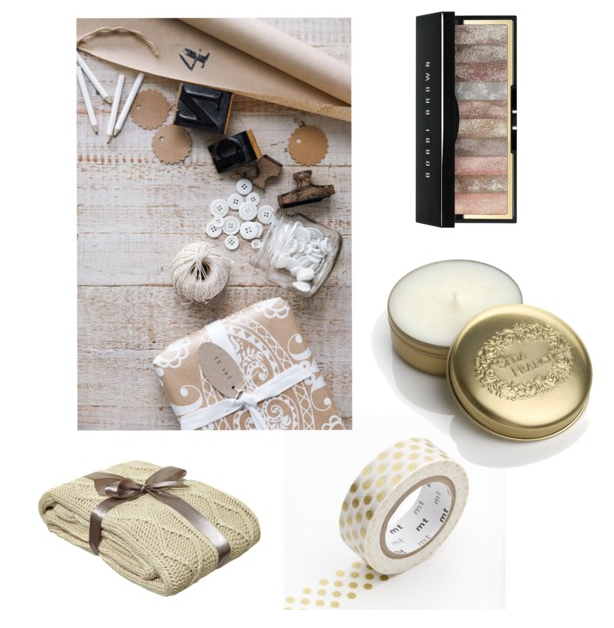
Creating collages used to be something I dreaded doing. It takes hours of painstaking research to find the exact photograph of a number of different items, source them properly and then to find them all with a white or even better yet, a transparent background is just horrid work. In the blogging world there are collages, and then there are collages. You know the ones I'm talking about, those beautiful, seamless compilations you find on the top fashion and beauty blogs, and then you get the first few I ever made. Chalk and cheese really.

Well I am going to let you in on my secret to creating beautiful collages like this one, using a free site called Polyvore...

Screen shot 2013-12-15 at 6.27.13 PM.png

Creating collages using Polyvore

The above collage was created using the very easy to follow (and did I mention free) website Polyvore.

Polyvore works a little like Pinterest in that you are able to create your own online pinboard of images. There are a number of different categories, and from these you can make stunning and professional collages for your blog. Why not make your own gift guides for Christmas? Or how about creating your own wish list to help your friends and family in picking out the perfect gift for you? 

The site is designed to share clickable links to the prices of the items in your creations on the usual social media platforms, so you know the price and where the closest stockist is to you. But as I only want to use the image as a graphic, I simply screenshot the collage and go about inserting it that way.

Here are a few more collages I've created using Polyvore.

I'd love to see yours creations too. Simply upload them to my Facebook Page so I can have a look!

Good luck and happy creating!

x

Screen shot 2013-12-15 at 10.23.26 PM.png
Screen shot 2013-12-18 at 2.50.39 PM.png

Easy DIY Christmas Tree

photo 1.JPG

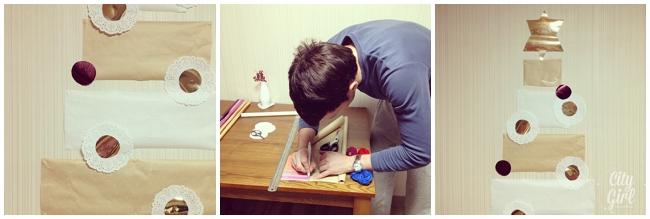
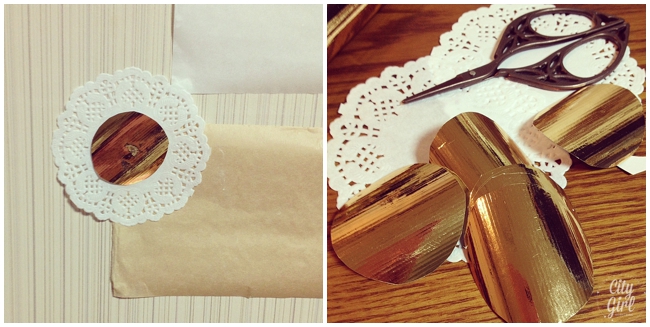
With just over a week to go till Christmas, you might still be in search of the perfect tree. Or perhaps, like us, you live in South Korea with little to no room, in which case this DIY in perfect for you. It's quick and easy, uses only a few items and will add a little more festive cheer to your home.

Super essential is a handsome man to do your measuring when you get distracted by needing to document the whole process to blog about later...

photo 2.JPG

Blogging Tips...Keeping your Blog Post layout consistent

CGSKeepingBlogPostGraphicsConsistent.png

Have you ever thought about the actual design (layout, image sizes, fonts, graphics) of your blog posts? 

Think about the blogs that your enjoy reading. What do you like about them? I'm sure they make it easy for you to find content, to scroll, the actual blog post content is easy to read (the font isn't so small that you have to squint at the screen to read the title) and the general layout of each post is visually appealing. This makes the whole experience of reading a blog enjoyable. There is nothing worse than finding a blog with great content, but it's hard work just to sift through it and read the actual message of their posts.

So today I am going to be sharing with you some tips for your own blog post design, as well as some resources to help you if you don't happen to have a graphic designer friend who makes you free elements for your blog...

1. Use a Mixture of Images and Text

This helps to break up the monotony of the black and white visual elements of a written piece. If I come across a blog post, no matter how interesting it may be, if it is just line after line of black writing I immediately switch off and head to the next blog. I am a very visual person, and am attracted to pretty pictures. That's not to say that you can't have long posts with only text in them. Take a little time to use spacing properly (the term used here is 'white space') which makes text easier to read. If you do use images that aren't your own, always make sure to reference properly.Look what happened to this blogger when she incorrectly sourced someone else work. 

Here is a useful tool for finding the source of an image called src-image bookmarklet (just copy the url of the image, which you can find by right clicking and selecting the 'copy image url' option) and pasting into the search bar.

Plain text can be thought provoking and look great when done right (look here at my friend Kerry from Midlands Musings who writes beautifully and makes me actually want to read through more than 3 sentences at a time).

The most important thing here is to plan your post before hand and decide whether you will be using pictures or text, or both, and think about how to make them look more appealing in a blog post.

BloggingTips

2. Choose your fonts and stick to them

If you are using Blogger for your blog, you will have found the template editor to be your best friend when it comes to the customizing your blog. From there you have complete control over the colours of your text, the fonts, the font sizes and the layout of every element. The lovely Katrina over at PuglyPixel recommends limiting the number of fonts you use to no more than three (one for post titles, one for the sidebar titles, and another for the post body). Too many fonts tend to make a page look really busy. Additionally, when choosing fonts for your text, aim for legible fonts in a readable size. Whatever font you choose, keep legibility in mind. The most readable font under 14px is Verdana and larger than that, Arial is the most readable." PuglyPixel.

When I first stared blogging I changed fonts like the weather, and still do from time to time. But now that I am designing my new website, it's important for me to establish my branding and to keep it consistent, so readers are able to place my blog design with my brand. It will make your blog look more professional and cohesive.

Blogger has a whole range of different fonts built into it, so you can really get your hands dirty and get creative to ensure your blog stands out from everyone else's.

3. Set a standard width for your blog post images

When something sticks out, you tend to notice it, and think that it must be a mistake. Keeping your image size in blog posts consistent helps with providing an overall professional and clean impression. You can use a free program like PicMonkey to change the size of your images. When I create graphics and edit my photographs for my blog, I always resize them to be 650px, that is the default size of my blog post. Doing this keeps everything neat and tidy. By also resizing your pictures you ensure that they download quickly when people open up your blog. You can also use a site like PhotoBucket to store your images and resize them before uploading to your blog.

To create collages like I do here on the blog you can either use a fabulous paid for program like Blogstomp (I use Blogstomp to resize all my images, create collages and add my watermark to all my photographs) or a free online editing program like PicMonkey.

BloggingTips

These are a just a few tips to help you on your way. Pop on over to these lovely blogs to learn more:

Elembee "Creating a Graphics Style Guide"

Glossary "Blog Design...A Couple of Tips"

InResidence "Amateur Blogging Tips"

AshleyEllaDesign "Creative Blogging Resources"

If you have any questions about blogging, or anything that you aren't clear about from the above tips, please pop me a comment below and I'll get back to you soon. Please also leave a comment if you have any other tips for making your blog posts pop!

Happy blogging everyone!

x

{Creative Business} Series wrap up

CreativeBusinessTips.png

Friday last week was the last day of our 2 week series featuring tips and advice from nine South African ladies on starting your own Creative Business. I learned so much from the other ladies, and really enjoyed being a part of the series. To find out what the series was all about, click here.

Here is a wrap up of all the posts. How did you enjoy the series? Did you find the tips useful? I'd love to hear your comments below <3

CreativeBusinessBlogSeries_0103.jpg

What's the most important question to ask yourself before starting your own business? on Caitlyn de Beer Life Coaching

“Recently I was asked what I feel the most important thing to consider is, before starting your own business. Fortunately being relatively new to the ‘owning’ your own business scene, I knew just the answer….It’s a simple why. The why should come before..” click here to read more


CreativeBusinessBlogSeries_0108.jpg

Should you combine many passions or just choose one? on Megan Galloway Growth Coach.

“So, you want to start something. Something unique. Something creative. Something that gets you bouncing out of bed in the morning ready to inspire and to be inspired. Wonderful! Problem is you have so many ideas, so many passions … how can you possibly know where to focus your energy? As Barbara Sher has titled her book: What do I do when I want to do everything? Sound familiar?..” click here to read more


CreativeBusinessBlogSeries_0105.jpg

The importance of Professionalism – website & photo’s on Ilze Louw Photography

“When I started my business I was all over the place, in every aspect, and then I came across this…DEFINE YOUR STYLE AND BUSINESS IN 3 WORDS. So I did, I wrote down 3 words that I wanted to describe my business and stuck it somewhere where I could see it every day. It’s a funny thing, but once I wrote down those 3 words, and seeing it every day, people started telling me (without knowing about my words), how they see my work and business, exactly pin pointing those 3 words. Defining your style and business will not only help you, but will show the outside world that you are serious about what you do, that you have a clear vision and plan.” click here to read more


CreativeBusinessBlogSeries_0111.jpg

Blogging – Where to begin on CityGirlSearching

“Blogging. Everyone seems to be doing it and as a newbie blogger it can all seem very intimidating. But that's where I come in. I will be sharing with you tips for starting your blog as well as some advice for growing your blog and getting it to where you want to be.” click here to read more


CreativeBusinessBlogSeries_0106.jpg

How to use Social Media to promote your businesson Sunflowersandspears

"It gets really tricky to try to understand how a hashtag(#) can help you get more recognition and an @ symbol is no longer just the middle of an email address but a way of finding people. I have become extremely passionate about Social Media and it's incredible way of turning a business that was once a name on a business card into a name on people's lips. If that is what you are craving for your new business then read on as I try to explain to you how it all helps." click here to read more


CreativeBusinessBlogSeries_0104.jpg

Creating an Online Store on Happiness Is

“Ever wanted to sell your products on an online store, but didn’t because it seems scary? I’m going to give you some insight into what’s out there, best practices and what to watch out for.” click here to read more


CreativeBusinessBlogSeries_0110.jpg

Networking on Coffey and cake

“We’ve all heard it before... “It’s not what you know, it’s who you know” and this has become so true in my journey as a young creative. Networking isn’t easy, it requires courage to step out and make that call, or organise that coffee meeting even if you aren’t sure you will have anything to talk about with the other person. However, networking is one of the most powerful first steps you can take when starting out on your own.” click here to read more


CreativeBusinessBlogSeries_0107.jpg

Bridge jobs (the secret to financing your creative business)on Ruby&Swallow

Today we're talking about starting your company while you're still working. How do you juggle both, how do you make sure you don't burn out and more importantly, how you can work towards turning your business into something you can do full time? We've got some tips for you from our very own experiences in growing Ruby+Swallow.” click here to read more


CreativeBusinessBlogSeries_0109.jpg

Creative or Critic: Who’s driving your business venture? on Loving Mondays

“So you’ve started your new business venture. Well done – it’s taken lots of courage! But who’s in the driving seat when decisions are made? And who is getting the most airtime when it comes to moving forward? The Creative or the Critic?” click here to read more


So there you go! A whole load of free resources to help you make get your creative business up and running, and of course, to help you in the road to success. If you have any questions, please feel free to pop a comment below and I'll get back to you.
Good luck!

x

Resources for Bloggers

Great resources for boggers

Since I published this post on Blogging (a guide to blogging for beginners) I have had such a wonderful response from readers, and so I wanted to carry on with the theme of blogging tips and tricks (and as is the case with this post...resources) for all of you.

Here are some of my favourite blogging resources (and a few new ones that I have recently started using) that help save time as well as those that I use on a daily basis. I hope you find this list helpful, and if you have any others you would recommend, please do comment below <3

Blog Lovin'

A way to stay up to date with all your favourite blogs, and what most people are using when they say they are 'following a blog'. It's a free service, and although I was a bit skeptical at first, the layout of the site is super easy to use and navigate around, and you are able to 'like' posts in an easy way, as well as being able to share posts that you like on all the various social media platforms.

Feedly

Another super great way to stay connected with your favourite blogs. I have just found stumbled onto this site, and I'm looking forward to learning more about it.

ABeautifulMess iPhone & Android app

This is by far one of my favourite apps for my phone, I use it all the time to beautify my photographs for Facebook and for my blog. It is similar to Picmonkey in that you are editing photographs and adding text, but it's just so much better. The founder, Elsie & Emma run the wonderful blog A Beautiful Mess Blog and have just launched an update for the app as well as launching it for Android phones...its amazing! I use it to create my photographs and graphics for Instagram too. {CLICK HERE to see what else you can do with the app}. Download it from Itunes for 99c here.

MailChimp

I haven't officially started using this email campaign site yet, but it is very powerful and I can see just how awesome is is going to be to communicate with my readers once I have it set up and running. The founder of our current blog series, Caitlyn de Beer, where nine of us South African ladies have been contributing over the past two weeks on Starting your own {Creative Business} *CLICK HERE to read more* has been using MailChimp to communicate with all of us. The site allows you to schedule emails ahead of time, so you can write them all up and get the ready (there is so much that can be done with customizing them too!) and then you can set up a date and time for the emails to go out. You can also create beautiful newsletters to send to readers (and family too!). I am looking forward to sinking my teeth into this site more soon.

PicMonkey

A free online photo editor, that allows you to edit photographs and add text, create collages and generally 'prettyify' your photographs for your blog.

HootSuite

HootSuite is a social media management system for businesses and organizations. You are able to see all of your social media platforms on one dashboard, and post onto each one from one place. Its saves me time, and with their new auto scheduling option, HootSuite will publish your Twitter & Facebook posts at the optimum times for increased exposure based on a whole lot of numbers and other fancy maths things they have done. Super cool!

Happy blogging everyone!

x

Happy Friday and {Oh Joy!} blog love...

I love finding new blogs to follow. They leave me feeling inspired and ready to get out there and make things happen on my little blog.

While searching for a cute 'Happy Friday' graphic on Pinterest this morning for my girls (I am an English Teacher at an all girls middle school here in South Korea) I found this lovely one created by OhJoy!:

Whenever I re-post other peoples work on my blog or Facebook I always try to credit the source. This can be frustrating when people don't credit the source properly on sites like Pinterest and Facebook. So it can take a lot longer than usual to find a lovely image and of course to make sure to credit the creative properly. Anyway, to cut a long story short, this lovely image is from Joy's wonderful blog Oh Joy!

Joy Deangdeelert Cho is a graphic designer, blogger, food enthusiast, and the founder and editor of Oh Joy. Launched in September 2005, the Oh Joy blog covers inspiration and design with a focus on Joy's favorite things: design, fashion and food.

 Her blog is full of inspiring photographs, delicious eats and of course her cute little girl Ruby. Here are some wonderful photo's from her blog for you to enjoy. 

It's because of blogs like OhJoy! that I have my own space here at CityGirlSearching. I hope this little ol' blog leaves you feeling inspired when you pop by.

Lots of love 

Roxy

x