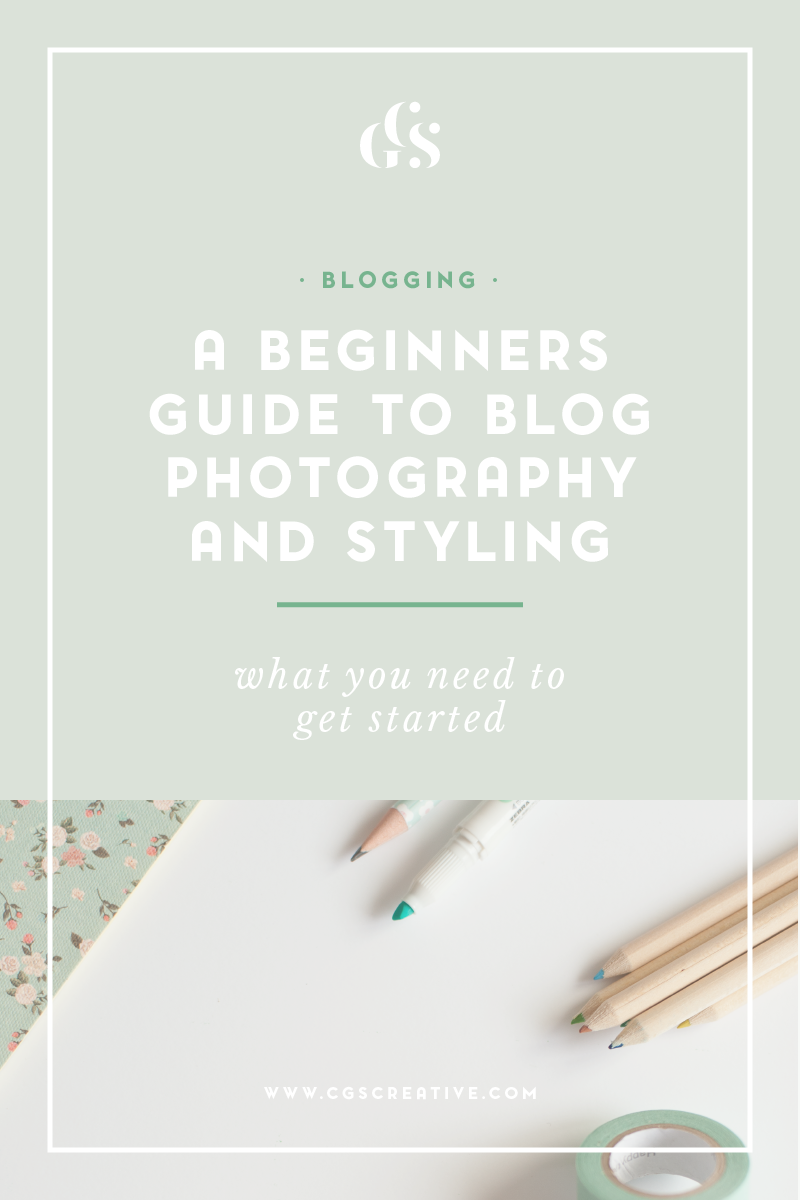
How to style photographs for your blog

How to style your own photographs for your blog

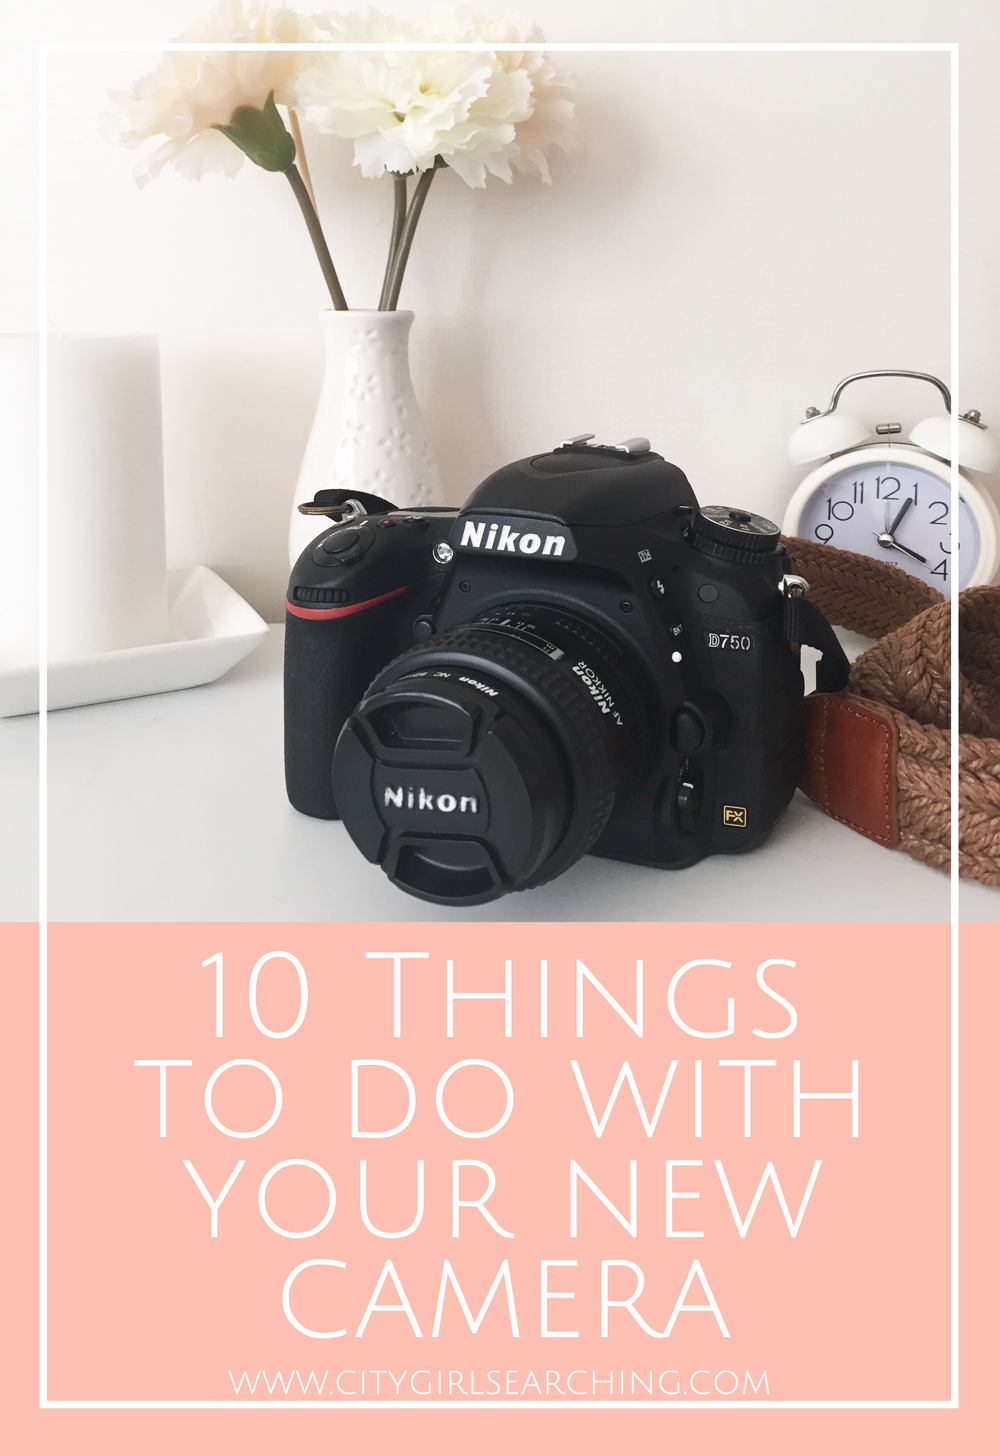
This post is all about helping you create beautiful photographs for your blog, using tools that you already have around the house. I want to show you that you don't need to have a big, fancy camera to create pretty pictures.  All of these photographs have been shot using an Iphone 4S, and when edited, they have been edited in Instagram.

The most important part of blog posts for me, is the images and photographs that go along with the text. If a blog post has terrible photographs, now matter how good their content is, I tend to move on to the next one and probably won't go back. I am a very visual person, and tend to skim over long, wordy blog posts but if a blog has pretty, creative photographs I can spend hours pouring over the details of the photo's, and I'm always left feeling inspired for my own blog. So this post is going to give you some tips for styling your photographs and making them look beautiful, without the need for any fancy equipment.

5.JPG

Step 1 {Think}

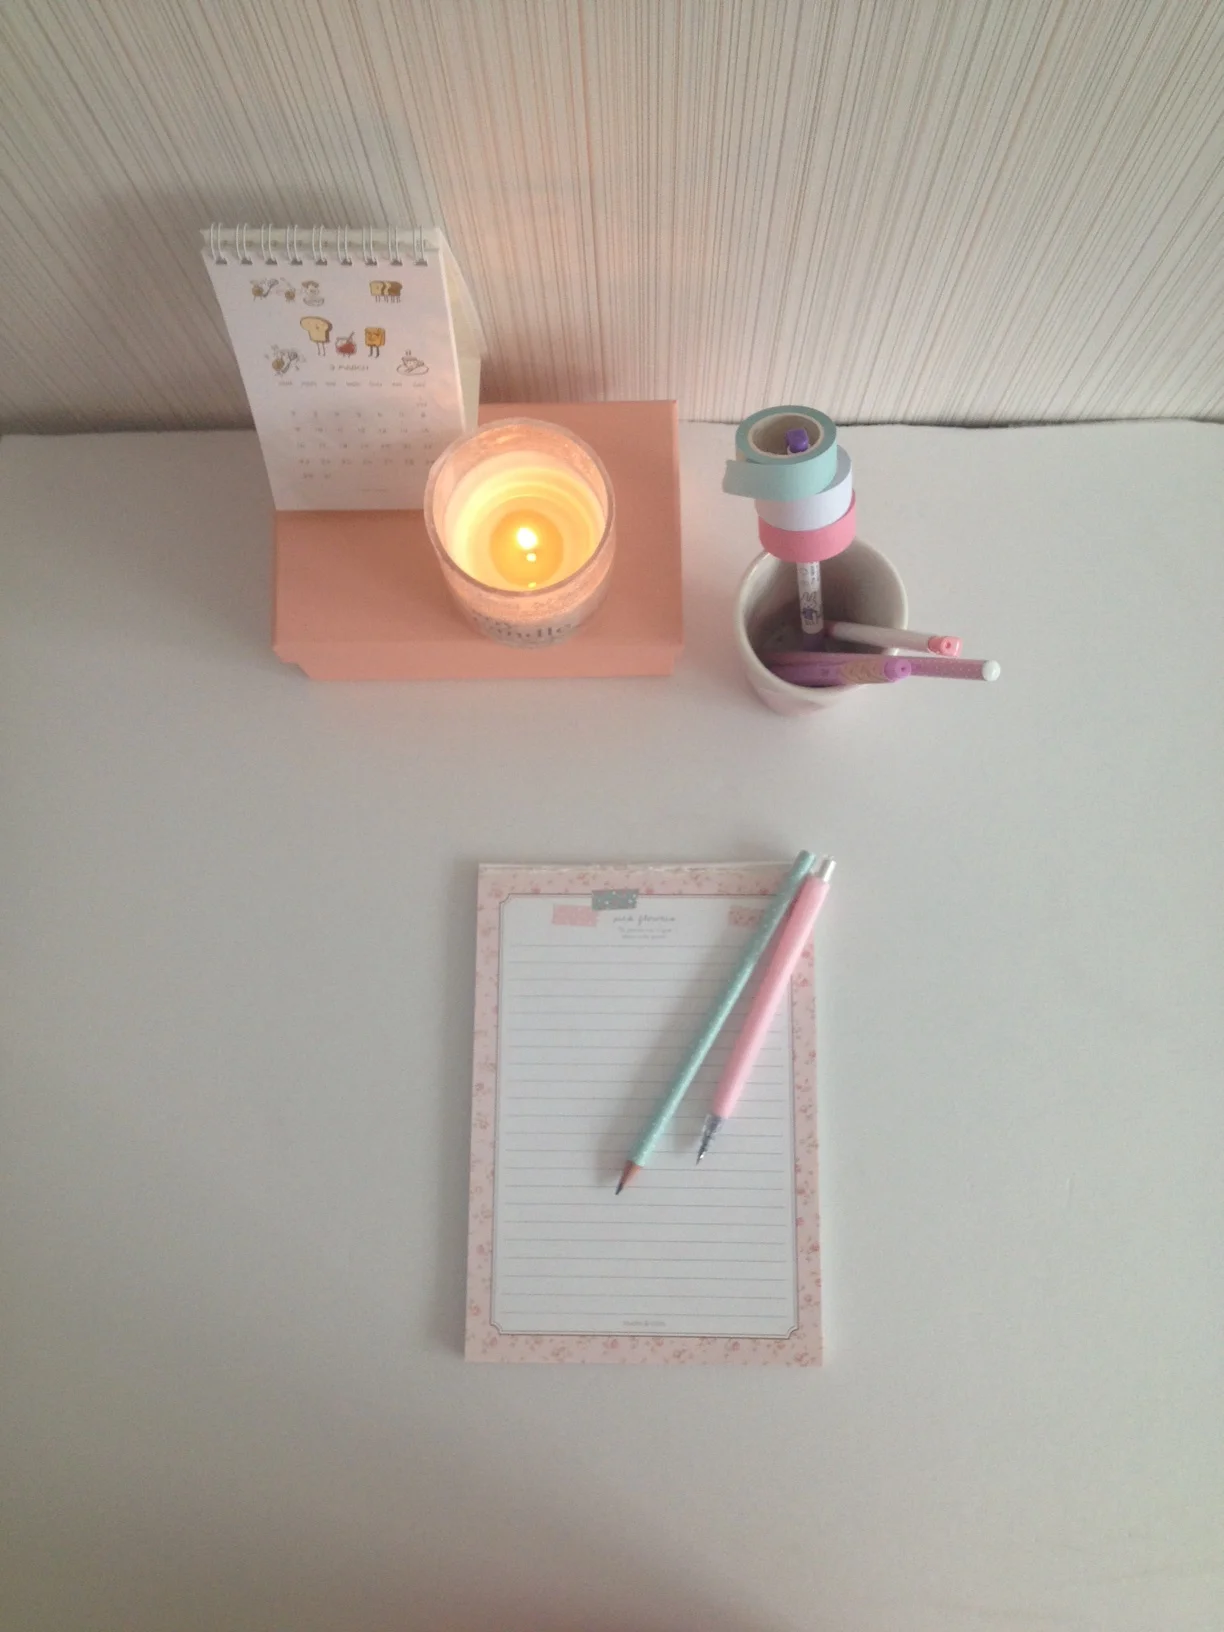
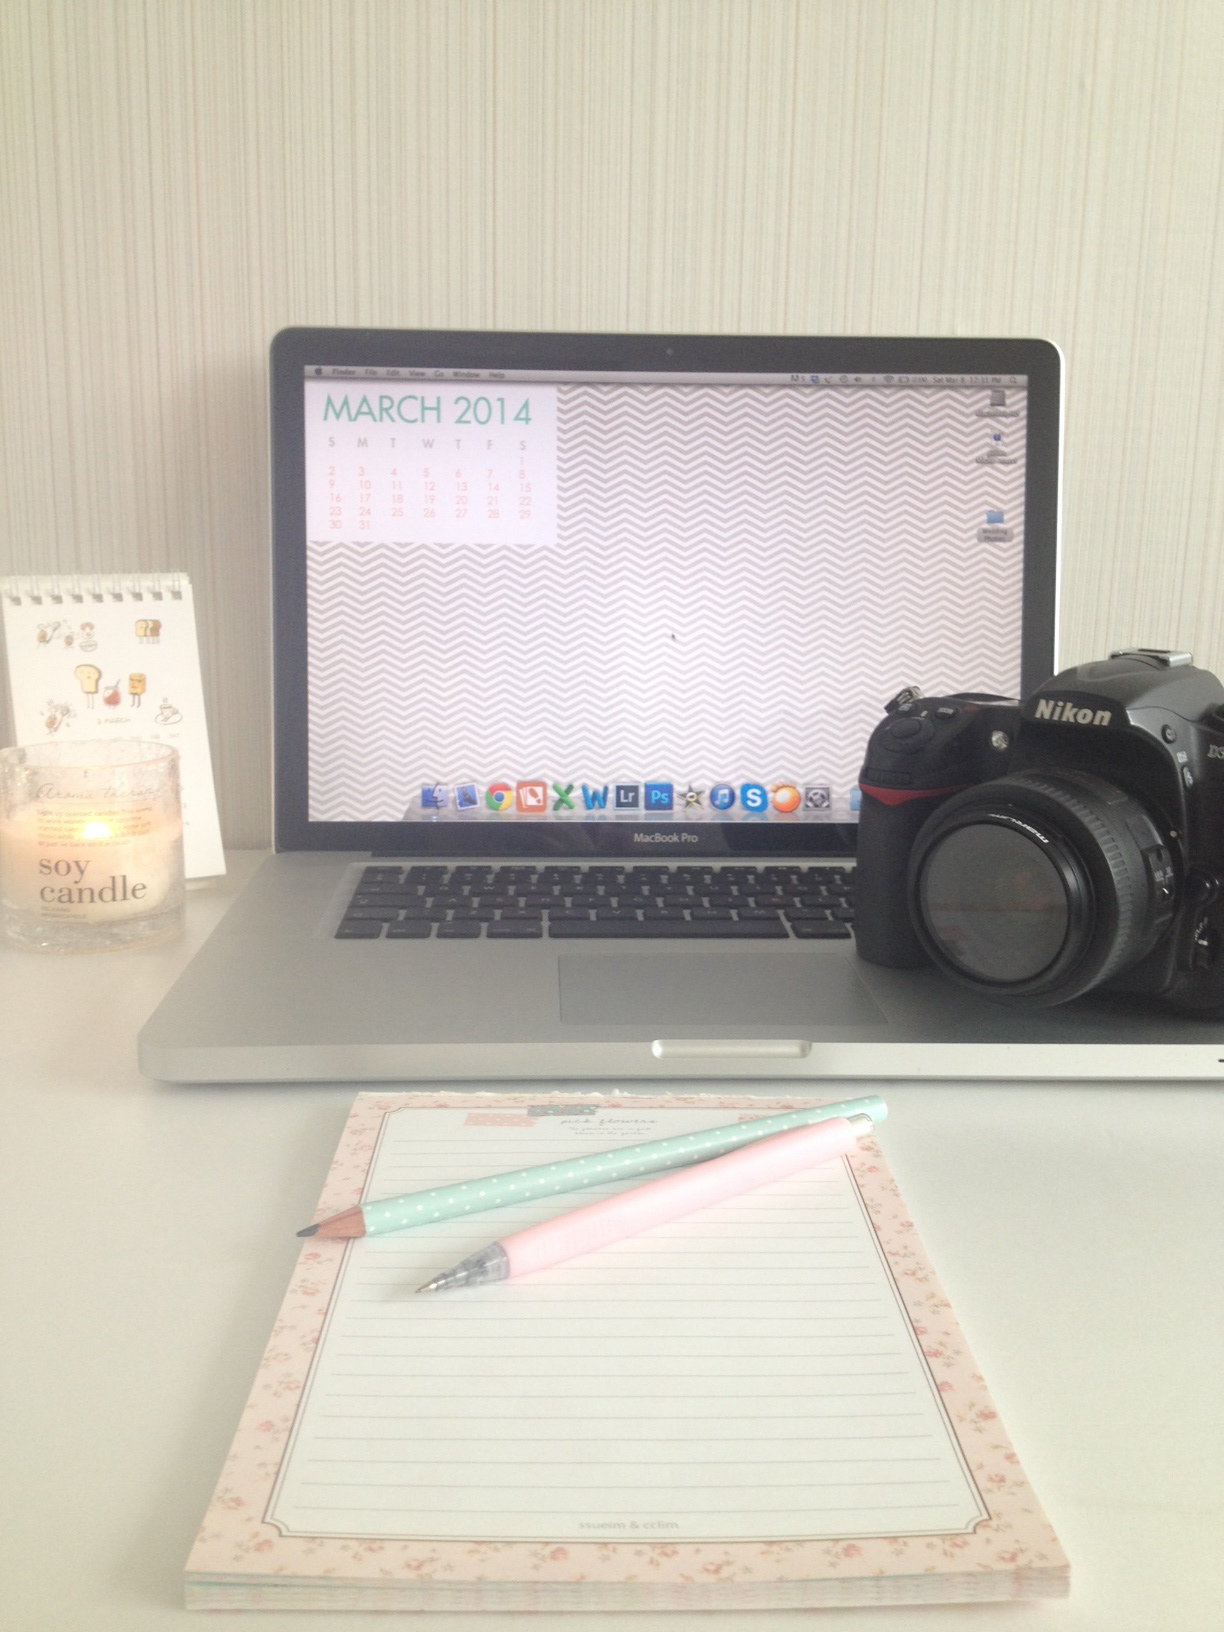
Think about the type of photograph you want to take. Are you going for soft and whimsical, or clear and bright? The kind of photo you want to create will determine the sorts of props you will need to make it happen. I wanted to create images images for this blog post that made use of the pretty bits if stationery I have. Most of my stationery colours are pastel and so I decided to go for a muted, warm feeling and added a candle for a little extra ambiance. If you want to style photographs for a recipe post, think about bright colours (possibly adding a variety utensils/fruit/bowls/chopping boards to the mix to give it a kitcheny feel). 

Step 2 {Studio Space}

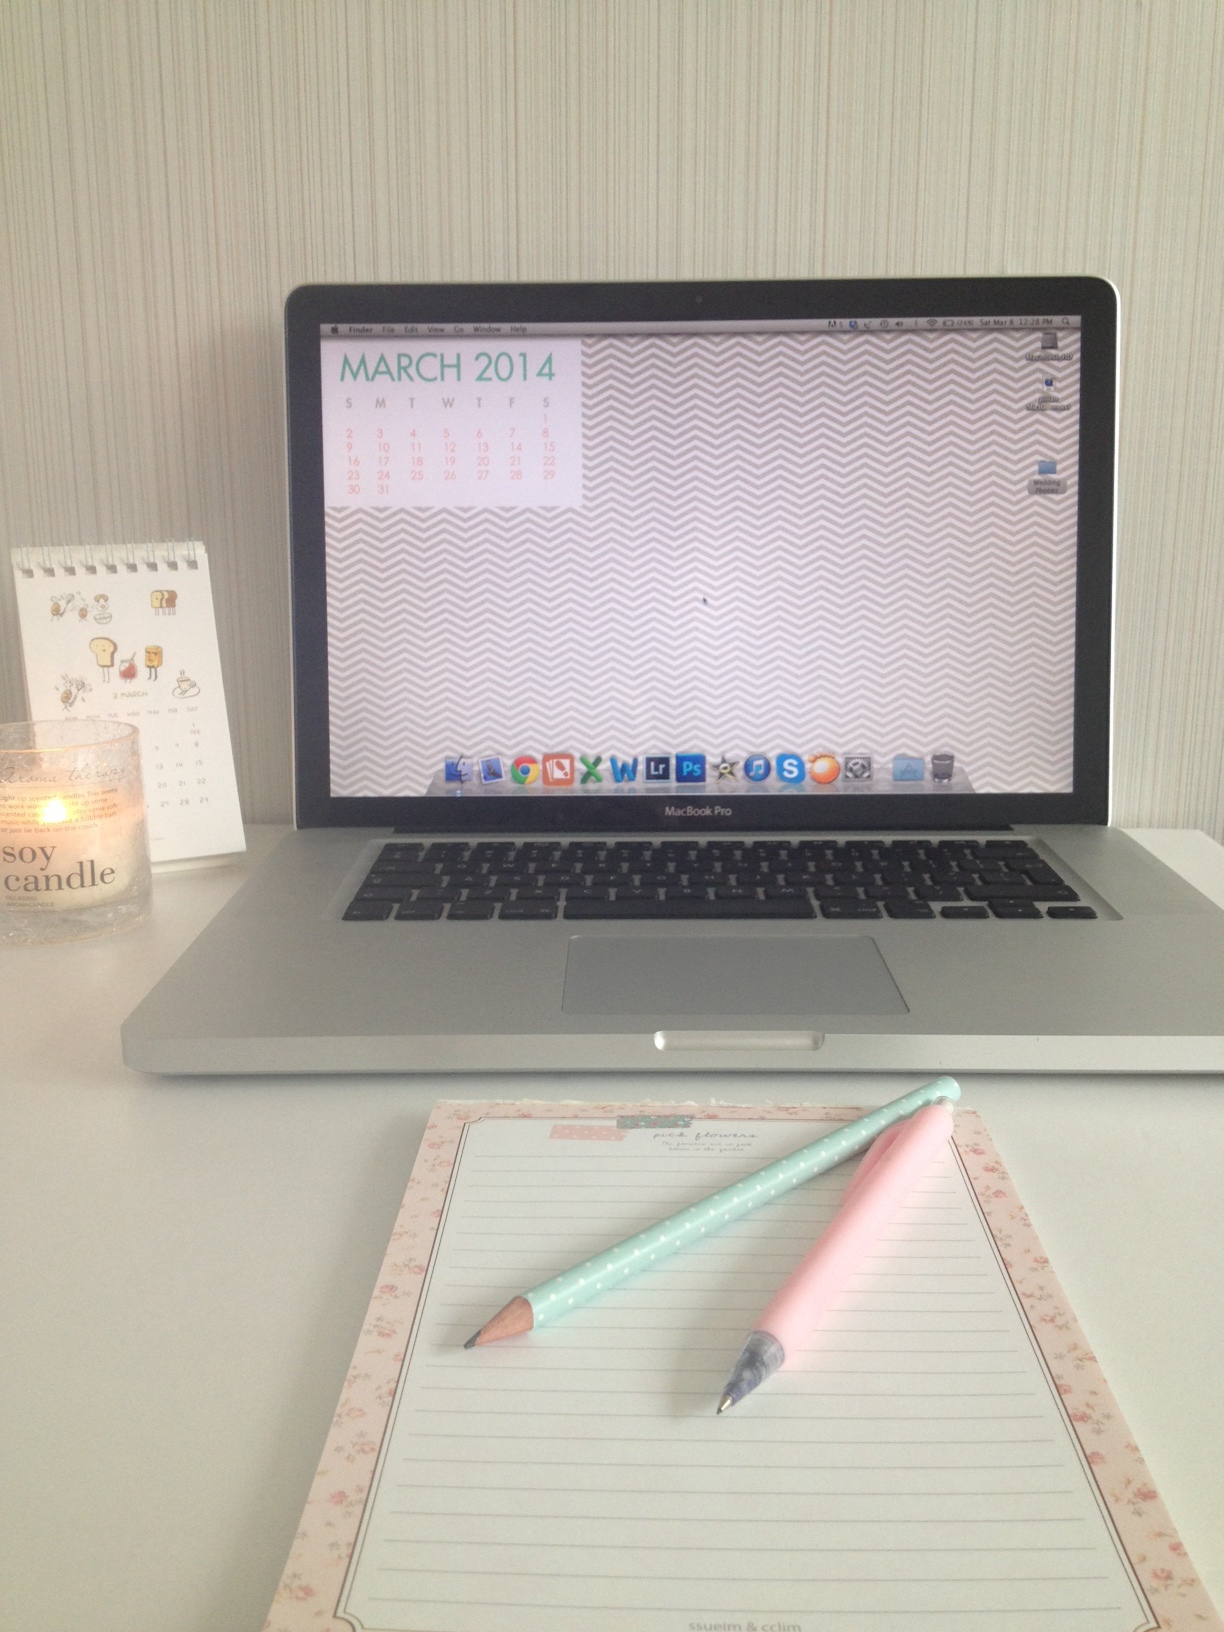
The base for most styled shoots is a white background/surface so as not to distract from the actual content of your photograph. White also reflects light and when paired with natural light (place your products near a big window for the best natural light) creates a beautiful, soft glow and always looks very professional. I used 2 pieces of white foam board from my local stationery store. One piece for the 'table' or rather to cover my horrible green crates that I use for height, and then I used the other for the background in some of my images. When I didn't use the white board for the background I made sure to set up my 'studio' with a simple section of wallpaper in our apartment.

My studio (unedited). As you can see, you really don't need anything fancy. I used these crates instead of the table as I could move them to the big natural light source in our bedroom.

My studio (unedited). As you can see, you really don't need anything fancy. I used these crates instead of the table as I could move them to the big natural light source in our bedroom.

Step 3 {Play}

Now that you've got your space set up you need to play around with your props until you are happy. Try different angles, try playing with height, move objects around. The options are endless. This is the best and the worst part of styling for me. I love making things look pretty, but sometimes it can take up to 20 tries before I am happy with the photo's. 

9.JPG
photo 1.JPG
6.JPG
8.JPG
photo 2.JPG
photo 1-1.JPG
photo 3.JPG
photo 2-1.JPG

Once you feel you've got some great photos, delete the ones you don't like (there's no use having 50 photographs of the same thing when you only need about 5 - 10 good ones). 

Styling your photographs is easy...you don't even need to be a very creative person, just play round with your props and have fun! You can read about more tips and apps for editing your phone pictures by clicking here and here.

5.JPG

{Studio} My current favorite photo editing app

Studio Favourite App to Add Text To Photos

"What Instagram Did For Photography, This App Will Do For Design" Mashable

Studio-Design-App.jpg

I love how easy it is for me to share pretty content with my readers through my iPhone camera. Of course, the quality is nowhere near as good as my fancy Nikon. But, it's so fast, easy to edit (with fantastic apps like Instagram and A Beautiful Mess…click here for more tips on those apps) and most importantly, it's so easy to share content, that a lot of what I do post here on my blog has been taken and put together with just my phone.

Today I want to share with you my new favorite app. It's called Studio and it's free. You're welcome.

The app has a whole bunch of free 'packs' of text/quote overlays/images/graphics that are organized by theme. You download them right through the app and they appear in your 'Overlay' folder ready for use. There are some really nice ones for purchase too, but all of the above images I created with free overlay graphics.

The app works a little like photoshop in that you work in layers. Your image becomes the base image and you add text, graphics, frames, shapes, textures and a whole lot more on top of your photograph. You can change the colour of each of these elements, as well as swopping between them very easily. A lot of image editing apps don't have an 'undo' button and you have to start over each time you make a mistake. But Studio is super easy to use and make changes when you want to. You can also create really nice graphics (without the need for an image or photograph) very easily. This is really useful if you want to create graphics for your Facebook page or blog.

Studio also works as a social sharing platform, a little like Instagram, and you can 'like' pictures and comment away on anything that takes your fancy. And they are on android too so everyone can make pretty pictures.

Download it here for free!

If you do create something pretty, share it with me on my Facebook Page...I'd love to see what you come up with. 

x

IPhoneography

I recently wrote a guest post for the wonderful lifestyle blog A Bubbly Life written by the very sweet Laurel. In it I wrote all about my favorite two apps for editing photographs on your phone. I wanted to share the post here with all of you, and to tell you that I am going to be introducing you to another fantastic FREE app later on this week. You don't want to miss this one, it's like Instagram & A Beautiful Mess combined…it's beautiful. But for today, here is a quick post on tips for photography using just your phone.

image.jpg

As a blogger, I have come to really appreciate the true value of good quality photographs, and since getting my first 'proper' camera (the Canon pictured above) a few years ago I can really see the difference the photographs have made to my blog from a professional point of view. But, carrying a big, heavy camera around all day just to capture my coffee dates just get frustrating. And then I have to fiddle and play around with the settings to get the light just right, and never mind the editing that comes afterwards.

But, after getting my first iPhone last year, I cannot tell you how it has revolutionized my blogging. I am able to quickly snap bits of pretty-ness as I walk to work, sit at my desk and especially, while out and about with friends.

I can edit, add text and upload them to my blog in a matter of seconds. AMAZING!

Today I want to share with you my two favourite apps for blogging. I hope you find them useful. I have mentioned them both on numerous occasions on my blog and Facebook page, and that's because I think the are just wonderful.

One of them is only for the iPhone (Instagram) but A Beautiful Mess is for Android users too. If you know of any other great apps that you love to use, please pop me a comment below.

Happy Snapping!

instagramtips.jpg

Instagram has been around for a while, but it is still one of my absolute favourite apps for quick and easy editing on my iPhone. When posting photographs to my instagram feed I try and use the same filter so ensure consistency with my brand. It also looks a lot neater and is easier on the eyes when my photographs have a similar feel to them. But that is completely up to you, you can go wild with the filters and frames available and are only limited by your imagination! Download Instagram for free through Itunes.

Here are some images I've edited using the Valencia filter:

instagramvalencia-2.jpg

When you take photographs on your phone, play around with angles and make use of as much natural light as you can. Using a flash really takes away from the natural feel of your photographs and makes the look plain and artificial. Natural light is softer and more forgiving on people and products.

abeautifulmessapp.jpg

A Beautiful Mess is a photo editing app designed and developed my one of my favourite blogs...A Beautiful Mess. This app allows you to add backgrounds, make collages, add text, add cute doodles and frames and change the colour of each of those elements. Its super easy to use and the results are pretty amazing. I often get readers asking how I add all these effects to my photos, and it's so simple. This app has also recently been released for Android users. You can download it through the Itunes store for .99c

iphonephototips.jpg

All of the photographs above were taken with my iPhone 4S. Nothing too fancy, but with a little bit of time and thought, you can really make your pictures pop! Do you have any other tips for taking great photographs with your phone?

Look out for my new favorite app coming to the blog soon.