
Free Stock Photos for Bloggers, Creatives & Business Owners
/ Roxy Hutton
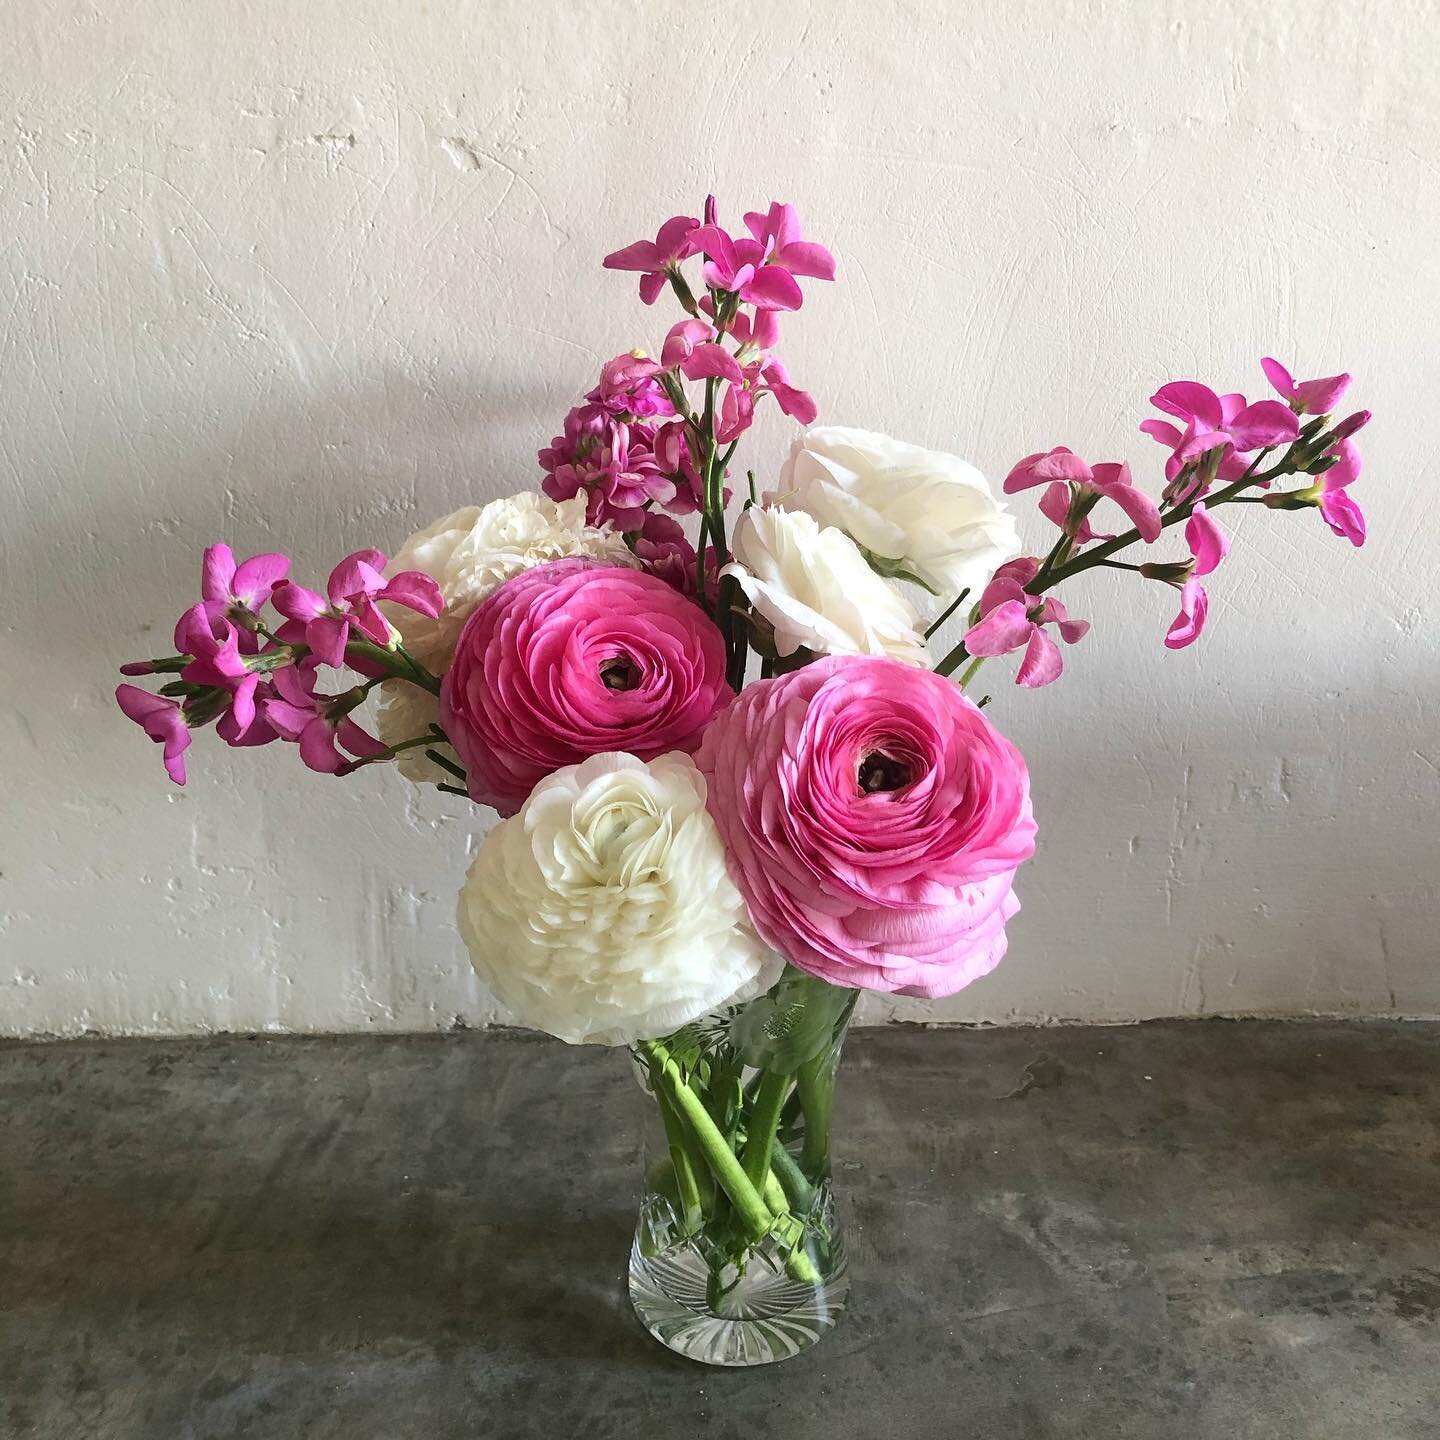
We are nearing the end of the first quarter of 2017 and to make your life a little easier when it comes to your blog & social media graphics, I've just released a new set of feminine styled stock photographs just for you.
If you're new around these parts, you might not know about the CGScreative Resource library; a treasure trove of resources for Bloggers, Creatives & Business Owners.
The CGScreative resource library is a FREE online space filled with blogging worksheets, business resources & helpful printables.
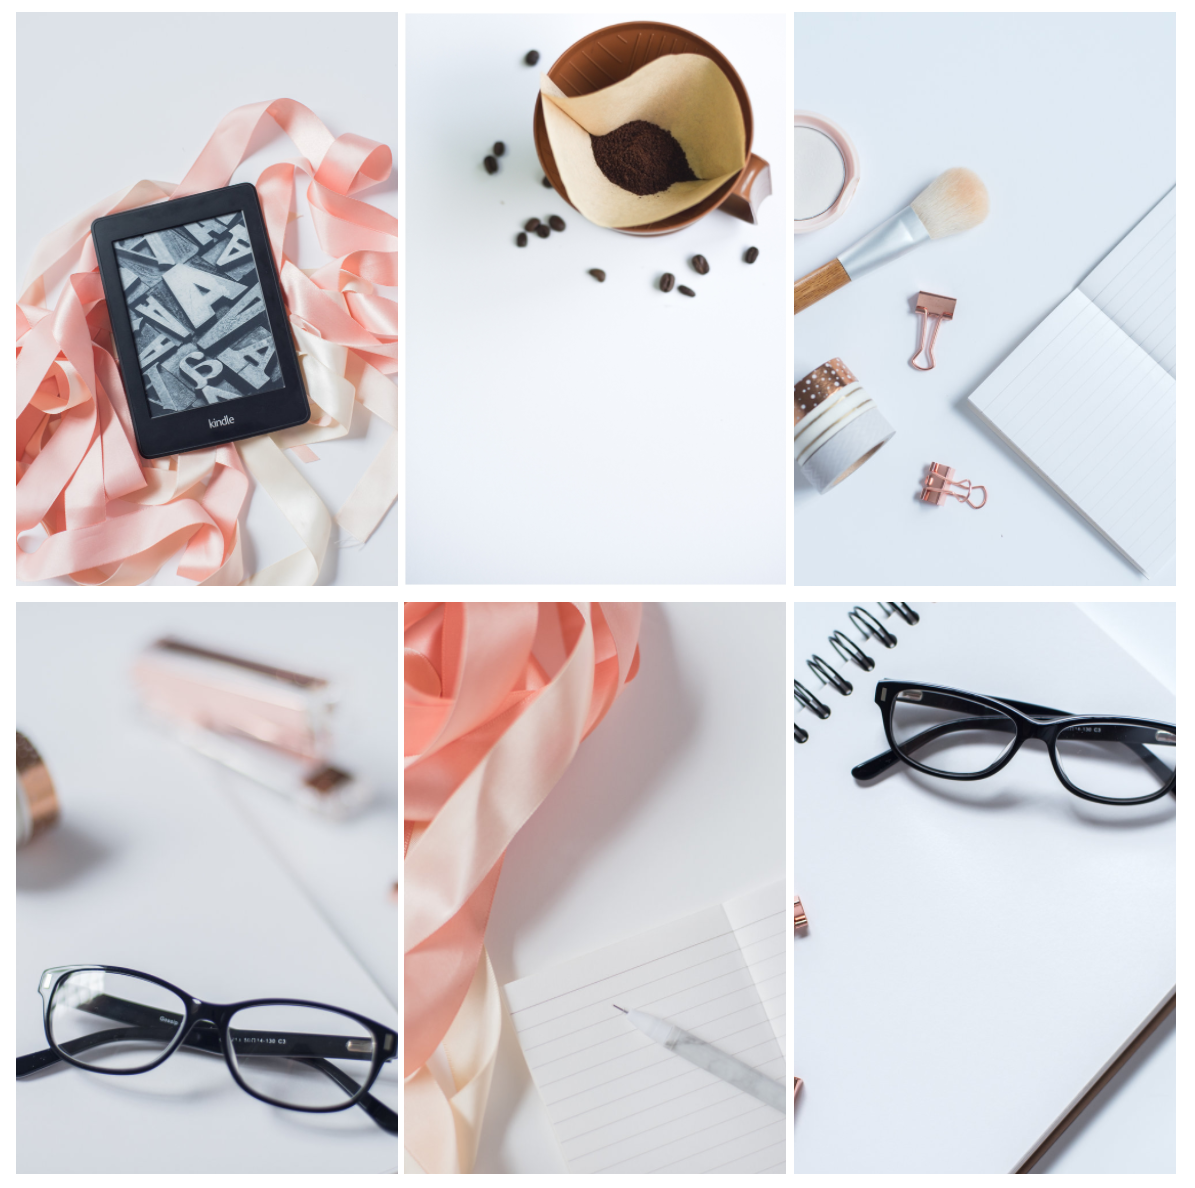
It's also filled with what has made my library famous; my unique selection of styled & natural stock imagery.
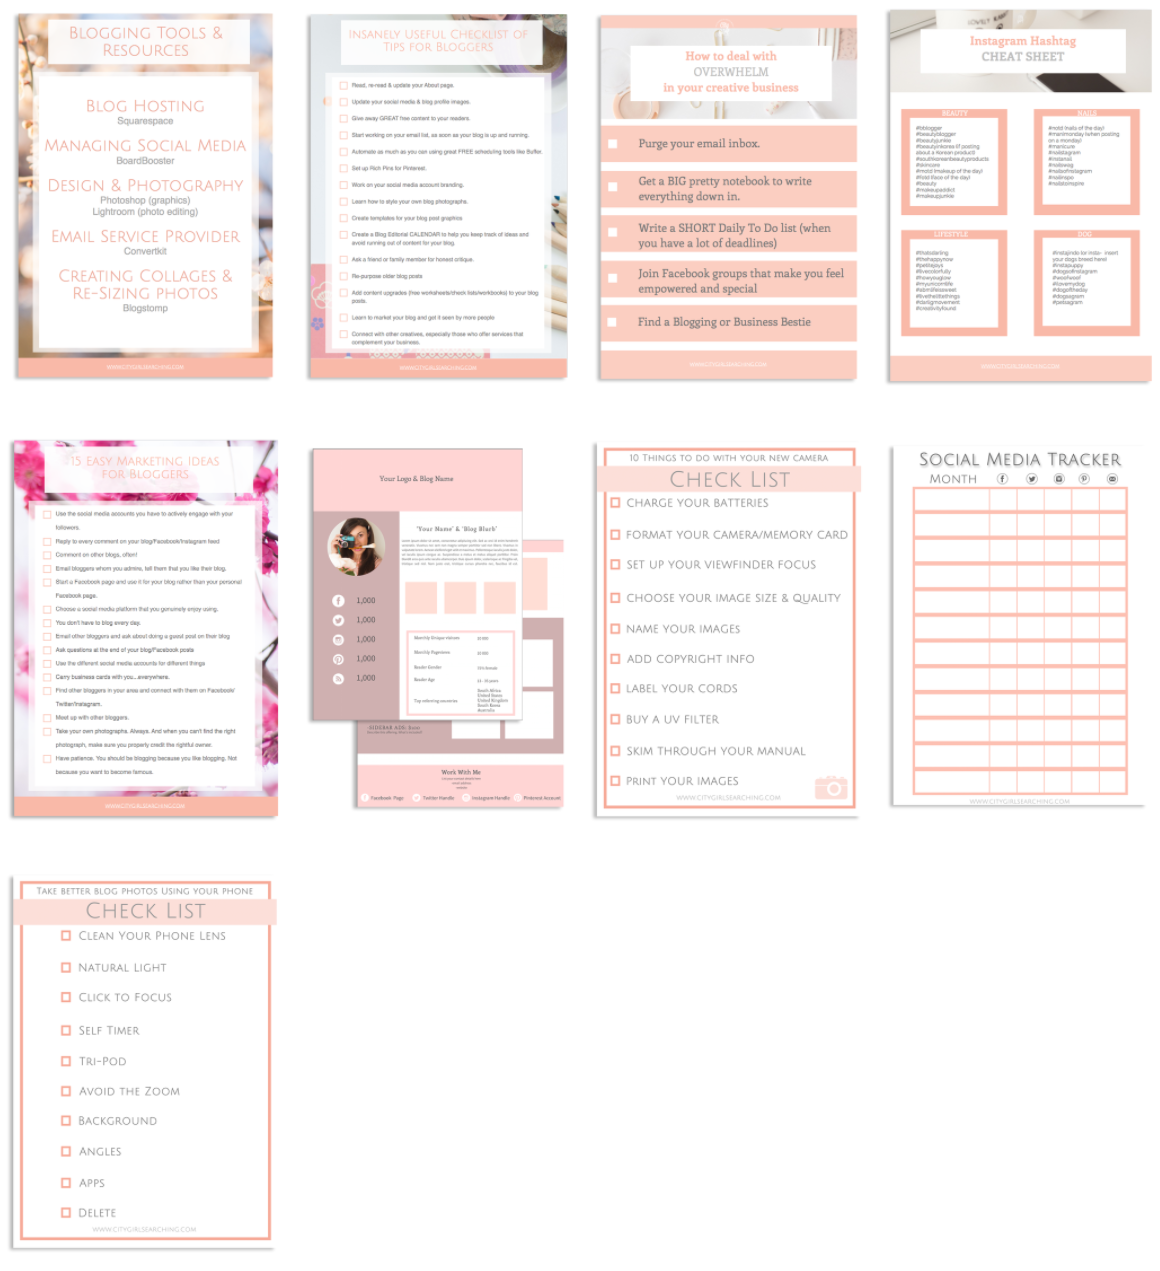
Here's a little sneak peek into what's inside:


The CGScreative resource library is a pretty space for bloggers, creatives & business owners & is designed to be a place that helps you grow your blog or business and a place to visit to feel inspired.
And now I'm sure you're probably wondering how you can gain access. To keep the library exclusive (and to make sure that only serious creatives have access) you only need pop your email in the little space below.
By popping your email address above you'll be joining the CGScreative mailing list. From there I'll be sending you the password for the resource library will allow you to log in.
You'll be able to download any and all of the resources and you can rest easy with regards to image copyright as my photographs are licensed under a creative commons license. This means you can use the photos for all non-commercial purposes i.e you can use them for anything related to your blog or business that you are not intending to sell.
Feel free to crop the photos, add text to them or layer them with other images and graphics to create the perfect visuals for your site.
Here's a pretty Pin to add to Pinterest so you can ave this post & come back later. Simply hover your mouse over the image and then click the little red Pinterest button in the top left corner.

I add new items to the library every month, so the content always stays fresh. I hope you find these resources useful to you in your blogging or business journey and I look forward to seeing how you use them.
If you do enjoy them, post a photo on Instagram of your experience with these resources and use the hashtag #CGScreative. I would love to share your images on my social media accounts (with your permission of course!) for extra exposure to your blog or business.
Happy blogging friends!

WELCOME TO PART 2 OF THE #FROMBLOG2BIZ SERIES
In this post I'm sharing with you how I've made money with my blog (it's probably going to shock you), ways that other people have made money blogging (plus ideas for you) and how I plan on monetizing moving forward.
Let's get started right away!

I'm coming up to my 6th year of blogging (what?!) and so I can safely say I know a thing or two about tools that help you blog better. Most of what we need to know about growing our blogs can be found on Pineterest, right? This is all very well, and I don't know about you but whenever I head to Pinterest to search for blogging resources I get sucked into images of beautiful quotes, cute puppies and ways to save space in my home (tell me I'm not the only one?).
So I thought I'd create this post for you, with a list of all the resources and tools I use when blogging. I've also created a useful printable cheatsheet of all these resources for you to print out to help you in your blogging journey. You can get your paws on this checklist in my *FREE* Resource Library (which is filled with stock photos and loads of other blog & biz resources) and which you can join below.

When I first started blogging back in 2010 (6 years ago...eeek!) I used to shamelessly copy and paste images from We Heart It, which was kind of the OG of the visual world before Pinterest came along. I had no idea about copy-write (in fact, I couldn't even really spell that word properly) never mind understand the legal ramifications of using someone else's work without giving them full credit.
It wasn't until 2012 when I came across an article from a blogger who had been sued for a HUGE amount of money after using someones photograph on her blog. The blogger had actually given the photographer credit in her blog post, but she hadn't asked him for permission to re-post his image and so she ended up going to court and was found guilty of intellectual property theft! Can you imagine being charged with a criminal offense for using an image on your blog? Madness!
I was terrified after reading that blog post and promptly set out to learn how to take my own photographs so as not to have to worry about image copy-right ever again! I ended up falling in love with photography, and have since gone onto to freelance and now go under the title 'professional photographer'. I understand that not everyone has the time, or the desire, to pursue photography full time, especially if their interests lie somewhere else, in writing for example or making or drawing or painting. This is where stock photographs come in and this is where I wave a little (pink) flag that says I've got you covered and have FREE STOCK PHOTOGRAPHS JUST FOR YOU!
Hi everyone!
In case you're new around these parts and have stumbled across this blog series, I thought I'd take a moment to introduce myself.
My name is Roxy and I am the blogger, photographer, planner, crafter, maker, designer and general busy-bee behind CityGirlSearching. I am South African, but have been living in South Korea with my husband and rescue pup (Shadow, who yes, has his own # and Instagram account and FB page because that's what you do these days) for the past 3/technically 4 years.
We are about to wrap up our final contract and will be heading home to South Africa at the end of June...yippeee!
In this series #FromBlog2Biz, I am going to be sharing with you my journey from blogger to business owner. In this post (Part 1) I want to share with you my blogging journey so far (it's been a good number of years) and to set the scene for you for where I am at right now and how I have been making money from my blog and how I plan to monetize moving forward from here.
I do hope you'll join me on this journey as I share with what I've done so far, what has worked and what hasn't. It's going to be an awesome adventure so let's get started right away.
I've been blogging for about 6 years now, and I do so because I genuinely love providing free, useful content for people. This blog is not a diary showcasing my life but rather I hope that it is a platform for you to learn new things (like my blogging tips, travel guides and posts about owning a dog in Korea) as well as a place to be inspired (by my travel posts, recipes and my photography).
One thing that I have learned from all these years of tapping away at my keyboard is that the images on your blog can make or break your brand.
These days technology has advanced so much, there really is no excuse for anyone to have poor quality images on their blog. This doesn't mean you have to own the fanciest camera on the market, your cellphone/ipad/tablet will work just fine.
In this post I'm going to be sharing with you what I use to style & take photographs for my blog.

I recently created and launched #BeautifyYourBlog an easy to follow, free online course for bloggers. Alongside this course, I created a handbook which I'd love to share more of with you today.
Making your blog look it's shiny best can be a difficult process...But it doesn't have to be.
When I first started blogging, I wish I had had someone show me the ins and outs of branding and what it means to build a brand around your blog.
I fumbled my way through the first 4 years of blogging, making so many changes and wasting so much time creating graphics for my blog that really didn't fit my style.
If someone had given me this handbook when I first started blogging, it would have saved me so much frustration, not to mention time.
This Handbook goes through the how's and the why's of branding your blog and most importantly, it shows you how you can do it yourself.

Has your Instagram feed also been taken over by posts asking you to turn on notifications? I know that a lot of people are rather upset by the latest changes announced by Instagram, but I'm here to tell you today that it's not going to be the end of the world for you.
It's also not a huge surprise that Instagram, which is now owned by Facebook, is implementing these changes.
If you're not sure what the changes mean, here is a easy to digest summary of what has got everyone in a tizz.
Instagram is planning to show us the content it thinks we like, based on our previous actions (ie. our likes and comments). This means that it is now more important than ever to be liking and commenting on those accounts that you really love and want to follow, rather than engaging with accounts that you hope will follow you if you spam their feed enough.

I've been thinking of ways to condense all of the useful posts I've written on blogging, and so created this insanely useful list for bloggers of all niches and topics. Whether you've been blogging for years or whether you've just started your journey & are feeling a little overwhelmed, these tips are bound to help you on your way.
1. Read, re-read & update your About page.
When I look at the traffic stats on this site, my About page is one of the most popular pages. And I know that when I visit other blogs, I always click on their about/welcome pages to find out more about who they are as a person. Don't let the thought that is has to be perfect put you off editing yours (or even making one if you don't already have one). I am constently updating and editing mine, adding in or taking out information that is no longer relevant to my blogging journey. Your About page should grow with your blog, as should your profile picture (mentioned above).
Here are some tips for your About Page.

While creating my recent e-course, I've spent a lot of time researching the best tools and resources to use to ensure a smooth launch. Today I want to share with you how you can use your Squarespace site to create your own, customized landing pages without having to make use of a landing page generator site like Leadpages.
One of the benefits of blogging with Squarespace is the ability to create Cover Pages (just like this one that I made for BeautifyYourBlog.
But
Cover Pages are designed to be super simple landing pages, with just one or two call to actions. If you are looking for something a little heftier to be able to add in more images & your own custom sign up forms (currently if you want to connect Squarespace Cover Pages & their Forms blocks to Convertkit, you need to use a site like Zapier to run an integration) then a custom landing page is what you're after. I've found some super simple tweaks that you can do to a regular Squarespace page to make it look like a fancy landing page.
If, you're like me, and not quite ready to make the jump to LeadPages, then creating your own landing pages on Squarespace is a great workaround, and with just a few coding tweaks you can make it look like an actual landing page, as opposed to the rest of the pages on your Squarespace site which have things like your menu bar & header image. Convertkit (which I just LOVE!) does offer a few options for landing pages, but the customization is very limited, and I like to make my pages look as pretty as can be. That's why I have been playing around with using Squarespace pages as customized landing pages.

About 3 months ago I started dipping my toe into the world of online business and passive income, and goodness me, it's a whole other world out there.
The idea of online businesses isn't new, people have been producing online courses and selling information products ever since the internet first began in 1969. What has changed dramatically is the people behind the courses. No longer do you have to have a doctorate in computer programming or some other fancy sounding degree, regular people like you and me are making money selling their social media strategies in the form of webinars, workshops and coaching packages.
Sounds wonderful doesn't it? Being able to make money doing what you love. Isn't that so many people are striving to do? Striving to free themselves from their 9-5's to make more money and have more time to do the things they love?

I know I know, blogging these days is definitely not for sissies. If you have a blog and want to stand out amongst the masses, you have to up your game & make your blog look as fancy & professional as possible.
That doesn't mean spending a fortune, or betraying you own personal sense of style. There is space enough for all of us (from the pastel pink lovers to those who go nuts for shades of neon yellow & black) and it's your own unique sense of style that you should be portraying through your blog in the first place. You just need to do it in the best way possible to make your blog stand out while still looking polished.
So how do you do that I hear you ask?
Well, apart from hiring a fancy smancy graphic designer to do your branding, you can start by creating your own style guide for your blog. I would still suggest getting a professional to create your logo (although you could definitely create something yourself using a free online design site like Canva).
Once you have your logo, it's all downhill from there! You can then work on the rest of your branding yourself and take your blog from drab to fab. Having a style guide as a reference for your branding will make your life so much easier, and will help you to keep your blogs look & feel cohesive.

Media kits.
Those scary things that only the big & successful bloggers have.
Those intricate pieces of design that must have cost a fortune for a graphic designer to whip up.
Are these the things that come to mind when you think of the term 'Media Kit'? Some might view media kits in this way, but I try and view a media kit as a simple 'CV' for your blog.
If you have no idea what a Media kit is or why you need one, then click here for a great post by Glamorous Glitter
No matter whether you are a newbie blogger with only 5 fans on Facebook, or someone who has been around for a while and has thousands of followers, you need a Media Kit.. You might be a mix of the two, having been blogging for years but struggling to grow your readership & social media following. No matter where you are in the blogging game, having a media kit shows you take your blog seriously, that you are professional, and that you mean business (even with your 5 Facebook likes!).
I've been throwing around the #CGScreative hashtag on Instagram & Facebook for a little while now, and I think it's time I told you what it's all about.
If you're already a part of my special mailing list, you will already know all about it (and you would have already received your Love Inspired photo pack..yay!).
For those of you who have no idea what I'm talking about but like the idea of getting beautiful FREE stock photographs to use on your blog/Facebook Page/Instagram etc. then please do read on.

In order to build a cohesive brand, it's important to make sure the images & graphics you share are aligned with the look and feel of your business. An easy way to do this is to share groups of images (collages) that tell a story.
I use collages here on my blog when I want to share a lot of images, but I don't want to slow down my site loading speed.
Using full sized images in a blog post means lots and lots and lots of scrolling for your readers. Creating beautiful collages is an easy way to make your blog posts look better, and it helps the back end of your site by making it faster to load.
In today's blog post I'm sharing with you how I create collages for my blog and Facebook page using Blogstomp.