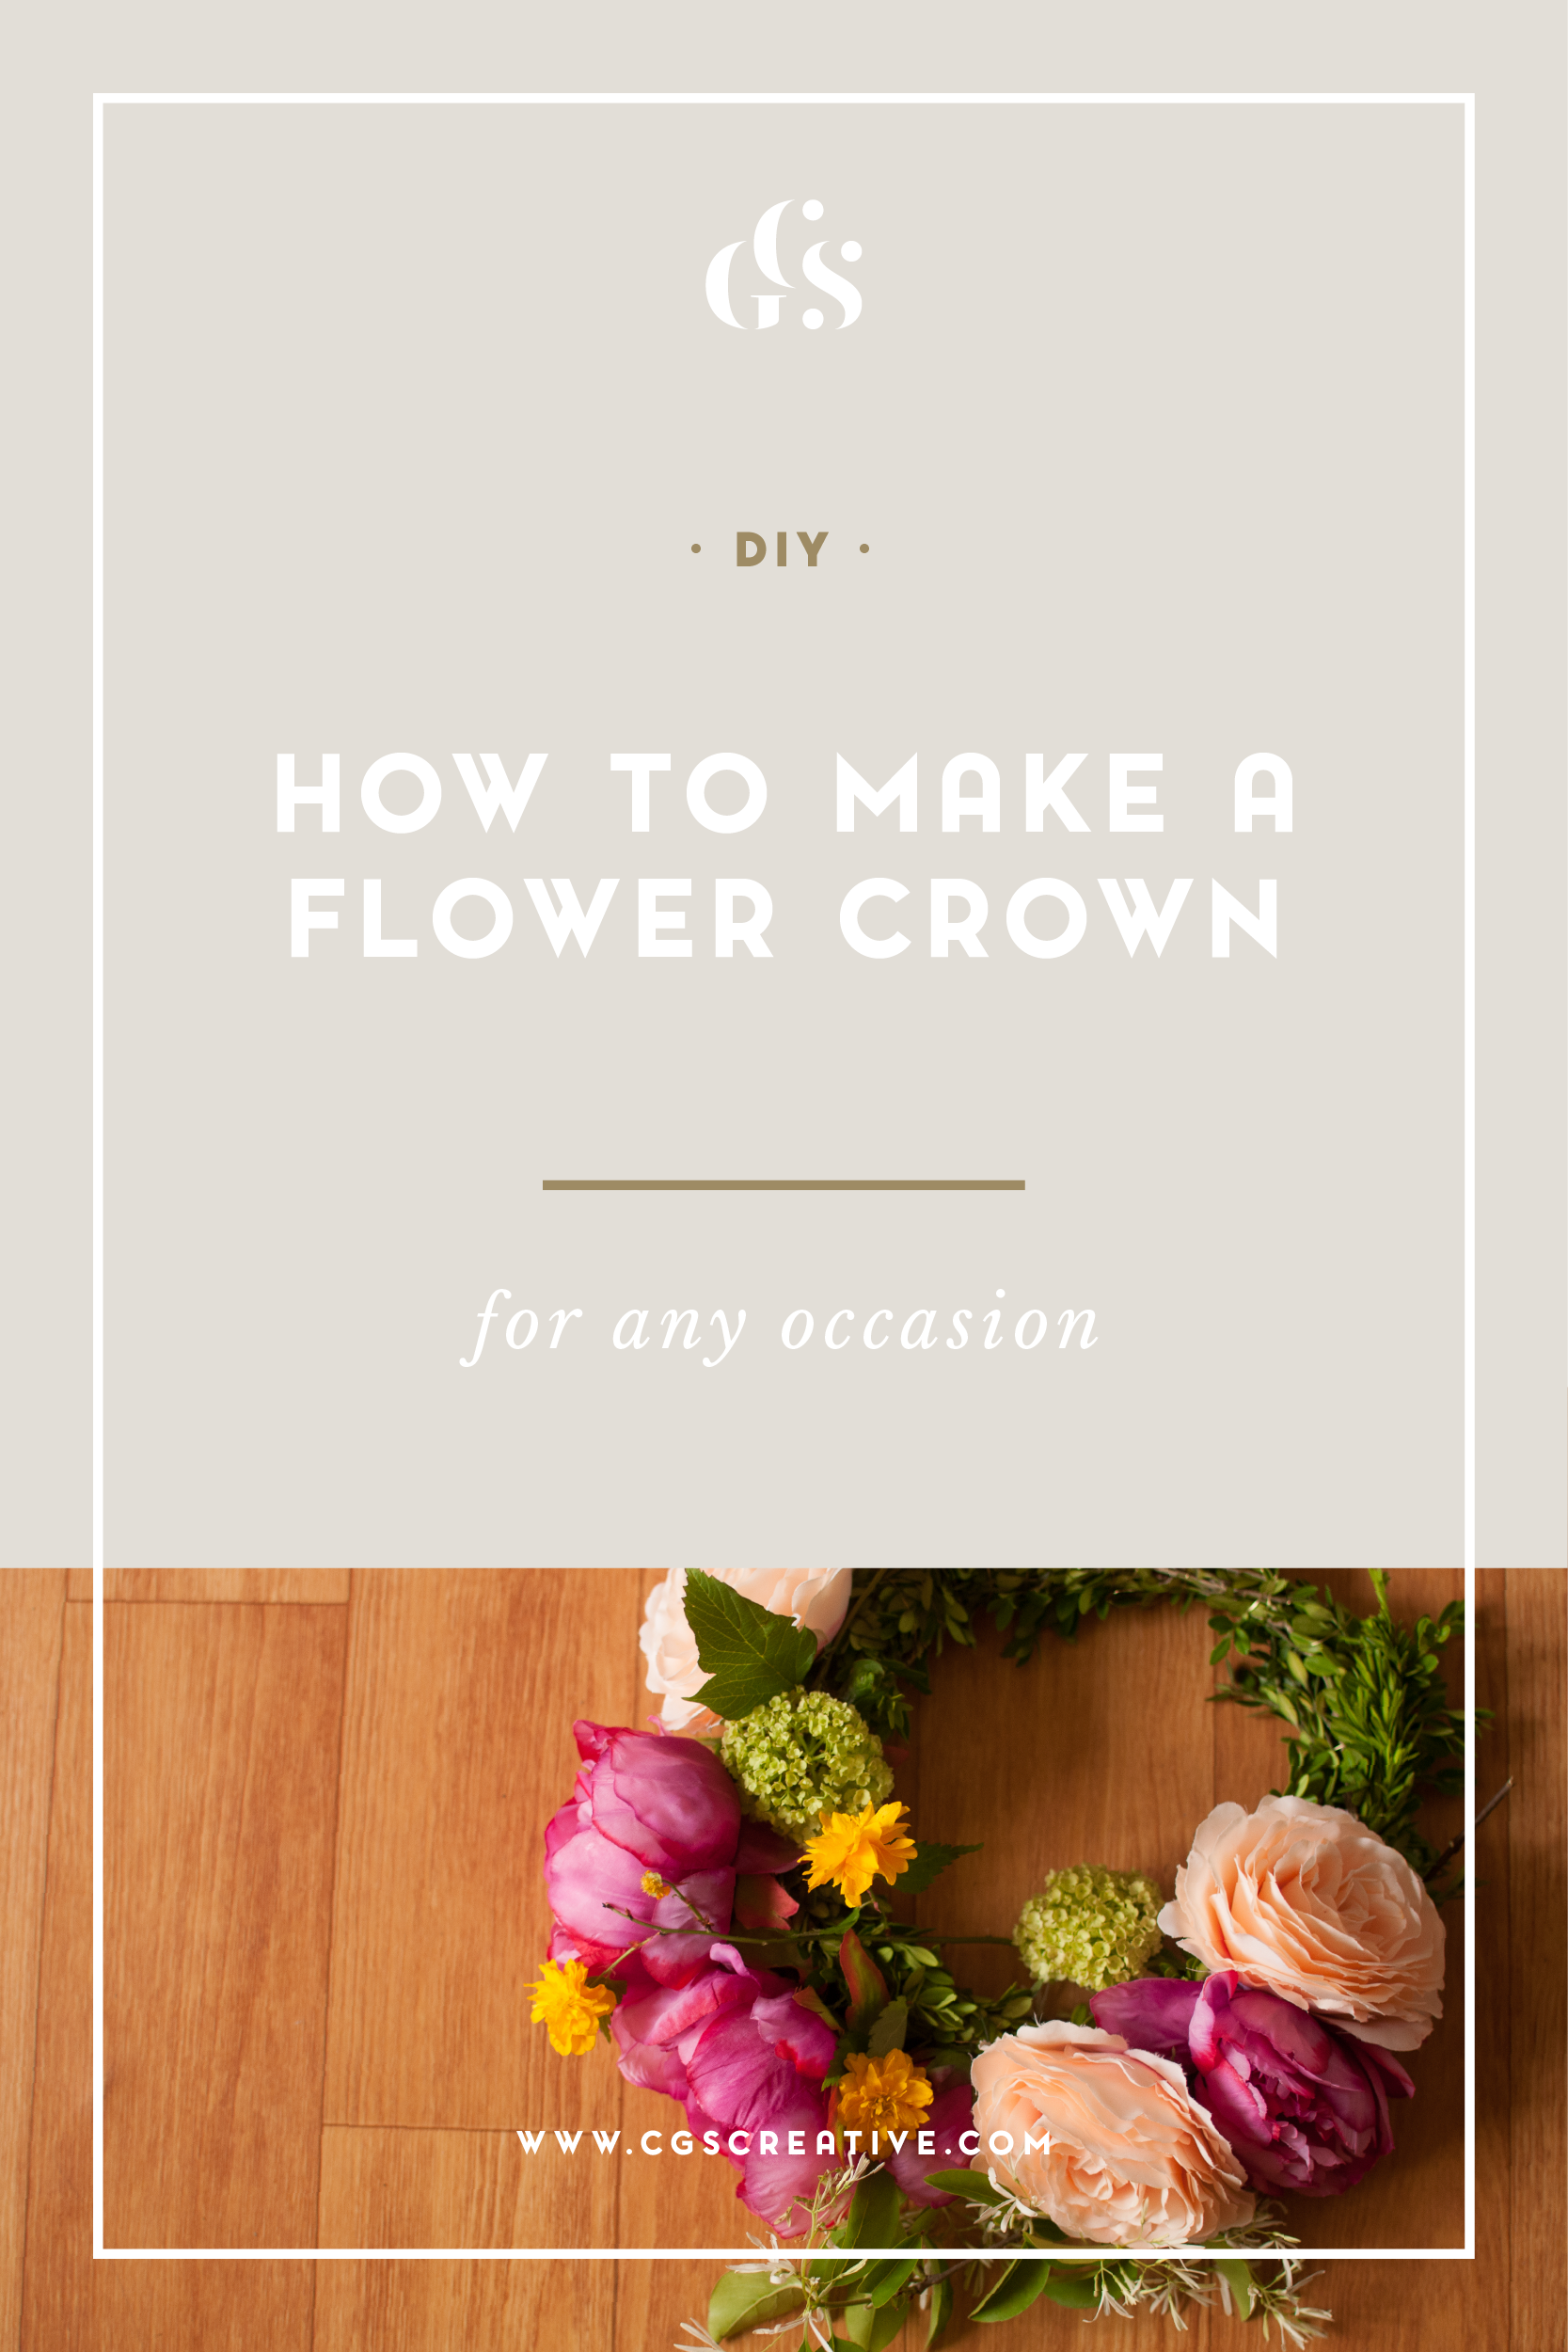
How to make a Flower Crown #DIYDaysInKorea
/
Myself and my very talented friend Storm, who moonlights as a stylist & florist in her spare time, created this flower crown for a styled photo shoot we did a few weeks ago. We got together one day to brainstorm ideas for fun and creative activities we could do without spending lots of money and so we have started a #DIYDaysInKorea series (we even started a 'hashtag' so you can follow along too!).
If you are based here in Korea and would like to join one of our DIY days (we will be having our first official one on a Saturday in a few weeks time) you can pop on over to the Facebook group for more information.
These #DIYDaysInKorea posts are about making beautiful things for your home (whether that home is in South Korea or South Africa, or any where else in the world). We hope you enjoy this series and that you leave feeling inspired.
x
How to make a flower Crown #DIYDAYSINKOREA

Step 1
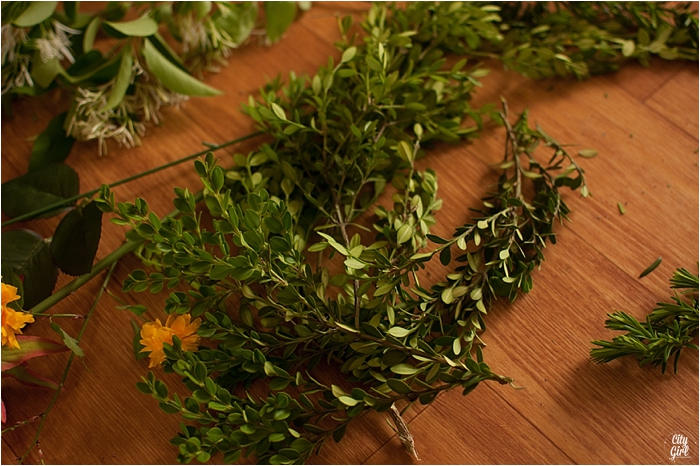
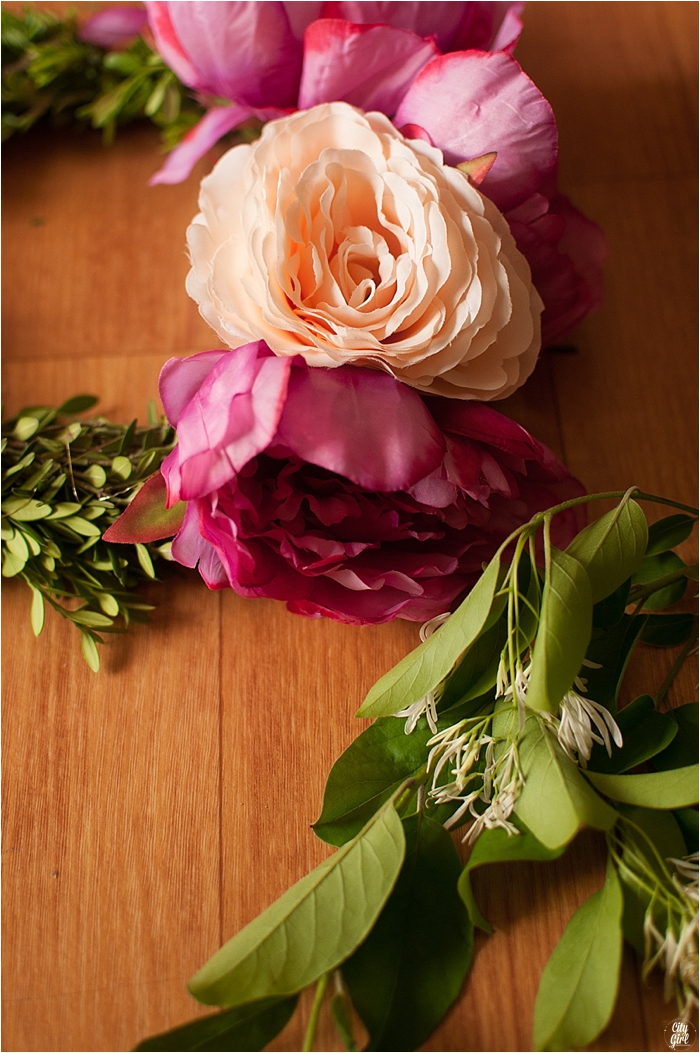
Get your tools, foliage and flowers together.
You will need a pair of scissors, florist wire, your flowers of choice and of course a cup of tea.
Forage, pick, buy or pinch a few flowers and foliage for your crown. The crown will need need sturdy foliage to give it structure, as well as comfort for the wearer and to add a green element to it too. We used Boxwood as it is plentiful on the Korean sidewalks. Other foliage that can be used is willow or olive branch as they have flexible stems that twist easily
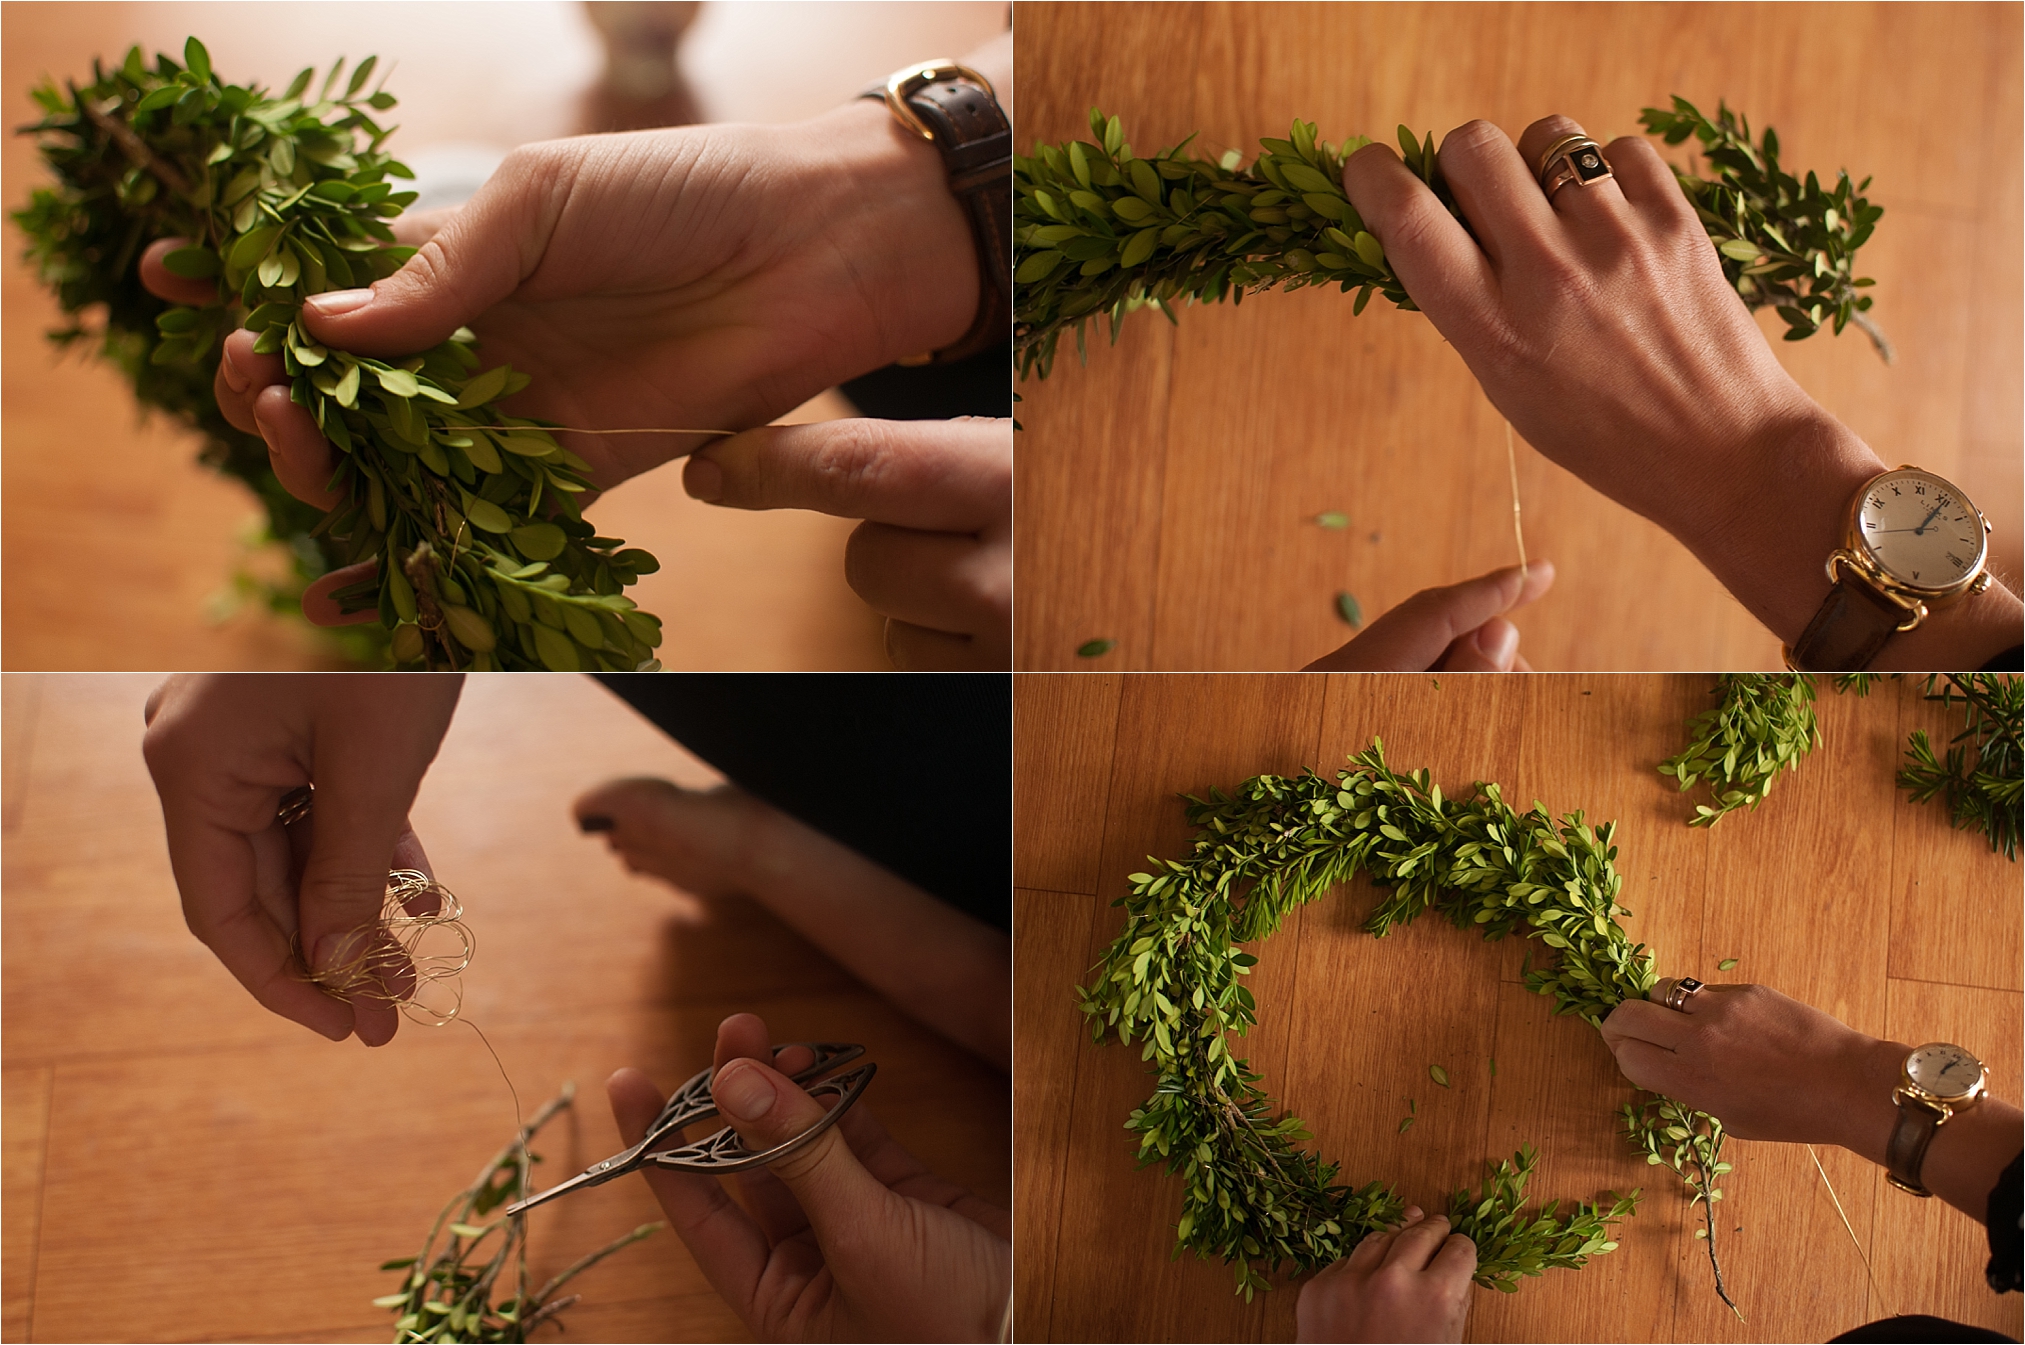
Step two
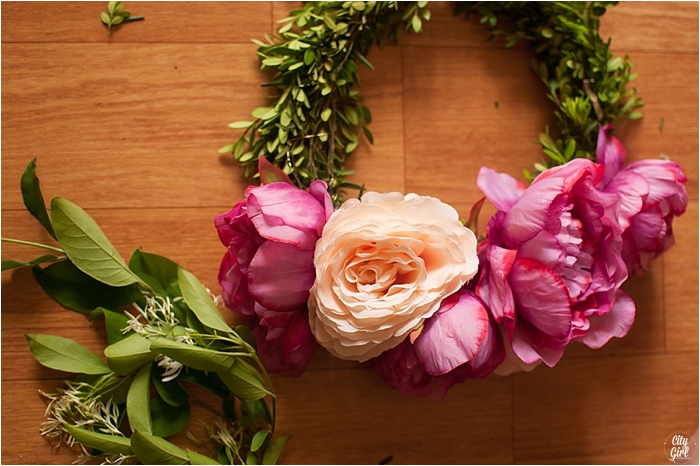
To create the base of your crown you need to use sturdy foliage. We used Boxwood, but willow or olive branch works well too.
Start by gathering a few stems of your foliage (you can use a combination of greens if you’d like) and wrap your florist wire around the base. Continue to add in stems of foliage wrapping the wire around each piece to make sure it is secure. Once it is long enough, join the two ends and secure with wire.

Step 3
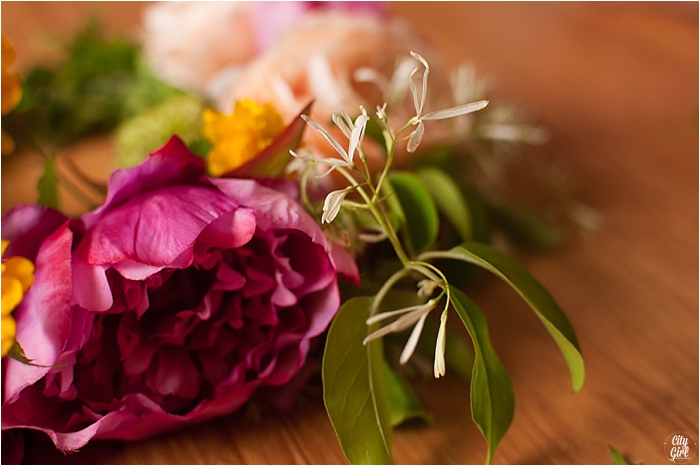
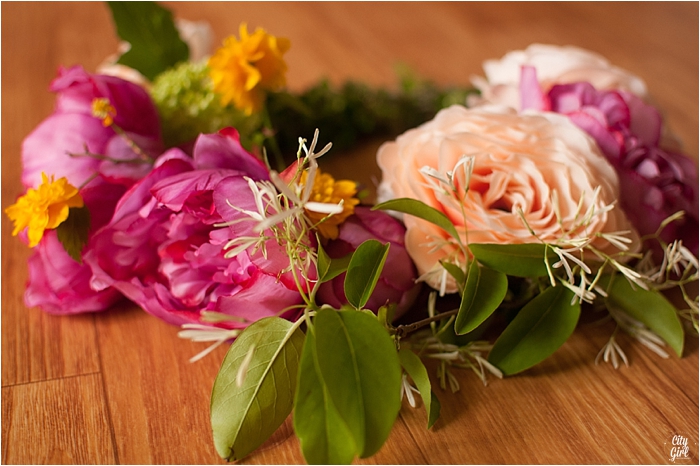
Next is to add your flowers. For the flowers we chose to use a mixture of silk and fresh flowers. We found that using a selection of bold flowers, such as peonies and roses mixed with a few whimsical flowers such as jasmine or honeysuckle worked well. Make sure the flowers you choose are hardy so that they don’t wilt too quickly while you are working with them.
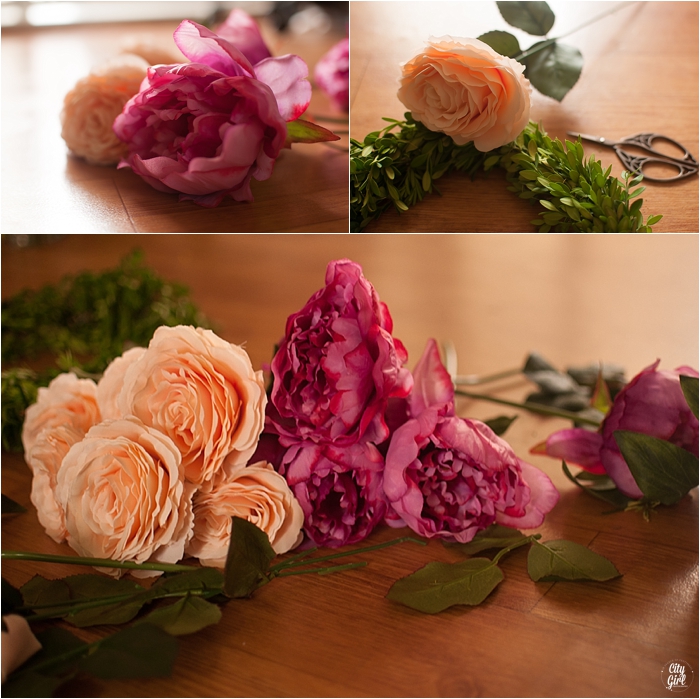
To add the flowers cut off the stem at the base of the flower. Pierce florist wire through the center of the flower and make a hook. This make is easier to attach the flower and position them in an appealing arrangement.
Secure the flower to the base by wrapping the wire around the foliage.

Step 4
Lastly enjoy your floral crown! To make your pretty floral crown last a bit longer you can spritz the fresh flowers with water; however the fresh flowers won’t last out of water for longer than a day or two.


One of my favourite photographs from the styled shoot...click here to see more.