Rachel & Jonny Engagement....Jeonju Hanok Village, South Korea

EngagementShootJeonjuSouthKorea

A few weekends ago my stylist friend Storm and I met up with Jonathan and Rachel for their engagement photo shoot. Rachel & Jonathan are a Canadian couple working in Jeonju, who are finishing up their time teaching here in Korea before heading back to Canada to get married in June next year.

I had such a wonderful time capturing these two. The love and friendship between them was evident from the moment I met them, I simply had to press the button and capture it.

To Rachel & Jonny, I wish you all the very best with the next few months of planning. You're wedding day is without a doubt, going to be one filled with laughter and love. Thank you for picking me as your photographer.

We shot these photographs at the Hanok Village in Jeonju. The shoot was scheduled for the same day as the famous Jeonju Bibimbap festival and we were expecting hoards of people. However we were pleasantly surprised to find lots of unexpected photo opportunities down side streets and back alleys. The soft Autumn light was dreamy and a wonder to work with. 

For any photographers who may be interested, these photographs were all shot on my Nikon d700 and 50mm 1.4 prime lens.

Enjoy!

x

Autumn Colours in Korea, Seonununsa Park

AutumnInKoreaFallLeavesSeonunsanPark

Autumn is about to leave us here in Korea, making way for icy winds,  frozen fingers & toes and of course the snow. It all seems to be over very quickly and I feel like I didn't really get a proper chance to enjoy the colours and sights of one of the most popular seasons here in Korea.

I did manage to get to Seonunsan Park one afternoon to photographs the changing leaves. Aren't the colours beautiful?

Last year we headed up Naejangsan (just outside of Jeongeup) with what seemed like the whole of Korea. Naejangsan is one of the most popular places to see the changing leaves and so this year I made sure to avoid the crowds and find a place that was still beautiful, but one that I could photograph without having to strategically block out millions of bodies. Seoununsan is just outside of Gochang and relatively easy to get to. See below for directions.

There is also a temple there, but I was more interested in seeing the leaves. For the temple there is an admission fee to pay before entering (see information below).

Directions:

250, Seonunsa-ro, Asan-myeon, Gochang-gun, Jeollabuk-do 
전북 고창군 아산면

From Gochang Intercity Bus Terminal, take a direct bus or a local bus to Seonunsa Temple (선운사).
Direct Bus: runs 8 times a day / Local Bus: runs 24 times a day

From Gwangju U-Square Bus Terminal, take a direct bus to Seonunsa Temple.
(runs 4 times a day)

Admission fee to see the temple:

Adults (ages 19-64): 3,000 won / Group: 2,500 won

Youths (ages 13-18): 2,000 won / Group: 1,500 won

Children (ages 7-12): 1,000 won / Group: 800 won

Self Portrait Challenge // week 2 The Mirror Selfie

WeeklySelfPortraitChallenge

This is a challenge to photograph a self portrait image {or two} every week for the rest of the year. By forcing myself in front of the camera I hope to learn a thing a two about posing my models and clients, and perhaps be creatively inspired to try a few new things that scare me. Click here to see the previous posts.

I am also included all the settings I used to take these photographs, in case are interested in recreating them or want to know more about how I take my photographs. 

Enjoy!


The Mirror Selfie

SelfPortrait

Camera: Nikon d700

Lens: 50mm 1.4D

Settings: ISO 400 Aperture F/1.6 Shutter speed 1/200 sec

Post editing: basic exposure & noise correction in LightRoom

SelfPortrait

Camera: Nikon d700

Lens: 50mm 1.4D

Settings: ISO 400 Aperture F/1.6 Shutter speed 1/200 sec

Post editing: basic exposure & noise correction in LightRoom, black & white conversion


Would you like to join the challenge? No fancy cameras needed. You can even use your phone. This challenge is a fun way to challenge yourself to get in front of the camera, instead of hiding behind it. I'd love for you to join me!

Enjoy the rest of your weekend everyone.

x

Self Portrait Challenge // week 1 double exposure

CityGirlSearchingPhotographySelfPortrait

Today I was inspired to start a weekly self portrait challenge. This is by no means a way to showcase my face all over this blog, but rather a way to practice portrait photography and try out new techniques and poses (without having to track down a friend and force them to pose awkwardly for me). I love shooting portraits, and am always trying to find new and creative ways to showcase my subjects beauty, so I hope that I can apply the new things I've learnt online so I can share them with you.

I will also be posting what settings I used and whether I did any editing to the photographs so you can try them at home.

Thank you to the lovely Colette & Kristien who inspired me to start this challenge today.


Experimenting with Double & Multiple Exposure

Camera: Nikon d700

Lens: 50mm 1.4D

Settings: ISO 2200, Aperture F/16, Shutter speed 1/200

No post editing

CityGirlsearchingPhotographySelfPortrait (1 of 2).jpg

Camera: Nikon d700

Lens: 50mm 1.4D

Settings: ISO 1250, Aperture F/3.5, Shutter speed 1/1600

No post editing


I learnt so much about double (and multiple) exposure today (thank you to another of my favourite South African bloggers, Emma Jane Nation for further inspiration on this subject).

I created the layering of images in camera, instead of the alternative way of producing these images in Photoshop and was surprised at just how simple it was to do.

If you'd like me to do a tutorial on double exposure, let me know in the comments below. 

Enjoy the rest of your weekend everyone!

x

Vintage Fashion Shoot in Buan, South Korea

A few weeks ago I posted the first batch of photographs from a blueberry styled photo shoot  I did with the lovely Helen, pictured below. Here are a few more, these ones with more of a focus on Helen's collection of vintage items from her travels. I contacted Helen asking her is we would like to be my model (click here to see more of the styled photo shoots I have done with my stylist and friend Storm). Helen was happy to join us, and we also turned the shoot into a bit of a fashion shoot too, so she could get some shots for the vintage clothing store she is planning on resurrecting when she gets back home to the States.

If you're in South Korea and are in need to a photographer, please don't hesitate to contact me.

x

Blueberry Picking Styled Photoshoot

Blueberry Picking Styled Photoshoot in South Korea by Roxy Hutton of CGScreative-05.png

This is the fourth styled shoot that my friend Storm and I have worked together on. We both have had such much fun organising and brainstorming ideas before each shoot, as well as scouting out locations. We started styling shoots earlier this year as a way of growing our creativity, and being productive here in South Korea. I take the photographs, hair and makeup and Storm handles the clothing and general styling of the model and our location. 

So far we have done a flower crown shoot, a late afternoon picnic beach shoot, and a Korean temple.

We hope you enjoy these photographs from a trip to a blueberry farm near the small town of Jeongeup, South Korea. A huge thank you to our beautiful model Helen, a Southern Gal from the US who was such a delight to work with. 

x

Late afternoon beach picnic Styled Photoshoot

Beach Picnic Styled Photoshoot by Roxy Hutton of CGScreative-05.png

This is the third styled shoot that my friend Storm and I have worked together on so. We seem to feed off one another creative energies and have loved the planning processes that have gone into each of our shoots.

For this shoot, Storm suggested a picnic, and I have been wanting to photograph one of the secret beaches nearby, so we combined our ideas and I am so happy with how the pictures came out. My friend Hillian contacted me, wanting to be involved in some way, and  so we had our model...isn't she just lovely?

The weather changed constantly during the few hours of daylight we had to work with, and the local creatures (one of which I managed to capture, balancing on a tea cup) descended upon as as soon as were began. We had to be quick as every flying insect took an immense liking to any exposed areas of skin, and we left covered in bites and scratches. Thank you Storm and Hillian, for a great afternoon filled with lots of giggles and stuffing of faces with grapes and delicious sandwiches. 

Photography Styling Challenge {Personal}

First a little apology, I nearly a week late in posting my photographs for this challenge. This months theme, Personal, is the last instalment in the monthly photography styling challenge created by Redesigned by M. Life just got away with me (doesn't it always) and I am only posting my photographs for this challenge now.

The photographs cannot be edited, and only a maximum of five images may be posted (always difficult for me, as I can never choose which ones I want to display!). My first submission was for Morning {click here} followed by Bedroom {click here}, Order {click here}, Patterns {click here}, Fashion {click here}, Light {click here} and Living Room {click here}. Each theme or concept is open to interpretation by the photographer, and it has been really interesting seeing how each of us have handled the themes in our different ways. 

I wanted to share with you a little more of what I have been doing in my spare time for this personal theme. I met a wonderful new friend (Storm) who shares my passion for photography and beautiful images and we have been meeting up to create styled photography scenes (using our friends as models). We have done two so far (click here to see more of the photographs) and we just finished up a third one last week. This time a late afternoon, beach picnic shoot a short drive from my little town here in South Korea.

I used the following settings on my Nikon d300s & 35mm 1.8 lens:

-ISO 400

-Aperture of 9

-Shutter-speed 1/250

-I had my white balance on shady

The weather was changing constantly while we were shooting, and I wasn't quick enough with my white balance (well actually, I was too distracted with getting my angles and composure just right that I started neglecting my settings). I try not to focus so much on getting my settings 100% correct (some of my photographer friends out there are probably cringing right now!) as I feel touch ups can be done later in an editing program (I use Adobe Lightroom), but creating the actual picture cannot be done at a later stage. Anyway, I plan on editing the images in a slightly different way that is my usual style, this time trying some film textures and edits. So I had this in mind the whole time while shooting, and so I am not that happy with these photographs as they are, raw and unedited. But, it was a lot of fun frolicking in the waves and eating the sandwiches once we had finished shooting.

As always I would love to know your thoughts, please do leave me a comment below.

Enjoy

x

Disney's Frozen inspired Wedding shoot by Nadia Meli

Disney's recent release, Frozen, has taken over South Korea by storm. I still can't walk through the halls of my school without hearing at least 10 different voices screaming 'Let it Go'. No one really knows why this particular animation has has became so popular here in Korea, but, regardless of the why, I can't help joining in, no matter how fed up I am of hearing the same song over and over again. And there really is no denying that Frozen was a fantastic film, with subtle (and not so subtle) changes to the traditional fairytale story that make all of us ladies feel some kind of connection with Elsa.

While planning a Frozen inspired lesson for my middle school girls I came across this beautiful styled shoot by the talented Nadia Meli. Nadia lives in Germany and has such a beautiful portfolio of images ranging from romantic weddings to soft lit lifestyle photography. She was very sweet in allowing me to showcase this styled shoot here. Isn't it lovely?!

It was Nadia's work that inspired me to really dip my toes into the world of styled photoshoots (I started off with a flower crown shoot with a Korean friend, then captured a South African friend at a temple here in my town, complete with red roses and full red lips. And yesterday I finished a fun filled picnic inspired shoot on the beach...photographs to come soon).

Thank you for making such pretty pictures Nadia, I hope my travels bring me to Germany one day so I can meet up with you over a cup of coffee or attend one of your incredible workshops.

x

You can find Nadia at the following places:

Blog

Twitter

Facebook


Korean Temple Styled Photoshoot

Korean Temple Styled Photoshoot by Roxy Hutton of CGScreative-05.png

My friend Storm and I had such a great time creating and styling the flower crown shoot we did a few weeks ago (click here to see the photographs) that we have decided to do another styled shoot. Our next model was a South African girl I met on a rooftop braai a couple of weeks ago, Roslyn.

I really wanted to incorporate something truly Korean into the shoot, so we decided to again shoot here in my small town. This time, at two of the local temples.

Roslyn, you were a pleasure to photograph and I had a wonderful afternoon chasing the light with you and Storm. Thank you for being our model, I hope you (and my readers) like the photographs!

x

We are going to make these styled shoots into something of a series here on the blog, often incorporating DIY elements into them (just like this flower crown). The next shoot is going to have much more of a summery, salty flair so make sure to check back here on the blog soon. I'll also be posting sneak peeks on the Facebook page soon.

Happy Friday everyone!

How to make a Flower Crown #DIYDaysInKorea

DIY How To Make A Flower Crown

Myself and my very talented friend Storm, who moonlights as a stylist & florist in her spare time, created this flower crown for a styled photo shoot we did a few weeks ago. We got together one day to brainstorm ideas for fun and creative activities we could do without spending lots of money and so we have started a #DIYDaysInKorea series (we even started a 'hashtag' so you can follow along too!).

If you are based here in Korea and would like to join one of our DIY days (we will be having our first official one on a Saturday in a few weeks time) you can pop on over to the Facebook group for more information. 

These #DIYDaysInKorea posts are about making beautiful things for your home (whether that home is in South Korea or South Africa, or any where else in the world). We hope you enjoy this series and that you leave feeling inspired.

x

How to make a flower Crown #DIYDAYSINKOREA 

CityGirlSearching#DIYDaysinKoreaHowtoMakeaFlowerCrown

Step 1

Get your tools, foliage and flowers together.

You will need a pair of scissors, florist wire, your flowers of choice and of course a cup of tea. 

Forage, pick, buy or pinch a few flowers and foliage for your crown. The crown will need need sturdy foliage to give it structure, as well as comfort for the wearer and to add a green element to it too. We used Boxwood as it is plentiful on the Korean sidewalks. Other foliage that can be used is willow or olive branch as they have flexible stems that twist easily

CityGirlSearching#DIYDaysinKoreaHowtoMakeaFlowerCrown3

Step two

To create the base of your crown you need to use sturdy foliage. We used Boxwood, but willow or olive branch works well too.

Start by gathering a few stems of your foliage (you can use a combination of greens if you’d like) and wrap your florist wire around the base. Continue to add in stems of foliage wrapping the wire around each piece to make sure it is secure. Once it is long enough, join the two ends and secure with wire.

CityGirlSearching#DIYDaysinKoreaHowtoMakeaFlowerCrown2
CityGirlSearching#DIYDaysinKoreaHowtoMakeaFlowerCrown4

Step 3

Next is to add your flowers. For the flowers we chose to use a mixture of silk and fresh flowers. We found that using a selection of bold flowers, such as peonies and roses mixed with a few whimsical flowers such as jasmine or honeysuckle worked well. Make sure the flowers you choose are hardy so that they don’t wilt too quickly while you are working with them.

CityGirlSearching#DIYDaysinKoreaHowtoMakeaFlowerCrown5

To add the flowers cut off the stem at the base of the flower. Pierce florist wire through the center of  the flower and make a hook. This make is easier to attach the flower and position them in an appealing arrangement. 

Secure the flower to the base by wrapping the wire around the foliage.

CityGirlSearching#DIYDaysinKoreaHowtoMakeaFlowerCrown6

Step 4

Lastly enjoy your floral crown! To make your pretty floral crown last a bit longer you can spritz the fresh flowers with water; however the fresh flowers won’t last out of water for longer than a day or two.

CGSTravelBlog_0039.jpg
One of my favourite photographs from the styled shoot...click here to see more.

One of my favourite photographs from the styled shoot...click here to see more.

Photography Styling Challenge {Living Room}

RedesignedbyMPhotographyStylingChallenge

This months theme for Redesigned by M's Photography Styling Challenge is 'Living Room'. In this challenge the photographs cannot be edited, and only a maximum of five images may be posted. This is always difficult for me as I tend to take so many photographs and I always struggle to choose JUST five. Each one appeals to me in a different way. But, in essence this is exactly the point of the challenge...to better yourself as a photographer and stylist. 

My first submission was for Morning {click here} followed by Bedroom {click here}, Order {click here}, Patterns {click here}, Fashion {click here} and Light {click here}. Each theme or concept is open to interpretation by the photographer, and it has been really interesting seeing how each of us have handled the themes in our different ways. 

As with all the challenges so far, I had high hopes of being able to style my living room in an interesting and unique way, but we are in the middle of moving apartments (and apartments here in Korea are very different from Western ones) the living room becomes the TV room, the kitchen, the dining room, study, craft room and at times, the bedroom. It was really hard to think of a way to style it in a way that aligns with my photography style.

So instead of putting too much pressure on myself, I am using photographs from a styled shoot I did a few weeks ago. My friend and I did a flower crown photo shoot with our beautiful Korean friend {click here to see the photographs} and these photographs are from the actual making of the flower crown which took place in my living room. I will be doing a full DIY post showing you how to make a flower crown, but here are a few highlights from the shoot. 

CityGirlSearchingPhotographyStylingChallengeMicingRoom

The photographs came out a little darker than I had anticipated (and this challenge is all about not editing!) but I quite like the effect they have paired with the rich colours of the flowers and the floor.

I used the following settings on my NIkon d300s & 35mm 1.8 lens:

-ISO 320

-Aperture of 1.8

-Shutter-speed 1/60

-I had my white balance on indoor

I deliberately didn't want to use a flash, but looking back now, if I had a diffuser a flash would have really helped me as it was a cloudy & cold day and there was very little natural light coming in through the windows. But I am happy with how they came out. As always I would love to know your thoughts, please leave me a comment below, I promise to respond! 

Enjoy

x

Make sure to pop on over to the other participants and see how they interpreted this theme:

Redesigned By MAt The Corner Of Happy And HarriedMy Food TapestryInge Kathleen PhotographyThe Delicious World Of Chefette SpicyA Tree Grows in the BayouI Live Under A RockHooked On HomesSamta PhotographyMiss Wang PhotographySimplyVegetarian 777

And a warm welcome  to our newest participant: Coconut Craze

Korean Spring Flower Crown Styled Shoot

Spring Flower Crown Styled Photoshoot by Roxy Hutton of CGScreative-05.png

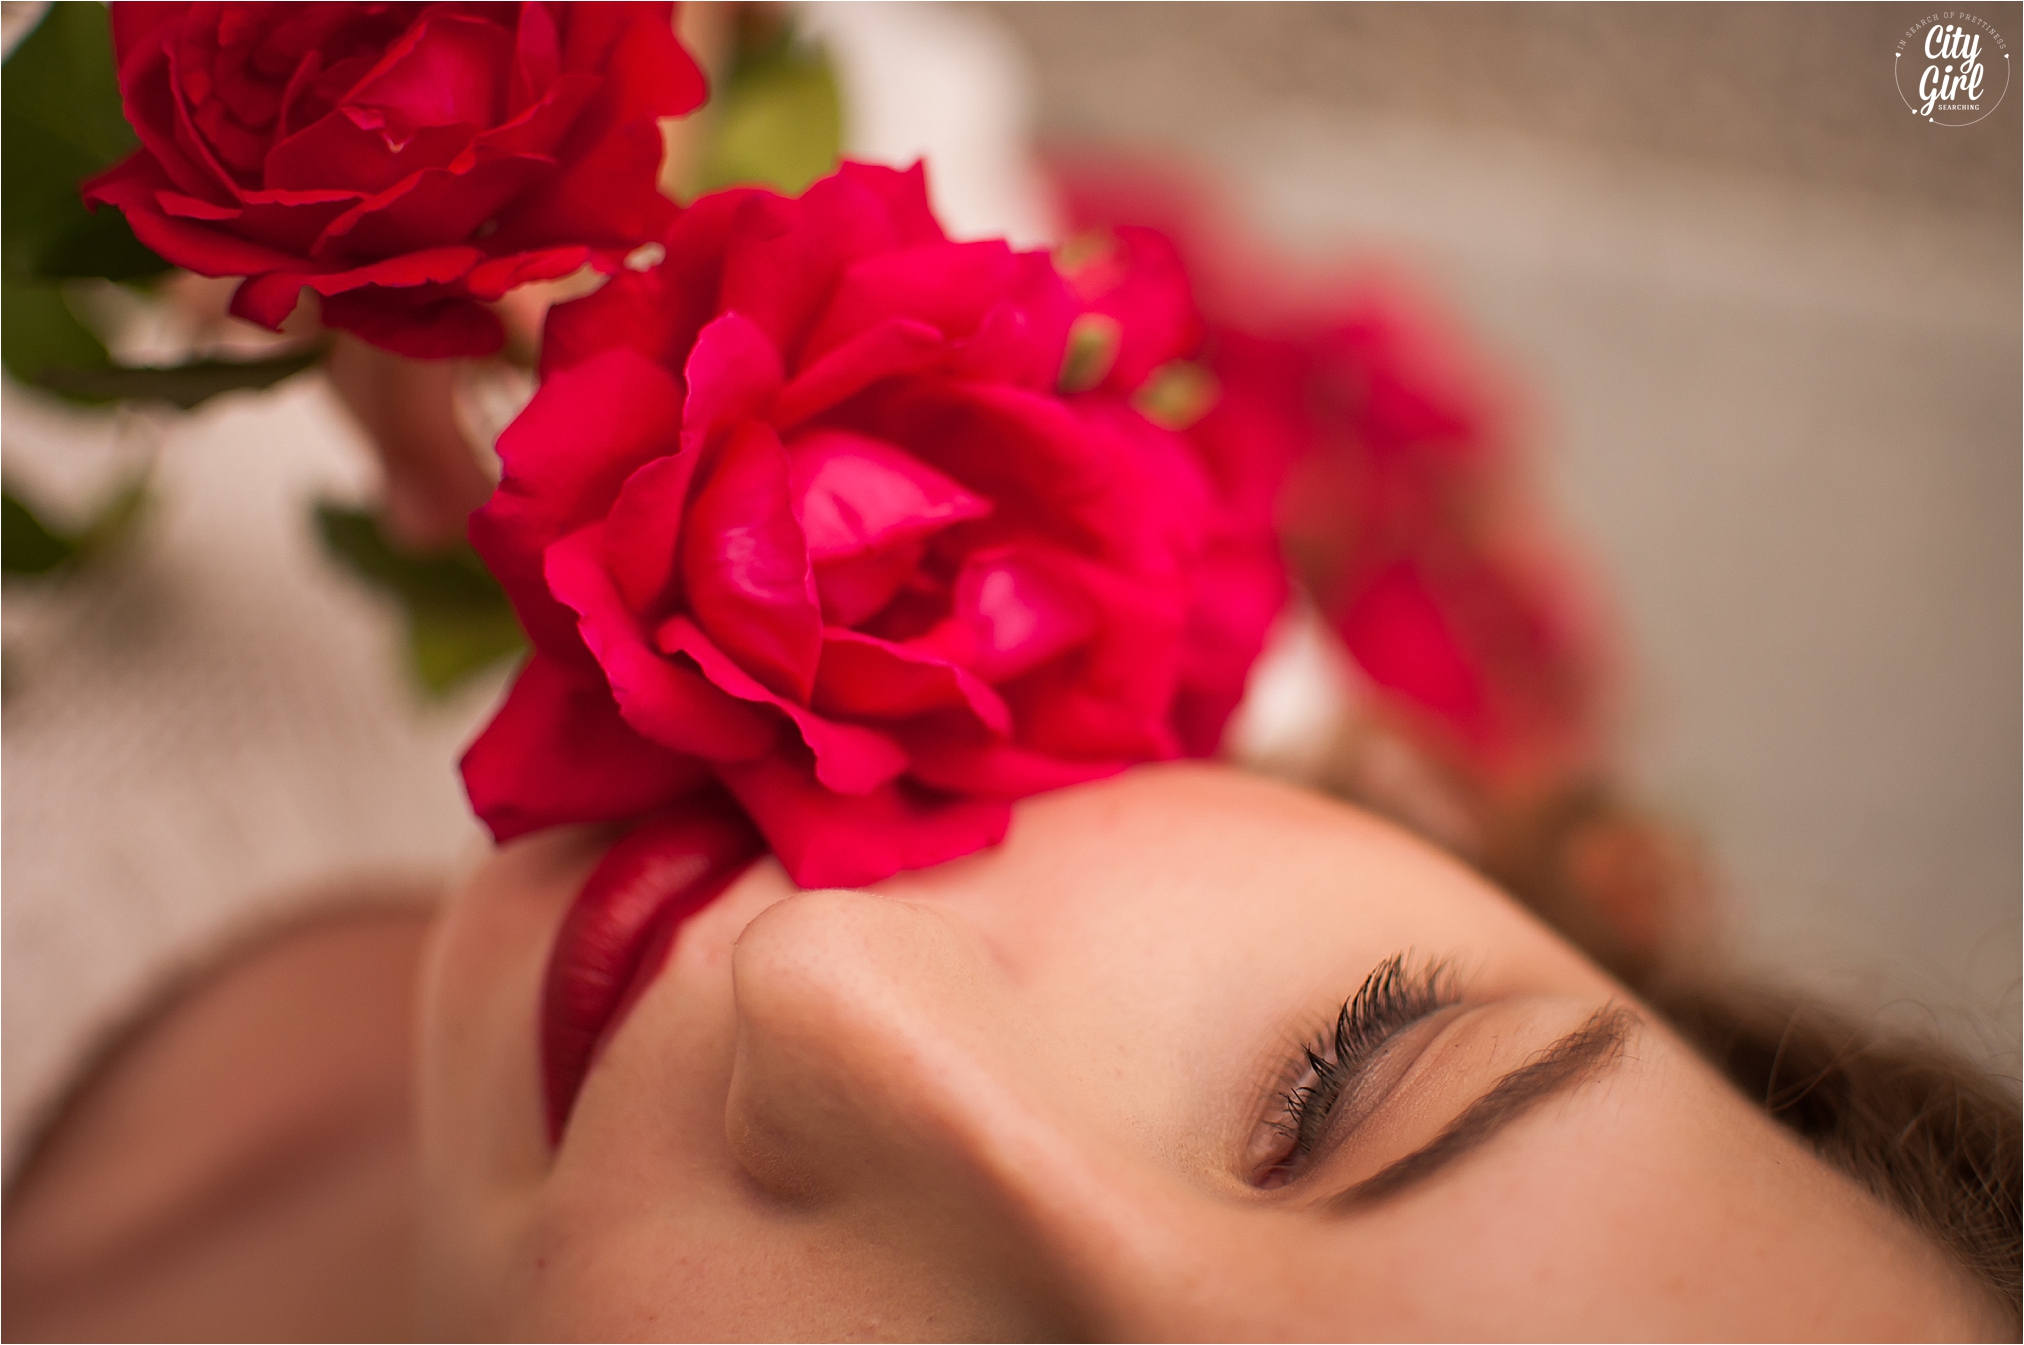
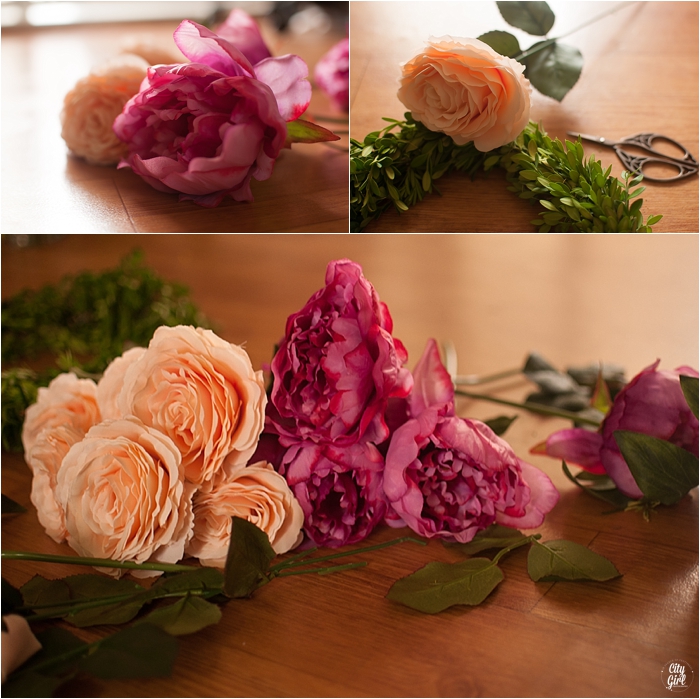
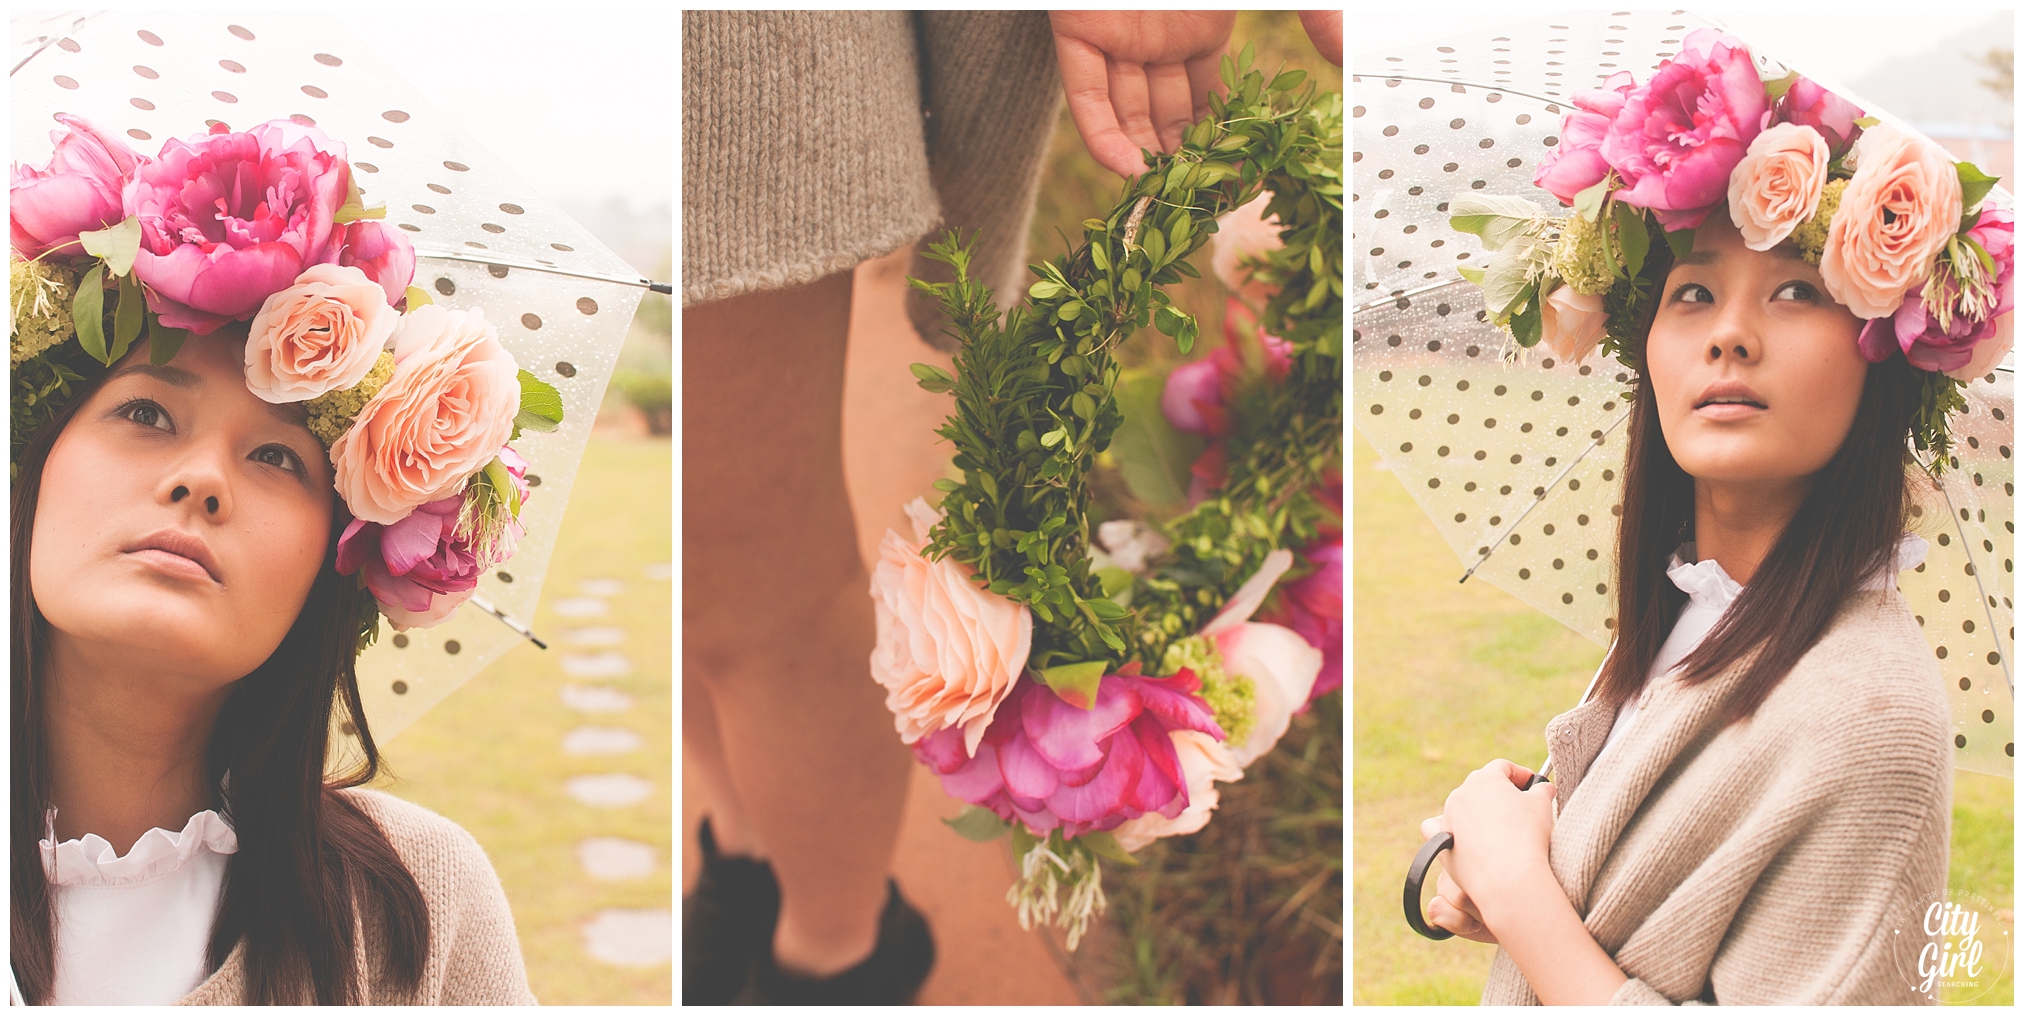
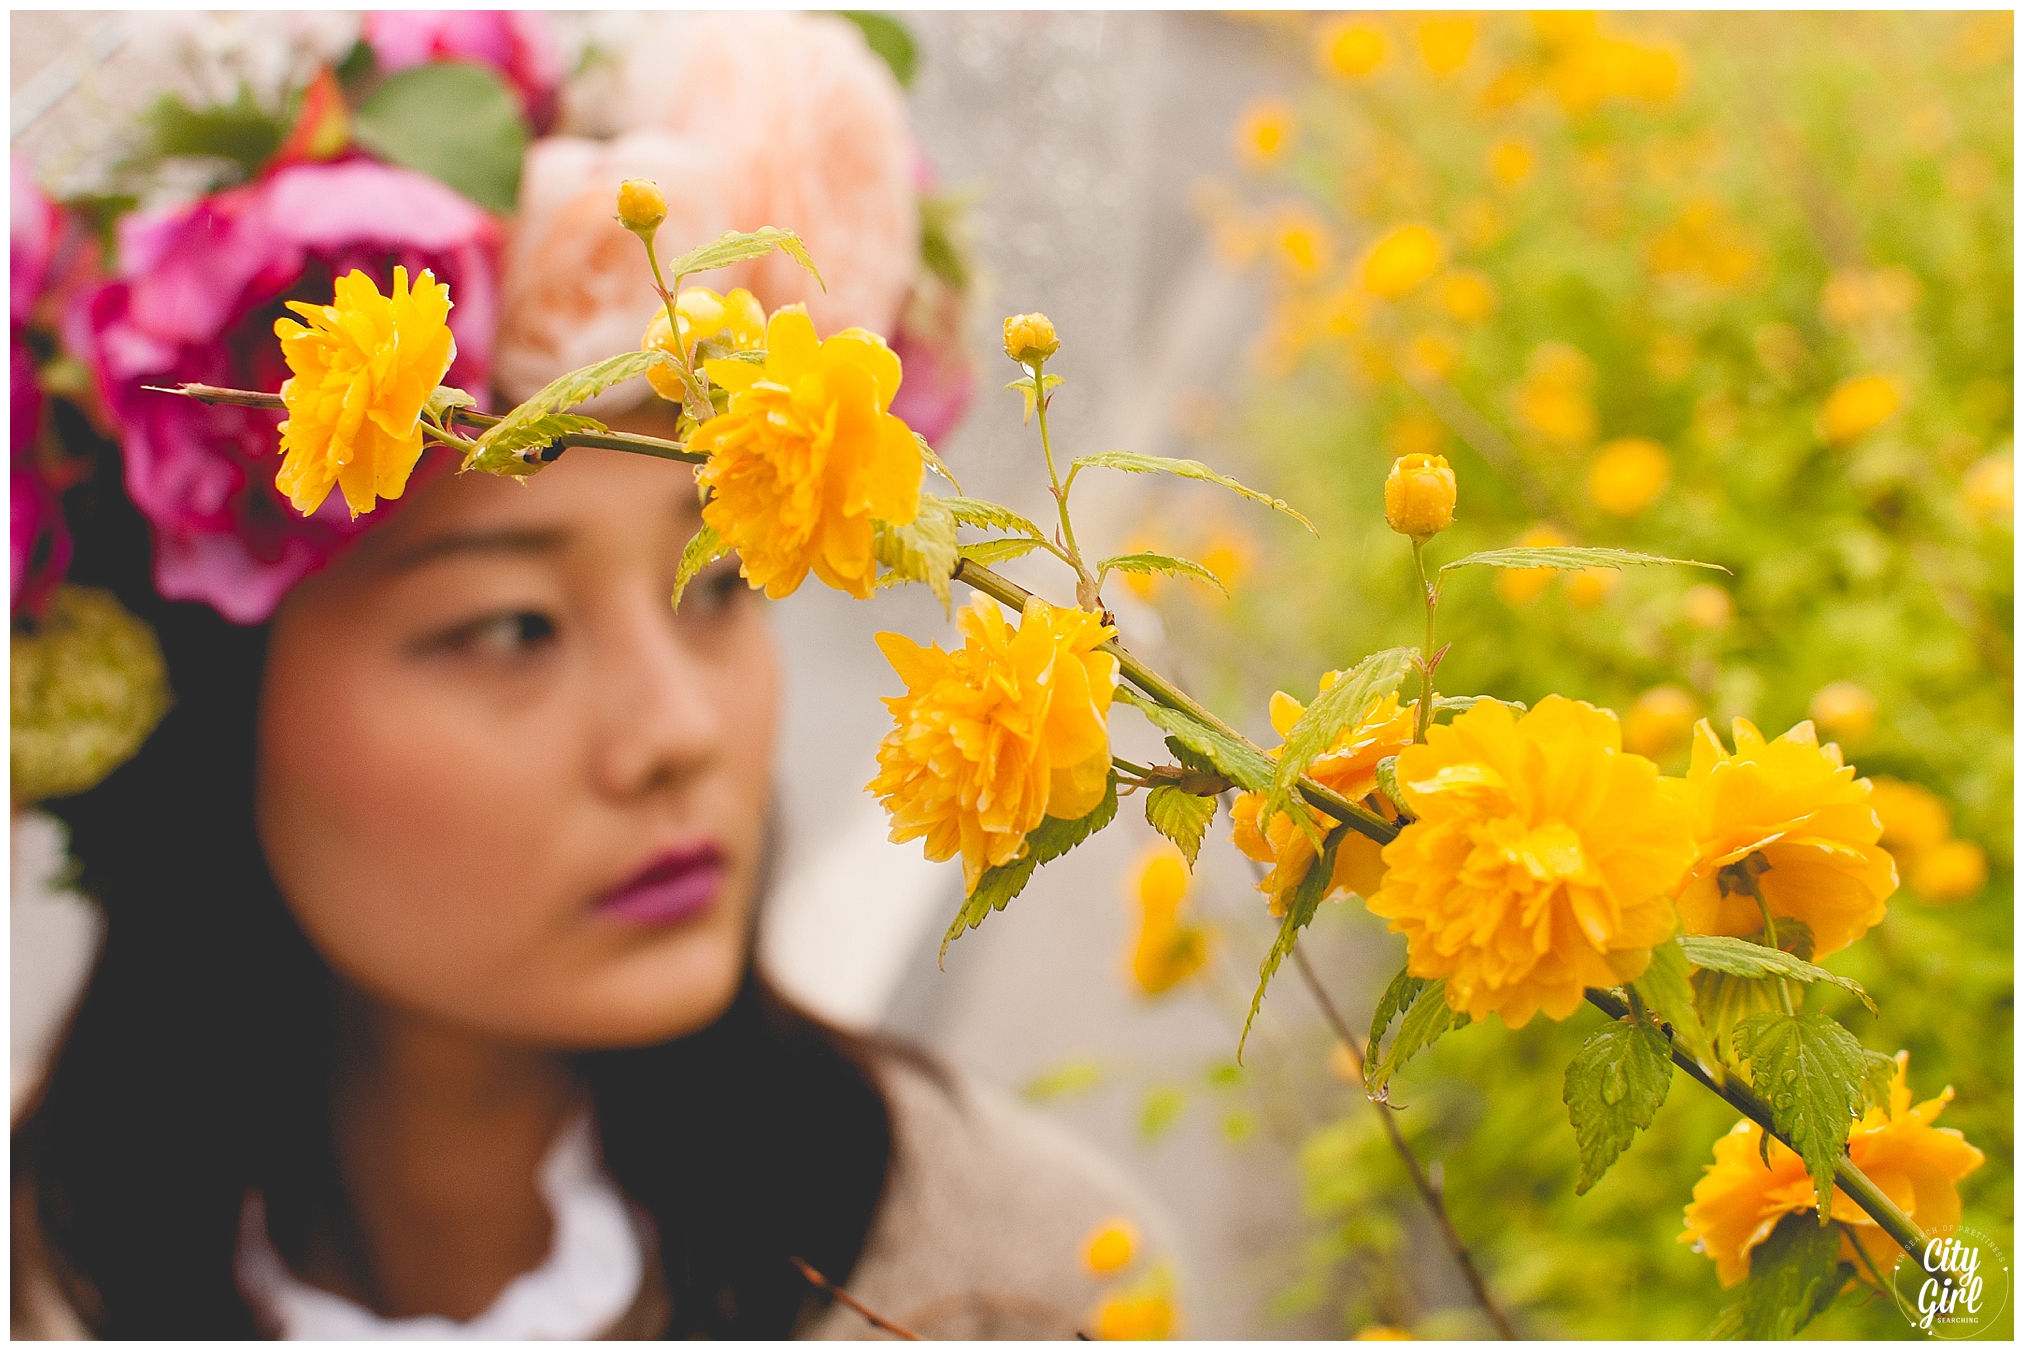
After a recent trip to the Yangjae Flower Market in Seoul, my friend Storm and I felt inspired to do a flower crown shoot here in South Korea. Styled shoots are a wonderful way to practice and hone your skills as a photographer, while working with other creatives and producing something that may be very different from your usual style. These kind of shoots are a far less stressful way to try out new ideas, with little to no time restraints and are a really fun way to spend an afternoon. They do require quite a lot of planning and preparation (and hunting for possible vendors and suppliers depending on your theme) but if you choose to work with people who have the same vision and ideas as you, they are the perfect platform to grow your skills and learn new things about yourself and what you are capable of.

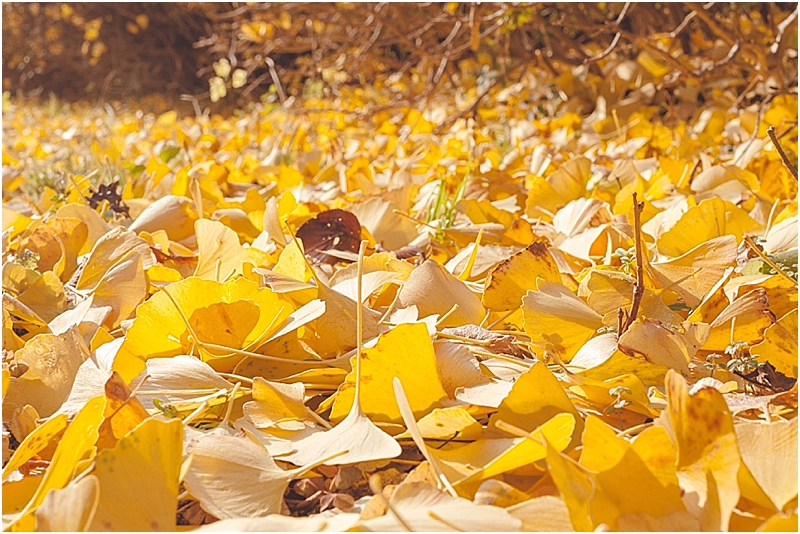
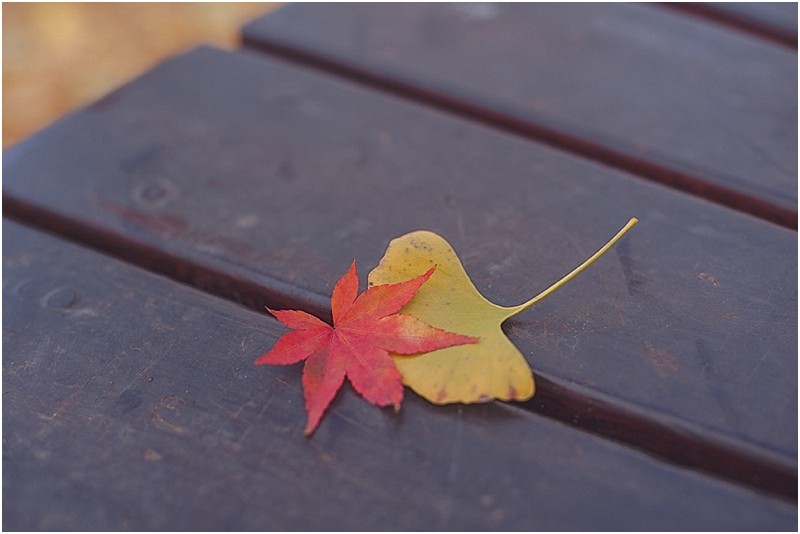
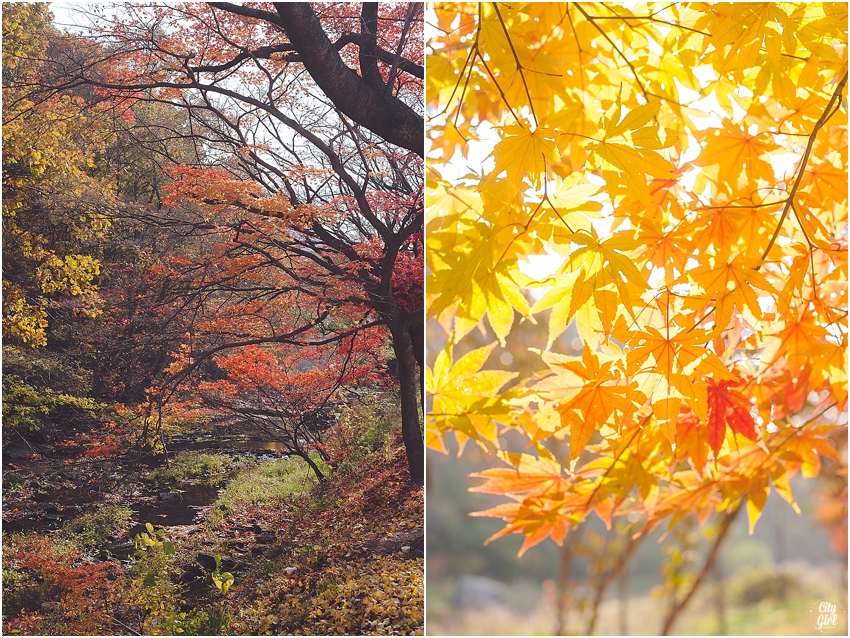
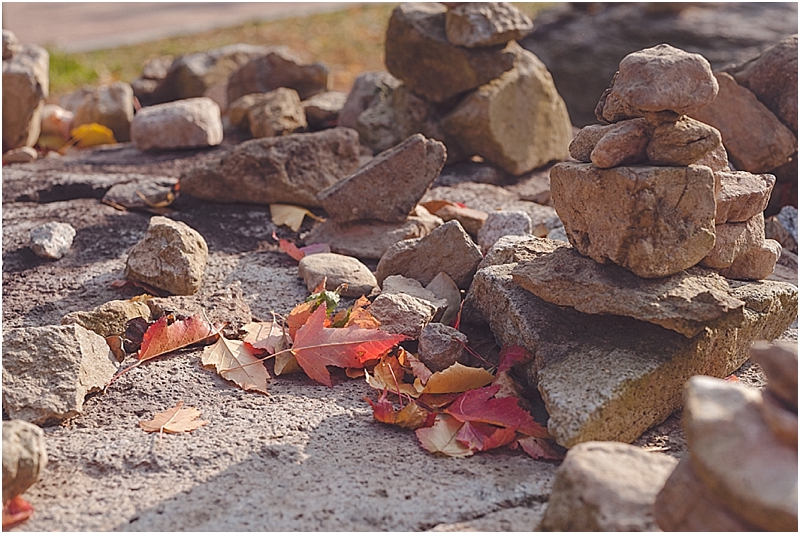
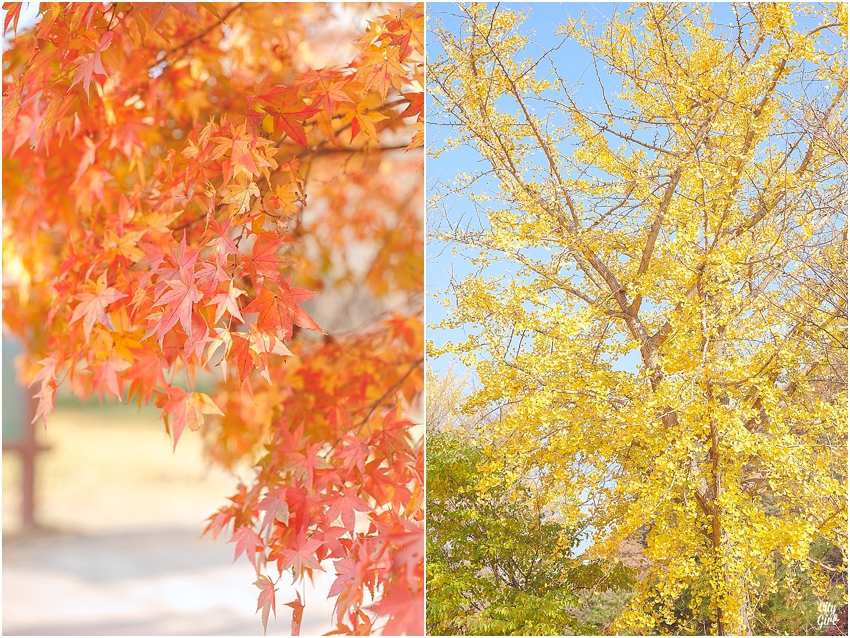
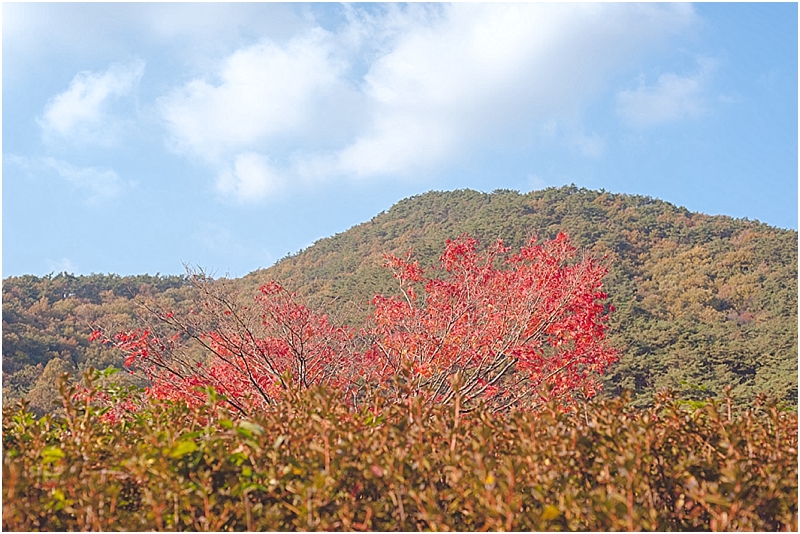
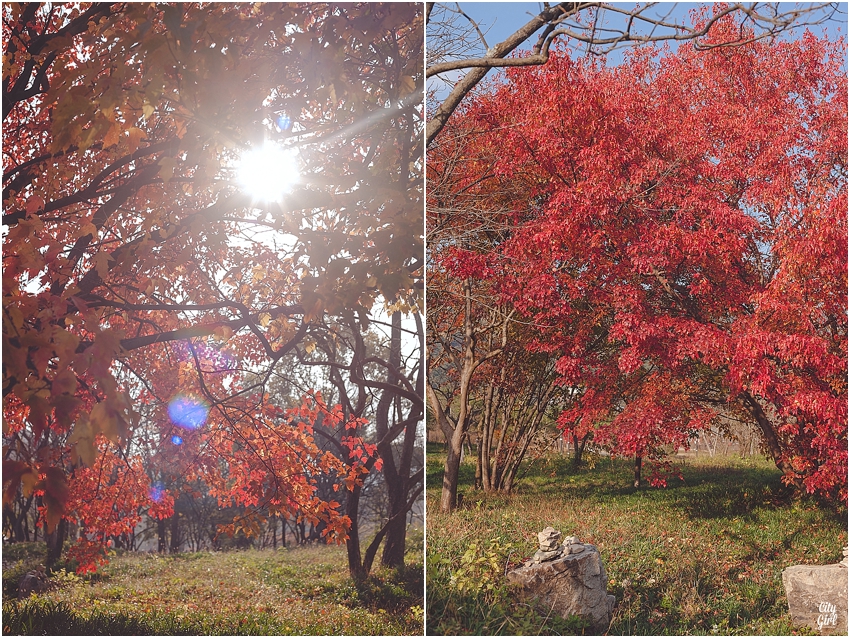
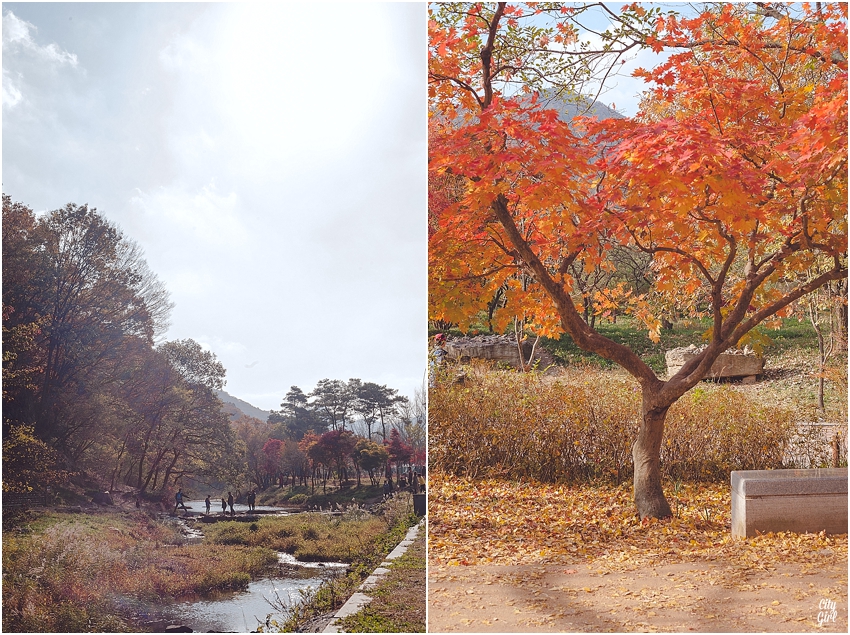
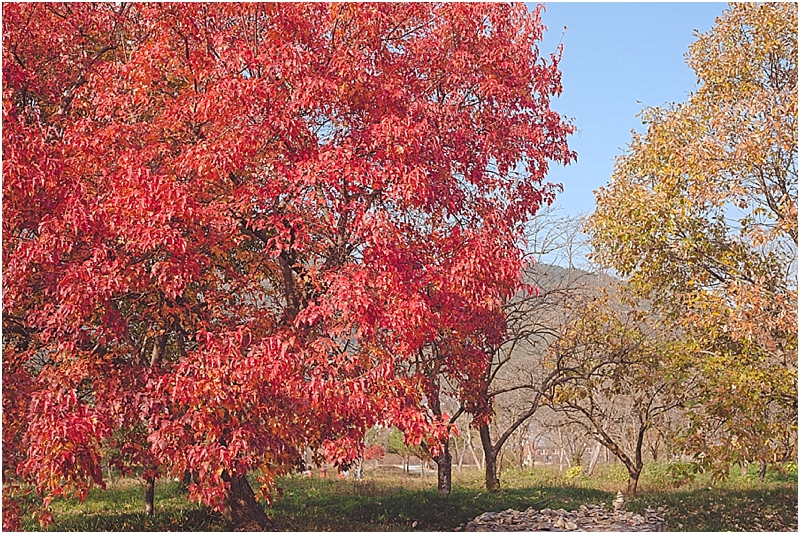
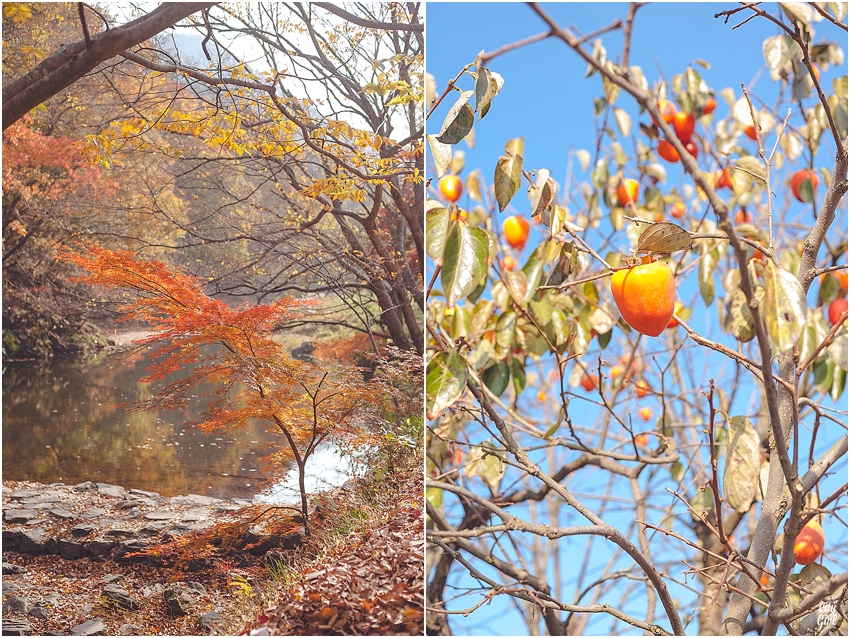
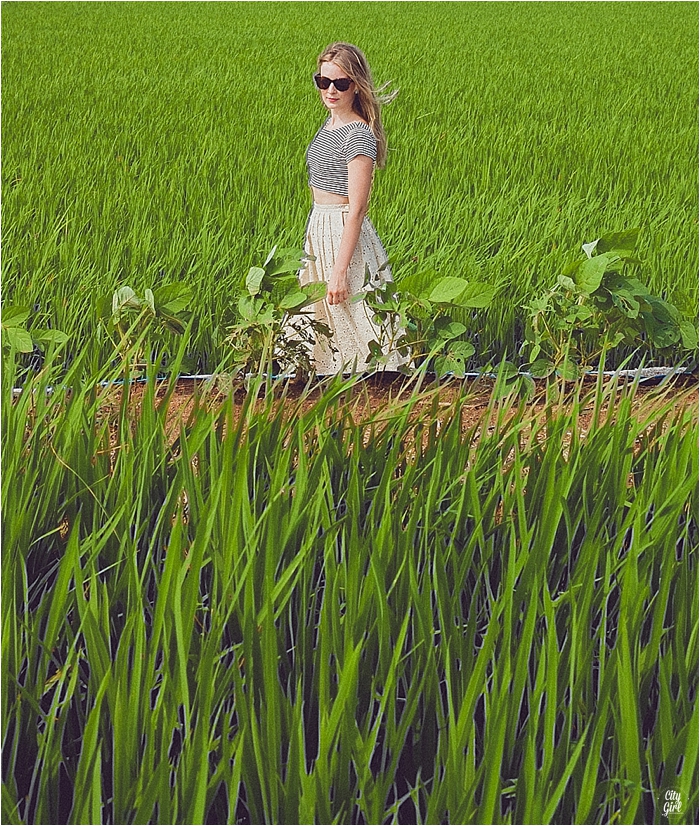
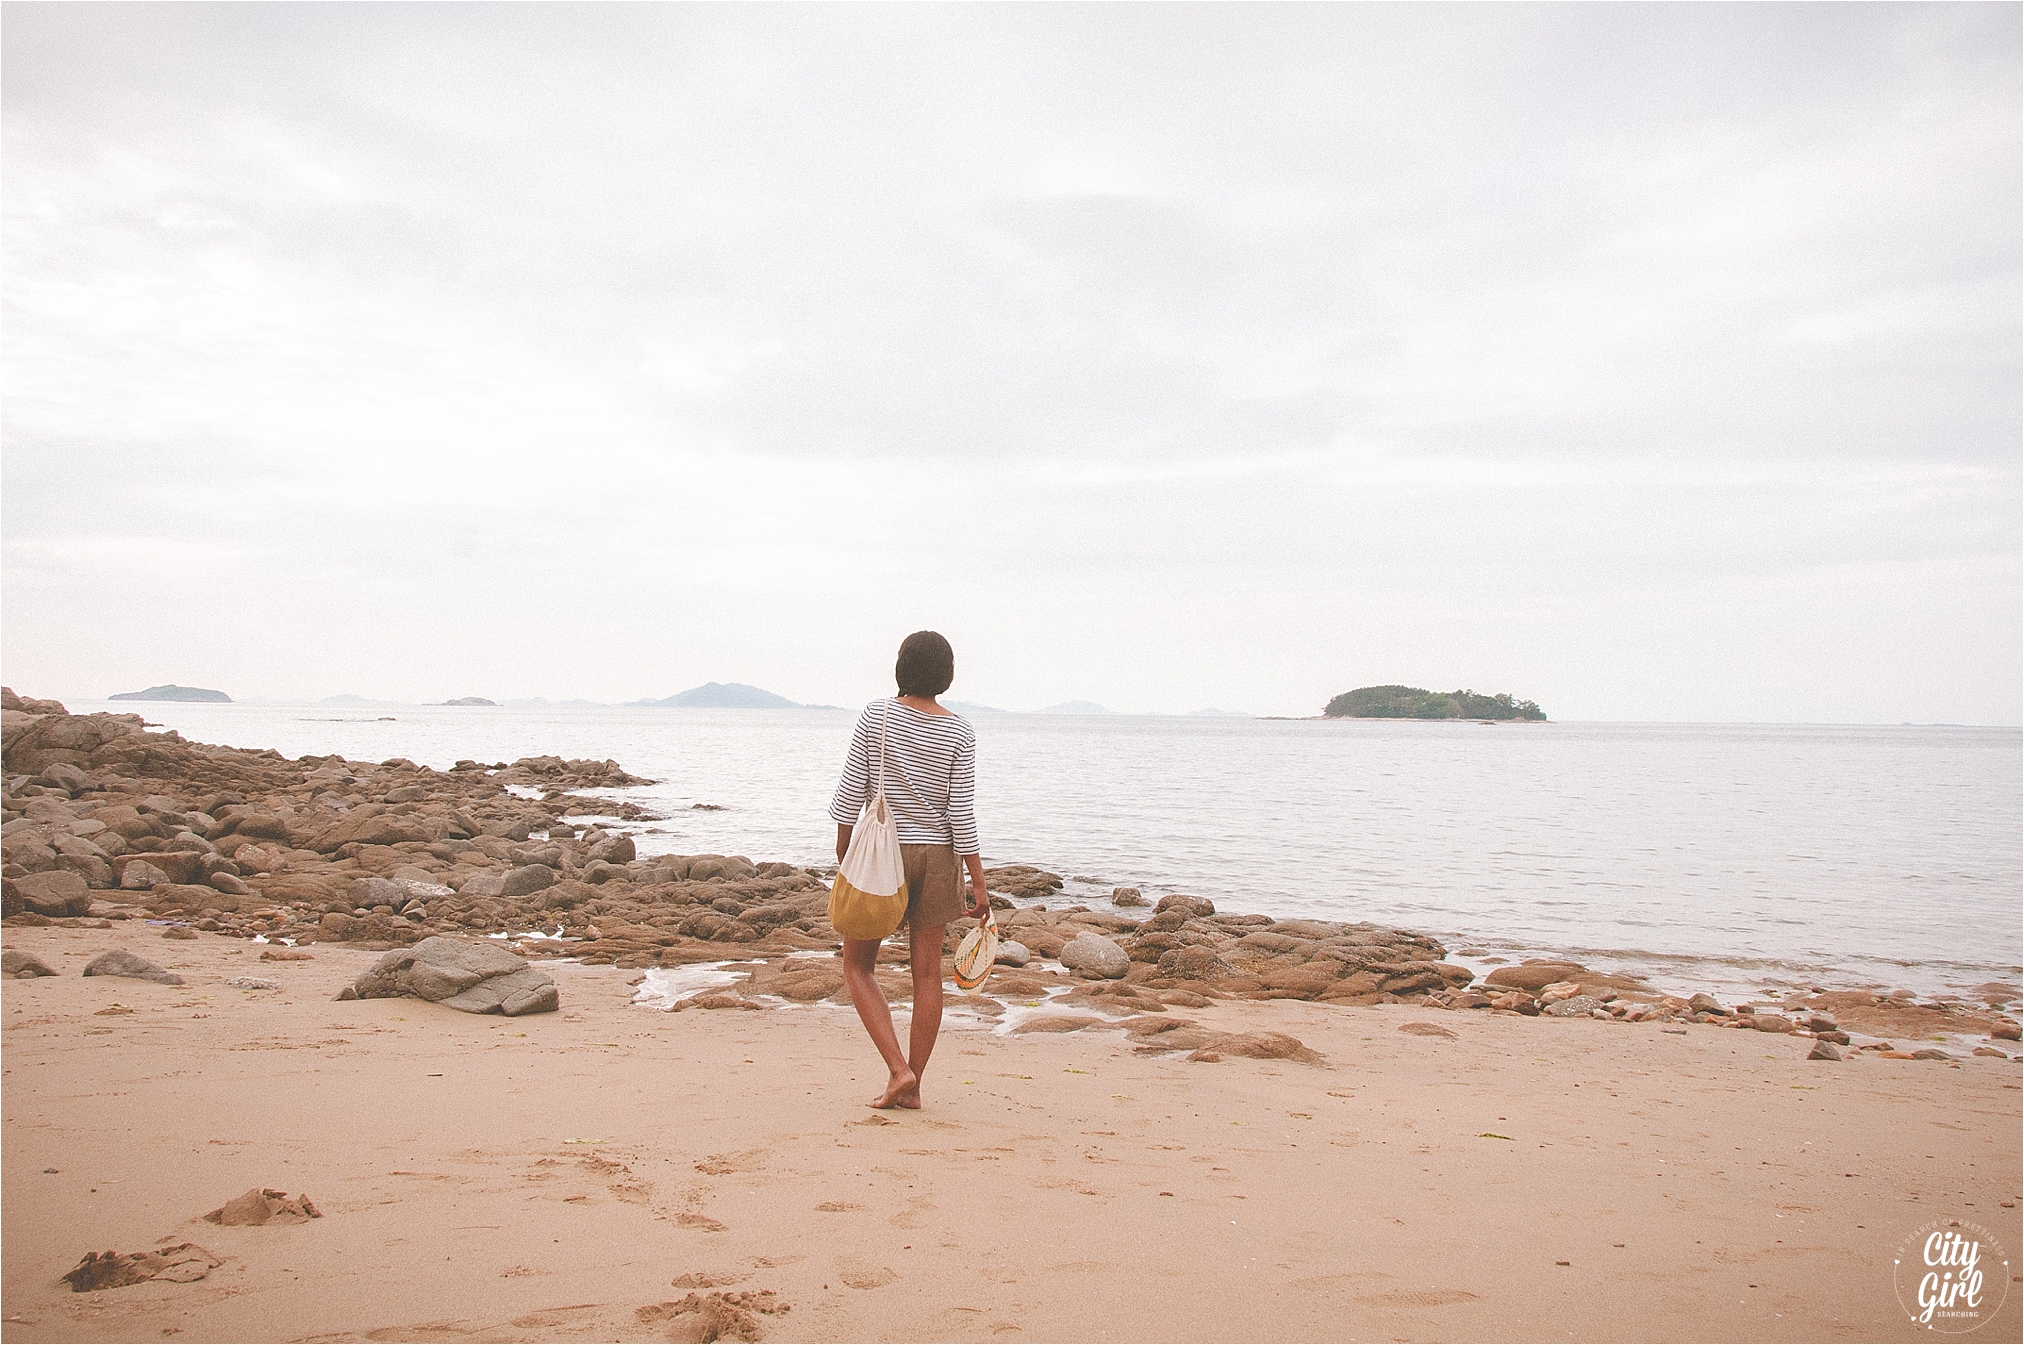
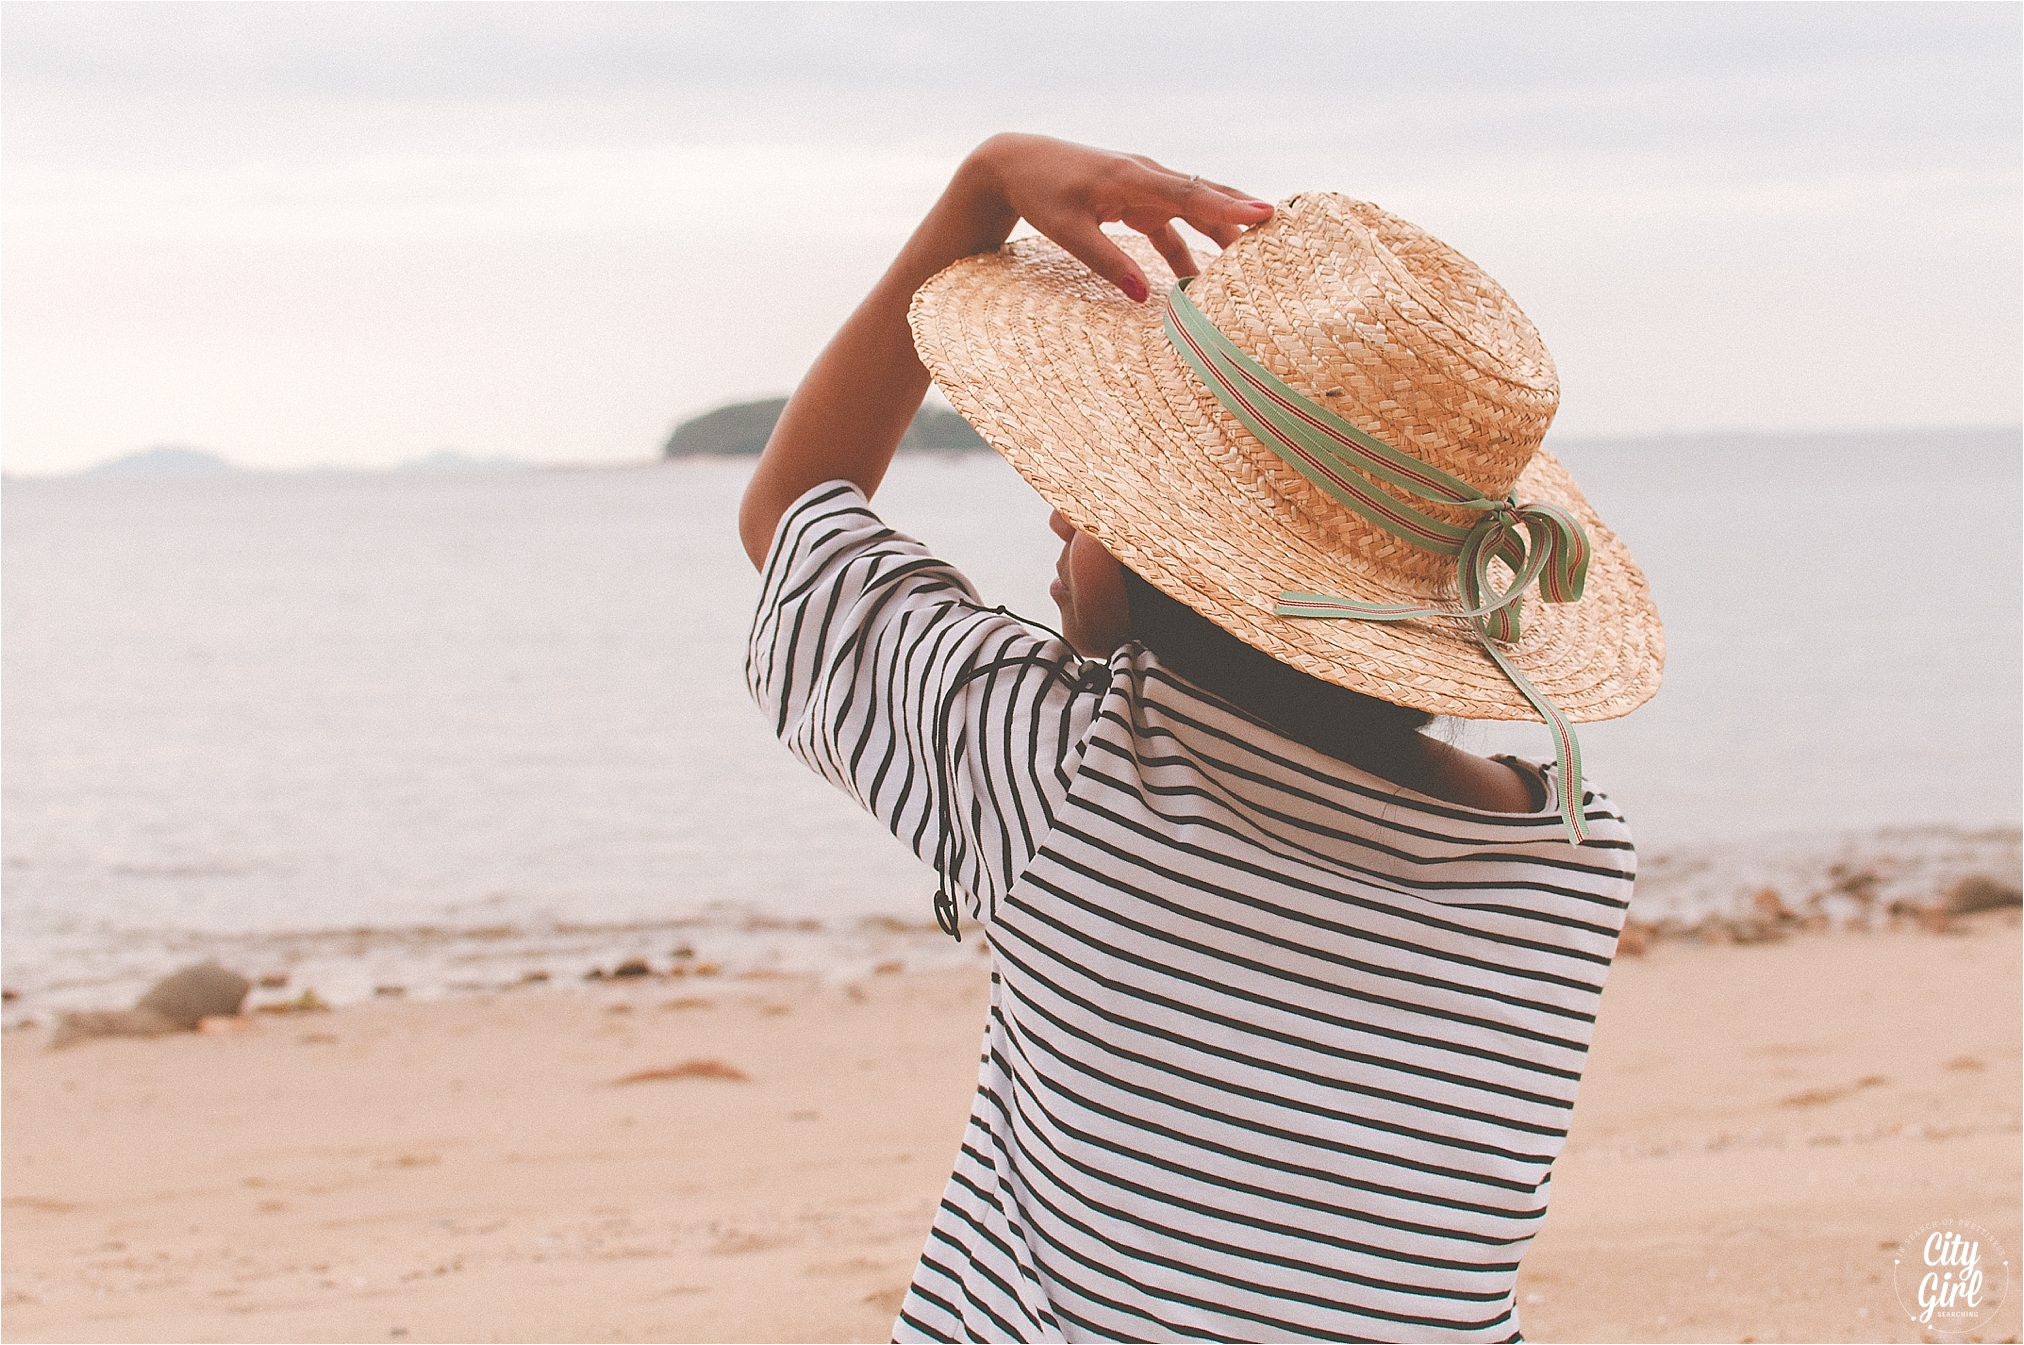
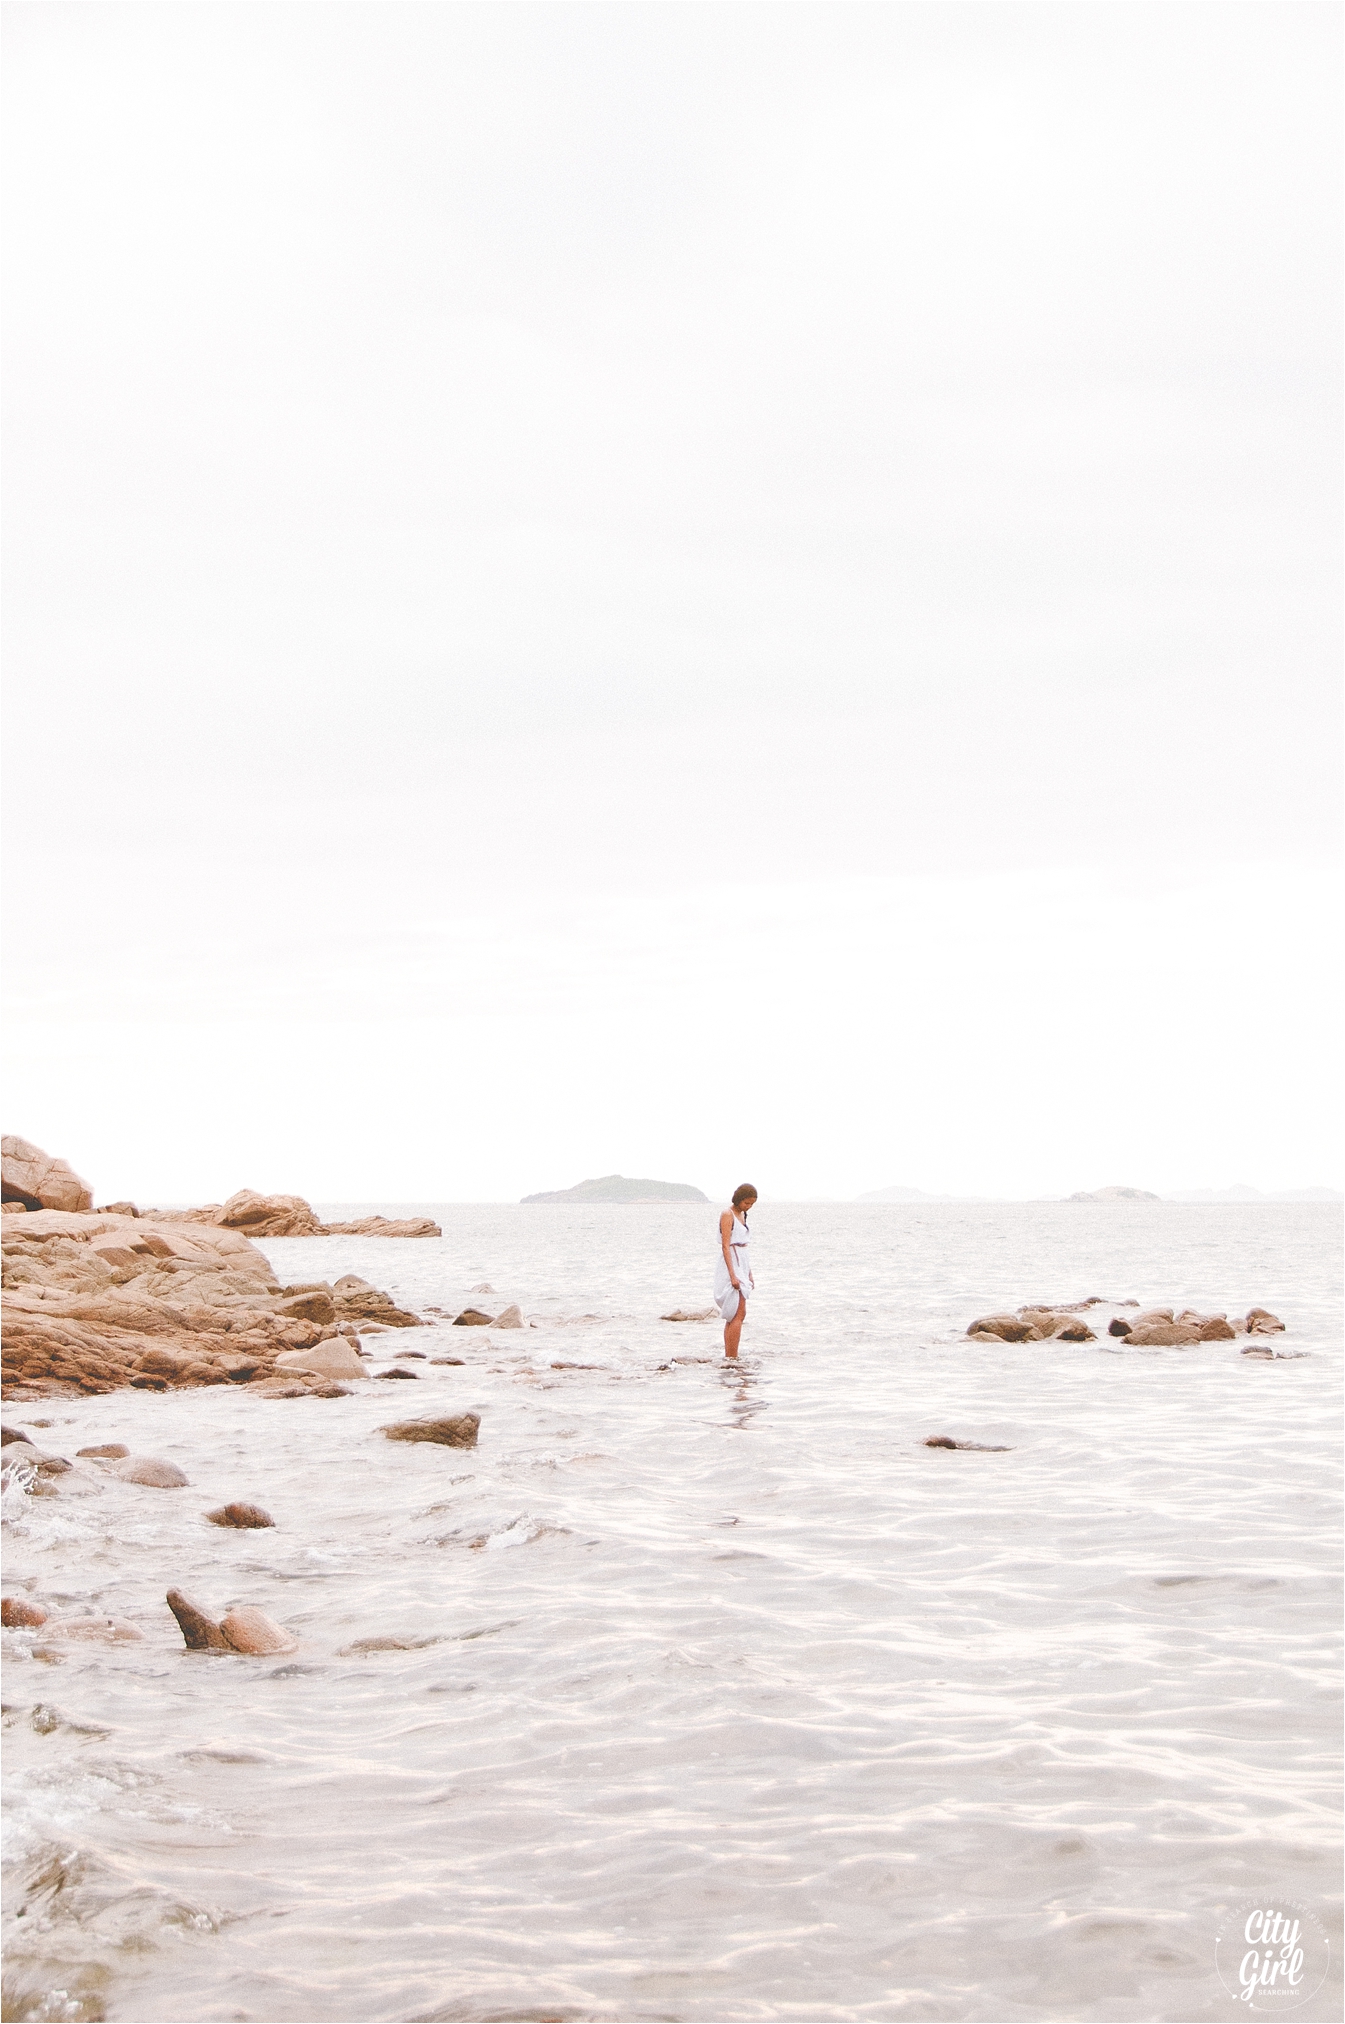
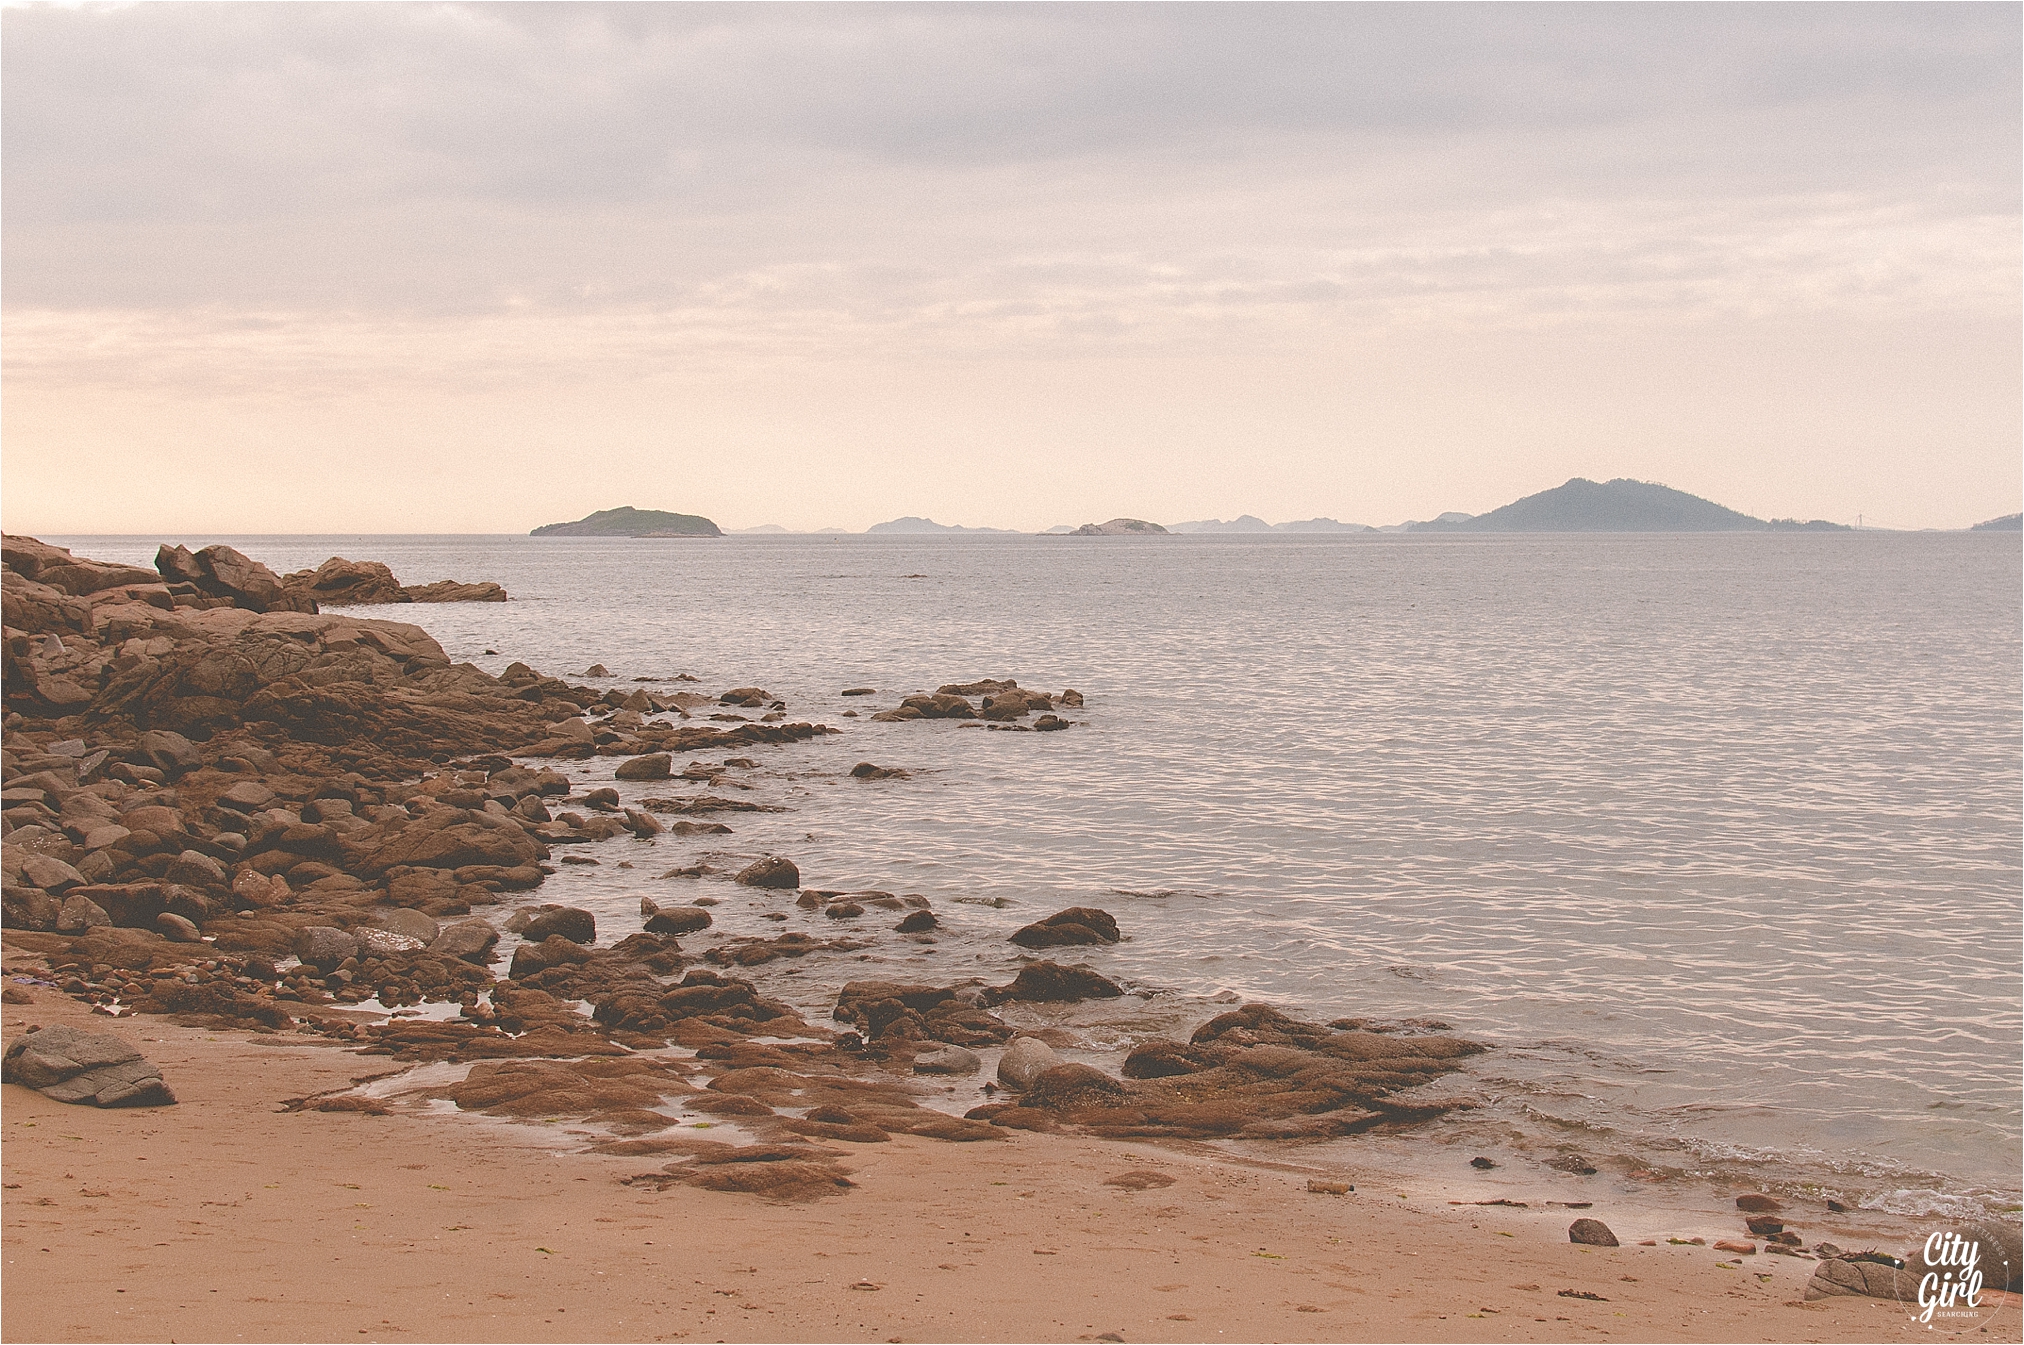
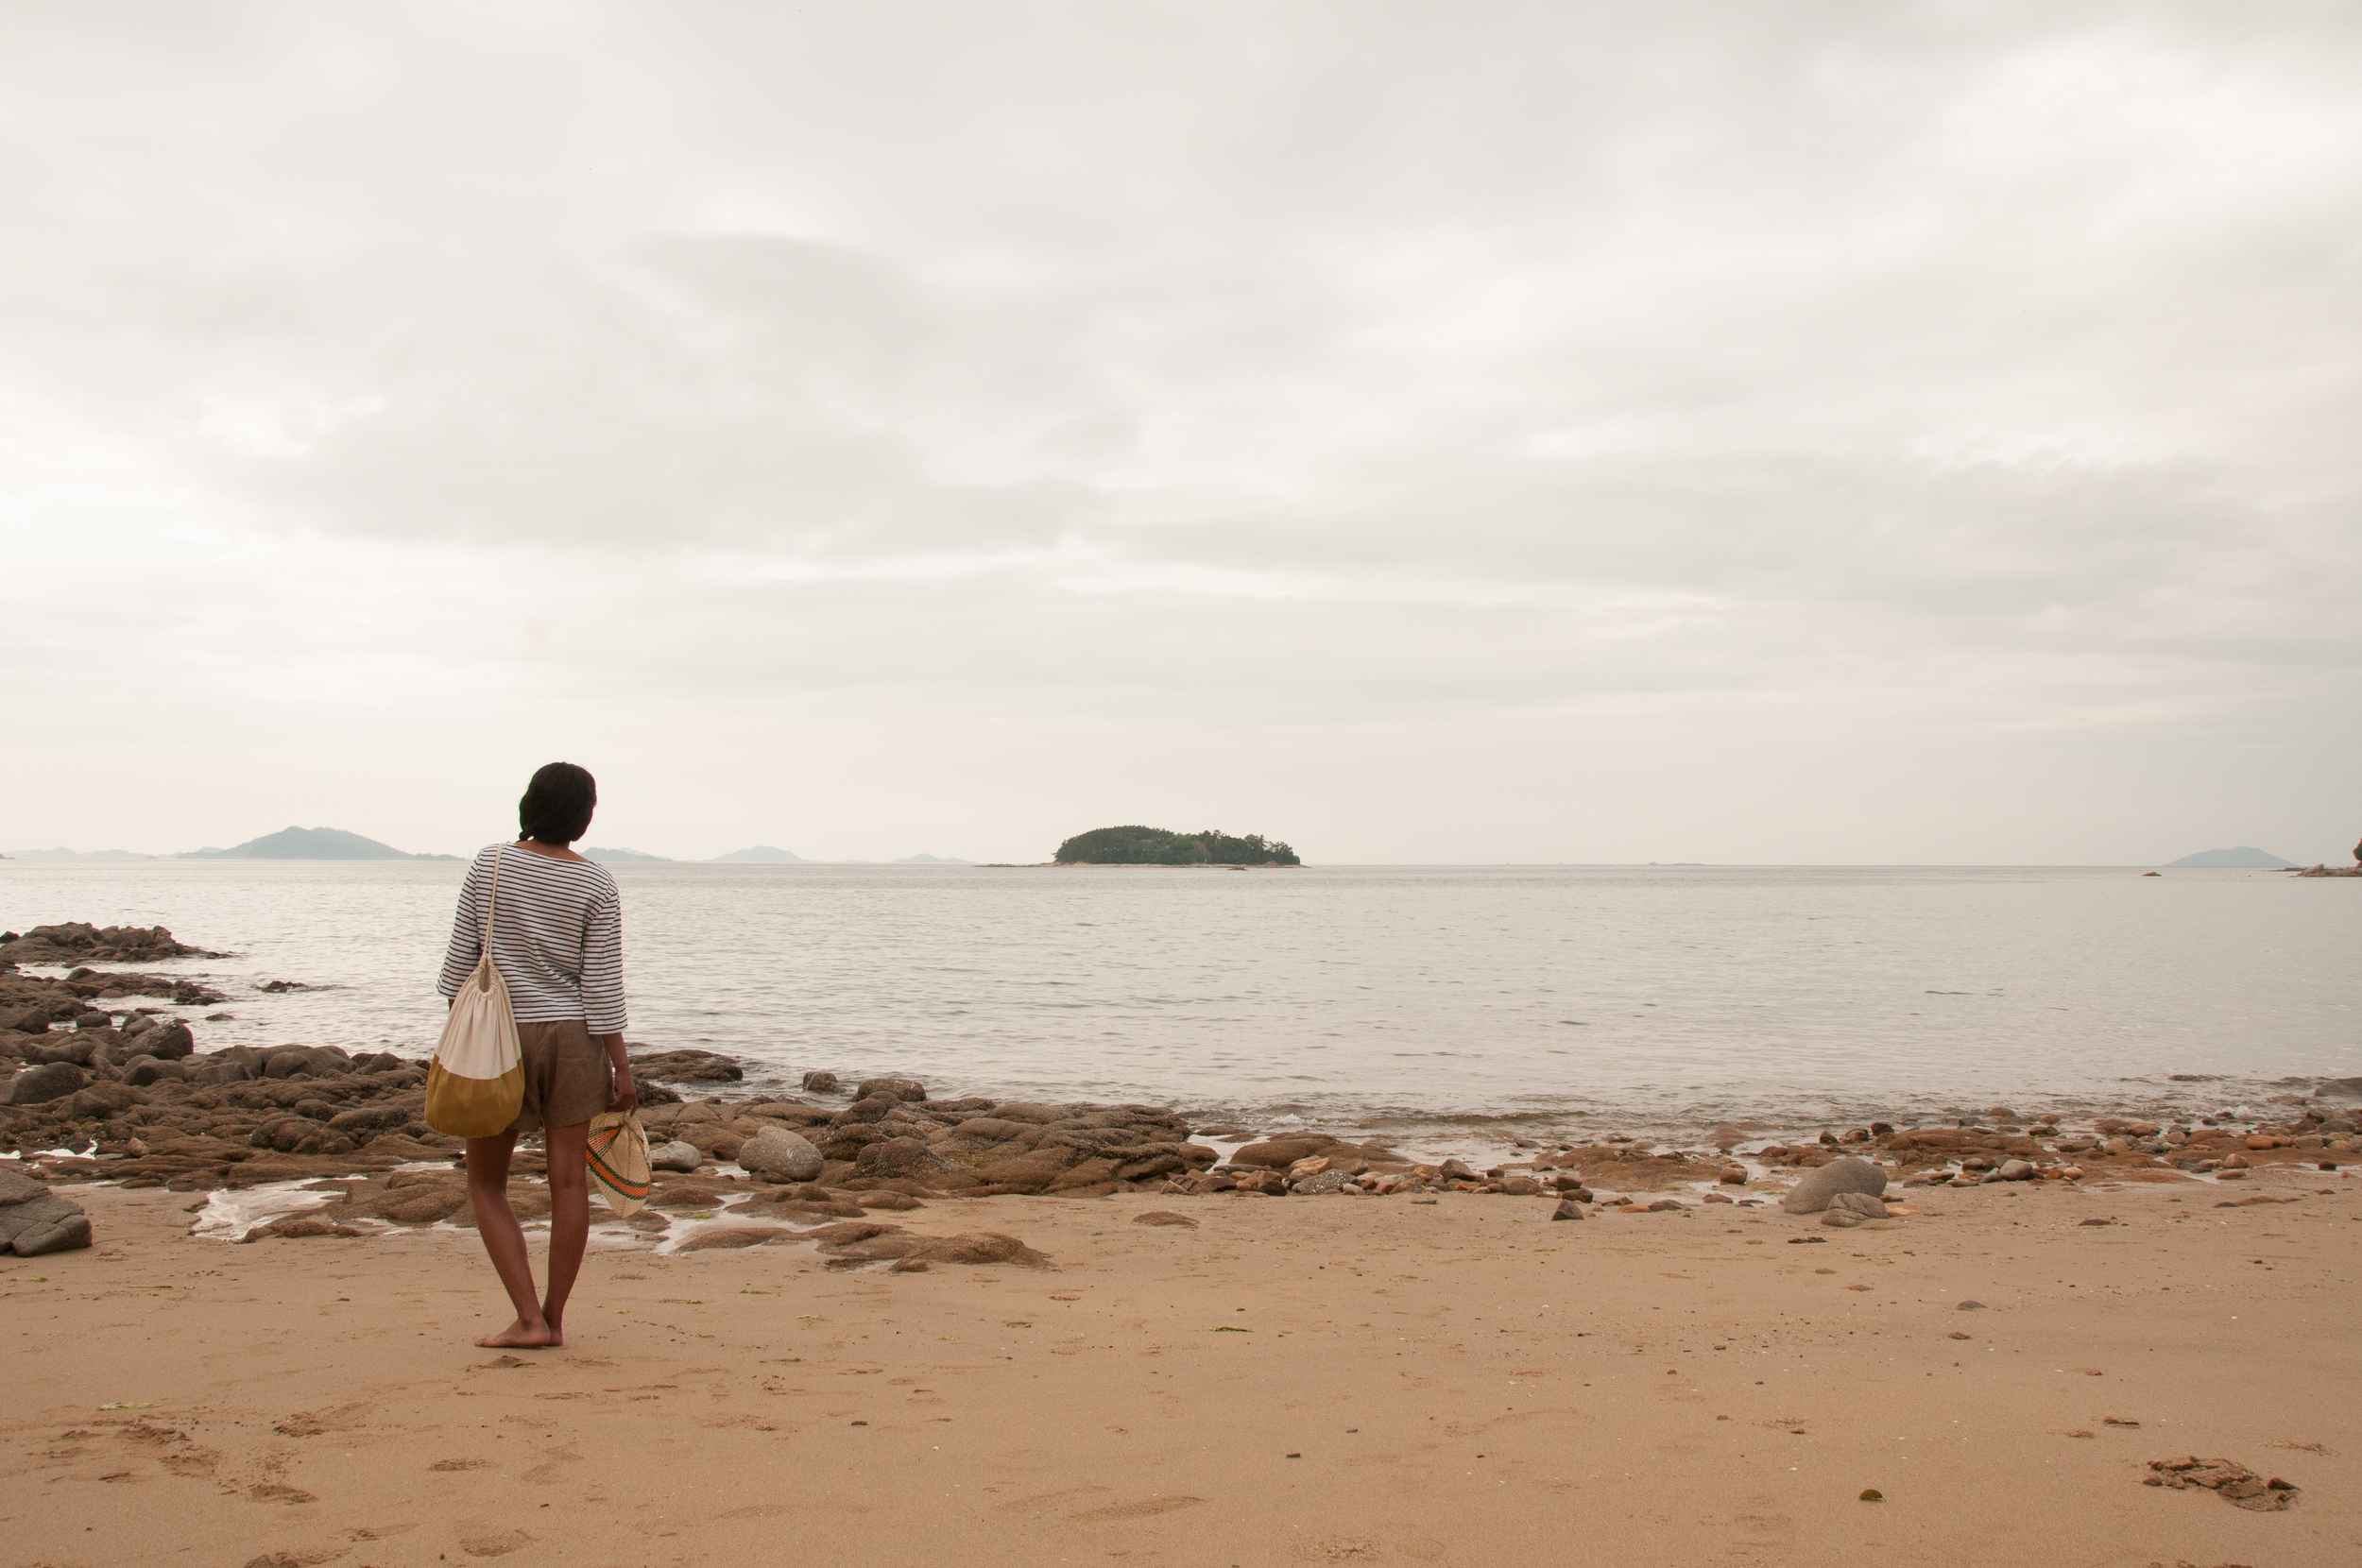
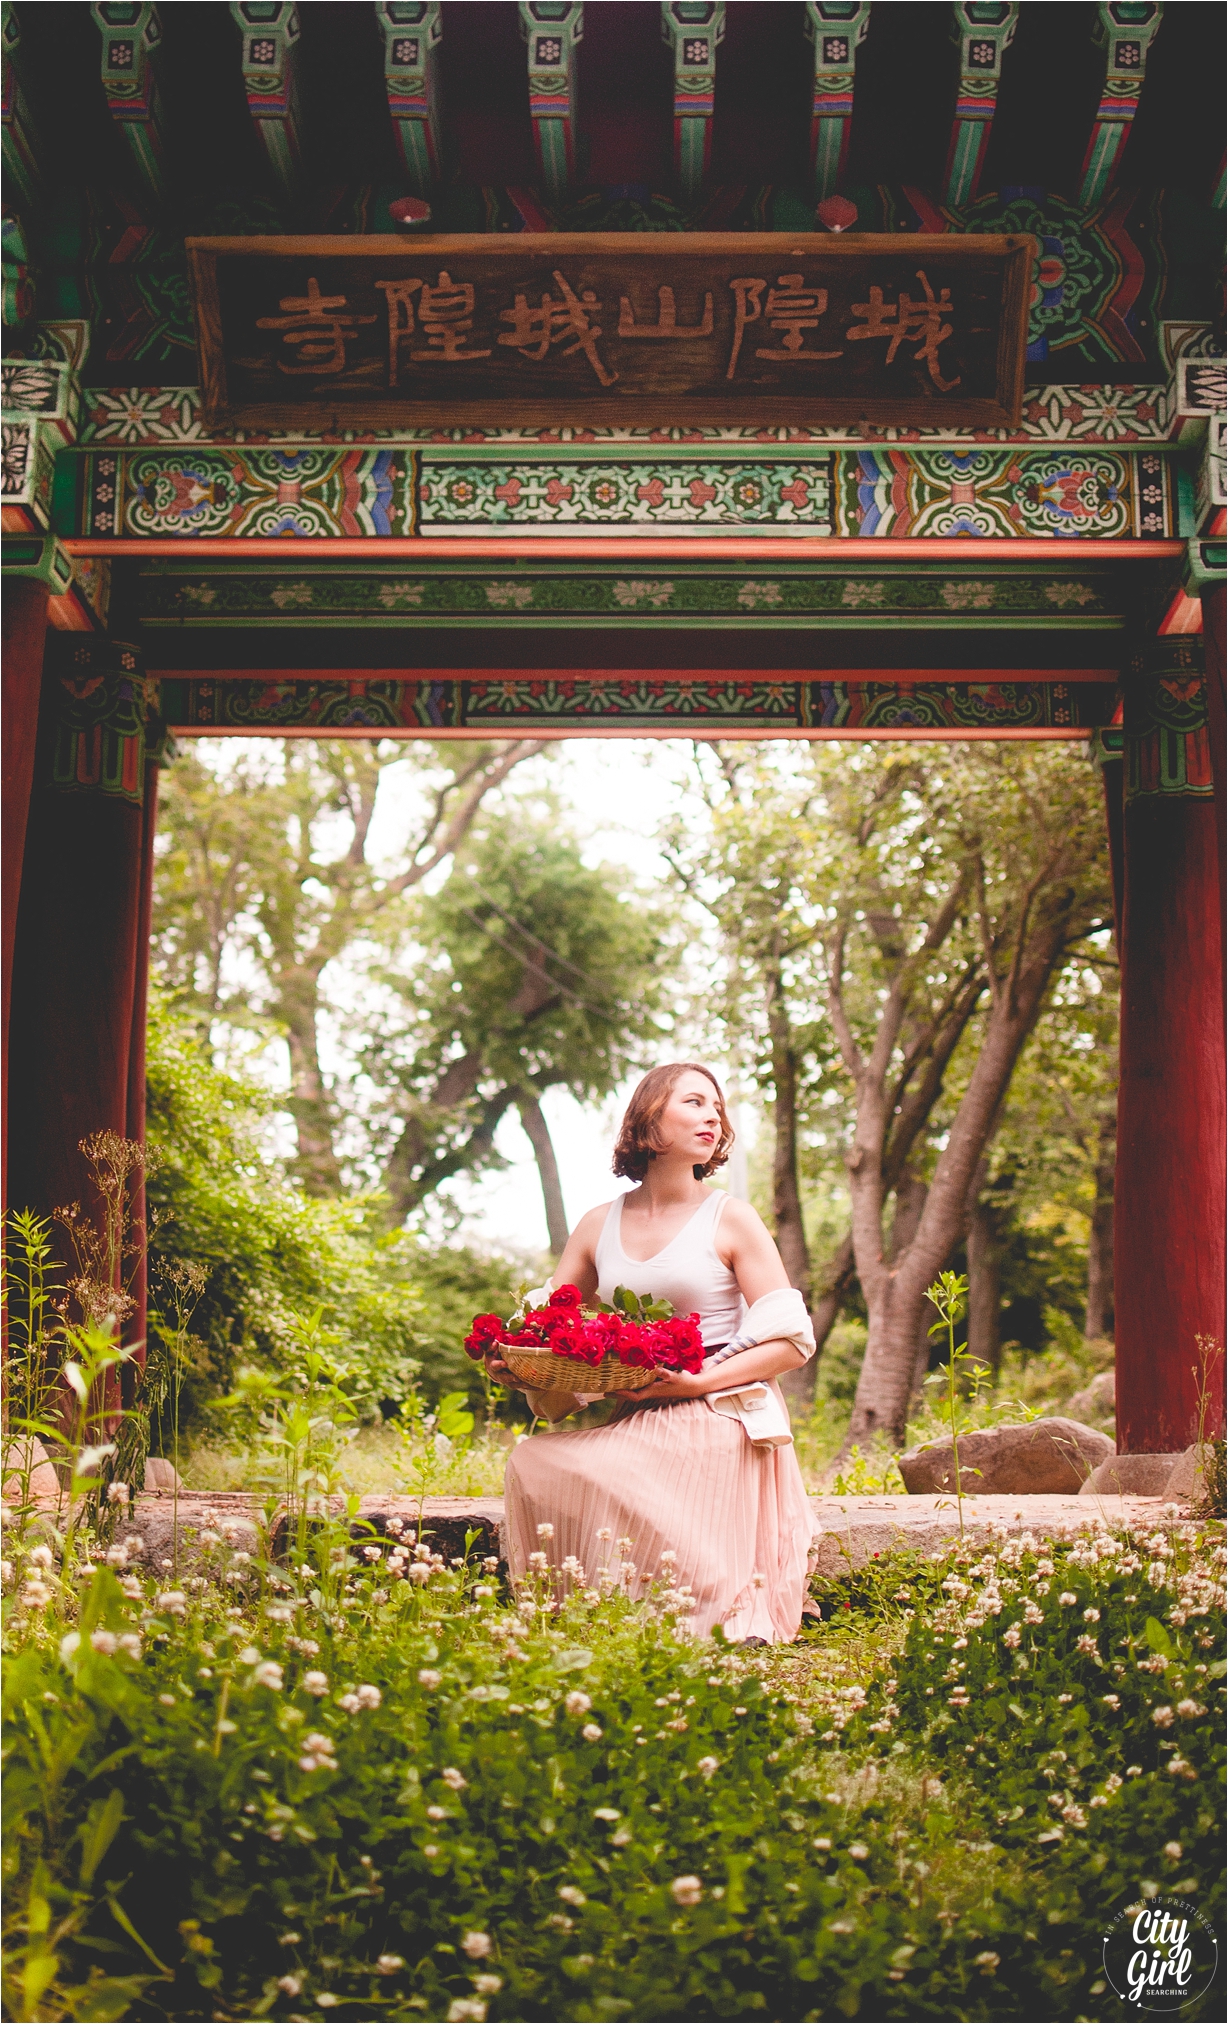
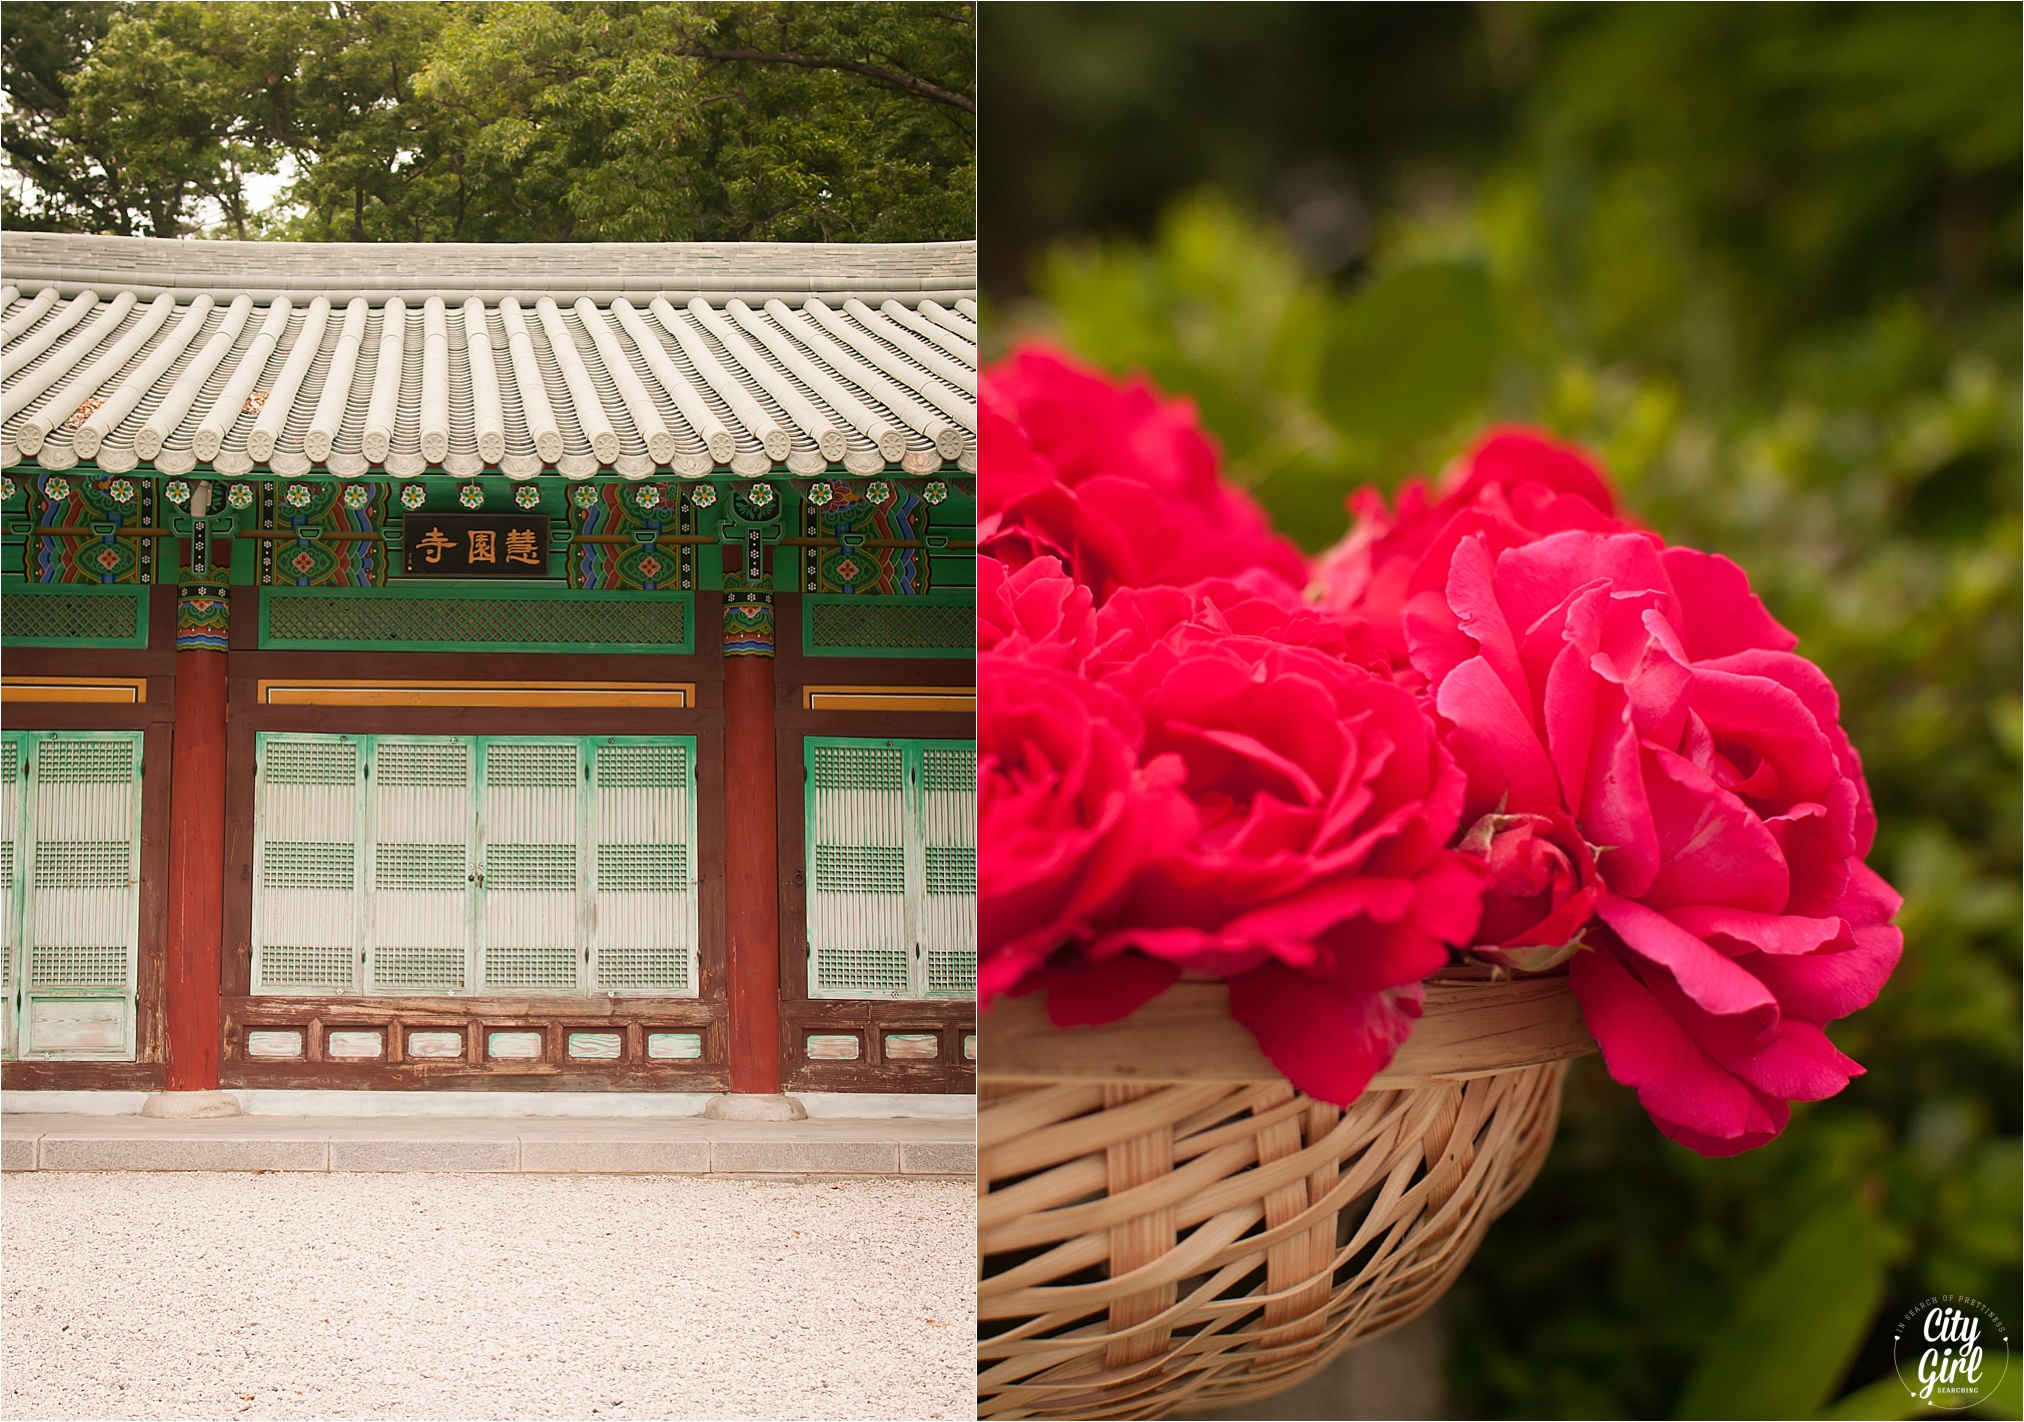
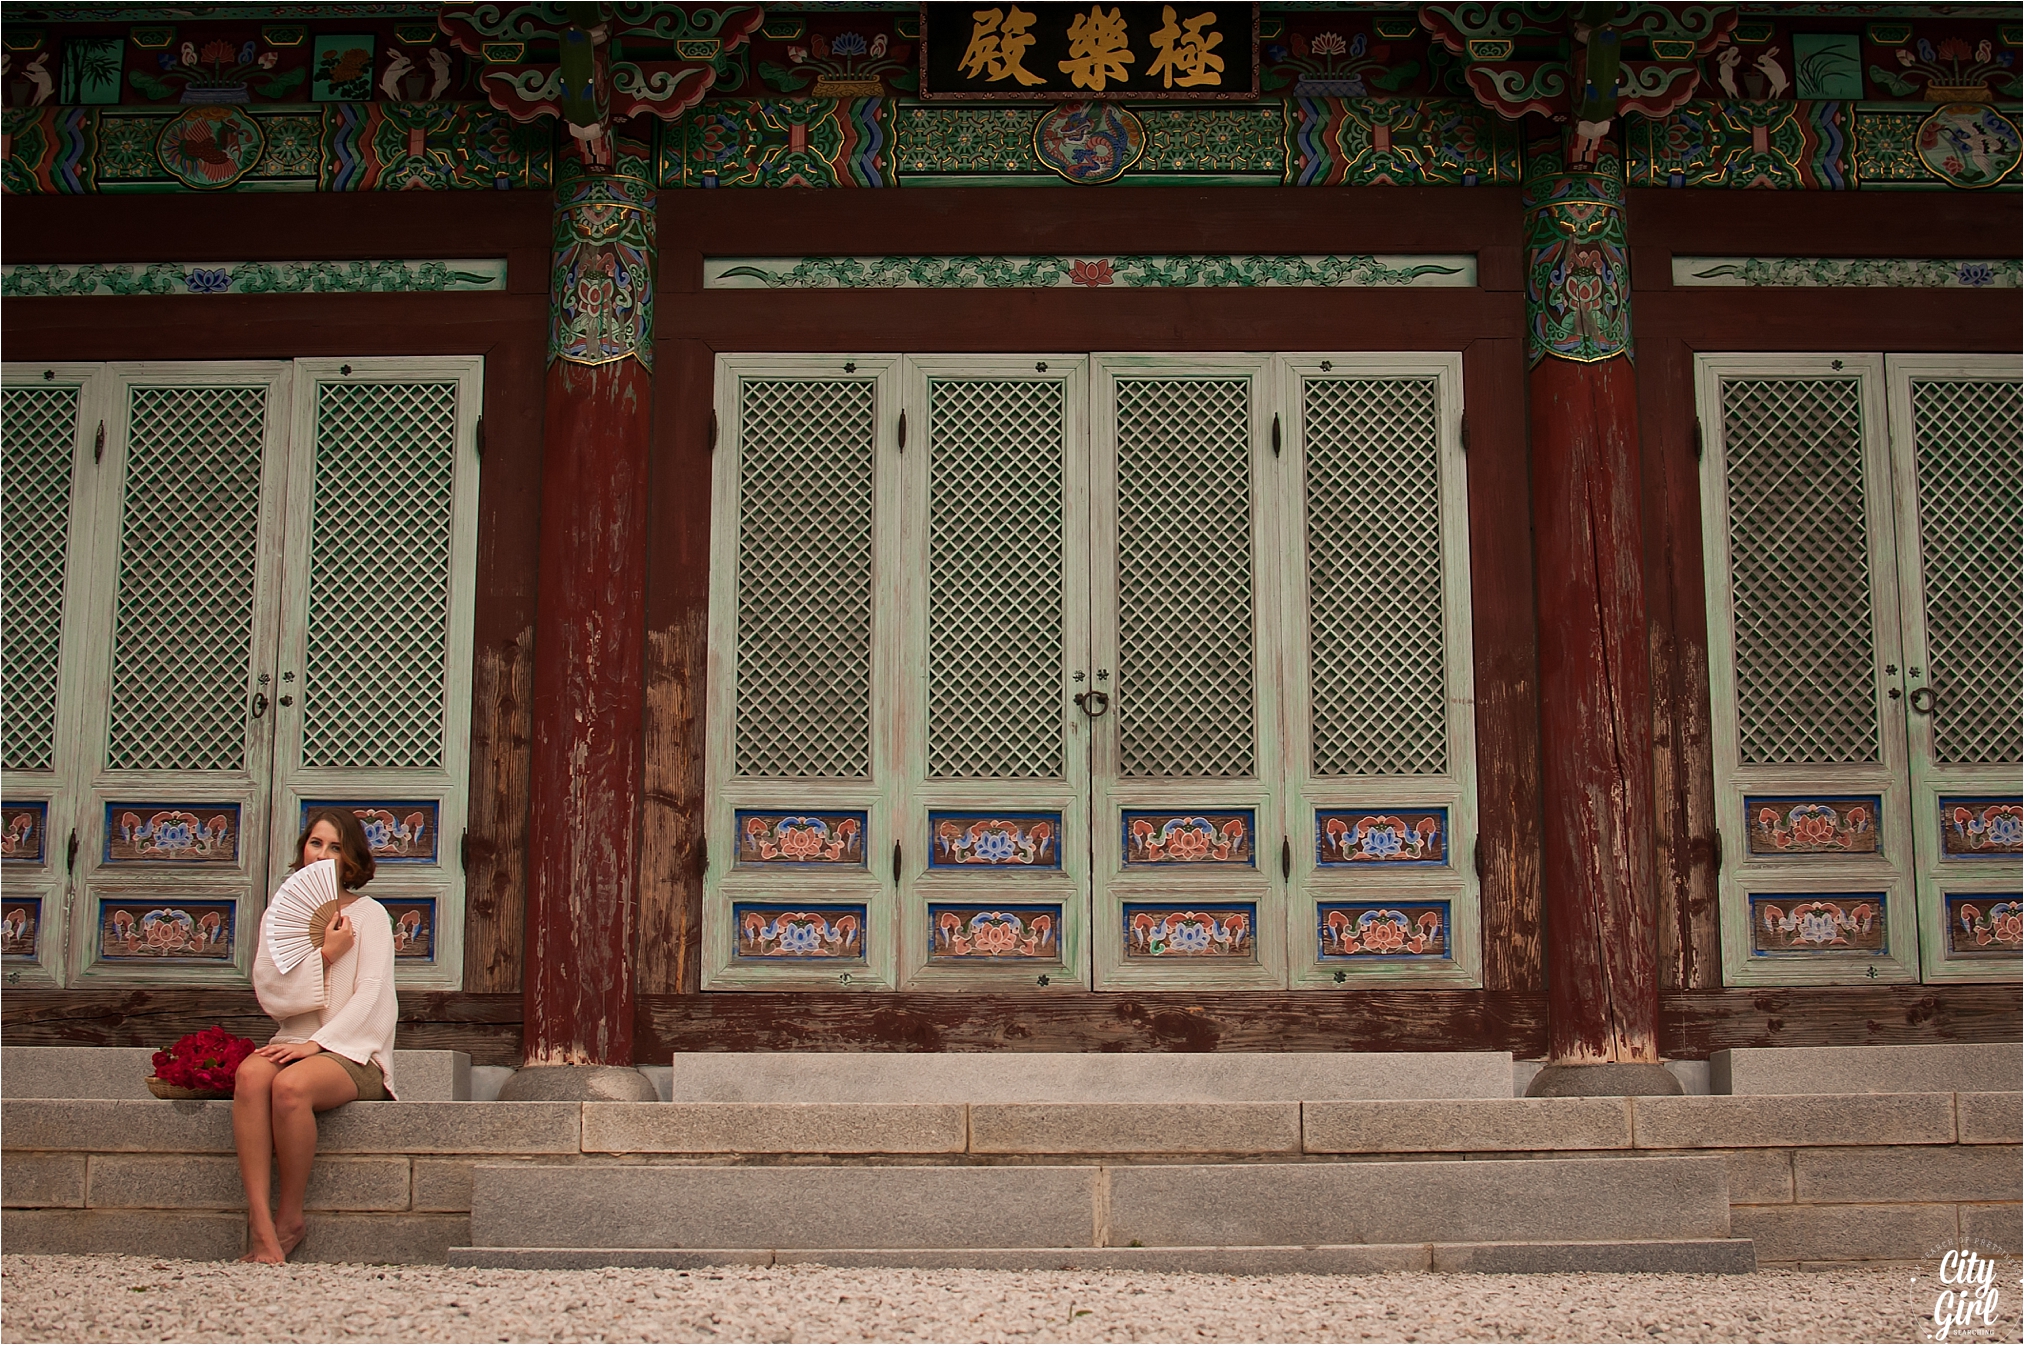
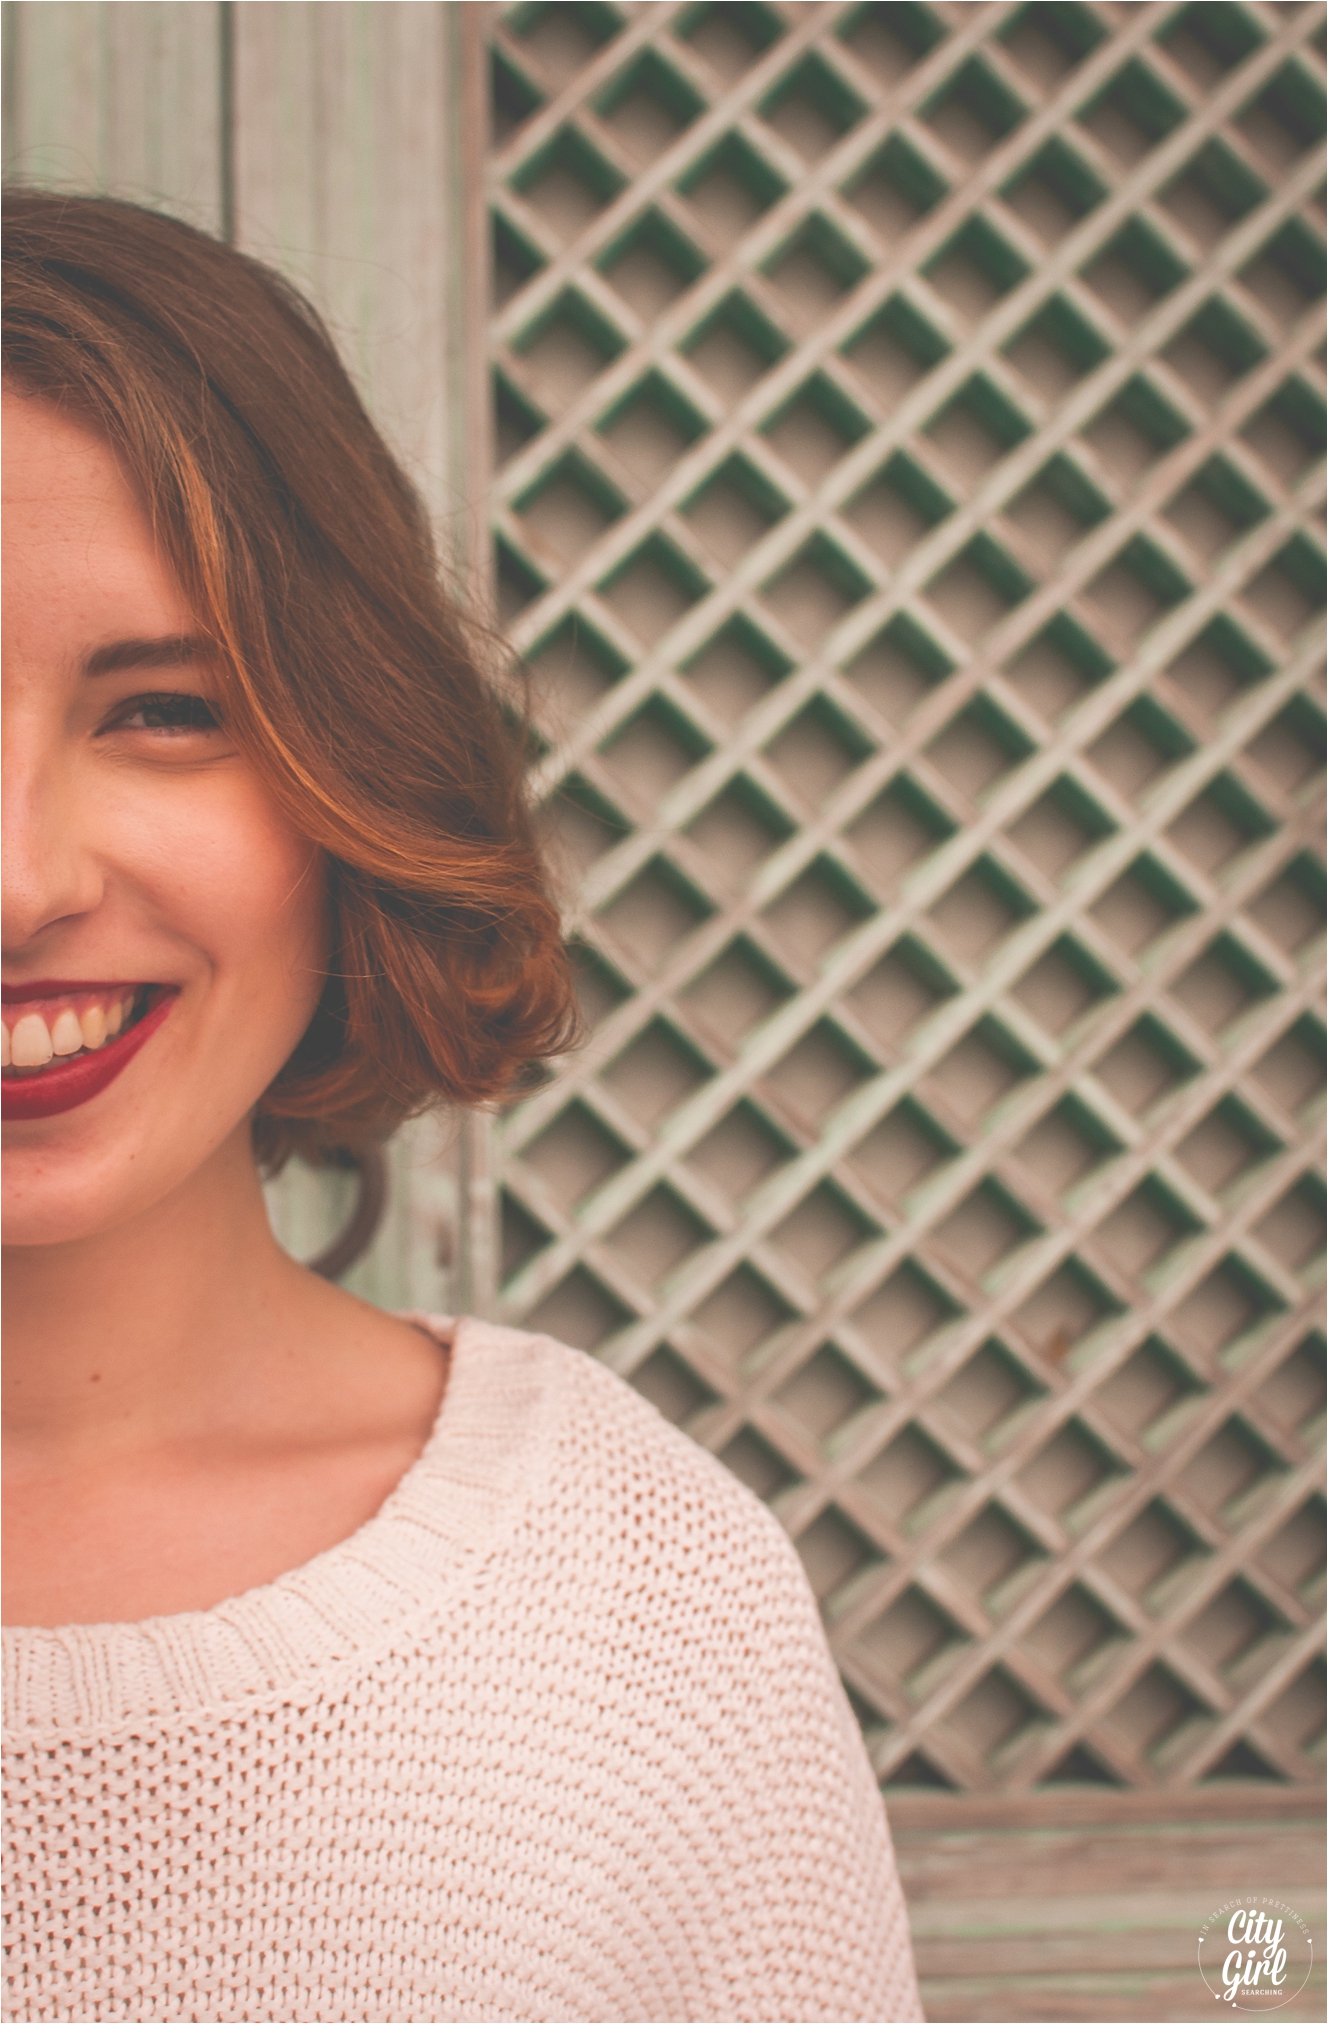
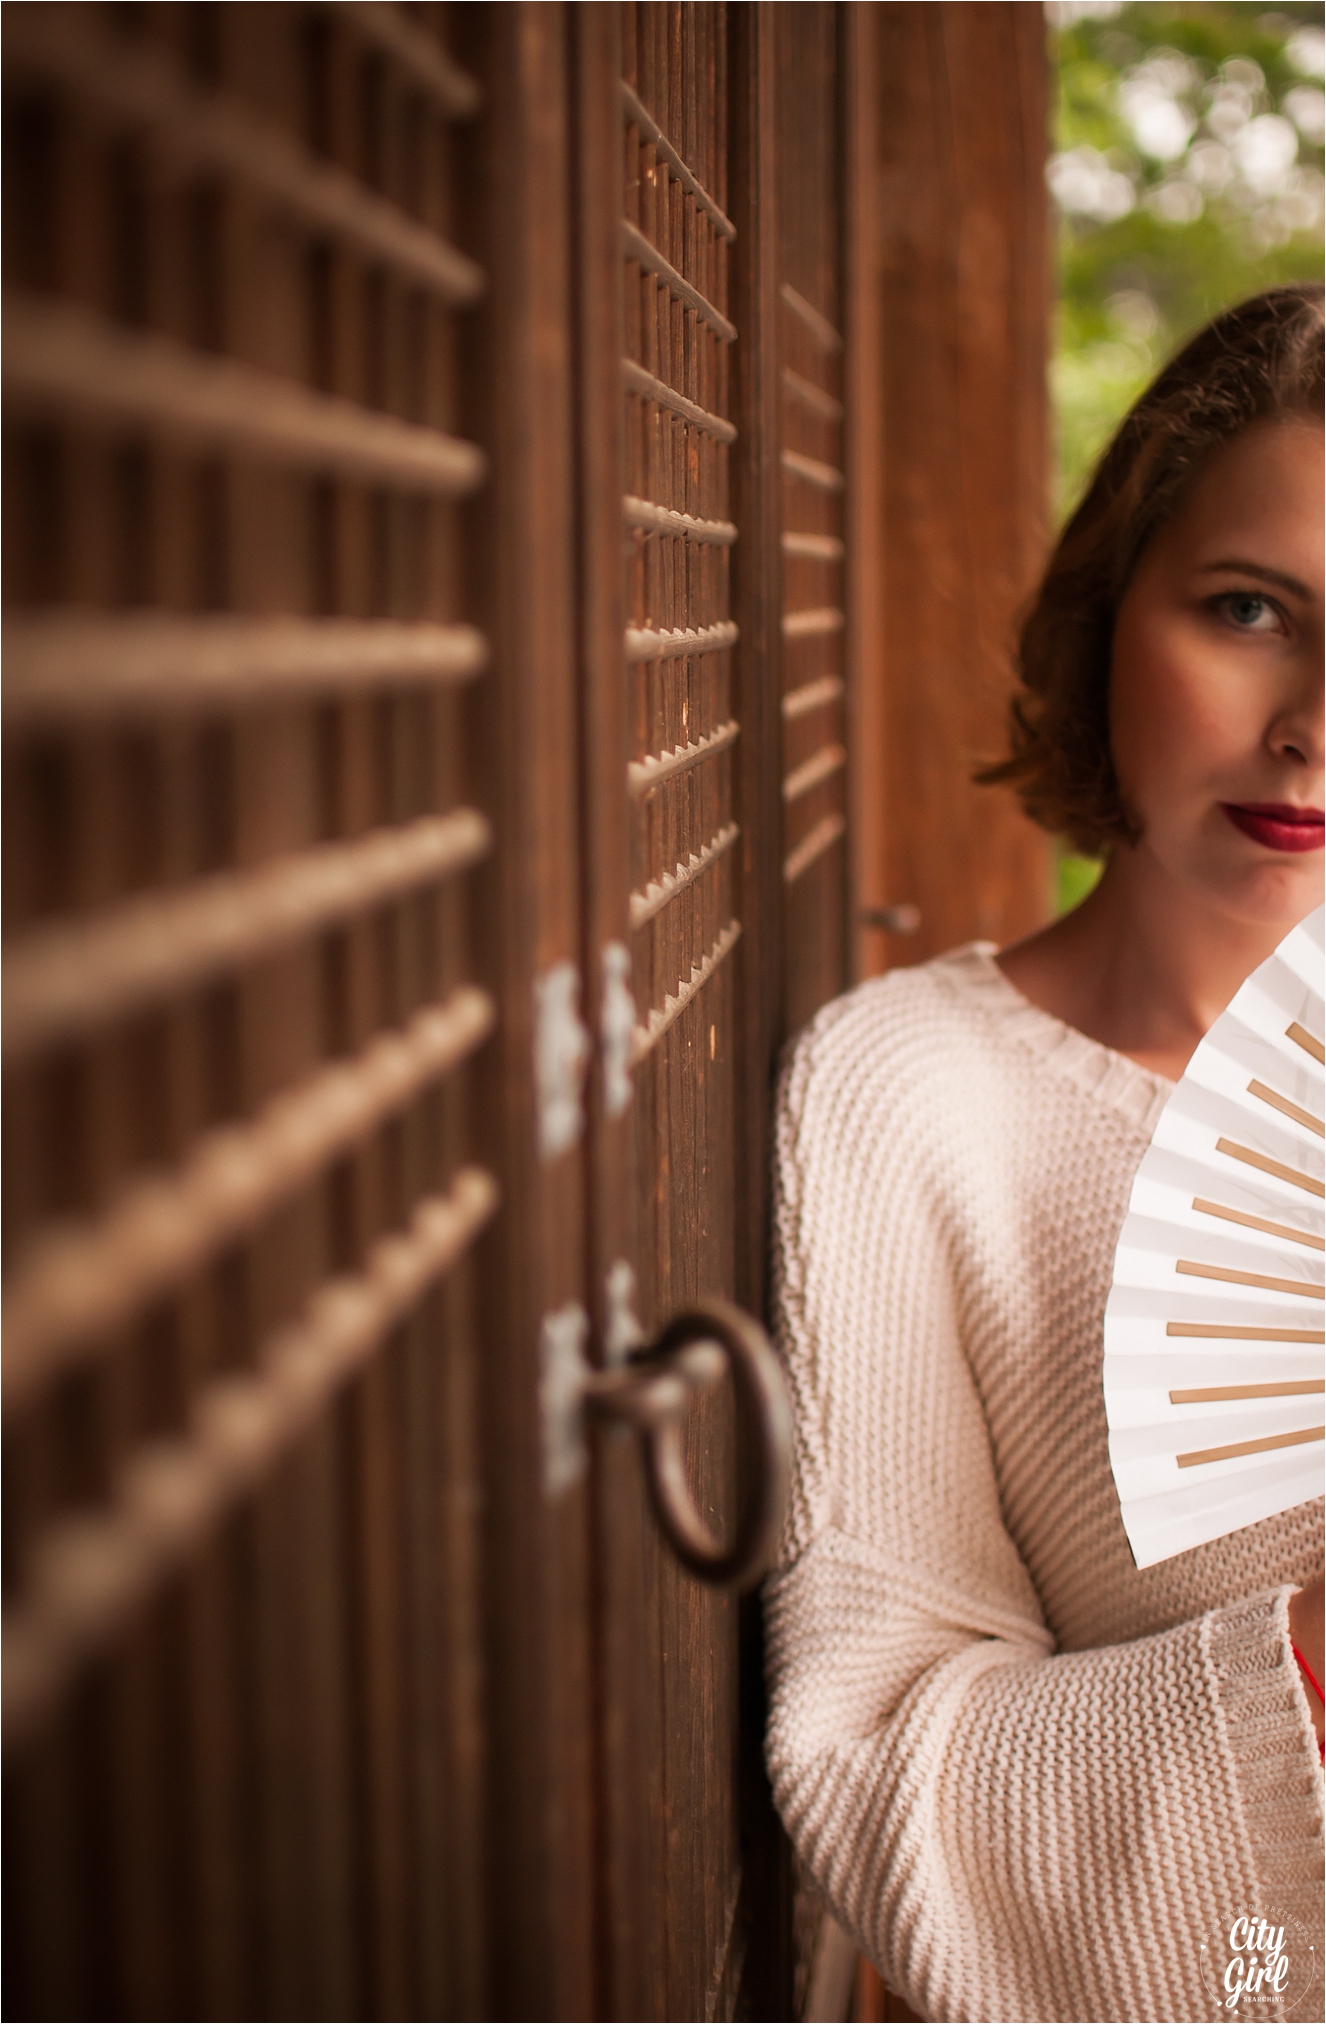
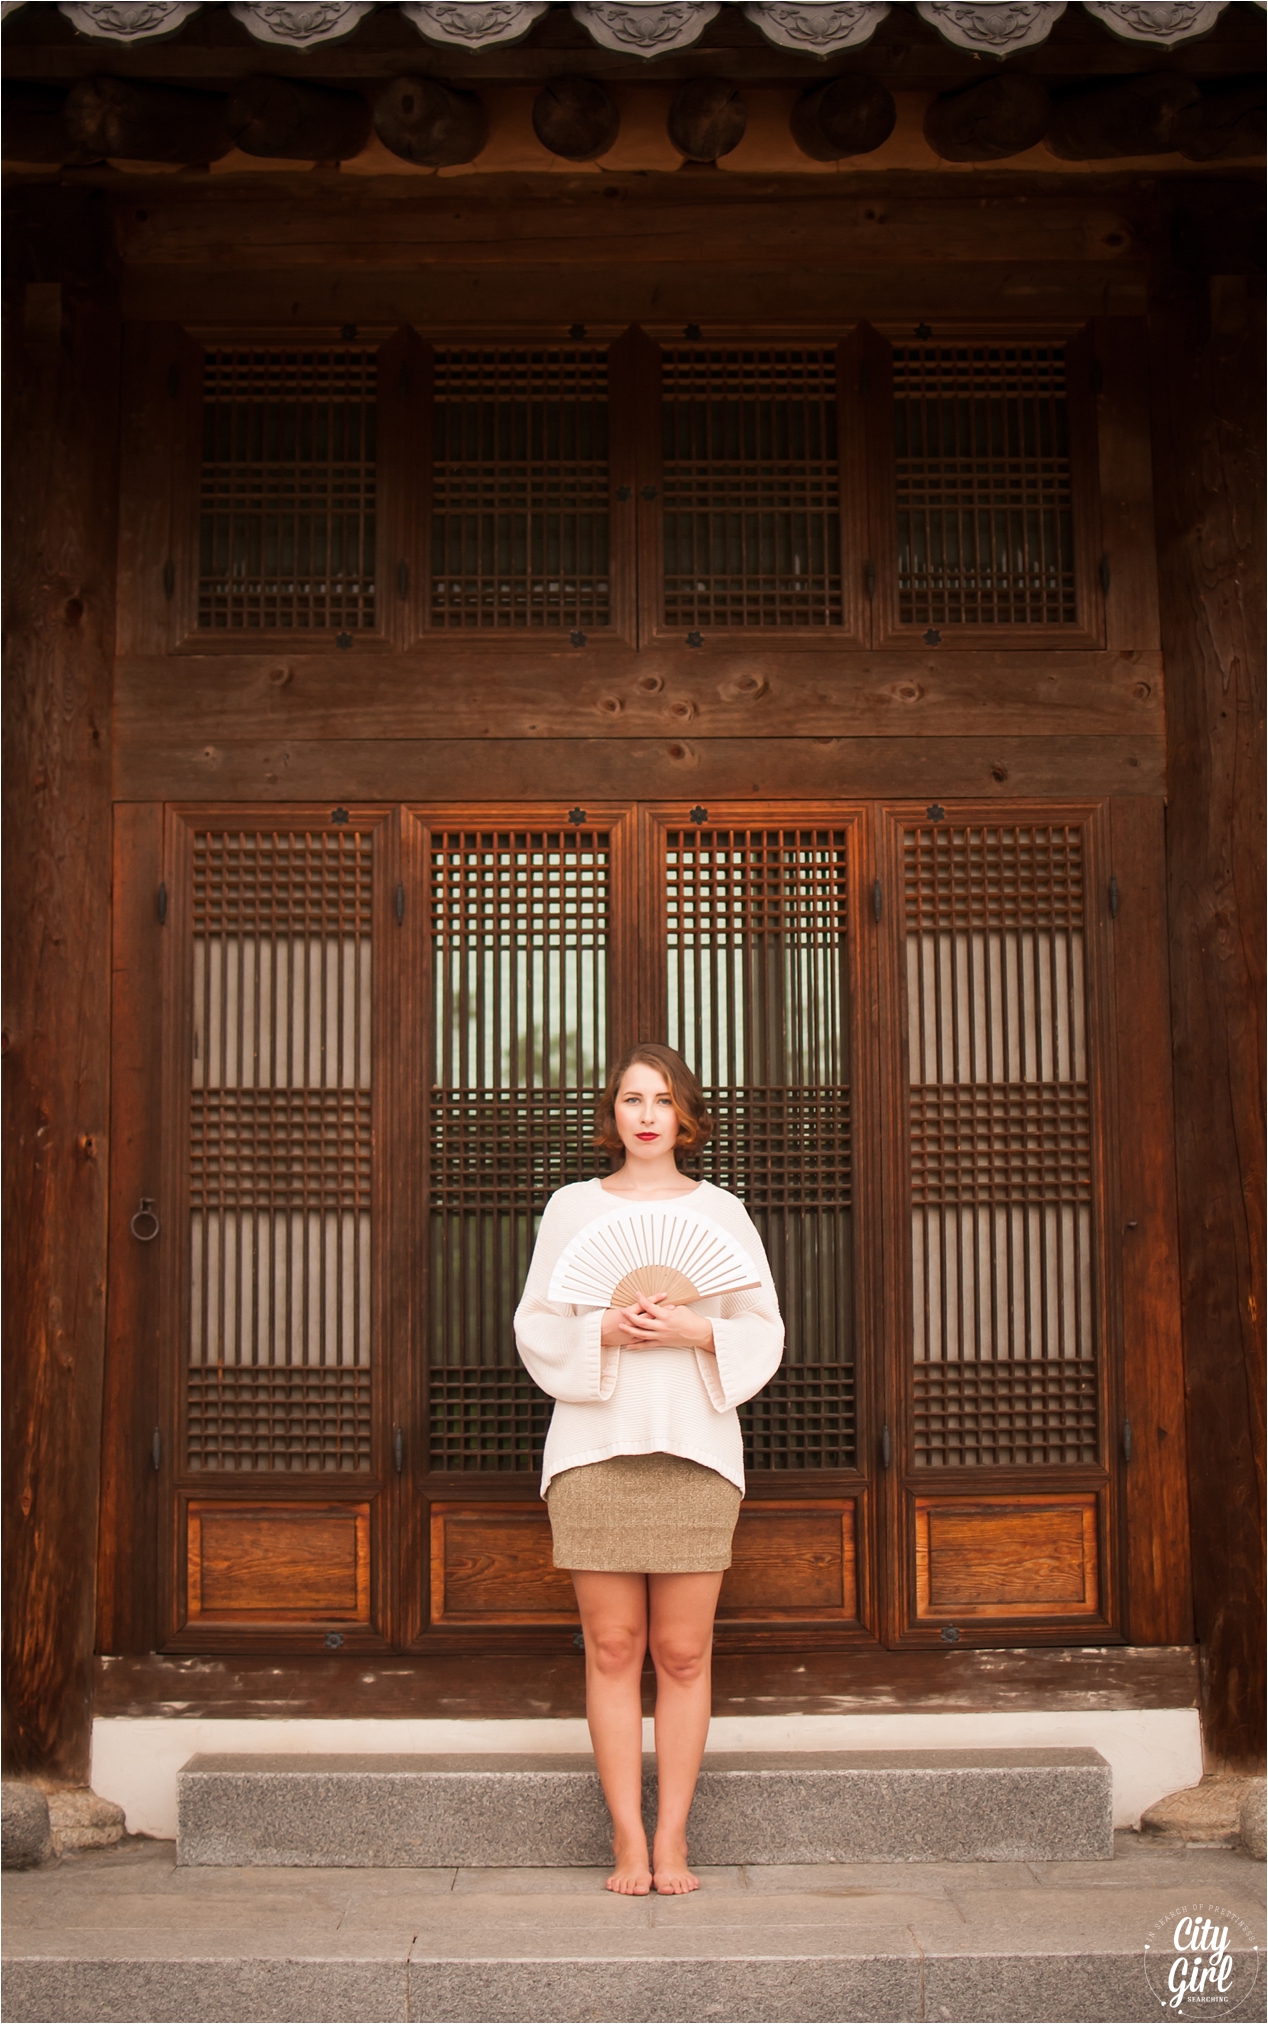
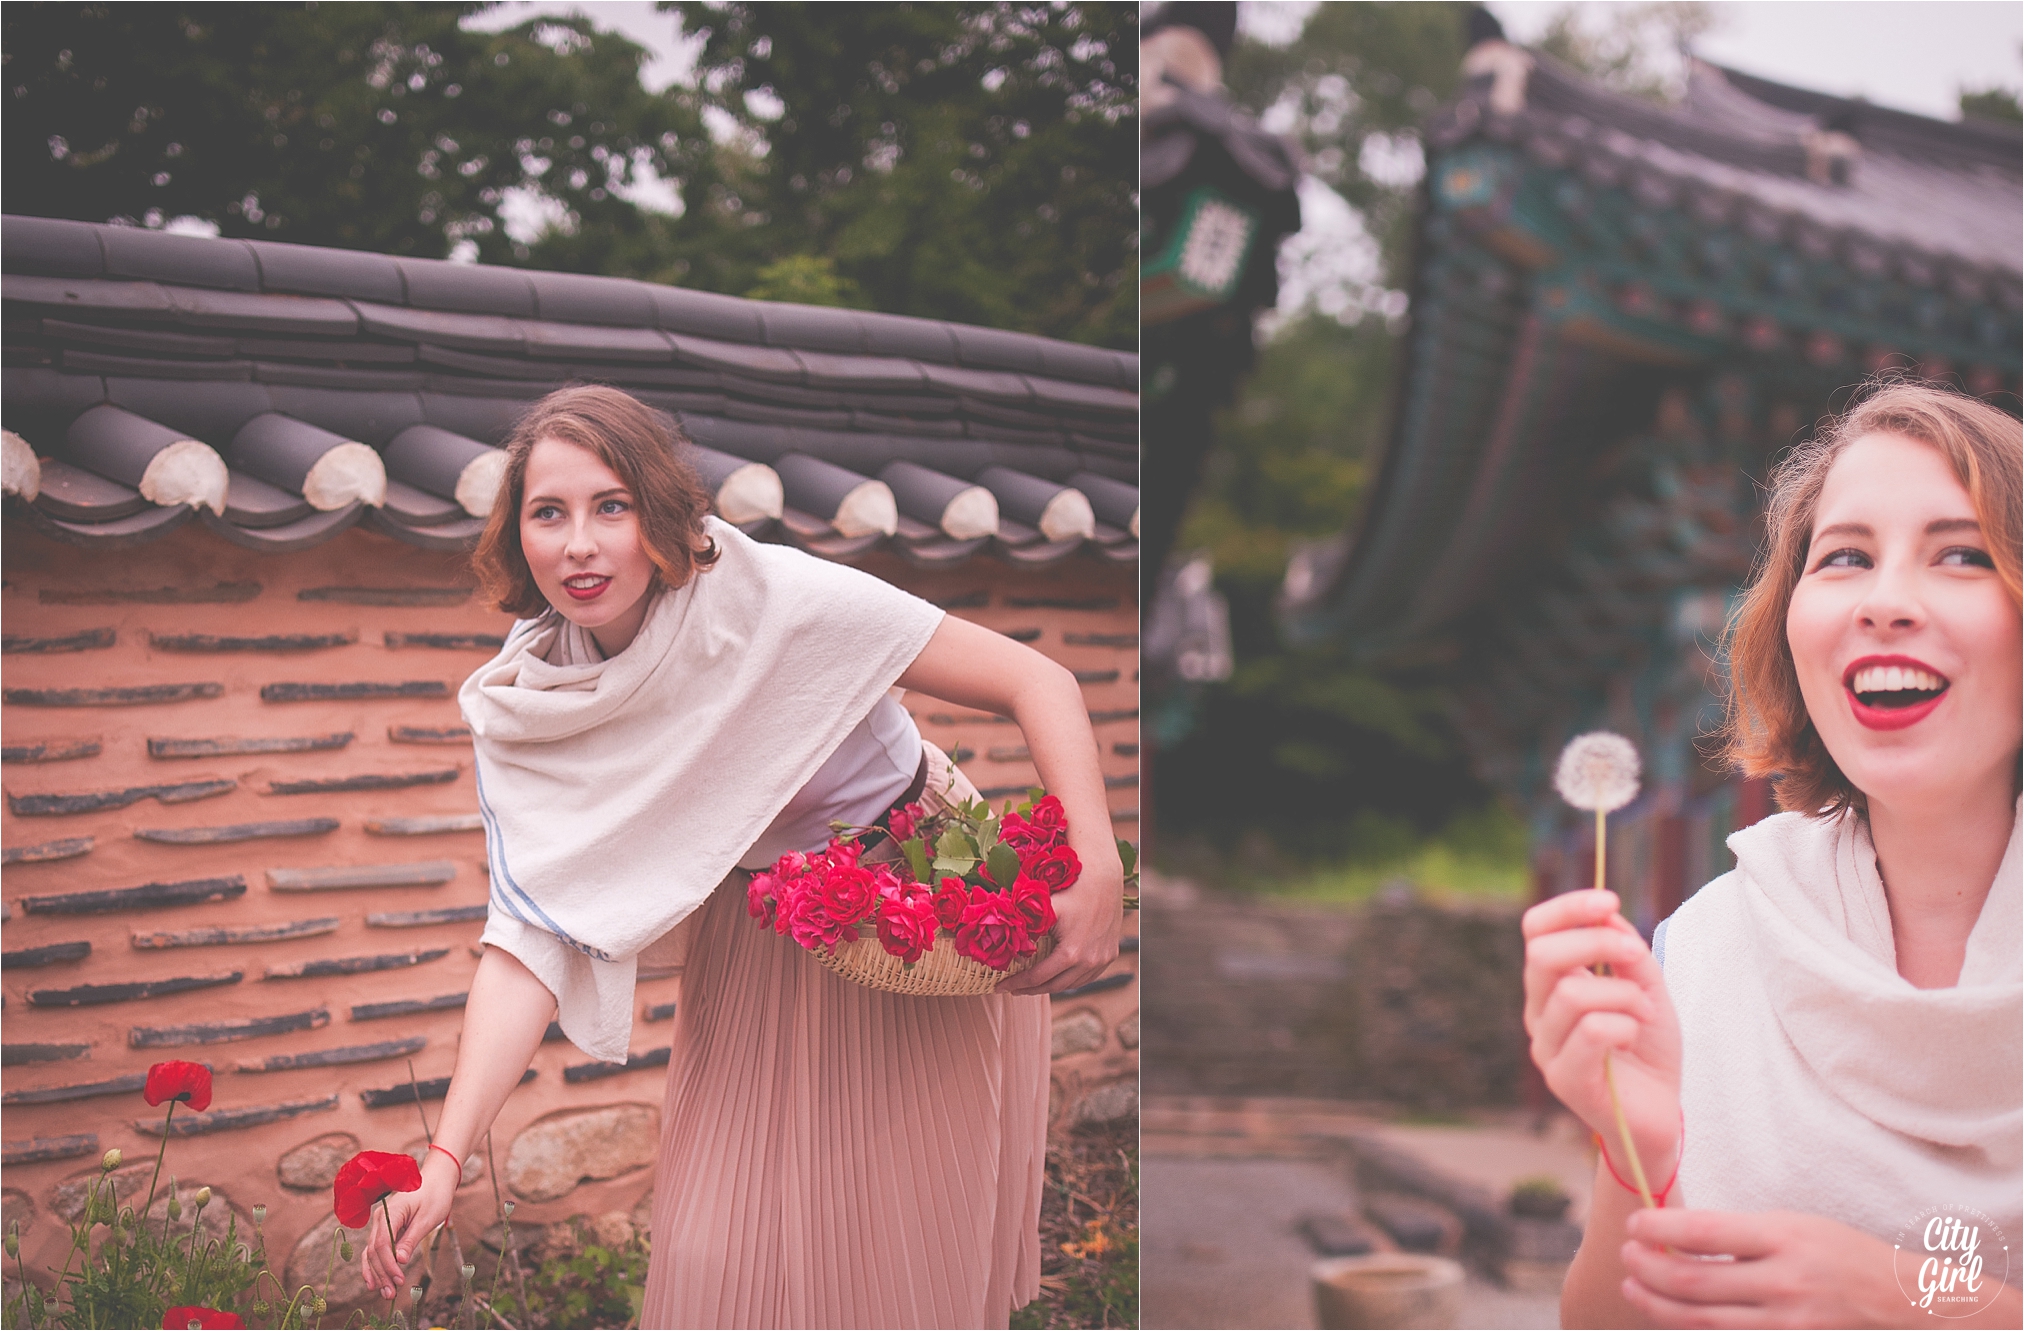
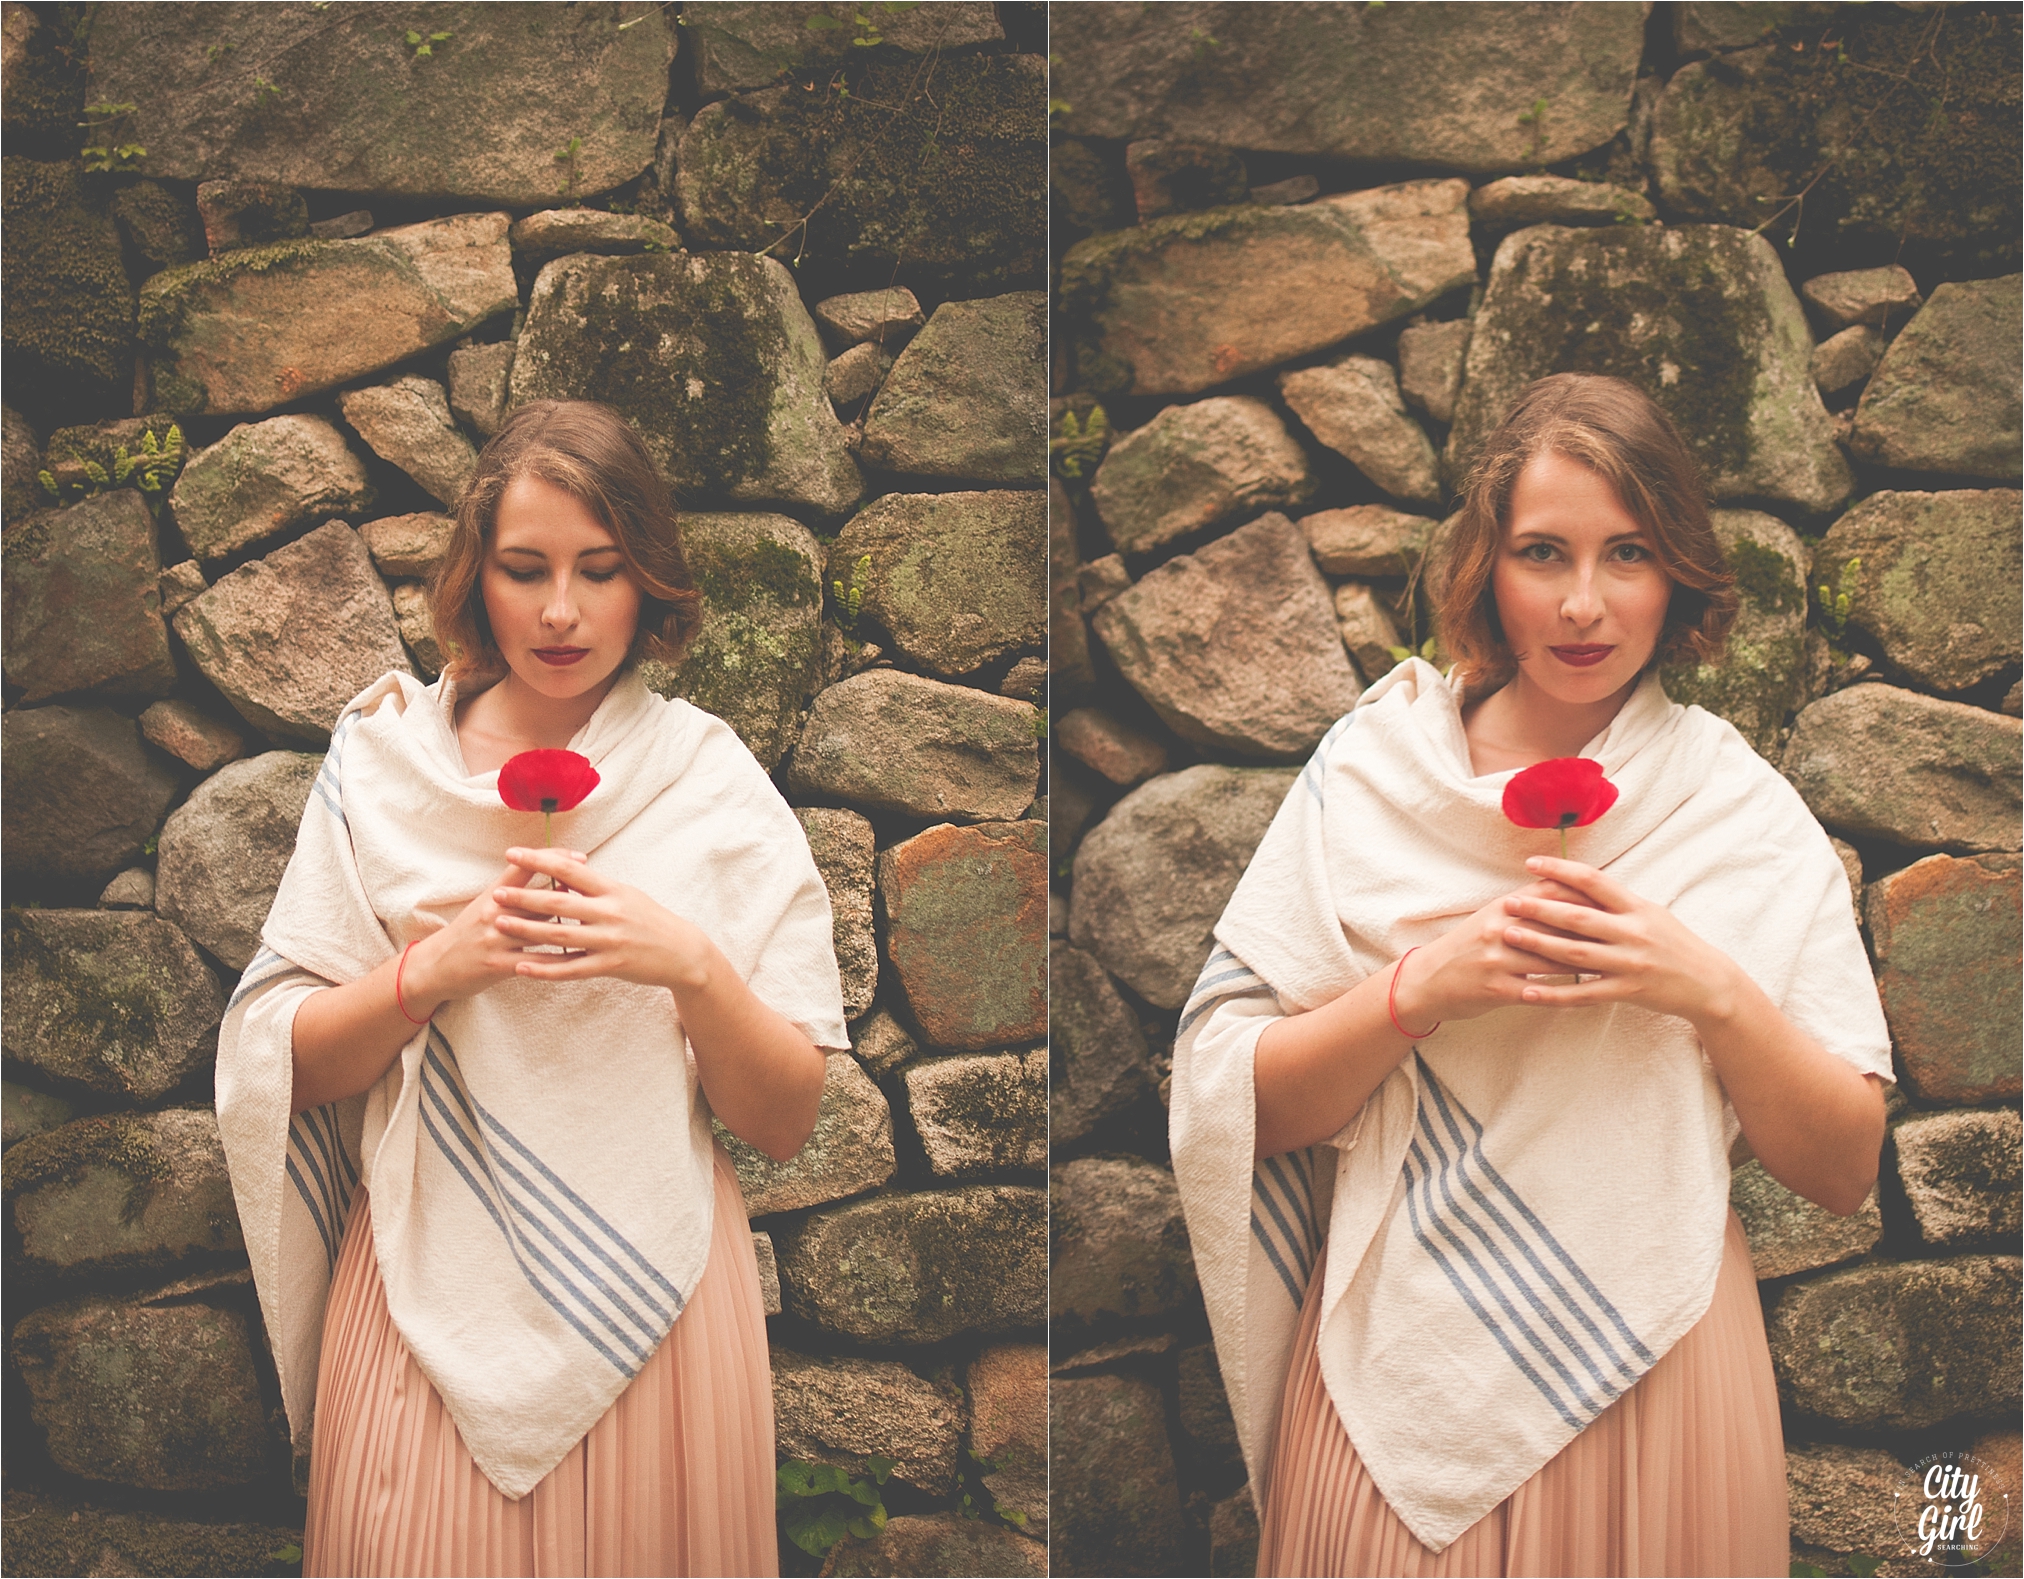
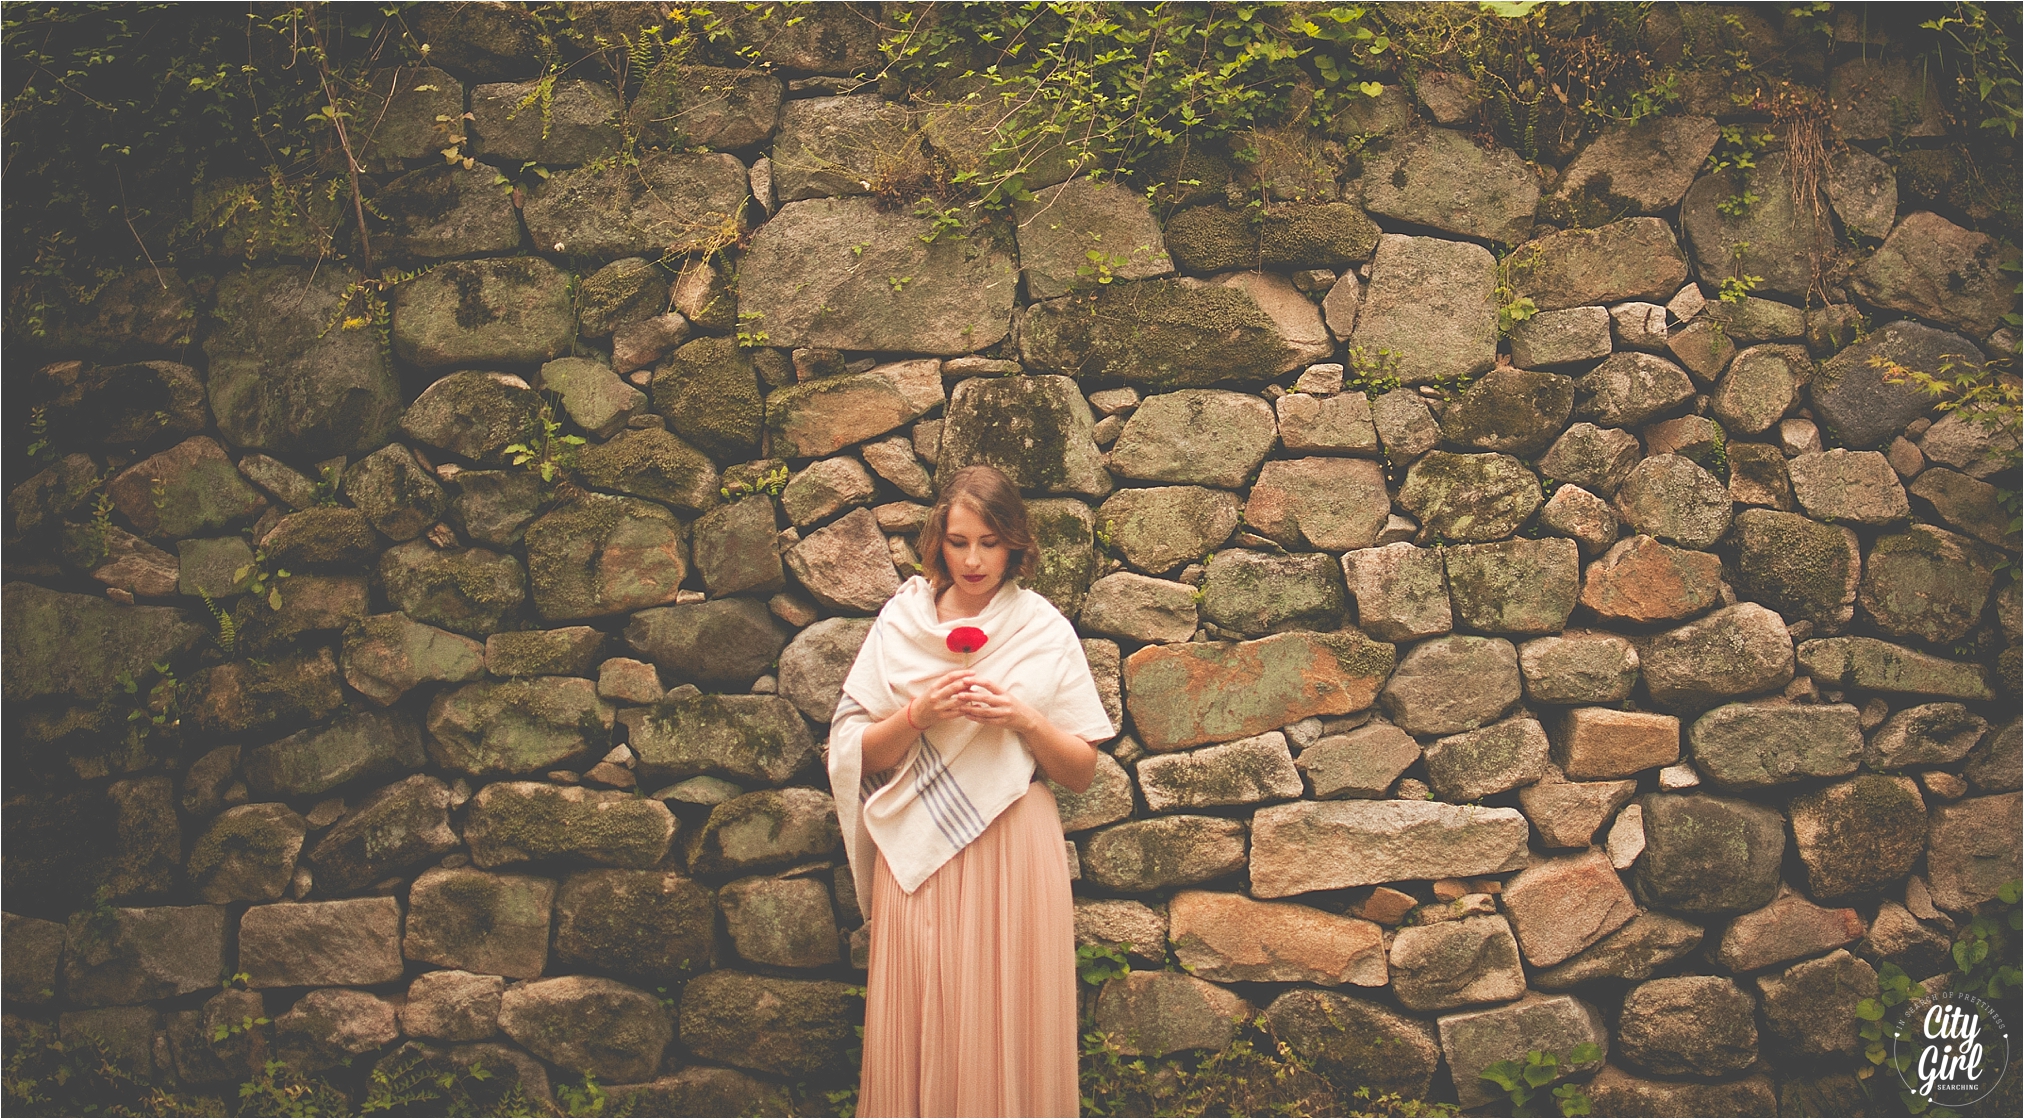
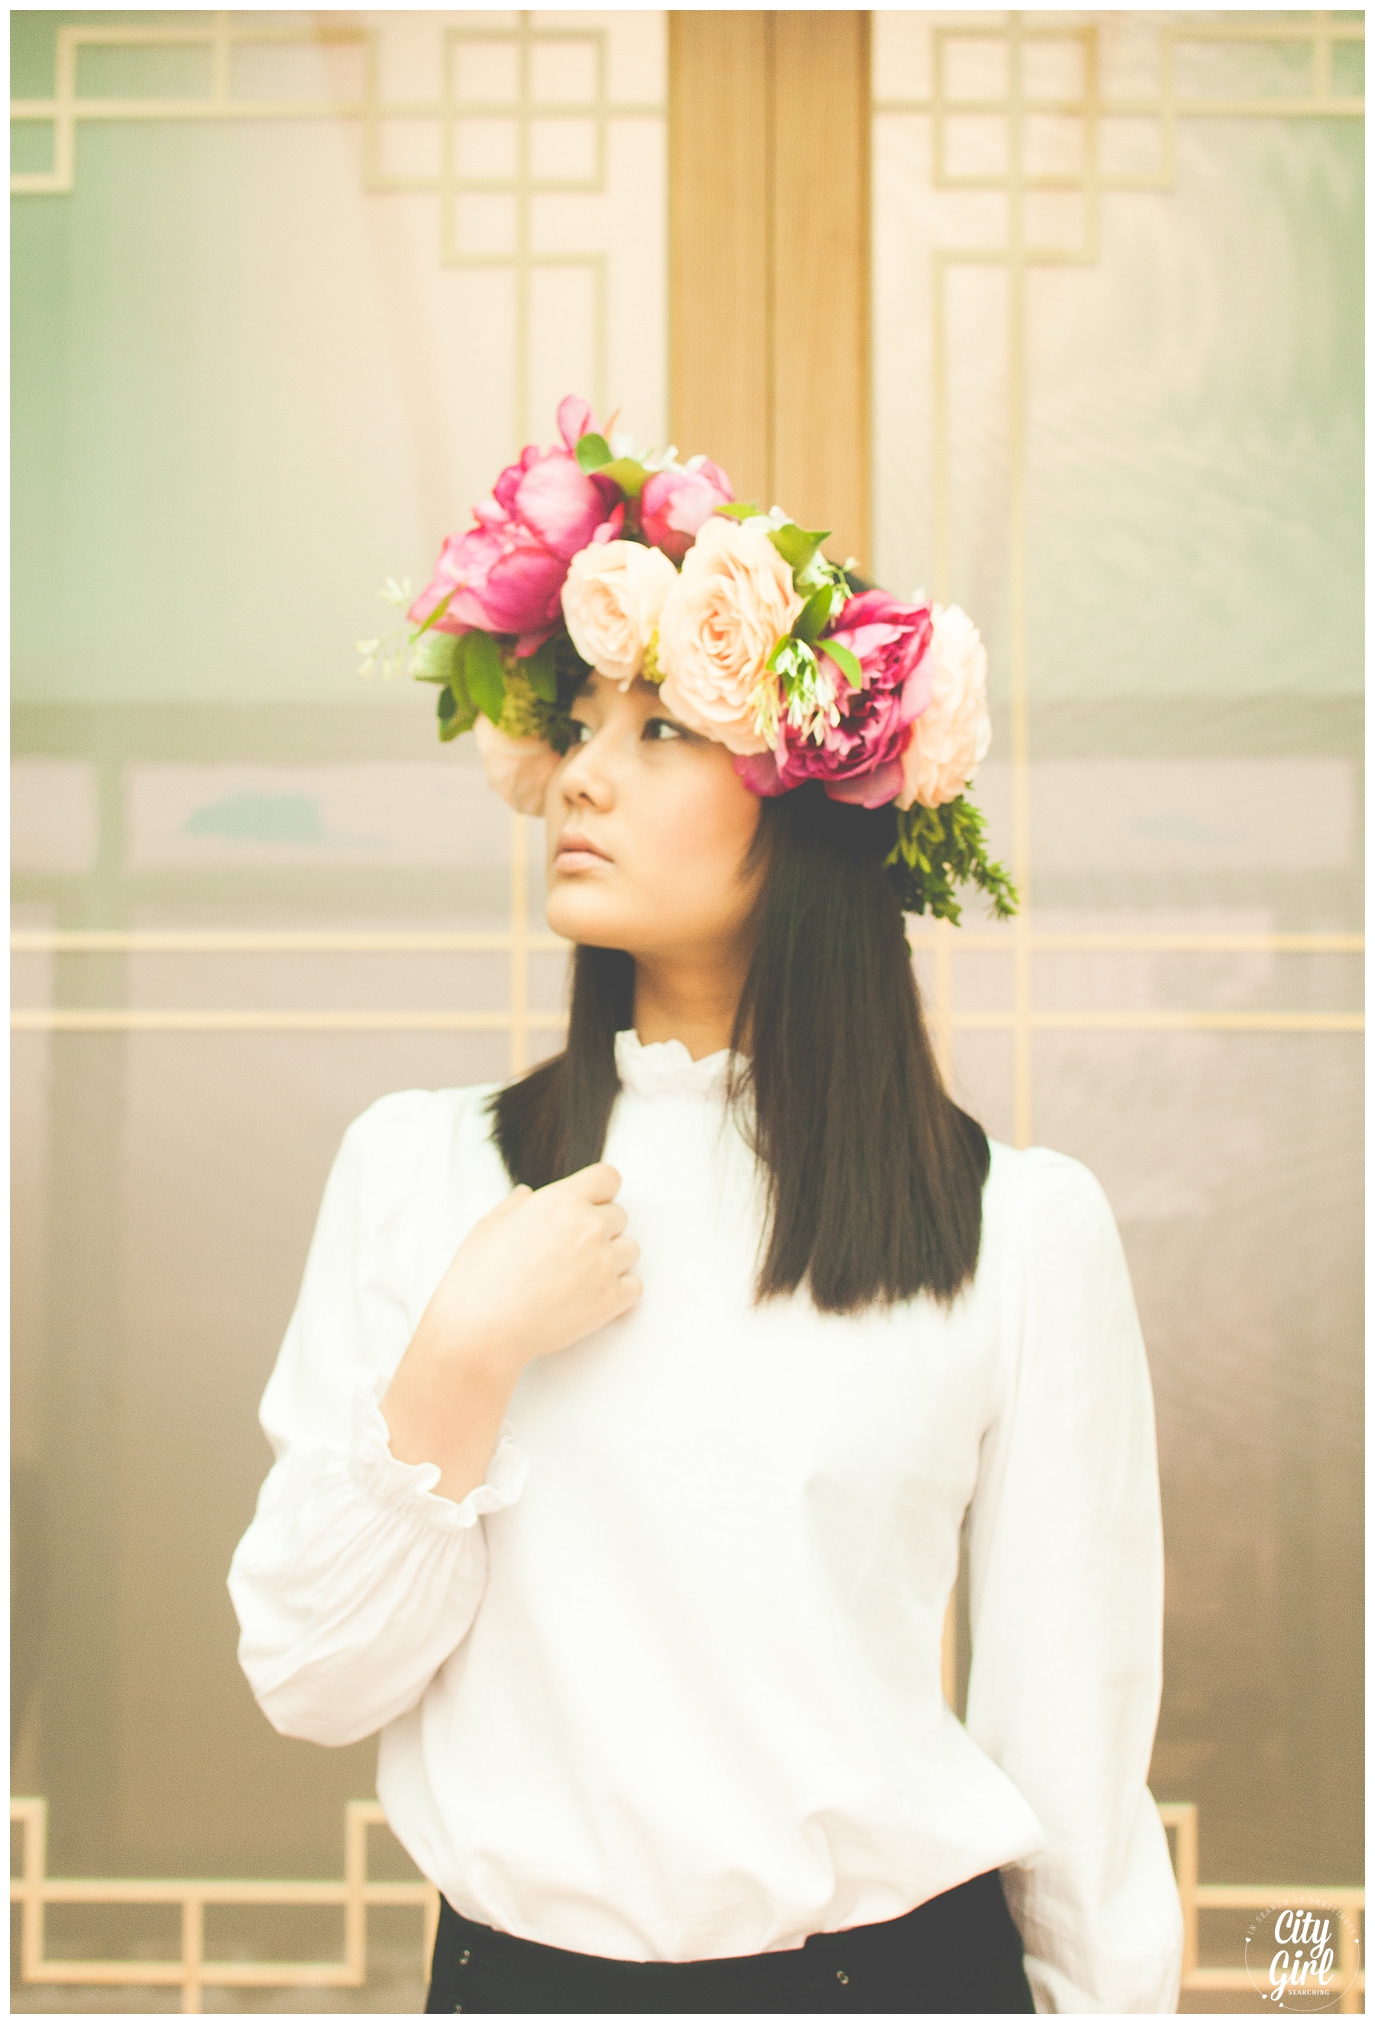
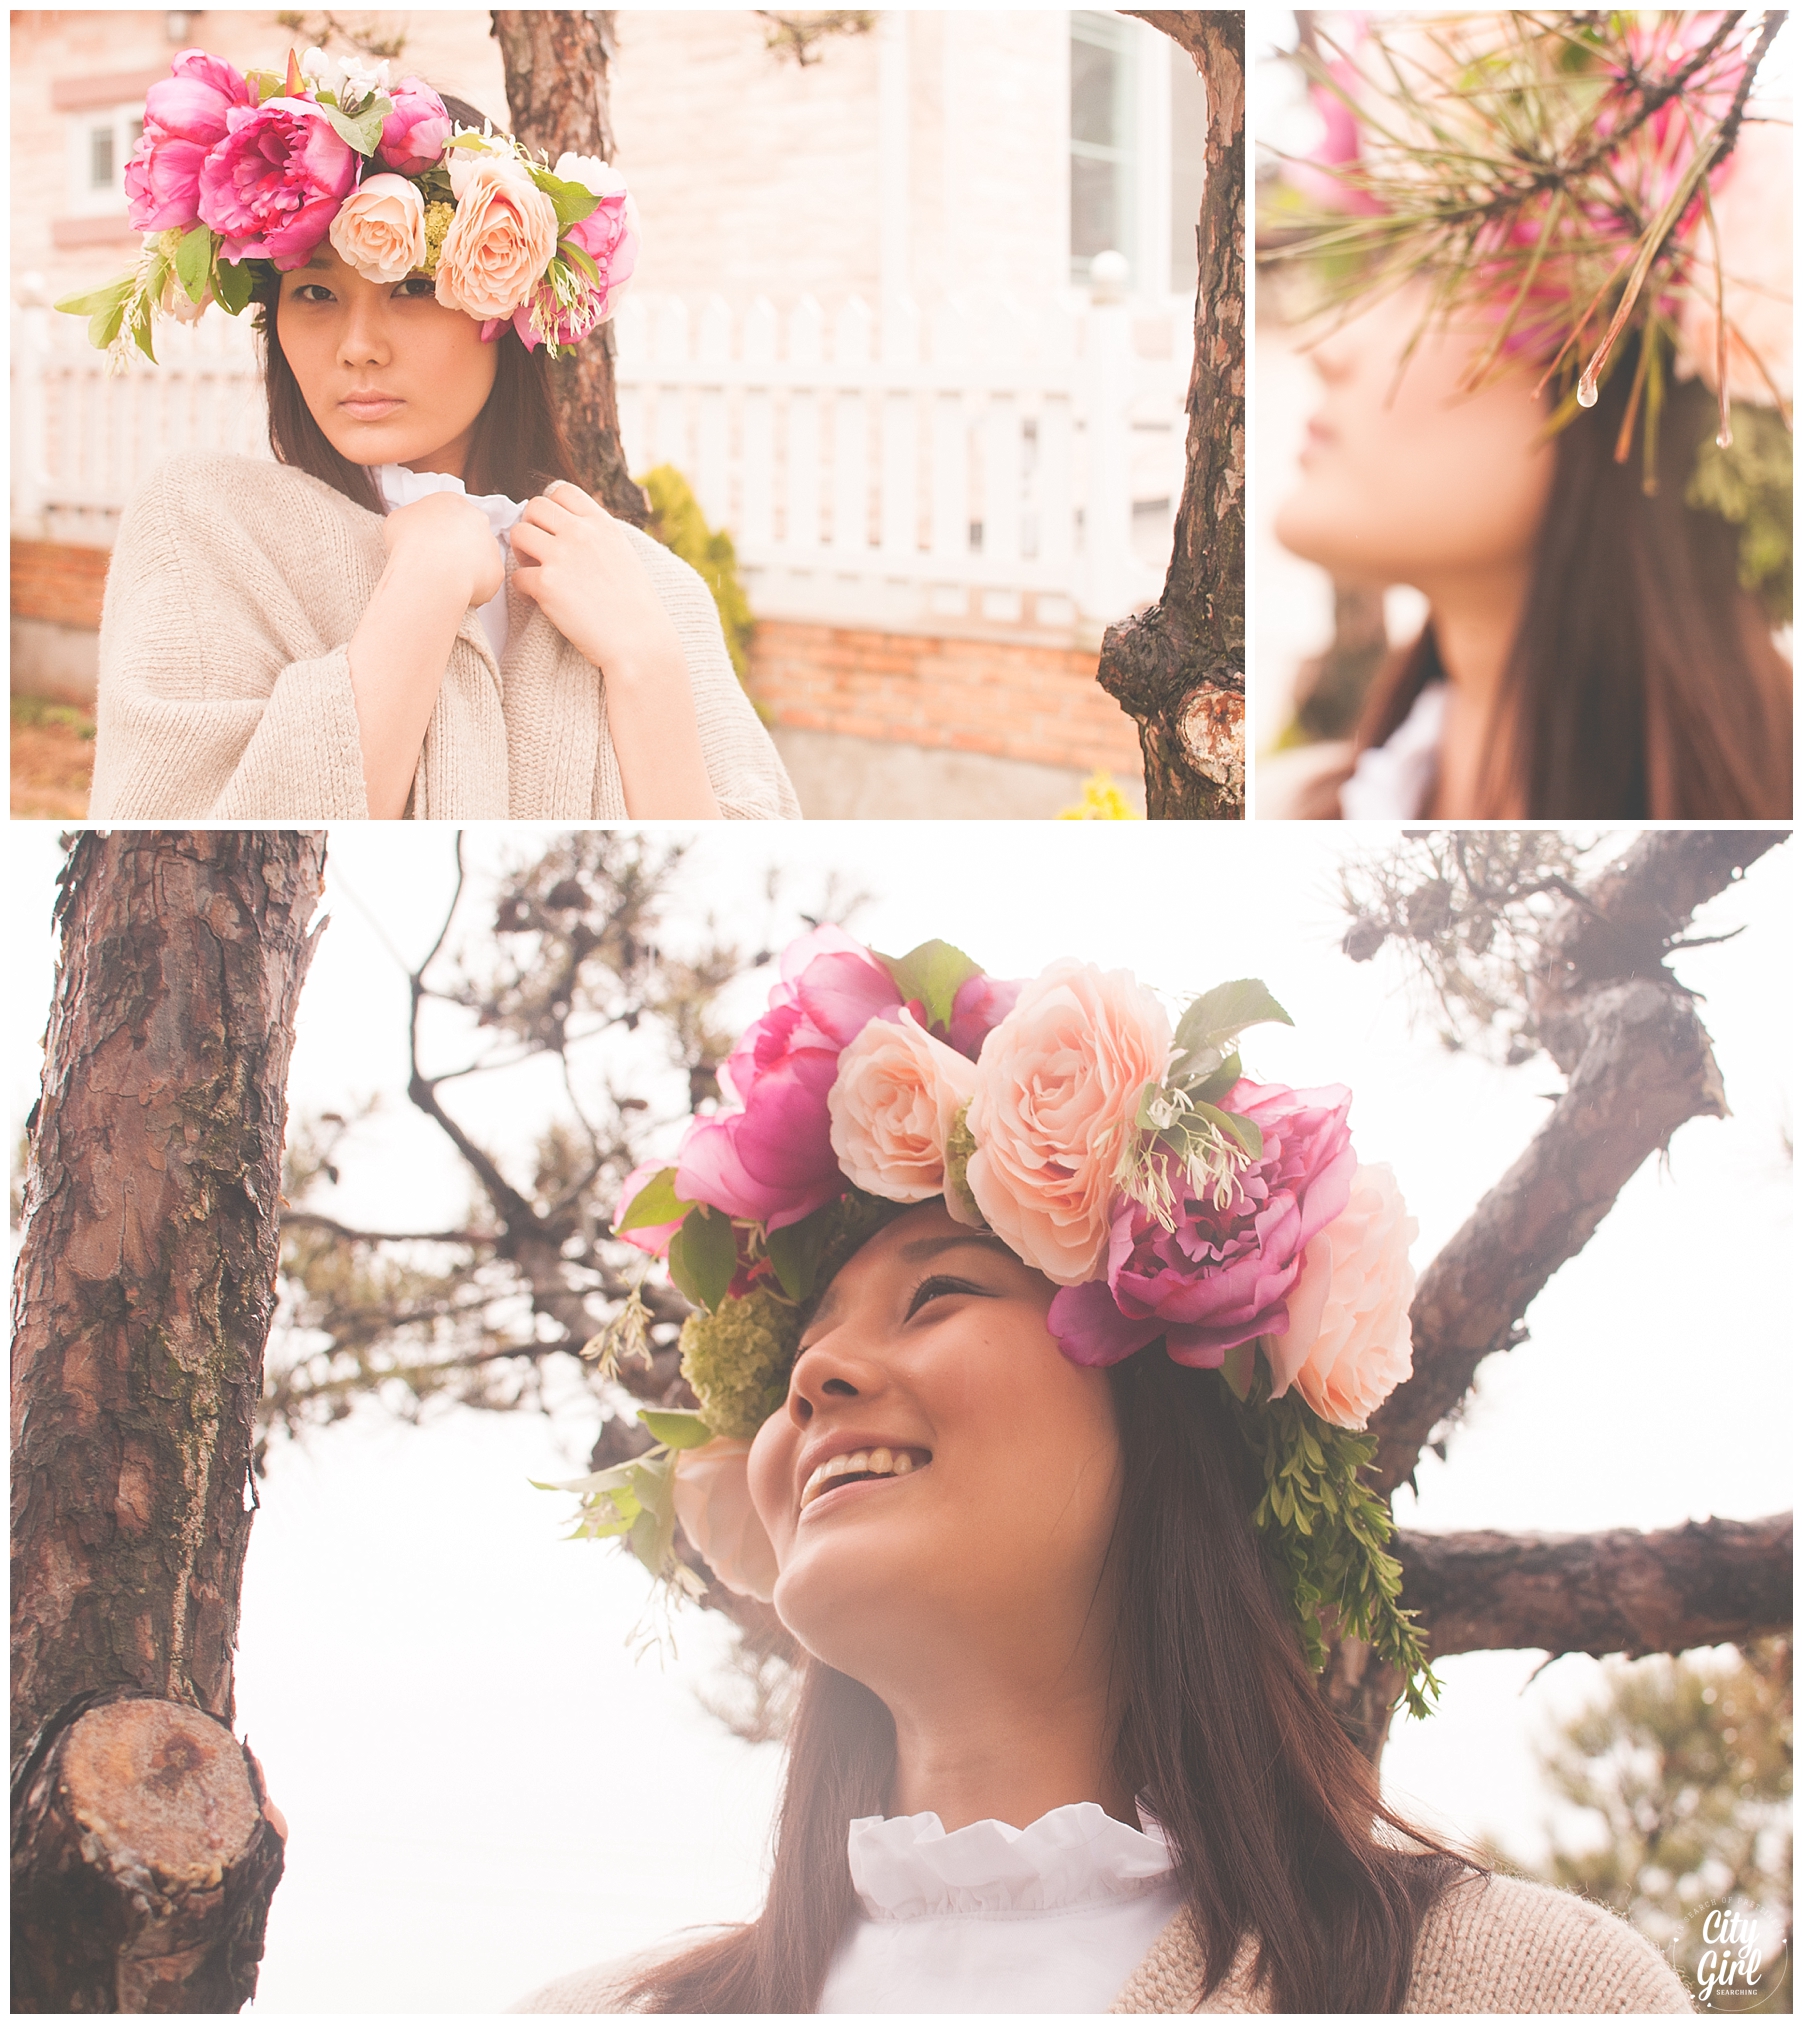
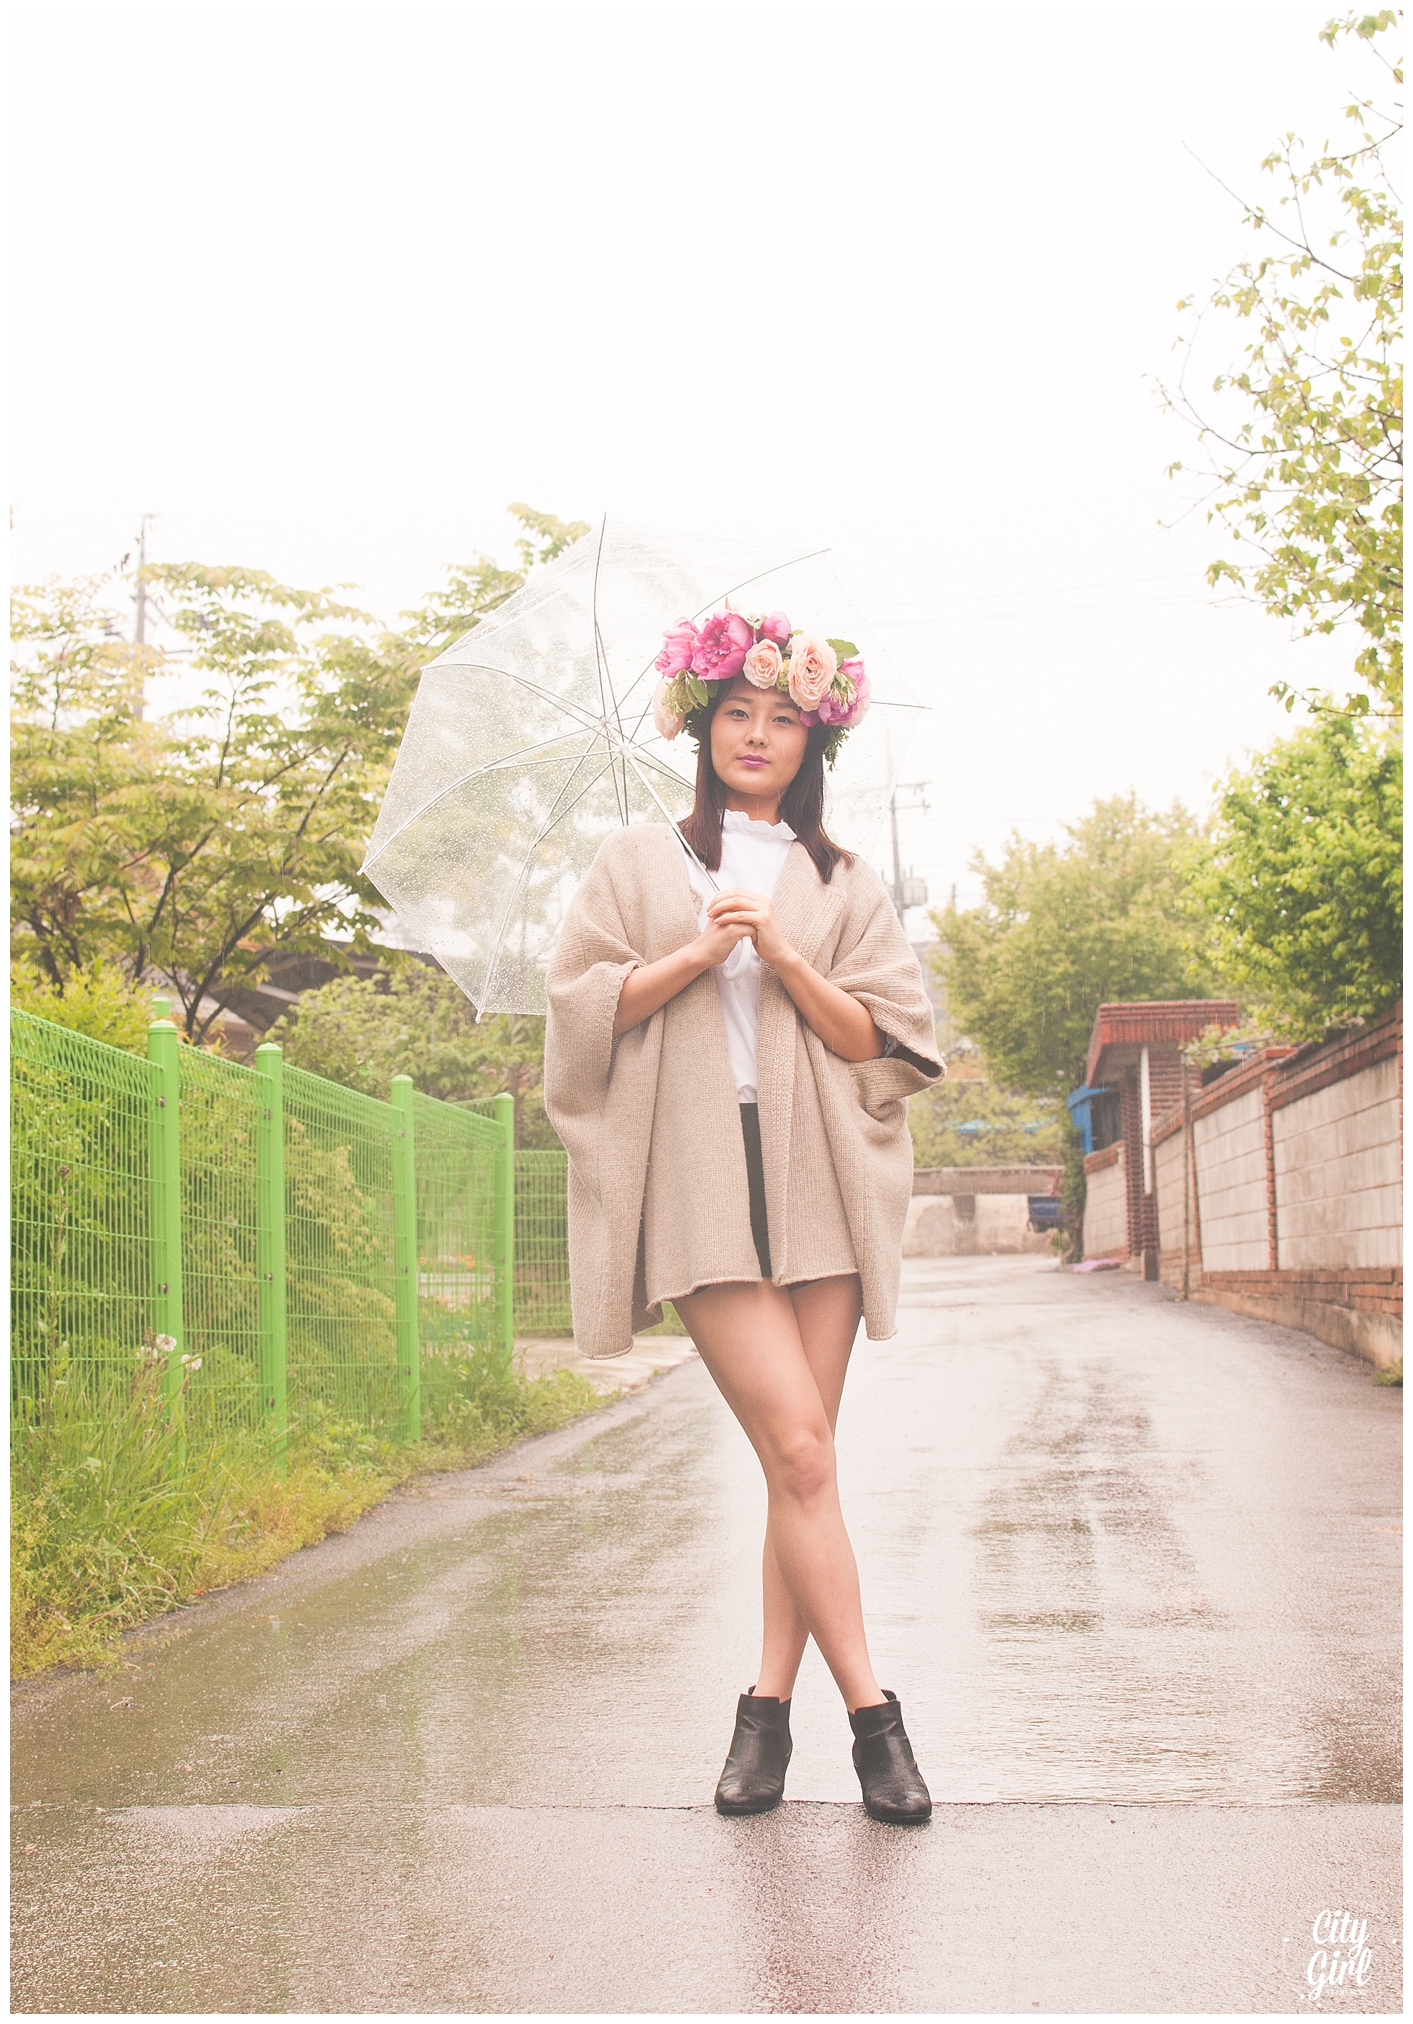
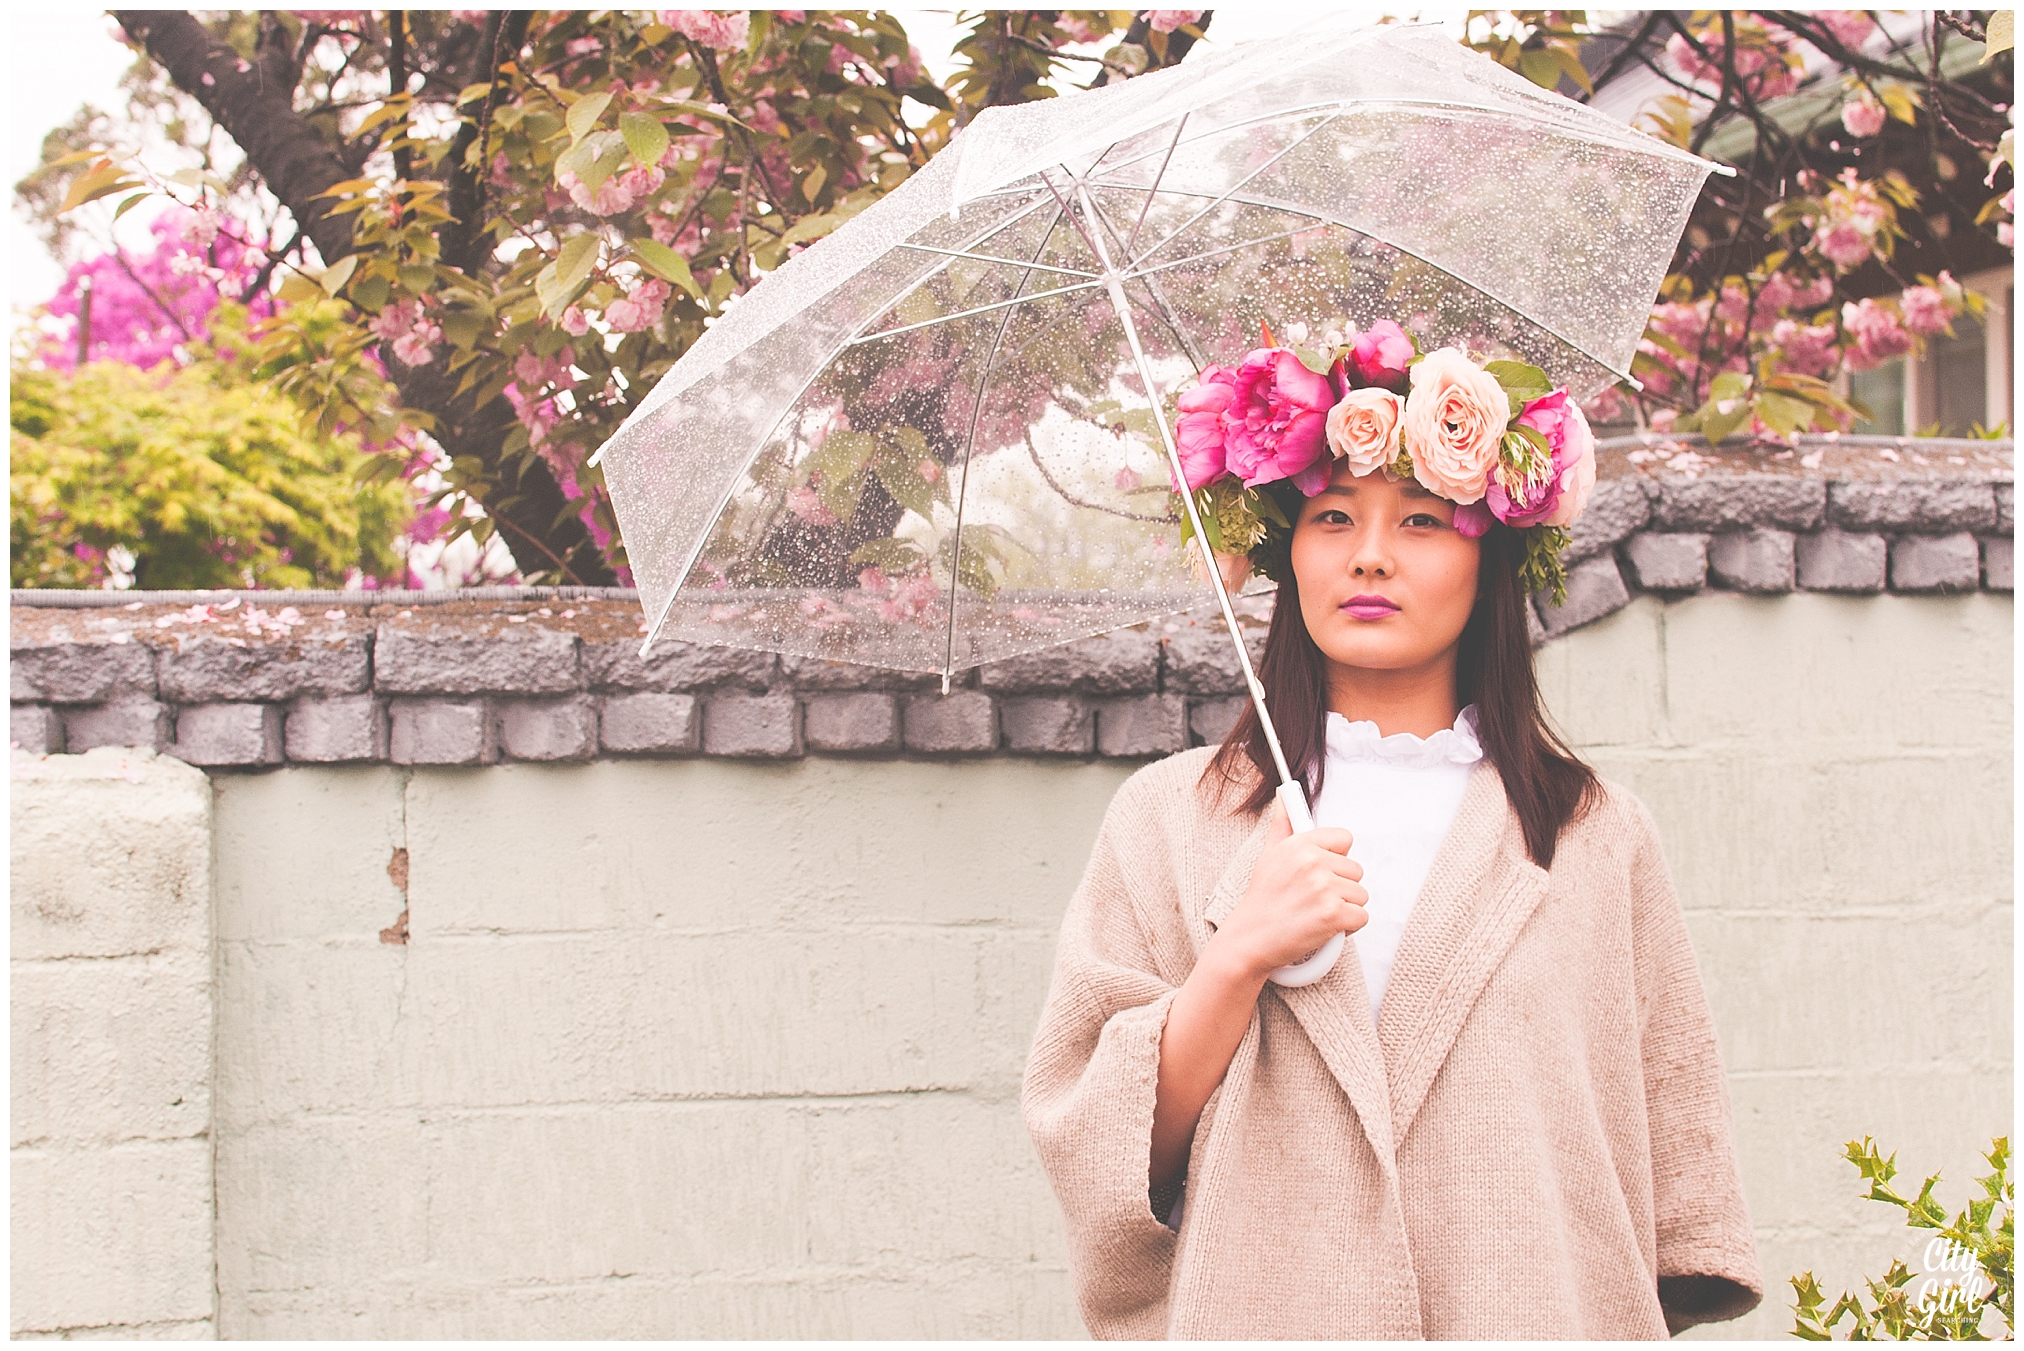
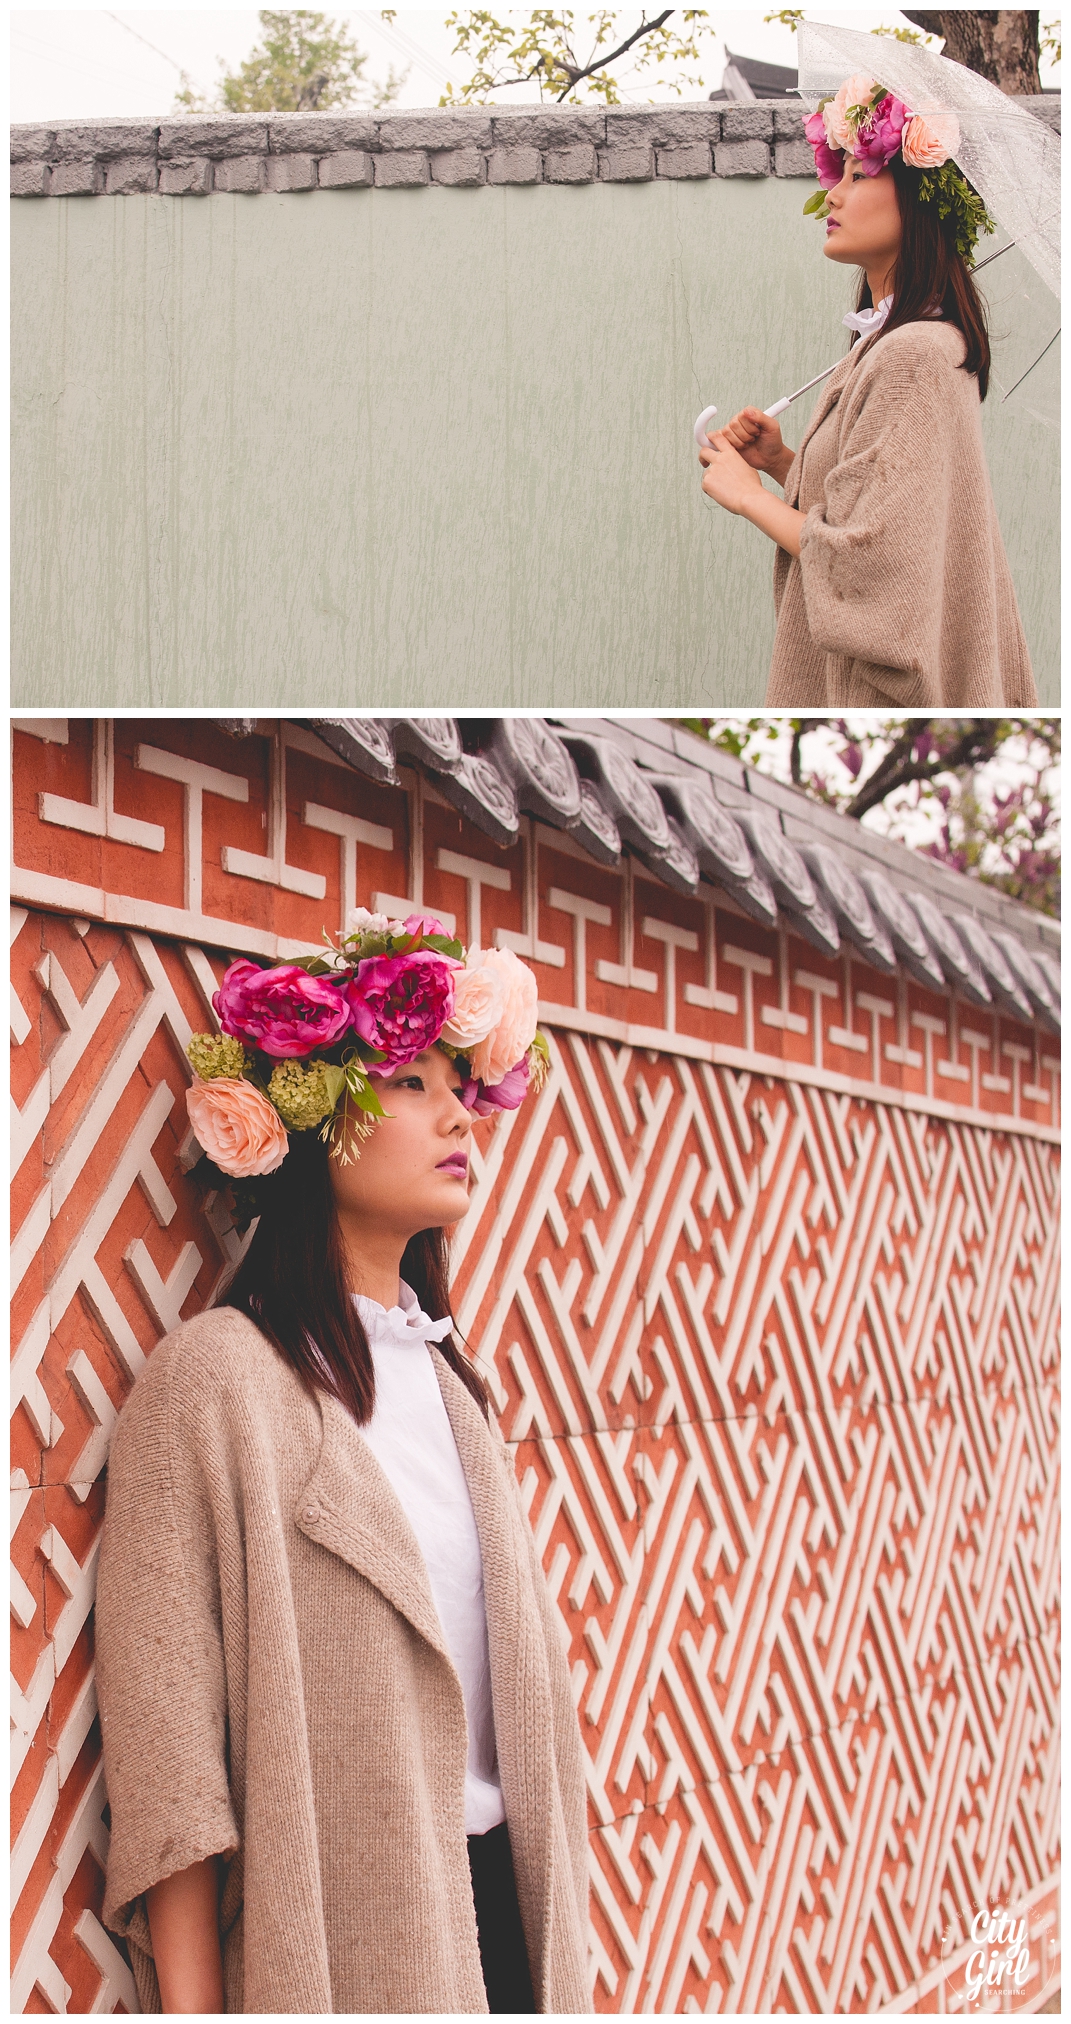
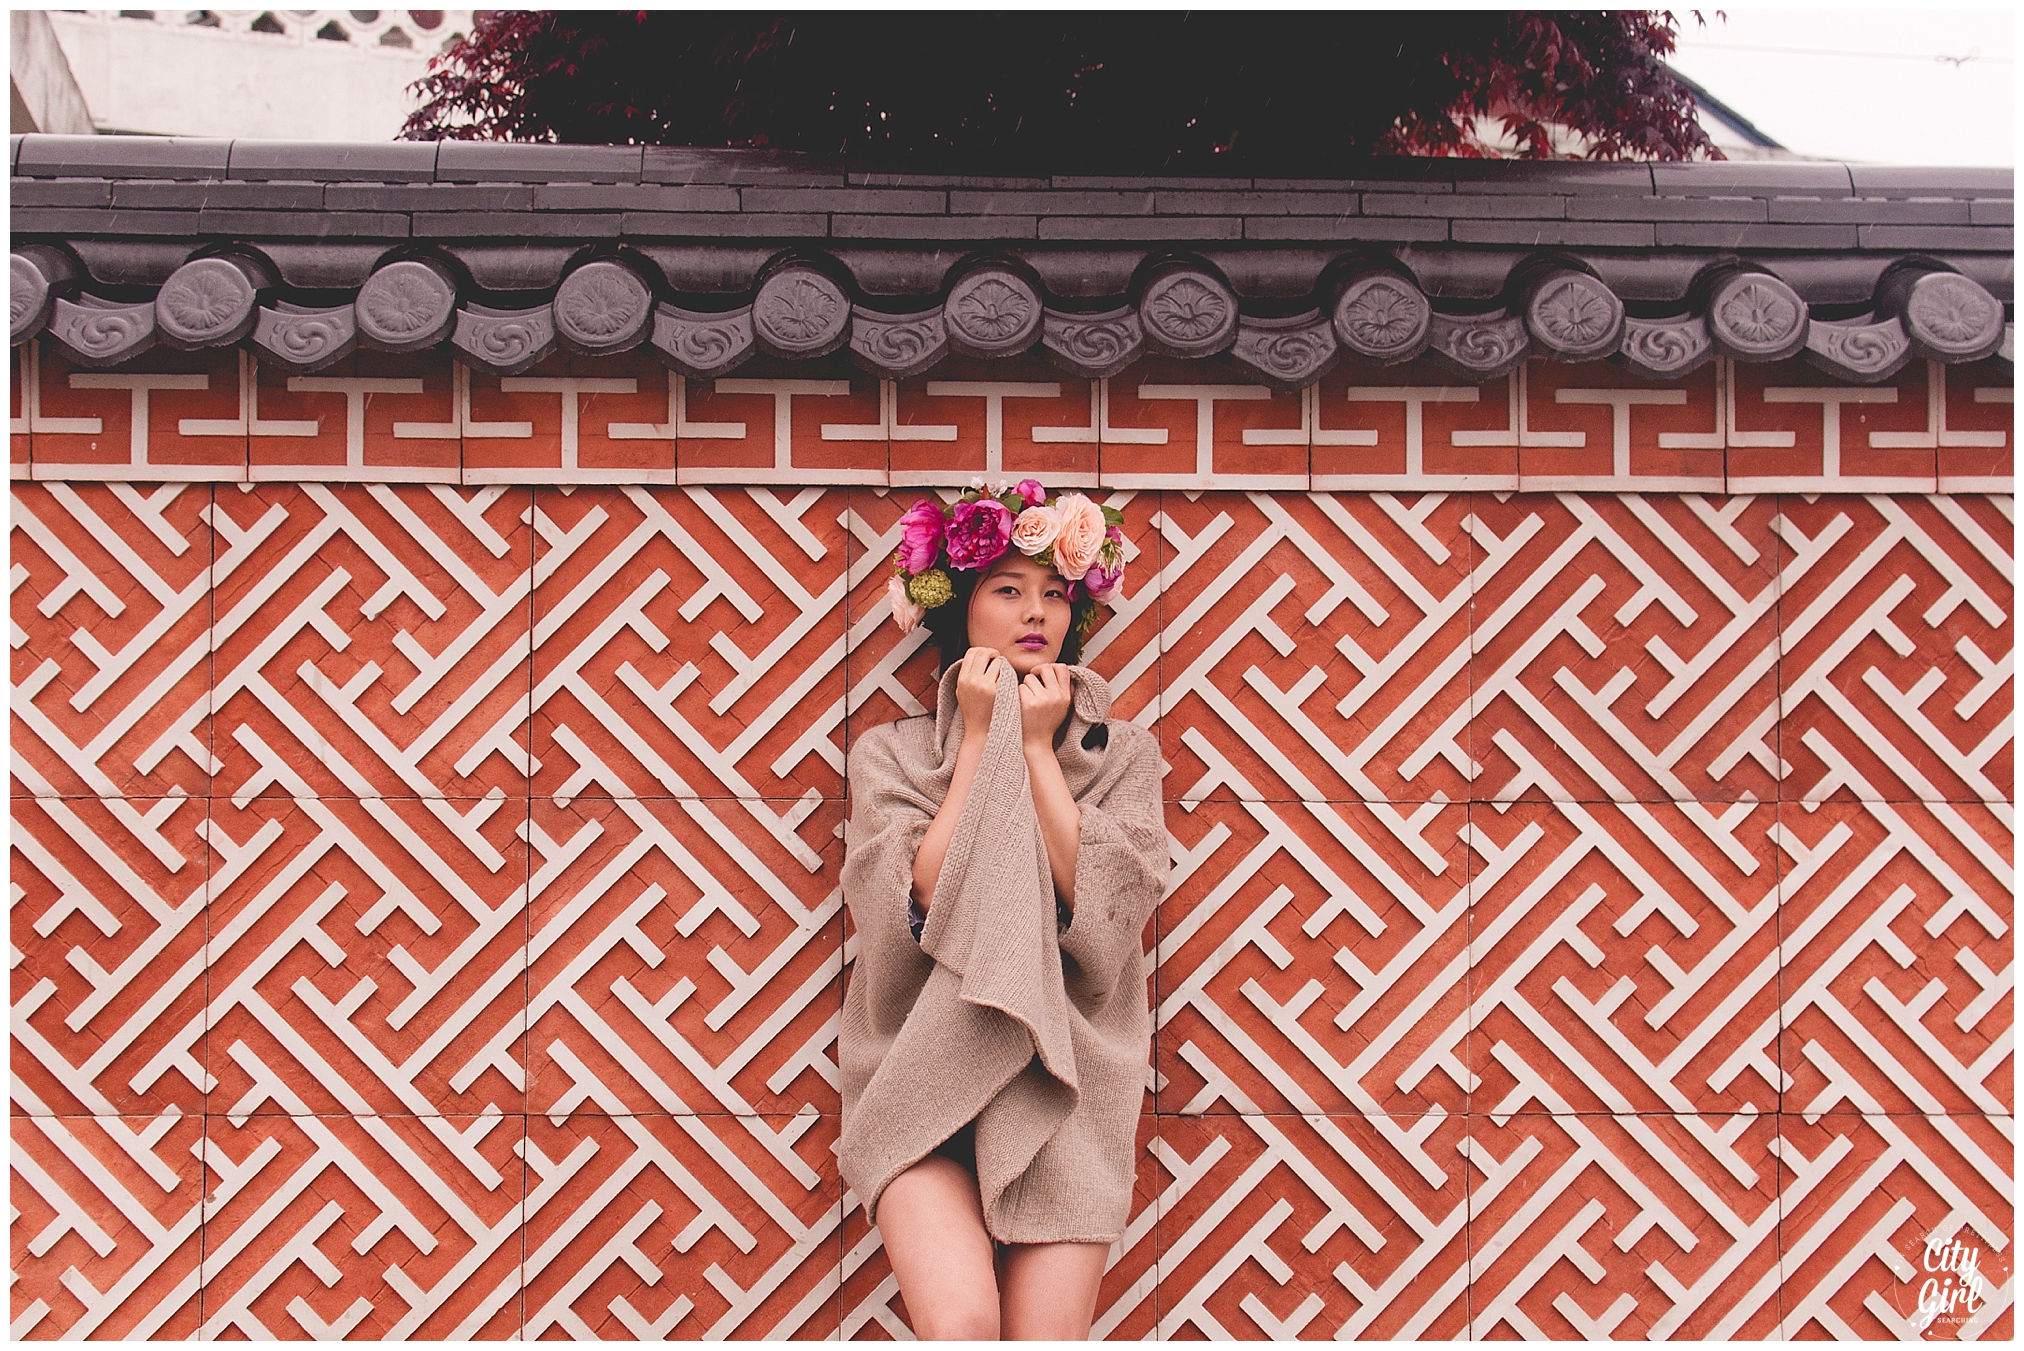
As we are in South Korea I really wanted to try and use more of a Korean backdrop, to emphasise the Oriental elements of Korea. I had grand ideas of temples and pagoda's, soft afternoon light reflecting off clear waters but the weather had other ideas. It poured with rain that day, and so we just had to make do with what we could find for backdrops right here in my small town. This was something else I learned, that beauty can be found everywhere. You just have to change your perspective. Textured walls provide amazing backgrounds, different angles help conceal ugly buildings and cars, and the most amazing things can be achieved when you have a team of people thinking outside of the box.

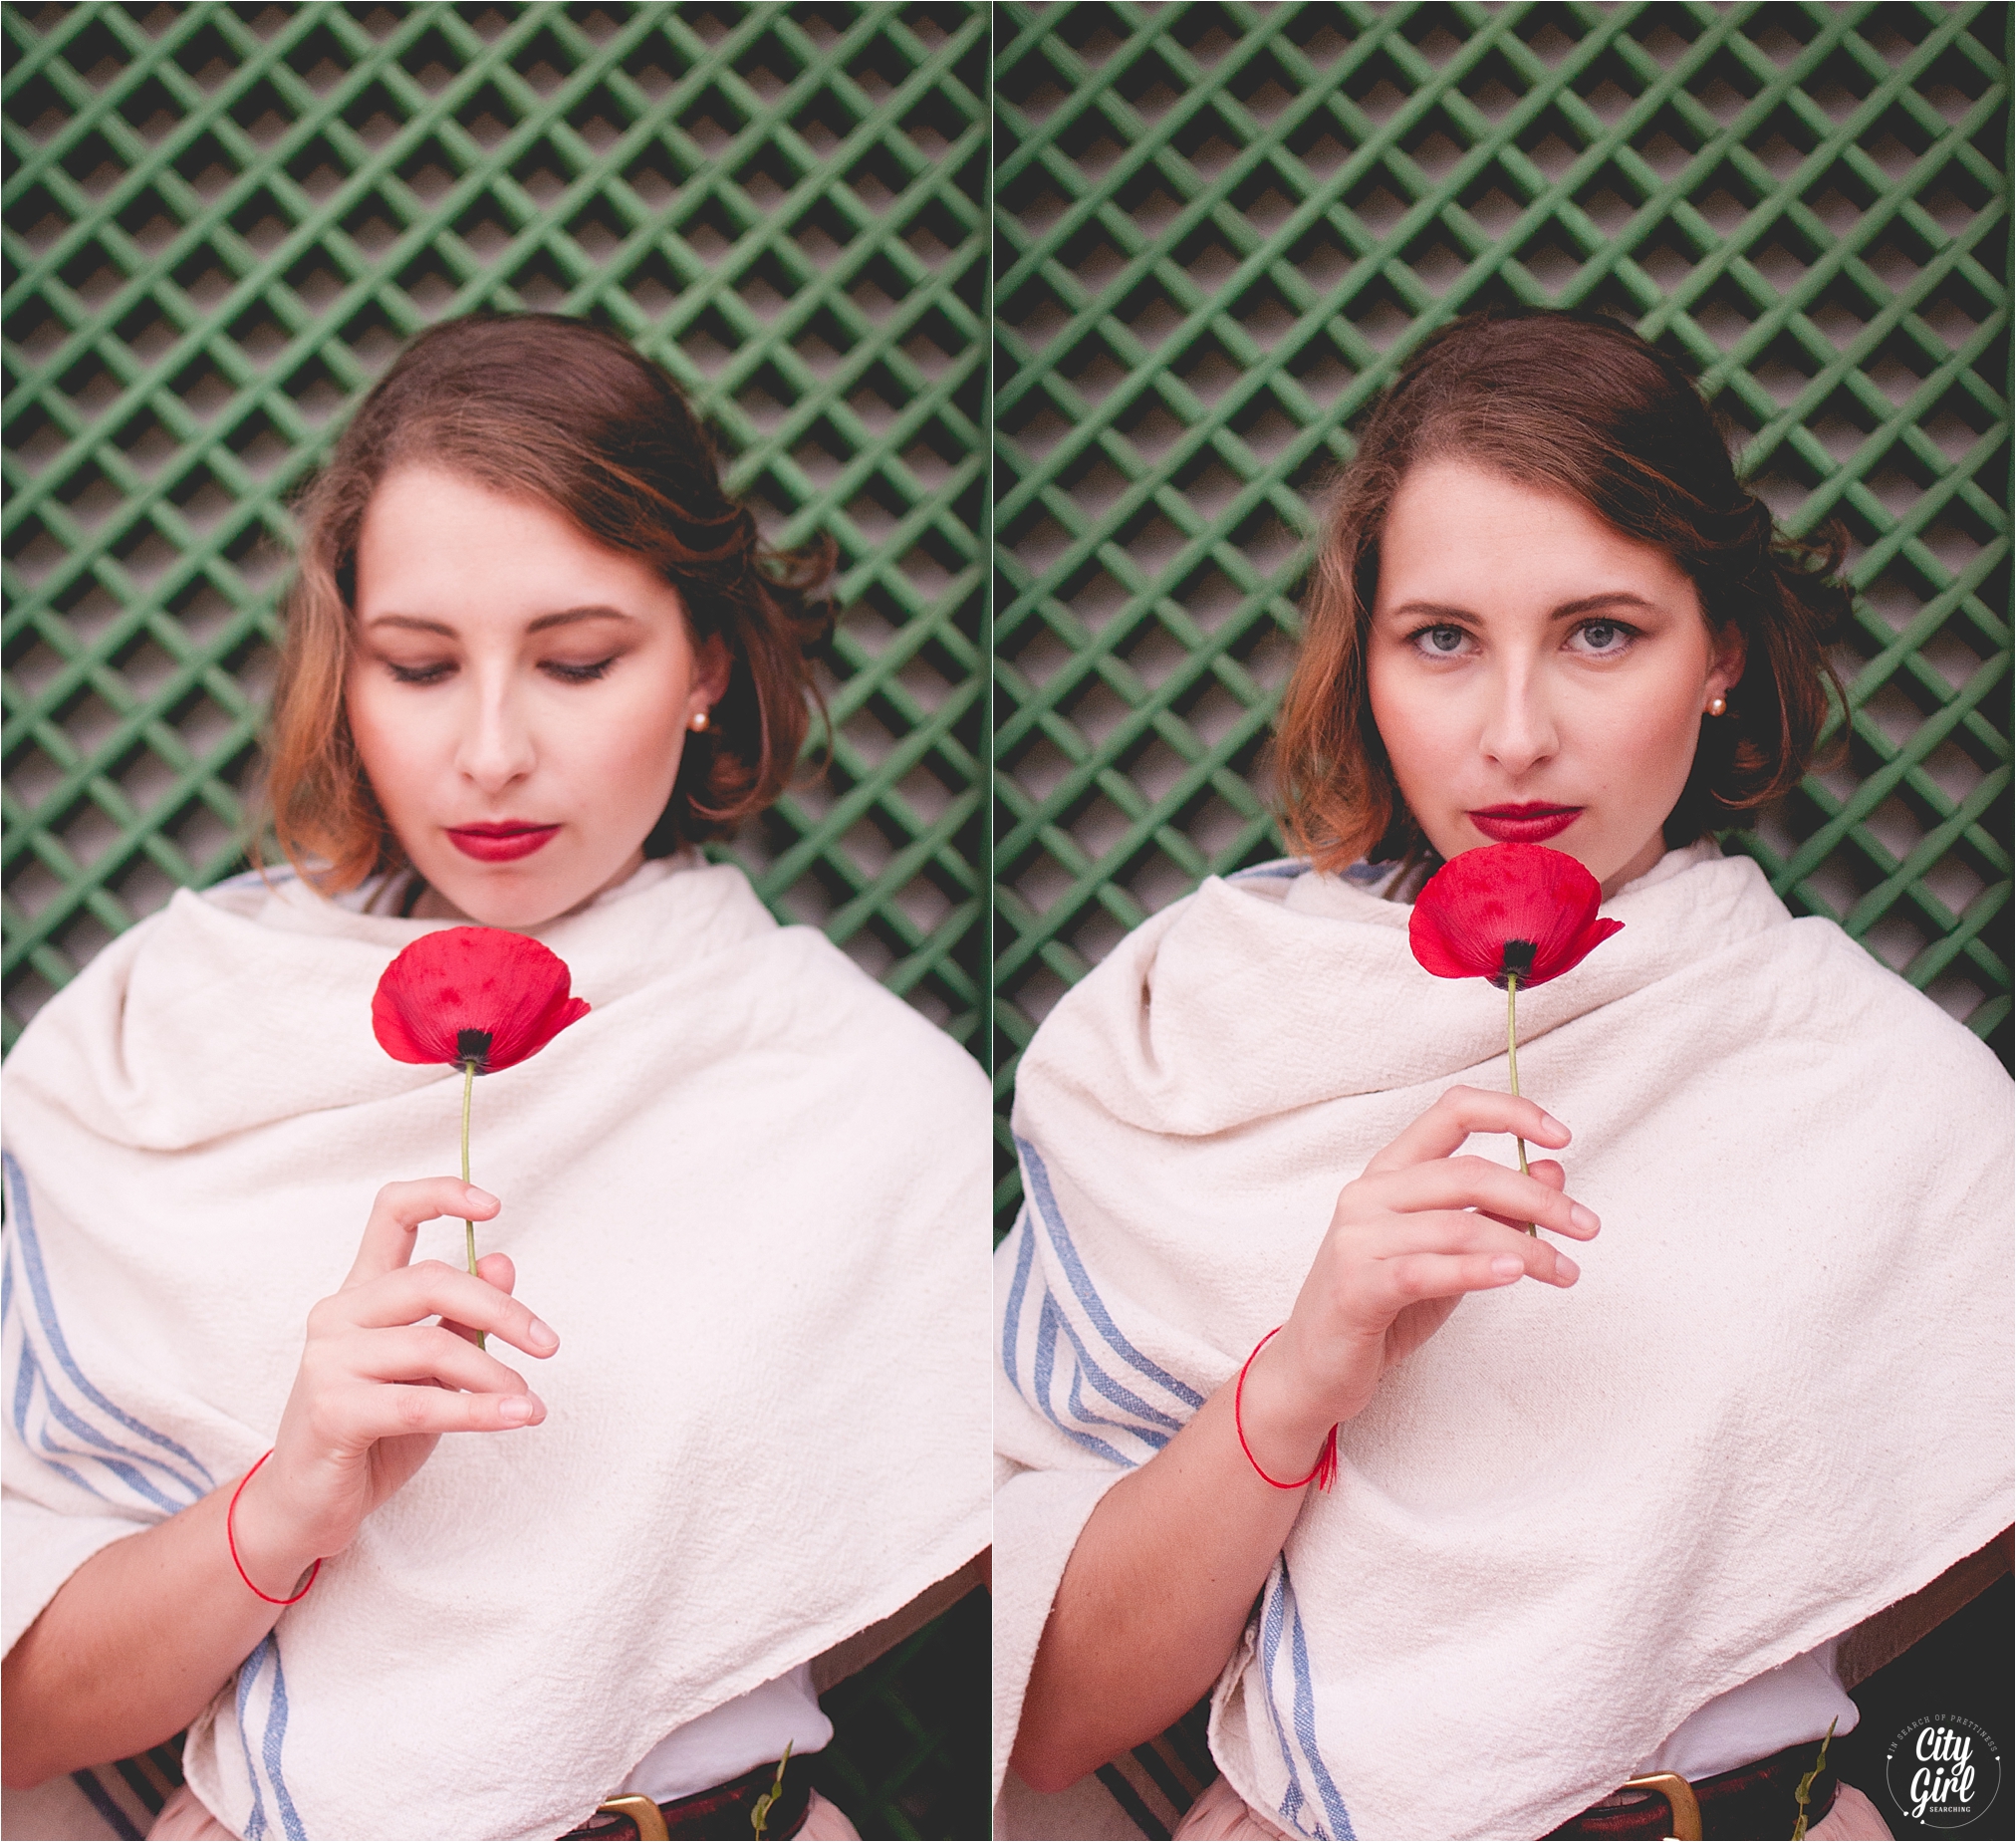
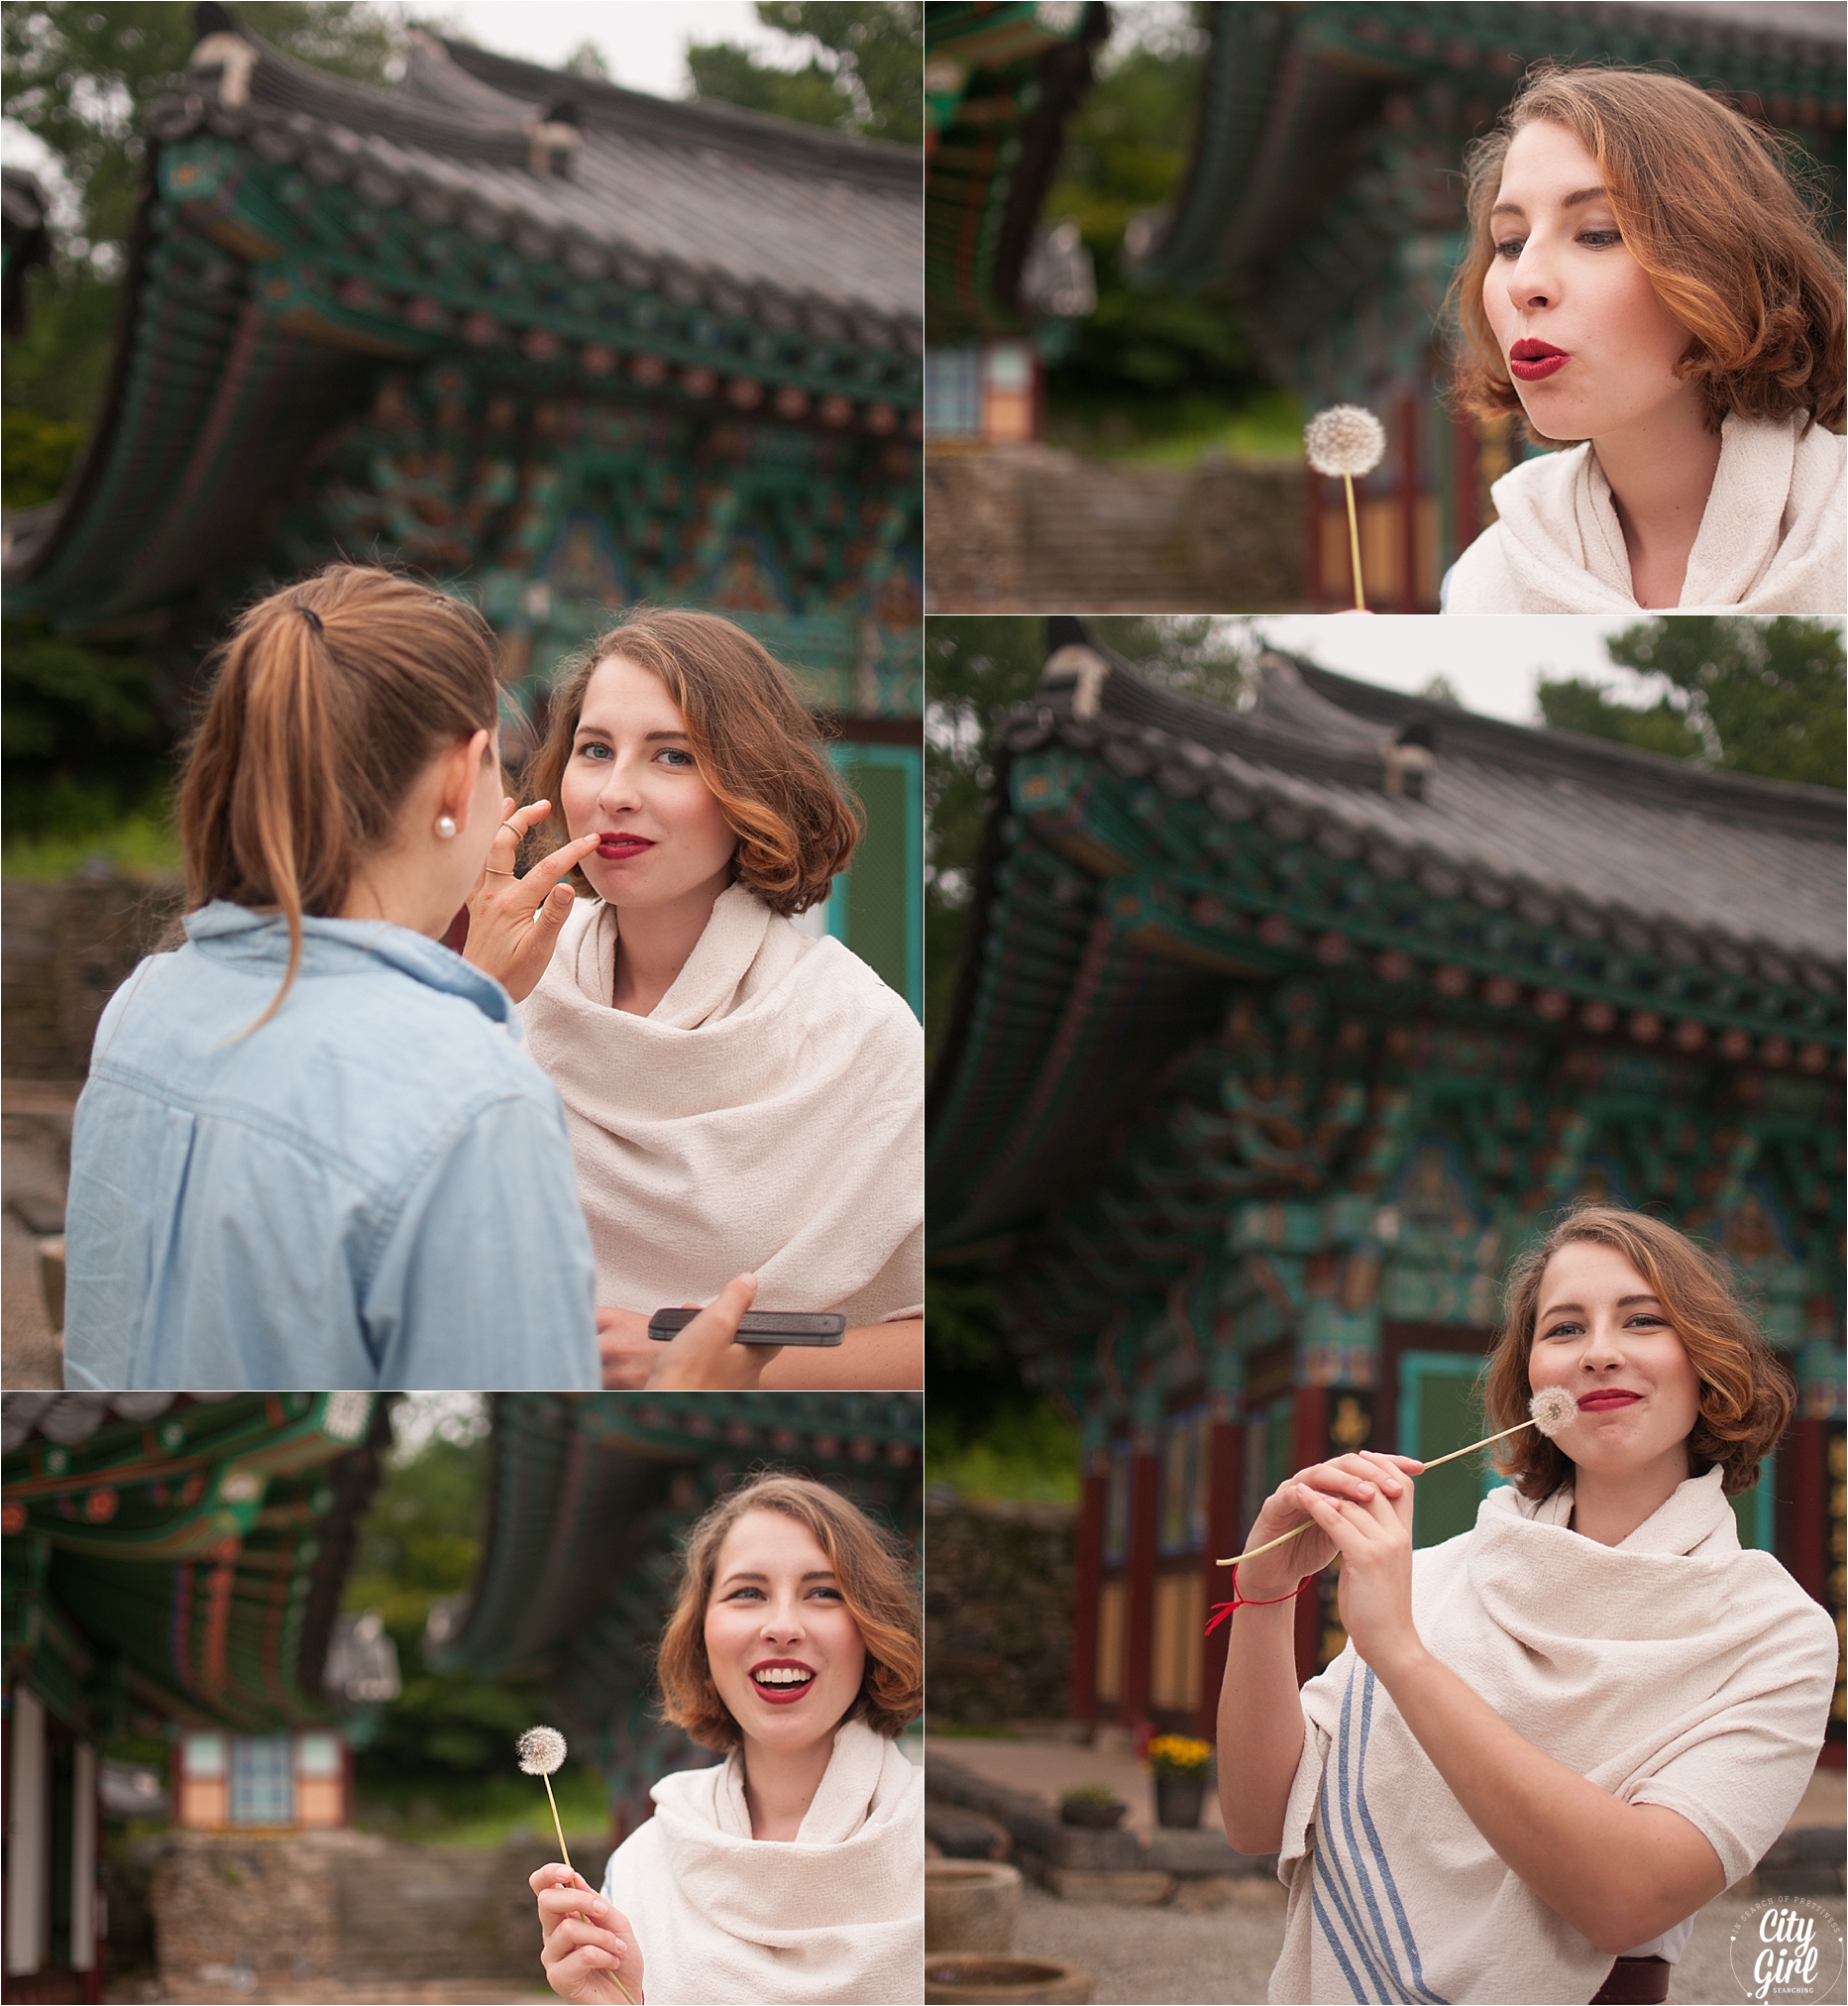
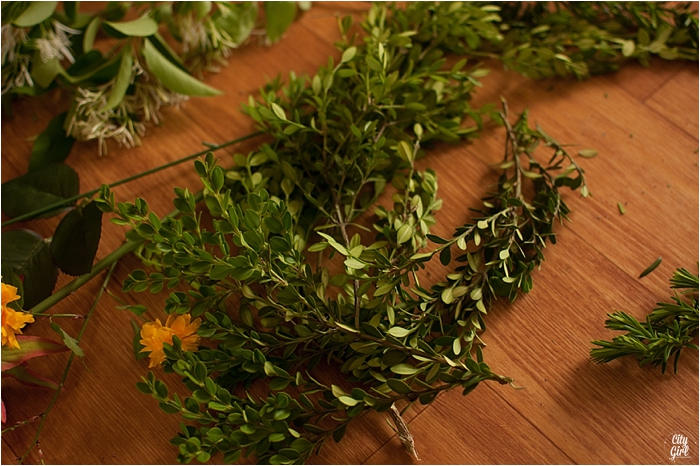
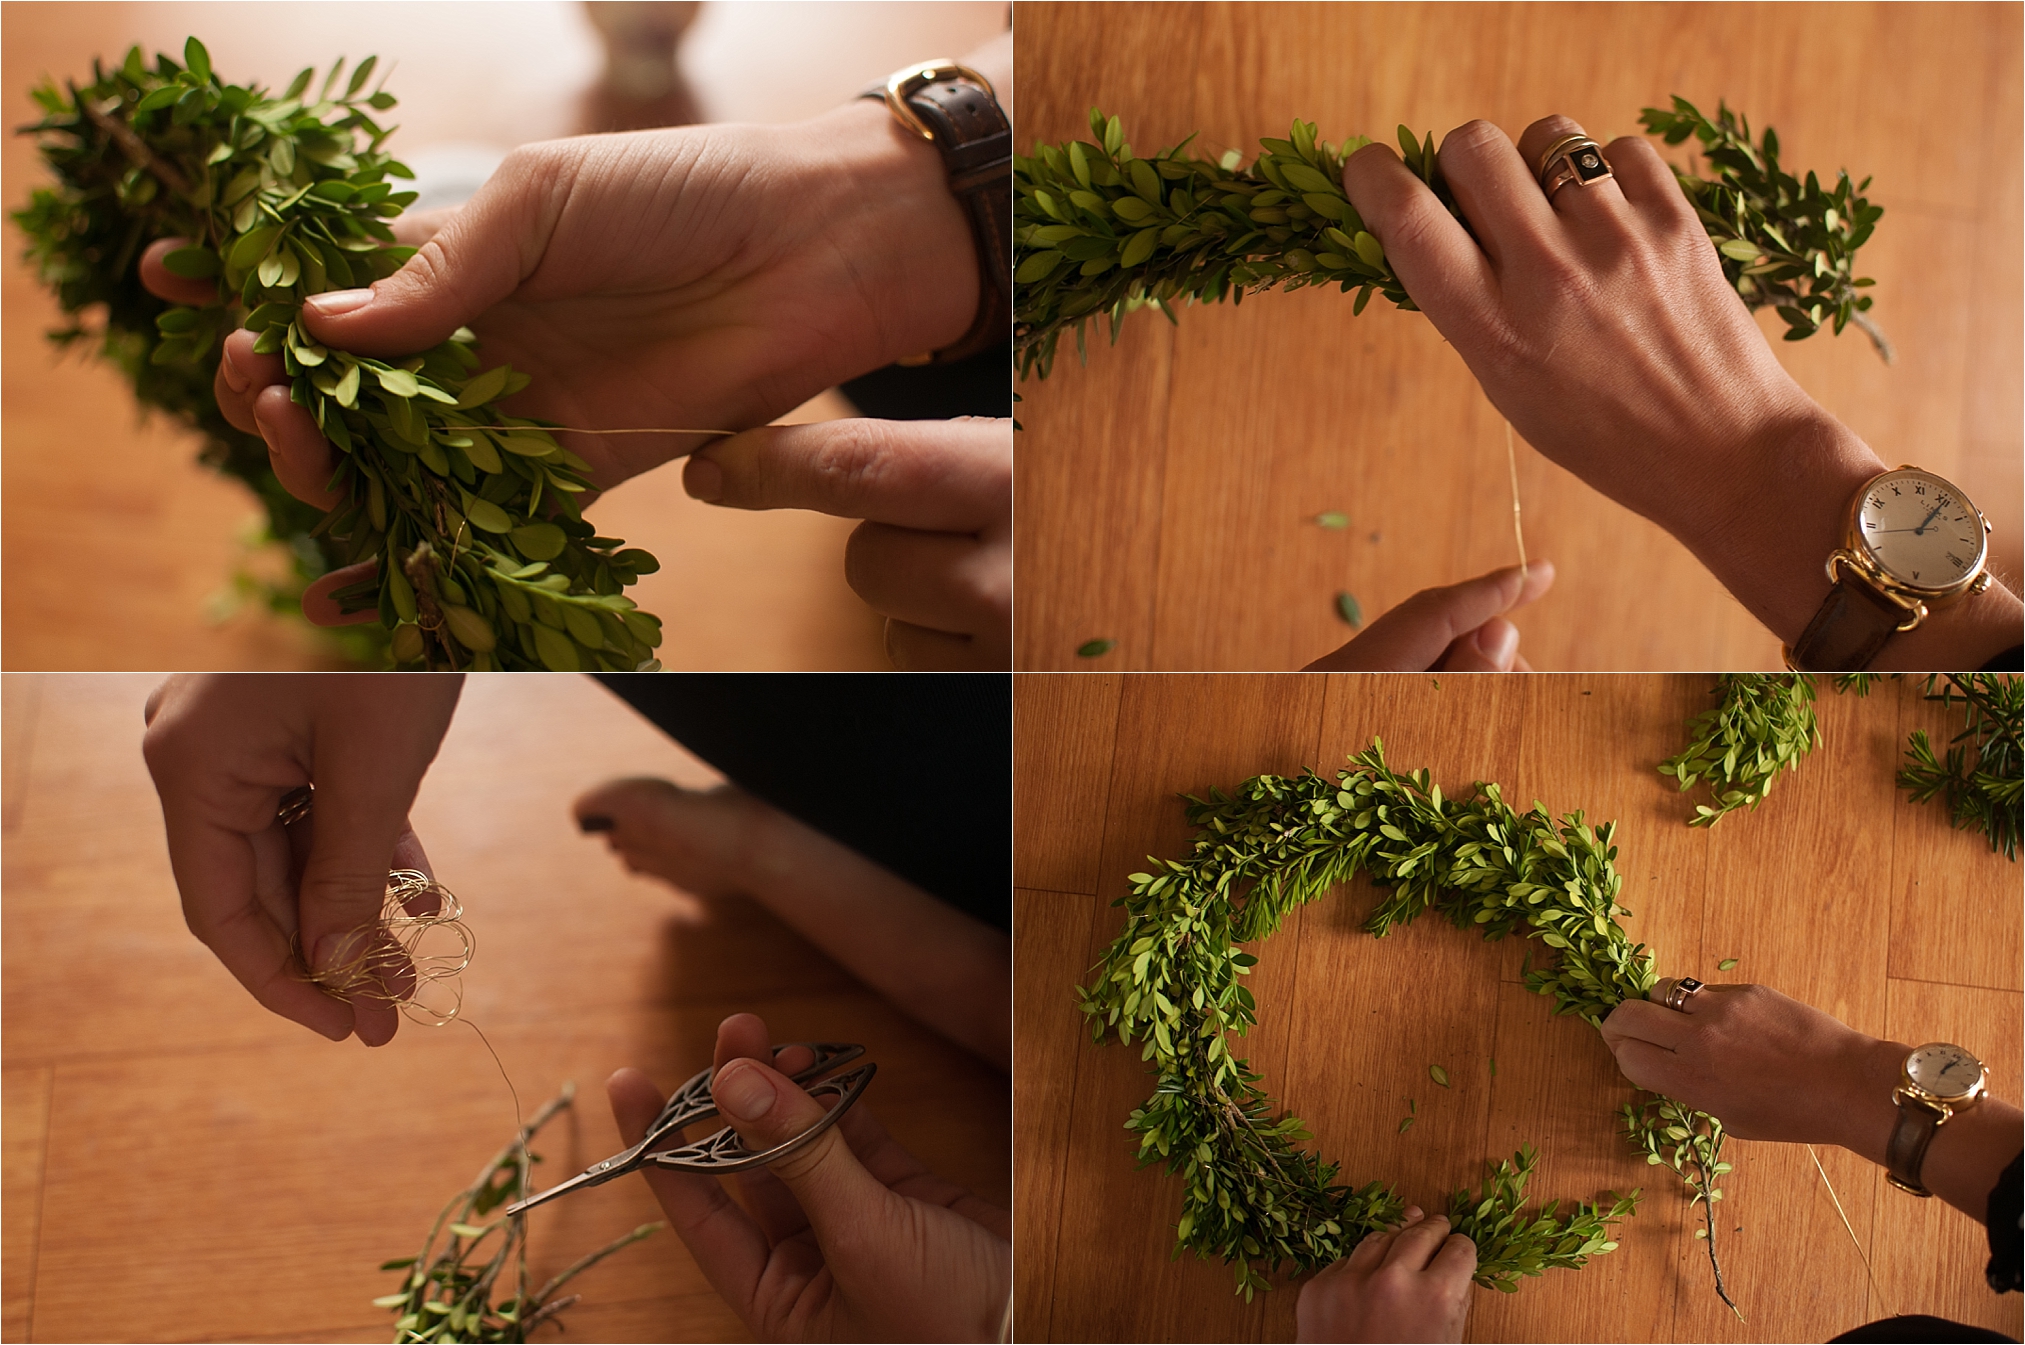
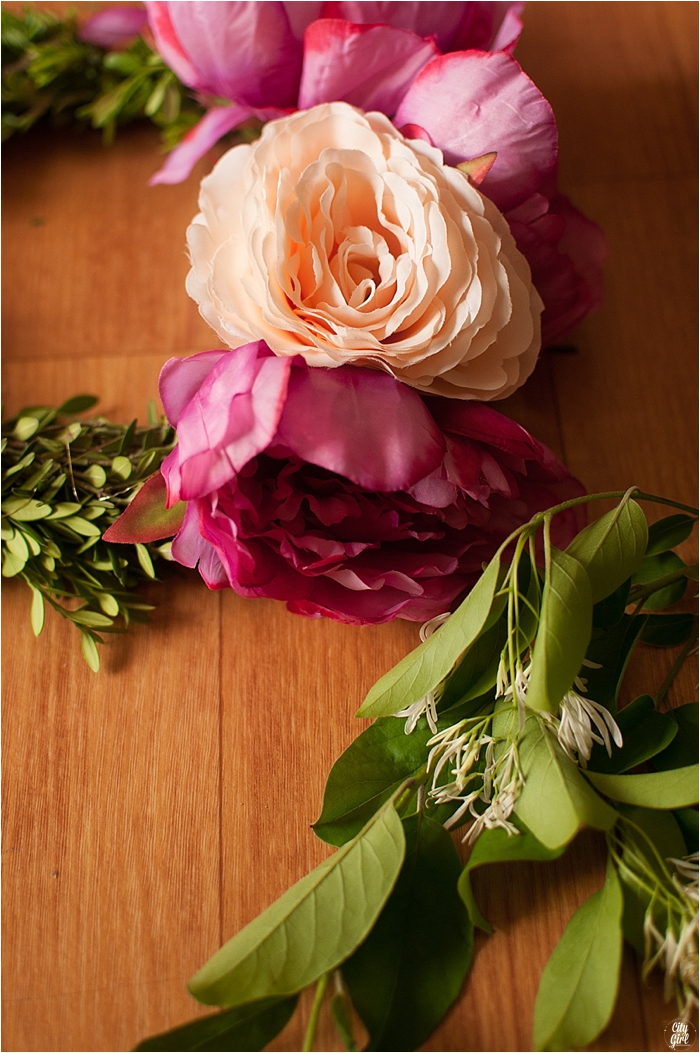
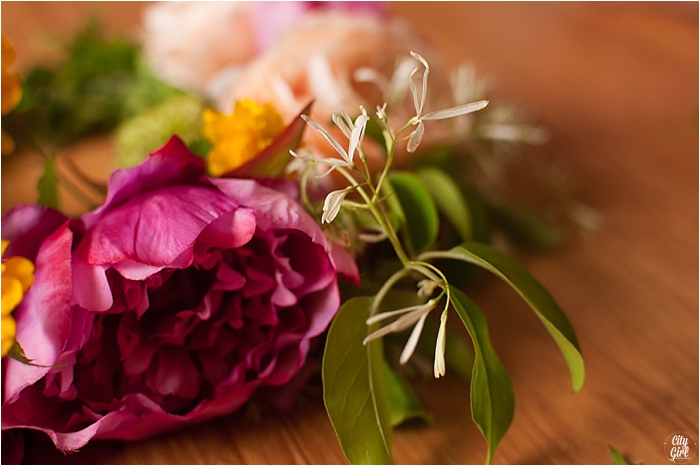
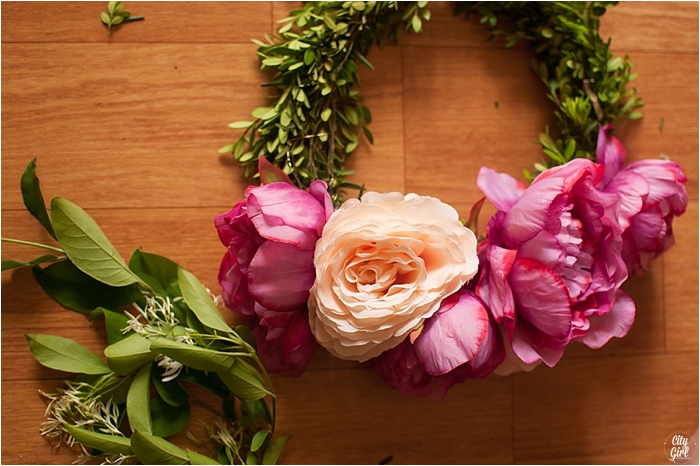
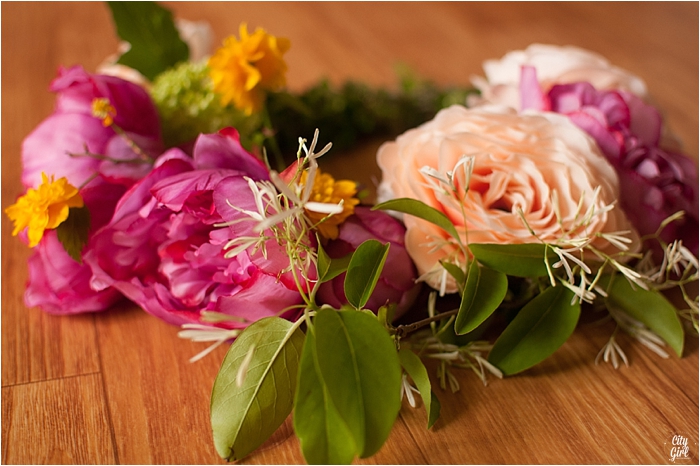
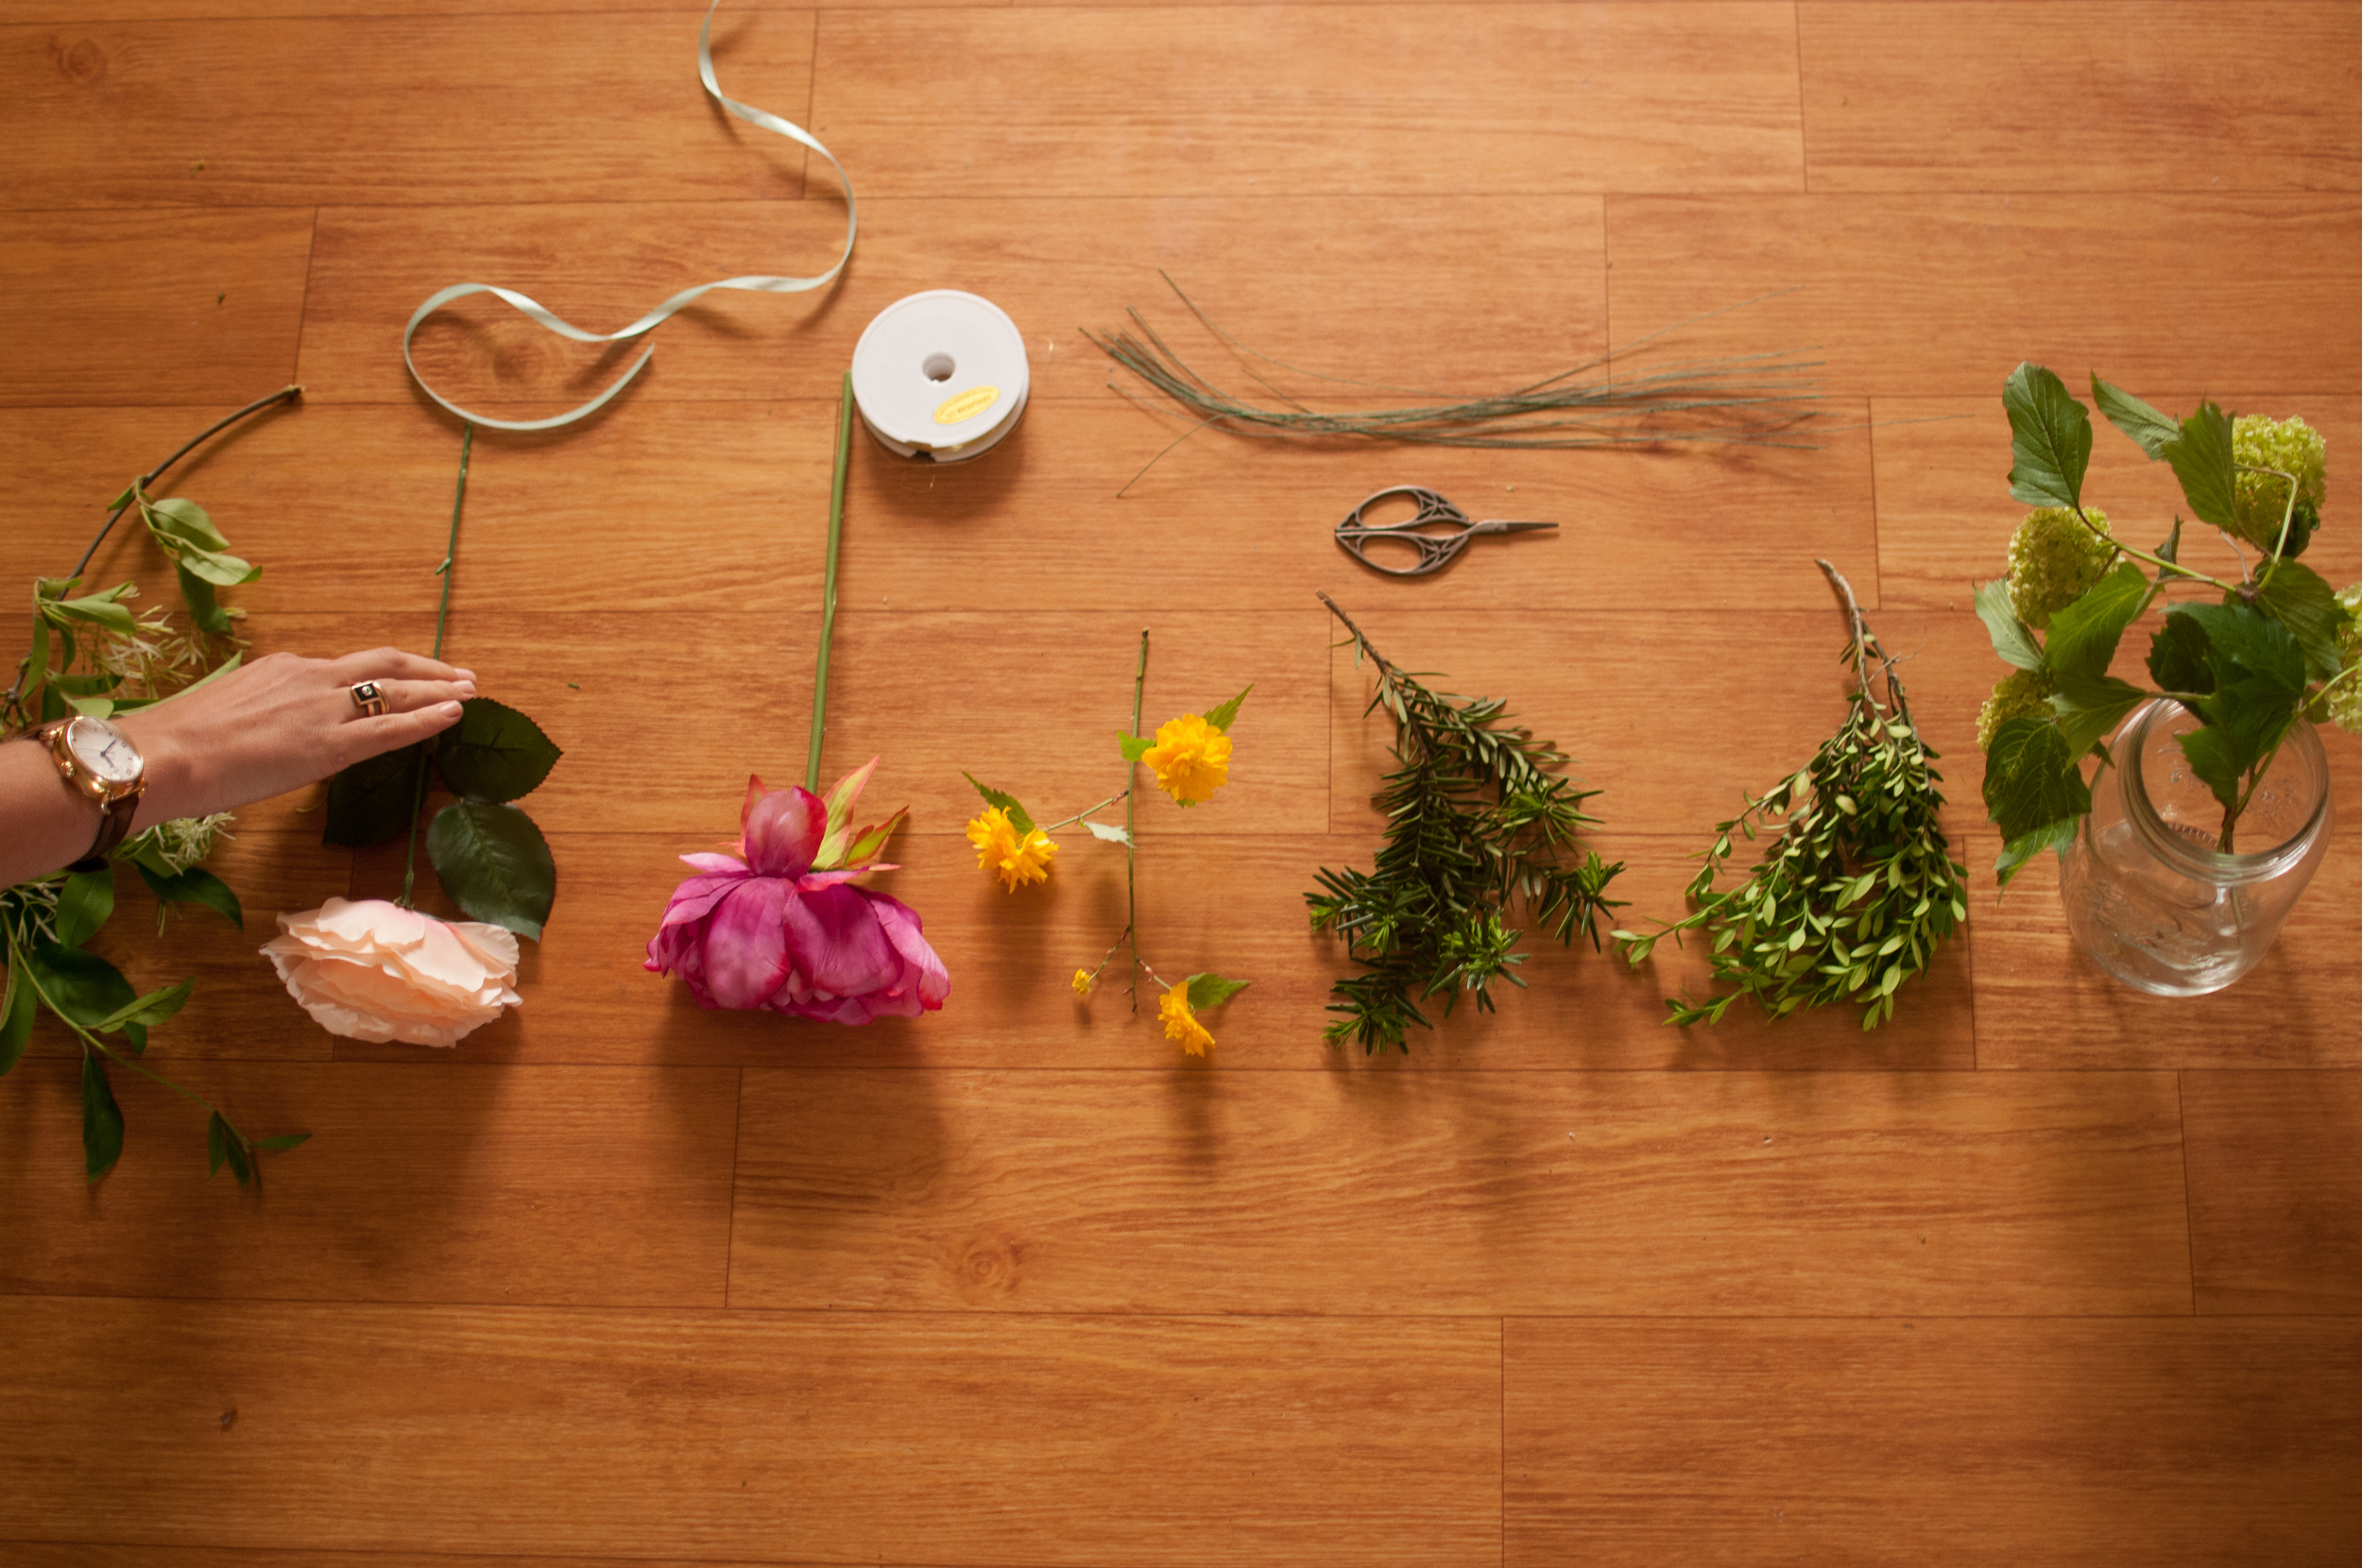
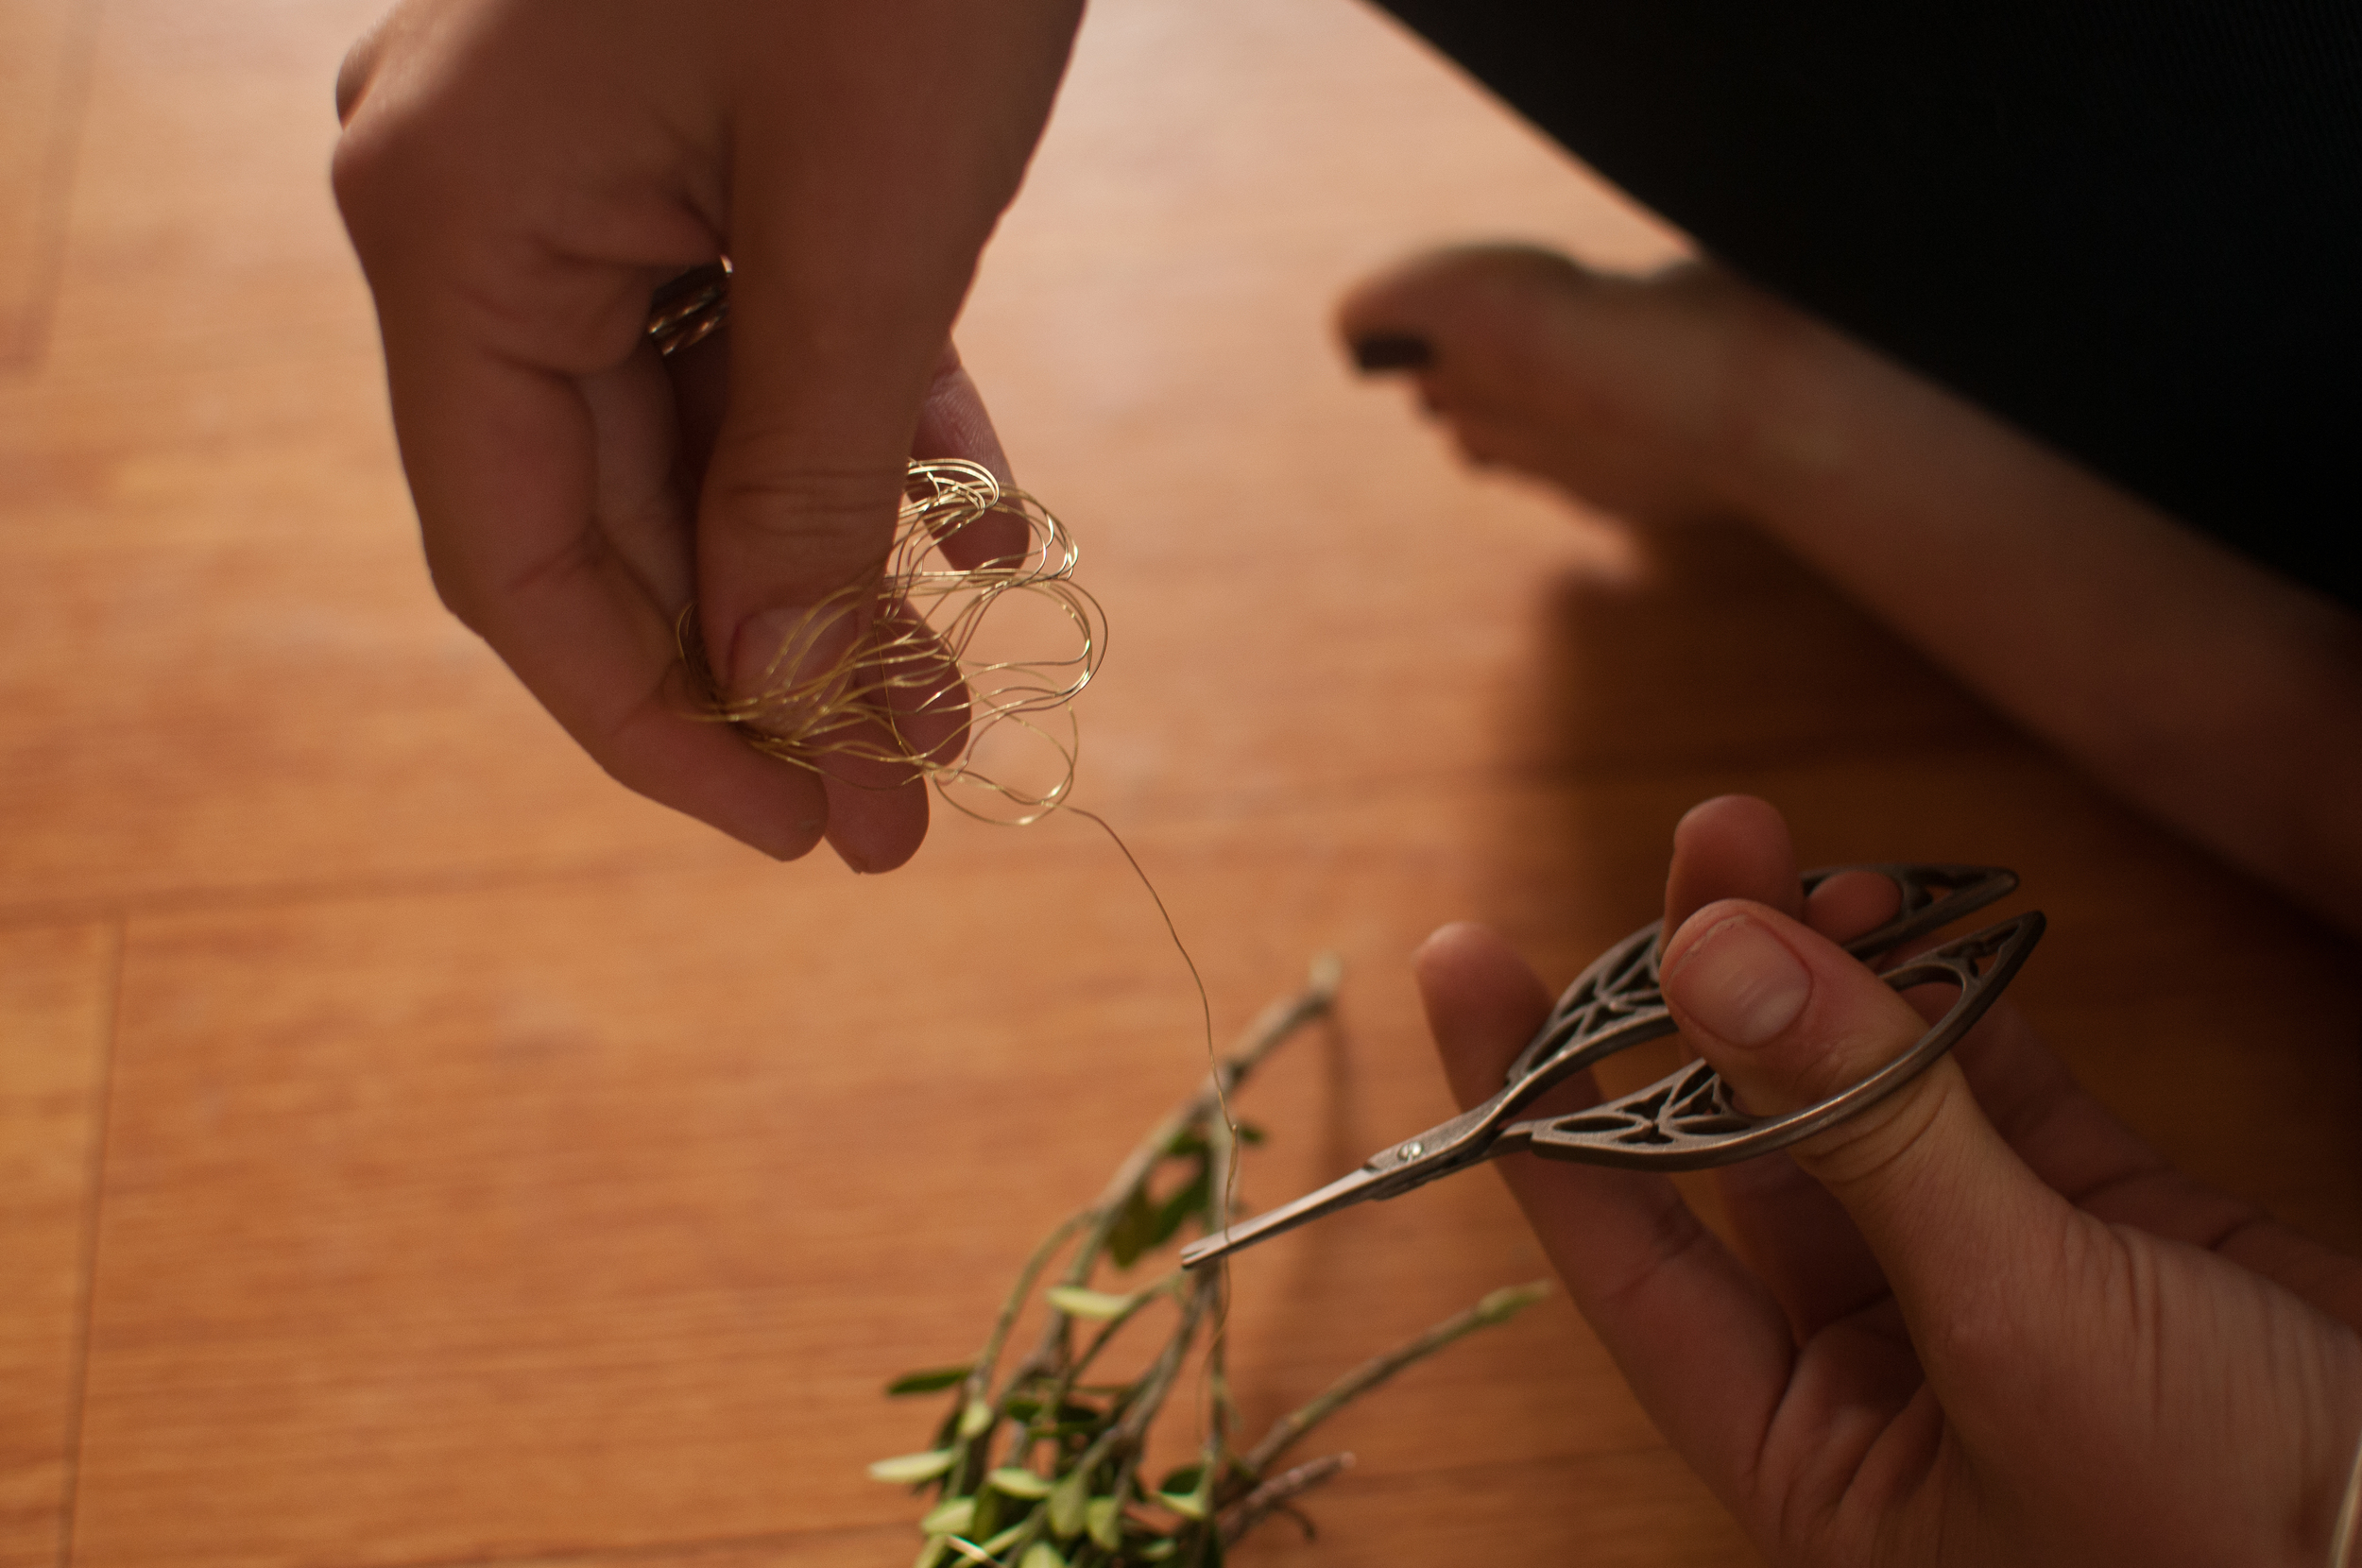
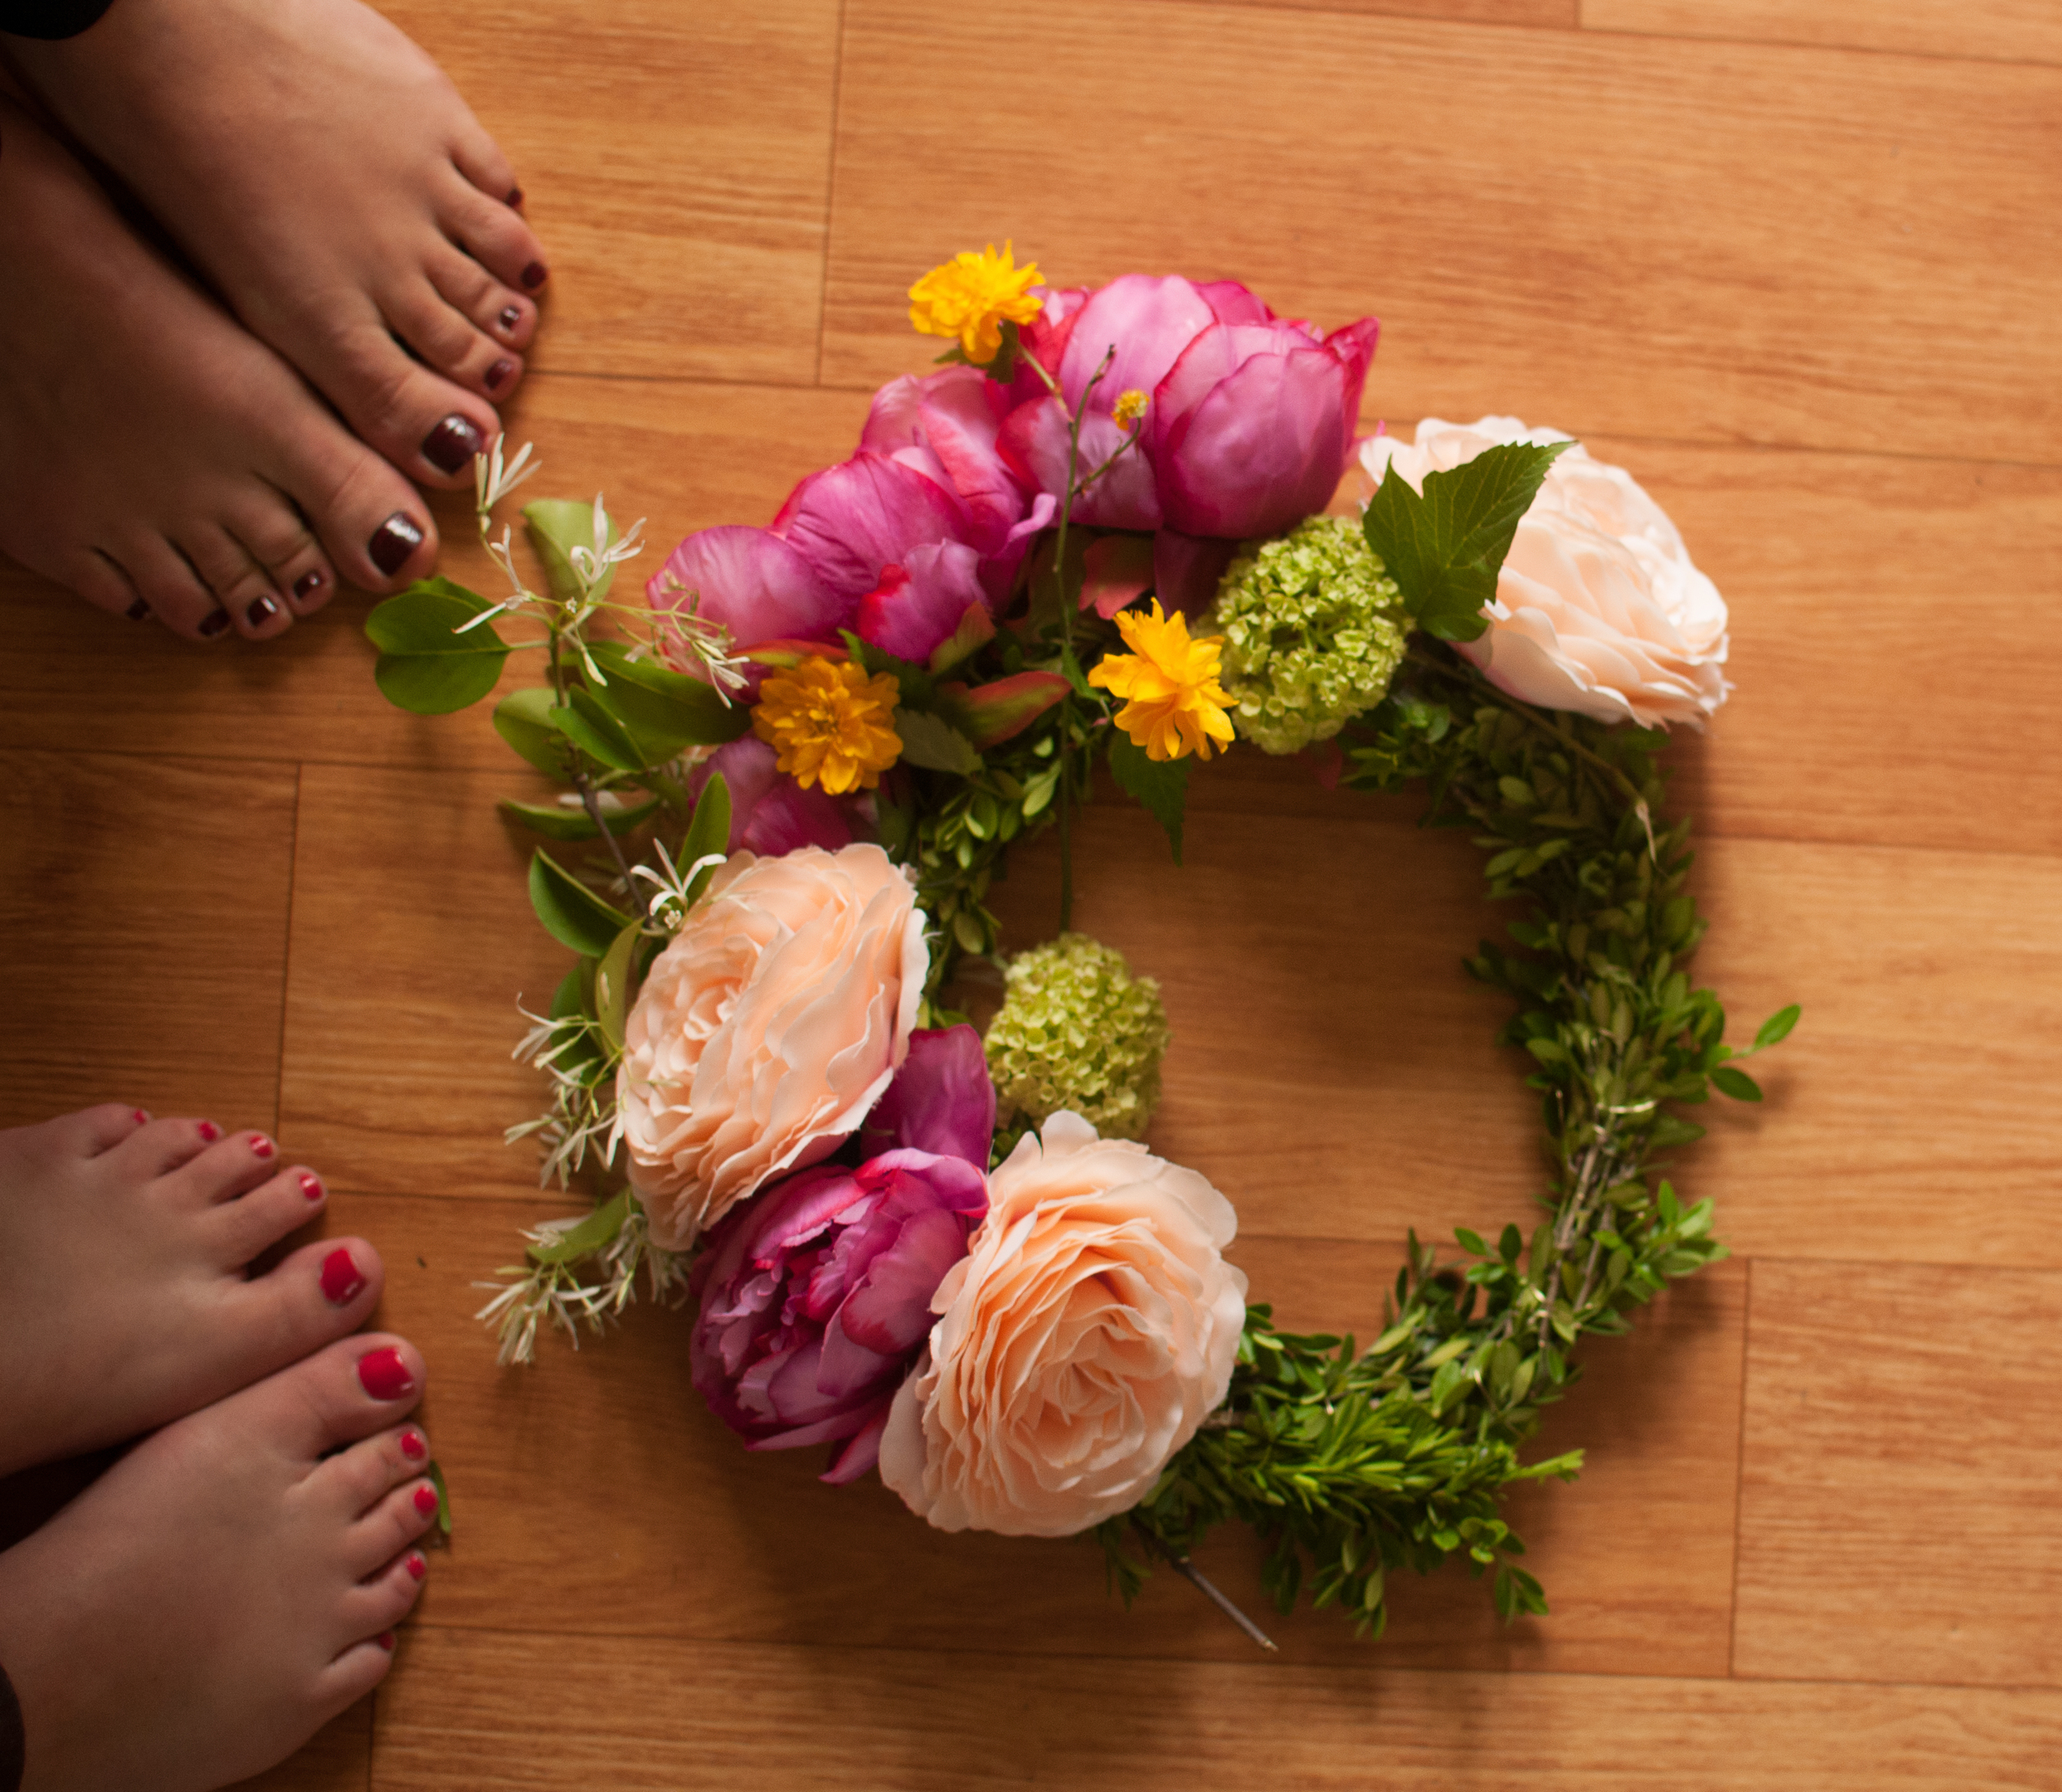
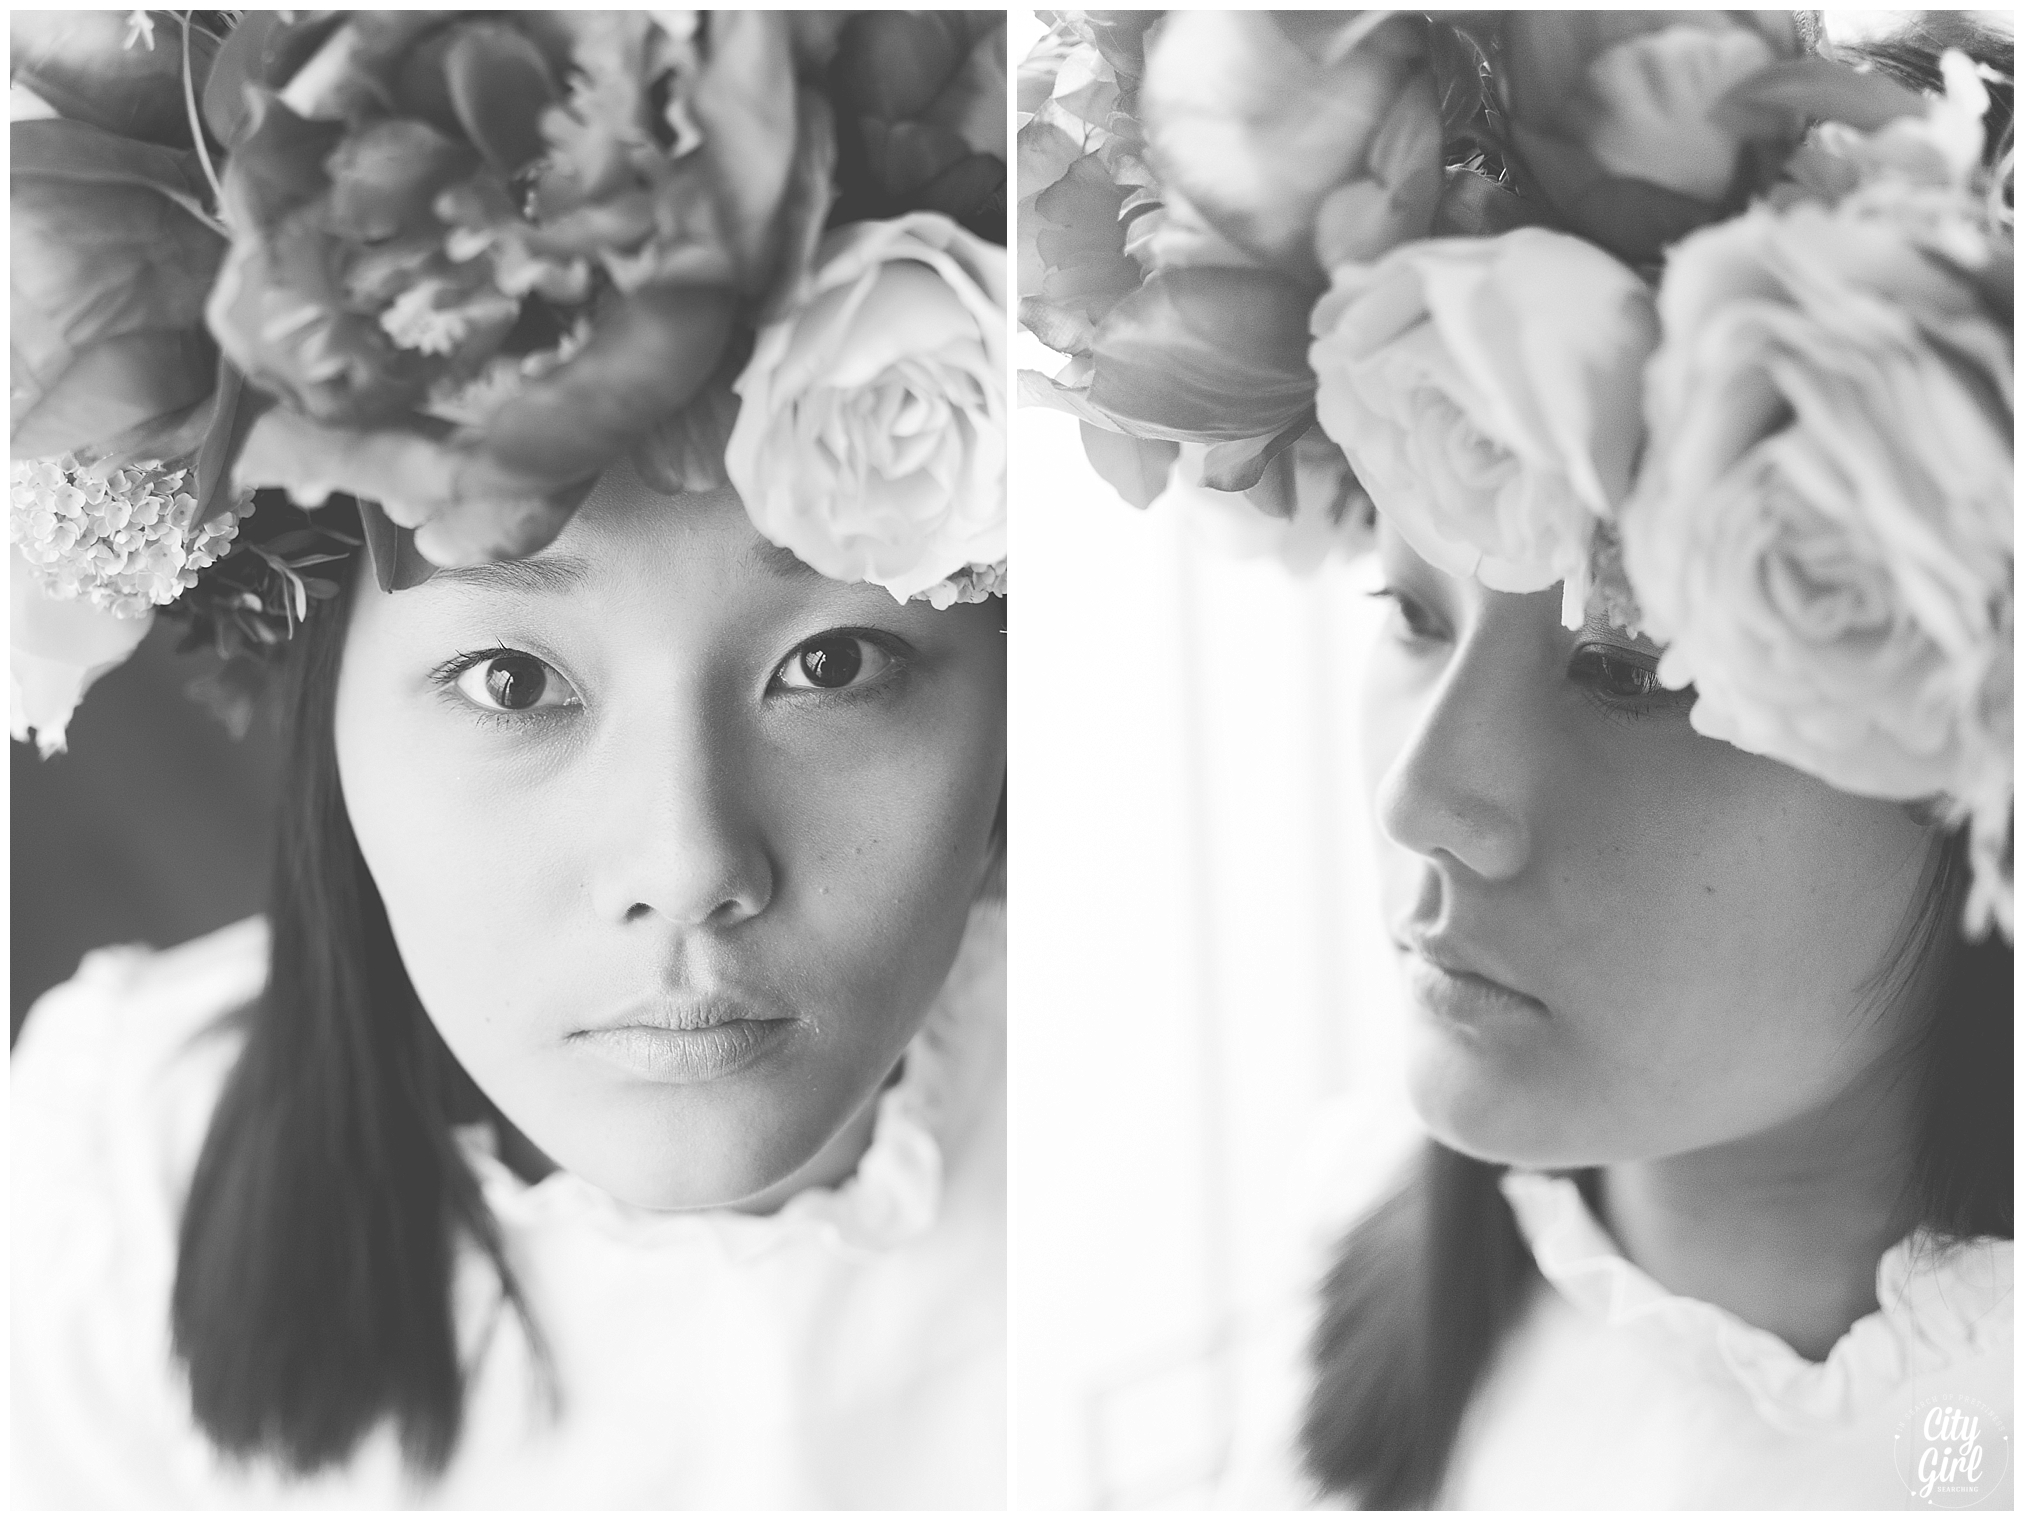
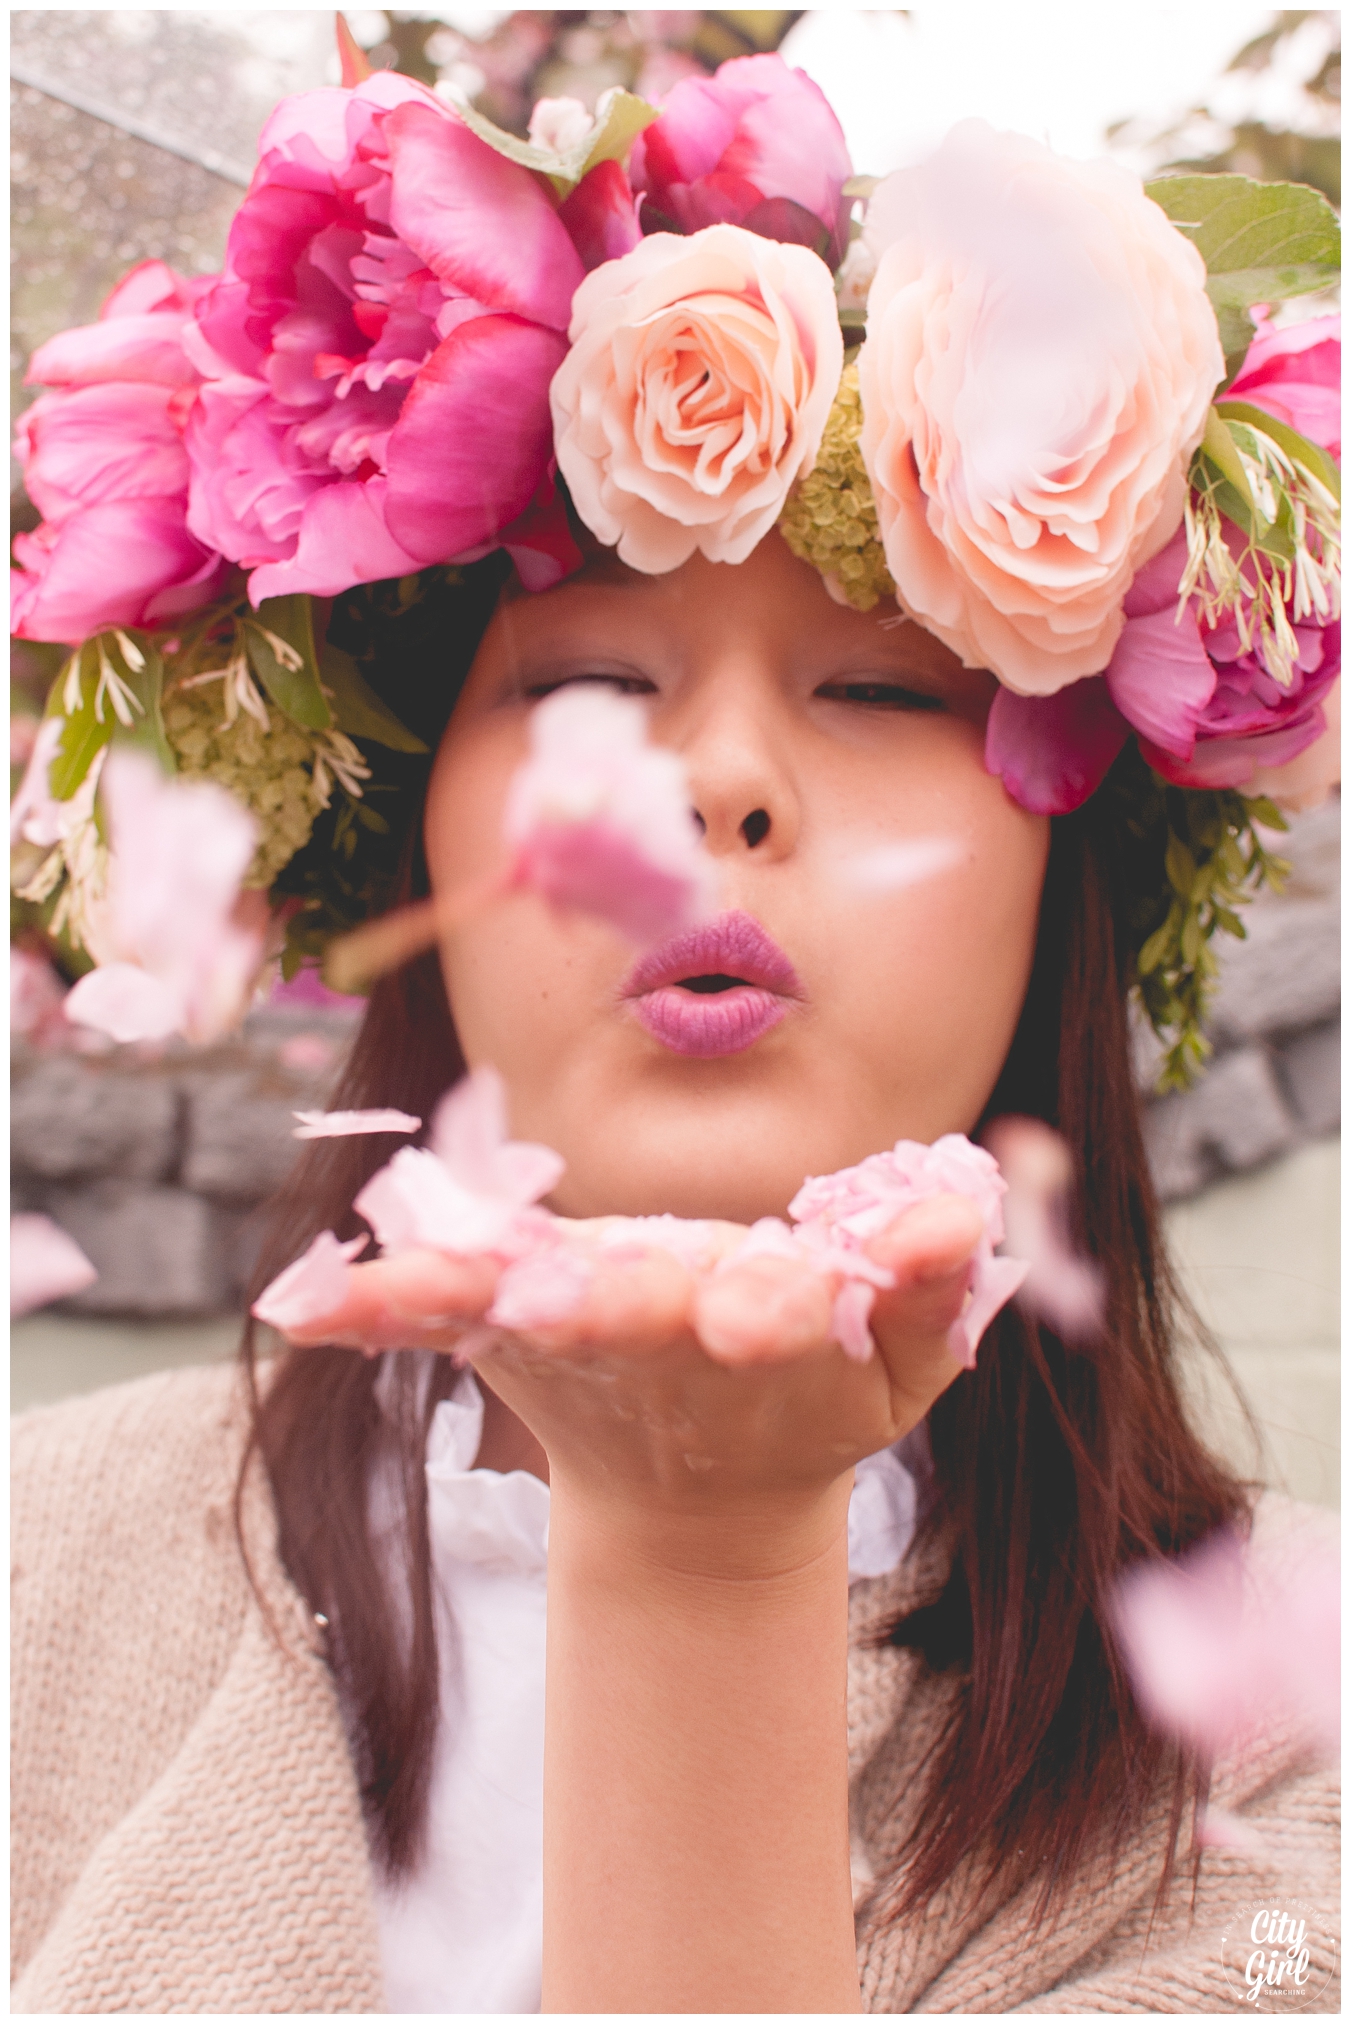
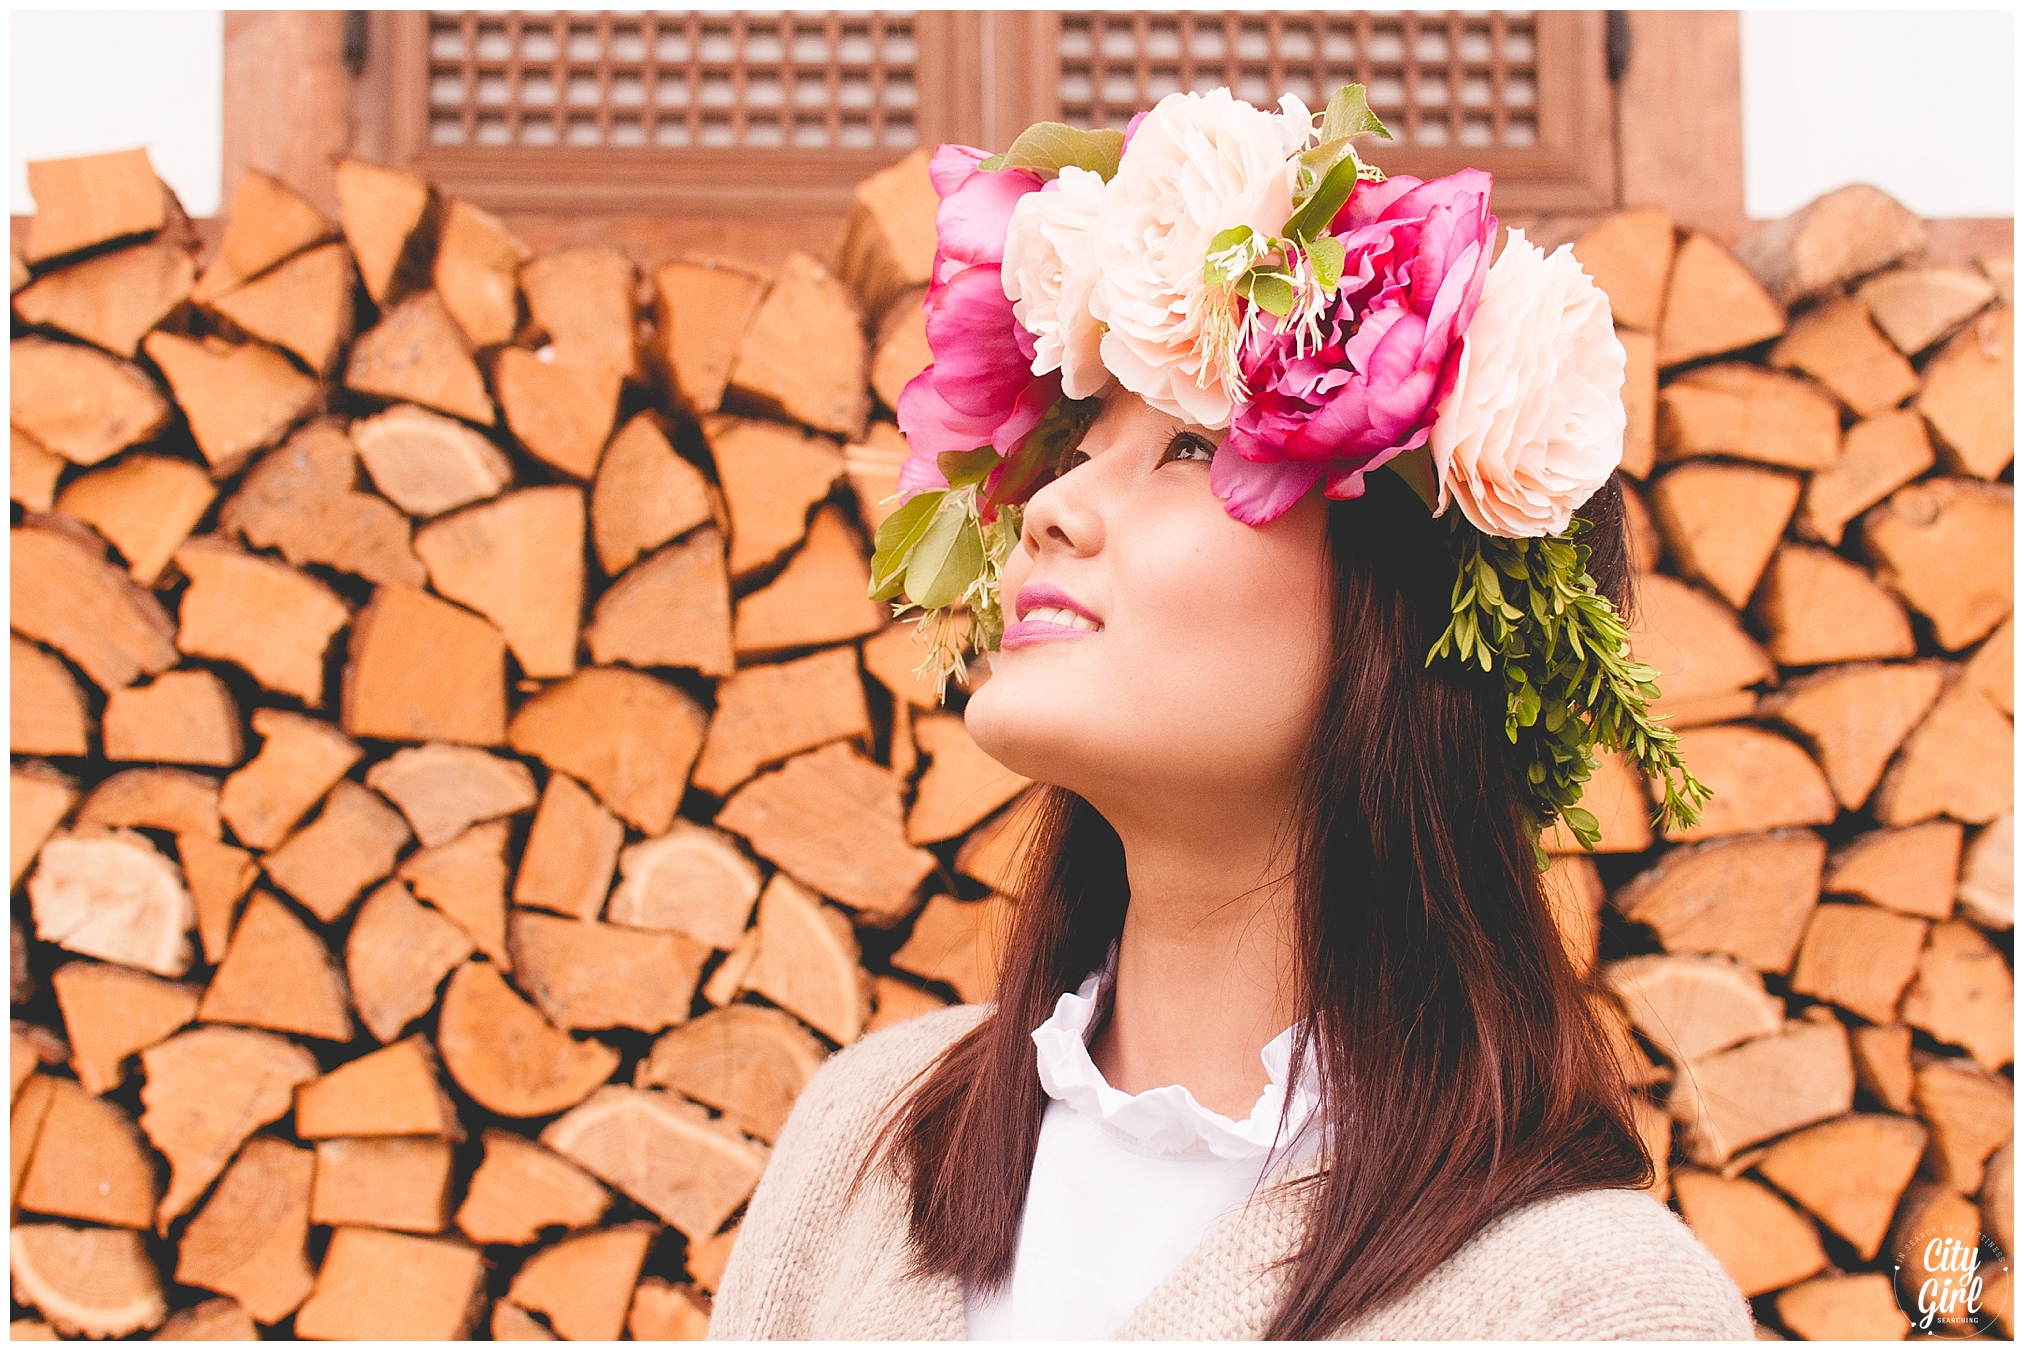
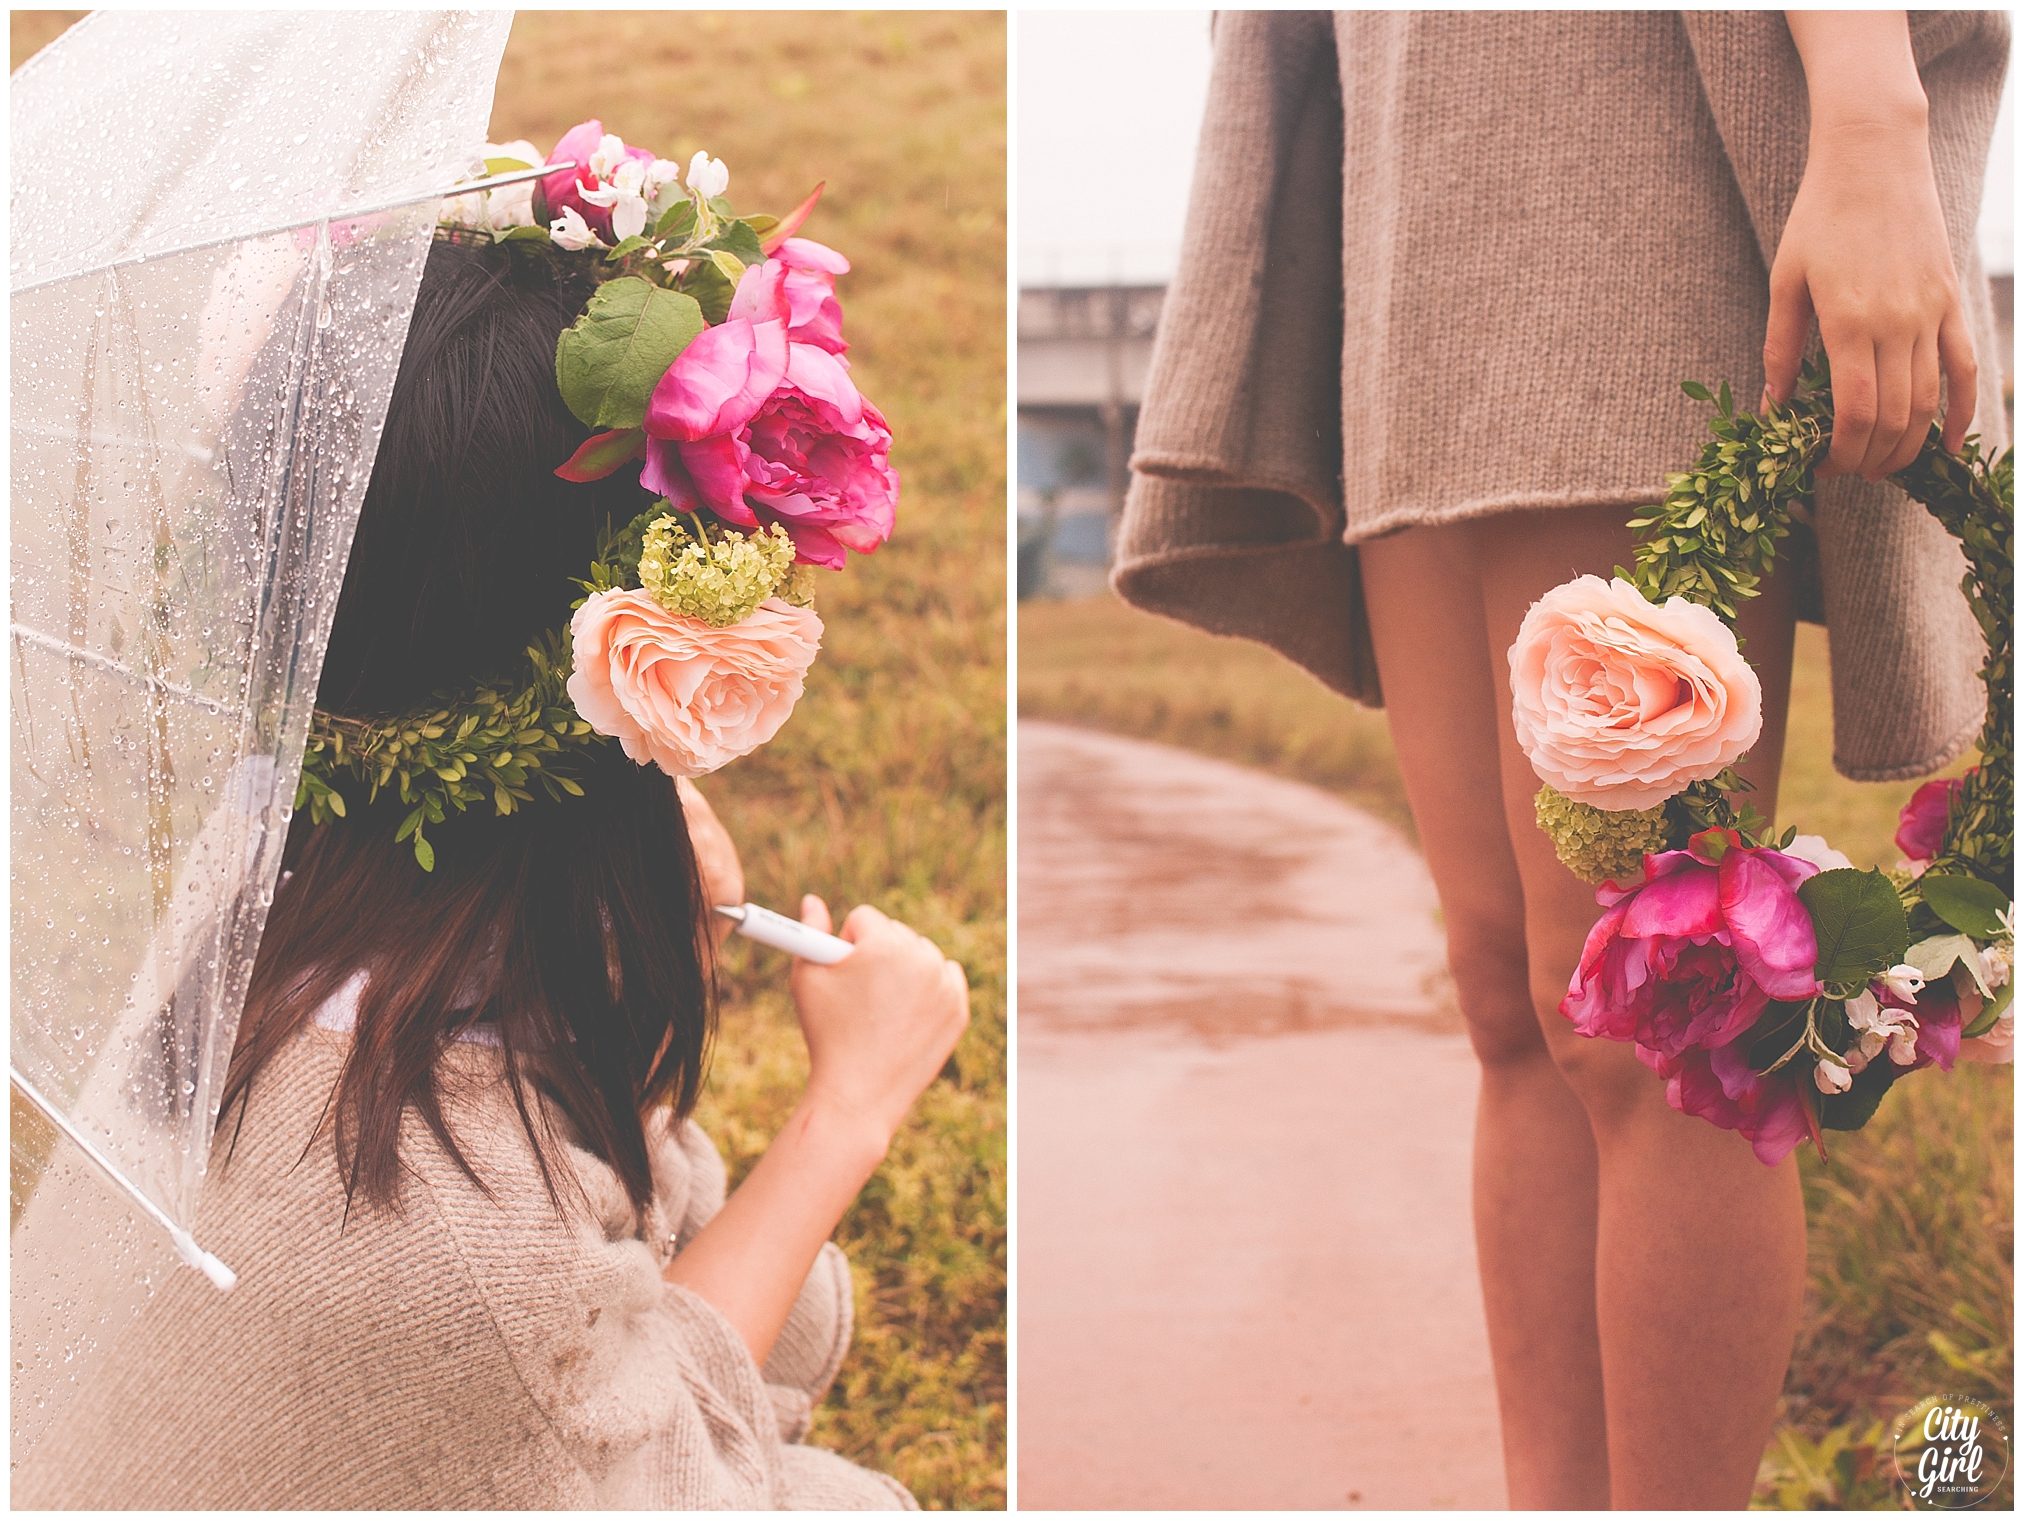
I want to say a huge thank you to our stylist, Storm. Storm is incredibly creative, she handmade the flower crown we used in these pictures (blog post to come on that soon!) and had to help me with an umbrella for not just me, but for Heejoung too. Watching her holding two umbrellas, touch up lipstick, scout out new photo opportunities all in the pouring rain, was hilarious. Thank you Storm, I couldn't have done any of it without you and your ideas.

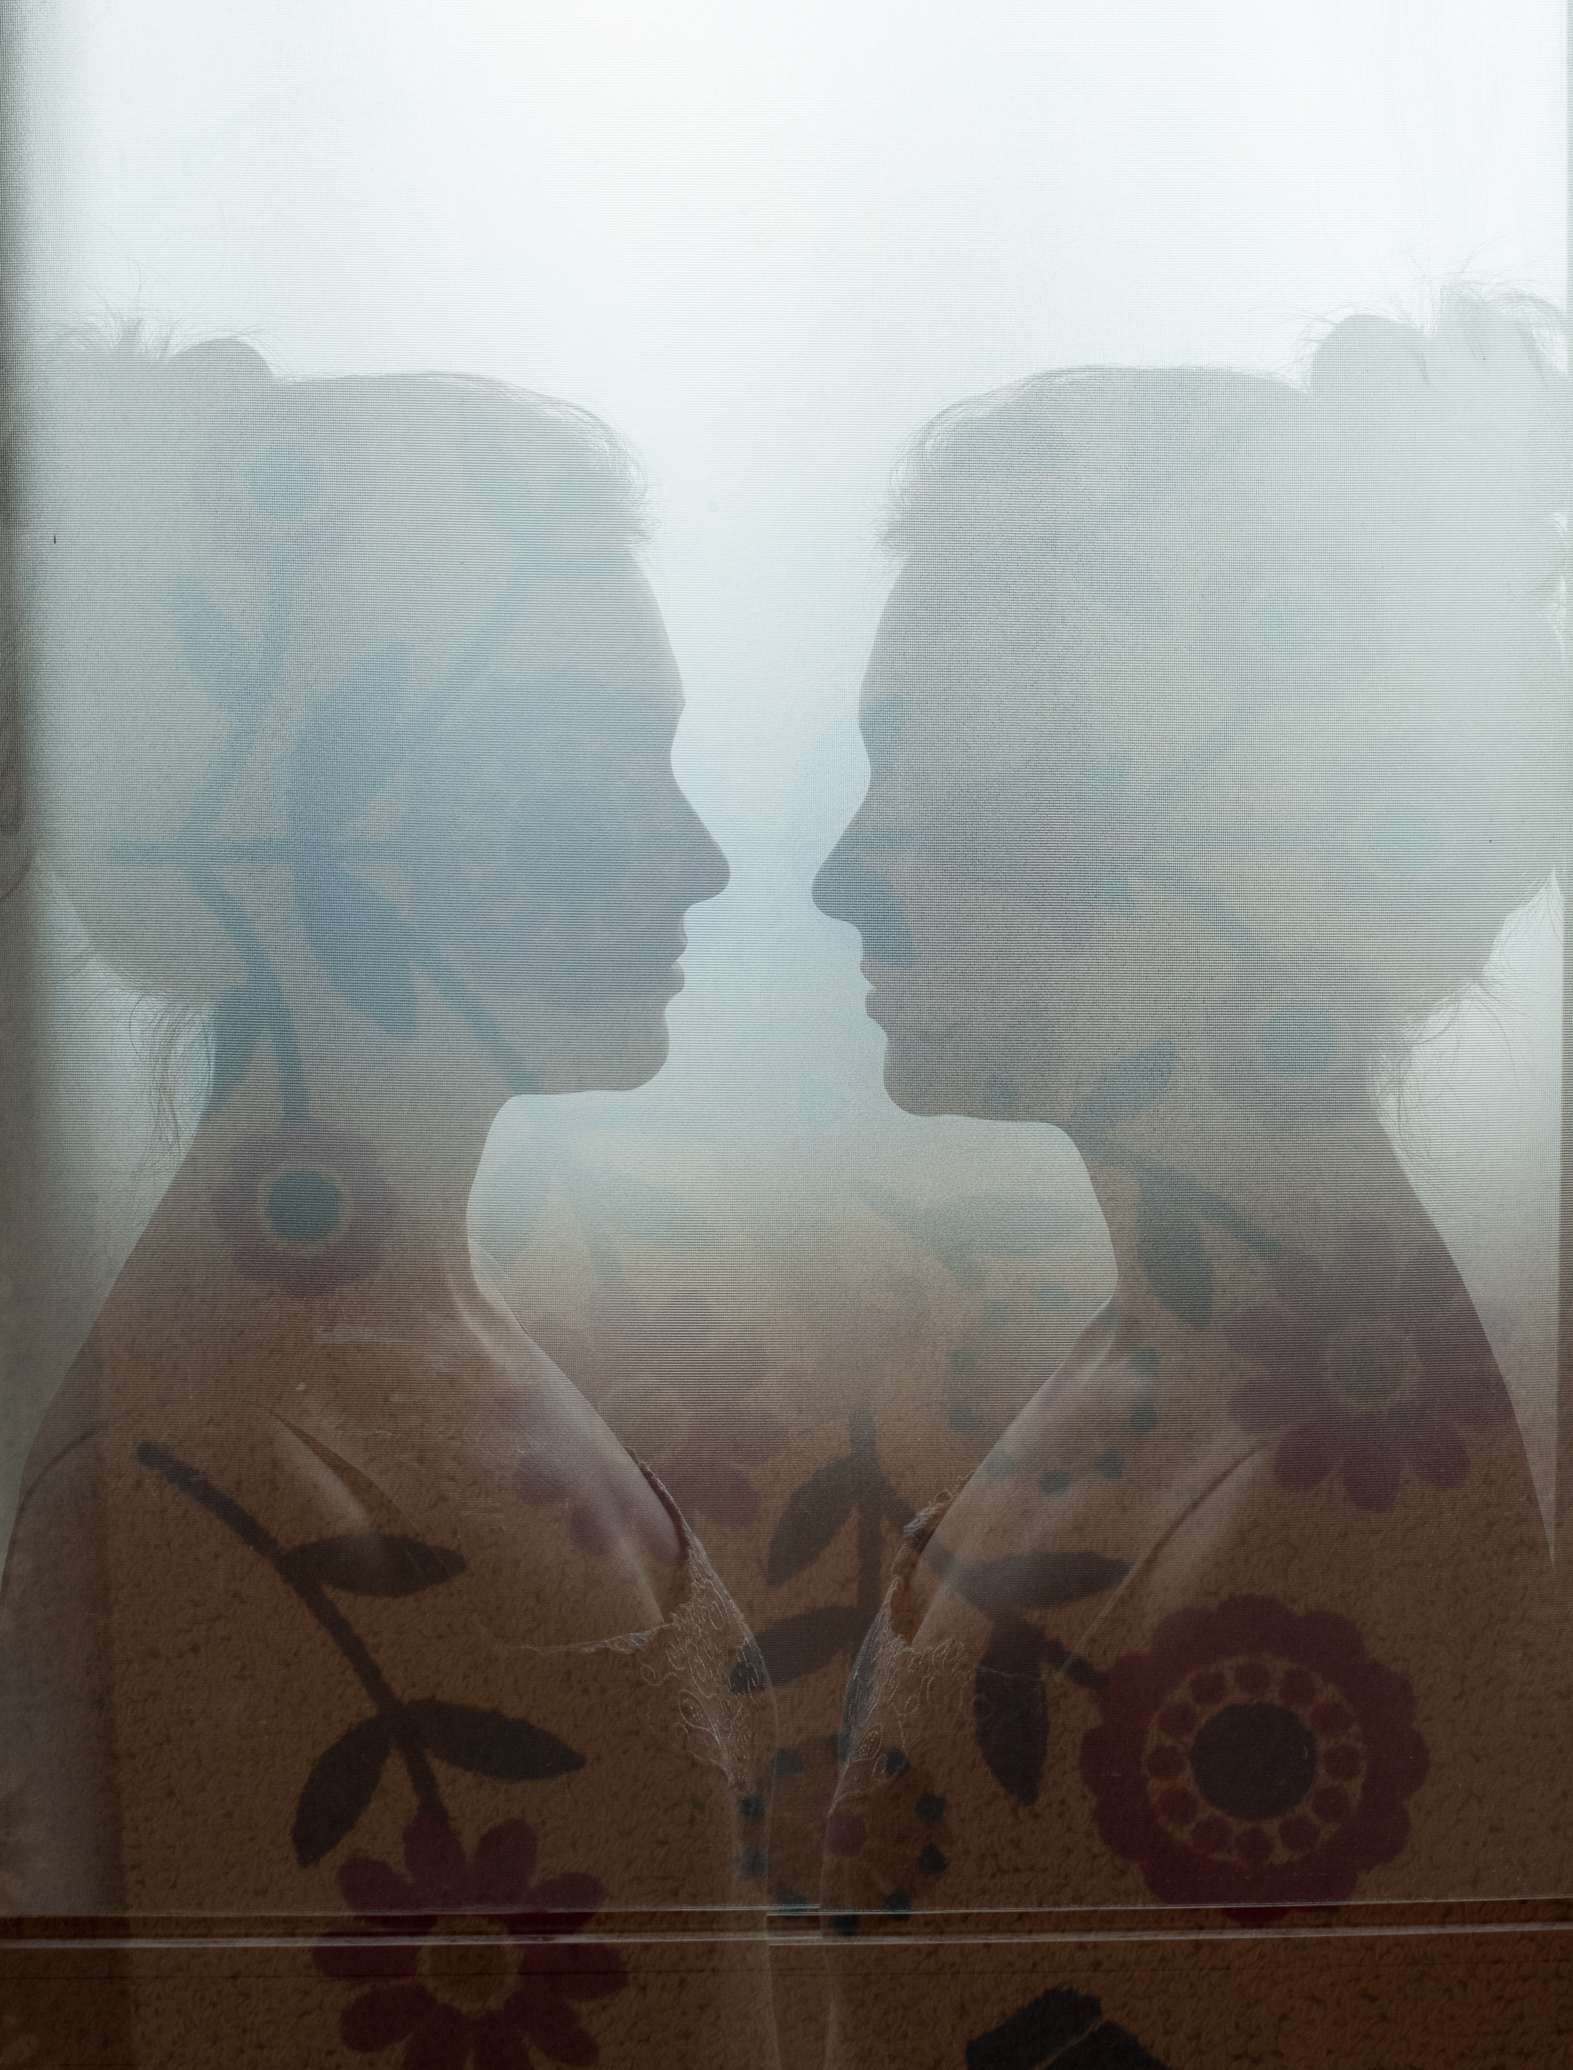
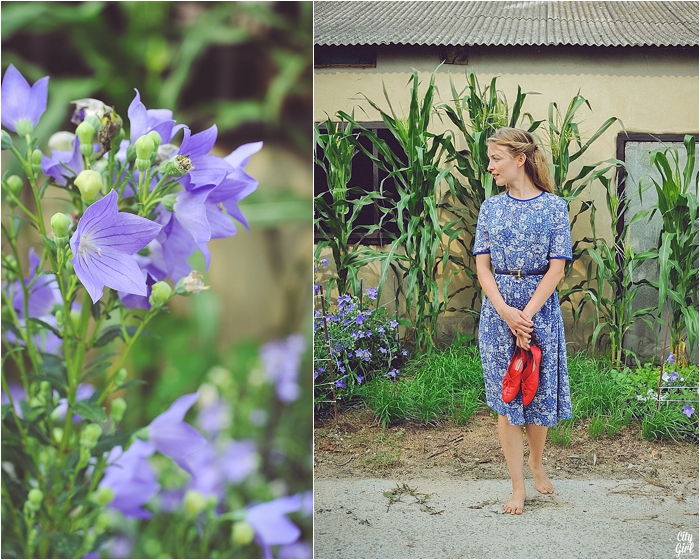
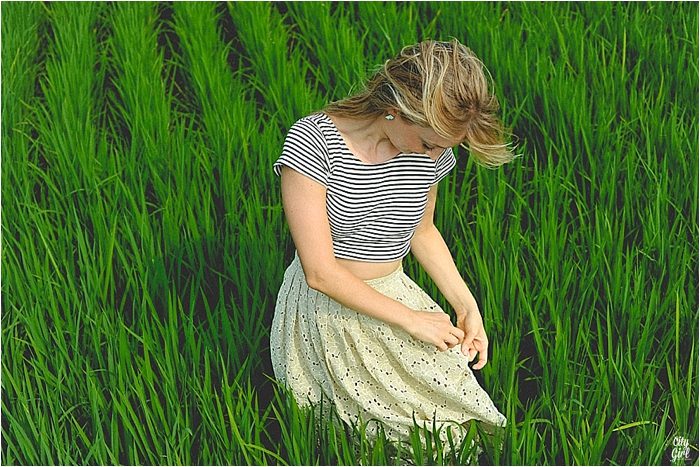
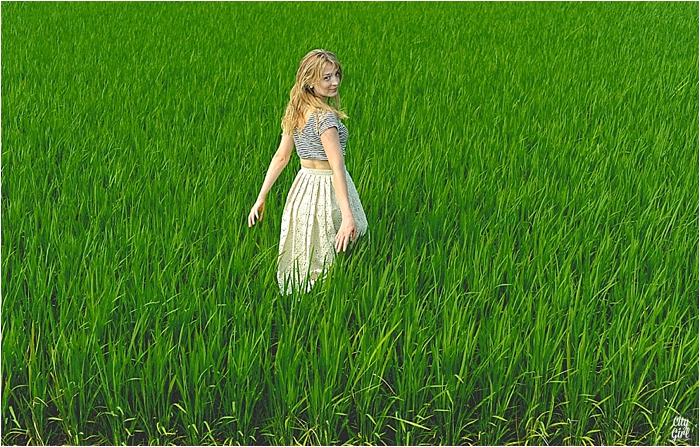
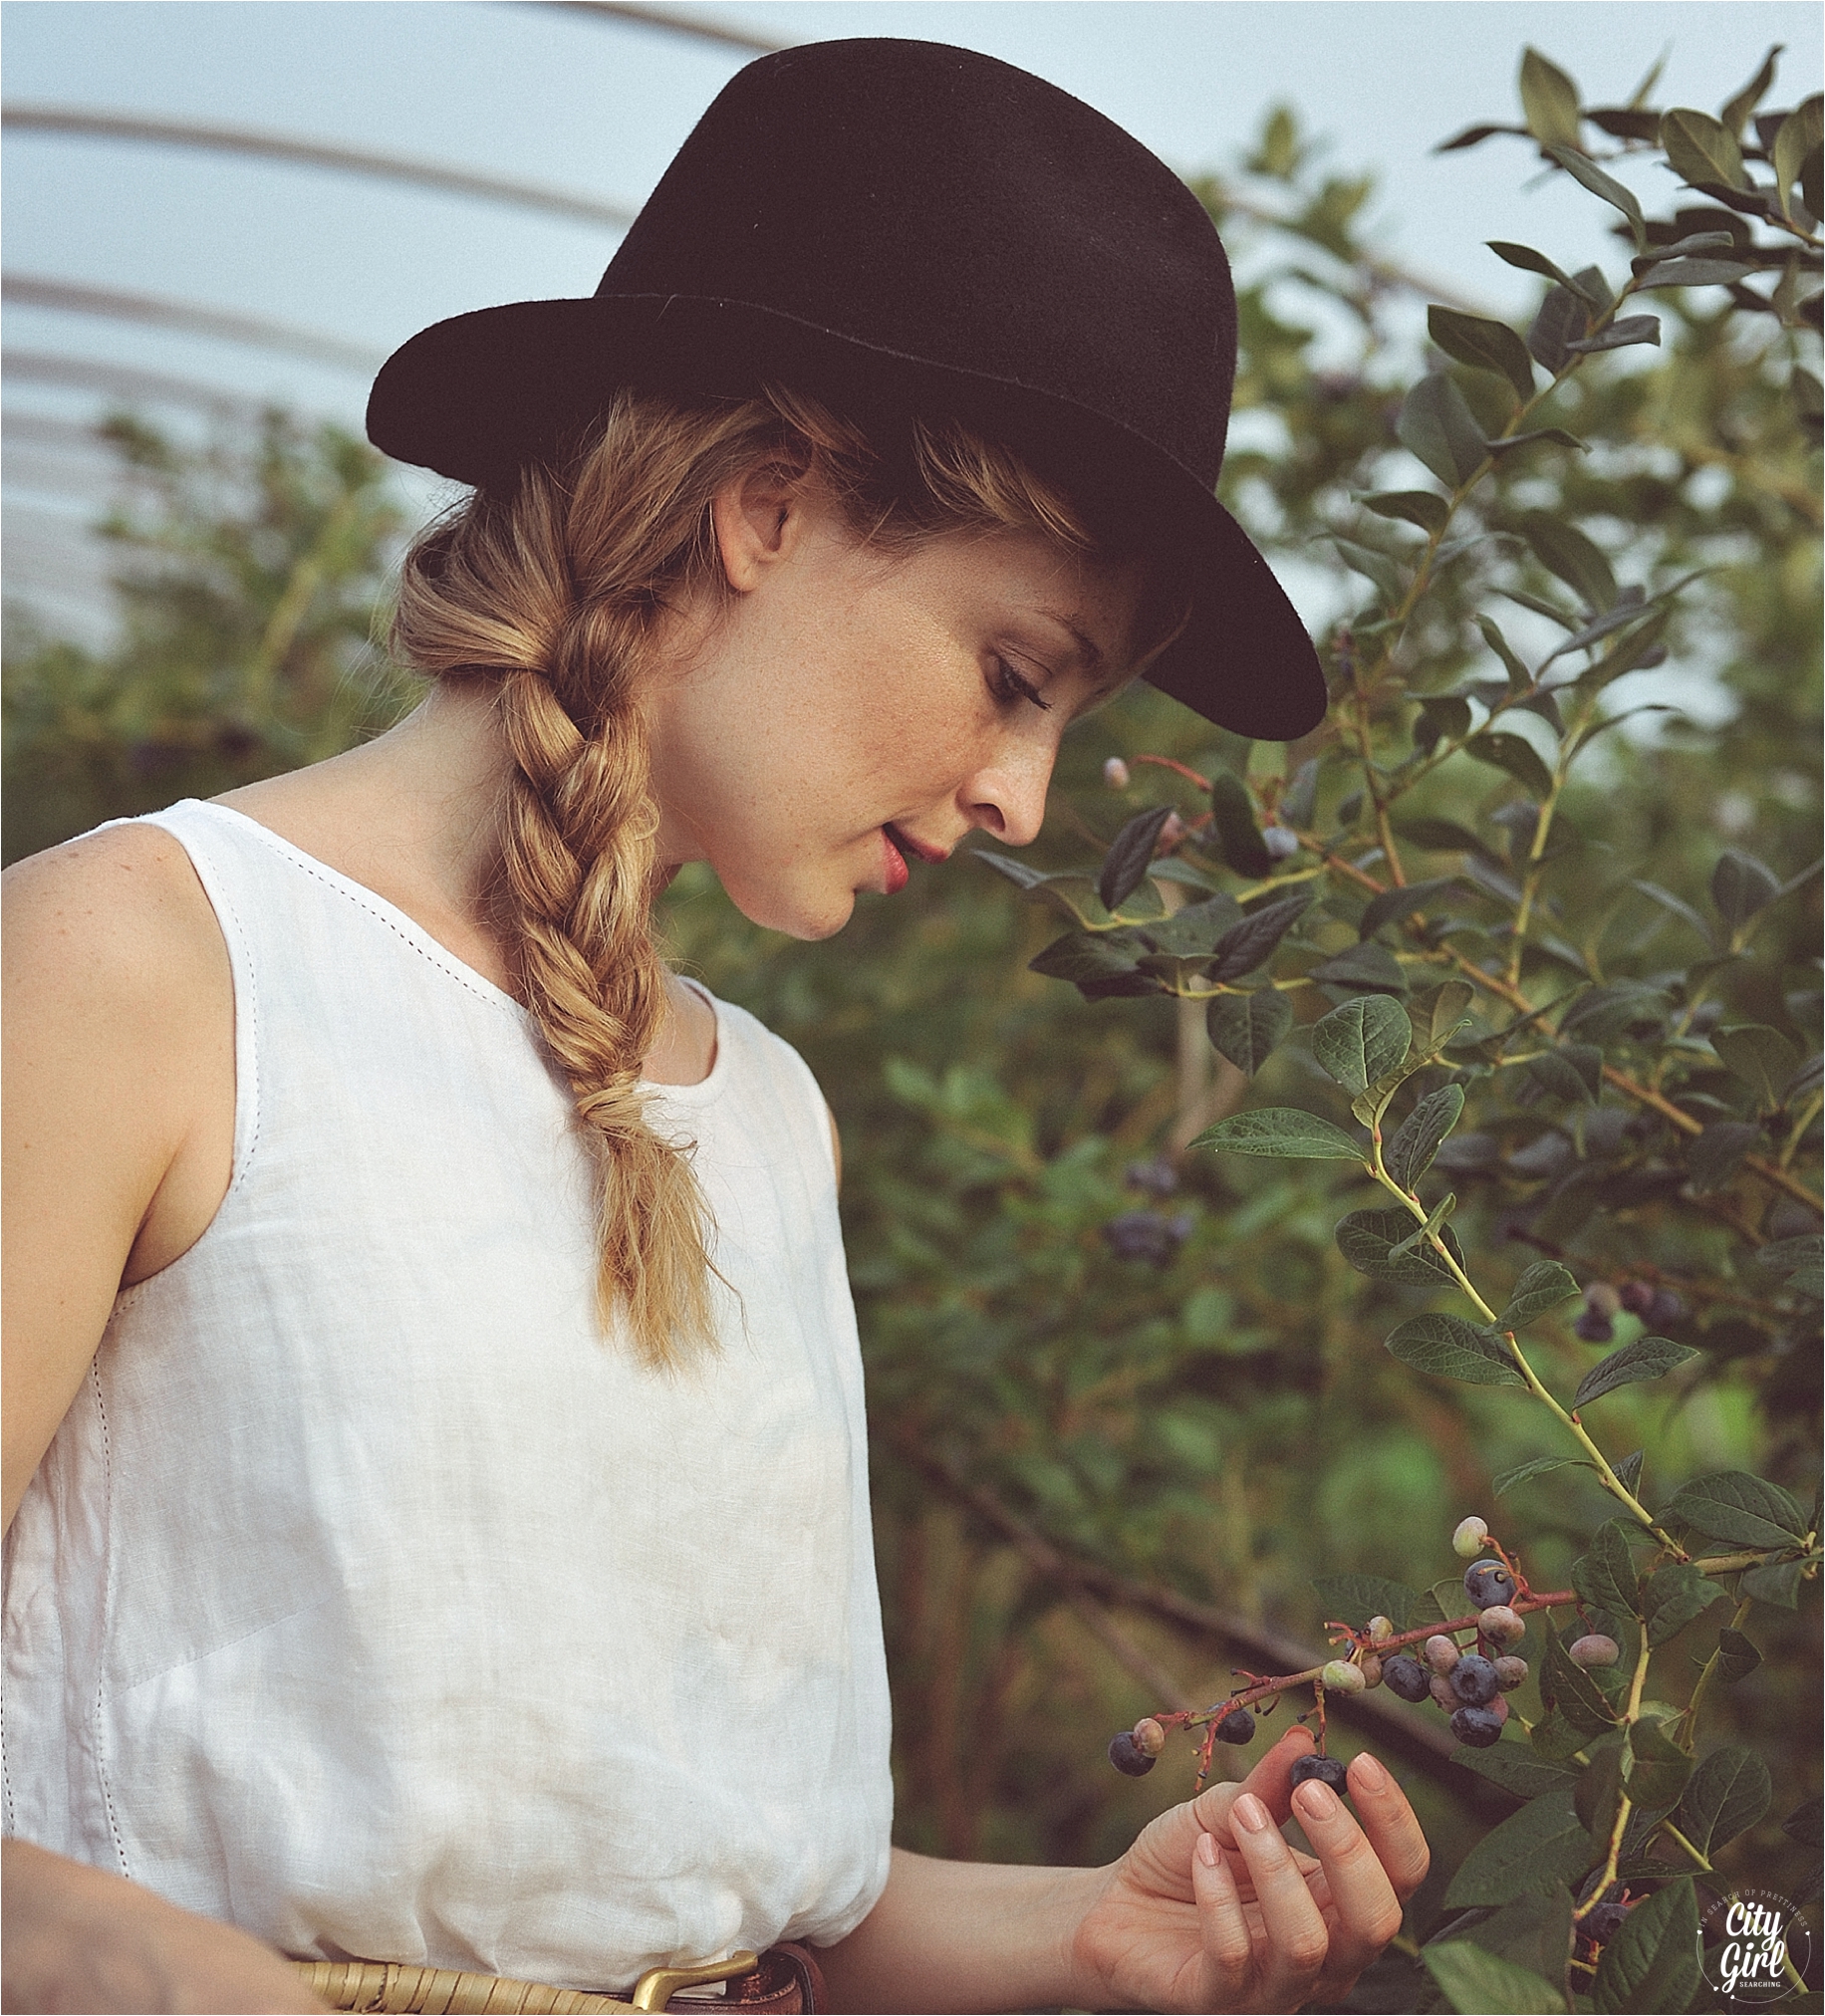
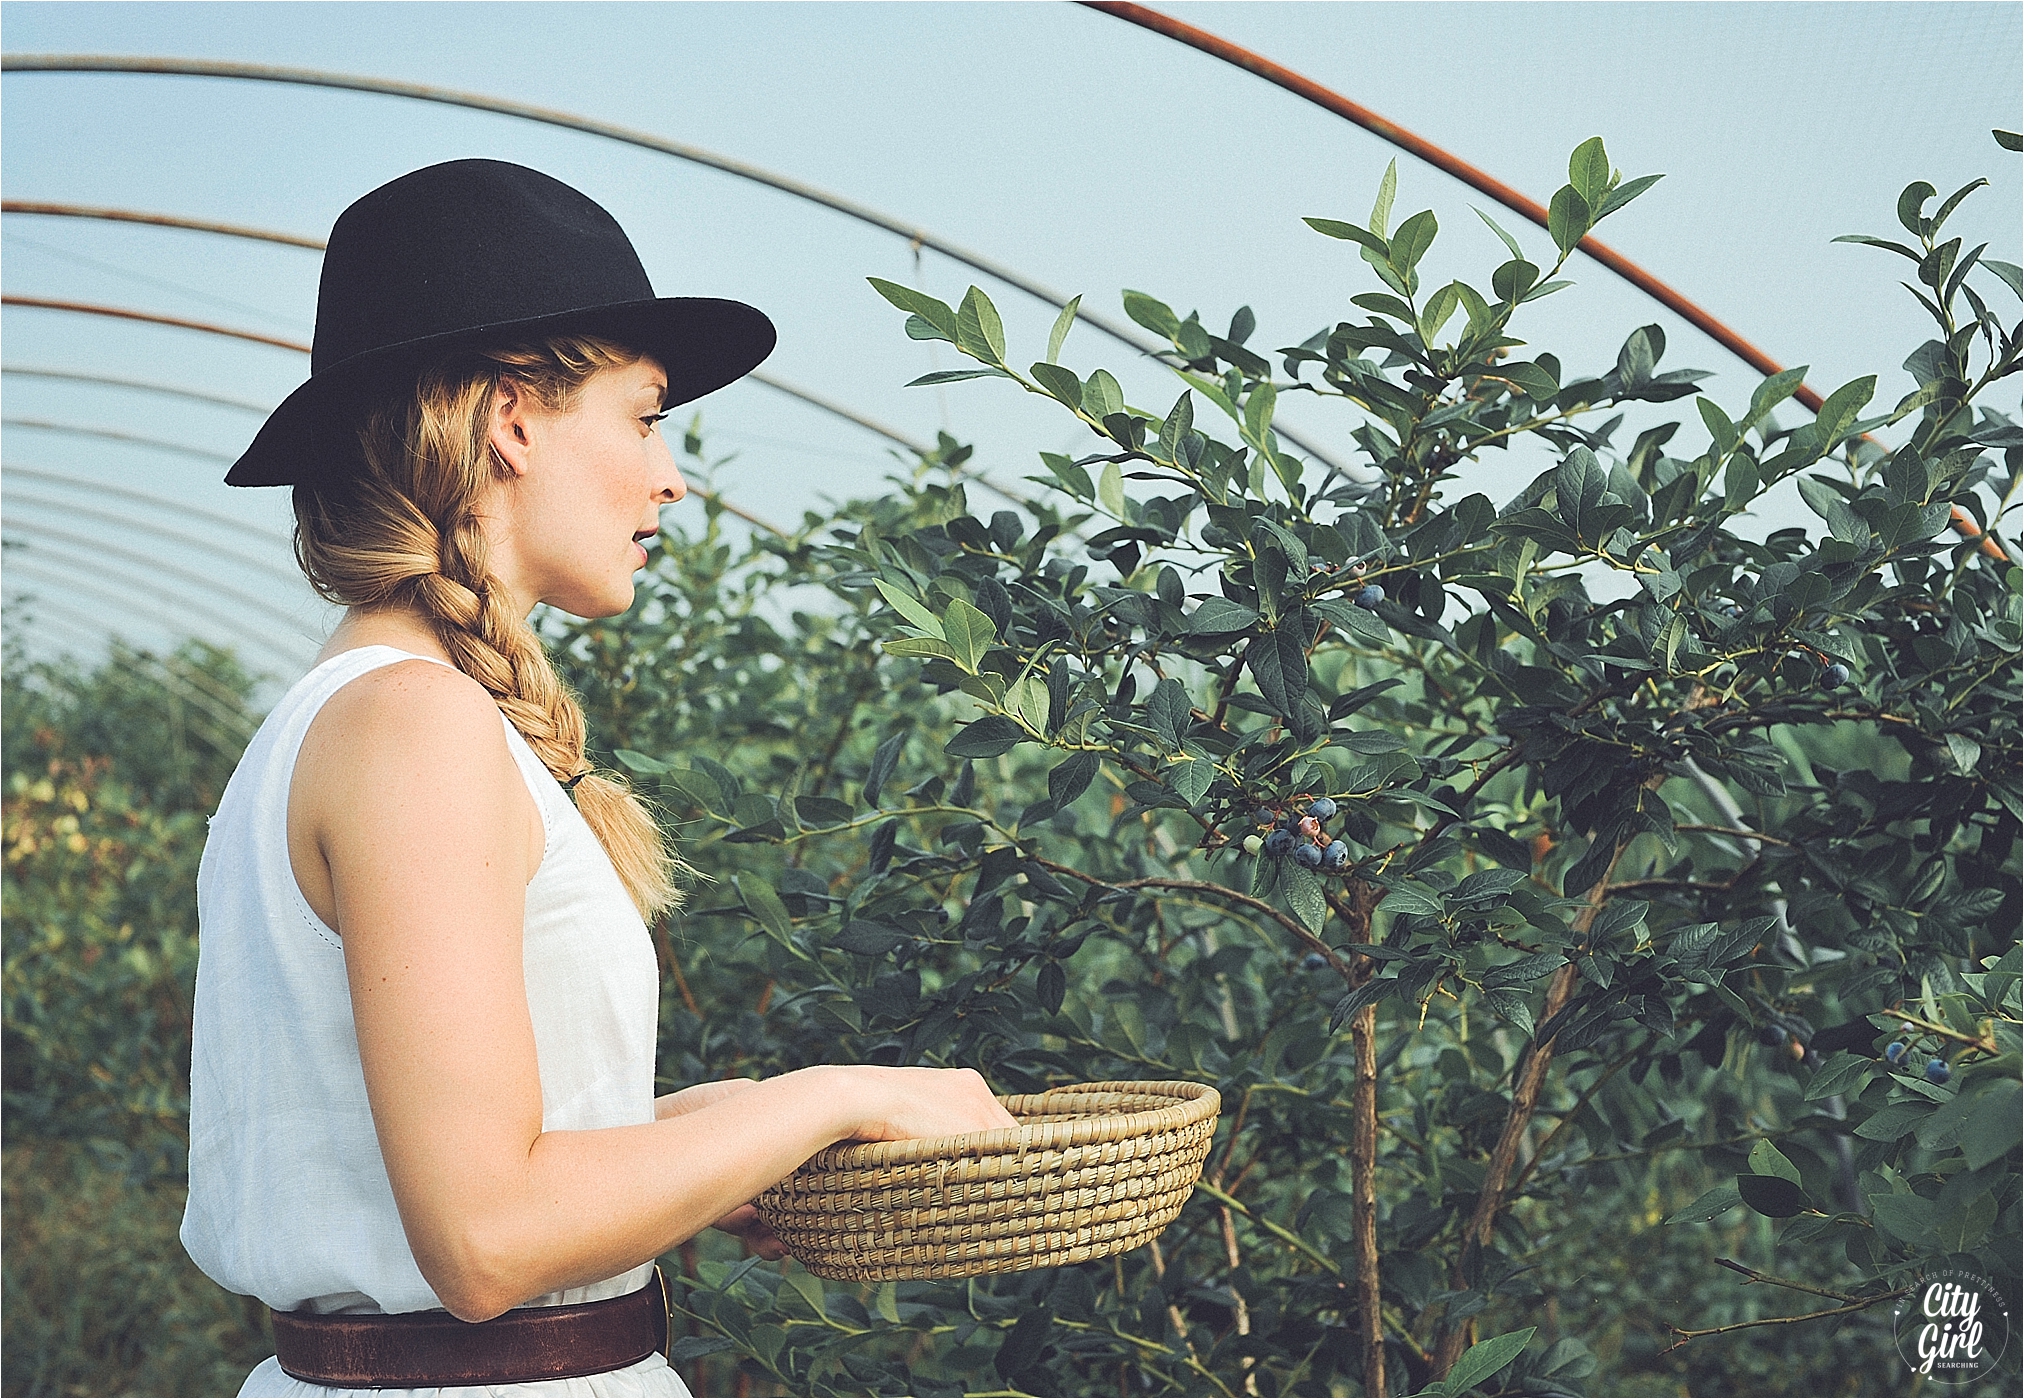
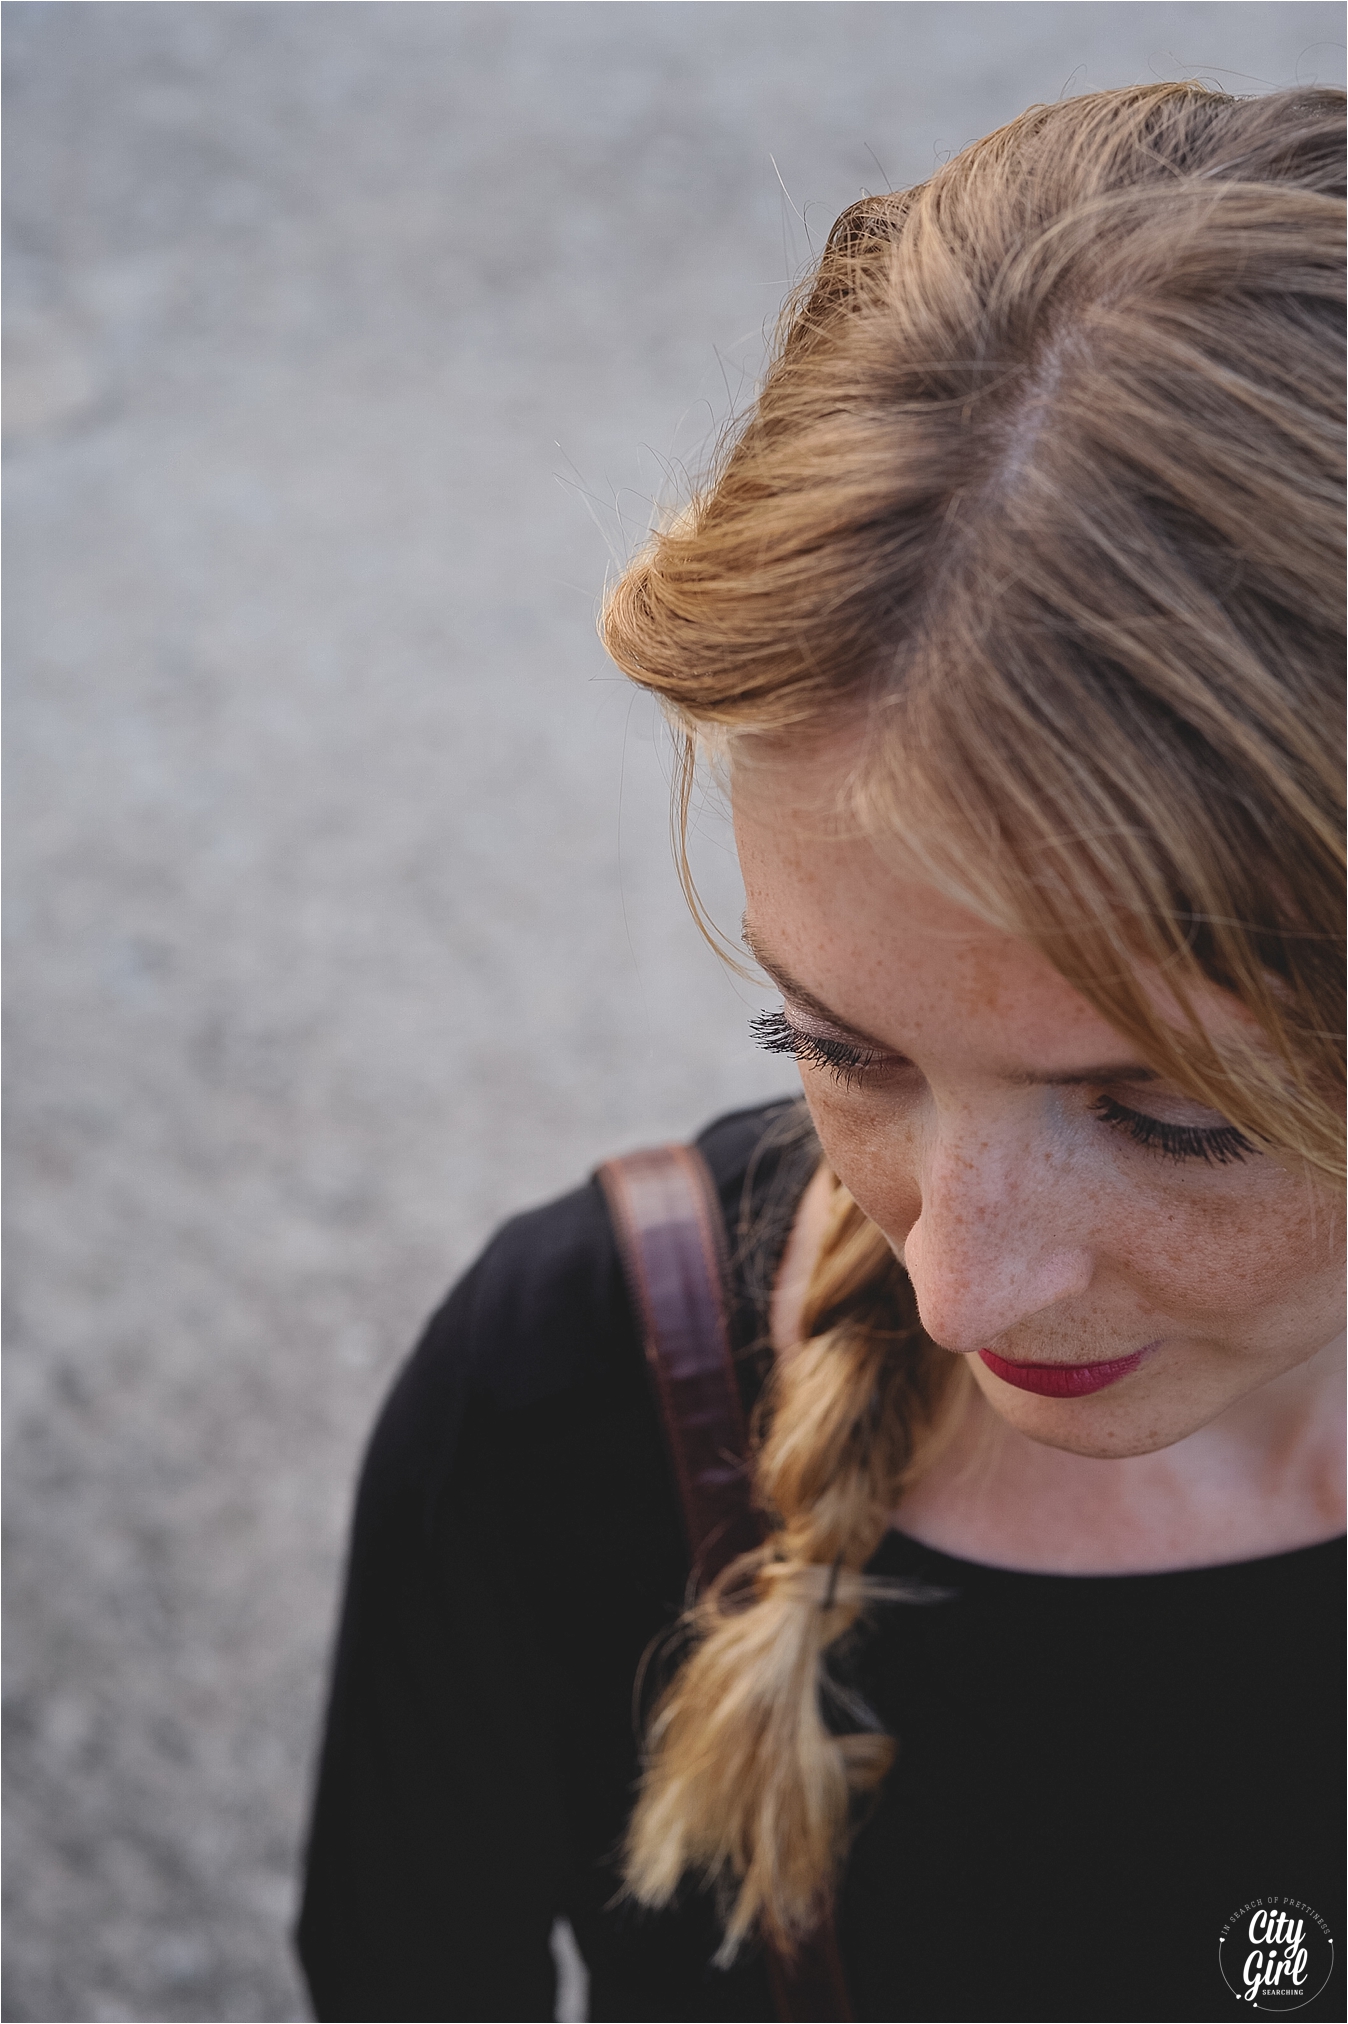
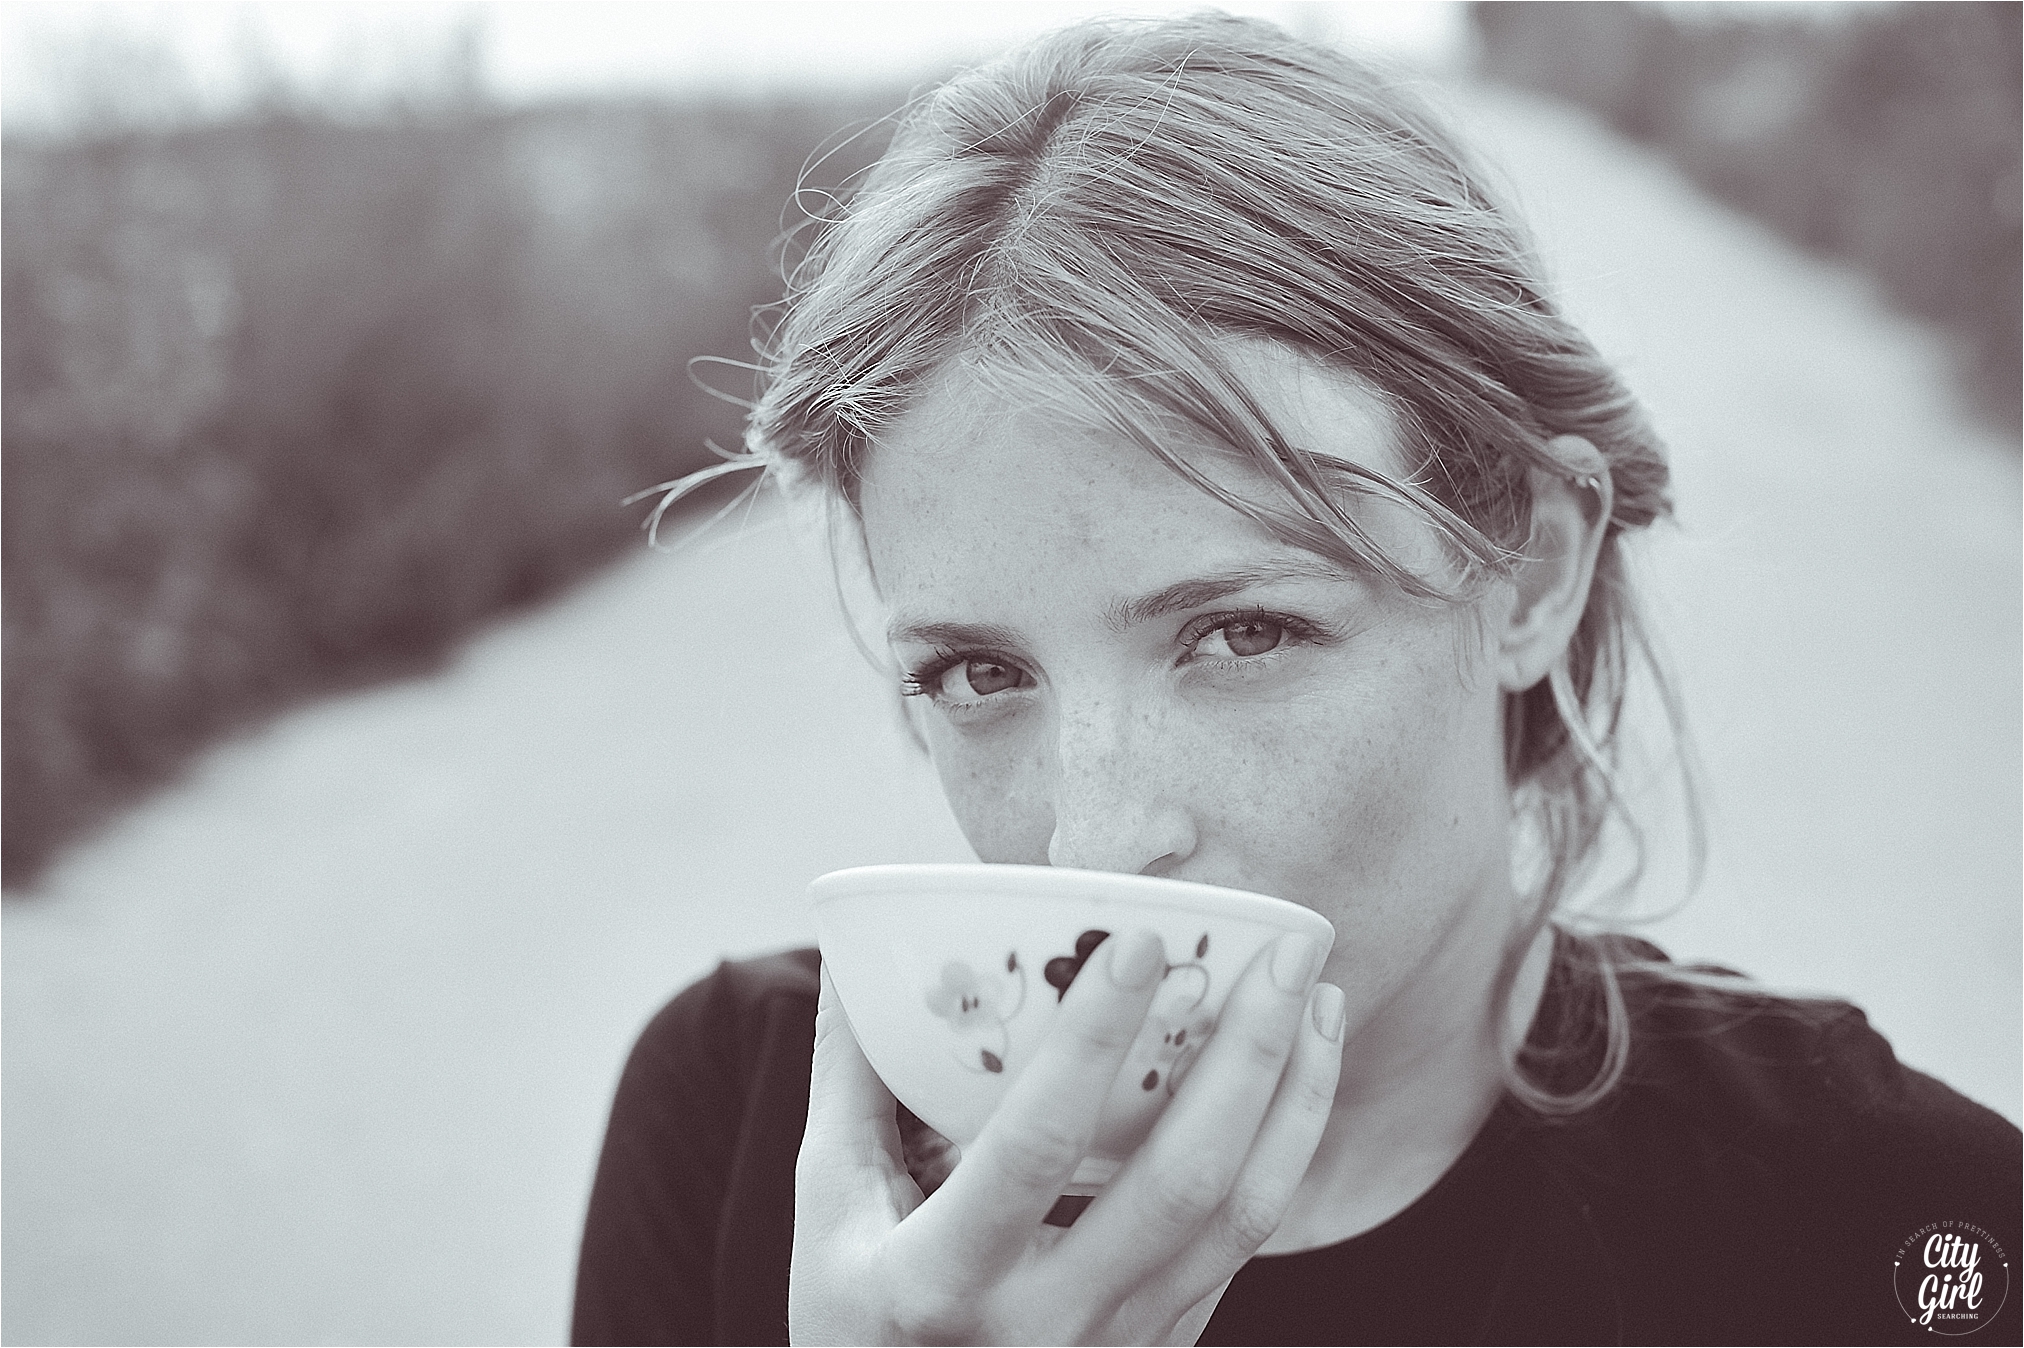
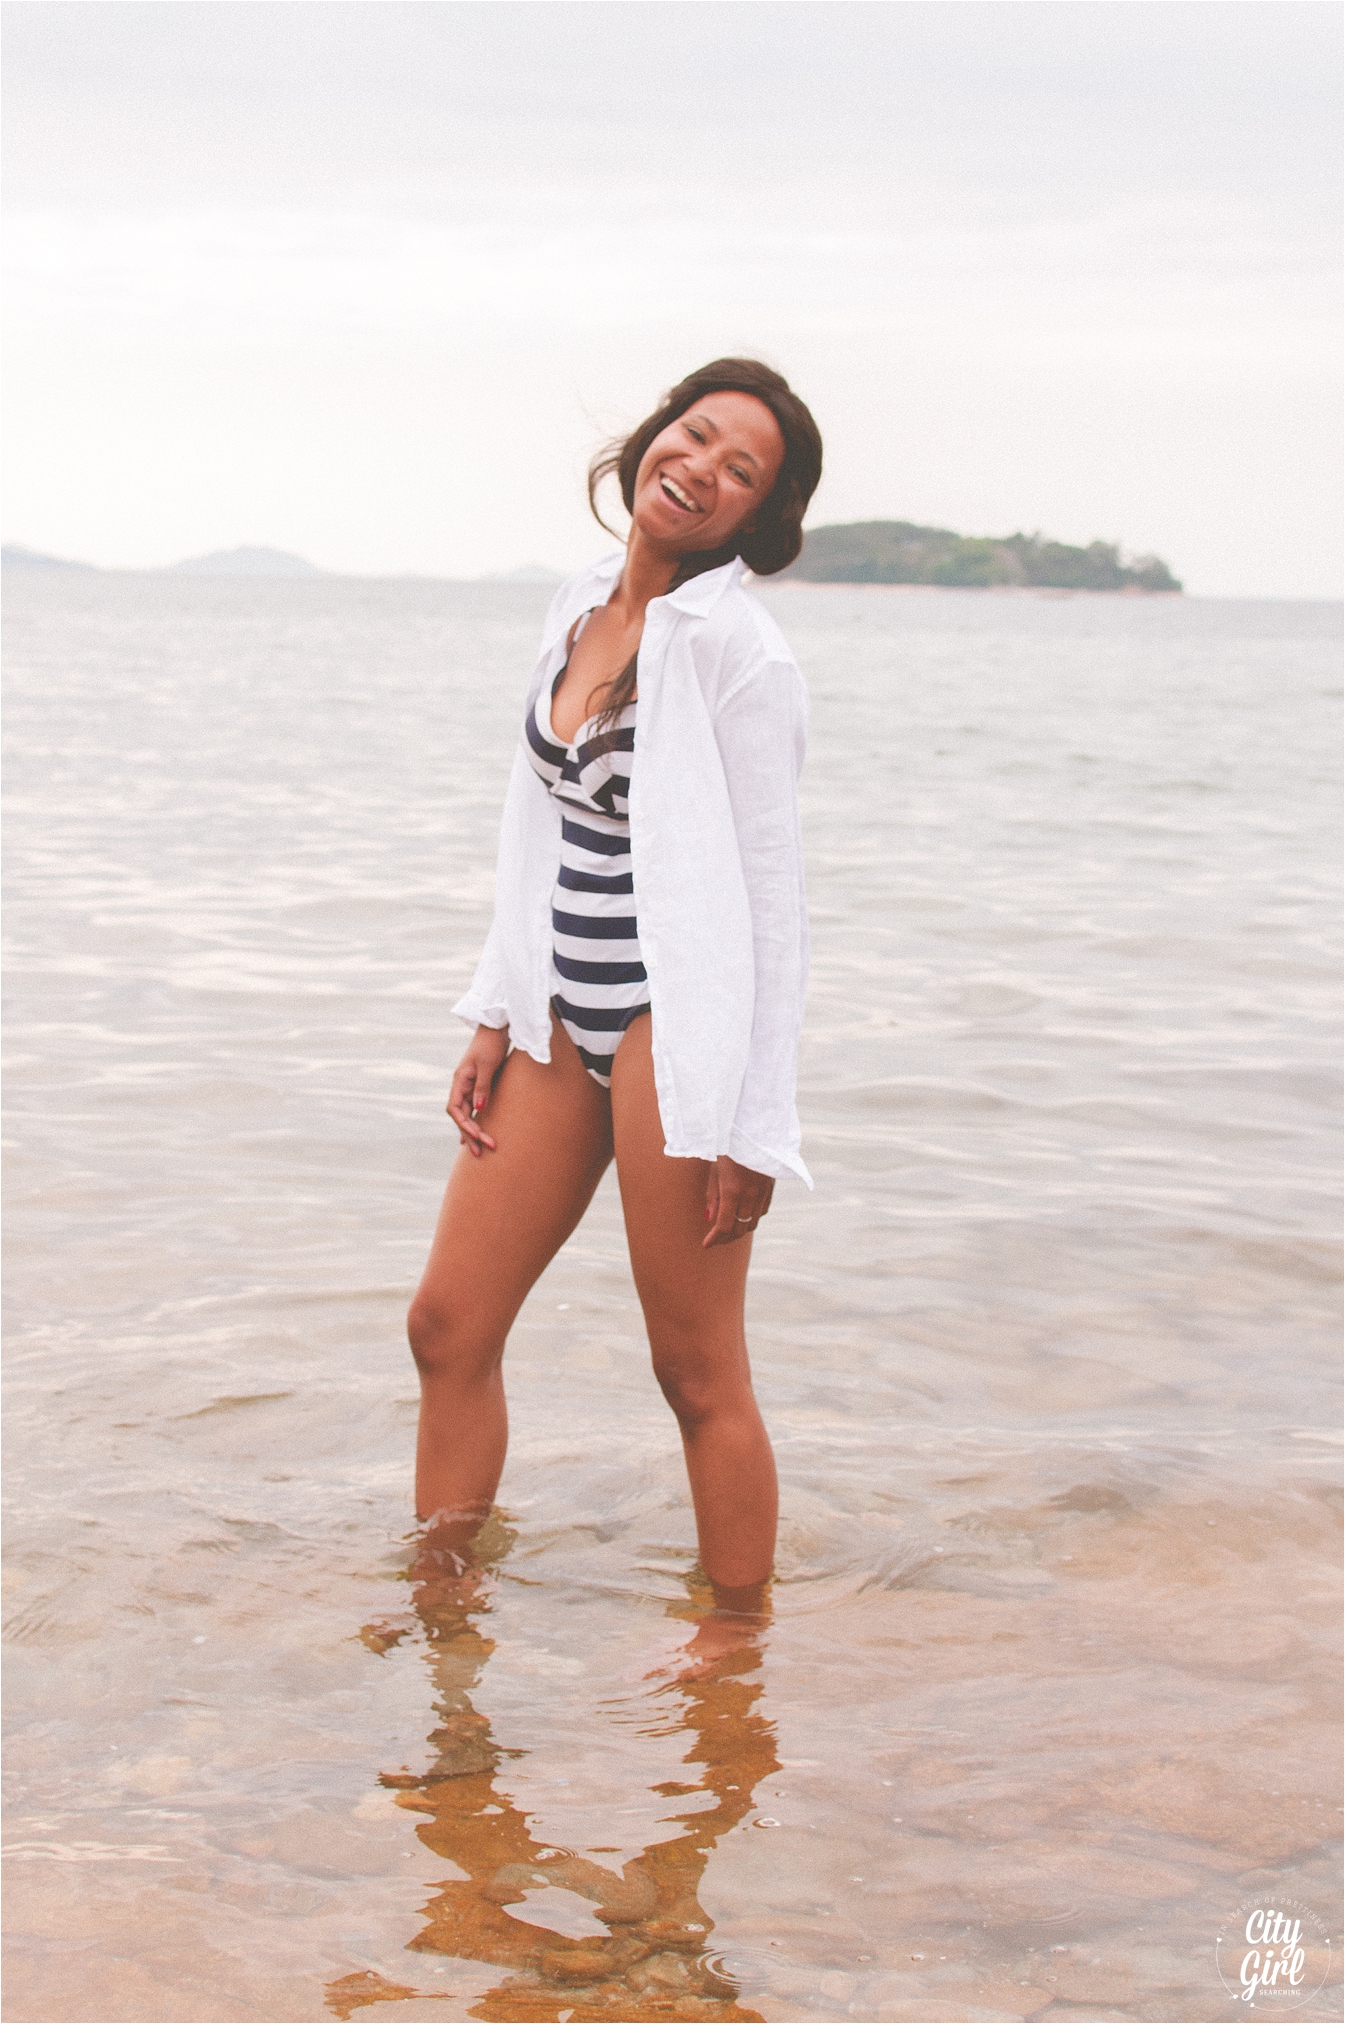
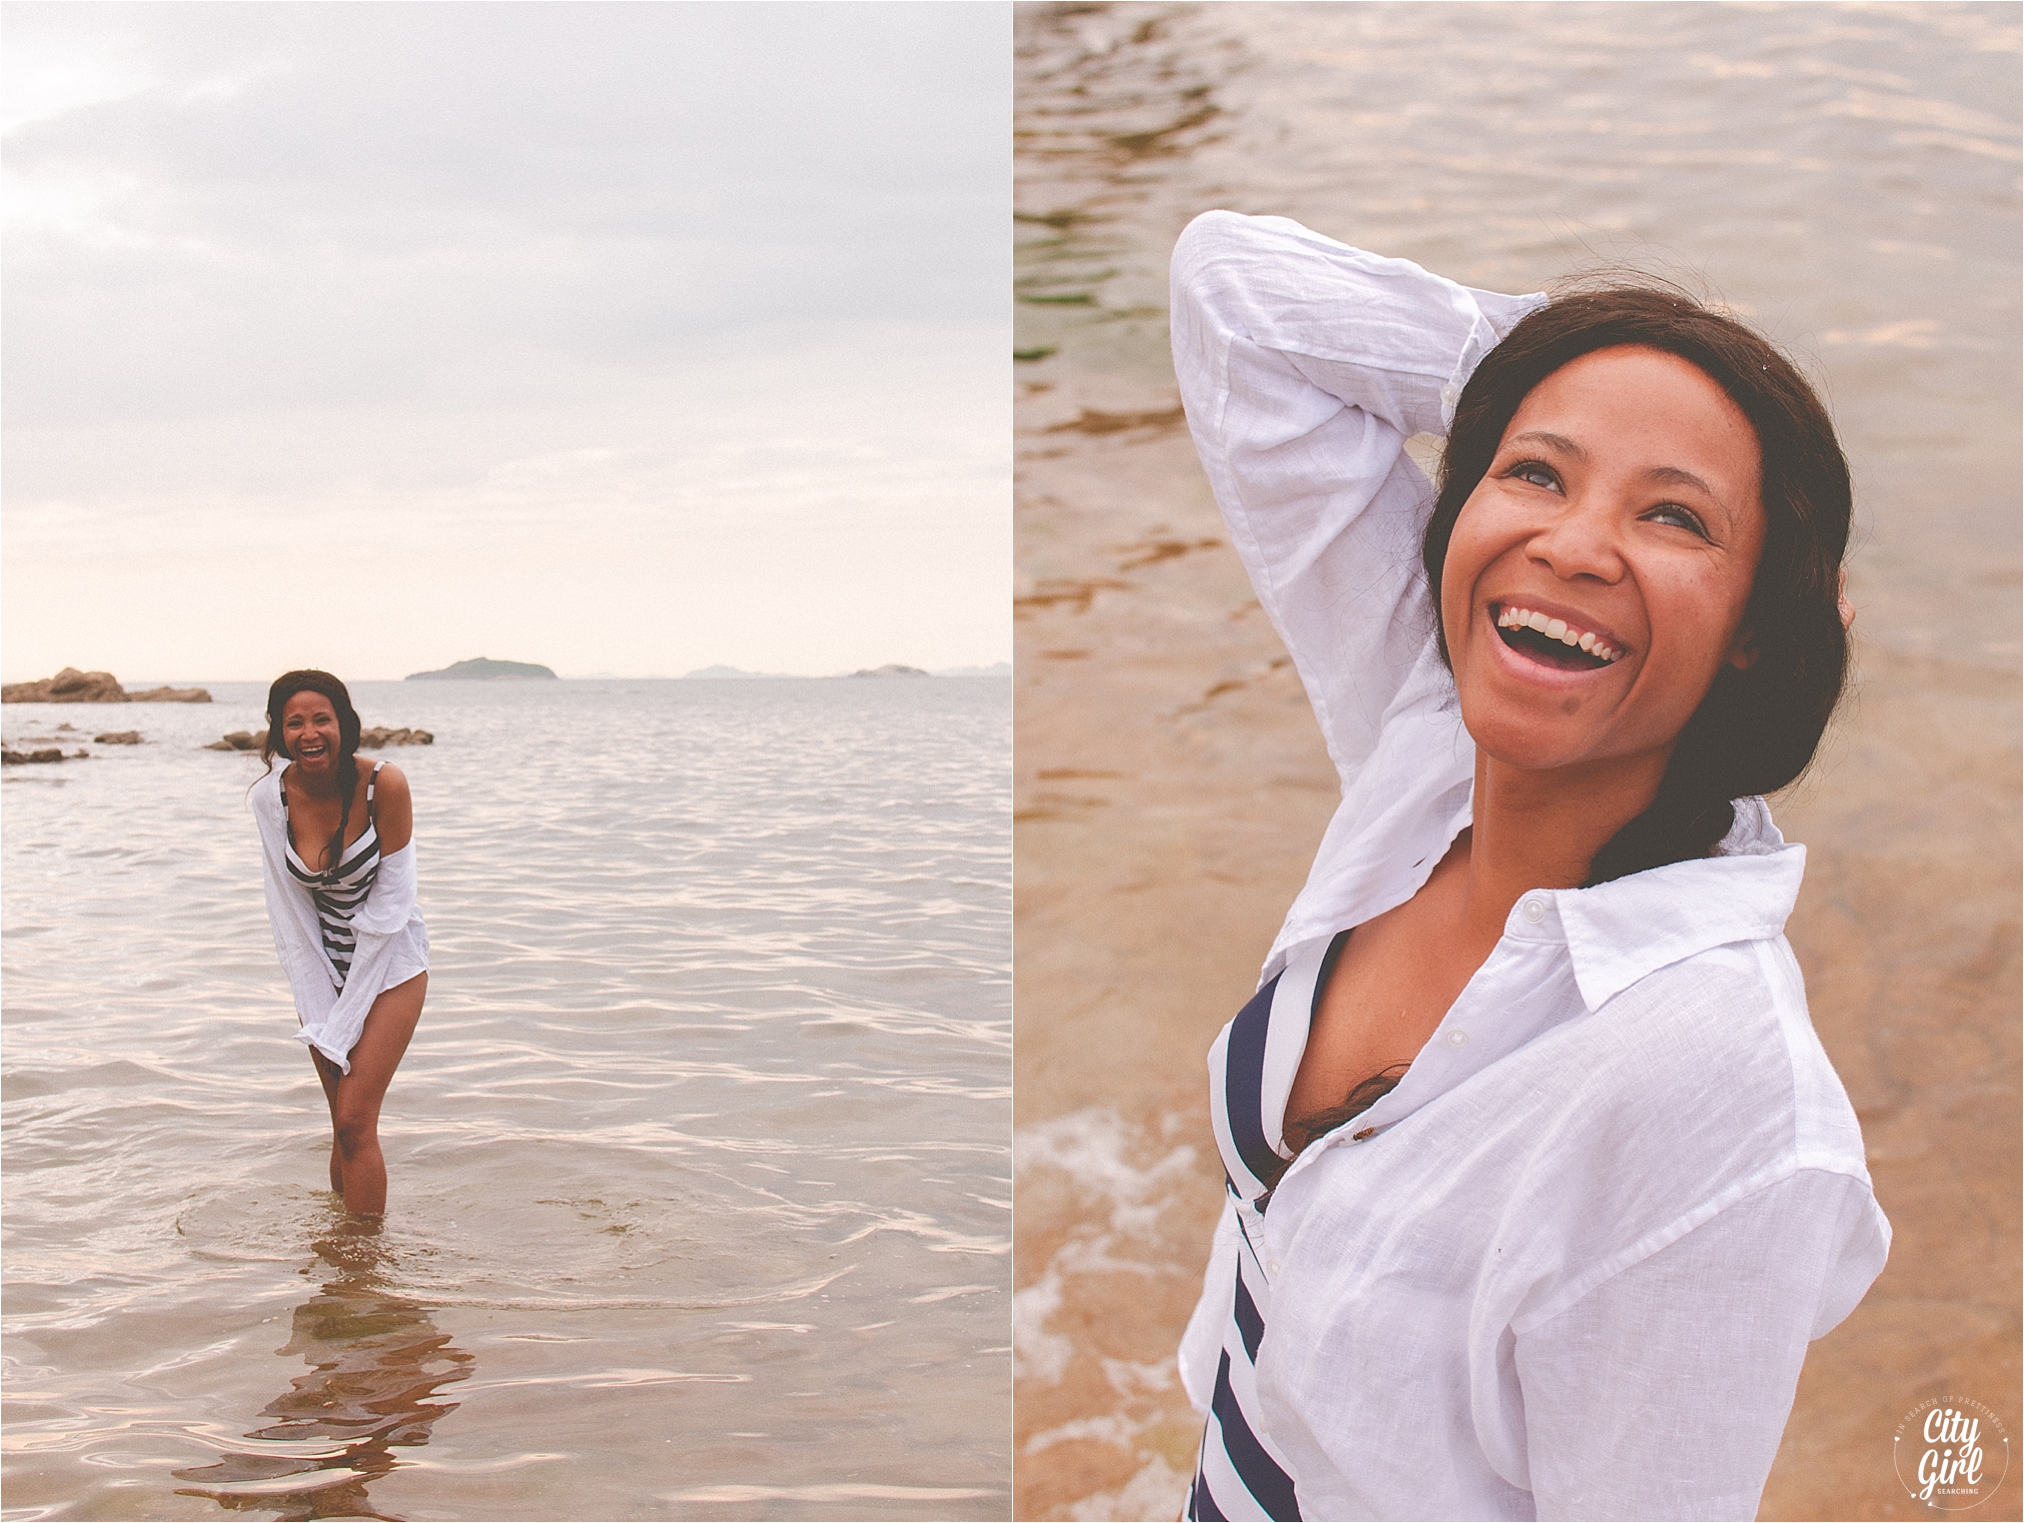
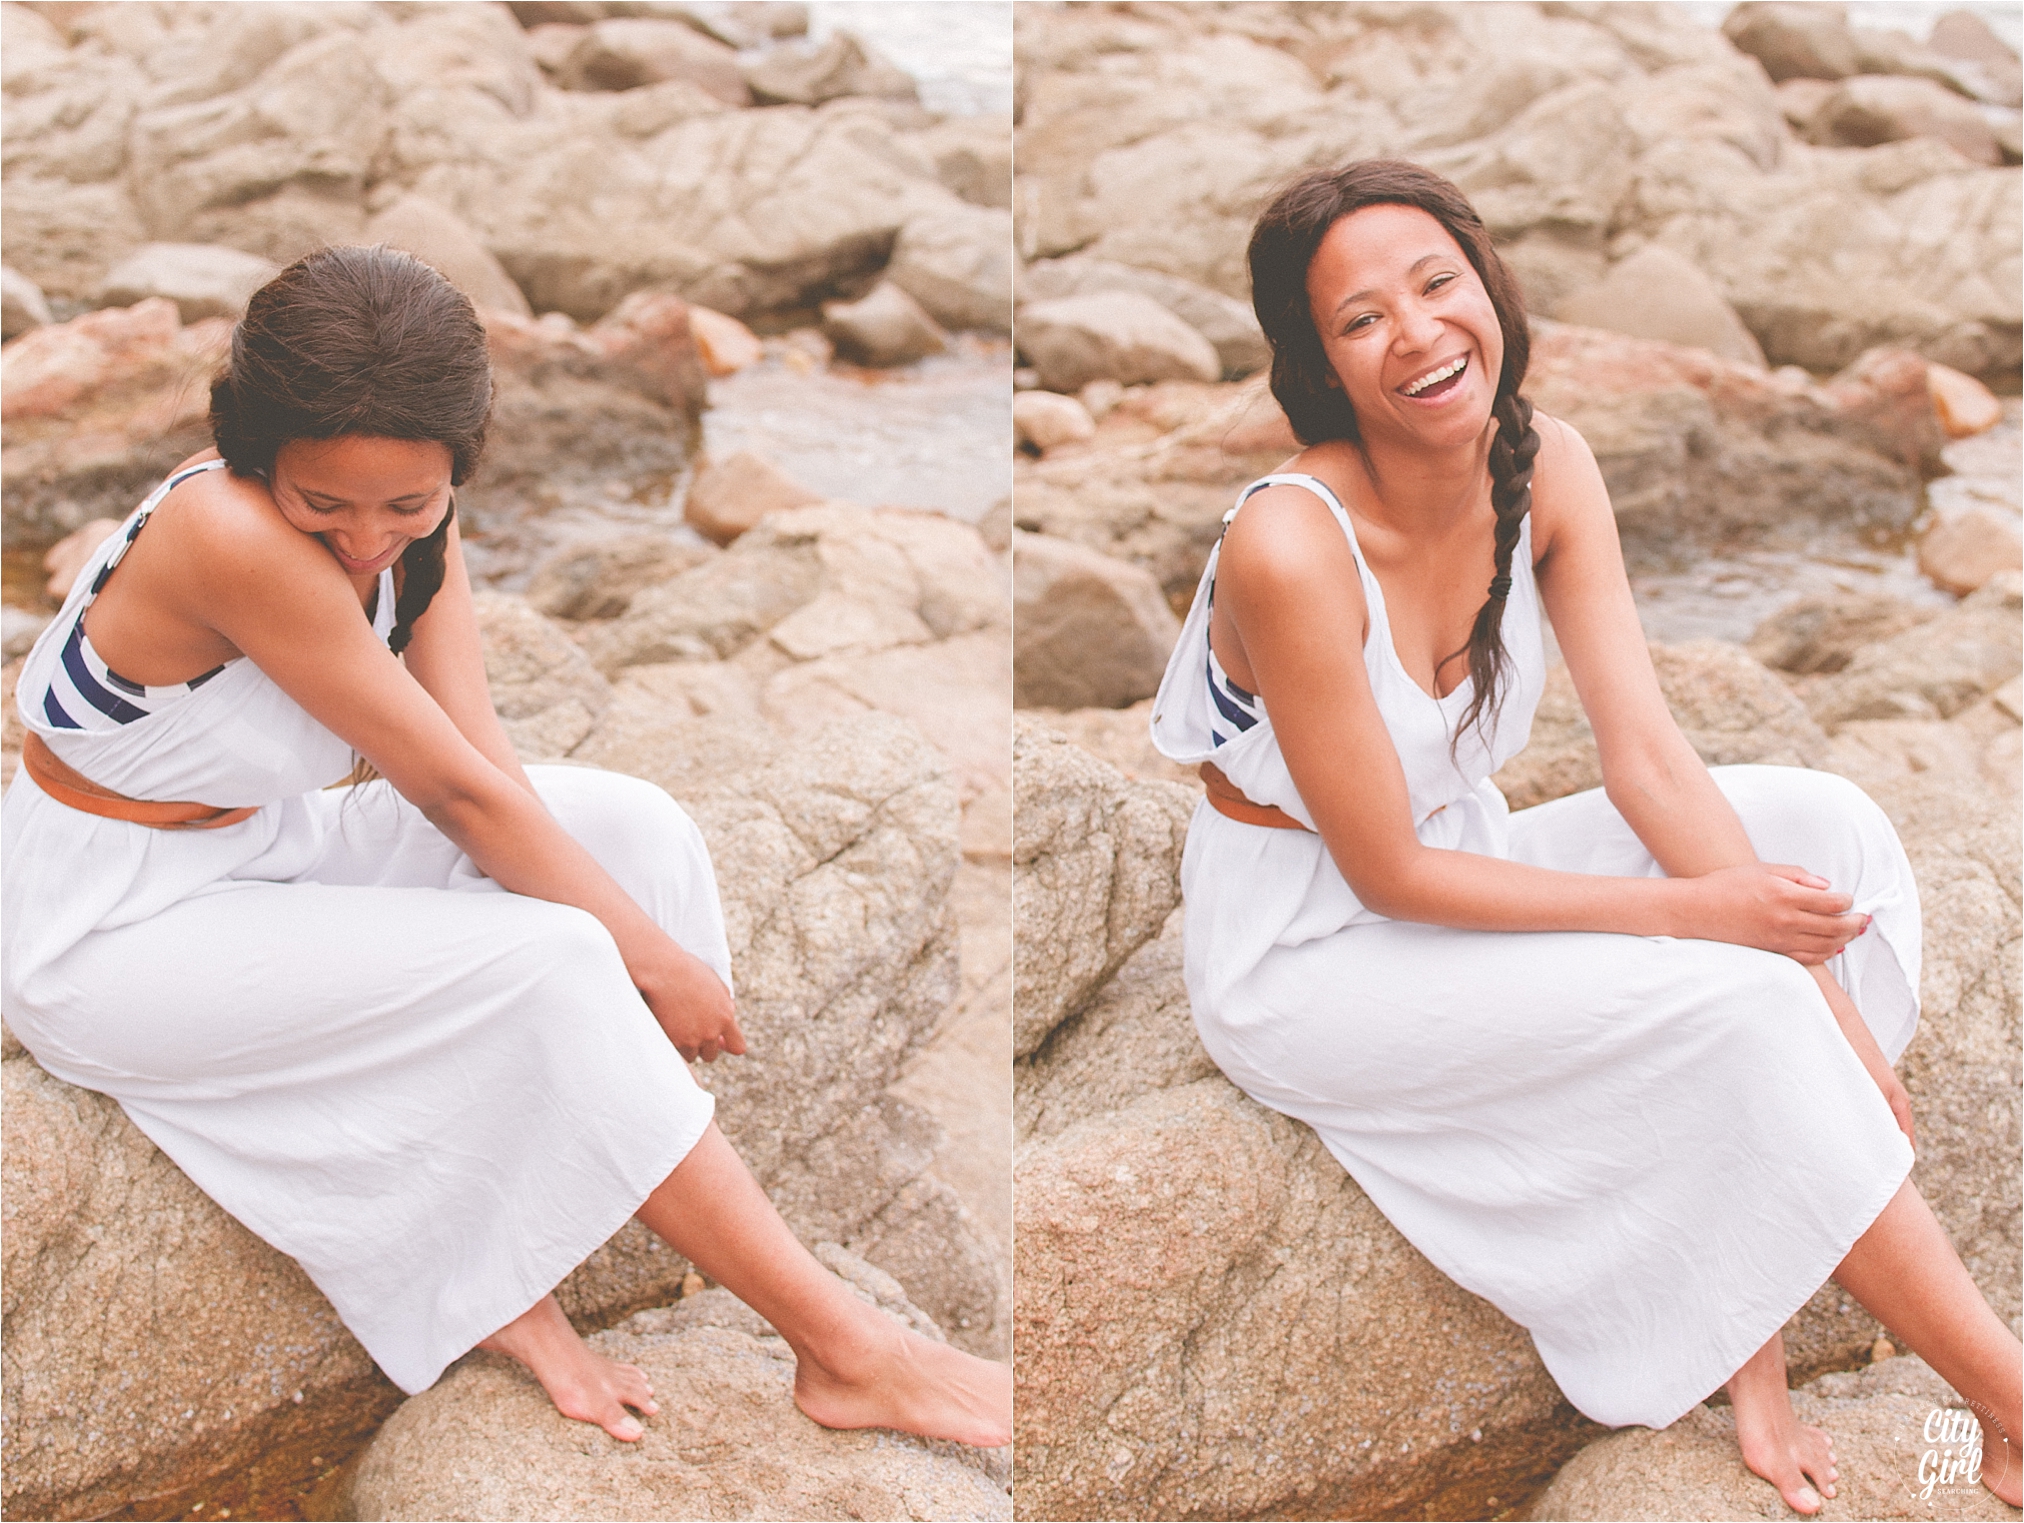
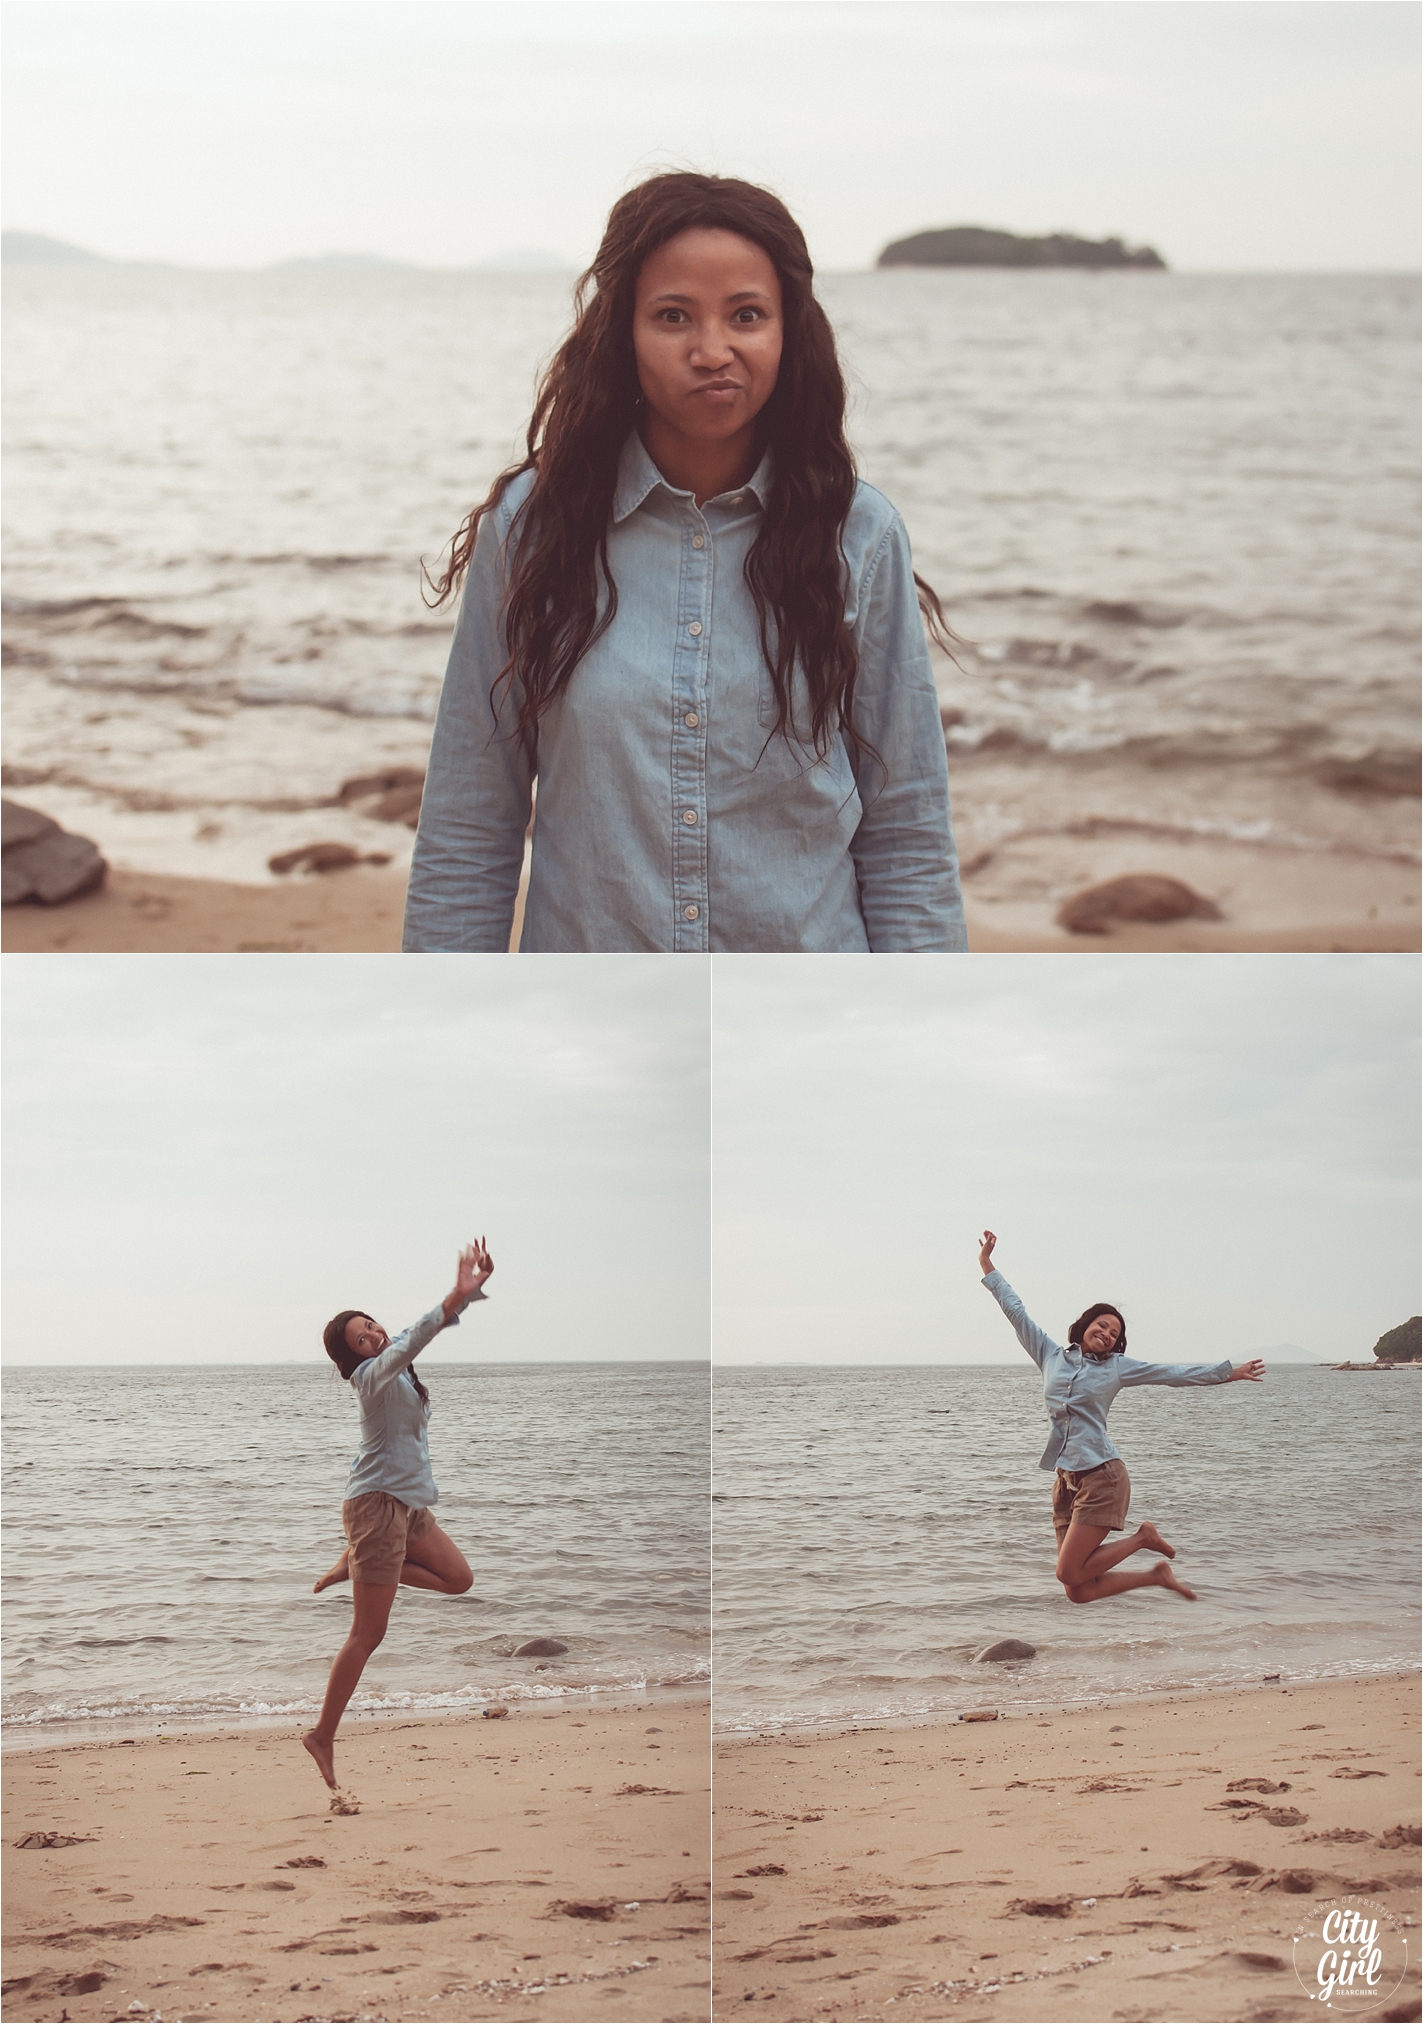
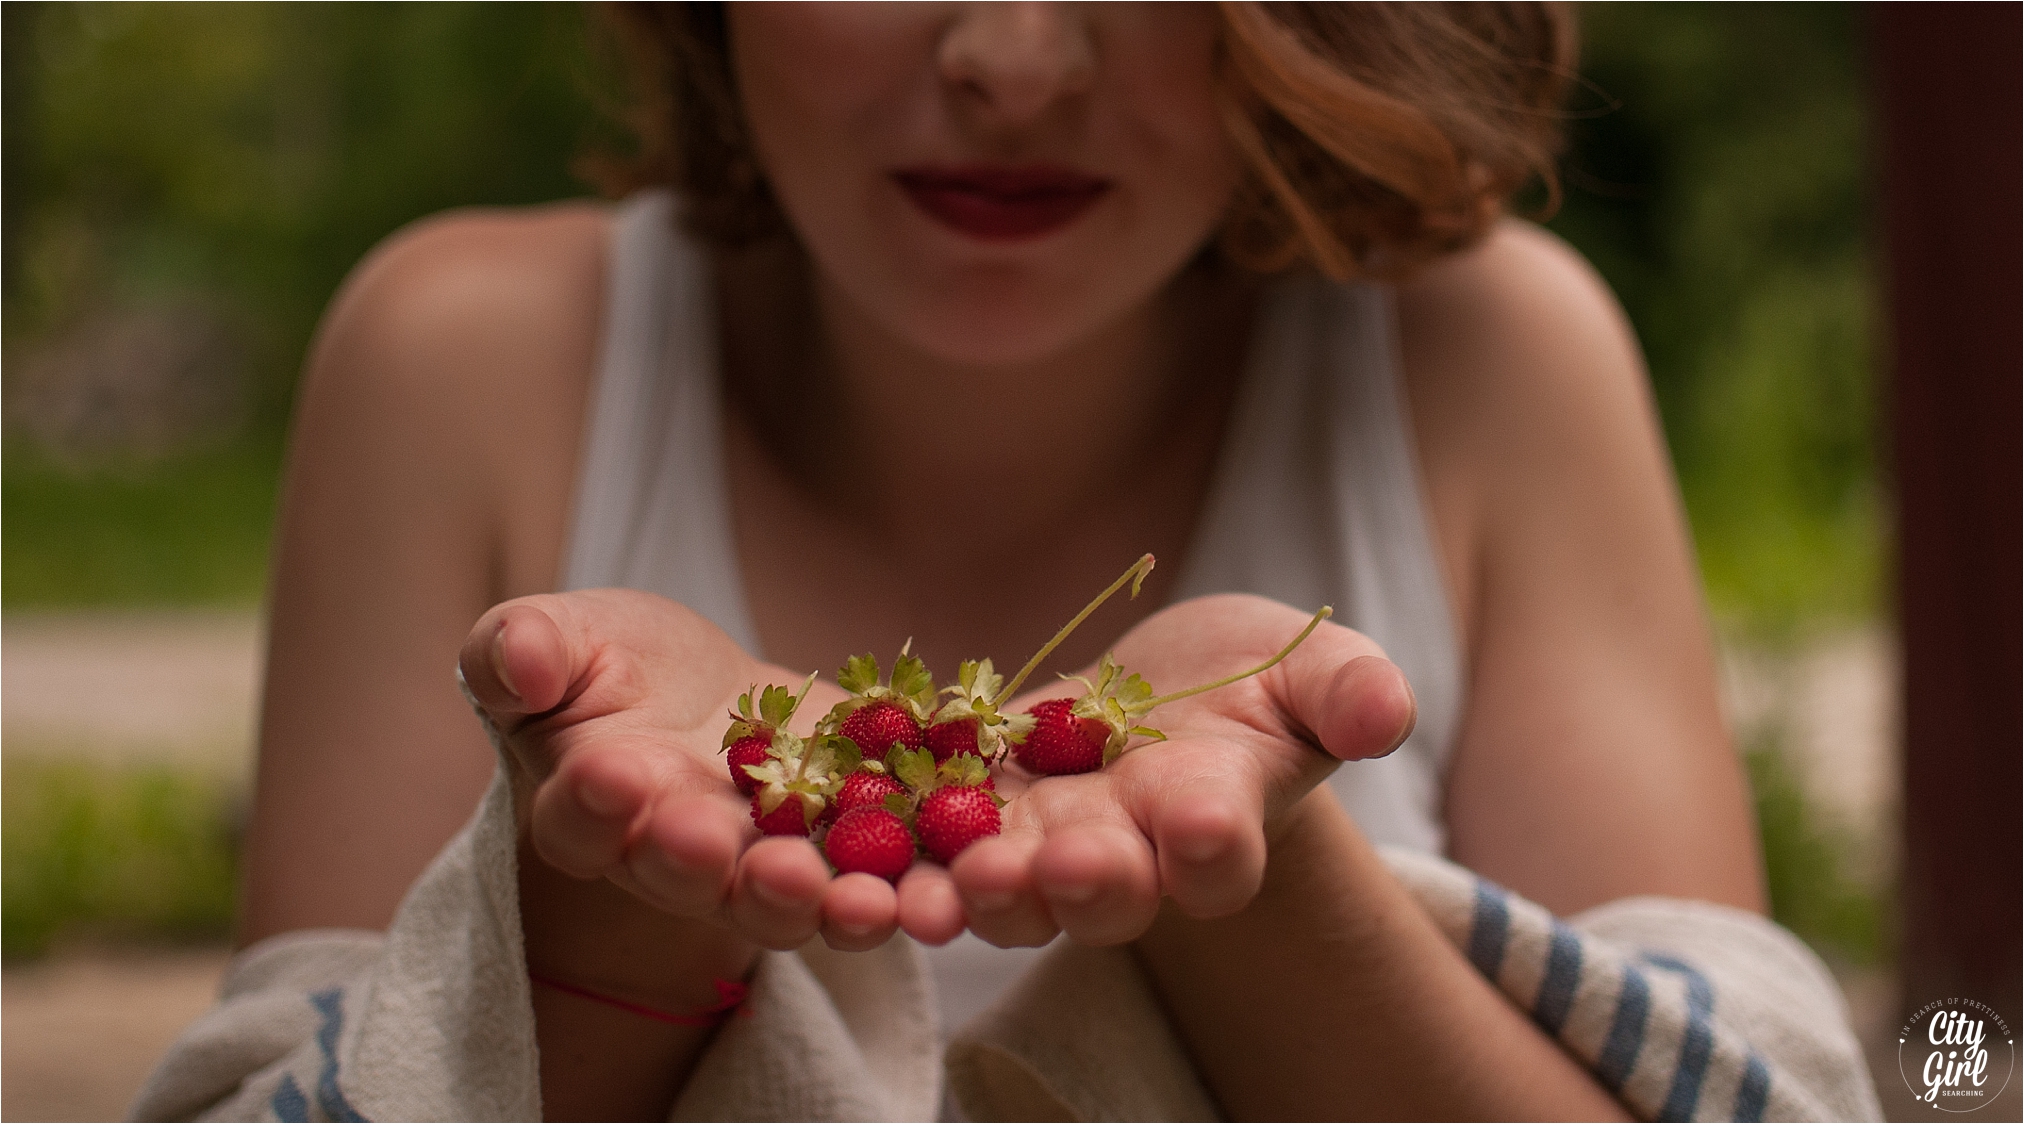
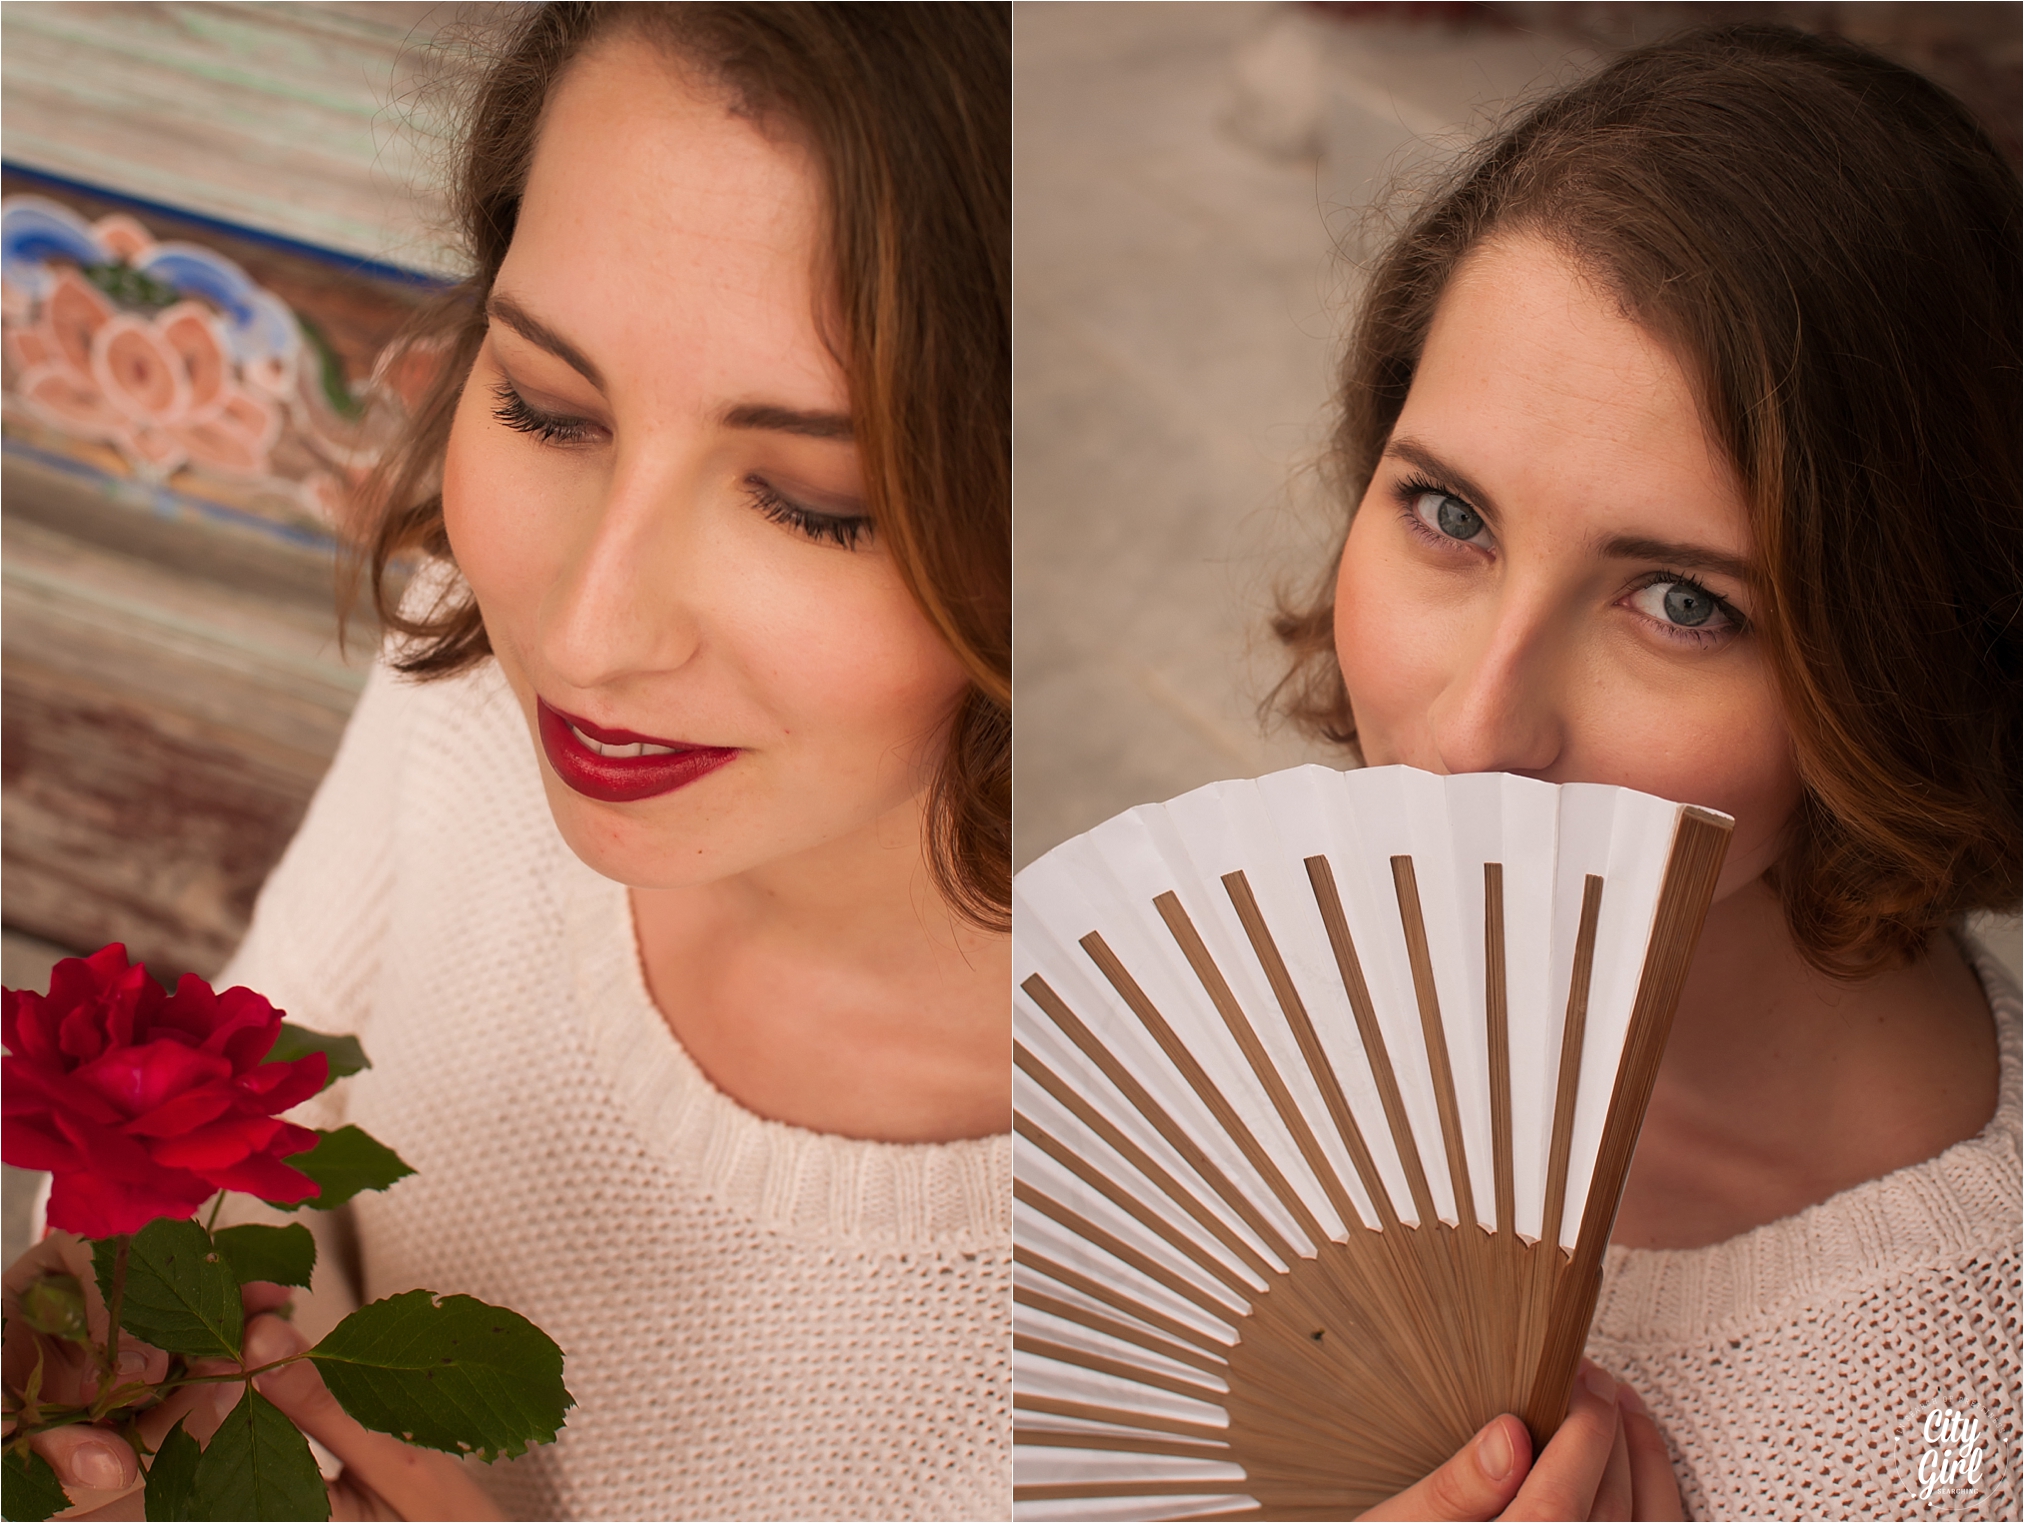
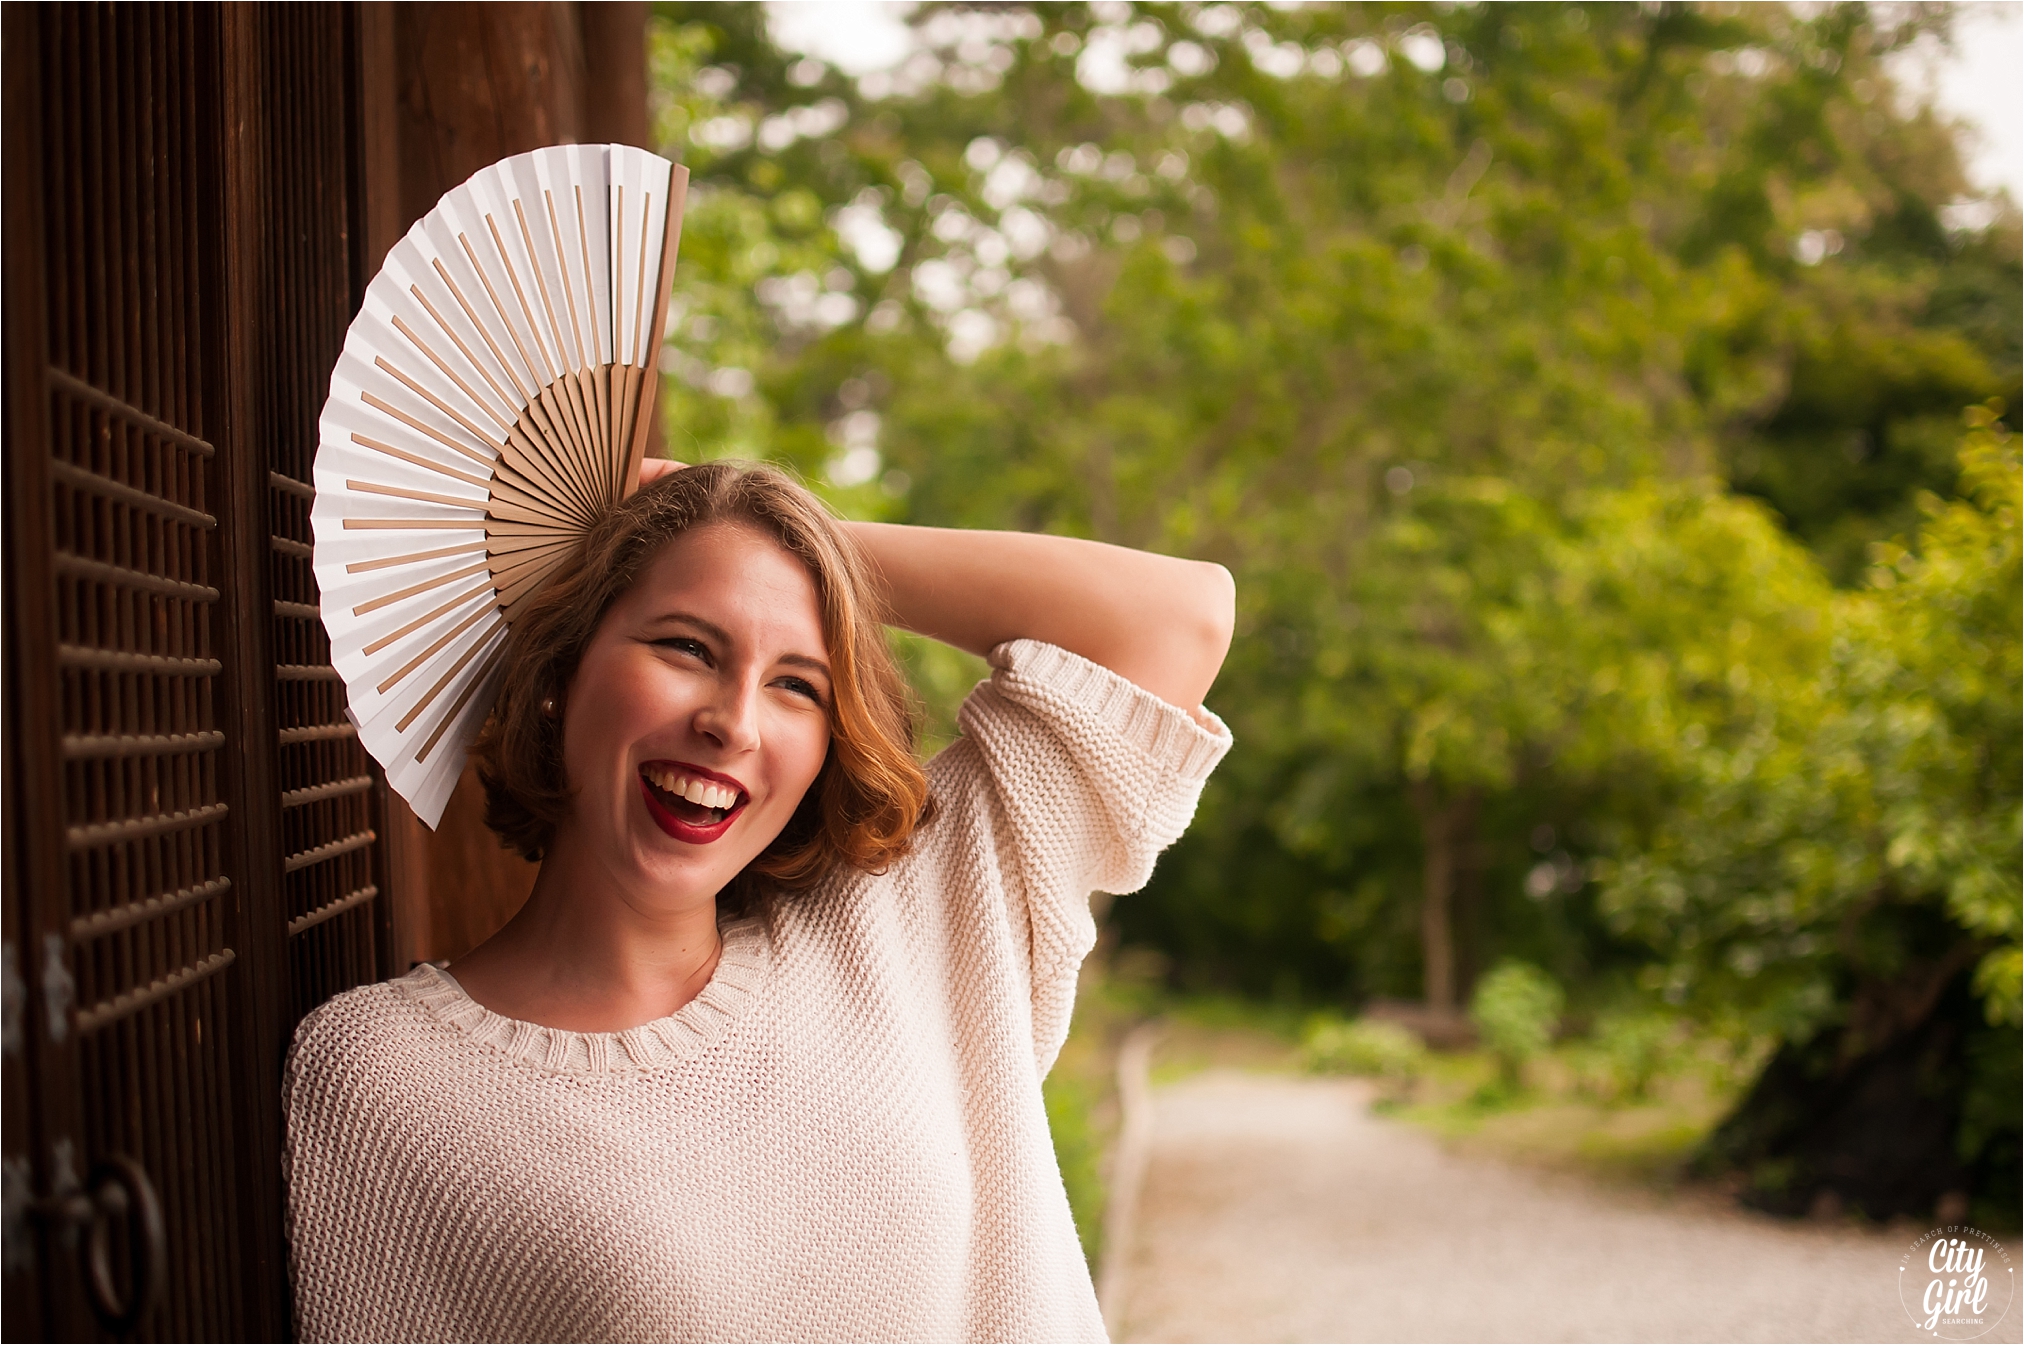
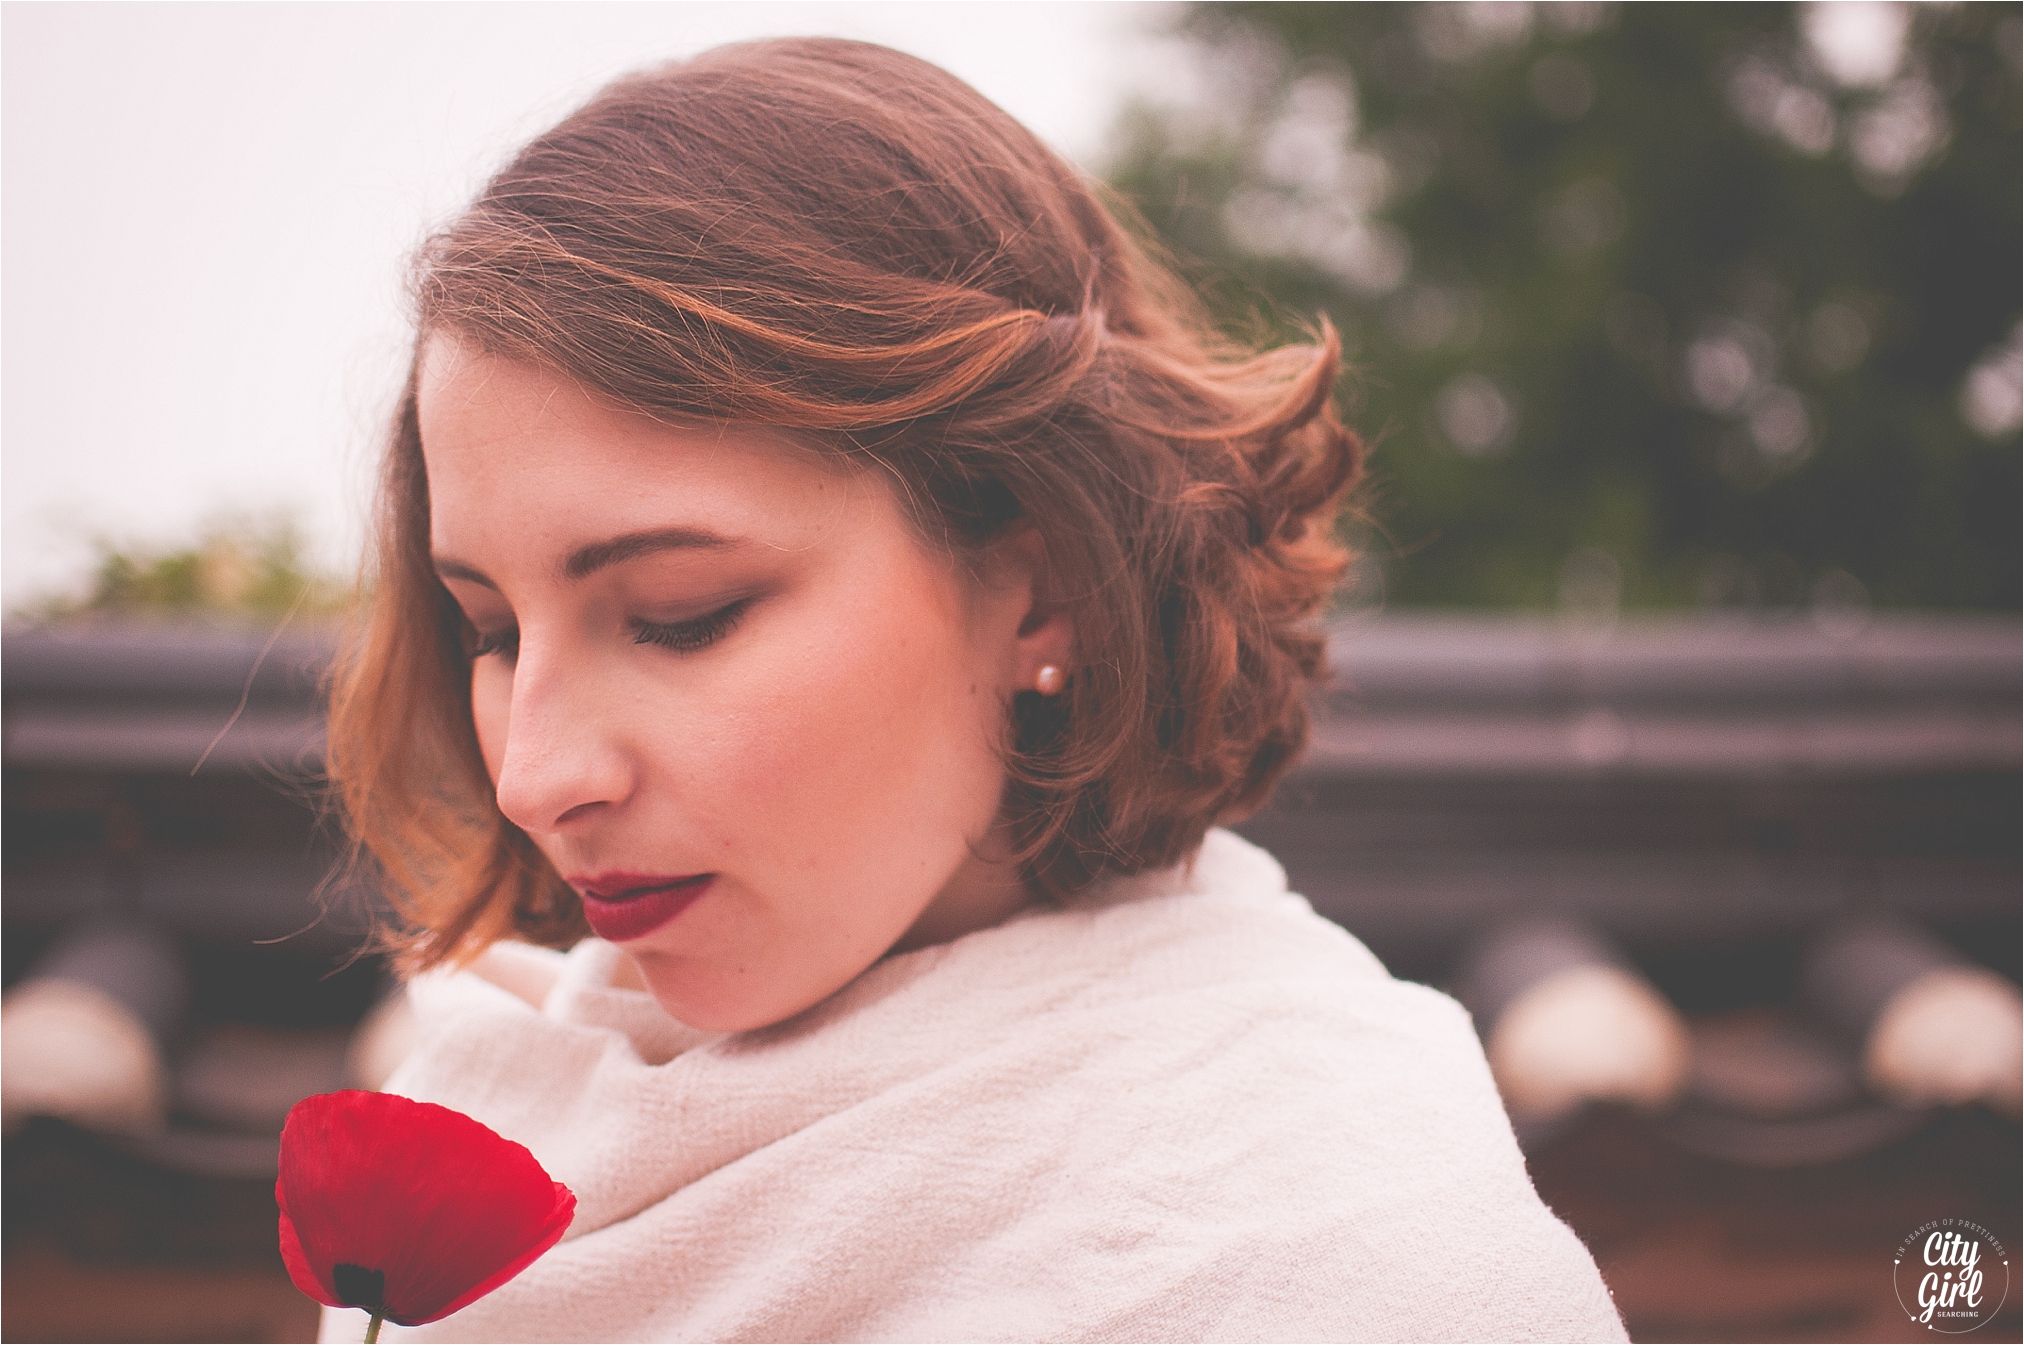
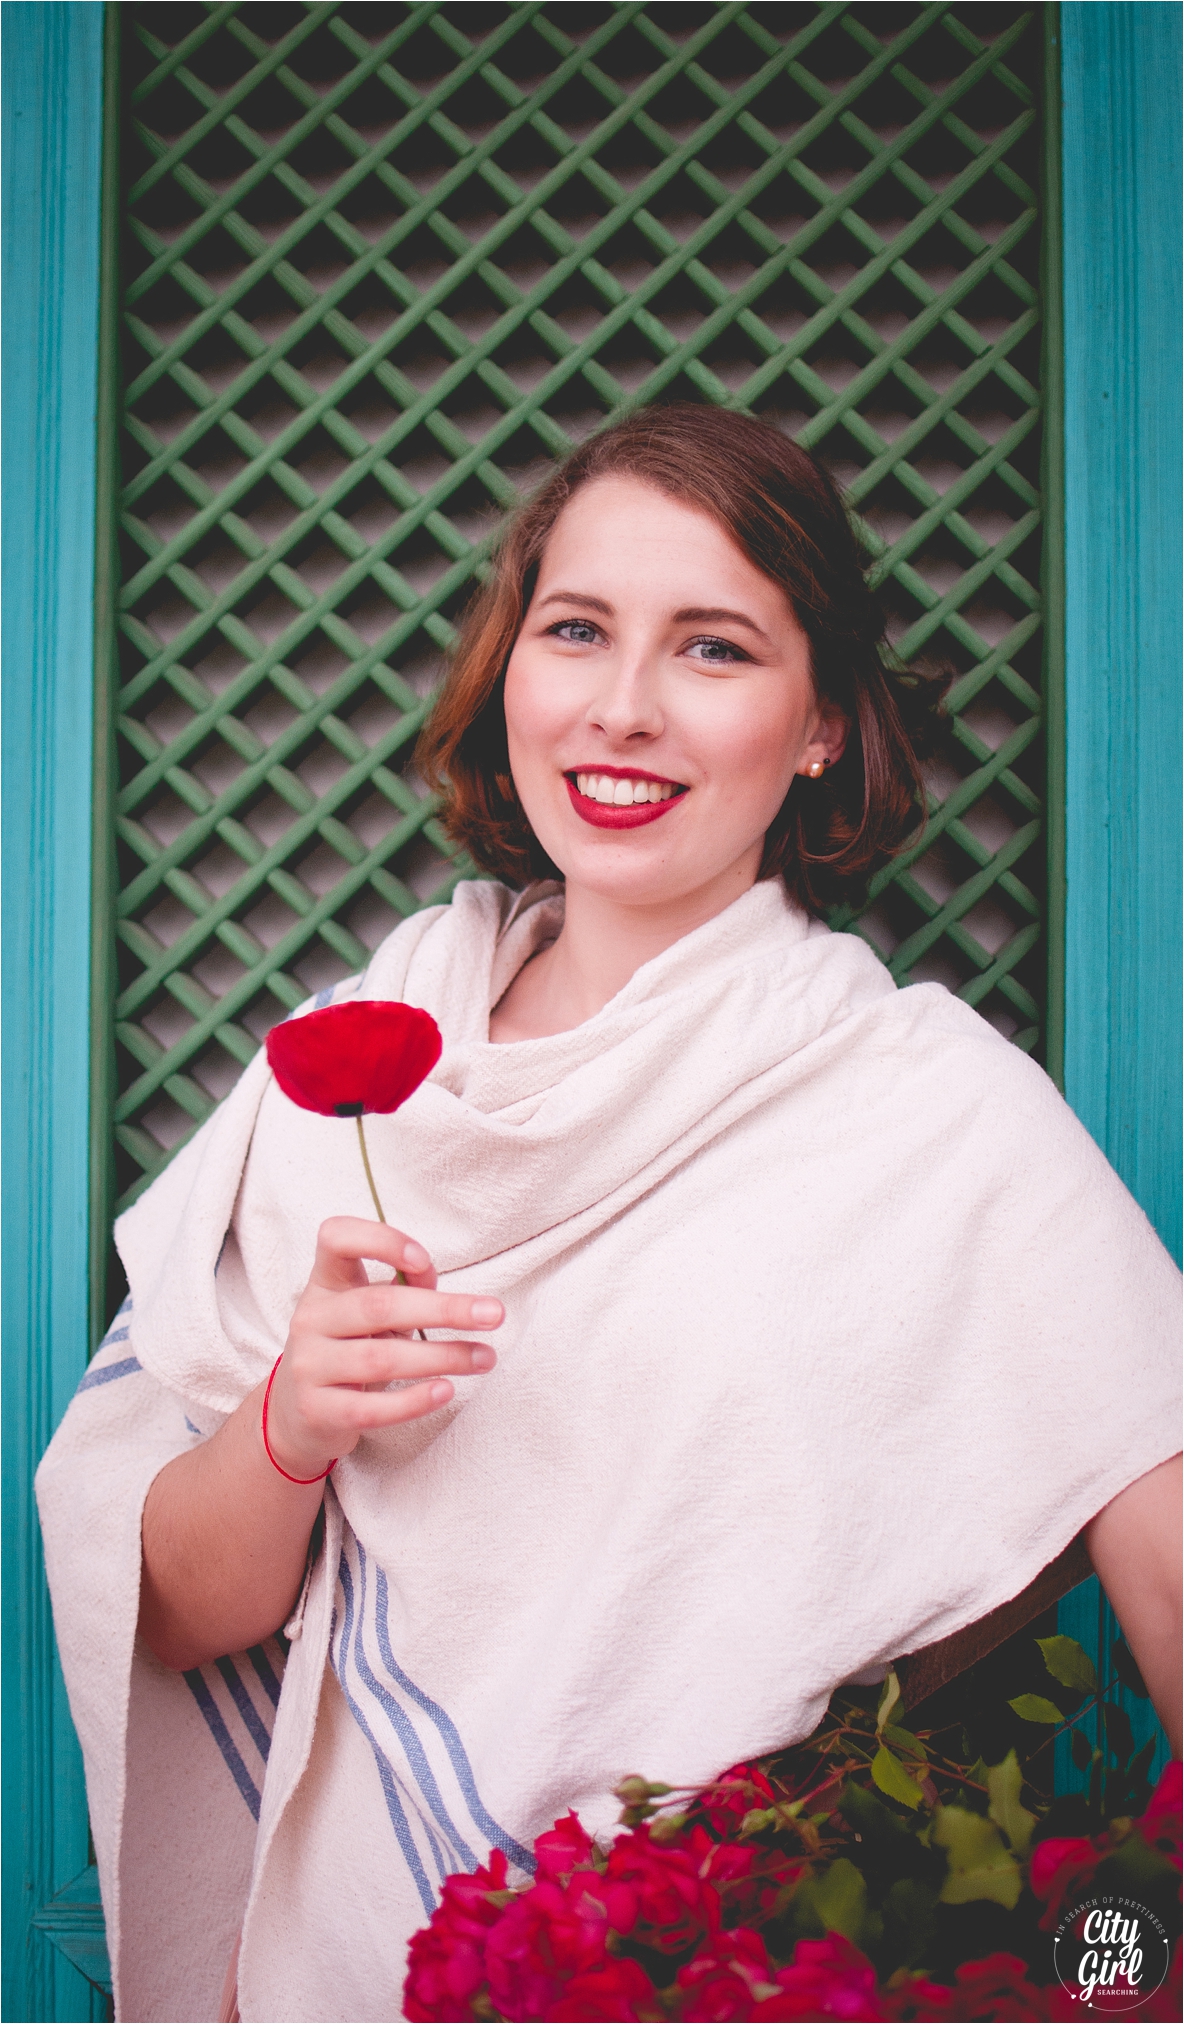
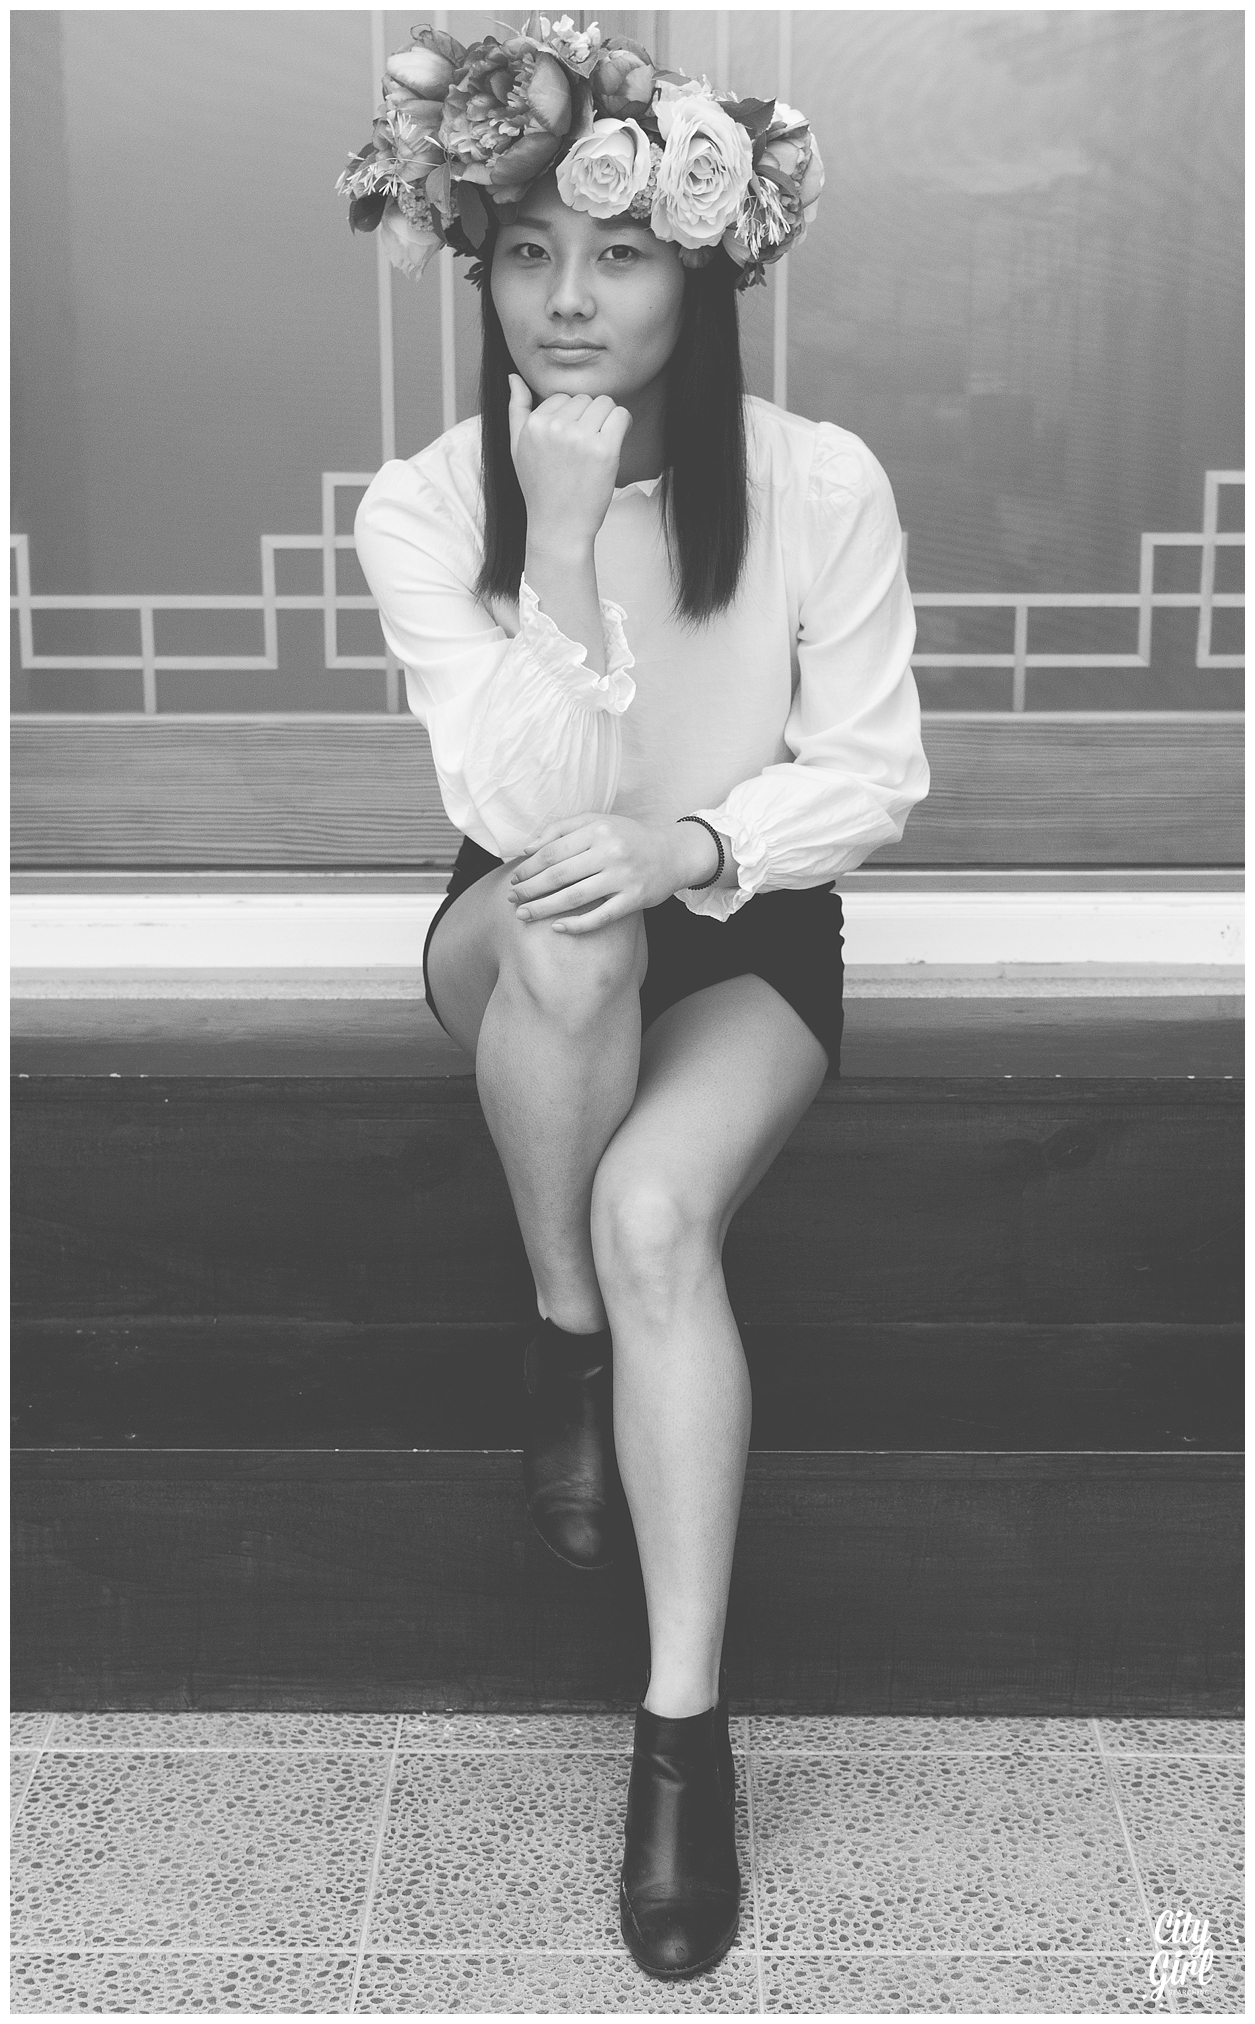
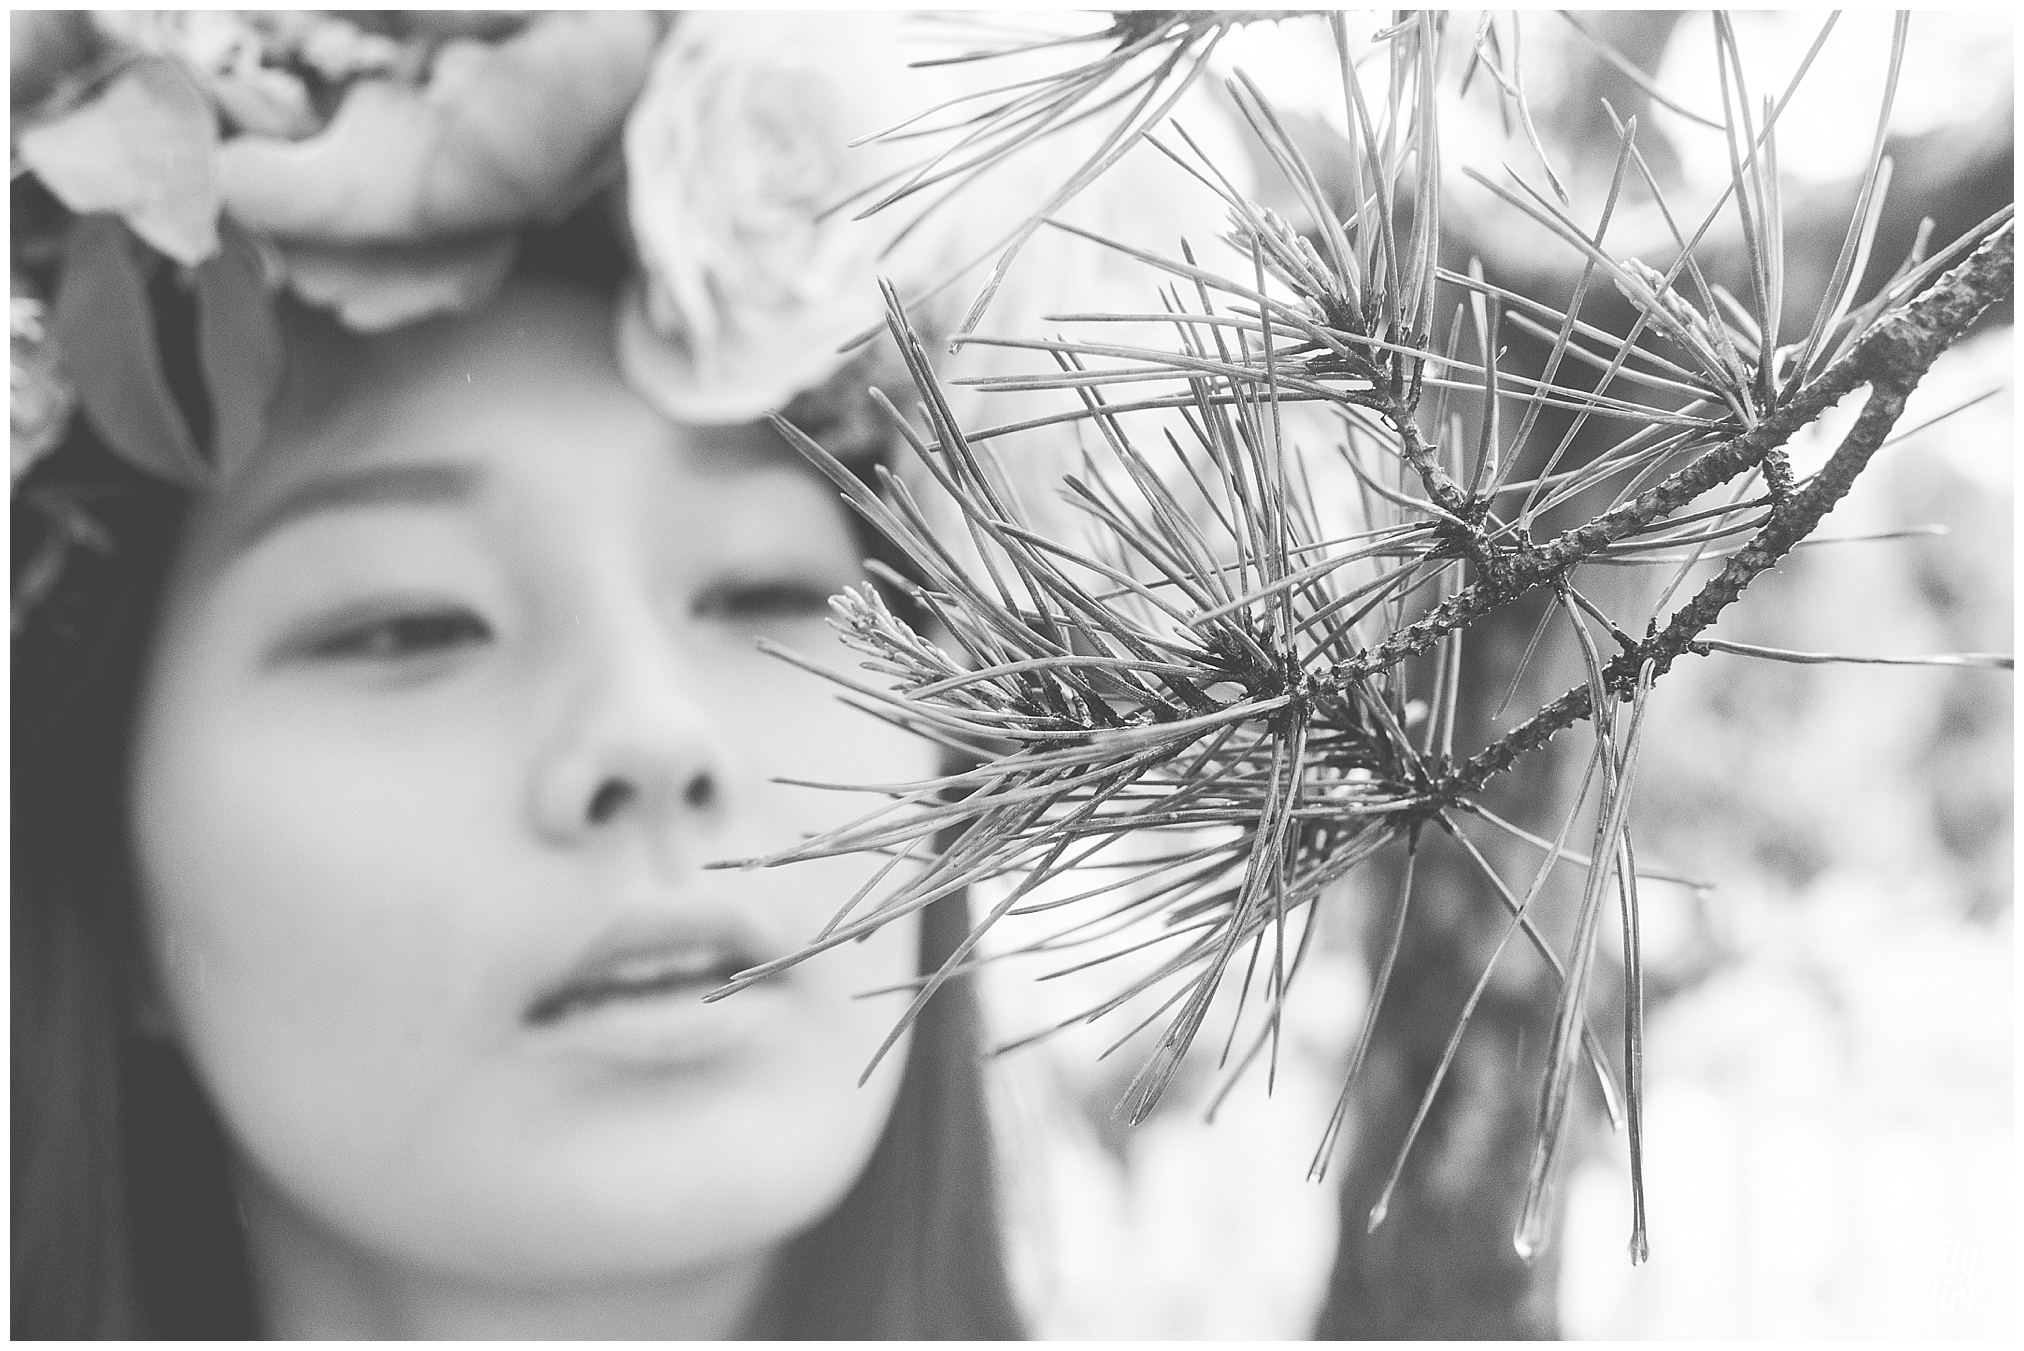
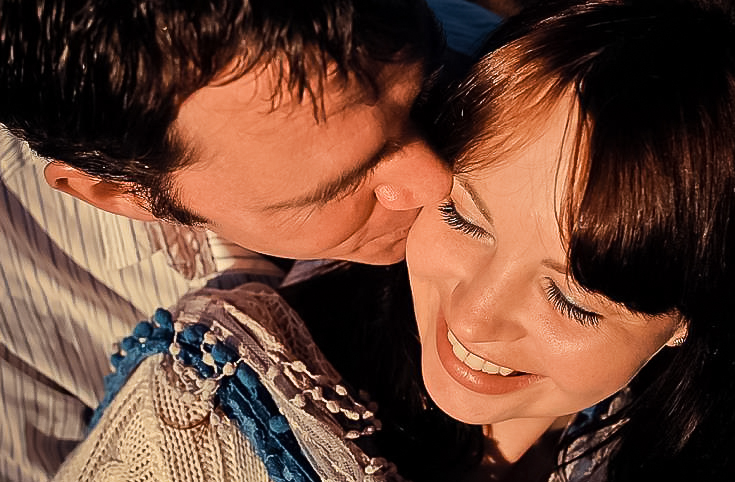
And then to our model. I've known Heejoung for a year now, she lives in the same town as Farmboy and I and is just the sweetest person. When we first mentioned that we wanted to put an oversized crown full of flowers onto her head and photograph her standing in the middle of an open field she looked terrified. But after reassuring her that it would be fun, she jumped on board and waited patiently, in the rain, wearing the most impractical outfit while I fiddled and played around with settings and angles and all kinds of different poses. Thank you for being so patient with us Heejoung, I hope these photographs make you happy. You are an incredibly beautiful woman, and were so easy to photograph. You made our job easy!

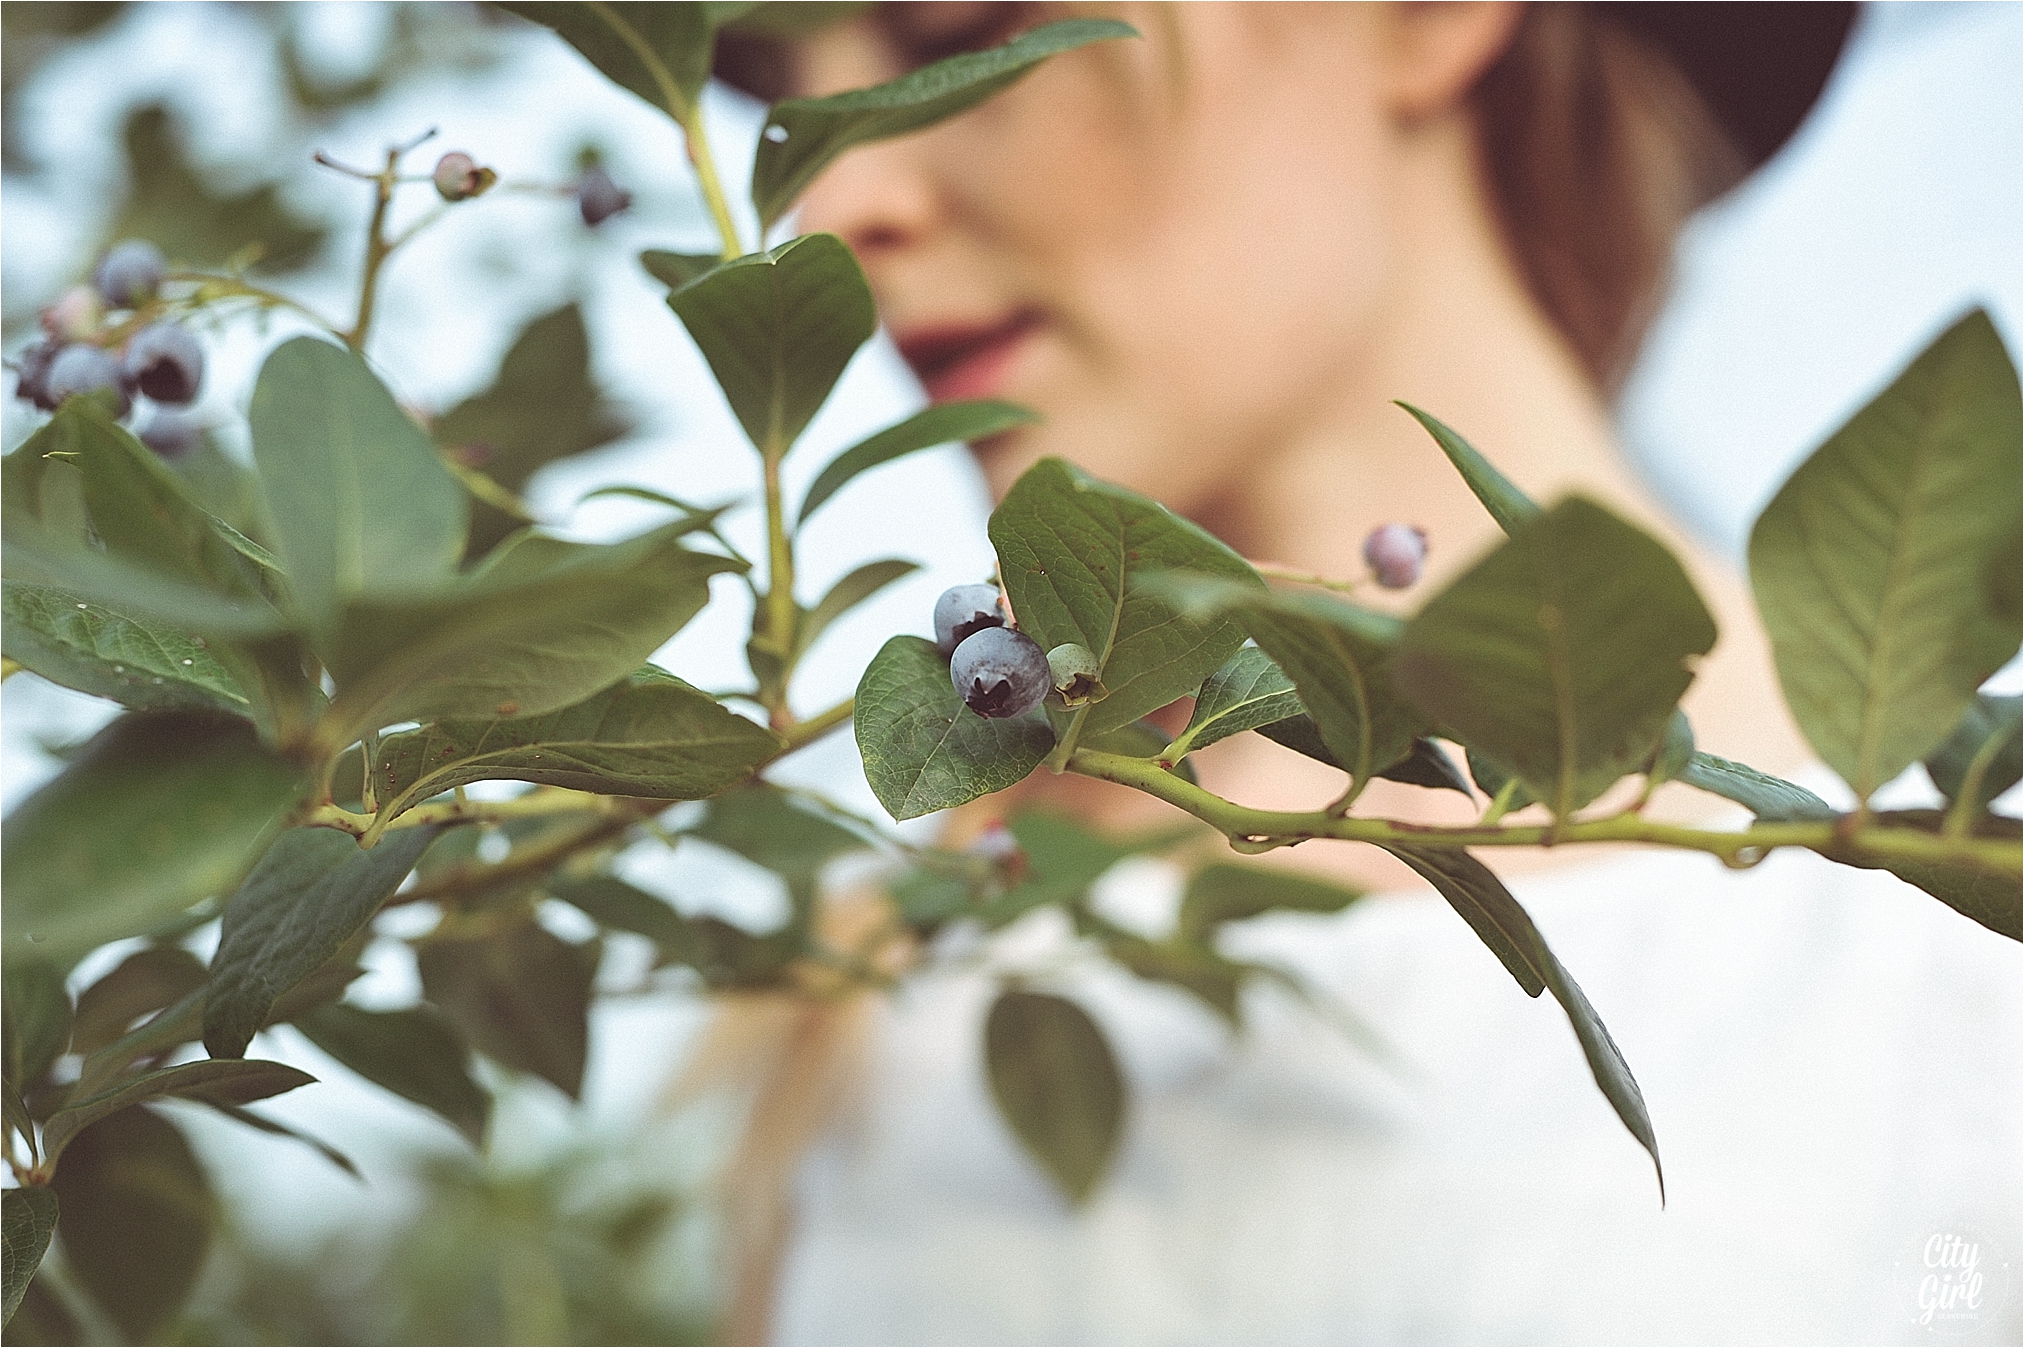
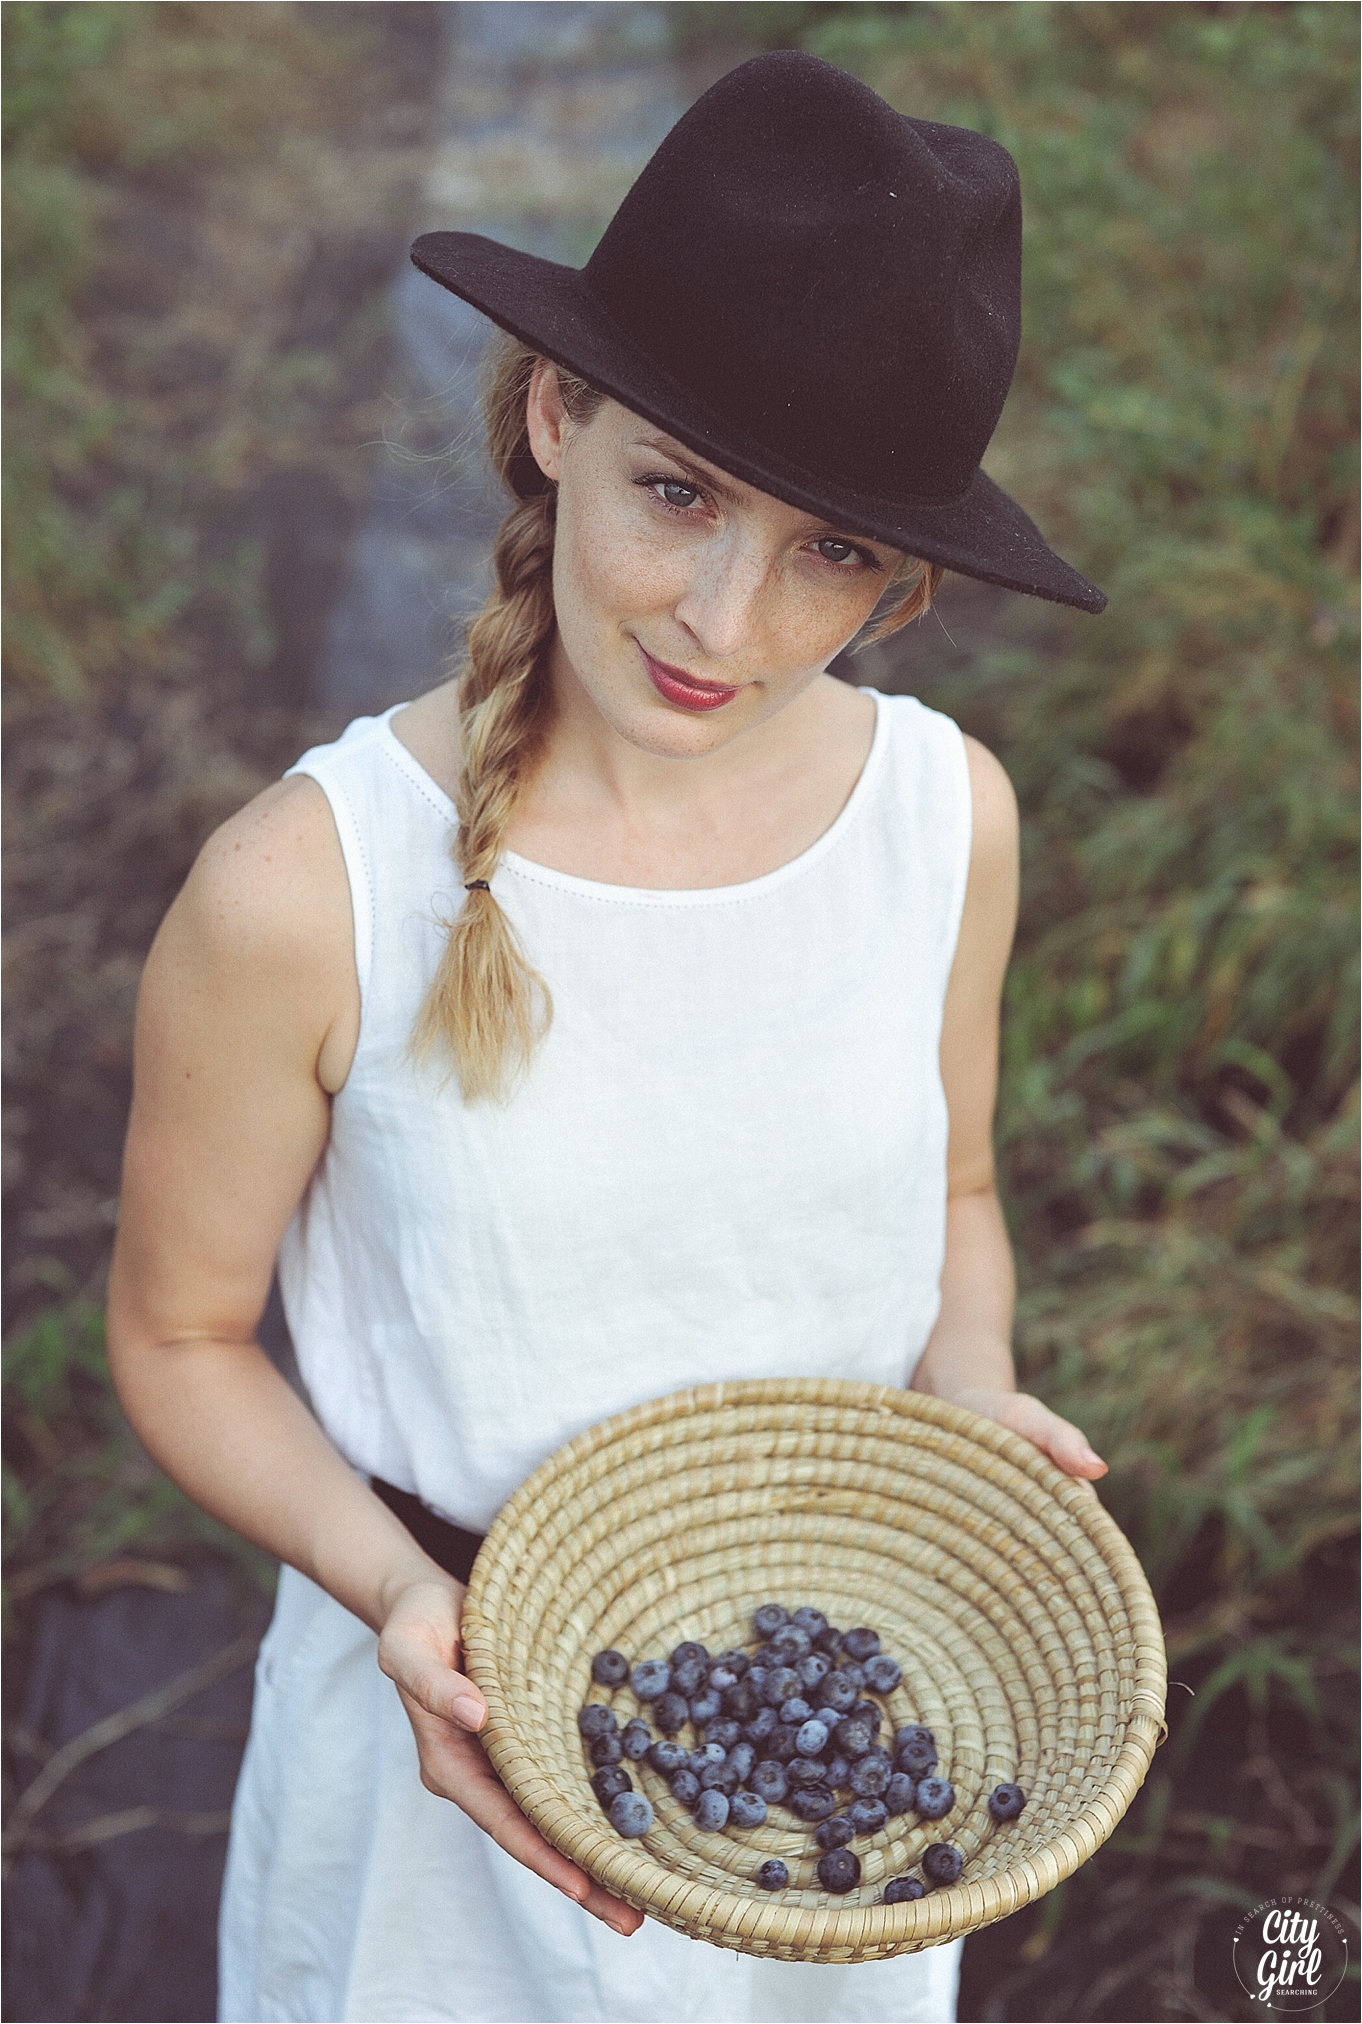
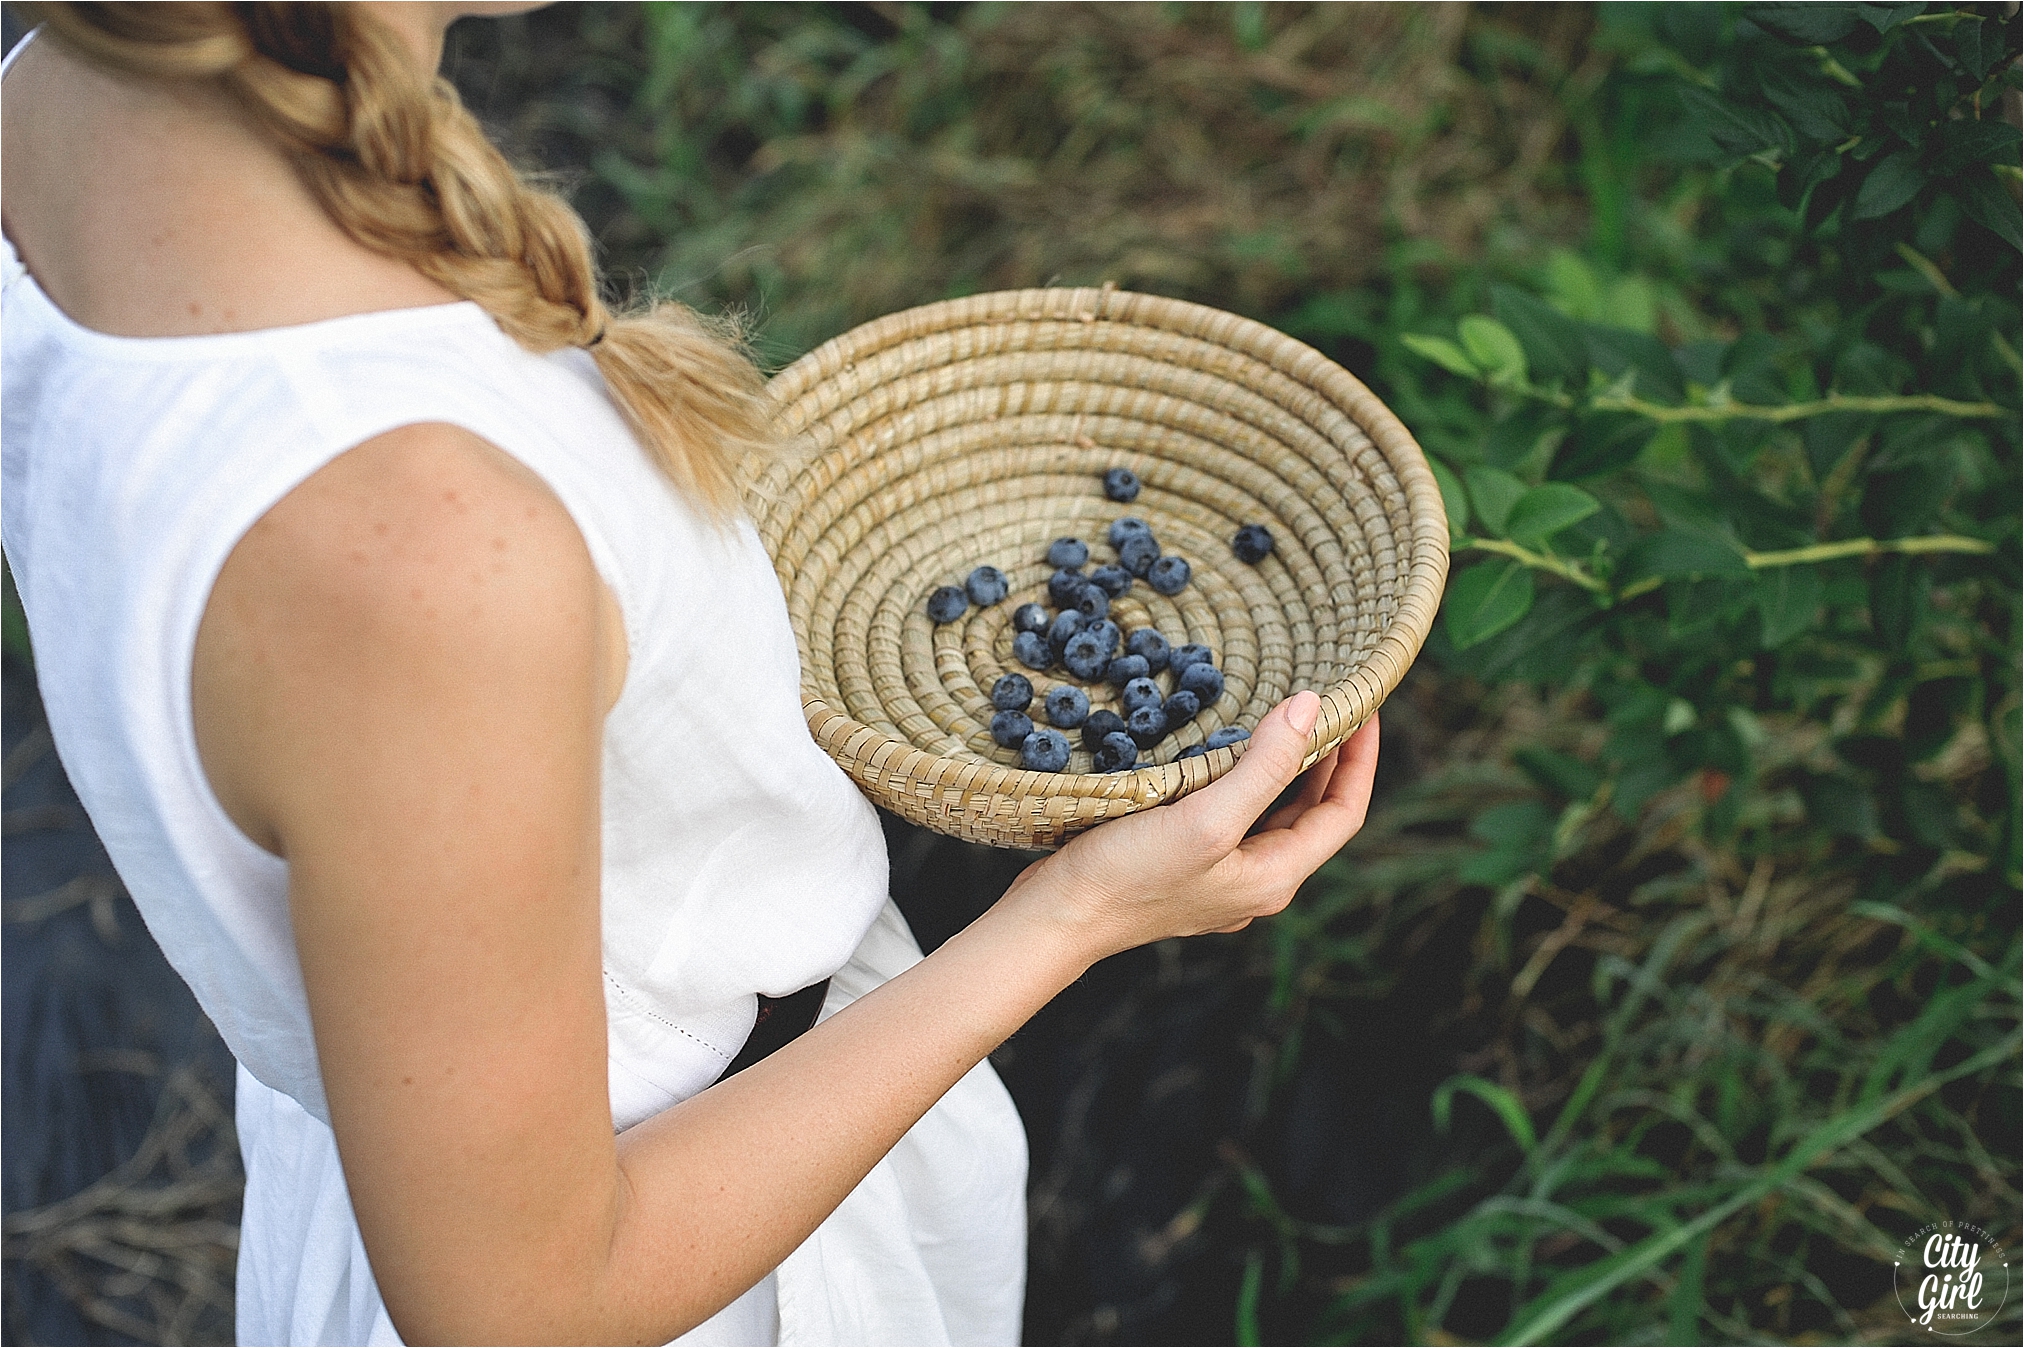
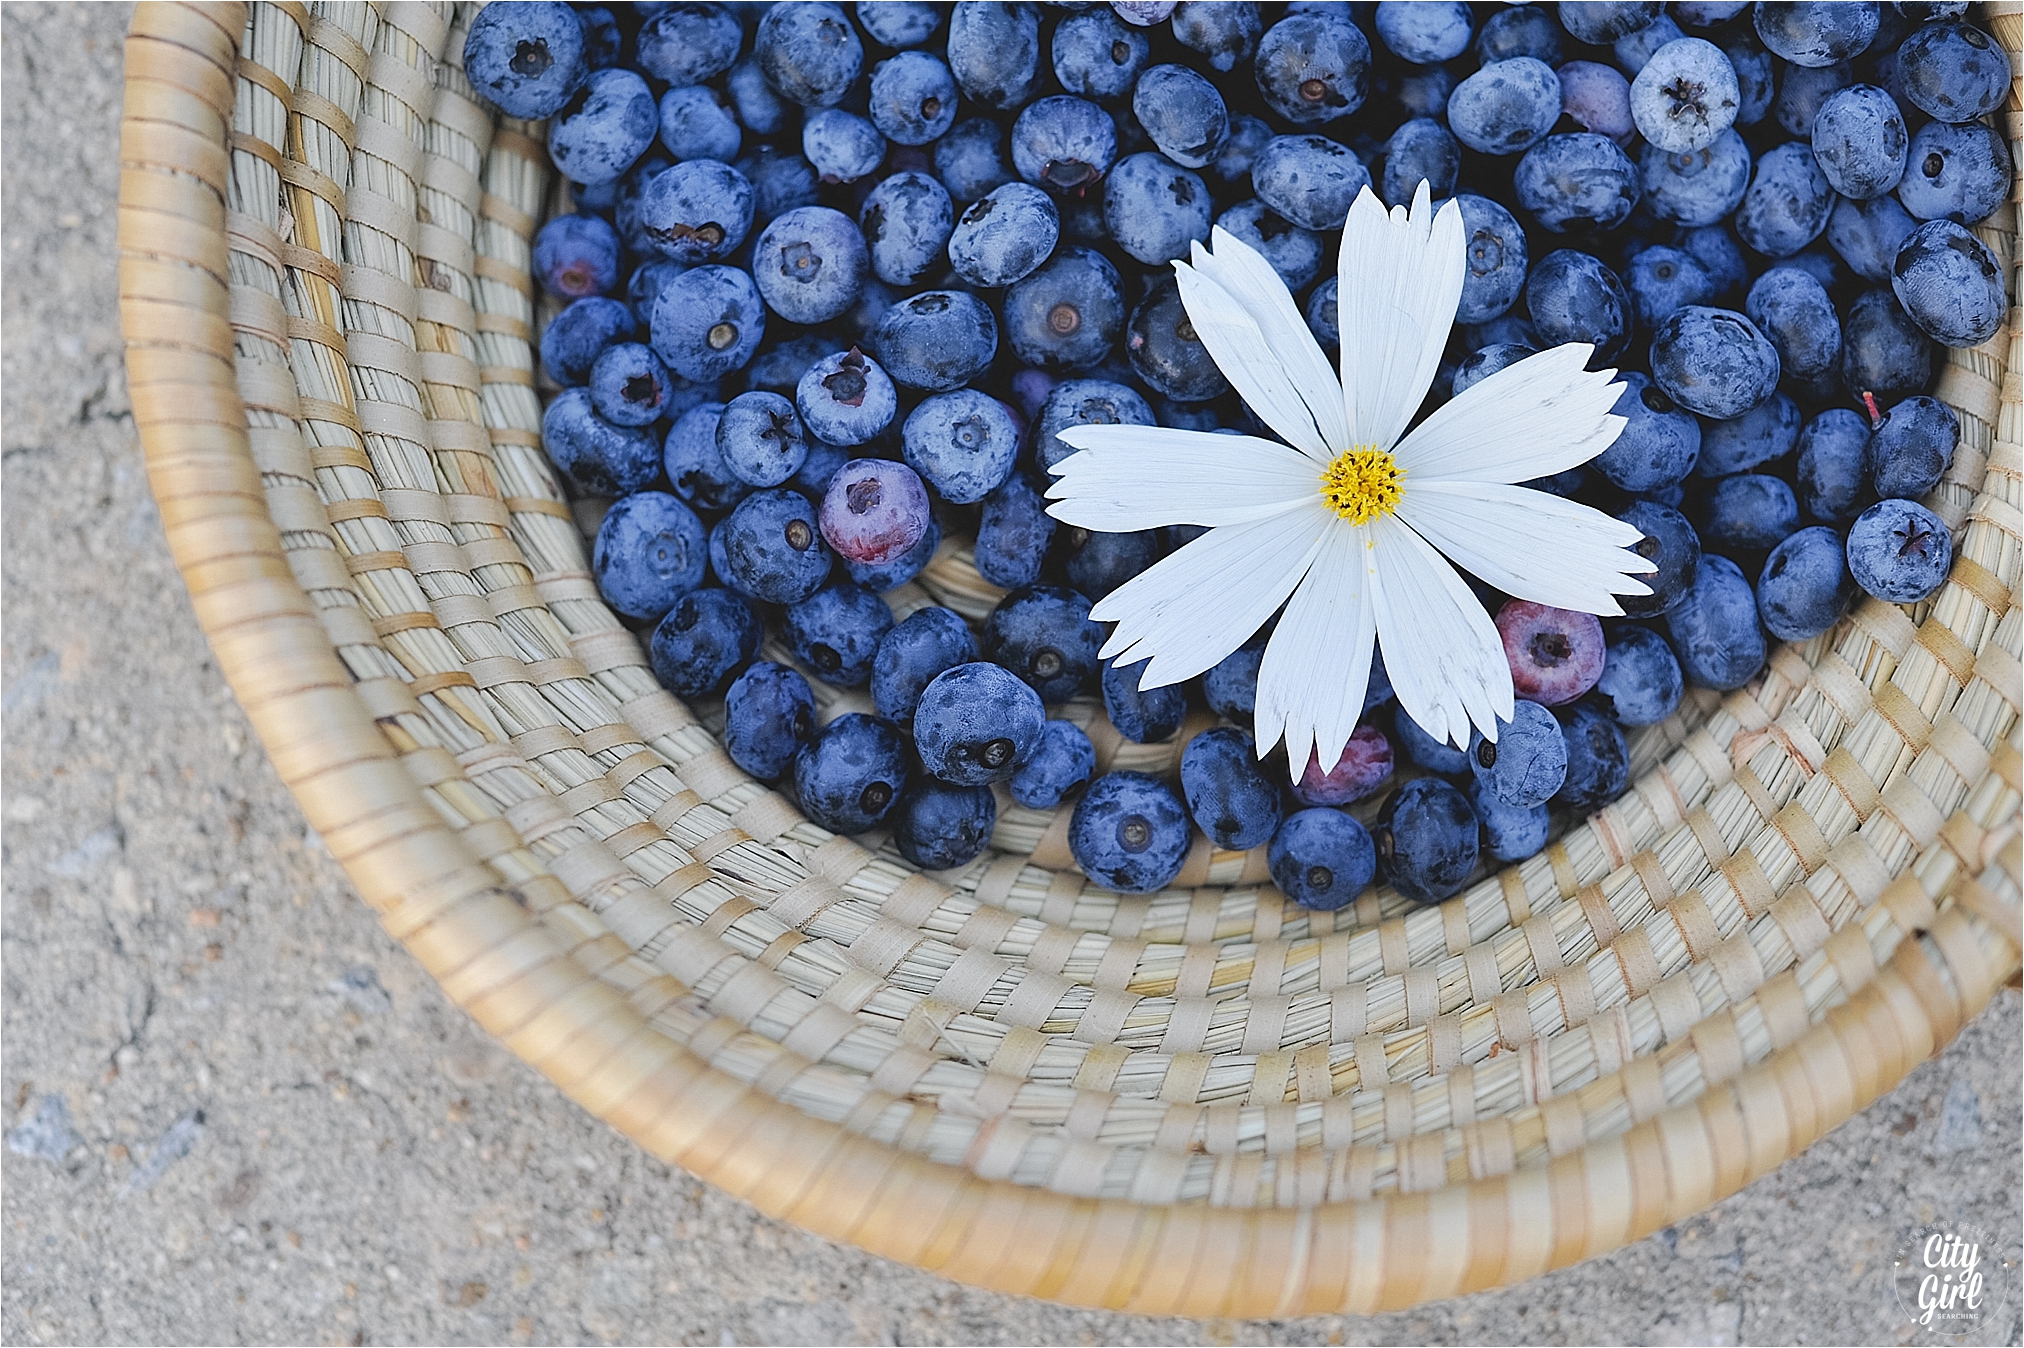
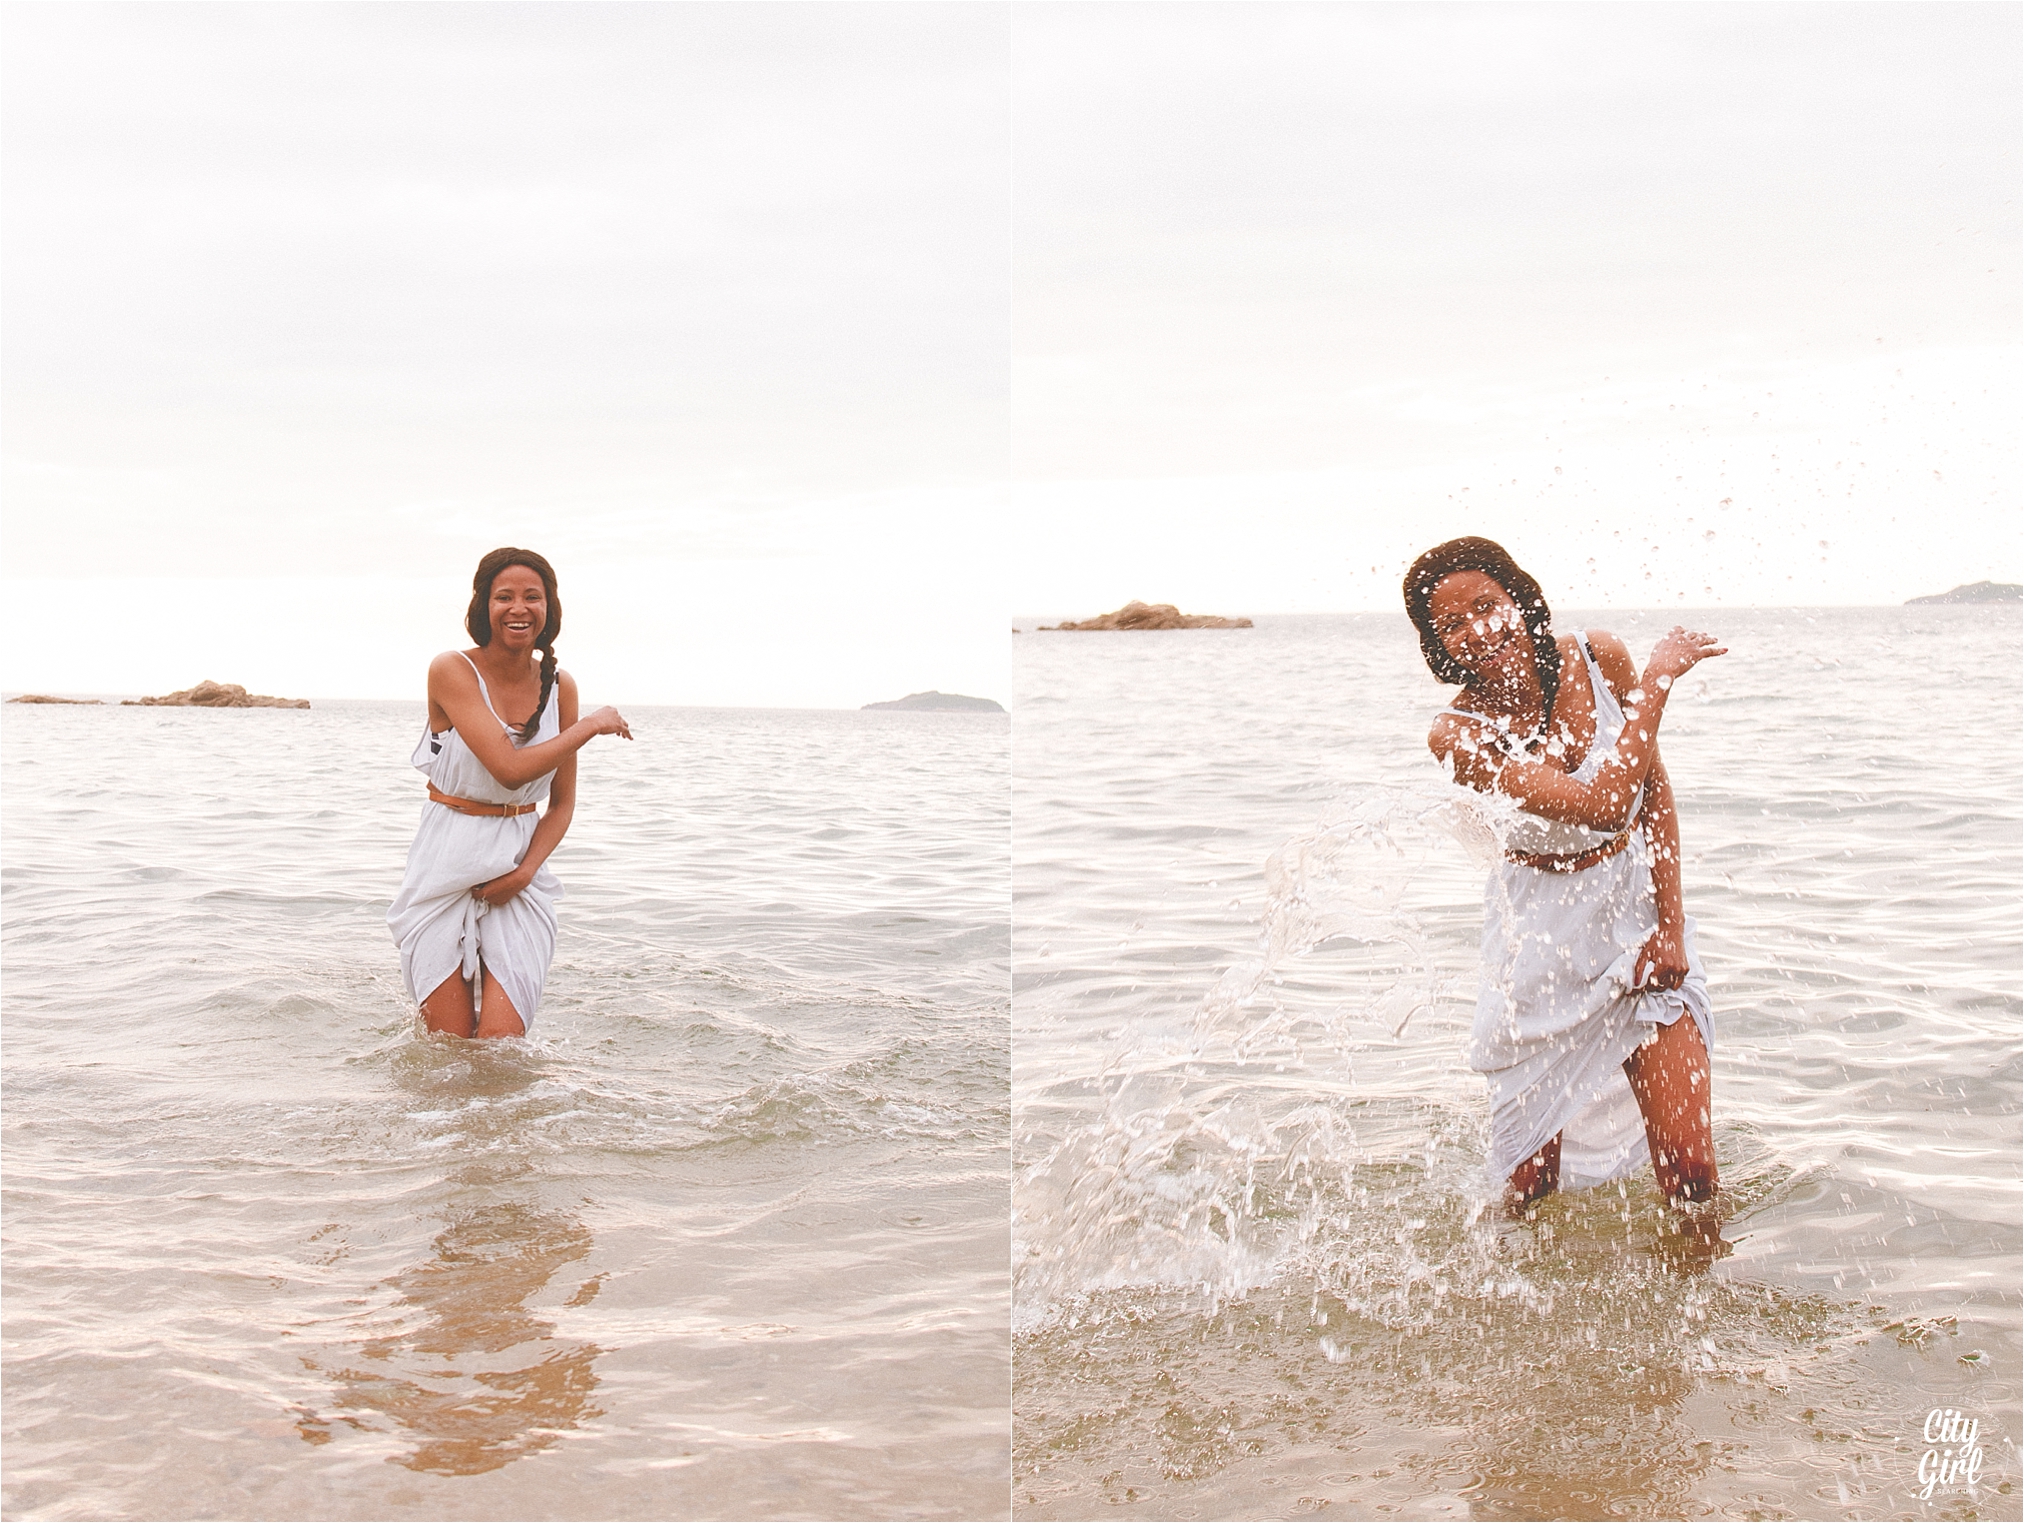
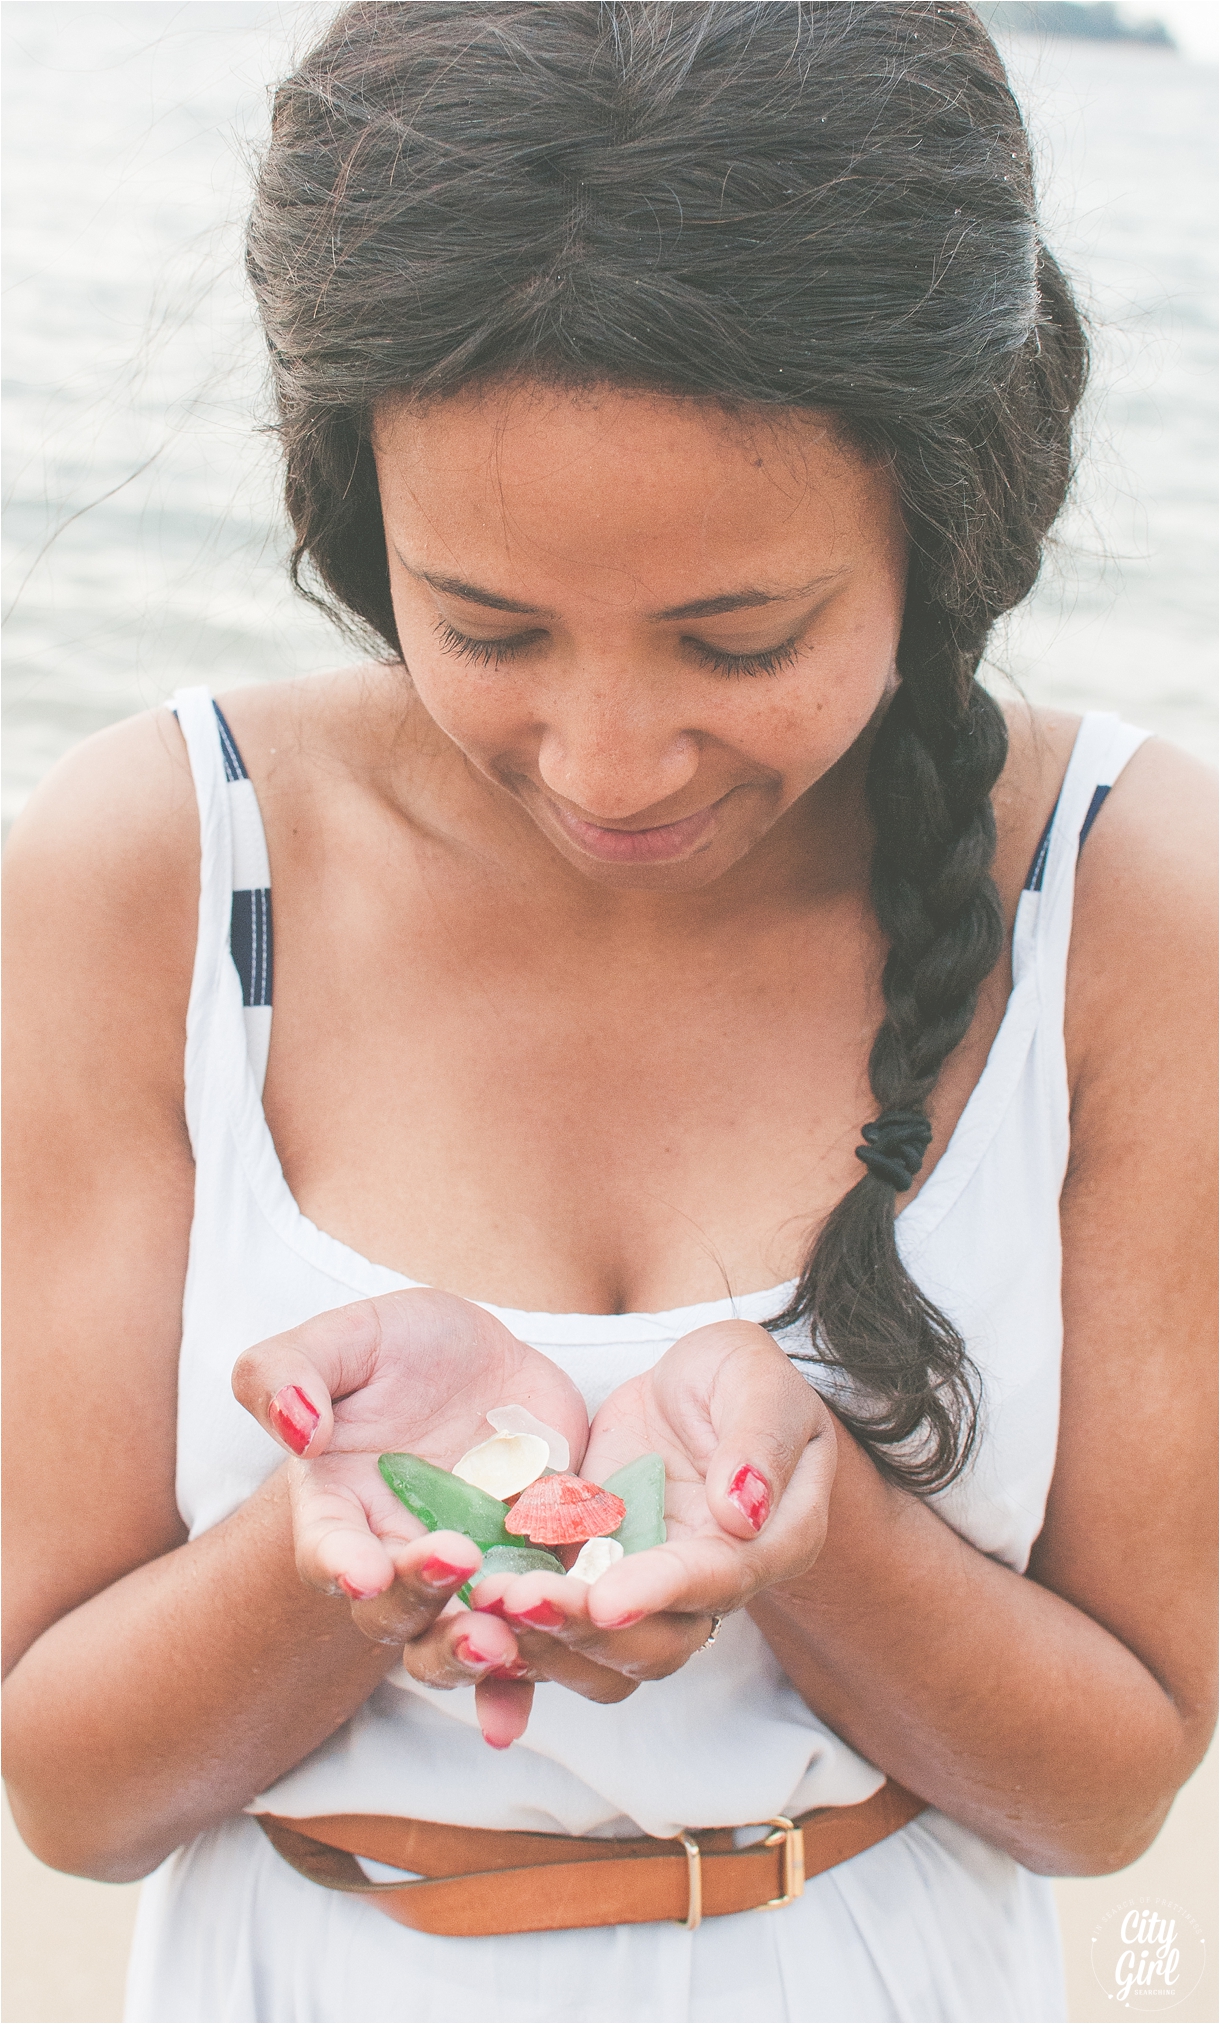
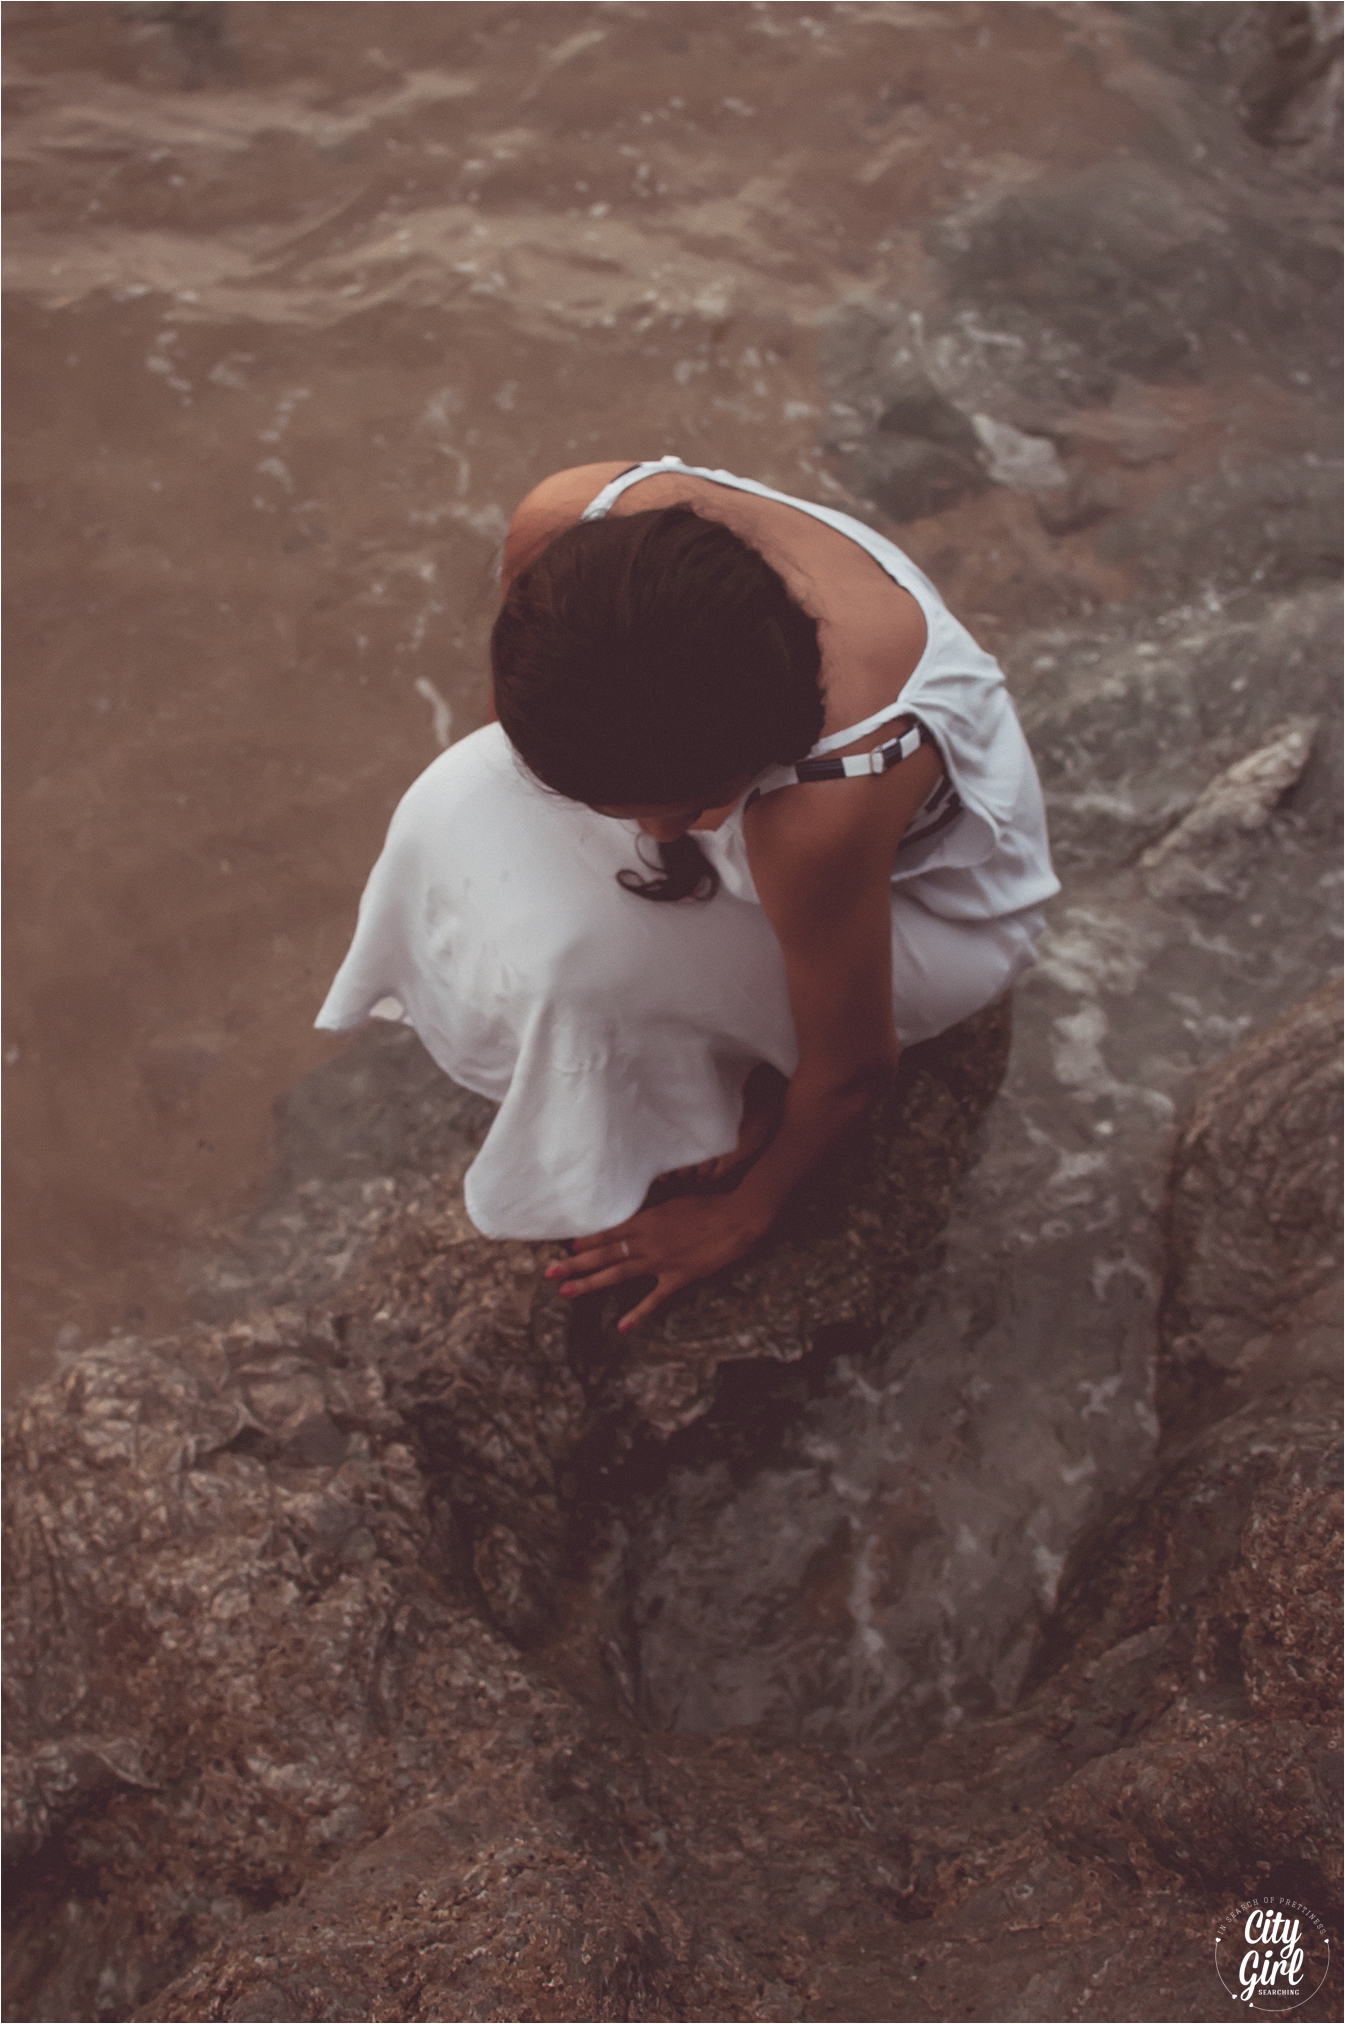
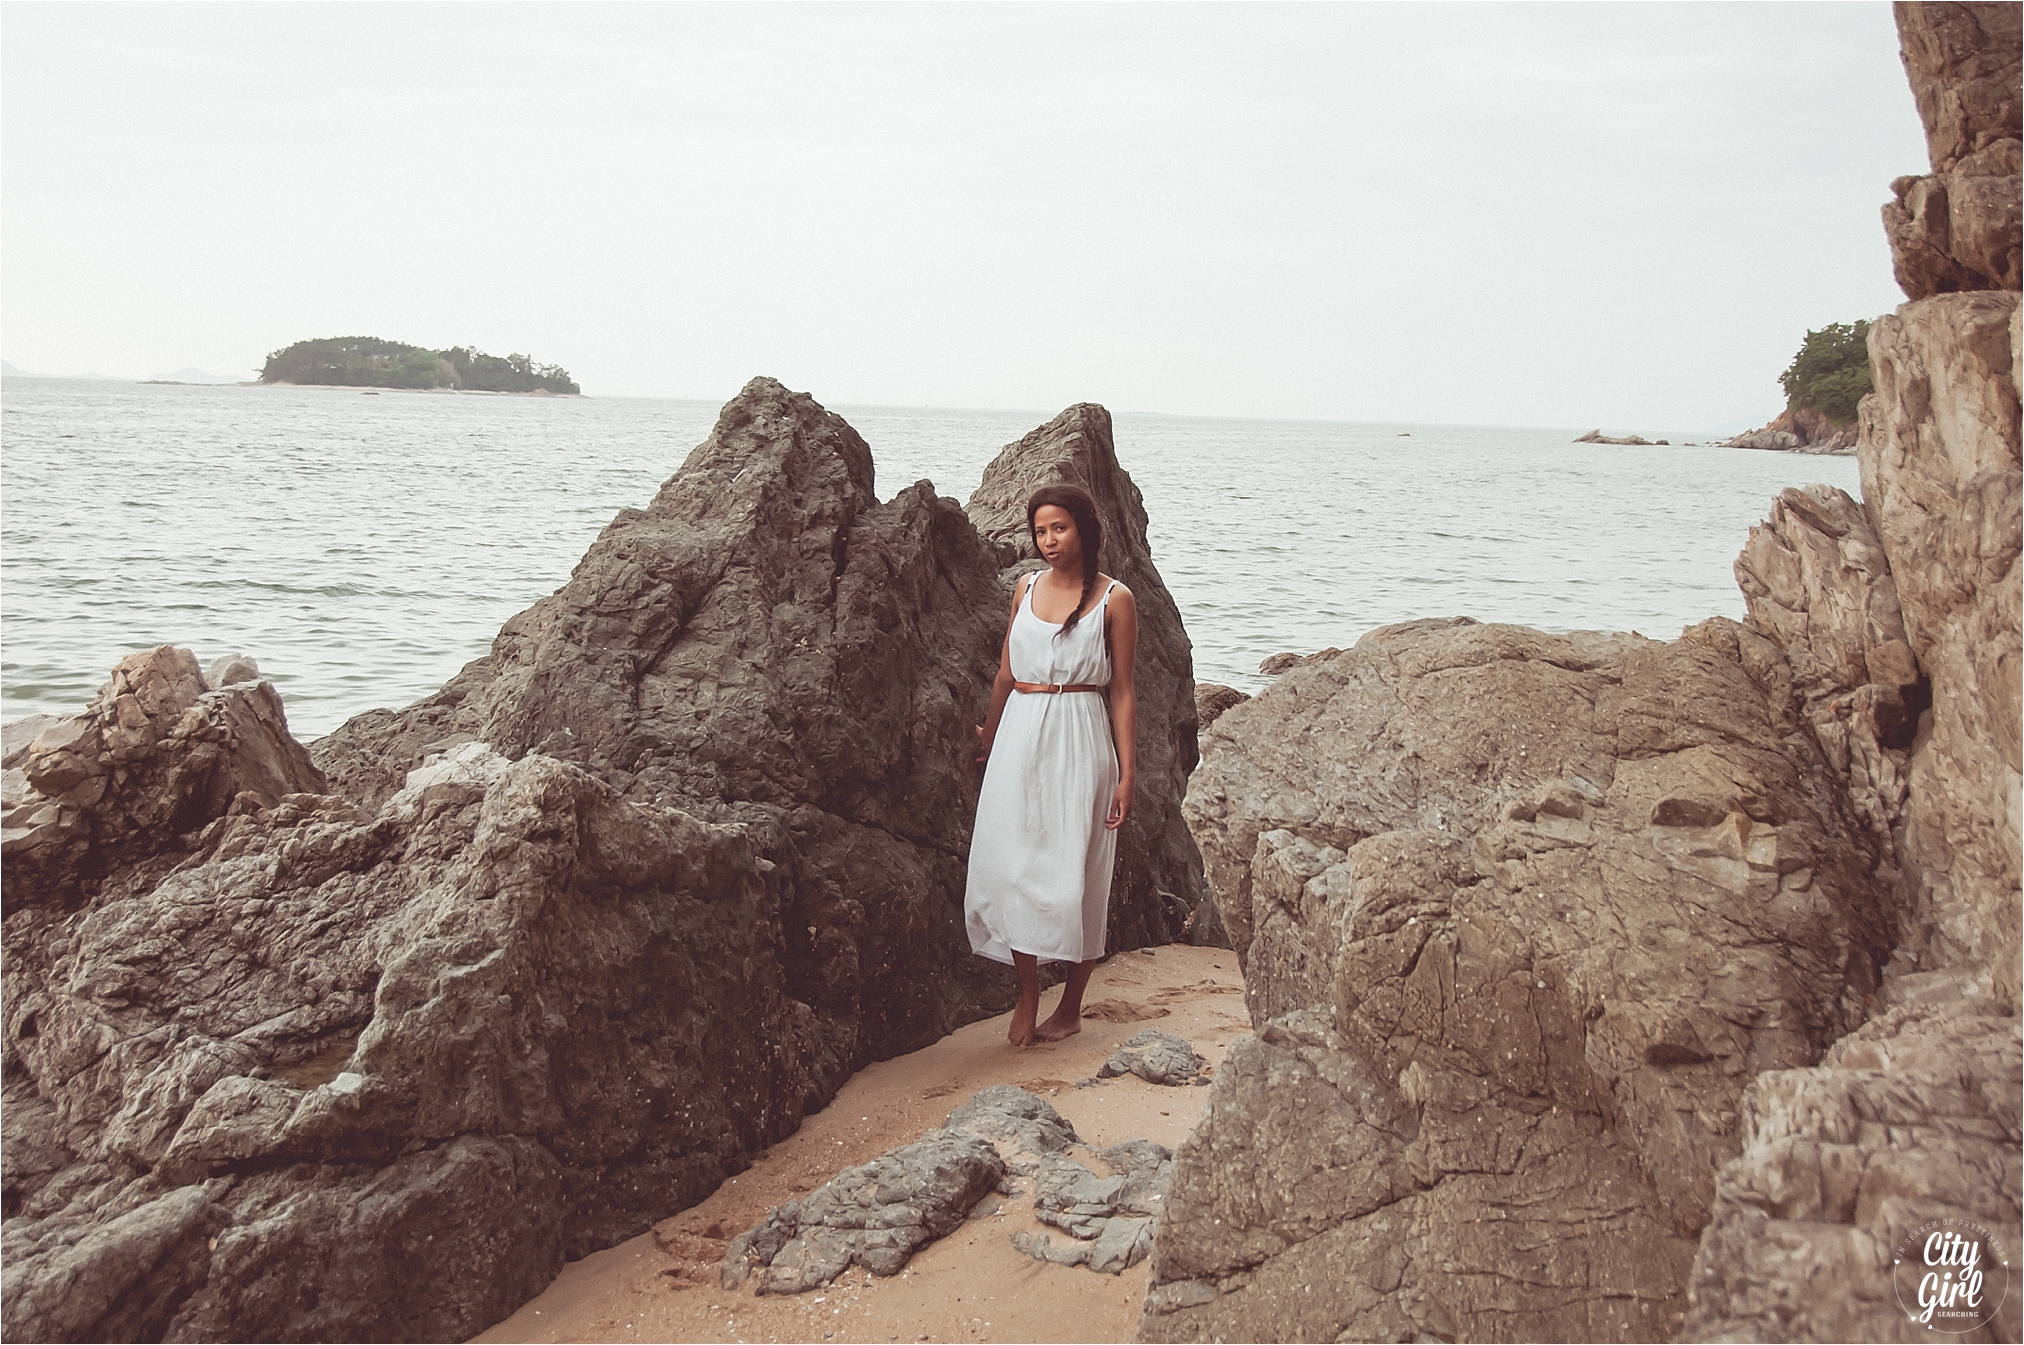
 Here are a few highlights from the shoot. I'd love to know your thoughts, please do leave them below.

We also have a few more ideas in the pipeline (f you are here in Korea, we might have a giveaway coming up soon so make sure to keep your eyes open for that). 


Sue Ann & Shannon {love shoot}

I took these photographs for a special friend when I was still living in Pietermaritzburg last year. The lovely couple got engaged shortly after our shoot, and were married last weekend. I wanted to share them again with you here on the blog.

It was Autumn in South Africa, and we made full use of the pretty light and colourful leaves.

Wishing you and Shannon every happiness in the the world as you embark on your new adventures together as husband and wife Sue! xxx 

As a photographer it's important to look back on your previous work, and see how much you've grown as a photographer. It's so important to continue to grow and learn...I loved this shoot that I did, and I like how the photographs turned out. But knowing what I know now about my camera there are certain small elements that I would change (for one making sure to back up all my images correctly and in a logical way...I had to download these from Facebook as I can no longer find the original files, so that will explain the slight fuzzy look to them!).

Does looking back at your old work inspire of frighten you? I'd love to know how you feel when looking back <3 x

Photography Styling Challenge {LIGHT}

Photo Styling Challenge

The theme for this months photo styling challenge was Light. I had grand ideas of building a studio, light painting the beautiful cherry blossoms happening here in Korea right now, fairy lights and mason jars but the last few weeks have run away with me and I used what I had at my disposal this morning. This included a new mint green succulent I found at a strawberry festival yesterday, my windowsill, pretty early morning light and a few bamboo shoots.

This is my sixth submission for Redesigned by M's Photography Styling Challenge which she started in June last year. You can see the previous photographs here: Morning, Bedroom, OrderPatterns and Fashion. In this challenge the photographs cannot be edited, and only a maximum of five images may be posted. This is always difficult for me as I tend to take so many photographs and I always struggle to choose JUST five. Each one appeals to me in a different way. But, in essence this is exactly the point of the challenge...to better yourself as a photographer and stylist. 

I chose to use the literal interpretation of light, and catch the early morning rays that come into my little kitchen window. I also wanted to photograph my new 'green' collection of bamboo and succulents, and then thought to myself...plants need light more than anything else to survive. They are the perfect encapsulation of the theme, but also, aren't they pretty!

I used the following settings on my NIkon d300s & 35mm 1.8 lens:

-ISO 250

-Aperture variation of 2.8

-Shutter-speed 500

-I had my white balance on indoor

And for the first time I played around with my exposure (I've never really known exactly what to do with it) and got a glimpse as to how it can lighten certain elements of a photograph. That's the thing with photography, there is always new things to learn, and it's always a fun journey.

Enjoy! x

As always I'd love to hear your thoughts.

Make sure to pop on over to the other participants and see how they interpreted this theme:

Redesigned By MAt The Corner Of Happy And HarriedMy Food TapestryInge Kathleen PhotographyA Woven LifeThe Delicious World Of Chefette SpicyA Tree Grows in the BayouI Live Under A RockHooked On HomesSamta PhotographyMiss Wang Photography

And a warm welcome  to our newest participant: SimplyVegetarian 777

Maehwa Spring Flower Festival in Gwangyang, South Korea

Traditionally one of Korea’s first spring flower festivals, Maehwa Village’s 83 acres of apricot trees cover the Baegunsan mountains with their white blossoms - Discover Korea

This past weekend marked the start of the spring blossoms here in South Korea. One of the first festivals is in Gwangyang (South Jeolla Province) about a 1.5 hour bus ride from Gwangju in Seomjin Village. Farmboy and I headed there last minute on Sunday to catch a glimpse of the pretty blossoms. As with most Korean festivals, we were left disappointed. Not disappointed with the actual blossoms (they were gorgeous!) but with the festival in general. There were so many people. The buses were delayed. The food on offer left a lot to be desired, and everything was over priced. I mean W3000 ($3 for a small can of Sprite?!). But, I'm glad we went along, even if just to remind ourselves of why we visit the beauty that South Korea has to offer on days before and after the designated festival dates.

It took us over 6 bus rides in total to get to Gwangyang, but that's only because we live in the sticks. From the Gwangyang Bus Terminal there is a shuttle bus to Maewwa that goes around the hour which costs W3600 a person. The timetable for the shuttle is on the hour every hour for the festival weekends, but we were able to get standing spots for the 30 minute journey at random intervals between the allocated shuttle times. From the festival grounds, we were able to buy return tickets all the way back to Gwangju. As the weather was so nice it turned out to be a great day. If you are thinking about going, make sure to pack a picnic and try to get there early, before the rest of Korea!

Address

33, Sicheong-ro, Gwangyang-si, Jeollanam-do

전라남도 광양시 다압면 지막1길 55

For more detailed info visit www.gwangyang.co.kr

How to style photographs for your blog

How to style your own photographs for your blog

This post is all about helping you create beautiful photographs for your blog, using tools that you already have around the house. I want to show you that you don't need to have a big, fancy camera to create pretty pictures.  All of these photographs have been shot using an Iphone 4S, and when edited, they have been edited in Instagram.

The most important part of blog posts for me, is the images and photographs that go along with the text. If a blog post has terrible photographs, now matter how good their content is, I tend to move on to the next one and probably won't go back. I am a very visual person, and tend to skim over long, wordy blog posts but if a blog has pretty, creative photographs I can spend hours pouring over the details of the photo's, and I'm always left feeling inspired for my own blog. So this post is going to give you some tips for styling your photographs and making them look beautiful, without the need for any fancy equipment.

5.JPG

Step 1 {Think}

Think about the type of photograph you want to take. Are you going for soft and whimsical, or clear and bright? The kind of photo you want to create will determine the sorts of props you will need to make it happen. I wanted to create images images for this blog post that made use of the pretty bits if stationery I have. Most of my stationery colours are pastel and so I decided to go for a muted, warm feeling and added a candle for a little extra ambiance. If you want to style photographs for a recipe post, think about bright colours (possibly adding a variety utensils/fruit/bowls/chopping boards to the mix to give it a kitcheny feel). 

Step 2 {Studio Space}

The base for most styled shoots is a white background/surface so as not to distract from the actual content of your photograph. White also reflects light and when paired with natural light (place your products near a big window for the best natural light) creates a beautiful, soft glow and always looks very professional. I used 2 pieces of white foam board from my local stationery store. One piece for the 'table' or rather to cover my horrible green crates that I use for height, and then I used the other for the background in some of my images. When I didn't use the white board for the background I made sure to set up my 'studio' with a simple section of wallpaper in our apartment.

My studio (unedited). As you can see, you really don't need anything fancy. I used these crates instead of the table as I could move them to the big natural light source in our bedroom.

My studio (unedited). As you can see, you really don't need anything fancy. I used these crates instead of the table as I could move them to the big natural light source in our bedroom.

Step 3 {Play}

Now that you've got your space set up you need to play around with your props until you are happy. Try different angles, try playing with height, move objects around. The options are endless. This is the best and the worst part of styling for me. I love making things look pretty, but sometimes it can take up to 20 tries before I am happy with the photo's. 

9.JPG
photo 1.JPG
6.JPG
8.JPG
photo 2.JPG
photo 1-1.JPG
photo 3.JPG
photo 2-1.JPG

Once you feel you've got some great photos, delete the ones you don't like (there's no use having 50 photographs of the same thing when you only need about 5 - 10 good ones). 

Styling your photographs is easy...you don't even need to be a very creative person, just play round with your props and have fun! You can read about more tips and apps for editing your phone pictures by clicking here and here.

5.JPG

Photography Styling Challenge {Fashion}

RedesignedByMPhotoStylingChallenge.jpg

Today is my fifth month contributing to a wonderful photography styling challenge started by Redesigned by M in June last year. 

The photographs cannot be edited, and only a maximum of five images may be posted. This is difficult for me as I tend to take so many photographs and I always struggle to choose JUST five. Each one appeals to me in a different way. But, in essence this is exactly the point of the challenge...to better yourself as a photographer and stylist. One of the biggest challenges for myself this year as a photographer is to shoot with more purpose, and not to just snap away and hope that 1 out of the 400 images i capture comes out exactly as I envision it. So yes, this series has been challenging, but I've learnt a lot about myself as a photographer and about my equipment too. I am very proud of myself to say that I only took 30 pictures for this shoot, I tried to put a lot more thought into each photograph. I had my husband as my model (he didn't enjoy being in front of the camera very much and there was such an icy wind...I had to shoot fast! But I'm very happy with how the photographs came out).

My first submission was for Morning {click here} followed by Bedroom {click here}, Order {click here} and Patterns {click here}. Each theme or concept is open to interpretation by the photographer, and it has been really interesting seeing how each of us has handled the themes in different ways. 

CGSPhotoStylingChallengeFashion1.png

Here are my five chosen images for this photography challenge. I styled my husband for the shoot, and we went outside into the back streets of our little town here in Korea to make use of the slightly grungy setting juxtaposed against my male model. It was my first time shooting a man (as opposed to my female models) and it was a lot more difficult than I thought it would be. My model didn't enjoy being in front of the camera much, so I had to work quickly and give out as few 'orders' as possible while still guiding him into the right poses that worked with the setting. 

I used the following settings on my NIkon d300s & 35mm 1.8 lens:

-ISO 400

-Aperture variation of 5.6

-Shutter-speed 200

-I had my white balance on cloudy and right at the end for the last two shots I changed it to the indoor setting and suddenly the photos were a lot warmer and more inviting (I kept both to show you the difference, if I had more time I would have shot them all on the indoor white balance setting, but thought it was a good exercise to help me learn more about white balance)

I am starting to include my settings used in this challenge to give you an idea of how you can recreate the style of these images. I am constantly learning every time I pick up my camera too, but I hope these help you a little in your photographic journey. 

As always I'd love to hear your thoughts.

Make sure to pop on over to the other participants and see how they interpret this theme:

Redesigned By M

At The Corner Of Happy And Harried

My Food Tapestry

Inge Kathleen Photography

A Woven Life

The Delicious World Of Chefette Spicy

A Tree Grows in the Bayou

I Live Under A Rock

Hooked On Homes

And a warm welcome to two new members in our photography styling challenge:

MeraKitchen

Miss Wang Photography

{Studio} My current favorite photo editing app

Studio Favourite App to Add Text To Photos

"What Instagram Did For Photography, This App Will Do For Design" Mashable

Studio-Design-App.jpg

I love how easy it is for me to share pretty content with my readers through my iPhone camera. Of course, the quality is nowhere near as good as my fancy Nikon. But, it's so fast, easy to edit (with fantastic apps like Instagram and A Beautiful Mess…click here for more tips on those apps) and most importantly, it's so easy to share content, that a lot of what I do post here on my blog has been taken and put together with just my phone.

Today I want to share with you my new favorite app. It's called Studio and it's free. You're welcome.

The app has a whole bunch of free 'packs' of text/quote overlays/images/graphics that are organized by theme. You download them right through the app and they appear in your 'Overlay' folder ready for use. There are some really nice ones for purchase too, but all of the above images I created with free overlay graphics.

The app works a little like photoshop in that you work in layers. Your image becomes the base image and you add text, graphics, frames, shapes, textures and a whole lot more on top of your photograph. You can change the colour of each of these elements, as well as swopping between them very easily. A lot of image editing apps don't have an 'undo' button and you have to start over each time you make a mistake. But Studio is super easy to use and make changes when you want to. You can also create really nice graphics (without the need for an image or photograph) very easily. This is really useful if you want to create graphics for your Facebook page or blog.

Studio also works as a social sharing platform, a little like Instagram, and you can 'like' pictures and comment away on anything that takes your fancy. And they are on android too so everyone can make pretty pictures.

Download it here for free!

If you do create something pretty, share it with me on my Facebook Page...I'd love to see what you come up with. 

x

IPhoneography

I recently wrote a guest post for the wonderful lifestyle blog A Bubbly Life written by the very sweet Laurel. In it I wrote all about my favorite two apps for editing photographs on your phone. I wanted to share the post here with all of you, and to tell you that I am going to be introducing you to another fantastic FREE app later on this week. You don't want to miss this one, it's like Instagram & A Beautiful Mess combined…it's beautiful. But for today, here is a quick post on tips for photography using just your phone.

image.jpg

As a blogger, I have come to really appreciate the true value of good quality photographs, and since getting my first 'proper' camera (the Canon pictured above) a few years ago I can really see the difference the photographs have made to my blog from a professional point of view. But, carrying a big, heavy camera around all day just to capture my coffee dates just get frustrating. And then I have to fiddle and play around with the settings to get the light just right, and never mind the editing that comes afterwards.

But, after getting my first iPhone last year, I cannot tell you how it has revolutionized my blogging. I am able to quickly snap bits of pretty-ness as I walk to work, sit at my desk and especially, while out and about with friends.

I can edit, add text and upload them to my blog in a matter of seconds. AMAZING!

Today I want to share with you my two favourite apps for blogging. I hope you find them useful. I have mentioned them both on numerous occasions on my blog and Facebook page, and that's because I think the are just wonderful.

One of them is only for the iPhone (Instagram) but A Beautiful Mess is for Android users too. If you know of any other great apps that you love to use, please pop me a comment below.

Happy Snapping!

instagramtips.jpg

Instagram has been around for a while, but it is still one of my absolute favourite apps for quick and easy editing on my iPhone. When posting photographs to my instagram feed I try and use the same filter so ensure consistency with my brand. It also looks a lot neater and is easier on the eyes when my photographs have a similar feel to them. But that is completely up to you, you can go wild with the filters and frames available and are only limited by your imagination! Download Instagram for free through Itunes.

Here are some images I've edited using the Valencia filter:

instagramvalencia-2.jpg

When you take photographs on your phone, play around with angles and make use of as much natural light as you can. Using a flash really takes away from the natural feel of your photographs and makes the look plain and artificial. Natural light is softer and more forgiving on people and products.

abeautifulmessapp.jpg

A Beautiful Mess is a photo editing app designed and developed my one of my favourite blogs...A Beautiful Mess. This app allows you to add backgrounds, make collages, add text, add cute doodles and frames and change the colour of each of those elements. Its super easy to use and the results are pretty amazing. I often get readers asking how I add all these effects to my photos, and it's so simple. This app has also recently been released for Android users. You can download it through the Itunes store for .99c

iphonephototips.jpg

All of the photographs above were taken with my iPhone 4S. Nothing too fancy, but with a little bit of time and thought, you can really make your pictures pop! Do you have any other tips for taking great photographs with your phone?

Look out for my new favorite app coming to the blog soon.