Introducing Joie D'vivre Artisan Camera & Binocular Sling Belts {GIVEAWAY}

JoieDVivreCameraSlingsSouthAfrica

Today I want to introduce you to Joie D'Vivre, artisan camera and binocular slings manufactured in the province of Kwa-Zulu Natal, South Africa.

Established in 2012, Joie d’ Vivre prides itself on the quality of their products, with individual attention given to each sling. Each sling is made from leather of the highest quality and the slings are finished with a protective solution to prevent everyday marks.

JoieDVivreCameraSlingSouthAfrica

Being proudly South African, most of the fabrics have been carefully selected from local fabric houses and many have been sourced from offcuts, old clothing and interior items. Plain leather, Beaded and Nguni Hide options are also available

JoiDVivreCameraSlingSouthAfrica

The camera slings fit a wide variety of cameras ranging from DSLRs & vintage film cameras to large Polaroid cameras. Joie d’ Vivre (meaning a strong love or enthusiasm for life in French) was established in 2012 by Courtney Jade Thatcher. A love for photography, fashion and a strong enthusiast of diversity may have inspired the brand, however a clear gap in the market is what motivated Courtney to develop the idea further into a product that can cater to almost any market within the sphere of photography. By personalizing the very tool used to represent yourself in society, we provide the opportunity to express yourself further. Young or old, conservative or liberal, celebrating the individual is the goal of Joie d’ Vivre.

Joie d'Vivre is giving away three of these beautiful straps to three lucky CityGirlSearching Readers. All you have to do is enter using the giveaway widget below. It's a very simple giveaway with very few steps. If you have any problems using the entry system please pop me a message by email or comment here on the blog.

You can gain an extra entry by sharing this giveaway on Facebook and Instagram. Just make sure to tag both @CityGirlSearching & @Joiedvivresa for Facebook shares, and @RoxyHutton & @Joiedvivrecamera for Instagram so we can track your entries.

This giveaway is only open to South African readers. Entries close at midnight on the 26th October. 

Here is a small selection of the designs that you can win:

joiedvivrecamerastrapssouthafrica

Good luck! 


New stock in my stationery store

CGSStationeryStore

I've just updated my stationery store (click here to start shopping) with lots of pretty new things. I've added new notebooks, pens, gift bags and tippex tape. For my South African readers I am no longer shipping to South Africa, as the postal service in SA is just too unreliable. If you would like to place an order, I will be home in January for 3 weeks and can bring your items with me in my suitcase. If we can arrange a convenient pick up place in Jhb or Durban/Pietermaritzburg then there will be no delivery costs whatsoever. 

For the rest of my readers shipping is as usual and your package will arrive within 2 weeks (I've already had happy customers receive their goodies in Australia, Canada, China and the US!).

Happy Shopping!

The Hanji Paper Festival in Wonju

HanjiPaperFestivalWonju

A few weekends ago we headed up to Gangwon Province in the north of Korea to see the Hanji Festival in Wonju. It was a rather far drive to make, but we were rewarded with a rather pleasant festival experience as there were very few people, unlike the rest of the festivals we have been to so far (Fall Leaves in Naejangsan and the Spring Flowers in Gwangyang). 

Hanji  literally means “the paper of Korea”. The main material is the fibrous skin of the mulberry. Hanji is not simply paper, as it is used in a variety of ways. Each different way has a different name according to its use.

"The manufacturing process of Korean paper is complicated, slow and laborious. The dry mulberry is cut after the frost has arrived and is peeled off after steaming. It is immersed in water for one day and, after being dried under sunlight, the bark is peeled off, steamed again inside an iron pot and immersed in caustic soda. The steamed bark is smashed inside a stone mortar after the water has been squeezed out. Then it is rinsed in water after being placed inside a wrapper. The washed mulberry is mixed with water and a natural adhesive. Next, the fibres are strained through a bamboo screen, which is shaken back and forth to create a crisscross pattern of fibres. The pulp is then dried by stacking it on a wooden panel and placed in the sun, completing the process." Korea Tourism

It was really interesting seeing how the paper is made, and seeing all the different ways it's used. A lot of the lanterns here in Korea are made with Hanji. The festival was over a 4 days, so even though it's over now you might want to visit next year (see info on how to get there at the end if his post).

This was also our first weekend away with our new puppy, Shadow (full post to come on him soon) and it was a rather interesting learning experience being around other people and lots of noise while carrying a new puppy. 

How to Get There:

151, Hanjigongwon-gil, Wonju-si, Gangwon-do
강원도 원주시 한지공원길 151 (무실동)

-From Dong Seoul Bus Terminal, take an intercity bus bound for Wonju.
-From Wonju Intercity Bus Terminal, take a taxi to Hanji Theme Park.
OR
Take bus 2-1 at the bus stop located across from Wonju Intercity Bus Terminal.
Get off at Youth Center (청소년수련관). Walk 10min toward Hanji Theme Park.
 

5 Tips for the Perfect Blog

Blog Tips for the Perfect blog

Here are my top 5 tips for the perfect blog. 

I spend a lot of time devouring blogs, and these are the elements that make up my favourite sites, which you can use to help your blog stand out from the crowd.

There are so many more I'd like to include, but here are my top 5 to help you get started.


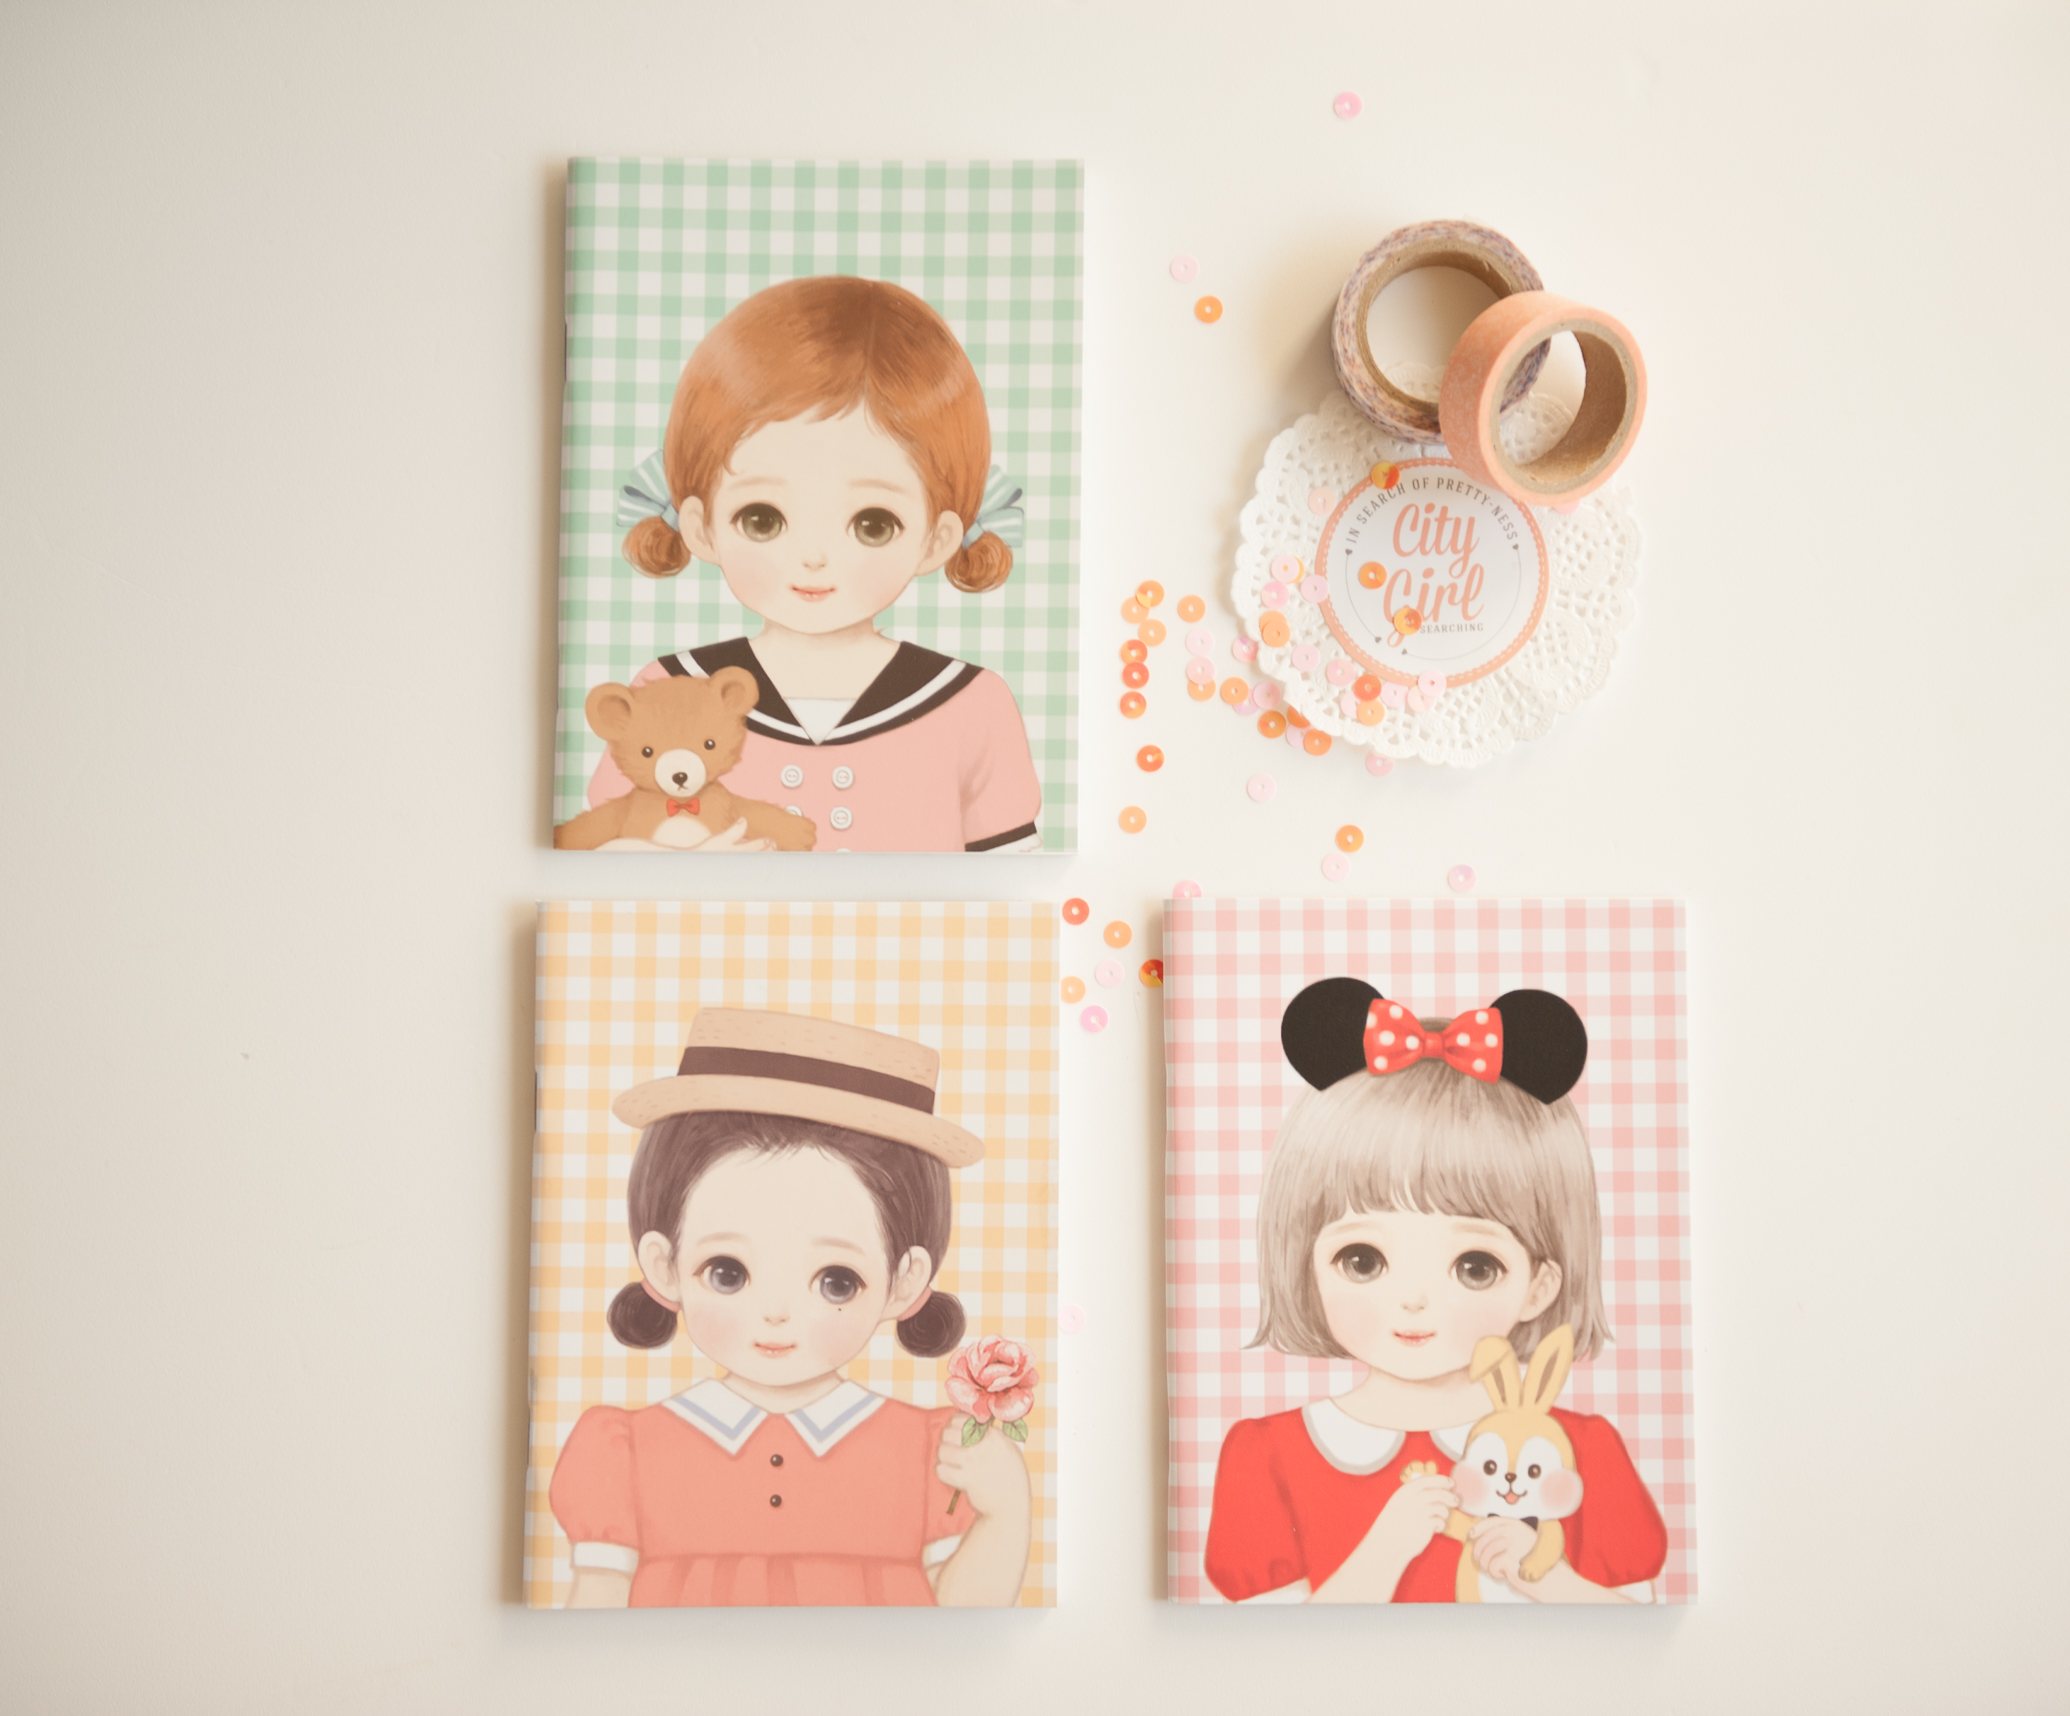
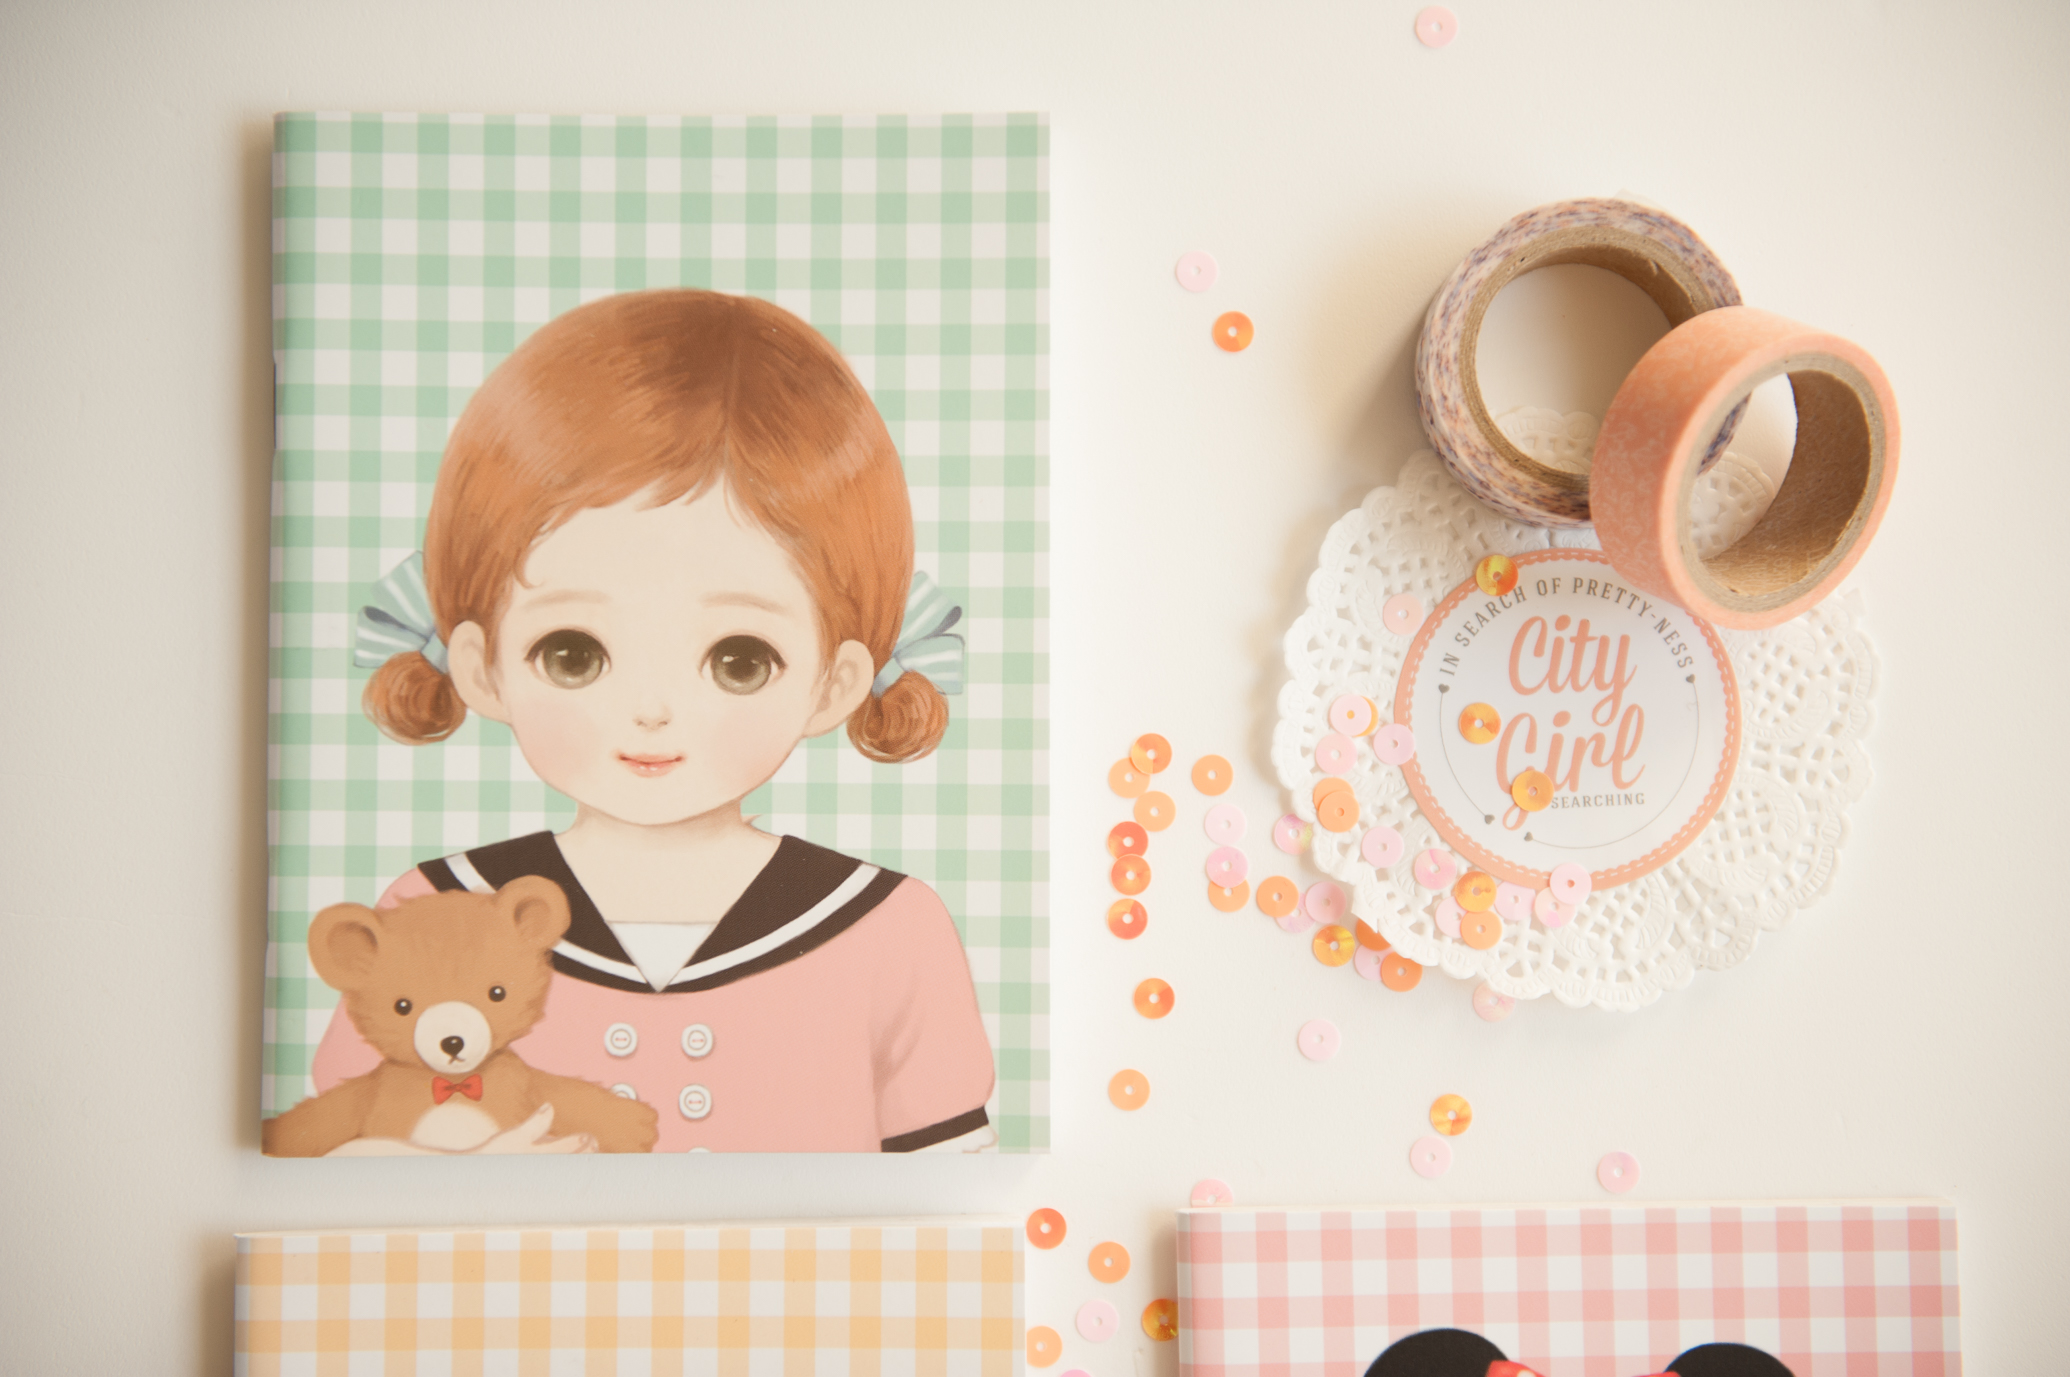
1. Clear and Concise Header graphic/image

I want to know what your blog is about from the moment I land on your site. If I have to dig around to find out what is is you actually blog about then I am more likely to loose interest and move on. I really like looking at blogs that are clean and free from clutter. Images and photographs are really important to me too, and so the image quality of blogs plays a huge role in my overall impression of the blog. This doesn't mean you have to have a fancy camera (click here for styling photographs from your blog using just your phone).

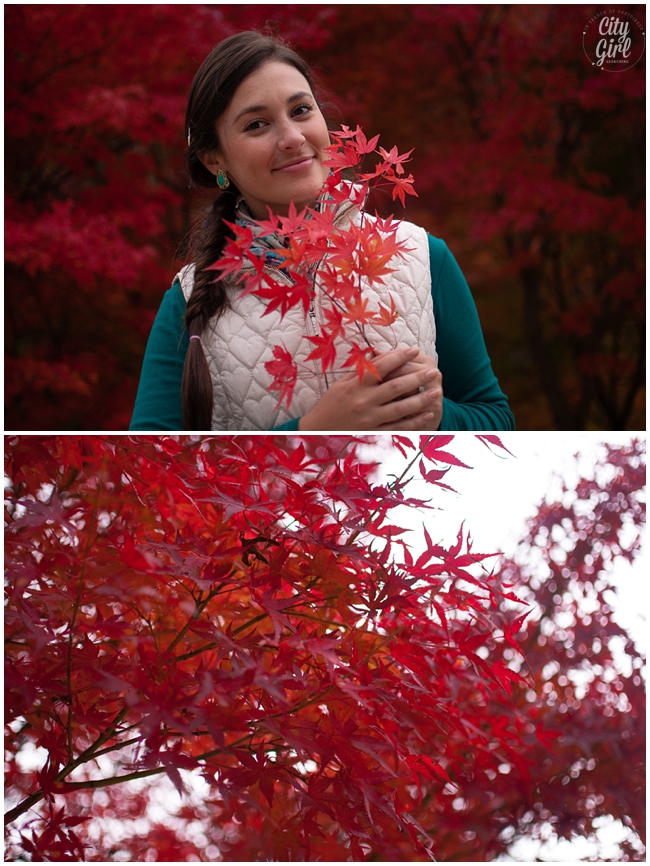
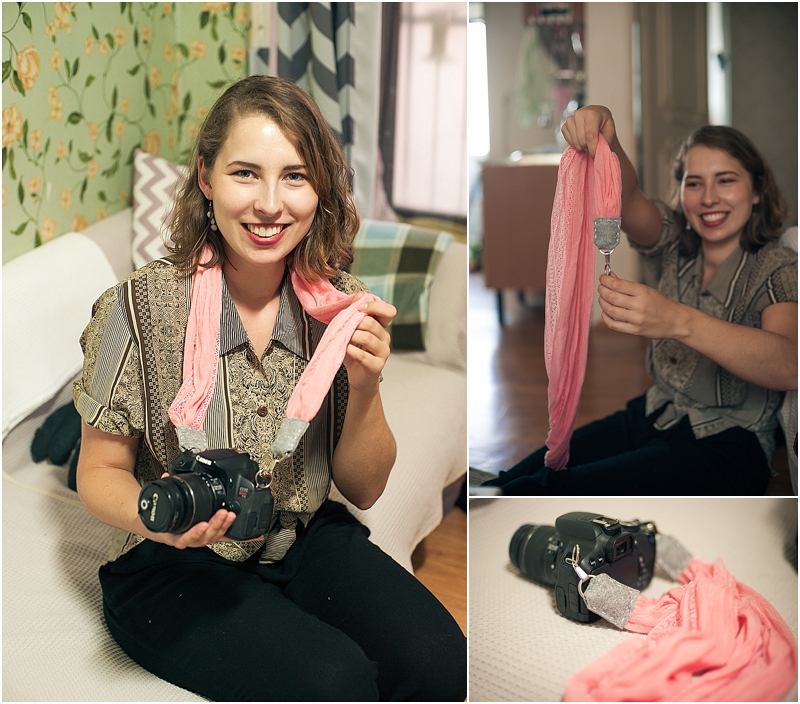
Try and take your own photographs and only use images from other blogs and Pinterest if you can cite the original source for the image...it's not really fair to use someone else's hard work on your blog without giving full credit (click here for more help in citing image sources). In the end it's much easier and safer to just take your own photographs for your blog. Don't worry if they don't look that great at first...practice makes perfect!

Back to the header.

-Your header could be a photograph with your tag line (a sentence that sums up what your blog is about).

-It could be your logo.

-It could be a graphic which incorporates all the things you like blogging about in an image or text form.

-Or it could be simply your blog name, and the rest of your blog could be summed up in a graphic in your side bar.

Take a moment to ask your friends or a family member the question that if they stumbled across your site, would they know what it is you blog about. If they're not sure then haul out your notebook and get brainstorming. I don't like very large headers that take up too much space on a blog, so I suggest trying to keep them their height small enough so that visitors are able to still see the first section of your latest blog post.

2. An About Page

Your readers want to know about you. They want to know who you are, where you are and what it is you do and blog about. Click here for an excellent resource on writing the perfect 'about page'. Help them feel connected to you by including a few fun and interesting facts about you.

Make sure your About Page is in an obvious place on your blog. Either in your menu bar at the top of your blog, or somewhere in your sidebar. Make it easy for your readers to find out more about you.

3. White Space

Keep your blog clean.

If you have a background image or pattern, make sure it isn't too distracting and that it doesn't take away from your blogs content. If you have a quick look at Pinterest, it's very likely that a lot of the most popular pins are products/items/rooms with a white or very light background. This helps your blog post images pop and draws your readers focus to what's really important...your content.

4. Image Size

Keep your blog image size consistent. This helps ensure your blog has a clean and well organized feel to it from the moment your readers arrive. You can use free online image re-size sites like PicMonkey or set your preferences before hand when exporting your images from Lightroom/Photoshop or Blogstomp.

It helps to know your blogs actual width (in Blogger you go to template>customize>adjust widths). Most PC computer displays are set at 1024 x 788.

My blog width is set to 1000 pixels so that my blog can be viewed on most screens without having to scroll sideways. You should be able to see the entire width of my blog on most computers and laptops. The exception is mobile devices, for which my blog automatically adjusts (mobile responsive) so that you can view the site by scrolling up and down and not having to scroll across to read the content.

My images are all formatted to be 650 pixels wide using my favourite image re size program, Blogstomp. You can also manually adjust your image sizes on your computer, but it's such a pain to do it for each photograph. As I shoot in raw, my photographs are HUGE and so Blogstomp takes care of all the heavy lifting, reducing my images from 4250 pixels wide to 650pixels. This is also important because if your readers are looking at your your blog from a slow internet connection, your pictures won't take forever to load. There's nothing worse than coming across a blog and having to wait for ages for the images to load. A lot of my readership is in South Africa, and I know just how poor the connection speed is there, and so I try to accommodate and make my pictures smaller and easier to load on their computers and mobile devices.

5. Clear Social Media Buttons

Make sure you have clear ways for your readers to follow you. This means displaying your social media links at the top of your blog, and then possibly underneath each blog post. This makes it much easier for readers to follow along and and be notified when you post something new. Make it as easy as possible for them to be able to contact you (via email or any of your social platforms).

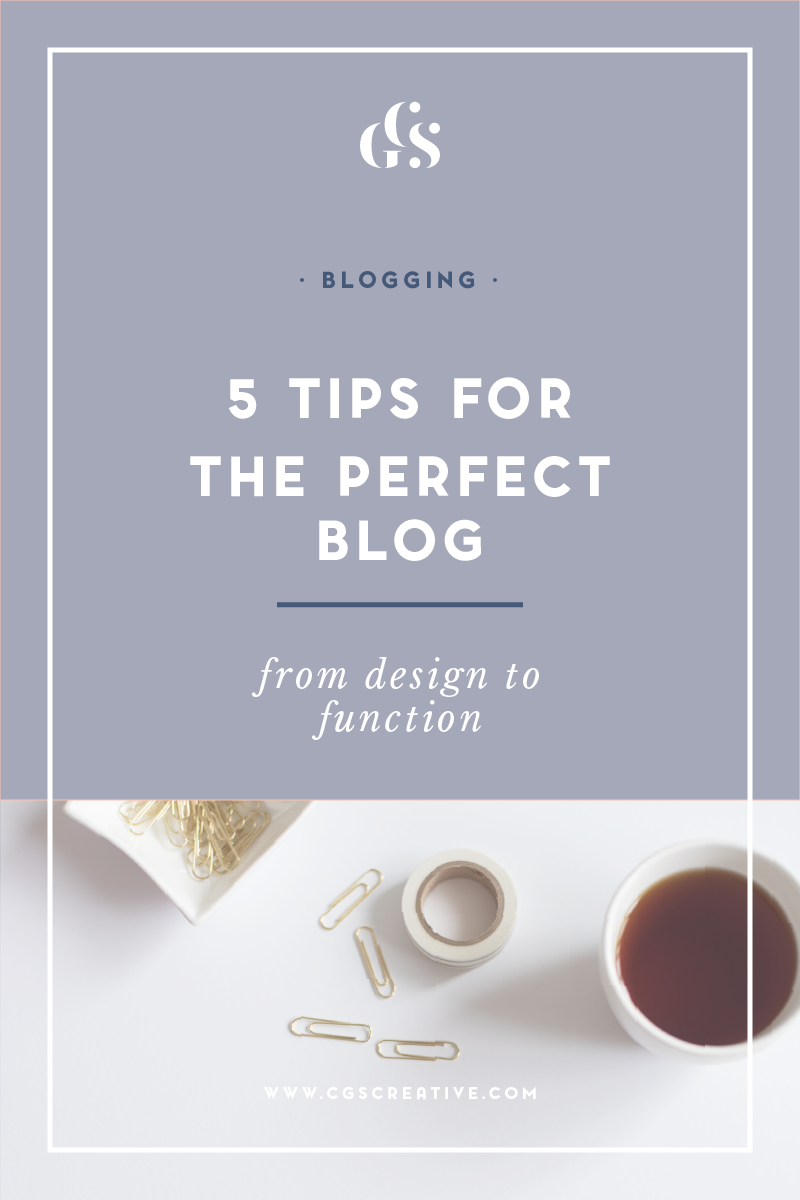
Pin it now for later! Hover over the image below to start pinning.

5 Tips for the perfect blog by CGScreative

Do you have any other tips you'd like to share? Please pop me a comment below, I love hearing from you!

Where to see the Fall Foliage in Korea this year.

AutumnFallLeavesKorea

Typically, mid-October into early November is the peak time to see the leaves turning here in Korea. Just as wonderful as the spring blossoms (click here) the Autumn/Fall foliage is breathtaking. For us South Africans, we just don't get sights like this back home. The trees turn of course, but it's just nothing like the sea of red and yellow that greets you here in Korea.

The four best mountains to see the Autumn colours are Naejangsan (내장산) just outside of the town of Jeongeup, Jirisan (지리산) which is close to Namwon, Seoraksan (석악산) in Gangwon Province and Gwanaksan (관악산) which is closer to Seoul. 

Last year we only made it to Naejangsan (pictured below) and this year I hope to make it to Jirisan. As with many outdoor activities here in Korea, be prepared for the crowds! We were stuck on a bus for 2 hours making our way to Naejangsan, due to the hoards of people and cars, and eventually jumped off the bus and decided to walk the 5km road from the base of the mountain to the actual main viewing. It was a logistical nightmare. But, as long as you know it's going to be chaos and you are prepared for that, you will be rewarded with stunning sights.

Seoul Iris Park

Seoul Iris park, things to do in Seoul, summer in south korea, life in south korea, parks in korea

At the end of June a friend and I went off in search of the Iris Park in Seoul. I had read that the Irises usually cover the park in an array of beautiful coloured blooms from May to June. But, we had arrived too late and were only able to spot one or two flowers hidden among the rest of the greenery of Changpawon Park.

There are 130 species of Irises in the park, as well as a Medicinal Botanical Garden. The park also has a wetland in the middle of it with a wooden deck from which you can see lotuses and other aquatic plants. The par itself isn't very big, but there are lots of shady grass areas and benches to enjoy a picnic lunch on. It was well worth the visit, and I am making sure to get there next year to see all the flowers in full bloom.

The park is open from 07h00 - 20h00.

How to get there

How to get there : Dobongsan Station (Subway Line 1, 7) Exit 2.

Walk out of Exit 2 and cross the main road, walking away from the subway line. The park will be in front of you.

#DiyDaysinKorea {second meetup}

#DiyDaysInKorea

A few weekends ago I organised the second #DIYDaysInKorea get together for crafty ladies here in South Korea. 

It was such a nice opportunity to spend time together, without spending a whole lot of money but while still having fun.  There was good food, delicious Pimms cocktails, laughs and a whole lot of DIYing (not too much from my end, I like to think my DIY part comes in taking the photographs!).

We even have a Pinterest board for us to share ideas and inspire one another, we're cool like that. If you're here in Korea and you'd like to join in the next time we get together (it will be sometime in November), join our Facebook group (click here), we'd love to have you!

If you would like to join our next meetup just pop on over to our Facebook group, we will be getting together sometime in November. 

Introducing...The Beauty Wolf

TheBeautyWolf

There are millions of beauty bloggers out there, some producing high quality reviews, and others that are just a bit sad to look it. I have developed quite an interest in graphic design lately, and when I stumbled across The Beauty Wolf's blog you'll understand why I fell in love; and why you will too.

I love finding blogs that are unique, that set themselves apart from the rest of the crowd, especially those that do so unpretentiously. These are the kind f bloggers that inspire me to blog, that inspire me to keep producing content, and to keep doing so in my own 'voice' and style.

This is what you get when you pair the already gorgeous packaging of South Korea beauty products with a keen eye for detail and design...Introducing The Beauty Wolf:

Coco, the wonder woman behind The Beauty Wolf, is an American born graphic designer who currently lives in Montreal, Canada with her husband and little girl. You can find her work here:

Blog

Facebook

Twitter

Instagram

Please let me know of any other great beauty blogs that you love reading. I'm always on the lookout for new blogs to peruse!

Celebrating Two Years of Marriage #farmboyandcitygirl

Today marks Farmboy and my two year wedding anniversary. And to celebrate I'm going to go a little wedding crazy and post a whole bunch of photographs from our special day in September 2012.

We were married on Farmboys family dairy farm in Creighton, KZN South Africa in a large stone barn, and then had our reception in the cow shed. It was the most perfect day. Here are a few of my favourite photographs taken by our photographer Jacki Bruniquel

You can read about our wedding (including all the small details like our hand made wooden tables, stationery, sourced vintage cutlery, my hair and makeup and everything else by clicking here).  

Roasted Chickpeas {recipe}

RoastedChickpeasRecipe

A friend introduced me to this hearty & healthy snack a few weeks ago, and since then I have been trying to perfect my own version. Chickpeas, also called Garbanzo beans, are high in protein as well as being low GI, as a snack they keep you feeling fuller for longer, helping to keep hunger pangs at bay. They are also said to lower cholesterol, so all in all a very good addition to your diet. As with most legumes they are higher in carbs, so don't eat a whole bowl by yourself, sharing is caring!

I have only ever used chickpeas to make hummus, and even then I would cheat by using the can variety, which saves the hours of soaking that goes into the dry ones. Here in Korea it can be rather difficult getting your hands on anything that is not a staple of the Korean diet, and as far as I can tell, my Korean co workers have never heard of chickpeas. I did however find a 1kg bag of them at the Asia Mart, opposite the Jeonju Bus Terminal for W6 000. 

You need to preferably soak chickpeas overnight to soften. If you don't have time to leave them overnight, they can be boiled on the stove too. Boiling on the stove will still take about 2 hours to soften. Click here for more ways to cook them without soaking overnight. 

After soaking, discard the water (you will notice it has a brownish tinge to it) and place the beans in a large bowl. Now you add your choice of seasoning. 

RoastedChickepeasRecipe

To roast the chickpeas you need oil and your choice of seasoning spices. I used Grapeseed oil as we didn't have any olive oil. I then used salt & blackpepper, Ina Paarmans Chicken spice (we stocked up on Ina Paarmans and other seasonings when we came over from South Africa), Robertsons Salt & Vinegar and celery salt. Combine the oil and spices with the chickpeas, rolling them around until coated.

Roastedchickpeasrecipe

Then pop them on a roasting pan, and roast on a high heat for about 30 minutes. Make sure to keep checking on the oven so they don't burn. I used a sheet of tin foil to cover my baking tray to avoid the clean up that usually follows roasting.

Remove from the oven and enjoy. They are best enjoyed straight out of the oven while still warm.

RoastedChickPeasRecipe

Happy Friday

Happy Friday everyone!

I hope you have a *sweet* day and a fun filled weekend ahead.

Tomorrow is the second #DIYDaysInKorea meet up. I'm looking forward to baking this afternoon and seeing all the wonderful ladies who are coming along to share a Saturday afternoon with creativity, good company and as always...good food. 
 

WishTrend Korean Beauty Products with Free Worldwide Shipping

WishTrend is a Korean online beauty store which stocks some of Korea's most loved products. One of my favourite items they stock is the Klairs Illuminating BB cream (you can read my full review by clicking here) which I just love and which is still a firm favourite in my foundation routine. 

WishTrend is currently offering a selection of their best products with FREE WORLDWIDE SHIPPING!

Now you can get your hands on some of the products that help Korean women look so young and vibrant, well into their fifties, sixties and even seventies! That was the first thing I noticed about the women here, everyone looks so young! The older ladies especially, have the most beautiful skin (a few have surgery to thank for that) but for the most part women learn to really take care of their skin from a very early age. 

Here are the products I have my eye on.

This serum claims to brighten the skin, help heal scars, remove blackheads, and tighten pores. From what I've read on other Korean beauty blogs this little brown bottle delivers on it's promises and I going to be purchasing some for myself very soon.

Click here to order.

I haven't done too much research into these eye lash curlers, but I mean really, how cute and nifty are they? The wand is heated up so that when you brush it through your lashes, each lash is curled and the heat locks the curl in place, meaning luscious long and curly lashes, for much much longer. Besides, the white and gold one just looks so fancy, it belongs in my makeup bag.

Click here to order.

You can read my full review of this BB cream by clicking here

This is a slightly more unusual product. A powder spot treatment by Enca. It comes in a small, travel-friendly bottle (15ml)  and a little really does go a long way with this product and so the 15ml will last you for quite a while. You apply the powder to the offending area using a cotton bud or leave overnight and let the active ingredients do their thing. Seems to work remarkable from the blogger reviews I have seen, and need to get my hands on a bottle soon. 

Click here to order.

Do any of these products sounds like something you'd like to try? Wishtrend is also throwing in extra sample sizes of the Klairs Gentle Black Sugar Scrub with all orders if you use the following code: WISHGIFTSEP2014

Happy shopping everyone!

Disclosure: Financial compensation was not received for this post. Opinions expressed here are 100% my own. This post contains affiliate links, which means I receive a small commission should you make a purchase using one of the links.

DIY Gold Animal Fridge Magnets #DiyDaysinKorea

DIYGoldAnimalFridgeMagents

Welcome to the next instalment in my #DIYDaysInKorea series. These posts are about making beautiful things for your home (whether that home is in South Korea or South Africa, or any where else in the world).

If you are based here in Korea and would like to join one of my DIY days (we are having our second meetup this weekend...click here to see what went on at the last we had in June) you can pop on over to the Facebook group for more information.  It's a wonderful place to meet new friends and spend an afternoon.

I hope you enjoy this series and that you leave feeling inspired.

x


DIY Gold Animal Fridge Magnets

DIYGoldAnimalFridgeMagnets

What you need

-plastic animals (I found these at my local Daiso here in Korea)

-can of spray paint (I found this gold one at my local DC Mart)

-saw/sharp knife to cut your animals in half

-heavy duty magnets (I found these small round ones at a local stationery store here in Korea)

-super glue

-drill to bore holes in the plastic (we bought our drill online through Gmarket...click here for the link))

DIYGoldAnimalFridgeMagnets

Directions

Using your saw or sharp knife, cut your animals in half. Try to keep cutting as straight as possible to ensure your magnet will be flush against the fridge when you're done.

Use a drill bit that is the same or a similar size to your magents. This is where I would suggest round magnets as then inserting the magnets is much easier if the hole is the same shape.

Then spray paint your animals in your desired colour. I found gold spray paint the the local DC Mart here in my small town in Korea. Leave to dry overnight.

DIYGoldAnimalFridgeMagnets

Finally super glue your magnets into the back of your animals and leave to dry.

DIYGoldAnimalFridgeMagnets

Here are some photographs of my magnets on the fridge. They are the perfect thing for holding up snail mail packges from friends (like this one from Nadia) and of course my favourite free monthly printable calendar from HappinessIs.

Introducing Innisfree, my new favourite Korean Skincare & Makeup brand

InnisfreeSouthKorea

Lately I have been spending more and more time wondering down the aisles of Innisfree, one of Korea's most loved skincare and makeup brands. Innisfree  is known for being South Korea's first all-natural brand, and is one  of the few Korean brands that use organic ingredients certified by France's ECOCERT organization. 

I have just found them on Instagram, and wanted to share their beautiful feed with you. You can follow along here @innisfreeofficial

A friend and I spent a rather unhealthy amount of time (and money!) at Innisfree yesterday, and I can't wait to share my reviews of these new products with you.

Here Is what I picked up this weekend: 

Have you tried anything from Innsifree? Any recommendations on products your love? Leave me a comment below, I'd love to hear from you!

Stationery Store Special

I've got an exciting special coming up on all items in my stationery store!

The offer will only be available to my blog subscribers so make sure you sign up by clicking here, you don't want to miss out on this one!

Have a wonderful weekend everyone!

Jeju Island over the Chuseok holiday

JejuIslandChuseok

This past weekend was a wonderful 5 days for those of us teaching English here in Korea. It was the Korean Thanksgiving, Chuseok, a time when Korean families get together to celebrate. Many Korean people visit their ancestral home towns, escaping the big cities to spend time with grandparents and other family members.

Farmboy and I headed off to Jeju Island with two friends for 4 days of camping and exploring. It was our second time on the island (we visited Jeju back in 2010 when my mom came to visit us here when we were living in Korea the first time) and it was such fun to revisit the places we explored together, and take photographs in the same spots. Back in 2010 Farmboy and I had only recently started dating so it was a special time to look back on our first holiday memories together.

These photographs were taken by Storm, my stylist and partner in crime to the styled shoots I have been doing lately. I will have my photographs up in the next few weeks once I get to editing them. Storm has a great eye, you should pop onto Instagram (@StormRossSa) and follow along in her journey here in Korea.

Malaysia Travel Guide and The Perhentian Islands

MalaysiaTravelGuide

Farmboy and I visited Malaysia in August last year (2013).  You may be thinking of heading there soon (or sometime in the future) so to help you plan your trip, I have put together a travel guide for the places we visited, as well as some tips from our stay. Please keep in mind that my husband and I may travel very differently to you, and have different likes and preferences for things. I prefer the more luxurious path, while Farmboy would stay in a hammock for the entire trip if he could. So we plan accordingly, and of course, try to stick to the budget. 

Malaysia is predominantly a muslim country, this is something to keep in mind for a few reasons. Alcohol is very expensive there, and in some places forbidden. Also, try and research which national or religious holidays are happening during your trip. This may seem obvious to some people, but it was something I had never thought to research. We were there over Ramadan and were staying on the Perhentian Islands at the time. The island we were on basically shut down for the week and we could only find a handful of places to eat at. Bear that in mind when making your final bookings.

We spent 8 days in Malaysia. After landing in Kuala Lumpur, we headed straight to the Perhentian Islands by overnight bus and spent the rest of our trip there.

CityGirlSearchingMalaysiaTravelGuide

Perhentian Kecil

The Perhentian Islands are made up of 2 islands, Kecil & Besar. Besar is the more family friendly island, and Kecil is the livelier island made up of backpackers and part goers. We spent 5 nights on Perhentian Kecil in a range of accommodations. We weren't able to find any places to book online and so had to join the hoards of people on the first boat in who had to walk up and down the beach in search of a place to stay. We were envious of the French couple who whipped out their booking confirmation on the boat, and then proceeded to amble their way to the only fancy looking resort on the island. We were insanely jealous, as the rest us on the boat kept eyeing up the competition to see who would make it off the boat first in search of a room for the night. This is why we now try to book at least 60% of our accommodation before hand. From Kuala Lumpur you can take an overnight bus to Kuala Besut which is where you then catch a small boat to the Perhentian Islands. Once on the islands there are plenty of taxi boats that you can take to get from one island to the other for about US$15 one way if needed.

MalaysiaTravelGuide

We caught an 8 hour overnight bus from Putra Station to Kuala Besut (-+US$20 pp) which stopped at the port at about 4am. We found out later that AirAsia has numerous cheap flights from KL - Khota Bharu, from there it's an hour taxi ride to the port at Khuala Besut.

From the port it's a 45 minute boat ride in a small, fiberglass boat (watch your belongings...everything gets wet!). The speedboats take you just short of the shore, from where you take a mini 'taxi' boat to the beach. It's completely unnecessary, but unavoidable as the main boat won't stop any closer to the shore. It's a cheap transfer (about US$2 a person) but still very annoying. From there it's a short wade ashore through knee-deep water with your bags (keep that in mind when packing!). When leaving the islands, there is a jetty from which you leave from, which makes things easier for the return trip.

Kecil Island is small enough to explore in one day. There are 2 main beaches, Long Beach (usually where you are dropped off by the boat) which houses all the backpackers and night life. And then Coral Bay. Coral Bay is the place to go for spectacular sunsets, slightly cheaper prices, and small private beach coves. The snorkeling is better at Coral Bay, but the swimming is better on Long Beach. It's only a 15 minute walk through the Jungle from one side to the other.

I highly recommend staying at Ewans Place (click here for his facebook page). His was the only restaurant open during Ramadan and he was so helpful in organising us a last minute room, after a few pleads and batting of eyelids. The rooms are simple, but clean and more than adequate. Nothing fancy, but they are situated in the middle of the island, away from all the noise of Long Beach. 

PerhentianIslandsTravelGuide

While both Kecil & Besut Island share the same diving sites, the dive operations on Perhentian Kecil are slightly cheaper than those on Perhentian Besar. Daytime dives can be as cheap as US$25 each depending on the company and distance to the site; night dives cost around US$40. We don't have our diving licenses, but packed our own snorkels and goggles from Korea so we have the freedom to snorkel wherever we want to.

PerhentianIslandTravelGuide

Khota Bharu

After our stay on the Perhentians we headed back to the mainland port of Kuala Besut and caught a taxi to the airport at Khota Bharu. We had booked flights using the AirAsia app on our iPhones (having our iPhones with us has been a life saver on many a trip, their GPS location mapping and the apps for booking hotels and flights with the click of a few buttons have made traveling so easy). There were 4 of us to share a taxi (about $20 for the hour long trip but you can haggle the price). Once we got to Khota Bharu we had some time to kill and headed to the main market in the town square. It was such an interesting experience, well worth a stop at.

A FEW TIPS

  • If you're short on time, look to see if you can find cheap local flights on sites like AirAsia (this has saved us so much time and we have been able to book flights for reasonable prices). Download the AirAisa app, it's super easy to use. For Malaysia we booked our internal flights for about $120 last minute for two people from Khota Bharu to Kuala Lumpur
  • When booking flights be sure of what is included in your flight booking, especially with Air Asia. We booked flights for Malaysia for really cheap, and then only after booking did we realise that we could only take carry on luggage (which was restricted to 7kg's a person, and they were super strict at the airport, weighing all our bags including my big camera bag).
  • Take your smart phone with you. We didn't have data, although we were told that sim cards were readily available and pretty cheap. But we were able to jump on some free wifi in cafes. The GPS function on our iPhones was an absolute life saver, as it functions in helping you navigate, even when not connected to wifi.
  • Jot down your expenses, this helps you stay on track. We took only cash for our 2 week trip and writing what we spent where helped us to stay within the budget 
  • Download the Orbitz and Hotels.com apps on your phone. By booking through the app you usually can get good discounts discount and can book last minute. When we were there in 2013 there were no places on Perhentian that you could book online, but this might have changed by now.
  • Visa Requirements: For South African/UK/US/Canada/New Zealand/Australia passport holders, no visa is required for 90 days. You need to have a passport that is valid for 6 months after your departure date, so if you arrive on the 1st of the month and leave on the 30th of the month, the passport should be valid for 6 months from the 30th of the month.  If you passport is not fully valid your airline may not allow you to board and the immigration authority will not permit you to land in Malaysia.
  • Pack a sense of humour. You will get lost. You will fight with your husband/boy friend/friends. You will get sick at least once and you will have an amazing holiday all the same. 

Is there anything I've left of the list? Any places you'd recommend in Malaysia? Or any tips you think should be included here, pop me a comment below. 

If you have any questions about our trip feel free to leave me a comment below and I'll get back to you soon.

Happy travels!

[This is the second travel guide I have done, click here to see my guide to Vietnam]

The best brunch in Seoul... SuJi's Deli in Itaweon

Sujis diner in Seoul, best brunch in Seoul, things to do in Seoul, Places to eat in Korea, western restuarants seoul, pancakes seoul, brunch korea

A quick Google search for the ultimate places to brunch in Seoul will show you a decent number of places to get your fill of a good old fashioned greasy fry up. But, as Seoul is a long way away from our little town, we wanted to make sure we weren't going to be disappointed as we often are with breakfasts here in Korea.

Suji's seemed to be ranked as one of the original brunch spots. So, armed with a bunch of very hungry South Africans we headed off to stuff our faces.

We were delighted with what awaited us...

Prices were what we had expected for a restaurant that caters for the Western market, pricey but totally justifiable. I mean, look at the size of the pancake platter.

Their menu is extensive and has something for everyone.

Everything was delicious (except the tea...who premixes frothed milk into English Breakfast?!) but the orange juice and burger made up for that.

It gets full very quickly, so make sure to get there early if you are a large group. Or just to be safe, call ahead (Tel 02.797.3698) and make a reservation.

Directions

서울특별시 용산구 이태원로 134, 2층 & 3층
2nd & 3rd Fl, 134 Itaewon-ro, Yongsan-gu, Seoul

Take Subway line 6 and get out at Itaewon, Exit 4.

It's all the way on the end of the main Itaewon drag, close to the McDonald's and right next door to SkinFood which is what you'll see when you reach the end of the road walking towards Noksapyung Station.

Tel 02.797.3698

Website: Sujis Diner

Opening Hours

Deli Cafe: 8am - 9pm 7 days a week

3rd Floor Restaurant: 11am - 10pm weekdays & 9am - 10pm weekends/holidays

Autumn Festivals in Korea 2014

FestivalsInKoreaSeptemberOctober2014

Summer will slowly be drawing to a close here in Korea, and with that we can expect a break from the humidity and of course something that Korea is very famous for, it's Autumn/Fall foliage.

Here is a list of upcoming festivals to look forward to in September & October. The leaves won't be turning yet, that happens towards mid November, but there are enough interesting things to see before that happens.


September 2014

25th September – 28th September Wonju Hanji Festival in Wonju (Traditional Korean Paper)

Hanji Theme Park in Wonju-si, Gangwon-do

26th September - 5th October Andong Maskdance Festival

Downtown Andong, Talchum Park, Hahoe Village and surrounding areas in Andong-si, Gyeongsangbuk-do

Source

Source

26th September - October 5th Suncheon Bay Reeds Festival

Suncheon Bay in Dongcheon, Suncheon-si, Jeollanam-do

Source

Source

October 2014

1st October - 12th October Jinju Lantern Festival

Namgang River in Jinju-si, Gyeongsangnam-do

1st October - 5th October Gimje Horizon Festival

Byeokgolje in Gimje-si, Jeollabuk-do

1st October - 5th October Anseong Namsadang Baudeogi Festival

Anseong Matchum Land in Anseong-si, Gyeonggi-do

Source: VisitKorea

Source: VisitKorea

2nd October - 11 October Busan International Film Festival

Theater District in Nampo-dong, Suyeong Bay Yachting Center, Haeundae Beach, and other locations in Busan

Busan InternationalFilmFestival

3rd October - 9th October Mungyeong Traditional Chasabal Festival (Traditional Tea Bowls)

Mungyeongsaejae Provincial Park in Gyeongsangbuk-do

Source: VisitKorea

Source: VisitKorea

October 4th - October 8th Gwangju World Kimchi Culture Festival

Jungoe Park in Buk-gu, Gwangju

Source

Source

23rd October - 26th October Jeonju Bibimbap Festival

Jeonju Hanok Village in Jeonju-si, Jeollabuk-do

Source: VisitKorea

Source: VisitKorea

Thank you to Visit Korea for the above information. 

Self Portrait Challenge // week 2 The Mirror Selfie

WeeklySelfPortraitChallenge

This is a challenge to photograph a self portrait image {or two} every week for the rest of the year. By forcing myself in front of the camera I hope to learn a thing a two about posing my models and clients, and perhaps be creatively inspired to try a few new things that scare me. Click here to see the previous posts.

I am also included all the settings I used to take these photographs, in case are interested in recreating them or want to know more about how I take my photographs. 

Enjoy!


The Mirror Selfie

SelfPortrait

Camera: Nikon d700

Lens: 50mm 1.4D

Settings: ISO 400 Aperture F/1.6 Shutter speed 1/200 sec

Post editing: basic exposure & noise correction in LightRoom

SelfPortrait

Camera: Nikon d700

Lens: 50mm 1.4D

Settings: ISO 400 Aperture F/1.6 Shutter speed 1/200 sec

Post editing: basic exposure & noise correction in LightRoom, black & white conversion


Would you like to join the challenge? No fancy cameras needed. You can even use your phone. This challenge is a fun way to challenge yourself to get in front of the camera, instead of hiding behind it. I'd love for you to join me!

Enjoy the rest of your weekend everyone.

x