Hosting a Giveaway using Punchtab

Recently I hosted a giveaway here on the blog with the sweet Sarah of Polkadot & Stripes. It was wildly successful. Why? Part of the reason was the wonderful goodies up for grabs, but I think what made it so successful was my choice of giveaway platform.

I tried out PunchTab, which I found to be super easy (and free!) to set up, and even easier for my readers to enter. You can upgrade on the site by paying a fee, but I found my basic account to be more than adequate.

There are a number of other platforms out there which offer a similar service (such as Rafflecopter and Wildfire). I haven'r tried out these two platforms, but from the research I did, PunchTab seems to have impressed a lot of people. 

Unlike the traditional method of people commenting on your blog post to enter, with PunchTab, users have a variety of methods with which to enter. The more ways they enter, the more entries they get. You get to customize exaclty what you would like your readers to do (tweet about the giveaway, answer a question, like you on facebook etc). And the best part, you don't have to manually count and enter each entry into another server like RandomOrg to choose a winner. As soon as the giveaway is over, with the click of one button, PunchTab automatically picks a random winner. Its so easy! You can also choose to download a list of emails that your readers used to enter your giveaway to add to your monthly newsletter or to send out thank you emails etc. 

Here are some stats I thought would be worth mentioning about the giveaway I ran a little while ago:

For my little blog, my readers churned out a total of 631 entries. Ok, the total number of people who entered was 112 but that means that they each must have entered at least 2 or 3 times. The reason they were able to was because I made it easy for them. 

There's nothing more frustrating than a complicated list of instructions for entering a giveaway. Help your readers out and make it easy for them. And save yourself a lot of time in tallying up all the entries too!

Have you tried PunchTab before? Can you recommend any other platforms that have worked well for you in the past? Drop me a line below, I'd love to hear from you!

How to edit photographs for Instagram

When I first got on the Instagram train I was intimated by all the incredible images on my feed. Never in a million years did I think I would ever get more than one like (thanks hubby!) and never did I think people would comment and tell me they loved my feed. 

I'm still learning as I go, but here are a few tips that I hope you'll find useful. 

The best piece of advice anyone ever gave me was this: "If you're feeling uninspired, find images that you feel drawn to and try and recreate them". You'll stimulate your creativity and learn just how to create the images that you enjoy looking at. Then use that knowledge to create your own original material. 

I recreate images I love for my own personal use, I don't want to infringe on anyones copy write, but at the same time we all have to start somewhere, and thats a pretty good place to start.

Here are a few tips of how to take your photographs and what apps I use to edit. The photograph on the left is the original image, and the one on the right is the 'after' product.

All of the photos below were taken with my iPhone 4s.

Think carefully about what you want to photograph. Think about the different angles you can take the photograph. Think about using/not using props, as well as your background. Some of the most beautiful images I have seen have plain, white backgrounds that don't distract.

Then snap, snap snap. Take 2 photo's of the same thing, heavens go ahead and take 100! Each time try change one thing and then look at which ones you like the best.

Natural light works wonders! Try placing objects near a window for soft, natural looking images. Bright natural light when enhanced with Instagram effects, for example Valencia, will give you a similar look and feel to these two images below. 

I mainly use the wonderful A Beautiful Messapp when editing for Instagram. It's one of my favourite apps for adding text, frames and cute doodles onto photographs. A lot of the images in my Instagram feed have been edited in the A Beautiful Mess app, and then uploaded to Instagram and run through different effects until I am happy

A Beautiful Mess app can be found on the Itunes store (click here). The app itself costs $.99 and is packed full of features. You can purchase additional effects/doodles/borders/text easily through the app itself. I have the basic $.99 version and its perfect for what I need.

To see more of my photographs on Instagram, follow along @roxypearce.

I hope you've found this helpful, if you have any questions please pop me a comment below.

Happy snapping!

xxx

{DIY} Washi Tape your computer cord

DIY Washi Tape Your Laptop Charger and Cables CityGirlSearching

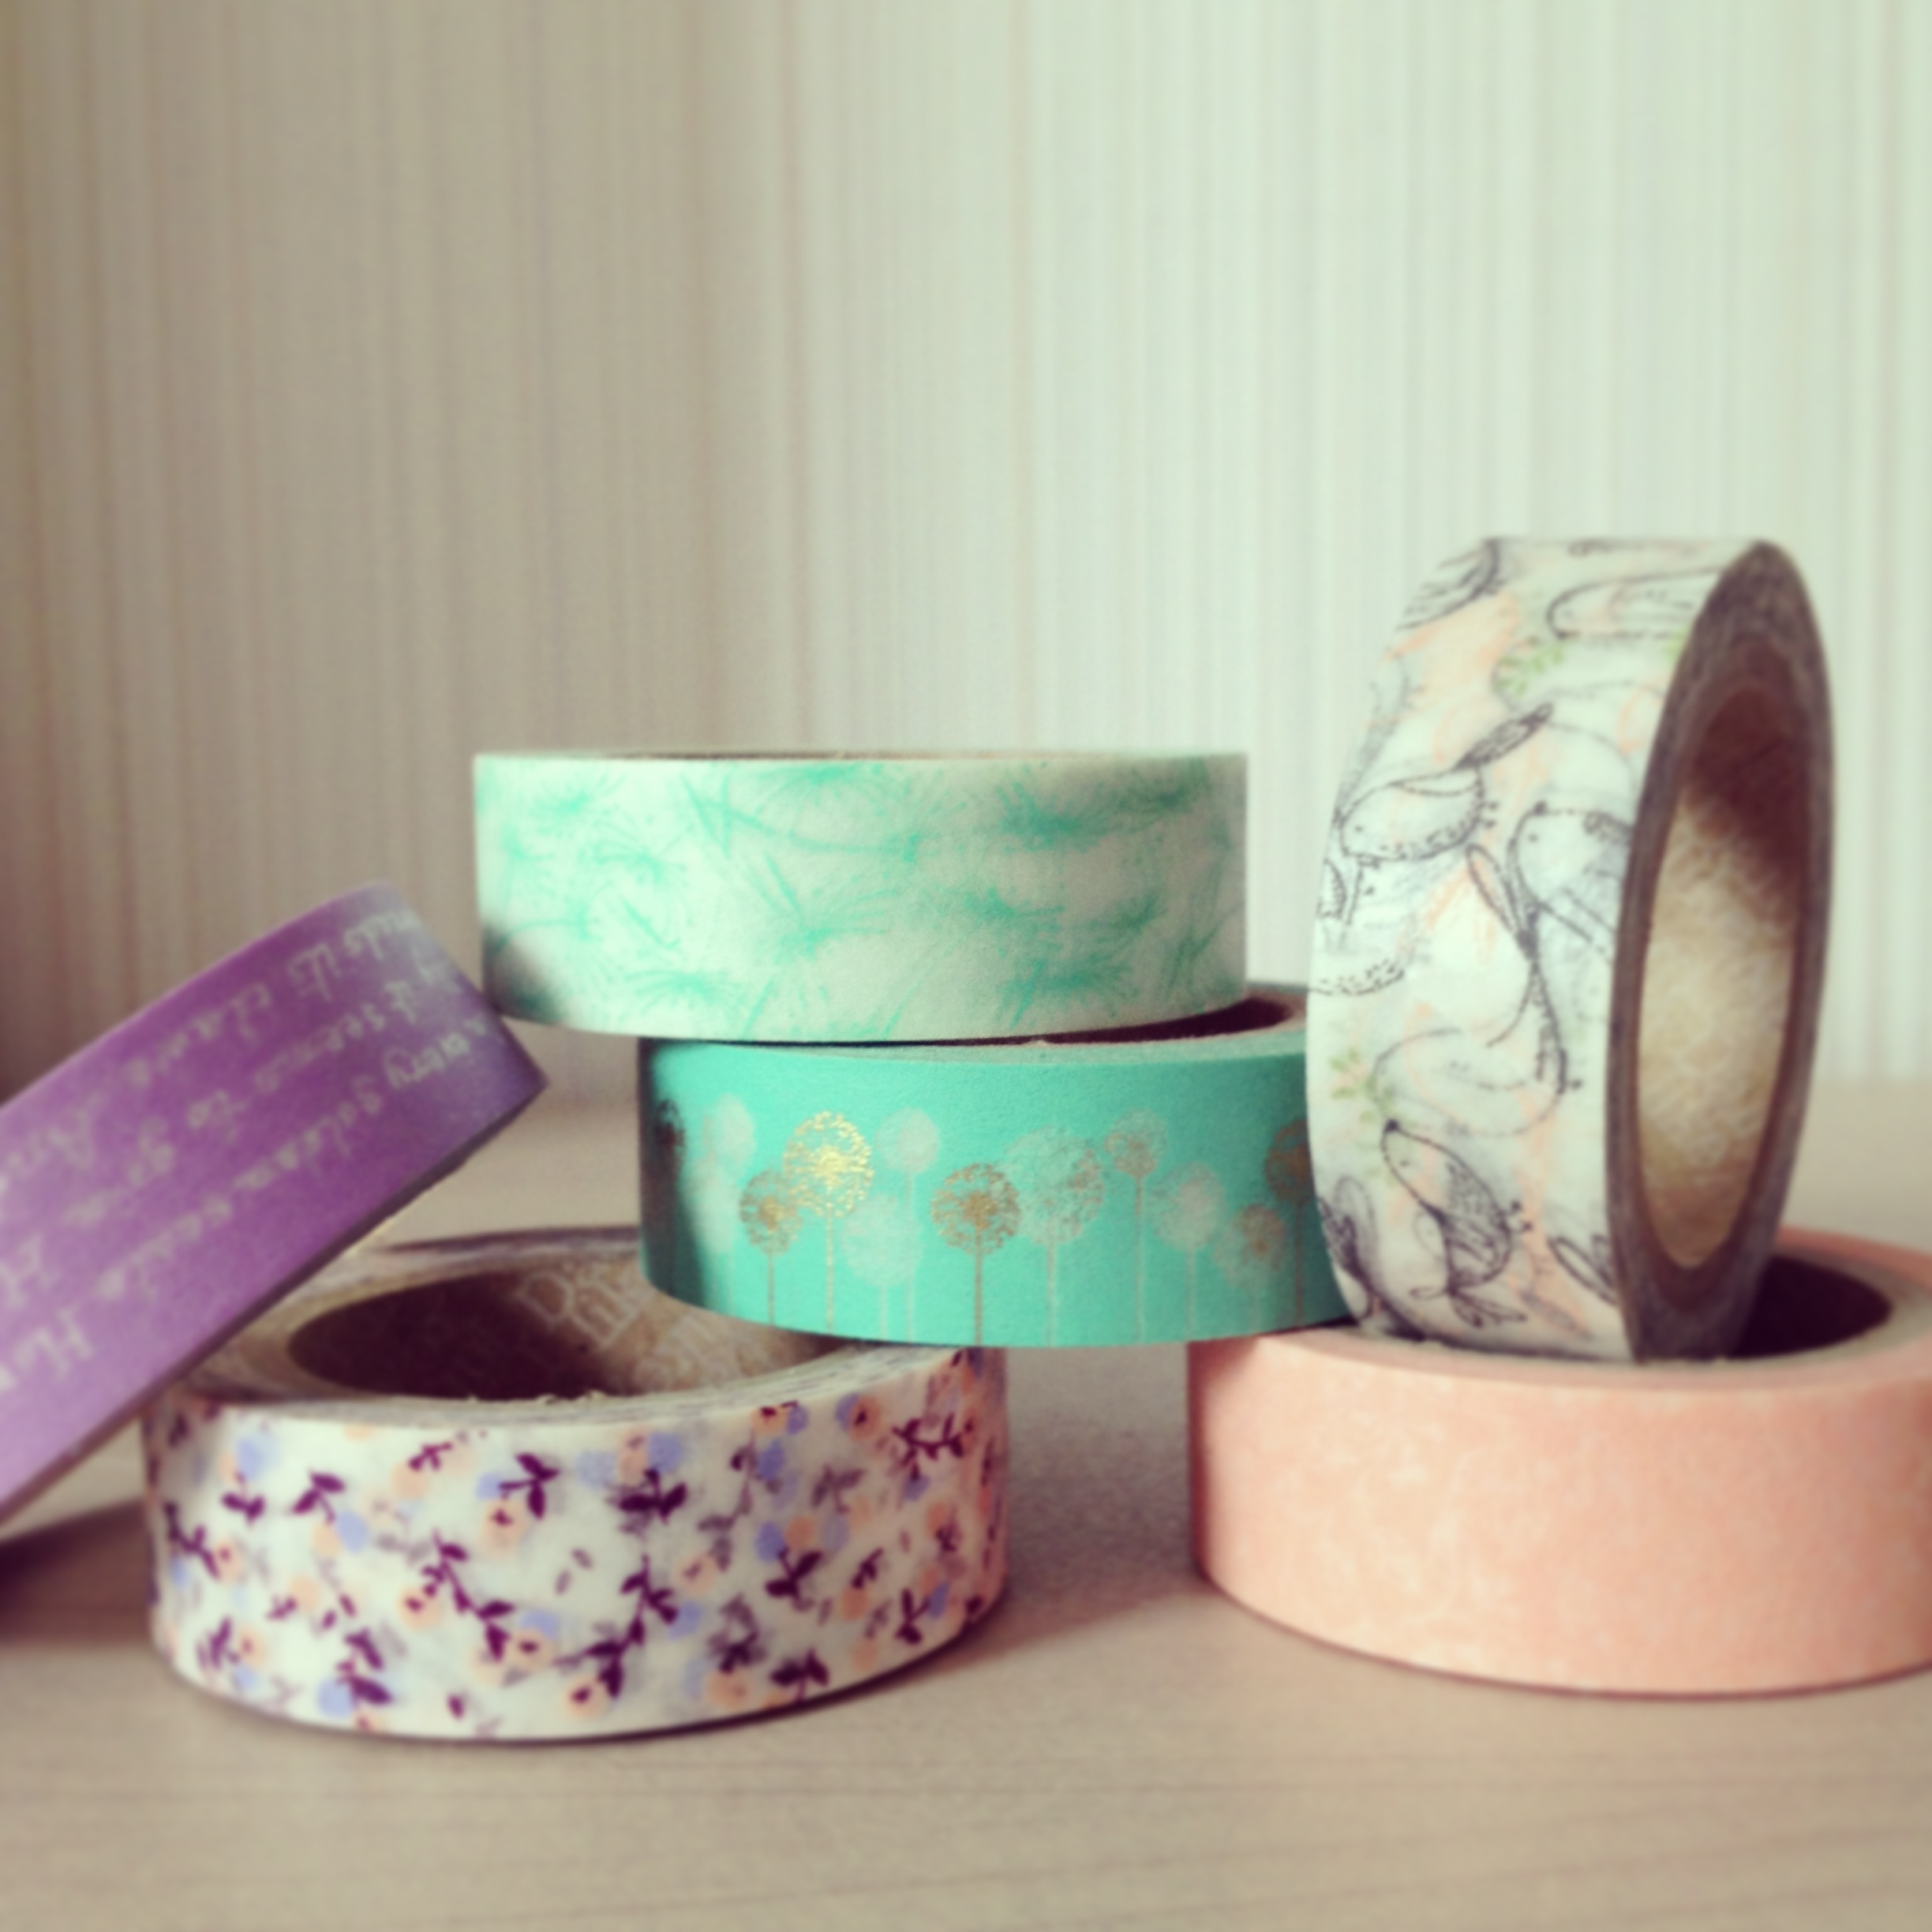
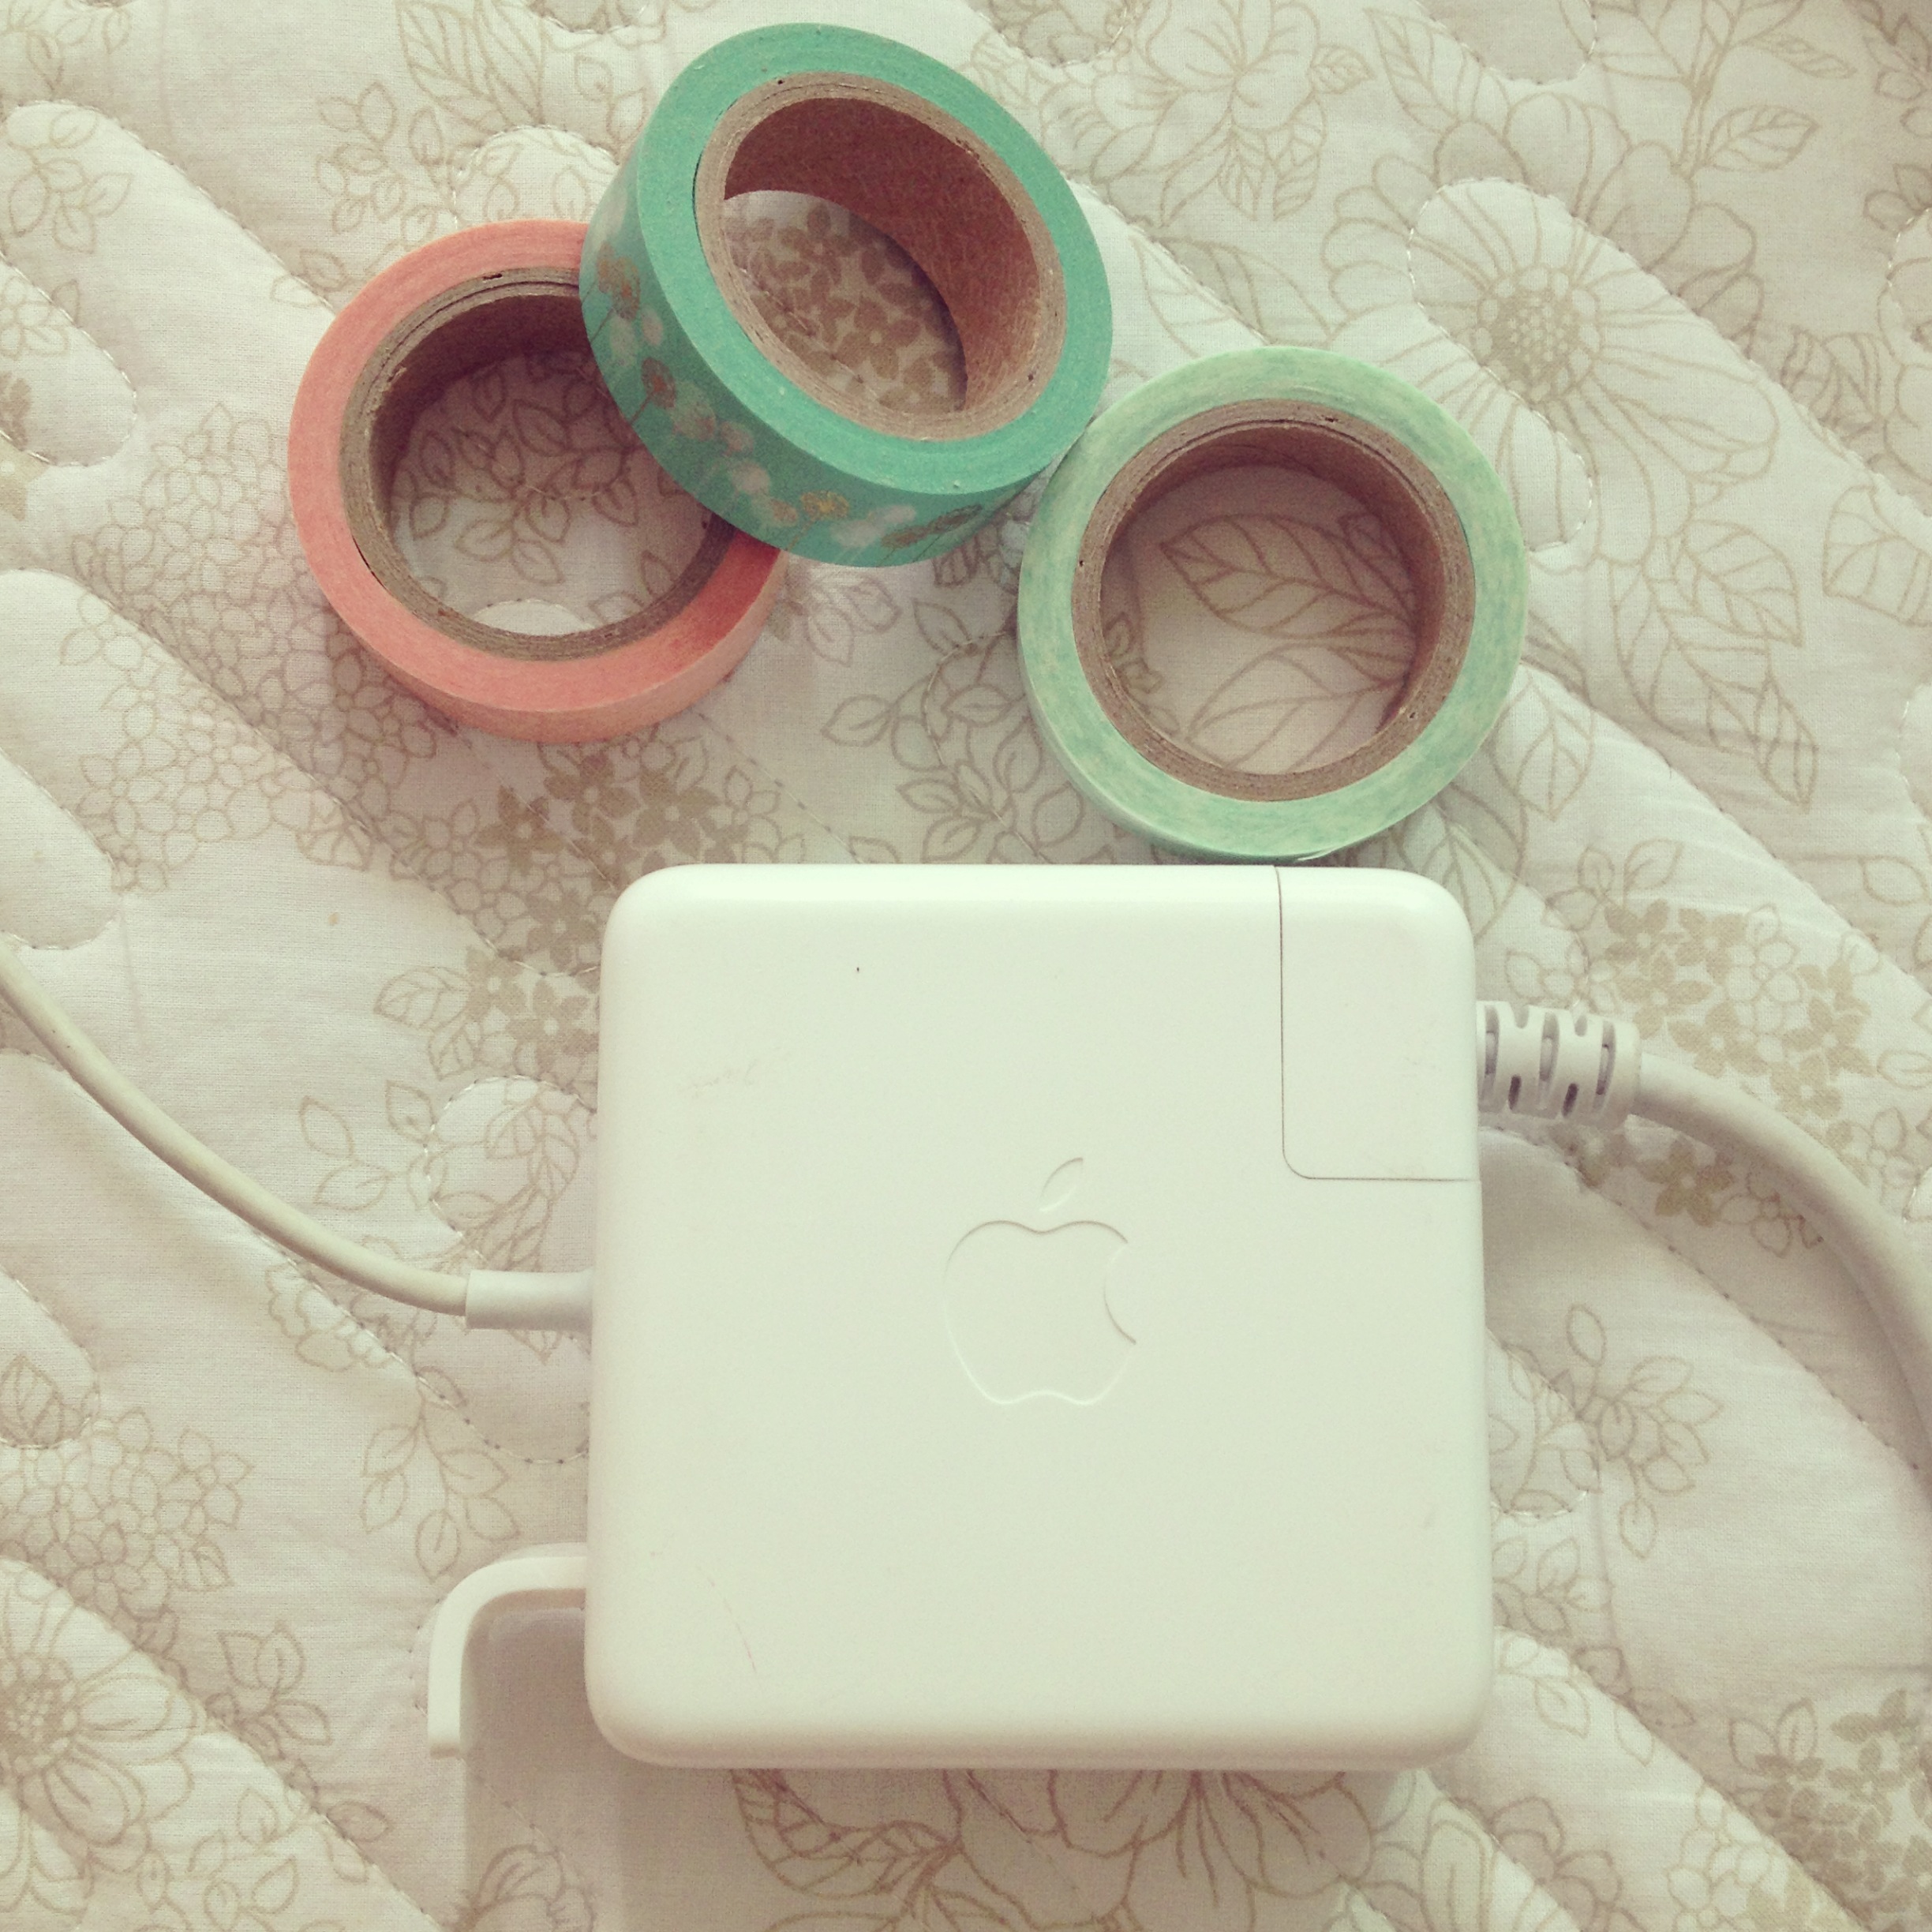
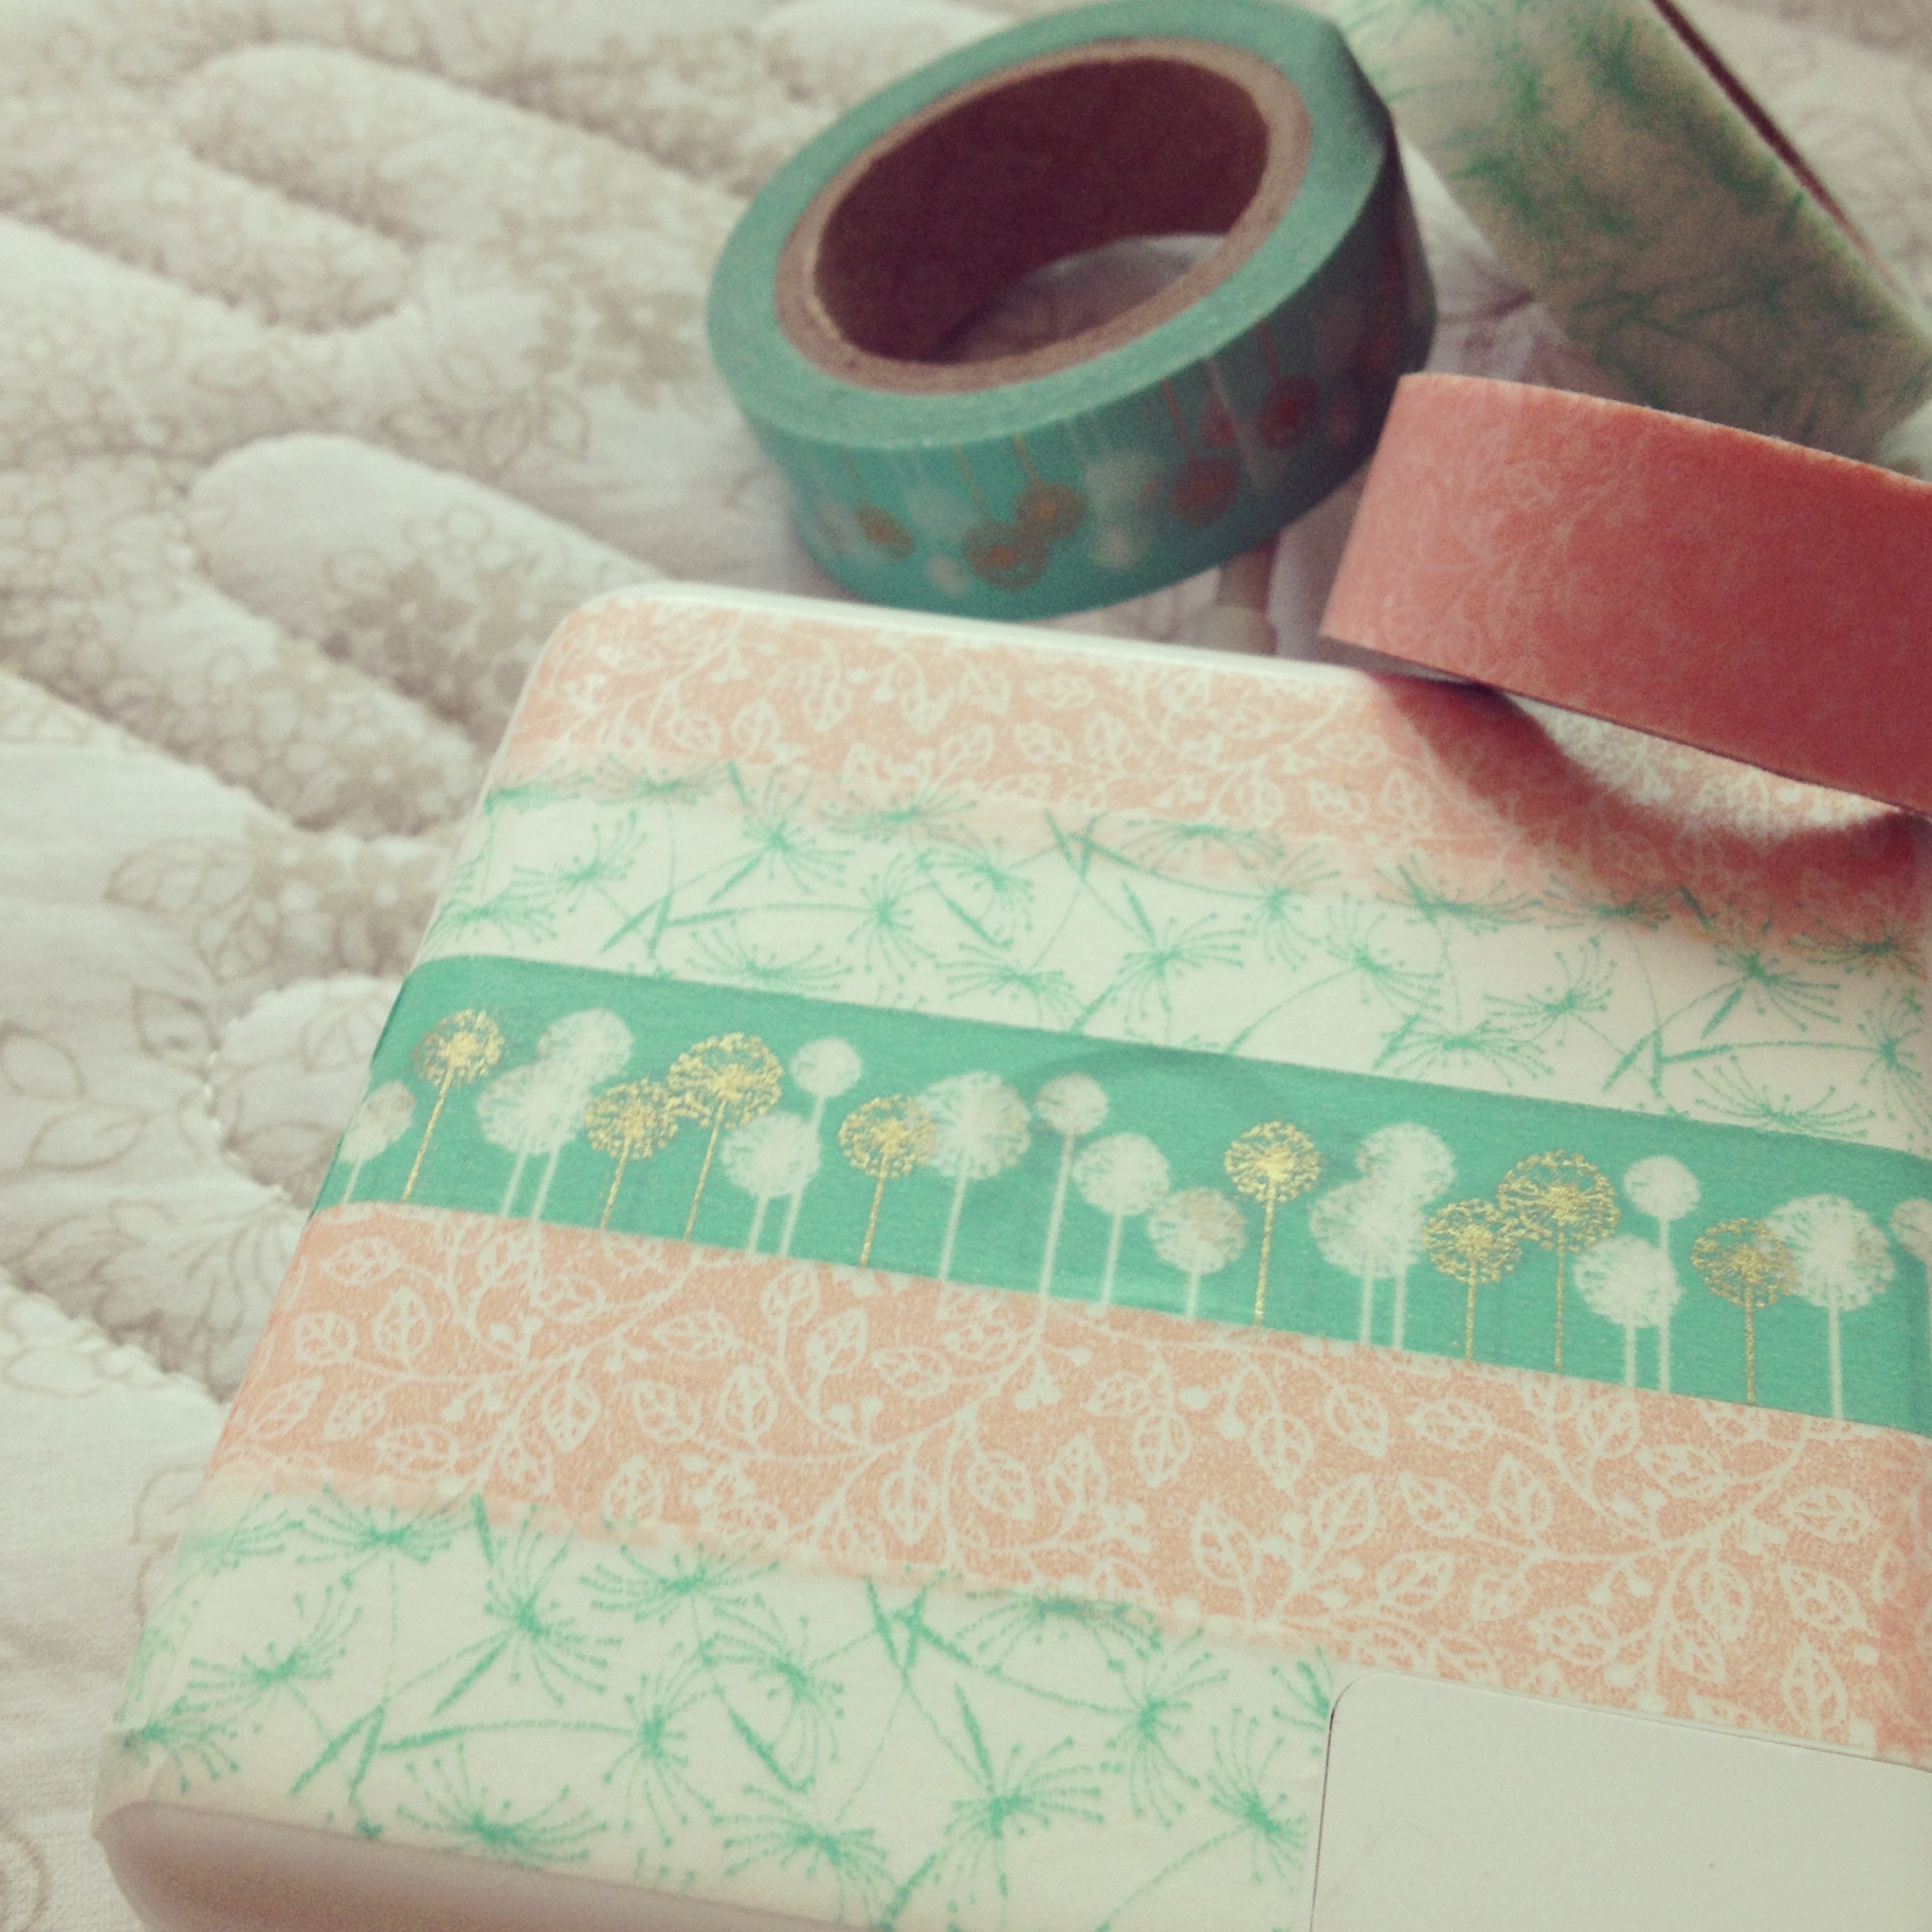
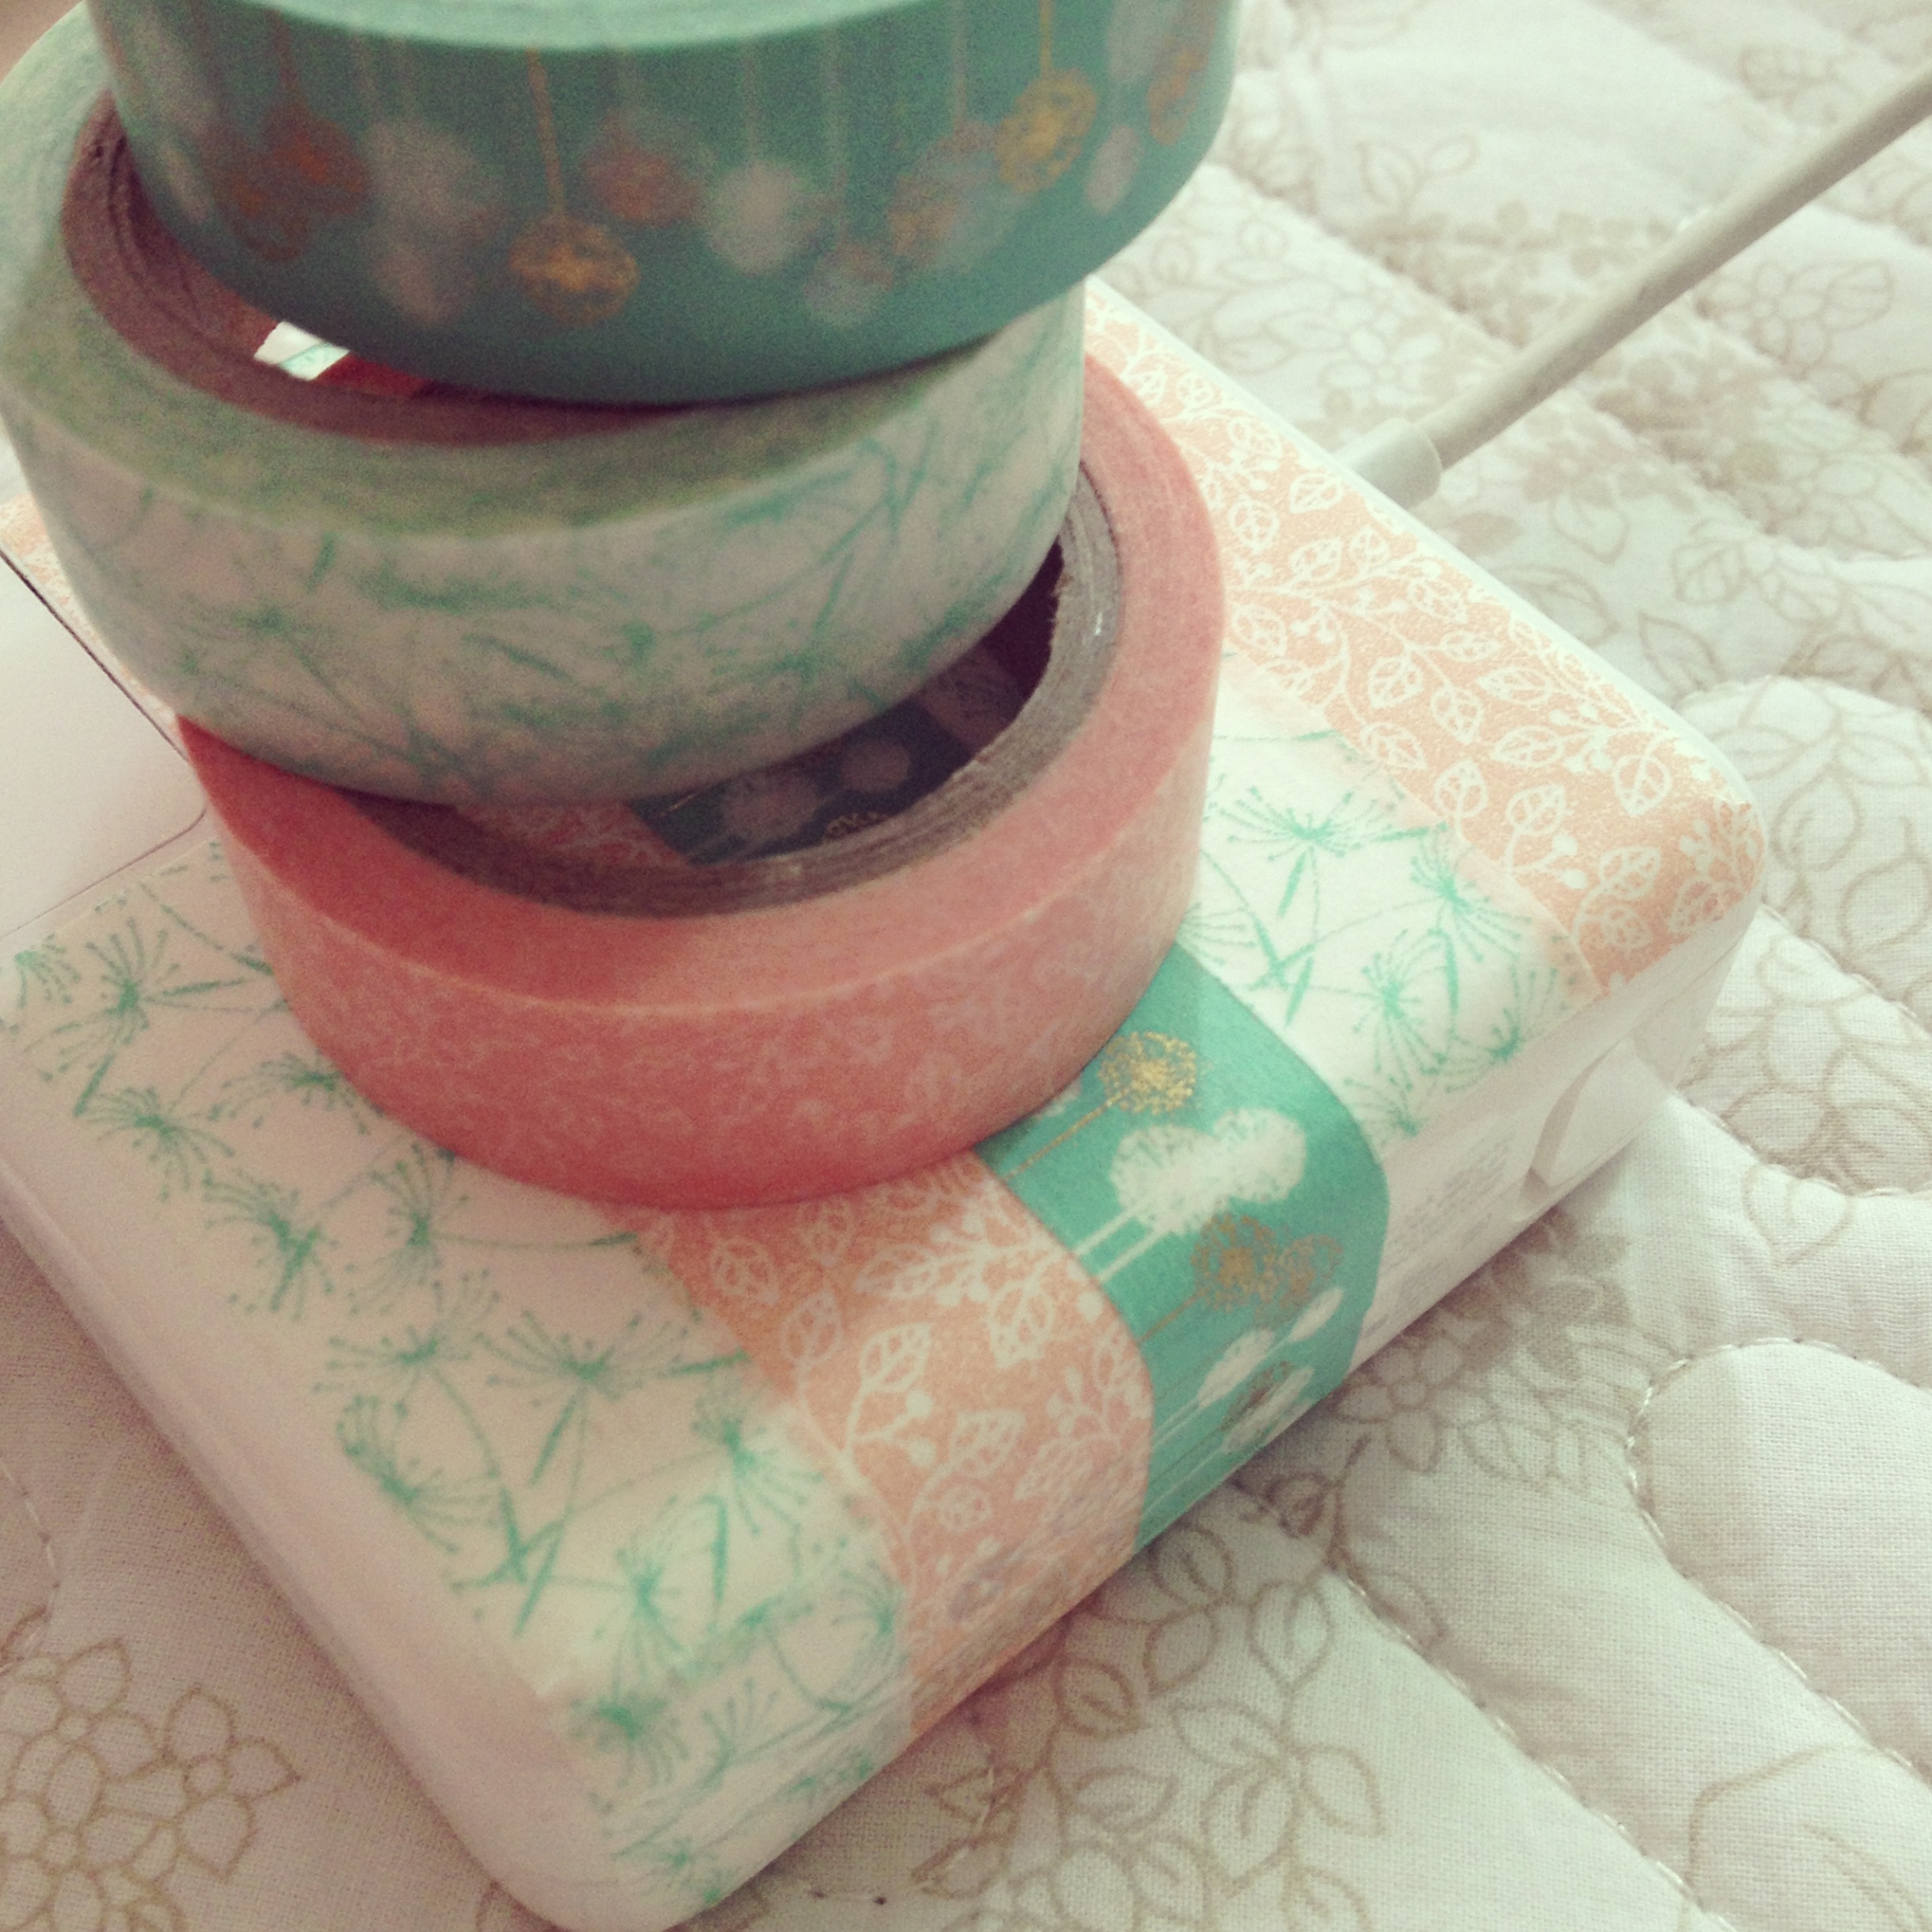
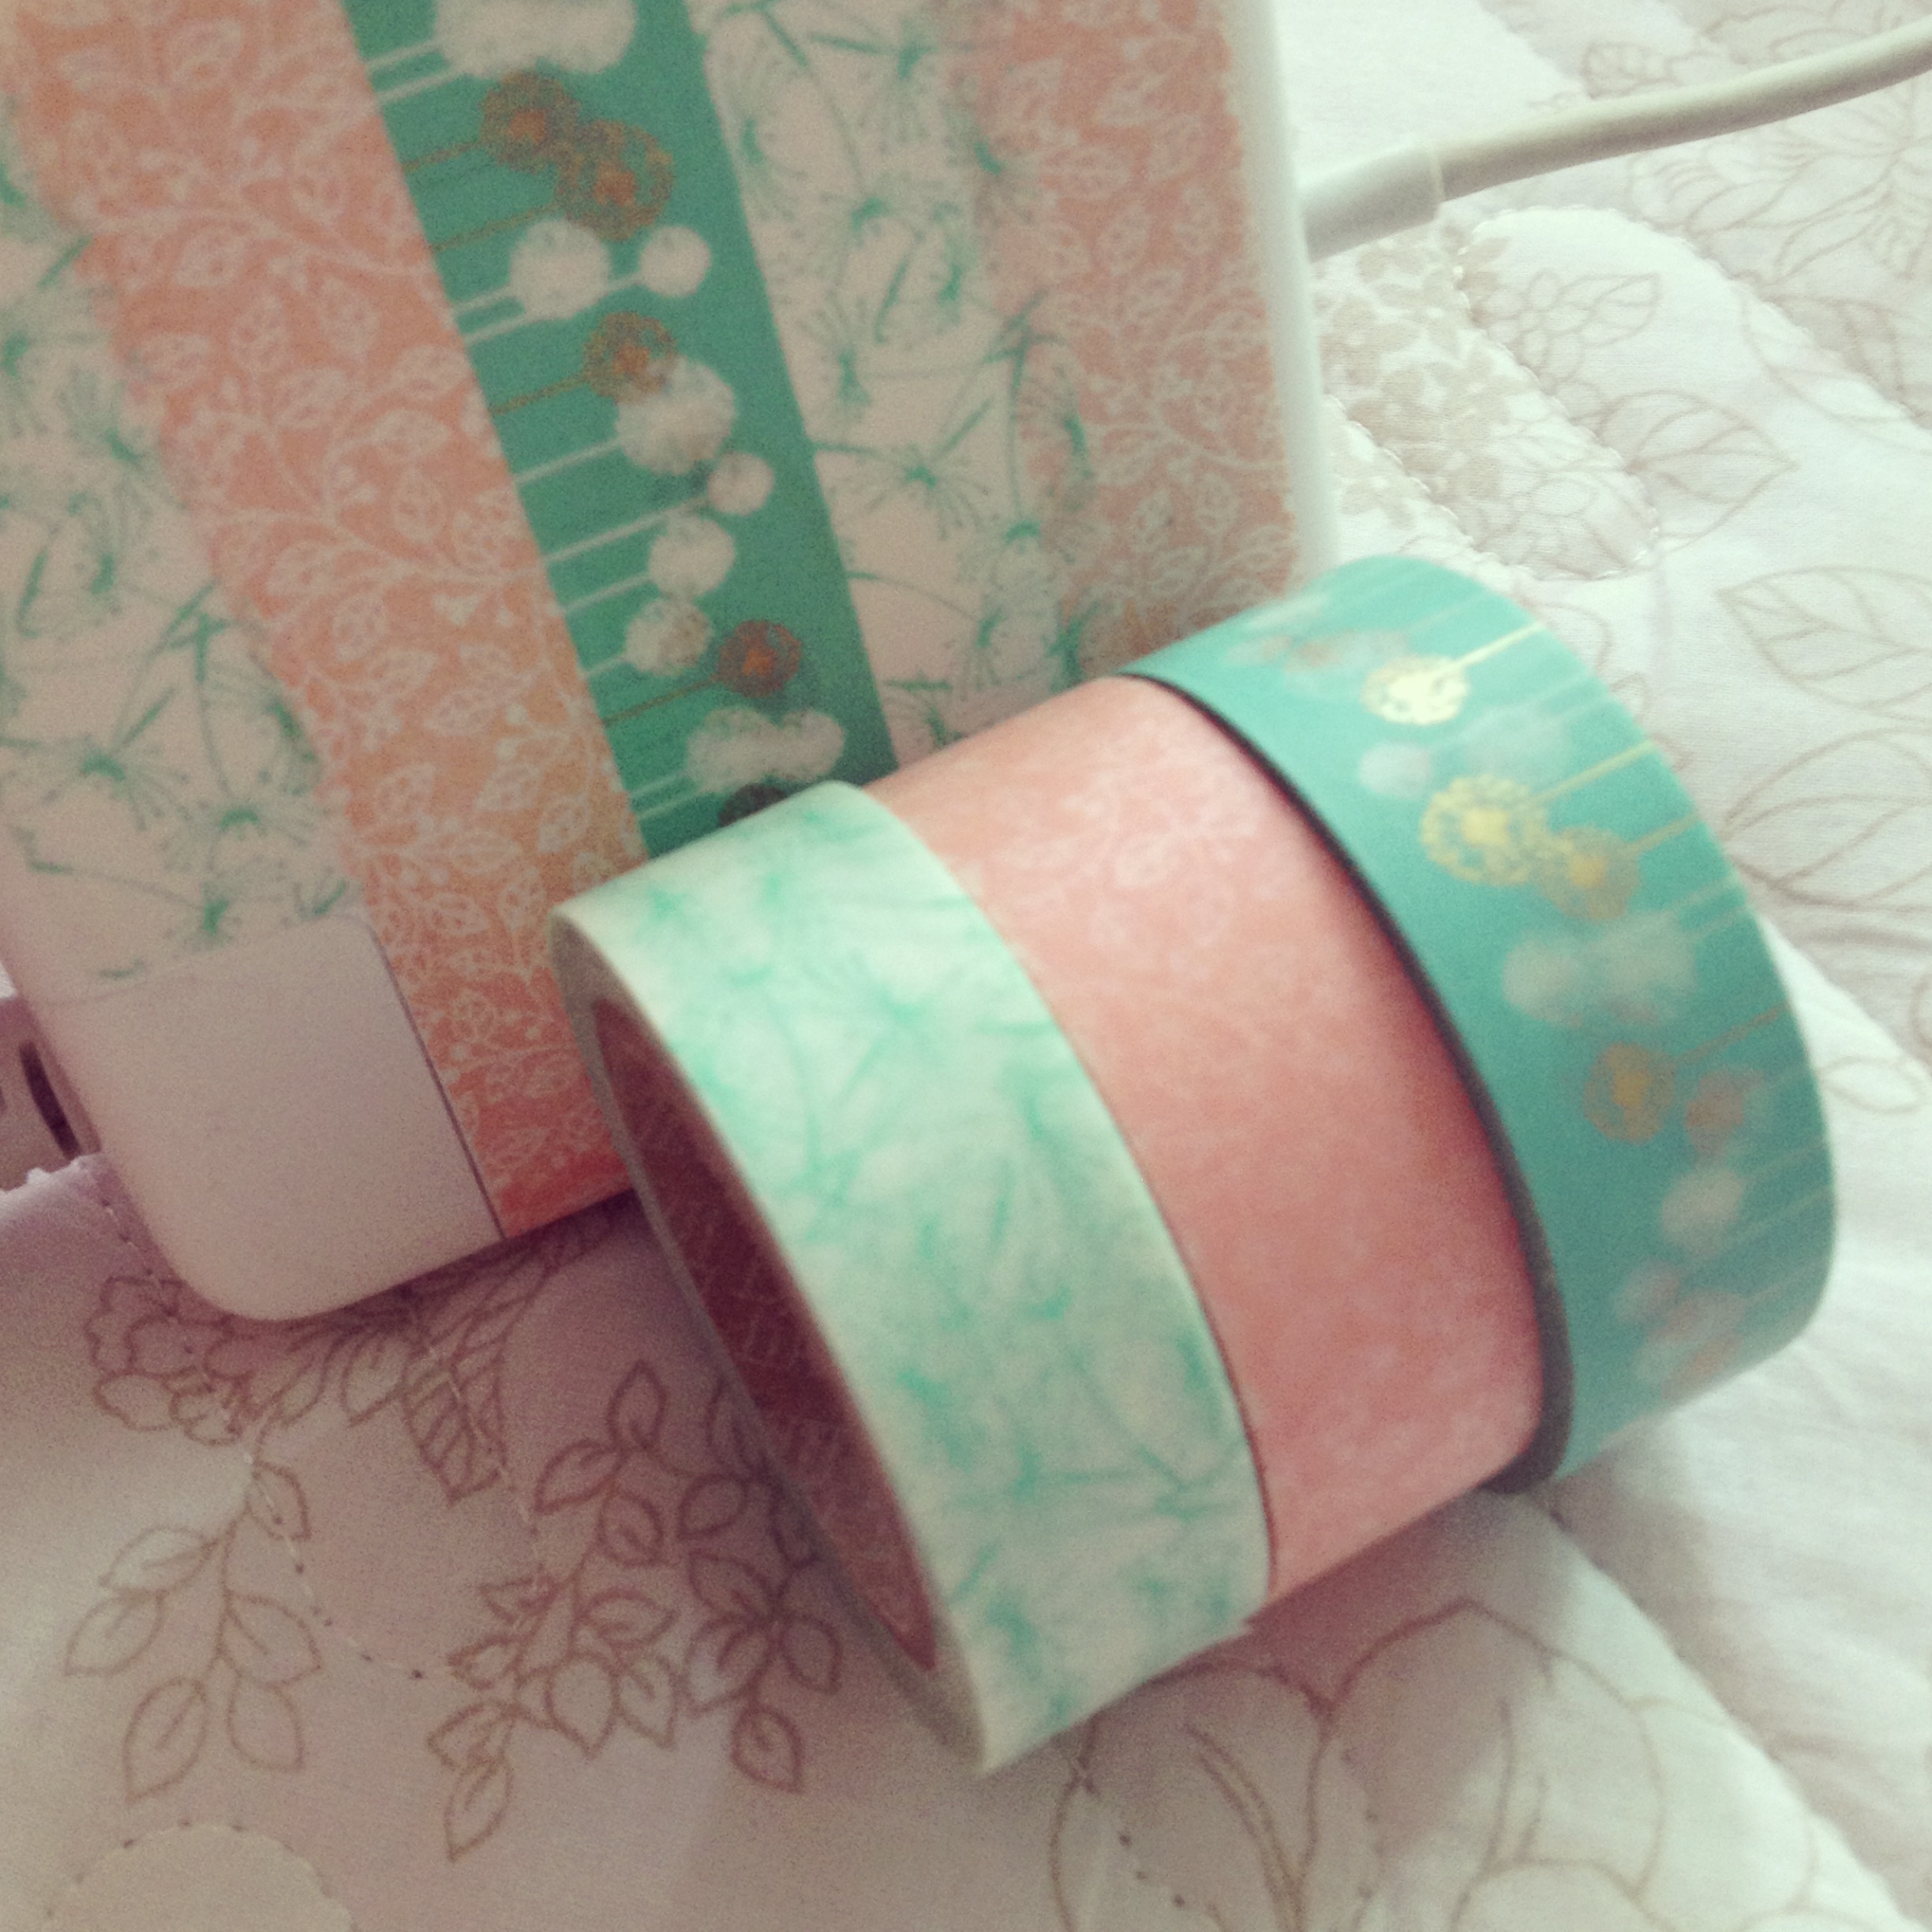
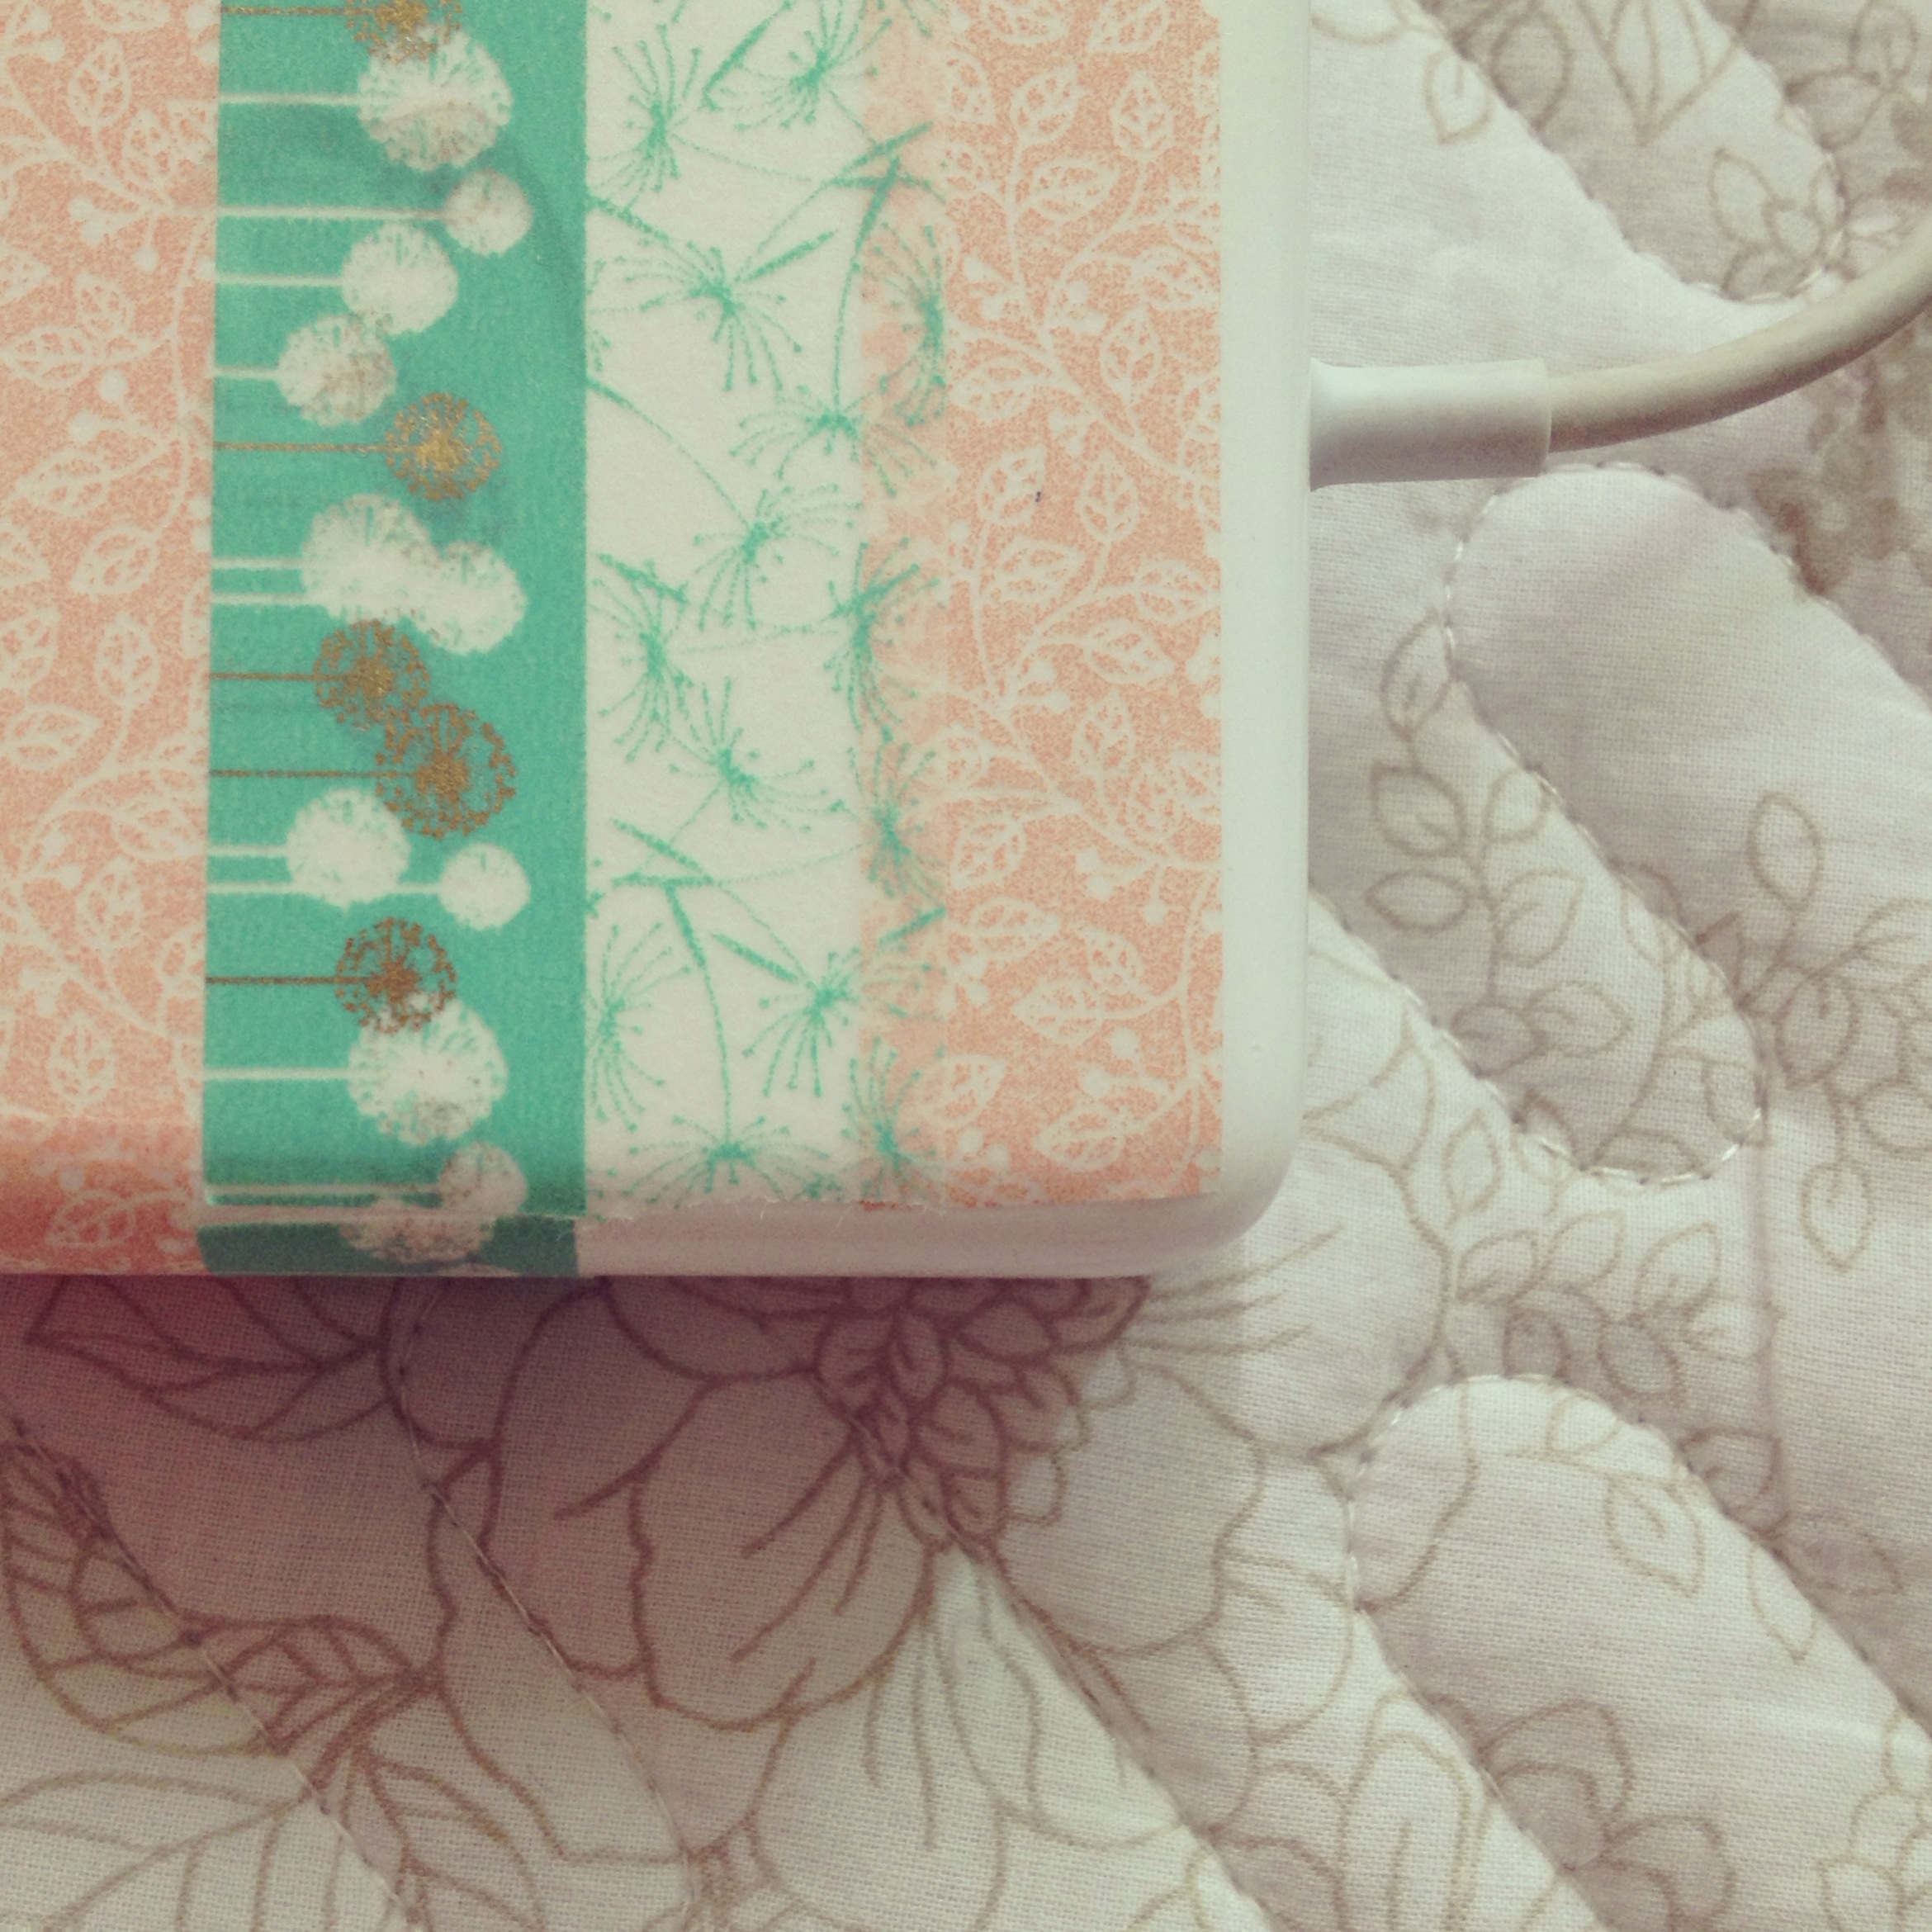
I'm feeling rather inspired with my latest washi tape collection, and after reading this lovely post by Design Love Fest I thought I'd try something similar with the power supply part of my computer cable. 

The white parts of the MAC cables look really spiffy, but being white in colour they aren't very practical. The washi tape should keep the power house clean now.

It was really easy, and took literally 3 minutes to do. Let me know if you try something similar, or better yet, upload a picture to the blog Facebook page  to share with all my readers. 

Have a lovely Sunday everyone.

x

Growing your own beautiful, strong nails

After posting this photograph  on Instagram I received a number of questions from ladies asking me how I get such 'nice' nails. I've never really thought about my nails very much until now. I mean, I always have them looking neat or painted in a pretty colour, but when it comes to achieving long, strong nails, well then I'm no expert. All I can do is tell you what I do, and then you can try it out and let me know if you get results.

First I have to tell you, although you may not believe me from looking at these photographs, but I used to be a biter. Not a dainty little nibble here and there nail biter, but a proper when-I-chew-all-thats-left-behind-are-stumps-flayed-cuticles kind of biter. So how did I get my nails to look like they do now? Whats my secret? Well, to be honest, I don't have one. Instead of spending a fortune on supplements and OPI nail treatments and manicures and the latest cuticle oil and hand creams, I started eating lots of yogurt. The chocolate chip kind. An increase in dairy for my little body, meant a huge increase in calcium, leading to stronger nails. I used to have a nasty habit of rubbing my nails over my teeth until they would become so weak, they would inevitable break and peel. Then I would just bite them as they looked so terrible anyway and so the vicious circle began. When my body started to respond to the huge injections of calcium two or three times a day, my nails started to grow, little by little. Even a little bit of nail looks better than stubby fingers. Slowly,  my nails were given a chance to strengthen and lengthen. No amount of funny tasting 'bite proof' nail polish could help, and no amount of bribery from my poor mom could get me to kick the nasty habit. It was the good old choc chip yogurt that finally did the trick.

So now that's the growing part done, how about the strengthening part...

Whenever I apply polish, I ALWAYS, ALWAYS, ALWAYS use a base coat on my nails. It doesn't matter the brand (although I have always loved Rimmels Stronger Double Duty base coat ~ click here). Even if its a clear nail polish colour if you don't have a specified base coat on hand, use it! Applying a base coat not only helps to lengthen the life of your nail colour, but its protects your nail bed from the chemicals inside all nail polish. This means you won't be left with yucky yellow stained nails too.

Then, ALWAYS ALWAYS ALWAYS apply a top coat. Not only does a top coat seal in your colour, but it prevents your nail polish from chipping. Your manicure will last longer, you wont be tempted to fiddle with pretty looking nails, and your nails will be protected everyday wear and tear we subject our hands to. 

Lastly, I keep a cuticle oil on my bedside table and rub it in whenever I remember to (I am quite fond of Sally Hansen Vitamin E & cuticle oil which you can pick up for R80 at Clicks & Dischem in South Africa). Keeping your cuticles soft and moisturized can help strengthen your nails.

Lastly, make sure you take care of your hands. Your nails are a lot more fragile than our hands, but get subjected to a lot of rough treatment everyday. Wear gloves when you wash the dishes, use a mild cleansing soap when you wash your hands, massage your cuticles when rubbing in hand cream, and drink plenty of water to keep your body healthy and hydrated.

I have tried hair, skin and nail supplements before, but to be perfectly honest really saw no results. You might have better luck, but they can be pretty pricey and if you aren't looking after the actual nail bed by wearing a base coat, using cuticle oil and wearing hand cream, you're probably undoing the internal benefits of them.

Anyway, I hope you find this helpful. Please know that I'm no expert, and am merely sharing my personal experiences with you. Do drop me a comment if you know any more tricks and secrets for growing beautiful string nails.

xxx

{A Beautiful Mess} app

{A Beautiful Mess}

I love following the American lifestyle blog A Beautiful Mess which follows the lives of the lovely Elsie & Emma. These creatives recently launched an amazing photo app for download on the Itunes store. The app comes with fourteen cute photo border options, lots of sweet doodles and phrases and a stack of fonts to customize your photographs. Its such a steal at 99c. That covers a lot of the goodies in the app, but to get more options, you need to pay a little extra for each extra set of fonts/borders/doodles.

Here are some of my creations, using original photographs as well as Instagram snaps...I love it! So easy to use and super quick to create gorgeous customized images. 

Have any of you tried this app before?

xxx

{Blogging} Centering your Menu Bar on Blogger

The last post in my series {Blogger Tips} was on how to centre your header image/text , and today I'm going to be showing you how to do the same with your menu bar. Once you've got your header exactly where you want it, you need your menu bar to be adjusted accordingly so your blog doesn't look wonky :)

On my old blog, my menu bar (which is actually just a list of pages that I have put under my header as opposed to being on the left or right hand side) is at the top of my blog.  I have pages such as "Home" "About", "Contact" etc. 

To have your pages line up nicely with my header, here's what you gotta do:

TEMPLATE > CUSTOMIZE > ADVANCED (scroll down to) > ADD CSS 

Paste the following code and hit enter

.PageList {text-align:center !important;}

.PageList li {display:inline !important; float:none !important;}

Make sure to look at the live preview, if you're happy then click APPLY TO BLOG and there you go! Easy peasy! 

Let me know if you found this helpful!

xxx

Valentines Day DIY Lesson Idea

So, as of 4 weeks ago, I was offered a teaching post at a lovely Primary school here in Pietermaritzburg. I can't believe just how suddenly everything has happened! I am the new Grade 3 teacher and I am loving every second of it. Its crazy hard work, lots of admin, lots of listening to lots of kiddies tell you about their latest pencil case or their mommy's favourite type of chocolate, but at the end of the day I can happily say that look forward to the next day. I worry that my kids aren't learning enough language skills or Afrikaans, but I know we make up for it in computers (all my 8 year olds can now use PowerPoint!) and in English where we have been writing all sorts of weird and fascinating stories about what happens when the electricity goes off.

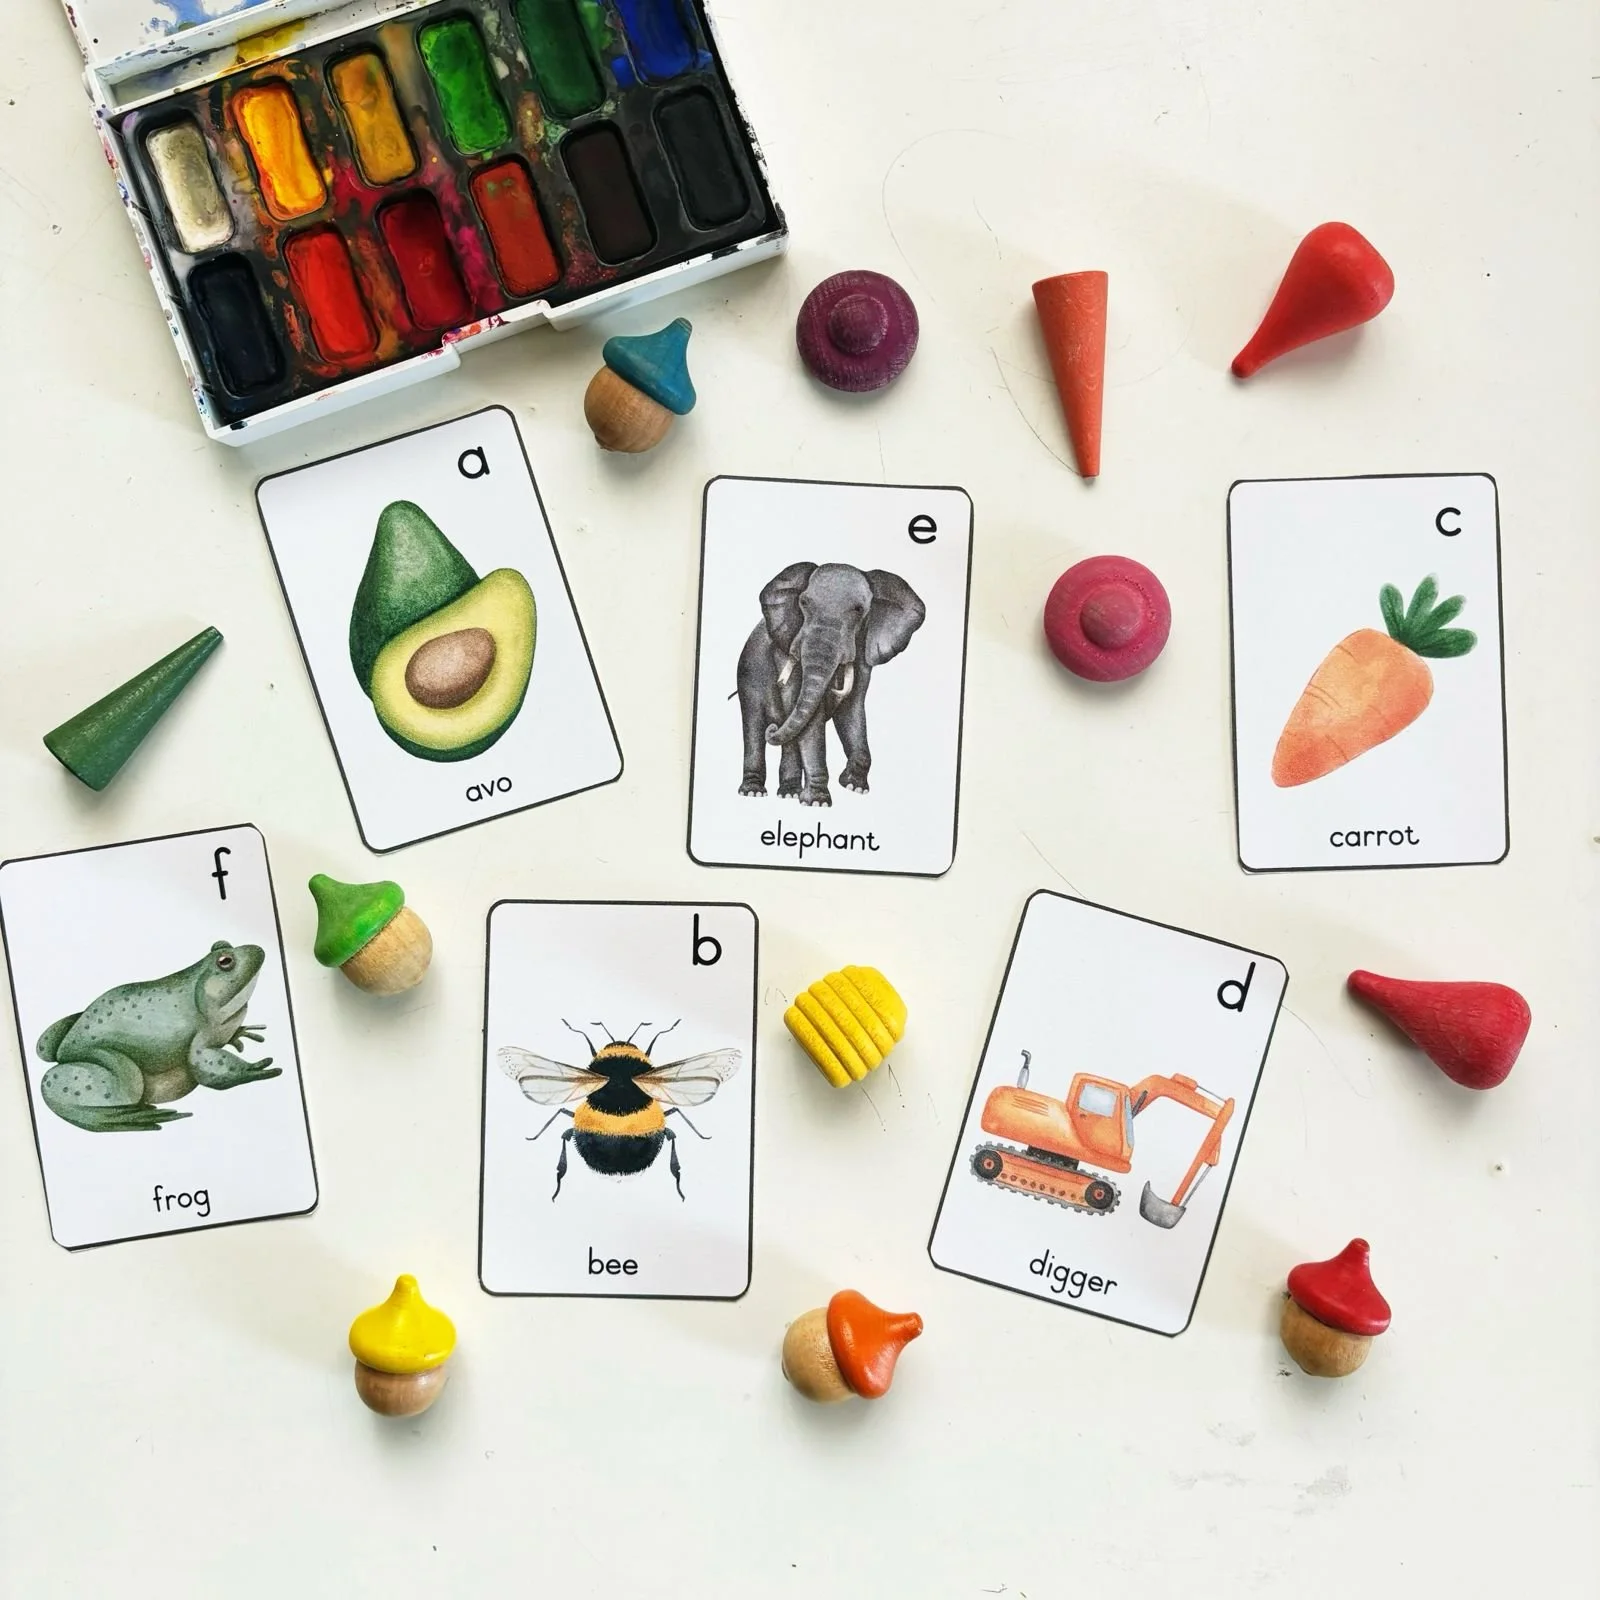
Here is what I made my little ones for Valentines Day. So easy, looks great and promotes reading...what a win!