New Items in Stock in my Stationery Store

I want to share with you the new items that have just been added to my stationery store. Shipping starts from just $1 (depending on the weight of the item/s) and I ship world wide, except to South Africa**

Click the 'start shopping' button below to be directed to my store!

x

I am very sorry that I am unable to ship items to South Africa due to postal delays, postal strikes and high costs. Please bear with me until alternative shipping methods are available for South Africa.

Where to stay when skiing in Muju

AcommodationMuju

Muju resort is the closest ski resort for us here in Jeollubok Province and so Farmboy and I have spent most of this and last ski season there. The last time we went, we camped (it was horribly cold but an adventure to say the least...click here to read more about camping in Muju). 

This time around we wanted to go with a group of friends and find a warm place to stay. There is accommodation at the resort itself, but you need to book before hand and it is quite expensive (we paid W150 000 a night for a tiny box of a room at one of the resorts) and so were looking for something a bit more budget friendly.

Muju town (where the bus terminal is) is a W25 000 taxi from the resort itself (you need to bear that in mind when making your way to the ski slopes). The resort area (ie where the actual slopes are) has a number of hotels around it which need to be booked in advance. Click here to read more about these hotels and to find information for booking. A short drive down the hill towards Muju Town and you'll find lots of ski rentals shops and Minbaks (a basic form of Korean guesthouse). If you drive to the bottom of the hill away from the slopes you'll come to a big intersection (there is a big CU convenience store on the corner). If you turn right and drive (or taxi) along that road you'll find a whole selection of much cheaper accommodation. There are also lots of restaurants (mostly Korean type food) and then eventually you'll come to Deogyusan National Park and the camping grounds. 

The day before our trip to Muju, we found this great webiste (click here) which lists a good selection of Pensions to stay at in Muju. The first one we called  (Dasup Pension) had space for the 6 of us and the owner spoke quite good english. It was as easy as that. It was clean and even had self catering facilities so you could take your own food and make your own meals.

The room we stayed in was Ondol style (so we slept on the floor) but there was enough bedding and blankets to ensure we at least were semi comfortable. It cost W130 000 for the night and so ended up costing us each W22 000. There are other style rooms for less people that include an actual bed. The owner was very friendly, had all the ski rental equipment needed and also offered lift passes. We rented our equipment from him (it was much cheaper than hiring at the resort) and he also offered to drop us off at the resort and fetch us again at the end of our ski session. The costs for rental were:

Skis & Poles W5 000

Jacket & Ski Pants W10 000

Here are some (terrible) snaps of the prices for this pension. You can call the owner, Mr Cheong Euk Shim on 063-322-3379 and find his website here: www.dasup.kr.

If you have any other recommendations for places to stay (or places you think people really should avoid!) please do let me know in the comments below.

How to share Instagram photos to your Blog Facebook Page

HowToShareInstagramPhotosToBlogFacebookPage

Have you ever wondered where all those annoying hashtags on people's photographs on Facebook come from? The majority of the time those images have come from Instagram where those hashtags help you to get more followers and build a bigger audience. It can be a little annoying when people post the same thing on all their personal social media platforms but, what if you want to be able to do this for your blog or business Facebook page? It's super easy and I'm going to show you how.

Once you set this up on Instagram don't worry about flooding your Facebook feeds, you will still be given the option to share it onto Facebook/Twitter etc each time you upload a photo. 

Step 1 Click on the options wheel (on Android it will be 3 vertical dots, on a Windows phone it will be 3 horizontal dots in the top right hand corner) on your Instagram Page Feed

HowToShareInstagramPhotosToFacebook

Step 2: Scroll down your options page (or preferences page for a Windows phone) until you find Linked Accounts/Share Settings.

Step 3: Tap Facebook and then link your accounts by providing your Facebook login info

HowToSaveInstagramPhotosToFacebook

Step 4: Choose either your personal Facebook Timeline or one of your Blog/Business pages to link to

HowToSaveInstagramPhotosToFacebook

Step 5 Get Sharing! Now when you share your image, if you click 'Facebook' your image will be sent straight to your Blog Facebook Page.

HowToShareInstagramPhotosToFacebookBlogPage

And you're all done, easy peasy.

Happy posting!

Life After The Dress {Episode 17} Elicia Shepard

LifeAfterTheDressAliciaShepard

It's been quite a while since my last Life After the Dress story (click here to read about the other ladies I've had here on the blog). In this series I interview married women of all ages and from all walks of life and ask them real questions about their lives now, after all the glitter and sparkle of their wedding day is over.  Today I've got Elicia, a fellow English Teacher & blogger here in South Korea.

So grab yourself a cup of tea and be ready to be inspired!

x

LifeAfterTheDressCGS

Q1: Please introduce yourself (age, of both yourself and your husband, where you live, what do you do & how long you been married for?)

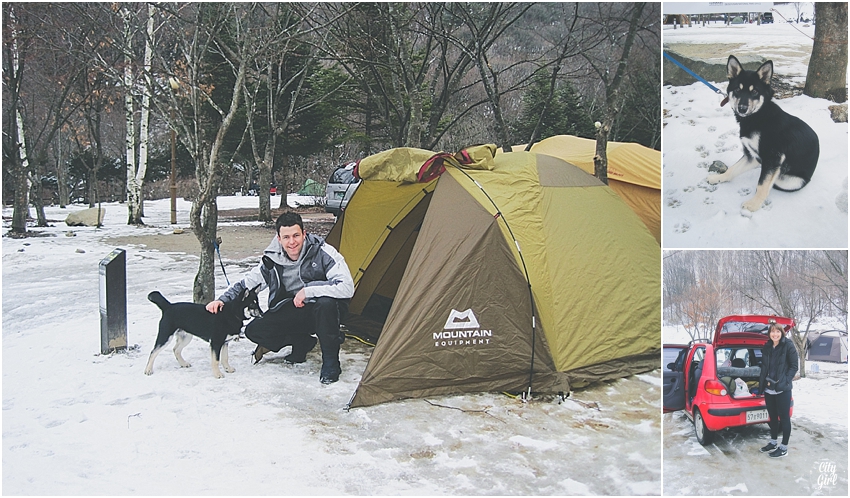
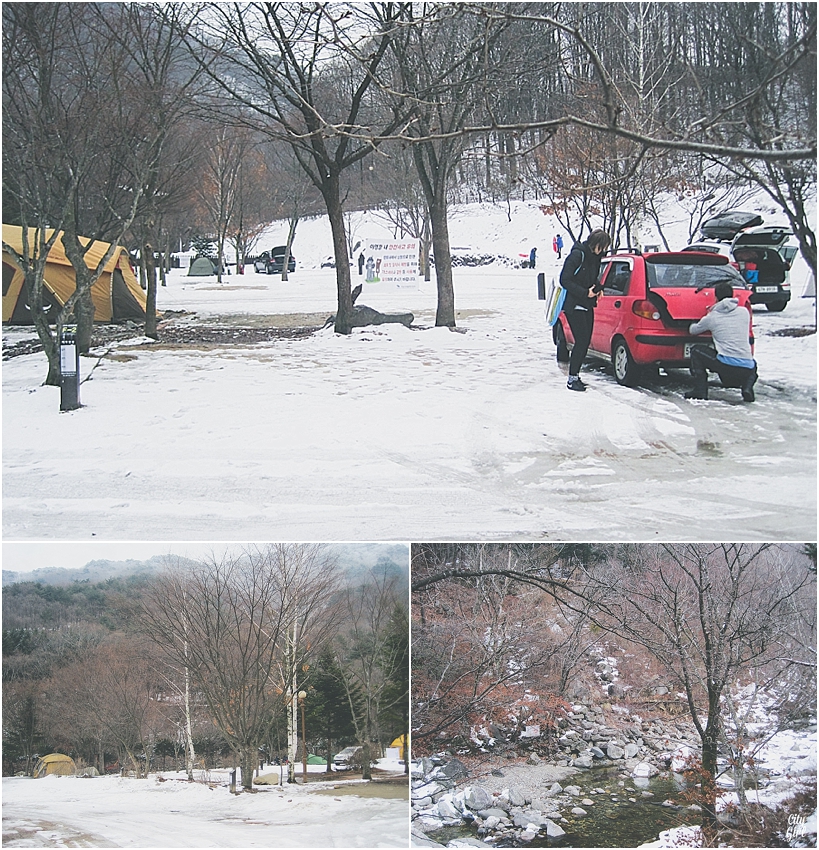
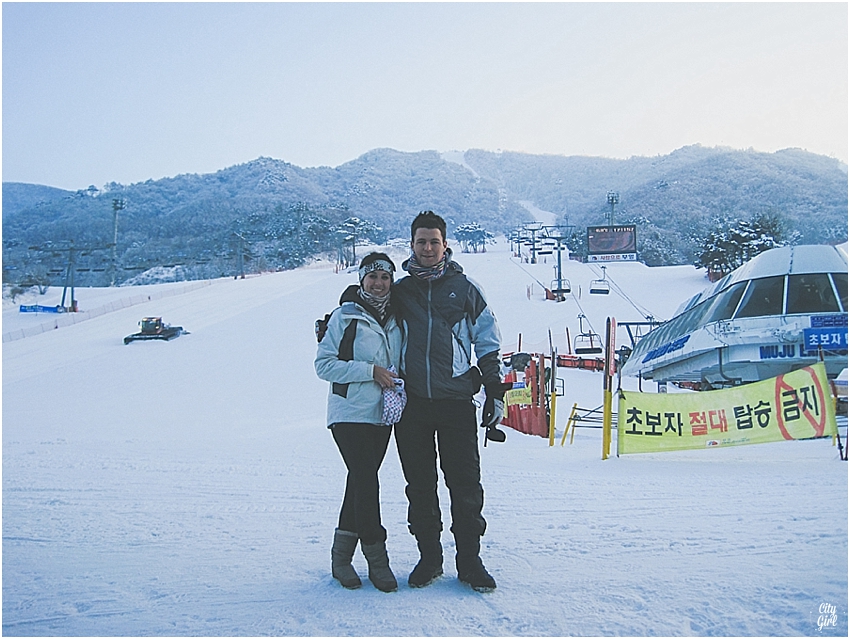
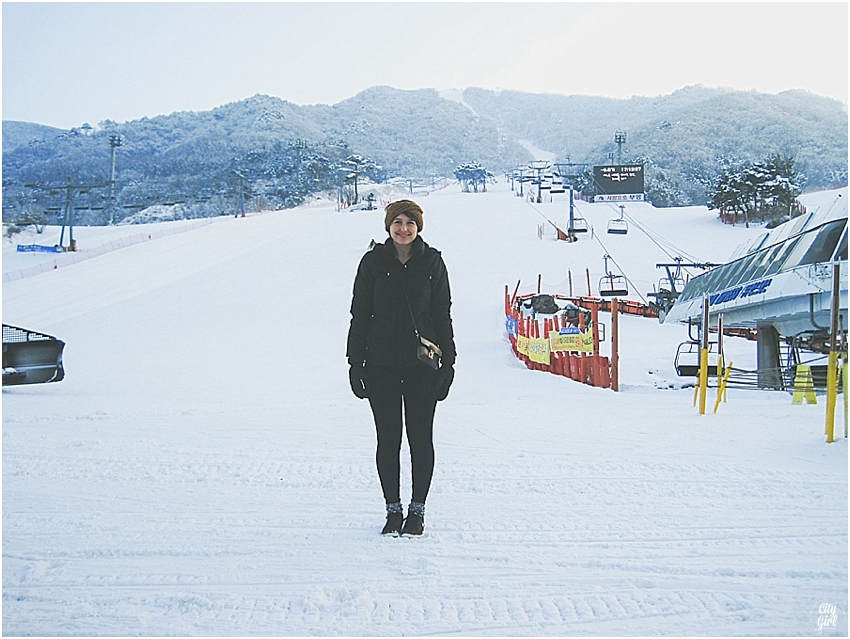
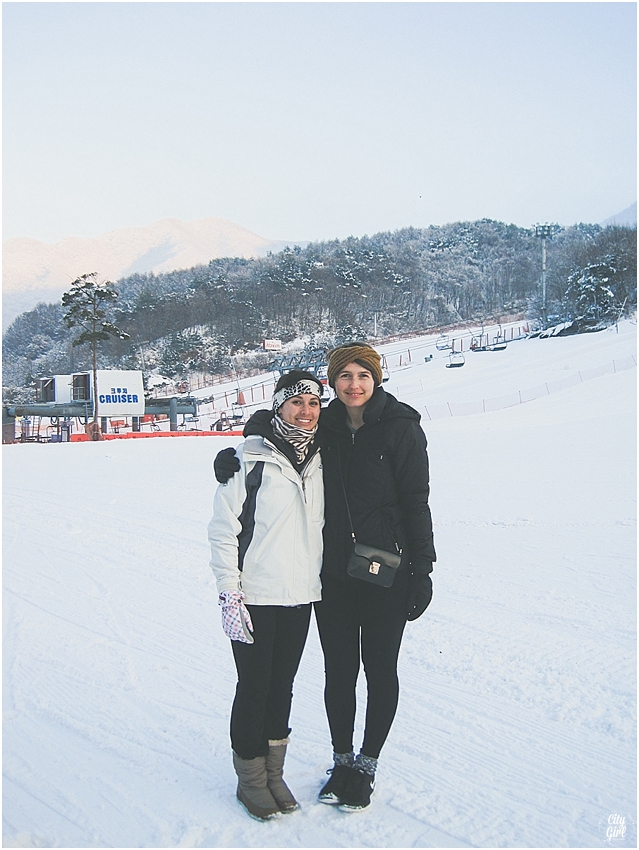
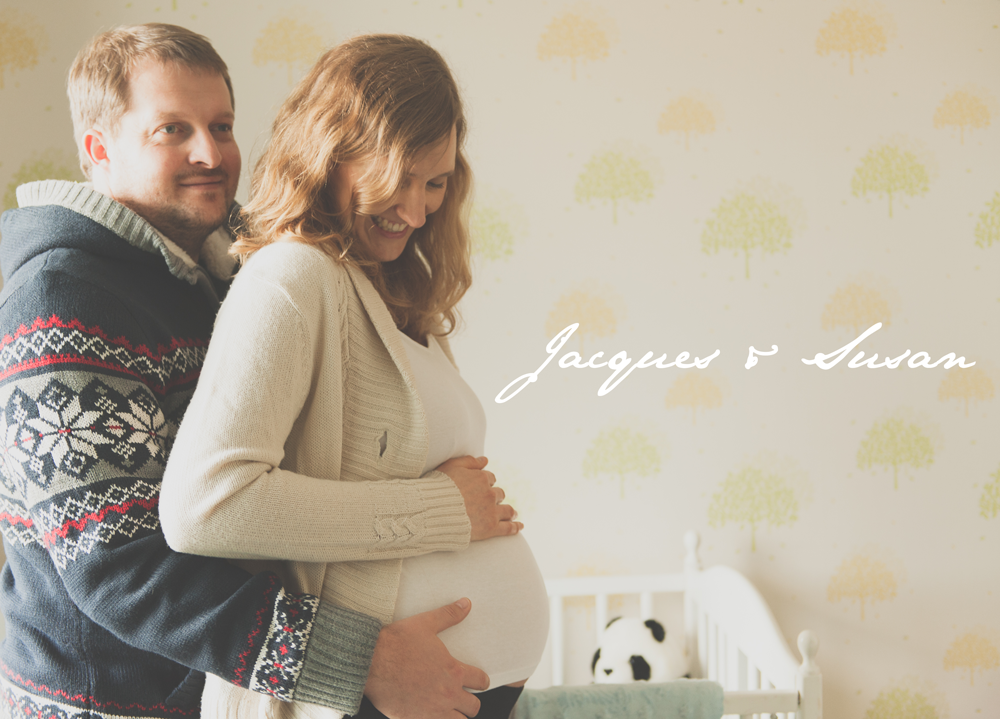
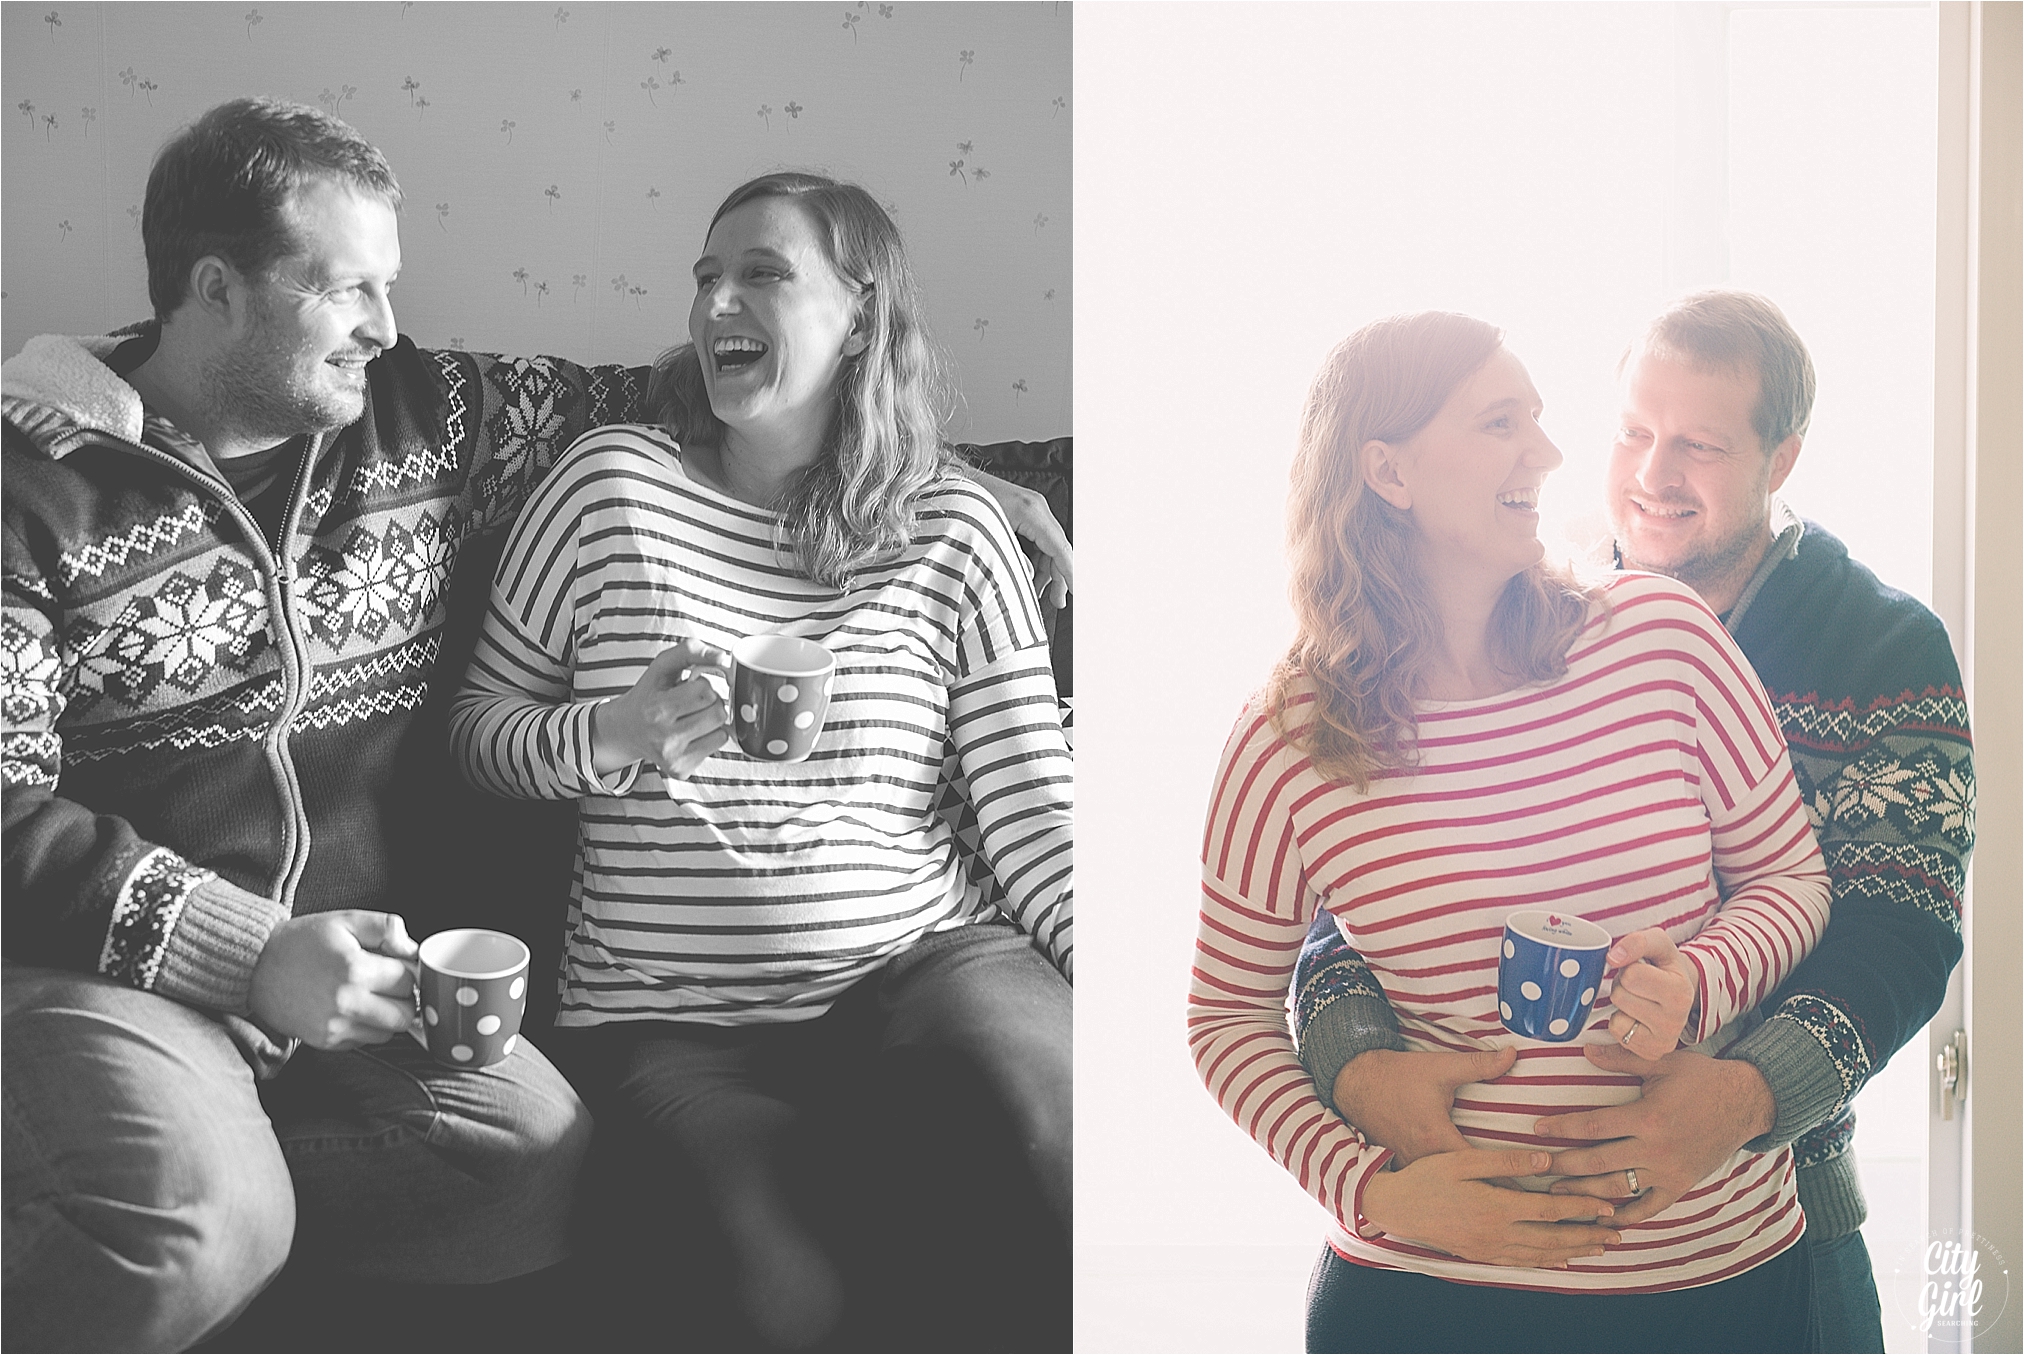
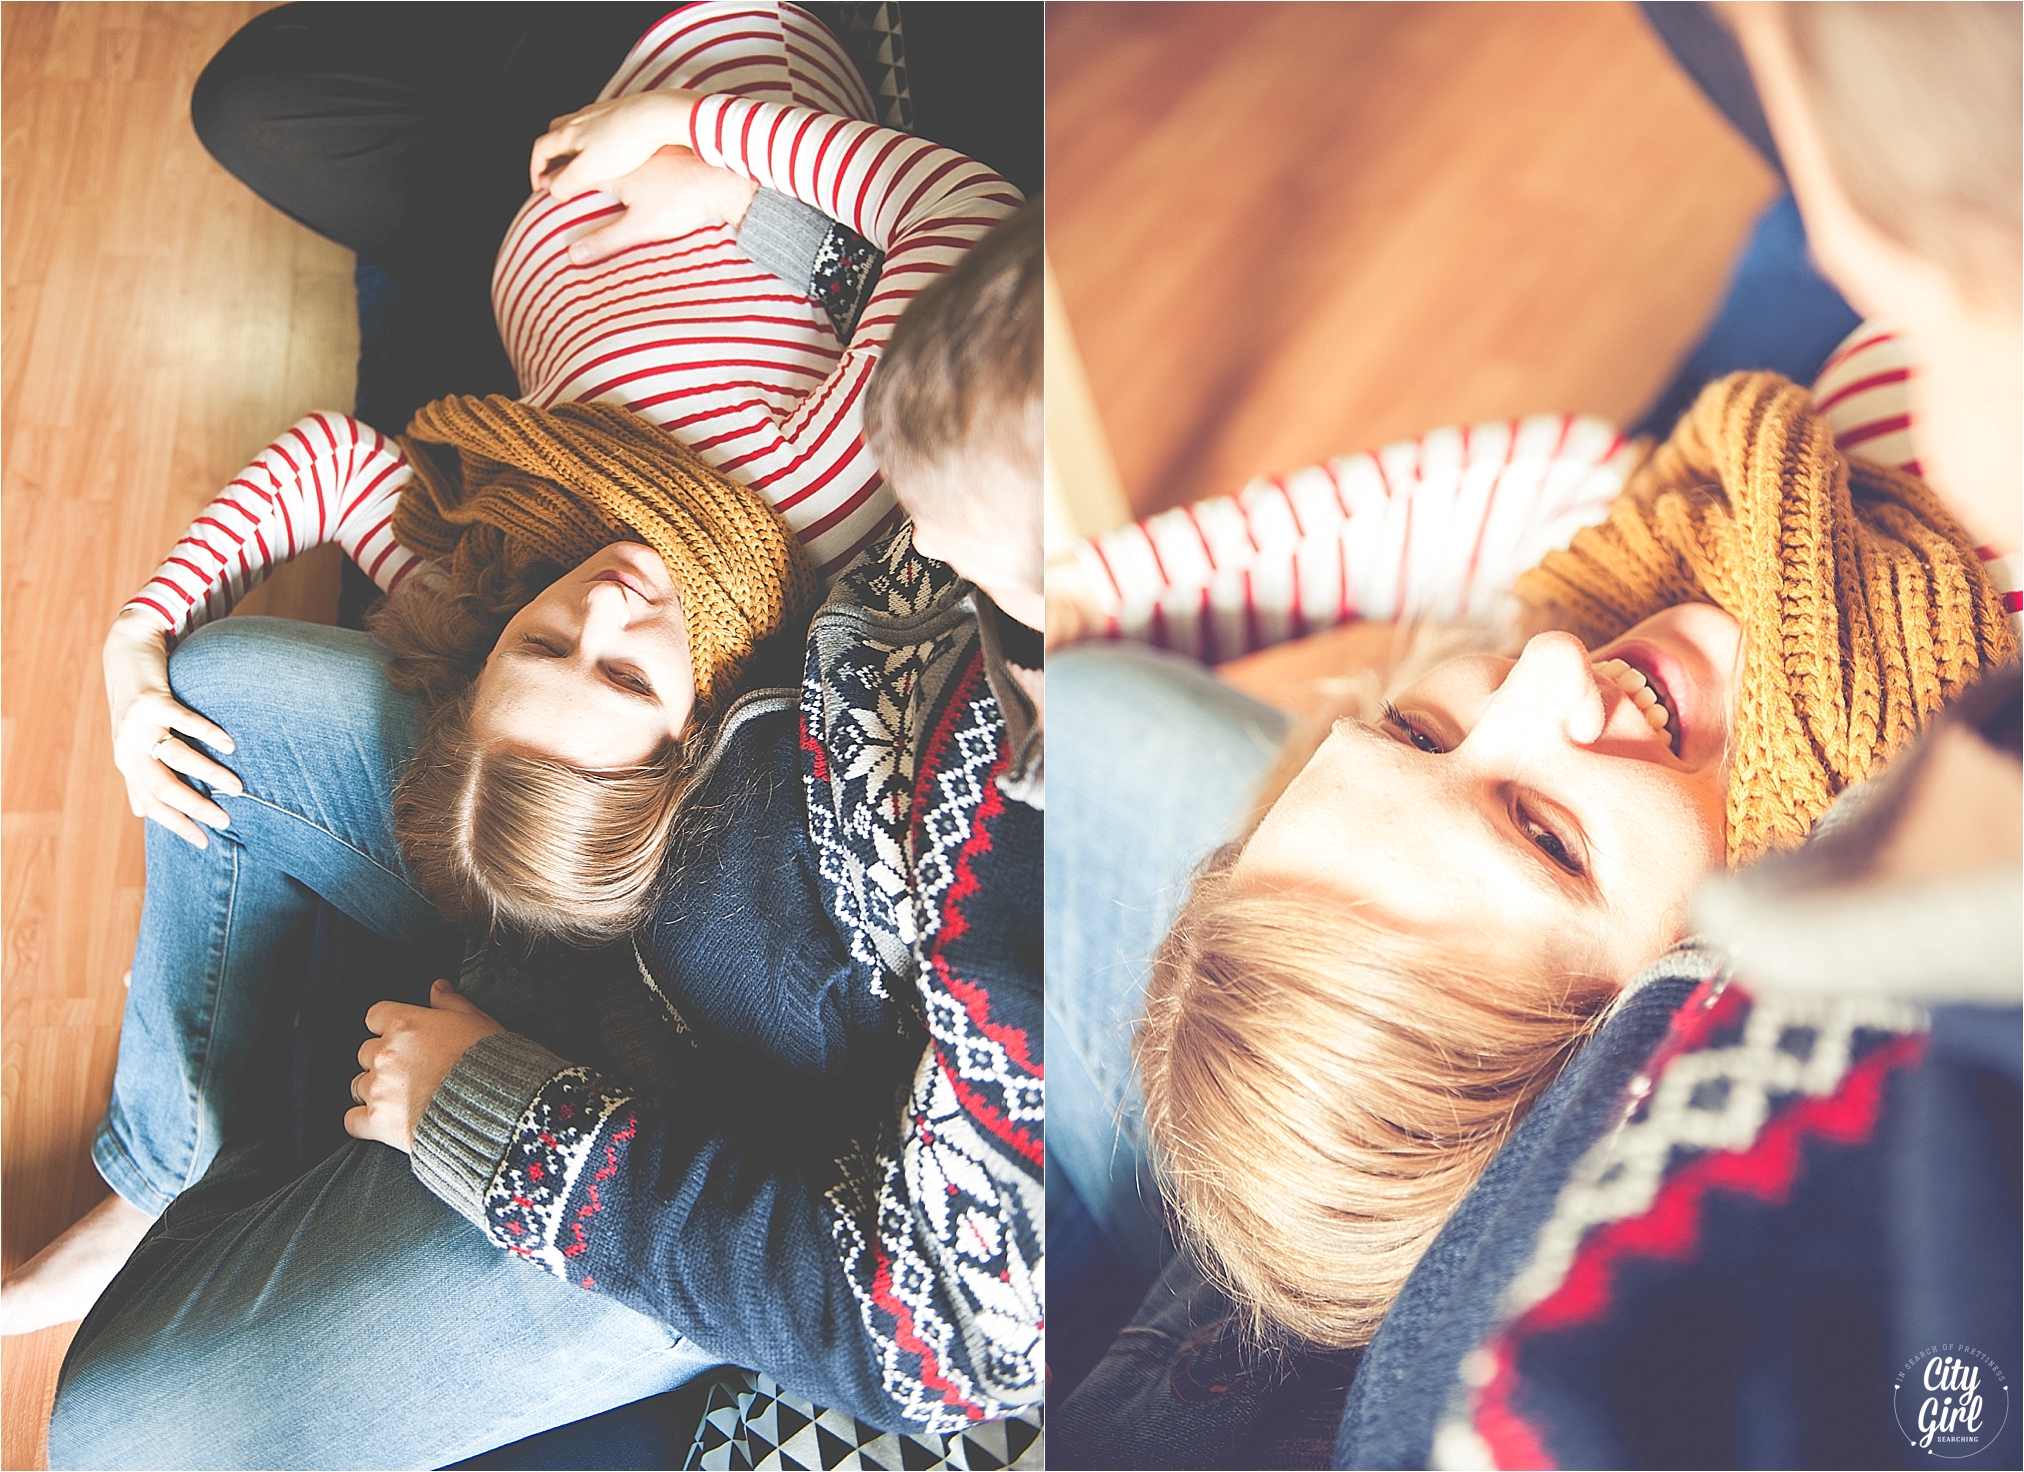
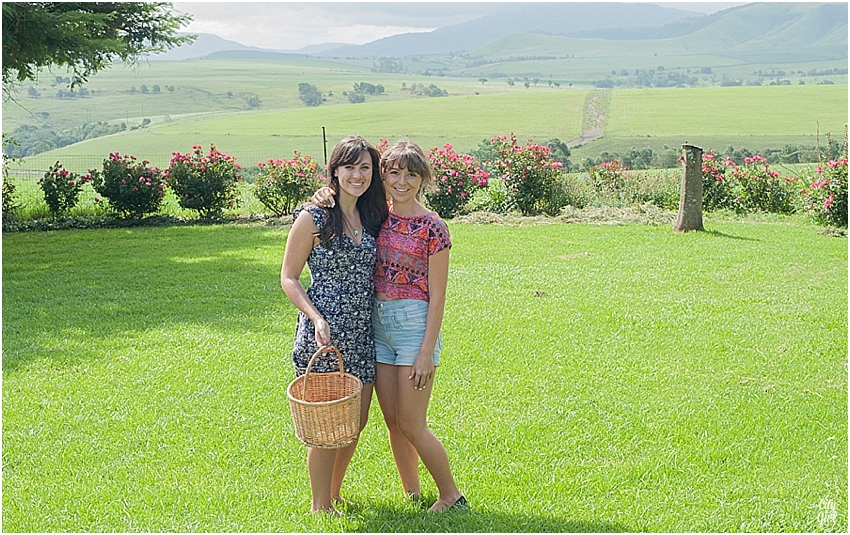
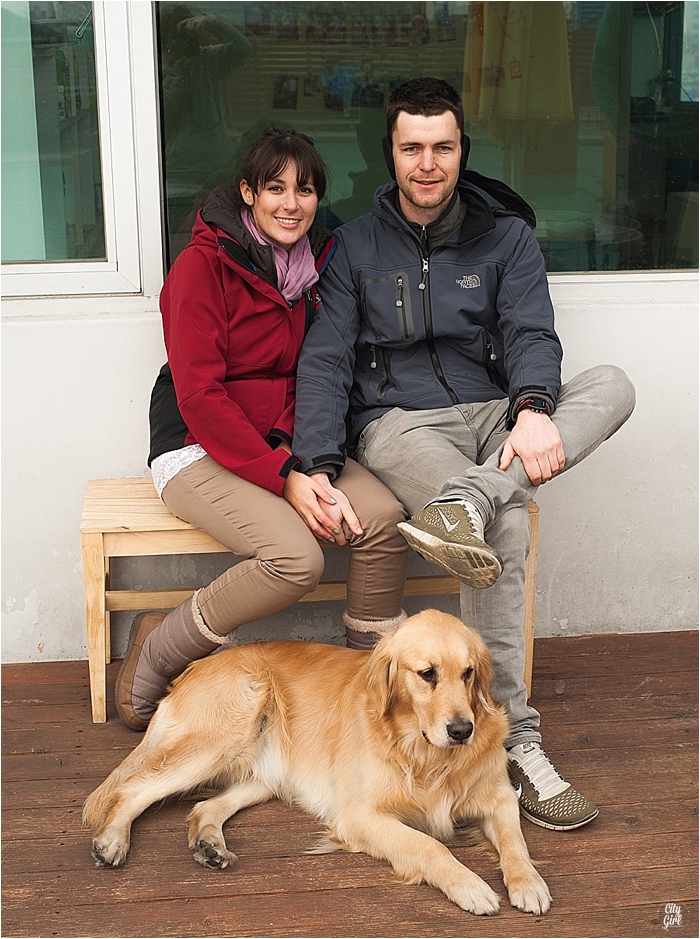
Hi! I am Elicia and my husband is Tom. Together we are the Shepards. I am 25. Tom is the ripe old age of 28!! We were married 2 and a 1/2 years ago in the Dominican Republic on a destination wedding and now we are currently both teaching English in Korea! We’ve been here for about 2 years and in just about 2 months we will pack up our stuff and say goodbye to Korea!!! After some traveling and some time at home in the USA we will be headed to Morocco to teach at an international school there. I married this guy who has given me quite the life full of adventure and Jesus.

Q2: Which Disney character do you feel sums you up to a ‘T’?

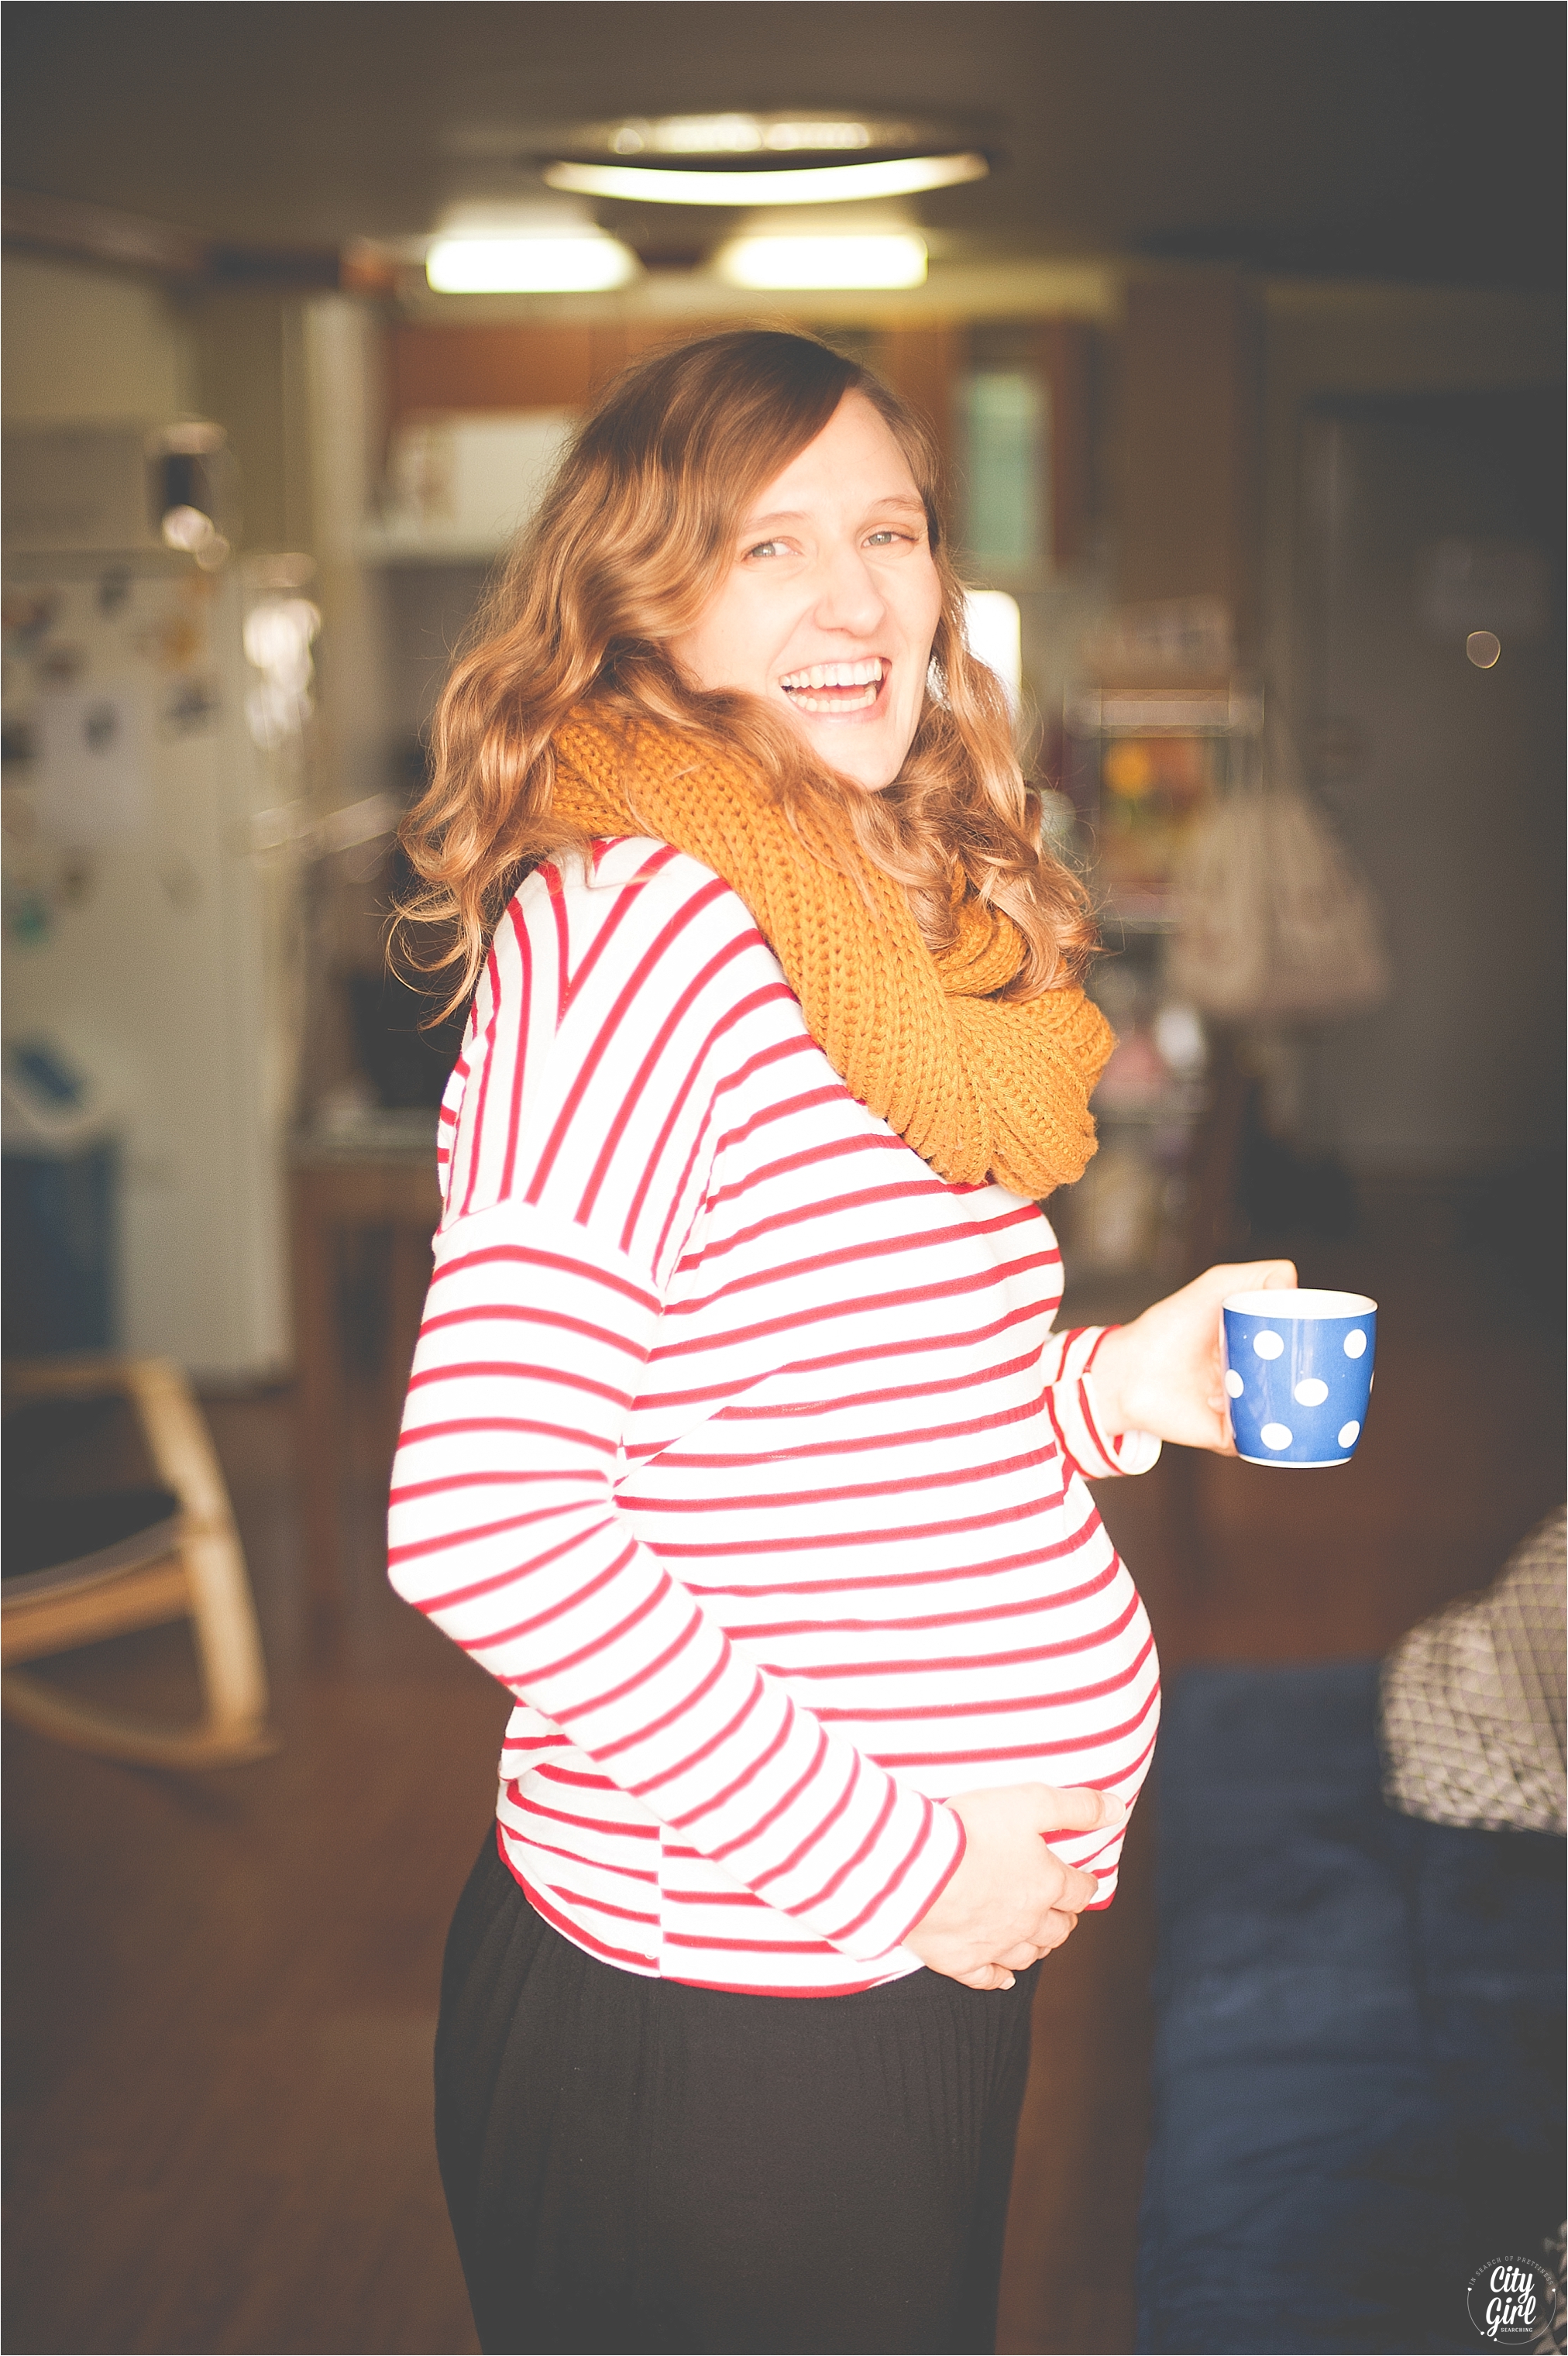
ANA from Frozen!!! I love the sisterly bond her and Elsa have (I have 3 sisters!) & because my students are constantly calling me “ANA TEACHER!” when I wear my hair in a braid.

Q3: How did you and your hubby meet?

We met through a mutual friend. My friend was dating his childhood bestie and we met going to church actually. The boys picked me up for church and this ridiculously polite tall handsome guy got out of the backseat to let me have the front seat. I remember thinking “wow what a guy!” and trying not to stare as we drove to church. At church we sat next to each other and whispered back and forth during the service (oops!) but we were sharing our favorite bible verses. After church we made a massive breakfast and that sort of became our tradition each Sunday. We hung out pretty much constantly from that point on. He was hilarious and there was just something about us that made it extremely special It’s no coincidence I remember almost every detail from that first day. HAHA!

Q4: Was your wedding everything you hoped it would be? Would you go back and change anything? Do you have any advice for brides-to-be?

YES!!!! We began to plan our wedding after being engaged and it became very very very expensive very quickly. How were we going to narrow down the list? We initially wanted an old barn style wedding with an outdoor reception in the states. We both love the outdoors and I love vintage deco so we began to plan for that. I became stressed trying to call all the vendors and when we started adding up the costs it just didn’t “feel” right. Tom asked me one day- “Elicia, what do you really want? WHAT is your dream?” I responded quickly with “to be on a beach in a tropical place.” It was as simple as that. Next thing I knew we were looking at tropical destinations and settled upon the Dominican. We had about 25 close family and friends attend and our pastor from church flew out to marry us. It was so intimate and so special for us. The beach/resort was fantastic and I loved that we just took the plunge and did it! That was just the beginning of our life of adventure together. I wished our grandparents could have been there, but it was what we had dreamed of and the low key environment was totally just- us! My advice for brides to be…. Listen to your gut! When hiring vendors or choosing a location whether local or abroad make sure you listen to that little voice inside you- are you “clicking” with them?  Do you trust them? Will they work with you to provide you with what you want/need!?

Q5: Has ‘life after the dress’ been as you imagined it would be?

Yes. And no! I’ll start with no. The beginning was sort of an adjustment period. We didn’t live together before we were married and so it took quite some time to figure out how to converge our two lives into one. We had to learn how to share our space, chores, and life with each other. Which wasn’t always the easiest in the beginning. You learn what each of your strengths are as you go and I think marriage only gets better and better. As time passes I know Tom better than I did the day before! We are always working together as Tom says “in lock step” so that we are walking through this thing we call life together- hand in hand. Each decision is no longer MY decision but OUR decision. So in a sense, yes, life after the dress has been what I imagined. I always envisioned us as a team working together- moving forward together!

Q6: What do you think makes marriage work?

For us- I can think of three things God, compromise, and LOVE or RESPECT. Depending on which one of us you ask ;)

Also, I think just having fun together. We make time to hang out together and just enjoy each other’s company. I want to be with him because I love hanging out with him and vice versa (I hope!) HAHA!

Q7: What have you learnt about yourself since being married?

I’ve learned a lot. Marriage has been challenging at times and rewarding at others. I’ve realized that I’m not really that good at saying I am sorry first. I’ve also learned that I am the more laid back one when it comes to the house. Tom really likes things a specific way and done in a timely manner (love you hunny!) and so even though I think in real life he is much more laid back than me- when it comes to the household those roles are reversed!

On a more serious note, I’ve learned that love/marriage is a choice that I must make each day. I must wake up and choose love. To walk in the light and respect my husband. Some days are harder than others, but I’ve made it my mission to not allow any other choice but to respect and love him.

Q8: If you could describe your marriage in 3 words, what would they be?

Exciting. Evolving. Adventurous.

Q9: Do you have any pearls of wisdom you would like to share with my readers about being married? Perhaps something some wise person once told you, or something you’ve learnt the hard way?

My grandmother always told me “love all” and I think that (perhaps most importantly) applies to marriage. Also I would add : Be kind to each other & don’t let the little things that bother you turn into big things that bother you and get in the way of why you married each other.  

LifeAfterTheDressCGSEliciaShepard

You can find Elicia at the following places:

I hope you have been enjoying this series as much as I have enjoyed putting it together.

If you would like to be featured here on the blog, you can drop me an email using the contact form above or leave me a comment below. I look forward to hearing from you!

Easy Natural Evening Makeup Look {Video}

NaturalMakepLookVideoCGS

A super easy to do, natural look to wear for evening (or day if you felt like wearing a slightly darker eye during the day). See below for product info.

Enjoy!

PRODUCTS SHOWN IN THIS VIDEO 
-L'Oreal True Match Foundation in R3 C3 Beige Rose
-The FaceShop Dual Veil Concealer in V210
-Maybelline The Colossal Volum Express in Blackest Black
-Innisfree Mineral Single Shadow in #1,#38, #38, #41
-Mac Matte Powder Blush in Harmony
-Revlon Just Bitten Kissable in 015 Cherish Devotion


-Eco Tools Brushes (Mineral Powder Brush & Crease Brush bought on iHerb: http://bit.ly/1Fcex1A
-Innisfree Diagonal Cheek Brush
-Sigma F80 Stippling Brush: http://bit.ly/1Fcex1A 
(the following online store ships Sigma Makeup brushes to South Africa: http://bit.ly/1AZxG09)
-Blistex Daily Conditioning Treatment

I hope you enjoyed this makeup video, let me know in the comments section below what you'd like to see in my next video!

x

Giveaway Winner!

To find out who the winner of my recent Korean nail polish giveaway is make sure you visit my Facebook page by clicking here!

Thank you to everyone who entered I hope you enjoyed my last video. There will be lots more to come! In the mean time, here is some nail inspiration:

Ubud, Bali Travel Guide

BaliTravelGuide.png

Farmboy and I headed to Bali for 12 days in July last year. We had a wonderful time, and it was one of our favourite holidays we have been on so far. I seem to say this after every holiday, probably because we are finally starting to actually learn from out mistakes, making each trip that much better. You may be thinking of heading there soon (or sometime in the future) so to help you plan your trip, I have put together a rough budget, as well as some tips from our stay. Please keep in mind that my husband and I may travel very differently to you, and have different likes and preferences for things. I prefer the more luxurious path, while Farmboy would stay in a hammock for the entire trip if it was up to him. So we plan accordingly, and of course, try to stick to the budget.

We didn't find Bali as cheap as some of the other countries we have visited (Vietnam, for example) but that is mainly due to the fact that Bali's whole economy is based on tourism. Bali is the largest tourist destination in the world, and is renowned for its highly developed arts, including traditional and modern dance, sculpture, painting, leather, metalworking, and music. They have been a tourist destination for a very long time, this has it's pros and cons as I will explain later. Bearing this in mind our trip budget was different to Vietnam and Malaysia. Another thing is that my mom was supposed to be joining us on this trip, and so come of our accommodation choices were very different to what we usually book. She had to cancel her trip at the last minute and as most of the accommodation was non refundable, we just decided to enjoy the slightly pricier places we had originally booked. 

We were in Bali for 12 days exploring mainly the Centre of Bali & the East Coast:

6 nights in Ubud (first 4 nights & last 2 nights)

5 nights on the Gili Islands

This post is focused on Ubud, and the second guide I will post soon will be of The Gili Islands.

BaliTRavelGuide

UBUD - Central Bali

Ubud is the cultural capital of Bali, where you will find anything from yoga studios, to french cuisine, artisan jewellery to unique hand crafted furniture. Here is a list of the things we did during out first 4 and last 2 days in Bali.

Accommodation in Ubud

Upon arrival into Ubud, we were collected at midnight by the owner of our villa (Dewa, the most incredibly humble, open minded and knowledgeable man we have ever met) who is also a driver and tour guide. We didn't know anything about drivers or the fact that we might need one until we met him, and he didn't pressure us to book him for any tours at all. We spent the first 4 days in the home he has built for guests (click here to see more about booking this incredible place). Although the villa is on the same property as his family home, there is complete privacy and we only noticed the presence of people when we would find little offerings places around the bottom of the house. 

*Peaceful Villa just outside Ubud $89 a night (suitable for 4 people). Click here to book. 

If you would like to get in contact with Dewa for a tour or to book his villa directly, click here and scroll down to the button that says 'contact host'. Dewa also helped us book fast boats to get to the Gili Islands and was just so helpful. I can't recommend him enough! 

For our last 2 nights we decided to stay somewhere really special and spent two nights at Villa Awang Awang is the smallest of their villas, Villa Pererepan. It was incredible and one of the highlights of our stay. It was our most expensive accommodation, $150 a night but worth every cent. We had a private pool, breakfast was included and served to us on a private balcony over looking the forest canopy below. The bathroom was half outdoor and was the perfect place to relax after a busy day of sightseeing. Click here to find out more about Villa Awang Awang.

Offerings

The majority of the people in Bali follow Balinese Hinduism, which is a combination of existing local beliefs and Hindu influences from mainland Southeast Asia and South Asia. Balinese Hinduism has roots in Indian Hinduism and Buddhism, and adopted the animistic traditions of the indigenous people. This influence strengthened the belief that the gods and goddesses are present in all things. Every element of nature, therefore, possesses its own power, which reflects the power of the gods. A rock, tree, dagger, or woven cloth is a potential home for spirits whose energy can be directed for good or evil. Balinese Hinduism is deeply interwoven with art and ritual. As you drive along the narrow roads, you will see many parts of temples and trees covered in cloth. This is a marker to show that spirits reside within. 

Every morning, usually before most tourists have even been rustled from sleep, the people of Bali are out sweeping the streets of the previous days offerings. Once swept the streets are once again ready for the daily gifts or offerings laid out to appease the various Gods & Daemons Of Balinese Hinduism. 

BaliTravelGuide
PlacesTostayInBaliUbud_0006.jpg

Things to do in Ubud

Ubud has a very laid back atmosphere, even though there are a lot of tourists. It has become especially popular since the Eat, Pray Love was filmed there. Many people from allover the world come to practice yoga, and recharge their bodies, minds and souls. There are all kinds of restaurants and things to do in and around Ubud. We visited the Monkey Forest, did a cooking course, toured the surrounding craft villages, did a coffee plantation tour, visited temples, did a market tour and spent time wondering around the town. 

Ubud Monkey Forest

We spent an afternoon wondering around the Monkey Forest,which was a really fun experience. It was quite scary at times as the monkeys can get quite aggressive around their young. 

Ubud Cooking Course

Just like Vietnam, we did a cooking course and just loved it. Doing a cooking course really helps to get a real feel for the food of the country, and we learnt a lot about Balinese culture from our wonderful host. Click here for details on the cooking course we did. 

Ubud Industry Tour

All around Ubud there are pockets of villages that specialise in diffferent crafts. We visited a silver & gold factory, a Batik warehouse, bone crafters, and wood craftsmen. 

Market Tour

We were taken on a market tour during our cooking course with Paon Cooking School. We love doing market tours as often we have no idea what half of the herbs, spices and vegetables are and our guide explained how to eat the local fruit. This was one of the highlights of Ubud for us.

Temple Visits

We visited 4 temples and their surrounding areas around Ubud; Elephant Cave ( Goa Gajah), Pura Tirta Empul (holy waters) and Tegallalang Rice Terraces & Gunung Kawi.

Ubud Coffee Plantations Tour

Our villa host and tour guide, Dewa, took us on a tour of one of the local coffee plantations. We even got to try the infamous Luwak Coffee or Kopi Luwak. Kopi Luwak refers to the seeds of coffee berries once they have been eaten and defecated by the Asian palm civet. Sounds pretty terrible, and to be honest we weren't blown away by the taste. It tasted like regular coffee to us, but is known to be one of the most expensive coffees in the world. The tour also included a tasting of various teas and other coffees available to buy. 

Volcano Tour & Lunch in Rice Paddy Village

We also did a very short drive to see the view of Kintamani Volcano which is still very much active. We didn't do the tour around the base of the volcano, but the views were gorgeous from one of the rest stop. We then had lunch at one of the rice paddy villages which had gorgeous views too.

We really enjoyed our first few days in Udub, but by the 4th day we were ready to head away from the crowds and on to the beach. I will be posting a guide to the Gili Islands soon!

In the mean time, here is a video Farmboy put together of our trip, enjoy!

If you would like to get in contact with Dewa for a tour or to book his villa directly, click here and scroll down to the button that says 'contact host'. Dewa also helped us book fast boats to get to the Gili Islands and was just so helpful. I can't recommend him enough! 

Muju Ski Resort & Camping in the snow

Skiing Muju Resort, SouthKorea & Camping In The Snow

Muju is the closest ski resort in our province (Jeollabukdo) and is a 2 hour drive from Buan. If you travel bus bus you need to get to Jeonju and from there take a bus to Muju. Then there are local buses and shuttles, or even taxi's which will take you the rest of the way to the resort where the slopes are.

We decided it would be a great idea to camp (trying to be as spend thrifty as possible) and while we all survived the cold, it was pretty darn freezing. We were no where near equipped to deal with the sub zero temperatures, and felt rather ashamed when we looked at our neighbours setups. When Koreans camp they camp properly, with no messing about. Luckily, our neighbours were such kind people and offered us tent pegs and a hammer to get our tent set up. We were also brought steaming hot citrus tea in the morning, they really must have felt sorry for us during the night. BUT it was an adventure and that's what we were after (dog included!).

SkiingMujuResortSouthKoreaCampingInTheSnow

There are about 7 camp sites, 6 of which you have to reserve online or by calling (click here for more information...the website is in Korean so you may need a co-worker/friend to help you). BUT the site we camped at was on a first come first served bases. Here is a map of the area highlighting the camp site & the resort (left hand side: 무주 리조트):

SkiingMujuResortSouthKoreaCampingInTheSnow

It cost us W13 000 to camp for the night. The camp site also has caravans (auto homes) to rent out and camp sites with electricity if you need it. The bathrooms were great, had showers and most importantly had heaters all over the place to keep you toasty when you have to leave your tent in the middle of the night.

Another thing to bear in mind is that the slopes are closed in between sessions for the snow ploughs to do their thing and get the slopes ready for the next session. Each session is between 3 & 4 hours long. Here are the session times, as of February 2015. Please confirm these times with the website by clicking here.

  • Early Morning 06:30~08:30 (During the weekends and holidays only, except on Chinese new year’s day)
  • Morning 08:30~12:30 
  • Afternoon 12:30~16:30 
  • Evening 18:30~22:00 
  • Night 22:00~24:00 
  • Midnight 24:00~02:00 

At the entrance to the slopes there are a few coffee shops and plenty of restaurants. There is also a JimJilBang (public bath house) for you to warm up and shower after your ski sessions. They only offer the baths and a small section for relaxing in, you CAN'T sleep here as they close at 10/11pm.

SkiingMujuResortSouthKoreaCampingInTheSnow

We did an evening ski session (18h30 - 22h00) which was amazing! Farmboy and I have skiied a few times all over Korea and we love the night sessions the most. It's cold, but there are fewer people.

Click here for more information on the ski session prices. If you have an NH or KB card you automatically get up to 50% off the prices...so for the 3 of us to ski one session, lift passes & equipment included it only cost W53 000 each. Ski jackets and pants are available for rent at about W10 000 a day each. The only things you can't rent are gloves & goggles so make sure to remember to pack those.

Here are some more photographs of the area around our camp site, including a photograph of me standing in front of the most amazing Korean camp set up. And yes, that is a chimney to the right of the roof top tent. It was really beautiful in the early morning, and we will definitely be going back for Summer.

Address:

Muju Resort: 185, Manseon-ro, Seolcheon-myeon, Muju-gun, Jeollabuk-do (Manseon-dong)
전라북도 무주군 설천면 만선로 185 (만선동)

Jacques & Susan Maternity Shoot...Imsil, South Korea.

MaternityShootPhotographerSouthKorea

At the end of last year, Storm and I spent a wonderful morning with Jacques & Susan for their maternity shoot in Imsil, South Korea. Jacques & Susan welcomed a beautiful, healthy boy into the world a few weeks ago and we wish them so much joy as they embark on this new adventure called parenthood.

Susan had contacted me earlier last year as she was looking for something a little different from the usual maternity shoots she had seen. Storm and I suggested we do the shoot in her home in Imsil, and had some idea's in mind of very natural settings with very little posing.

Storm and I loved working with you Jacques & Susan, and hope these photographs bring back happy memories for the both of you.

I am so happy with how the photographs came out, and would love to continue doing more of these shoots in the future. If you are looking for something a little different for you maternity/engagement/family/baby shoot then please do get in touch with me using the contact page above! You can see more of my work by scrolling over the menu above, under Photography. 

For any photographers who may be interested, these photographs were all shot on my Nikon d700, 24 - 70mm 2.8 & 50mm 1.4 prime lens.

Video: How to make your Nail Polish Last Longer & a *GIVEAWAY*

HowoMakeYourNailPolishLastLonger

Hello everyone and welcome to my first Youtube nail tutorial. In this video I will be showing you how to make your nail polish last longer.

All you need is

-a base coat

-a colour polish

-a top coat

 I'll be using Innisfree's Eco Base Coat, Innisfree's #108 colour polish, The Face Shop's gold glitter colour polish & The Face Shop's Gel Touch Nails top coat. 

Click on the video below to start watching.

*Make sure to watch till the end for the GIVEAWAY!!

You can enter the giveaway by either commenting on the video above (you might need to open the video up in Youtube itself to comment under it) or you can leave your comments here on my blog in the comments section below.

Rules:

-Giveaway is open internationally!

-Giveaway closes at midnight on Thursday February 12th & the Winner will be announced on Friday February 13th!

-Share this post on Facebook/Twitter/Instagram for more entries (please make sure to use the #citygirlsearching hashtag and tag me in your posts so I can keep track of all your entries).

GOOD LUCK!

Farm fresh, free range eggs {& how two CityGirls had such fun collecting them}

Last month Farmboy and I were home in South Africa for our Winter Holidays. We got to spend time with all our respective families, and had a most enjoyable time on his family dairy farm. As a CityGirl, and considering I had only ever seen eggs come out of grey boxes, collecting eggs is still very much a novelty. This time round I had the help of my gorgeous cousin Jess. Together we set about collecting all the eggs from various chickens dotted around the farm. 

Thanks for a wonderful eggy adventure Jess <3

Low Carb Chocolate Coconut Brownies {#BantingInKorea}

LowCarbCoconutBrownies

I'm mad about chocolate brownies, as I'm sure you are too if you're reading this post, and so I have been on a mission to make brownies in a way that lines up with the Banting diet I am currently on. I'm sure you're wondering what bulks up these brownies if they are Banting (click here to read more about this low carb/high fat lifestyle). These brownies contain no wheat or gluten as the secret bulking ingredient is SWEET POTATOES!.

I was pretty shocked when I found out that sweet potatoes (much better than regular potatoes as they have more fibre and less carbohydrates) can be used to bake sweet tasting treats. Sweet potatoes are a fantastic bulking agent to use in cakes and brownies BUT they do still contain quite a few carbohydrates and so they are 'allowed' on the Banting Diet, but in moderation. The recommended allowance of sweet potatoes per day is 1/2 cup, so that would be about 3 of these brownies. So you can still have your cake (or brownie!) and eat it.

I adapted the recipe slightly from one of my favourite South African food bloggers, Lexi from Whisking It and changed up a few small things to suit my grocery cupboard here in Korea.

I also really like what Lexi says about the fact that we should forget about following a diet like it's a religion. There are so many branches of Banting/Paleo/LowCarb HighFat diets (some allow this and not that etc) and so you need to rather listen to your body when it comes to following an eating plan. Following the Banting Diet strictly has REALLY worked for me, but I know people that have struggled with it and found they aren't losing any weight. You just need to find something that works for you (including drinking plenty of water and of course exercising).

IMG_1629.jpg

Ingredients

2 cups of grated sweet potato (Thanks to Lexi for the tip to use the SMALL holes of the grater - not the normal ones - to get a finer batter)

2 eggs

1 tsp vanilla essence

1/2 cup of raw honey (I can only find very syrupy honey here in Korea so mine was already a very thin consistency, you can just heat in microwave to thin it a bit if yours is very thick)

1 tsp stevia ( I used Xylitol)

1/2 cup olive oil (I used coconut oil)

1 tbsp baking powder

½ tbsp of bicarbonate of soda

1 cup cocoa powder

2 tbsp coconut flour

1/2 cup desiccated coconut

*not entirely Banting but I added a few crumbs of dark baking chocolate to the mix 

Directions

Preheat your oven to 180 °C

Mix the grated sweet potato, eggs, vanilla, honey and olive oil/coconut oil in a large mixing bow. It will be a sticky mess, keep going. 

Add baking powder and baking soda.

Add cocoa powder, and finally add the coconut flour, coconut and stevia/xylitol and any chocolate chips you may want to add.

Finally pour the mixture into a baking tray. Make sure to grease your pan tray well (I used coconut oil, and didn't quite use enough and so lost quite a bit of brownie to the bottom of the pan!).

Bake for 25-30 minutes. If you're here in Korea and have a small, fiery hot oven like we do, watch your brownies like a hawk! I burned to bottom of mine when I got distracted by something or other in Instagram (note to self...when baking, stop trying to do a million other things at once!)

Allow to cool for 5-10 minutes before carefully removing the brownie cake from the tin. 

These brownies freeze very well! I found mine were very crumbly, but they firmed up well after freezing. Freezing also ensure you don't eat the whole lot in one go!

LowCarbChocolateCoconutBrownies

The last snowfall

Last month we had so much snow here in Buan, South Korea that we were left wondering whether it would ever stop. The snow is beautiful, but driving in it is a nightmare. Freshly fallen snow is soft and fluffy, but the day after it's icy and treacherous. But we enjoyed the change from our mild winters in South Africa and had loads of fun playing with our pup in it (he must be part Husky as the snow is his most favourite thing, ever!).

Here are some photographs from the last heavy snow we had in December. I took a stroll up to one of the traditional temples behind my town (click here to see the styled shoot I did there in Summer last year with my very pretty South African friend, Roslyn). 

개 편한 세상 Dog Cafe & Dog Hotel in Gunsan South Korea

DogCafeDogHotelGunsanSouthKorea

Having a dog here in Korea means that we have had to sniff out all the local dog friendly places to spend afternoons and weekends at. This dog cafe was a wonderful find as not only can you take your pup there to socialise with other dogs, but they also offer boarding if you have to go away. 

w5 000 gets you in and includes a drink so anyone can pop in to get their share of puppy cuddles even if you don't have a dog yourself. Dog owners can bring their pups to play and the entrance fee is the same (W5 000 per person). The cafe itself is on the 4th floor and has an indoor area and outdoor patio so bigger dogs can run around to their hearts content. 

Here are some photographs of our visit a few months ago. Our pup, Shadow (the black and tan Jindo in the pictures below) had a ball romping around and especially loved meeting the sweet Spaniel mix, Olive. Thanks so much to Erin for showing me around the place and for bringing along Olive (who she was fostering at the time). 

Indoor Cafe & Dog Boarding Facilities:

DogCafeDogHotelGunsan

Outdoor Patio

Pet Cafe's are really popular here in Korea. Click the following links to see photographs of a Cat Cafe & a Dog Cafe that we visited in Seoul.

개 편한 세상 (which means More Comfortable World in Korea) Dog Cafe & Dog Hotel in Gunsan South Korea is home to a number os street rescue dogs thanks to the kind owner and entrepreneur Doo-Soo Jang. 

Address:

Jangmi Building 4th floor, Gyeongjang-dong 466-01, Gunsan-si, Jeonbuk, South Korea

In the picture below you can see the sign for the cafe in brown with an aeroplane logo (picture on the right). To enter the premises you need to go around the building where you'll see the green sign below. Go up the stairs to the top floor. 

DogCAfeDogHoteGunsanSouthKorea

Have you ever been to a pet cafe before? What did you think of the experience? I'd love to know your thoughts, so please do leave me a comment below! 

DIY How to Make Gold Animal Glass Jars

How To Make Gold Animal Glass Jars

Welcome to the next instalment in my #DIYDaysInKorea series. These posts are about making beautiful things for your home, whether that home is in South Korea, South Africa, or any where else in the world. This post follows on from the Gold Animal Fridge Magnets and these jars are what I used to store the Fig jam I blogged about last year.

If you are based here in Korea and would like to join one of my DIY days (click here to see what went on at the previous get togethers we've had) you can pop on over to the Facebook group for more information.  It's a wonderful place to meet new friends and spend an afternoon.

I hope you enjoy this series and that you leave feeling inspired.

x


DIY Gold Animal Glass Jars

#DIYDaysInKoreaGoldAnimalGlassJars

You Will Need

-plastic animals (I found these at my local Daiso here in Korea)

-can of spray paint (I found this gold one at my local DC Mart)

-glue

-your choice of glass jars/bottles

Directions

Spray your animals with the spray paint. Make sure to place some newspaper down or use a piece of cardboard to prevent your work surface from being covered in paint.

Make sure to hold your can of paint at an equal distance from the animals while spraying to ensure the are covered in an even layer of spray paint. This also stops the pint from dripping. 

Once your animals are dry, you can start gluing them onto the lid of your jars. Try not to use too much glue when sticking them down so the glue doesn't run and form puddles around the animal.

Leave to dry and repeat! Now you have beautiful jars to store all kinds of things in your home. Use your jars to store nuts and seeds, bugger jars and bottles for storing makeup and nail polishes, or use them to store home made jams like this Fig Jam. The options are endless!

I'd love to see your jars if you make them, please share your creations with me on Facebook, Twitter or Instagram using the following hashtag #citygirlsearching.

Happy DIYing!

Farm Holiday in South Africa

Farmboy and I have been at home on holiday here in South Africa for a week now, first spending some time in Joburg, the Drakensburg and have finally touched down on the family dairy farm in Creighton, KZN.

Here are a few snaps of the drive from Joburg, as well as my first morning waking up to the cows and chickens, and wide open spaces that make this place such a wonderful retreat from Korean life.

How to save photos from Instagram

HowToSavePhotographsFromInstagram

If you're on Instagram, chances are you've tried at some time or another to save either your own photographs, or someones else's. And realised you can't. Instagram has done this deliberately (possible to help people maintain copy write of their work?) but whatever the reasons it's terribly frustrating when you want to use a picture you've uploaded and then realise you've deleted it off your phone and computer (note to self...BACKUP ALL your devices regularly!).

CityGirlSearchingInstagram

But have no fear, there is a way to download your photographs directly off Instagram. I know of two methods, one of them is online and you can do it straight from your computer (Instagrabbr) and this is the one I am talking about today. The other method I know about that seems really popular right now is the iPhone app Instagrab. Both platforms are free and super easy to use.  There are I'm sure lost of other ways that you but these two are the ones I have used. If you know of any other good apps or good ways to download your photographs please leave a comment below. 

Instagrabbr

1. Paste your Instagram username into the Instagrabbr box:

HowToSavePhotographsfromInstagramInstagrabbr

Your profile of images will pop up:

InstagrabbrHowToSavePhotogrpaphsfromInstagram

2. Click on an image you want to save. When it opens up, right click and 'Save As/Save Image As'. Or click the green 'save image' button underneath your photograph.

InstagrabbrhowTOSavePhotographsfromInstagrm

A super easy way to download photographs from Instagram. You can use the same method for different Instagram accounts, simply pop the username of the account you want to download photographs from into the Instrabbr box and bombs away!

Have you ever used Instagrabbr before? I'd love to hear from you in the comments below.

Happy New Year!

image.jpg

Wishing all my readers a wonderful and happy 2015 filled with love and adventure. Thank you for following along in my search for pretty-ness. 

I'm home in South Africa for the next few weeks but will be back to regular blog posting soon.  

Thank you to each and everyone of you for your support and encouragement with CGS...the best is yet to come! 

Owning a Dog in Korea {Part 1} What you need to keep you and your pup happy.

OWningADogInKoreaWhatYouNeed.jpg

Our lives changed in September 2014 when we rescued Shadow, then a tiny black and brown ball of fluff. We had no plans on having any pets while living here in Korea, but we have very little control over who and what God places in our lives.

We spent 3 weeks deliberating over what to do with him, mainly because it costs thousands of dollars to take a dog back home to South Africa, and also because we had no idea what owning a puppy really meant.

This post will hopefully help you with the basics of what you need to keep both you and your pup happy while living in an apartment here in Korea. I am by no means a dog expert, but I have spent countless hours watching youtube tutorials for training dogs, and have had the past 3 months (not a huge amount of time but a LOT of time when you get a puppy) to learn a few things.

These things will also be useful for anyone getting a dog (not just a puppy) but there will be a few things you won't have to worry about if you live in a house with a garden. Here in Korea we live in relatively small apartments and so choosing to have a dog needs to be well thought out and planned process to ensure minimal stress for everyone. 

*I will be doing another post on getting a health check for your dog here, heart worm medication as well as all the vaccinations they need*

Sleeping:

OwningDoginKoreaWhatyouNeed

Farmboy and I live in a relatively large apartment, and so have converted one of the rooms we have into the dog den. Not everyone will have this luxury, so I suggest getting a 'play pen' of sorts to contain your puppy/dog while you are out the house or can't keep an eye on him. This has been the most important thing we have done, and has really helped us relax when we are gone to work 8 hours of the day. We bought this dog gate off Gmarket (W45 000 or $45 click here for the link) which means he can see us, but he can't escape. He cried a lot the first few days we locked him up, but now he is happy to be in there and just sleeps when we aren't at home. This keeps him safe, as well as protecting the rest of our house from puppy mayhem. This also helps with housebreaking your puppy, as they tend not to mess where the sleep (the same is said for crate training...see below). 

His crate goes in his room as well as a cheap little bed we found at Daiso. He doesn't like blankets or anything that most dogs like to snuggle in. Even now with it snowing outside, he doesn't like the underfloor heating and chooses to sleep on the cold stone floor by the front door when he isn't in his room....strange pup.

I had never heard of crate training before, but as we will one day leave Korea, Shadow will have to travel in a crate for over 20 hours and so getting him used to it as soon as possible was very important for us. The sooner your pup gets used to the crate (and hopefully to see it as a happy and safe place to be) the easier it will be when they really have to be in it. There are lost of great videos on crate training (just google it and you'll find hundreds of great resources) and it took Shadow a while to be comfortable being inside it. He still doesn't like being locked in it for hours at a time, but he is getting used to it and it's only to help him in the end. We feed him in his crate, and put him inside it with some treats while we watch TV. He will eventually fall asleep in it and then we leave him in it over night. With crate training it's important to start off slowly, and progress gradually. Don't rush it or your poor pup will start to hate it. Also, never 'banish' your pup to his crate when he is naughty. You want the crate to always be a safe and welcoming place for him to be in.

Finding the right size crate can also be difficult. We had no idea how big Shadow would be and so had to make a guess. Crates are also super expensive here (this is one of the largest sizes and cost W165 000 or $165 on Gmarket. Click here for the link). If your pup is going to be traveling by air, the crate needs to be sturdy, IATA approved, and your dog needs to be able to stand up and turn around comfortably. Our crate is still a little too big for Shadow, but he is probably going to grow into it and we would want his journey home to be as comfortable as possible. 

Food

This has been a tough one as there are soooo many different opinions and different kinds of foods. I had done a lot of research and decided that I wanted to feed Shadow grain free food (a lot of the super market brands use grains as fillers, leaving far fewer nutrients in the food and leading to huge poos). We were feeding him Taste of The Wild grain free puppy food until the stockist ran out on Gmarket and have resorted to Kirkland Nature's Domain food for all life stages until we can order more Taste of The Wild.  Click here for a great comparison of dog foods as well as star ratings for quality and nutritional value. 

We buy in bulk and store the food in large kimchi containers to keep it fresh. I got this 13litre containers from Daiso. 

Toys

OwningADogInKoreaToys

You can go wild with all the fun things you can buy for your dog here in Korea. Shadow loves his homemade toys the most (the tennis ball alien thingy that Farmboy made using old rope and a drill) and the grey t-shirt. We bought lots of toys that have rough edges on so he can chew away and help relive his itchy gums now that he is teething. 

Here are the links for the toys above:

Blue Ball thrower, Green squeaky ball, rope

Red Fireball Bento Treat Chew Toy

Black Squeaky Food/Treat Dispenser (this makes dinner time fun and keeps them occupied and their brain stimulated as they have to work out how to get the food out).

Ball Thrower

Purple food dispenser: bought at a pet shop in Gwangju

White nylabone

Treats

I mainly use treats for training (I follow Clicker Training which is based on positive reinforcement). You can find treats online through Gmarket, or at most marts and all pet stores here in Korea. When we leave the house for the day we also always make sure we give Shadow a Kong (the red toy pictured above) which will save your lives and keep your pup entertained for a good amount of time while you are gone. You fill the kong with treats, peanut butter, cheese, meat, carrots, bananas apples etc and the pop it in the freezer over night and voila! One very happy pooch! Click here for a link to them on gmarket. 

Grooming

I found all of these things at my local DC mart. The orange brush helps to really scrub and remove the dirt from Shadows thick fur. I also have a bunch of old small towels for drying him off after baths and for putting over his bed when we give him frozen bones. That just stops the yucky bits of blood and tissue from the bones messing everything. 

Training

I have been very strict with Shadow from the moment we got him and it has led to us having a very calm, well behaved dog. He doesn't jump on people, he has good manner, waits to be let in and out of doors and most importantly doesn't snap or grab things from people. It hasn't been easy but it has been worth it, and using a clicker (pictured above) has been life changing. This being said, we have only had him for 3 months and it's important to stick with your training, especially when you feel like your dogs knows all the tricks you have taught them. It's especially important to keep changing up the environment in which you ask your dog to do things for you, thereby helping to cement their learning.   I can highly recommend Kiko Pup on youtube & Training Positive.  Clicker training used food based rewards, but these videos give lots of advice for weaning your pup off the treats and ensuring your dog continues to do what you want him to do even without the treats. 

Walking

One of our biggest challenges has been to train Shadow to walk nicely on the lead. Using a harness instead of his just his collar has helped a lot but he still pulls and is a bit of a pain to take on walks. We do have a car, so luckily we can drive off to a field to give him his exercise but lead walking is a very important skill your dog needs to know how to do, and to do well. Click here for the link to where we bought this harness. It's soft and padded and doesn't cut into him like other harnesses have. They also have all sizes and colours and so you should be able to find one to fit your dog.

We only use the extension lead when we take him out to go to the bathroom.

Bathroom

Deciding where or how you want your dog to use the bathroom is another big decision to make. A lot of people use pee pads for their dogs, but we don't want our dog to get used to those and then have to be re-trained to go outside when we move back home. It's not easy having to wake up in the middle of the night in the freezing cold and take your dog out for a walk in the snow but it's a decision we have made. Shadow was pretty much housetrained from the moment we got him (something that is a common trait of Korean Jindos) and only pooed in the house on the first night we got him. Since then he has only had a handful off weeing accidents, mostly due to us not taking him out after he has eaten, slept  or been playing. Puppies should be taken out to the bathroom after each meal, ,nap, or play time until they are about 4 months old. 

Collar

Shadow is growing like a weed and has outgrown two collars already. This is one I found on Gmarket (click here) for him that included laser engraving for his name and for my number in case he gets lost. It comes in a variety of colours and sizes (it can be very hard to find a collar for larger dogs and this company were super easy to deal with!).

There is alot more I am still to learn about having a dog, but these are the basics that have helped us over the past 3 months. Do you have any other suggestions of tips for having a dog here in Korea?