All about the letter 'H' Horses & Haybales

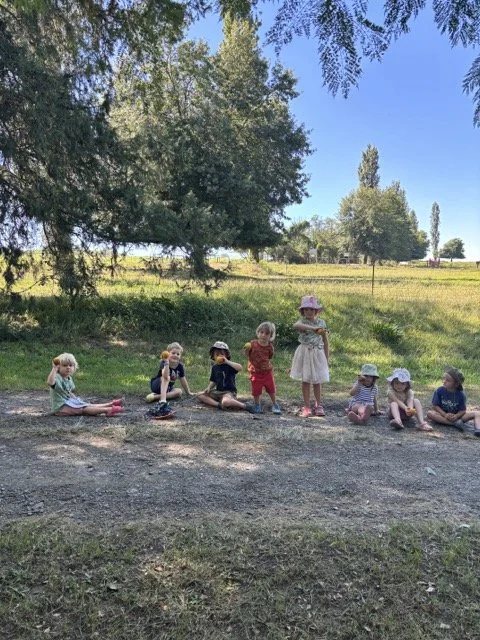
These posts document my teaching adventures in starting up a Reggio-inspired school in my farm shed in January 2023. I’ll share more about how all this came about soon, but in the mean time, I hope you enjoy these moments & learnings.

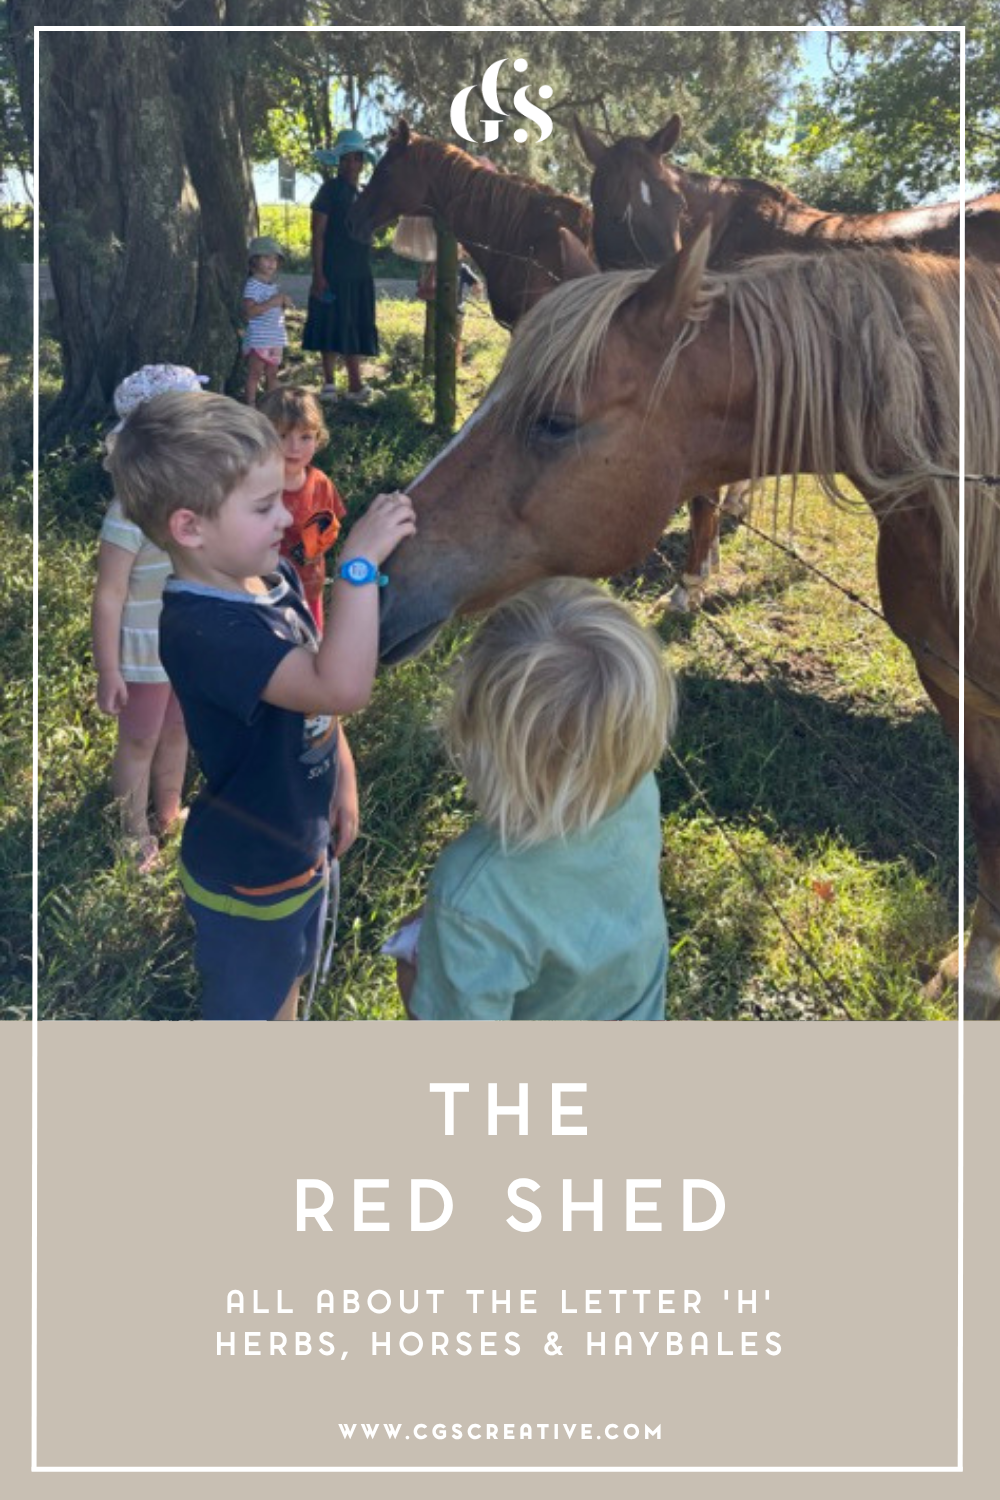
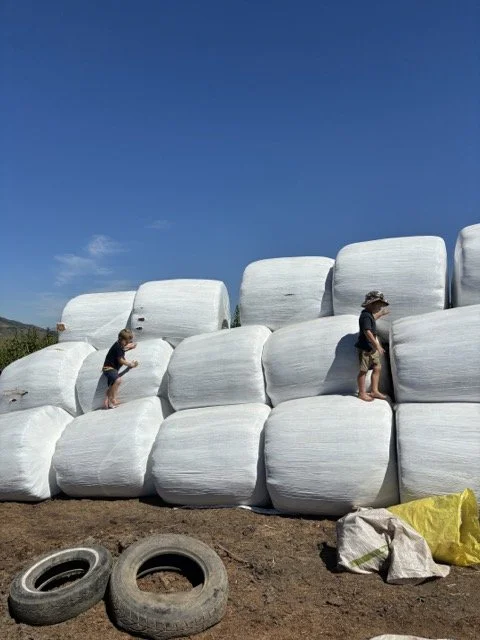
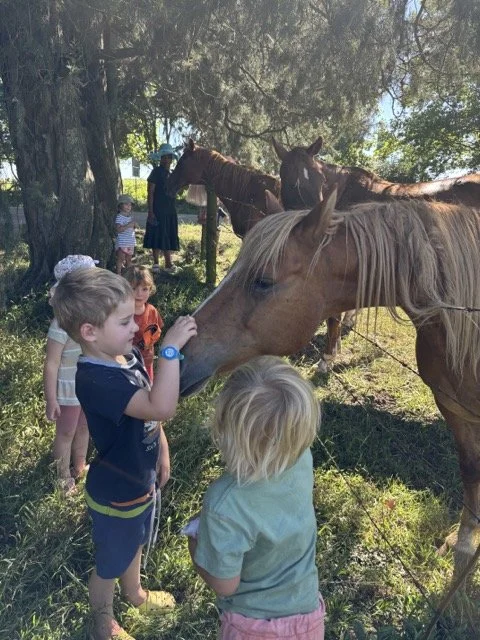
Granny & Grandpa, and more importantly, their horses…live just up the road from us and I often take my school kiddies there on our walks. Seeing the h-h-horses was a good opportunity to learn about the letter ‘H’ and bring in some other interesting things that are around and about at this time of the year; namely…the hay bales. We wrap our bales to protect them from the elements (as they live outside and not inside a barn) and this makes them extra fun to climb all over as they aren’t as prickly and spikey as unwrapped bales.

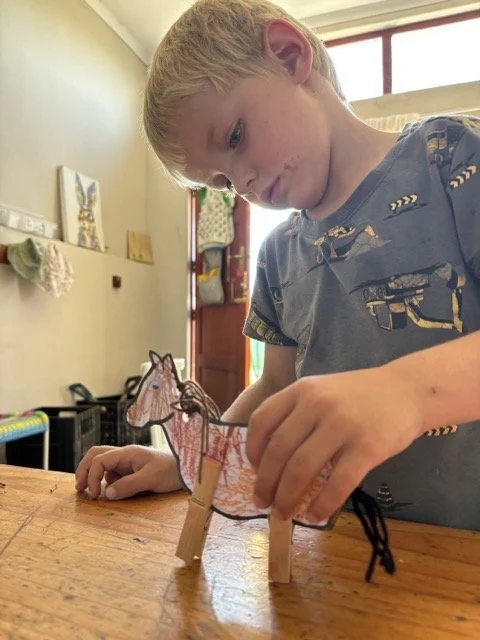
I based our art activity on the horses for this week, and found a sweet cloth peg horse craft for the kiddies to make. They loved making these and playing with them in the shed. I brought out our favourite letter land stories; and Harry/Hairy Hat Man was the character for the week.

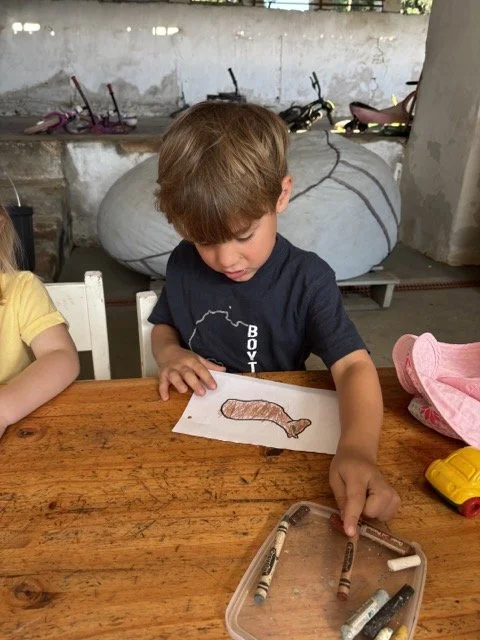
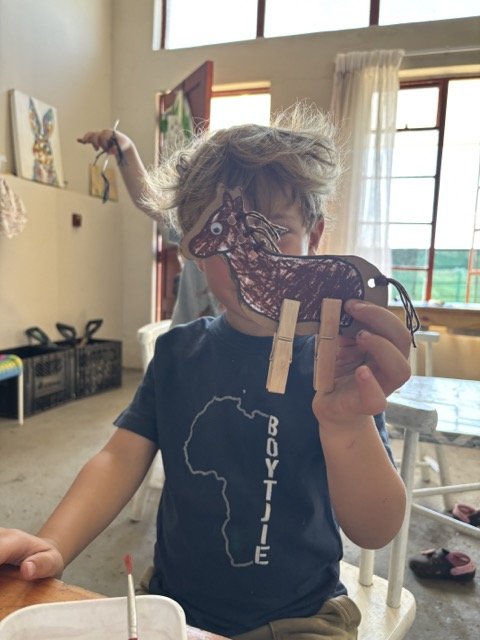
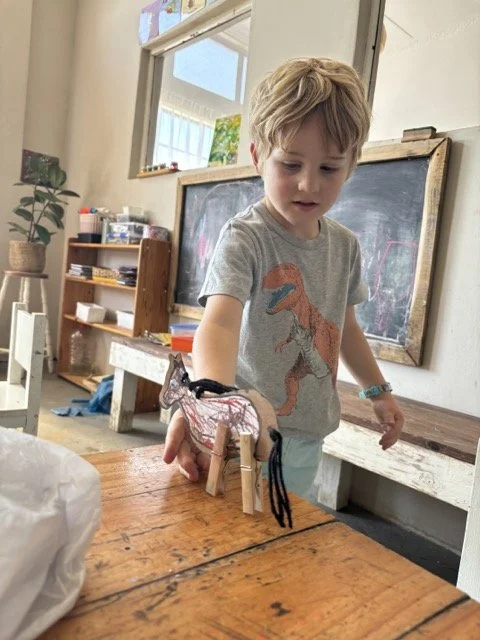
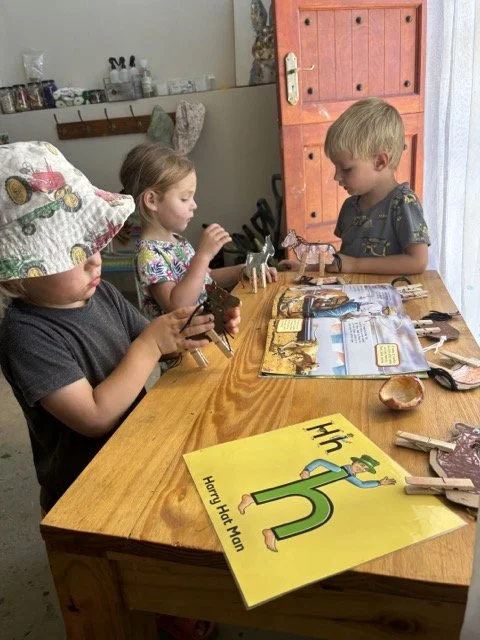
I printed out some outlines of horses which the kids coloured in and cut out (with a little/lots) of help and we then stuck them onto cardboard cutouts that I had already prepared. The man & tail holes were made with a holepunch, and then different coloured string was threaded through based on each child’s horse colour preference. Two wooden cloth pegs were then ‘clipped’ on for the legs and off they went, galloping around the shed.

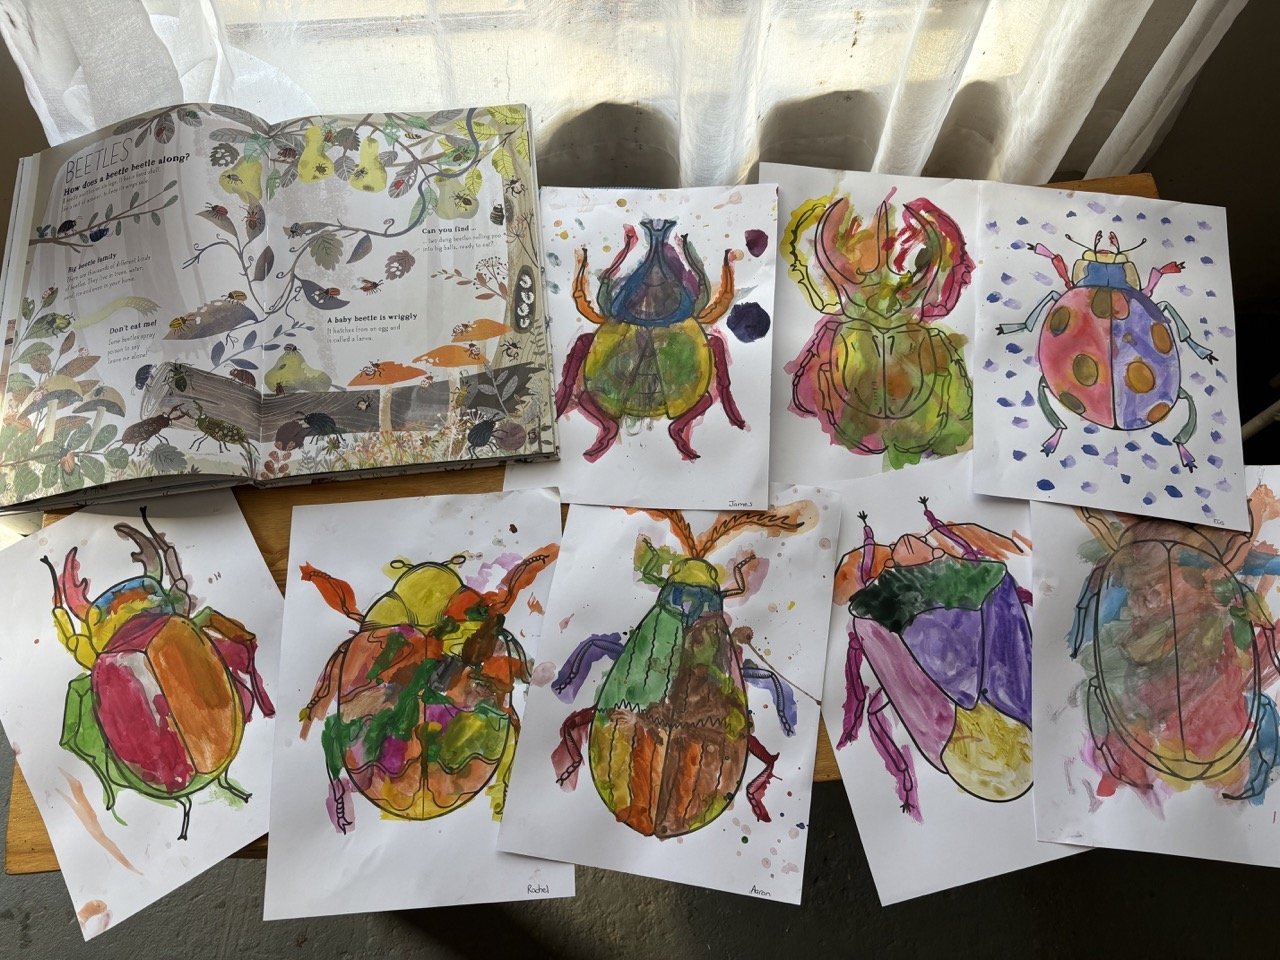
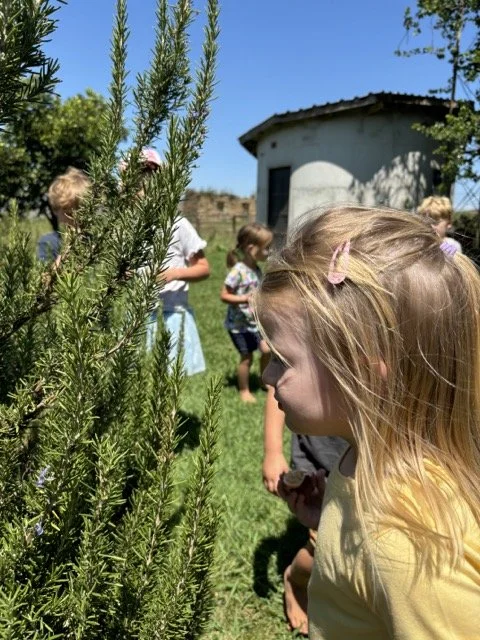
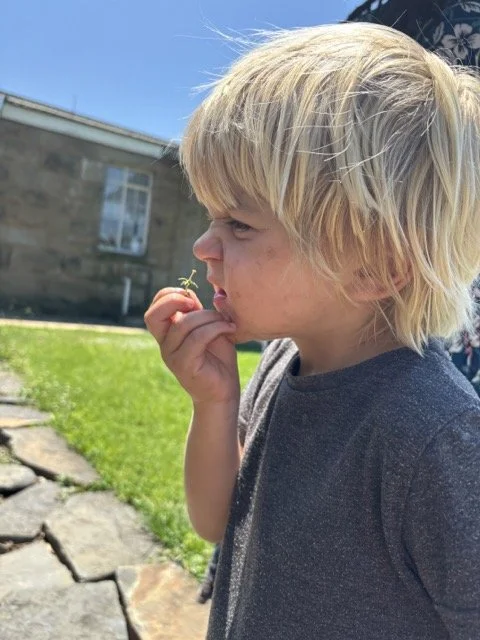
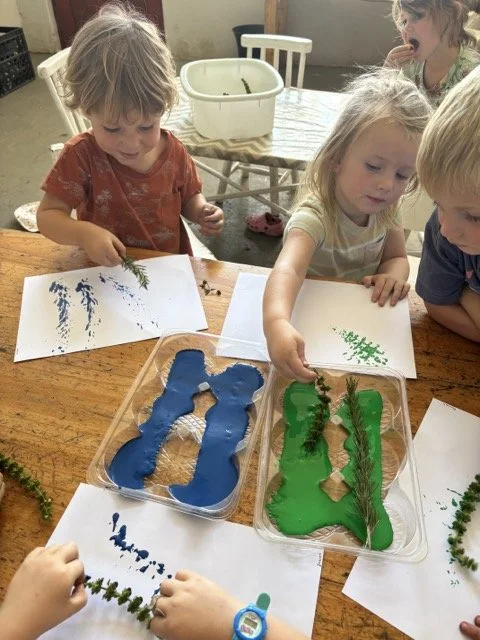
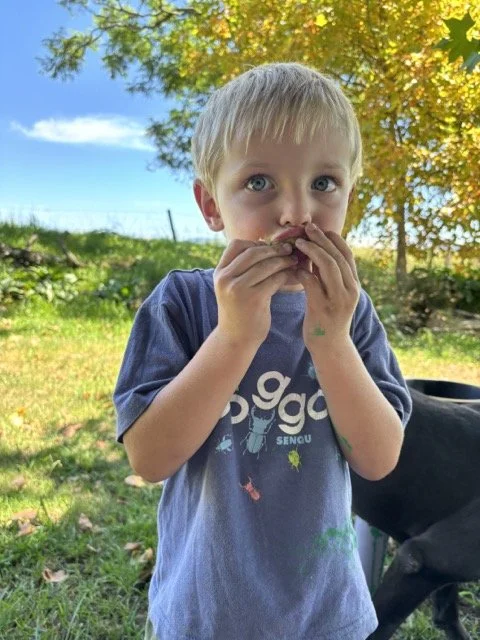
After snack time one day we took a stroll through my garden to smell the different herbs we could find. The kids loved this activity, and had lots of fun smelling, tasting and feeling the different scents and textures. We then picked a bunch of different herbs to take back to school to paint with.

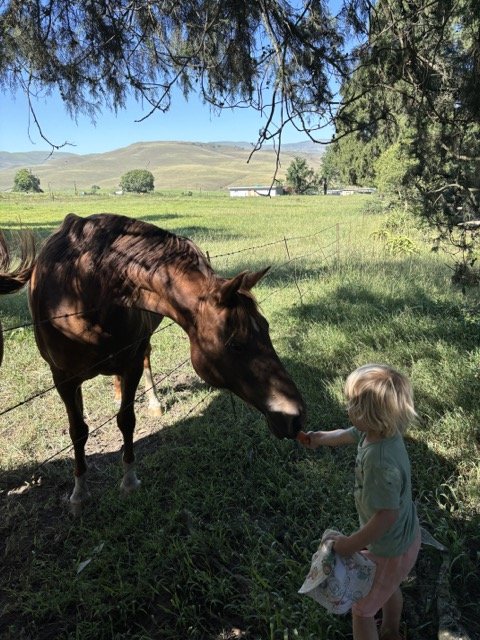
We spent a morning walking to the horses to say hello and given them some carrot treats, and then popped into Granny’s orchard to pick some oranges.

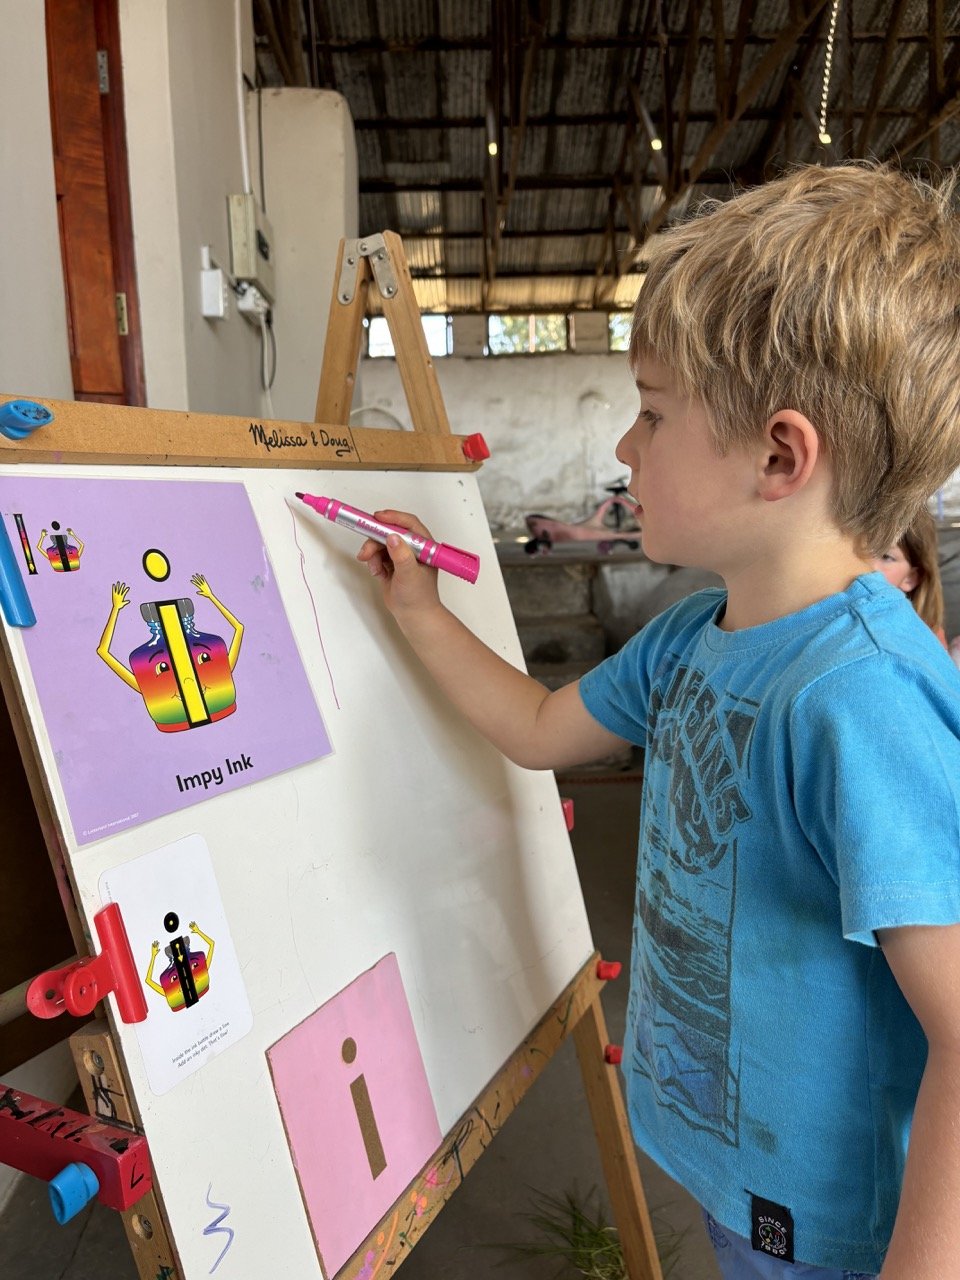
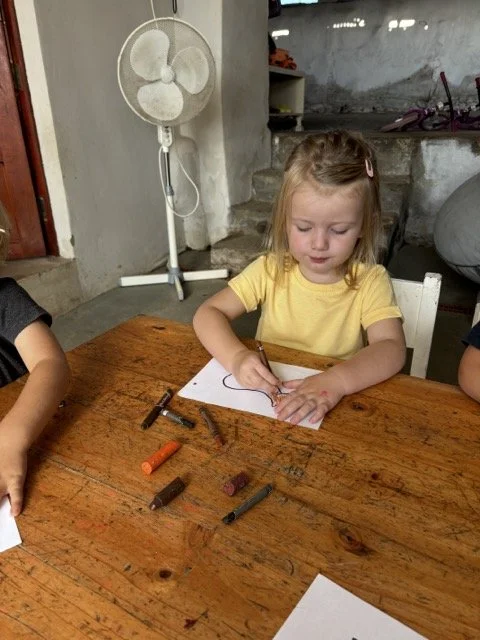
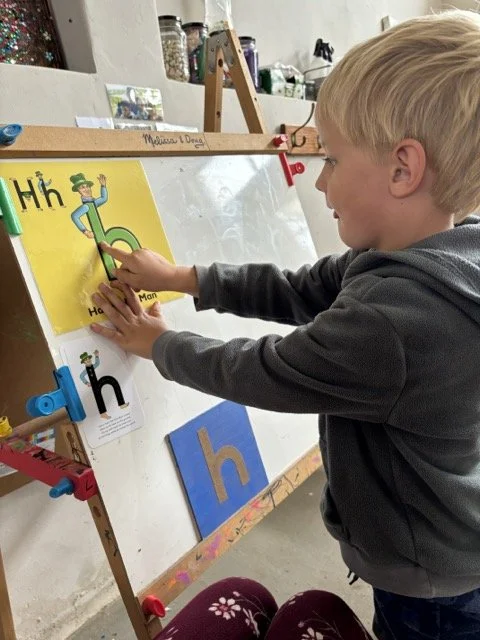
For our writing activity, I like to keep things very simple and tactile, making use of my sandpaper letters and rainbow ruse to practice the letter formation before giving the children the opportunity to pick up a pen. Then it’s to the whiteboard we go to first practice with my hand holding theirs, and then to let them free to try themselves. Everyone always loves this activity.

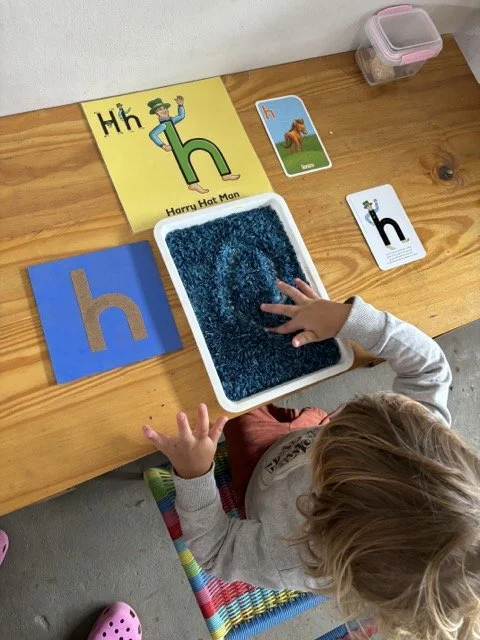
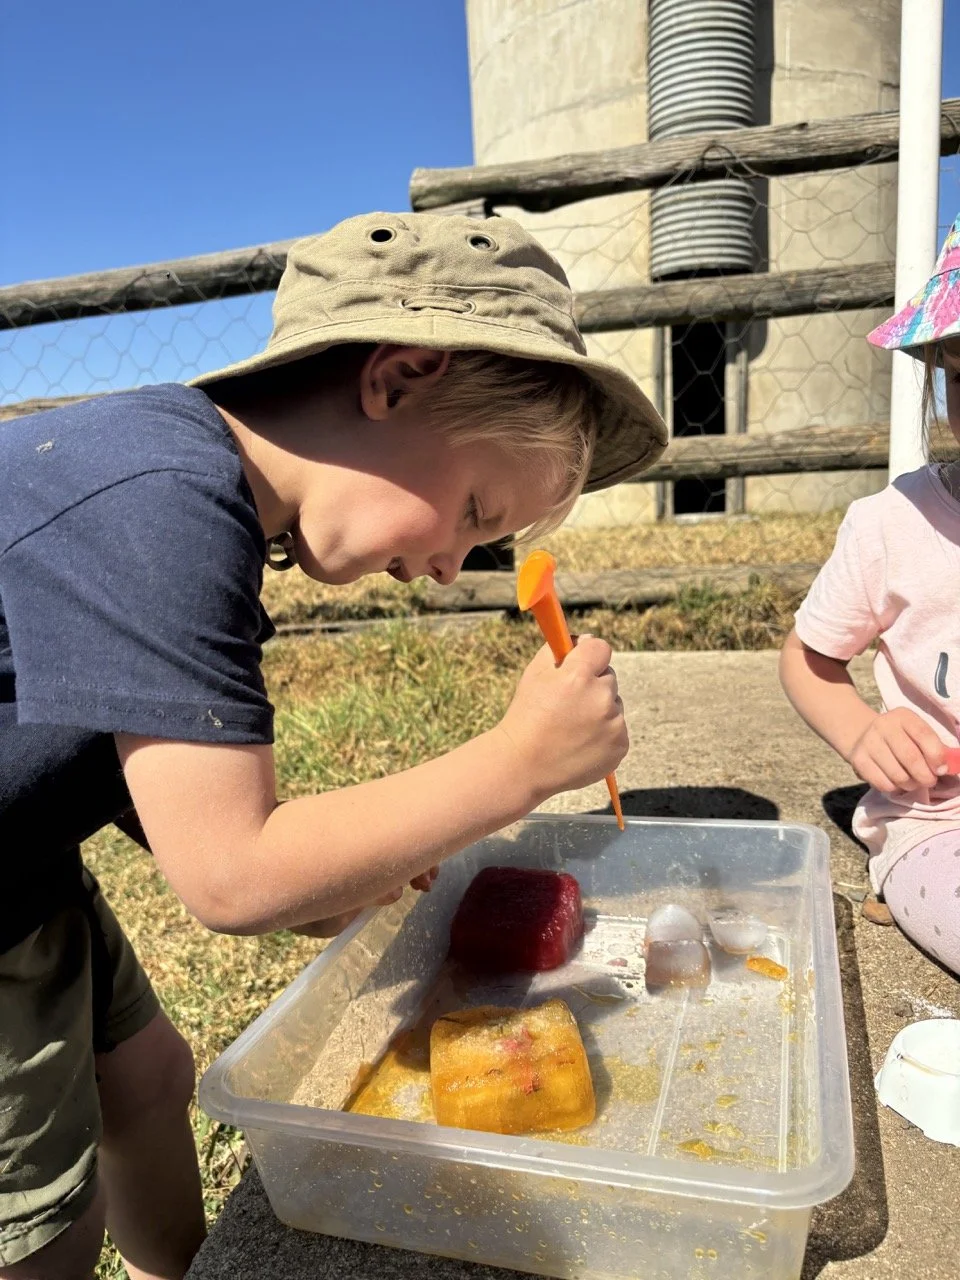
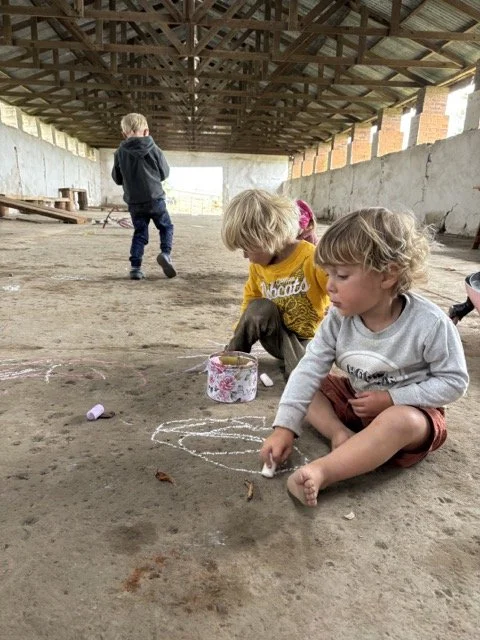
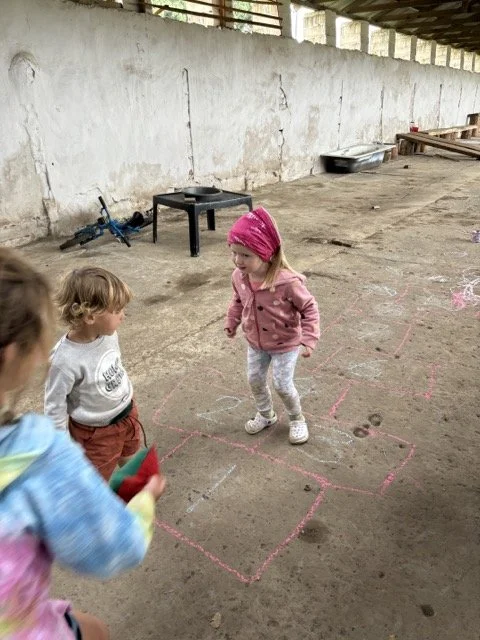
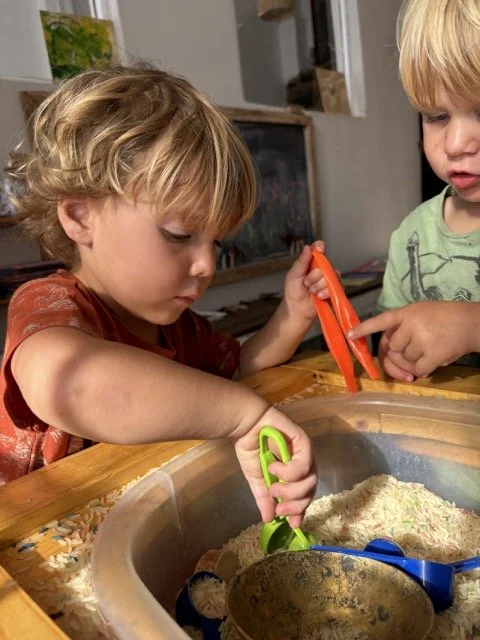
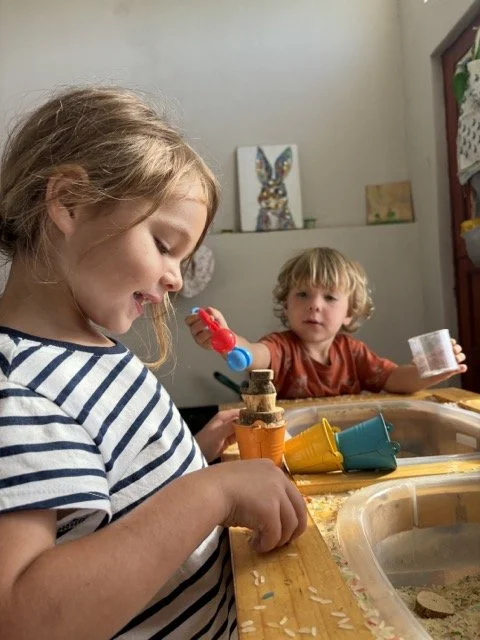
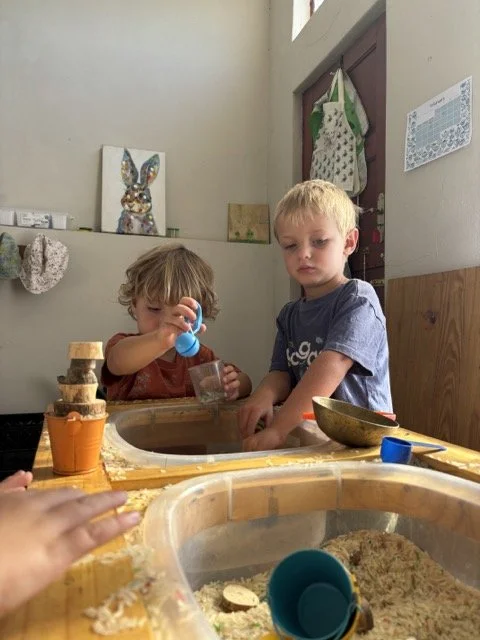
And then sticking with the letter of the week, it was time to learn how to play Hopscotch! A fun way to practice numbers and counting and get those bodies moving. Everyone really enjoyed the sensory table too, with lots of interesting ‘discussions’ based around horses and haybales that they found inside the rice.

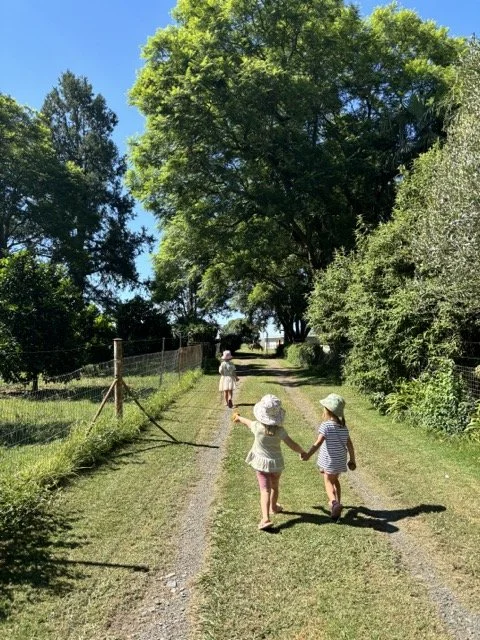
Overall, it was a wonderful week filled with lots of sensory play, adventures outside and lots of creative colourful fun.

Click below to see more nature inspired lessons from The Red Shed:

The Red Shed - The letter 'i' with a focus on insects & ink

These posts document my teaching adventures with the Reggio-inspired ‘school’ I started up in my farm shed in January 2023. I’ll share more about how all this came about soon, but in the mean time, enjoy these moments & learnings.

We spent the last week learning all about Impy Ink aka the letter ‘Ii’ (I love Letter Land!) which led us to learning about insects as well.

We took a lovely long walk down to the dam (accompanied by my two hounds, Zara the Boerboell and our Korean rescue pup, Shadow the Jindo). I had told the kids to collect as many feathers as they could find (I had the plan to use them as quill pens) which led to lots of discussion about all the different birds that the feathers could have come from.

For ‘writing practice’ (I don’t believe in anything too formal in the early years) I use a big white board with lots of different sensory letters for the children to touch and trace. Then they get to have a go at writing the letter themselves with a white board marker. I always start this exercise at snack time, by reading the corresponding Letterland story that goes along with each letter, while everyone eats their snack. And then they come up one by one so I can give them some undivided attention while they practice their letter formation.

I mixed up some pots (glass are best because they are heavy & therefore harder to knock over than plastic…and the little ones really do learn how to handle and be around glass when they are given the opportunity to) of tempura paint & water. Just add more water or paint to get a nice ‘inky’ texture.

I printed out some scanned handwriting sheets (again, not to force any formal handwriting) and let them loose with their quills.

And now on to the Insects!

Over the week we chatted a lot about the different kinds of insects (mentioning what makes an insect an insect). I froze our plastic insect collection into some coloured water (I used liquid food colouring to colour the water) and then set everyone up into pairs with a couple of hammers/plastic knives and a small container of salt. The salt helps to melt the ice (it’s a very slow process though…so definitely take them outside for the sun to speed things up!) and let them loose to hammer and smack to their hearts content. They all loved this activity.

I had a vision of a particular looking piece of art in mind for this week, and I’m sure you can agree that the final product came out beautifully. I printed out an a4 sized beetle (I will attach the file below if you’d like to download a copy of the beetles to make your own) and then gave everyone some watercolours to paint with. My only instruction was to make them as bright as possible, and to try not leave any white space on the beetles.

Yuval Zommer’s Big Book of Bugs is an amazing resource for any lessons on creepy crawlies. I got my copy on Takealot a few years ago.

Then I was set with the arduous task of carefully cutting out each creature (this was much harder than it look due to all the little legs and feelers!). I then pasted them onto brightly coloured paper, trimmed them down and stuck them onto black card and finally laminated.

Here is how they turned out. I just LOVE them!

Laminating anything watercoloured really makes the colours pop (and it also helps with the longevity of the artwork which can now withstand being taken on and off the fridge by sticky little hands!).