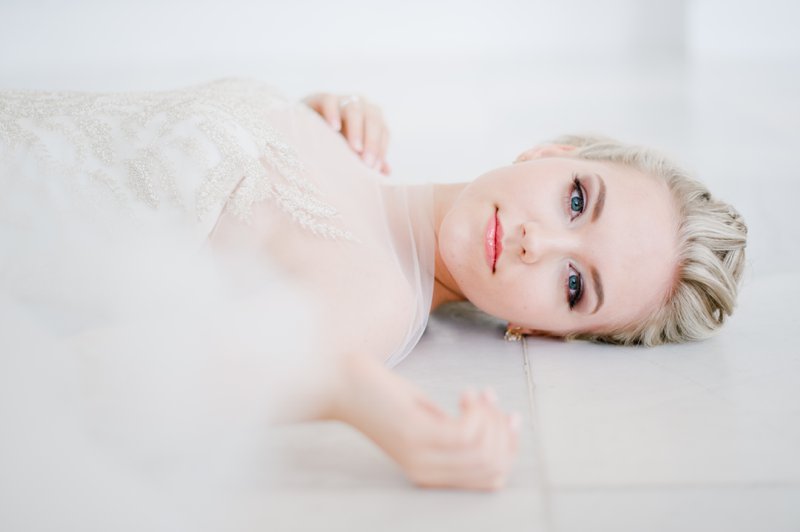
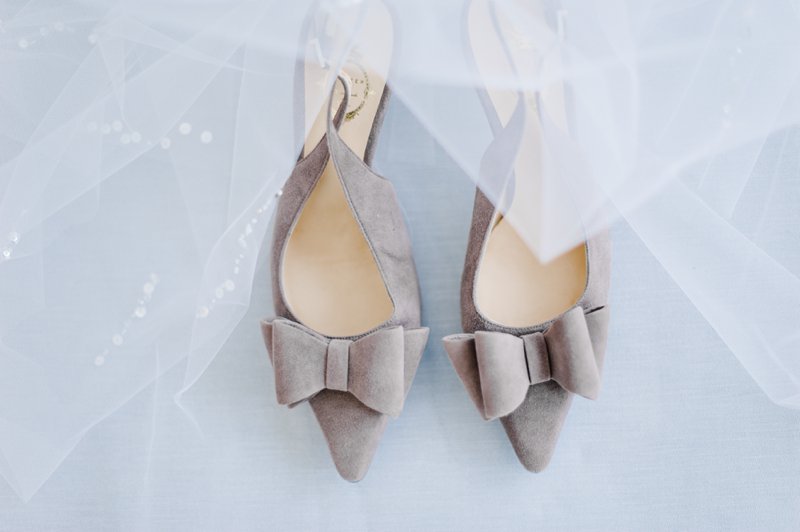
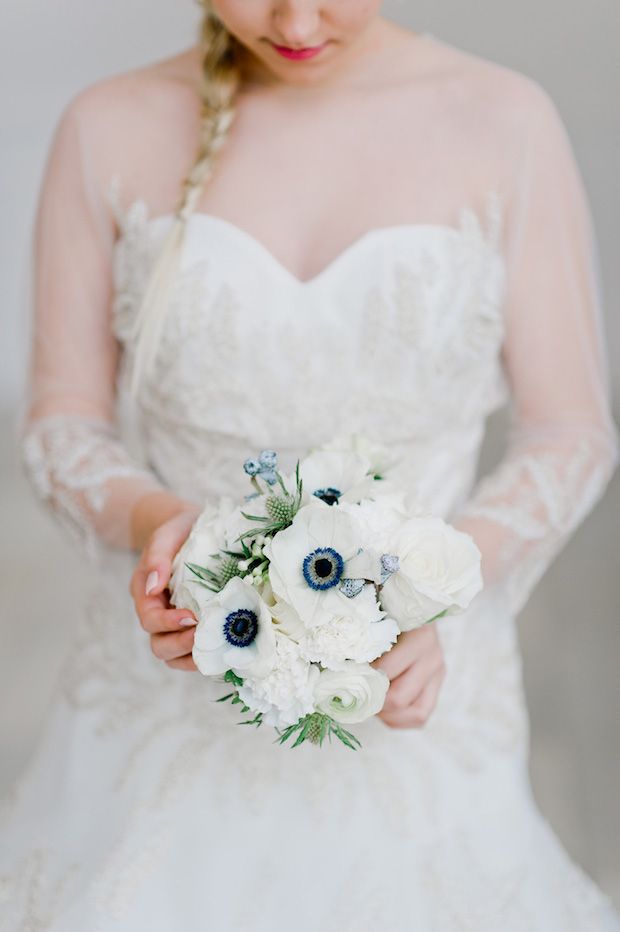
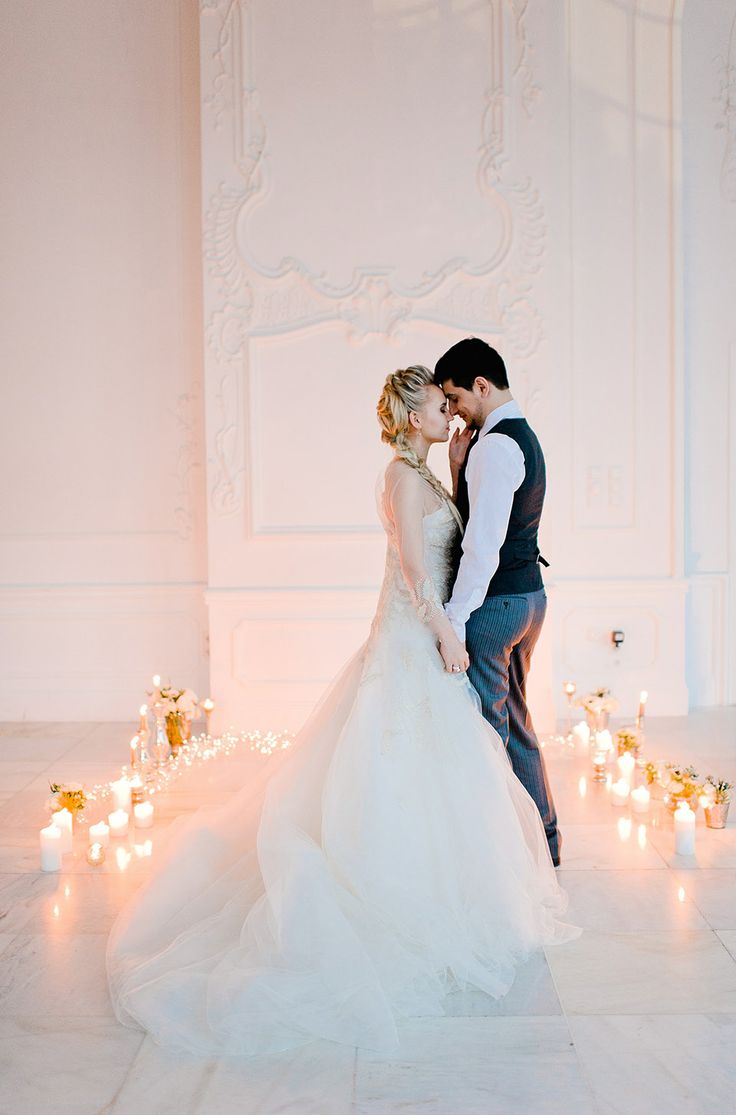
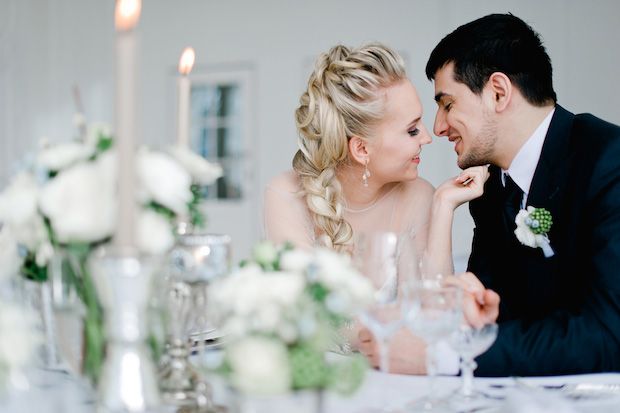
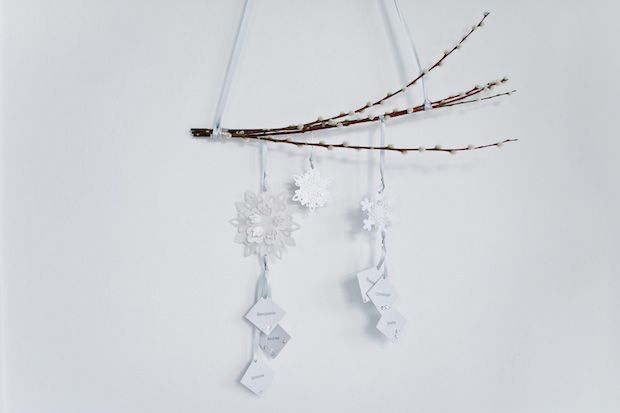
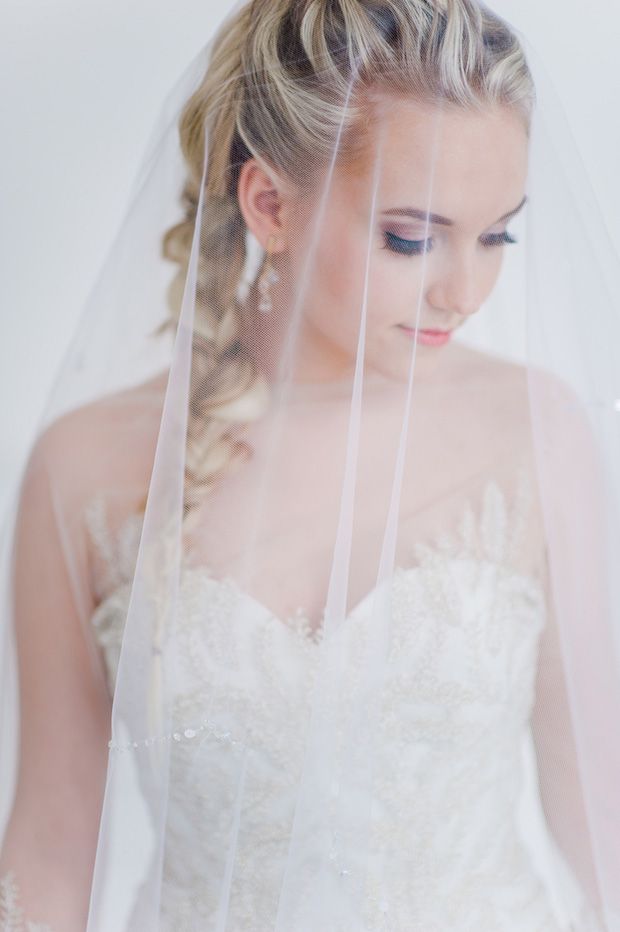
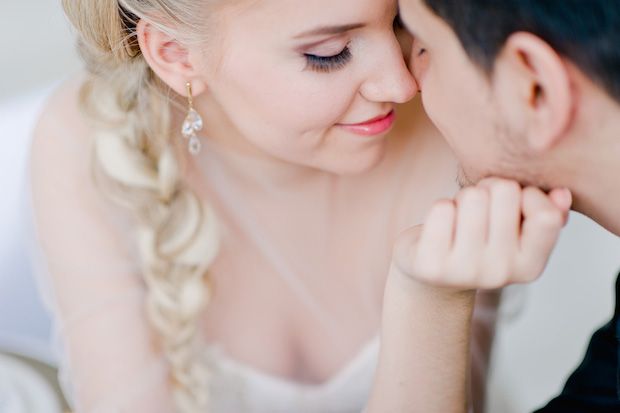
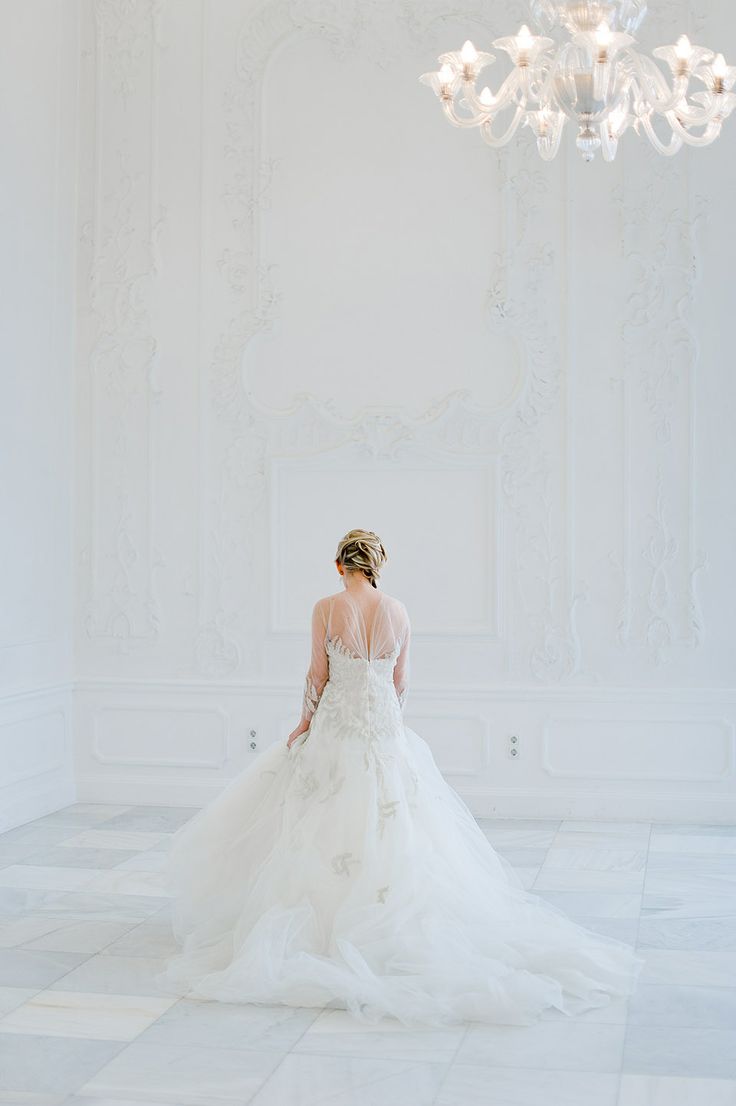
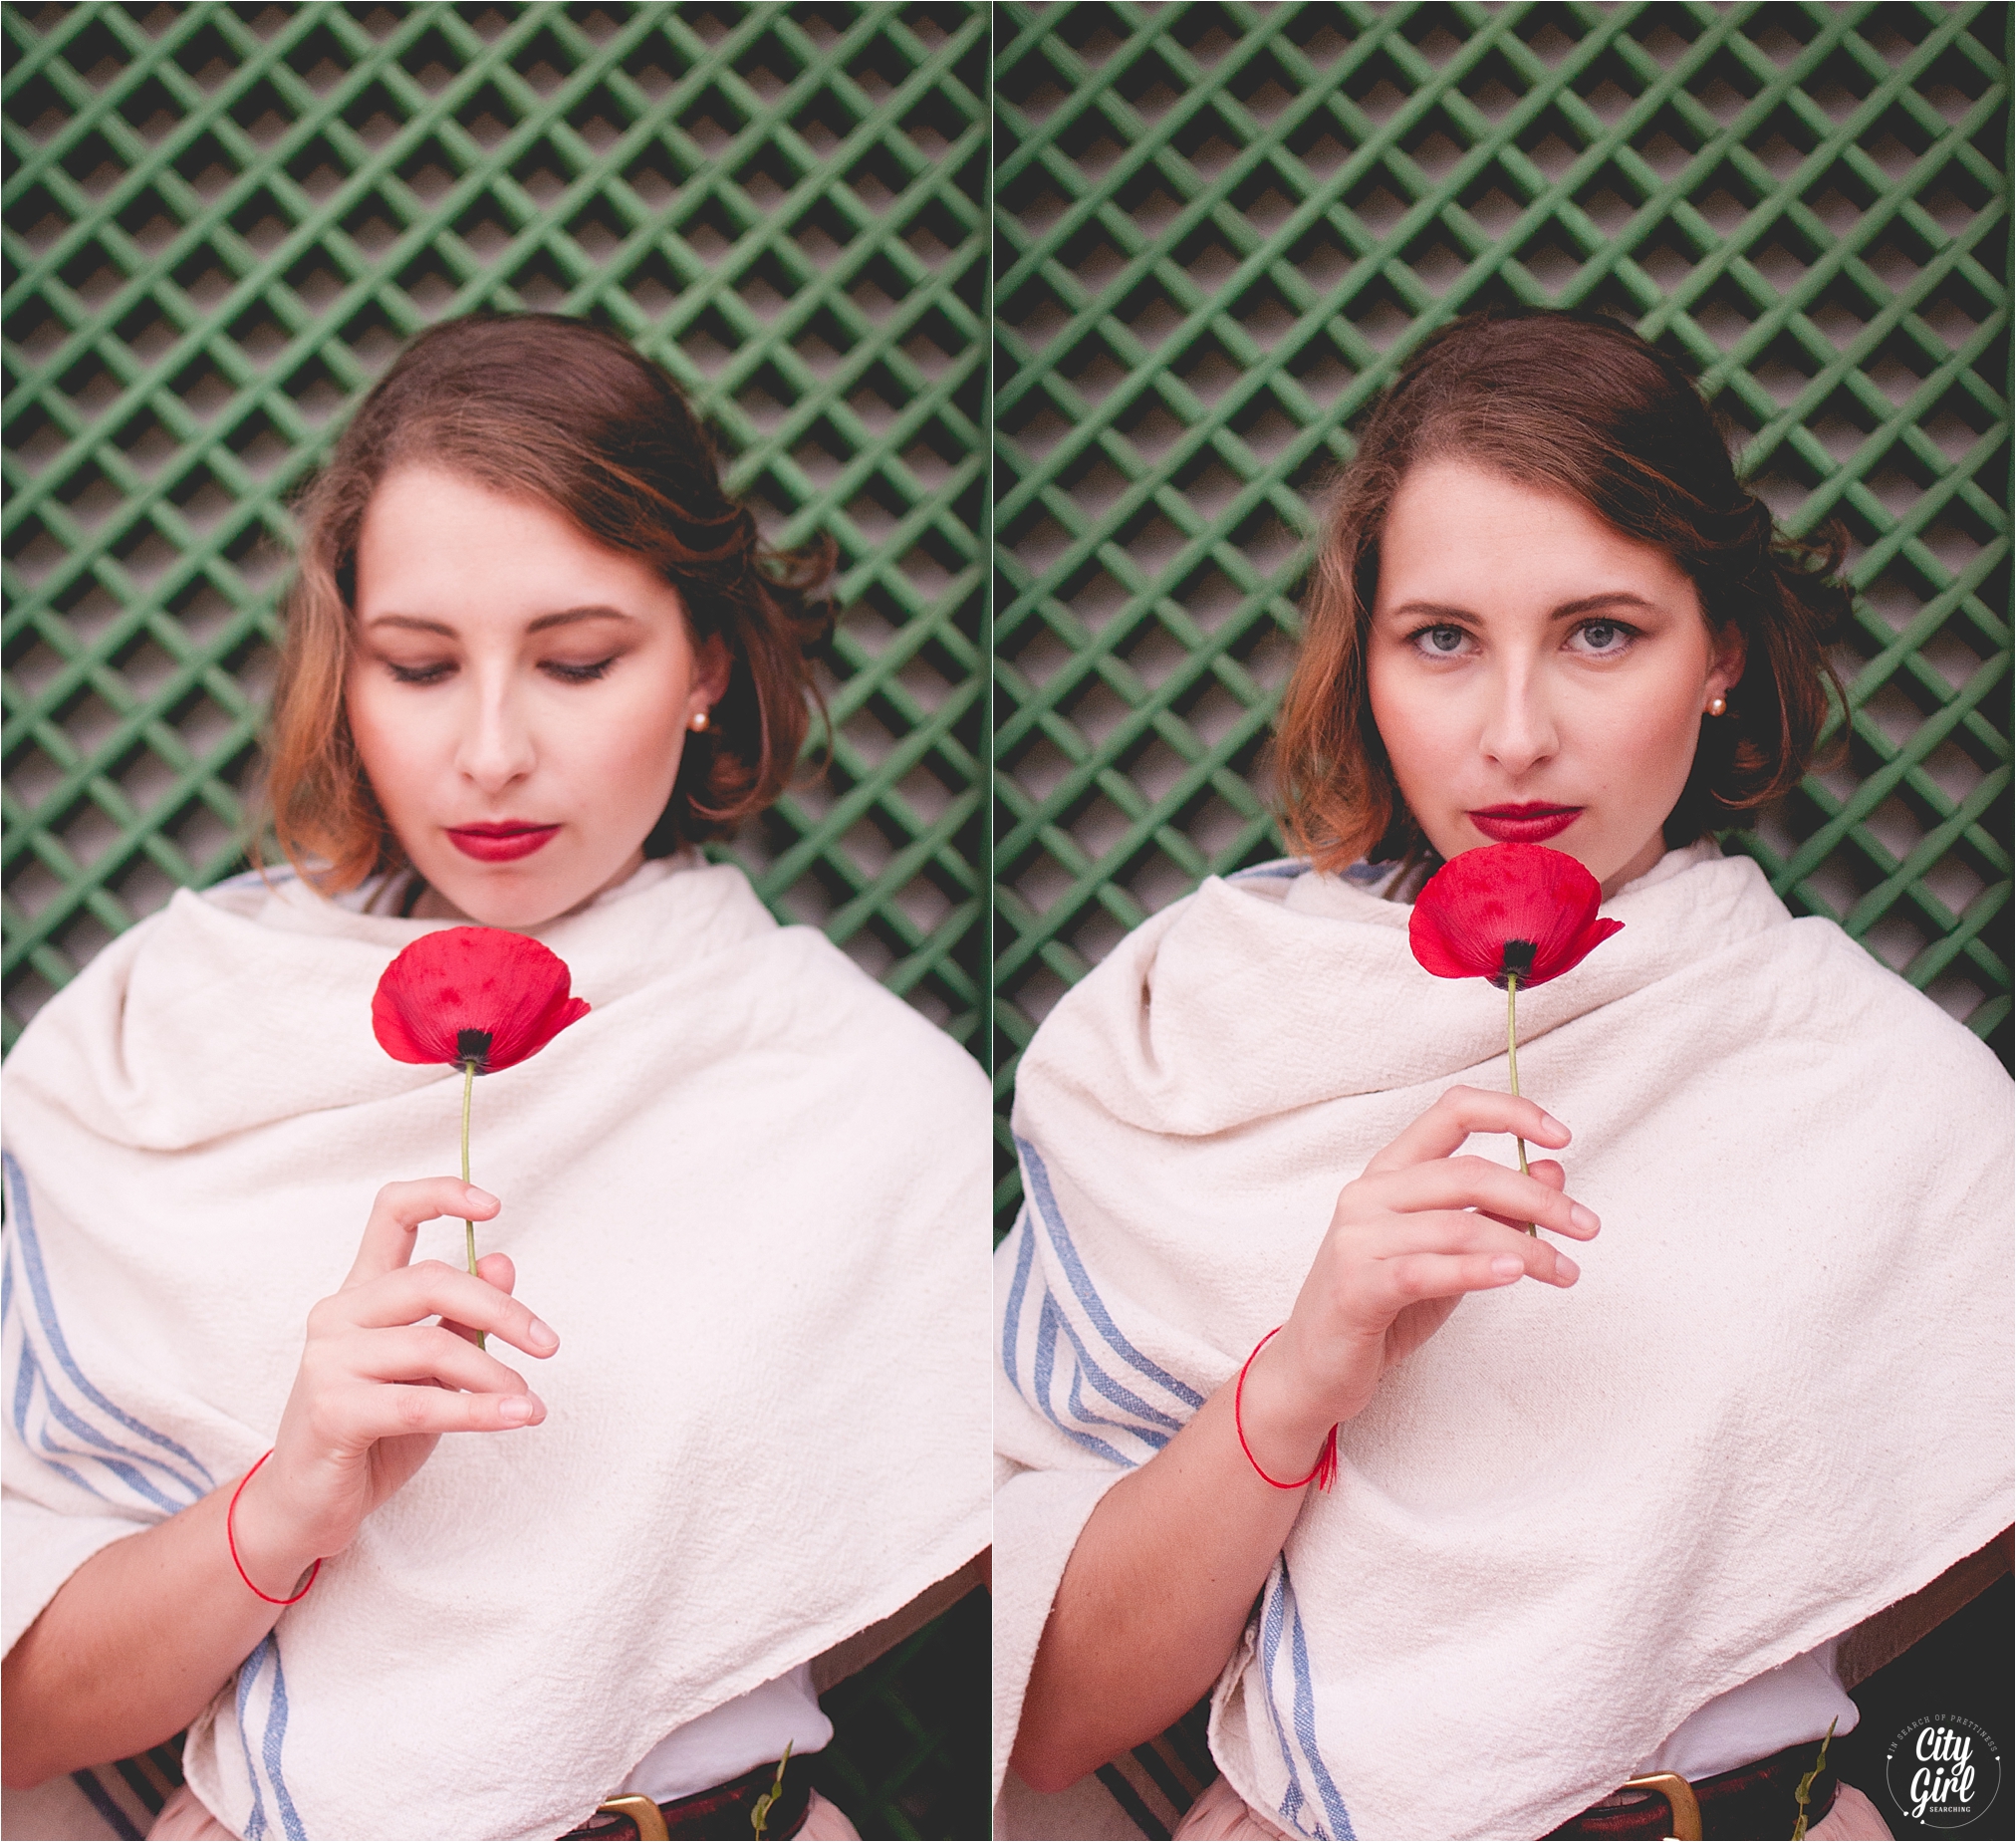
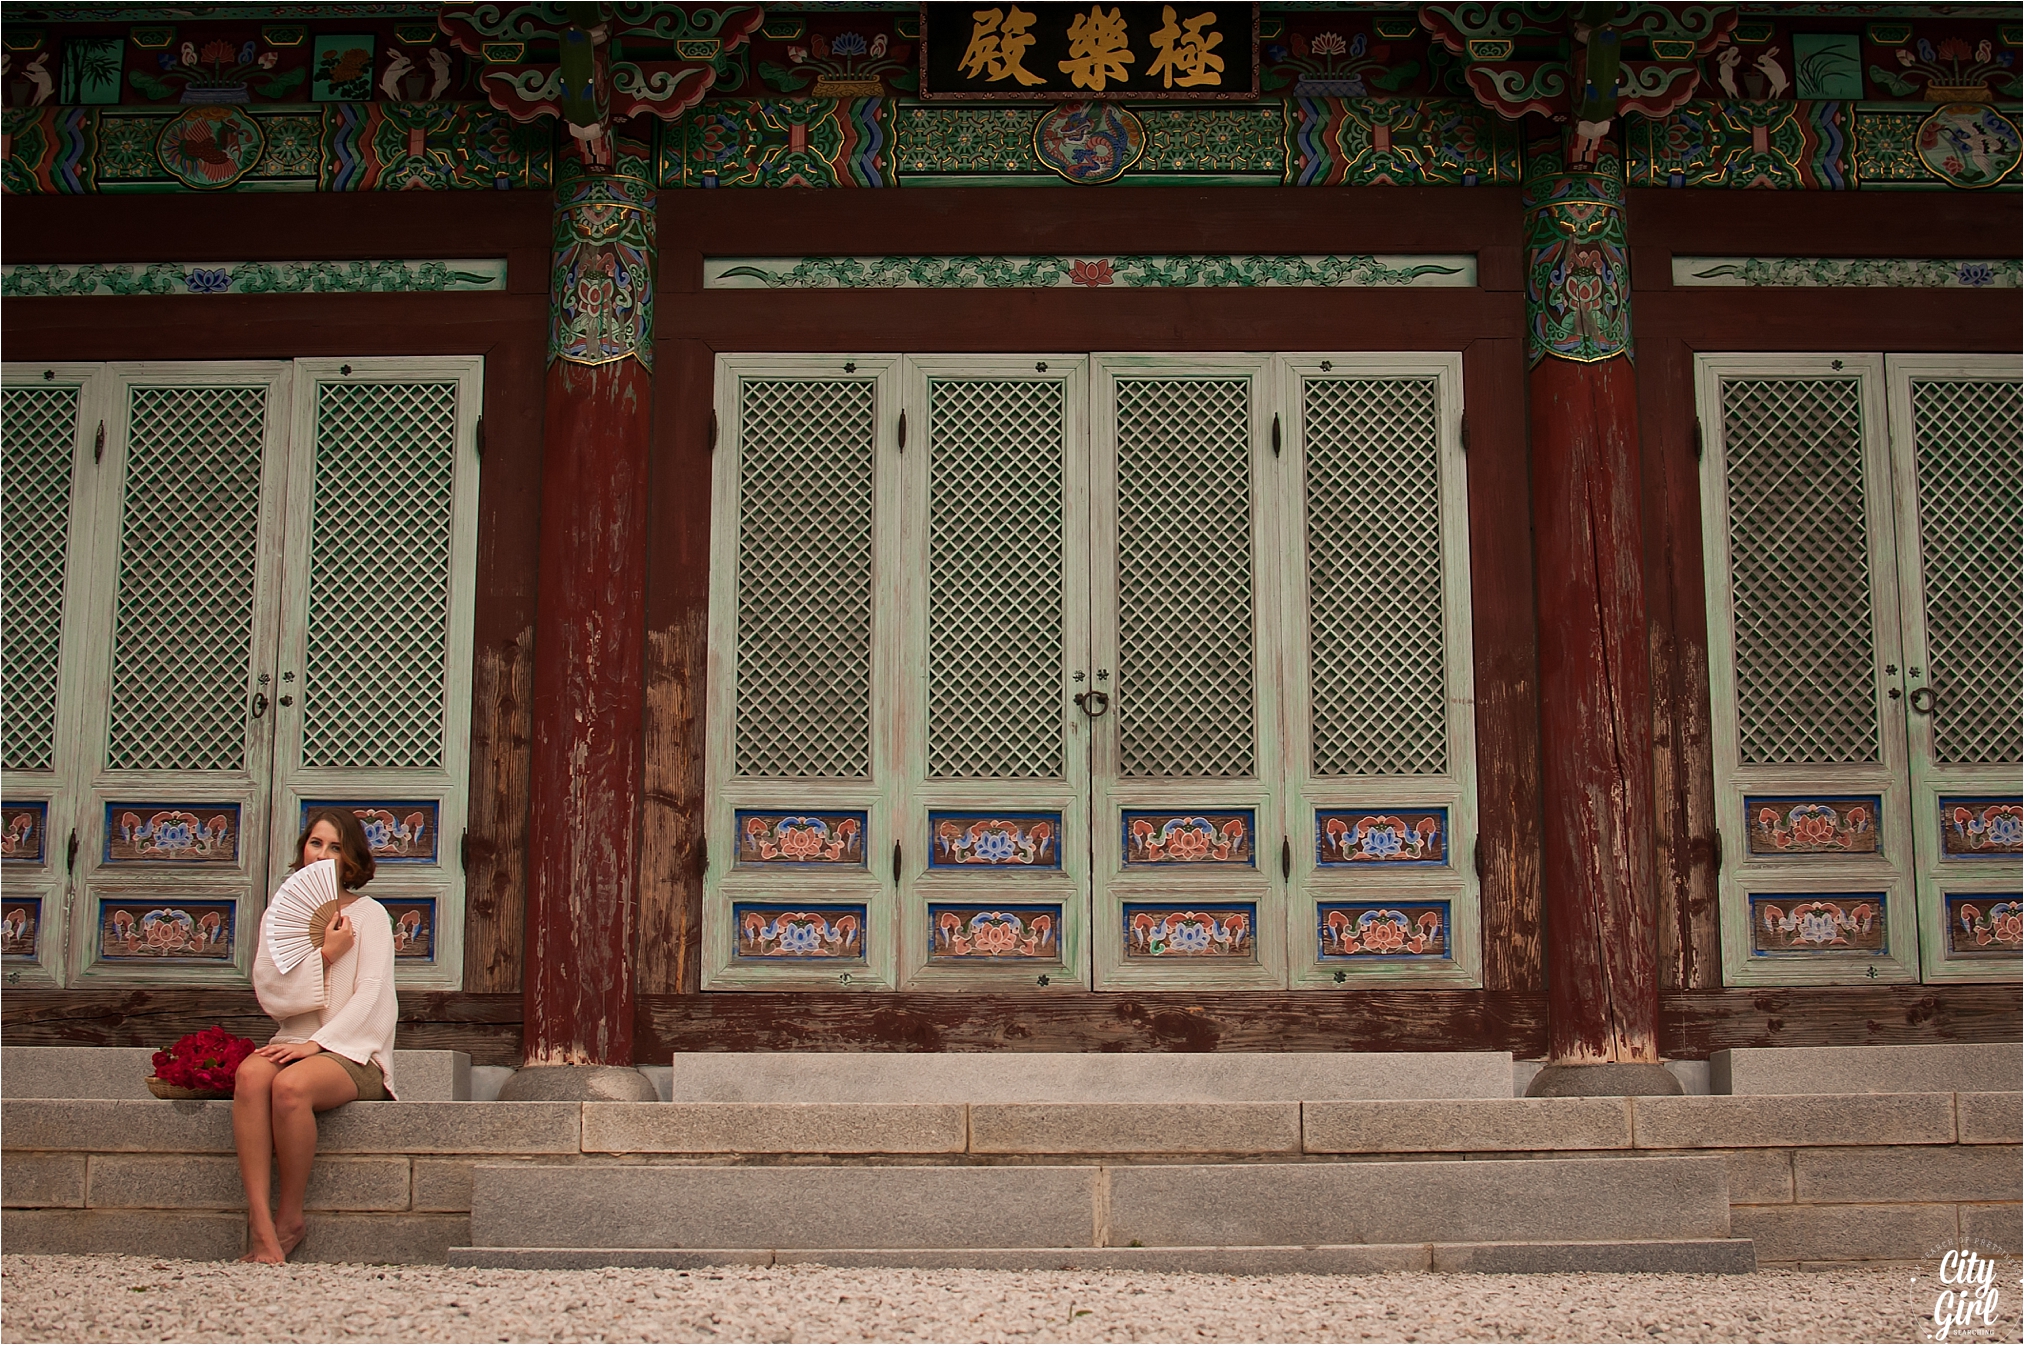
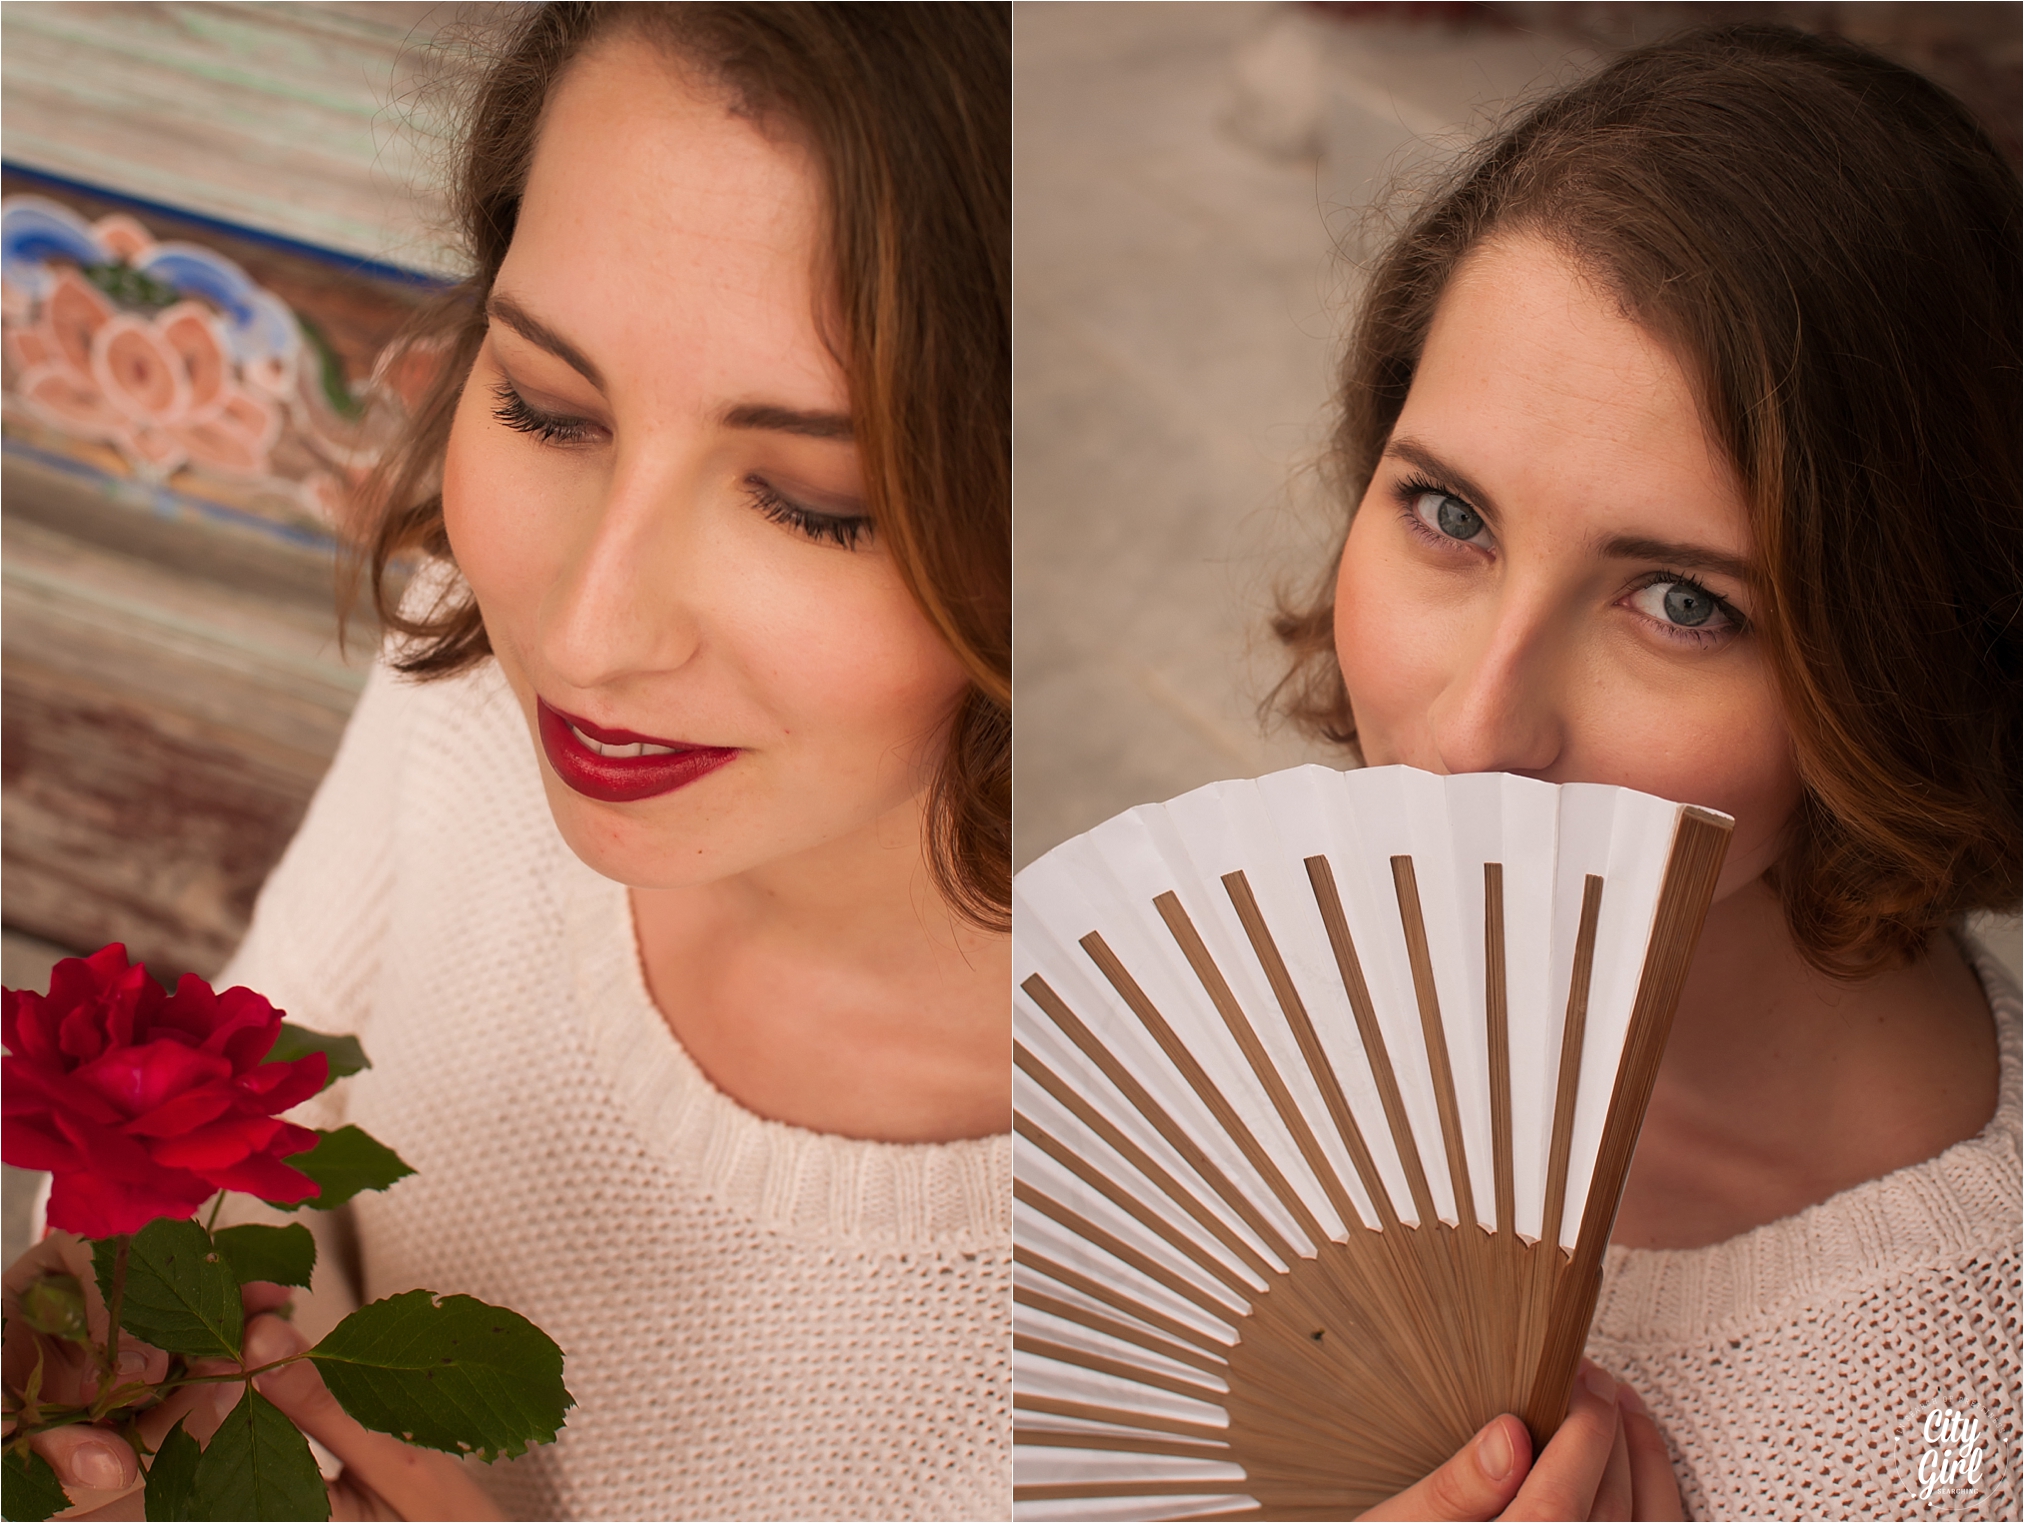
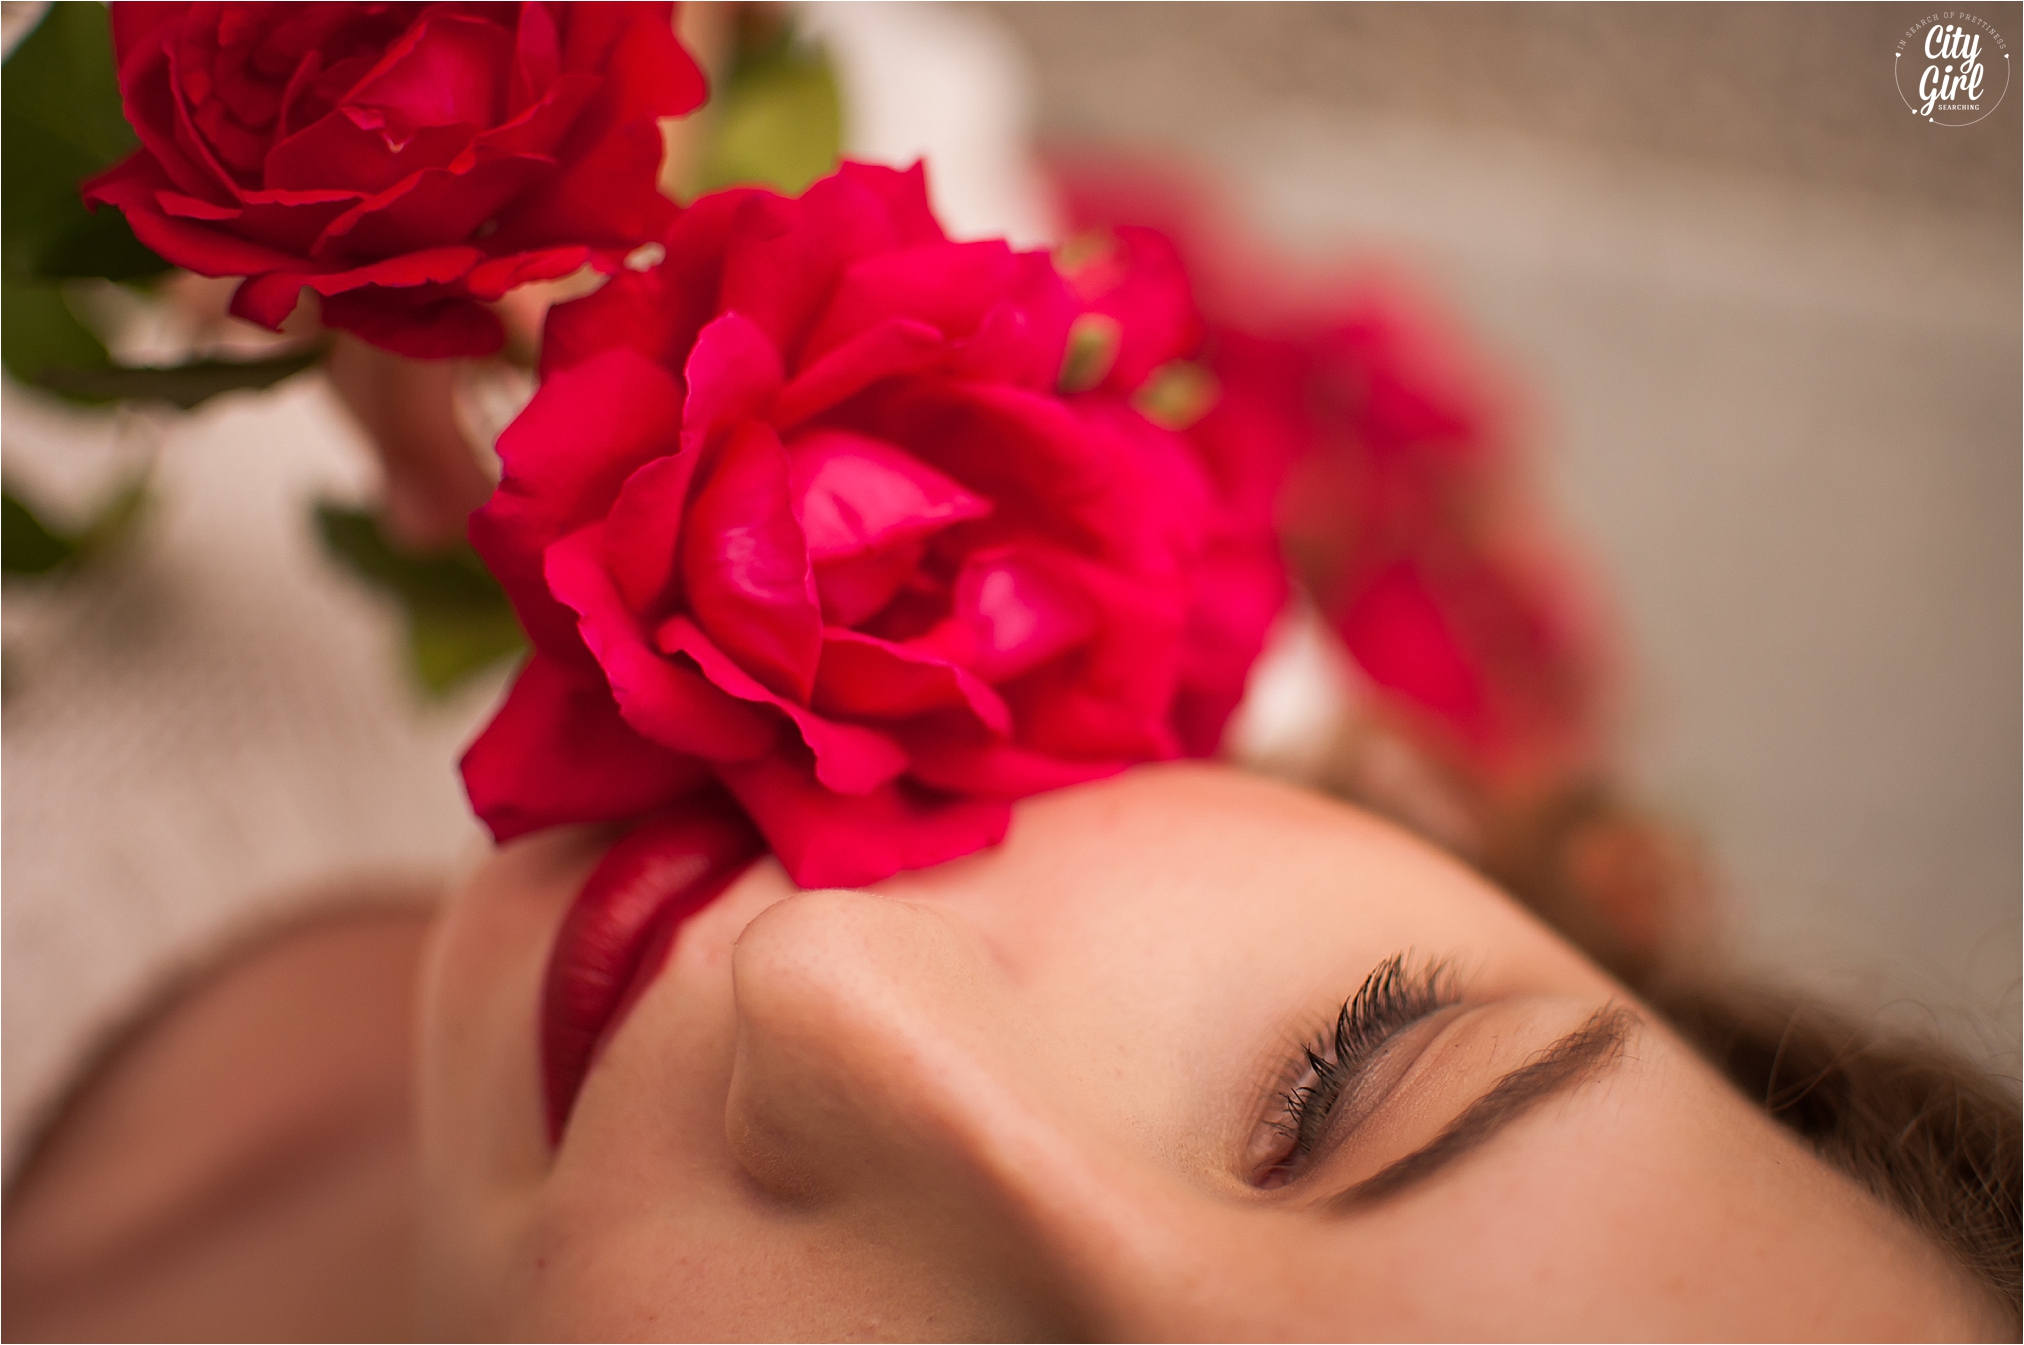
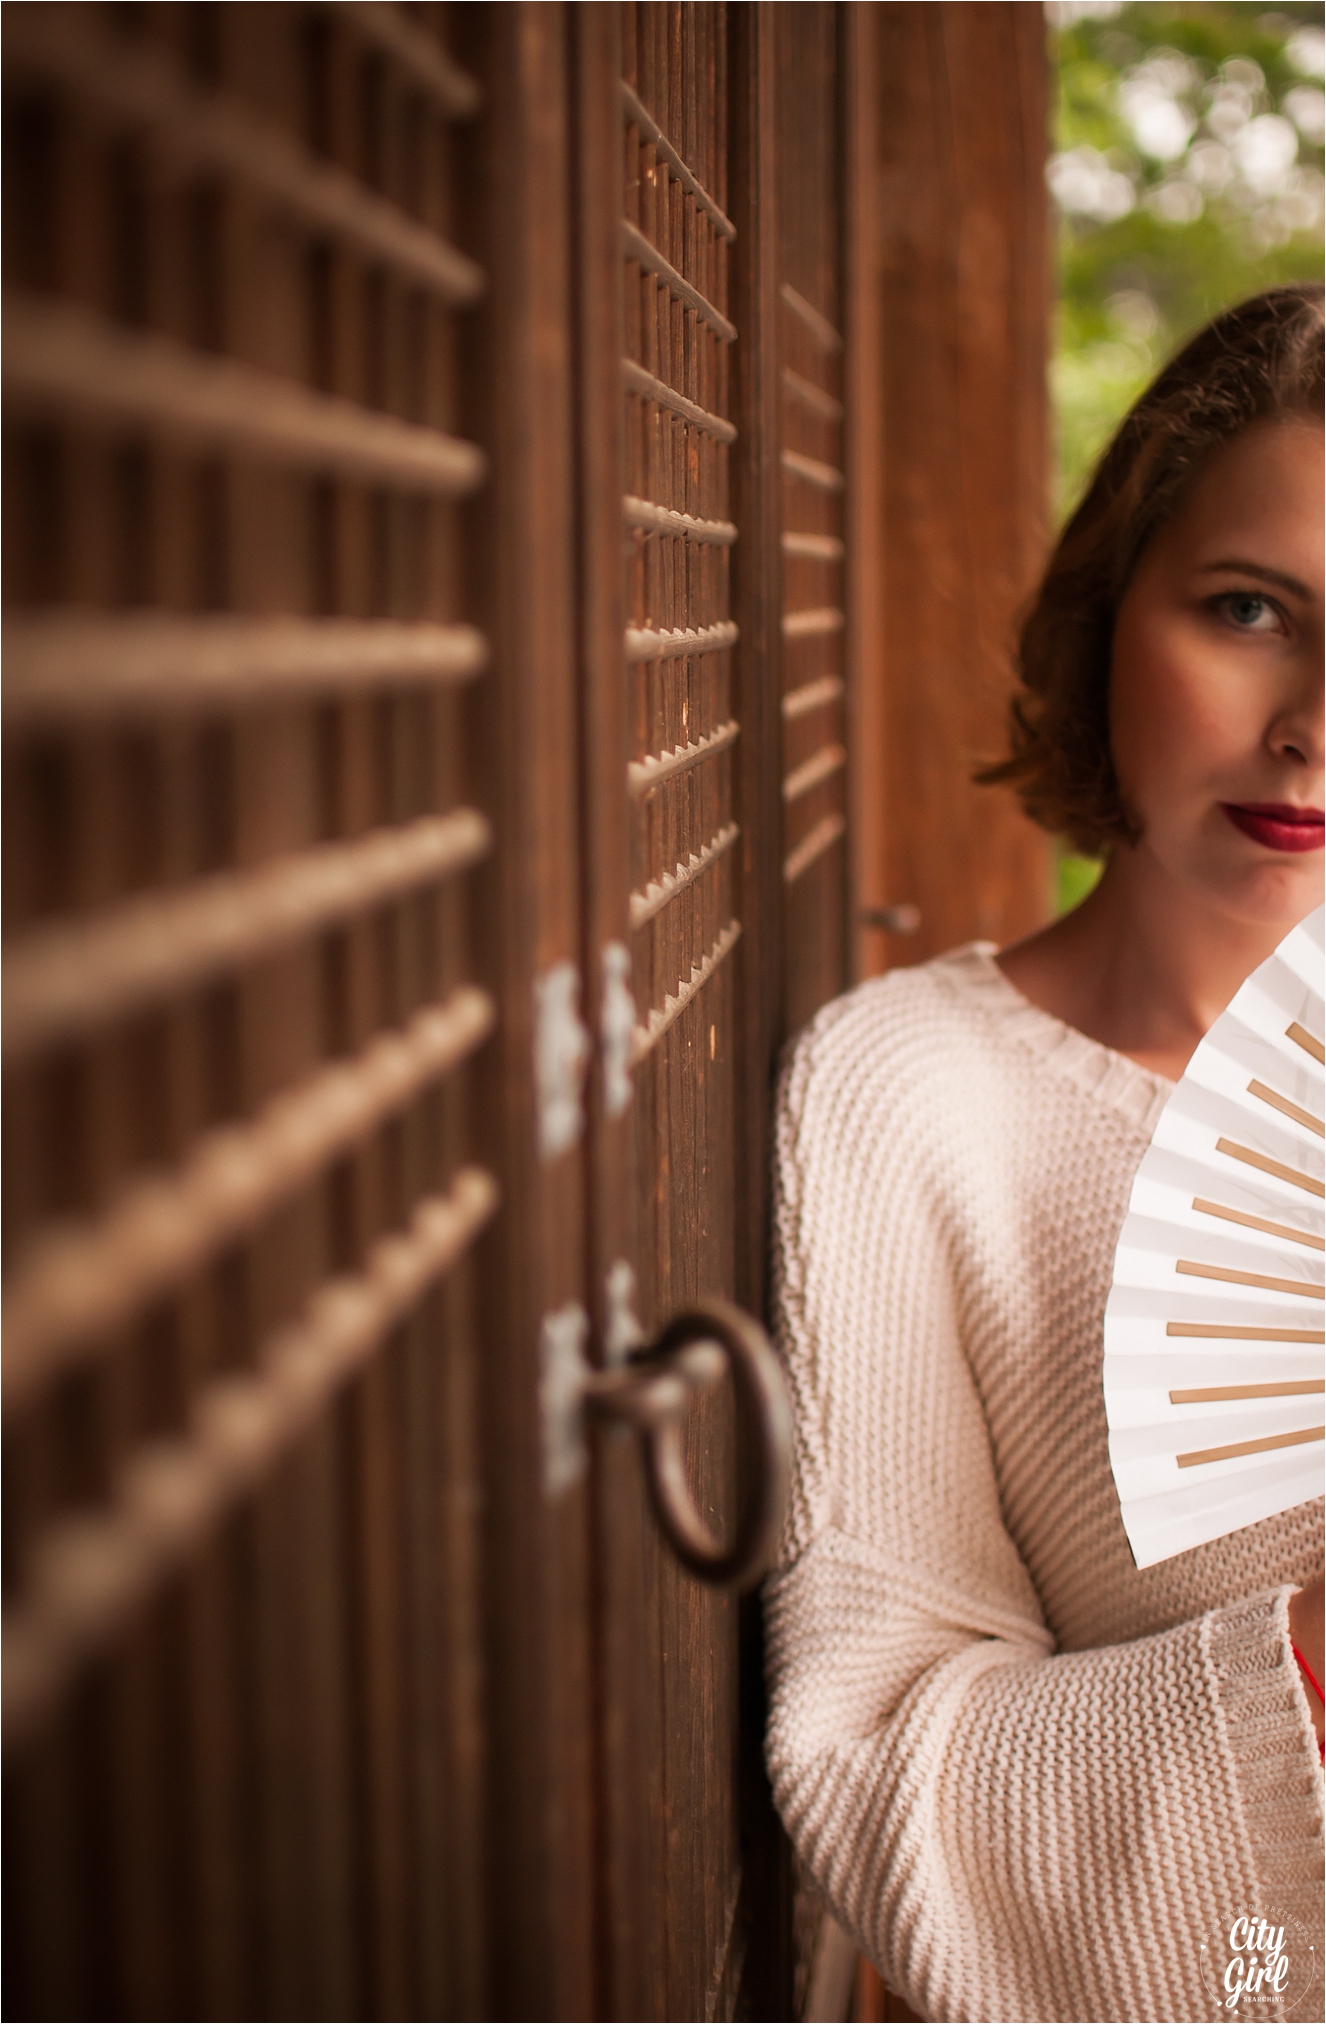
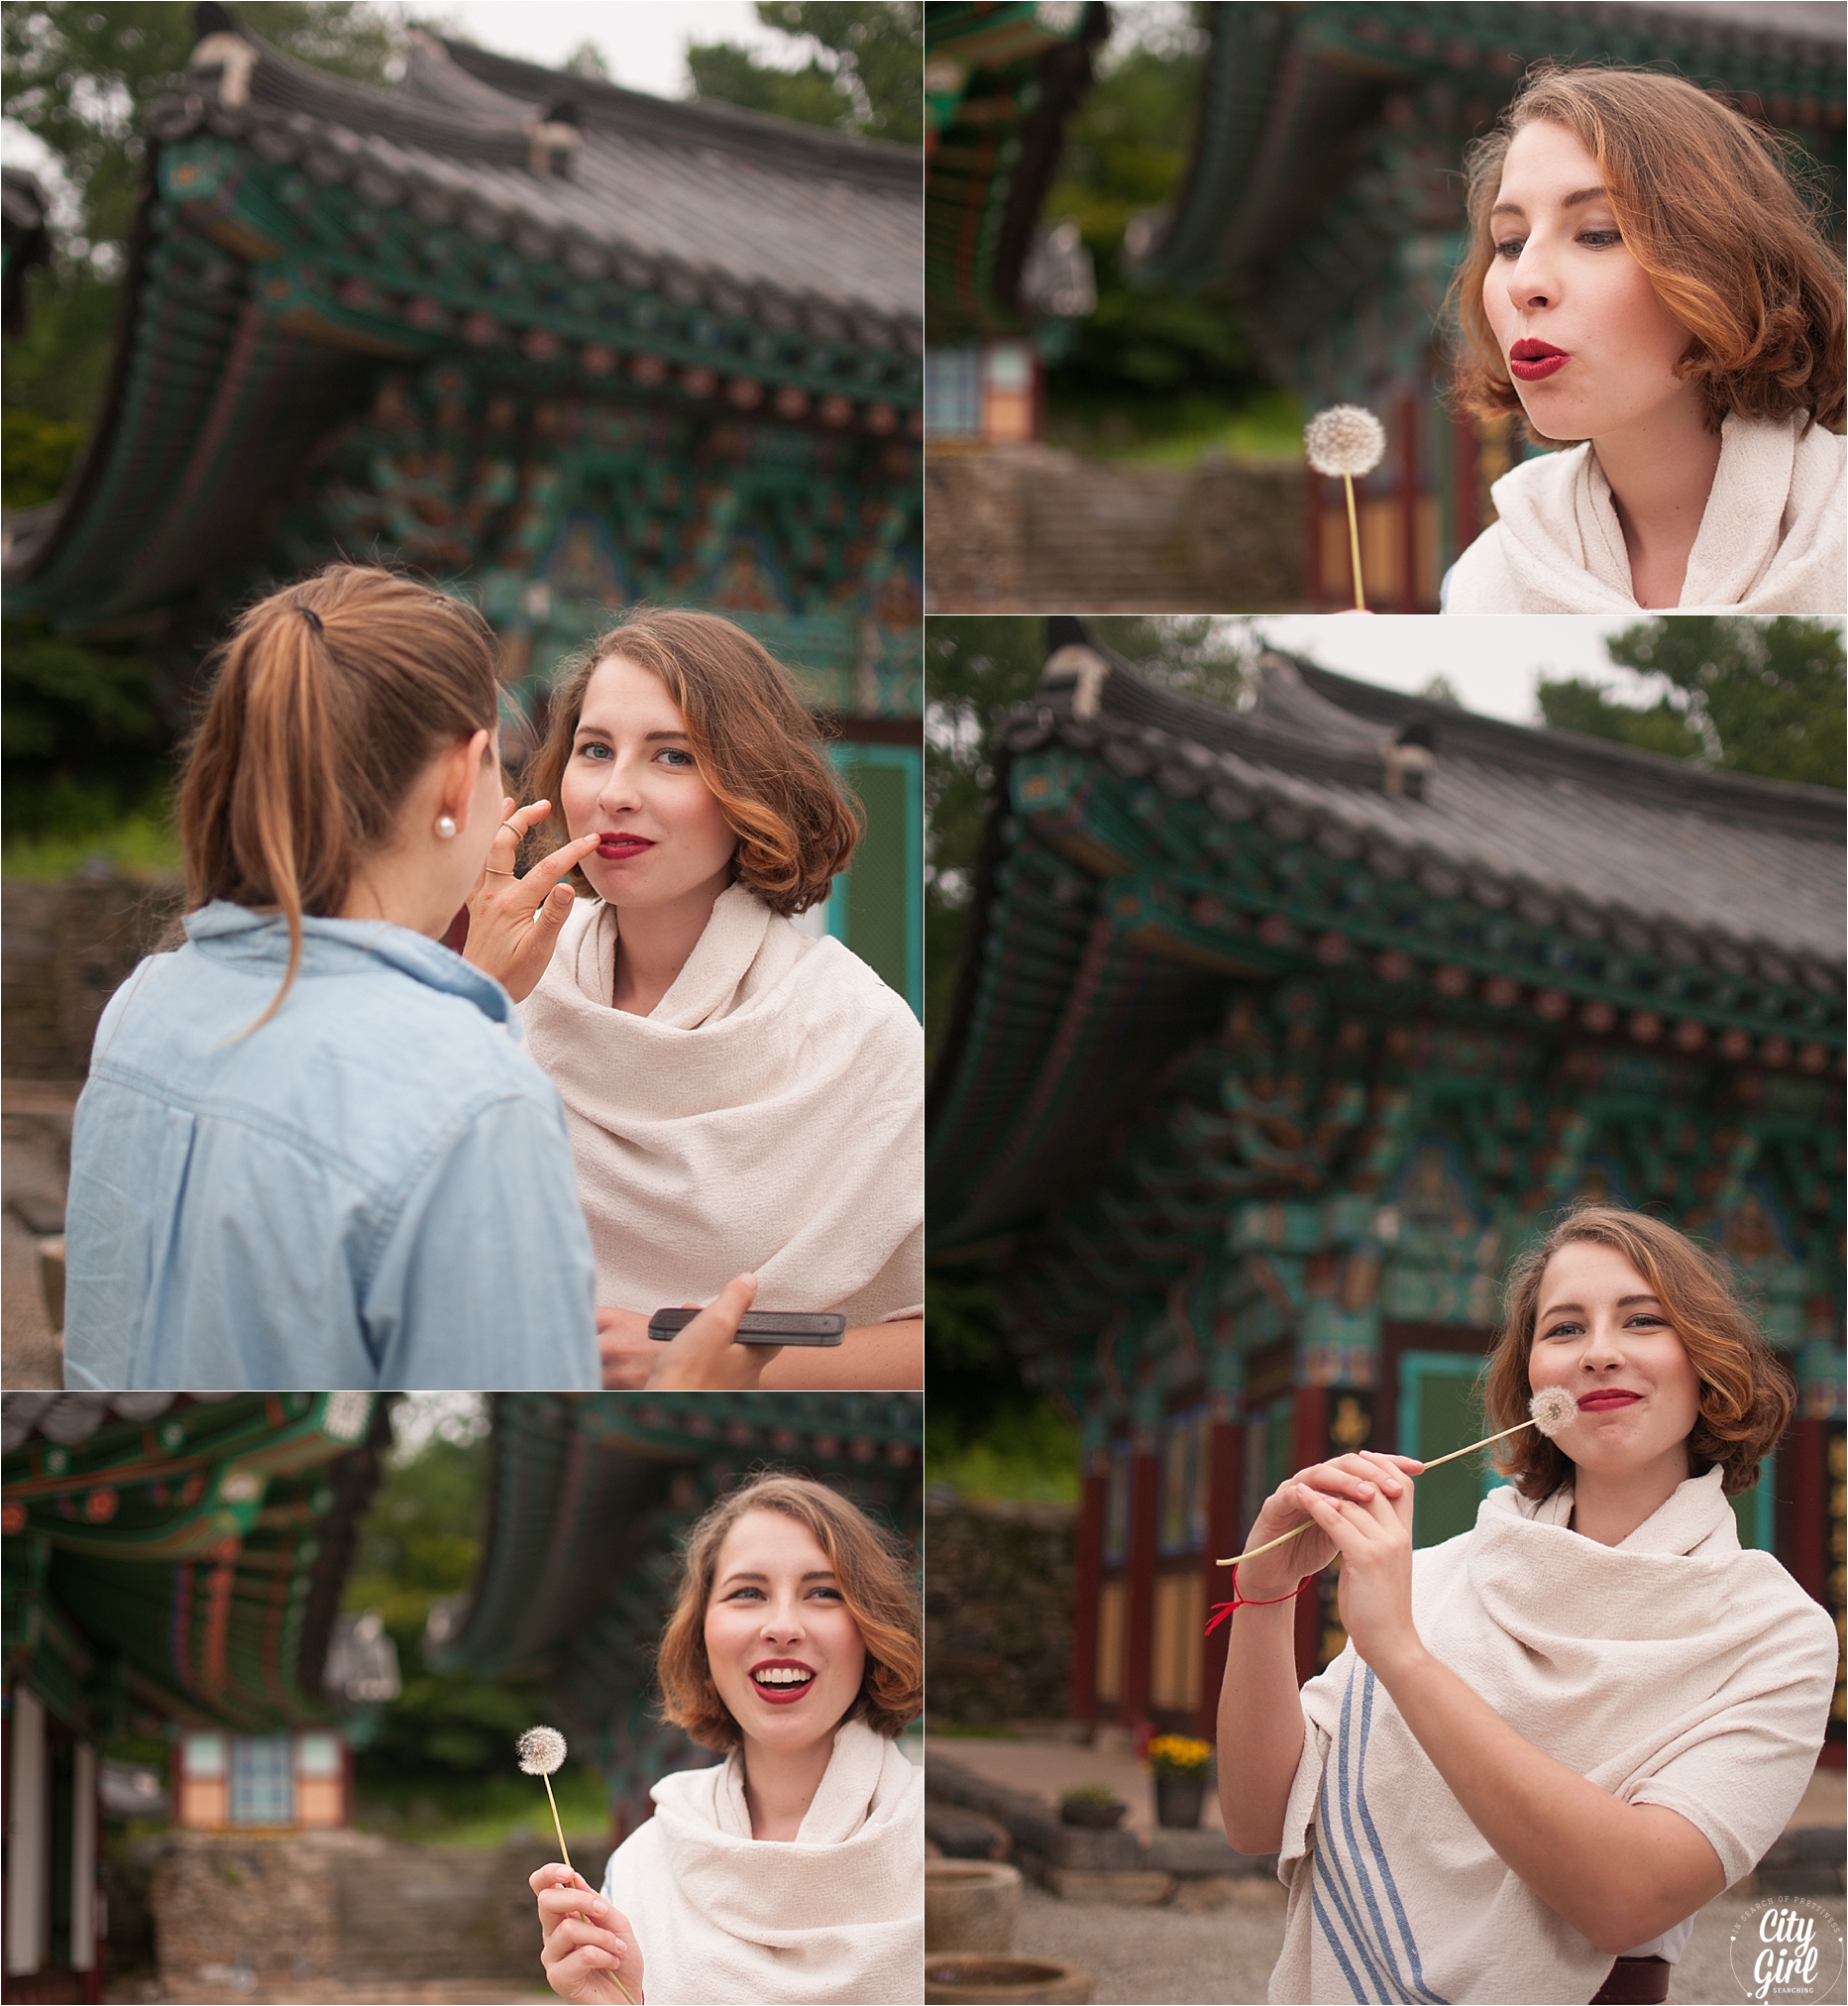
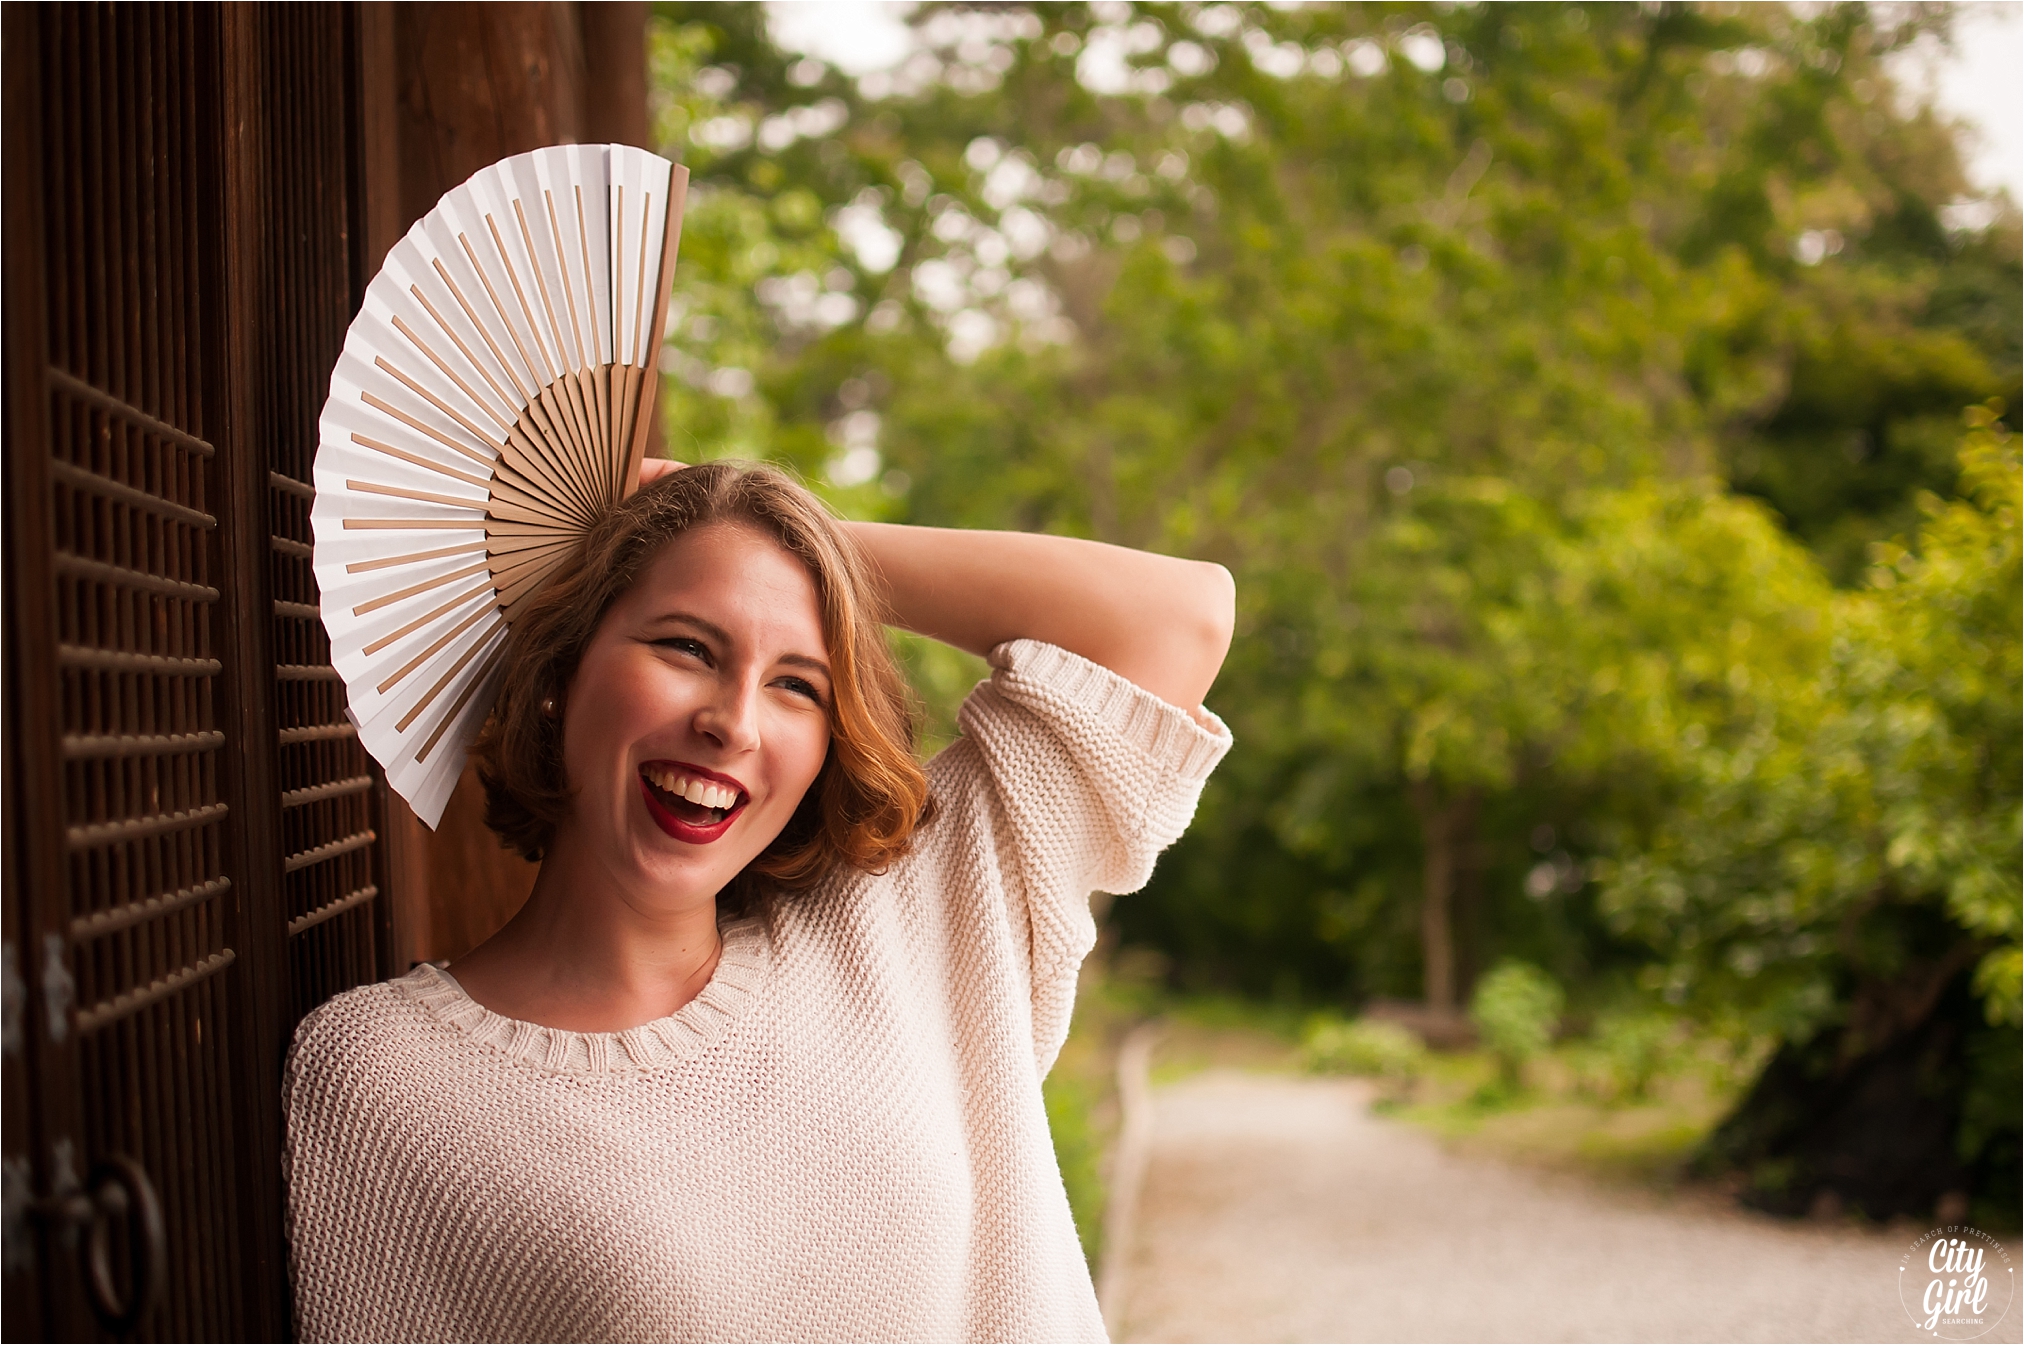
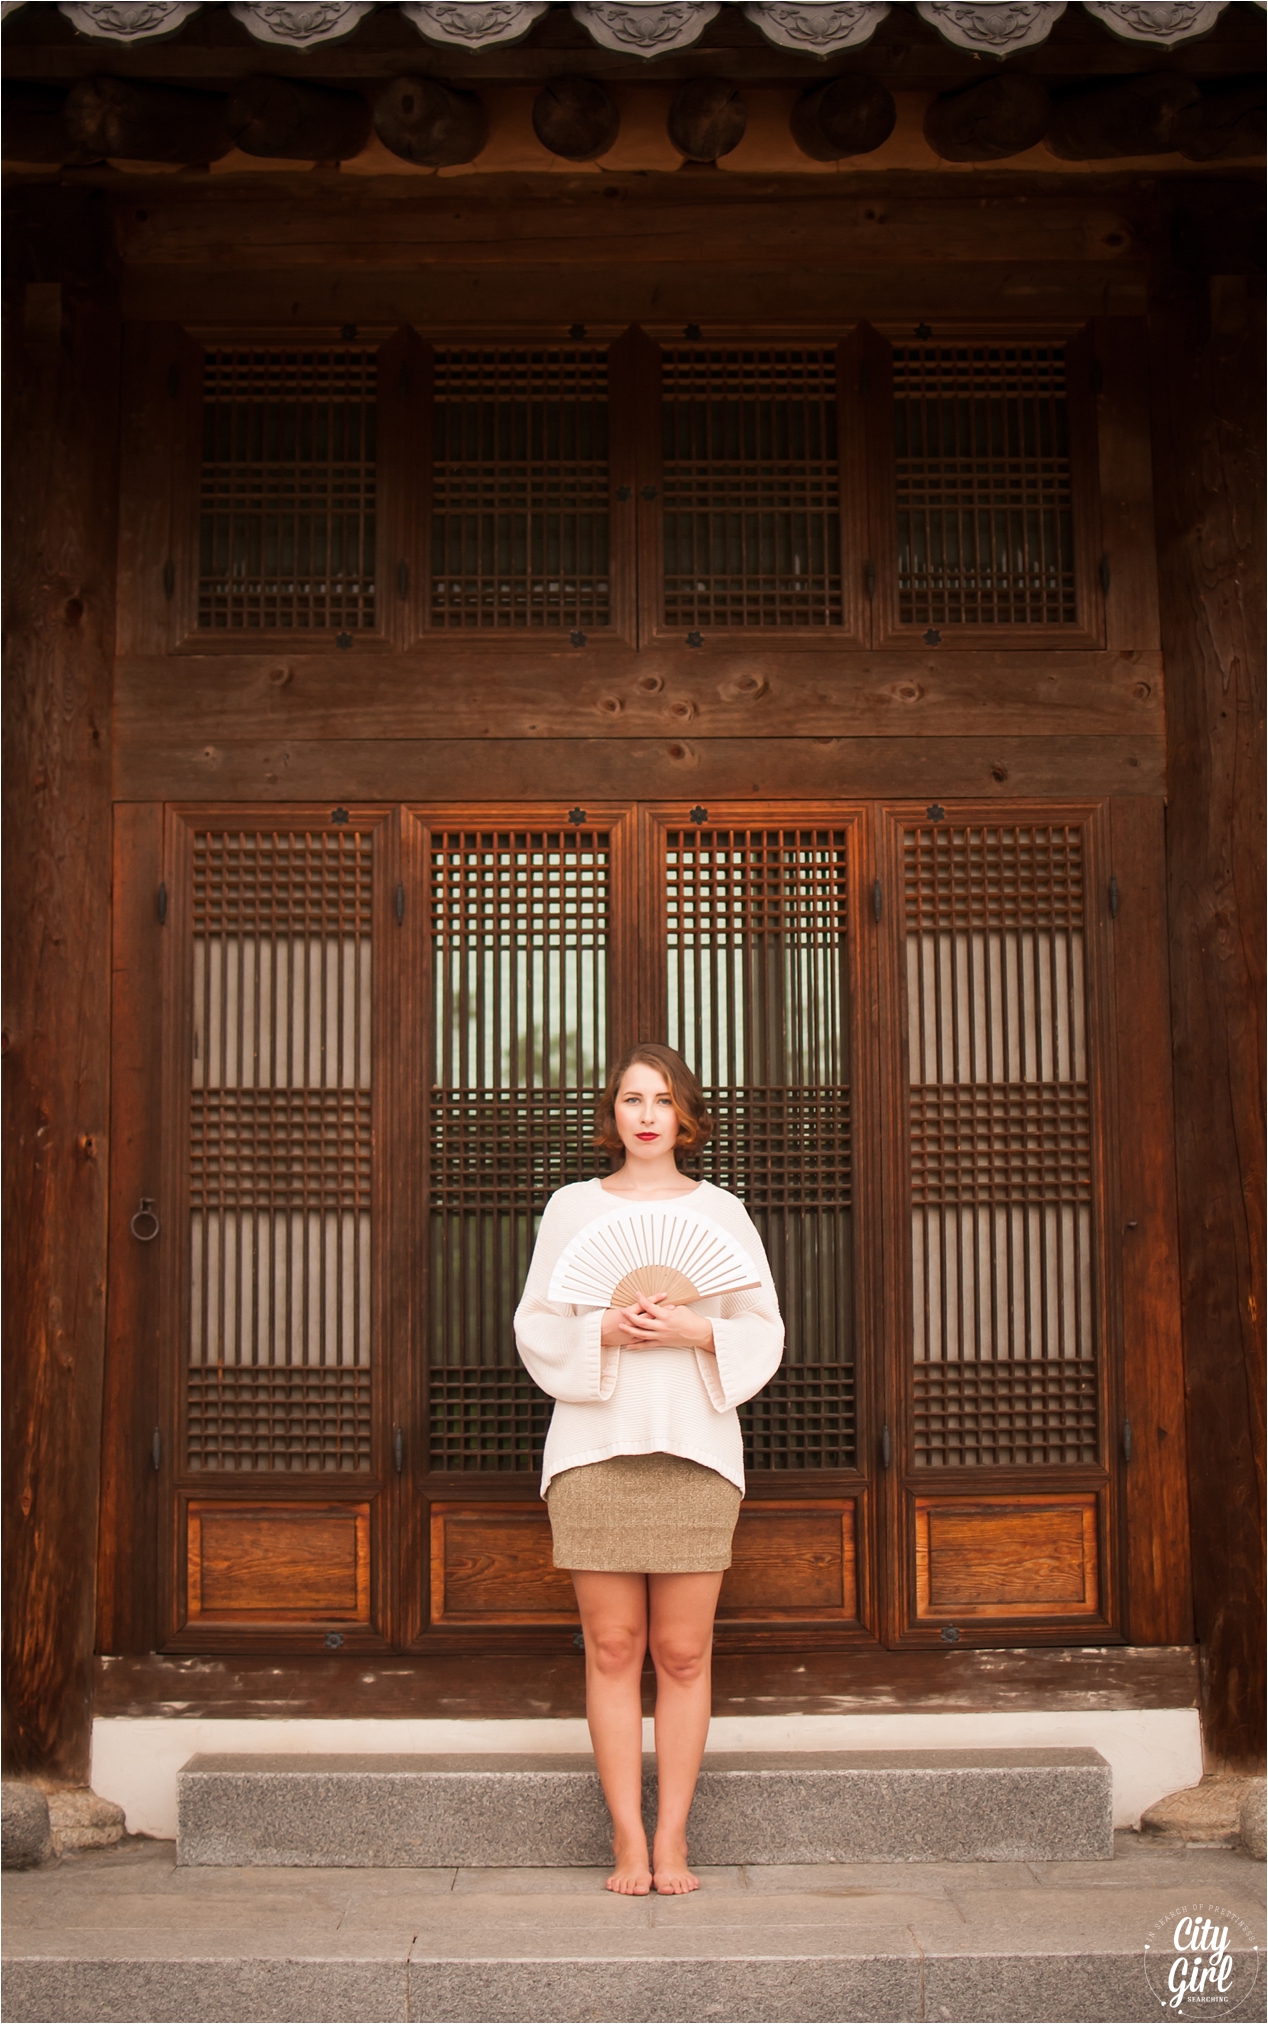
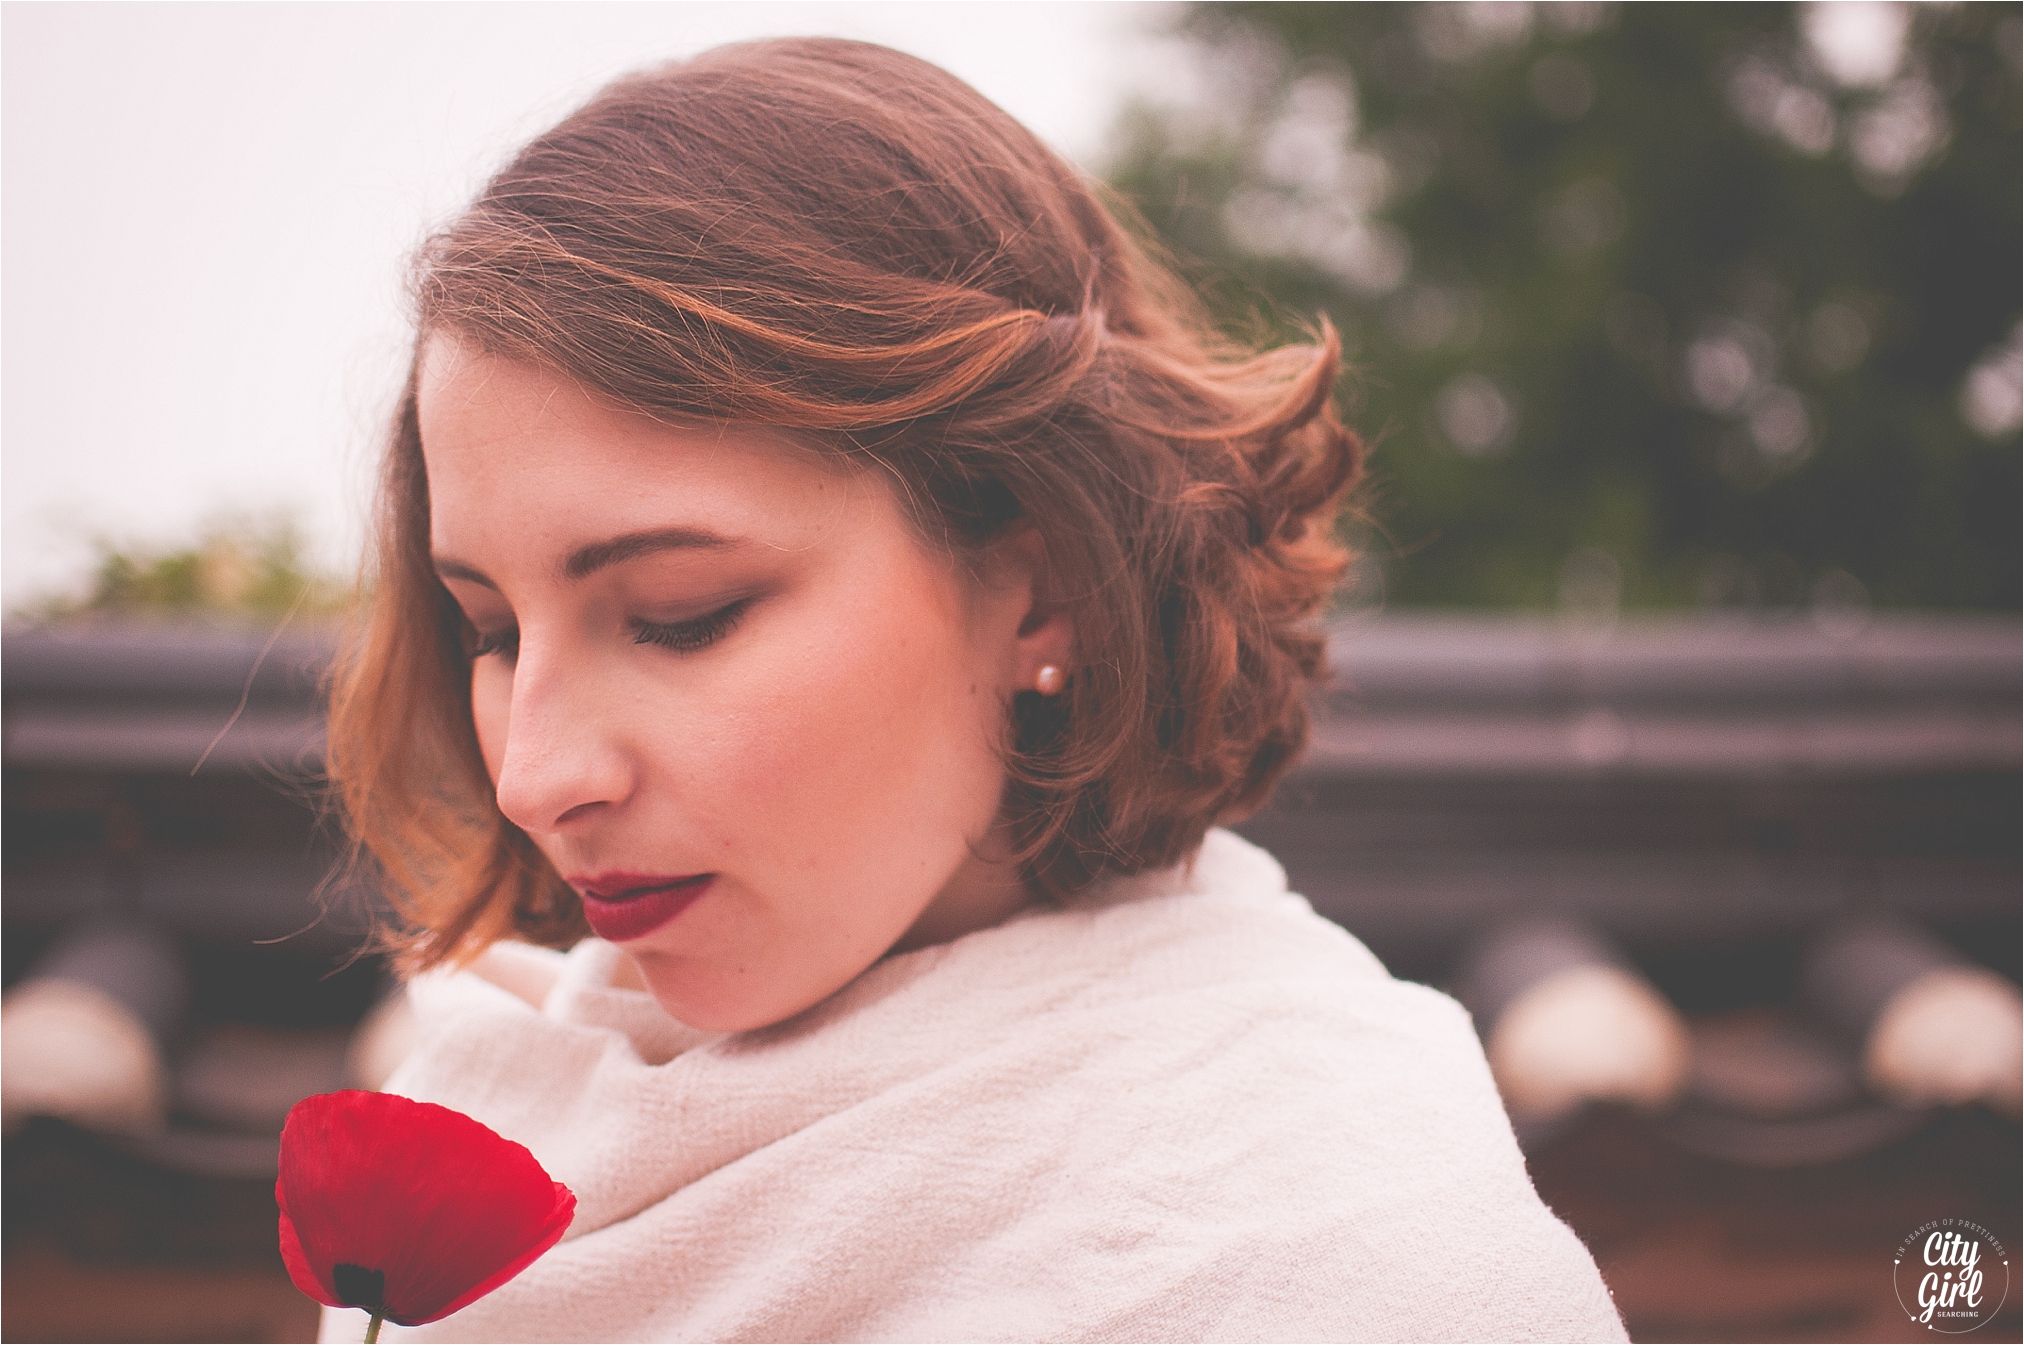
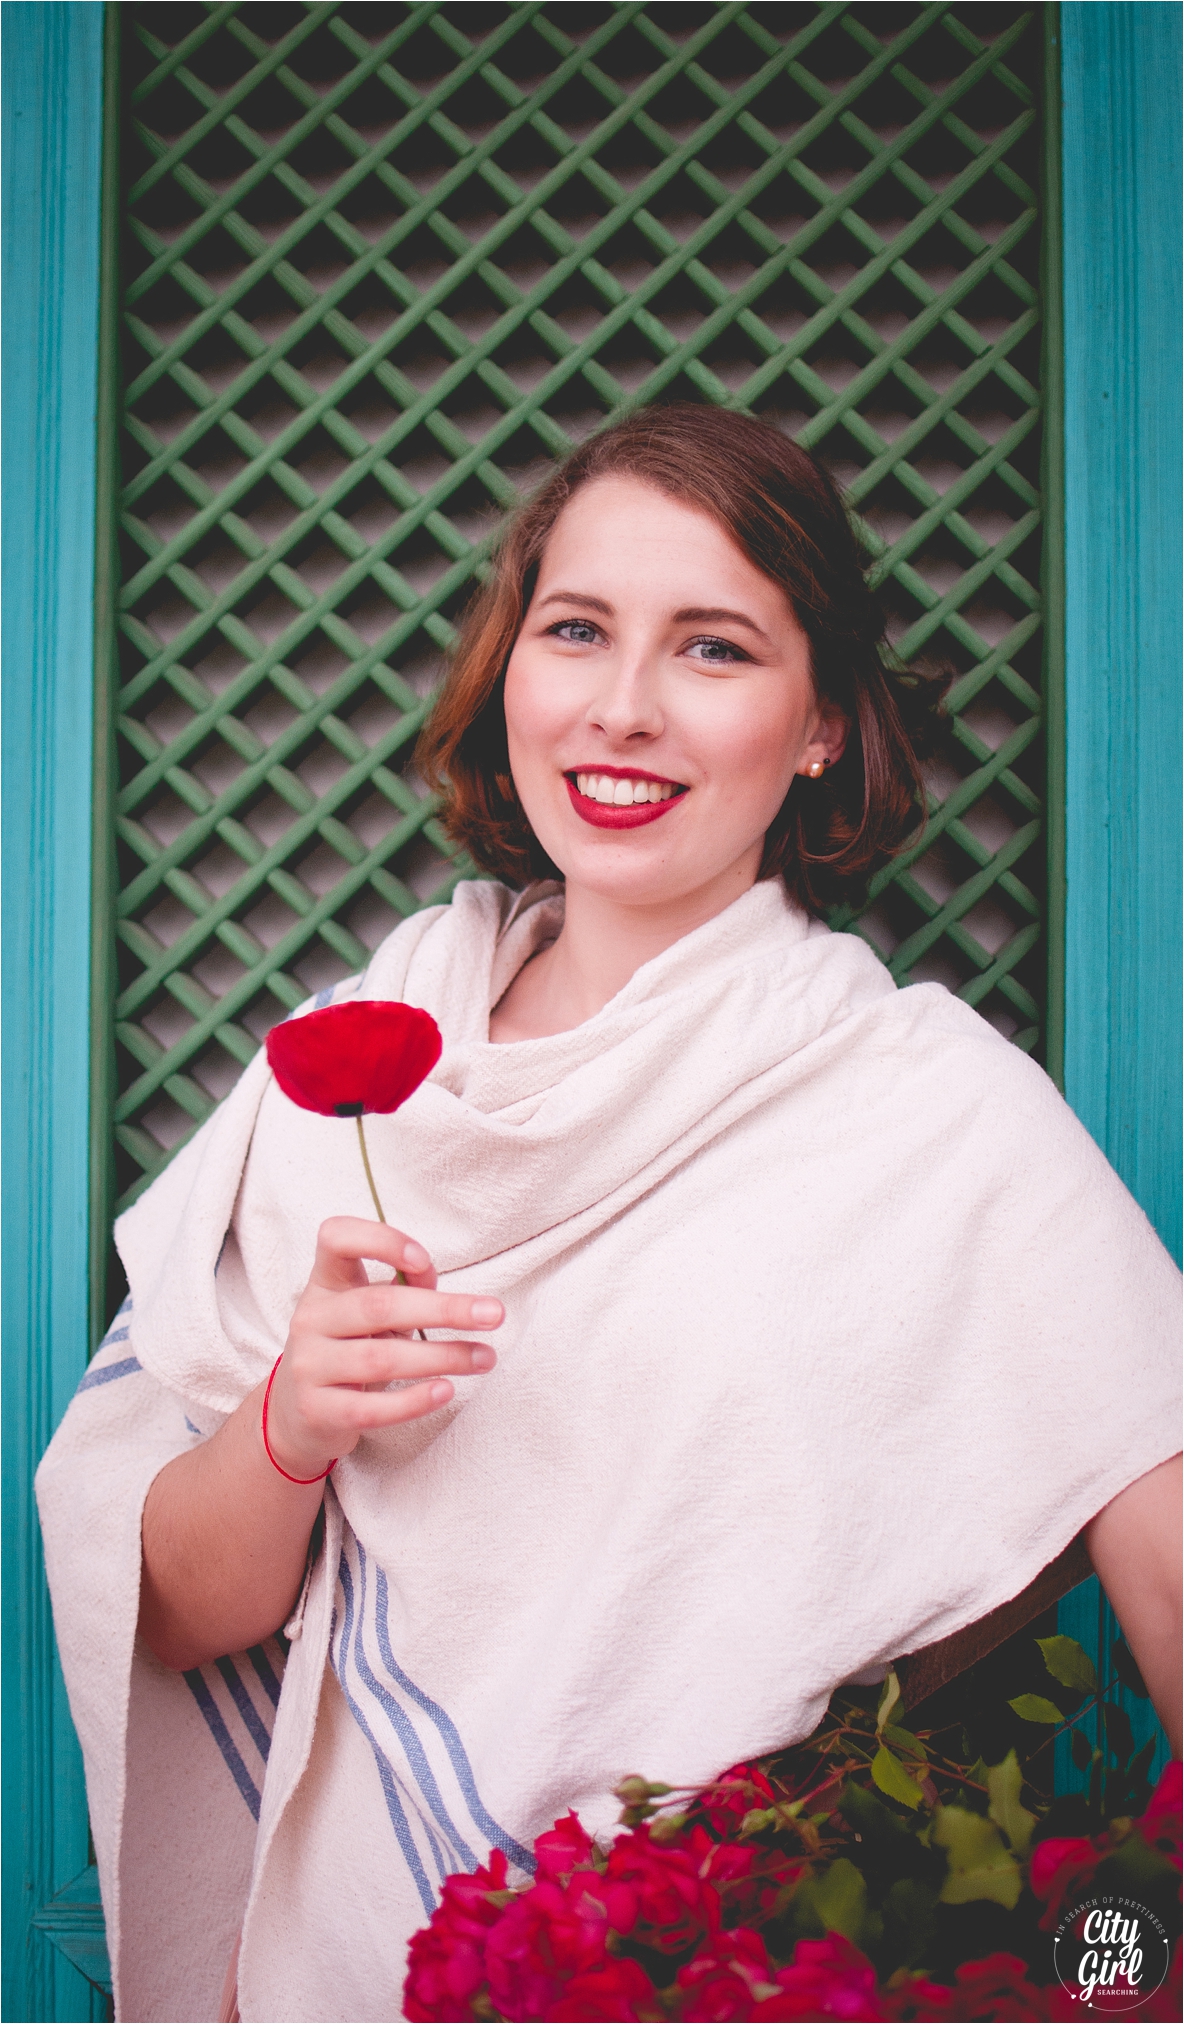
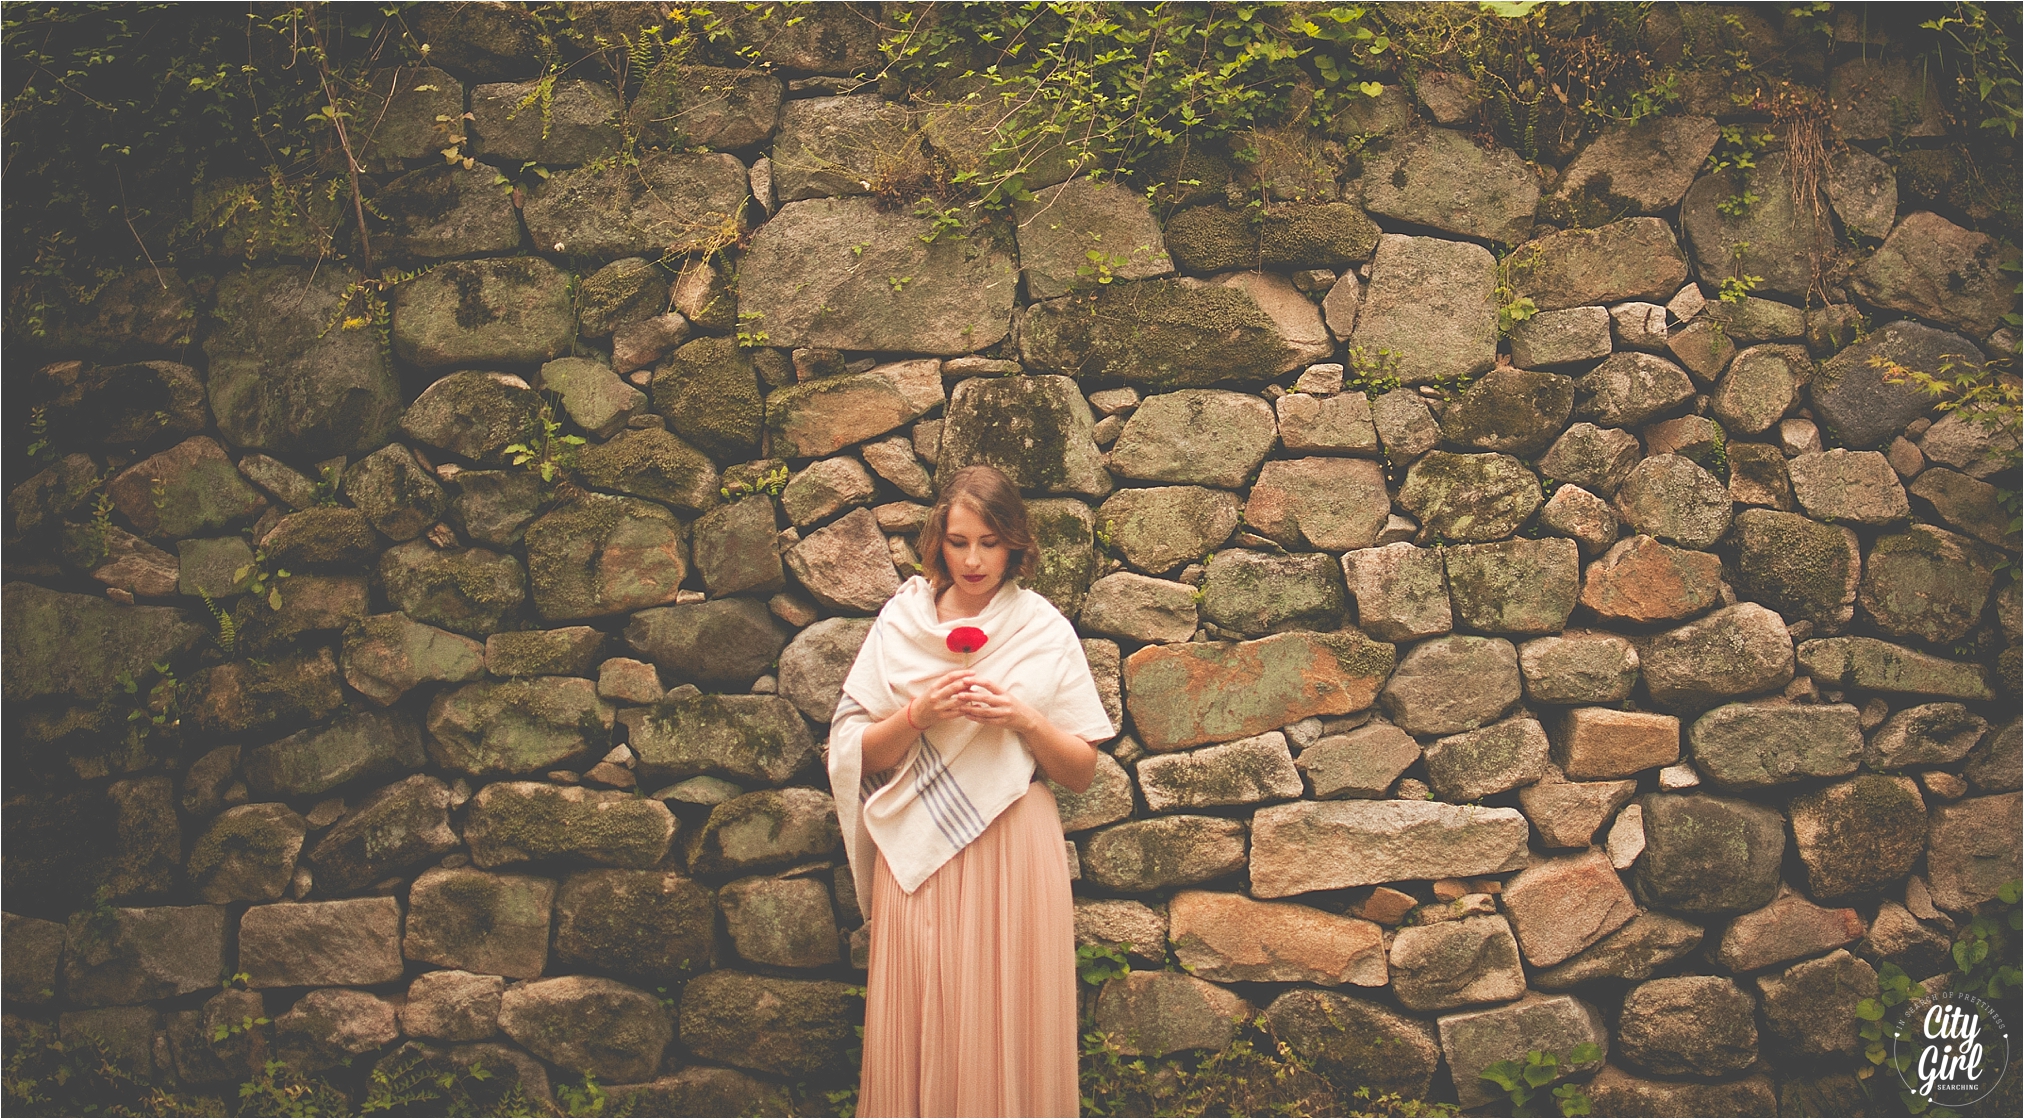
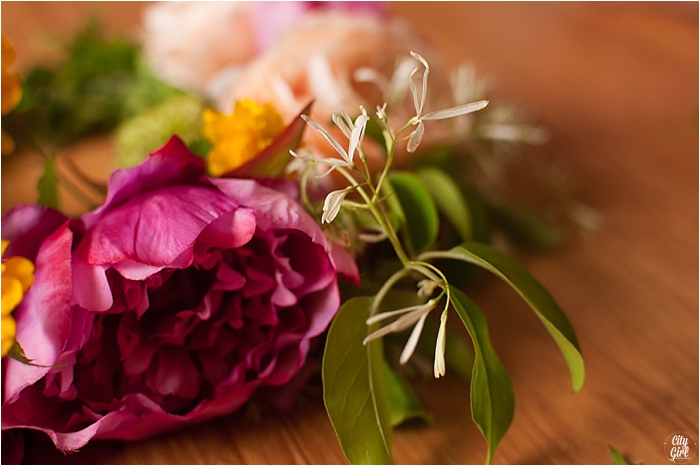
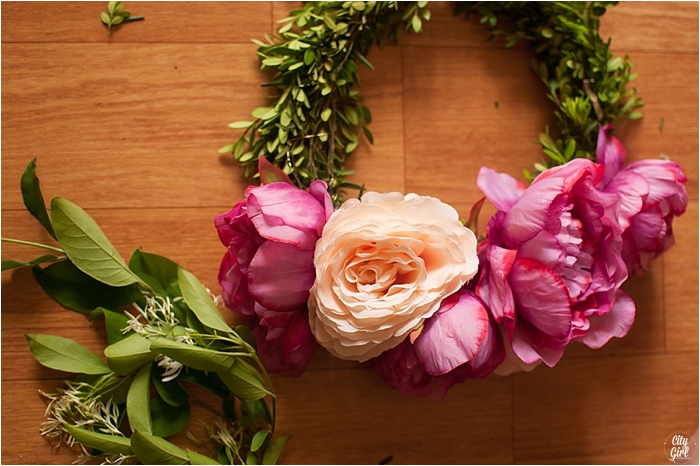
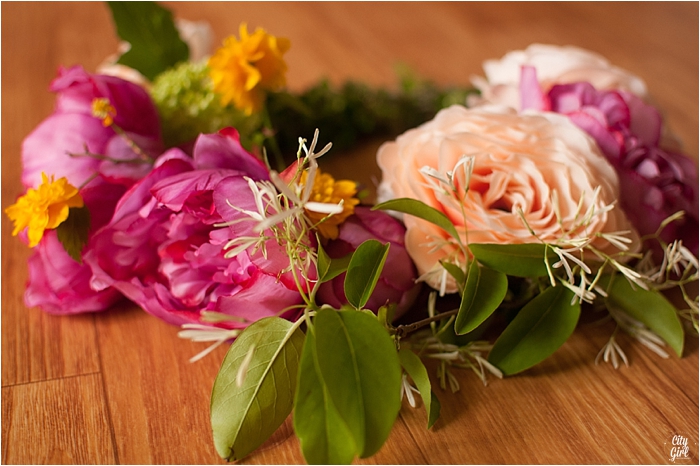
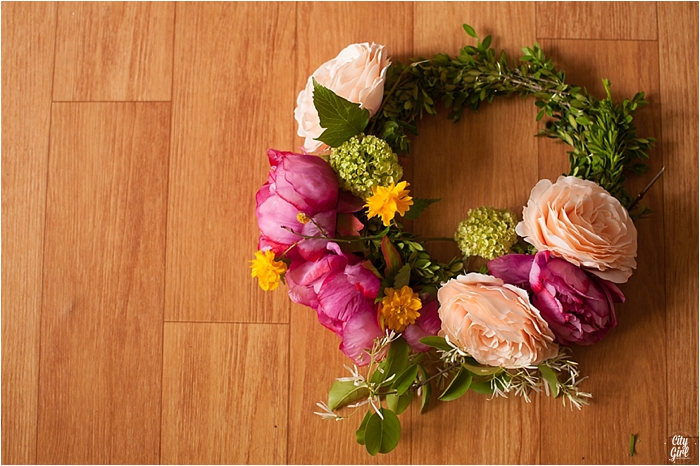
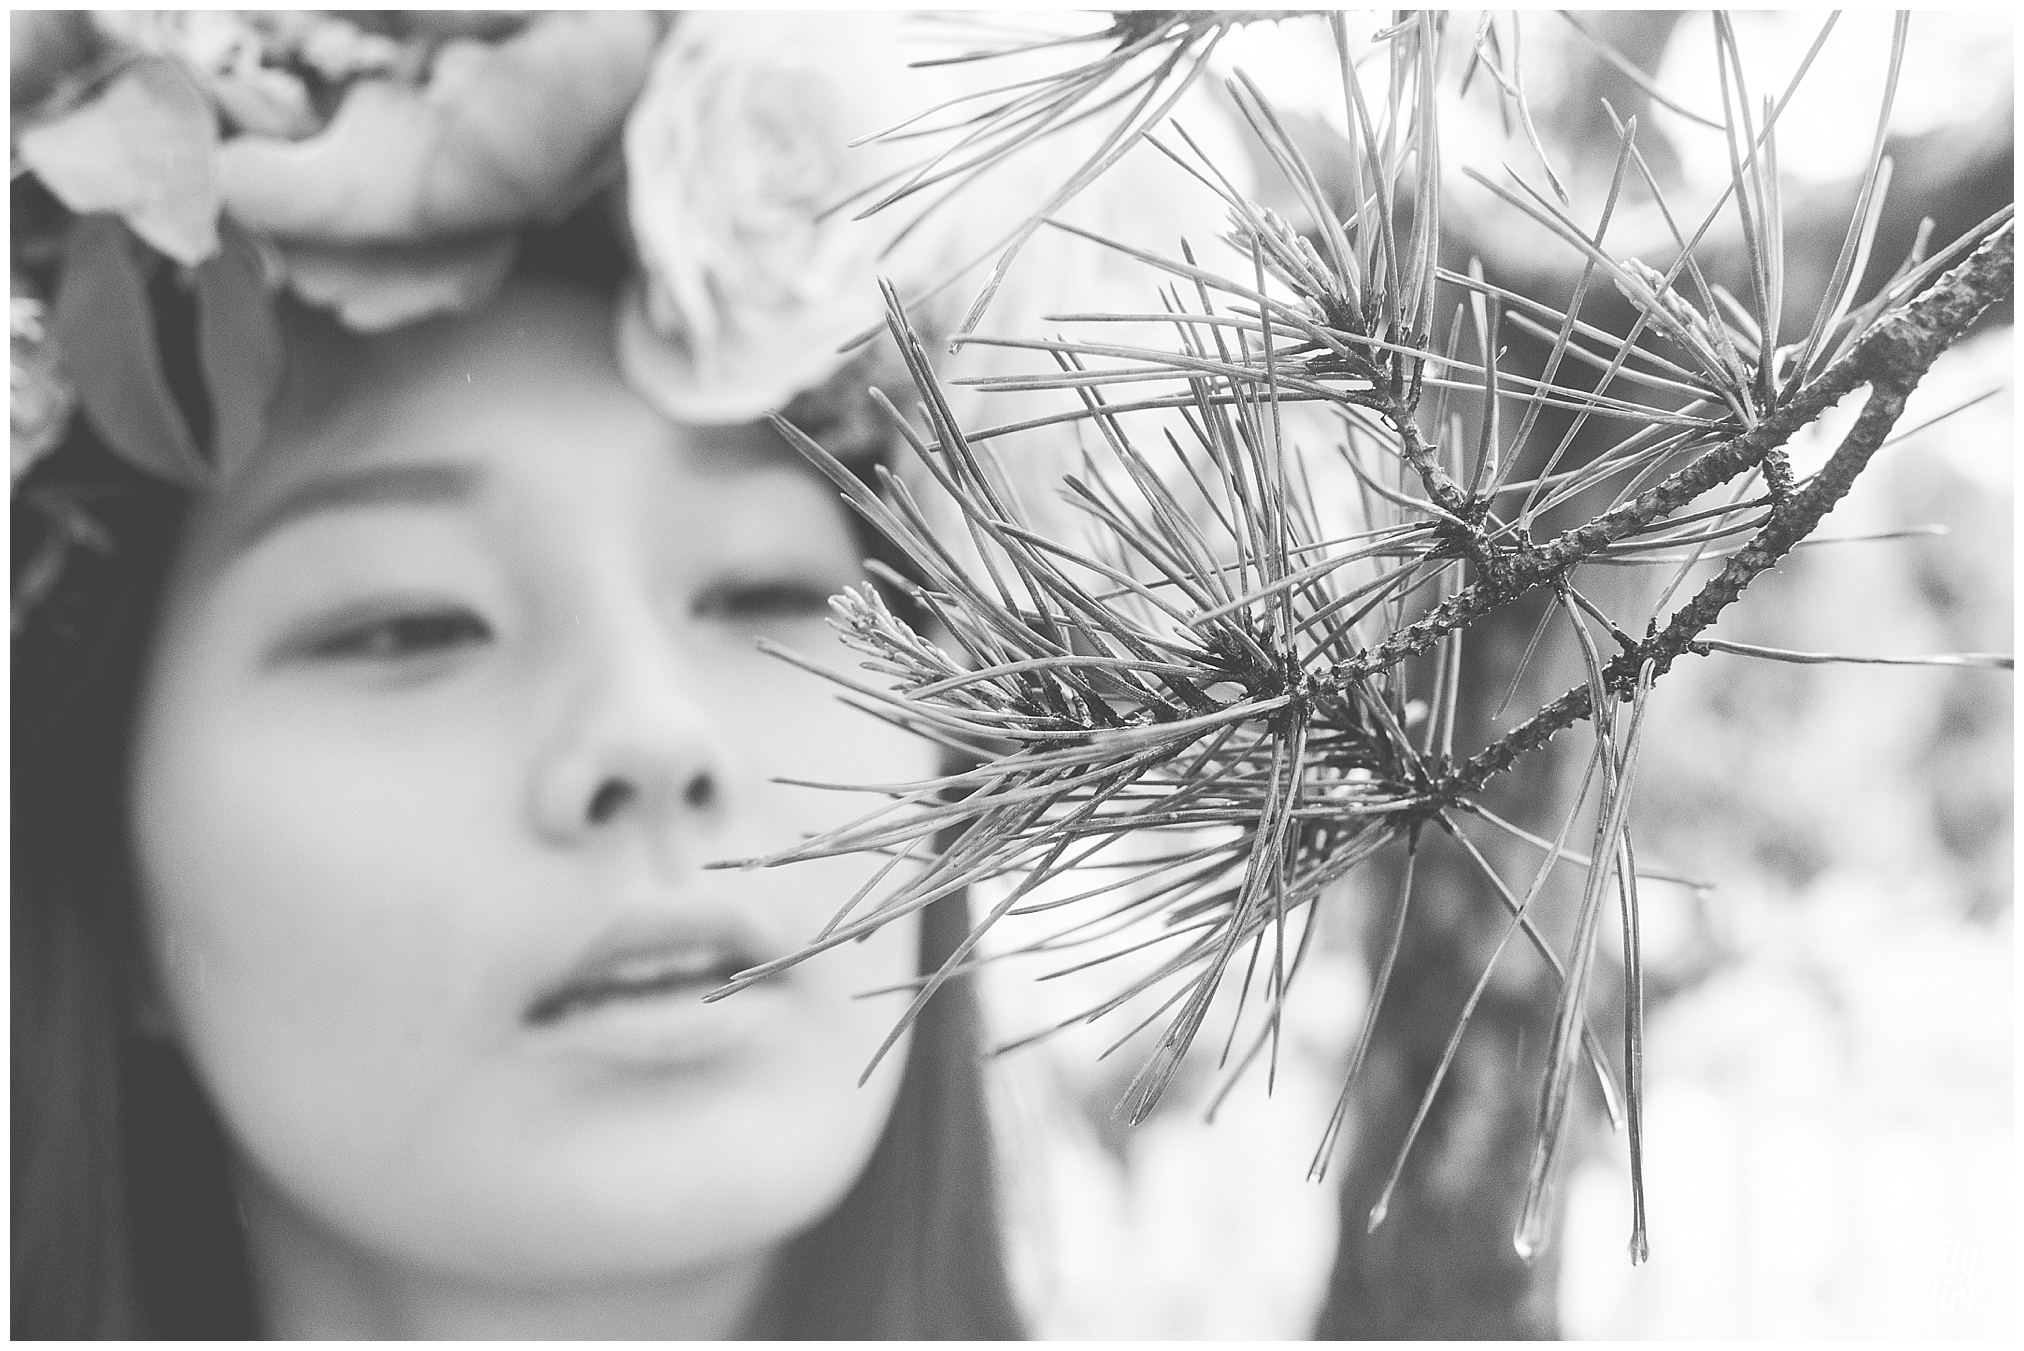
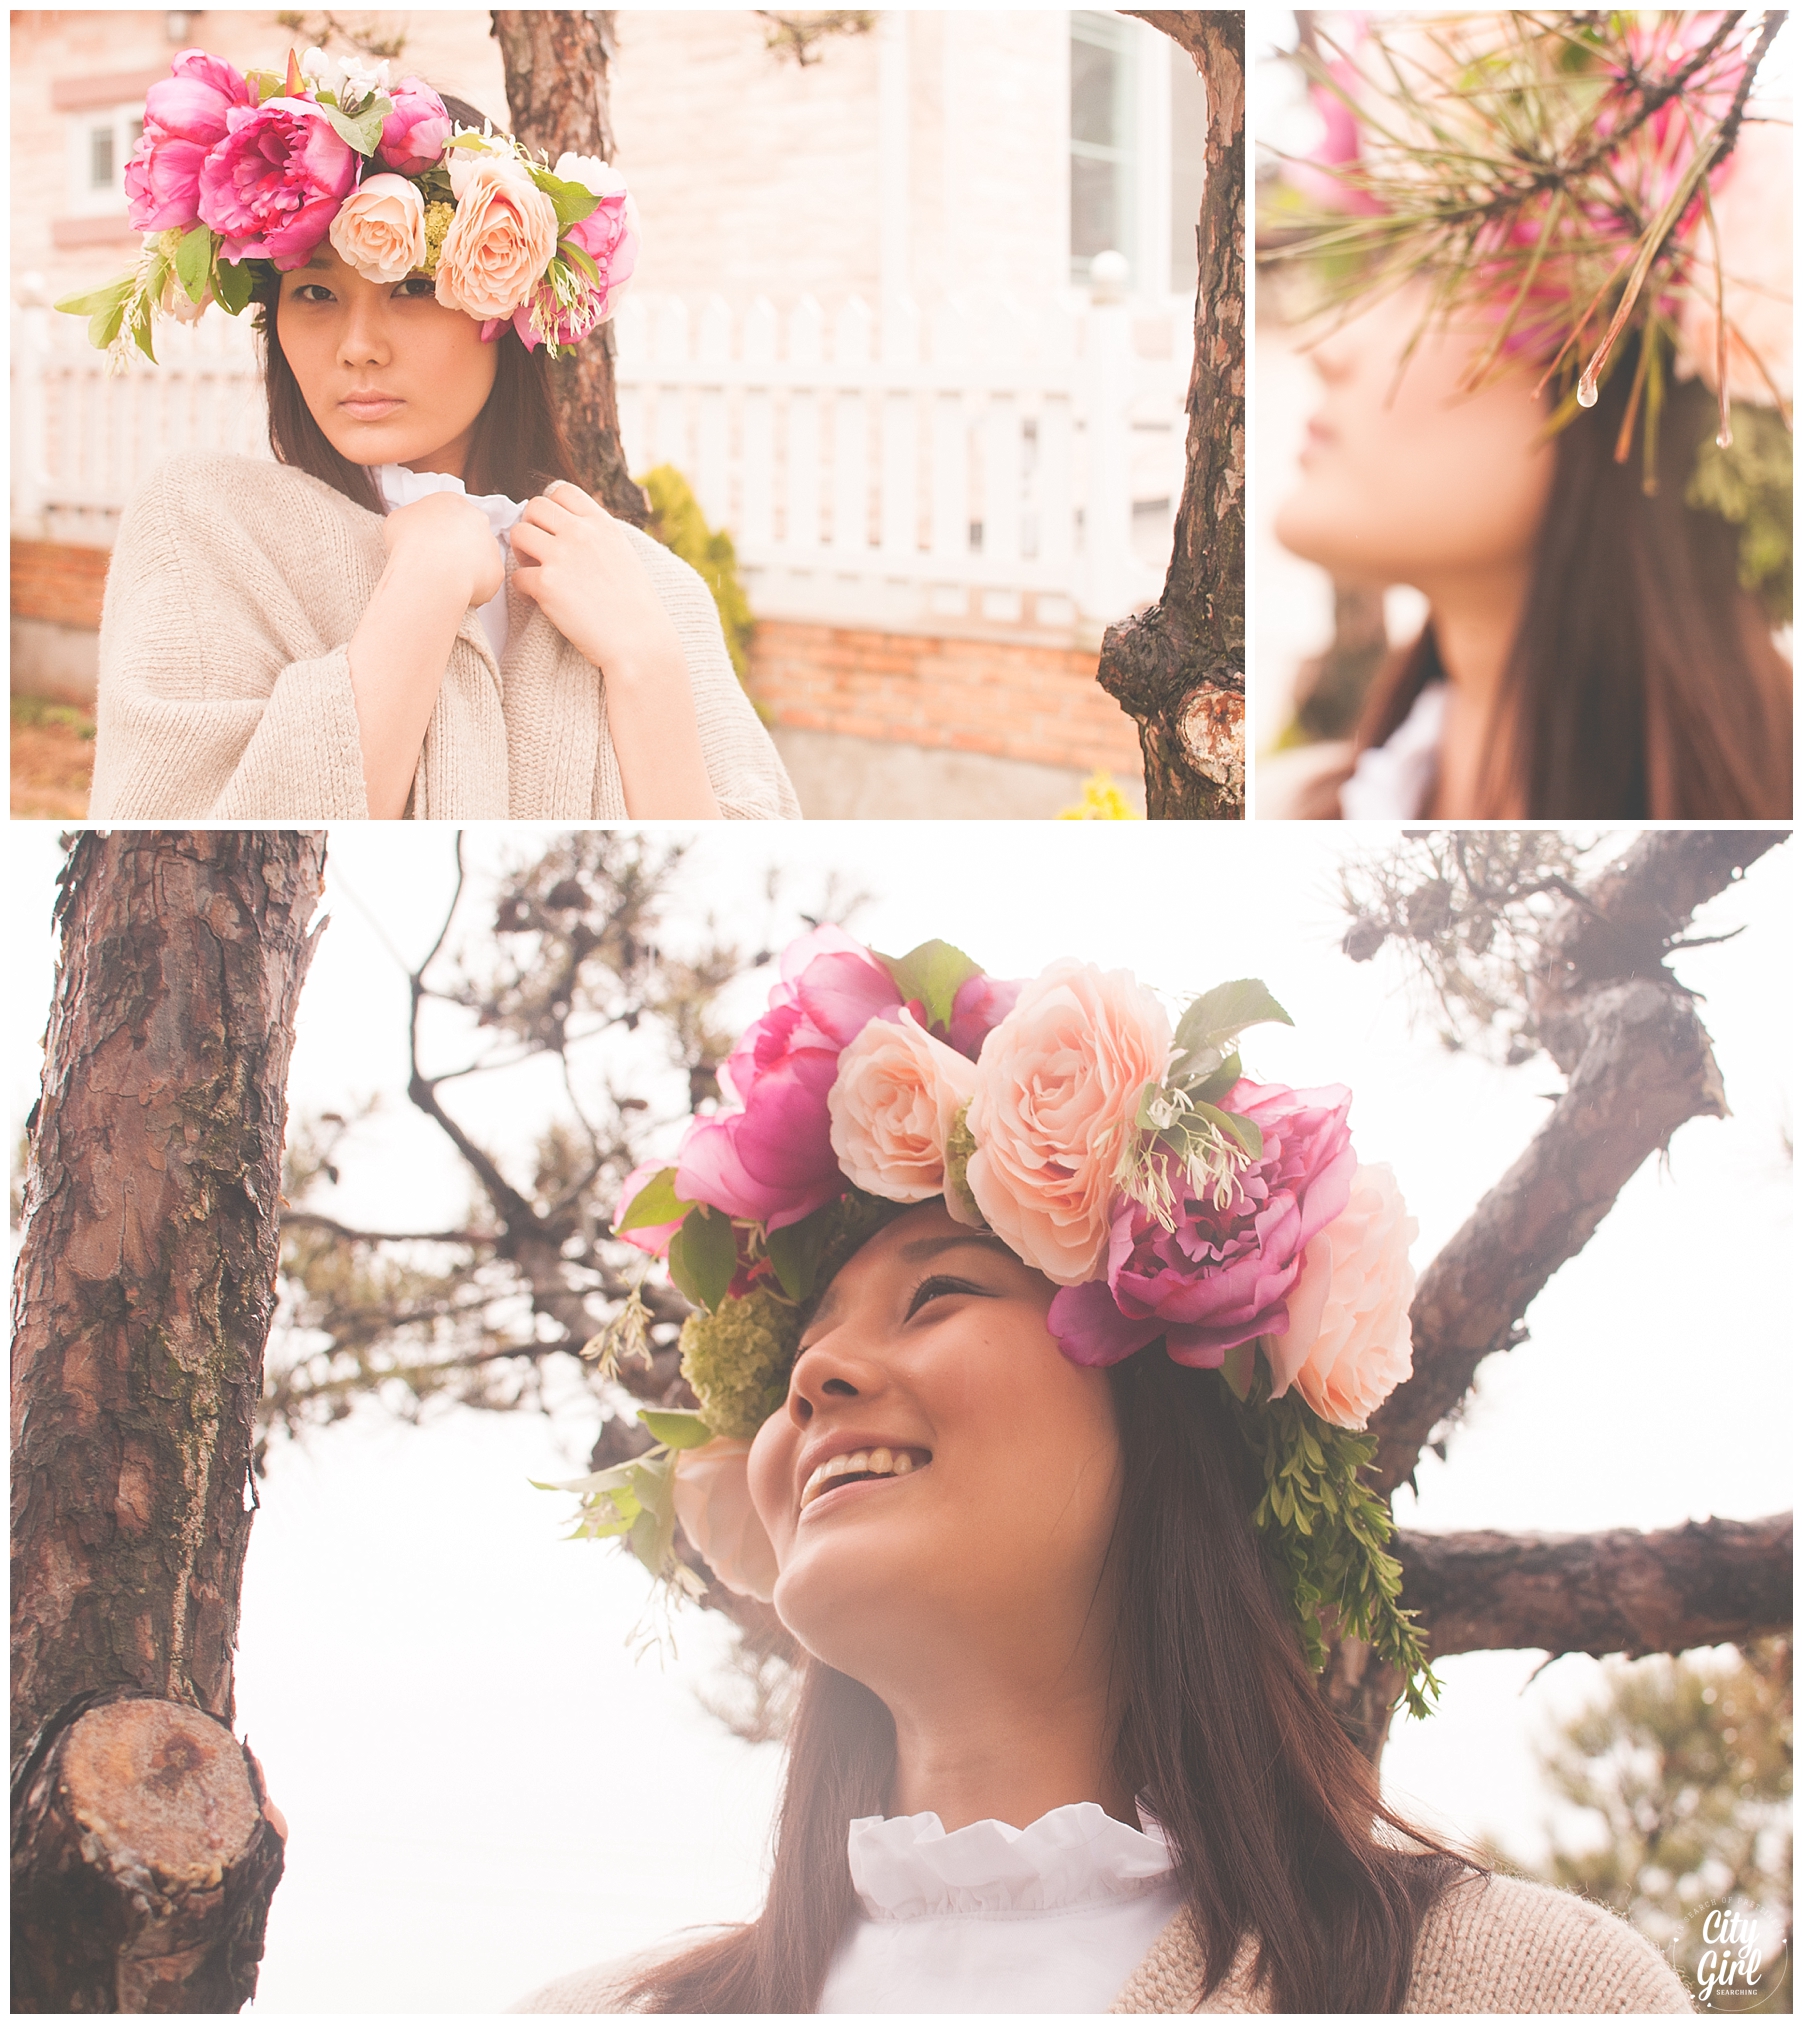
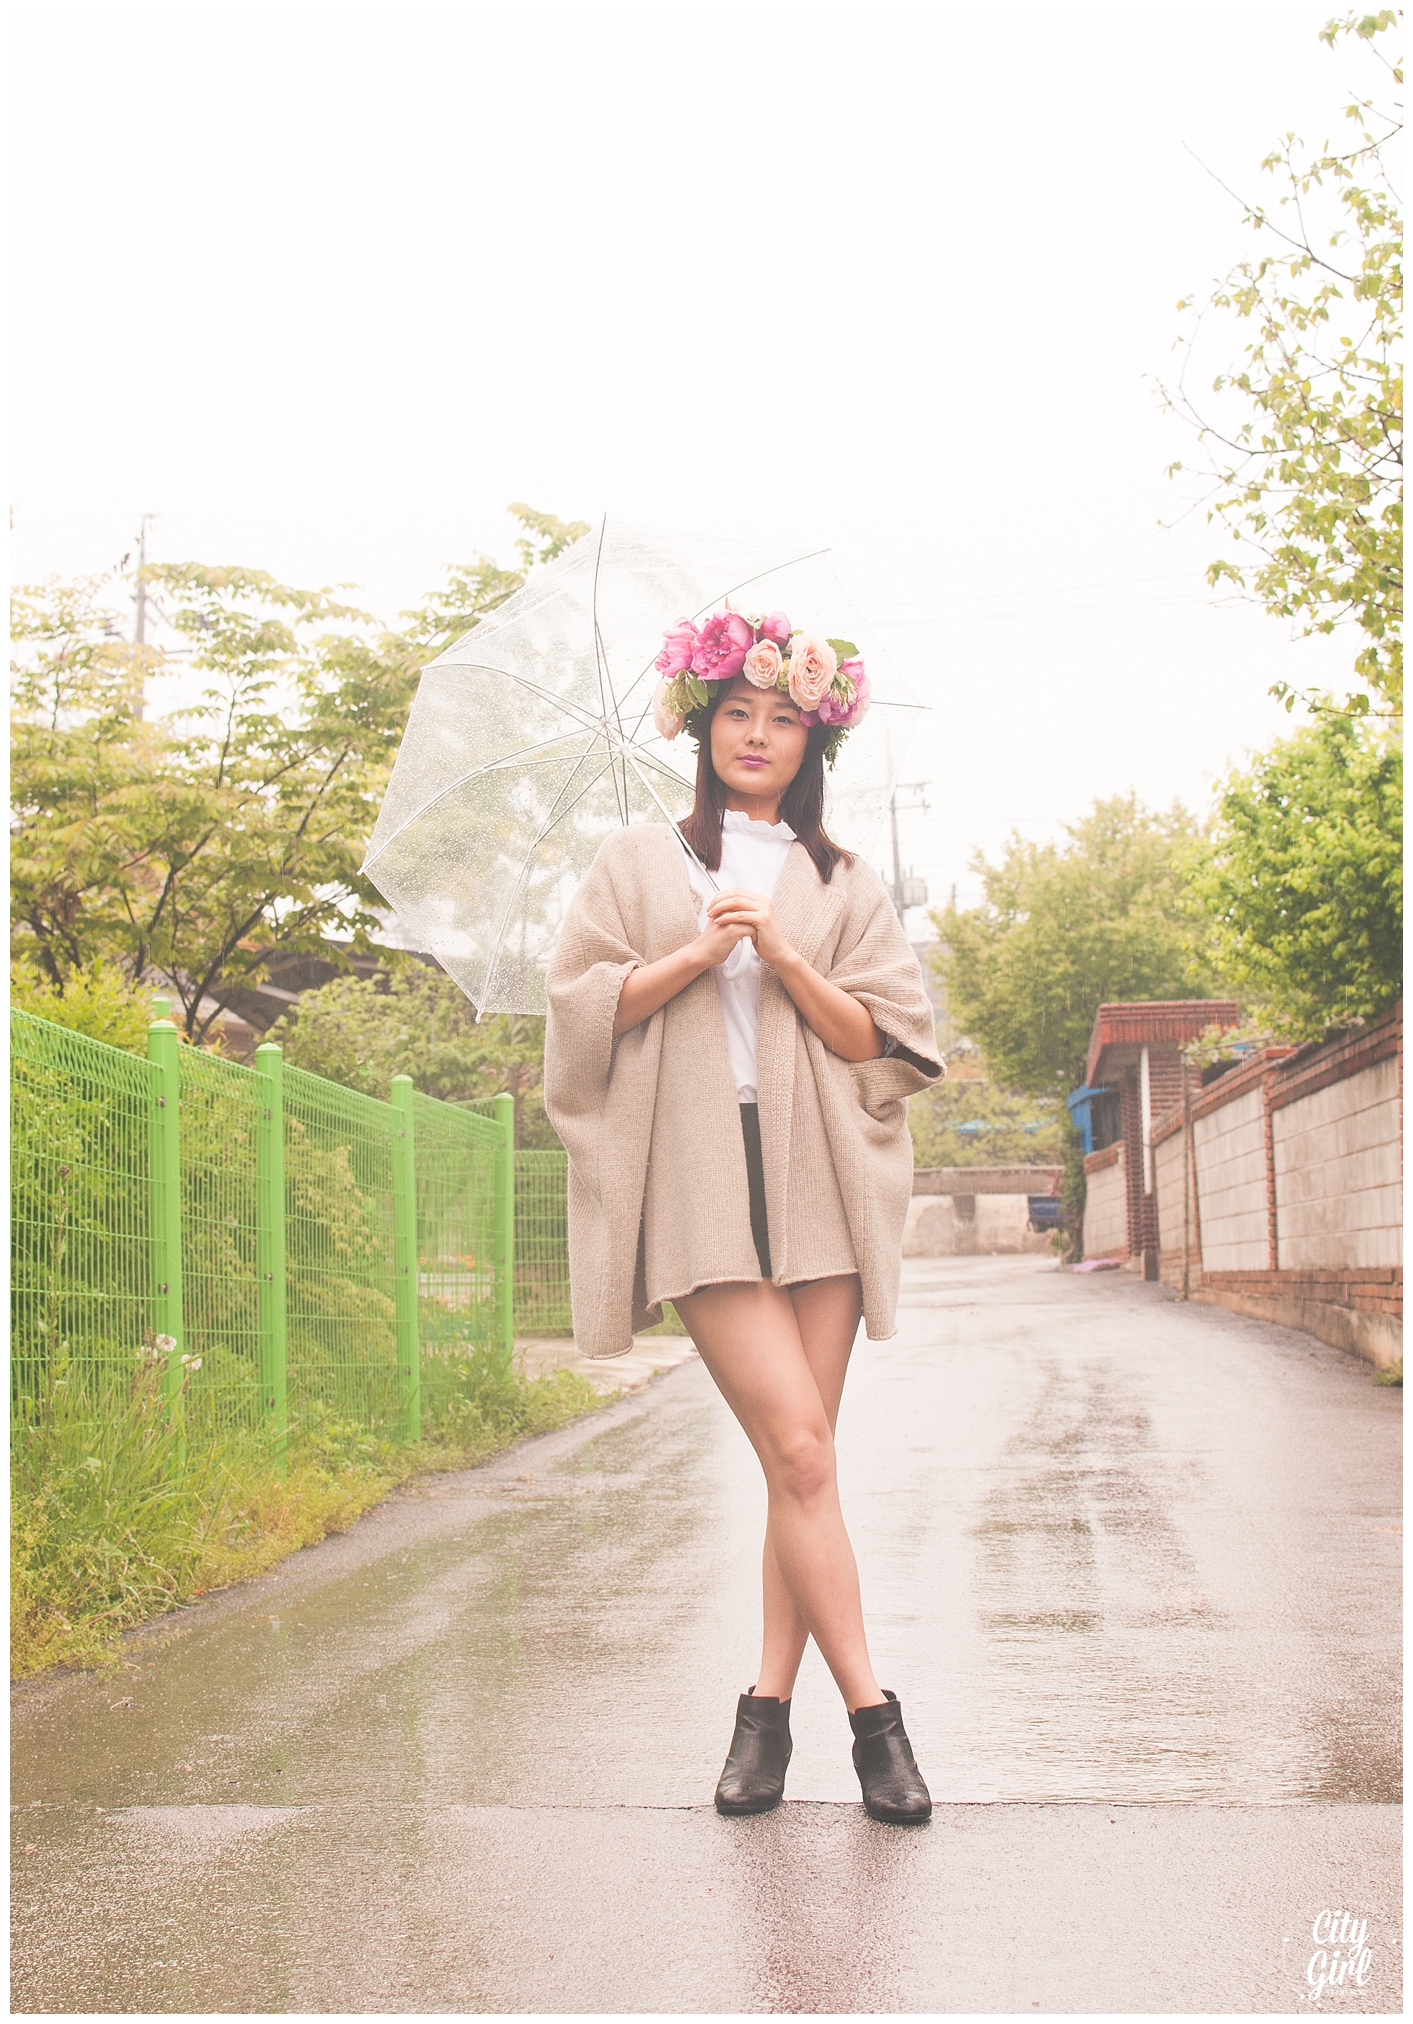
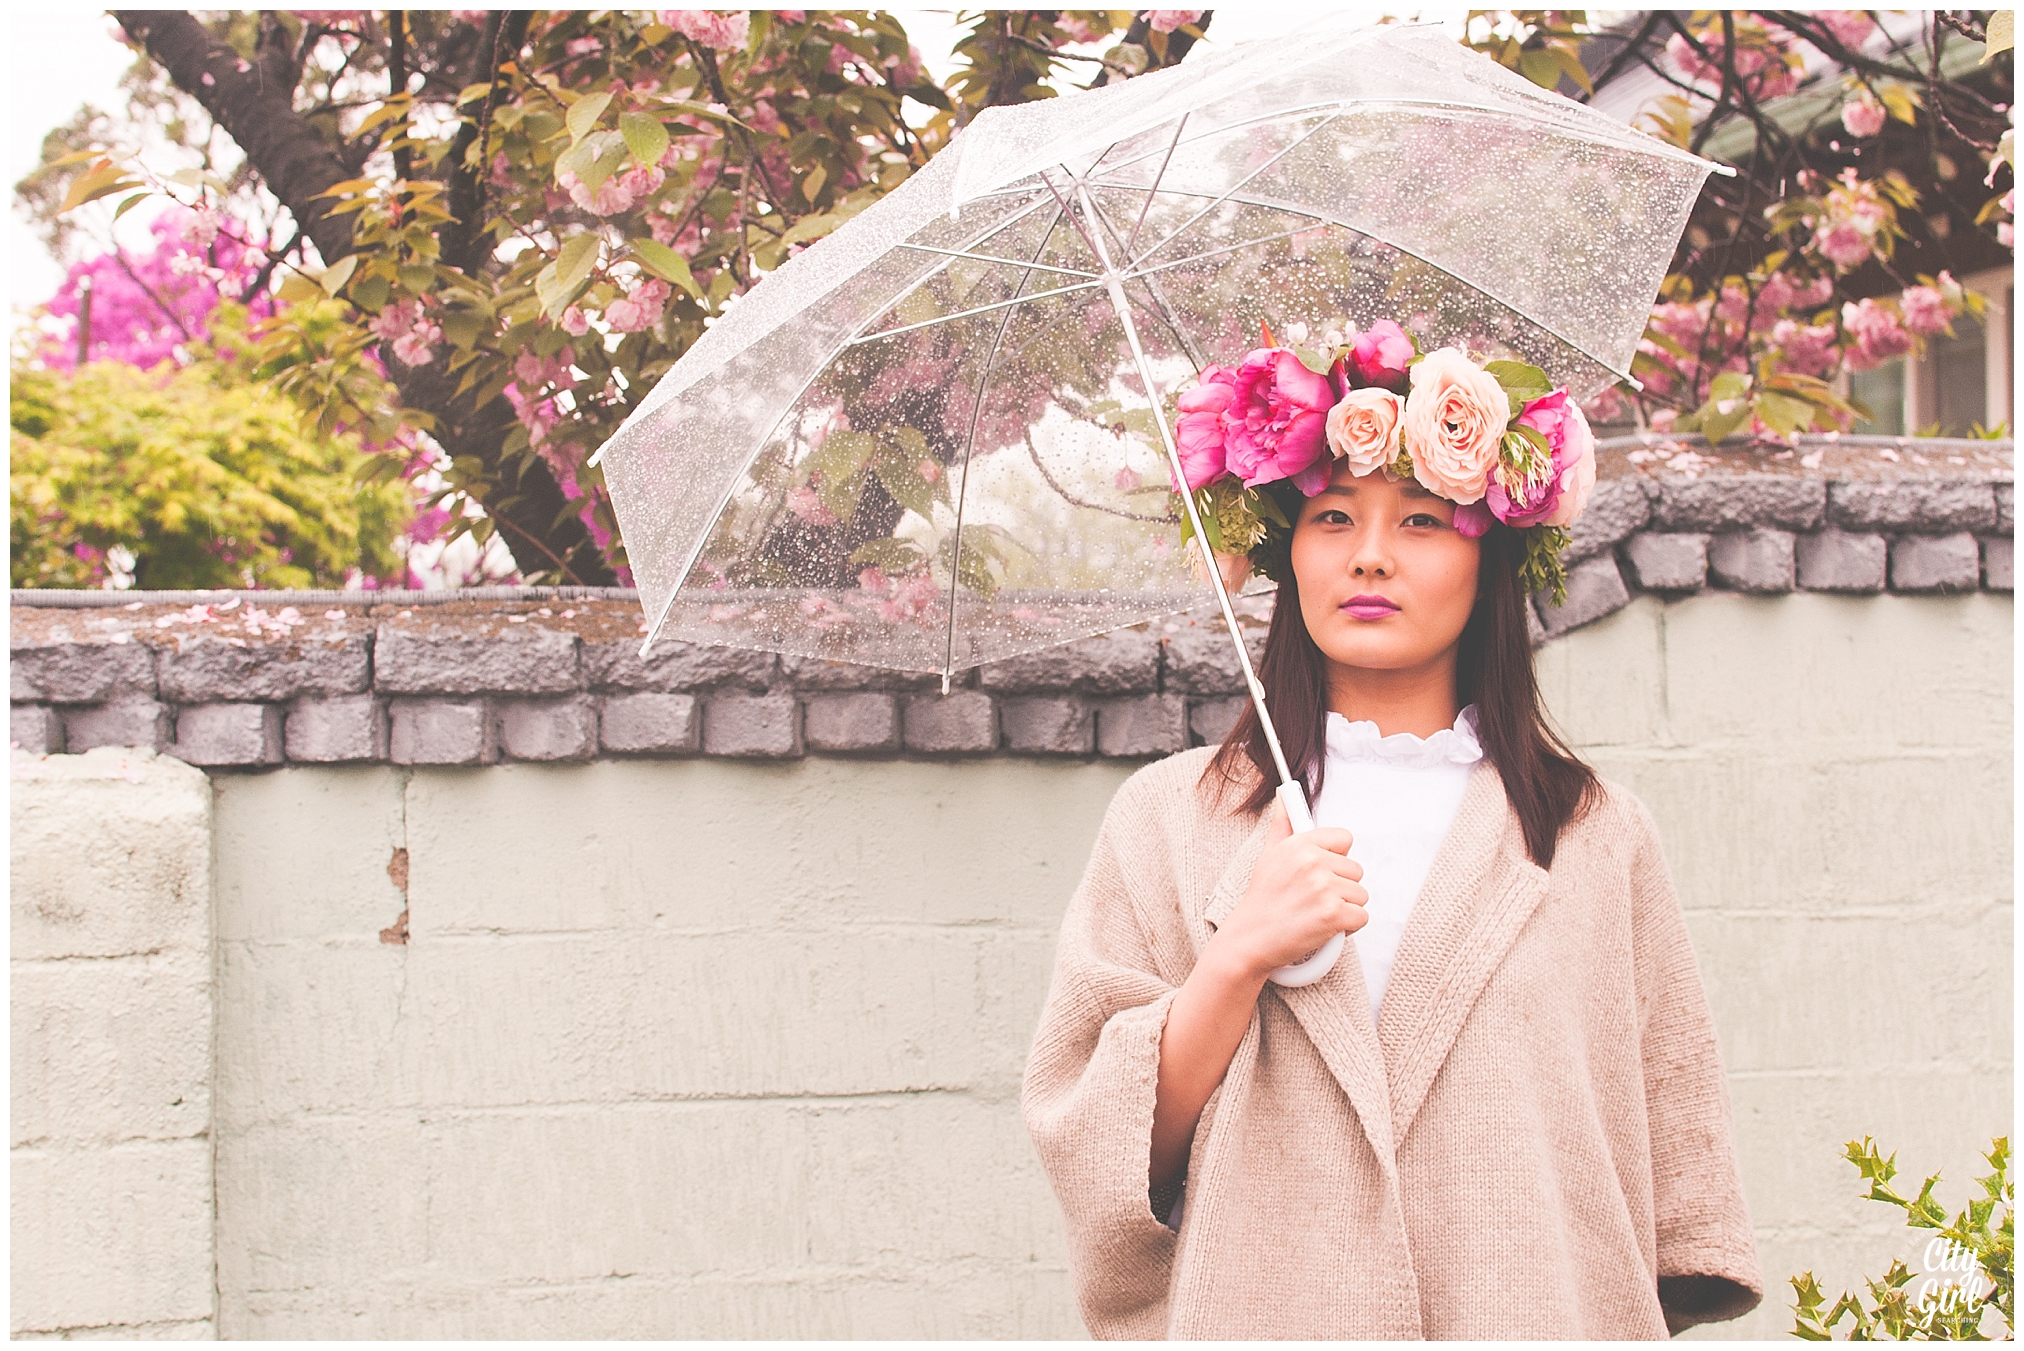
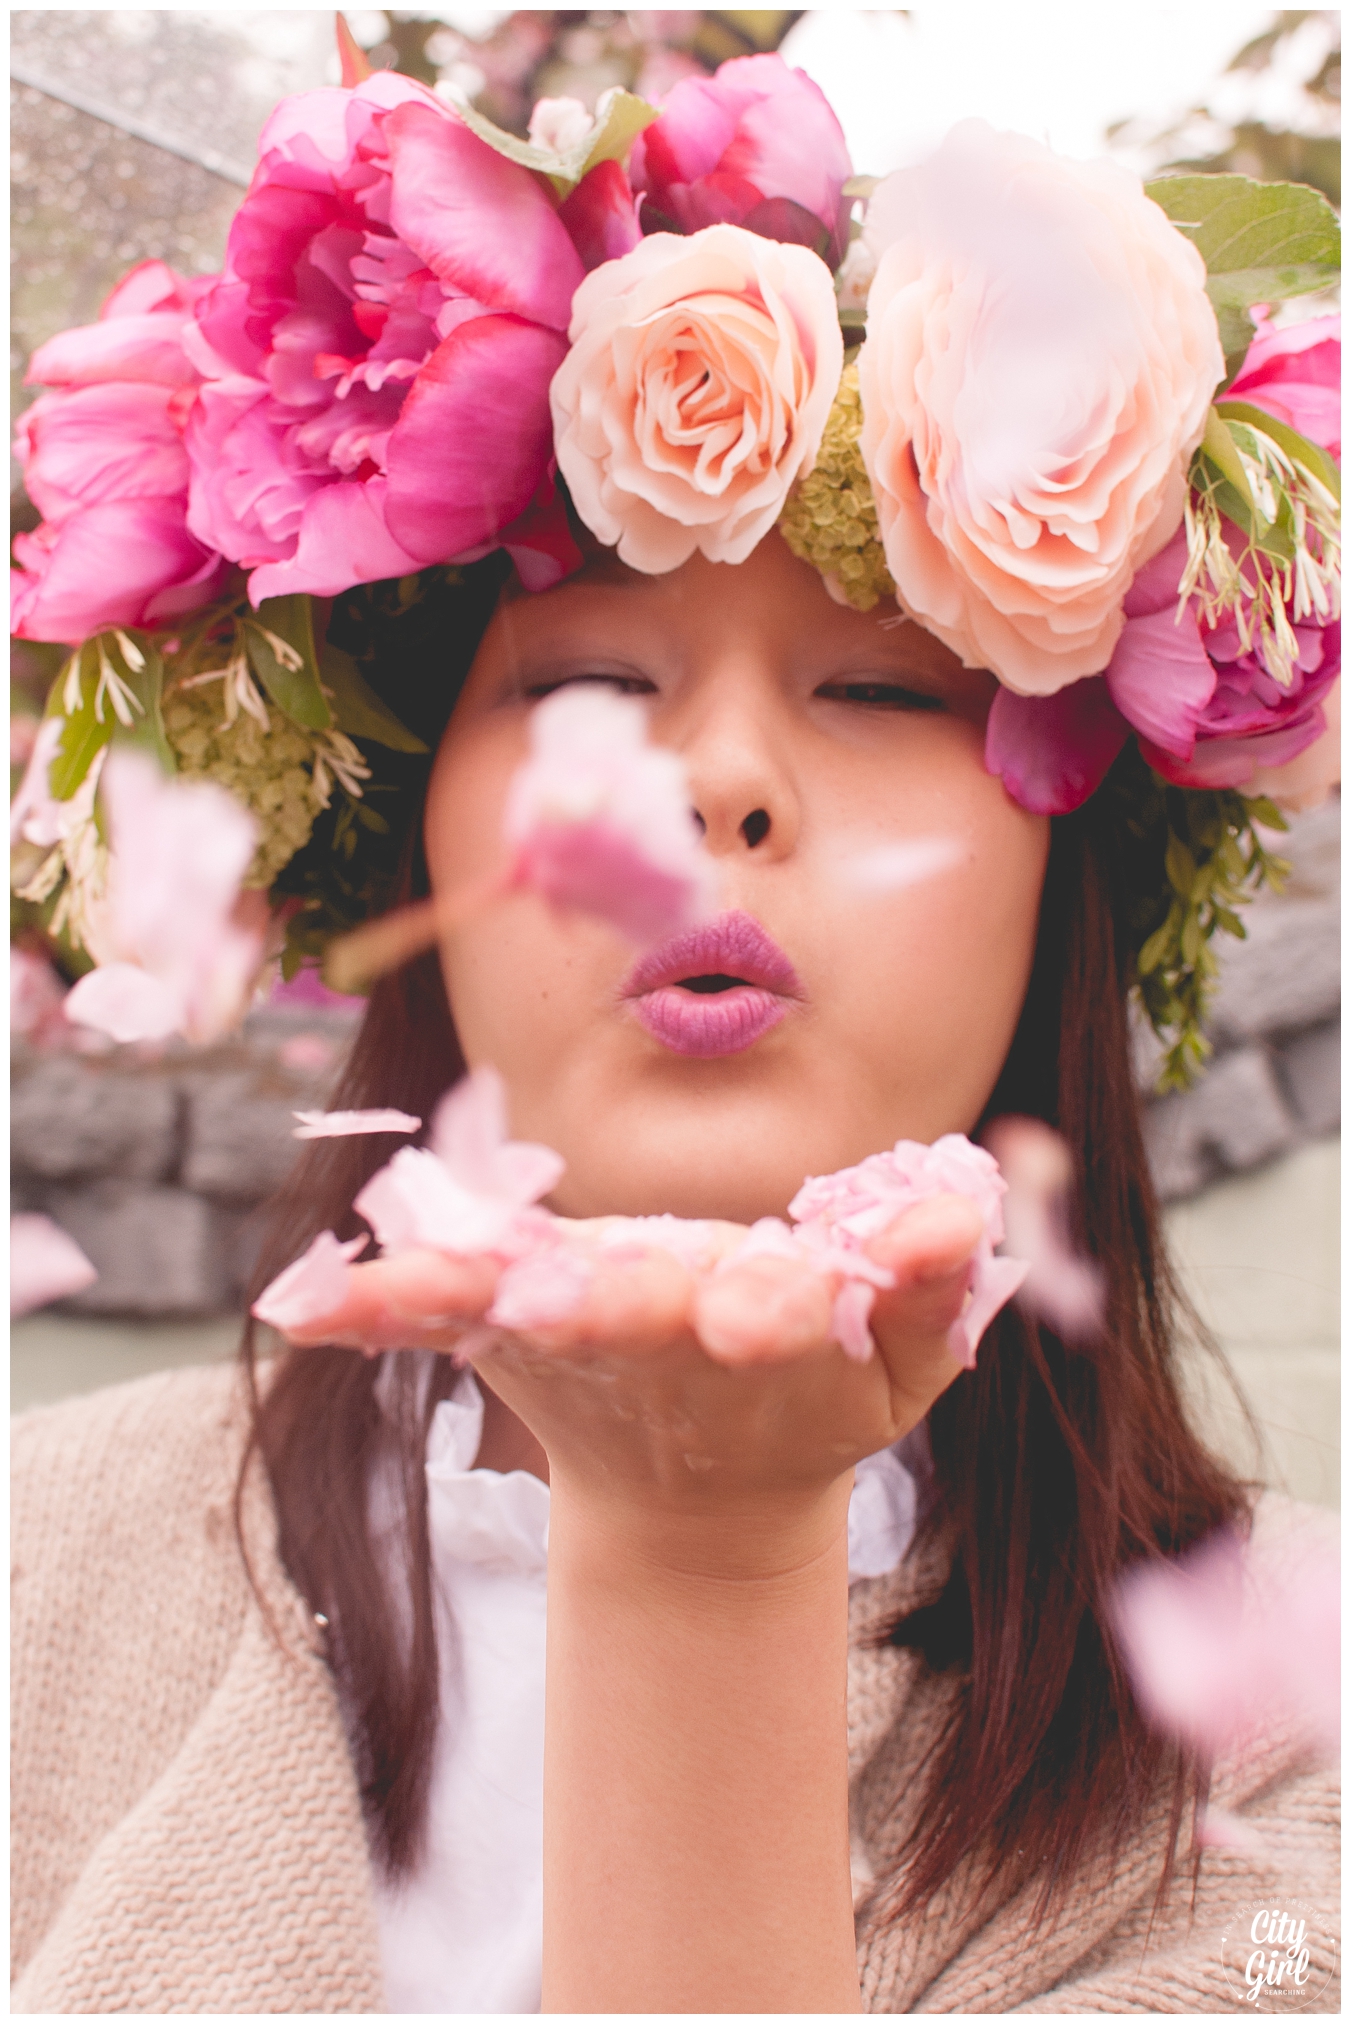
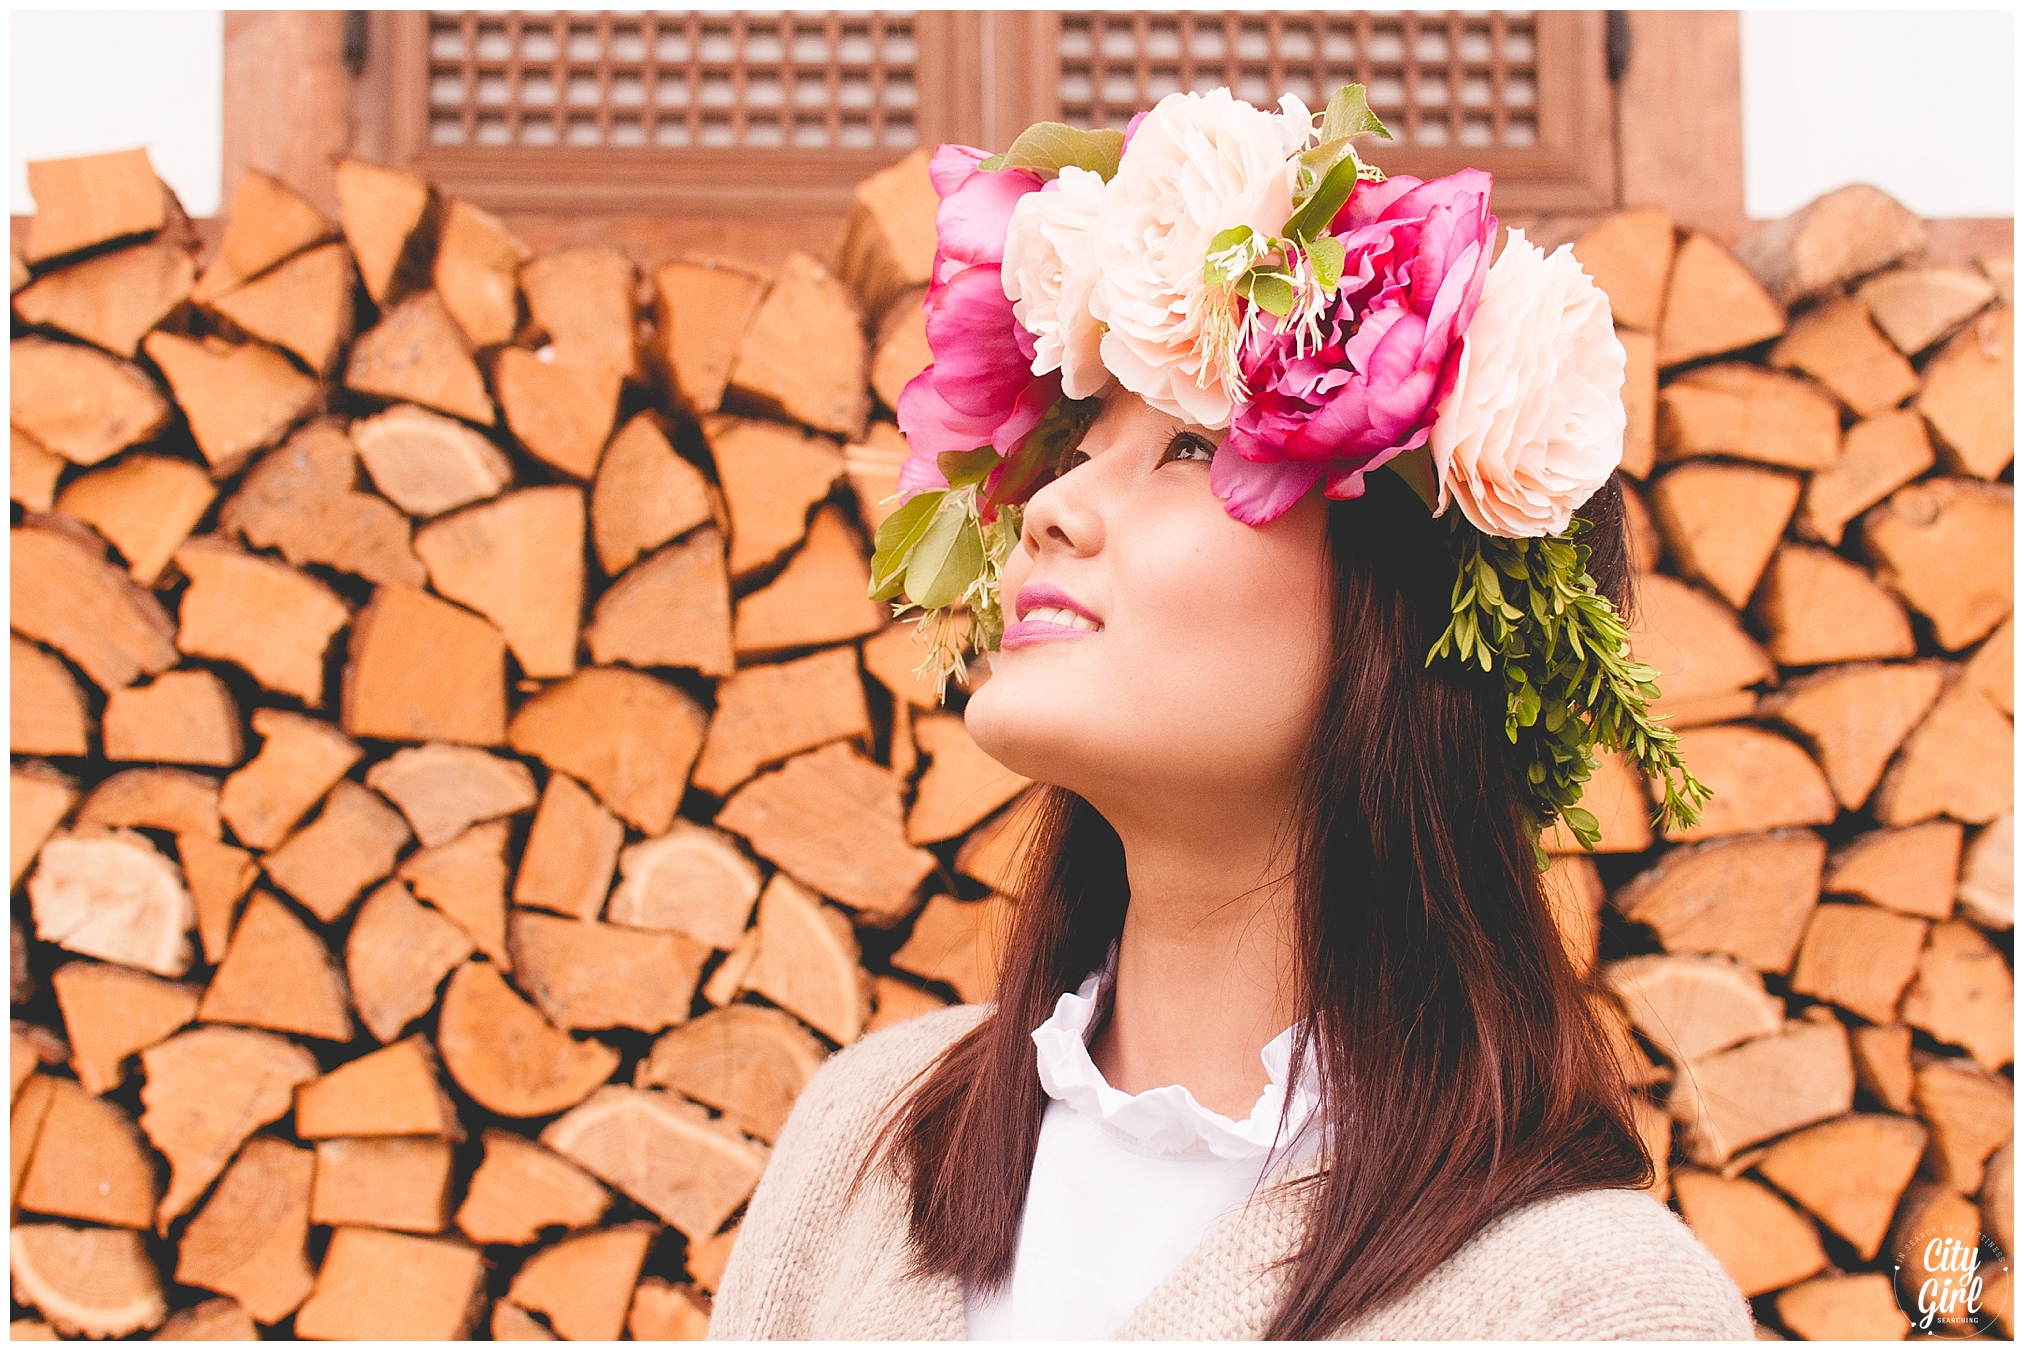
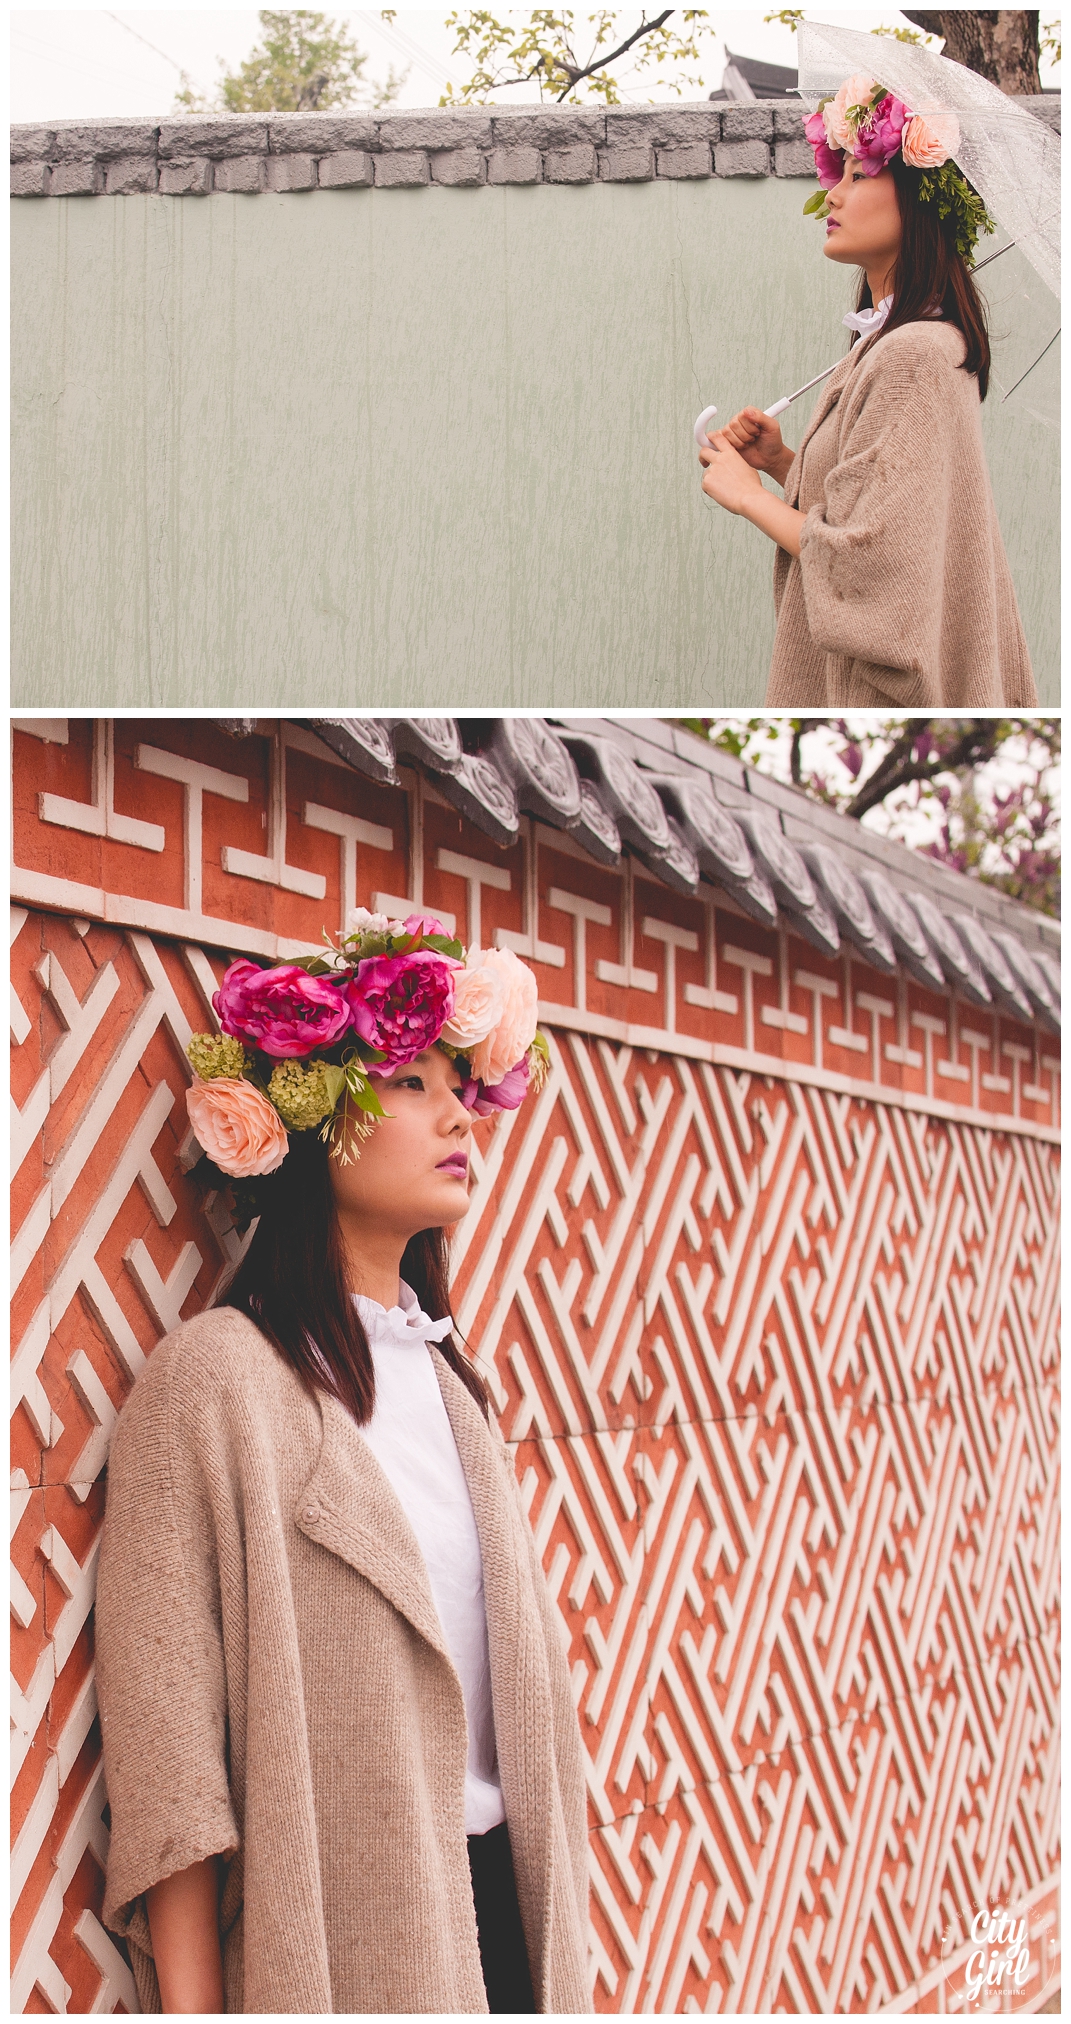
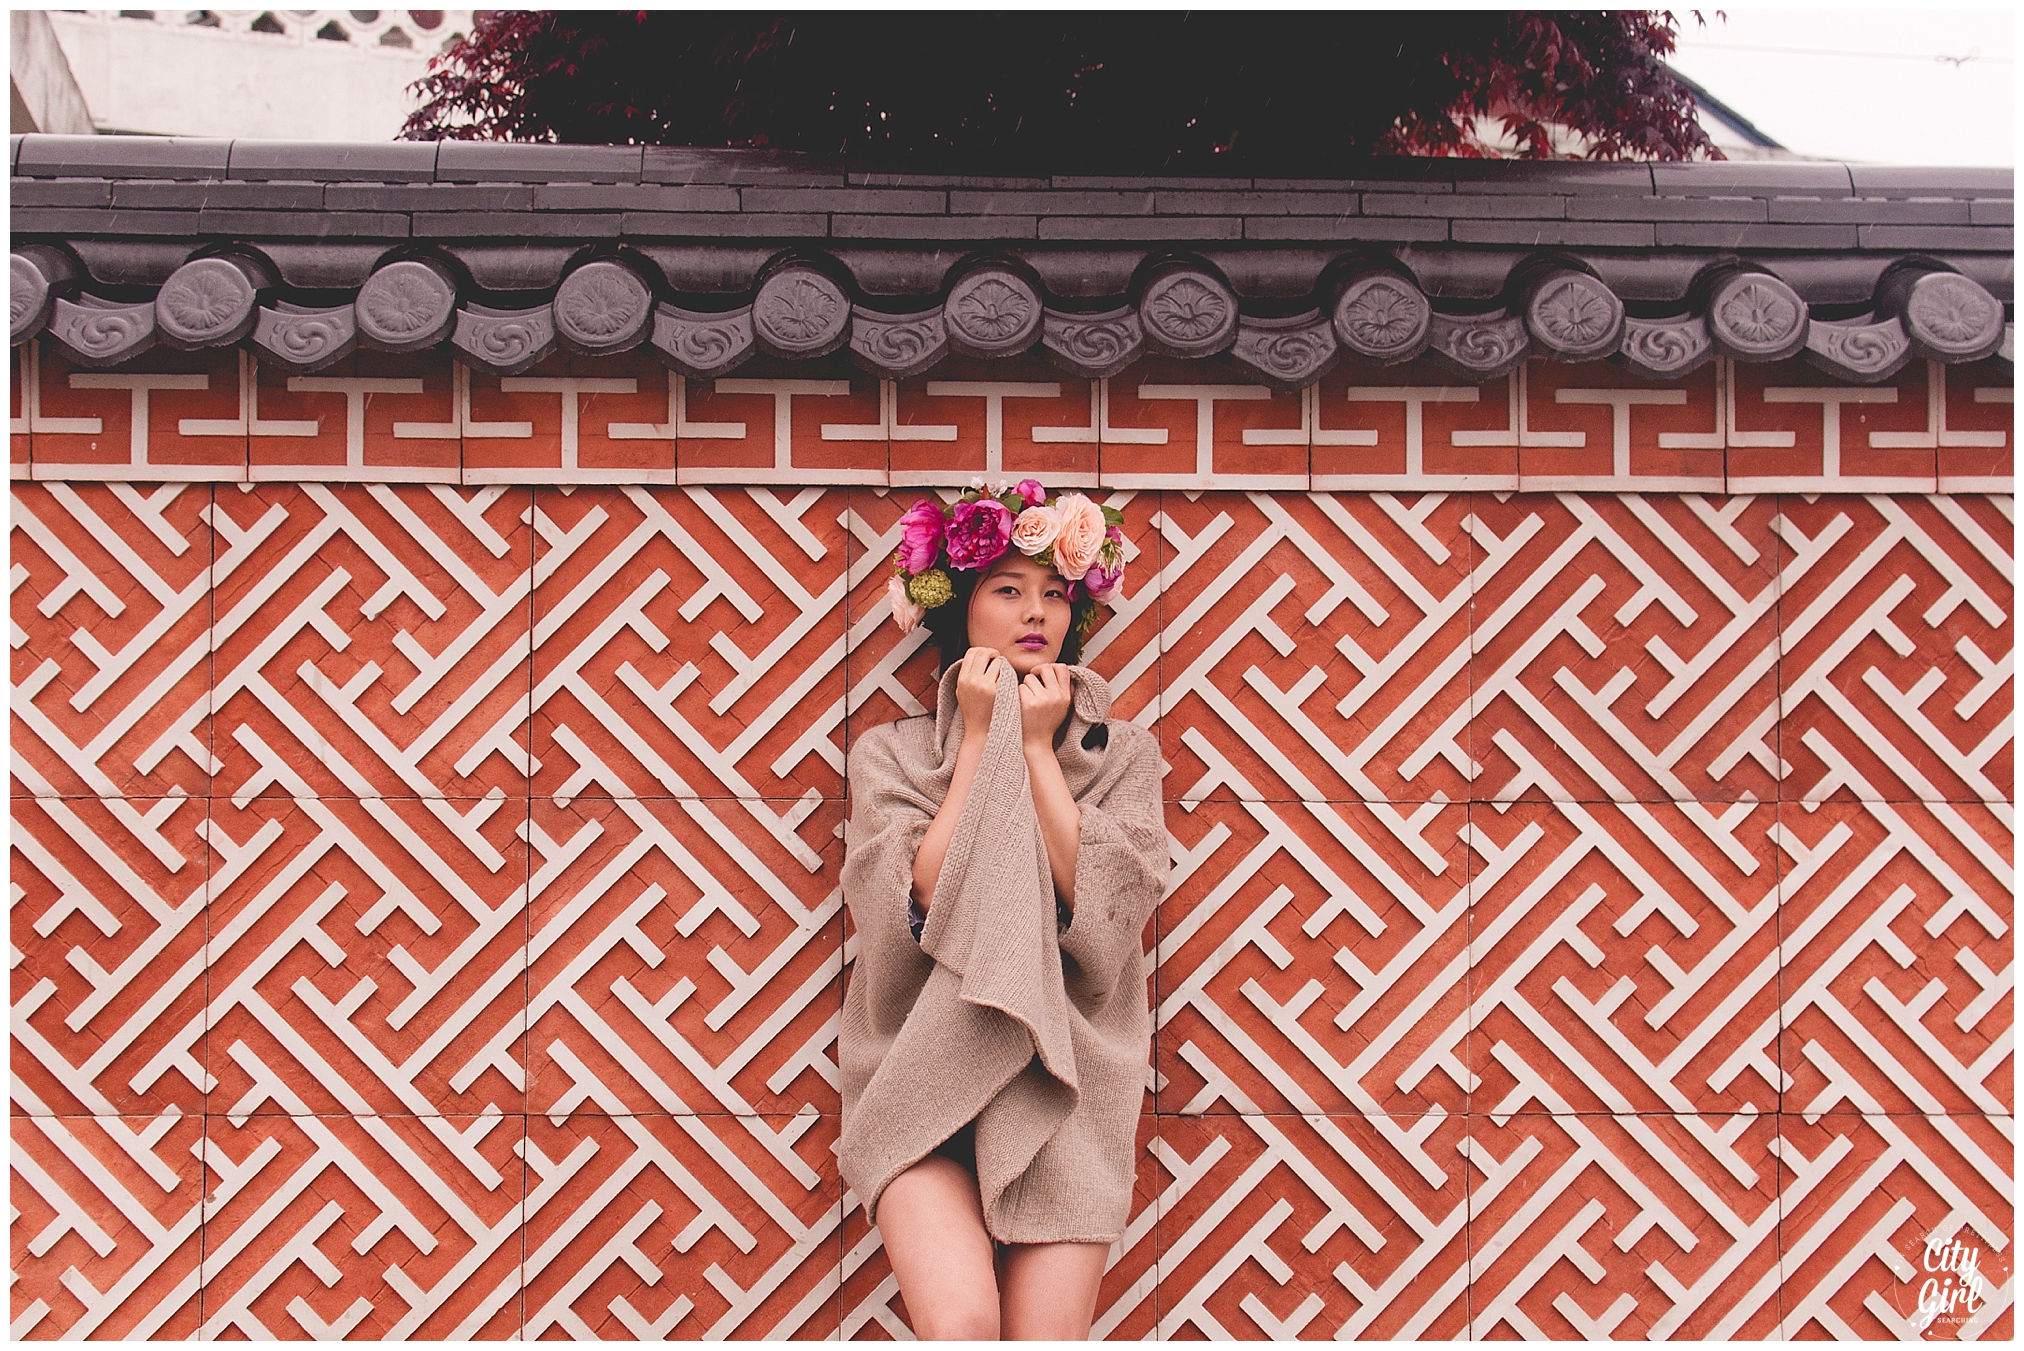
Disney's Frozen inspired Wedding shoot by Nadia Meli

Disney's recent release, Frozen, has taken over South Korea by storm. I still can't walk through the halls of my school without hearing at least 10 different voices screaming 'Let it Go'. No one really knows why this particular animation has has became so popular here in Korea, but, regardless of the why, I can't help joining in, no matter how fed up I am of hearing the same song over and over again. And there really is no denying that Frozen was a fantastic film, with subtle (and not so subtle) changes to the traditional fairytale story that make all of us ladies feel some kind of connection with Elsa.

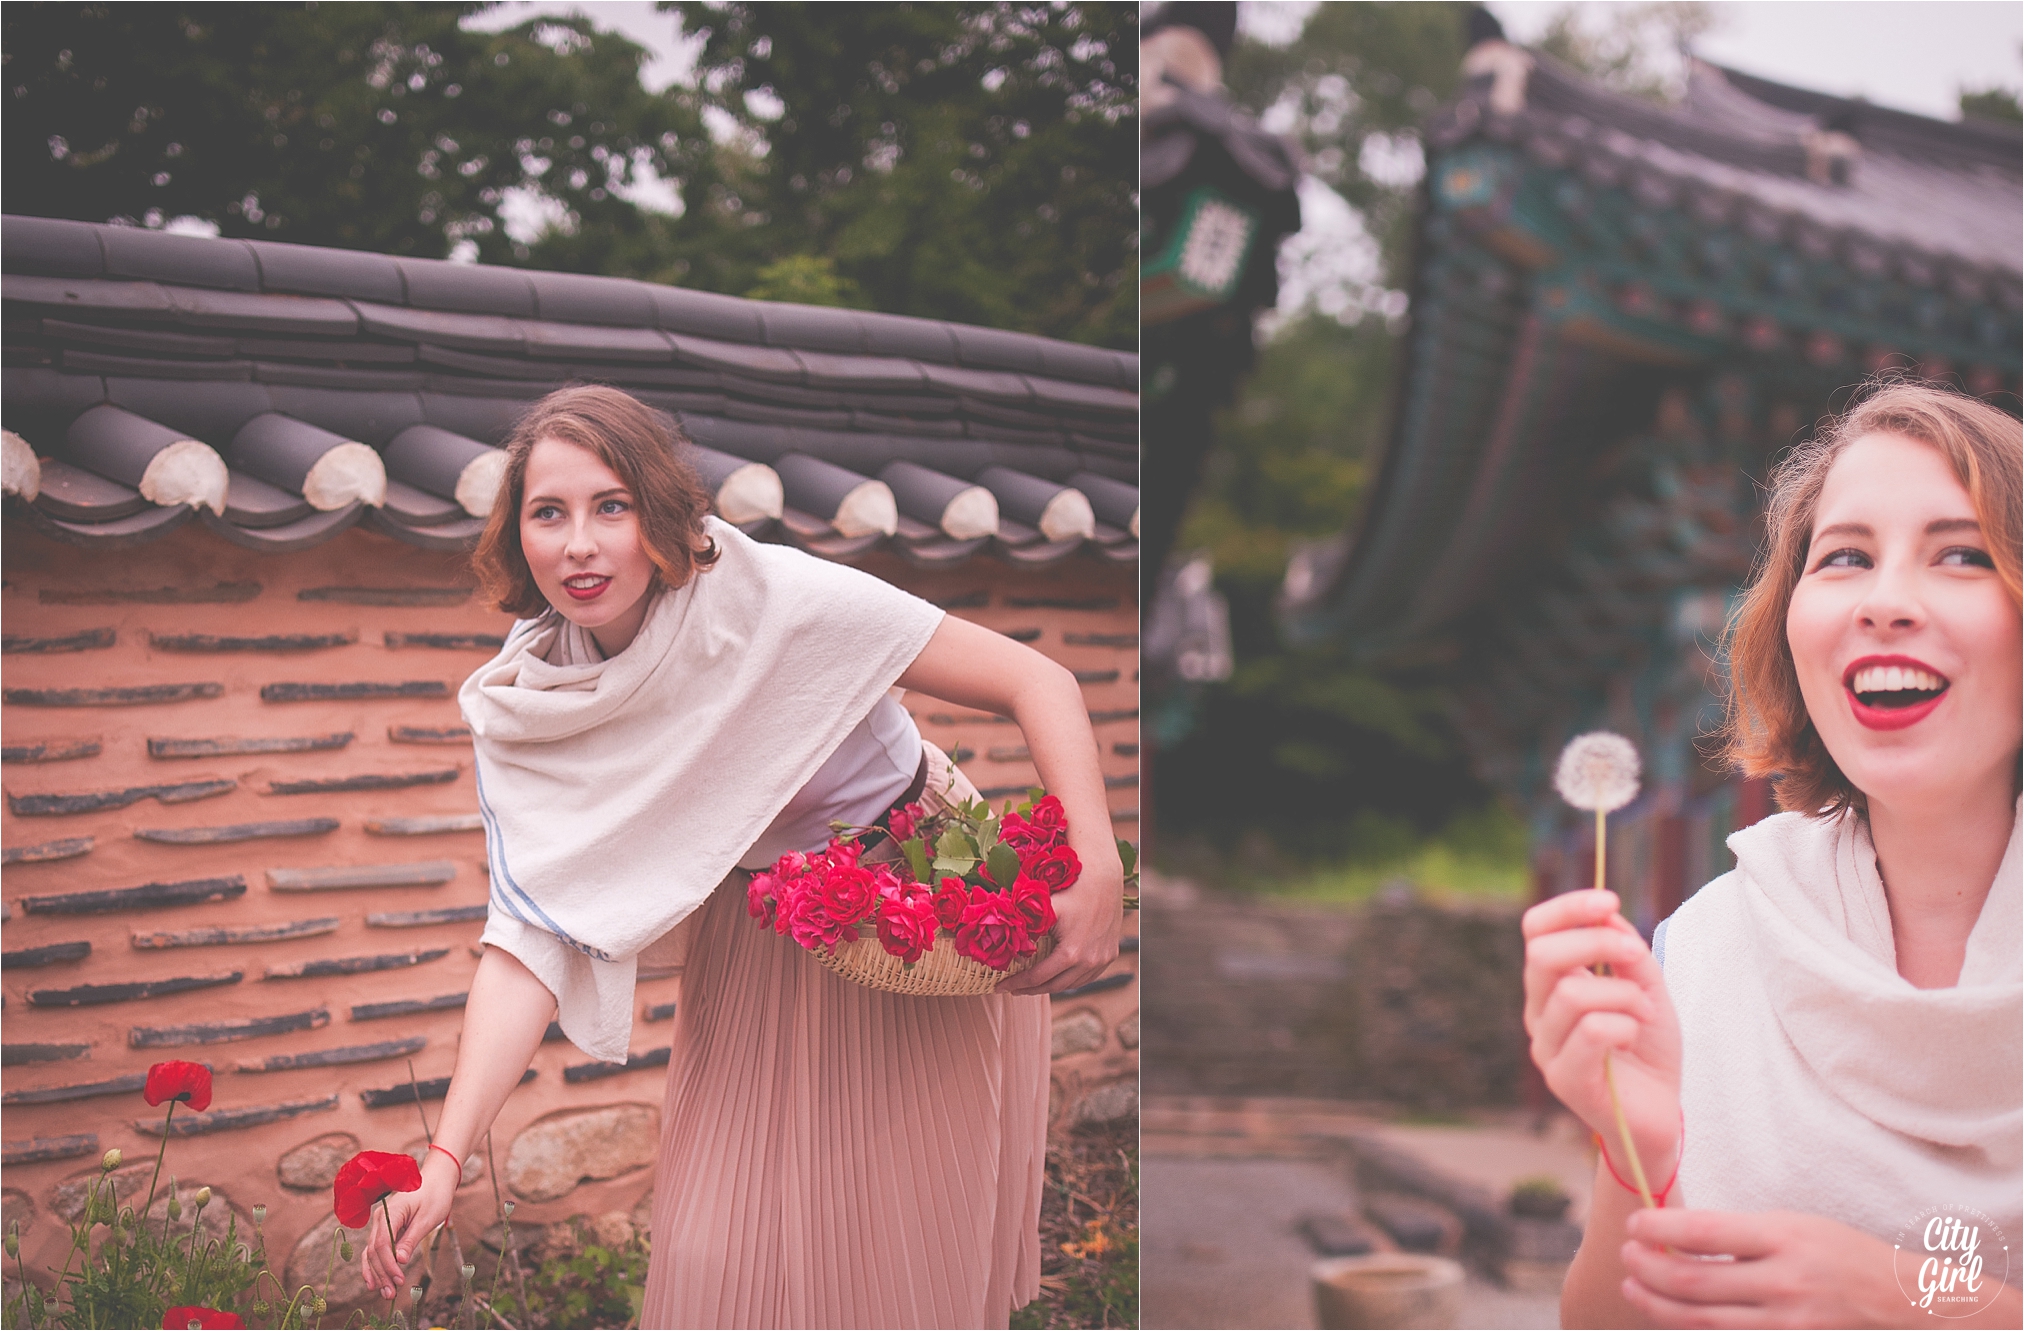
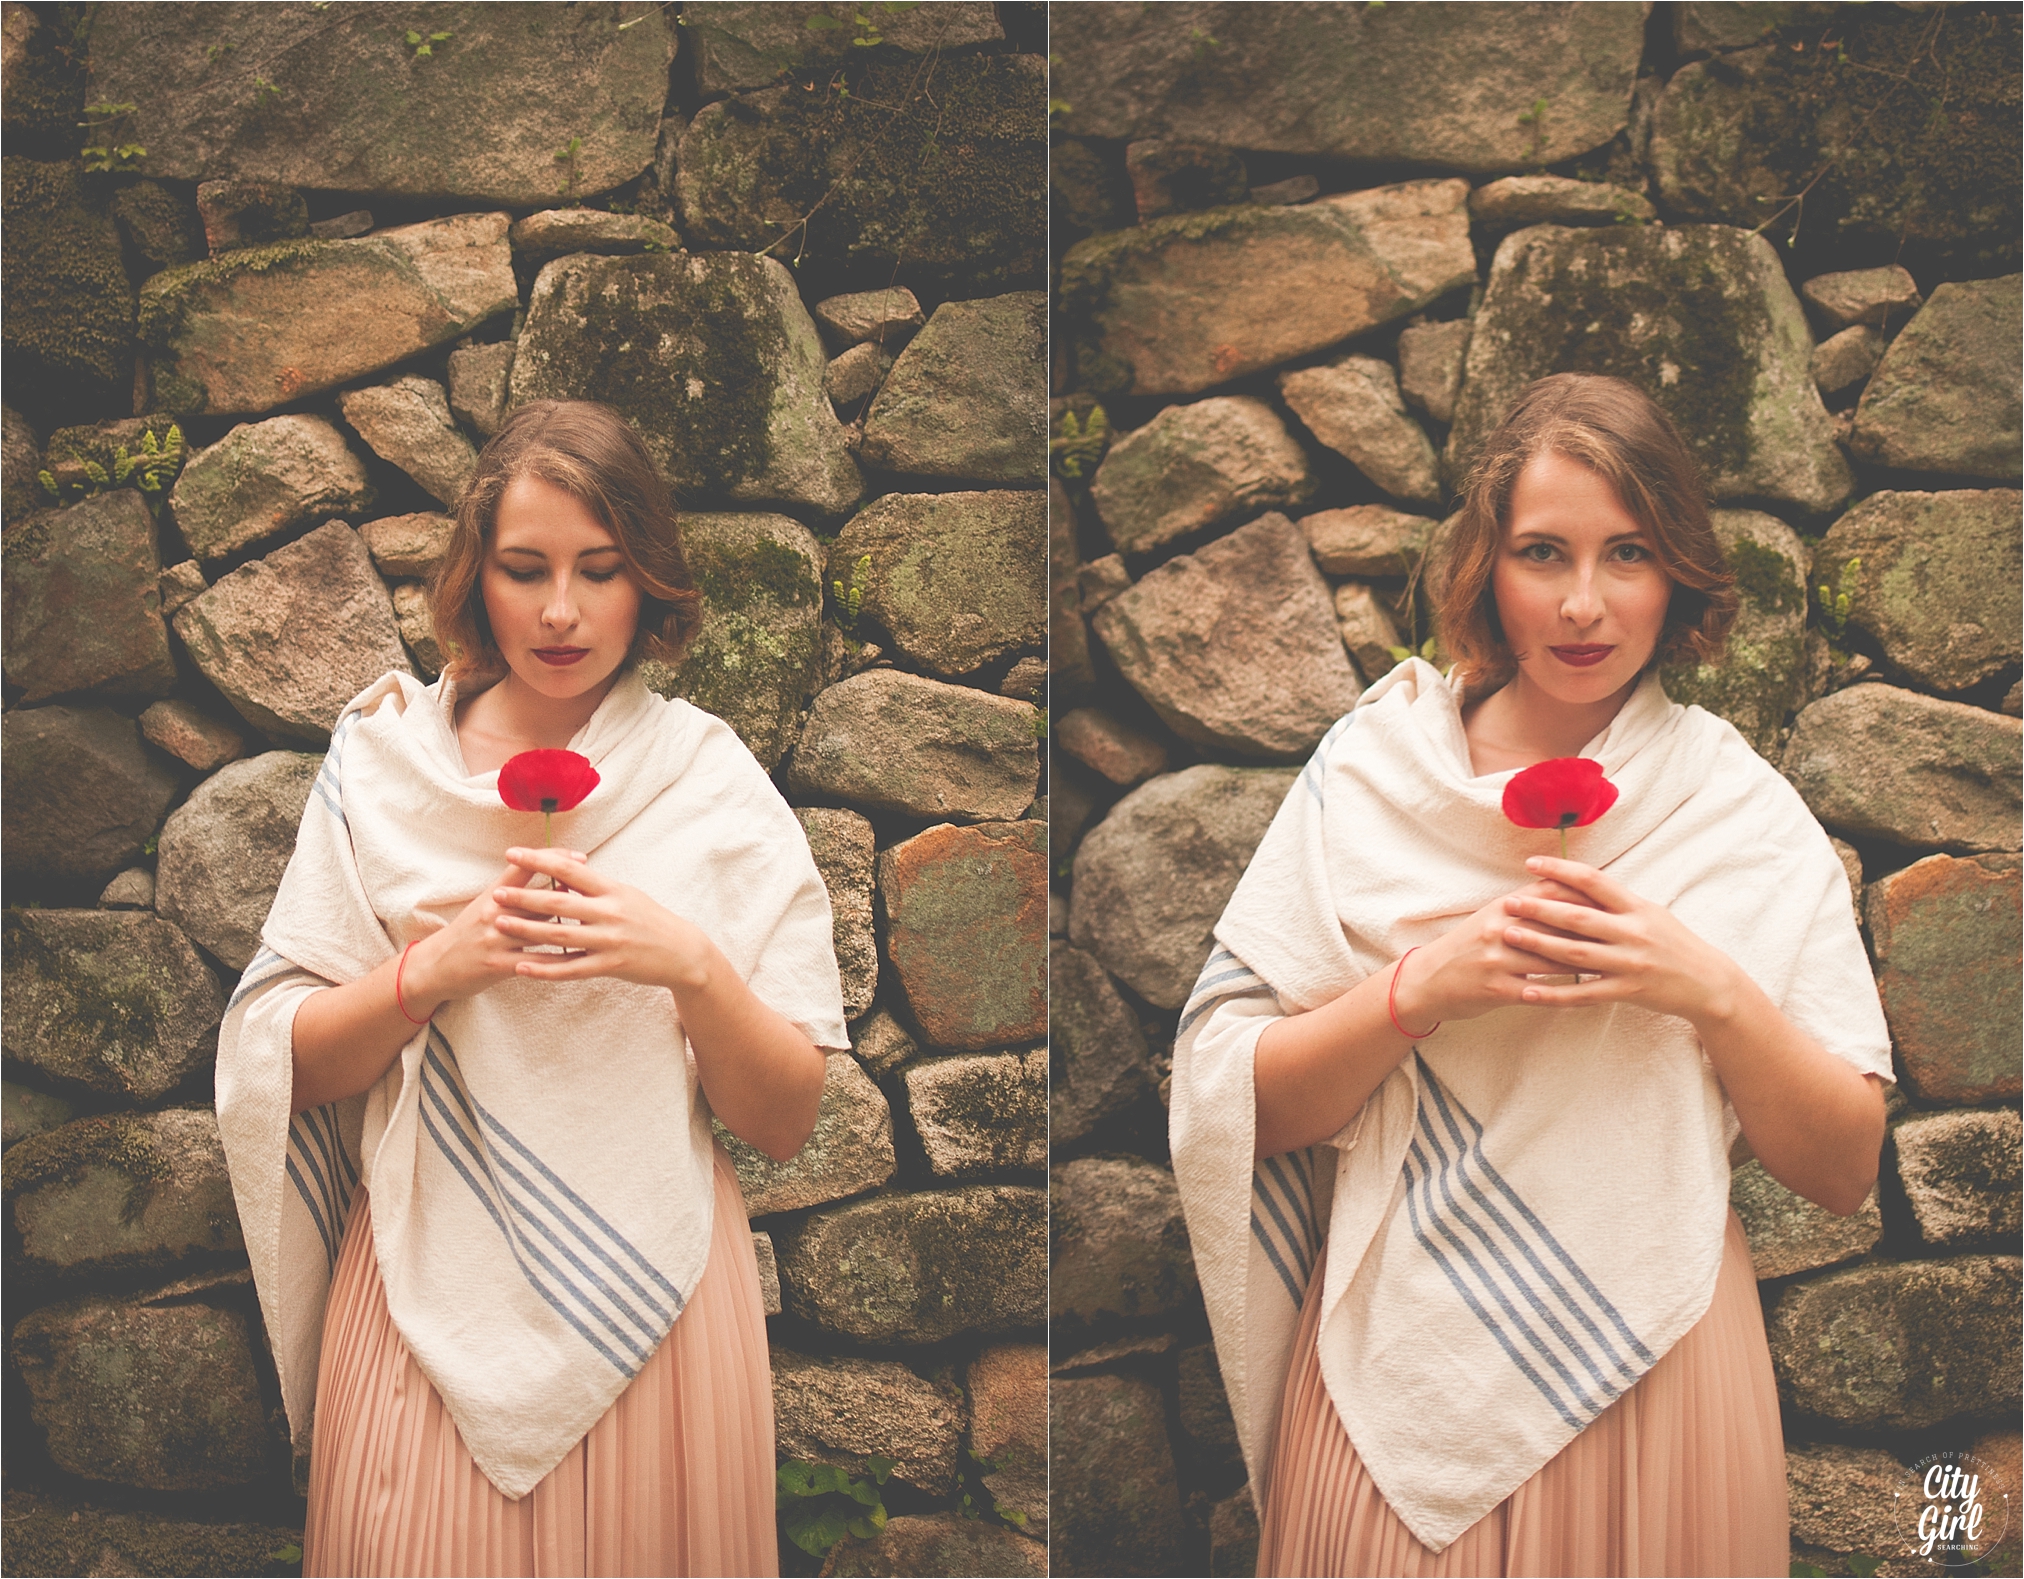
While planning a Frozen inspired lesson for my middle school girls I came across this beautiful styled shoot by the talented Nadia Meli. Nadia lives in Germany and has such a beautiful portfolio of images ranging from romantic weddings to soft lit lifestyle photography. She was very sweet in allowing me to showcase this styled shoot here. Isn't it lovely?!

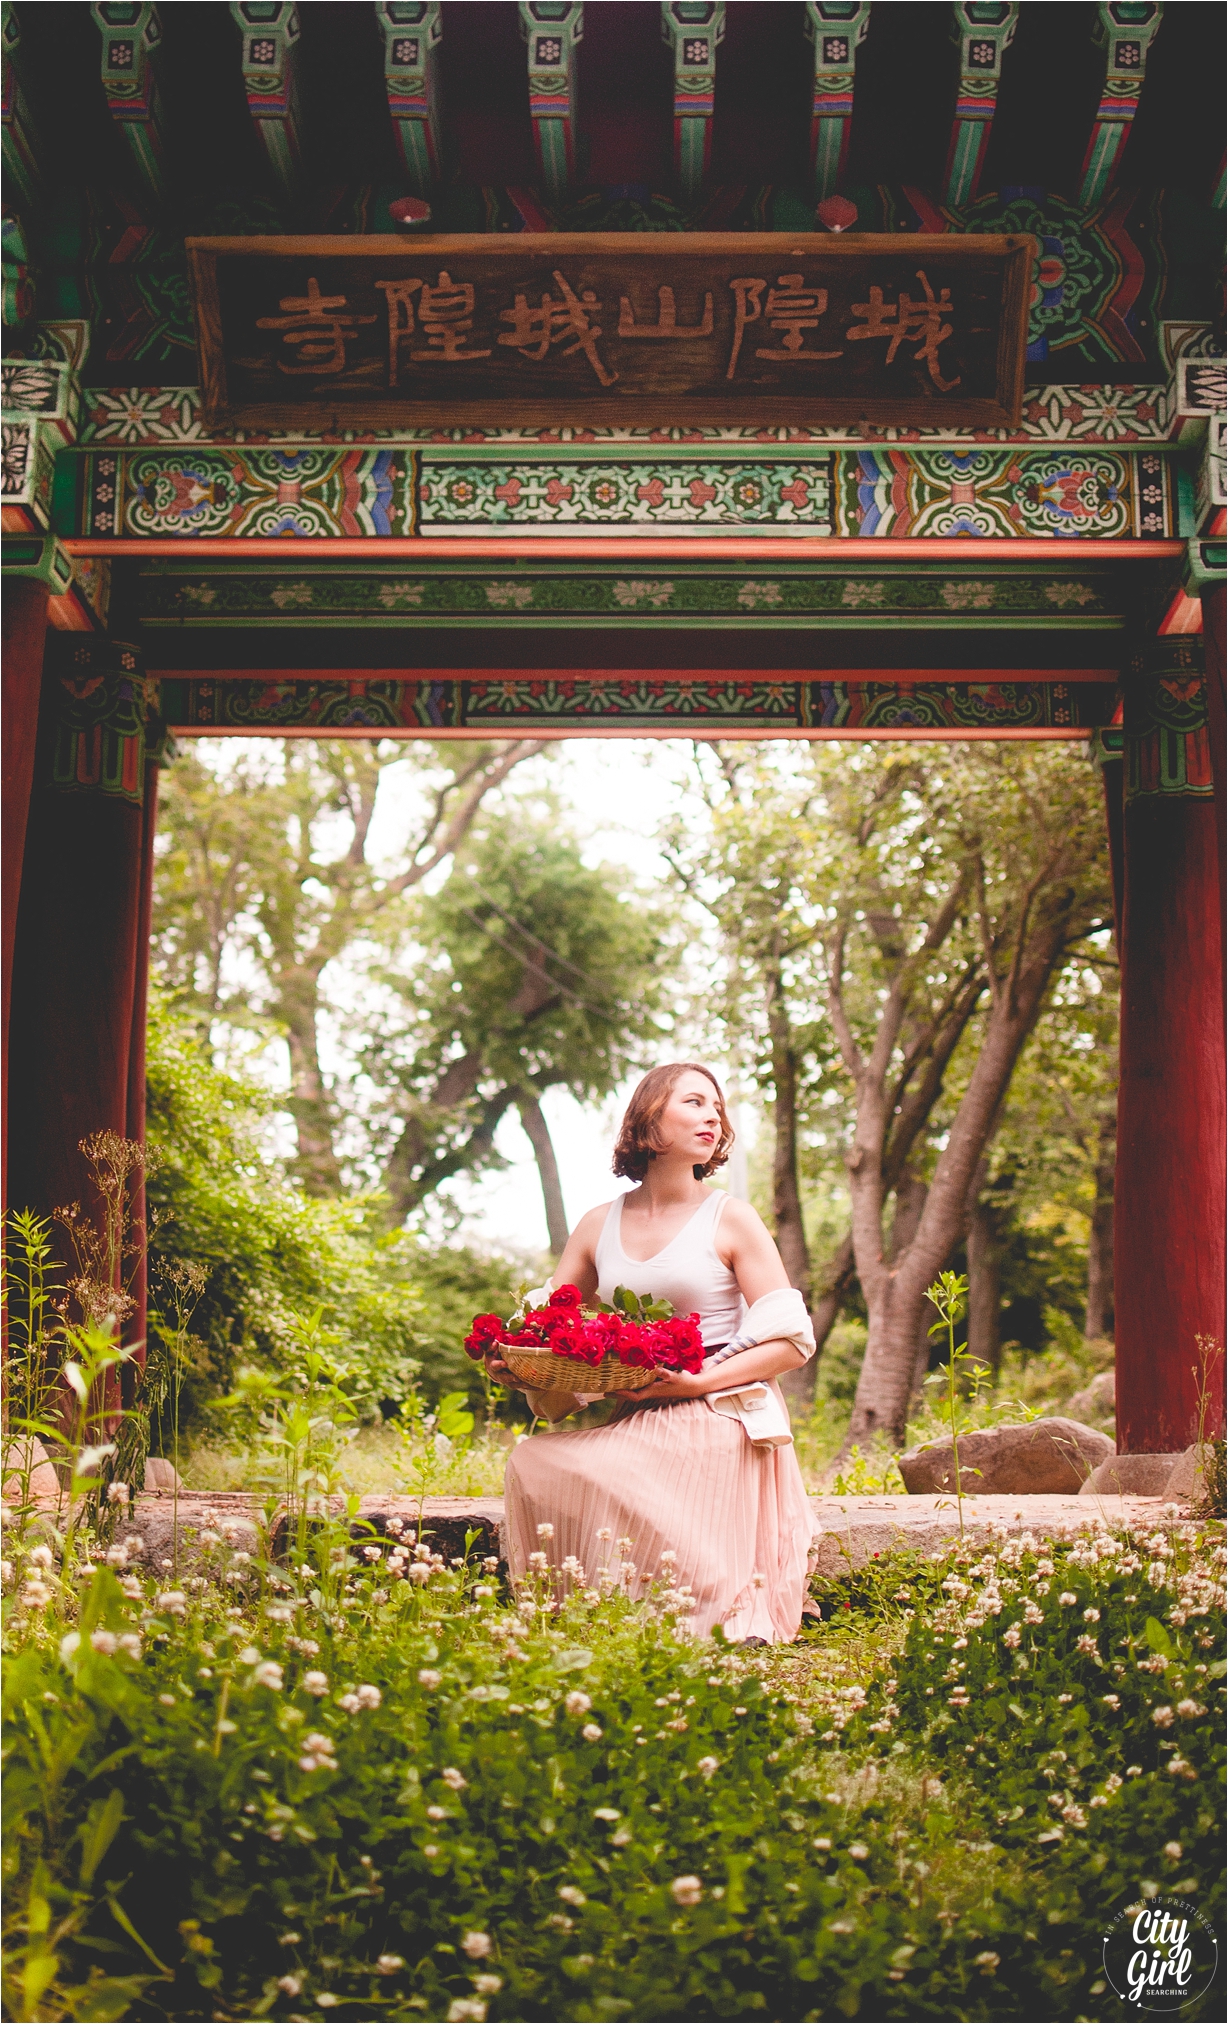
It was Nadia's work that inspired me to really dip my toes into the world of styled photoshoots (I started off with a flower crown shoot with a Korean friend, then captured a South African friend at a temple here in my town, complete with red roses and full red lips. And yesterday I finished a fun filled picnic inspired shoot on the beach...photographs to come soon).

Thank you for making such pretty pictures Nadia, I hope my travels bring me to Germany one day so I can meet up with you over a cup of coffee or attend one of your incredible workshops.

x

You can find Nadia at the following places:

Blog

Twitter

Facebook


SkinFood Black Sugar Scrub Foam {review}

SkinFoodBlackSugarScrubReview.jpg

My review on the SkinFood Black Sugar Face Serum is one of my most popular posts to date, and this lovely scrub goes hand in hand with it. 

This scrub is part of SkinFoods most popular range of products, their Black Sugar range. And their is a reason is has developed such a cult following...it's amazing! 

The packaging is a gold coloured tube, with SkinFoods classic designed labels on the front and the back. The twist off cap is slightly annoying, as when your hands are full or product, the last thing you want to be worrying about is screwing the lid back on. It would be far easier if the cap was a flip lid, but this annoyance is minor. But do be warned, the contents of the tube do settle over the course of a day and it's best to shake and tube before using or else when you open it you'll be welcomed with only liquid and scrub particles. 

The scrub itself has tiny grains of black sugar and feels gritty upon first application. But after lathering, the gritty particles melt and the scrub becomes a rich creamy foam. This means that the product is very gentle on your skin, and suitable to be used everyday, or 3 to 4 times a week (depending on how sensitive your skin is). The first few seconds of application are where the real exfoliation will take place so make sure to scrub on the areas you want to fully exfoliate (like the nose and chin areas for me) before the scrub becomes foam.

The scent is amazing, as with all of the other products in this Black Sugar range it's refreshing and sweet, with a hint of citrus to wake you up and leave your skin reeling revitalised. 

After use, my skin feels clean, and super soft, without being left too dry. My skin has definitely been brighter, and the product itself is very effective at removing dead skin cells off the surface of my skin. I will most certainly be repurchasing it, along with the serum. 

The tube is 160g, and costs -+ W7300 (thats around $8) here in stores in South Korea. 

April & May through Instagram

I am a little behind with this series of posts, and so I am combining April & May together. We are finally settled into our new apartment (click here to see the before photographs) and have been enjoying the balmy weather. Summer is definitely on it's way here in South Korea, and with it the humidy. So we are making the most of late afternoon braai's (or as the Americans & Brits say, BBQ's) and trips to the beach.

It's been a wonderful couple of months, and we are about to go into our third teaching contract (second contract with our current schools and current town) and are looking forward to what the new month holds for us.

Wishing you a wonderful new month ahead x

CityGirlSearchingInstagram

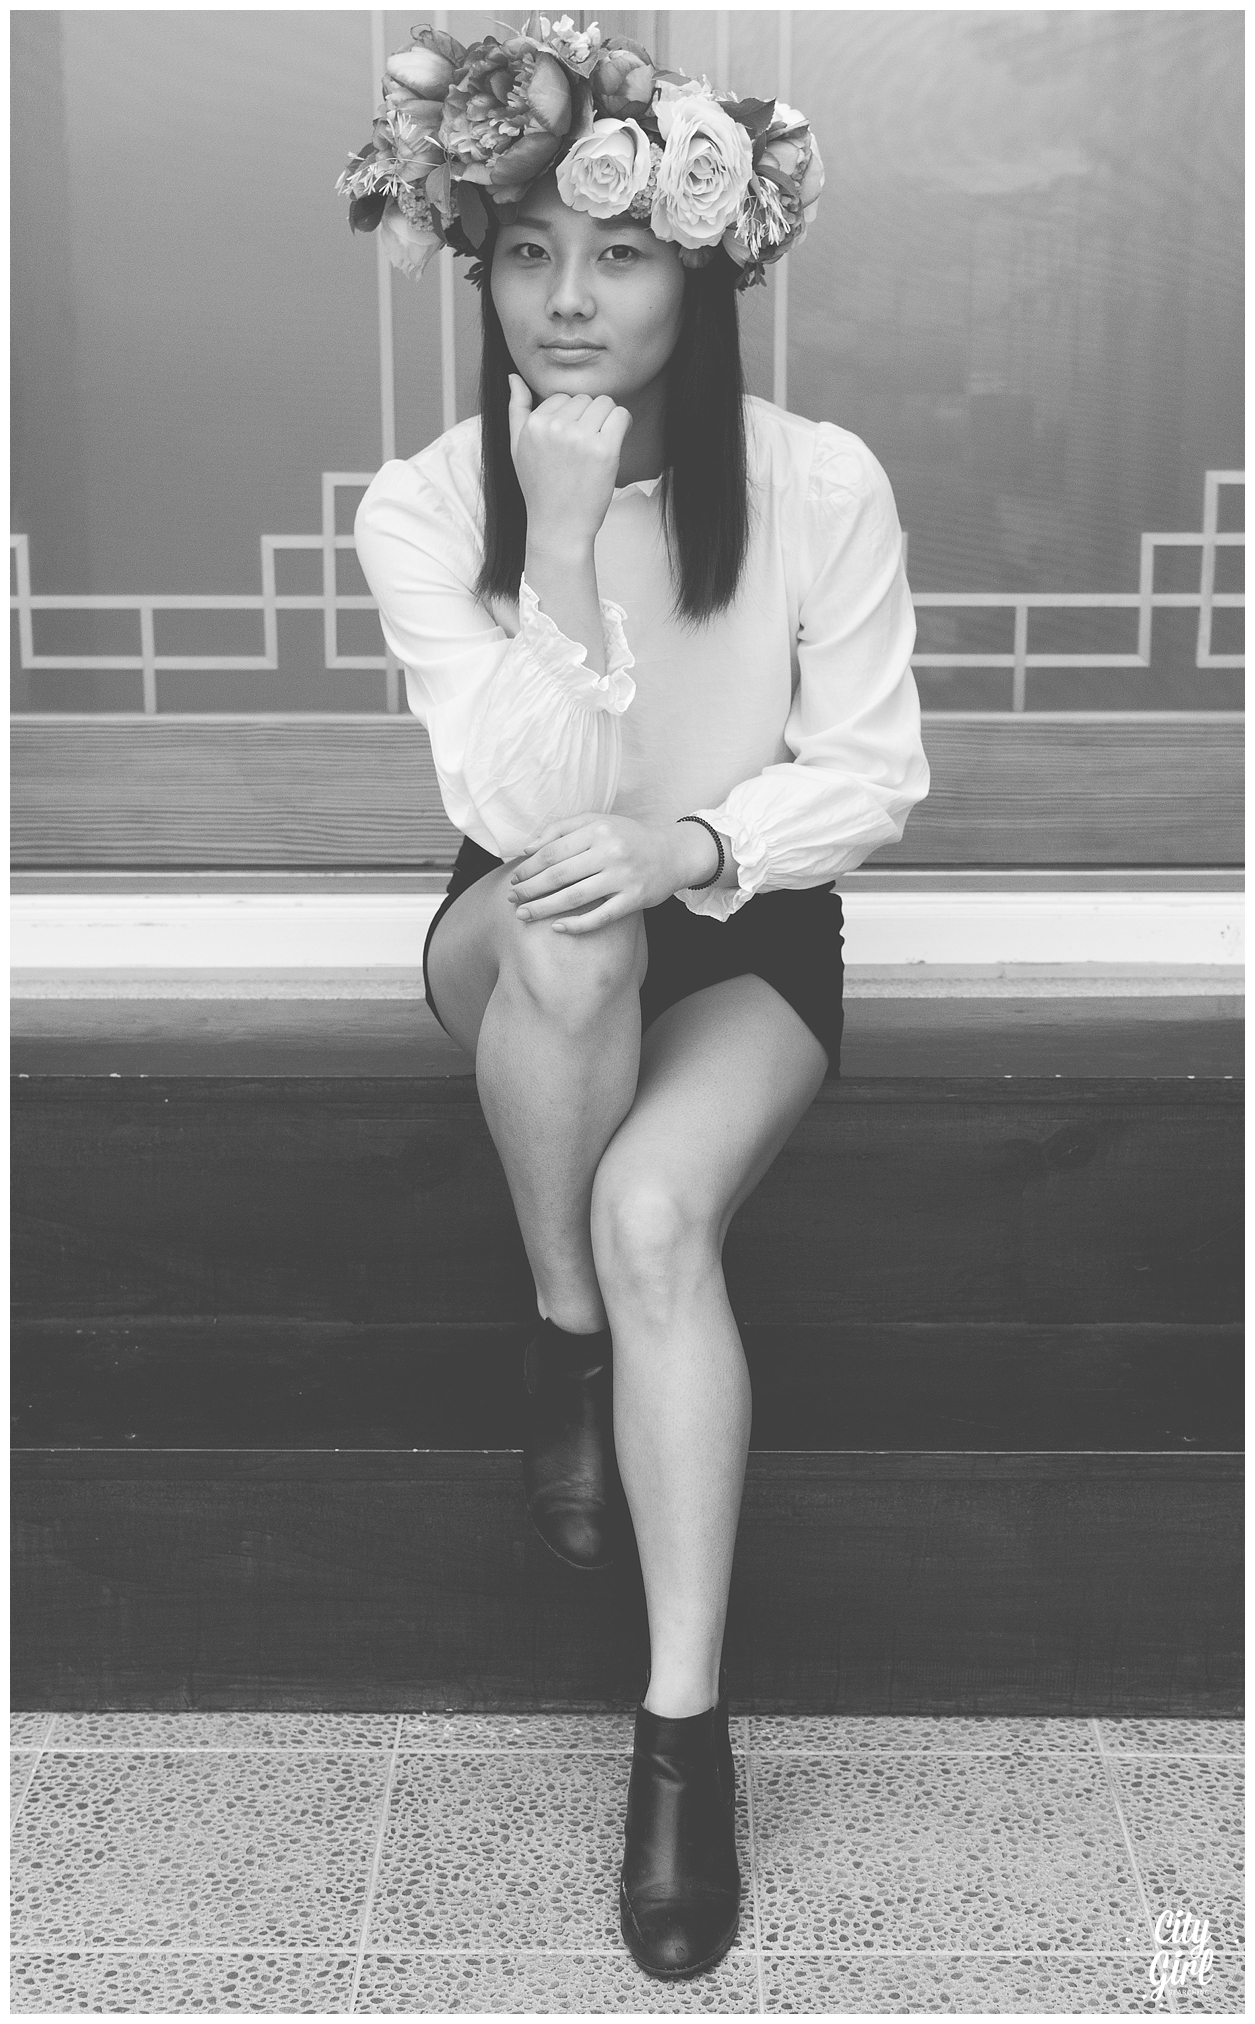
Korean Temple Styled Photoshoot

Korean Temple Styled Photoshoot by Roxy Hutton of CGScreative-05.png

My friend Storm and I had such a great time creating and styling the flower crown shoot we did a few weeks ago (click here to see the photographs) that we have decided to do another styled shoot. Our next model was a South African girl I met on a rooftop braai a couple of weeks ago, Roslyn.

I really wanted to incorporate something truly Korean into the shoot, so we decided to again shoot here in my small town. This time, at two of the local temples.

Roslyn, you were a pleasure to photograph and I had a wonderful afternoon chasing the light with you and Storm. Thank you for being our model, I hope you (and my readers) like the photographs!

x

We are going to make these styled shoots into something of a series here on the blog, often incorporating DIY elements into them (just like this flower crown). The next shoot is going to have much more of a summery, salty flair so make sure to check back here on the blog soon. I'll also be posting sneak peeks on the Facebook page soon.

Happy Friday everyone!

How to make a Flower Crown #DIYDaysInKorea

DIY How To Make A Flower Crown

Myself and my very talented friend Storm, who moonlights as a stylist & florist in her spare time, created this flower crown for a styled photo shoot we did a few weeks ago. We got together one day to brainstorm ideas for fun and creative activities we could do without spending lots of money and so we have started a #DIYDaysInKorea series (we even started a 'hashtag' so you can follow along too!).

If you are based here in Korea and would like to join one of our DIY days (we will be having our first official one on a Saturday in a few weeks time) you can pop on over to the Facebook group for more information. 

These #DIYDaysInKorea posts are about making beautiful things for your home (whether that home is in South Korea or South Africa, or any where else in the world). We hope you enjoy this series and that you leave feeling inspired.

x

How to make a flower Crown #DIYDAYSINKOREA 

CityGirlSearching#DIYDaysinKoreaHowtoMakeaFlowerCrown

Step 1

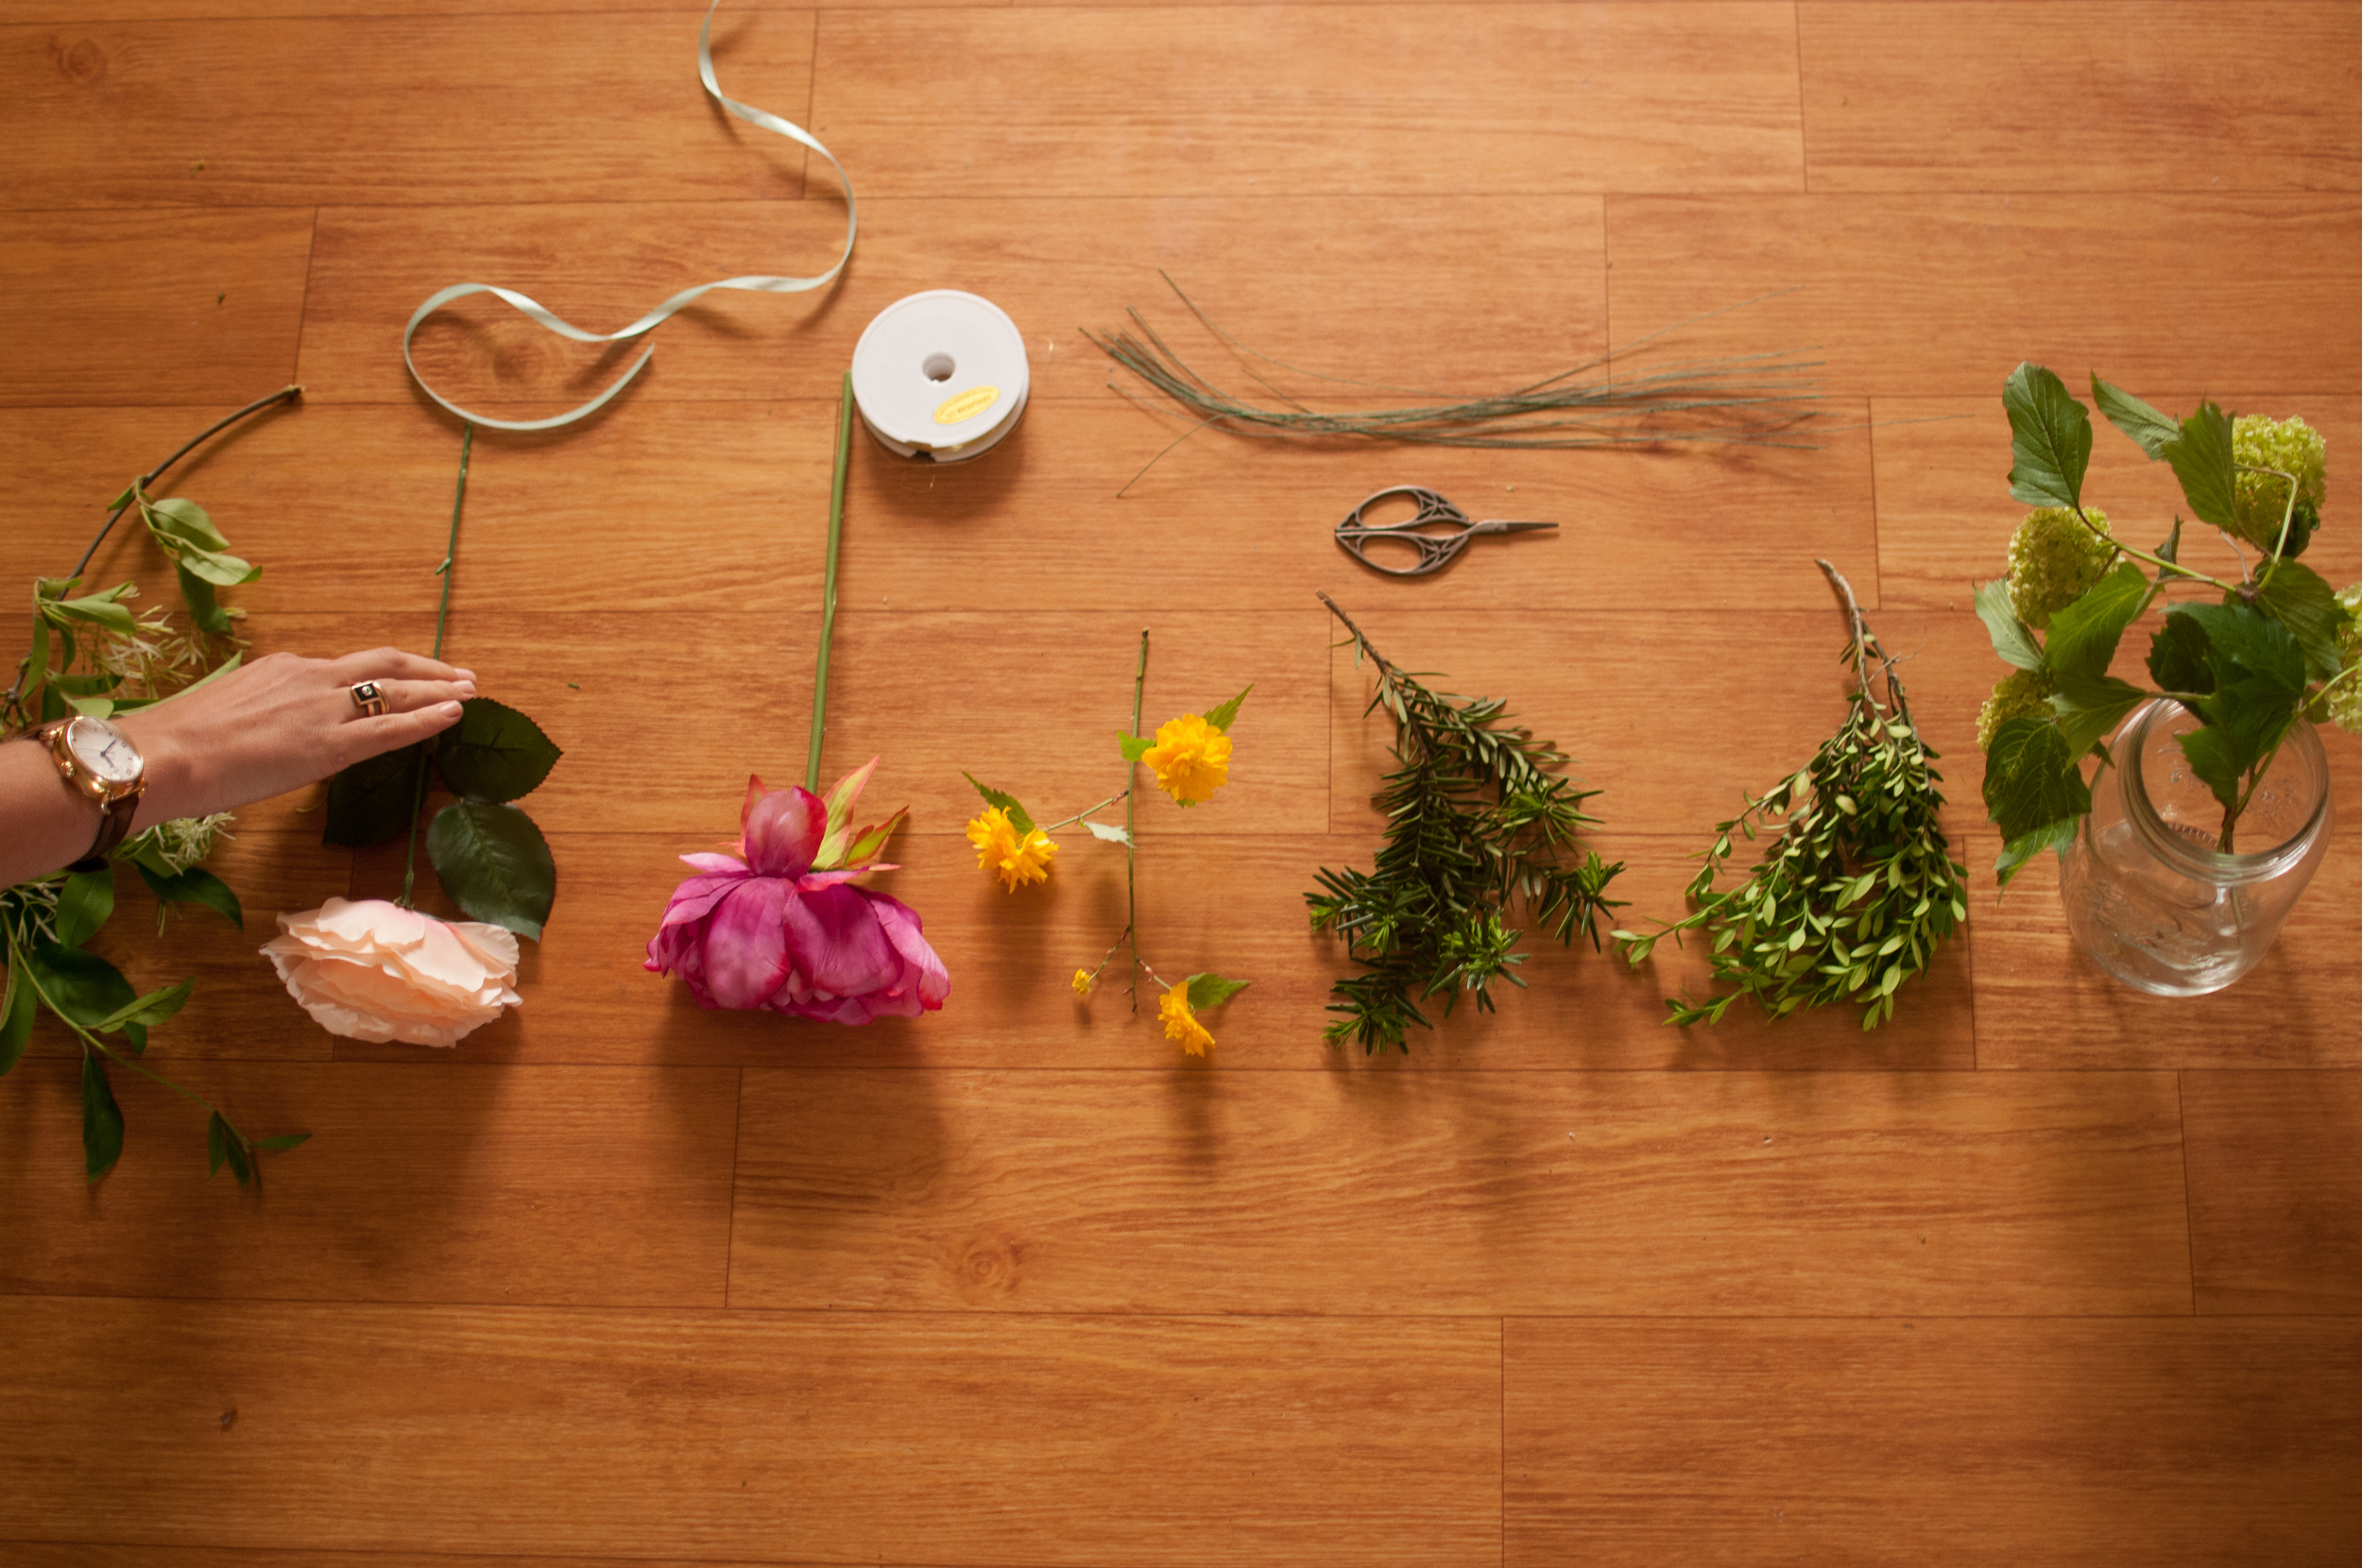
Get your tools, foliage and flowers together.

You will need a pair of scissors, florist wire, your flowers of choice and of course a cup of tea. 

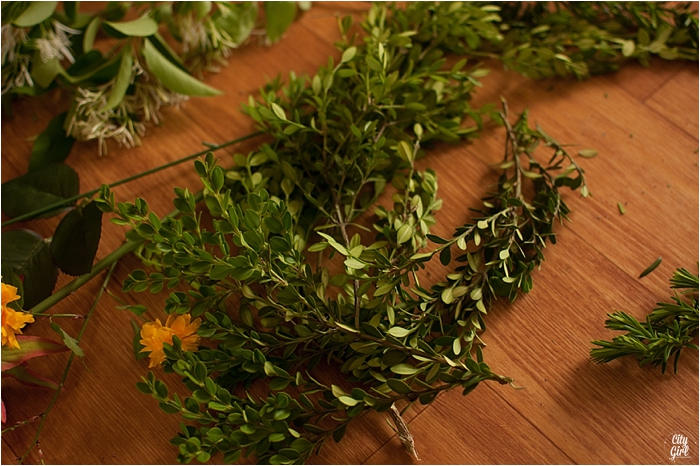
Forage, pick, buy or pinch a few flowers and foliage for your crown. The crown will need need sturdy foliage to give it structure, as well as comfort for the wearer and to add a green element to it too. We used Boxwood as it is plentiful on the Korean sidewalks. Other foliage that can be used is willow or olive branch as they have flexible stems that twist easily

CityGirlSearching#DIYDaysinKoreaHowtoMakeaFlowerCrown3

Step two

To create the base of your crown you need to use sturdy foliage. We used Boxwood, but willow or olive branch works well too.

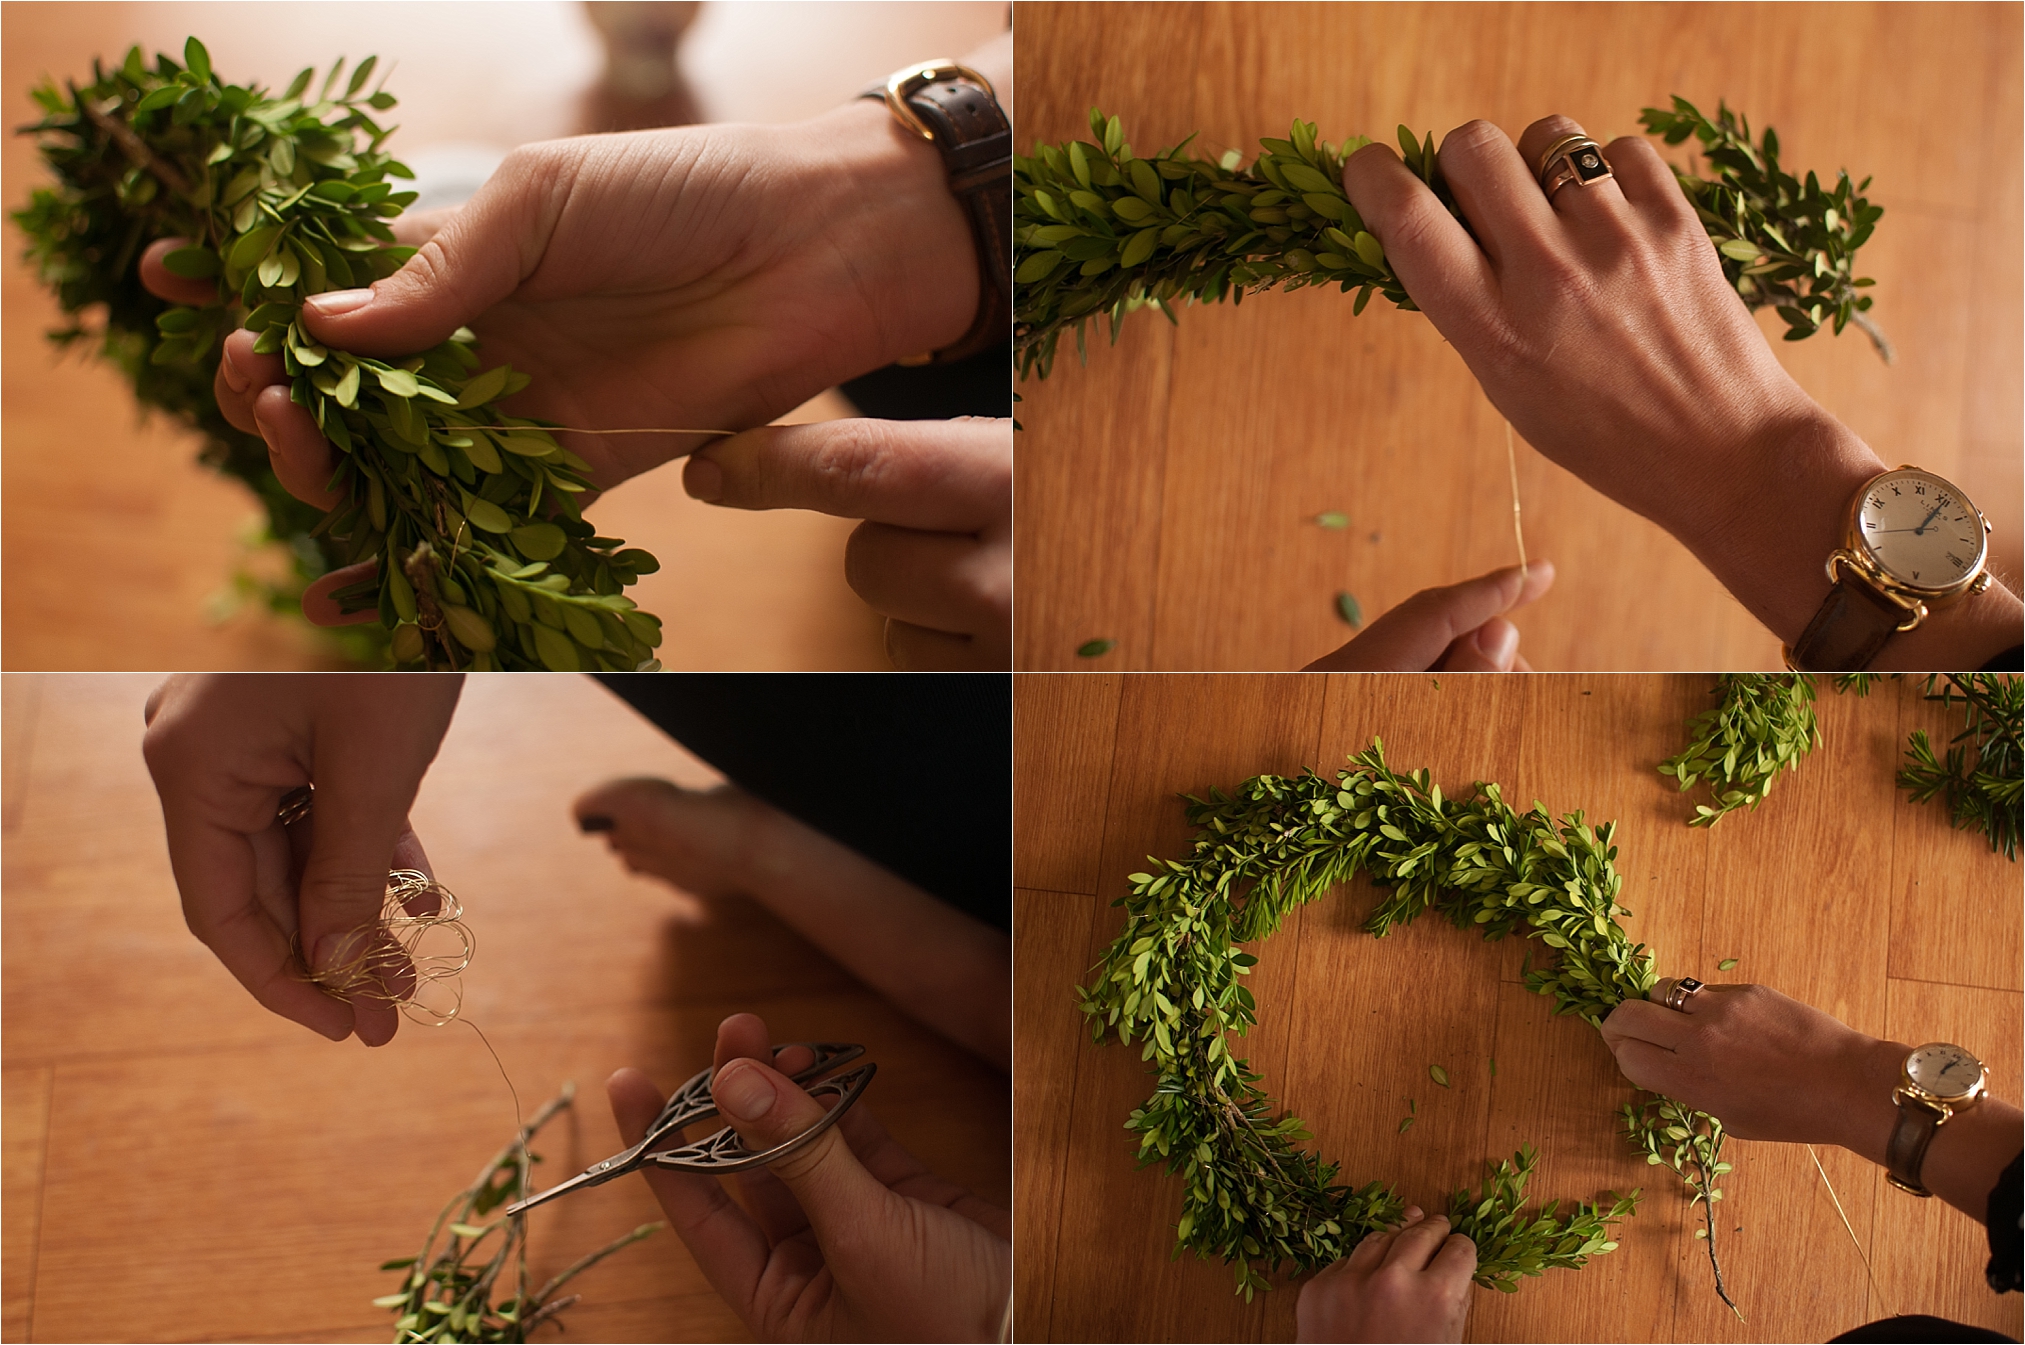
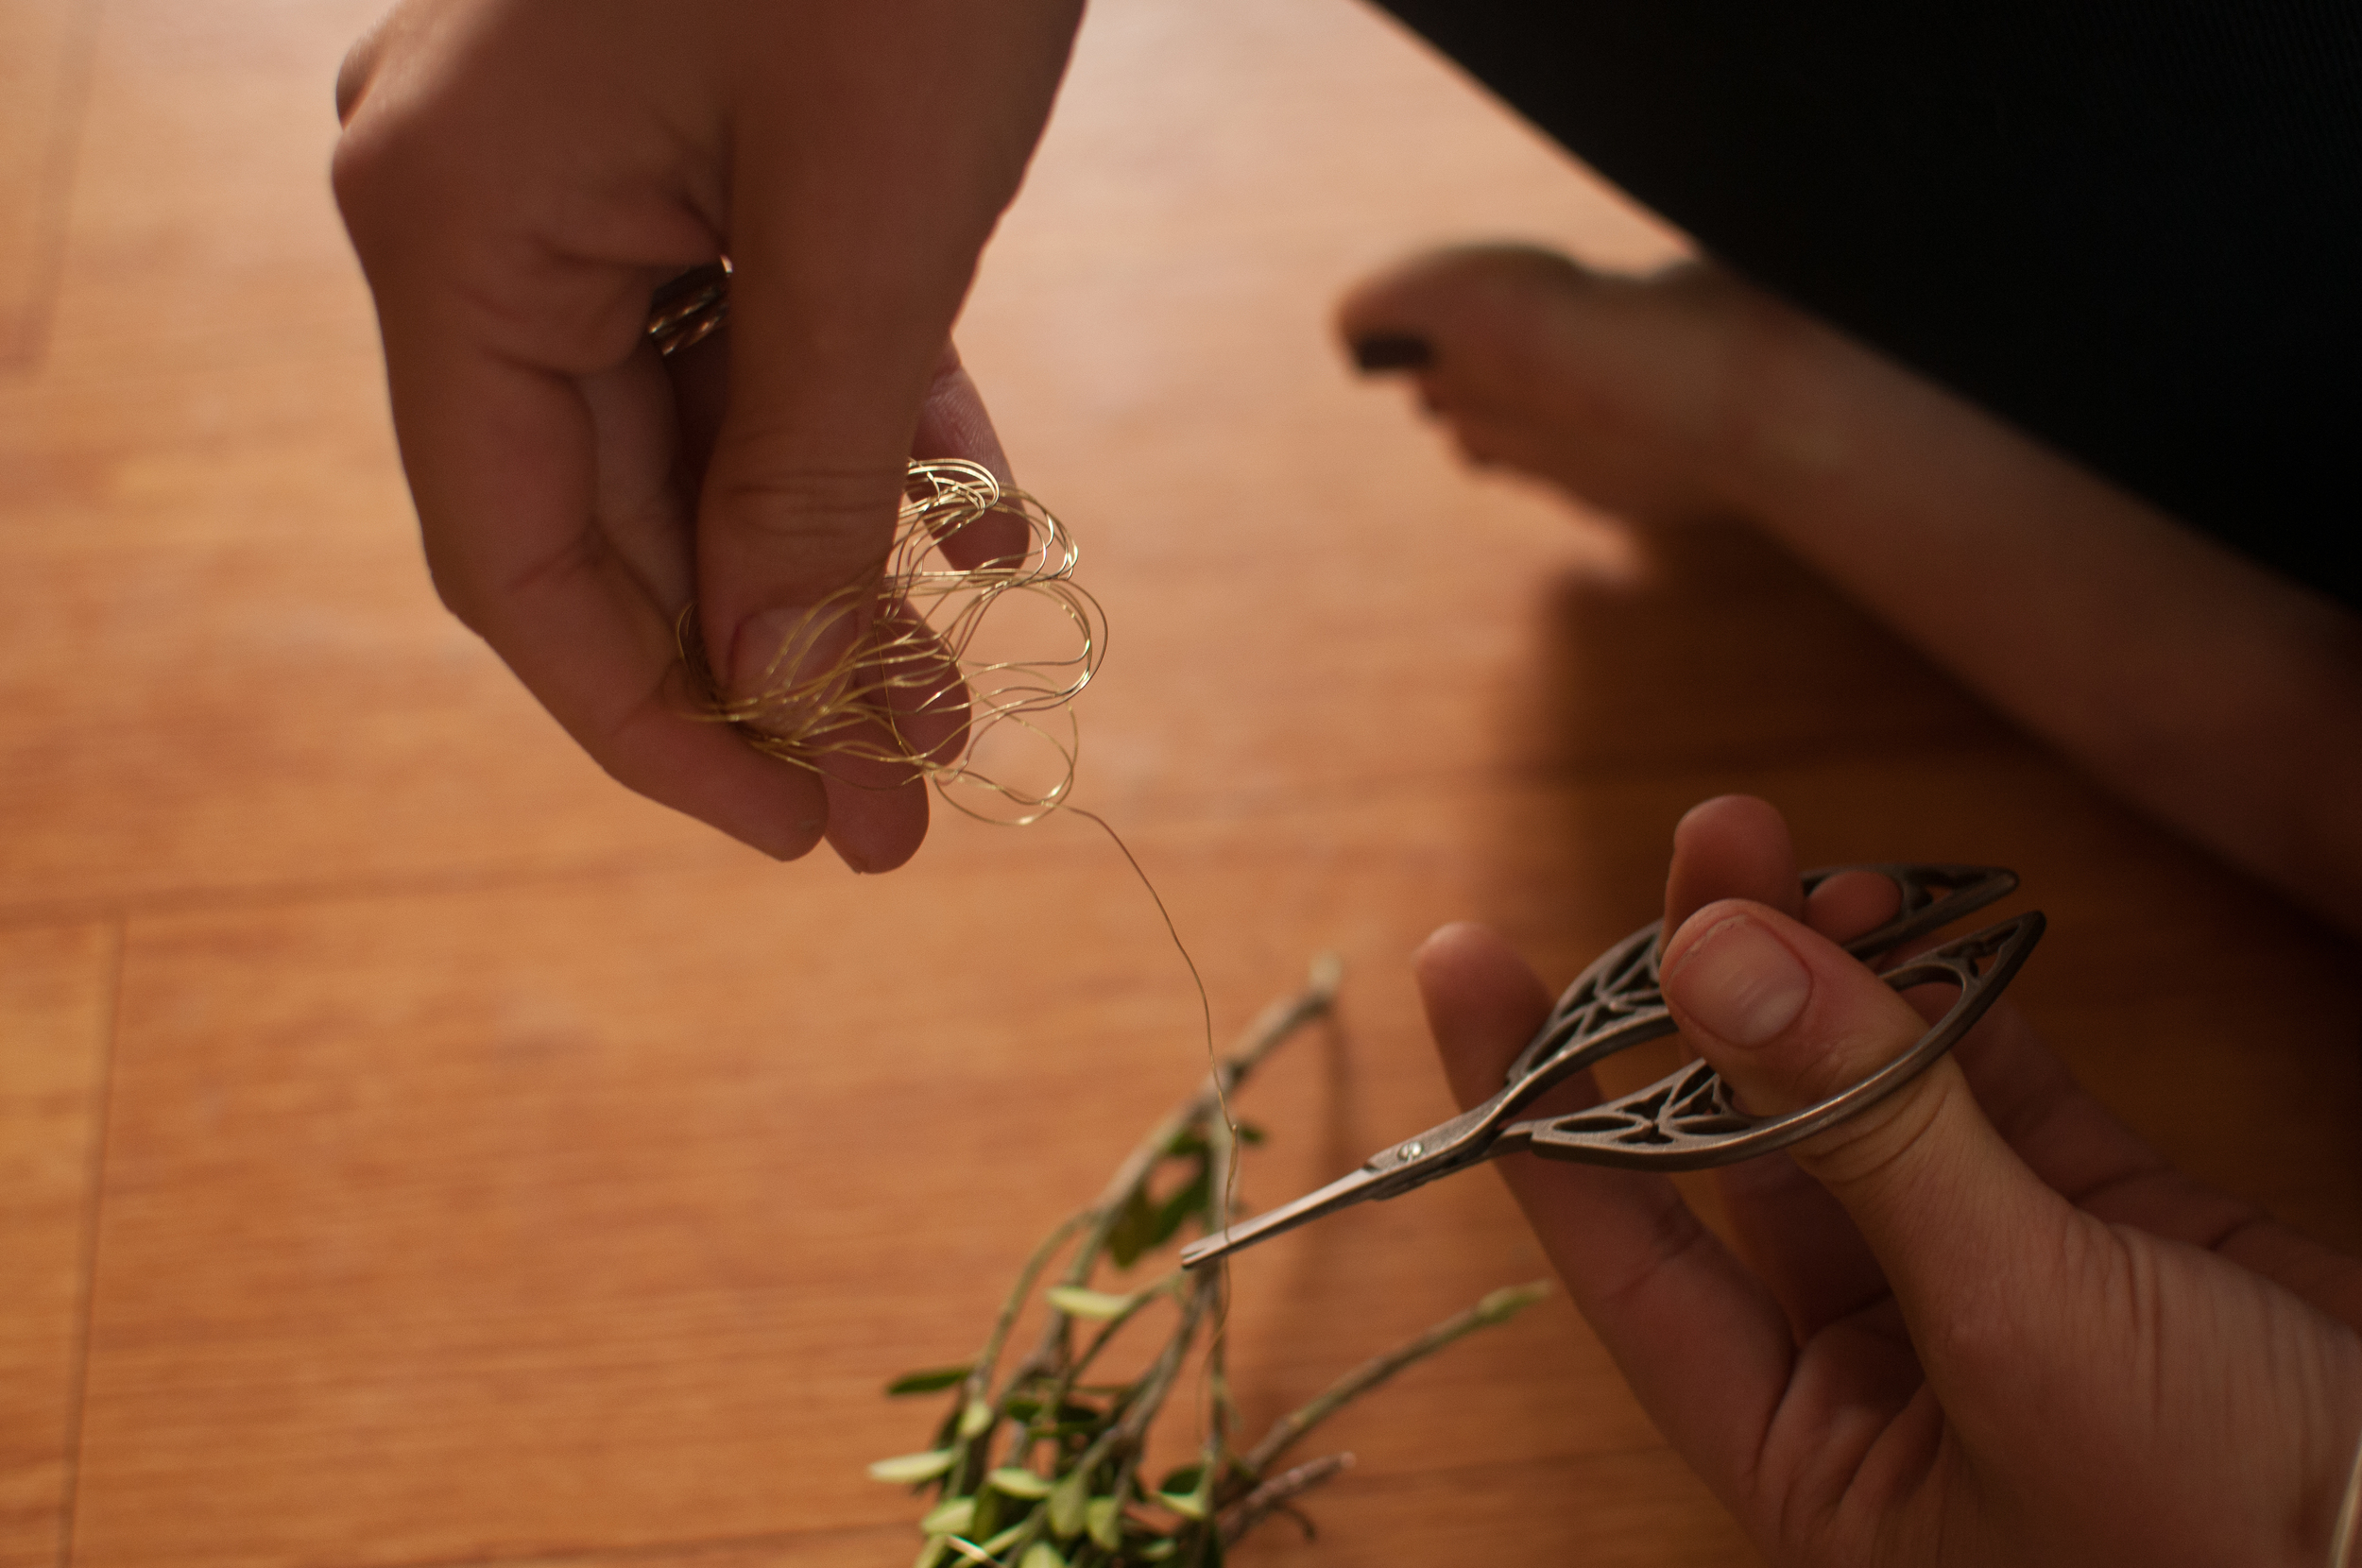
Start by gathering a few stems of your foliage (you can use a combination of greens if you’d like) and wrap your florist wire around the base. Continue to add in stems of foliage wrapping the wire around each piece to make sure it is secure. Once it is long enough, join the two ends and secure with wire.

CityGirlSearching#DIYDaysinKoreaHowtoMakeaFlowerCrown2
CityGirlSearching#DIYDaysinKoreaHowtoMakeaFlowerCrown4

Step 3

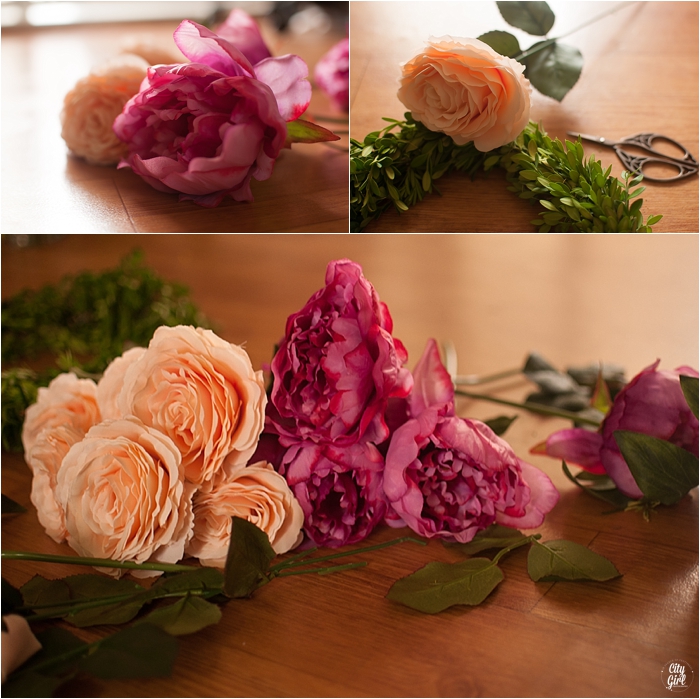
Next is to add your flowers. For the flowers we chose to use a mixture of silk and fresh flowers. We found that using a selection of bold flowers, such as peonies and roses mixed with a few whimsical flowers such as jasmine or honeysuckle worked well. Make sure the flowers you choose are hardy so that they don’t wilt too quickly while you are working with them.

CityGirlSearching#DIYDaysinKoreaHowtoMakeaFlowerCrown5

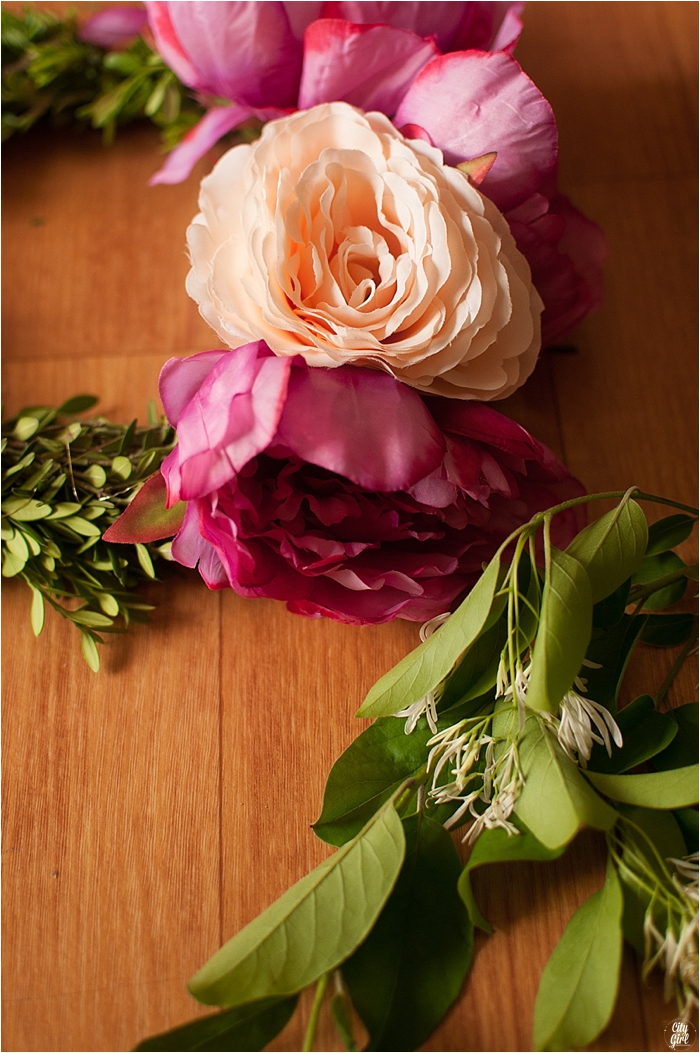
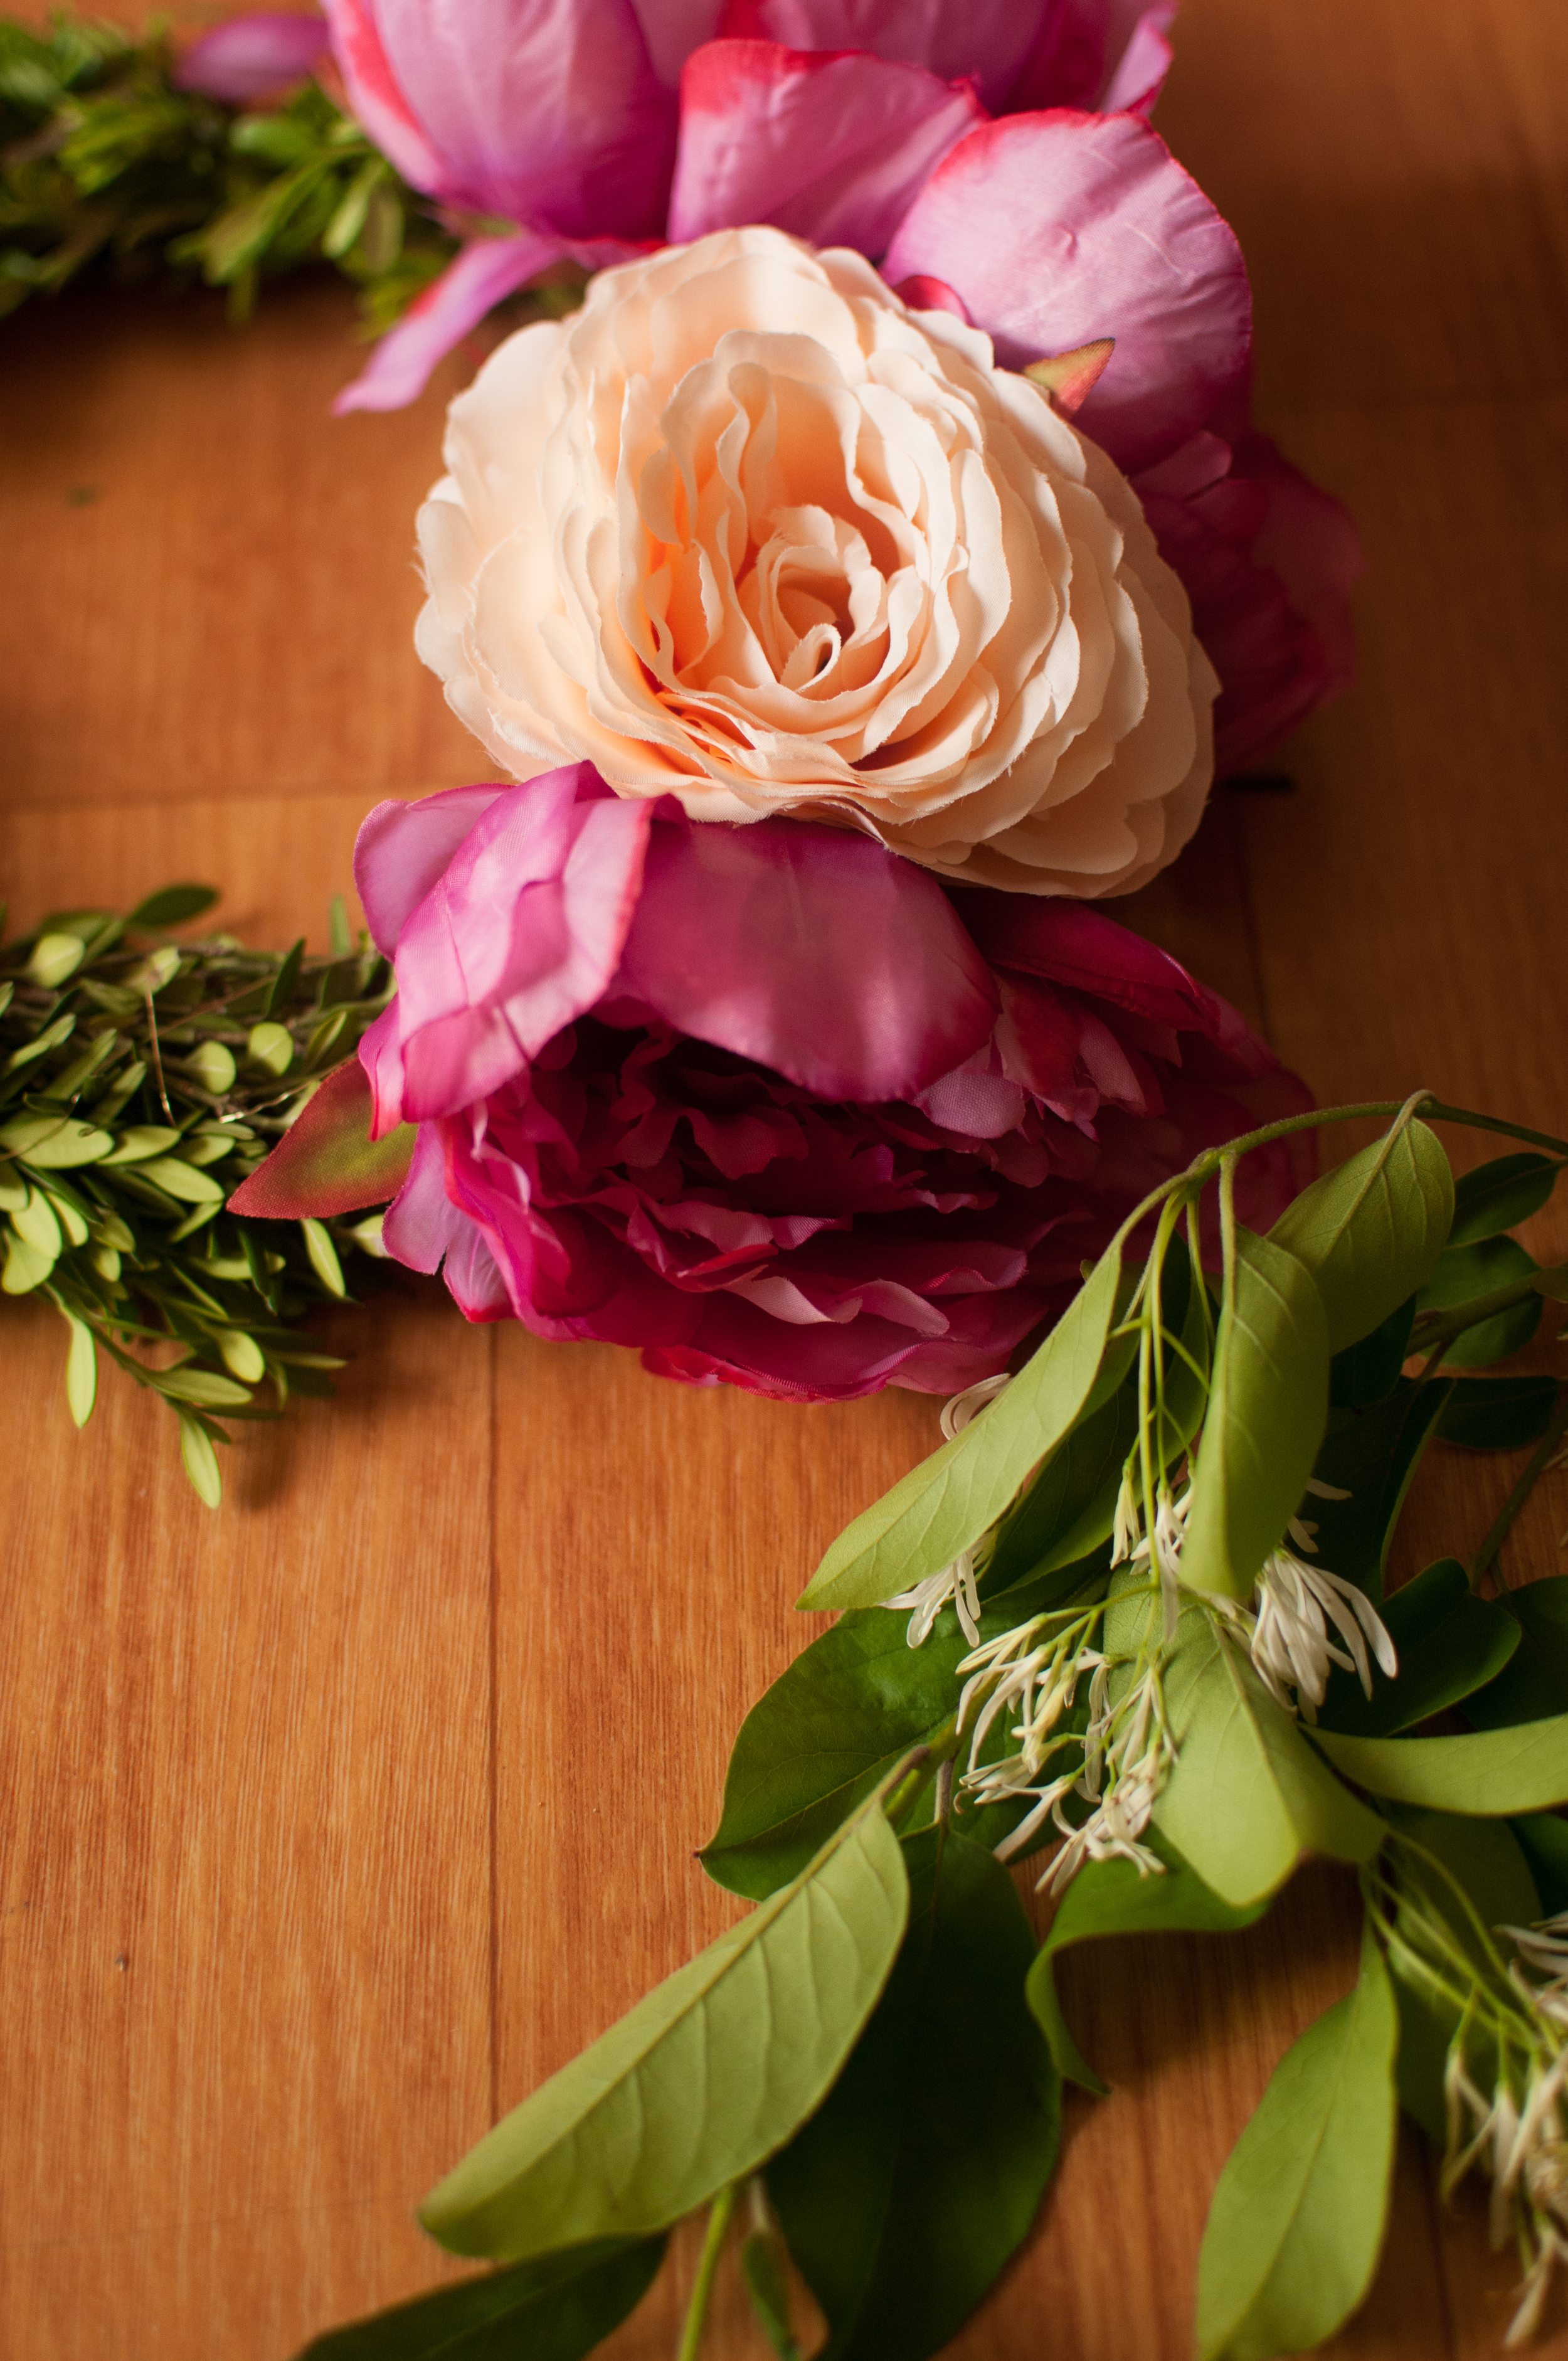
To add the flowers cut off the stem at the base of the flower. Pierce florist wire through the center of  the flower and make a hook. This make is easier to attach the flower and position them in an appealing arrangement. 

Secure the flower to the base by wrapping the wire around the foliage.

CityGirlSearching#DIYDaysinKoreaHowtoMakeaFlowerCrown6

Step 4

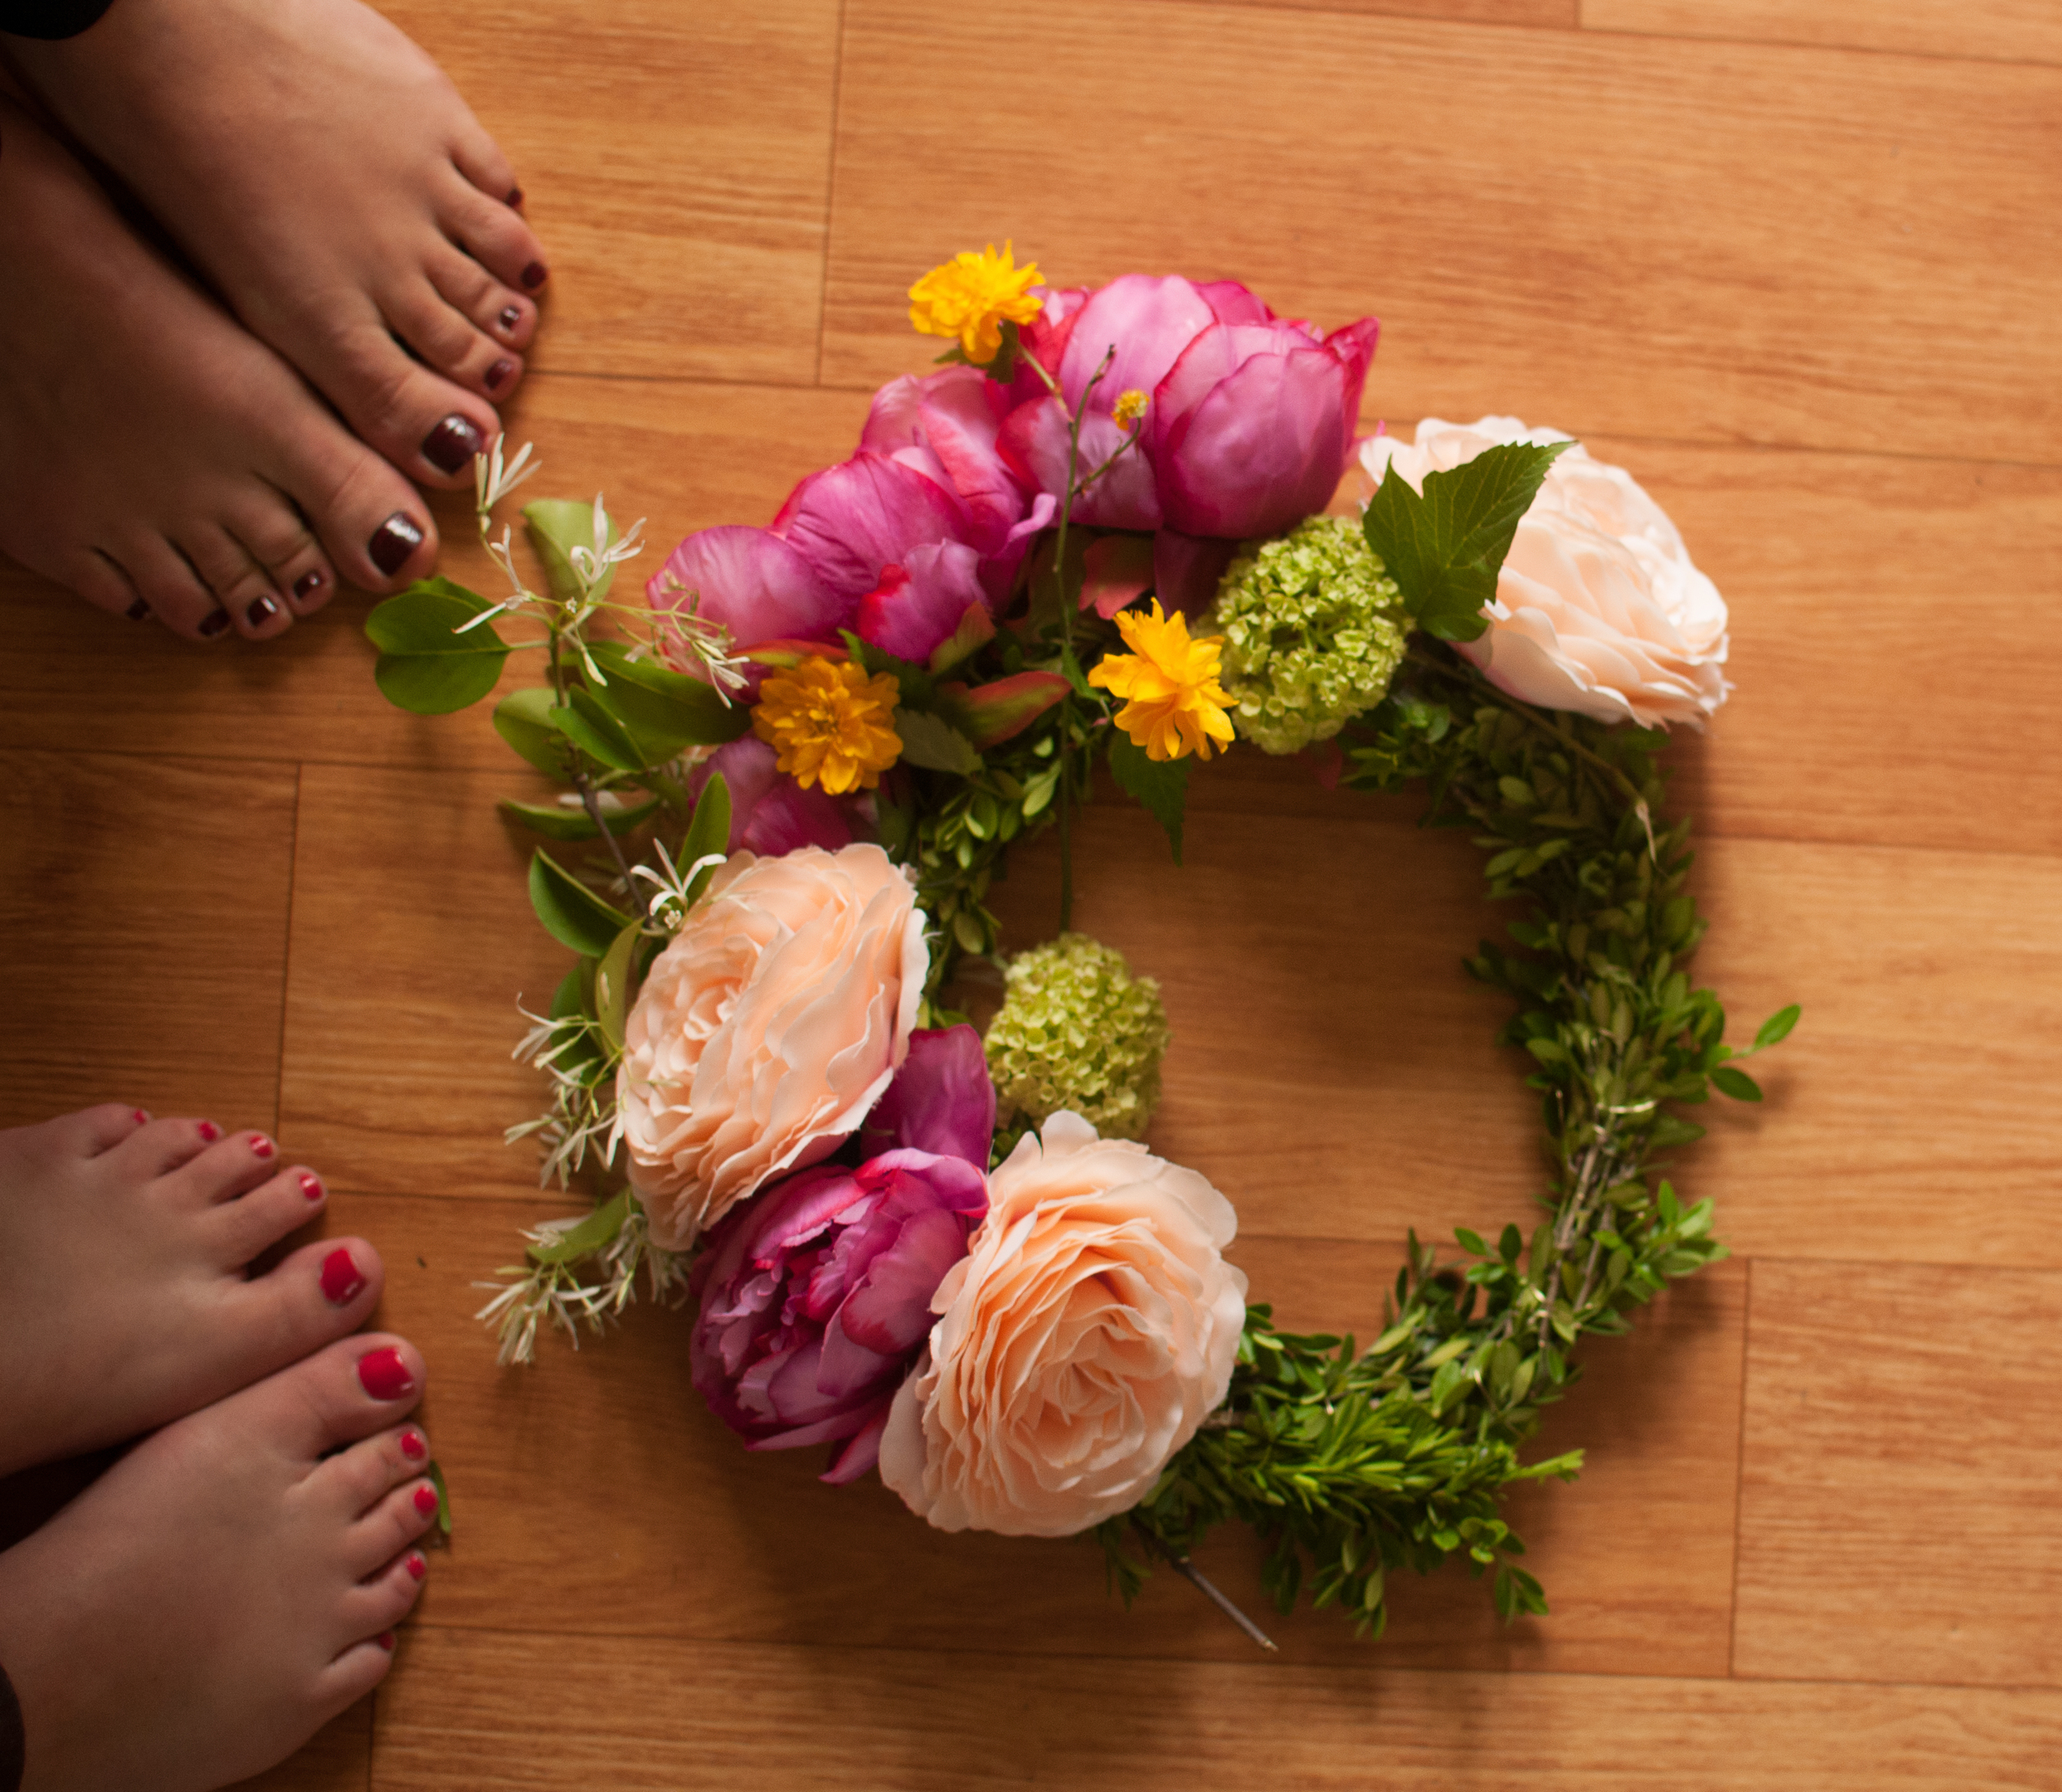
Lastly enjoy your floral crown! To make your pretty floral crown last a bit longer you can spritz the fresh flowers with water; however the fresh flowers won’t last out of water for longer than a day or two.

CGSTravelBlog_0039.jpg
One of my favourite photographs from the styled shoot...click here to see more.

One of my favourite photographs from the styled shoot...click here to see more.

Klairs Illuminating Supple BB Cream {review}

I have been after a BB cream for a while now, and as I now live in the original home of the BB cream you'd have thought it would be easy to find one that suits my skin. But alas, I have been nervous to be too adventurous with my choices and have fallen back on my trusty Essence BB Cream from back home in South Africa. That was until I was recently sent this one by WishTrend  to review (click here for more info on WishTrend and how you too can get your hands on South Korean beauty products wherever you may be in the world). 

This Illunminating BB Cream from Klairs is very popular here among Korean women. Here is the blurb from Klairs (their English translation is a little off but you get the idea):

For dry skin- Offers great Hydration with the best moisture ingredient; Hydraluronic Acid

For sensitive skin- Brings soothing effect with calming component such as Aloe Barbadensis leaf juice

For ageing skin – Great wrinkle improvement with highly concentrate moisture formula

For trouble skin- Does not worsen the trouble spots with low irritant ingredients and skin-friendly components. 

Klairs’ Unique smart color system is suitable for any skin type tone. No need to cover up with unhealthy looking artificial color of other BB creams. Sun screen + Primer + Foundation + Finishing Powder = [Klairs] Illuminating Supple Blemish Cream! Save your precious time in the morning and finish the base makeup with great BB cream Korean women die for.

The truthful brand, Klairs is eco-friendly cosmetics. Against animal testing, no alcohol, no parabens, no artificial coloring. Low irritation to the skin with safe and great ingredients, especially safe cosmetics for sensitive or trouble type skin."

When I first opened up the packaging I was a little nervous as the product only comes in one shade. All of the other reviews I had seen had been done by Asian girls with very light skin. So I thought it would be far from suitable for my naturally darker complexion (thanks to the countless number of hours I spent in the sun as a young child). BUT I was wrong! The product blended effortlessly into my skin (both on my hand and on my face). Most BB Creams have a greyish cast to them, making your face look sullen. But this product, with it's slightly yellowish undertone, suits my skin perfectly. From all of the reviews I have seen on this product, it suits most skin tones (although, for my very much darker skinned lady friends, this one probably won't be suitable, although it would be interesting to see if it did blend).

The packaging is simple in design, just like the product itself and has a small nozzle to dispense just the right amount of product. This helps you control exactly how much product you want to use, without making a mess. The packaging is written in both English & Korean. 

The initial coverage is very light, but definitely buildable leaving skin with a very natural, dewy finish. Korean women are very into the 'dewy' look, especially the older ladies, so finding a matte finish can be tricky. But, with a dusting of your favourite powder, your skin will look just the right amount of dewy, and not like an oil slick.

This is suitable for all skin types, and one of it's promises is that has sebum control. I have combination skin, and it didn't provide very much oil control for me. But, with a dusting of translucent powder and my favourite Innisfree Sebum Control powder I had no shiny skin, even after a full day of wear. Most BB creams make skin appear oilier than other foundations because of all the added elements they provide, things like sun protection. This would naturally make a product oilier. I didn't notice excessive oiliness though, the same amount I experience from any foundation I use, regardless of the brand. I also always apply a sun cream under my foundation/BB cream (I am currently loving the Sebum Control Moisture Sun sun cream from The FaceShop...review to come soon).

Here is the ingredient list for those of who would like to know what exactly goes into the product:

This image of the ingredients was found on AegyoPrincess.

This image of the ingredients was found on AegyoPrincess.

And now for the results. In the before photograph I am barefaced (this is my skin after following my morning skincare routine of cleanser, toner, eye cream, lotion, suncream & primer...blog post to follow soon).

The after photographs were taken with only the BB Cream applied, no other makeup was used in the shot.

CGSKlairsIlluminatingSuppleBBCreamReview3

My biggest skin concerns are the pigmentation I have on my forehead, nose/under eye area and my upper lip region so this was the biggest test for me. I wanted to make sure that this BB cream would provide adequate coverage. You can see from the photographs below what the results were for me.

I really like this BB cream, and even though it doesn't offer that much oil control, I love how natural my skin looks. I am able to build up the coverage, and have noticed that the coverage is better when applied with my fingers, and not with my trusty Sigma F80 Flat Kabuki Foundation brush. Both application methods give a smooth finish, but I prefer the brush as I don't have to get my fingers messy. My skin is left illuminated (as promised) but without the shimmer that most illuminating products have. This is a big plus for me as I'd rather add my own shimmer exactly where I want it, and not walk around looking a unicorn. 

I tend to get dry, flaky patches on my nose, so when applying this and any other foundation/BB cream, I am just careful to either have exfoliated the night before, or to make sure I apply a primer (I am currently loving this Velvet Skin Primer from The Face Shop). 

You can purchase this BB Cream online from WishTrend for $24.99.

If you enter this code 052313605 at check out, you can also save yourself $5!

Happy Shopping!

Life After The Dress {episode 12} Maureen Kohler

CGSLifeAfterTheDress

Today's post in my Life After the Dress series is a little different to those you may have read so far. To read all of their other interviews, click here. Today I am going to be introducing you to one of the most precious people in my life, my Gran.

My dear sweet Gran is a very private person, and when I first asked her to be part of this series she very graciously declined, but after some serious arm pulling, she agreed to write me a little email response to my questions. I wanted to post what she wrote to me as it is so inspirational, and well, being married for 57 years is just such a wonderful accomplishment (is accomplishment even the right word to use here?).

May all of us married women have a marriage as prosperous and loving (and as long!) as theirs.

CGSLifeAfterTheDress

My grandparents have been happily married for 57 years. He was her best friend’s brother and they started dating at the tender age of 17, finally marrying at 26, after my Grandfather (Charles) qualified as a dentist. 

"We have four lovely children and are still happily married – now with 7 lovely grandchildren!

'After the dress' we were very much in love and I was happy to marry and spend the rest of my life with my new husband. I regarded married life as a “vocation”, bringing up the children and looking after my husband.

Life for both of us was very busy — Charles in practise and me running the home — I was fortunate in not having to go out to work but mostly it felt like “running a small hotel singlehanded” to quote a friend of mine!

But we had lots of fun. We have a lot in common and enjoyed our tennis, music, good friends, weekends away with the children, holidays at the cottage and so many things go into making a happy home life!

Of course there were ups and downs along the way but nothing we could not sort out together; having our religion in common is a big plus for us too.

'A pearl of wisdom' to quote my beautiful sweet mother “ Tis loving and giving that makes Life worth living”; this is very true". 

Thank you Granny, I love you very much xxx


CityGirlSearchingLifeAfterTheDress

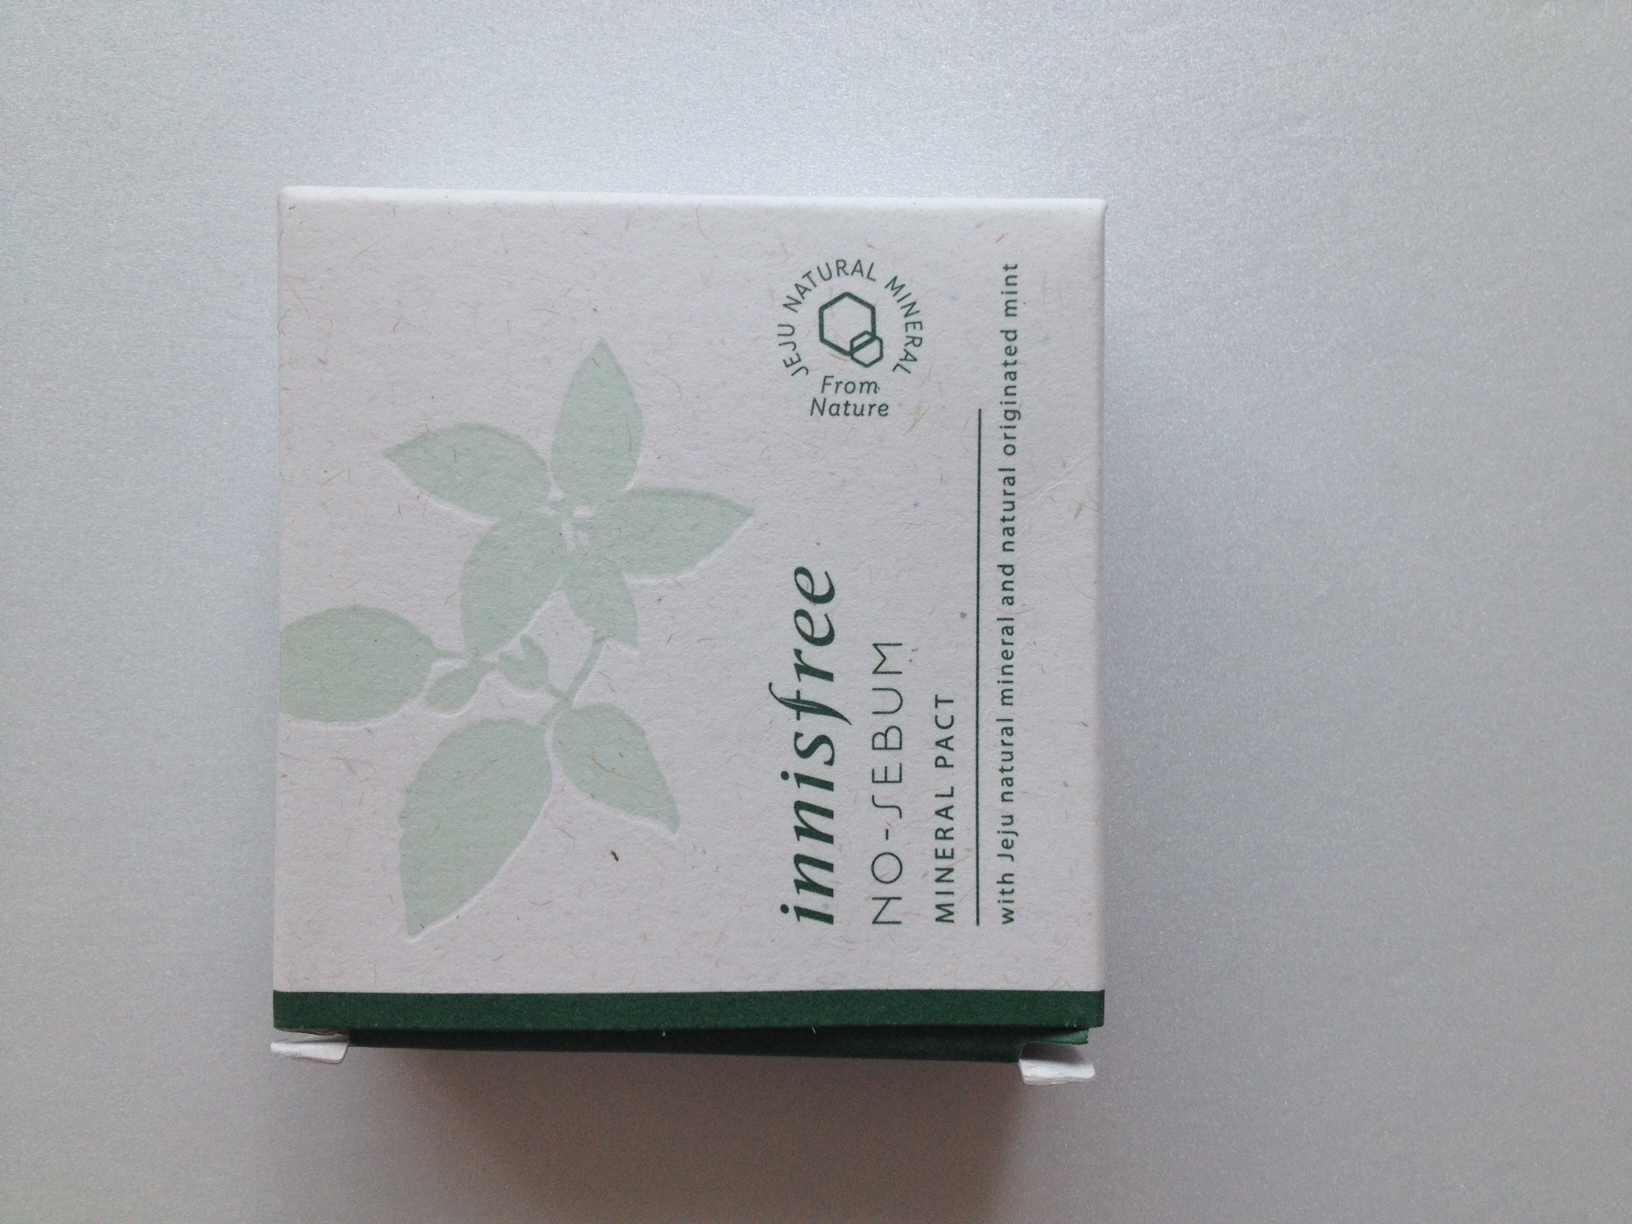
Innisfree No Sebum Mineral Compact {Review}

InnisfreeNoSebumMineralPactReview

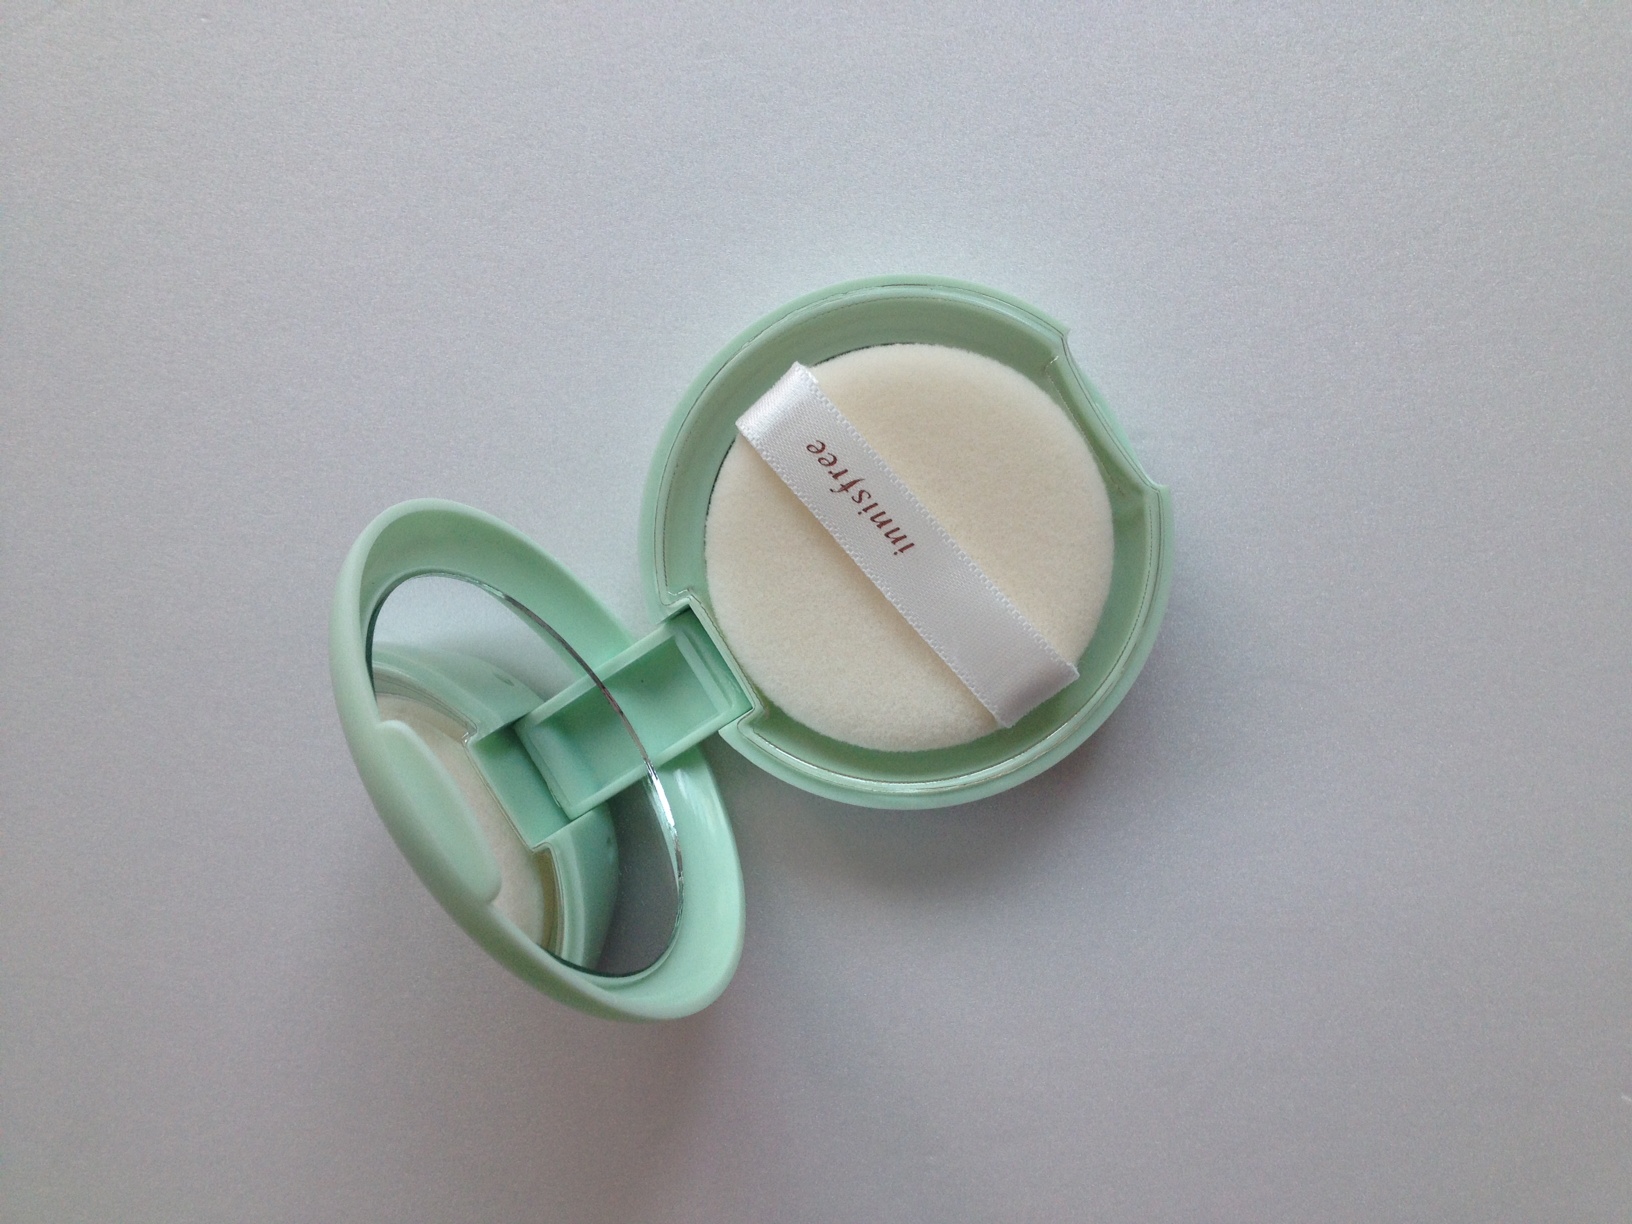
I bought this wonderful setting powder at the same time when I purchased the Pink Beam Mineral Highlighter a few months ago. Both this and the Pink Beam highlighter come in the same sweet round compact, but this one is mint green and the other is soft pink. They both form part of Innisfree's Mineral range of products and have less harmful ingredients and additives than most other brands. 

InnisfreeNoSebumMineralPactReview2

As with the highlighter, this sebum (or oil absorbing) powder comes in two forms, a pressed powder (this is the one I have) and a loose powder. The loose powder is a little too messy for my liking, but would work well when dusted over the face. I still love my (very old) Yardley translucent  loose powder for setting my makeup, so this pressed version is perfect for me.

It's small enough to fit in the palm of your hand, and perfect for slipping into your hand bag. I carry my with me all day for touch ups on the go. 

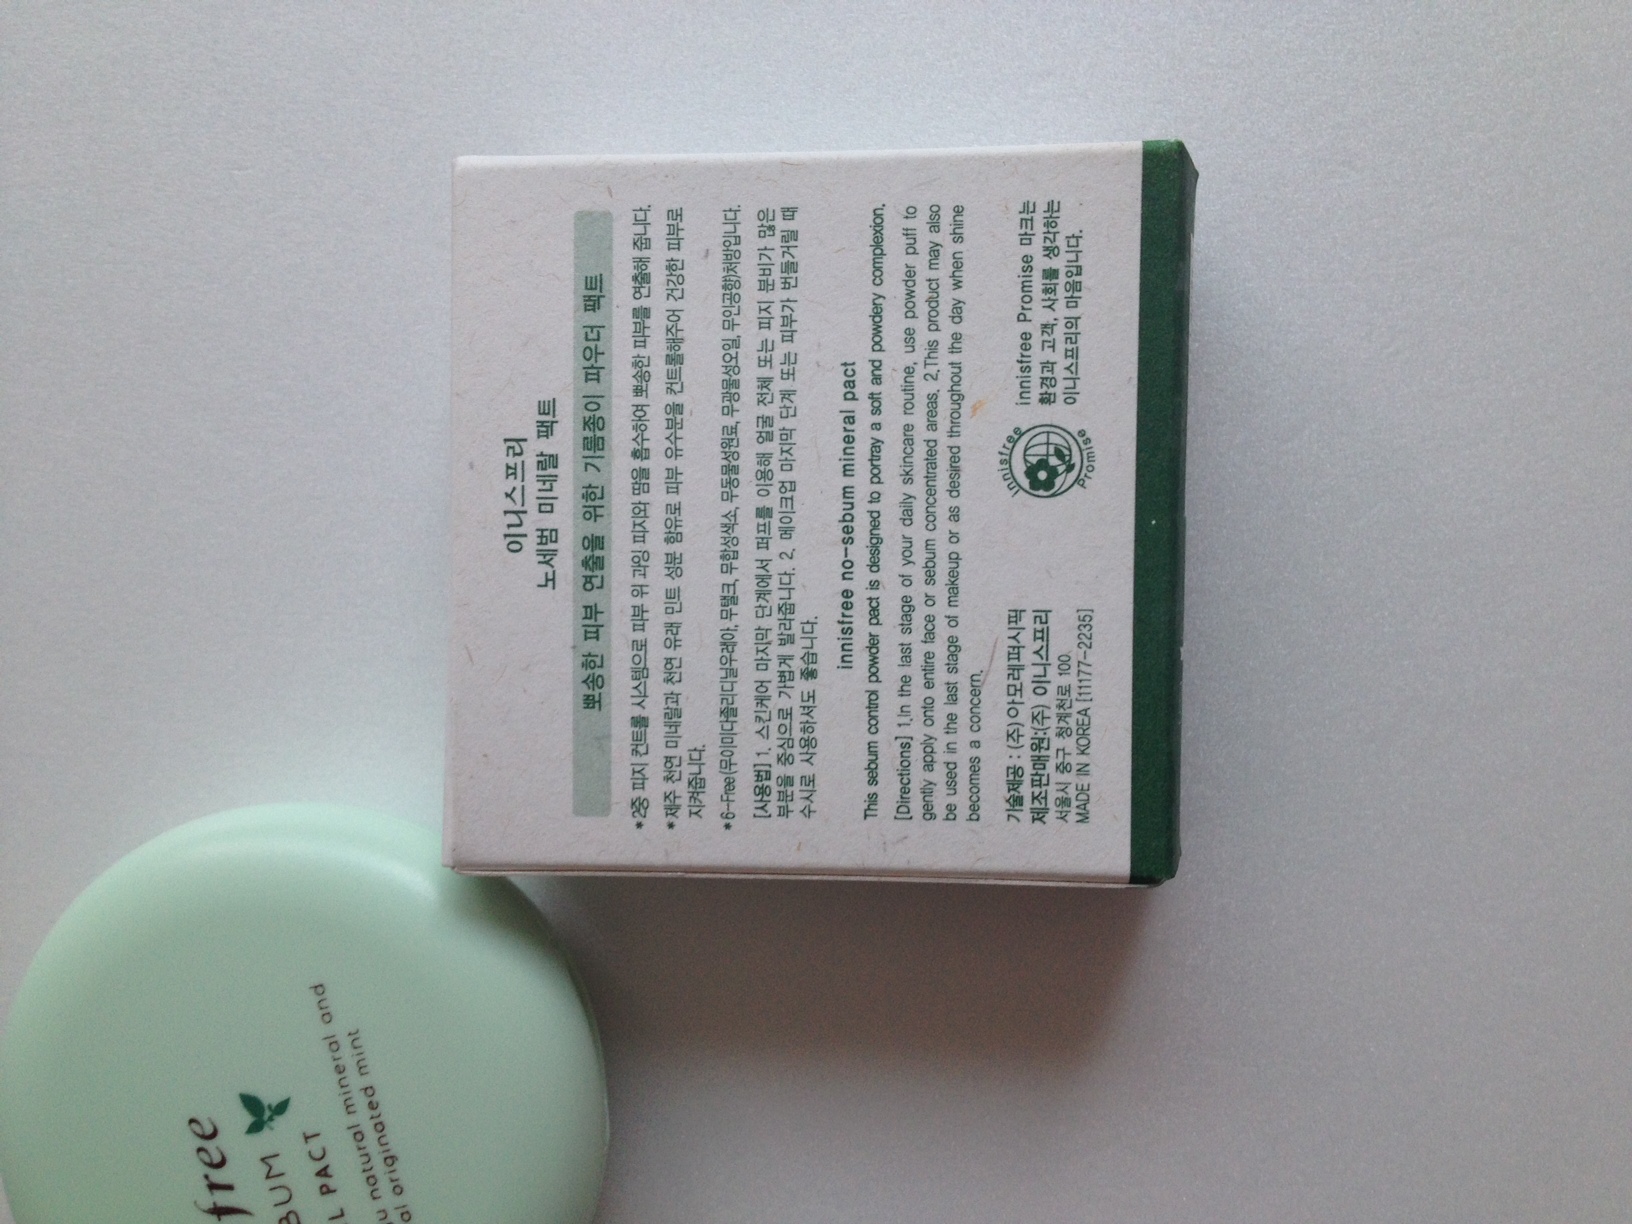
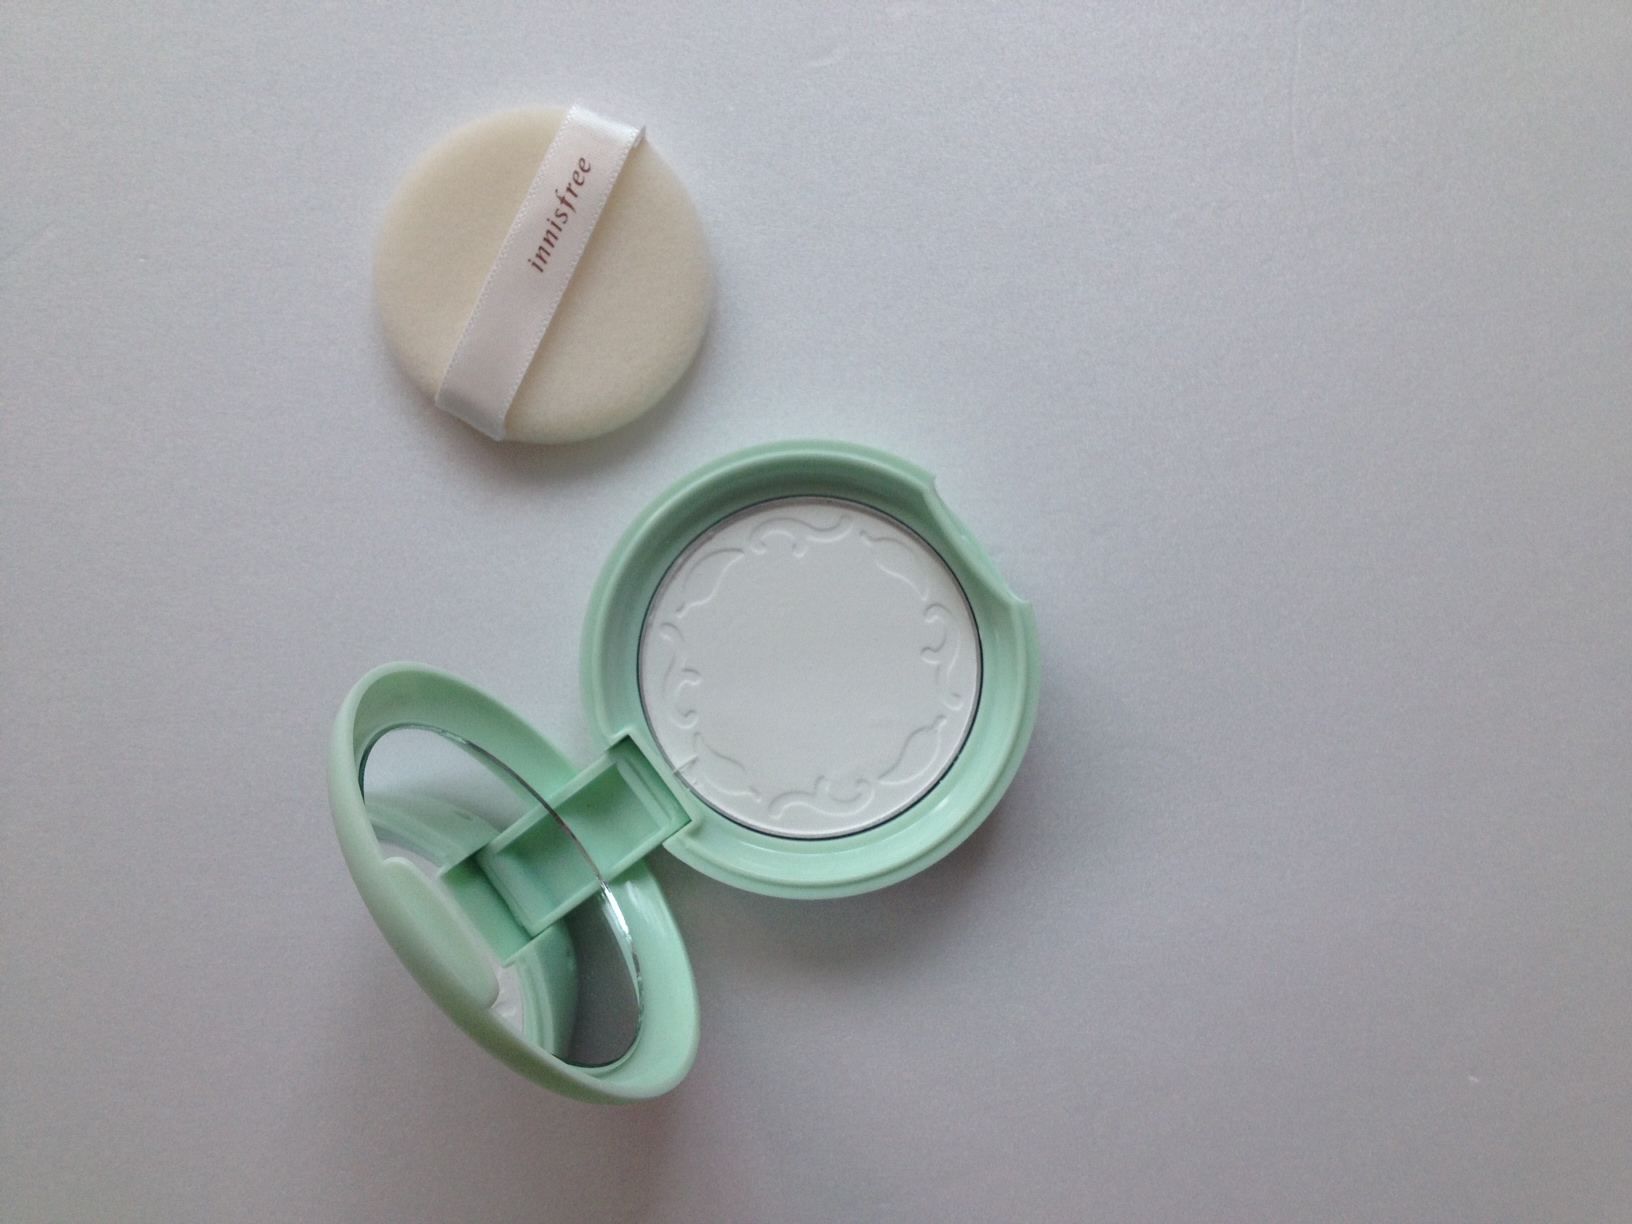
As the packaging states, this sebum control powder is designed to give you a "soft and powdery finish". I'm not exactly sure what that means really, but doesn't it sound lovely. This powder absorbs all the oil and shine on my face and lasts all day. We haven't hit summer yet, so I can't say for certain that the oil control will last all day when things get really humid here, but if it doesn't it's not a worry as I am happy to touch up throughout the day.

The powder is white, but when rubbed into the skin it becomes translucent and doesn't leave any white residue or noticeable white streaks or lines. As with the Pink Bean highlighter, my only complaint is that the sponge is white, as when applied over my foundation or BB cream, the powder puff undoubtedly gets dirty. But this isn't so much of a worry to me as I am able to buy replacement puffs easily and they are very affordable.

InnisfreeNoSebumMineralPactReview3

I am loving this new addition to may makeup products, and the packaging is just so sweet. You can find yours at your nearest Innisfree store for W12 000 or online through Gmarket.

For international buyers, I'm afraid I haven't seen it for sale on any of the international sites that sell Korean makeup. When I do I'll be sure to let you know. For now you can find other great Korean products for international purchase at the following online stores: w2 BeautySoko Glam and WishTrend.

The Wonderlust Tag

CityGirlSearchingTravelBlogWonderlustTag

I saw this tag on Emma's blog (Emma is a fellow English Teacher & blogger based here in Korea and blogs over at Cupcake Traveler) and it inspired me to write a post using the Wonderlust tag too. If you do a post on your blog, please do drop me a link so I can read it, or link up on my Facebook page, I'd love to know more about you x

CityGirlSearchingTravelBlogWonderlustTag

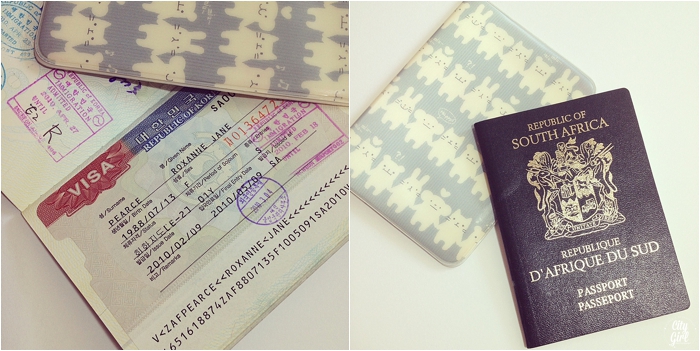
1. Your most treasured passport stamp?

I had to spend a bit of time thinking about this question. I think it would be a mixture of my first South Korean stamp which I got when moving to Korea the first time back in 2010, and then the stamp for Greece which we got when we went on honeymoon in 2012. 

2. Can you recite your passport # from memory if asked?

Ummm...no. I might be able to if I didn't have to also try and remember 2 sets of South African ID numbers, passport numbers and Korean ID numbers...now I have to rely on scanned coppies of all of the above in my emails.

3. Preferred method of travel; planes, trains or automobiles?

Planes, trains, bikes and feet! I don't really have a preference, I think time would be the only limiting factor for me. Trains are great when you don't have to be anywhere in a hurry (especially the overnight train we took in Vietnam). Also, we have spent a fair amount of time in buses too as they tend to work out better for our pockets (and of course when time is a again not too much of an issue). As I am quite little (5'5 to be exact) I can usually curl up easily anywhere, and so legroom on planes/buses isn't too much of a problem for me....I guess it also helps having someone who doesn't mind having me leaning on him ALL THE TIME.

CityGirlSearchingTravelBlogWonderlustTag

4. Top 3 travel items?

Down travel pillow, kikoy (a cotton towel/sarong/blanket/) and my iPhone (for quick snaps and it's indispensable 'maps' & hotel booking app features).

5.  Hostel or hotel?

Both. If it were up to my husband, we would never stay in a hotel. But, I am, as he calls, rather 'precious' and he doesn't mean it in the princess kind of way, and I have a habit of breaking out in rather unsightly rashes and bites when staying in hostels. But, I love the experience, and right now our budget only caters for hostels, and we have had all sorts of adventures staying in them. I may be a city girl, but I am rather adaptable (and with the help of my own pillow) can sleep anywhere.

6. Are you a repeat visitor or do you explore new places?

We have yet to go to the same place twice, there are just far too many places to explore in this world, and not enough time to see anything more than once. Having said that, the one place we would go back to, again and again, would be Greece.

You can see photographs from some of our travels by clicking here>>> Vietnam, Malaysia, Greece, Cambodia, Hong Kong & the Phillipines)

CityGirlSearchingTravelBlogWonderlustTag

7.  Do you read up on your destination (culture, history, safety) or do you wing it?

We pretty much wing our holidays. I don't think this is the best way to travel, but we enjoy feeling like we are the first people to experience something or see a particular place. It's not for everyone, but we enjoy our travels and so far so good!

I usually do a quick search for the top things to do in a particular place, and then rely on locals and their recommendations for attractions/restaurants and activities. As we don't get very long for our holidays, we find ourselves constantly on the move (which we enjoy as we like to jam pack as much as we can into a trip, knowing we will mostly not be returning).

8. Favourite travel website?

I spend quite a lot of time on Trip Advisor, and then highly recommend apps like Orbitz and Hotels.com for great deals on places to stay (they often have amazing discounts for using the app too!). I spend a lot of time on forums and personal travel blogs, but it can all get very daunting when first researching a country. I like to have a pen and paper out, as well as Google Maps open so that I can start to get a feel for the place first. Once I have a basic idea of where I want to go, I create an excel spreadsheet and get to planning the finer details. We don't often book accommodation in advance (this has worked both well, and worked terribly in the past!) but again, we like to wing our travels and not be too tied down, as often we will really like a place and want to stay much longer there, or really not like a place want to cut our stay shorter. Having a good skeleton planned in Excel helps a lot, and then allowing yourself breathing room when it comes to accommodation works for us. 

9. Where would you recommend a friend to visit? Name the city & why

Here is a small list:

Hoi Ann in Vietnam for their tailors, incredible night life and delicious food

Lazy Island, Koh Rong Saloem in Cambodia (just off Sihanoukville) for the wonderful, quiet & relaxed beach atmosphere and their incredible hosts. They have a small selection of beach bungalows and the island is small and peaceful, the perfect place to unwind.

Buan, South Korea our current home town. It's small, and very much in the countryside and gives you a real feel of genuine Korea. It's close to the beaches and not too far from the major cities. And we live here and can show you around :)

10. You’re leaving tomorrow, money is no option, where are you going? 

On a roadtrip in a vintage (but carefully checked by a mechanic) comfy RV motorhome to explore America. 

CityGirlSearchingTravelBlogWonderlustTag2

Introducing WishTrend...helping you get your hands on South Korean beauty products

WishTrendSouthKoreaReview

A lot of my readers have been wanting to know how they can get their hands on some of the amazing skincare and beauty products here in South Korea. Todays post is about an online beauty haven filled with make-up, skin care products, hair care and beauty tools as well as bits for the man in your life.

WishTrend is a South Korean based online beauty store specialising in products that are really popular here in Korea, but that many people may not have heard.  WishTrend has introduced over 400 products from 30 brands to 50 countries with more than 100,000 loyal customers, and is still growing! Their tag line is this:

We believe that as long as you ‘WISH’ to be beautiful, you will be beautiful. We explore the world to find the best cosmetics and introduce them to them to beauty inspired explorers.

The website itself is set up in a very clear way, and you can easily find what you are looking for using the categories function.

WISHTrend also stocks beauty boxes called WishBoxes which are filled with different goodies in a particular theme or product line.

WishTrendBeautyReview

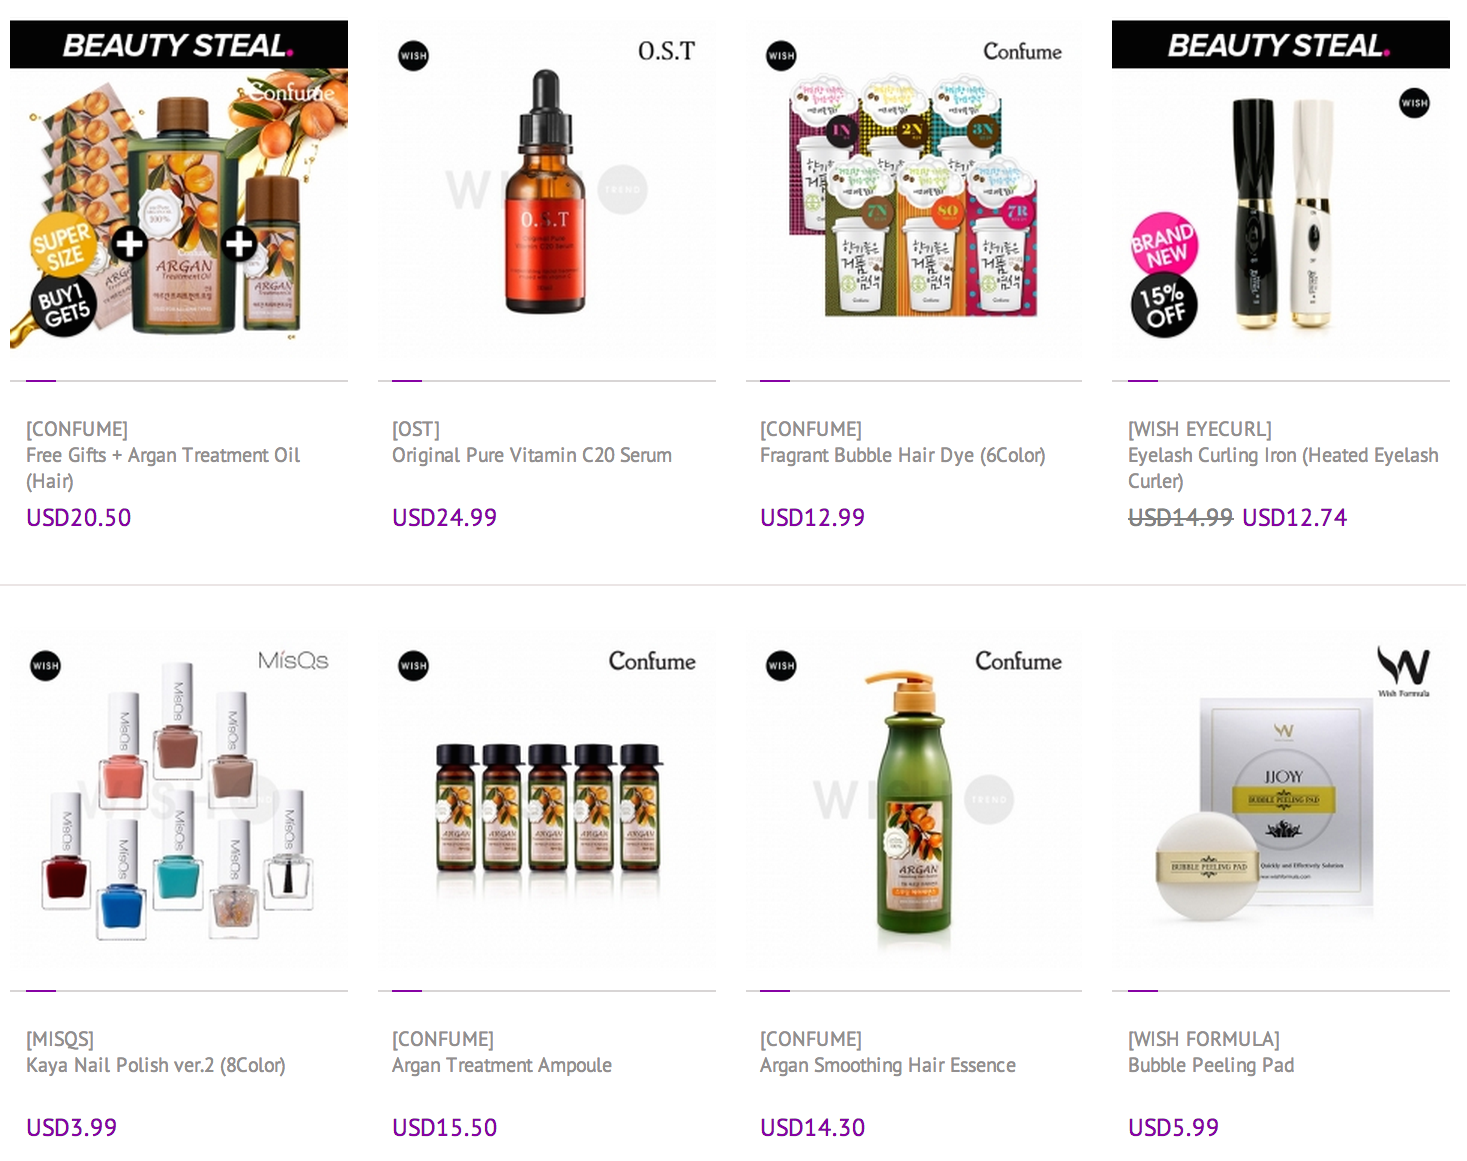
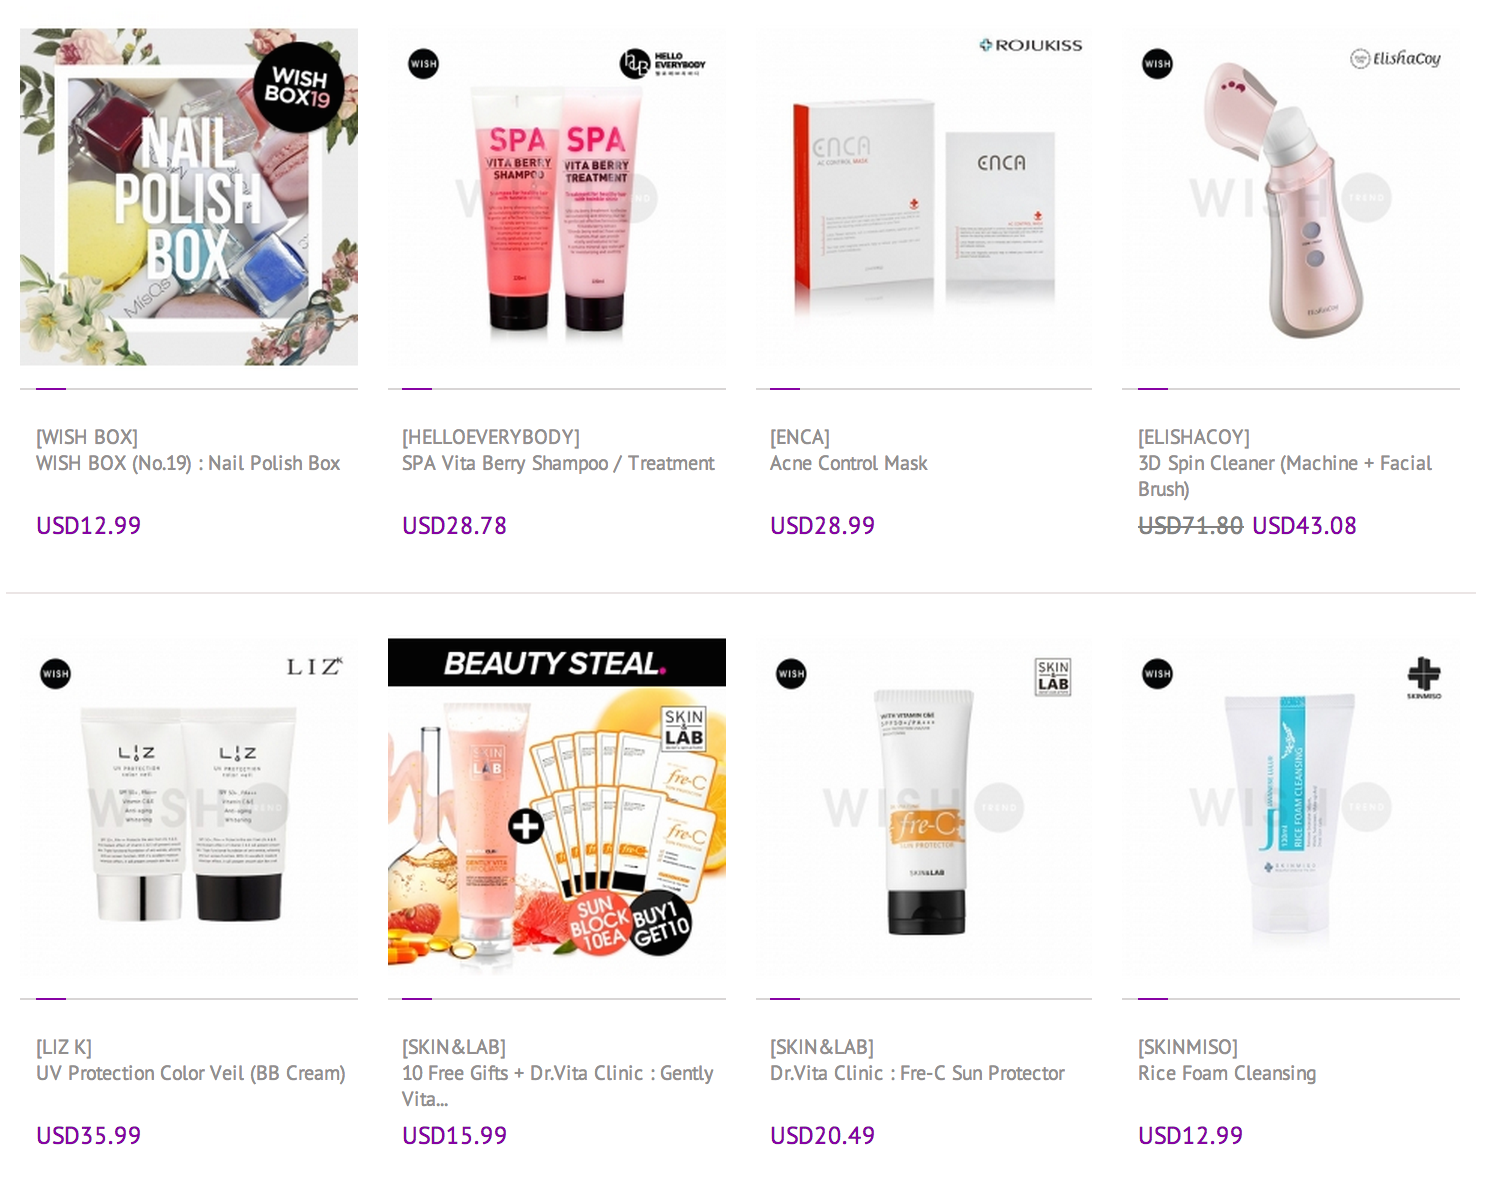
Here is a small selection of some of their best selling products:

I have recently become an affiliate with WishTrend and what this means is that if you use my link to purchase something from their store, I receive a small commission from the sale. I am in no way endorsed by WishTrend, and all of the reviews I do of their products will always be honest and be my own. Affiliate links are not a way for bloggers to make a sneaky buck off you, but are rather a way for us to to earn a tiny amount of money for the work we put into our blog.

Wishtrend offers free shipping on orders over $69 and your package will include loads of free samples too! Any order over $129 and you get yourself free EMS shipping (EMS is the premium shipping method here in Korea and you get your goodies within 5 days - 9 days).

I was sent the following Klairs Illuminating BB cream and will be doing a review on it soon. 

KlairsBBCreamReview

For my South African readers here is a little information on shipping costs and times:

Shipping Cost

Standard Shipping: 13 USD

EMS shipping: 45 USD 

Delivery Time 

Standard Shipping: over 30 business days

EMS shipping: 5-9 business days

Here is a little collection of what I've got my eye on in their store, although every time I visit their site my wish list gets longer and longer...The First Boosting Essence, Ciracle Radience Eye MiracleWishBox Nail Polish BoxCiracle Pimple Solution CC Cream, ElishaCoy 3D Spin CleanerOST Original Pure Vitamin C20 Serum + Vitamin Sleep 9 to 5 Crema, MISQS Creme de Velvet Lip Matte in Iron Lady or Burgundy

CGSWishTrendReview_0017.jpg

You can find WishTrend at the following places:

Facebook/Twitter/Blog/Pinterest

And one more way for you to save, if you enter this code 052313605 at check out, you save yourself $5...pretty cool hey?

Happy shopping!

Our new apartment in Korea {the before photographs}

A few weeks ago I posted some photographs of our apartment here in South Korea. Since then we have moved into a much larger (but very much older) apartment and have spent the past few weeks getting stuck into scrubbing, clearing and DIYing.

In my haste to get my hands dirty, I didn't take very many (or any good quality) photographs to show you the real 'before' shots, but here is what I do have. We took over this apartment from a good friend who finished up his time here and went back home. In no way are we saying he was a dirty creature, but, mess and clutter and dirt has a way of slowly creeping up on you, to the point where you don't even notice it anymore. And if you're not an OCD cleaning machine like I am, then you wouldn't even notice the layers of grim collecting in all the nooks and crannies. So, these pictures are pretty bad...We love you Owen, but boy oh boy did we have our work cut out for us moving into your place :)

Some of these photographs were from the day we moved in, and others are from a few days after when things were tidied up. The weather on both of those days doesn't help the photographs, and makes everything look worse. It wasn't pretty for those first few days...

The Kitchen:

CGSApartmentsInSouthKoreaKitchen

Dining Area (part of the Kitchen)

CGSApartmentsInSouthKoreaCoupleHousing

Main Bedroom

CGSApartmentsInSouthKoreaCoupleHousing

Bathroom

CGSApartmentsInSouthKoreaCoupleHousing2

Lounge & Front Patio

CGSApartmentsInSouthKoreaCoupleHousing4

Spare Room (to become Farmboy's Man Cave)

CGSApartmentsInSouthKoreaCoupleHousing5

Second spare room (to become my office)

CGSApartmentsInSouthKoreaCoupleHousing6

Laundry/Outside Patio

CGSApartmentsInSouthKoreaCoupleHousing7

So as you can see, we have a huge amount of space to work with, and that alone was enough to help us look through the mess. This will probably end up being one of the biggest houses/apartments we ever live in, and is more than triple the size of the first flat we lived in after being married in 2012. 

Since these pictures were taken we have spent countless hours scrubbing and cleaning, sticking, moving, spraying and throwing out. Make sure to pop back next week to see how our little home is coming along.

Do you have any great cleaning tips to pass on? We don't know whether to replace the bathroom tiles (a big expense to spend on a place we will probably only be in for another year or two) or any other tips for getting rid of mould and grime? I'd love to hear from you!

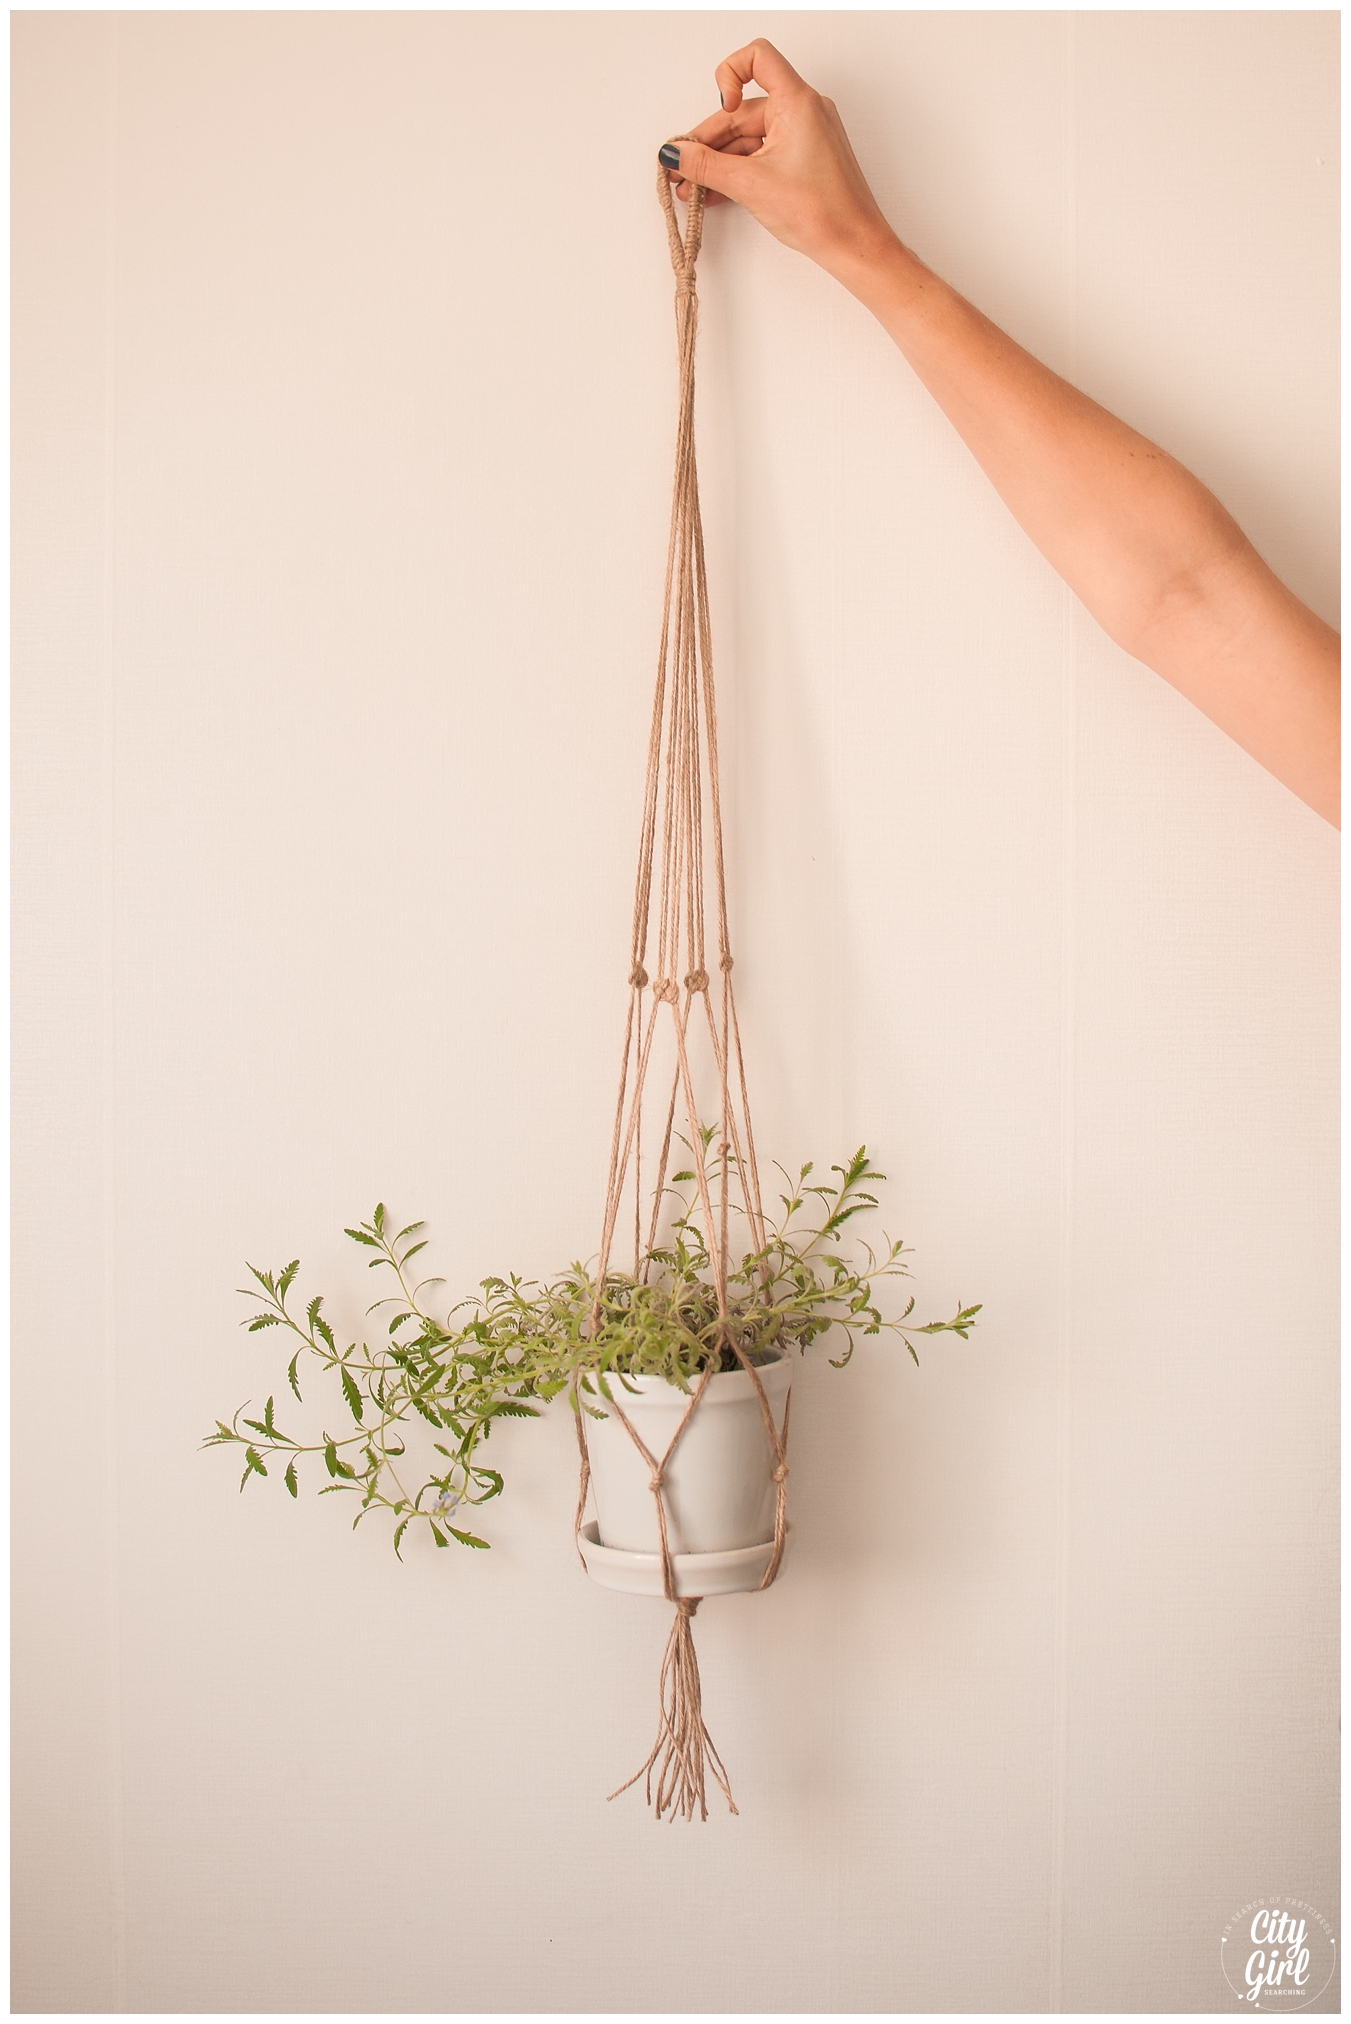
How to make a macramé plant hanger #diydaysinkorea

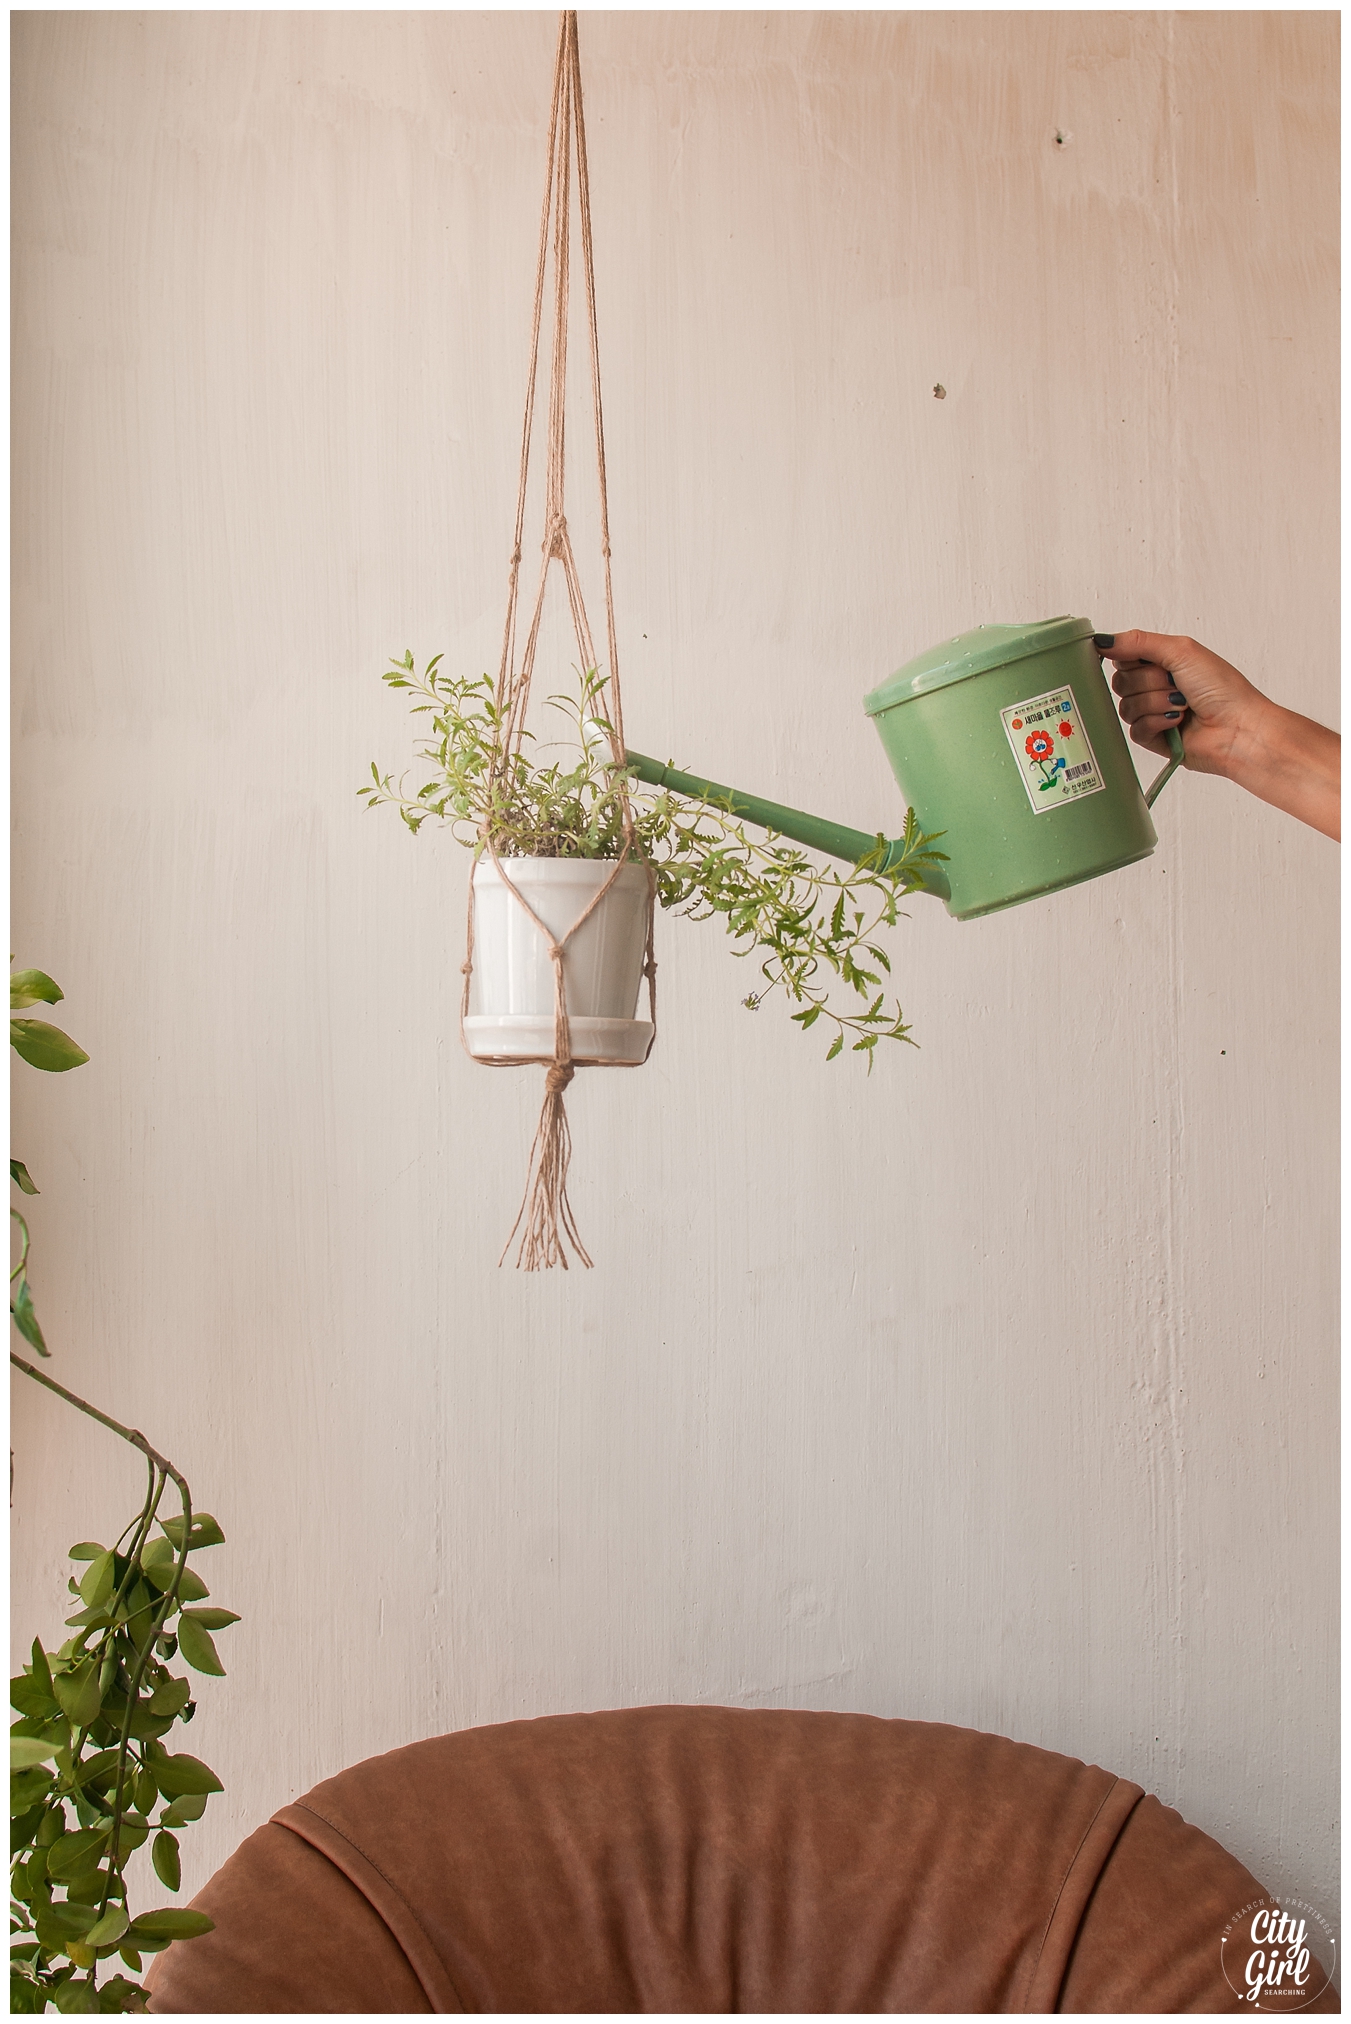
CityGirlSearching How To Make A Macrame Plant Holder DIY

Today's post is the first in a new DIY series #DIYDaysInKorea that my friend Storm and I are starting. Storm did all the styling for our Flower Crown Shoot a few weeks ago and is one very creative lady. I am so happy to have someone to get crafty with.

These posts are going to be about making beautiful things for your home (whether that home is in South Korea or South Africa, or any where else in the world). We hope you enjoy this series and that you leave feeling inspired.

x

How to make a macramé plant hanger #diydaysinkorea

CityGirlSearchingHowToMakeAMacramPlantHolderDIY3
CityGirlSearchingHowToMakeAMacramPlantHolderDIY#DIYDaysInKorea

What you need:

pot plant

string/rope/hessian string/twine

scissors

tape

CityGirlSearchingHowToMakeAMacramPlantHolderDIY6

Directions

Measure your wall space and decide how long you want your plant hanger to be. Take into consideration how big your pot plant is.

CityGirlSearchingHowToMakeAMacramPlantHolderDIY#DIYDaysInKorea

For this macramé hanger, we used 21m of twine (7 x 2.5m for the structure of the hanger + 1 x 3.5m for the wrapping)

Measure out 7 pieces of string of 2.5m and measure the 8th piece of string longer, at 3.5m

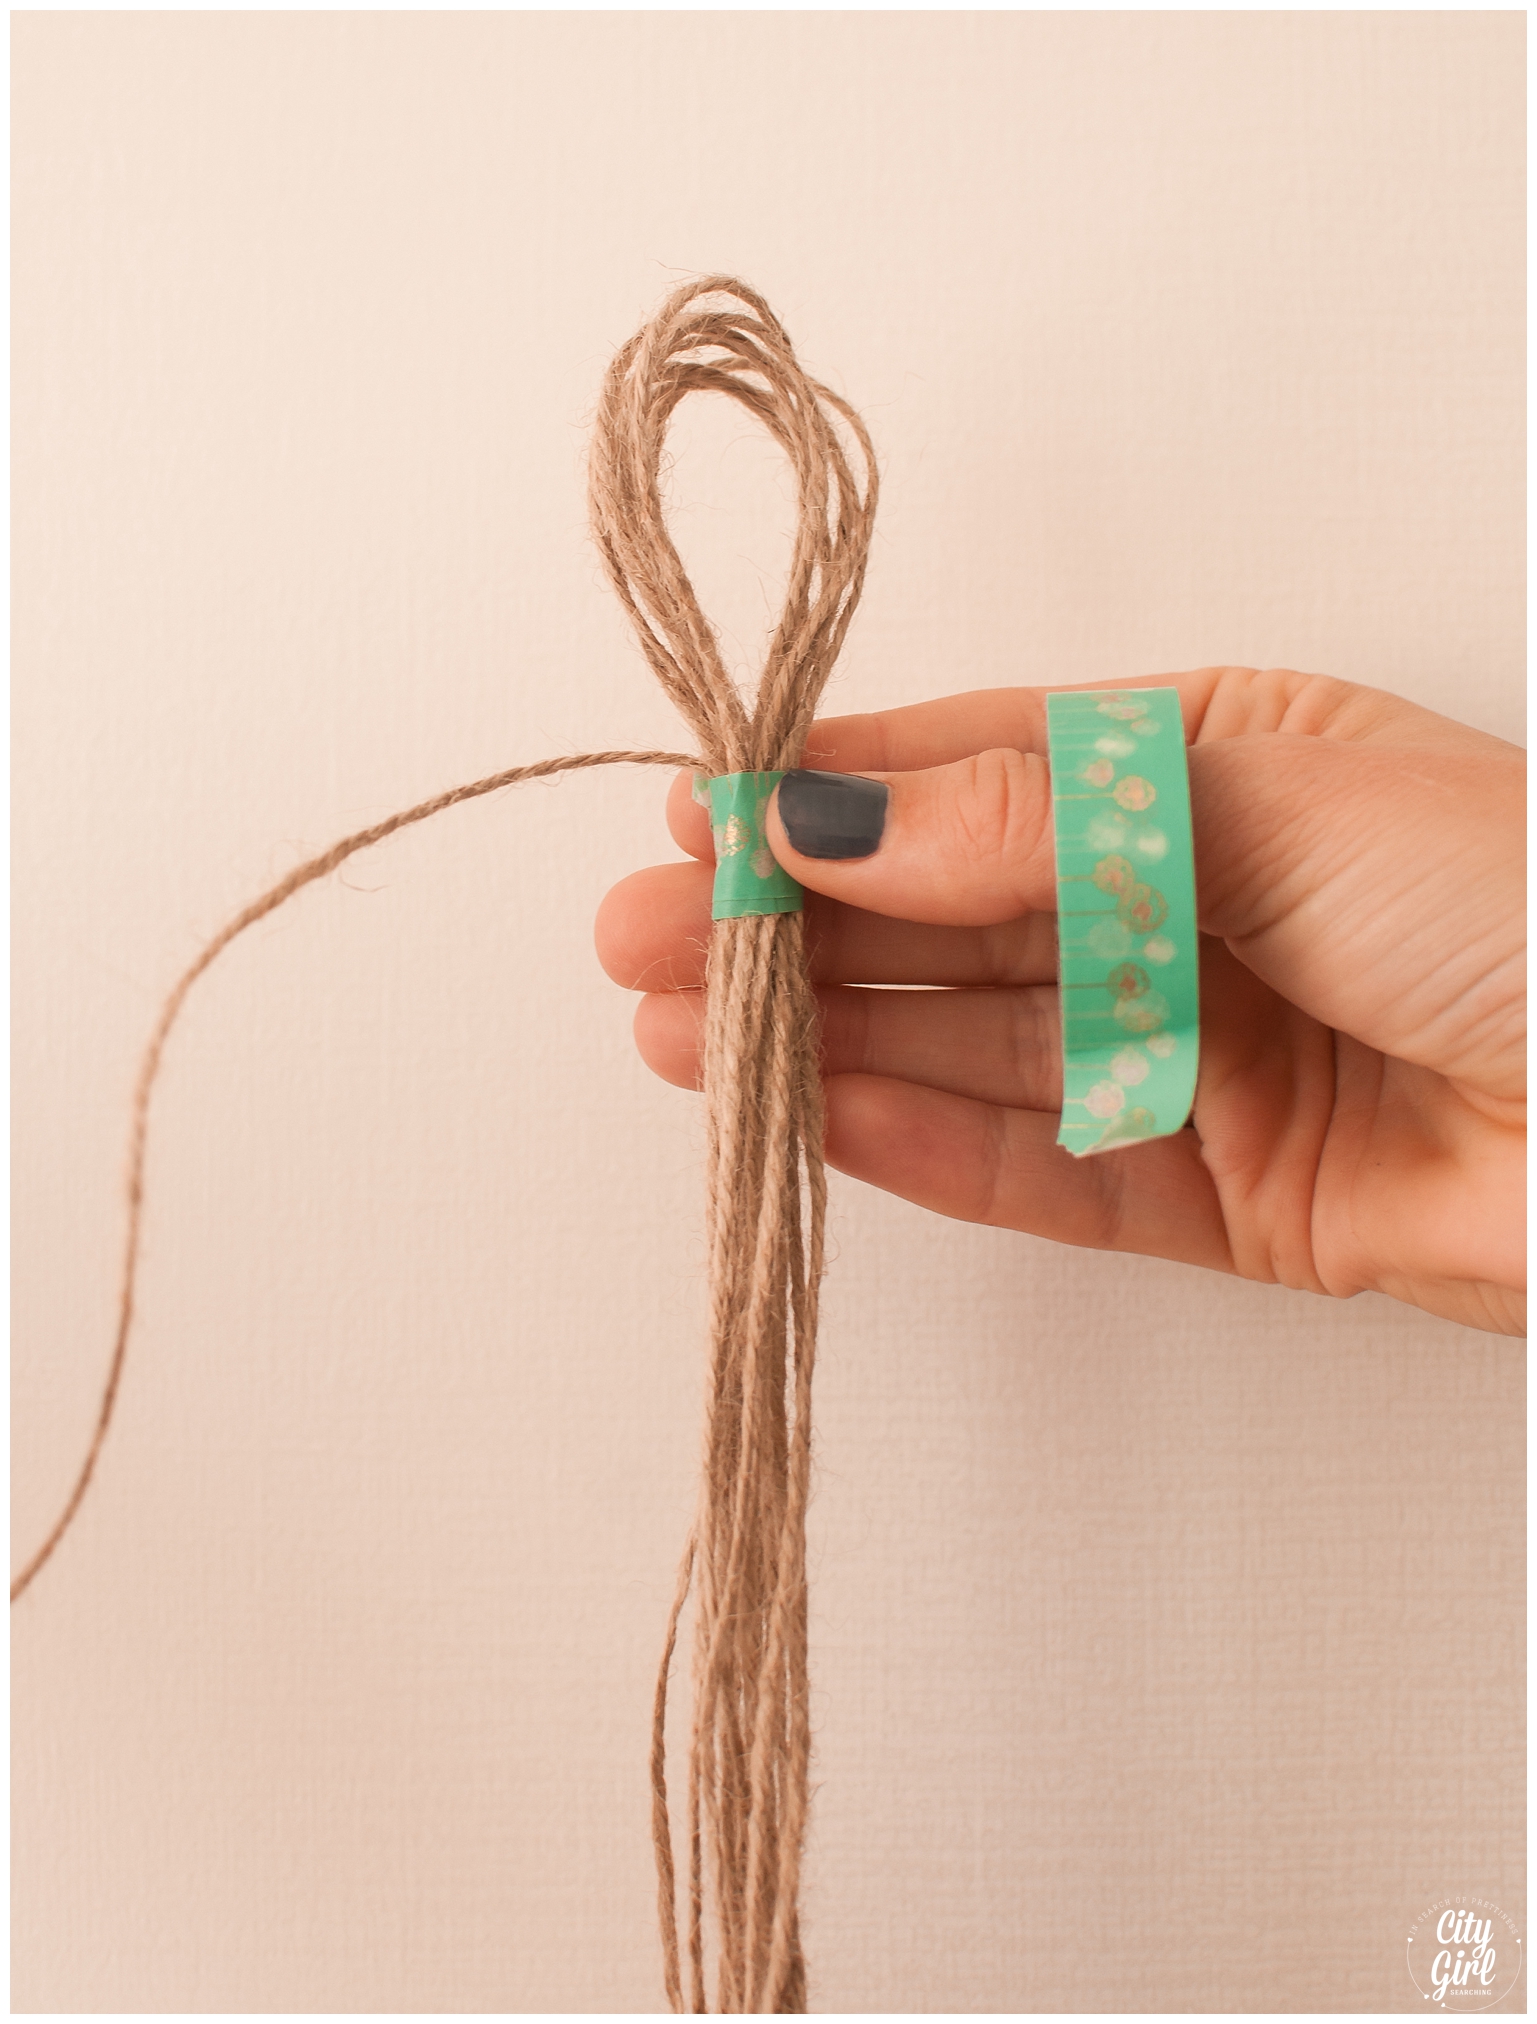
Fold all the strings in half except your extra-long piece. Secure with tape to make a small loop.

CityGirlSearchingHowToMakeAMacramPlantHolderDIY#DIYDaysInKorea

To make your macrame loop

Use the longest piece of string to make a knot around the other 7 pieces of string (see pictures below). Continue making knots in this way until you complete the hanging loop.

CityGirlSearchingHowToMakeAMacramPlantHolderDIY7

To secure the hanging loop, make a knot. Take the outer right string across the front, then take the outer left string in front of the right piece and then take it behind all the other pieces to the right hand side (see pictures below) and put it through the gap and tighten. Repeat this by alternating the next outer string (so taking the left in front this time, and the right behind). Repeat 6 times.

CityGirlSearchingHowToMakeAMacramPlantHolderDIY8

To create the mid section using Josephine knots

Divide your strings into 4 sections, each section should have 4 pieces (16 in total). Secure 3 of the sections with tape. Using the fourth section, measure down 35cm and mark with tape (this is where your Josephine knot will start). Divide this section into 2 parts, make sure the strings are kept flush to ensure your finished knot is flat.

Start with two cords on the left and make a loop, then take the the right cords and place them over the loop. Securing with your left hand, take the right cords and place them under the bottom left cords and up and over them again.Then thread them through the loop (as in the pictures below).

CityGirlSearchingHowToMakeAMacramPlantHolderDIY9
CityGirlSearchingHowToMakeAMacramPlantHolderDIY#DIYDaysInKorea

Make sure all your strings are flat and tighten to your marked off tape. Repeat with the remaining 4 sections.

To make the basket:

Split the 4 sections in half and join two cords from each section next to each other to create a new group. Tie a simple knot in these cords and continue for each new group. Make sure when making the groups they are the correct cords to ensure your basket doesn't get tangled. 

CityGirlSearchingHowToMakeAMacramPlantHolderDIY11

Measure down 5cm to create new groups with simple knots again as before.

Measure another 7 cm and gather all the strings together and tie into one large knot.

CityGirlSearchingHowToMakeAMacramPlantHolderDIY12

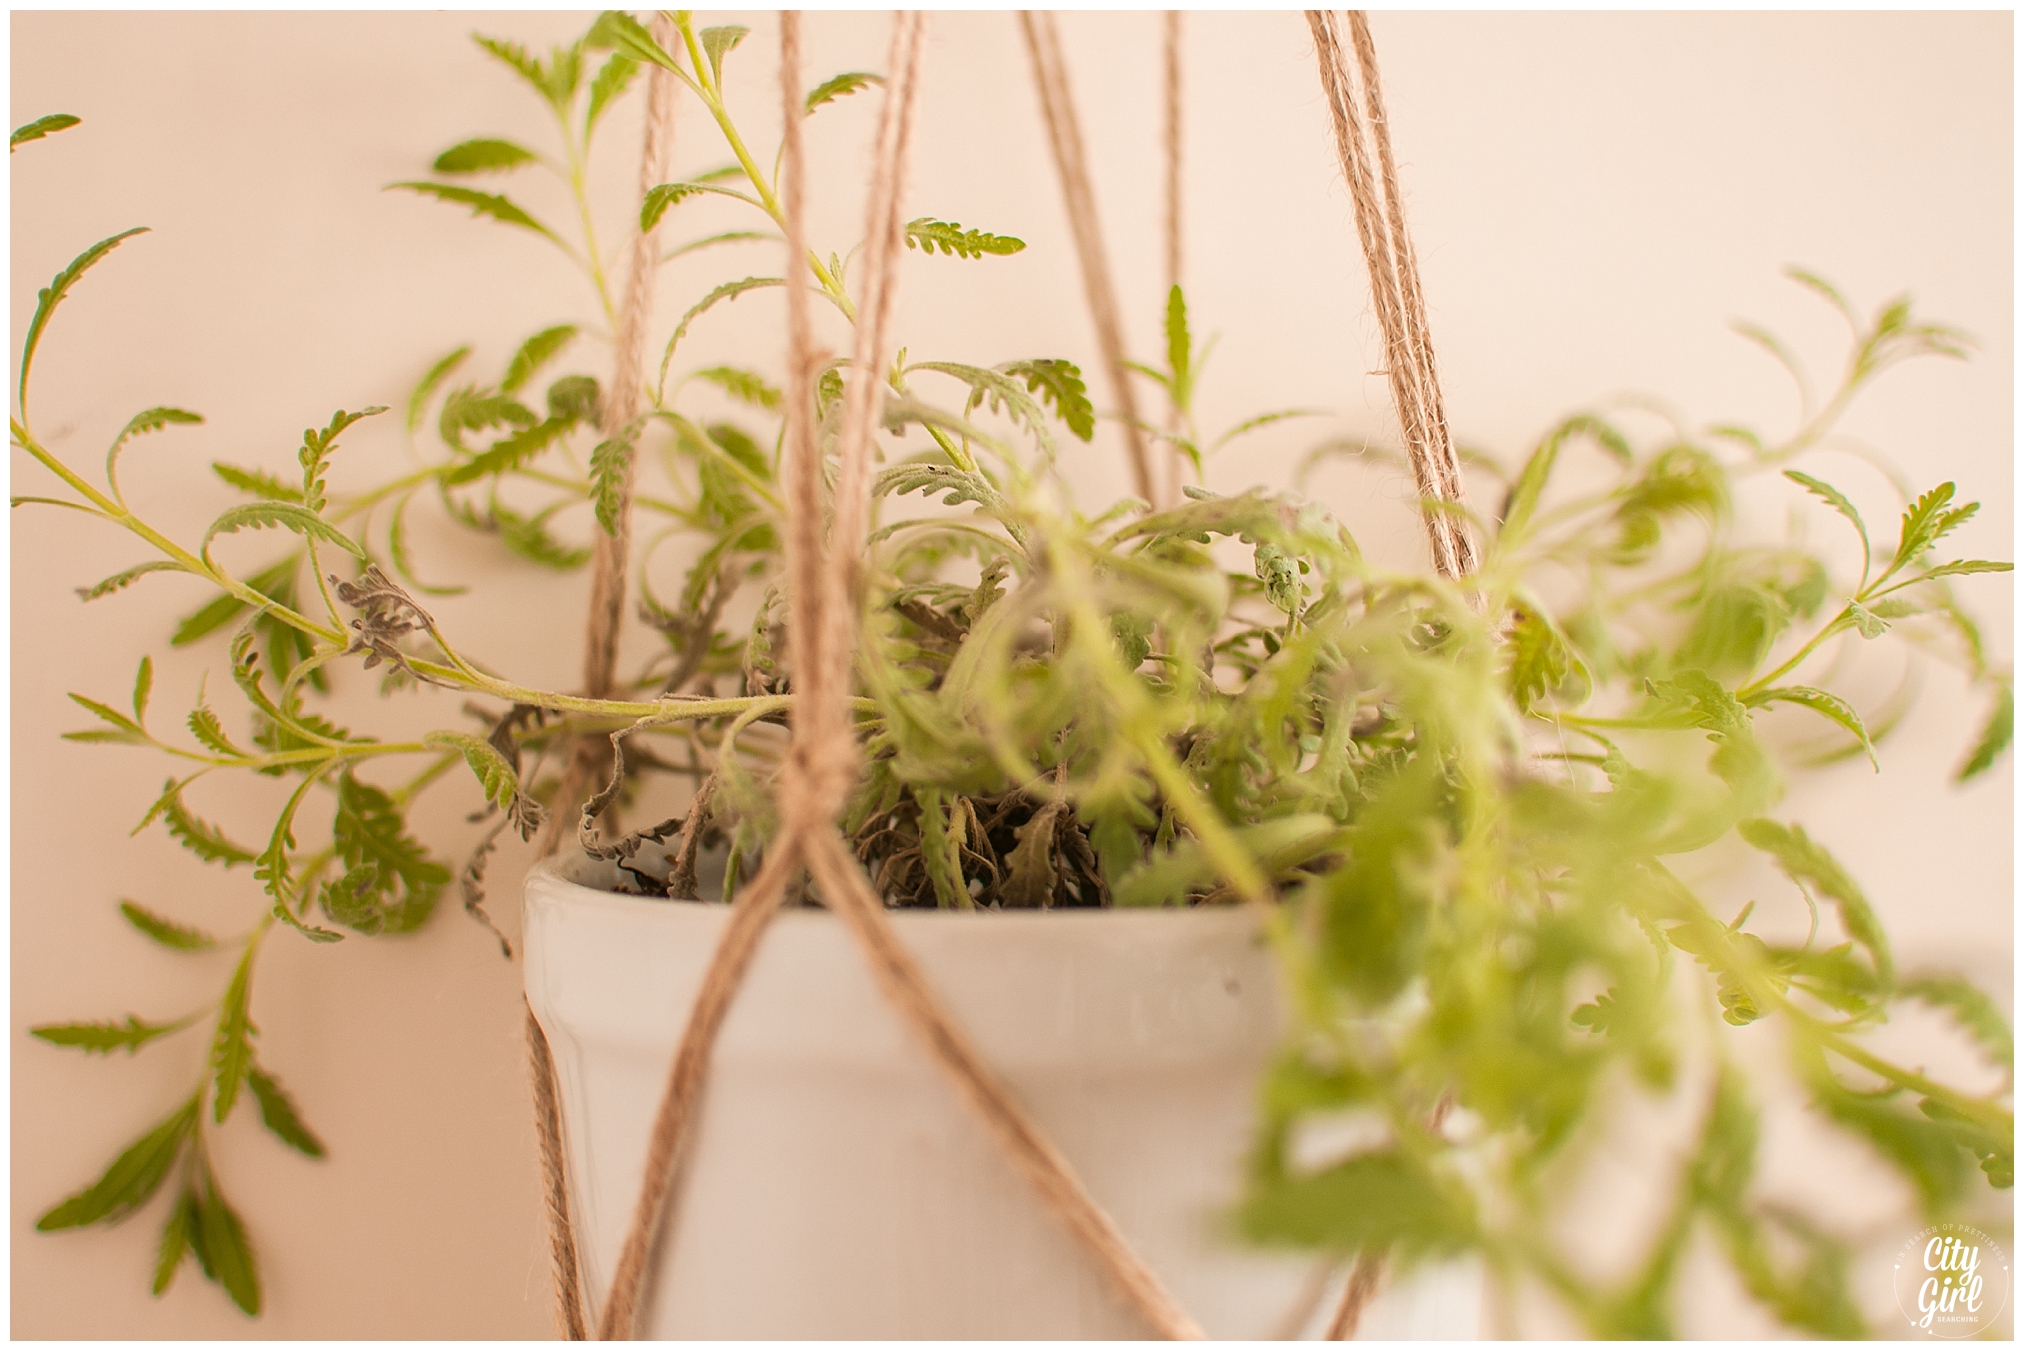
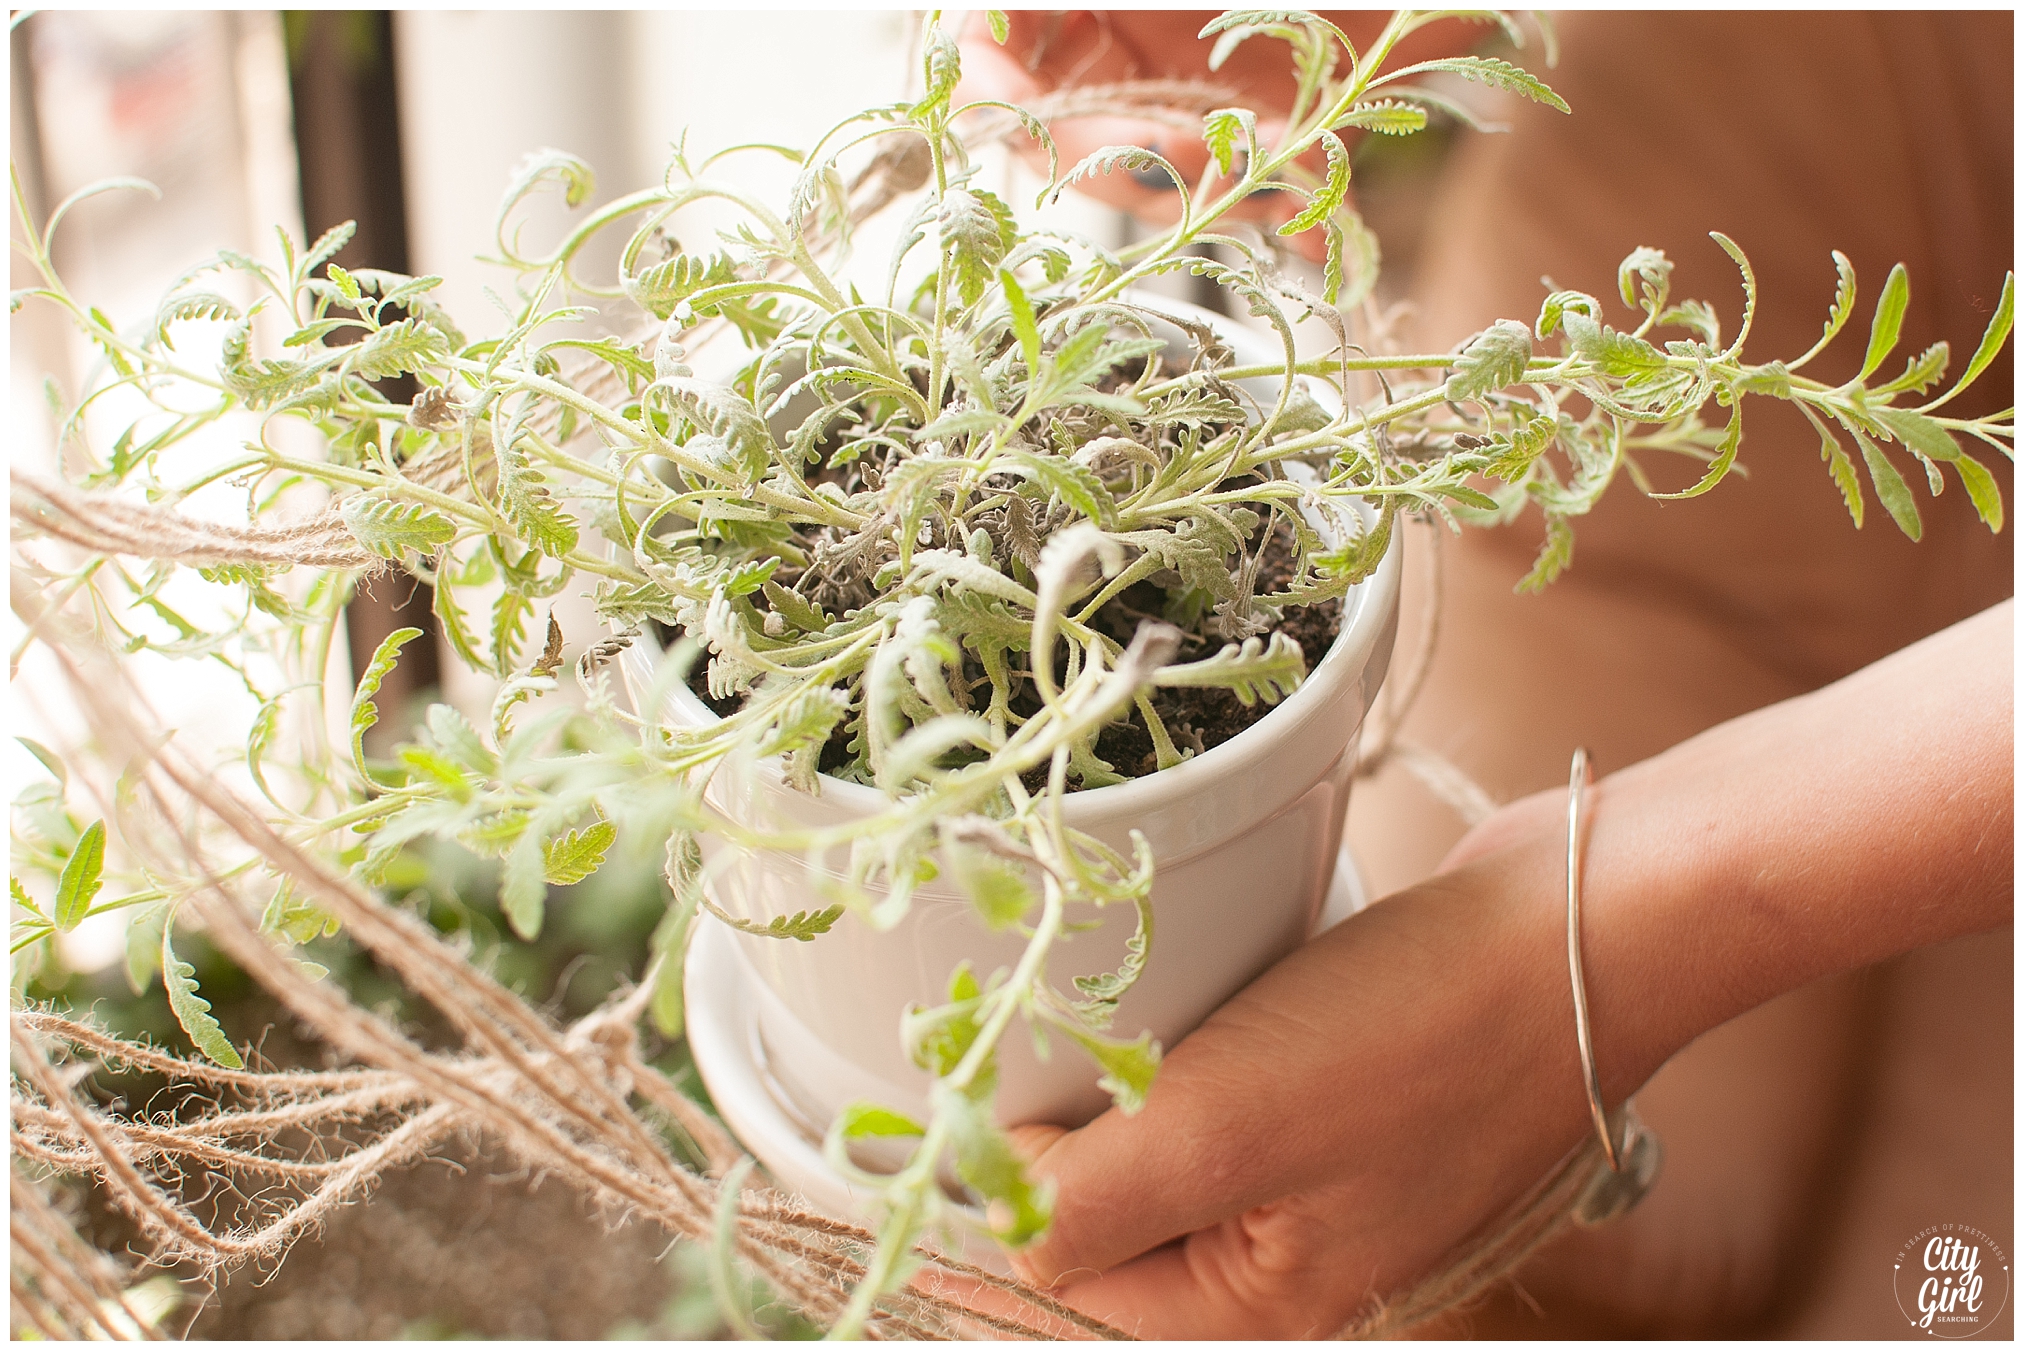
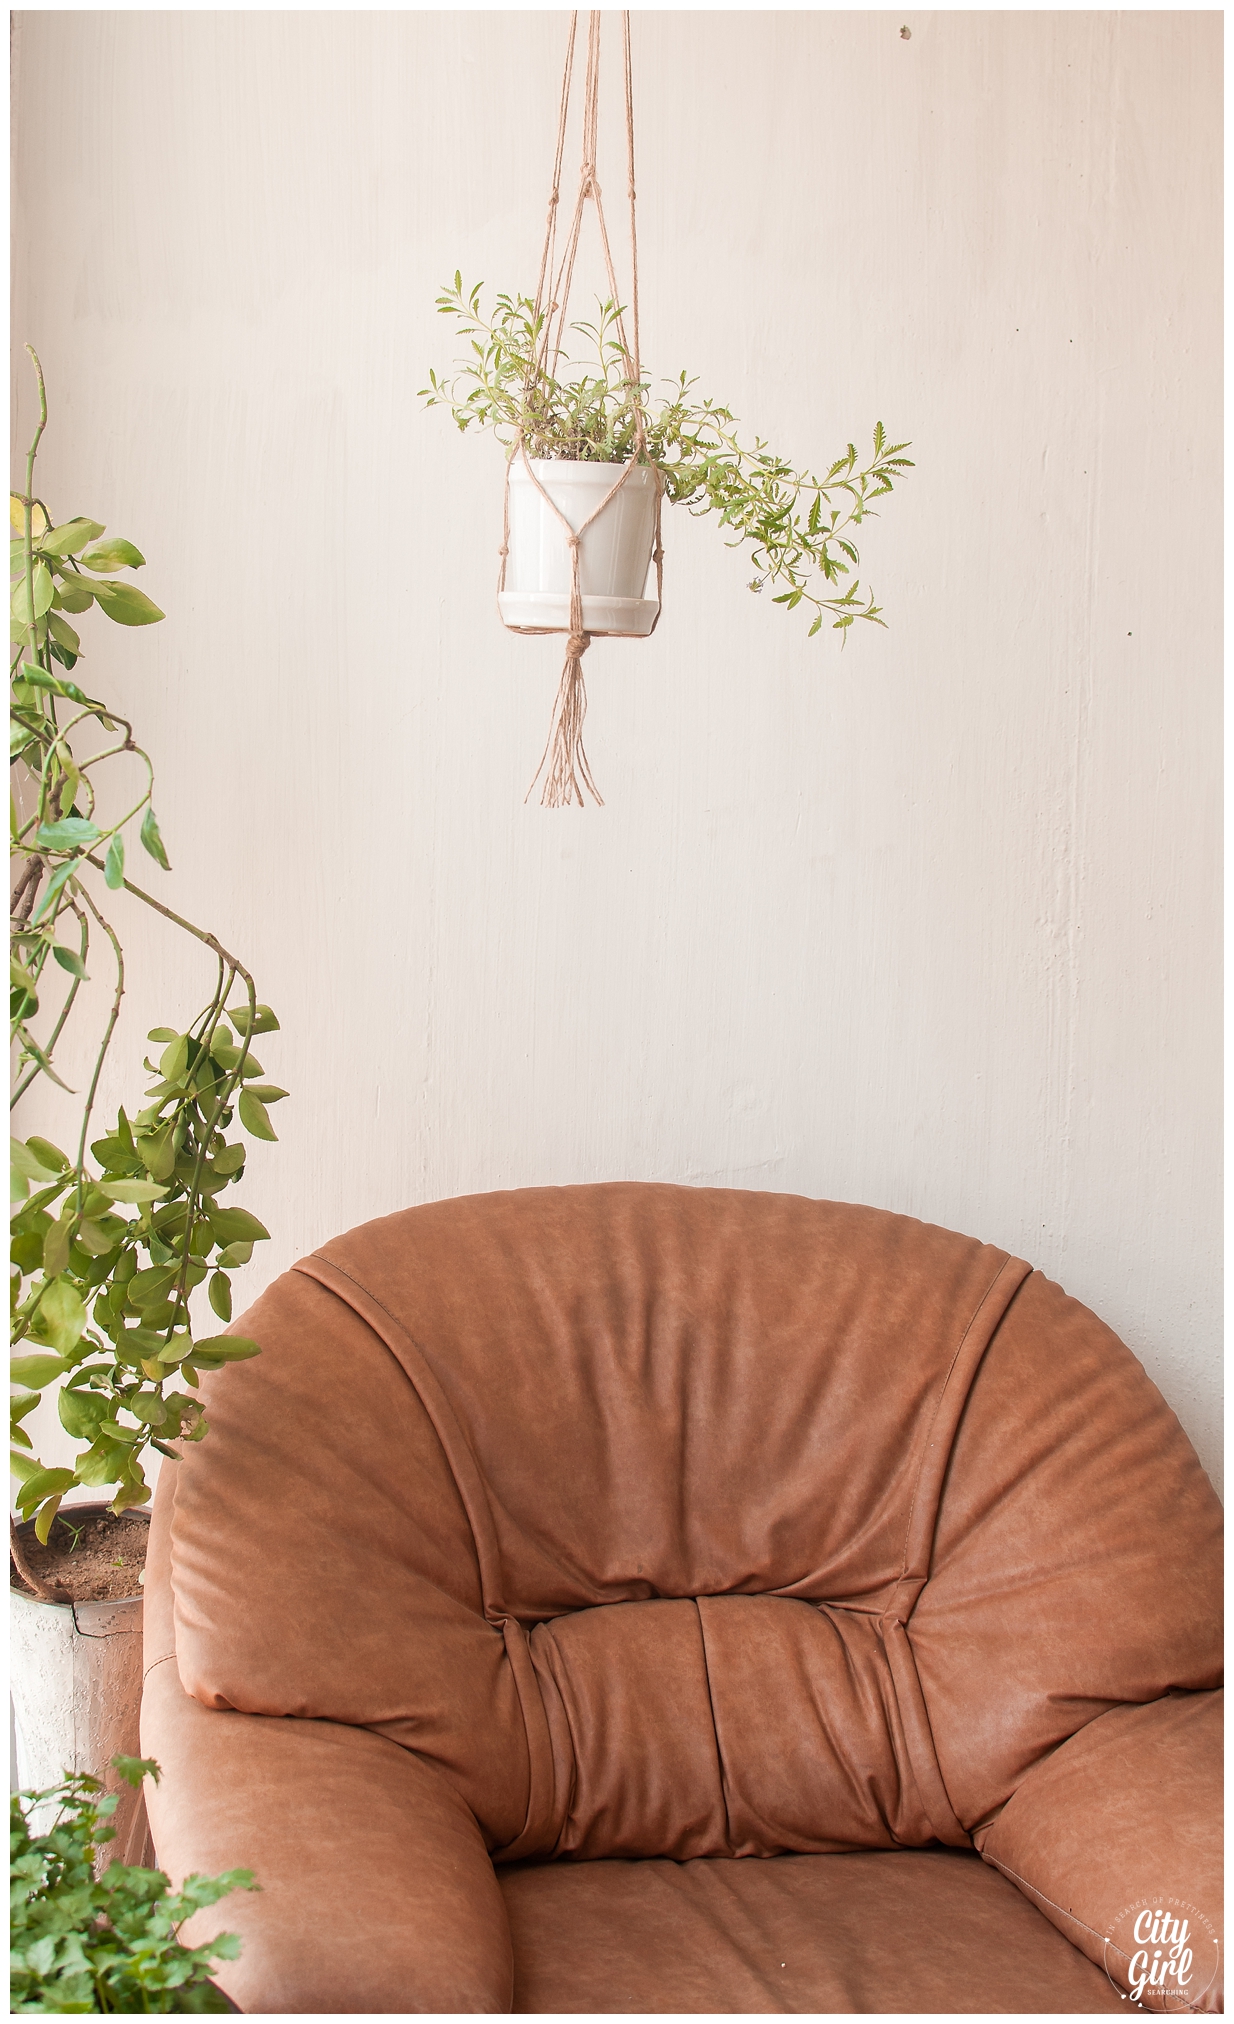
Neaten off the hanging ends to make a tassel. Place your pot in the middle of the basket. Hang up and enjoy.

CityGirlSearchingHowToMakeAMacramPlantHolderDIY13

Yellow Ribbons...South Korea still in mourning after Sewol ferry disaster

SewolFerryDisasterYellowRibbons

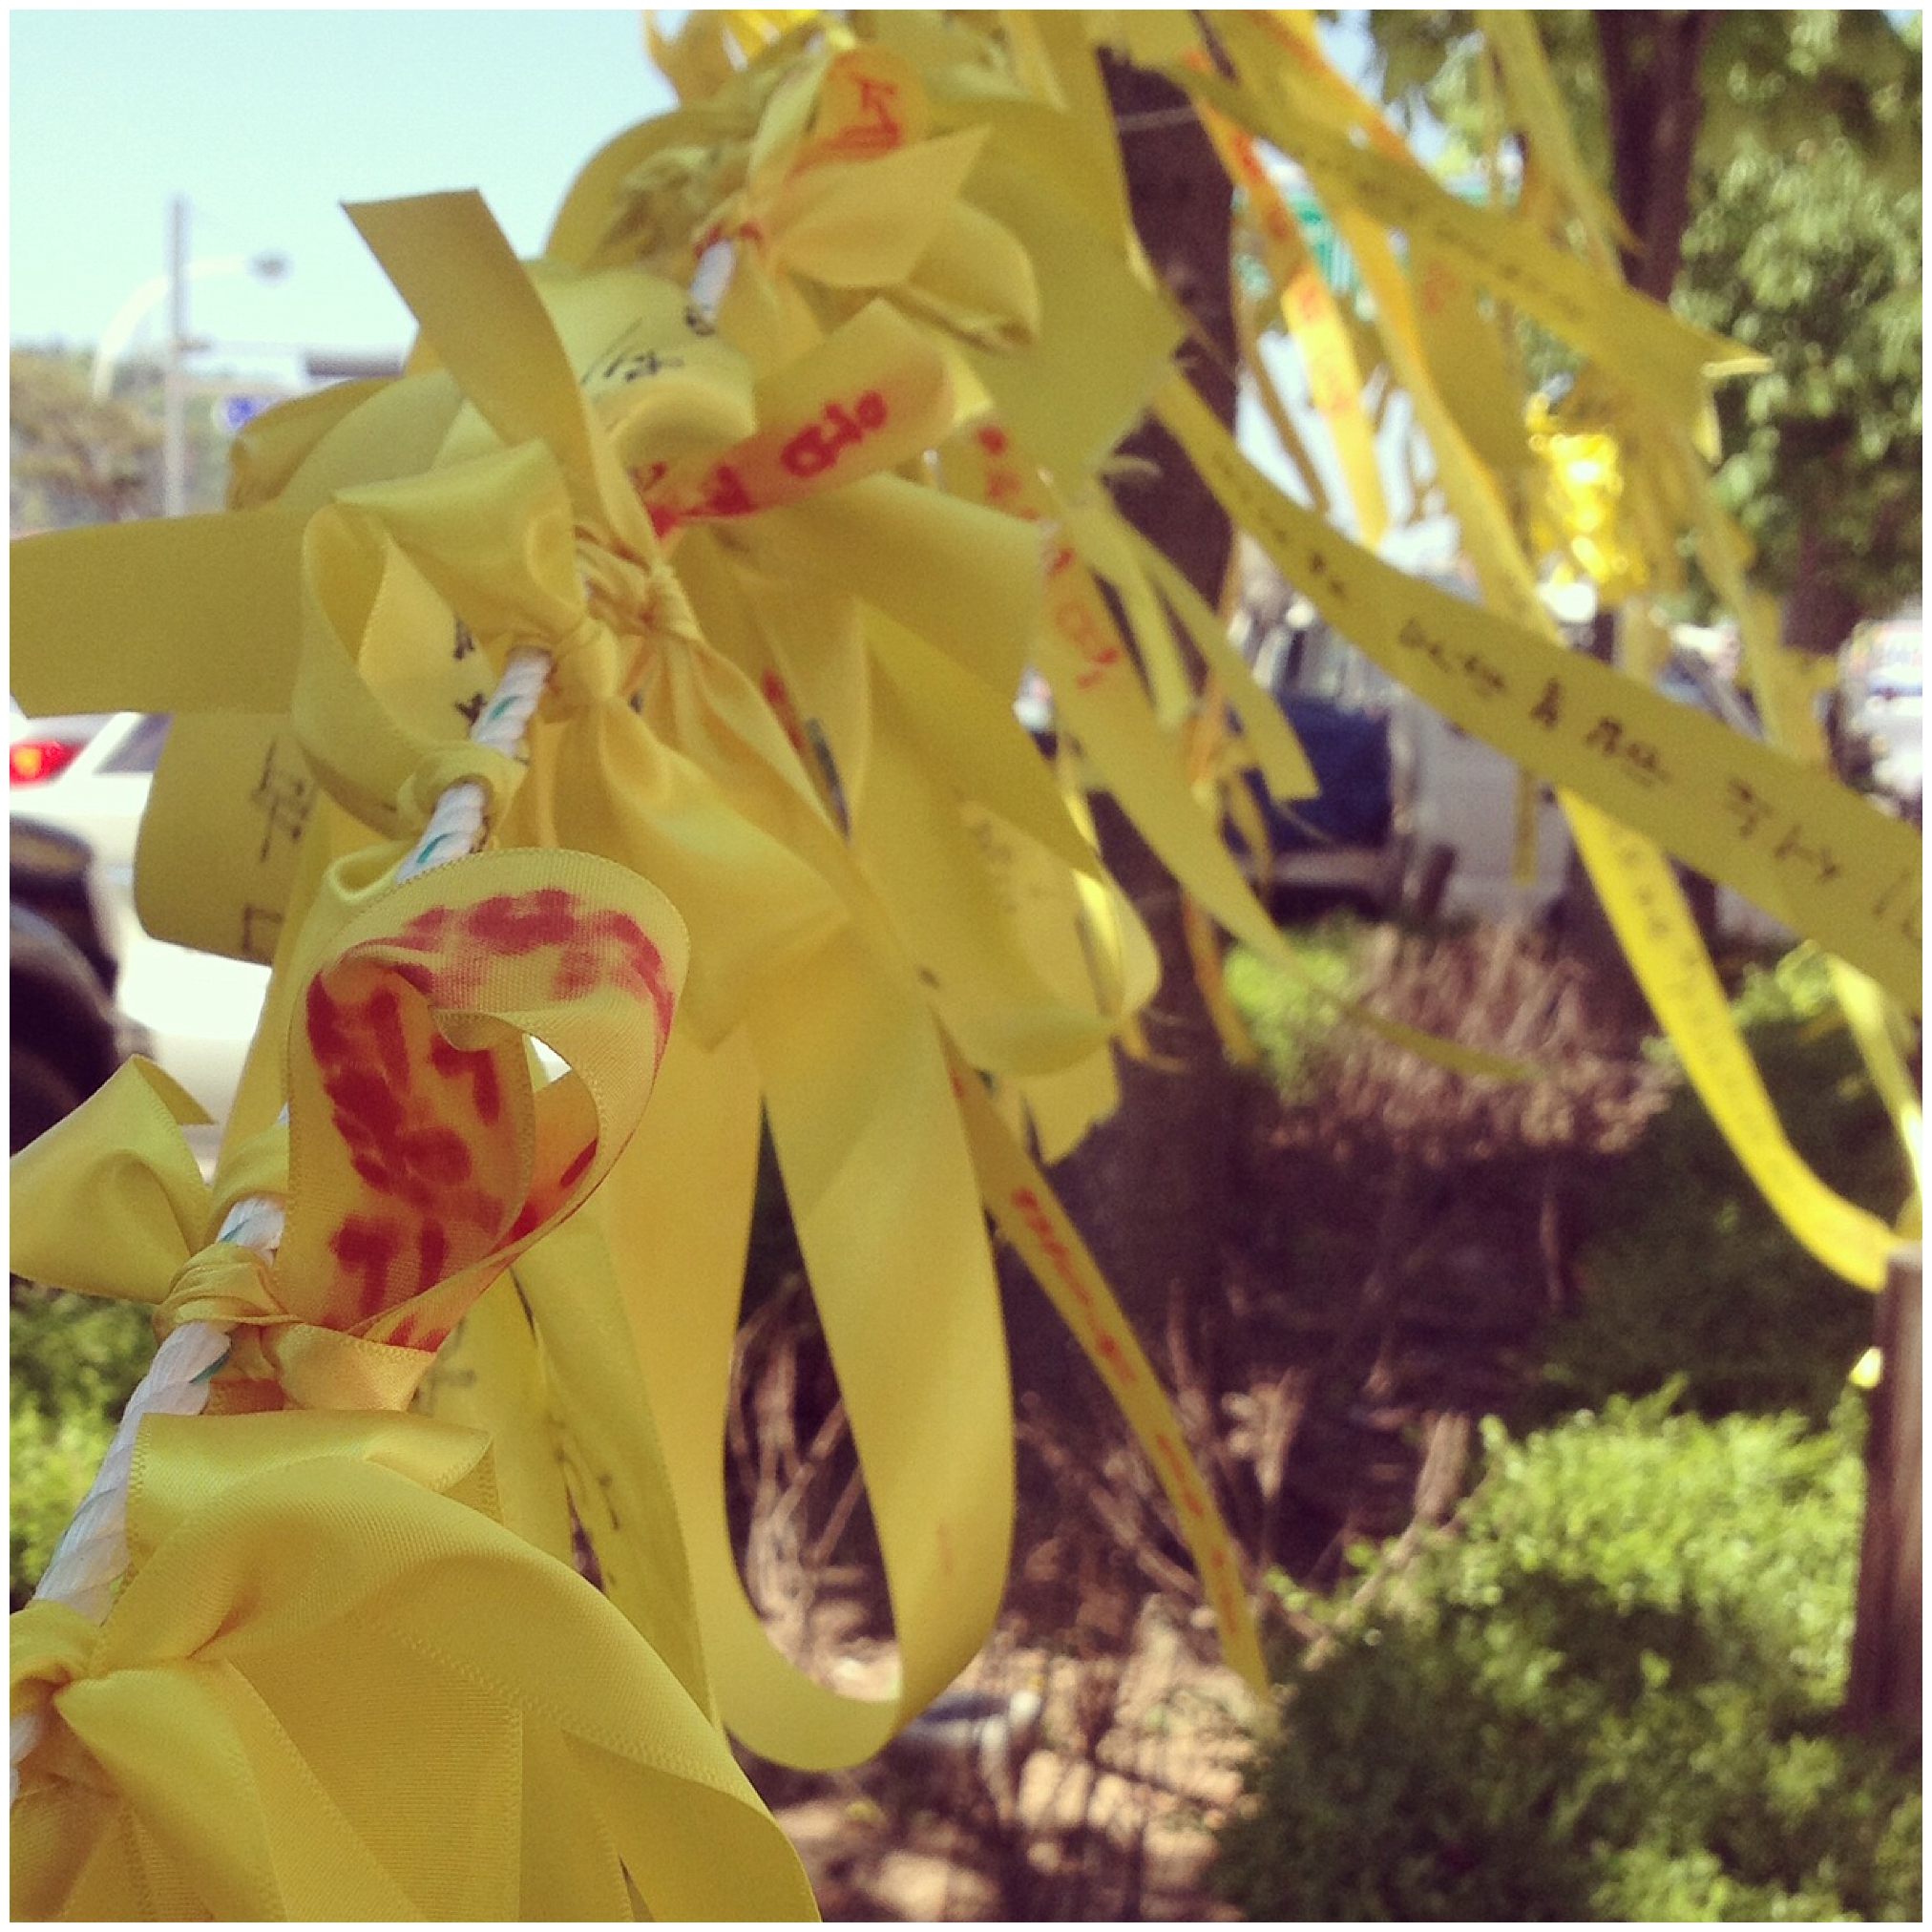
If you're here in South Korea you may have noticed little yellow ribbons hanging from trees, or pinned to peoples clothes. These yellow ribbons are part of a campaign (노란리본달기 캠페인) to pray for the victims of the Sewol ferry disaster in which more than 260 people have died, most of whom were high school students on a school trip to Jeju Island.  The ferry started to sink 3 weeks ago, and divers are still searching for bodies.

SewolFerryDisasterYellowRibbons1

The yellow ribbon tradition is said to have originated from an incident that occurred on a bus bound for Miami, Florida. It seems that one of the passengers had just been released from prison and he was bound for home. He had written to his wife and let her know he still loved her and wanted to be with her. He asked her to tie a yellow ribbon around the lone oak tree in the Town Square of White Oak, Georgia, if she still had feelings for him and wanted him to be with her. Everyone in the bus asked the Driver to slow down as they approached, and there was the yellow ribbon gently blowing in the breeze.

University students designed the above image of a simple ribbon inside a yellow square and began circulating it on Kakao Talk (an instant messaging application) on the 19th April.  The yellow ribbons began as a way of representing the wish for loved ones to return safe and sound to their families. 'The meaning began as a hopeful one, "one small step, big miracle" but as as the death toll rose, it evolved into a national sign of grief'. CNN

These photographs were taken in the centre of our small town where all my students gather to pay their respects to those who have died. 

SewolFerryDisasterYellowRibbons3

How to make your own cottage cheese {recipe}

HomemadeCottageCheeseRecipe

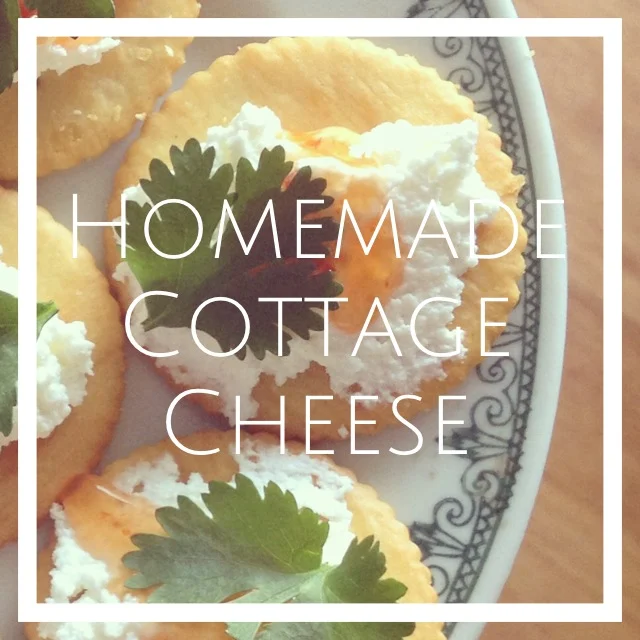
This is one of the easiest things I have ever made, and I was able to do it right here in South Korea with only 2 ingredients! It's super easy to do and so yummy, we won't ever be buying store bought cottage cheese again.

HomemadeCottageCheeseRecipeSouthKorea2

Ingredients

2 liters of milk (I used whatever milk I could find in the stores here as I can't understand the Korean labels, but you could try it with full cream, half fat and fat free milk)

1/3 cup vinegar (you can use either white vinegar or apple cider vinegar. I've made it with both and haven't noticed a difference).

HomemadeCottageCheeseRecipeSouthKorea1

Directions

Heat up the milk to 120F or 45C in a large pot or pan. I didn't have a thermometer and so heated up the milk until it was a hot, shower temperature. You can add salt/pepper/rosemary/herbs to the milk to flavour your cheese. You should be able to touch the milk without scalding yourself. Turn off the heat and add the vinegar, stirring slowly so as not to break the curds. It will start to curdle right away.

Cover and leave to sit for about half and hour.

Drain the curds and whey using a muslin cloth, or any other piece of cotton fabric. Drain completely. What will be left is your cottage cheese. Store in an air tight container. If it's a little on the dry side, you can add cream or more milk to your mixture. You will also need to add salt as the taste will be a little bland. It should keep for about 10 days, but ours has never lasted more than a day, it's just so good!

Serve with sweet chile sauce and fresh coriander for maximum yumminess. 

HomemadeCottageCheeseRecipeSouthKorea3.jpg

Photography Styling Challenge {Living Room}

RedesignedbyMPhotographyStylingChallenge

This months theme for Redesigned by M's Photography Styling Challenge is 'Living Room'. In this challenge the photographs cannot be edited, and only a maximum of five images may be posted. This is always difficult for me as I tend to take so many photographs and I always struggle to choose JUST five. Each one appeals to me in a different way. But, in essence this is exactly the point of the challenge...to better yourself as a photographer and stylist. 

My first submission was for Morning {click here} followed by Bedroom {click here}, Order {click here}, Patterns {click here}, Fashion {click here} and Light {click here}. Each theme or concept is open to interpretation by the photographer, and it has been really interesting seeing how each of us have handled the themes in our different ways. 

As with all the challenges so far, I had high hopes of being able to style my living room in an interesting and unique way, but we are in the middle of moving apartments (and apartments here in Korea are very different from Western ones) the living room becomes the TV room, the kitchen, the dining room, study, craft room and at times, the bedroom. It was really hard to think of a way to style it in a way that aligns with my photography style.

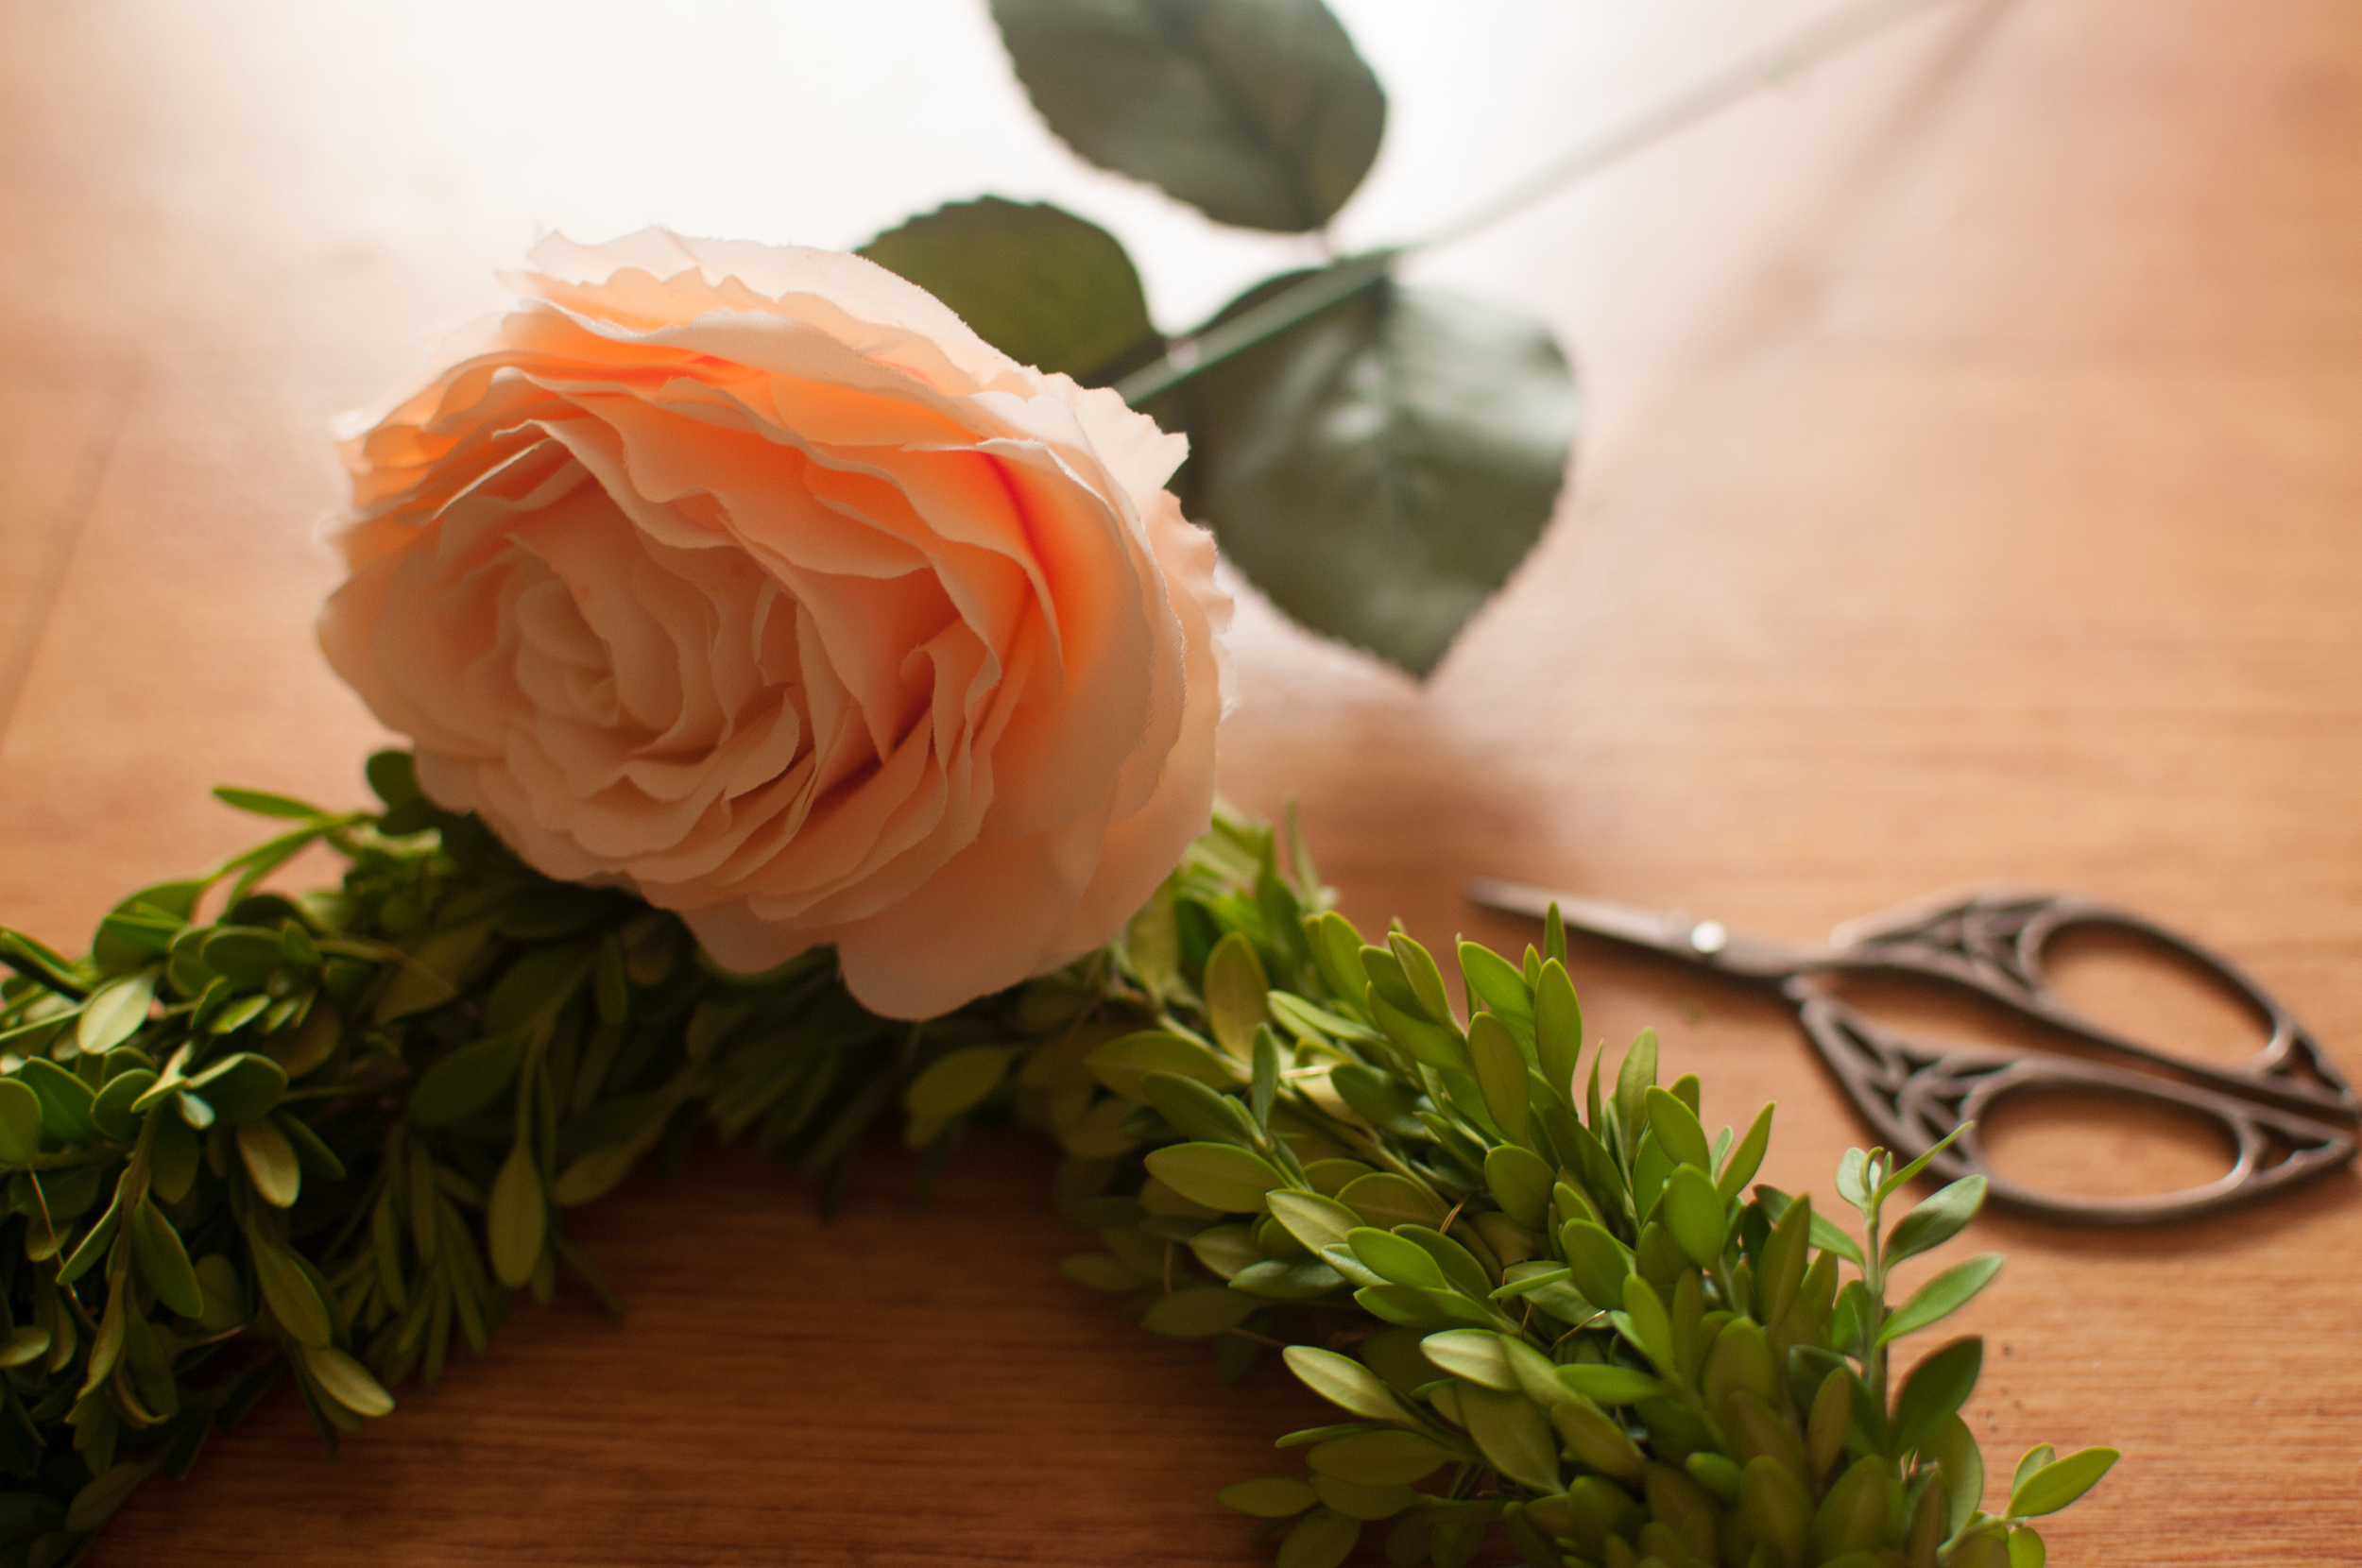
So instead of putting too much pressure on myself, I am using photographs from a styled shoot I did a few weeks ago. My friend and I did a flower crown photo shoot with our beautiful Korean friend {click here to see the photographs} and these photographs are from the actual making of the flower crown which took place in my living room. I will be doing a full DIY post showing you how to make a flower crown, but here are a few highlights from the shoot. 

CityGirlSearchingPhotographyStylingChallengeMicingRoom

The photographs came out a little darker than I had anticipated (and this challenge is all about not editing!) but I quite like the effect they have paired with the rich colours of the flowers and the floor.

I used the following settings on my NIkon d300s & 35mm 1.8 lens:

-ISO 320

-Aperture of 1.8

-Shutter-speed 1/60

-I had my white balance on indoor

I deliberately didn't want to use a flash, but looking back now, if I had a diffuser a flash would have really helped me as it was a cloudy & cold day and there was very little natural light coming in through the windows. But I am happy with how they came out. As always I would love to know your thoughts, please leave me a comment below, I promise to respond! 

Enjoy

x

Make sure to pop on over to the other participants and see how they interpreted this theme:

Redesigned By MAt The Corner Of Happy And HarriedMy Food TapestryInge Kathleen PhotographyThe Delicious World Of Chefette SpicyA Tree Grows in the BayouI Live Under A RockHooked On HomesSamta PhotographyMiss Wang PhotographySimplyVegetarian 777

And a warm welcome  to our newest participant: Coconut Craze

Zoey and Jasper...an overdose of cuteness

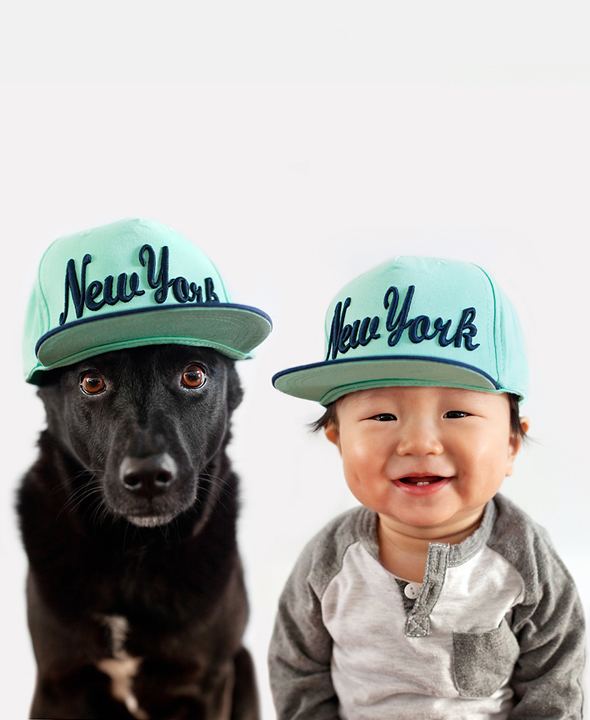
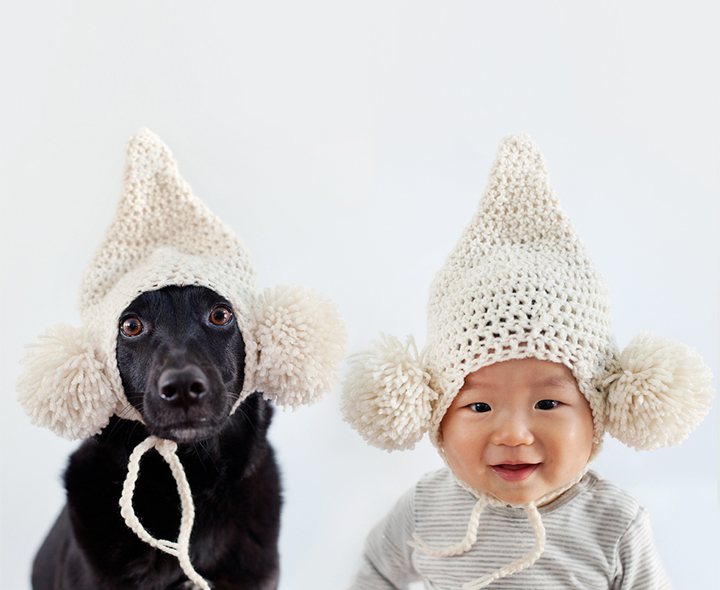
I stumbled across something last weekend that made me smile. And I can't keep it to myself, I have to share it with you. If you love photographs of sweet little ones, and you love photographs of the furry variety then this series is going to rock your socks off.

ZoeyandJasper

Grace Chon is a delightful lady who responded to my email right away, asking if I could feature her work here on my blog. She lives in Los Angeles with her husband, little boy and two rescue dogs (Maeby and Zoey). In her spare time, Grace photographs homeless dogs looking for their forever homes and donates her photography services every year to multiple dog rescue groups in Los Angeles (see I told you she was lovely!). Grace has also been photographing her son (Jasper) and Taiwanese rescue dog (Zoey) in a series of adorable 'twin' photographs that are bound to make your day that much brighter.

The story of Zoey the rescue pup is a happy one, although it didn't start out that way. Zoey started out life in a gutter in Taiwan, after being abandoned along with her brothers and sisters. A school girl walking by scooped up all the puppies and carried them to her home where she later contacted the Taiwan Animal Rescue Team.

'A kind volunteer at the Animal Rescue Team, Joy, found foster parents for all 5 of Zoey’s siblings, but decided to foster Zoey herself because she was the runt and the sickliest. She also gave her the name she came to America with - Star. Joy fell in love with Zoey and said she might have kept her, had she not been moving to China for a new job.

She says she never knew what happened to any of the puppies, and all that she knew of Zoey was that a Korean girl in Los Angeles had adopted her. Joy says she’s been waiting for 7 years to hear more about the puppy she fell in love with. As the photos of Zoey and Jasper broke around the world, Joy saw them in China. She had a hunch that it might be the sickly little 2.5 pound dog she nursed to health in Taiwan - and she was right.

Joy has been sending Grace photos of Zoey - from the first night she was at her apartment, to the final photo they took of her with a China Airlines stewardess before she boarded her flight to Los Angeles' (Zoey and Jasper).

I hope you enjoy these photographs as much as I do, and that you make you smile.

Happy Friday everyone!

x

"About Zoey:
Zoey is a 7 year old rescue mutt from Taiwan. She loves hiking, playing fetch with her toy squirrel, eating crumbs off the floor, and Jasper.

About Jasper:
Jasper is a 10 month old Chinese-Korean mutt from Los Angeles. He loves going for walks, eating pancakes and meatballs and yogurt and oatmeal and cereal (sometimes all together), and his best furry friends Zoey and Maeby. 

Zoey and Jasper’s mom is a commercial photographer specializing in animals, lifestyle images, and celebrities with their pets. When she isn’t furiously editing photos during Jasper’s nap time, she likes to garden and watch The Real Housewives of Beverly Hills." (Zoey and Jasper)

Instagram: @thegracechon #zoeyandjasper

Facebook: Shine Pet Photos

Twitter: https://twitter.com/thegracechon

Web: www.gracechon.com

Jasper & Zoey on Tumblr: http://zoeyandjasper.tumblr.com/

Korean Spring Flower Crown Styled Shoot

Spring Flower Crown Styled Photoshoot by Roxy Hutton of CGScreative-05.png

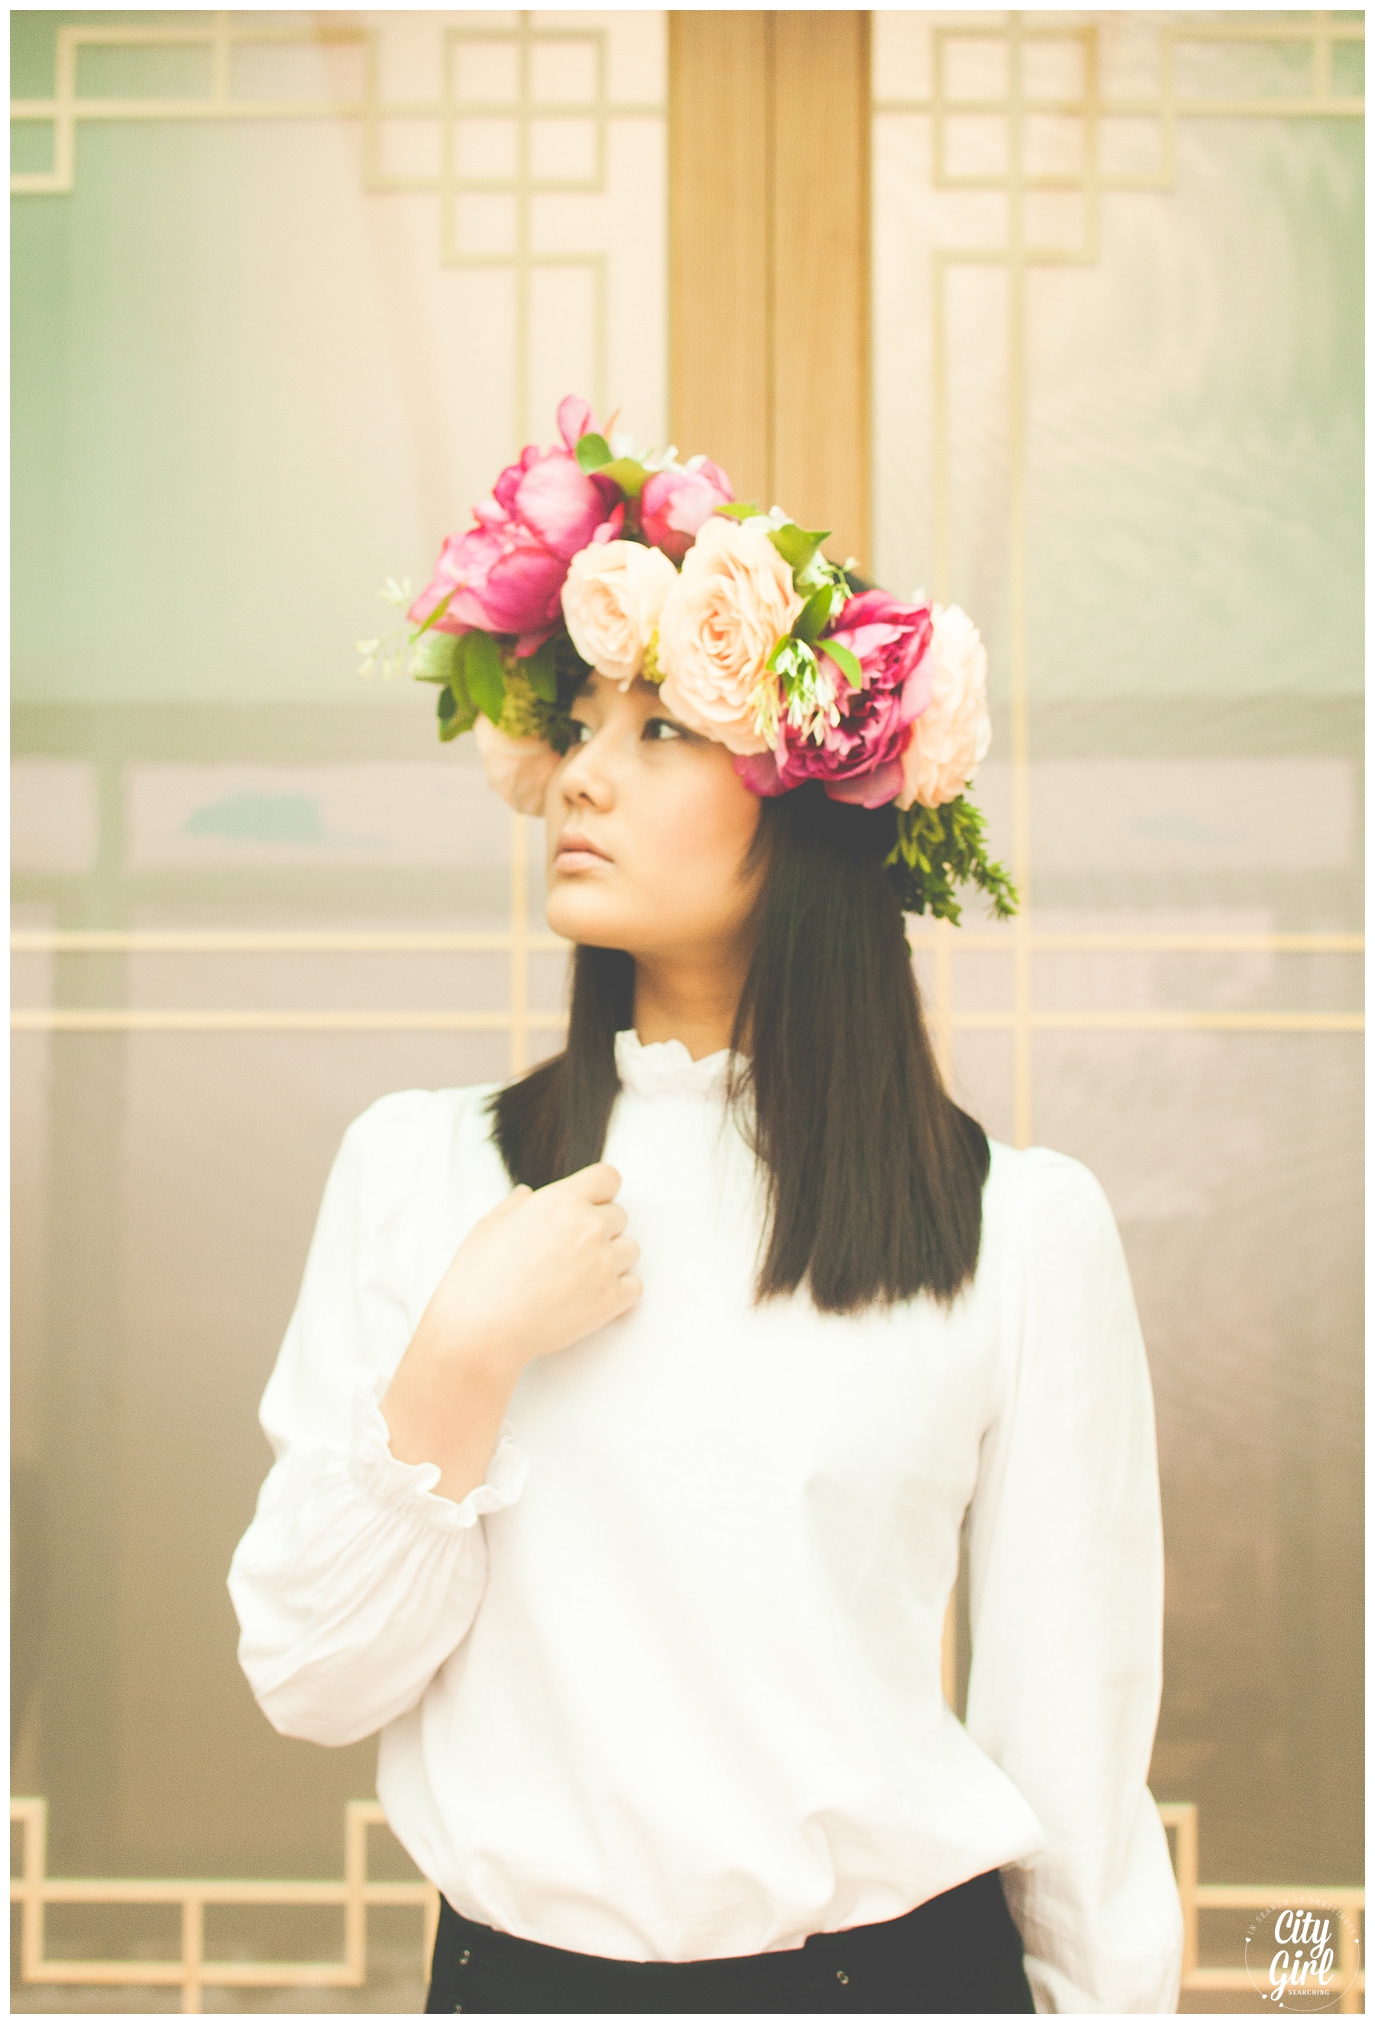
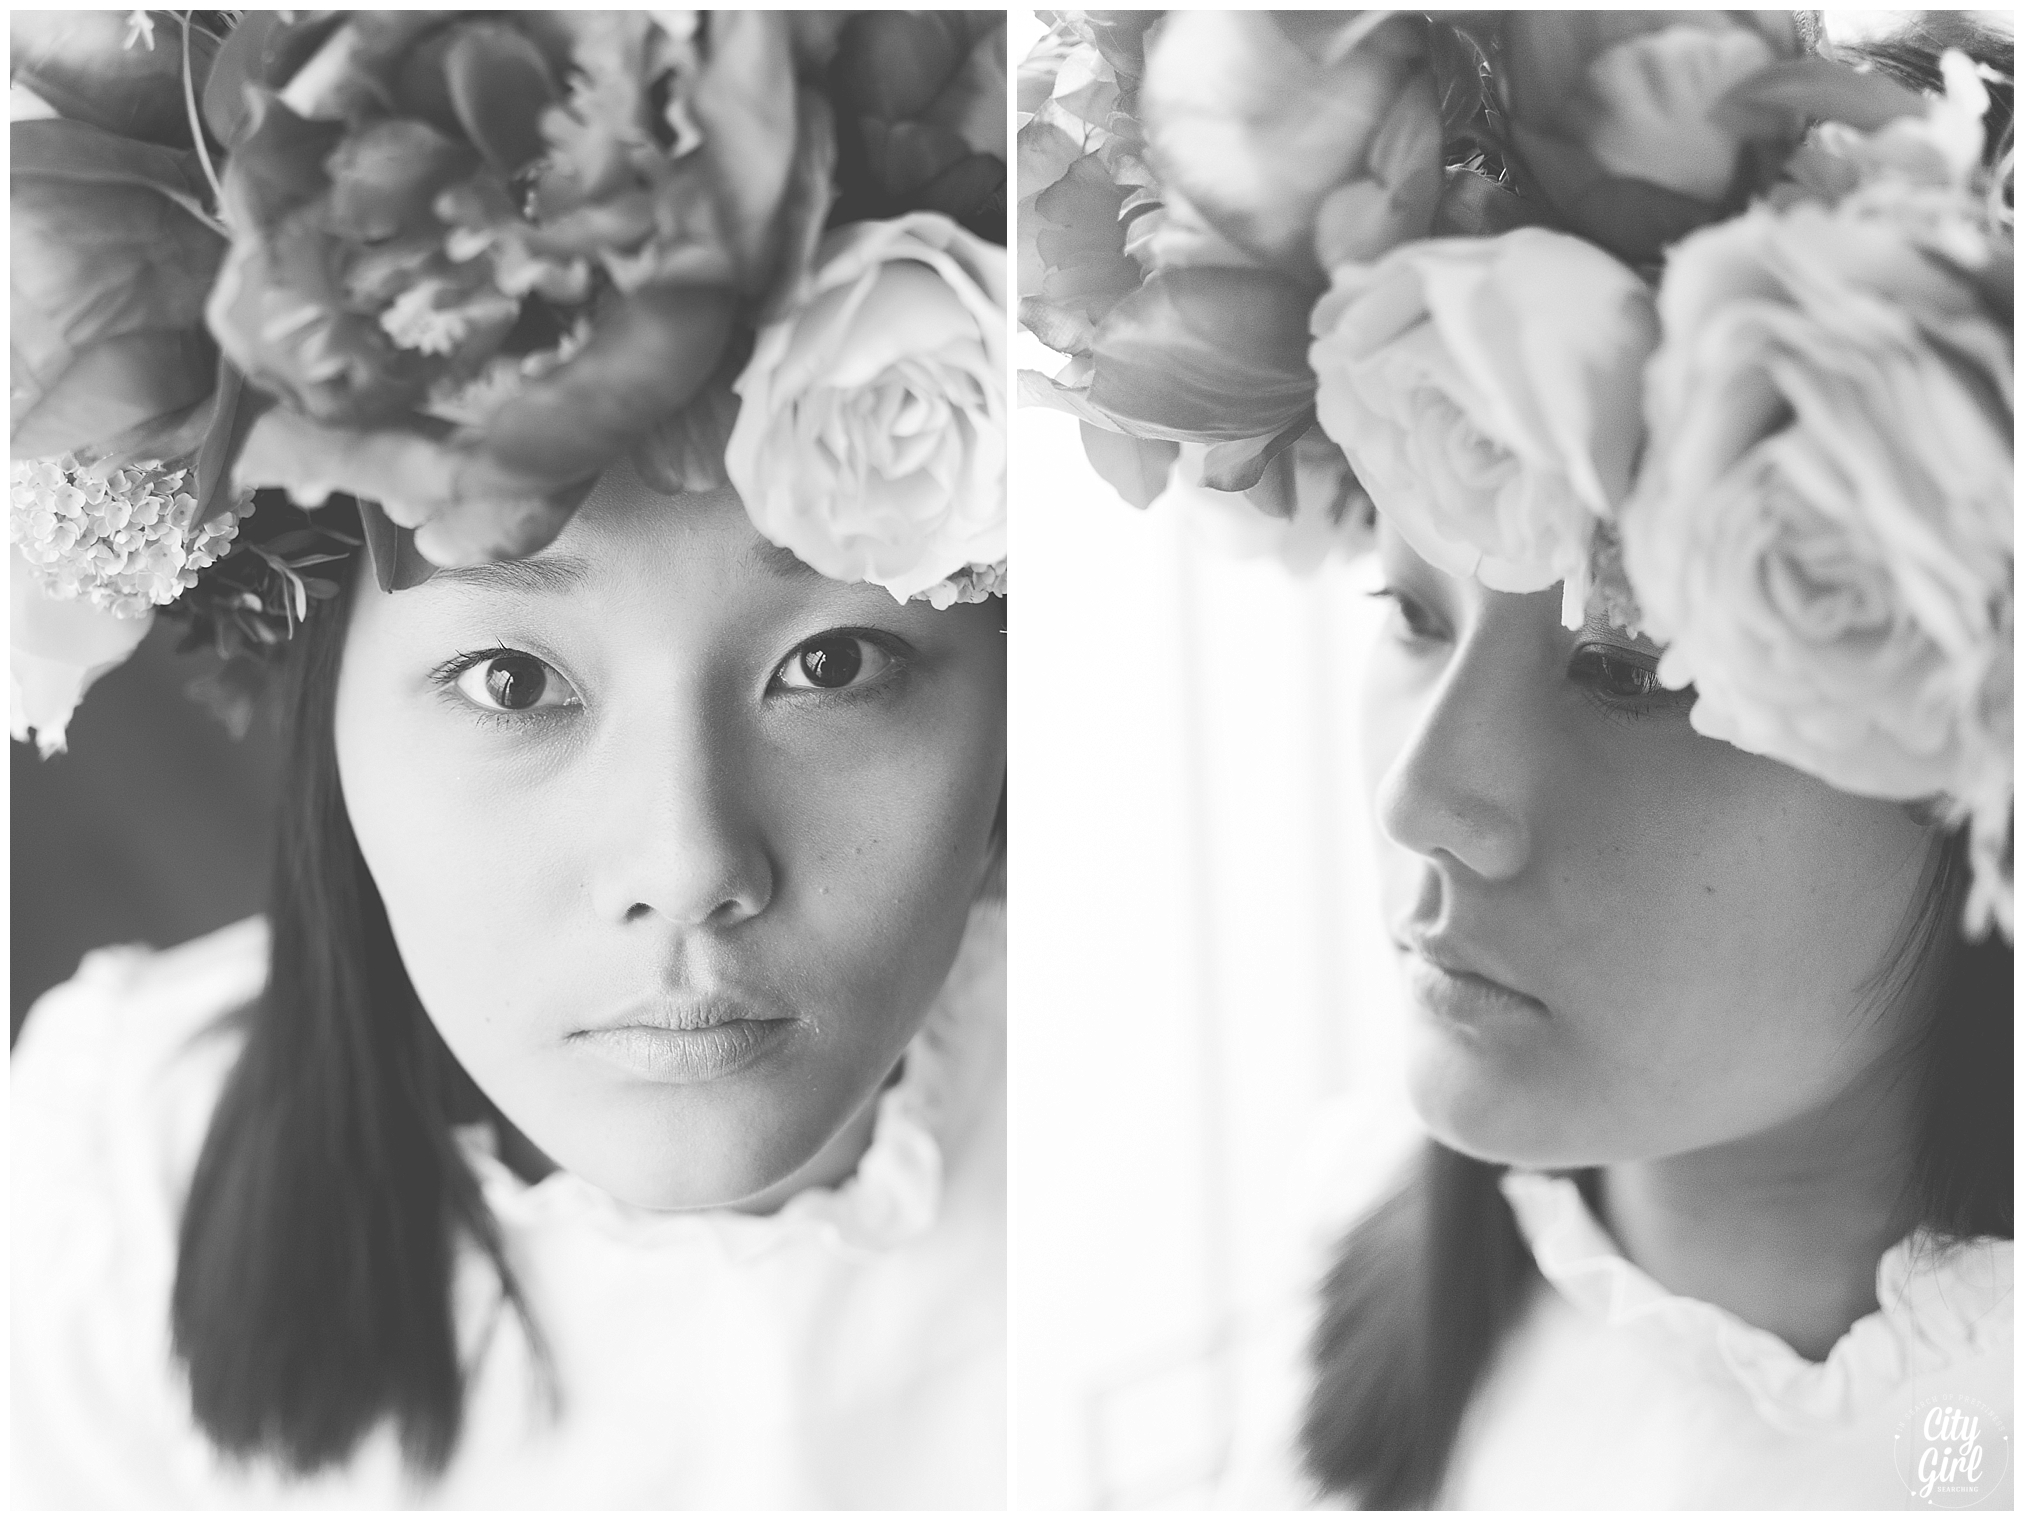
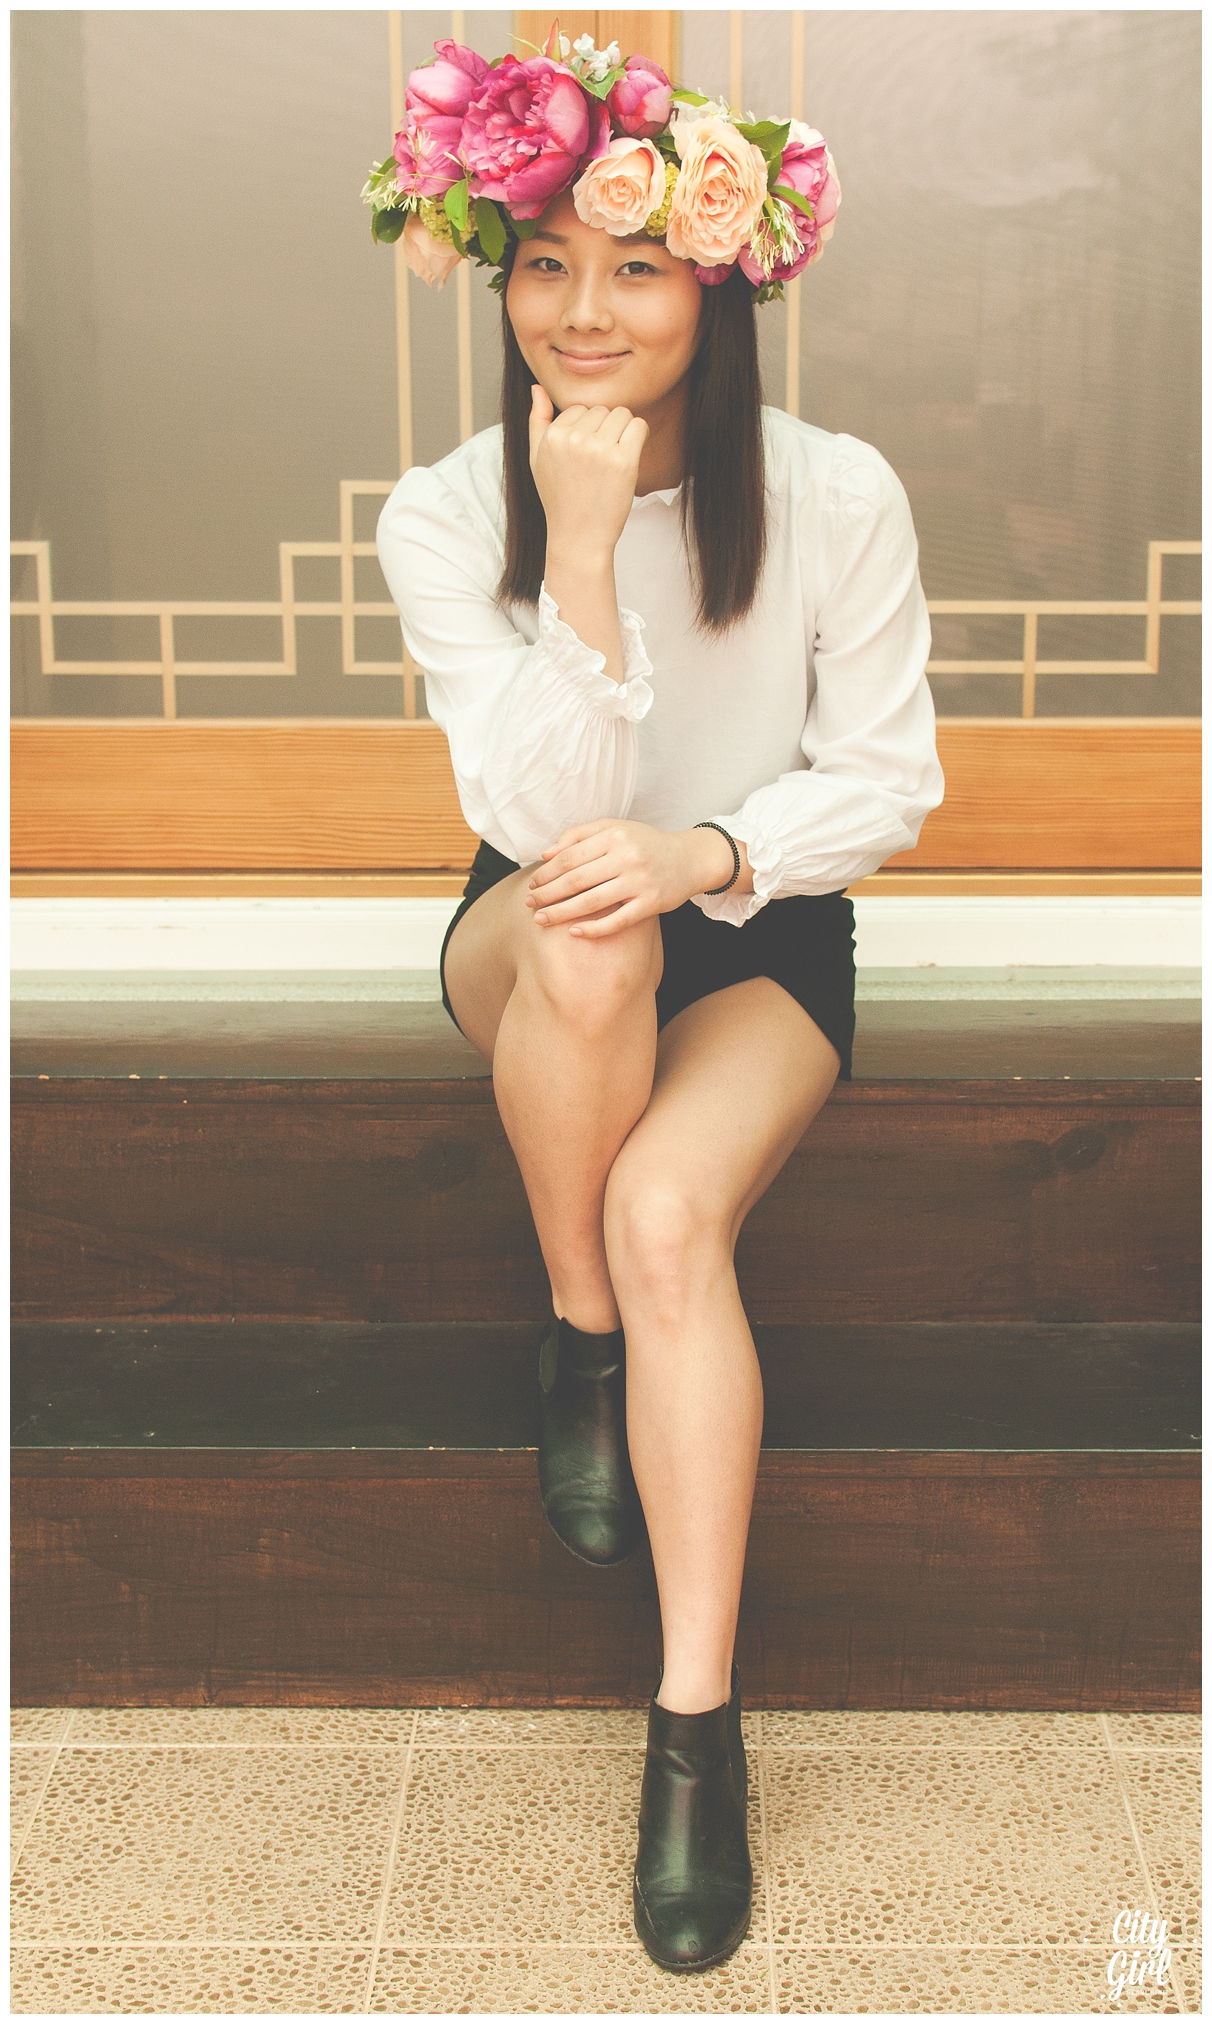
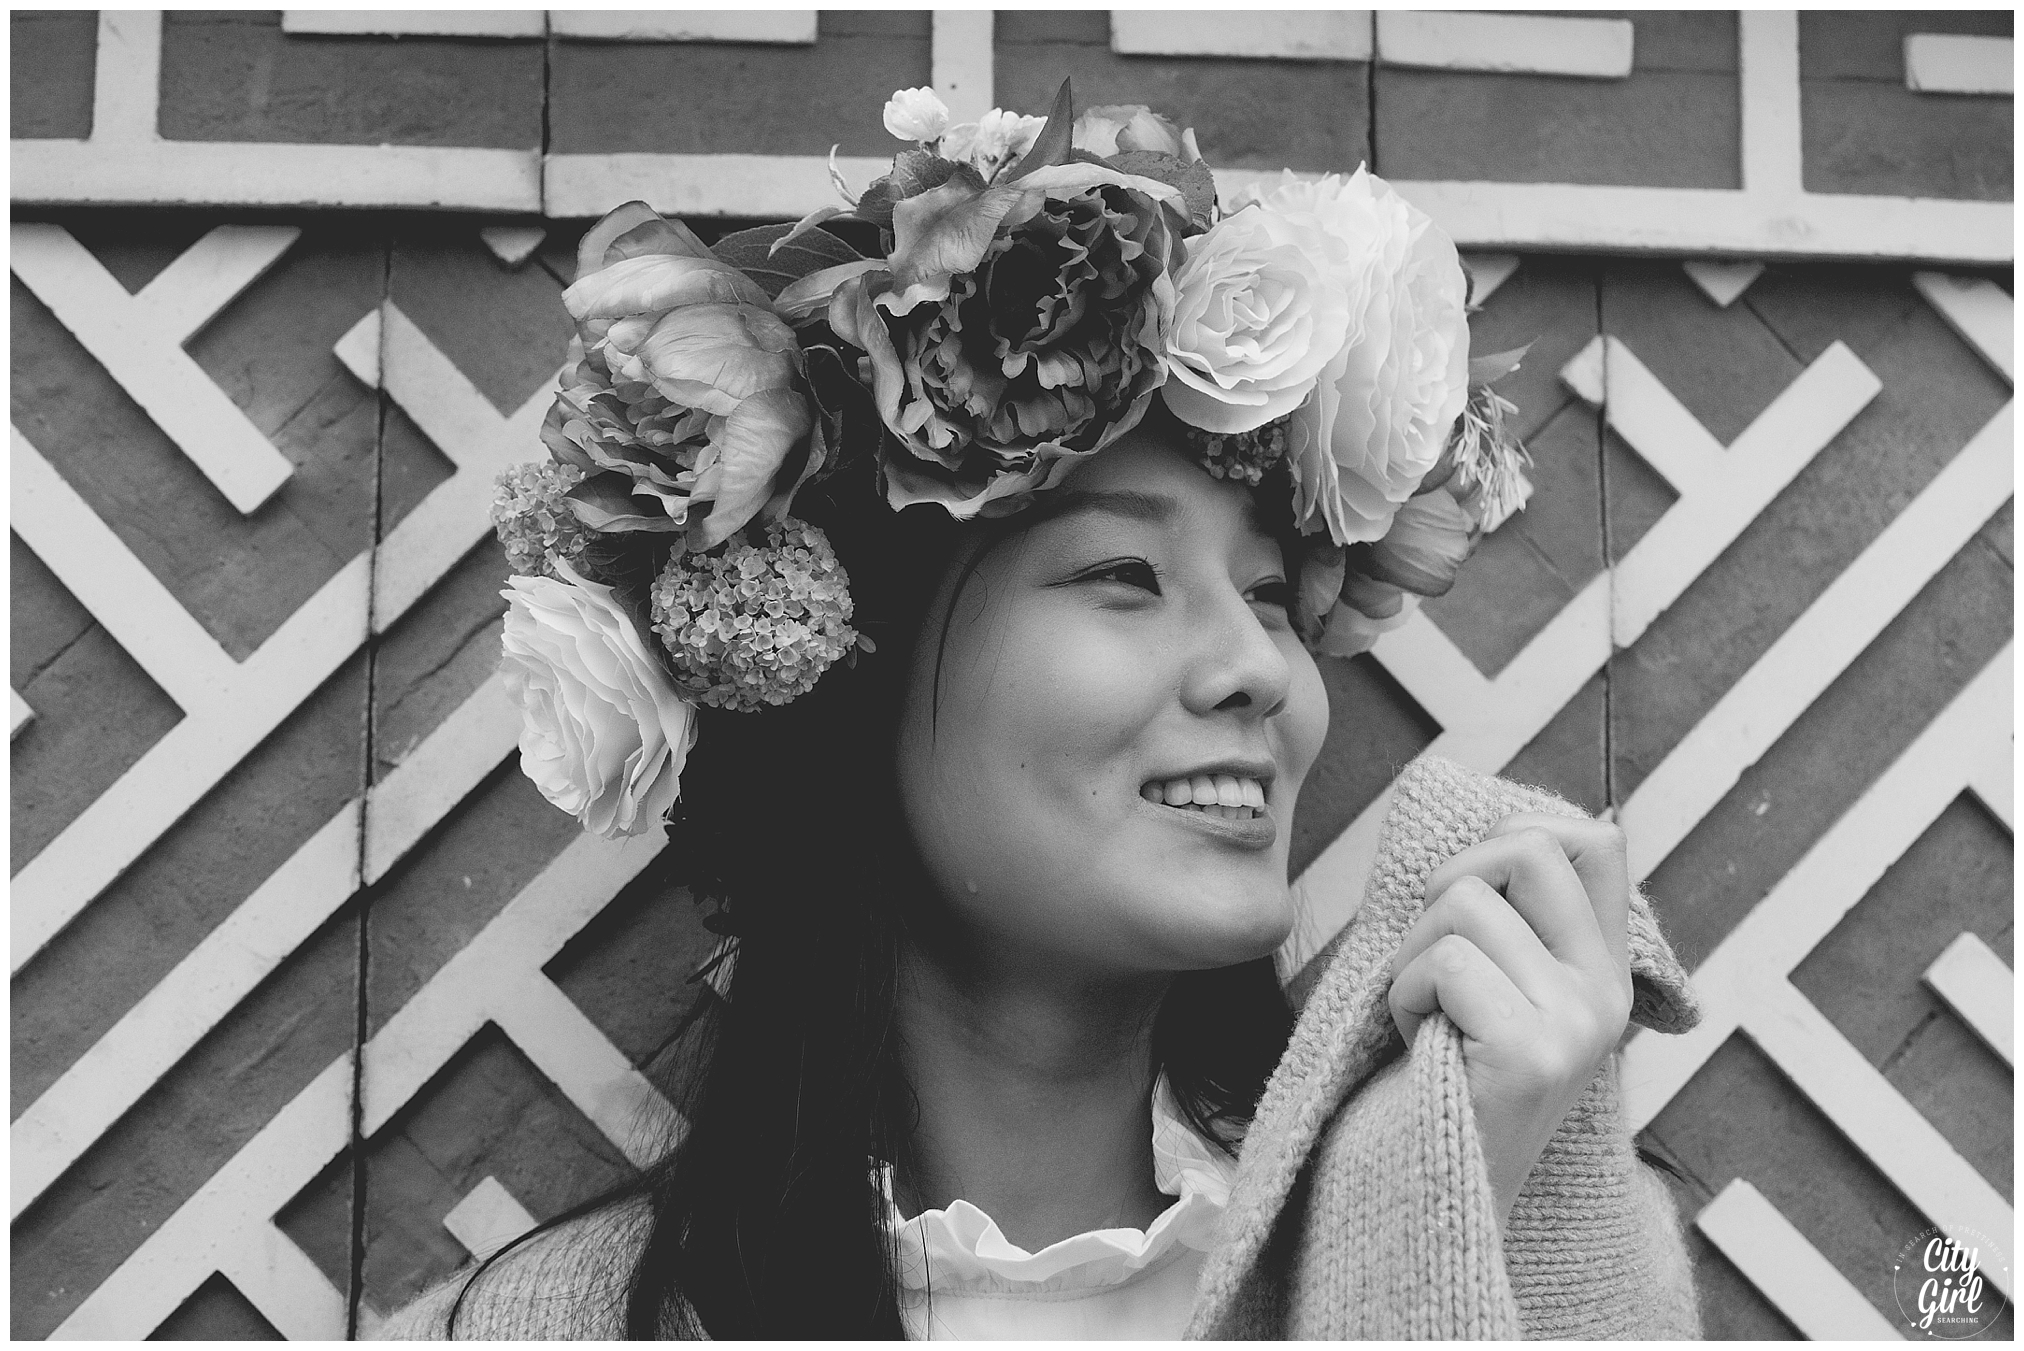
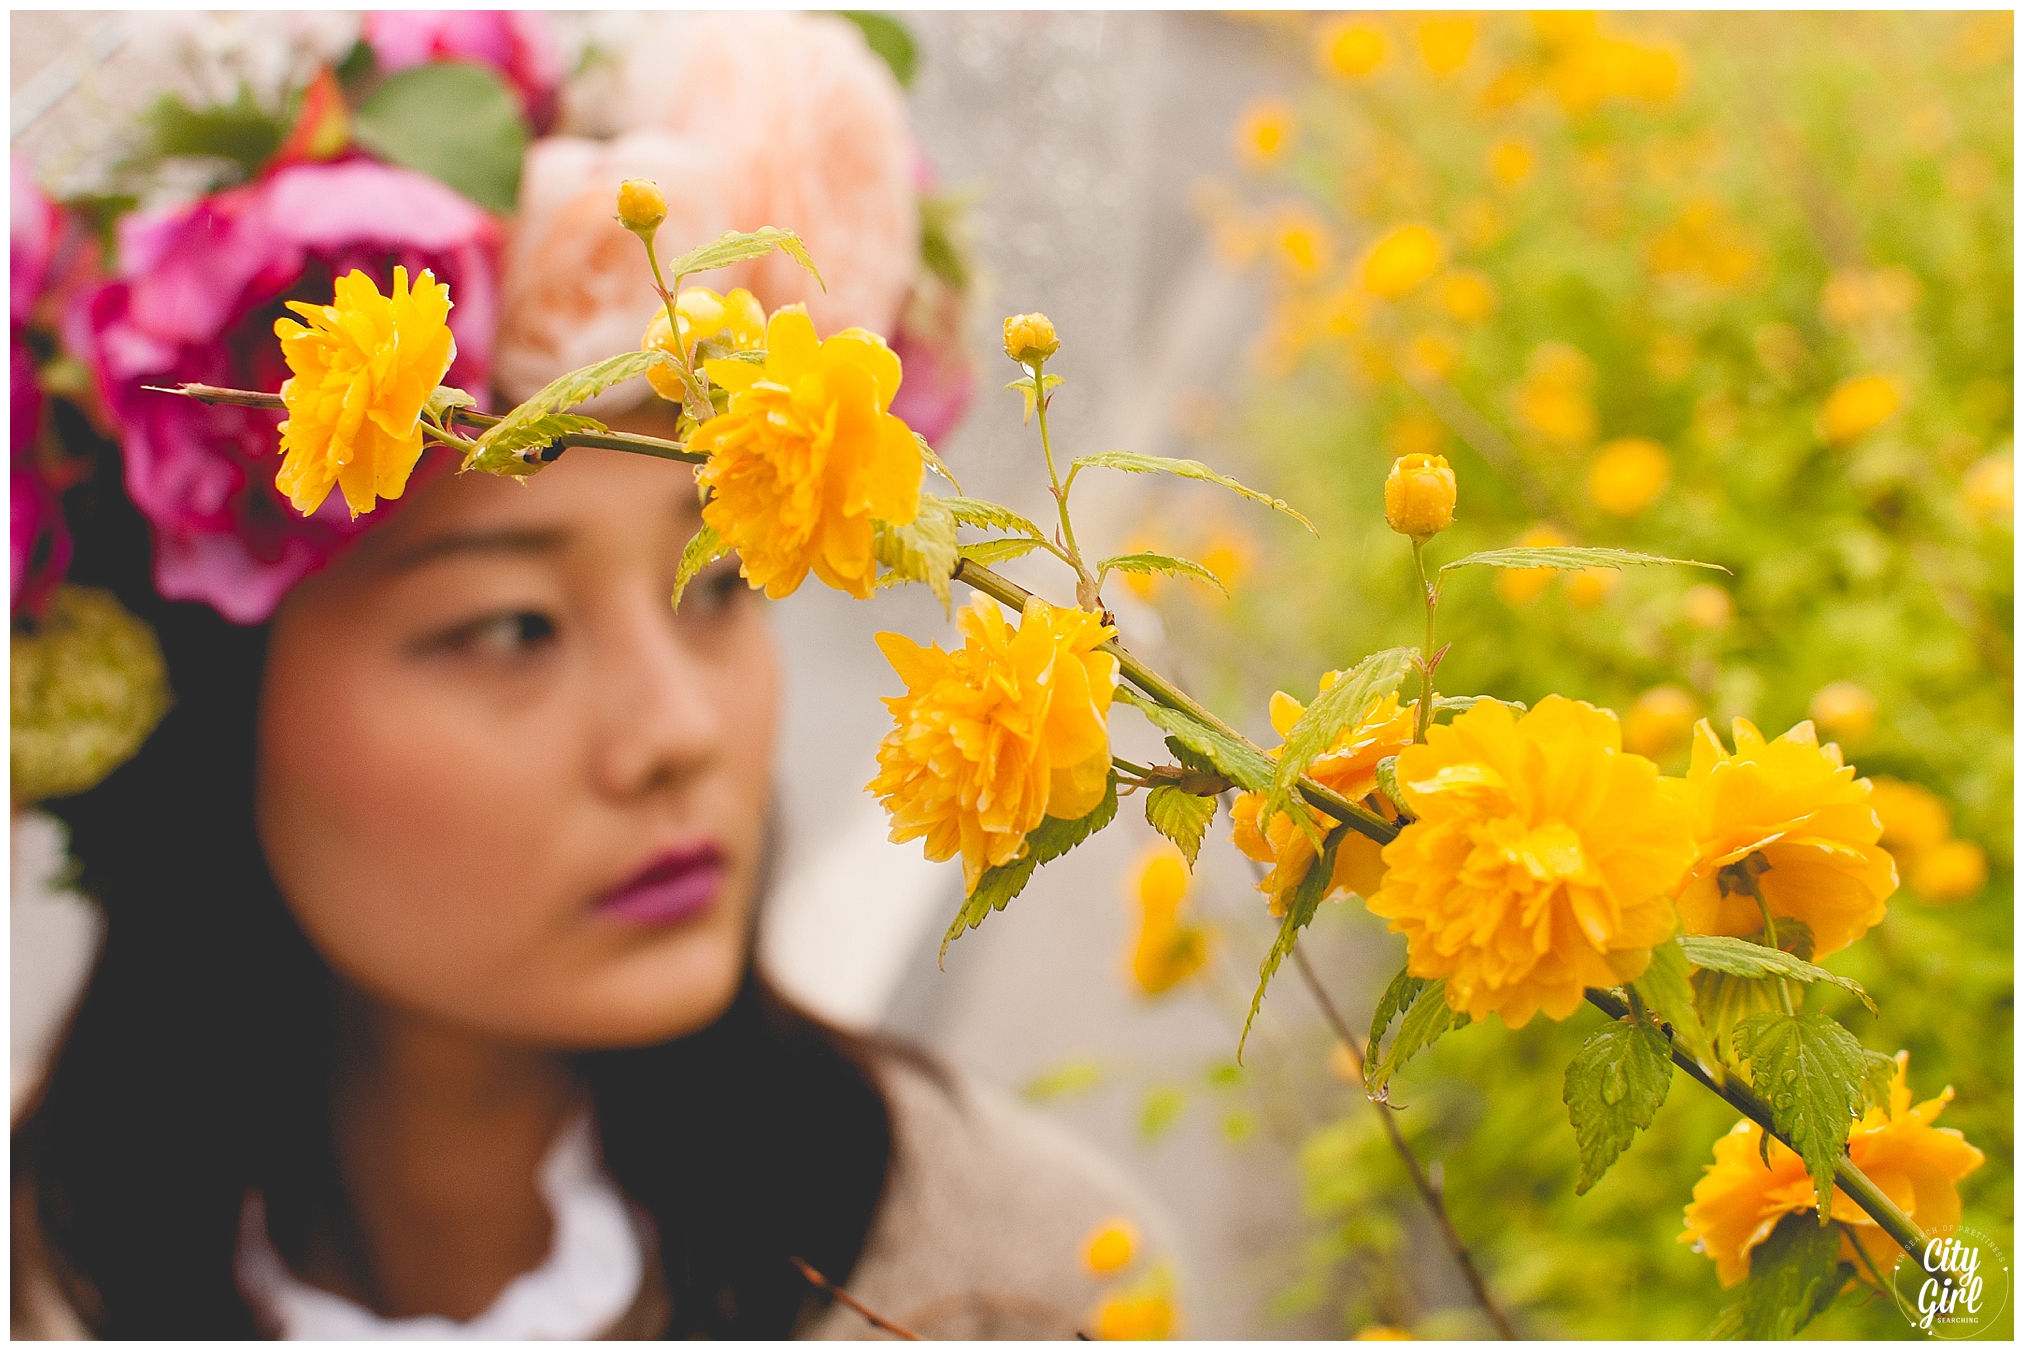
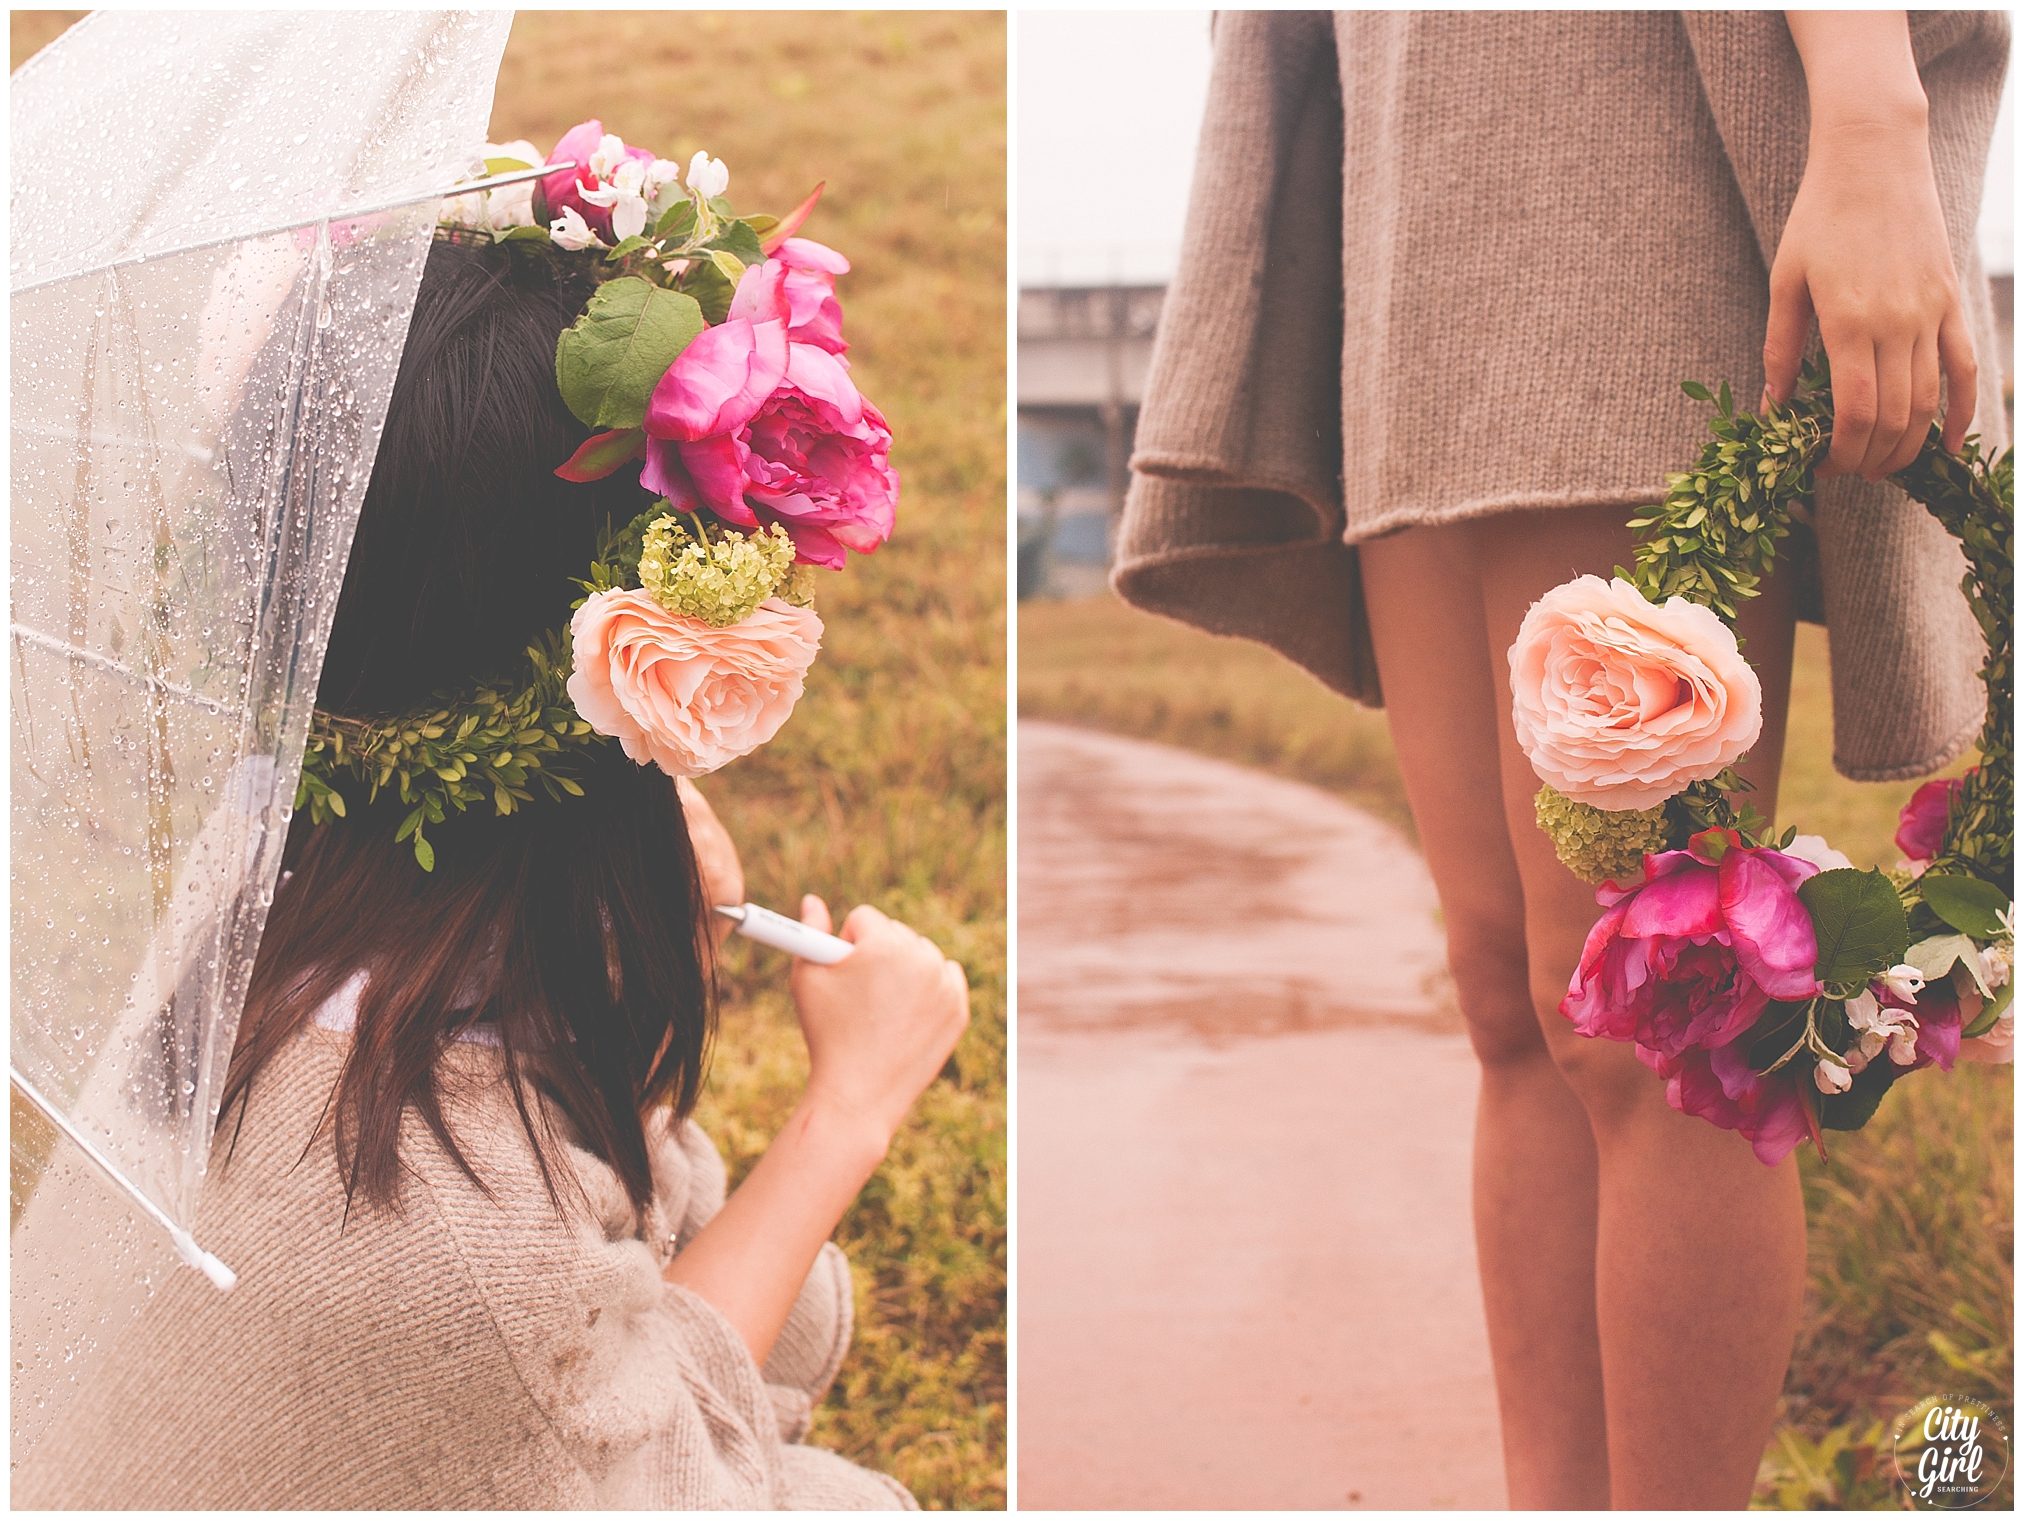
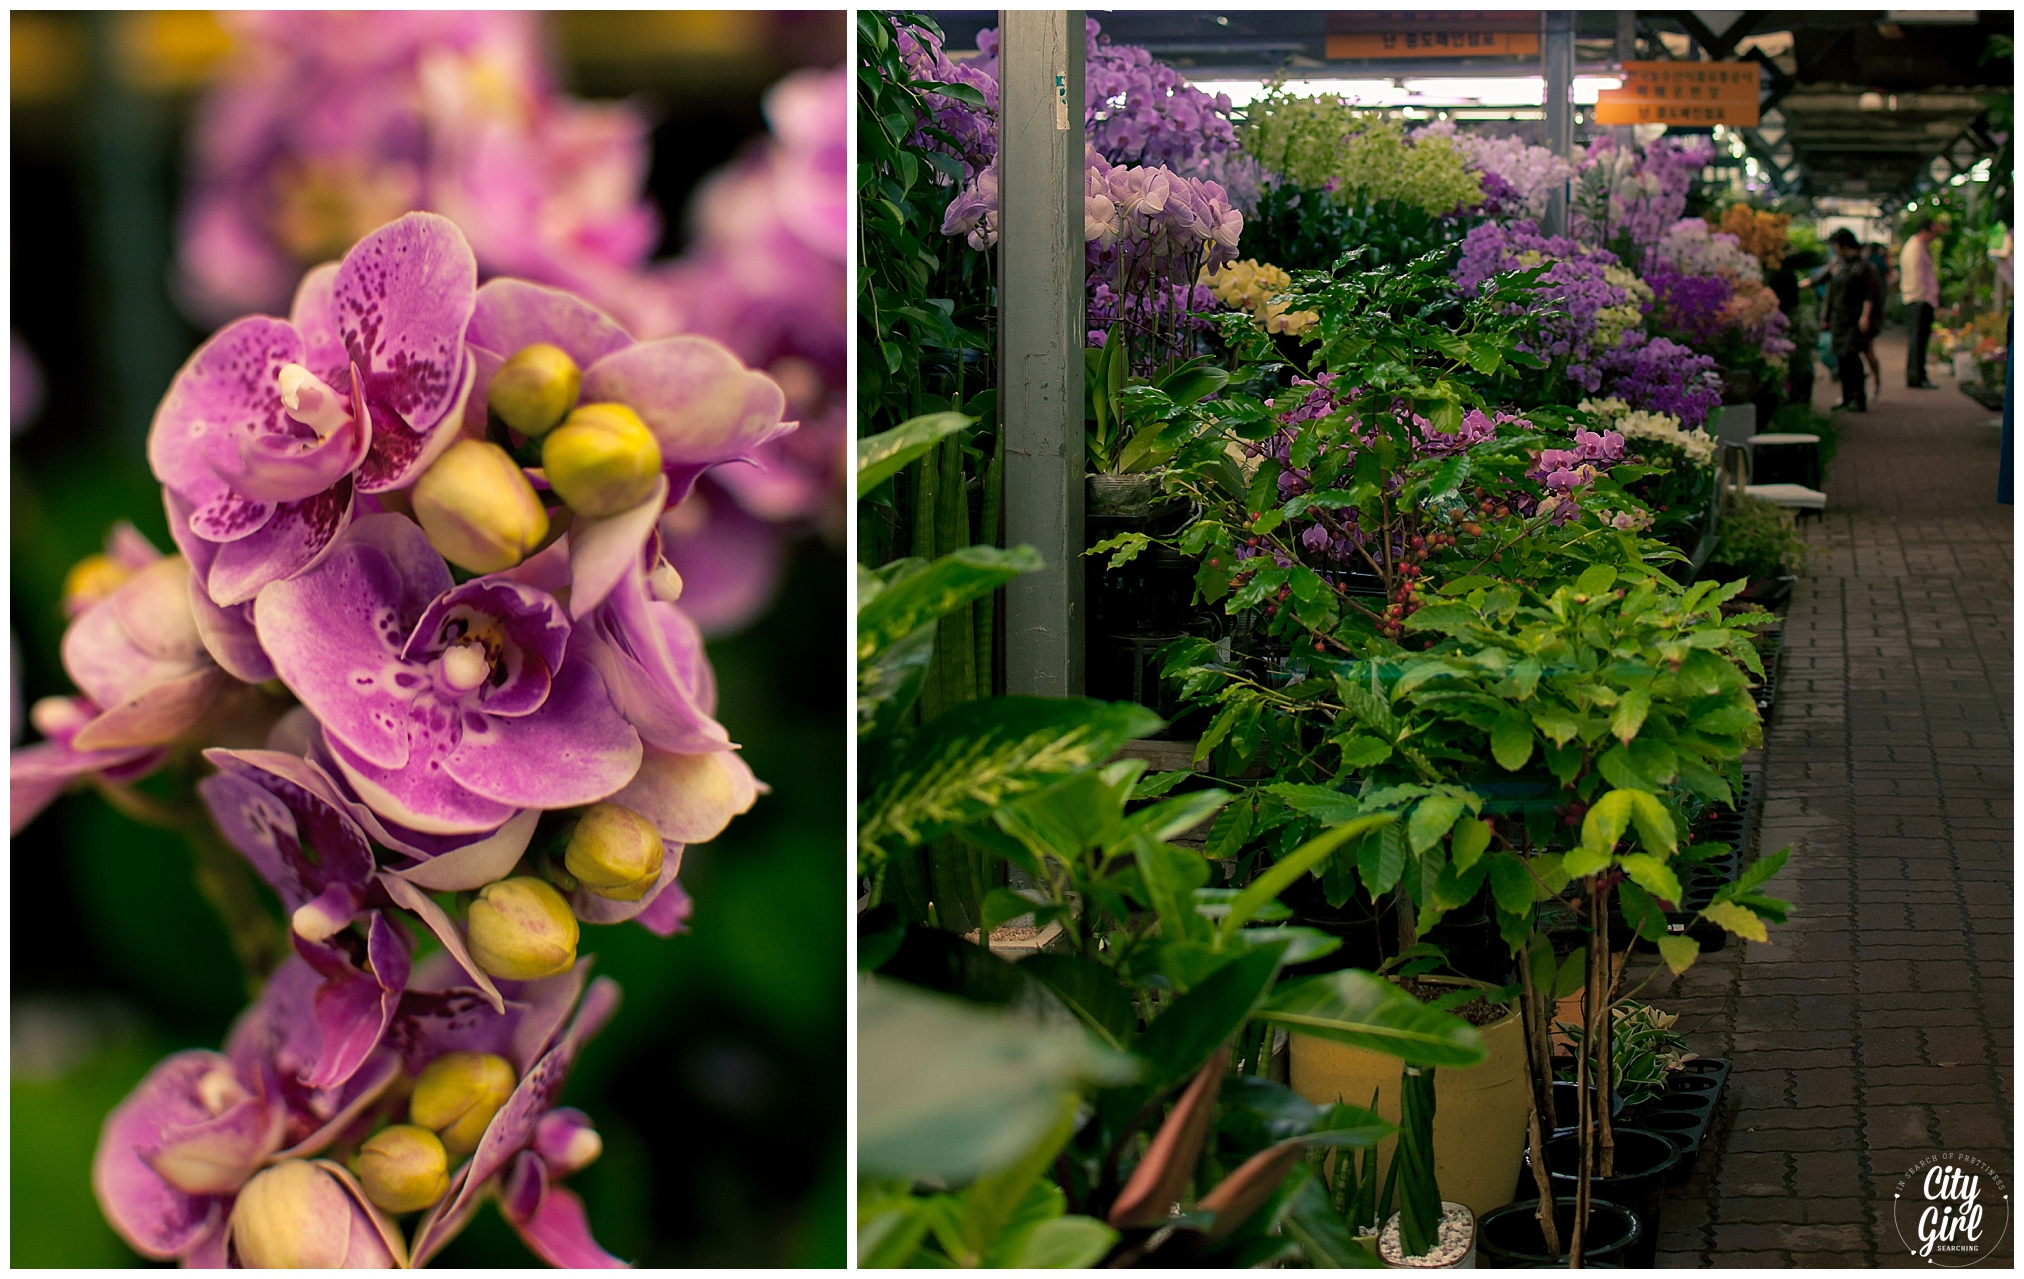
After a recent trip to the Yangjae Flower Market in Seoul, my friend Storm and I felt inspired to do a flower crown shoot here in South Korea. Styled shoots are a wonderful way to practice and hone your skills as a photographer, while working with other creatives and producing something that may be very different from your usual style. These kind of shoots are a far less stressful way to try out new ideas, with little to no time restraints and are a really fun way to spend an afternoon. They do require quite a lot of planning and preparation (and hunting for possible vendors and suppliers depending on your theme) but if you choose to work with people who have the same vision and ideas as you, they are the perfect platform to grow your skills and learn new things about yourself and what you are capable of.

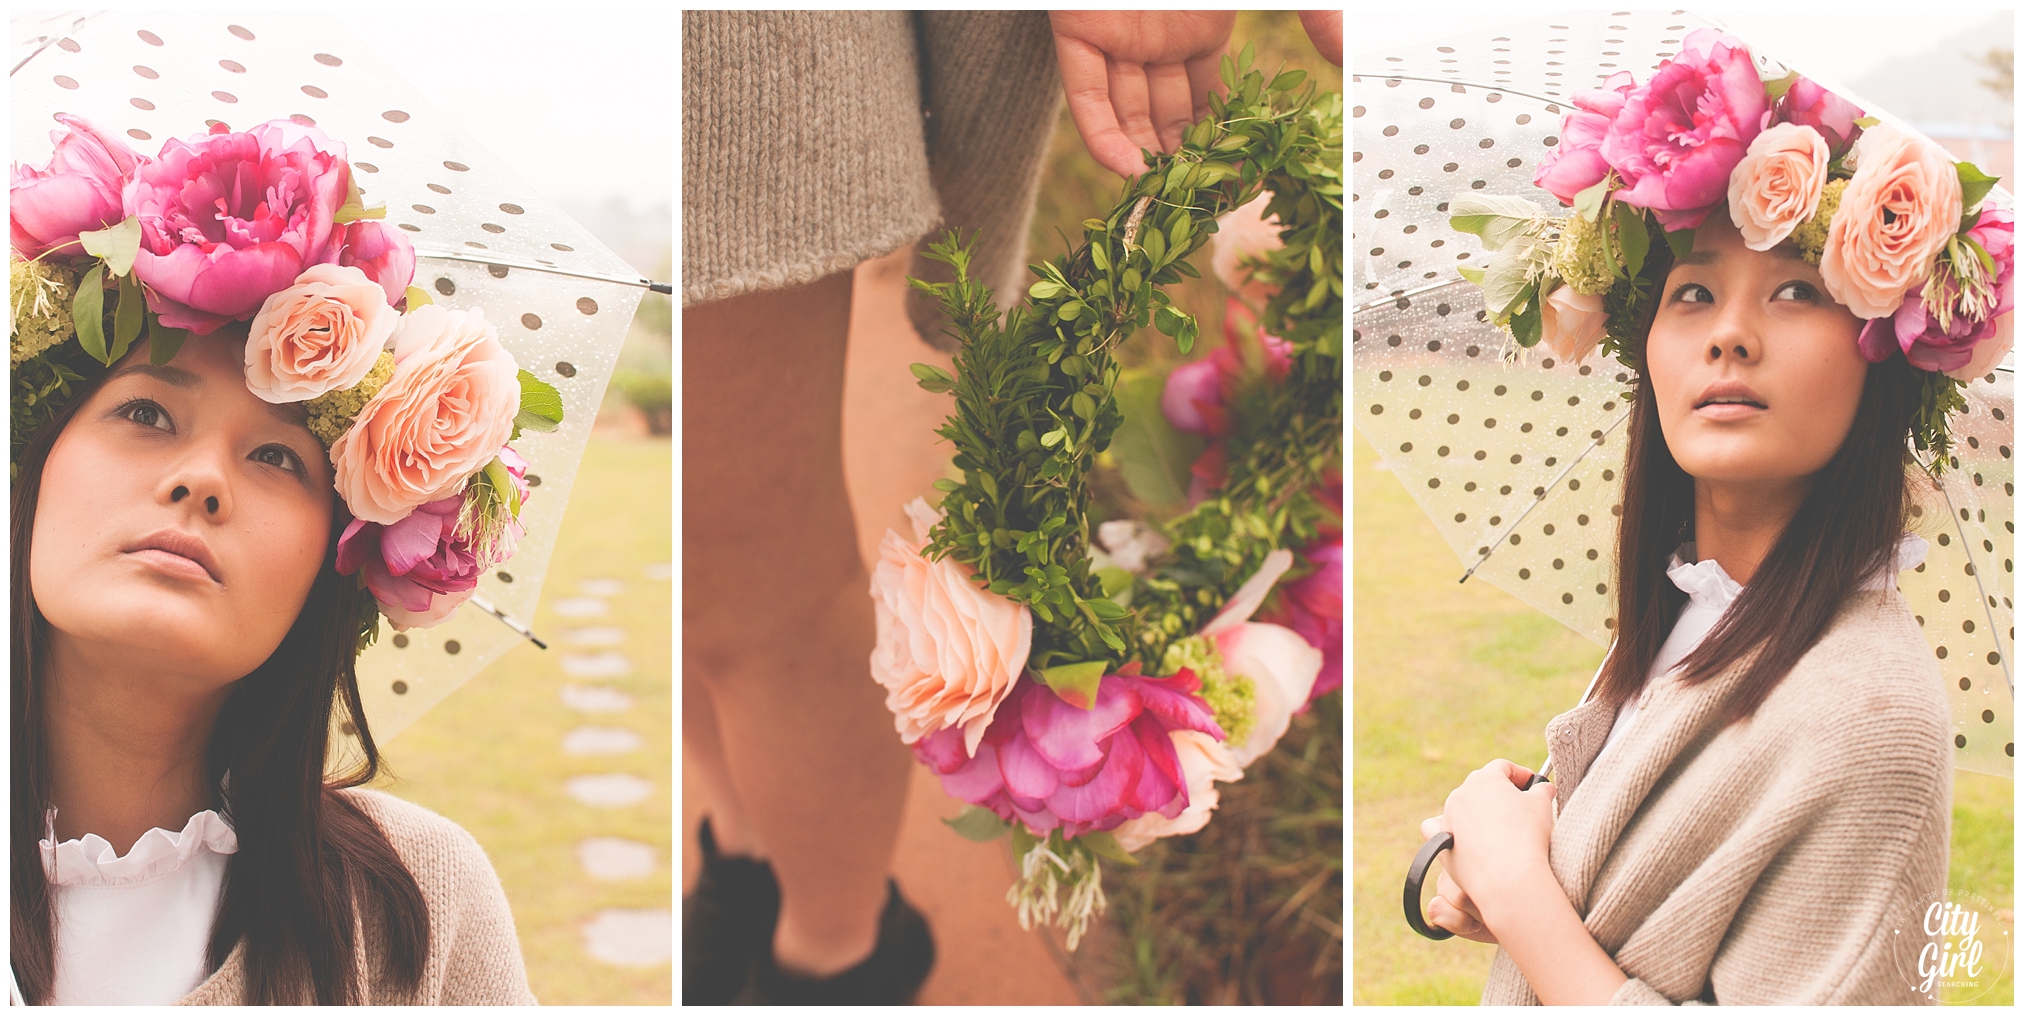
As we are in South Korea I really wanted to try and use more of a Korean backdrop, to emphasise the Oriental elements of Korea. I had grand ideas of temples and pagoda's, soft afternoon light reflecting off clear waters but the weather had other ideas. It poured with rain that day, and so we just had to make do with what we could find for backdrops right here in my small town. This was something else I learned, that beauty can be found everywhere. You just have to change your perspective. Textured walls provide amazing backgrounds, different angles help conceal ugly buildings and cars, and the most amazing things can be achieved when you have a team of people thinking outside of the box.

I want to say a huge thank you to our stylist, Storm. Storm is incredibly creative, she handmade the flower crown we used in these pictures (blog post to come on that soon!) and had to help me with an umbrella for not just me, but for Heejoung too. Watching her holding two umbrellas, touch up lipstick, scout out new photo opportunities all in the pouring rain, was hilarious. Thank you Storm, I couldn't have done any of it without you and your ideas.

And then to our model. I've known Heejoung for a year now, she lives in the same town as Farmboy and I and is just the sweetest person. When we first mentioned that we wanted to put an oversized crown full of flowers onto her head and photograph her standing in the middle of an open field she looked terrified. But after reassuring her that it would be fun, she jumped on board and waited patiently, in the rain, wearing the most impractical outfit while I fiddled and played around with settings and angles and all kinds of different poses. Thank you for being so patient with us Heejoung, I hope these photographs make you happy. You are an incredibly beautiful woman, and were so easy to photograph. You made our job easy!

 Here are a few highlights from the shoot. I'd love to know your thoughts, please do leave them below.

We also have a few more ideas in the pipeline (f you are here in Korea, we might have a giveaway coming up soon so make sure to keep your eyes open for that). 


Yangjae Flower Market, Seoul (양재동꽃시장)

YangjaeFlowerMarketSeoulSouthKorea

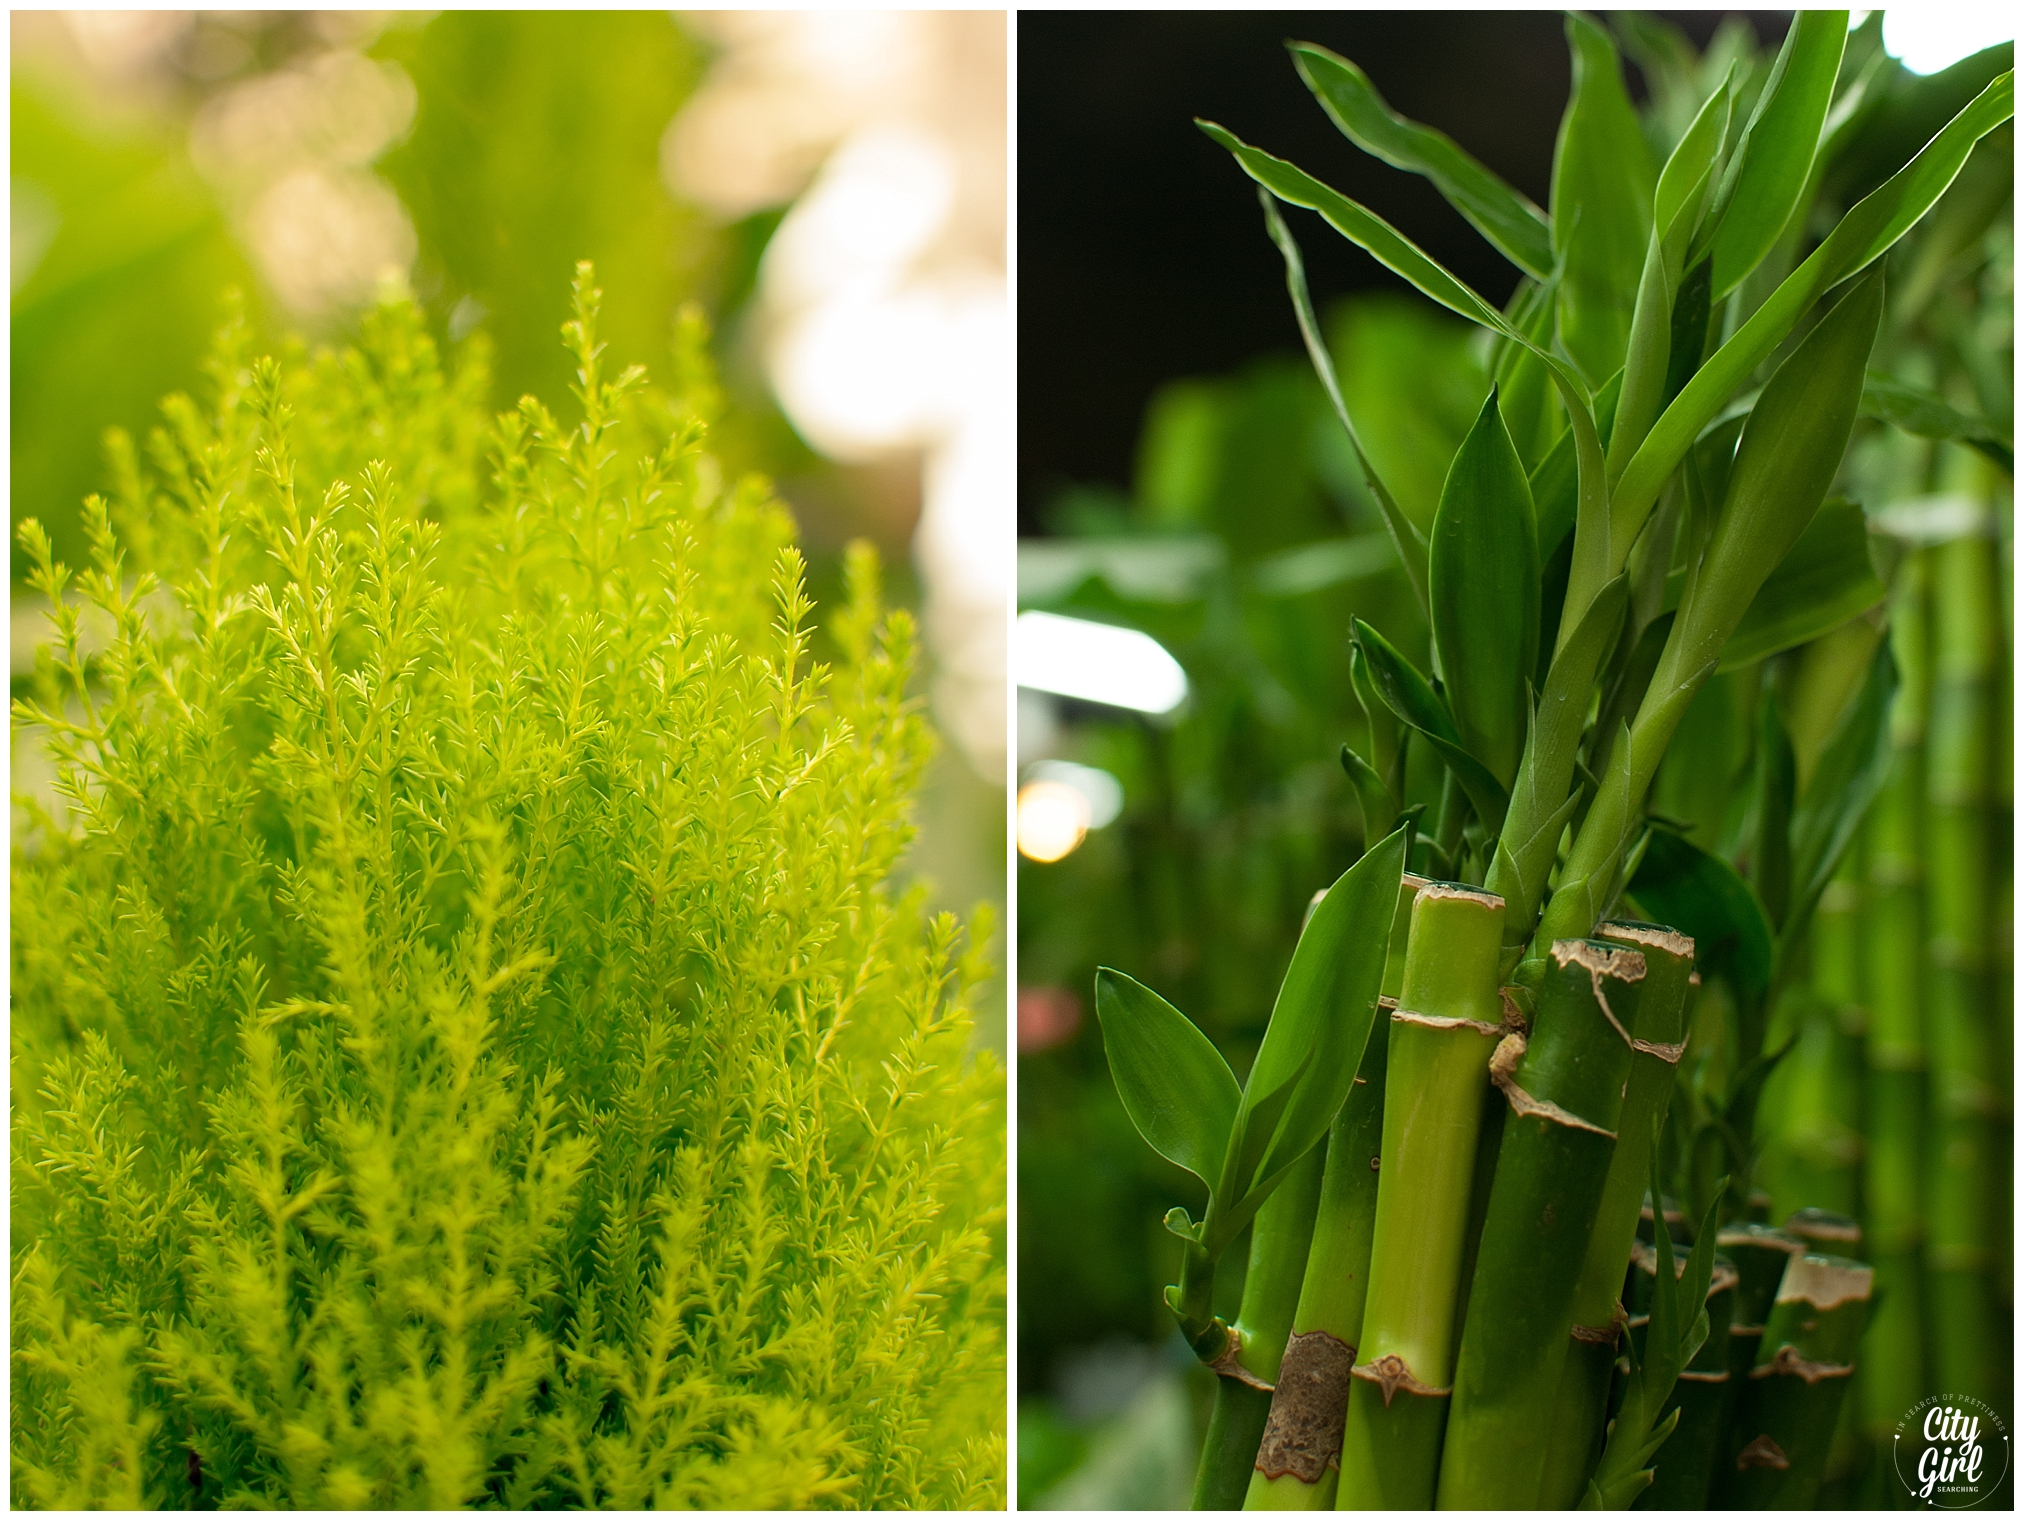
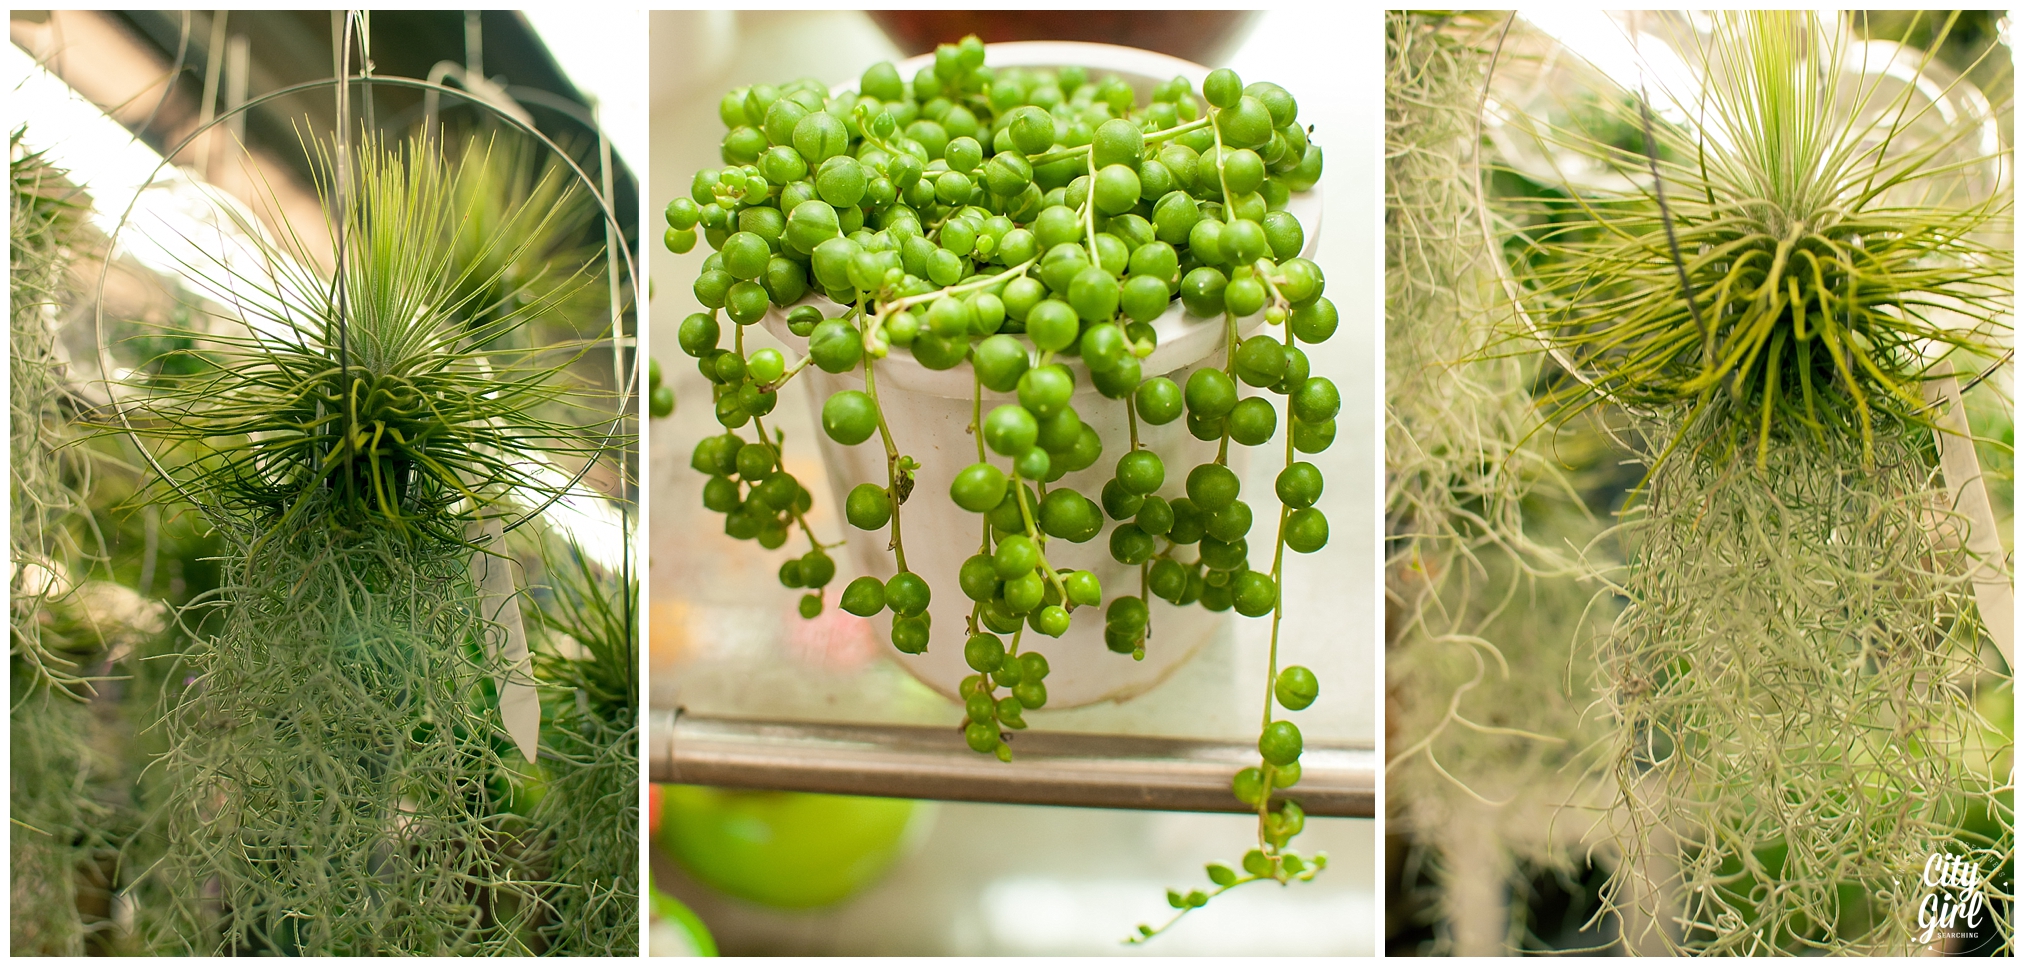
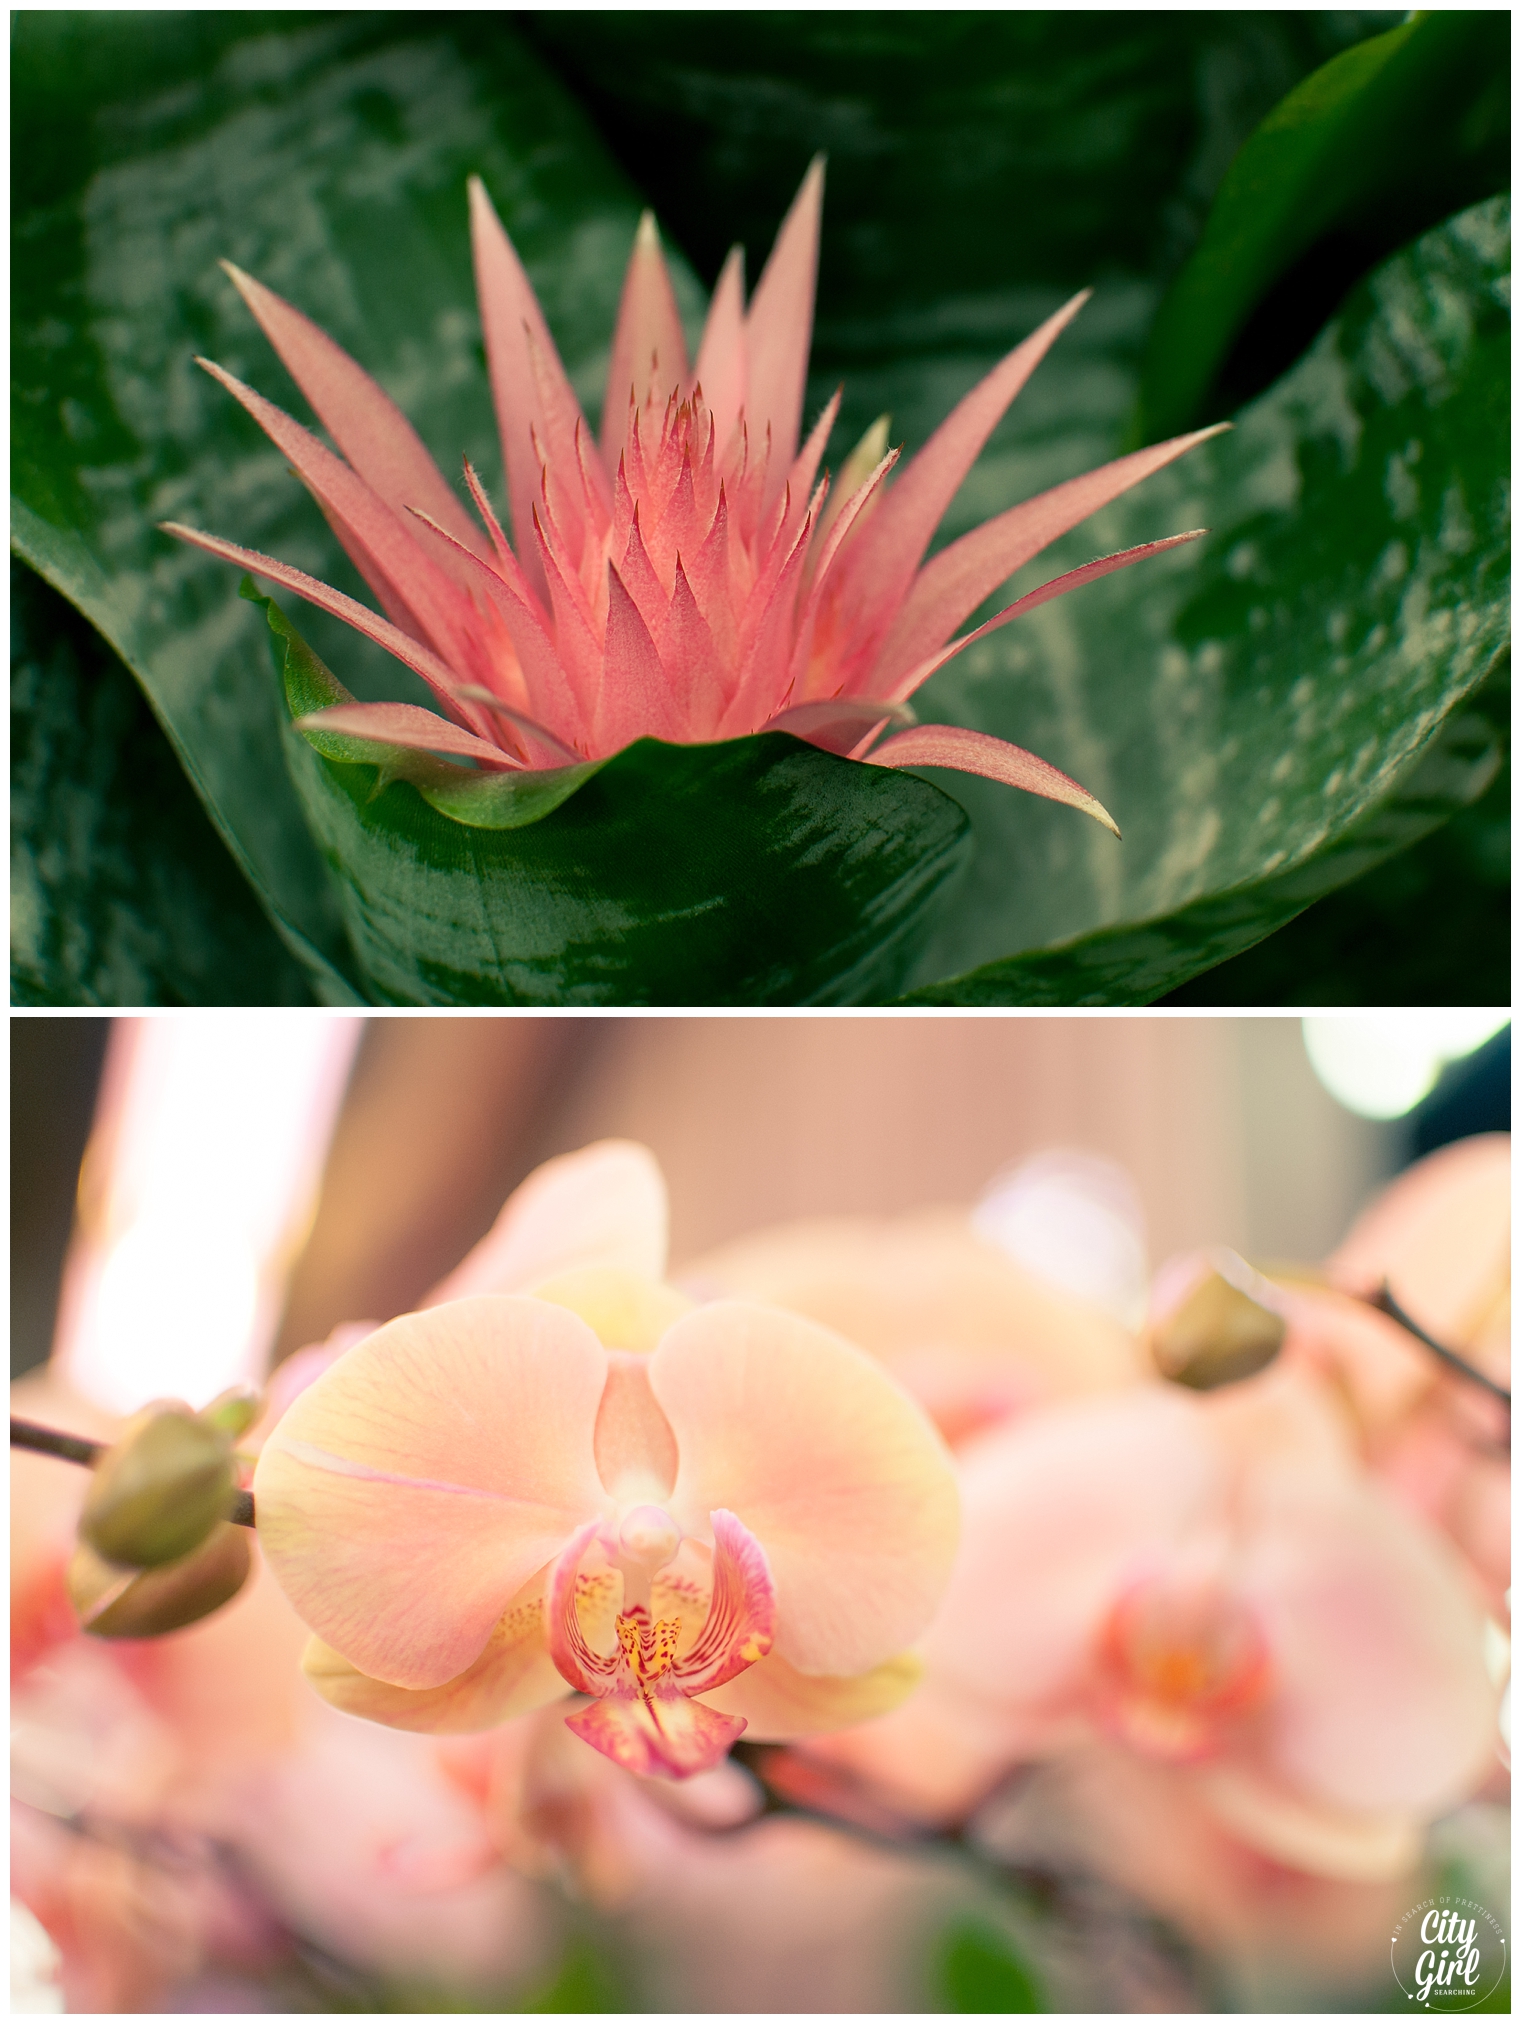
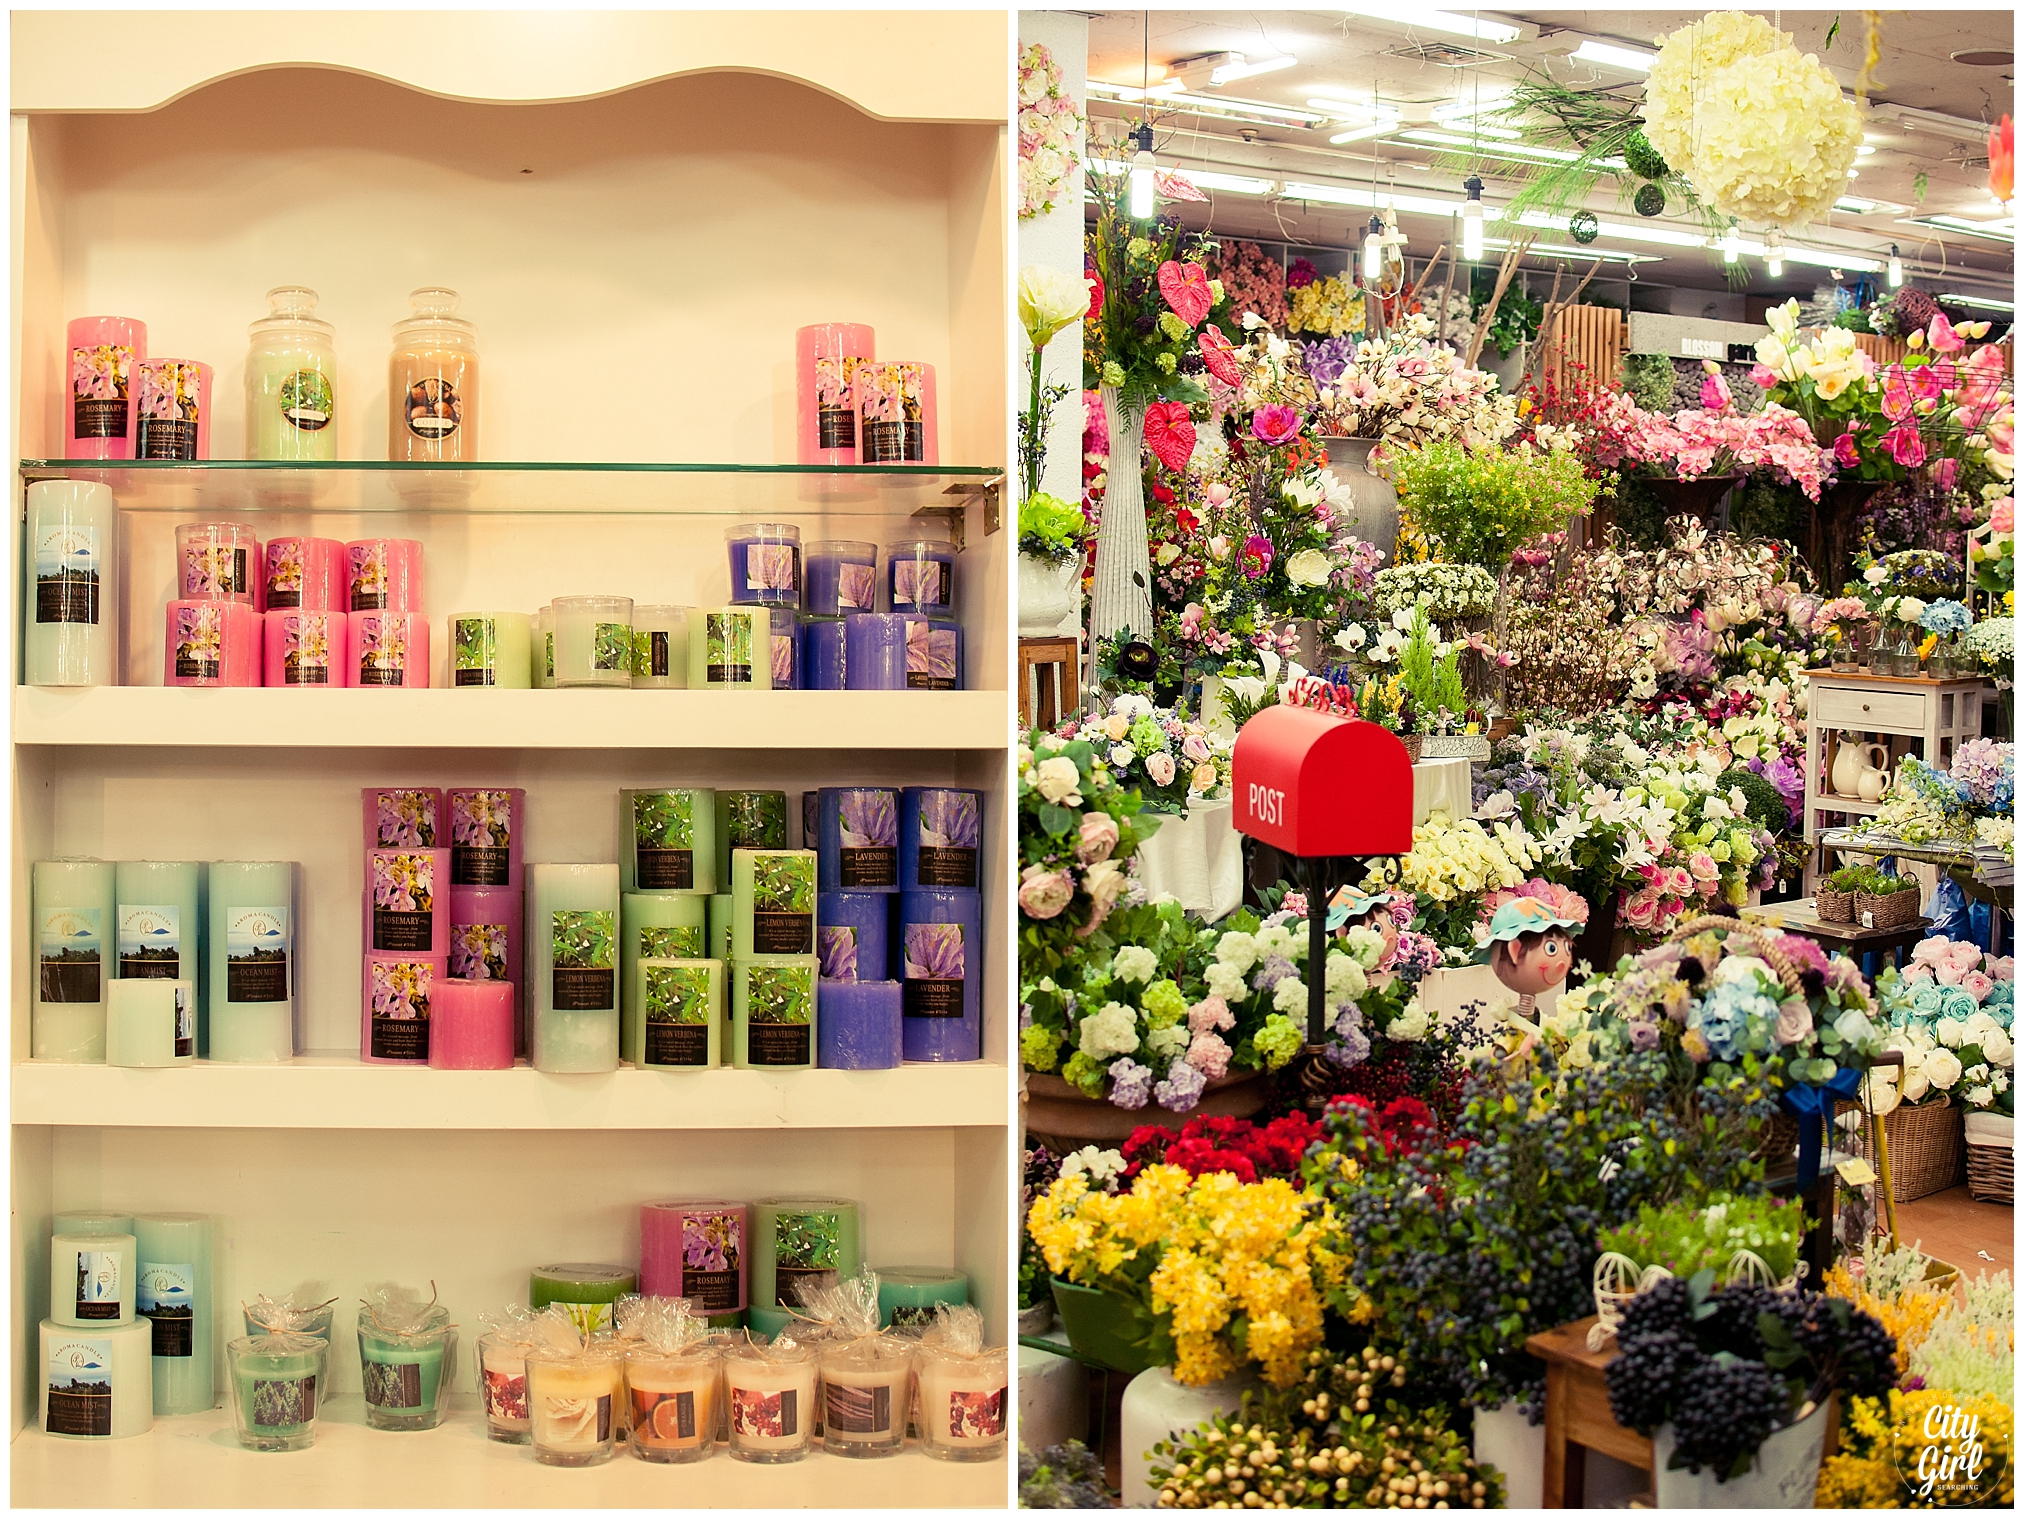
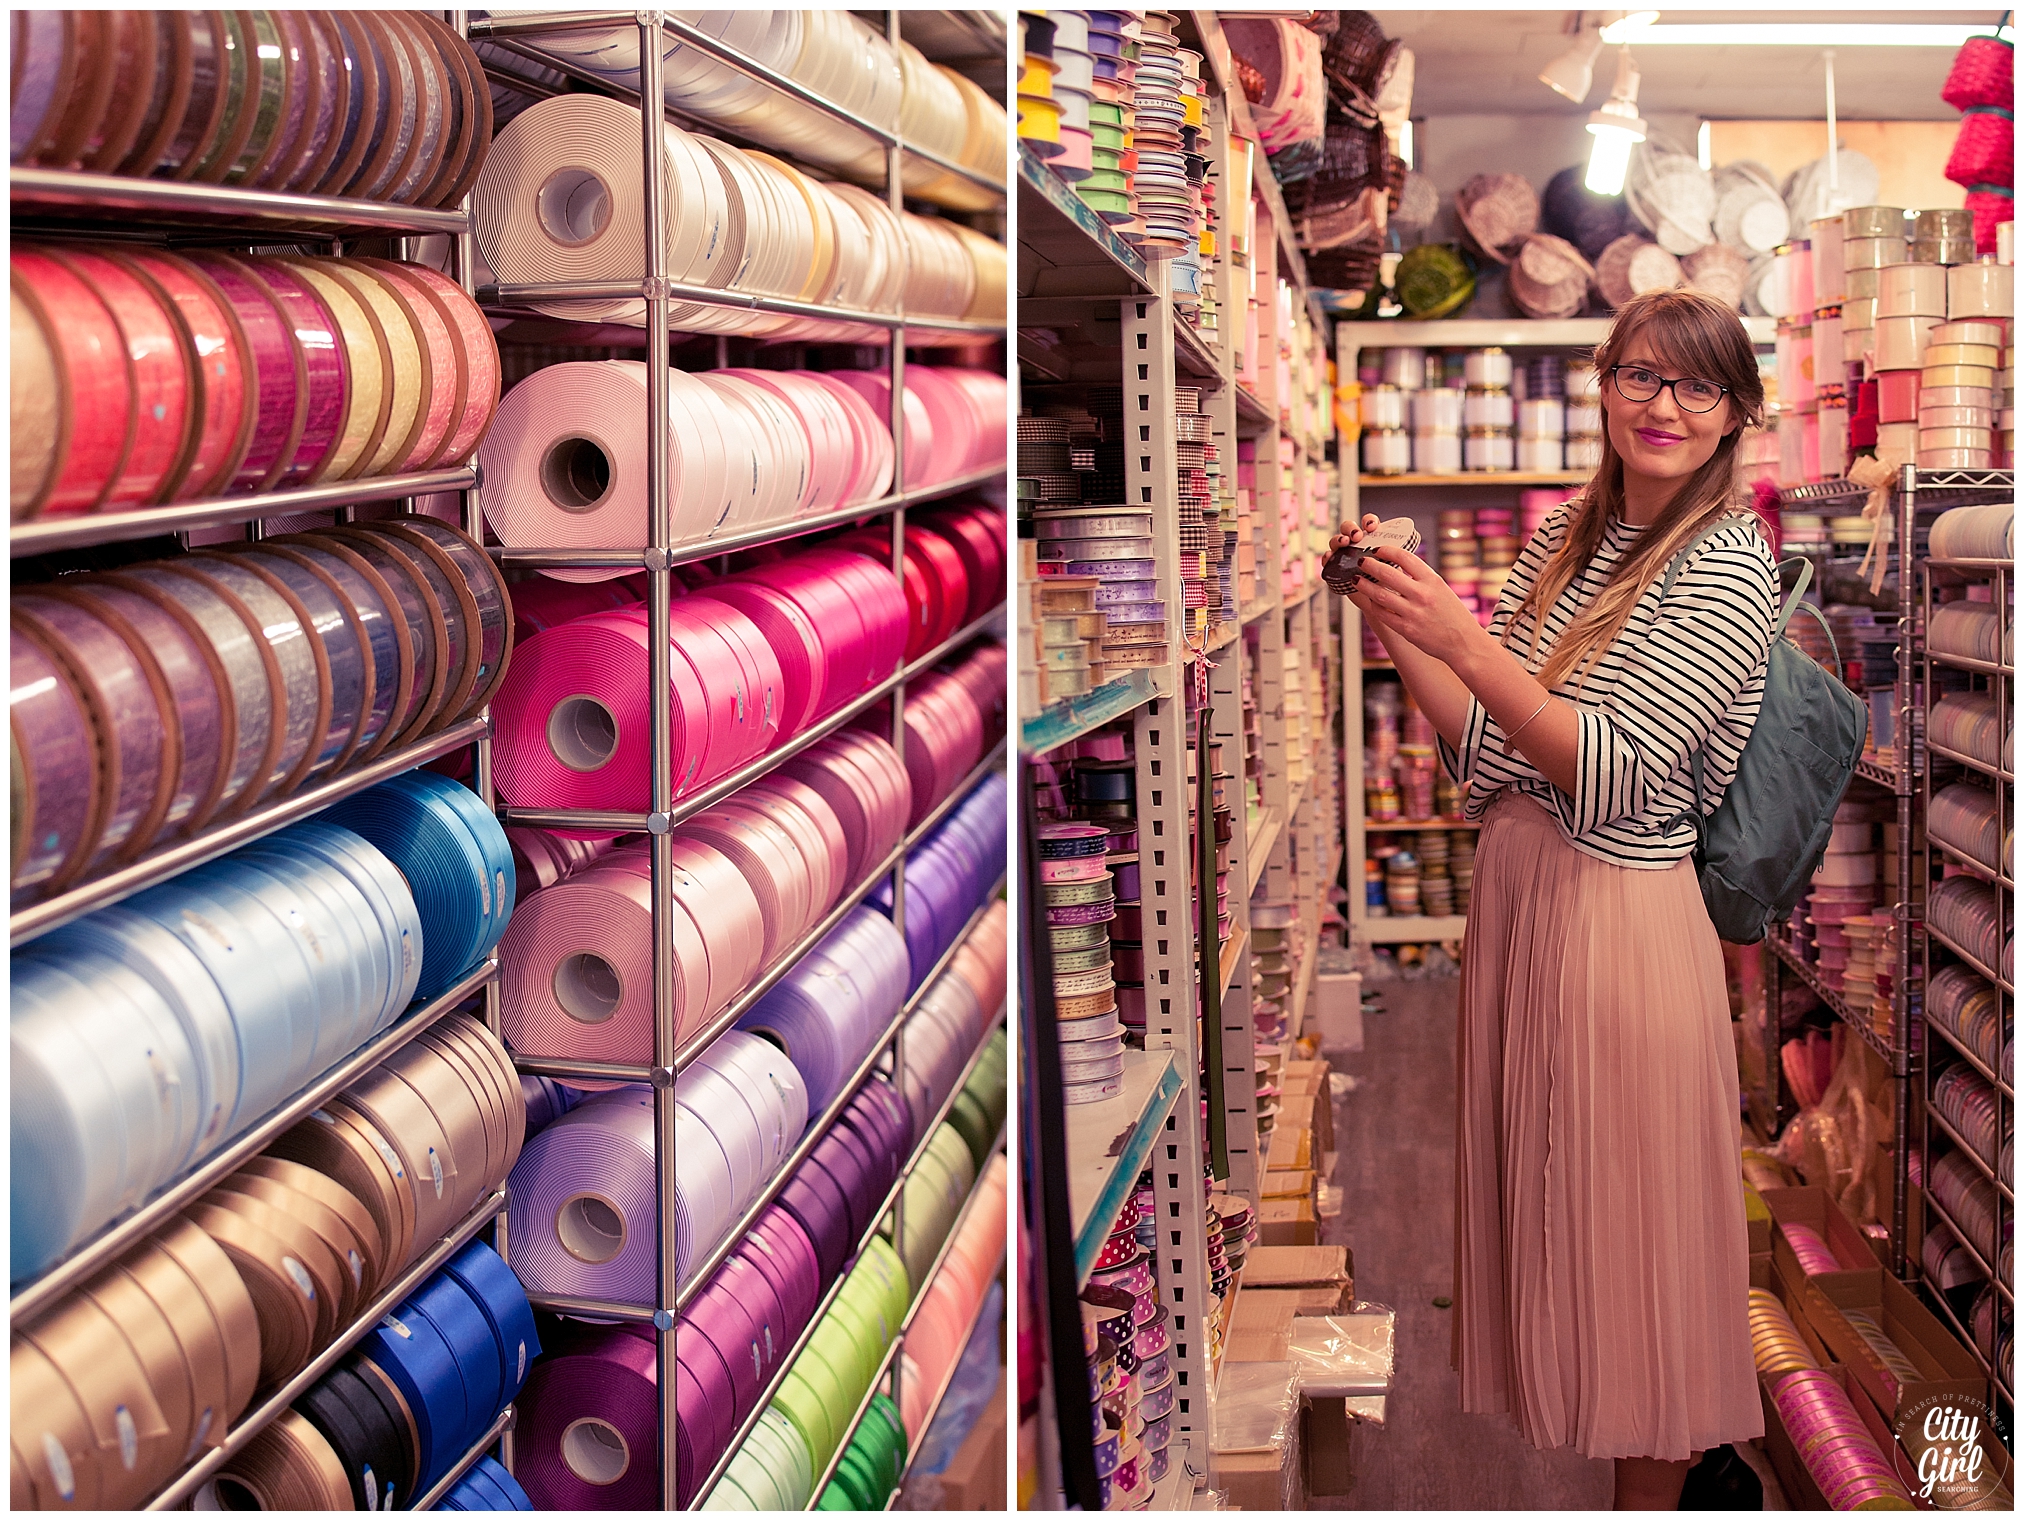
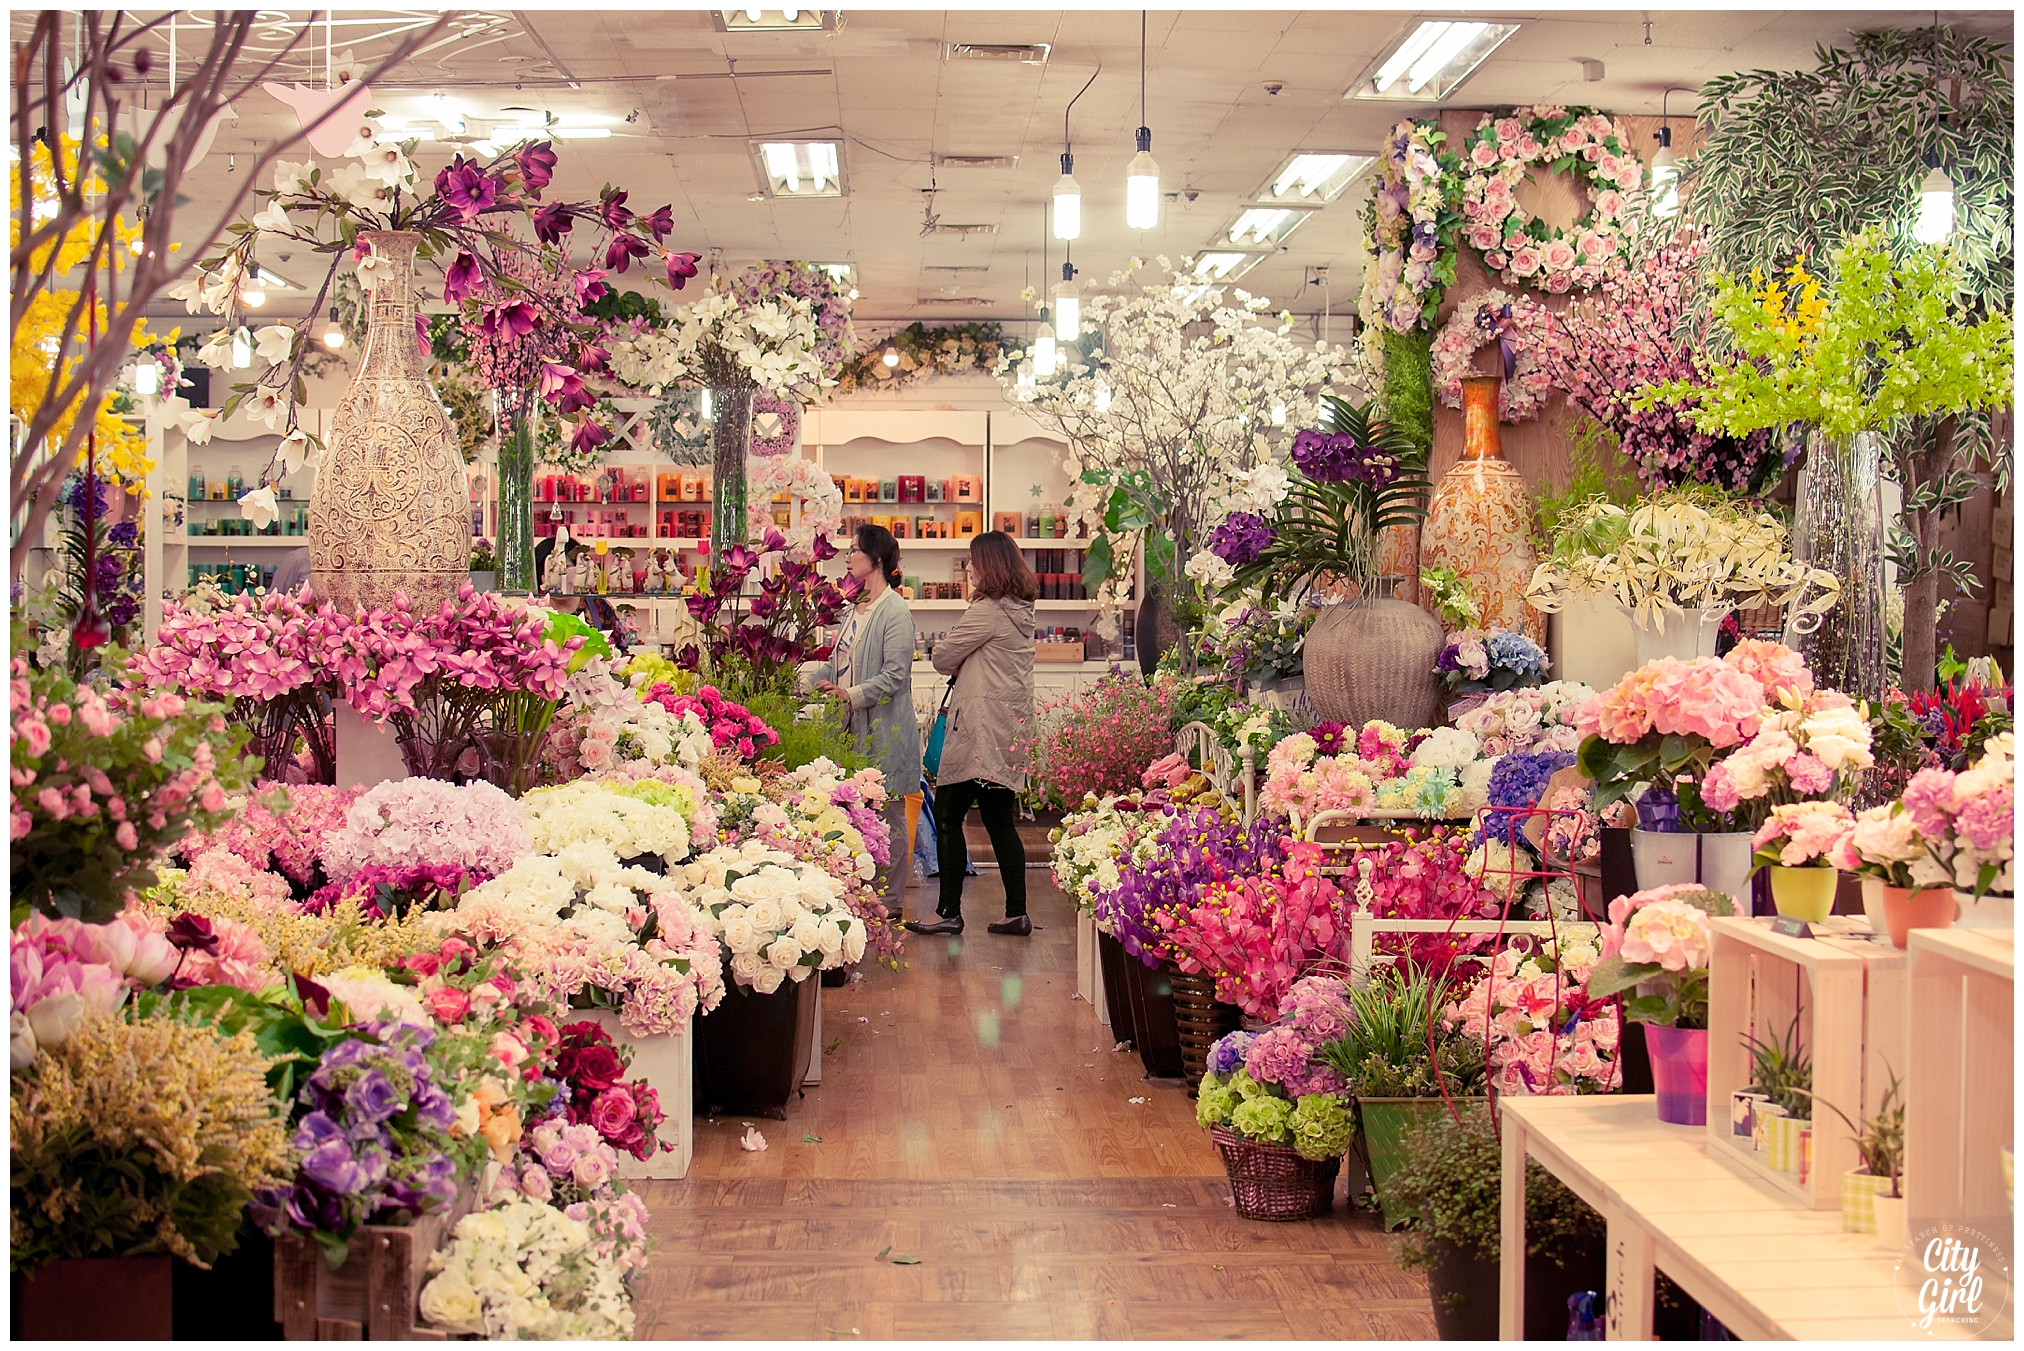
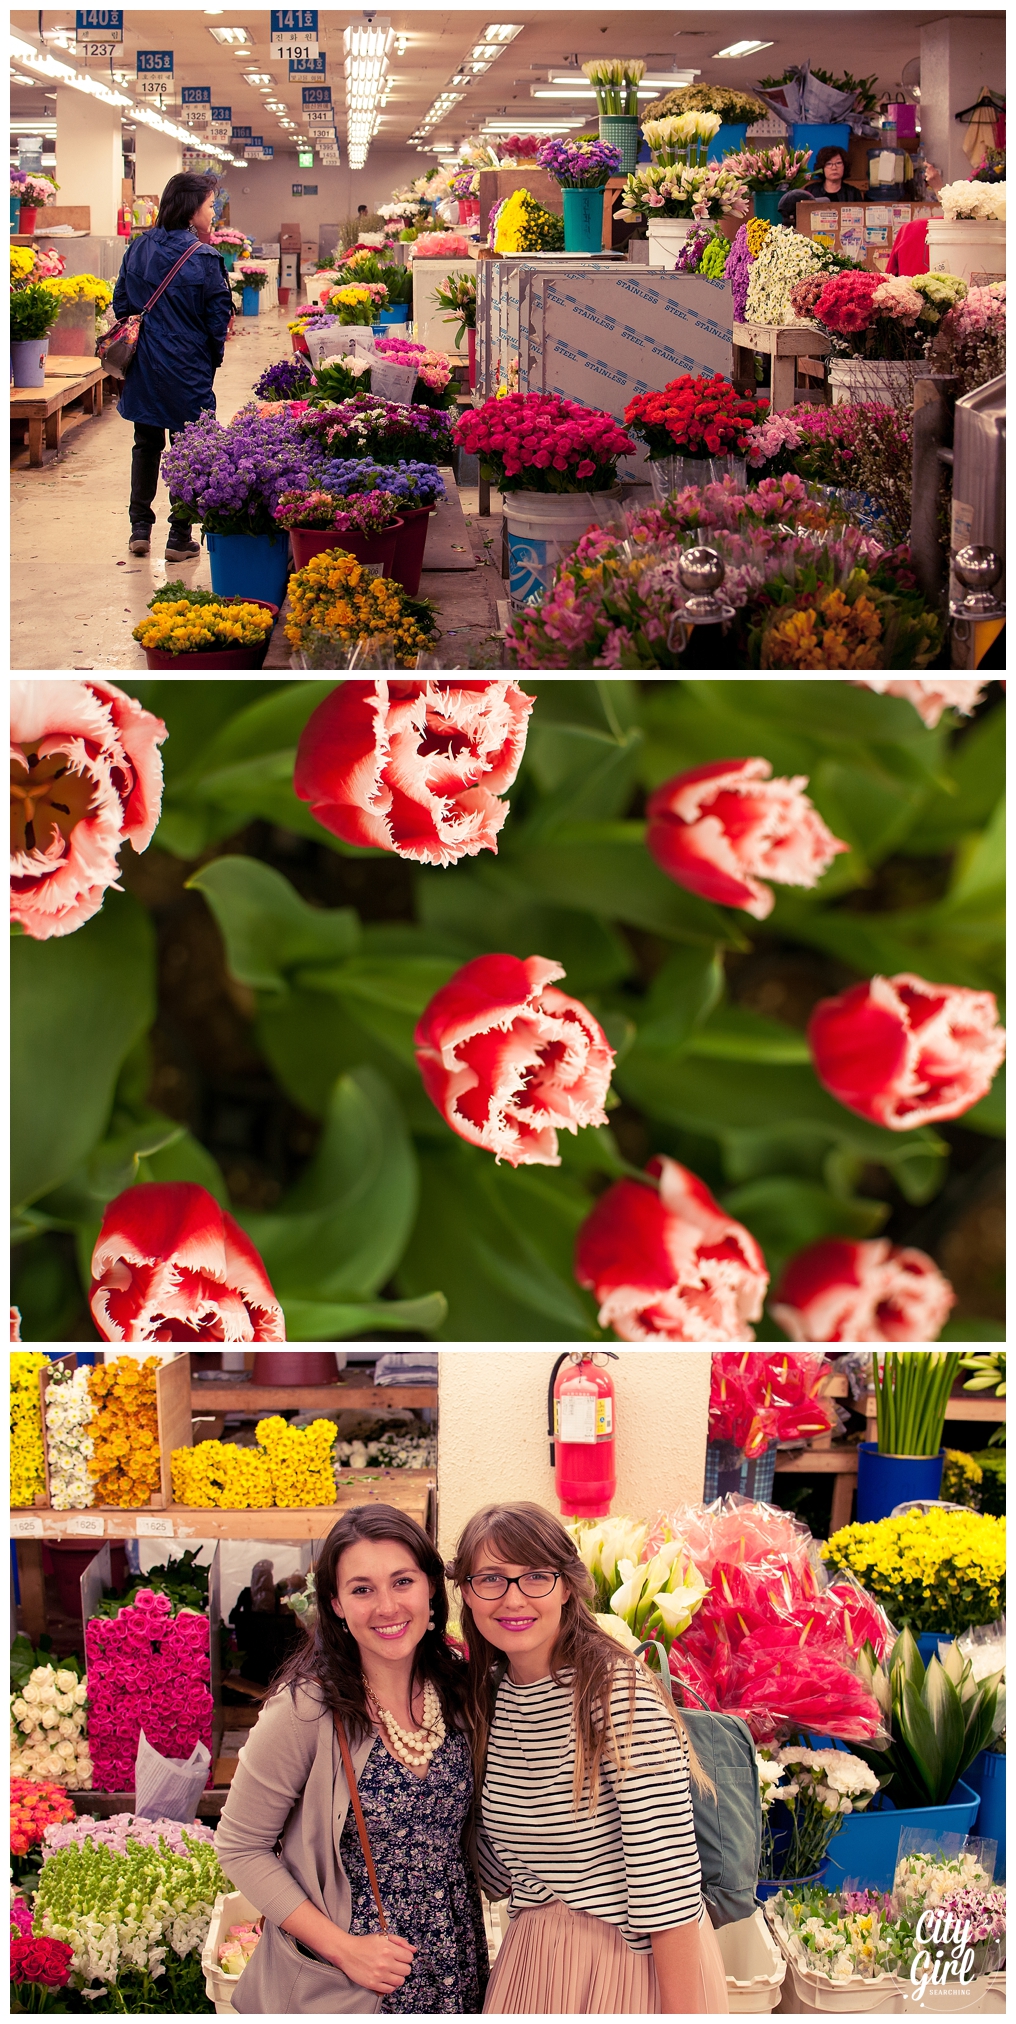
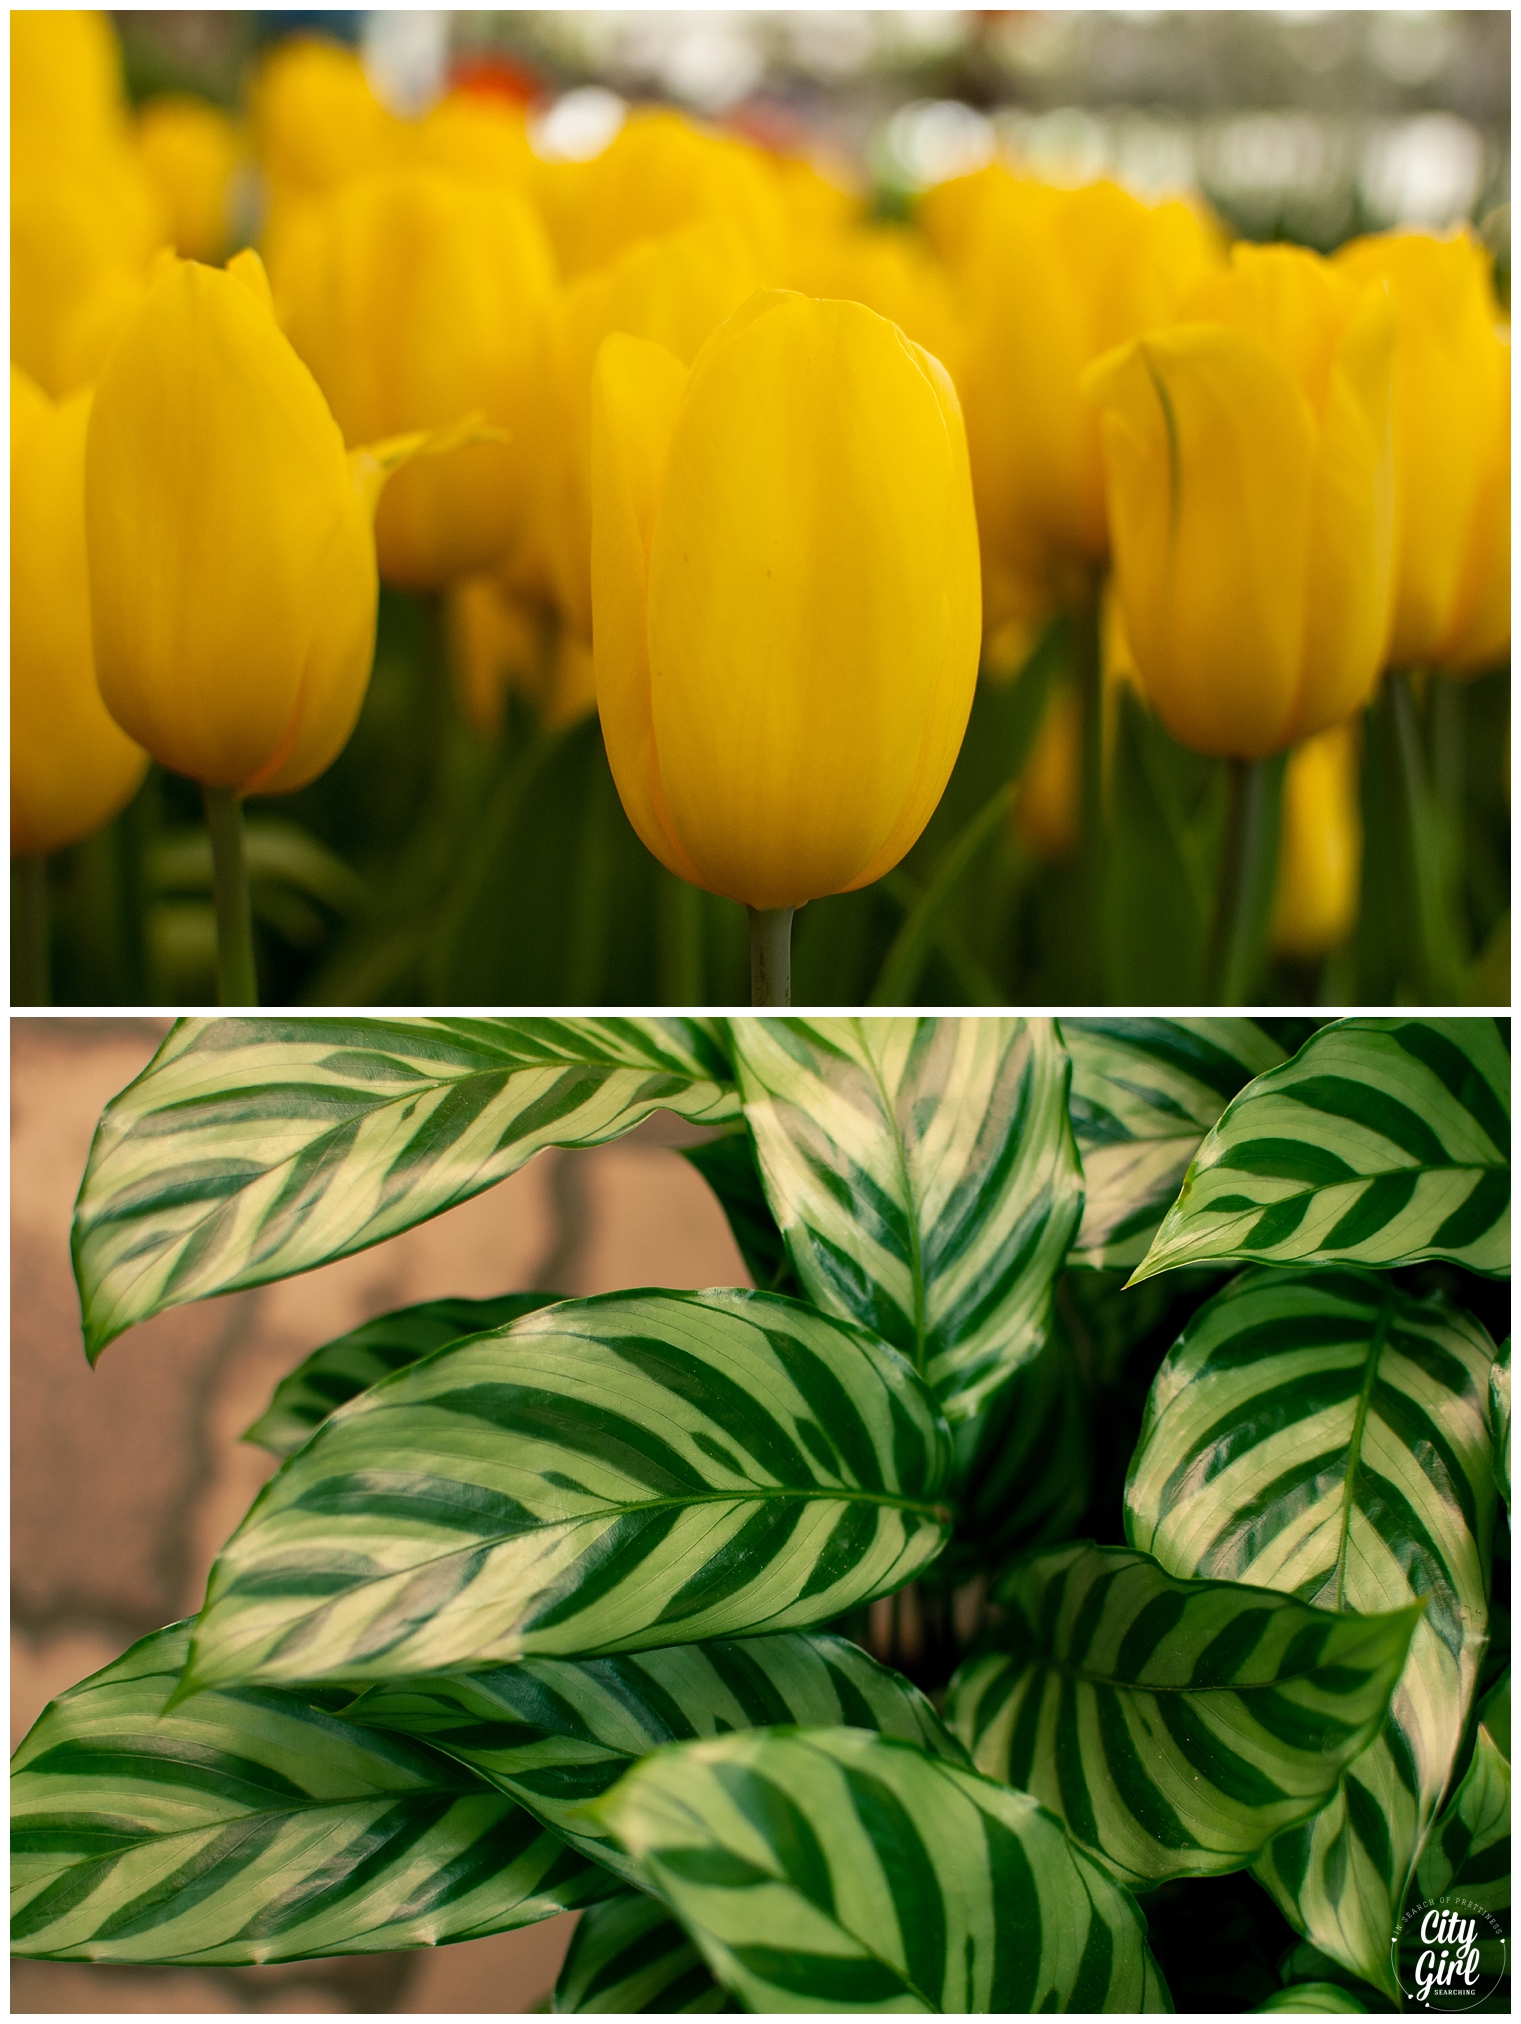
Yangjae Flower Market in Seoul is one of the largest in Korea. It is divided into several different zones, from whole sale to retail, it also has auction house and a whole floor of silk flowers, ribbons and other flower arranging items. The whole sale section of the market is open from 1am and closes at 1pm while the rest of the green houses and artificial sections are open until about 3pm. I headed there with a friend a few weeks ago, and even though I did't think I was mad about flowers, we spent a good number of hours wondering around, purchasing greenery and snapping photographs. It is well worth the trip, and I'm sure you won't leave empty handed. And succulents like these ones (click here) were only W1000 a pop...win!

Directions

Take the Sin Bundang Line to Yangjae Citizen's Forest Station (Exit 4). 
Continue walking for 200 meters to reach the market on the right.

Opening Hours

Wholesale Area : 1h00-13h00
Retail Area : 7h00-20:00
Potted Flower Area : 7h00-19h00

The Wholesale Area is closed on Sundays.

Some stores in the Retail Area and Potted Flower Area are closed on Sundays.

Life After the Dress {episode 11} Cindy Alfino

Marriage-Inspiration-CityGirlsearching

Welcome to episode 11 in my Life After the Dress series. In this series I interview married woman and ask them questions about their lives after after all the fluff and sparkle of their big days have passed. You can read all the other interviews by clicking here. 

Today I've got the lovely Cindy and her gorgeous family here on the blog. Cindy has her own delightful corner of the web "3 Kids, 2 Dogs and 1 Old House" in which she chronicles her family adventures, putting finger to keys to help keep all the memories alive. Married at 20 and a mommy to three by 25, this lady knows her stuff. So grab yourself a cup of something warm and get ready to be inspired.

Q1: Please introduce yourself (age, of both yourself and your husband, where do you live, what do you do & how long have you been married for?) 

Hello!  I’m Cindy (27) and I’m married to Seth (29) – we live in the most beautiful city in the world, which is Cape Town of course.  In March we celebrated our 7 year anniversary.  In case you didn’t spot that, it means that I was the tender young age of 20 when we got married – at that time my parents still had to sign in consent (the legal age has since changed to 18).  Aaah, good times.

Since then we have been blessed with 3 gorgeous kids – Kyla (4), Riya-Ray (3) and Knox (18 months), parenting together has been so much fun (despite the hair tearing out moments) that we blog about it as 3 Kids, 2 Dogs and 1 Old House.


Q2: Which Disney character do you feel sums you up to a ‘T’? 

I don’t know why, but my first thought was Rapunzel.  Maybe it’s the long blonde hair thing that we have in common or that she likes to beat people with frying pans, who knows?


Q3: How did you and your hubby meet? 

We happened to go on a church camp together when I was 16 years old.  Our eyes met from across the room, there might even have been a nervous, shy smile shared and then it erupted from there.  I go into far too much detail in this post if you feel like taking a little trip back into time and my embarrassingly new blogging days!


Q4: Was your wedding everything you hoped it would be? Would you go back and change anything? Do you have any advice for brides-to-be?

In hindsight I think that our wedding was actually so perfectly “us” at that point of our lives.  Sometimes I wonder if I had the chance to do it differently if I would, but it would probably lose some of the casual, understated charm that I remember so fondly today.  Also, weddings now are just so beautiful but it sometimes feels like people get too lost in the décor/dress/event in the stress to have THE PERFECT wedding, that they lose sight of each other. 

I was borderline Bridezilla with my file, my almost to-the-second schedule and my strict instructions for no one to be late or wear white. But you know what?  Things didn’t go absolutely perfectly and other people wore white (I know right?!). 

My advice is to do what you feel you need to have a great day and then on the morning let go and enjoy it – come what may.  It’s hard to think of like this, but it really is only one day in the rest of your lives together – when I look back at our life, this day is obviously special but definitely not the only one that defines our relationship.


Q5: Has ‘life after the dress’ been as you imagined it would be?

Yes and no.  Knowing that Seth and I are “doing life together” is such a joy to me.  Being able to parent our babies and grow old together is something that I try not to ever take for granted and I think our love has grown deeper because of it.  Knowing that we are in it together for the long haul – despite what obstacles may come is very comforting and, dare I say, essential for any partnership.

However - marriage is no joke.  Despite what people may make you believe about it, it actually takes work to survive.  Although we spent as many waking hours as we could together before we were married, nothing quite prepares you for living together which we only did after we were married.  The first year was a bit rough, with us finding our feet and adjusting to our new environment (read: Seth adjusting to just how untidy I was), but through a lot of communication and the occasional blow out, we made it through to the other side. 

I really do think the first year is the hardest by far. 


Q6: What have you learnt about yourself since being married?

 That I am more selfish, untidy and stubborn than I ever thought possible.  But at the same time, I never knew I could love so much or as deeply.


Q7: If you could describe your marriage in 3 words, what would they be?

“Tackling life together”


Q8: Do you have any pearls of wisdom you would like to share with my readers about being married? Perhaps something some wise person once told you, or something you’ve learnt the hard way?

We went on a marriage course before we got married and that already helped us to set realistic expectations in marriage (I’d really recommend it).  But what actually being married has taught me is that there are 2 important things to try and remember:

Manage Expectations – Don’t have all these expectations of your husband, especially if you know that it is out of his character to live up to them.  I’ve found that it is pointless being mad at him if he didn’t even know that I wanted him to do something.  Express your expectations to him and then if he doesn’t do it, you can be angry ;)  This is especially important once you become a Mommy – whose turn is it to go and give baby a bottle or walk around trying to get them to sleep?

Talk It Out – Early on in our marriage I would get so intensely upset about something, but instead of talking about it, I kept it bottled up.  Instead of dissipating, it grew and grew, I added more things to it and eventually I was so mad at him that we had a huge an unnecessary argument about the stupidest things.  Being open about it and talking about things as and when they come up has saved my sanity.

Oh, and get a dishwasher – that managed half my expectations in one go.

Flower fairy pictures (middle two photographs) taken by Magical Moments In Time

Flower fairy pictures (middle two photographs) taken by Magical Moments In Time

Blog

Twitter

Facebook

Pinterest

BlogLovin 

I hope you have been enjoying this series as much as I have enjoyed putting it together.

If you would like to be featured here on the blog, you can drop me an email using the contact form above or leave me a comment below. I look forward to hearing from you!

Vacuum Bags in South Korea

VacuumBagsinSouthKorea

The title of this post should really be something like "How to squeeze mountains of clothing and bedding into a small bag" but that is a little long winded. With spring in full swing, (and being in the small apartment that we are in) we have needed to do something with all of our feather jackets, coats, blankets and duvets to make way for the hot and humid weather that is going to hit soon. Space is very limited in our house, limited to a tiny square of open floor underneath our bed. I found the perfect solution in Daiso a few weeks ago. Vacuum sealing bags. I have seen these before in South Africa, but have never really needed to use them. 
VacuumBagsSouthKorea

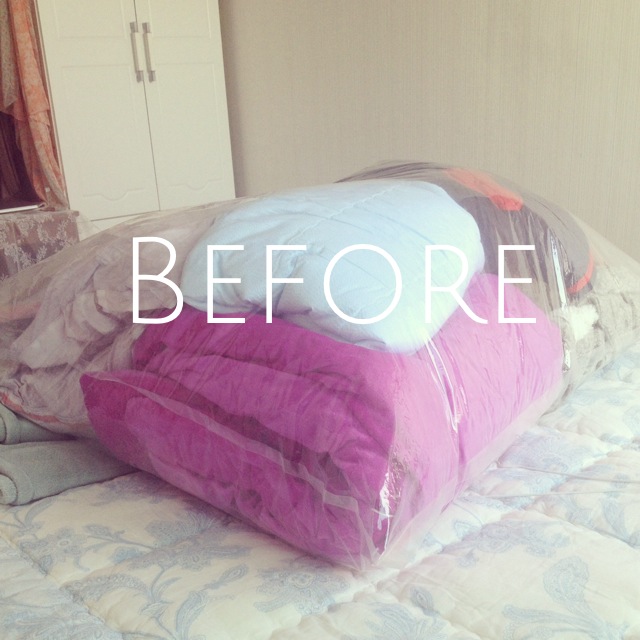
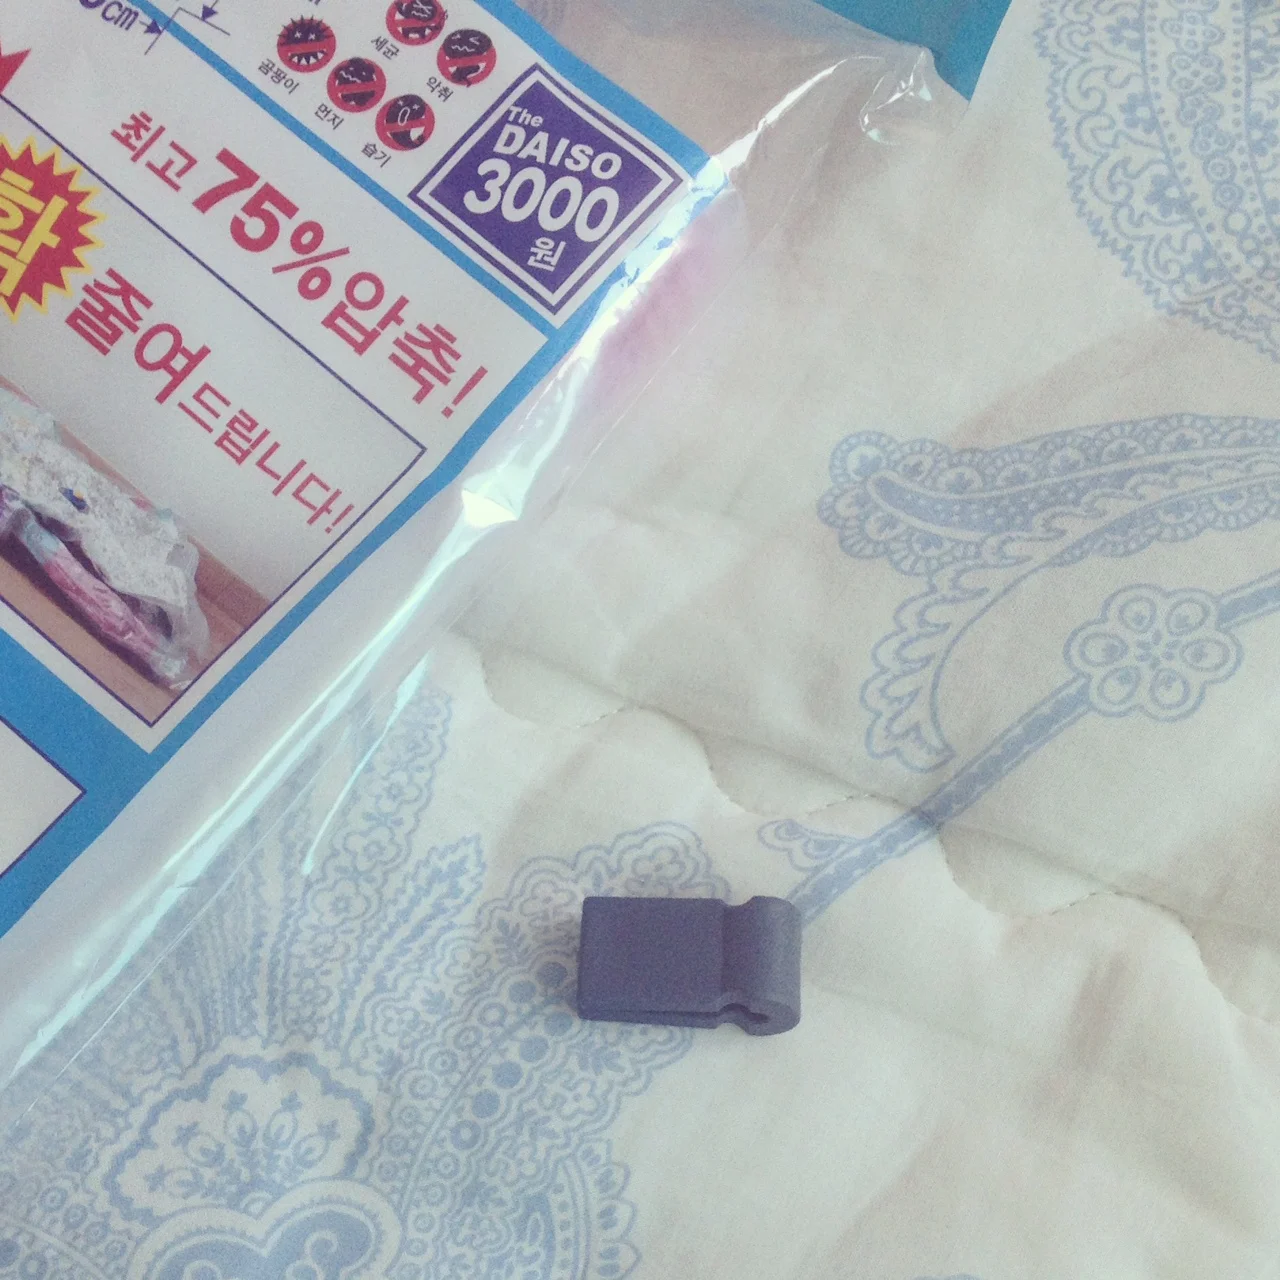
Basically, these bags are designed to store big and bulky (soft) items by reducing the space they take up. You use a vacuum cleaner to suction out all the air and you're left with a compact, and easy to store bag. You can buy these at any mart here in Korea, but I got these in Daiso as they seem to have the biggest selection and the best prices. When you buy them make sure that your bag included the little grey clip thingy, which helps seal your bag before removing the air (see picture below). Not all of the bags I bought included this handy gadget, so just make sure to keep an eye out and buy at least on that does. You only need one of them, and you can use it for every bag you have. Once you've sealed the bag, make sure to open the valve (the round shaped suction area) by removing the white cap. Then simply place your vacuum cleaner on the valve opening and bombs away. Packing has never been so much fun! Every time we pack away something, Farmboy and I are both mesmerised by the suction, it's amazing. Here's ate some pictures of what the bags look like as well as a before and after of our winter clothes and bedding. 

VacuumBagsSouthKorea
VaccumBagsSouthKorea
photo 1.JPG
VaccumBagsSouthKorea

I hope you found this post useful! Look out for more space saving posts coming soon!