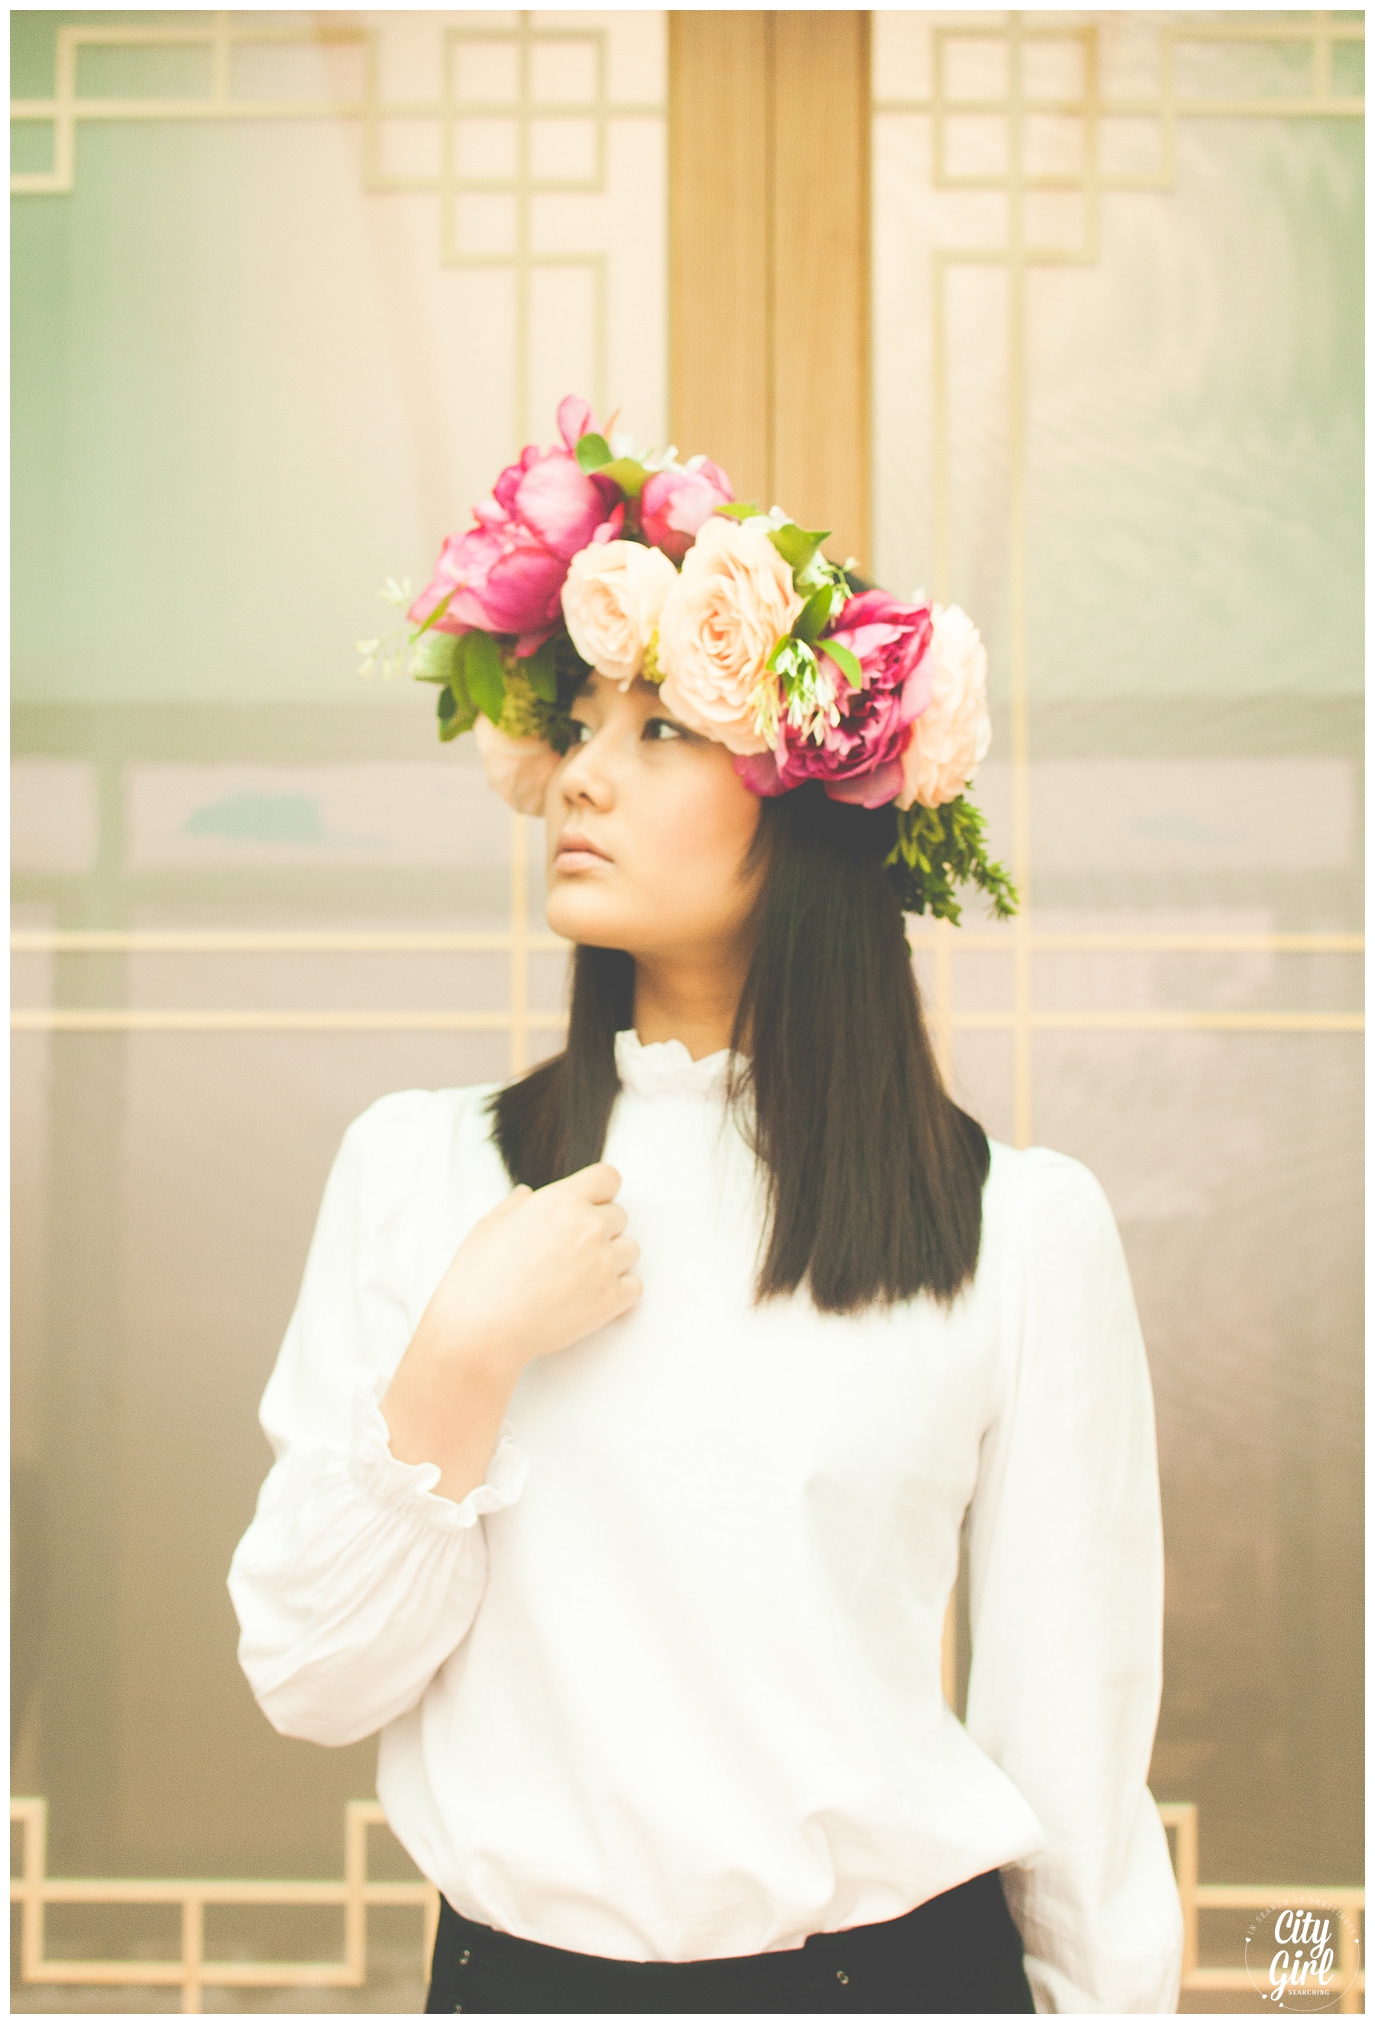
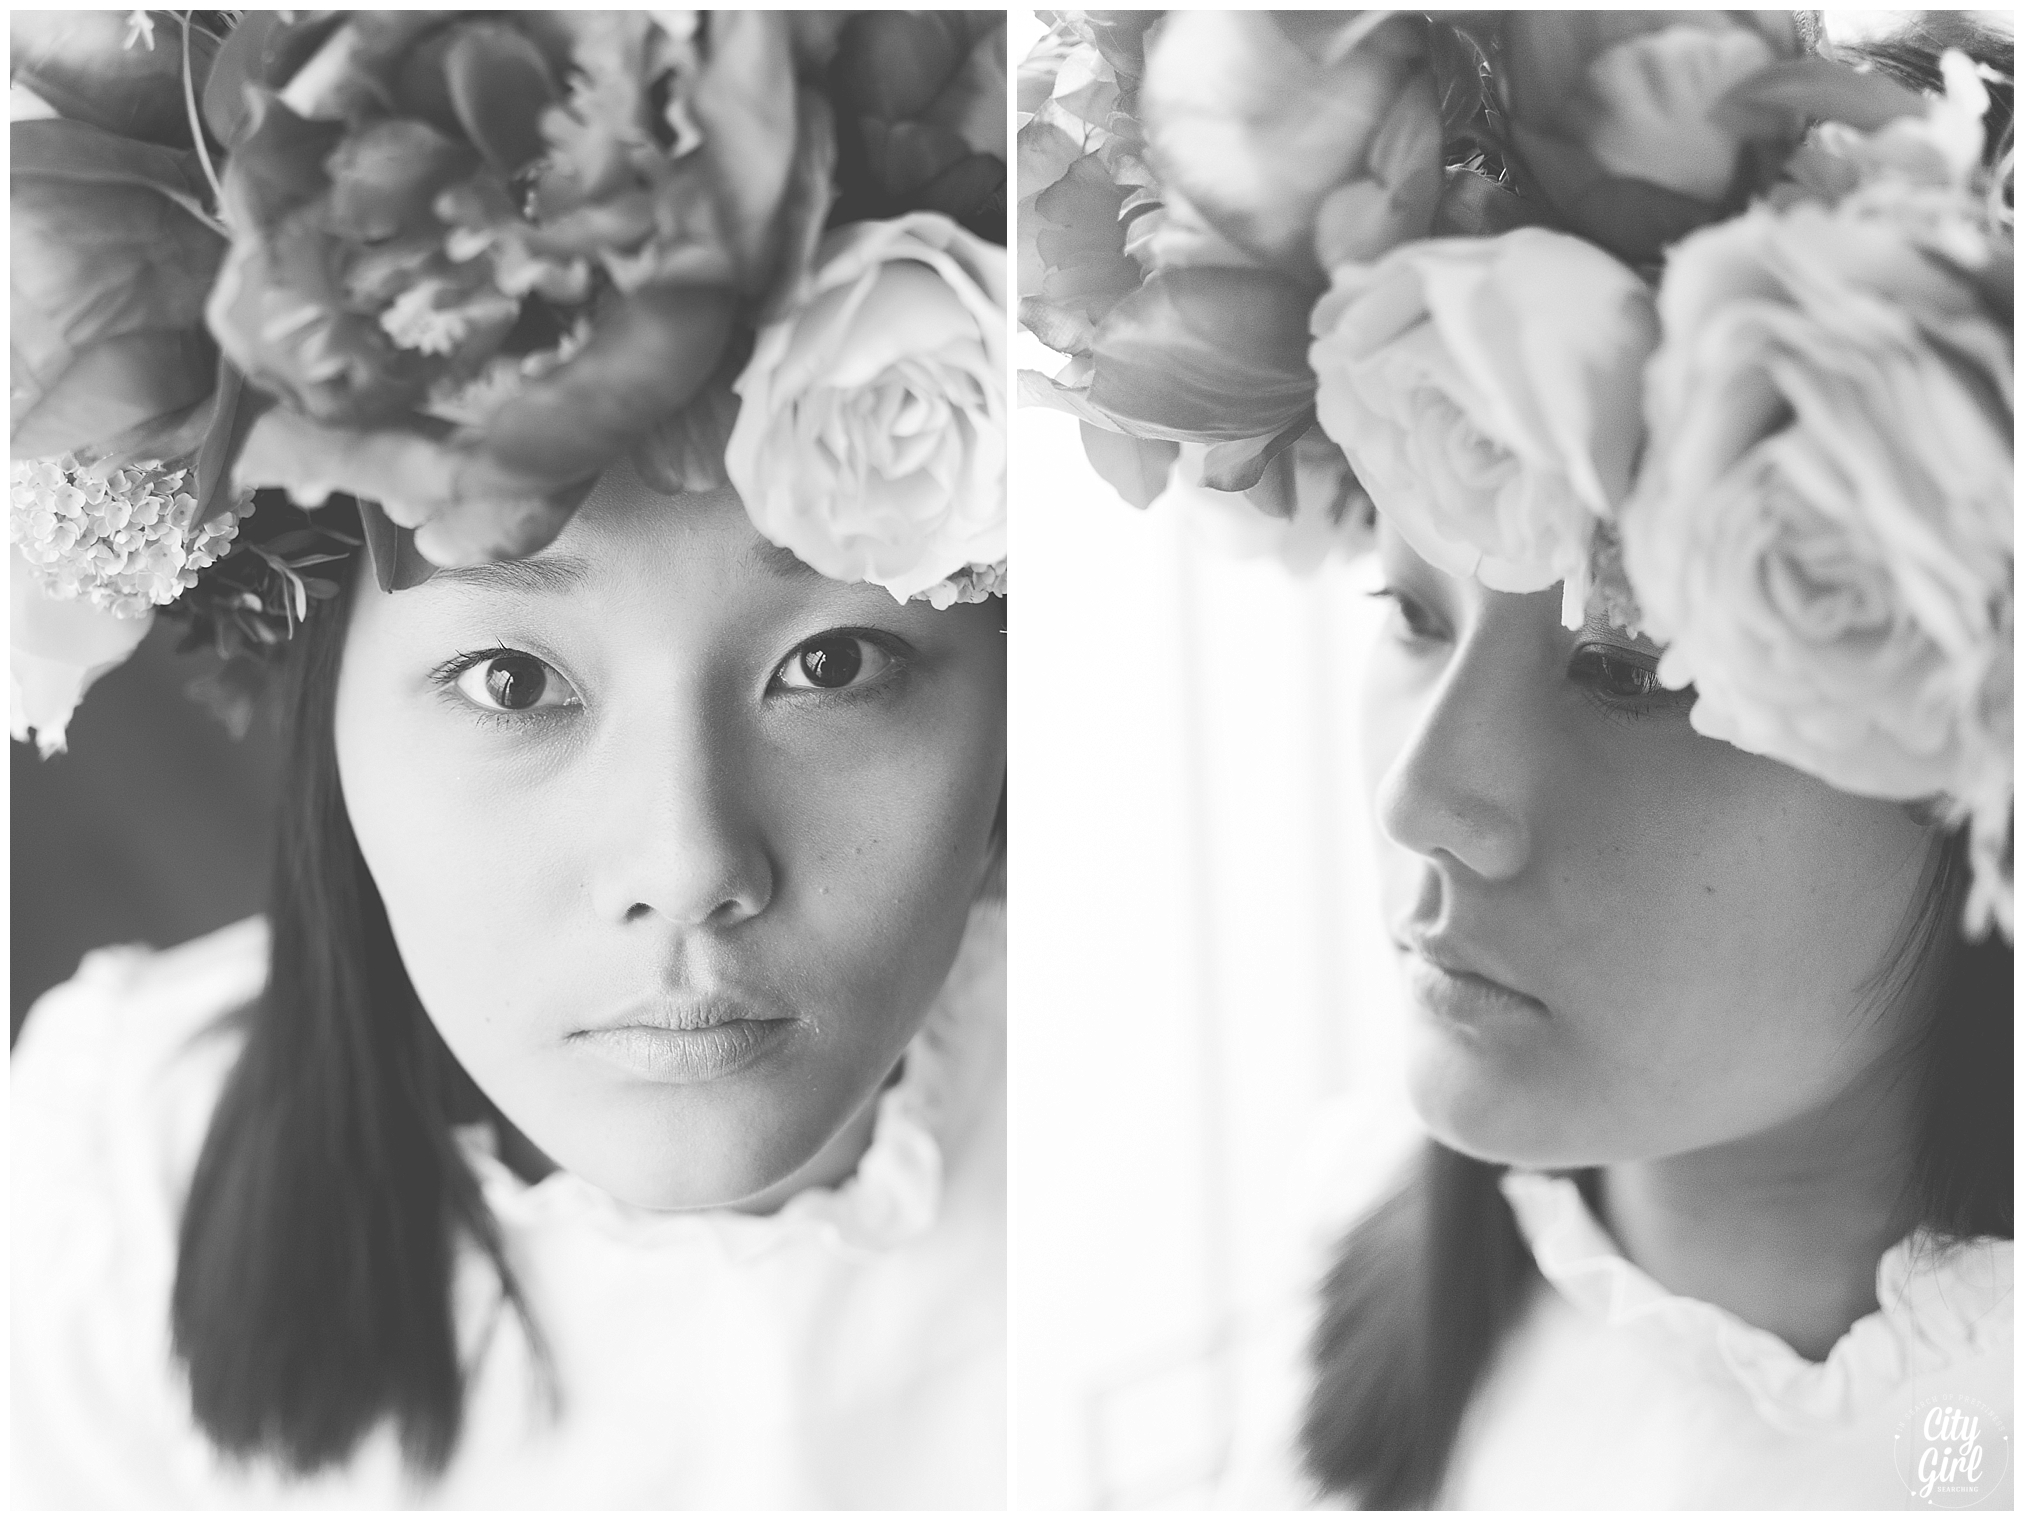
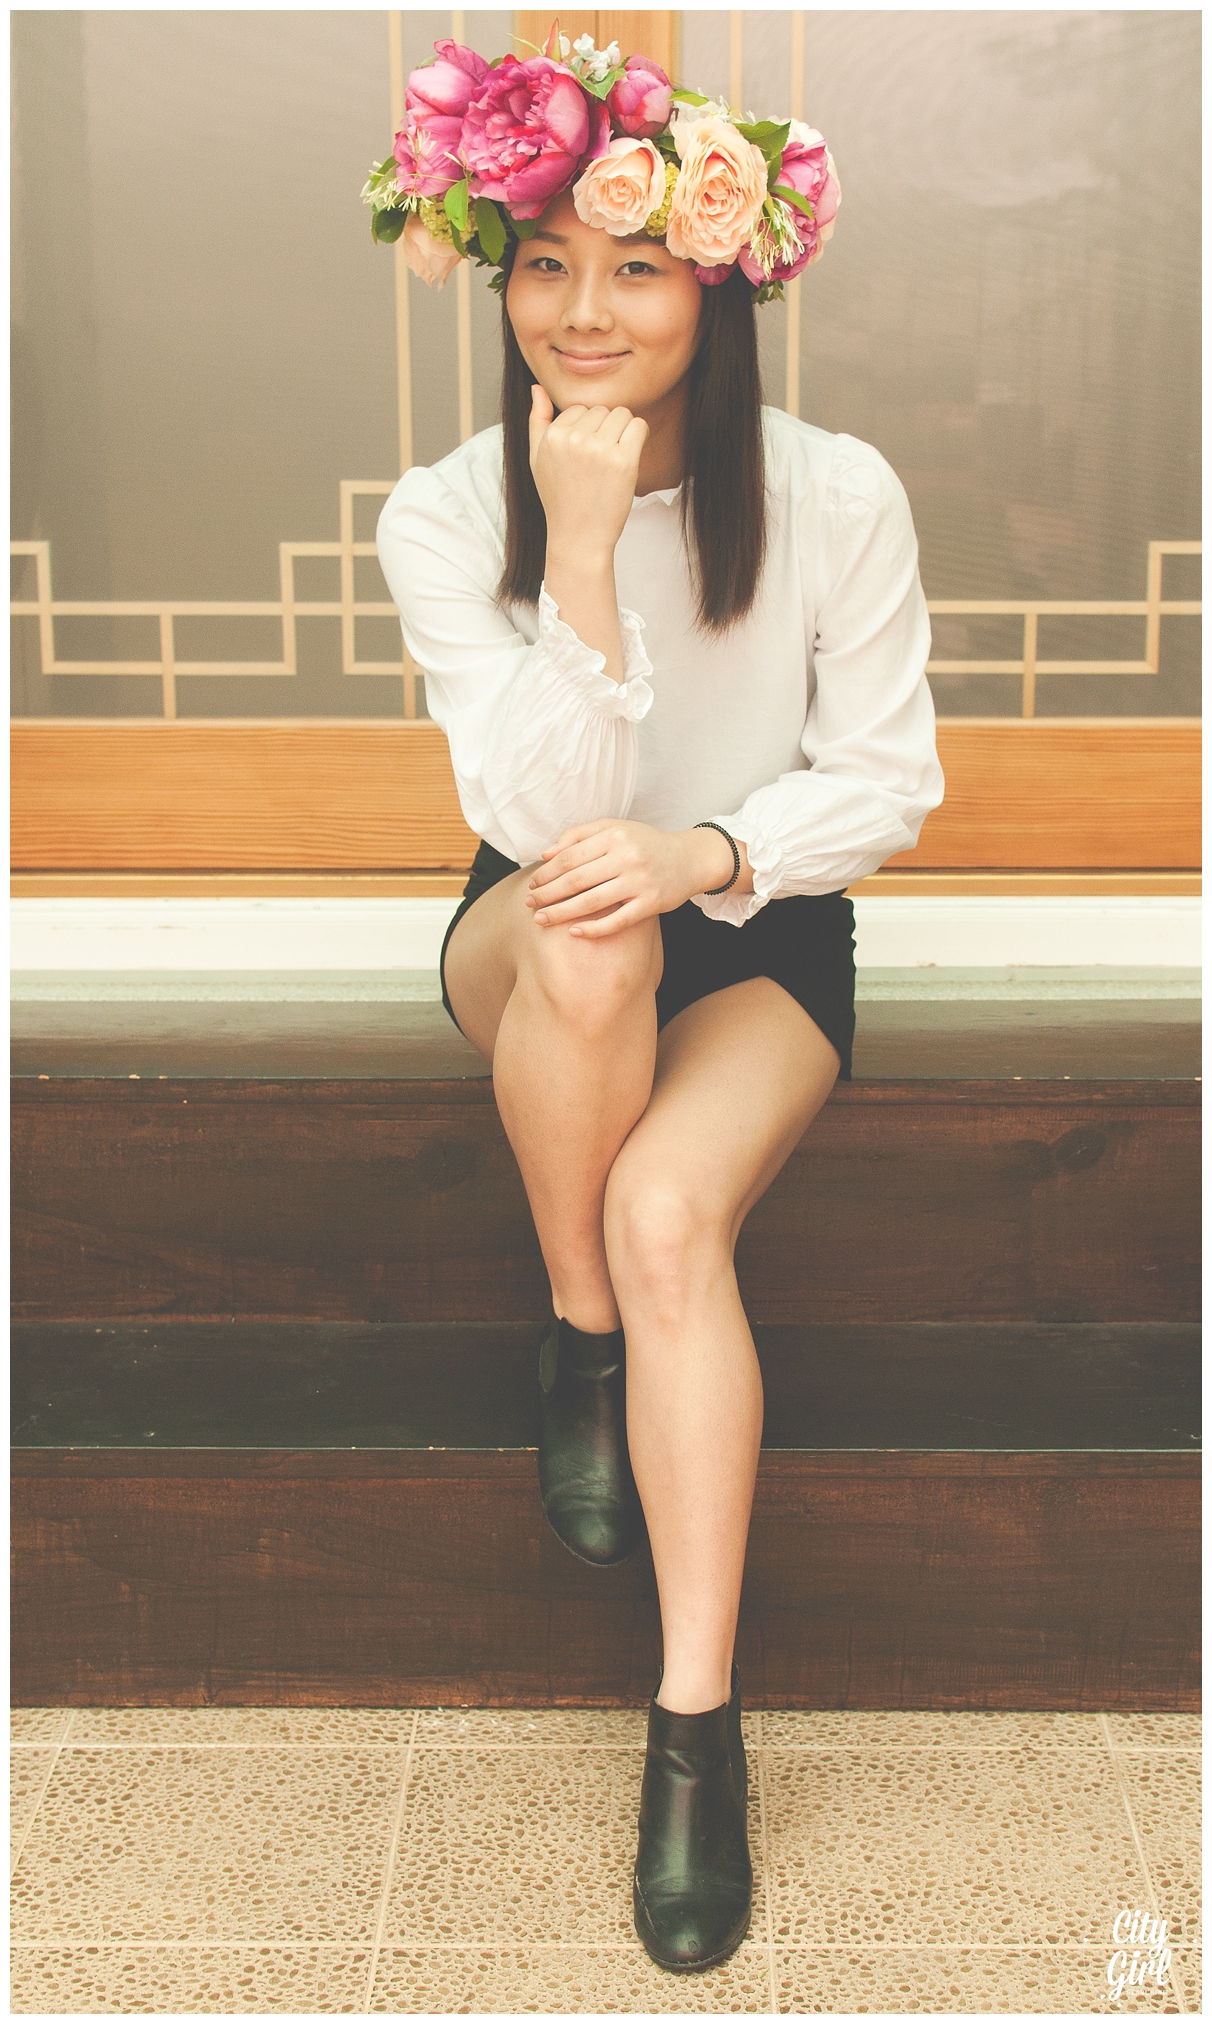
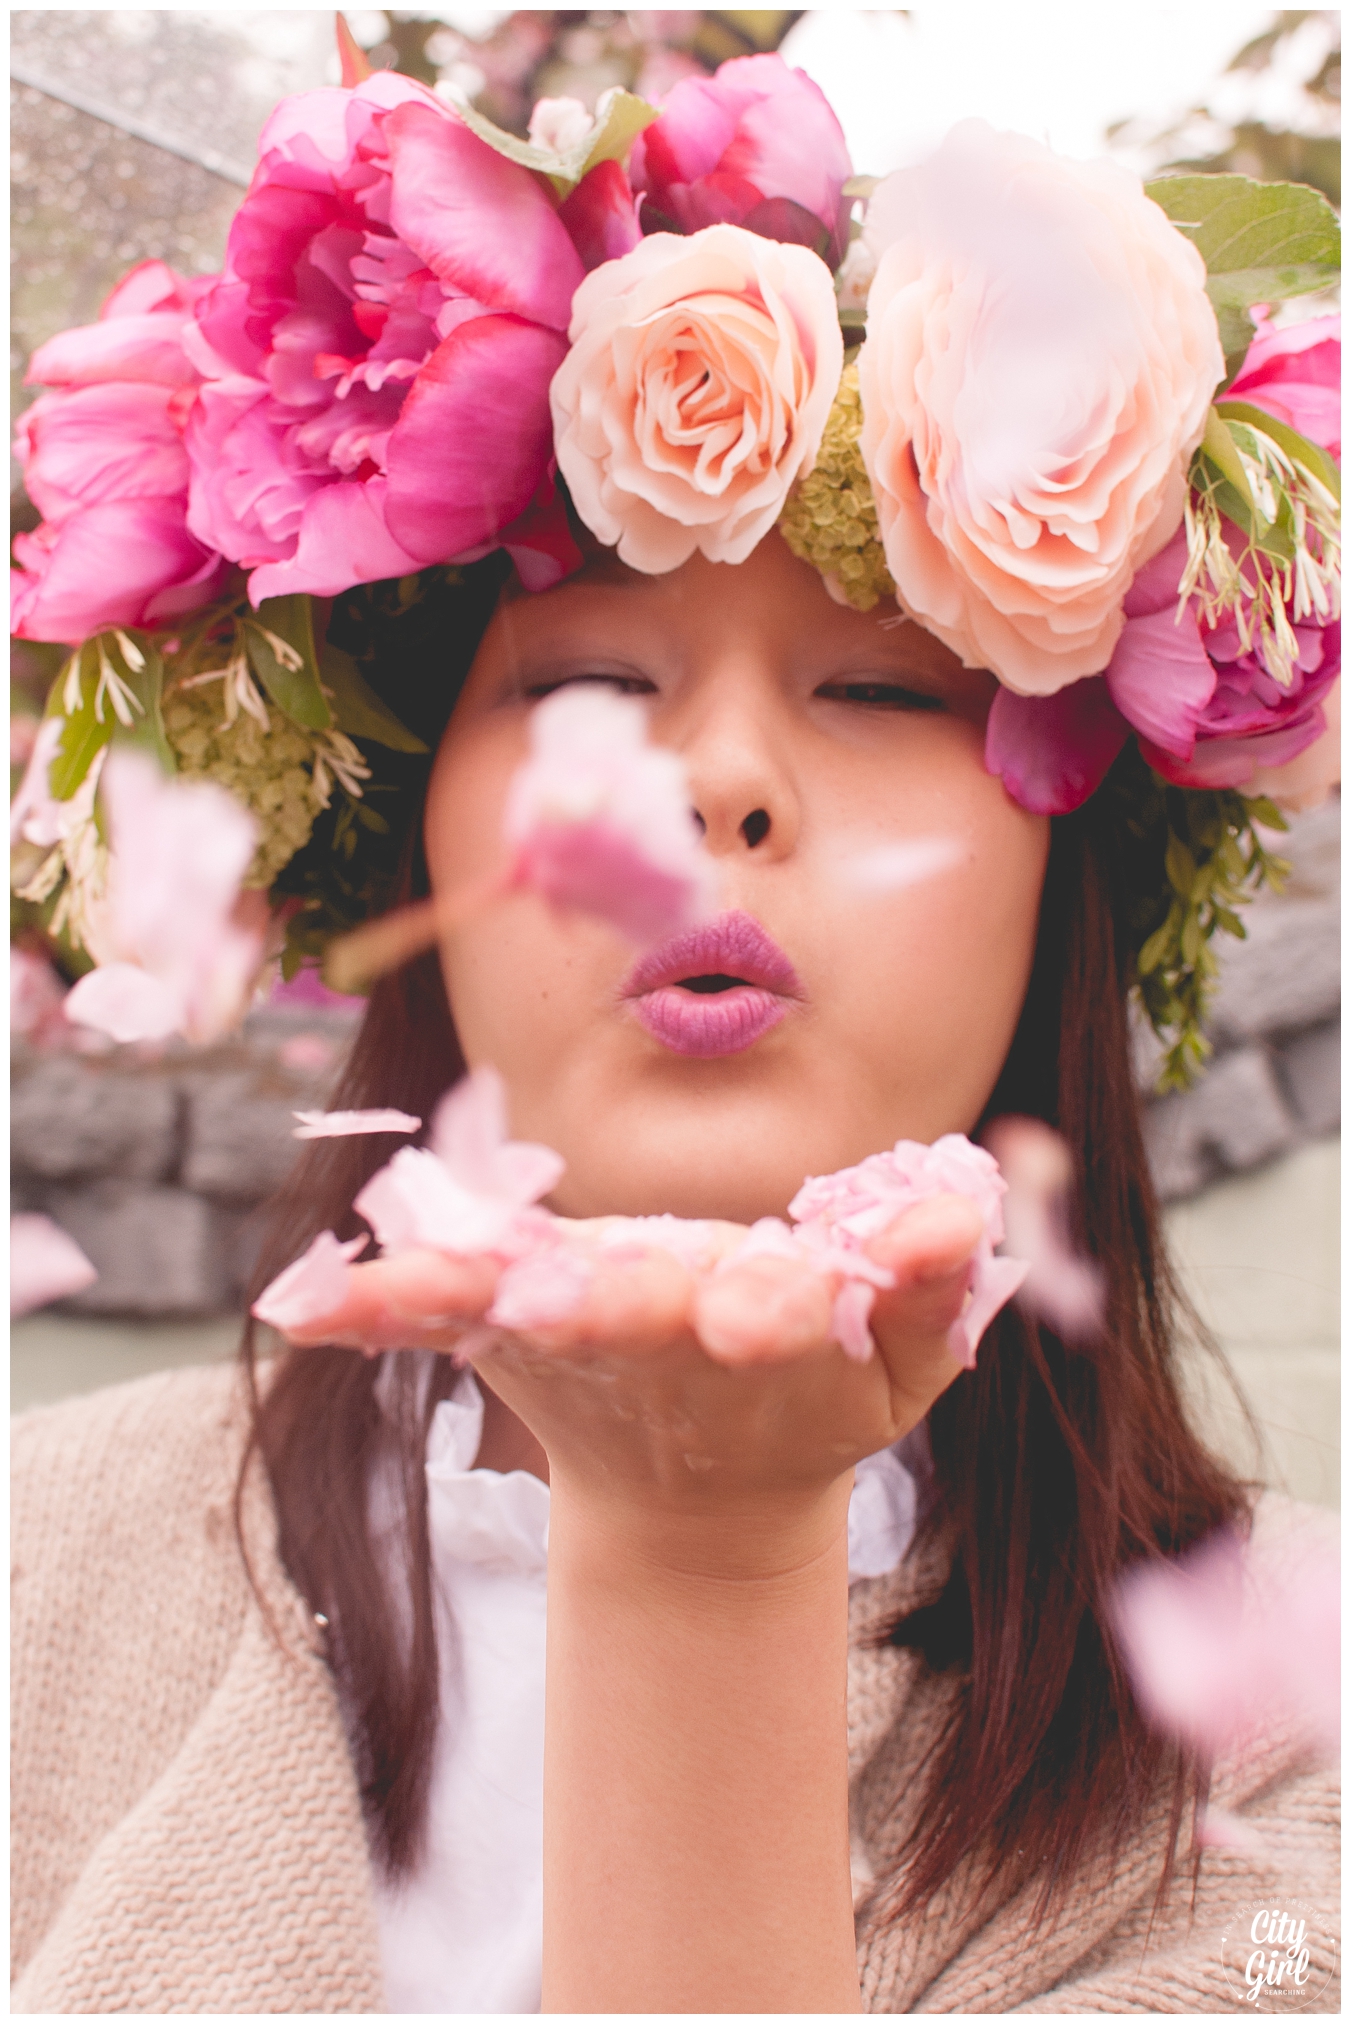
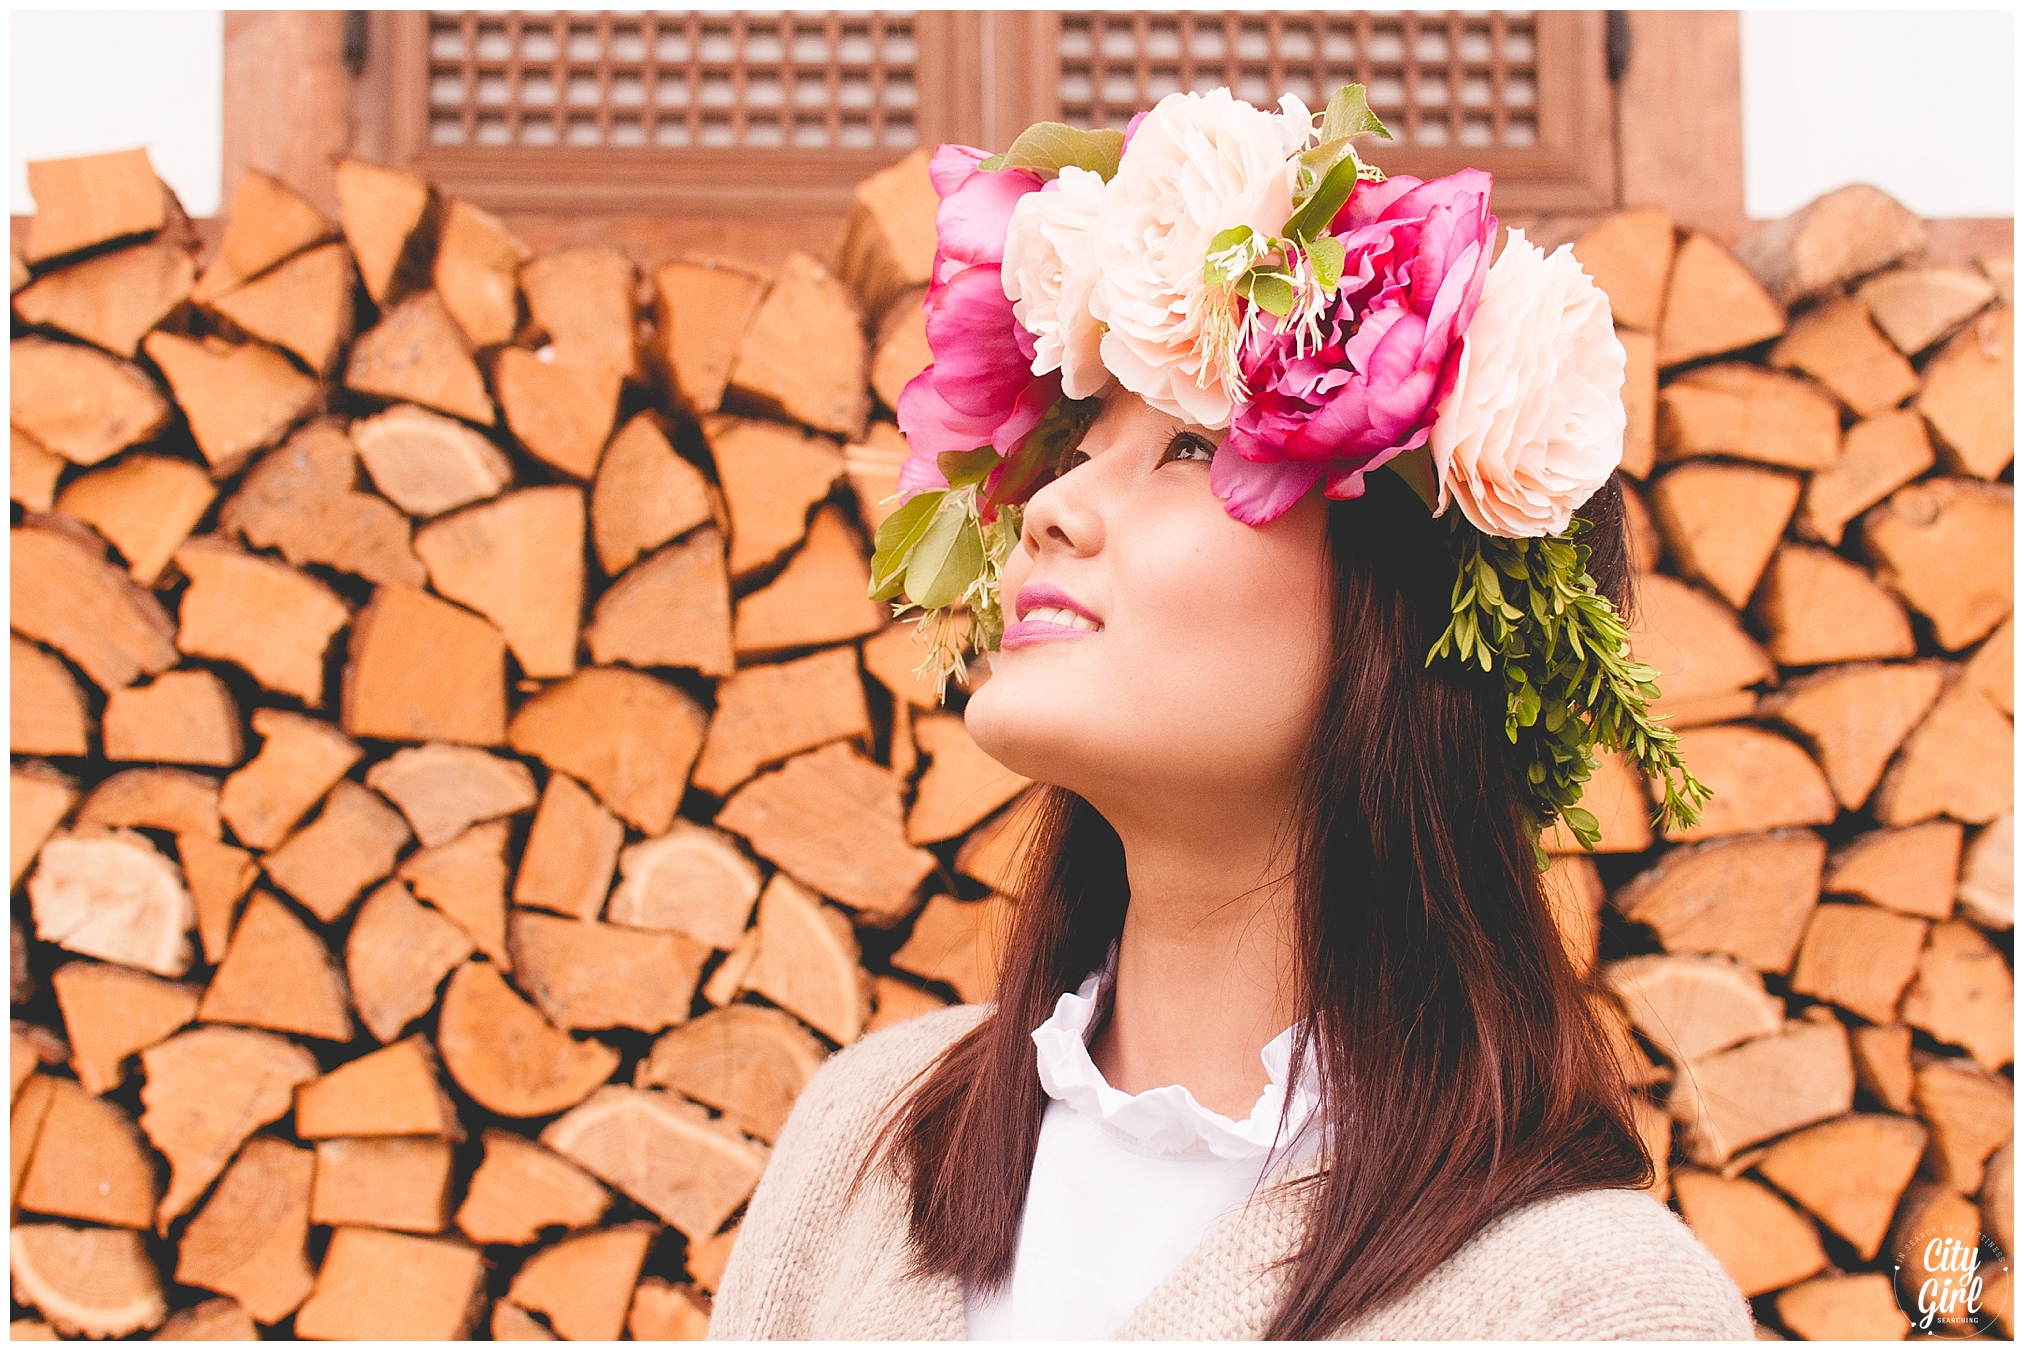
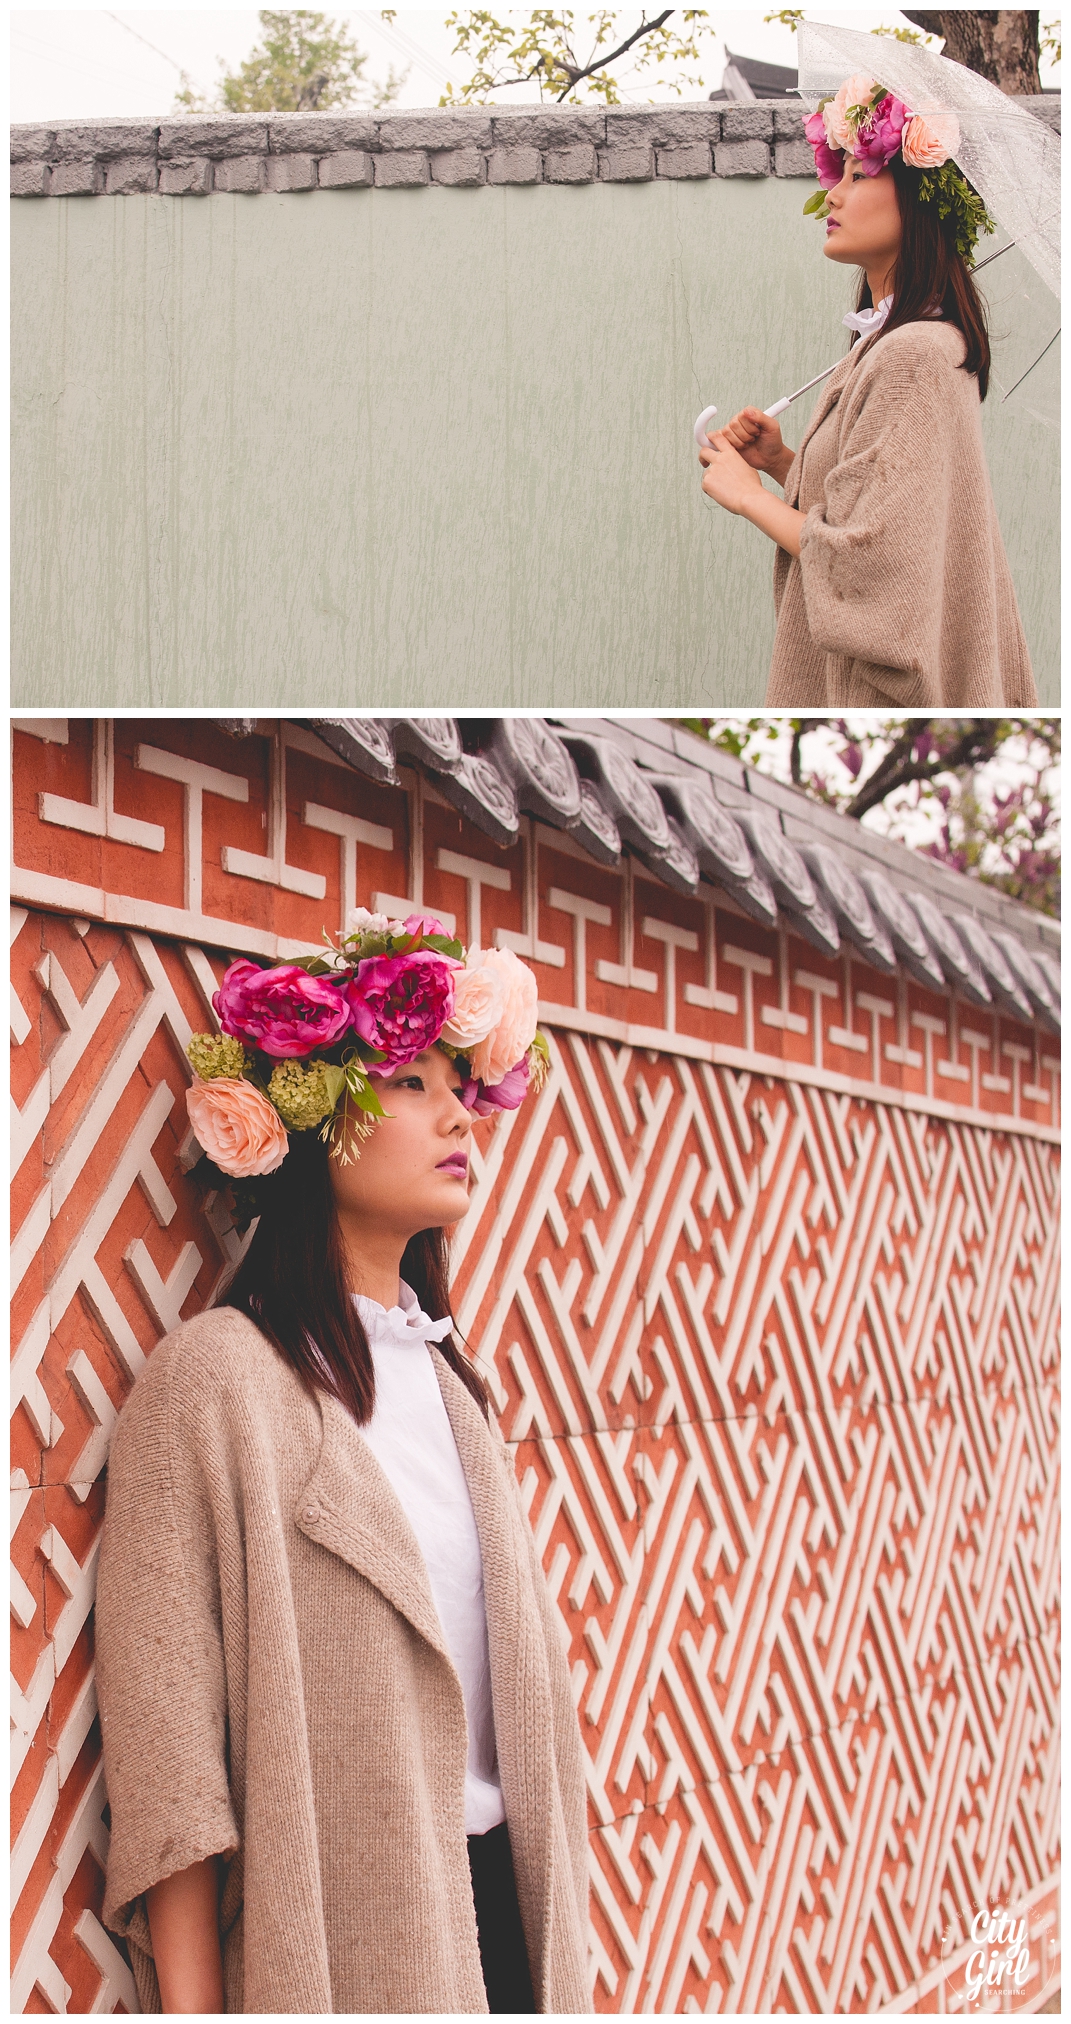
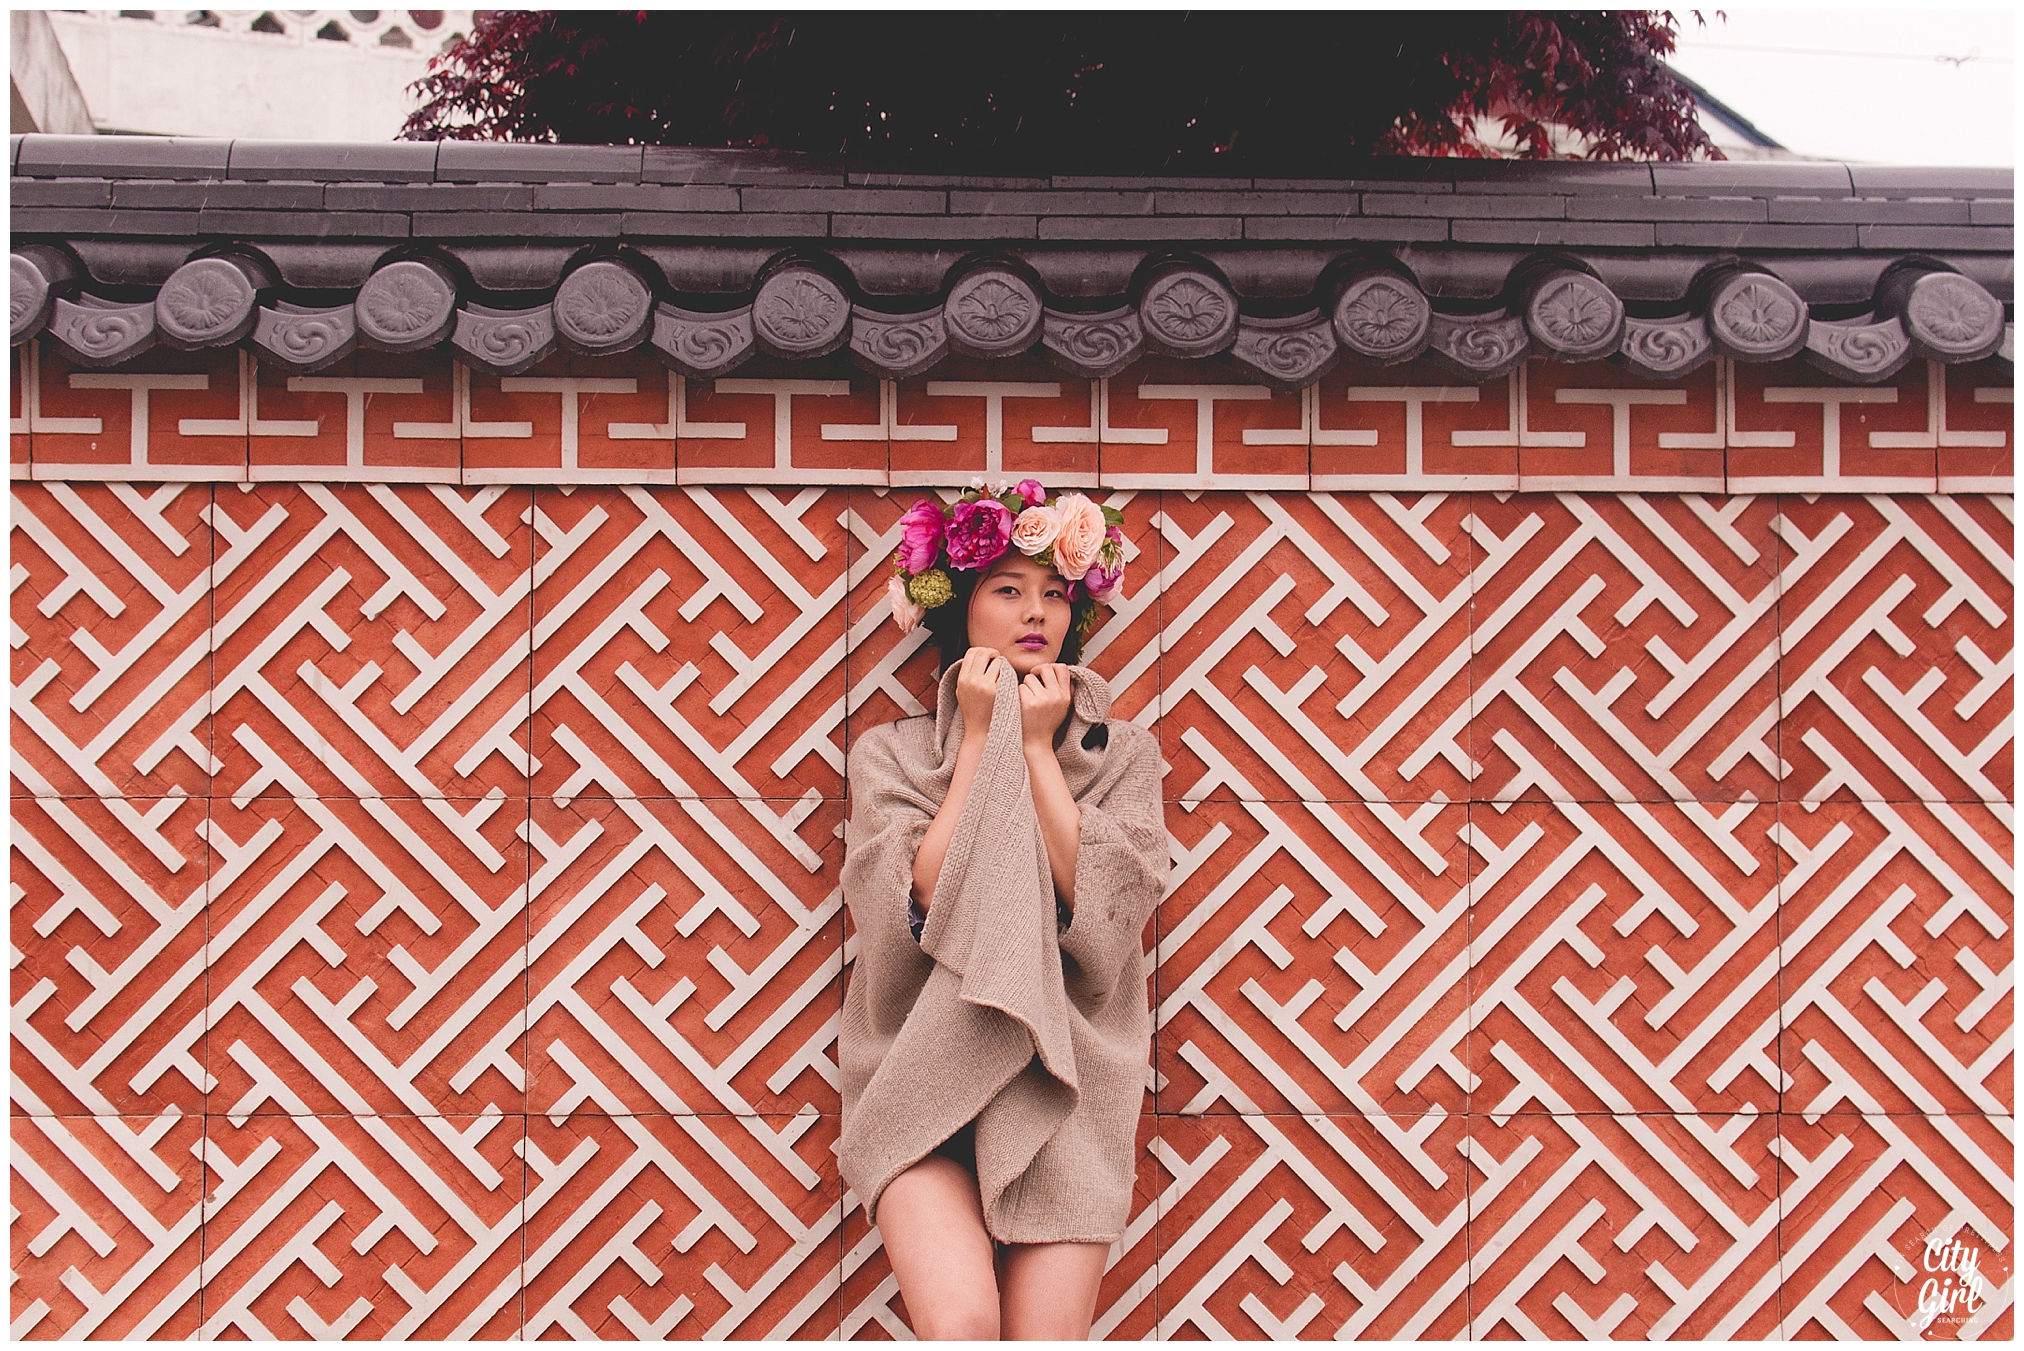
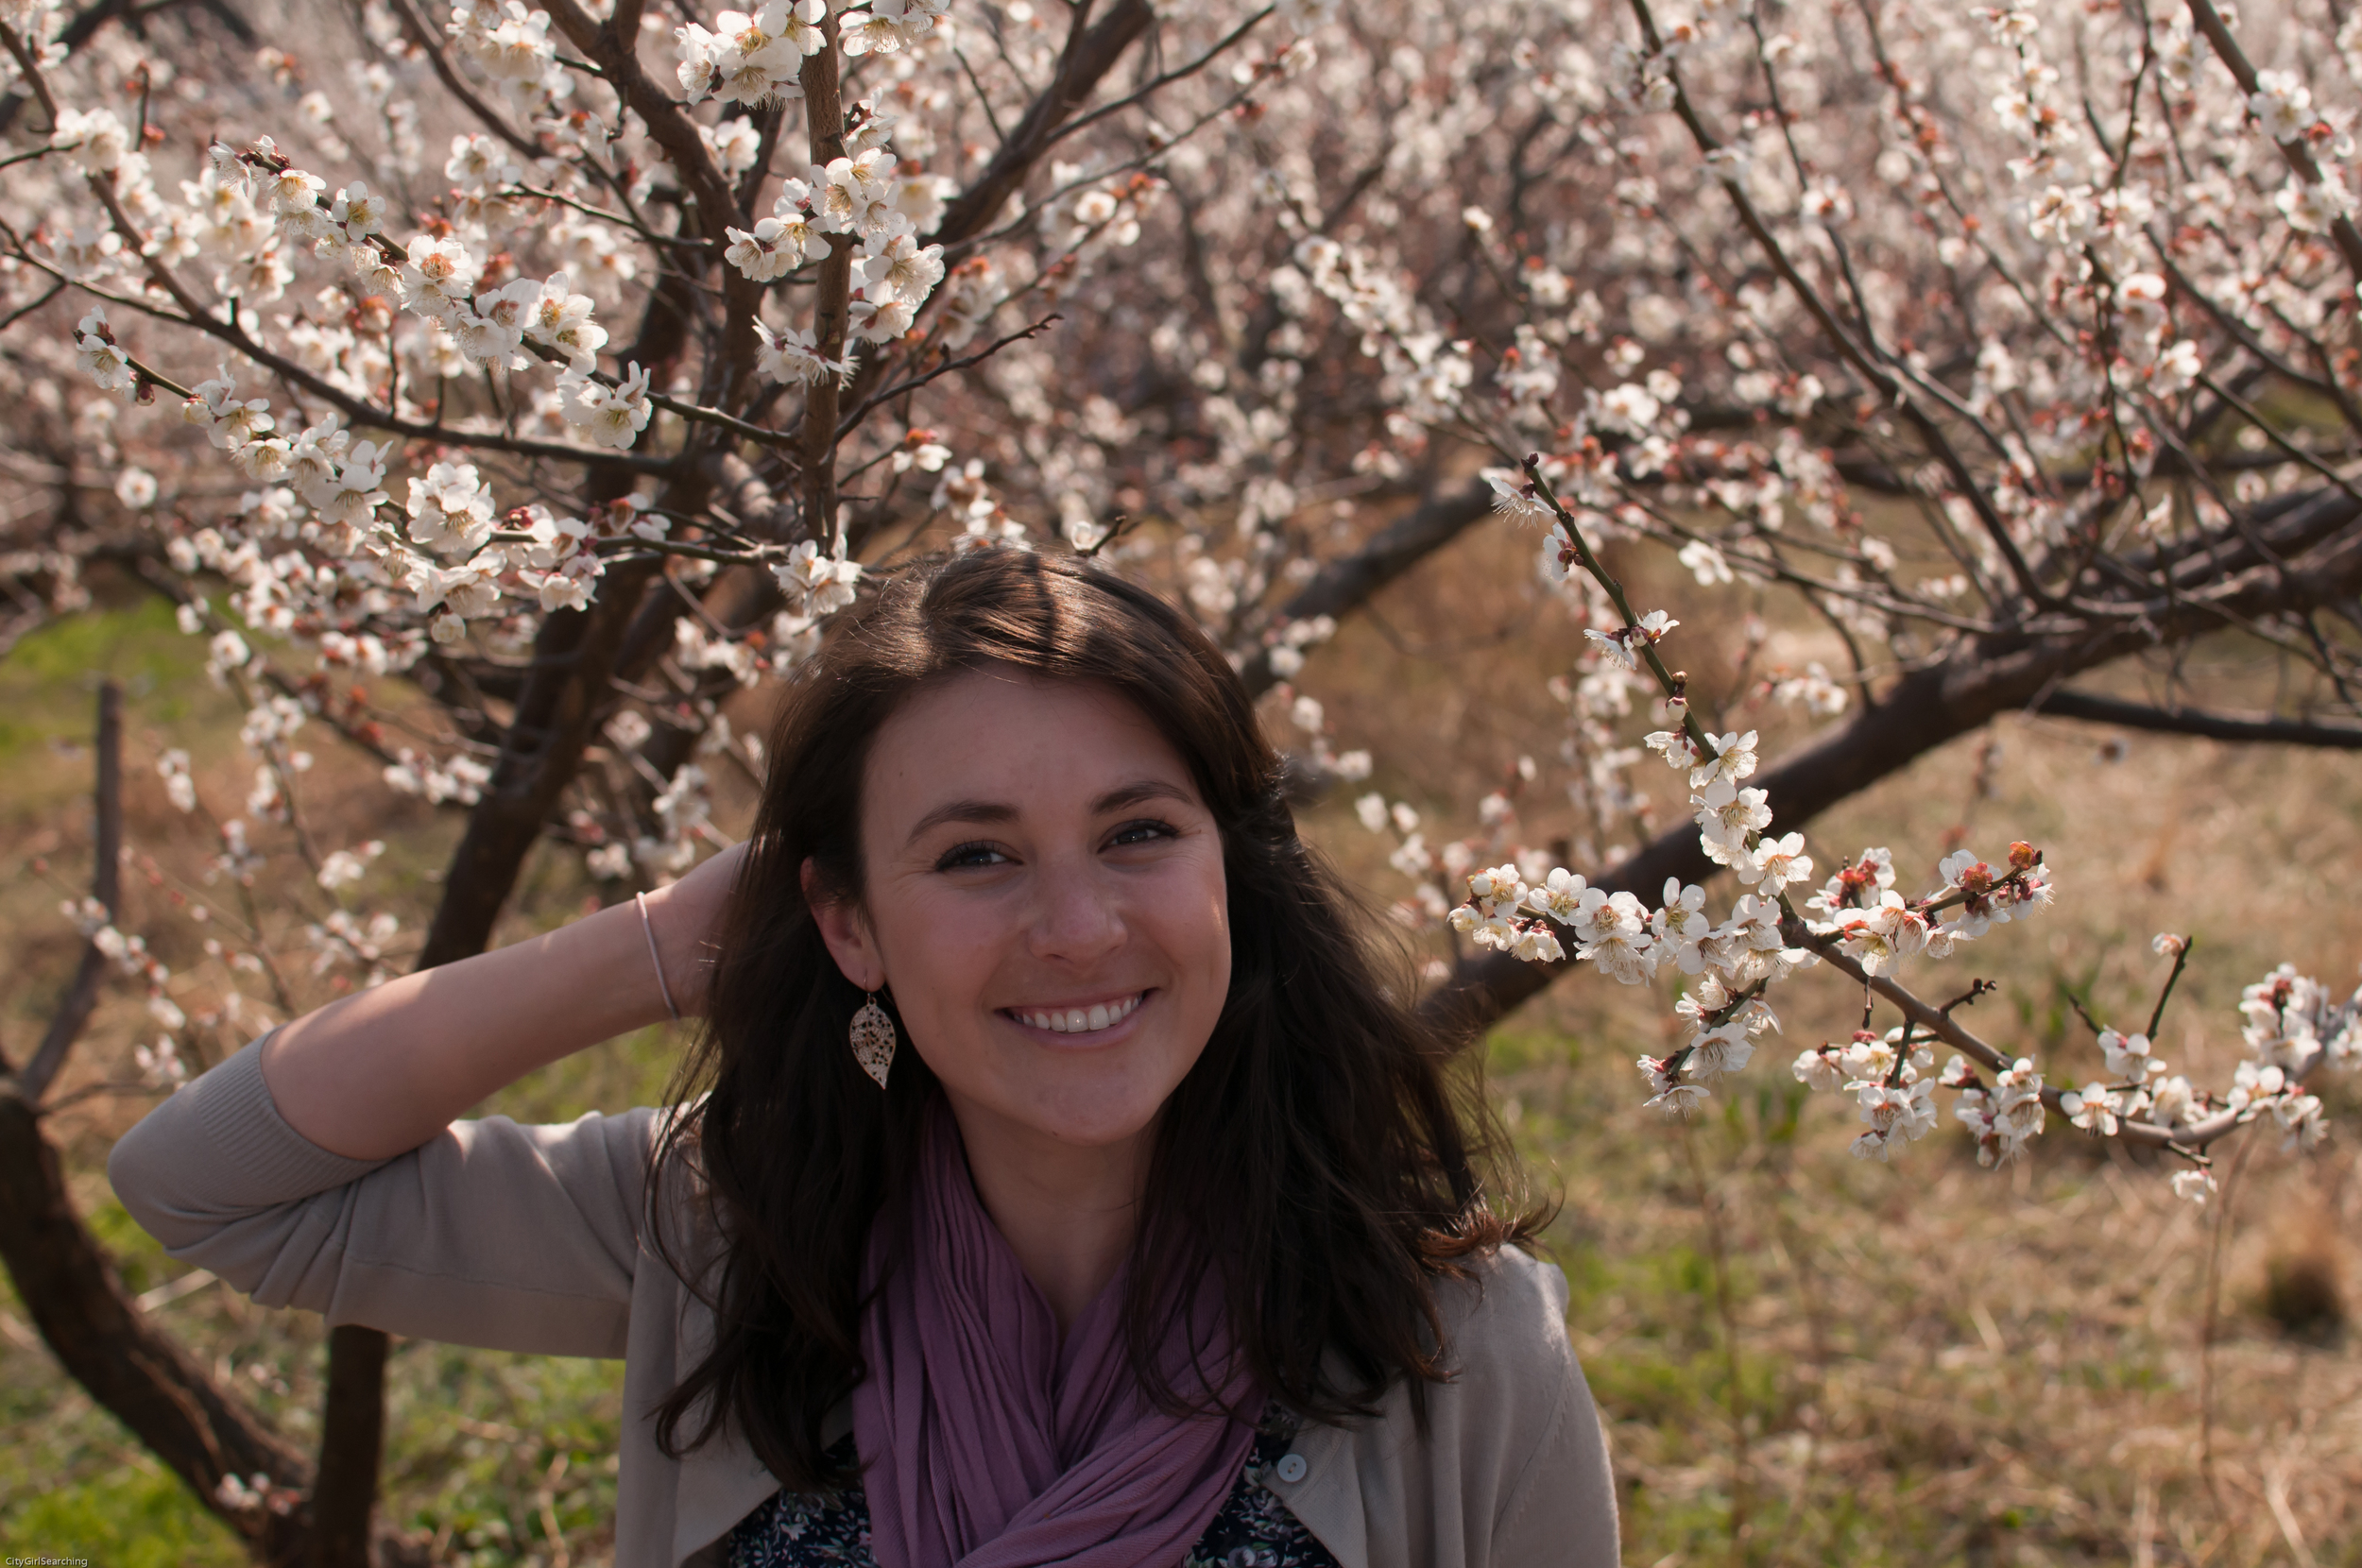
Korean Spring Flower Crown Styled Shoot

Spring Flower Crown Styled Photoshoot by Roxy Hutton of CGScreative-05.png

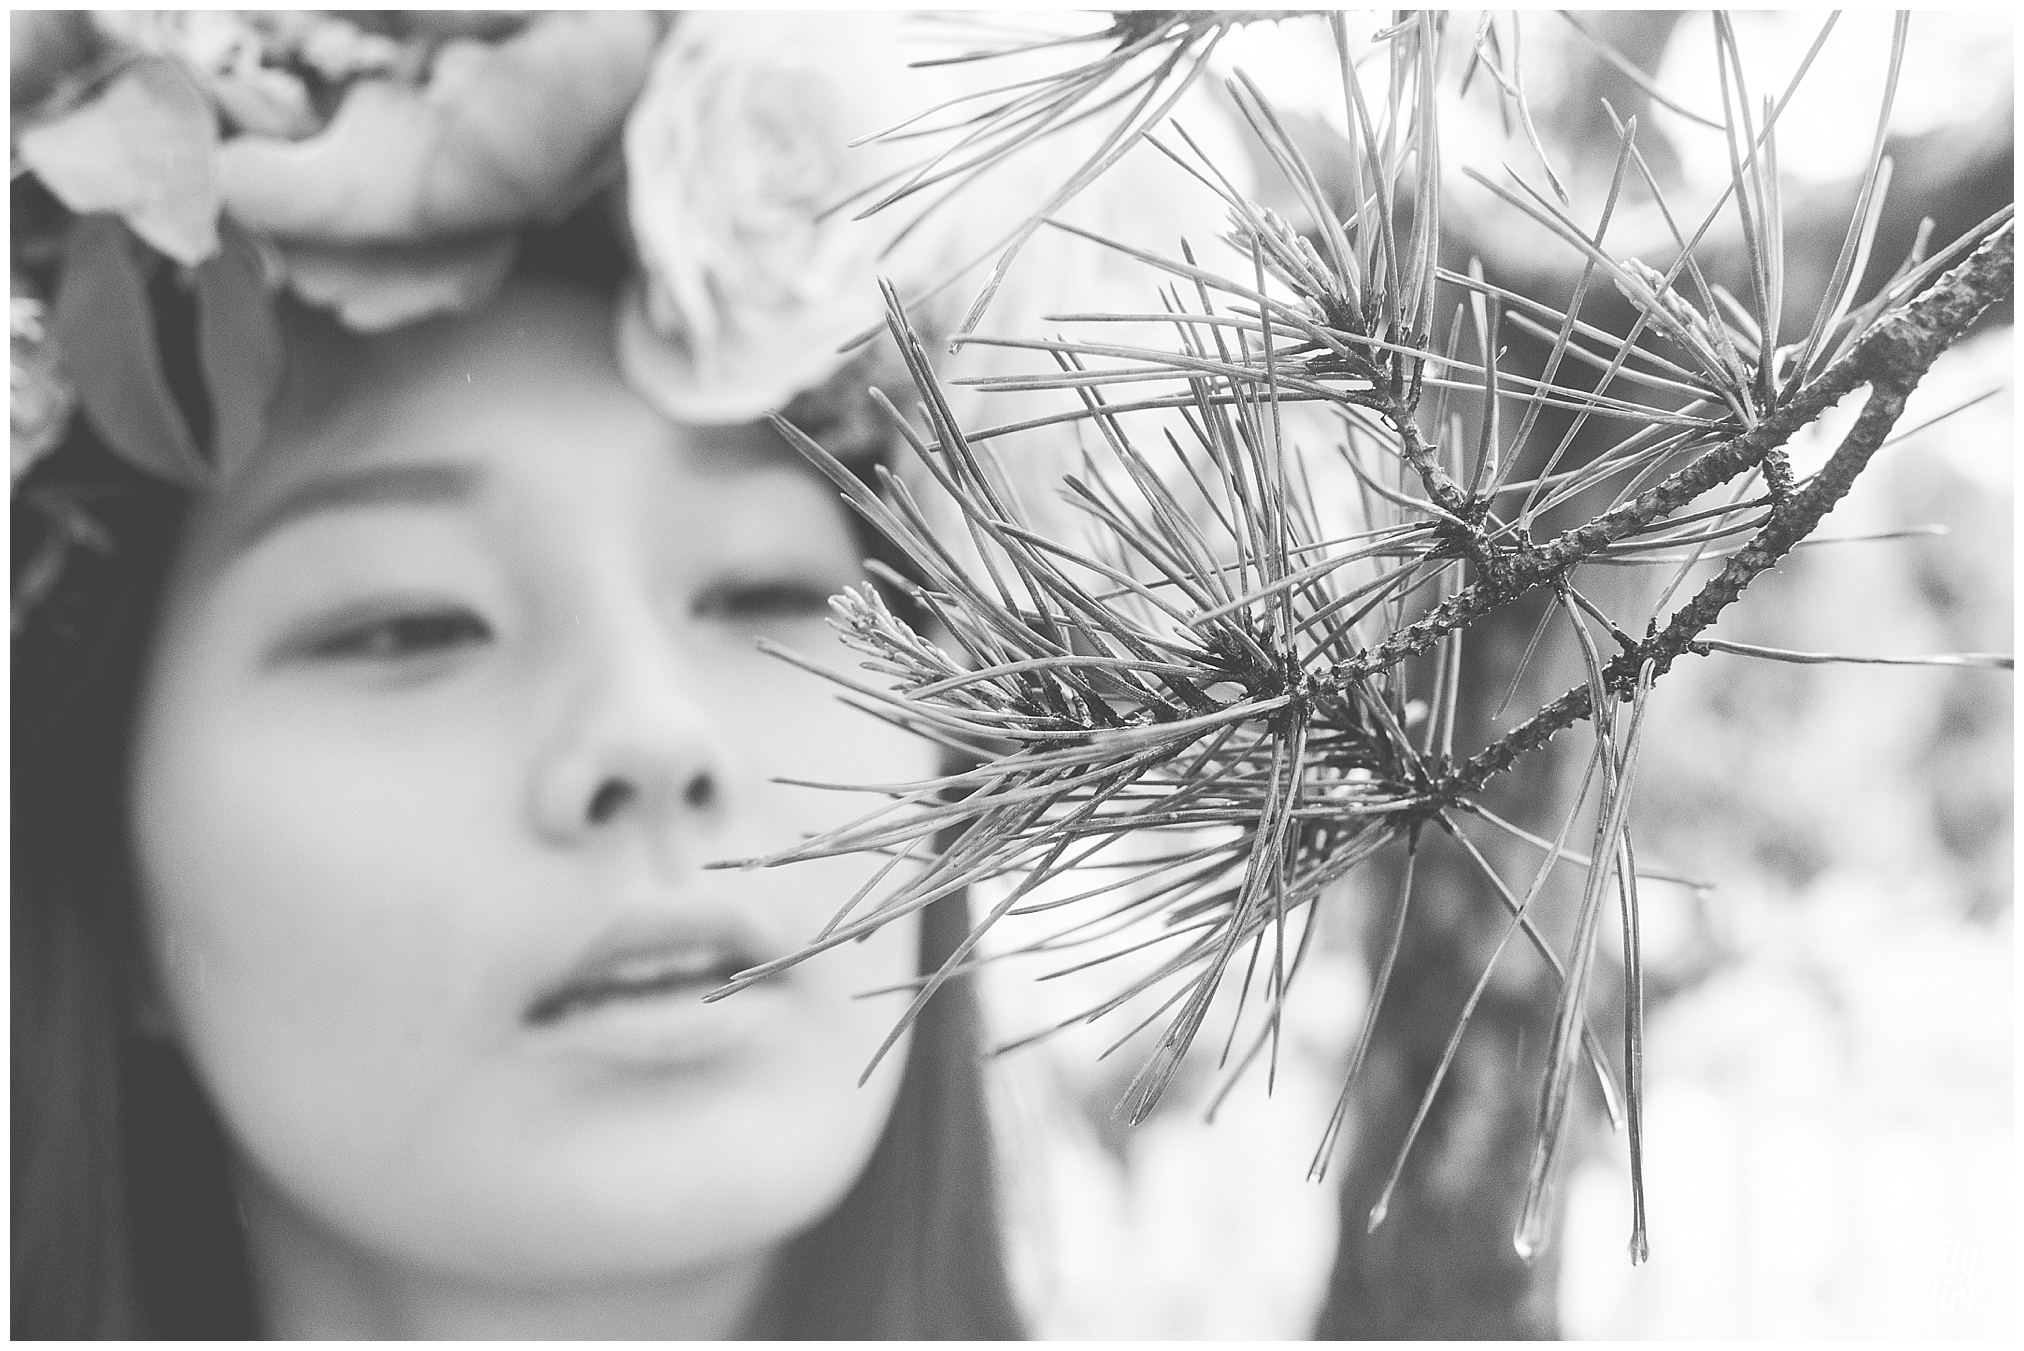
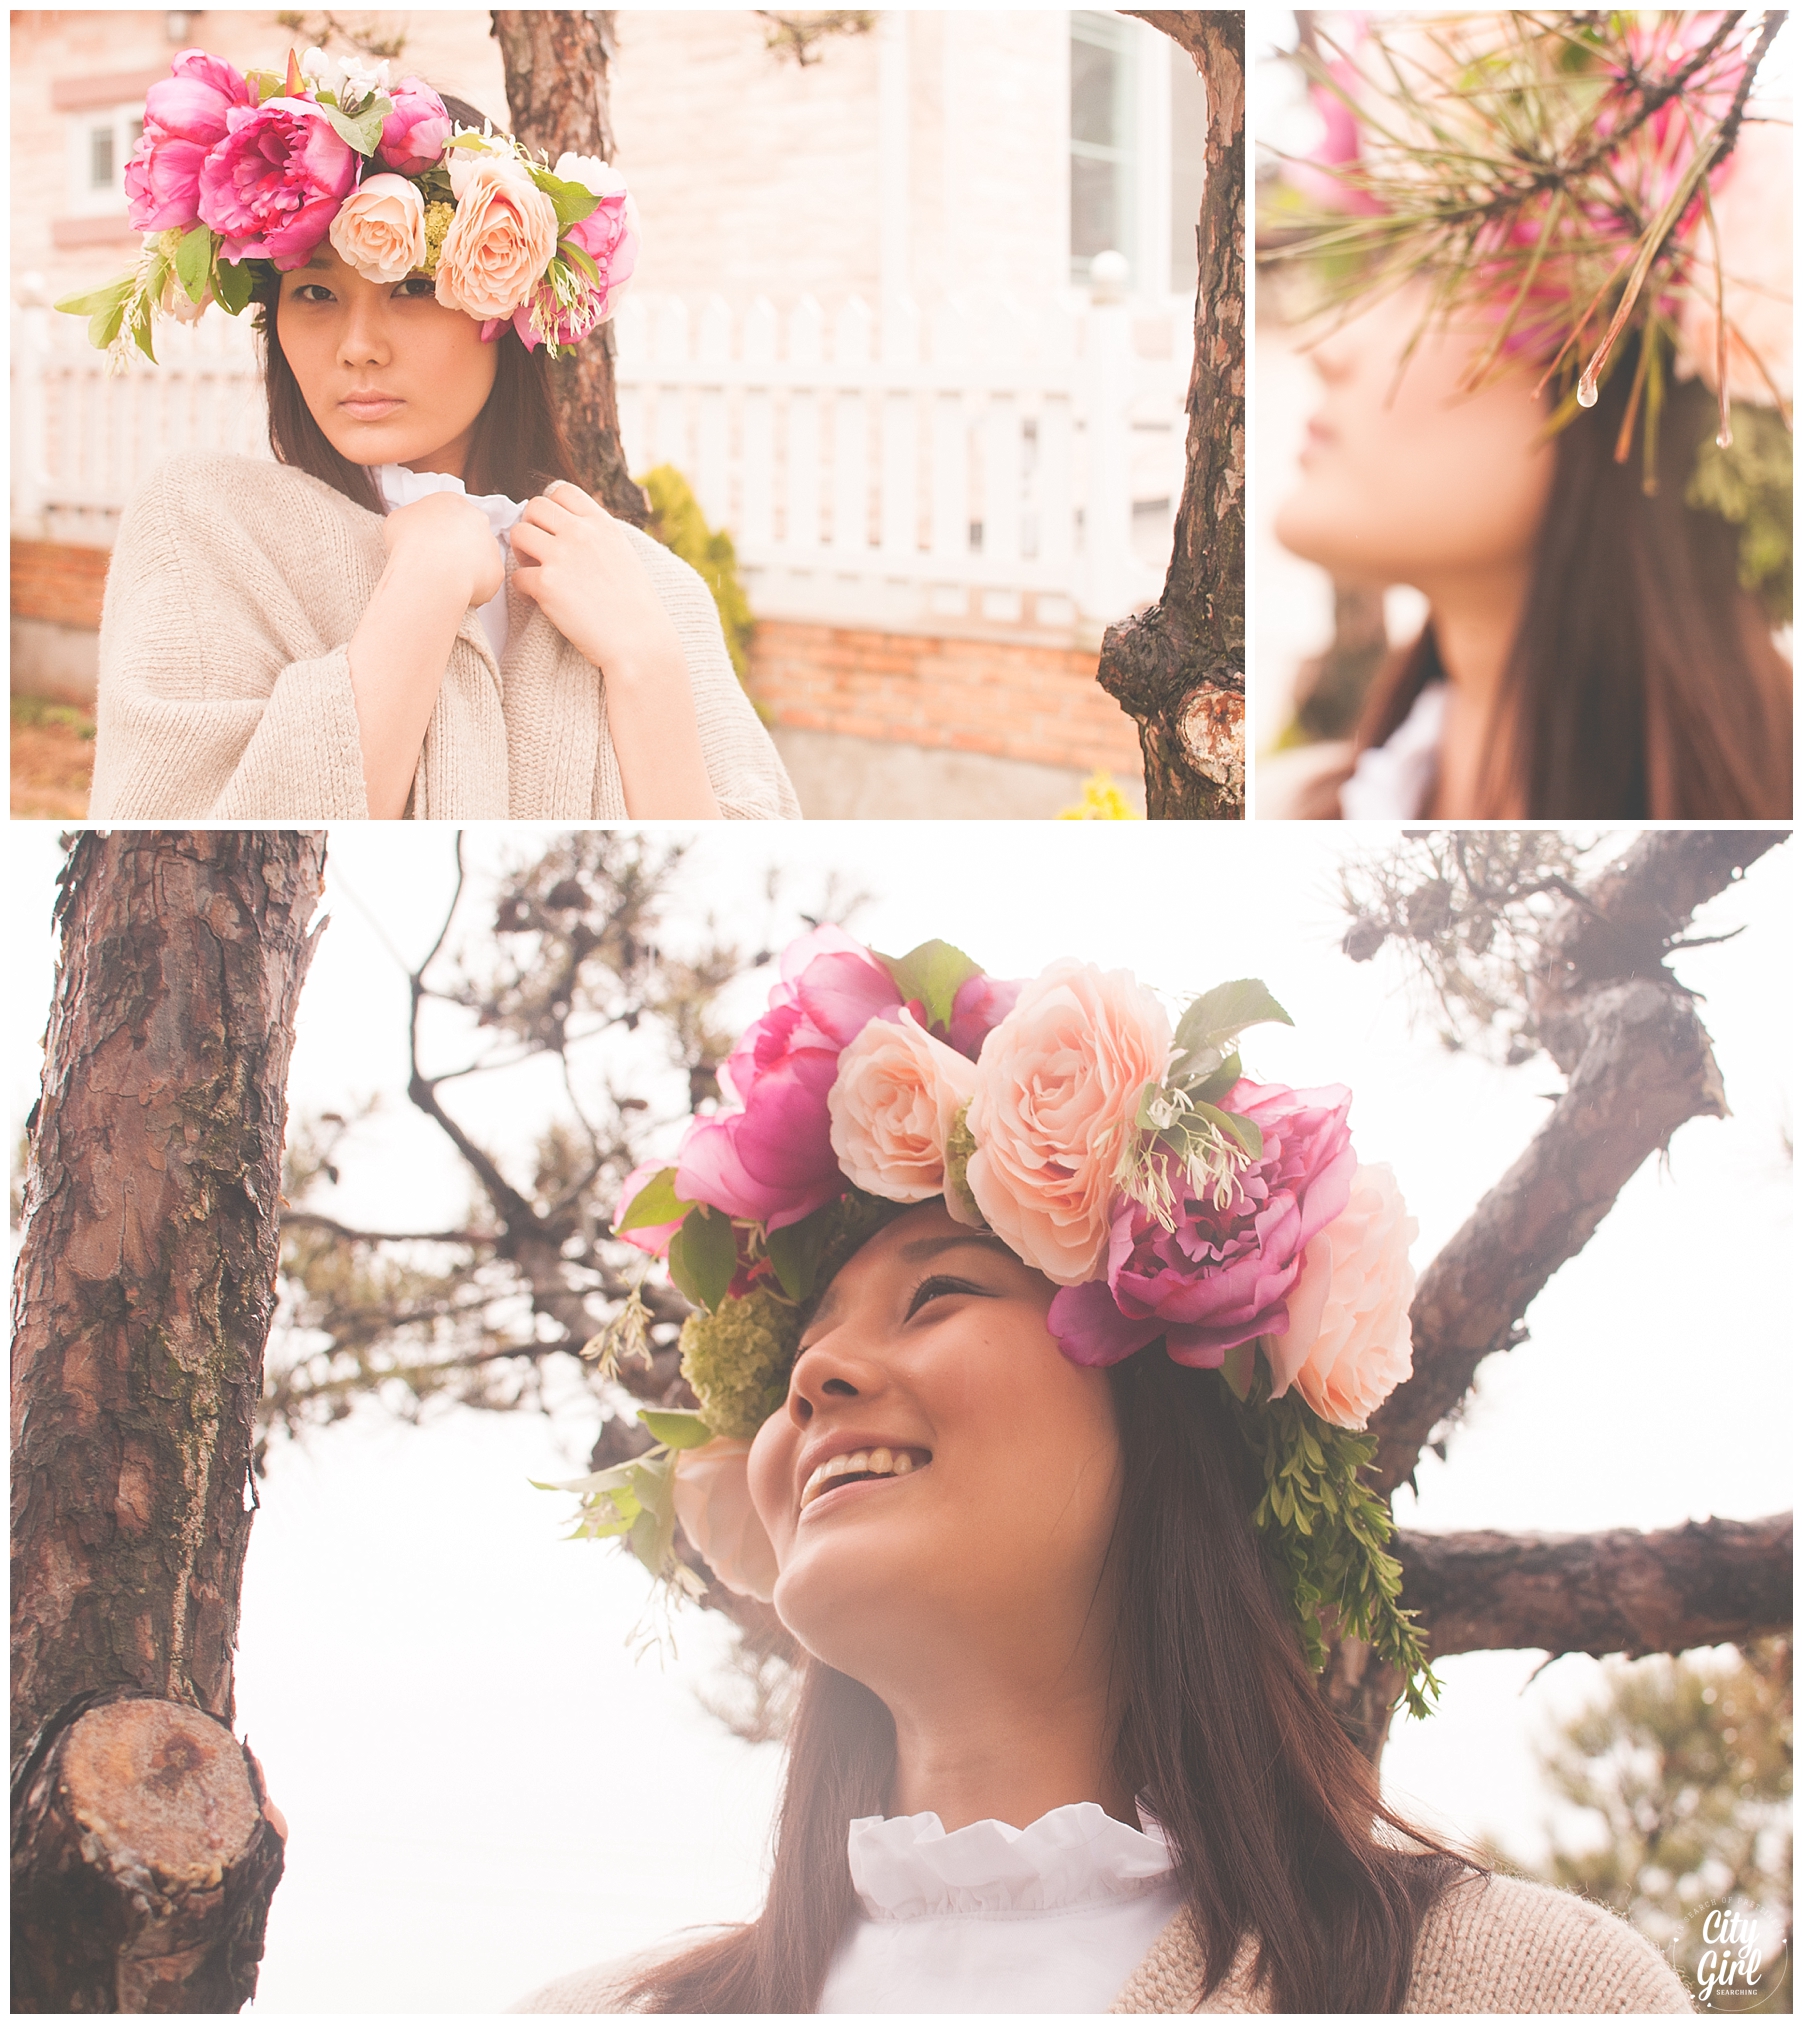
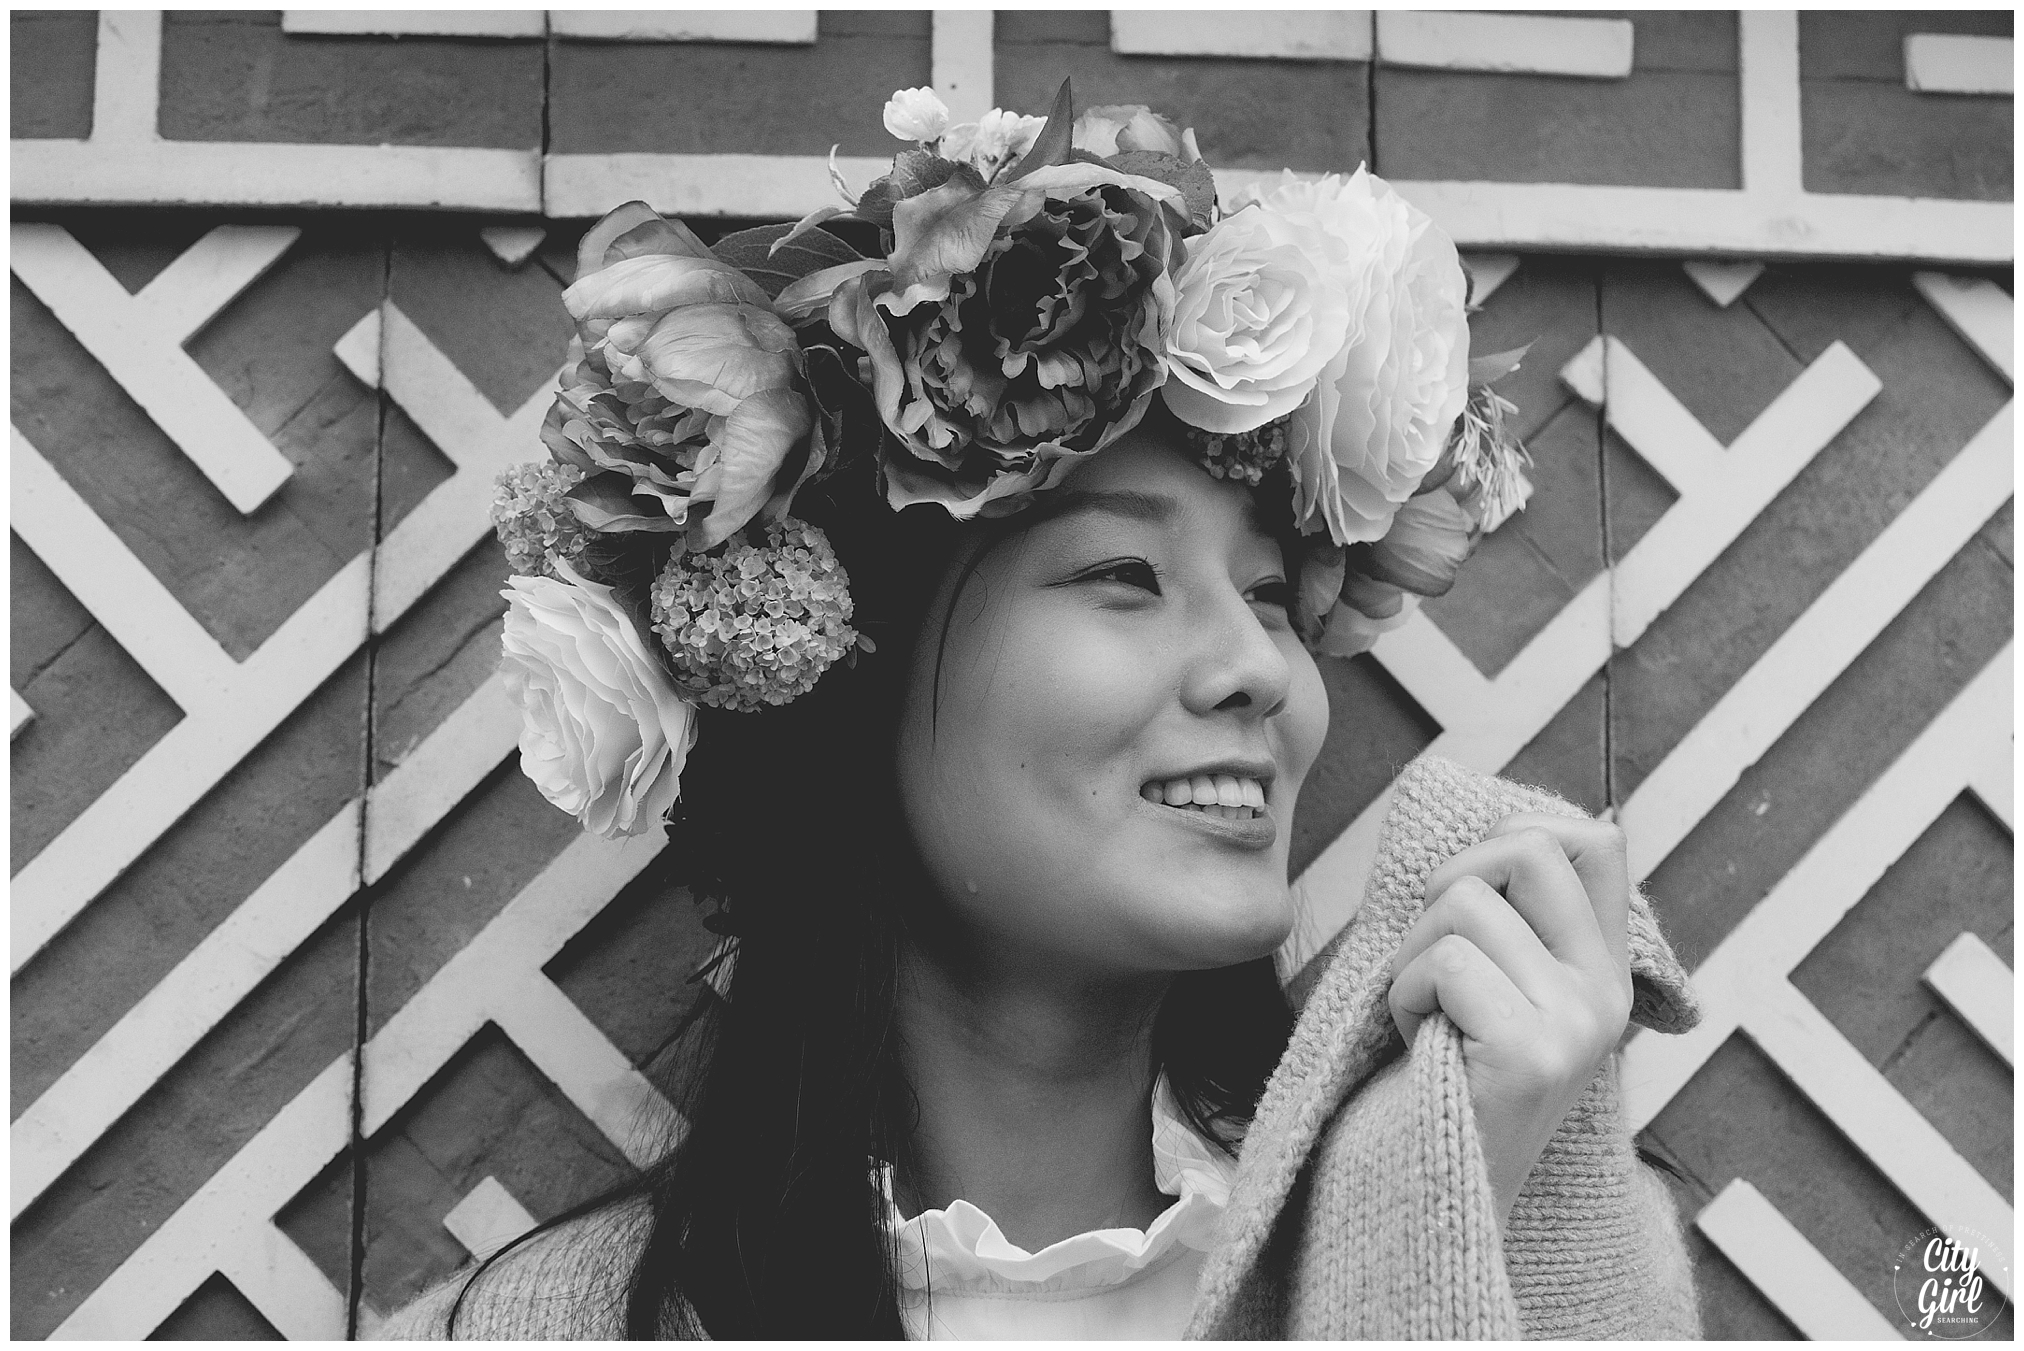
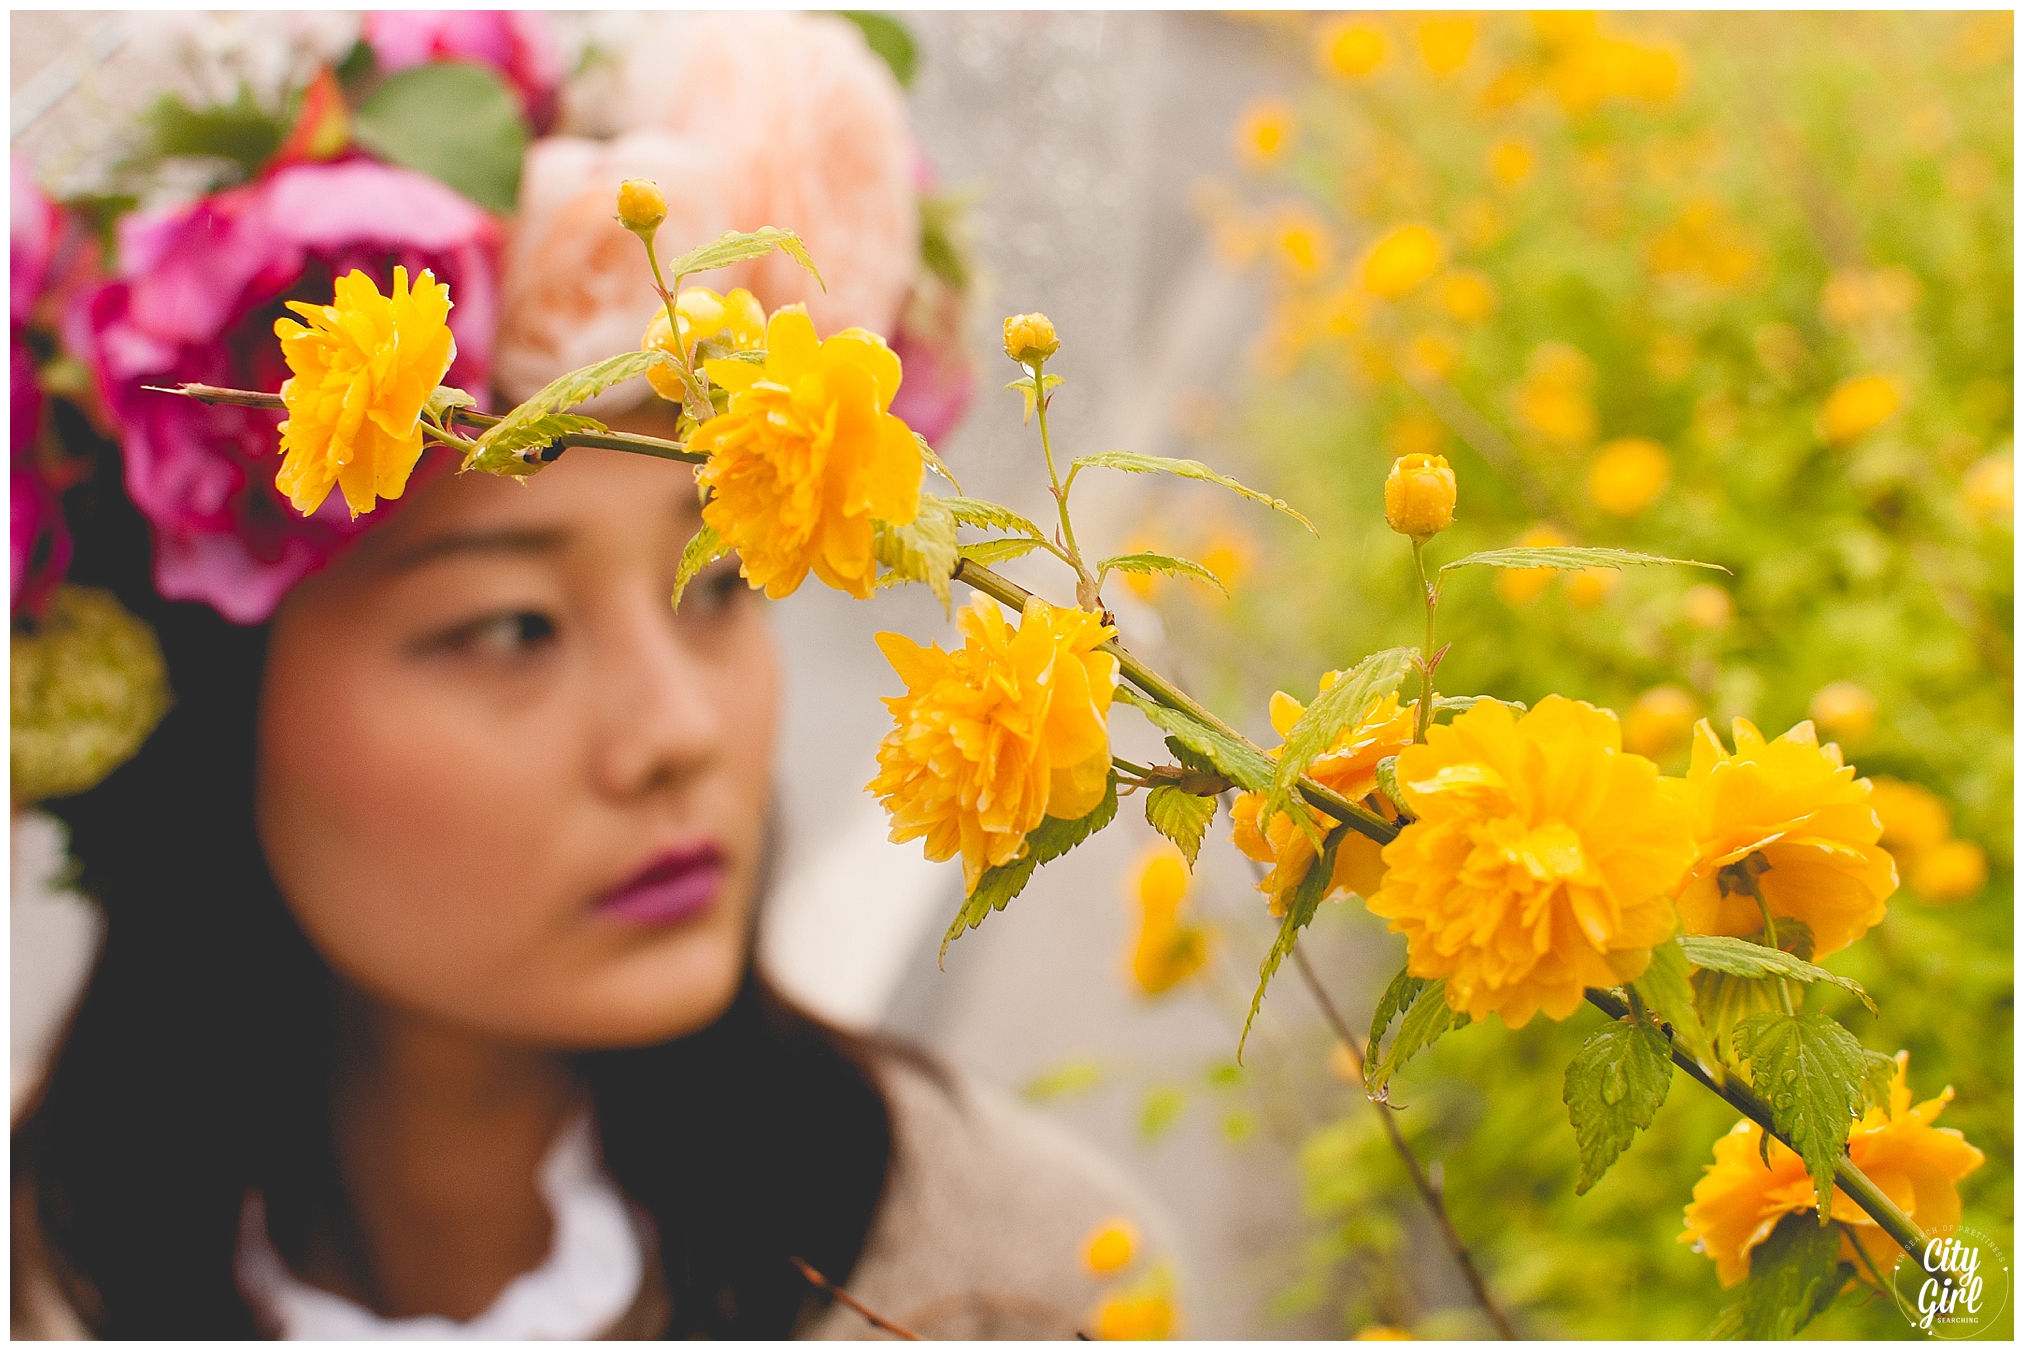
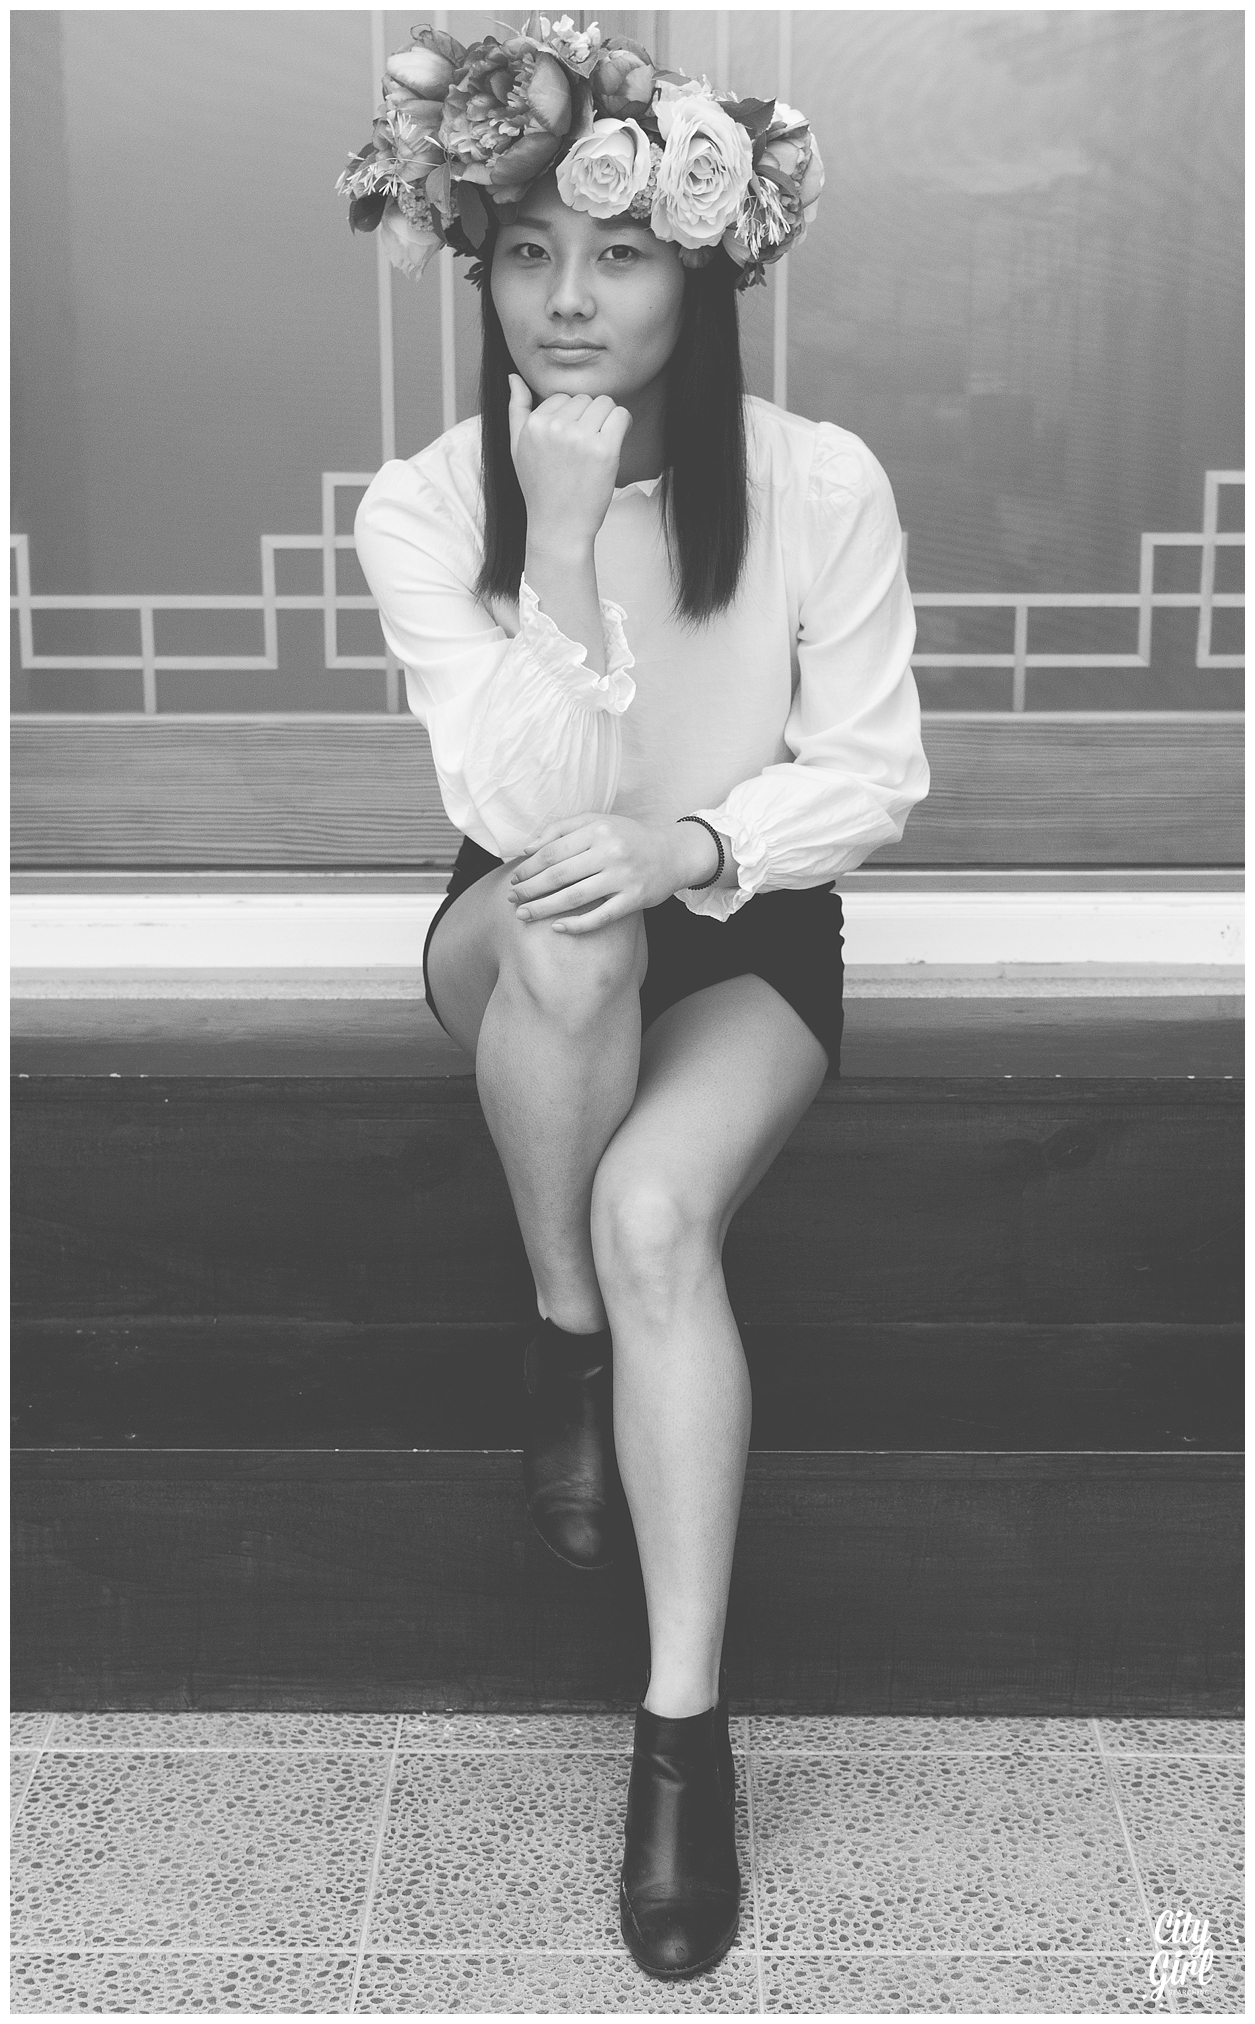
After a recent trip to the Yangjae Flower Market in Seoul, my friend Storm and I felt inspired to do a flower crown shoot here in South Korea. Styled shoots are a wonderful way to practice and hone your skills as a photographer, while working with other creatives and producing something that may be very different from your usual style. These kind of shoots are a far less stressful way to try out new ideas, with little to no time restraints and are a really fun way to spend an afternoon. They do require quite a lot of planning and preparation (and hunting for possible vendors and suppliers depending on your theme) but if you choose to work with people who have the same vision and ideas as you, they are the perfect platform to grow your skills and learn new things about yourself and what you are capable of.

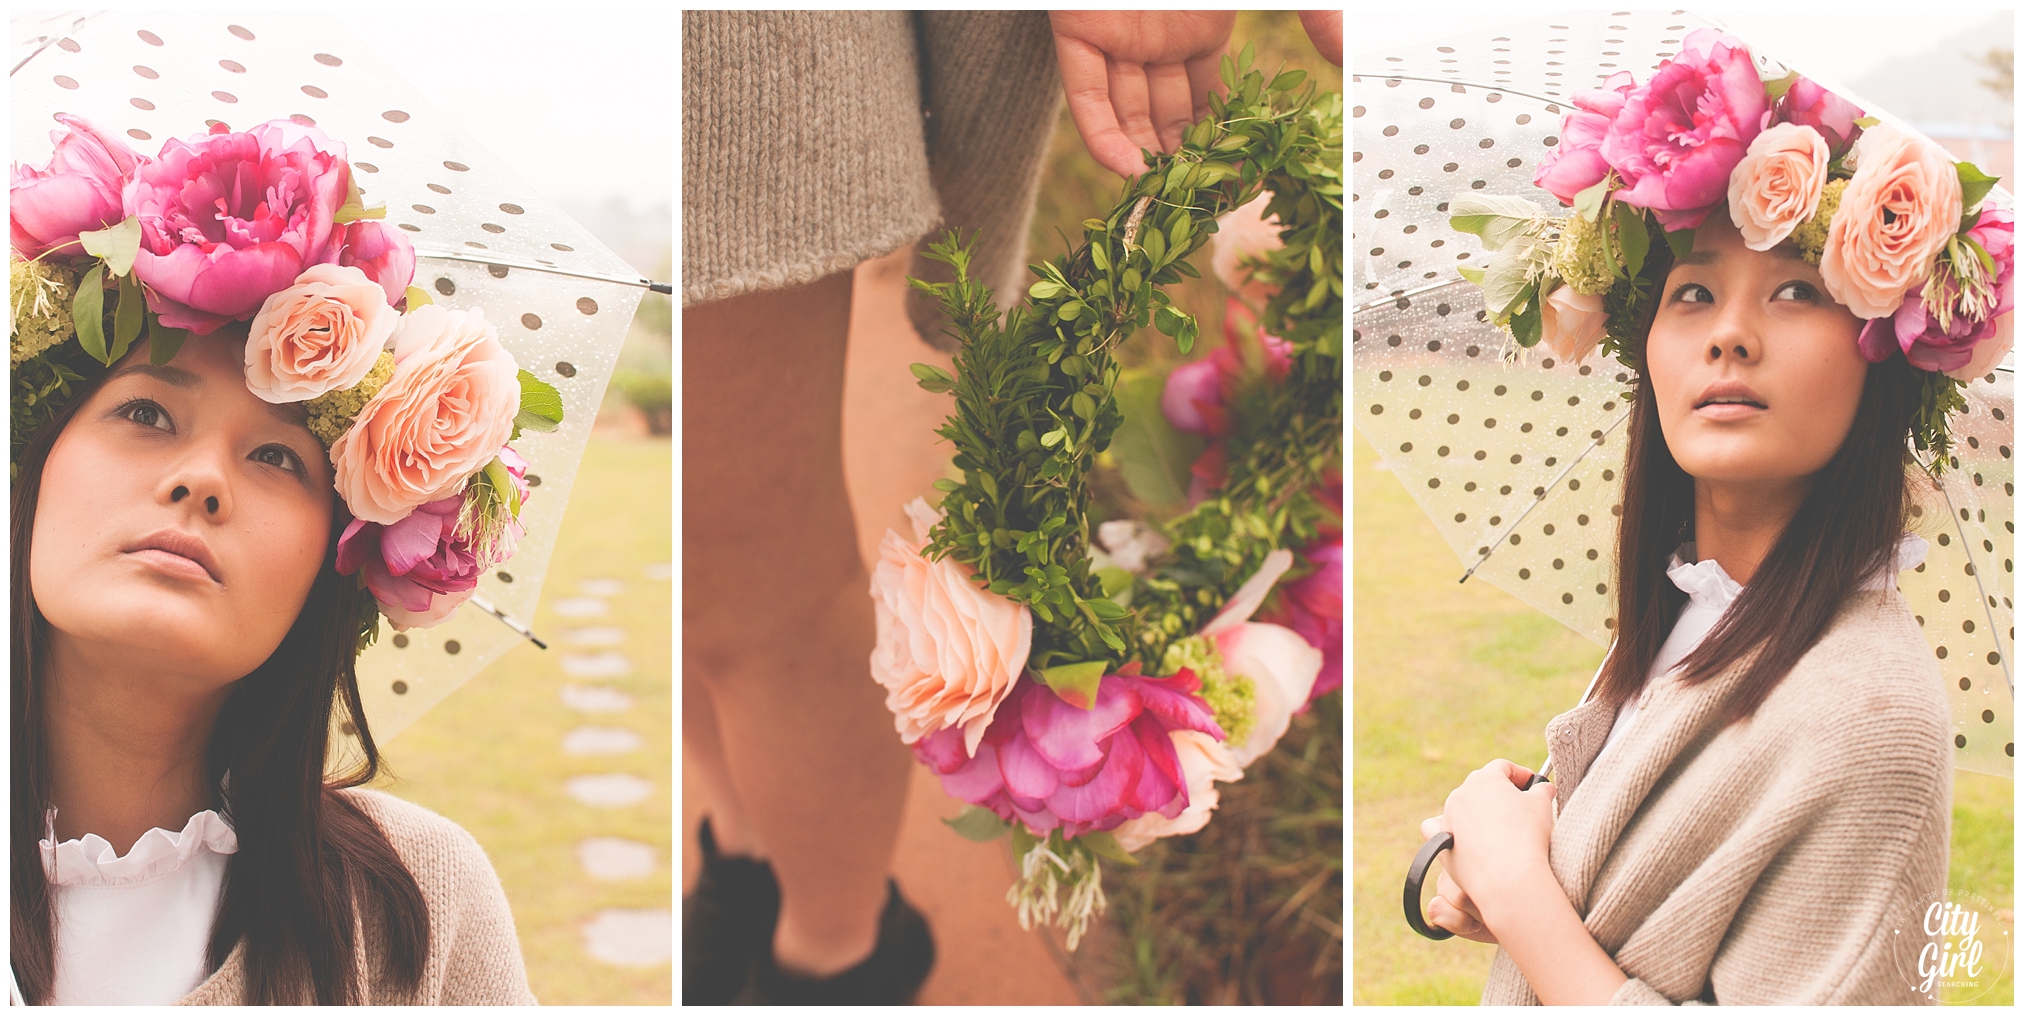
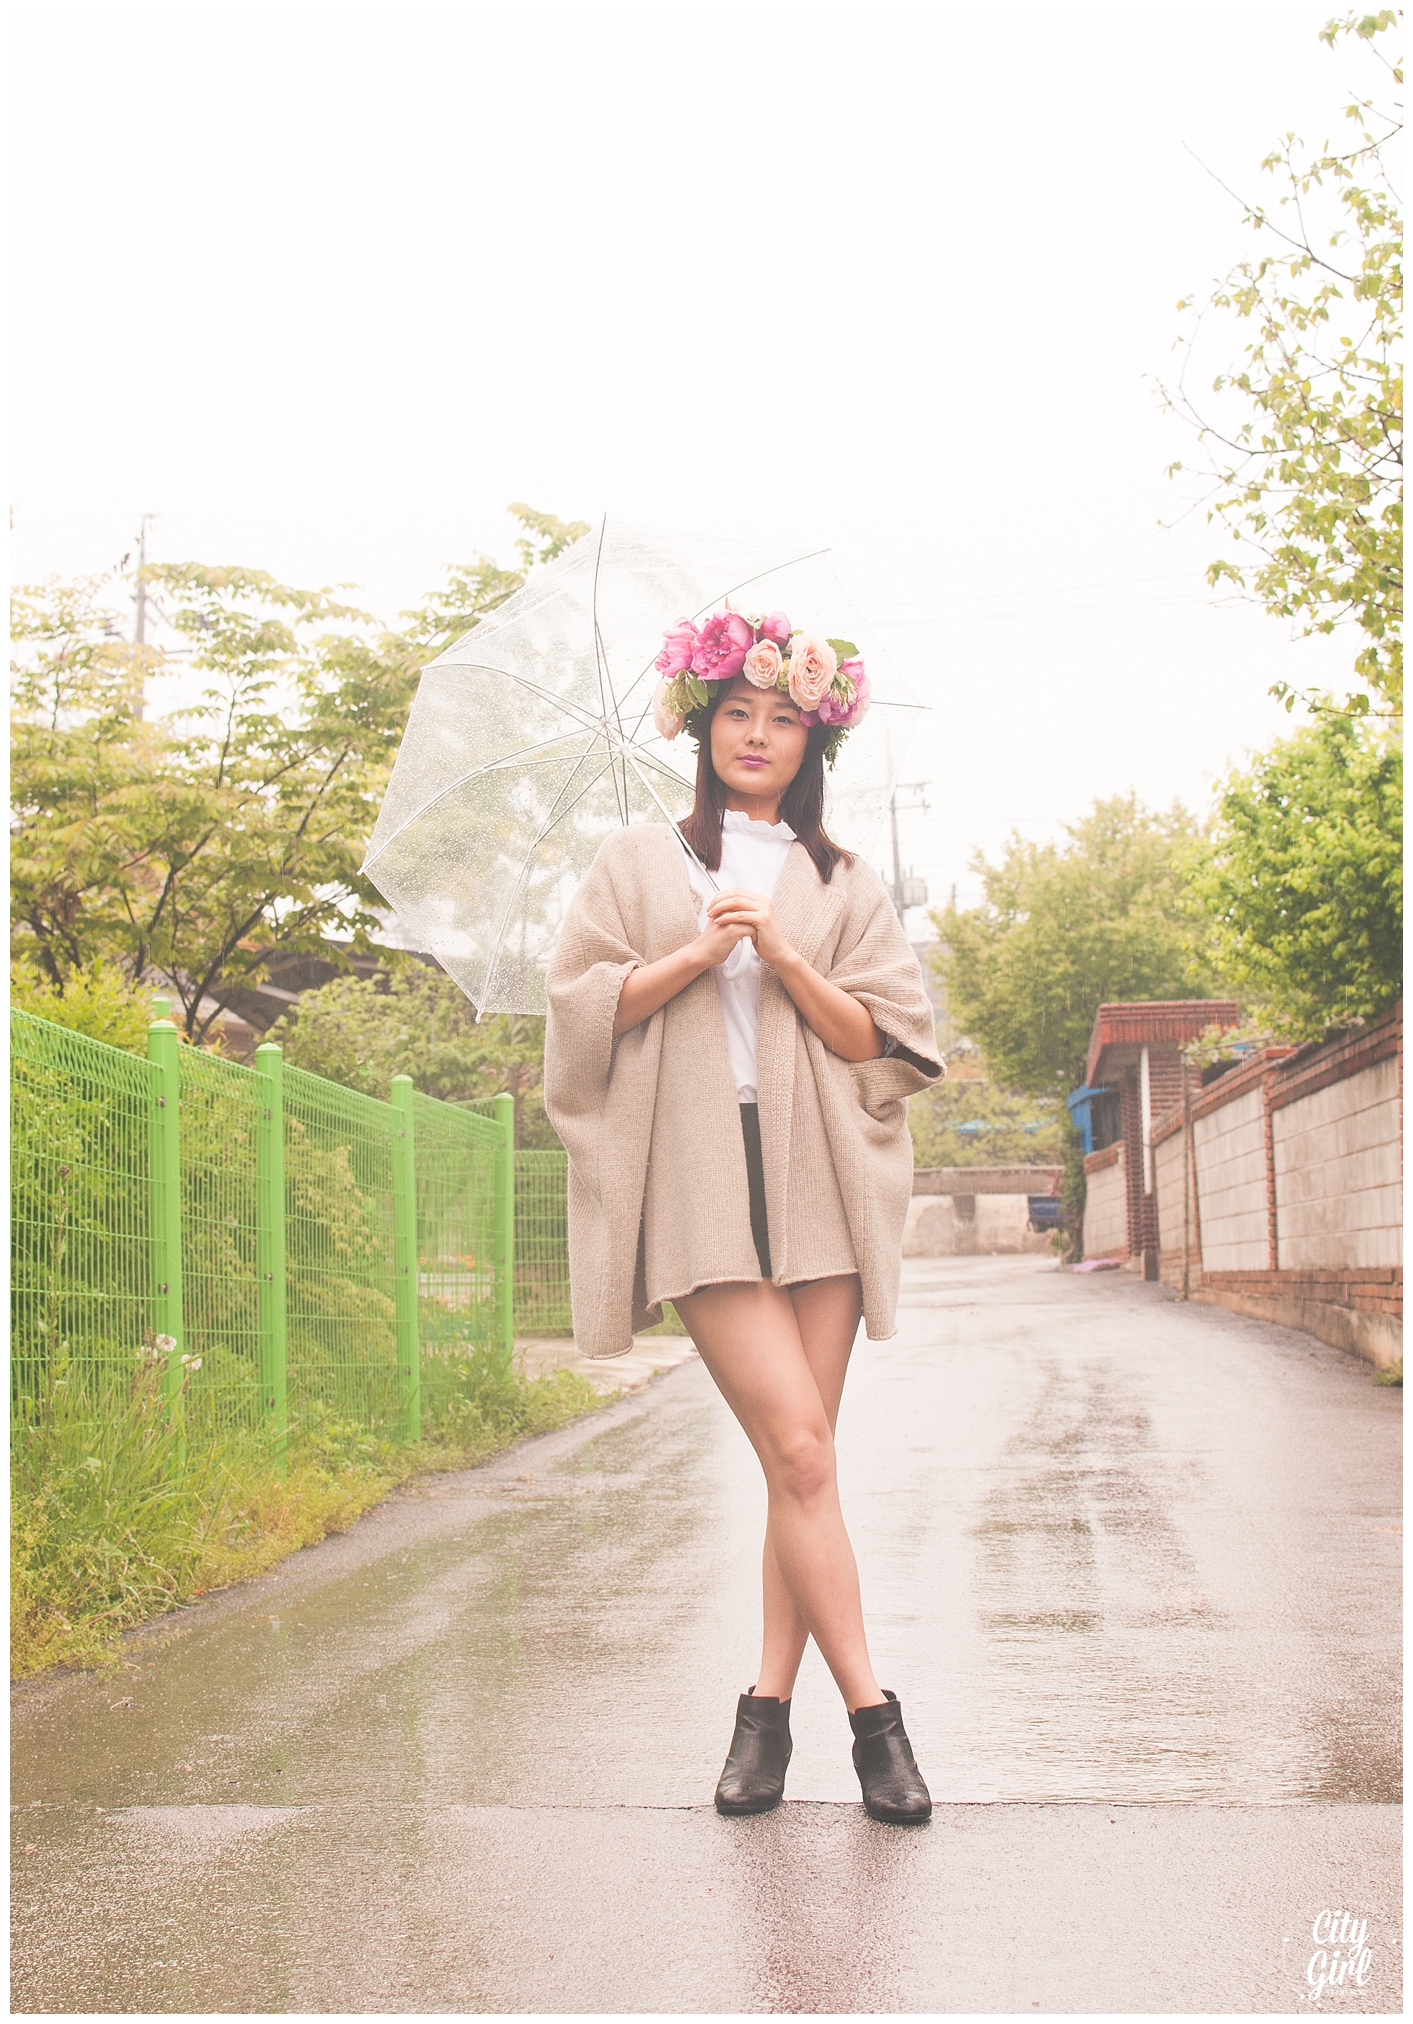
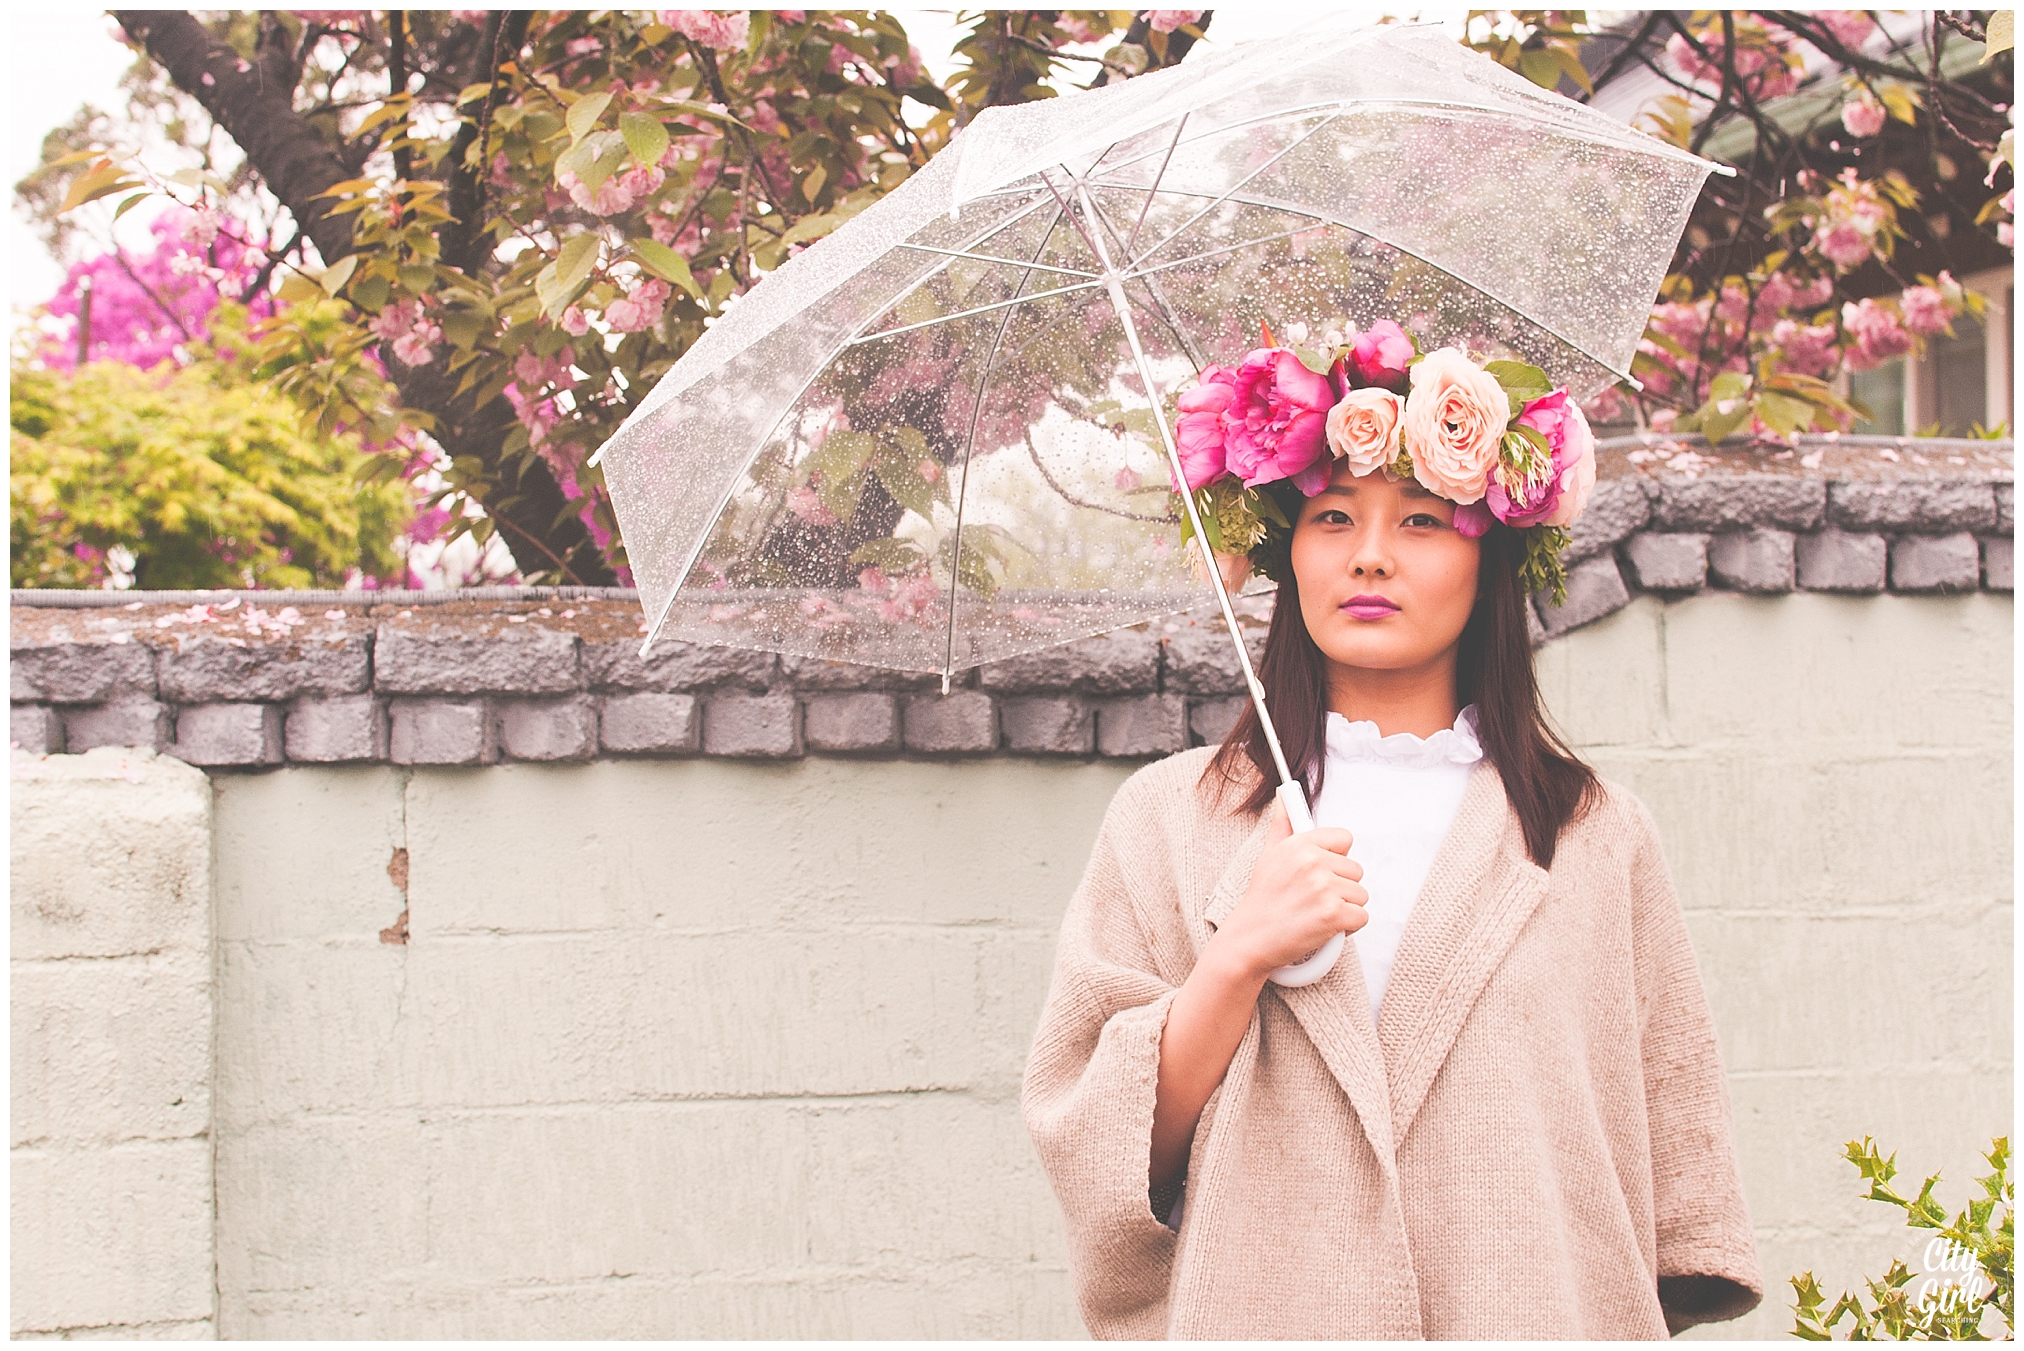
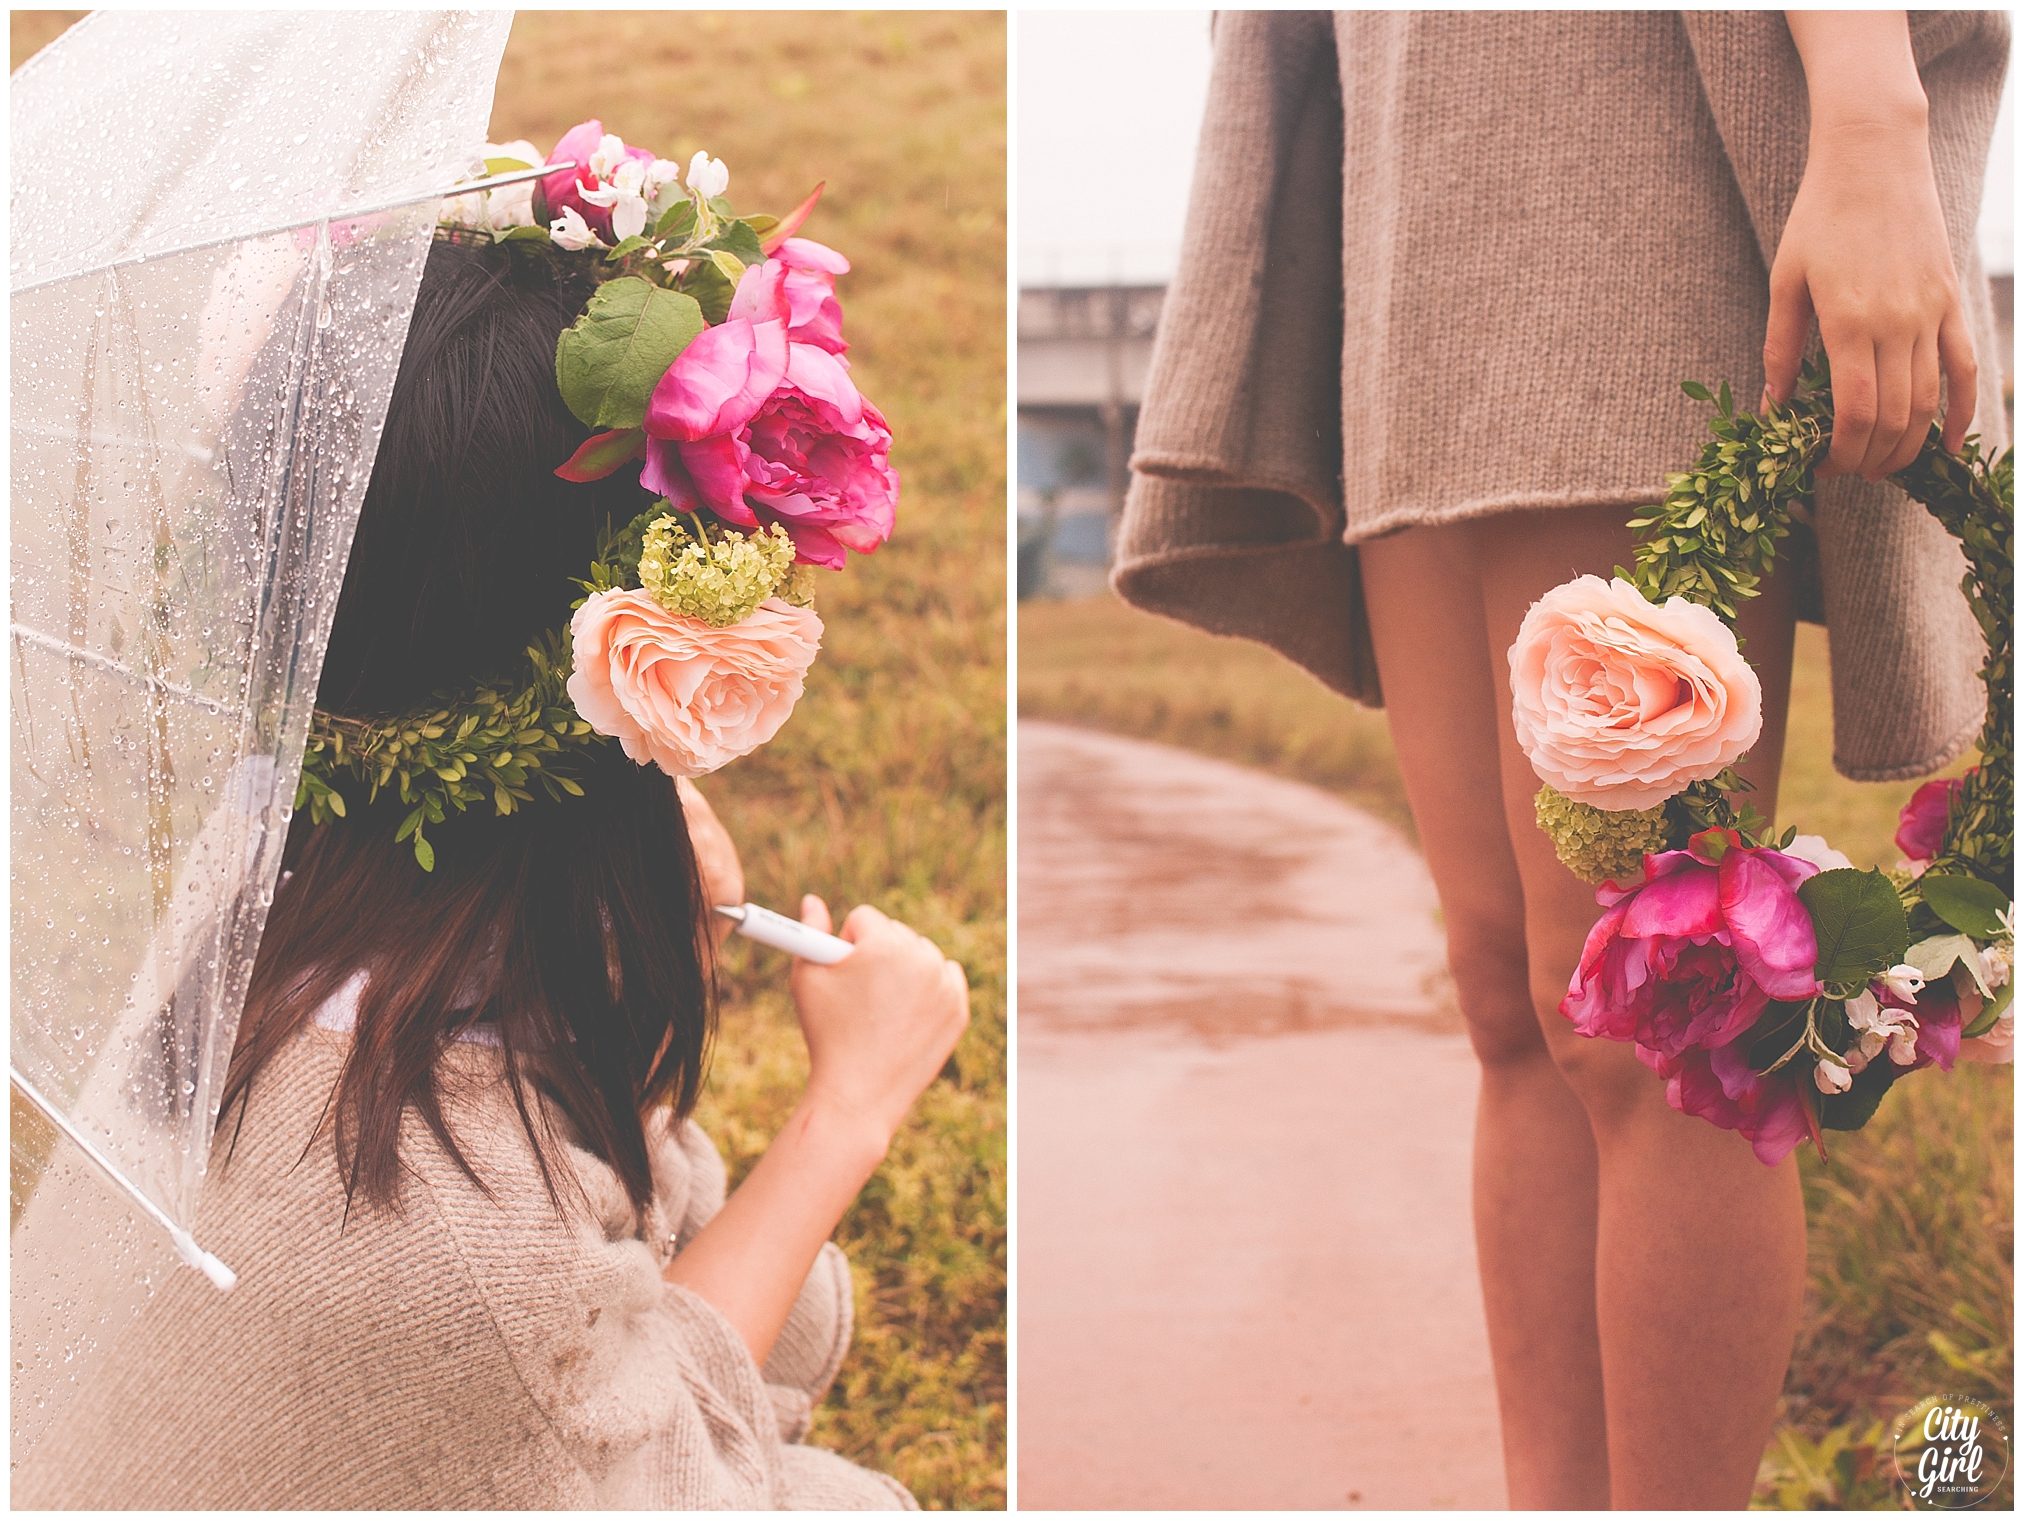
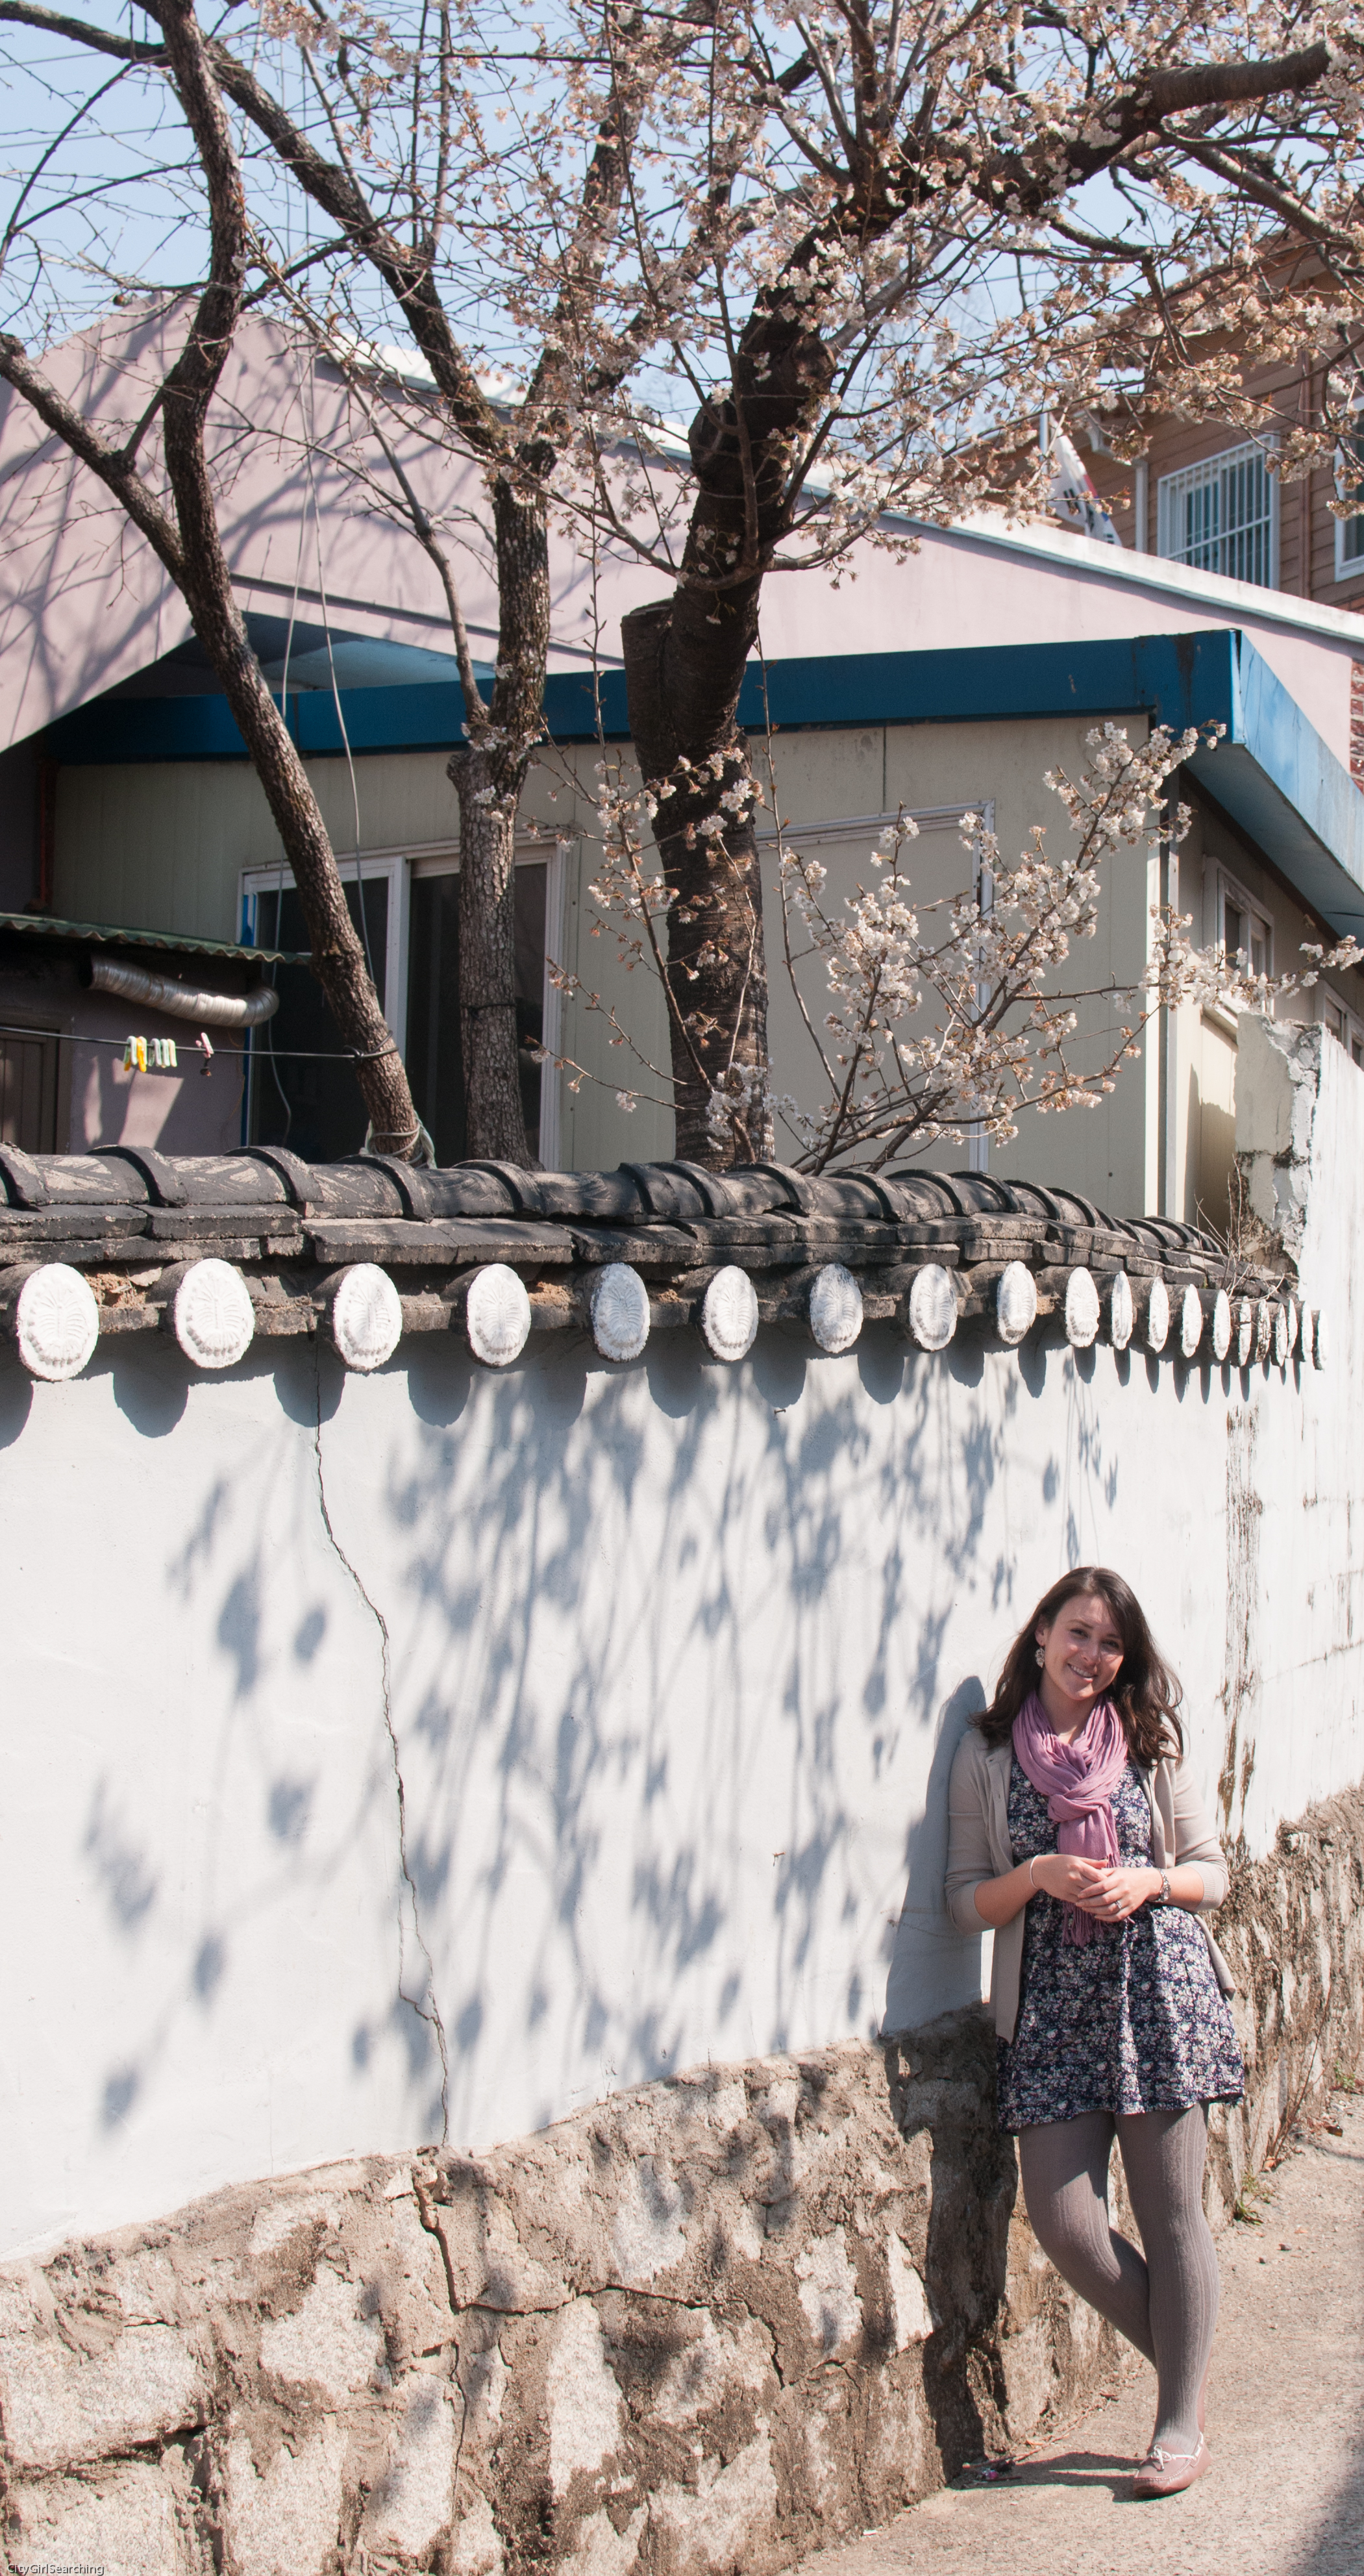
As we are in South Korea I really wanted to try and use more of a Korean backdrop, to emphasise the Oriental elements of Korea. I had grand ideas of temples and pagoda's, soft afternoon light reflecting off clear waters but the weather had other ideas. It poured with rain that day, and so we just had to make do with what we could find for backdrops right here in my small town. This was something else I learned, that beauty can be found everywhere. You just have to change your perspective. Textured walls provide amazing backgrounds, different angles help conceal ugly buildings and cars, and the most amazing things can be achieved when you have a team of people thinking outside of the box.

I want to say a huge thank you to our stylist, Storm. Storm is incredibly creative, she handmade the flower crown we used in these pictures (blog post to come on that soon!) and had to help me with an umbrella for not just me, but for Heejoung too. Watching her holding two umbrellas, touch up lipstick, scout out new photo opportunities all in the pouring rain, was hilarious. Thank you Storm, I couldn't have done any of it without you and your ideas.

And then to our model. I've known Heejoung for a year now, she lives in the same town as Farmboy and I and is just the sweetest person. When we first mentioned that we wanted to put an oversized crown full of flowers onto her head and photograph her standing in the middle of an open field she looked terrified. But after reassuring her that it would be fun, she jumped on board and waited patiently, in the rain, wearing the most impractical outfit while I fiddled and played around with settings and angles and all kinds of different poses. Thank you for being so patient with us Heejoung, I hope these photographs make you happy. You are an incredibly beautiful woman, and were so easy to photograph. You made our job easy!

 Here are a few highlights from the shoot. I'd love to know your thoughts, please do leave them below.

We also have a few more ideas in the pipeline (f you are here in Korea, we might have a giveaway coming up soon so make sure to keep your eyes open for that). 
 

Yangjae Flower Market, Seoul (양재동꽃시장)

YangjaeFlowerMarketSeoulSouthKorea

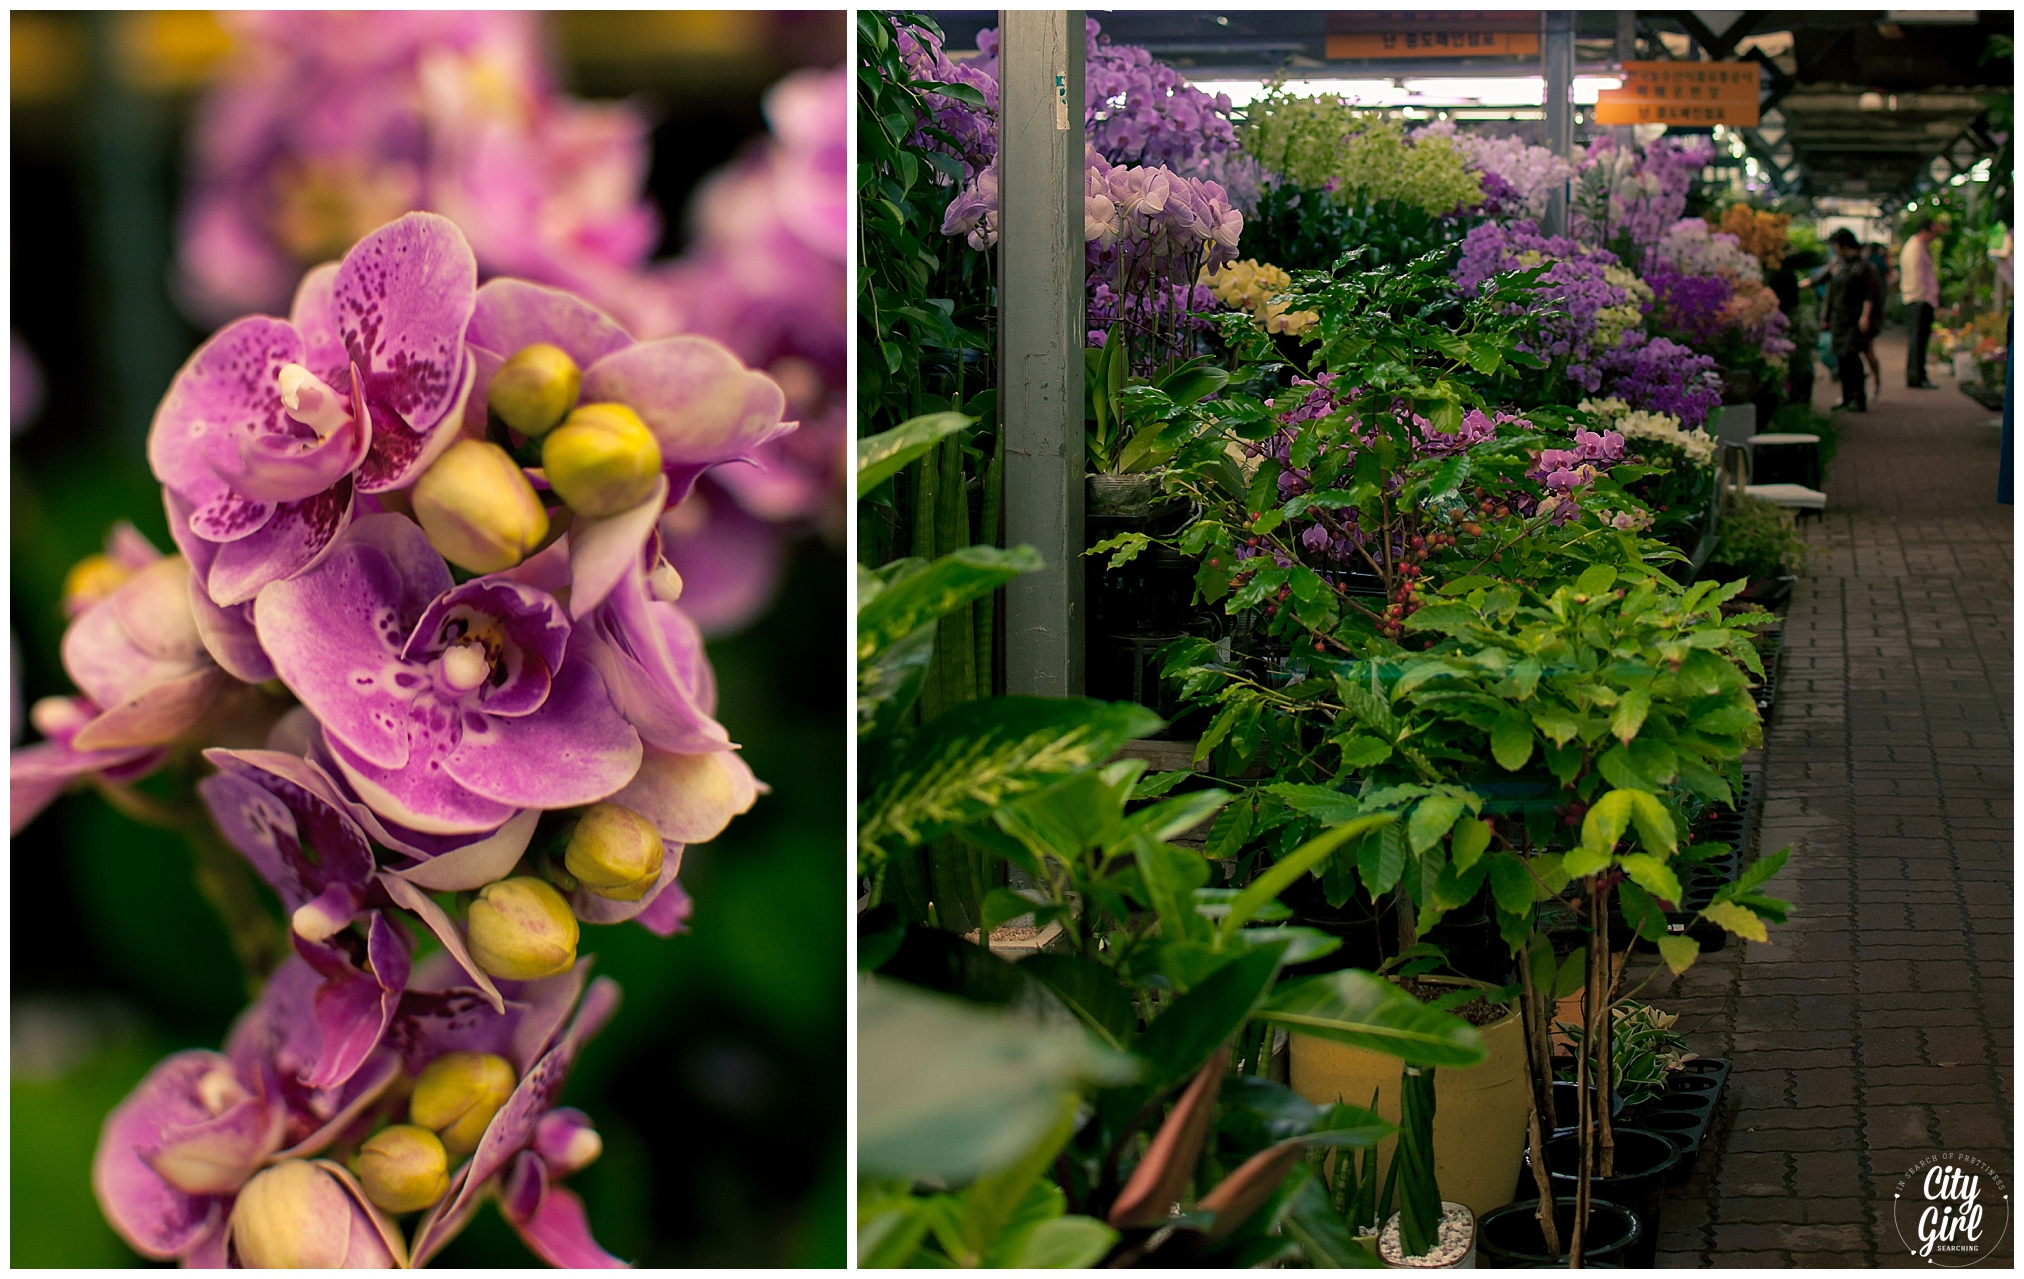
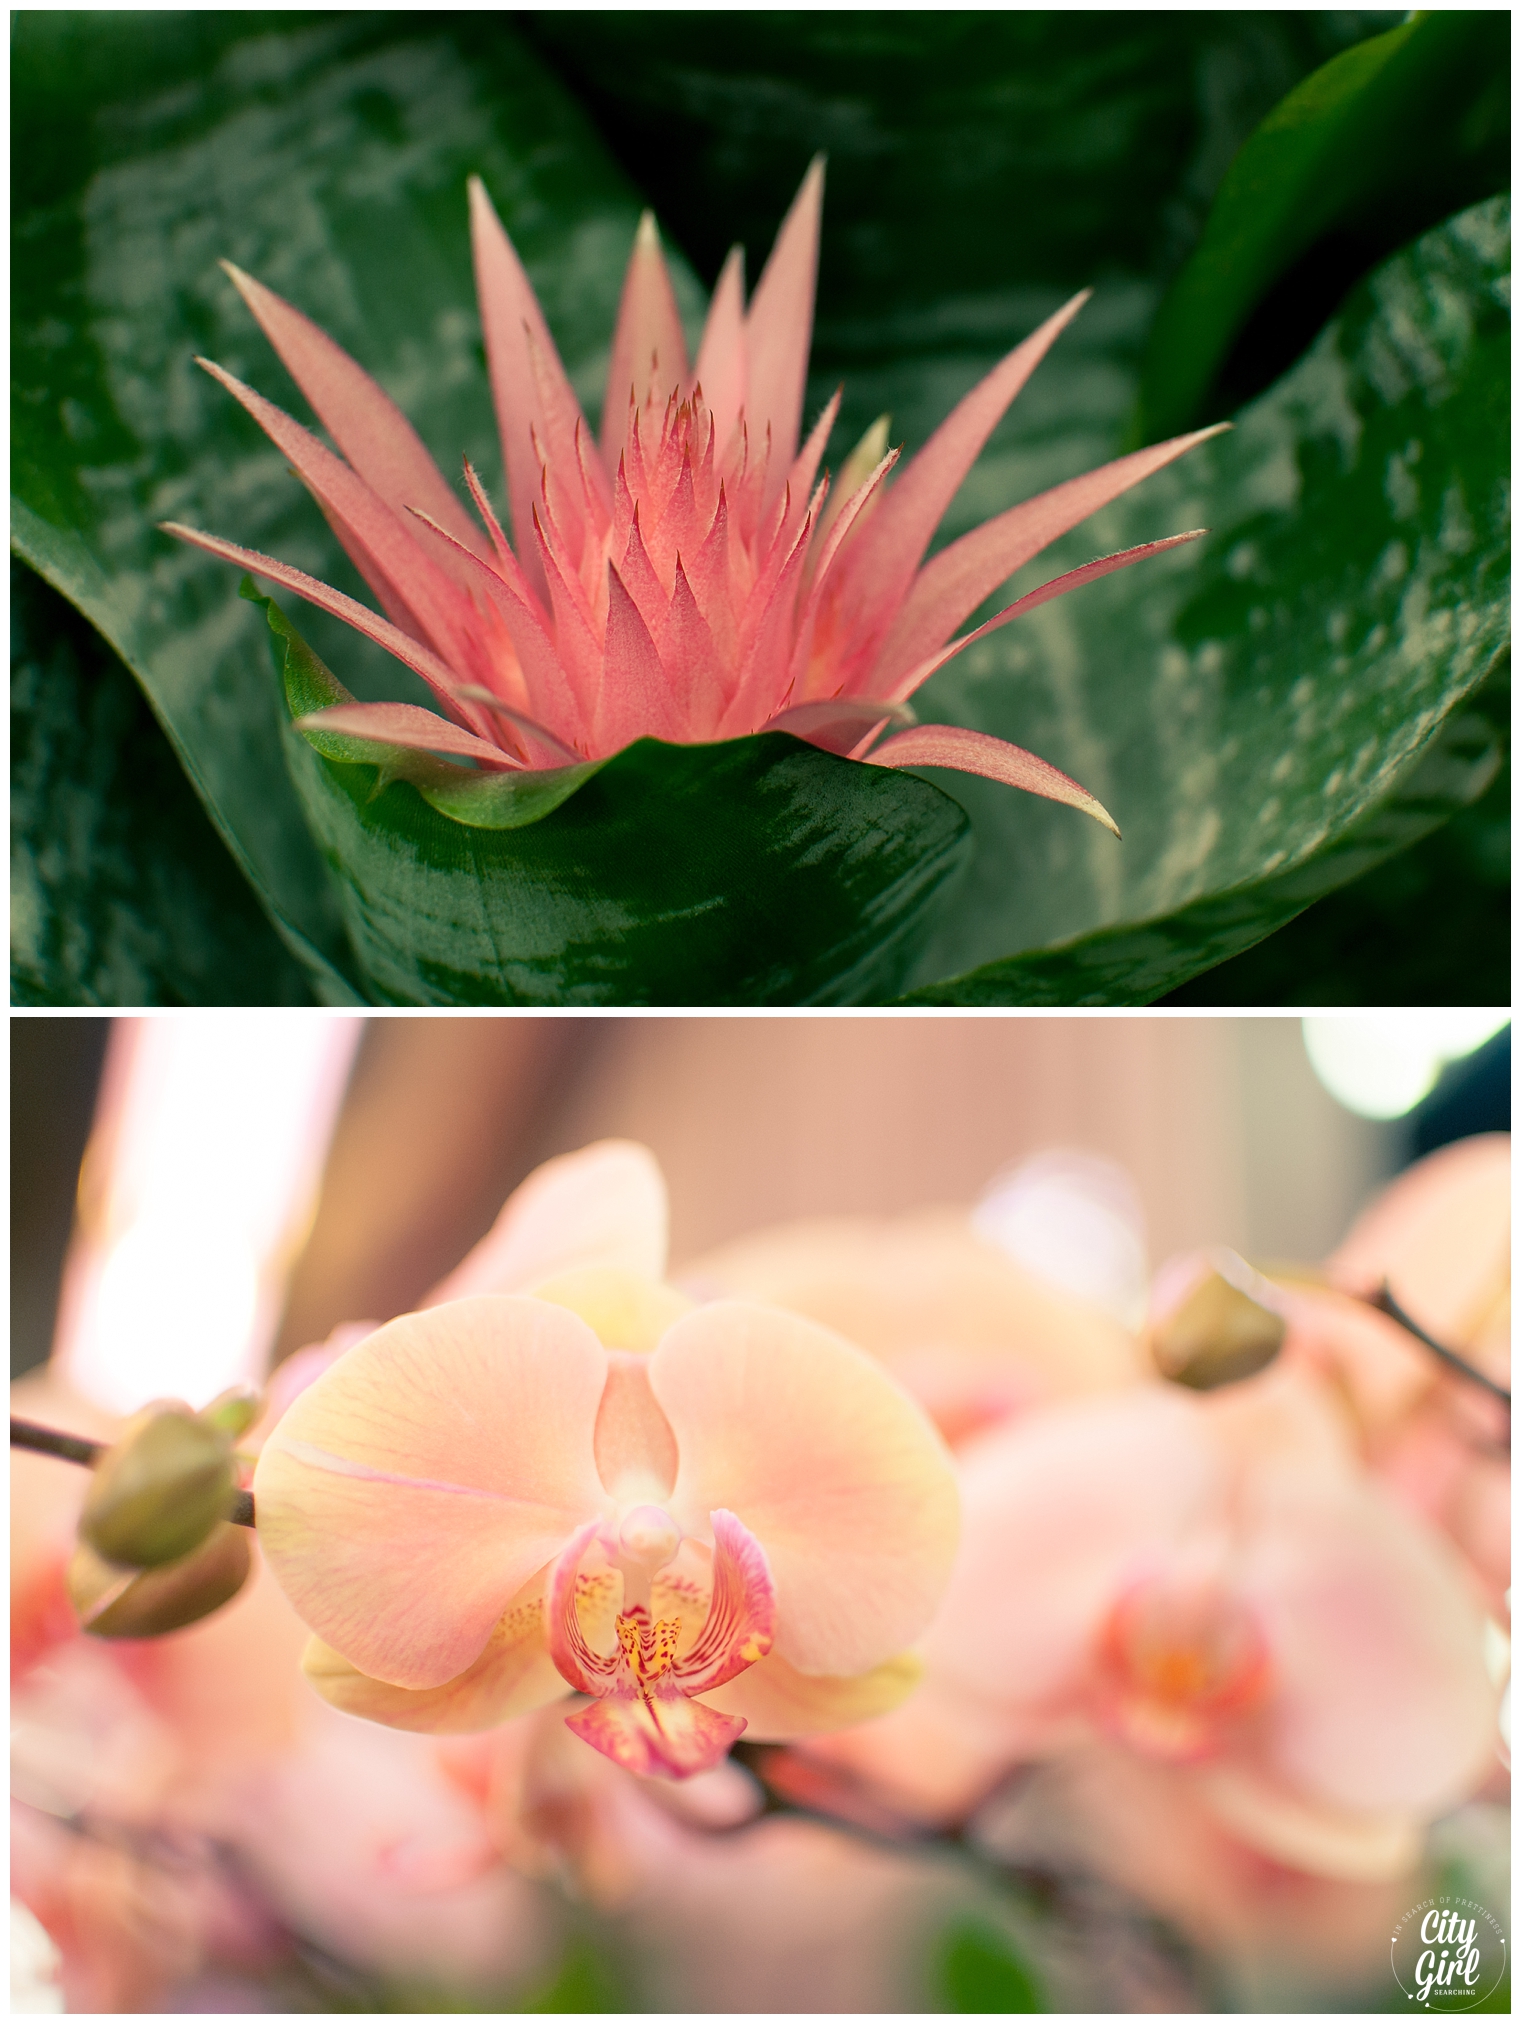
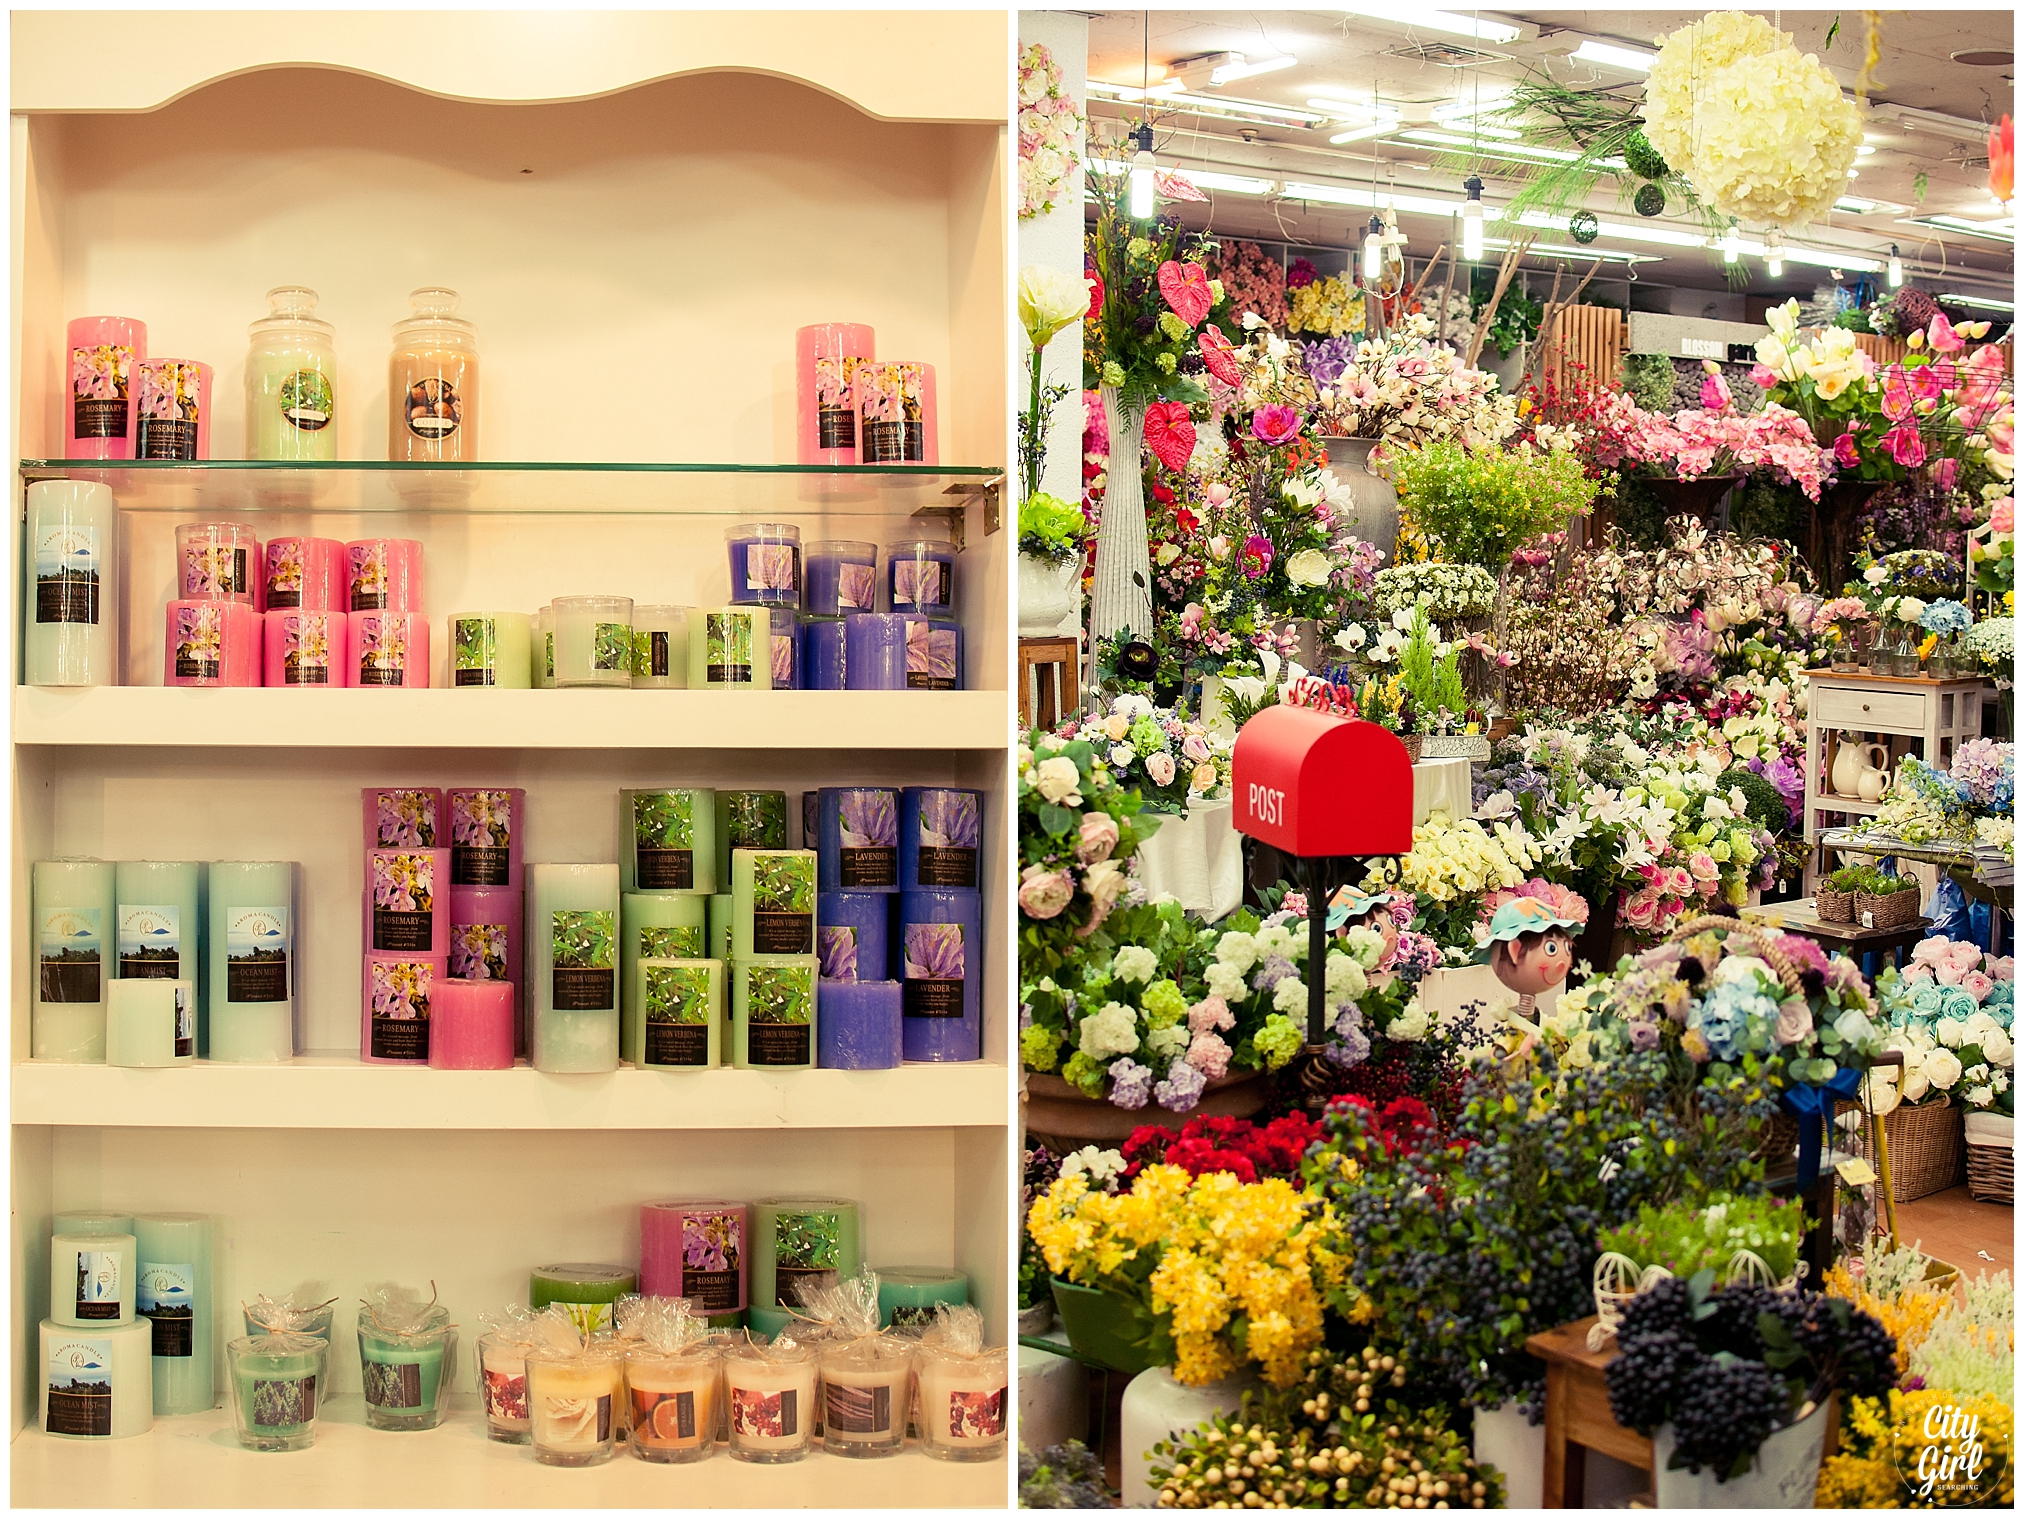
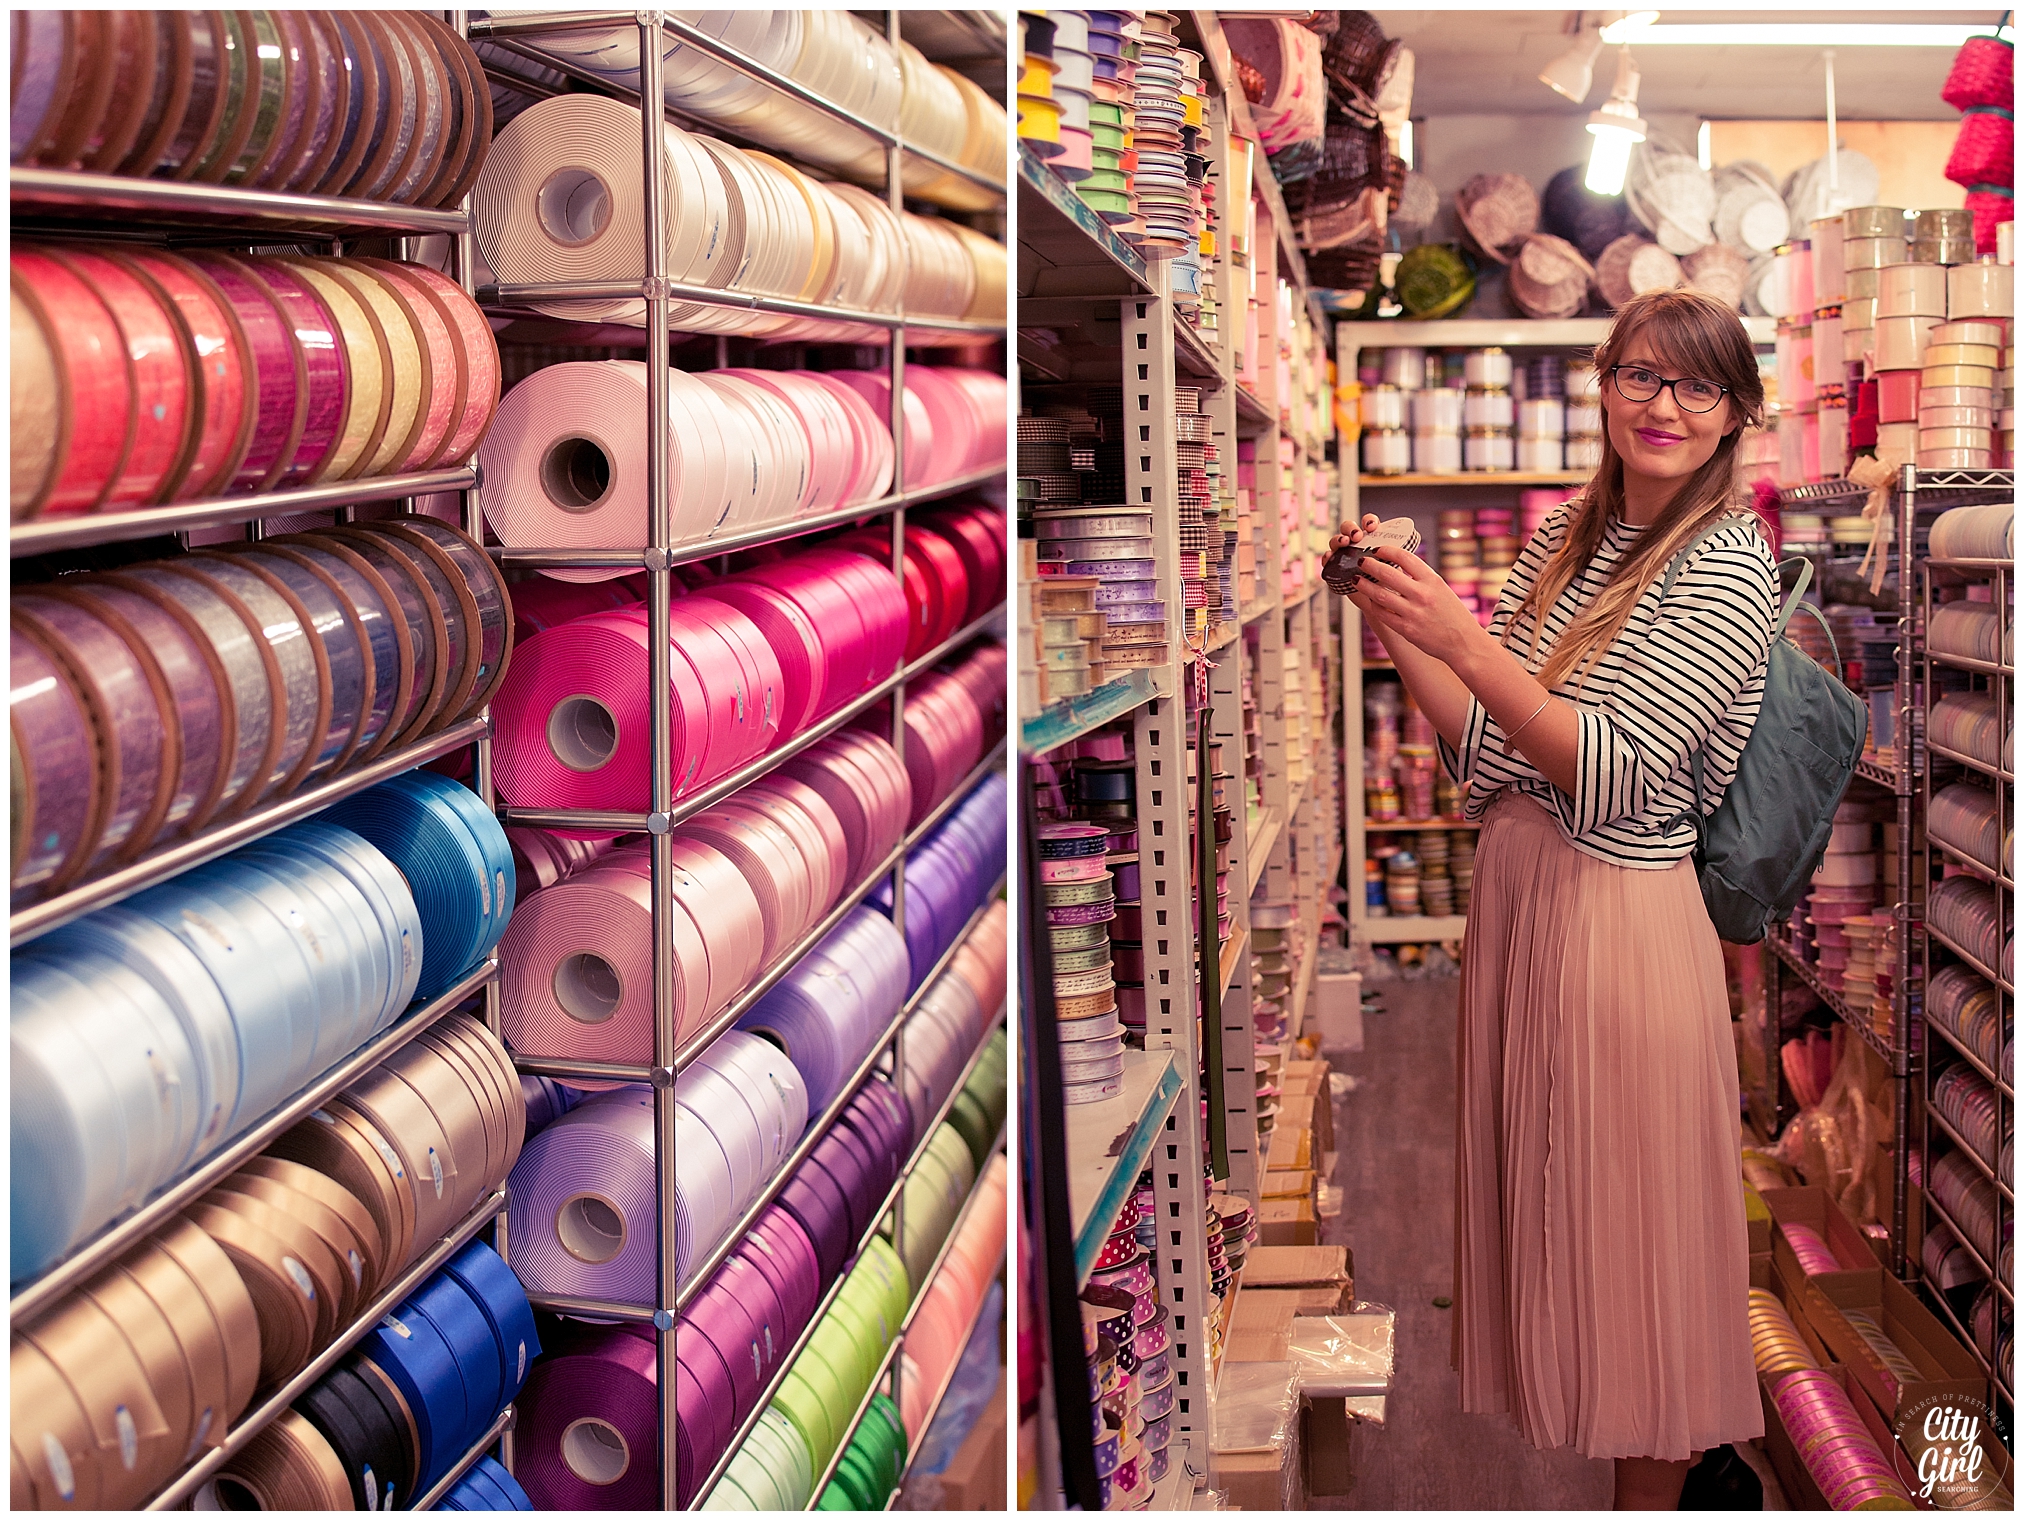
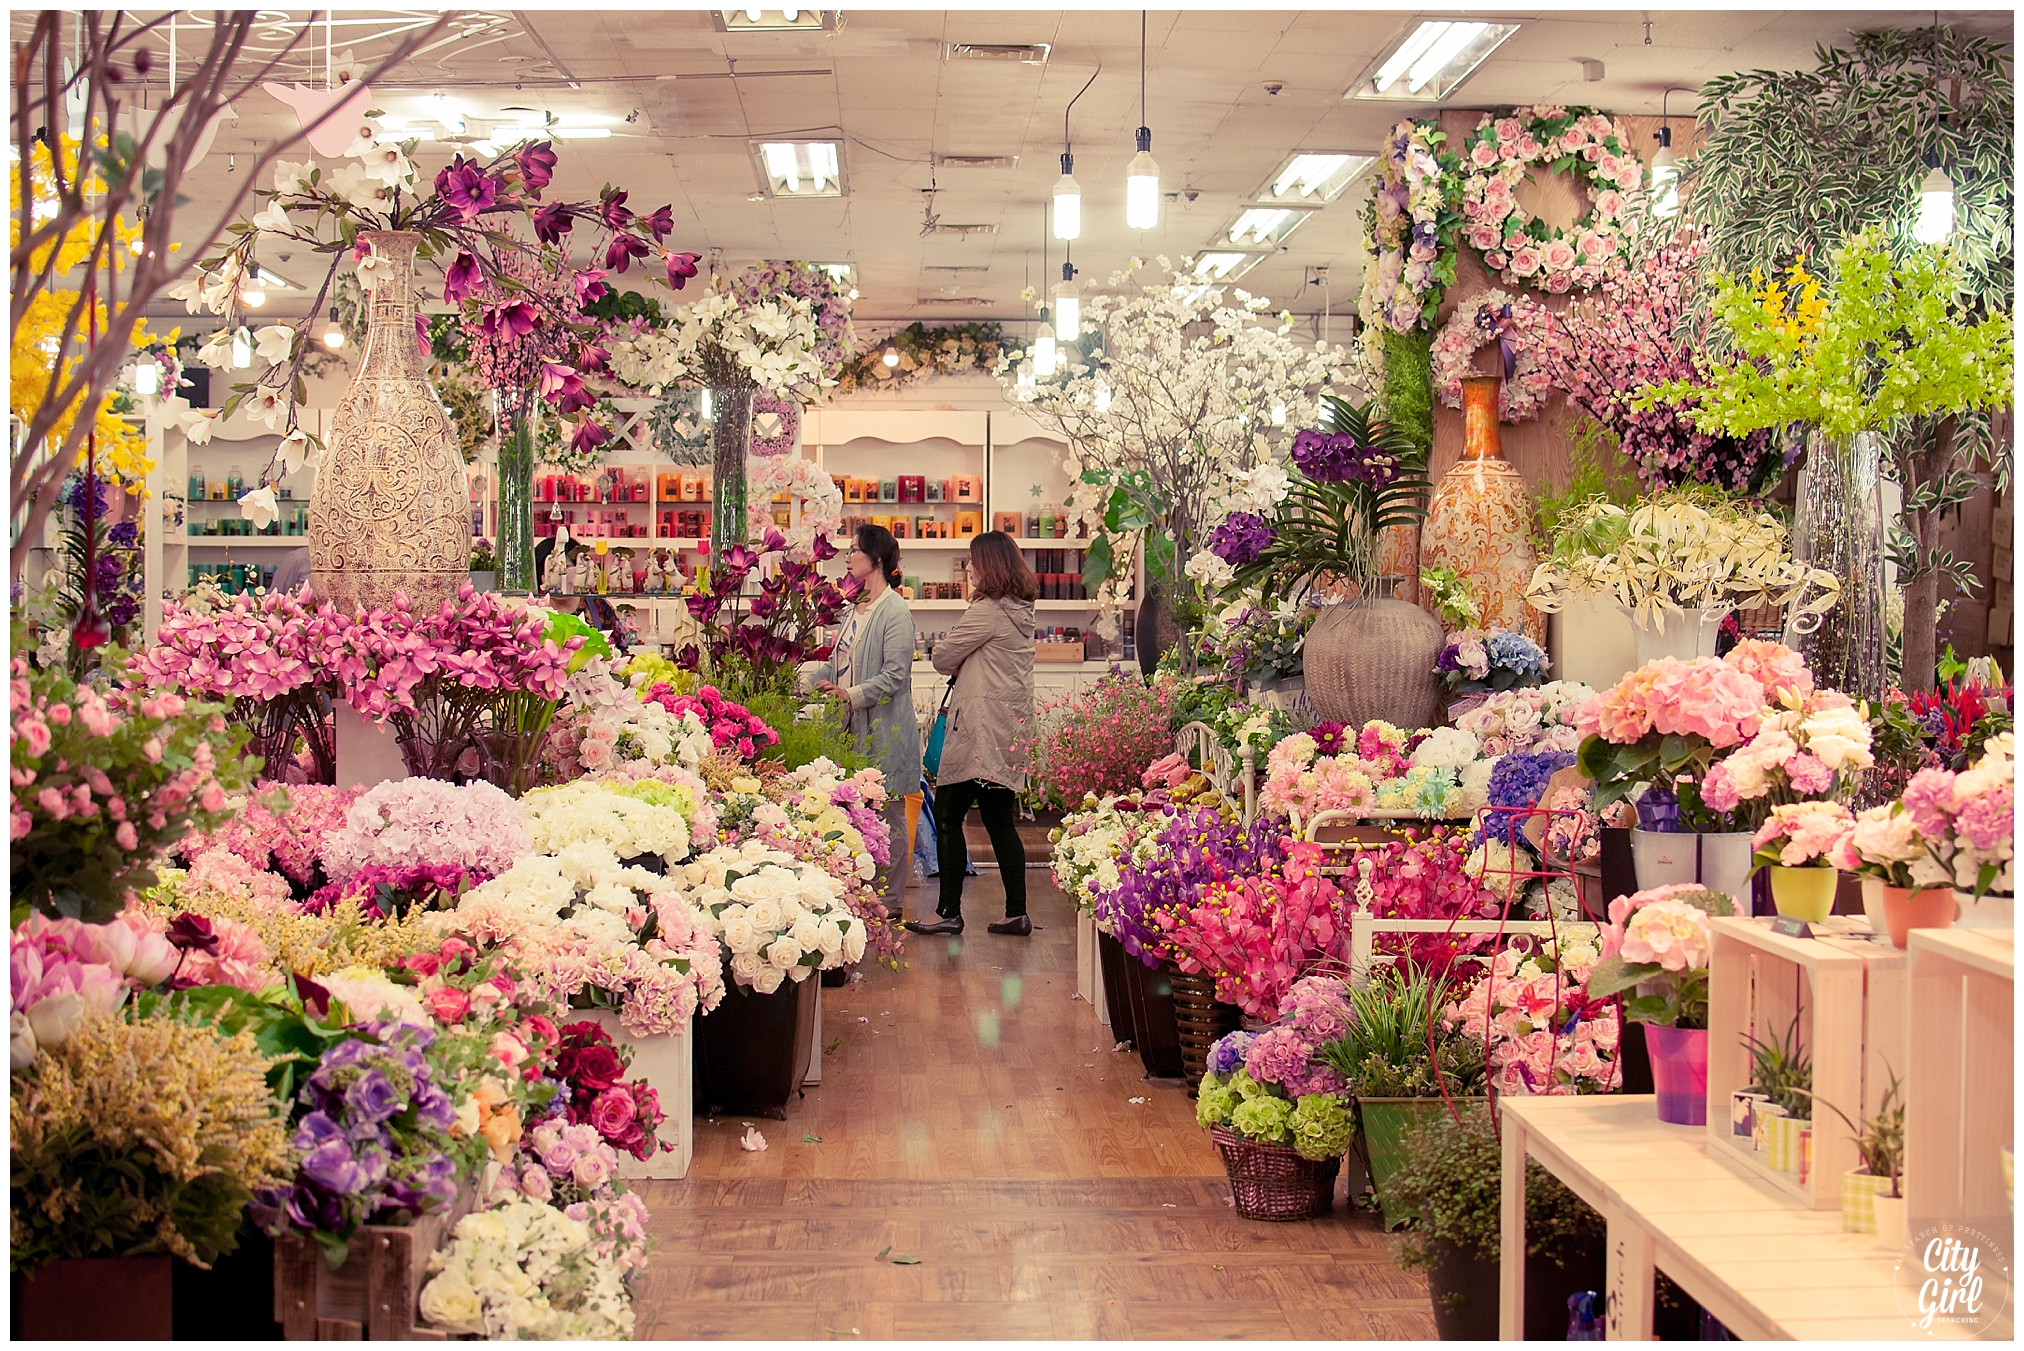
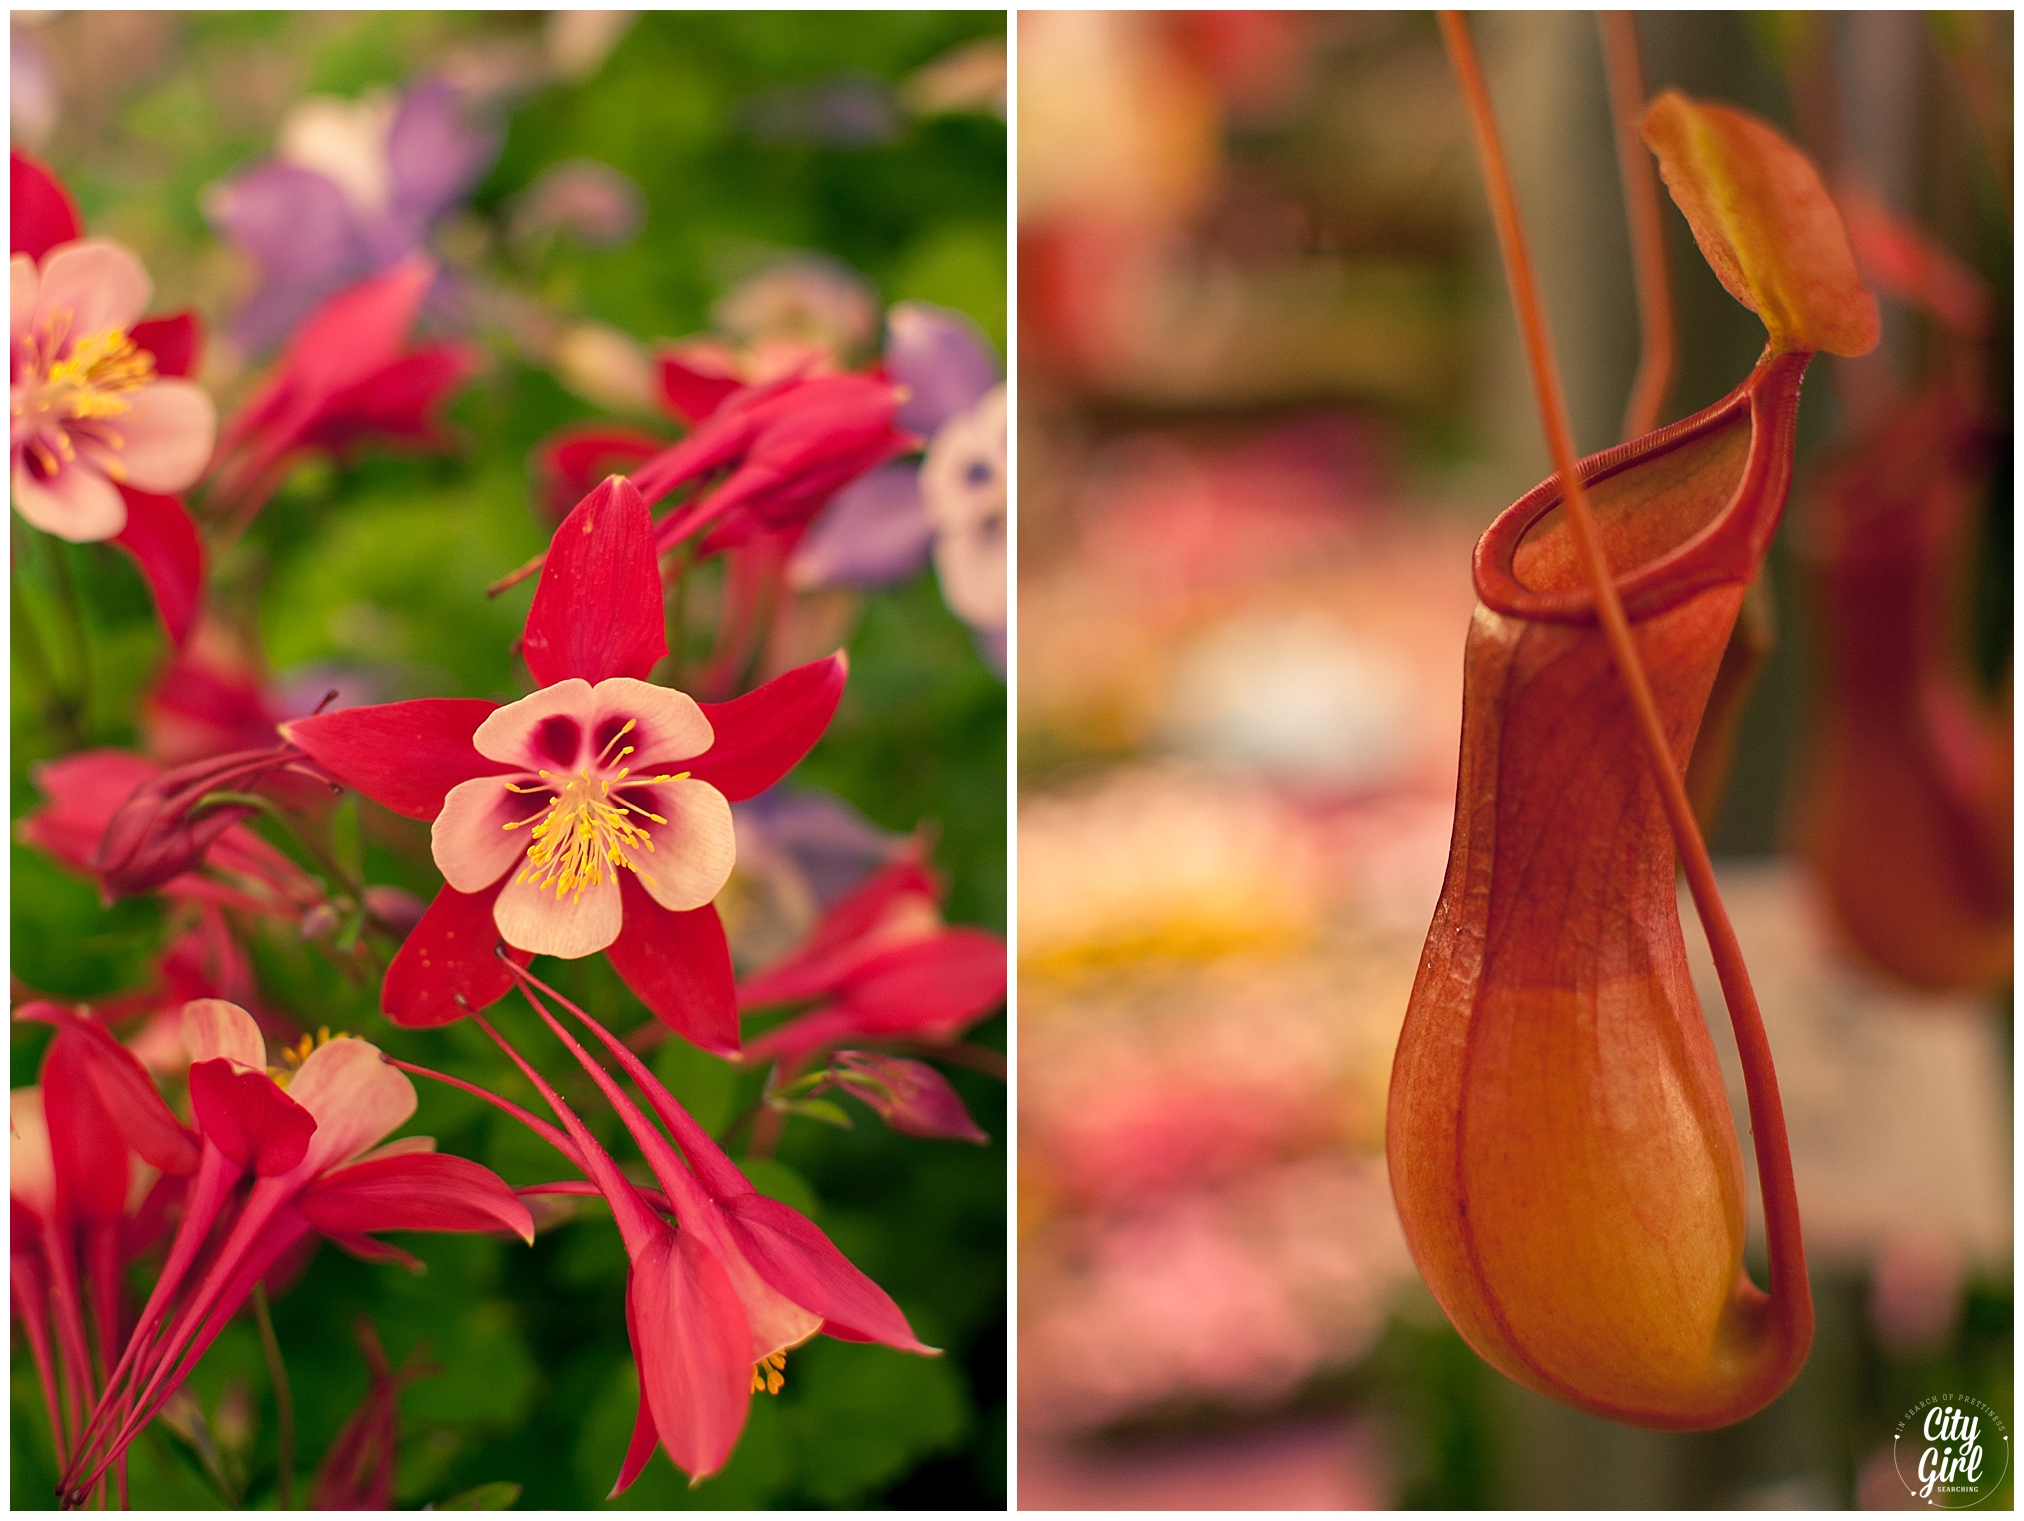
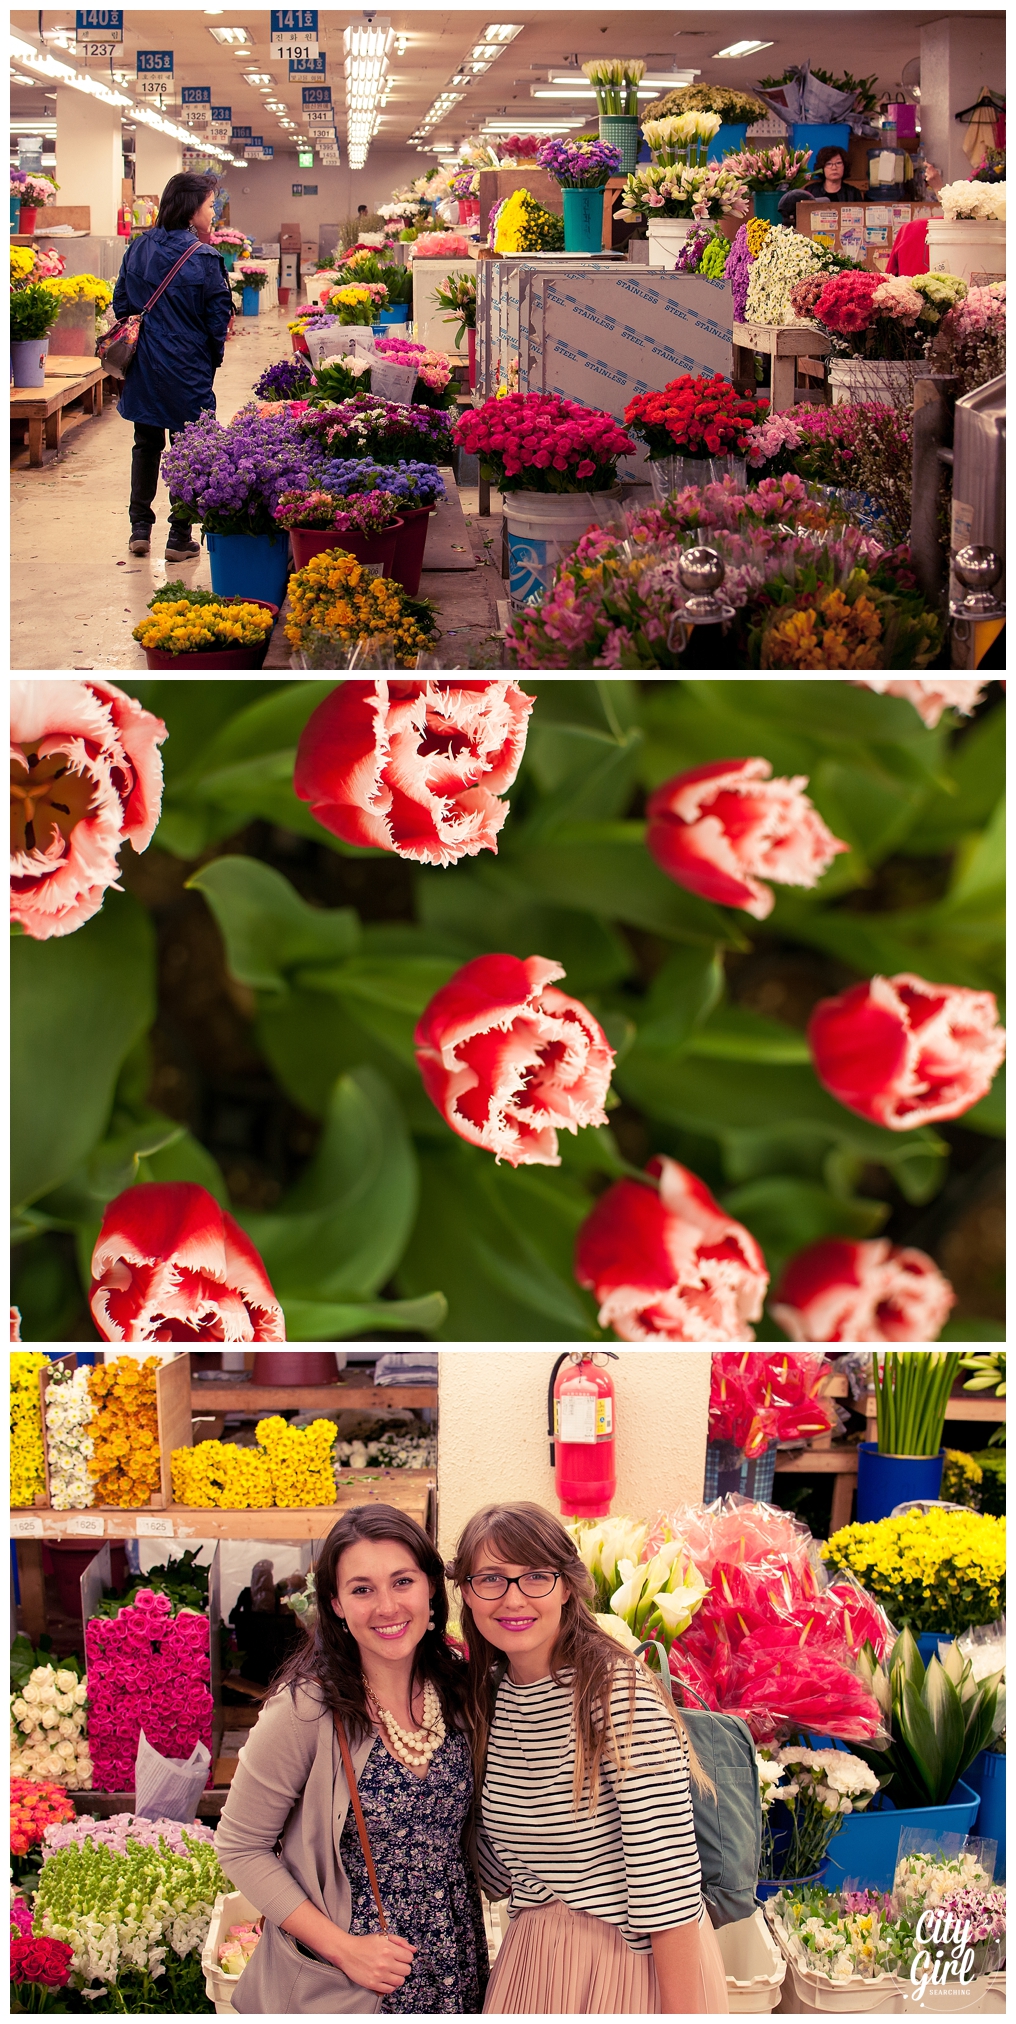
Yangjae Flower Market in Seoul is one of the largest in Korea. It is divided into several different zones, from whole sale to retail, it also has auction house and a whole floor of silk flowers, ribbons and other flower arranging items. The whole sale section of the market is open from 1am and closes at 1pm while the rest of the green houses and artificial sections are open until about 3pm. I headed there with a friend a few weeks ago, and even though I did't think I was mad about flowers, we spent a good number of hours wondering around, purchasing greenery and snapping photographs. It is well worth the trip, and I'm sure you won't leave empty handed. And succulents like these ones (click here) were only W1000 a pop...win!

Directions

Take the Sin Bundang Line to Yangjae Citizen's Forest Station (Exit 4). 
Continue walking for 200 meters to reach the market on the right.

Opening Hours

Wholesale Area : 1h00-13h00
Retail Area : 7h00-20:00
Potted Flower Area : 7h00-19h00

The Wholesale Area is closed on Sundays.

Some stores in the Retail Area and Potted Flower Area are closed on Sundays.

Life After the Dress {episode 11} Cindy Alfino

Marriage-Inspiration-CityGirlsearching

Welcome to episode 11 in my Life After the Dress series. In this series I interview married woman and ask them questions about their lives after after all the fluff and sparkle of their big days have passed. You can read all the other interviews by clicking here. 

Today I've got the lovely Cindy and her gorgeous family here on the blog. Cindy has her own delightful corner of the web "3 Kids, 2 Dogs and 1 Old House" in which she chronicles her family adventures, putting finger to keys to help keep all the memories alive. Married at 20 and a mommy to three by 25, this lady knows her stuff. So grab yourself a cup of something warm and get ready to be inspired.

Q1: Please introduce yourself (age, of both yourself and your husband, where do you live, what do you do & how long have you been married for?) 

Hello!  I’m Cindy (27) and I’m married to Seth (29) – we live in the most beautiful city in the world, which is Cape Town of course.  In March we celebrated our 7 year anniversary.  In case you didn’t spot that, it means that I was the tender young age of 20 when we got married – at that time my parents still had to sign in consent (the legal age has since changed to 18).  Aaah, good times.

Since then we have been blessed with 3 gorgeous kids – Kyla (4), Riya-Ray (3) and Knox (18 months), parenting together has been so much fun (despite the hair tearing out moments) that we blog about it as 3 Kids, 2 Dogs and 1 Old House.


Q2: Which Disney character do you feel sums you up to a ‘T’? 

I don’t know why, but my first thought was Rapunzel.  Maybe it’s the long blonde hair thing that we have in common or that she likes to beat people with frying pans, who knows?


Q3: How did you and your hubby meet? 

We happened to go on a church camp together when I was 16 years old.  Our eyes met from across the room, there might even have been a nervous, shy smile shared and then it erupted from there.  I go into far too much detail in this post if you feel like taking a little trip back into time and my embarrassingly new blogging days!


Q4: Was your wedding everything you hoped it would be? Would you go back and change anything? Do you have any advice for brides-to-be?

In hindsight I think that our wedding was actually so perfectly “us” at that point of our lives.  Sometimes I wonder if I had the chance to do it differently if I would, but it would probably lose some of the casual, understated charm that I remember so fondly today.  Also, weddings now are just so beautiful but it sometimes feels like people get too lost in the décor/dress/event in the stress to have THE PERFECT wedding, that they lose sight of each other. 

I was borderline Bridezilla with my file, my almost to-the-second schedule and my strict instructions for no one to be late or wear white. But you know what?  Things didn’t go absolutely perfectly and other people wore white (I know right?!). 

My advice is to do what you feel you need to have a great day and then on the morning let go and enjoy it – come what may.  It’s hard to think of like this, but it really is only one day in the rest of your lives together – when I look back at our life, this day is obviously special but definitely not the only one that defines our relationship.


Q5: Has ‘life after the dress’ been as you imagined it would be?

Yes and no.  Knowing that Seth and I are “doing life together” is such a joy to me.  Being able to parent our babies and grow old together is something that I try not to ever take for granted and I think our love has grown deeper because of it.  Knowing that we are in it together for the long haul – despite what obstacles may come is very comforting and, dare I say, essential for any partnership.

However - marriage is no joke.  Despite what people may make you believe about it, it actually takes work to survive.  Although we spent as many waking hours as we could together before we were married, nothing quite prepares you for living together which we only did after we were married.  The first year was a bit rough, with us finding our feet and adjusting to our new environment (read: Seth adjusting to just how untidy I was), but through a lot of communication and the occasional blow out, we made it through to the other side. 

I really do think the first year is the hardest by far. 


Q6: What have you learnt about yourself since being married?

 That I am more selfish, untidy and stubborn than I ever thought possible.  But at the same time, I never knew I could love so much or as deeply.


Q7: If you could describe your marriage in 3 words, what would they be?

“Tackling life together”


Q8: Do you have any pearls of wisdom you would like to share with my readers about being married? Perhaps something some wise person once told you, or something you’ve learnt the hard way?

We went on a marriage course before we got married and that already helped us to set realistic expectations in marriage (I’d really recommend it).  But what actually being married has taught me is that there are 2 important things to try and remember:

Manage Expectations – Don’t have all these expectations of your husband, especially if you know that it is out of his character to live up to them.  I’ve found that it is pointless being mad at him if he didn’t even know that I wanted him to do something.  Express your expectations to him and then if he doesn’t do it, you can be angry ;)  This is especially important once you become a Mommy – whose turn is it to go and give baby a bottle or walk around trying to get them to sleep?

Talk It Out – Early on in our marriage I would get so intensely upset about something, but instead of talking about it, I kept it bottled up.  Instead of dissipating, it grew and grew, I added more things to it and eventually I was so mad at him that we had a huge an unnecessary argument about the stupidest things.  Being open about it and talking about things as and when they come up has saved my sanity.

Oh, and get a dishwasher – that managed half my expectations in one go.

Flower fairy pictures (middle two photographs) taken by Magical Moments In Time

Flower fairy pictures (middle two photographs) taken by Magical Moments In Time

Blog

Twitter

Facebook

Pinterest

BlogLovin 

I hope you have been enjoying this series as much as I have enjoyed putting it together.

If you would like to be featured here on the blog, you can drop me an email using the contact form above or leave me a comment below. I look forward to hearing from you!

Vacuum Bags in South Korea

VacuumBagsinSouthKorea

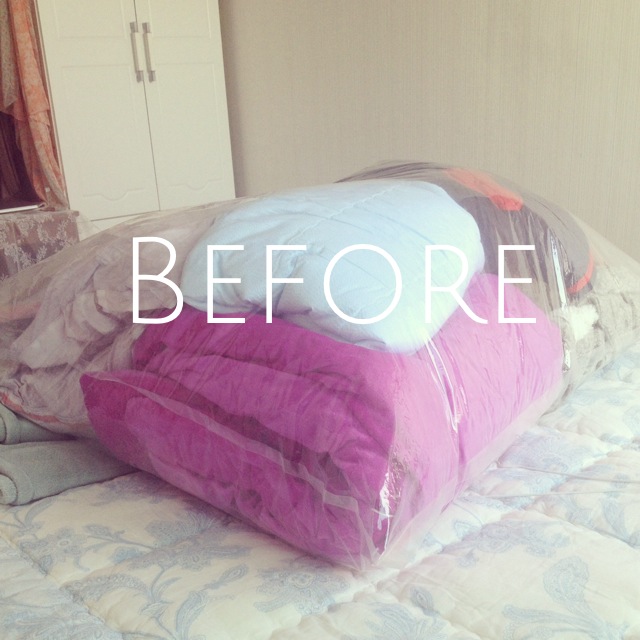
The title of this post should really be something like "How to squeeze mountains of clothing and bedding into a small bag" but that is a little long winded. With spring in full swing, (and being in the small apartment that we are in) we have needed to do something with all of our feather jackets, coats, blankets and duvets to make way for the hot and humid weather that is going to hit soon. Space is very limited in our house, limited to a tiny square of open floor underneath our bed. I found the perfect solution in Daiso a few weeks ago. Vacuum sealing bags. I have seen these before in South Africa, but have never really needed to use them. 

VacuumBagsSouthKorea

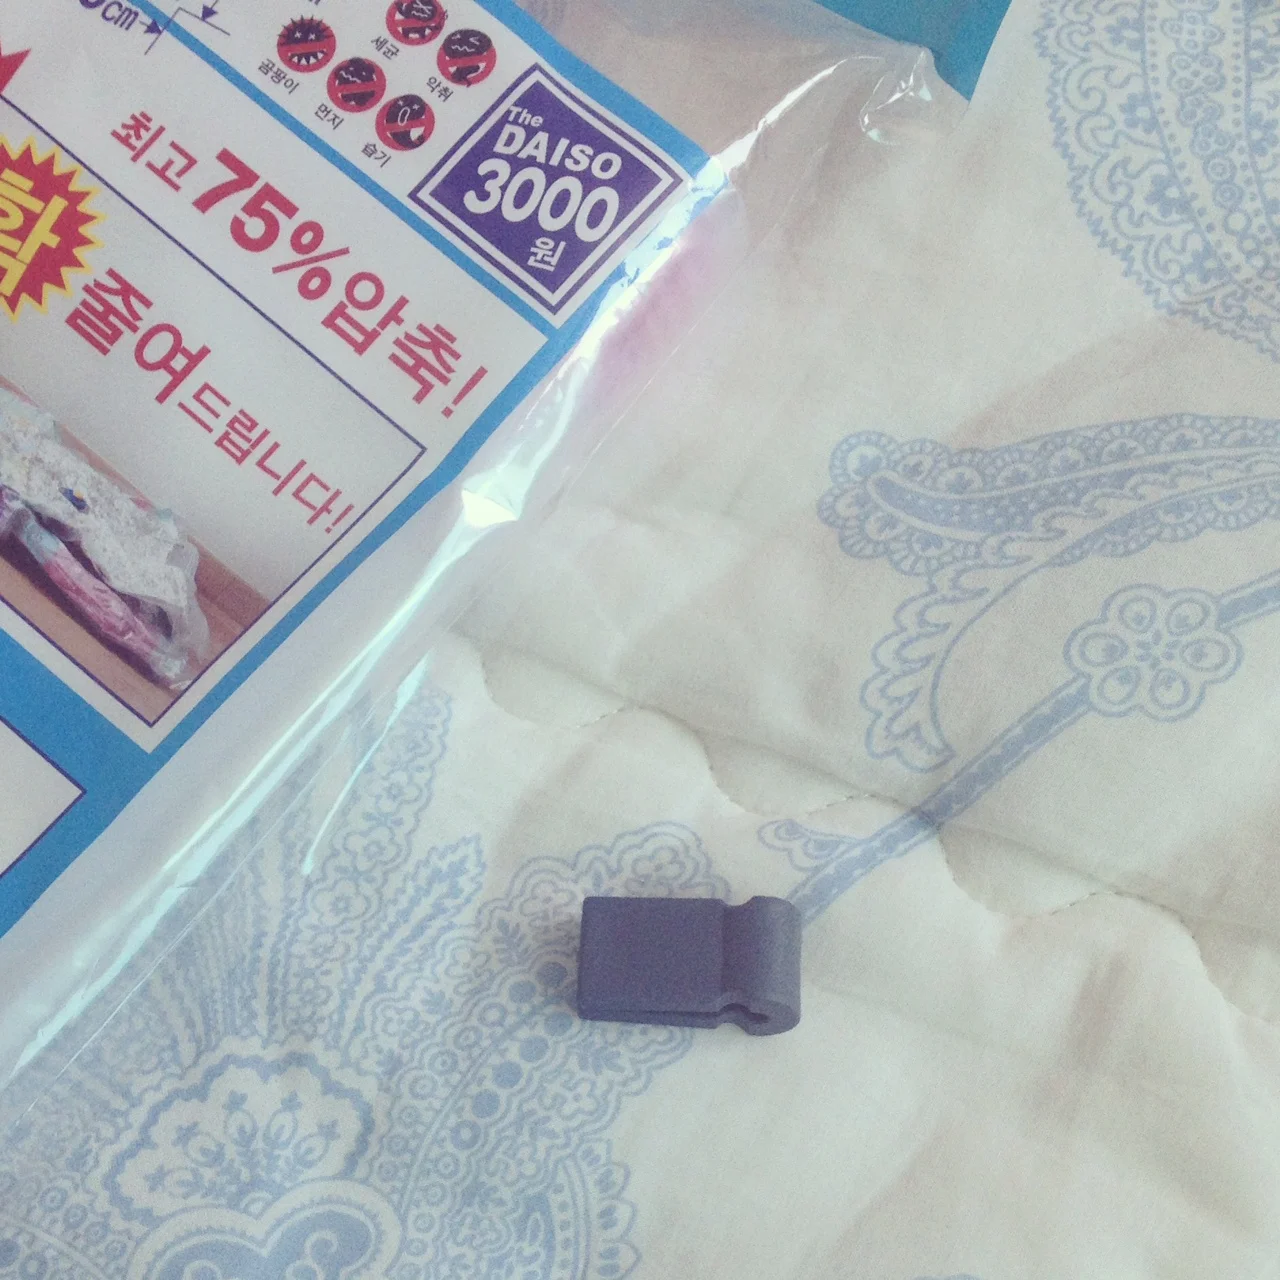
Basically, these bags are designed to store big and bulky (soft) items by reducing the space they take up. You use a vacuum cleaner to suction out all the air and you're left with a compact, and easy to store bag. You can buy these at any mart here in Korea, but I got these in Daiso as they seem to have the biggest selection and the best prices. When you buy them make sure that your bag included the little grey clip thingy, which helps seal your bag before removing the air (see picture below). Not all of the bags I bought included this handy gadget, so just make sure to keep an eye out and buy at least on that does. You only need one of them, and you can use it for every bag you have. Once you've sealed the bag, make sure to open the valve (the round shaped suction area) by removing the white cap. Then simply place your vacuum cleaner on the valve opening and bombs away. Packing has never been so much fun! Every time we pack away something, Farmboy and I are both mesmerised by the suction, it's amazing. Here's ate some pictures of what the bags look like as well as a before and after of our winter clothes and bedding. 

VacuumBagsSouthKorea
VaccumBagsSouthKorea
photo 1.JPG
VaccumBagsSouthKorea

I hope you found this post useful! Look out for more space saving posts coming soon!

Innisfree Pink Beam Mineral Pact Highlighter {review}

image.jpg

I stumbled across this lovely little highlighter while on a shopping spree in Seoul. After hearing nothing but raving reviews about Innisfree's 'No Sebum' range of products I decided I needed to try them out myself in the hopes of finding a good blotting/setting powder for my oily skin before the humidity of summer arrives here in Korea. I picked up the Mineral Melting BB Cushion and the No Sebum Mineral Pact (reviews to come soon) at one of the Innisfree stores in Myeongdong, and added this Pink Bean Mineral Pact to my shopping basket. It's a delightful new addition to my makeup routine and I am so happy to have it join my collection. It makes a nice change from my Physicians Formula Mineral Wear Correcting Bronzer (which is too dark to wear here in Korea, where pale skin is favoured over the bronzed look) and my ultimate Bobbi Brown Shimmer Brick in Pink Quartz (reviews to come soon!).

InnisfreePinkBeamMineralPact

As with all of Innisfree's products, the packaging is simple but elegant. This compact fits into the palm of your hand and is the perfect size for slipping into your handbag for mid day touch ups (although I haven't needed to touch up once when using it). It comes in two forms, a pressed powder (pictured here) and a loose powder. I found the powder rather messy, whereas the pressed powder gives more accurate application and you don't need to worry about having a makeup brush handy. The powder puff included in the pressed version does the job perfectly.
image.jpg
image.jpg
image.jpg
image.jpg

The soft pink shimmer lasts all day, and leaves me looked slightly flushed and glowing in a very pretty way. It's gorgeous and I can't quite get enough of it. I use it as my eyeshadow on days when I don't feel like applying anything else.

image.jpg

My only problem with this highlighter is the white sponge applicator. It's so pretty being white, but very impractical, this powder is a highlighter and that means it get's applied over your foundation. The sponge ends up looking dirty as it absorbs the foundation underneath. It's not the end of the world, but still a little annoying. I need to see if I can find replacement puffs for it, then I can just pop a new one in and not worry about it being unhygienic. 

I am loving this new addition to may makeup products, and the packaging is just so sweet. You can find yours at your nearest Innisfree store for W12 000 or online through Gmarket. For international buyers, I'm afraid I haven't seen it for sale on any of the international sites that sell Korean makeup. When I do I'll be sure to let you know. For now you can find other great Korean products for international purchase at the following online stores: w2 BeautySoko Glam and WishTrend.


Happy Easter Sunday.

EasterBibleVerseHeISRisen

Wishing you all a wonderful Easter Sunday. And what a glorious reason to be celebrating today. Strangely enough, Easter isn't a very big occasion here in korea. You would that with with the hundreds of churches everywhere, it would be a bigger holiday. And we haven't been able to get hold of one Easter egg...so make sure you eat your fill of chocolate for us too!

x

Sad days for South Korea and it's sinking ship

On Wednesday morning a ferry bound for Jeju Island, set sail from Incheon carrying over 450 passengers (of which about 320 were students traveling with their teachers on a school trip). Just three hours from it's destination, the ferry began to list and start sinking. From there things seem to get a little hazy, with some reports stating the captain (who was a fill in for the actual captain away on leave) first told passengers to stay where they were, grab a life jacket and sit tight, and then issued the evacuation call, which it seems may or may not have been heard over the intercom system.
Farmboy and I have been on ferries just like the one that is sinking, and they are a nightmare. Everyone pushing and shoving under normal circumstances when entering and leaving the boat, never mind when there is the threat of a sinking ship. The stairways are narrow, metal and therefore very slippery when wet. It must have been terrifying. Coupled with the fact that I'm sure many passengers are not strong swimmers, and the water is 12C or 55F. 

I recently read Malcolm Gladwell's Outliers which offers some ideas and plausible reasonings behind previous Korean airline crashes, stating that the Korean culture of respecting ones elders and superiors is so deeply ingrained that obeying orders often overrides common sense. Could this be a reason for the delay in evacuation? It's something to think about.

Passenger Koo Bon-hee, 36, told the AP that many people were trapped inside by windows that were too hard to break. He wanted to escape earlier but an announcement said passengers should stay put.

"The rescue wasn't done well. We were wearing life jackets. We had time," Koo, who was on a business trip to Jeju with a co-worker, said from a hospital bed in Mokpo where he was treated for minor injuries. "If people had jumped into the water ... they could have been rescued. But we were told not to go out." (Fox News)

As of publishing this post 179 people have been rescued, 28 have died, and 268 are still missing. My students are devastated by the news, and it's hard to try and teach them English when their minds are occupied. If you are interested in keeping up to date with the news, click here for live video coverage (it's all in Korean but you do get a good idea of what's happening).

Our Apartment in South Korea

image.jpg

A lot of family and friends have asked us about our apartment here in South Korea so I thought I'd post the pictures here for those of you who might be interested to see how we live here in Asia. This apartment is what is known as a 2 room apartment (one bedroom and one living room). Most teachers are placed in studio apartments which are one room, and that one room houses the bedroom, kitchen and living room. There isn't much space in Korea and nearly everyone here lives in apartments. We felt rather ungrateful asking for a bigger apartment this year, as there are families of three or four living in apartments the same size as ours. Luckily for us, a friend of ours is leaving soon (he was randomly placed in a huge three bedroom apartment in our town) and we are very fortunate to be moving in there next week It's much older that this place, and needs a lot of work done, but I'll take scrubbing for weeks on end for three bedrooms any day. These photographs were all taken with my phone, so they are a little on the blurry side but they do give you a good idea of where we have been living for the past year.

image.jpg

The picture above was taken from our front door. As you walk in the bathroom is directly ahead, and the door on the left houses the washing machine and boiler for our hot water and underfloor heating system or Ondol as it's called here. The picturebelow left is what is inside the washing room looks like (as you can see it's impossible to buy toilet paper in anything less than packs of 36...#toiletpaperforyears). And the photograph above right is of the front door. The white cupboard is a show cupboard. We have gone all Korean and don't wear our shoes in the house at all. It keeps things a lot cleaner too.

image.jpg
image.jpg

Below is our kitchen area. All of us teachers are given the basics in our apartment (microwave, one or two plate stove, bed, wardrobe, table, fridge and TV) the rest of the appliances we have to purchase ourselves. It's a pretty good deal considering we don't pay rent at all! We bought the little stove online (it works like  bomb) and found the milk crates outside. As our space is very limited, everything is very compact (you can se where my exercise equipment lives too!)

image.jpg
image.jpg
image.jpg

From the kitchen we have a sliding door which leads to the bedroom. We do have quite a lot of space in our bedroom, and  lovely big window which lets in plenty of light. Apart from our small kitchen window the bedroom window is the only other natural light source in our house, which isn't so great in winter time.

image.jpg
image.jpg
image.jpg
image.jpg
image.jpg
image.jpg
image.jpg

As you can see we make use of every inch of space for storage. We found the most amazing vacuum sealing bags that shrink mountains of clothes and bedding into small, manageable bags (as pictured above my wardrobe). And yes, those are aeroplanes planes you can see hiding behind the TV and on top of Farmboys cupboard (there were five, but I managed to convince him he only really needs two at the moment). They are actually really amazing little machines that Farmboy built himself and flies all over our town. You can see some of them in action here

image.jpg

And finally the bathroom (or wet room as they are called here as the space is completely with no actual 'shower area'. We are lucky that our shower is in the corner of the bathroom. Most apartments have the shower placed above the toilet, so when you shower, the entire room gets soaked (including the toilet paper!). And I've included a sneaky pic of my bathroom cupboard too (hubby thinks I own far too many products, what do you think? And yes, the top right hand corner is just for him, how much more space does he need really?)

image.jpg

So there you have it. Our two bedroom apartment in Buan, South Korea. It actually looks pretty spacious from these pictures, but I took them on a day when there was no laundry hanging out to dry, when we didn't have guests staying over and the blow up mattress was out, or when I was baking. It's been a lovely little home for the past year, but we are VERY ready to move into out bigger place next week...yippee! You can see our old apartments in South Korea back in 2010 by clicking here (they were studio apartments and much smaller than the one we are in now).

Peanut Butter, Banana, Oatmeal & Chocolate Chip cookies {recipe}

Oh my these cookies are yummy (freshly baked as well as eaten just out of the mixing bowl). I found the original recipe on one of my favourite food blog's Sally's Baking Addiction when looking for a use for my brown bananas and oats (or oatmeal). These cookies are wholesome (they are in fact gluten free as they contain no flour) and are super easy to whip together. They contain no flour, sugar, milk or eggs.

I had them for breakfast (only one morning as I had eaten just about all of them the night before!) and they gave me so much energy, and kept me feeling full for the morning, thus stopping me from reaching for all the snacks in my staff room. Plus, they are filled with only good & healthy ingredients so you can absolutely justify eating cookies for breakfast.

An important thing to note is you need instant oats for this, not rolled oats (but you can whizz your whole, rolled oats in a blender on high for a few minutes to get instant oats). 

Happy baking!

x

Ingredients

  • 2 and 1/3 cups (190g) quick oats* (not whole oats)
  • 3/4 teaspoon salt
  • 1 teaspoon ground cinnamon
  • 1 cup (250g) peanut butter (or almond butter as the original recipe called for)
  • 1/4 cup (82g) pure maple syrup (or honey)
  • 2 large ripe bananas, mashed (about 1 cup)
  • 1/3 cup (60g) dark or semi-sweet chocolate chips
  • 1/3 cup (33g) sliced almonds (optional)

Method

Preheat oven to 180C degrees. Oil a large cookie sheet (I use coconut oil and set aside.

Combine all of the ingredients into a large bowl. Using a large rubber spatula or wooden spoon, mix until all of the ingredients are thoroughly combined. The dough will be sticky and thick.

Roll into balls using a teaspoon to help shape your cookies.  Drop this amount onto a cookie tray and slightly flatten the tops into desired thickness. They won't spread in the oven.

Bake for 15 minutes until the edges are very slightly brown. Don't bake any longer or the cookies will taste dry. I took my cookies out right before they started going brown, as I like these cookies chewy. After removing from the oven, allow to cool completely (if you can stop yourself from tucking in!).

These cookies will stay fresh at room temperature for 1 week and can be frozen up to 3 months.

*adapted from the original recipe over on Sally's Baking Addiction

Happy Friday everyone!

I hope your week hasn't been too tough on you, and if it has, well you've got 2 days to recover and gain back a little joy in your step. We're off to the coffee expo in Seoul this weekend, and I'm also hoping we manage to find out way to this amazing looking coffee shop below on the outskirts of the capital. Will post my findings if we manage to get there.

CafeDreamyCameraCafeSeoul

Happy weekend everyone!

x

Sue Ann & Shannon {love shoot}

I took these photographs for a special friend when I was still living in Pietermaritzburg last year. The lovely couple got engaged shortly after our shoot, and were married last weekend. I wanted to share them again with you here on the blog.

It was Autumn in South Africa, and we made full use of the pretty light and colourful leaves.

Wishing you and Shannon every happiness in the the world as you embark on your new adventures together as husband and wife Sue! xxx 

As a photographer it's important to look back on your previous work, and see how much you've grown as a photographer. It's so important to continue to grow and learn...I loved this shoot that I did, and I like how the photographs turned out. But knowing what I know now about my camera there are certain small elements that I would change (for one making sure to back up all my images correctly and in a logical way...I had to download these from Facebook as I can no longer find the original files, so that will explain the slight fuzzy look to them!).

Does looking back at your old work inspire of frighten you? I'd love to know how you feel when looking back <3 x

Life After the Dress {Episode 10} Erin Kendrick

In this series I interview married women of all ages and from all walks of life and ask them real questions about their lives now, after all the glitter and sparkle of the day is over. If you'd like to read more about the series and meet the other lovely ladies I have interviewed, click here.

Today I have a very interesting love story for you, from Erin who blogs over at  Traveling Techies. Erin and her hubby are also here in South Korea, but they aren't doing what 99% of us are doing here. They are doing something a lot more interesting.

So grab yourself a cup of tea  and get ready to feel inspired.

x

Image by Dorette from Dots I Am Photography

Image by Dorette from Dots I Am Photography

Q1: Please introduce yourself (age, of both yourself and your husband, where do
you live, what do you do & how long have you been married for?)

Hello! My name is Erin and I blog at Traveling Techies! My husband and I are both 28 and we've been married for about 3.5 years, the last 2 years of that spent working in one of the largest shipyards in Korea. We're both engineers (a little nerdy, I'll admit it) and love to travel which is how we ended up a long way from home! We make sure to post fun stories about the places we're traveling and also what it's like working in a Korean shipyard. I hope you'll come check us out! 

Q2: Which Disney character do you feel sums you up to a ‘T’?
I'm going to go with Belle from Beauty and the Beast here - not only is she a brunette just like me (brunettes definitely have more fun!) but she was smart, witty, and able to see the beauty inside people which I think is wonderful. I'd like to think I'm a little like her...I'm usually pretty quick to make a joke to make others laugh and I always try to remember not to judge a book by its cover and get to know people for who they are inside. 

Q3: How did you and your hubby meet?
Math class. I know - so romantic...just how I always dreamed it would be! It really is a true story - we met in our differential equations class sophomore year of college and became really good friends over the next 3 years. Once we graduated, we realized we missed each other more than we missed our other friends so we decided to see if dating would work out. Secretly, we both knew that if we ever started dating, that would be it - we'd get married and spend the rest of our days enjoying life together. And, that's just what happened! He moved down to Texas and we started working at the same company, about 6 months later - he asked me to be his forever and we had a beautiful wedding in New England a year later. 

Q4: Was your wedding everything you hoped it would be? Would you go back
and change anything? Do you have any advice for brides-to-be?

Absolutely - I married the man of my dreams and got to celebrate with my family and friends - it was fantastic! We made it our goal early on to: "Get married" - and, all I can say is...mission accomplished! Did everything go as planned?! Of course not...it was pouring with rain...I mean, seriously POURING rain the night before...it even woke me up with all of the thunder and lightning, but it didn't waver my spirit in the least. The next day, as soon as I started putting my dress on, the sun came out in full force. It ended up being great because the grass was extra green for our pictures which was awesome! 

We also had a cross word on our programs to entertain our guests and the way they were printed, it left off some of the boxes. My mom came to me confessing the error and how sorry she was that she didn't catch it and I just laughed and said, "Well, we stumped a church full of engineers...there's no way they can solve it then." 

So, my advice is to remember the end goal is to start your new life with your husband and let everything else be like water on a duck - just let it roll off and keep your smile bright!

Q5: Has ‘life after the dress’ been as you imagined it would be?
I would say it's been better than I imagined - we're traveling the world together and loving it. We make sure to spend quality time together and encourage each other in all that we do. While there have been some bumps in the road and things didn't work out the way we planned all the time, we have absolutely loved being married to each other and are both extremely thankful with how our story has unfolded thus far.

Q6: What have you learnt about yourself since being married?
I CAN cook! In college, they used to tease me because I couldn't really make anything other than sandwiches and Kraft macaroni and cheese. Once we got married, I really loved to make dinner for my husband. I started trying all kinds of new recipes and it's now one of my favorite hobbies! My hubby tells me I have become quite the cook and he's always happy and well fed so it's a win-win in the Kendrick household. 

Q7: If you could describe your marriage in 3 words, what would they be?
This came straight from my husband: "Pretty Damn Sweet"

Q8: Do you have any pearls of wisdom you would like to share with my readers
about being married? Perhaps something some wise person once told you, or
something you’ve learnt the hard way?

Keep your sense of humor - go the extra mile every day to make your hubby or wife laugh and make sure to laugh with them. We feel so much closer to each other when we laugh and often bring up funny stories later because they are inside jokes for us which makes us smile even more. They say a belly laugh is good for your health (lower blood pressure, reduces stress, etc.) and I can assure you that there is nothing better than rolling on the floor laughing with your spouse; it really makes you happy all around. Making those extra efforts to do this as often as possible will keep such a fun spirit between you that even when the stresses of life (finances, major decisions, family drama, etc.) start to get to you, you've got a way to release that for a little while and feel awesome together.  

Top and bottom left&nbsp;Images by Dorette from&nbsp;Dots I Am Photography

Top and bottom left Images by Dorette from Dots I Am Photography

You can find Erin at the following places:

Blog

BlogLovin

Pinterest

I hope you have been enjoying this series as much as I have enjoyed putting it together.

If you would like to be featured here on the blog, you can drop me an email using the contact form above or leave me a comment below. I look forward to hearing from you!

x

Photography Styling Challenge {LIGHT}

Photo Styling Challenge

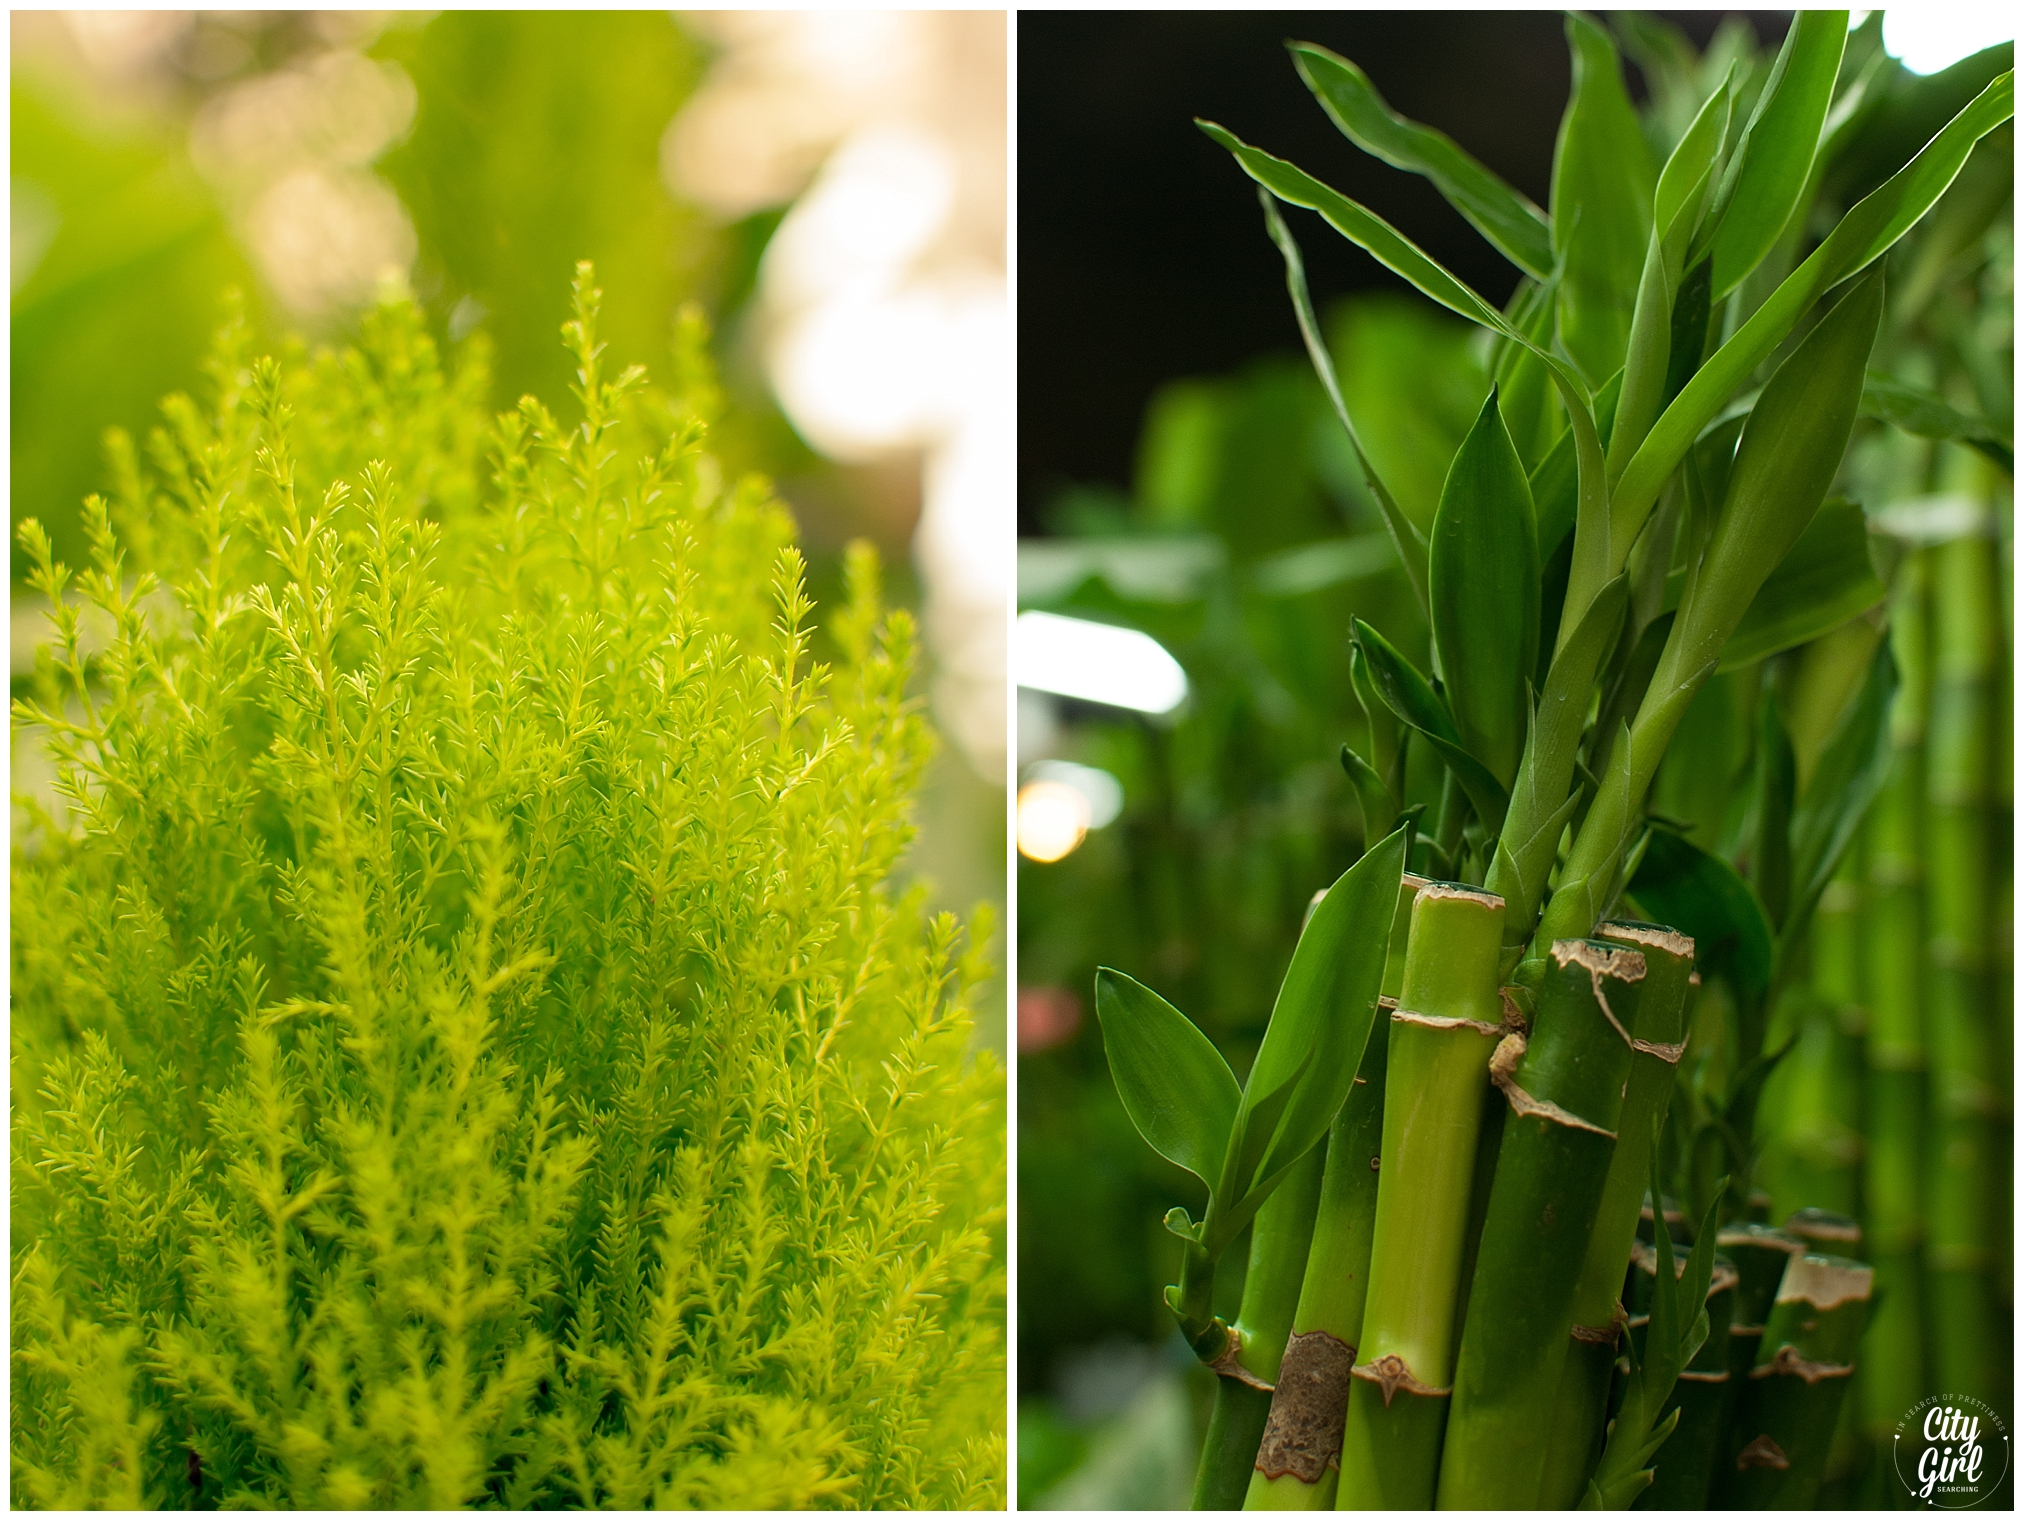
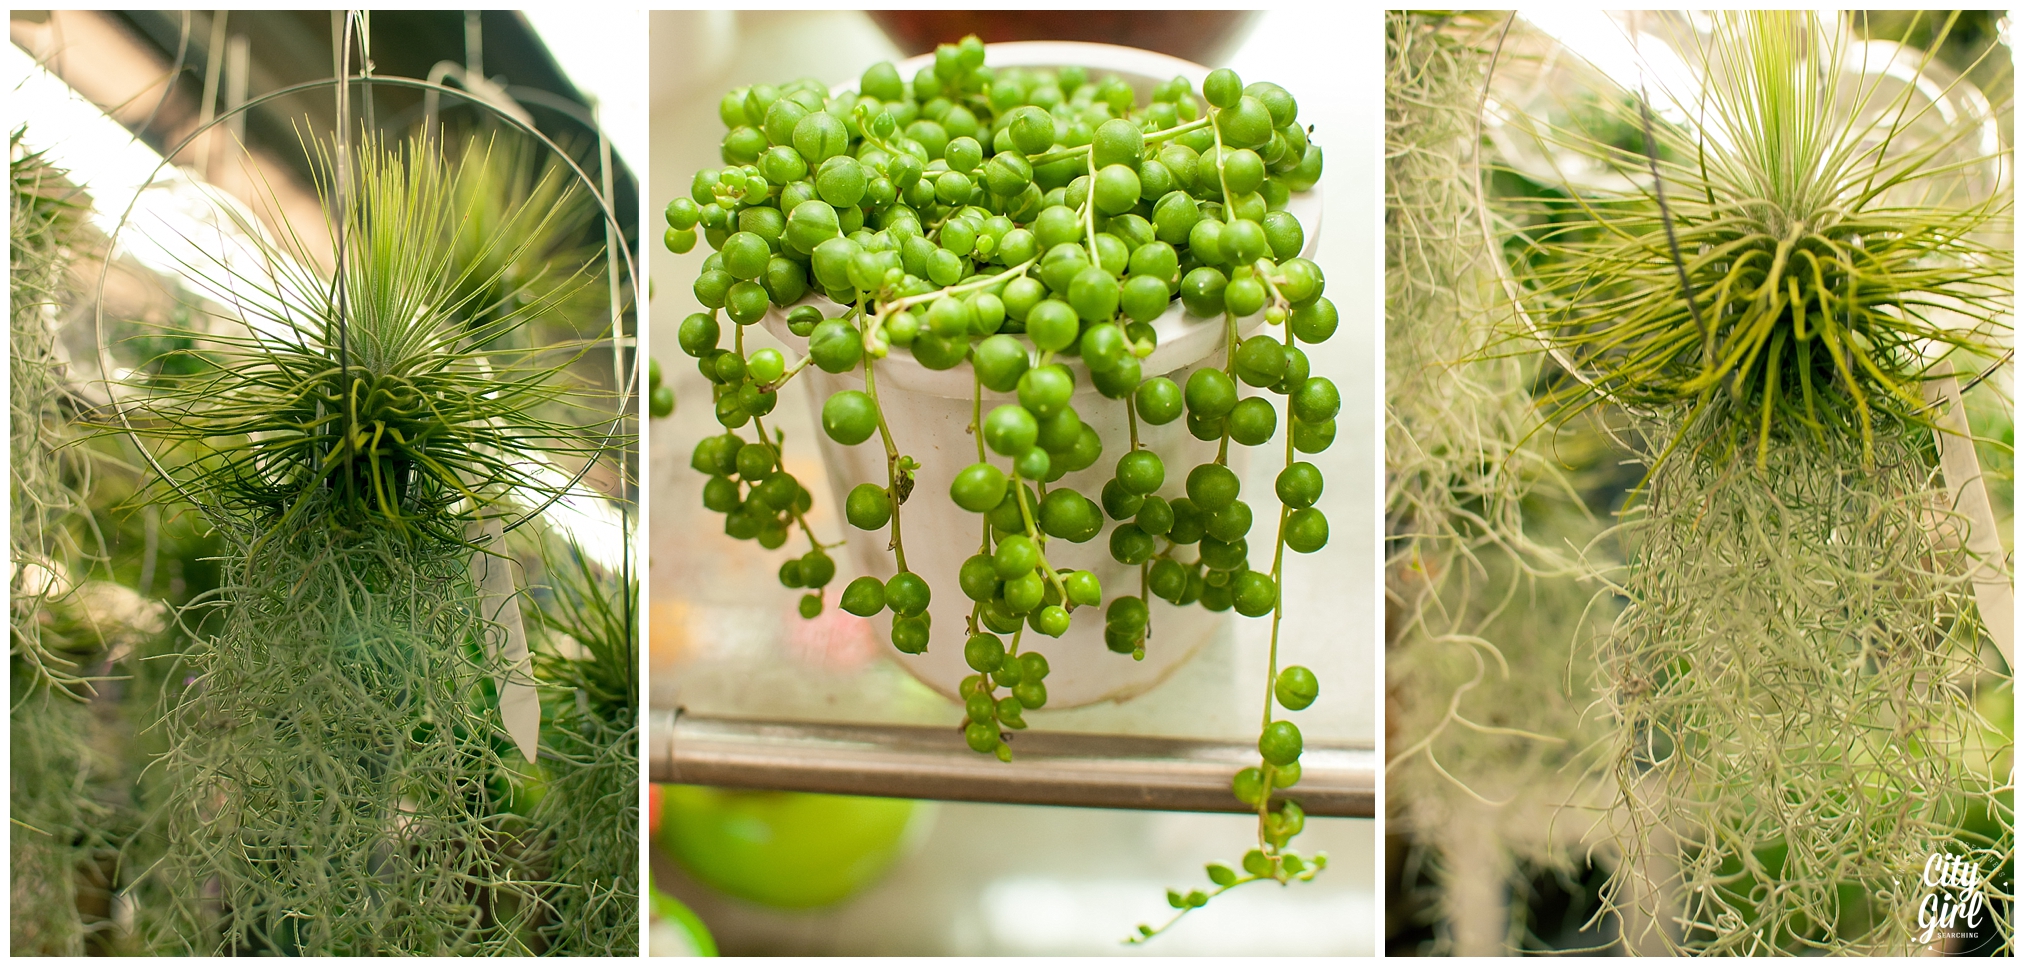
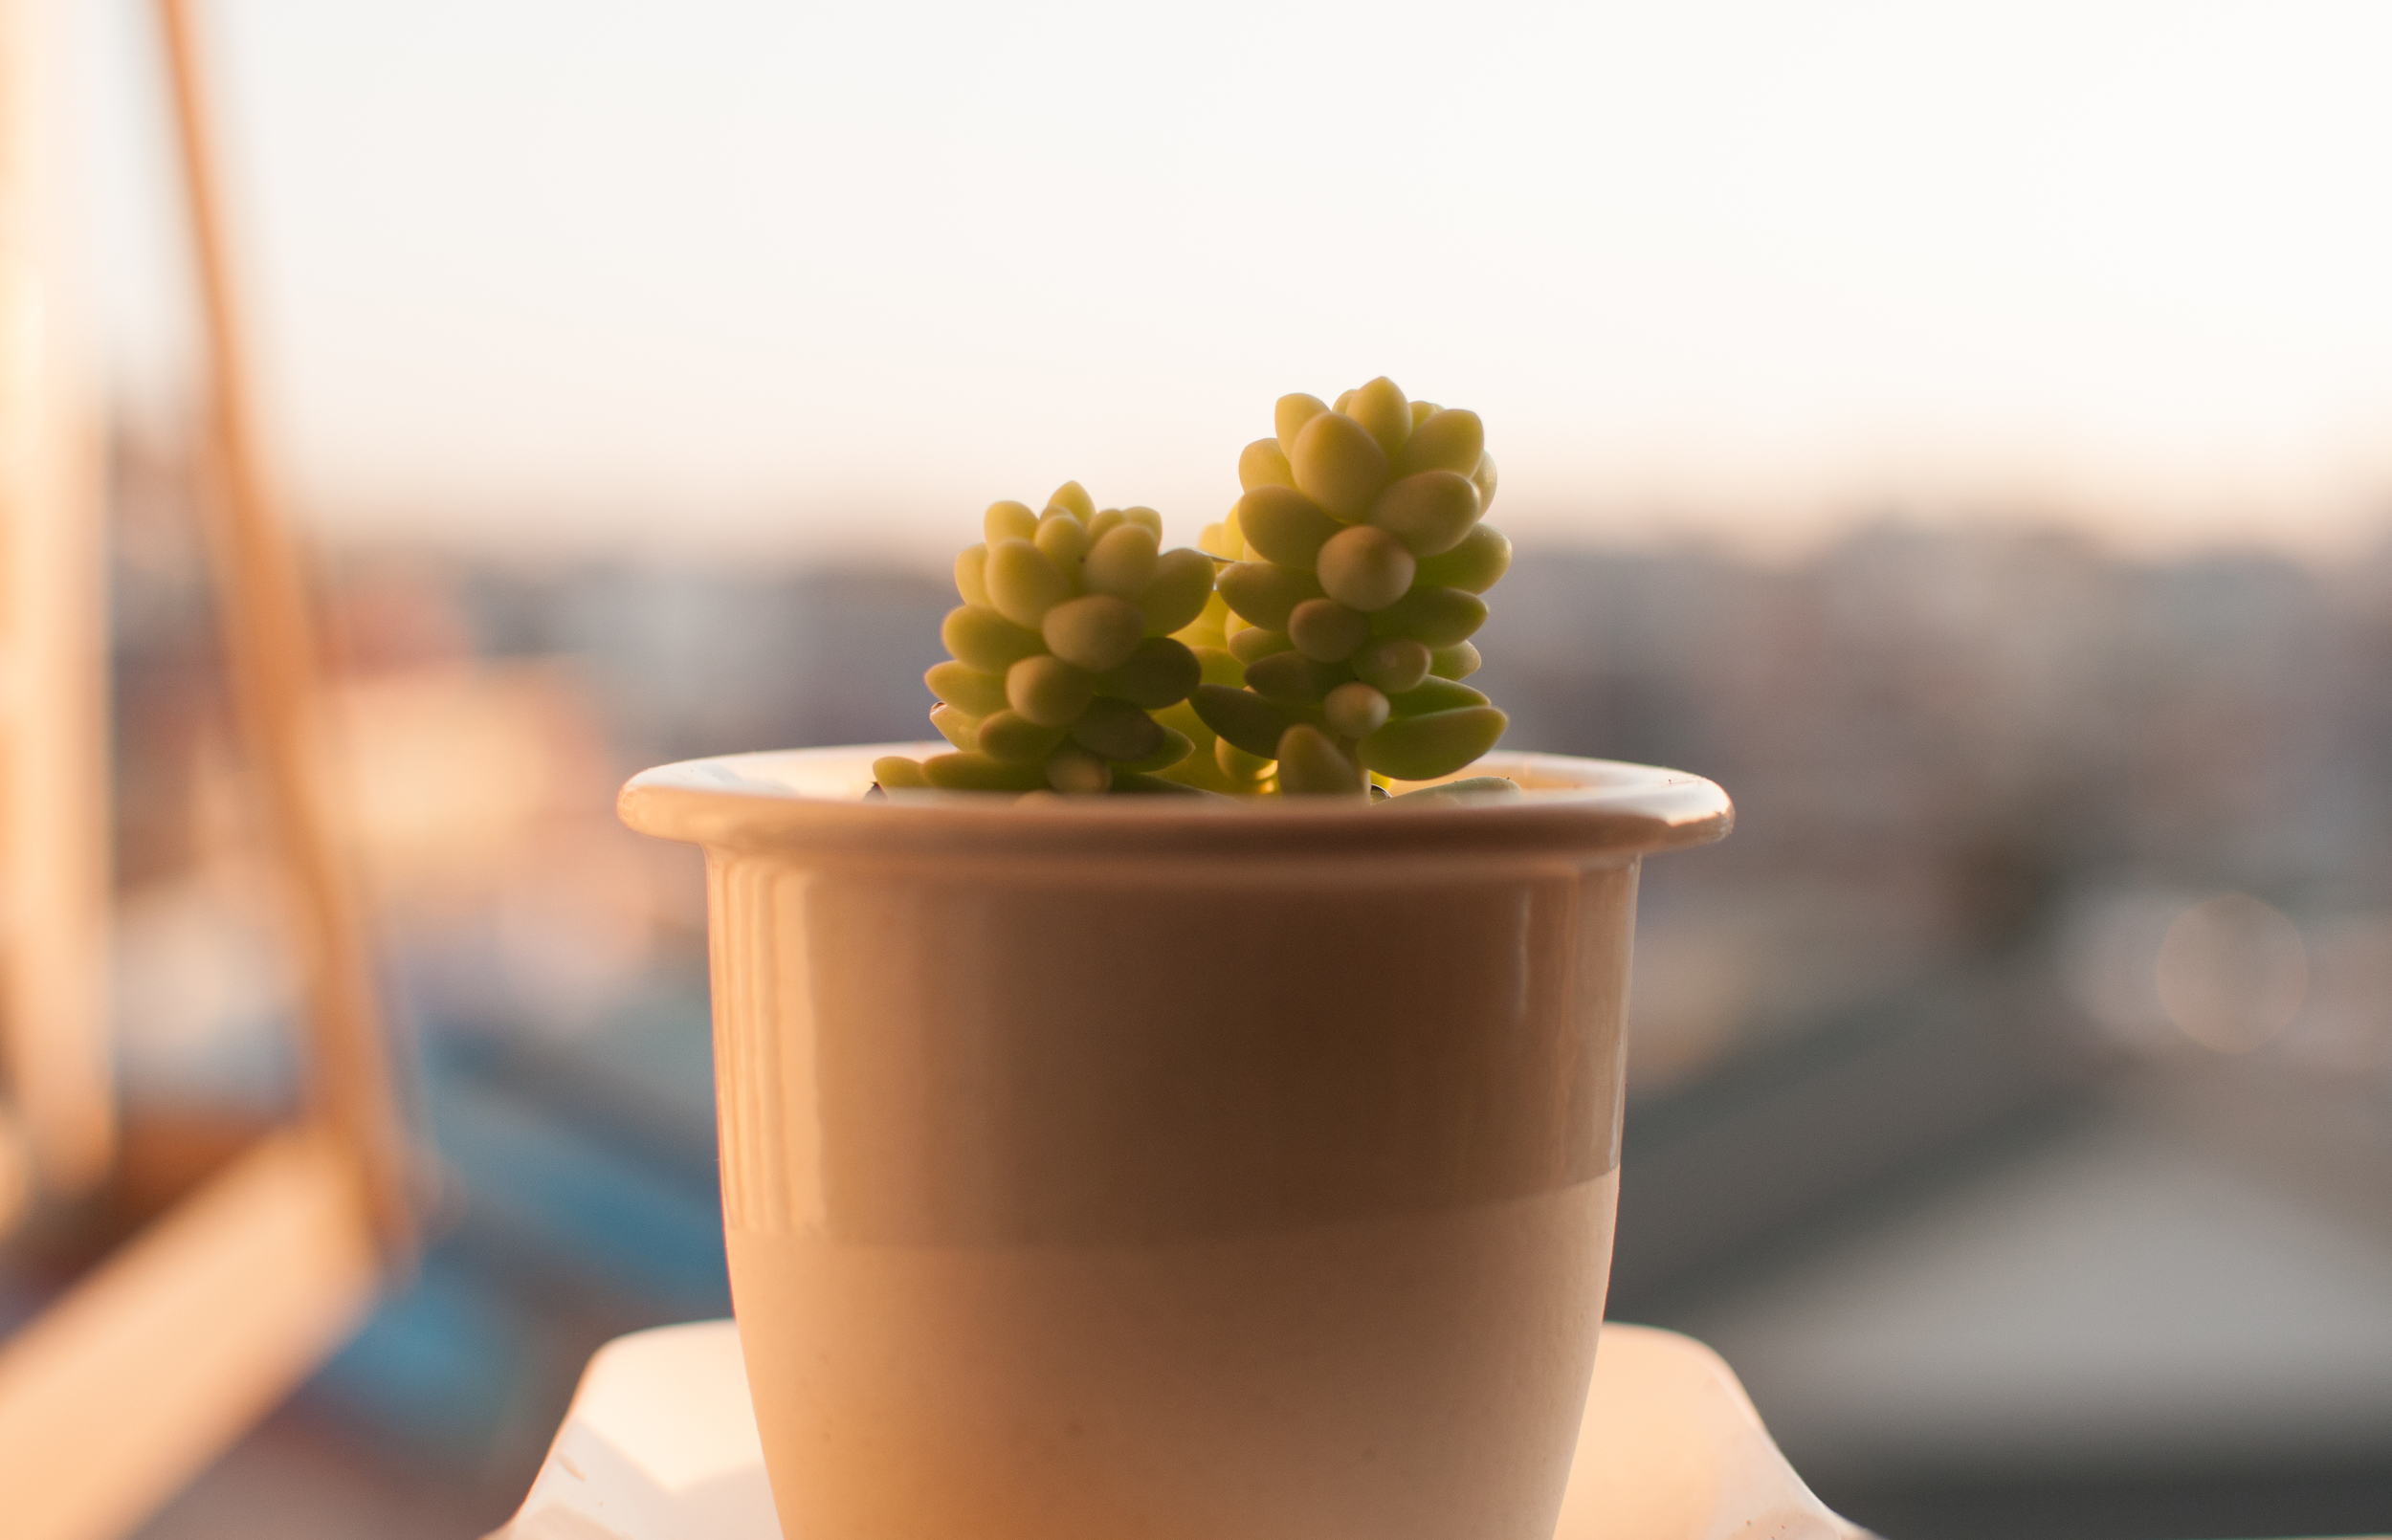
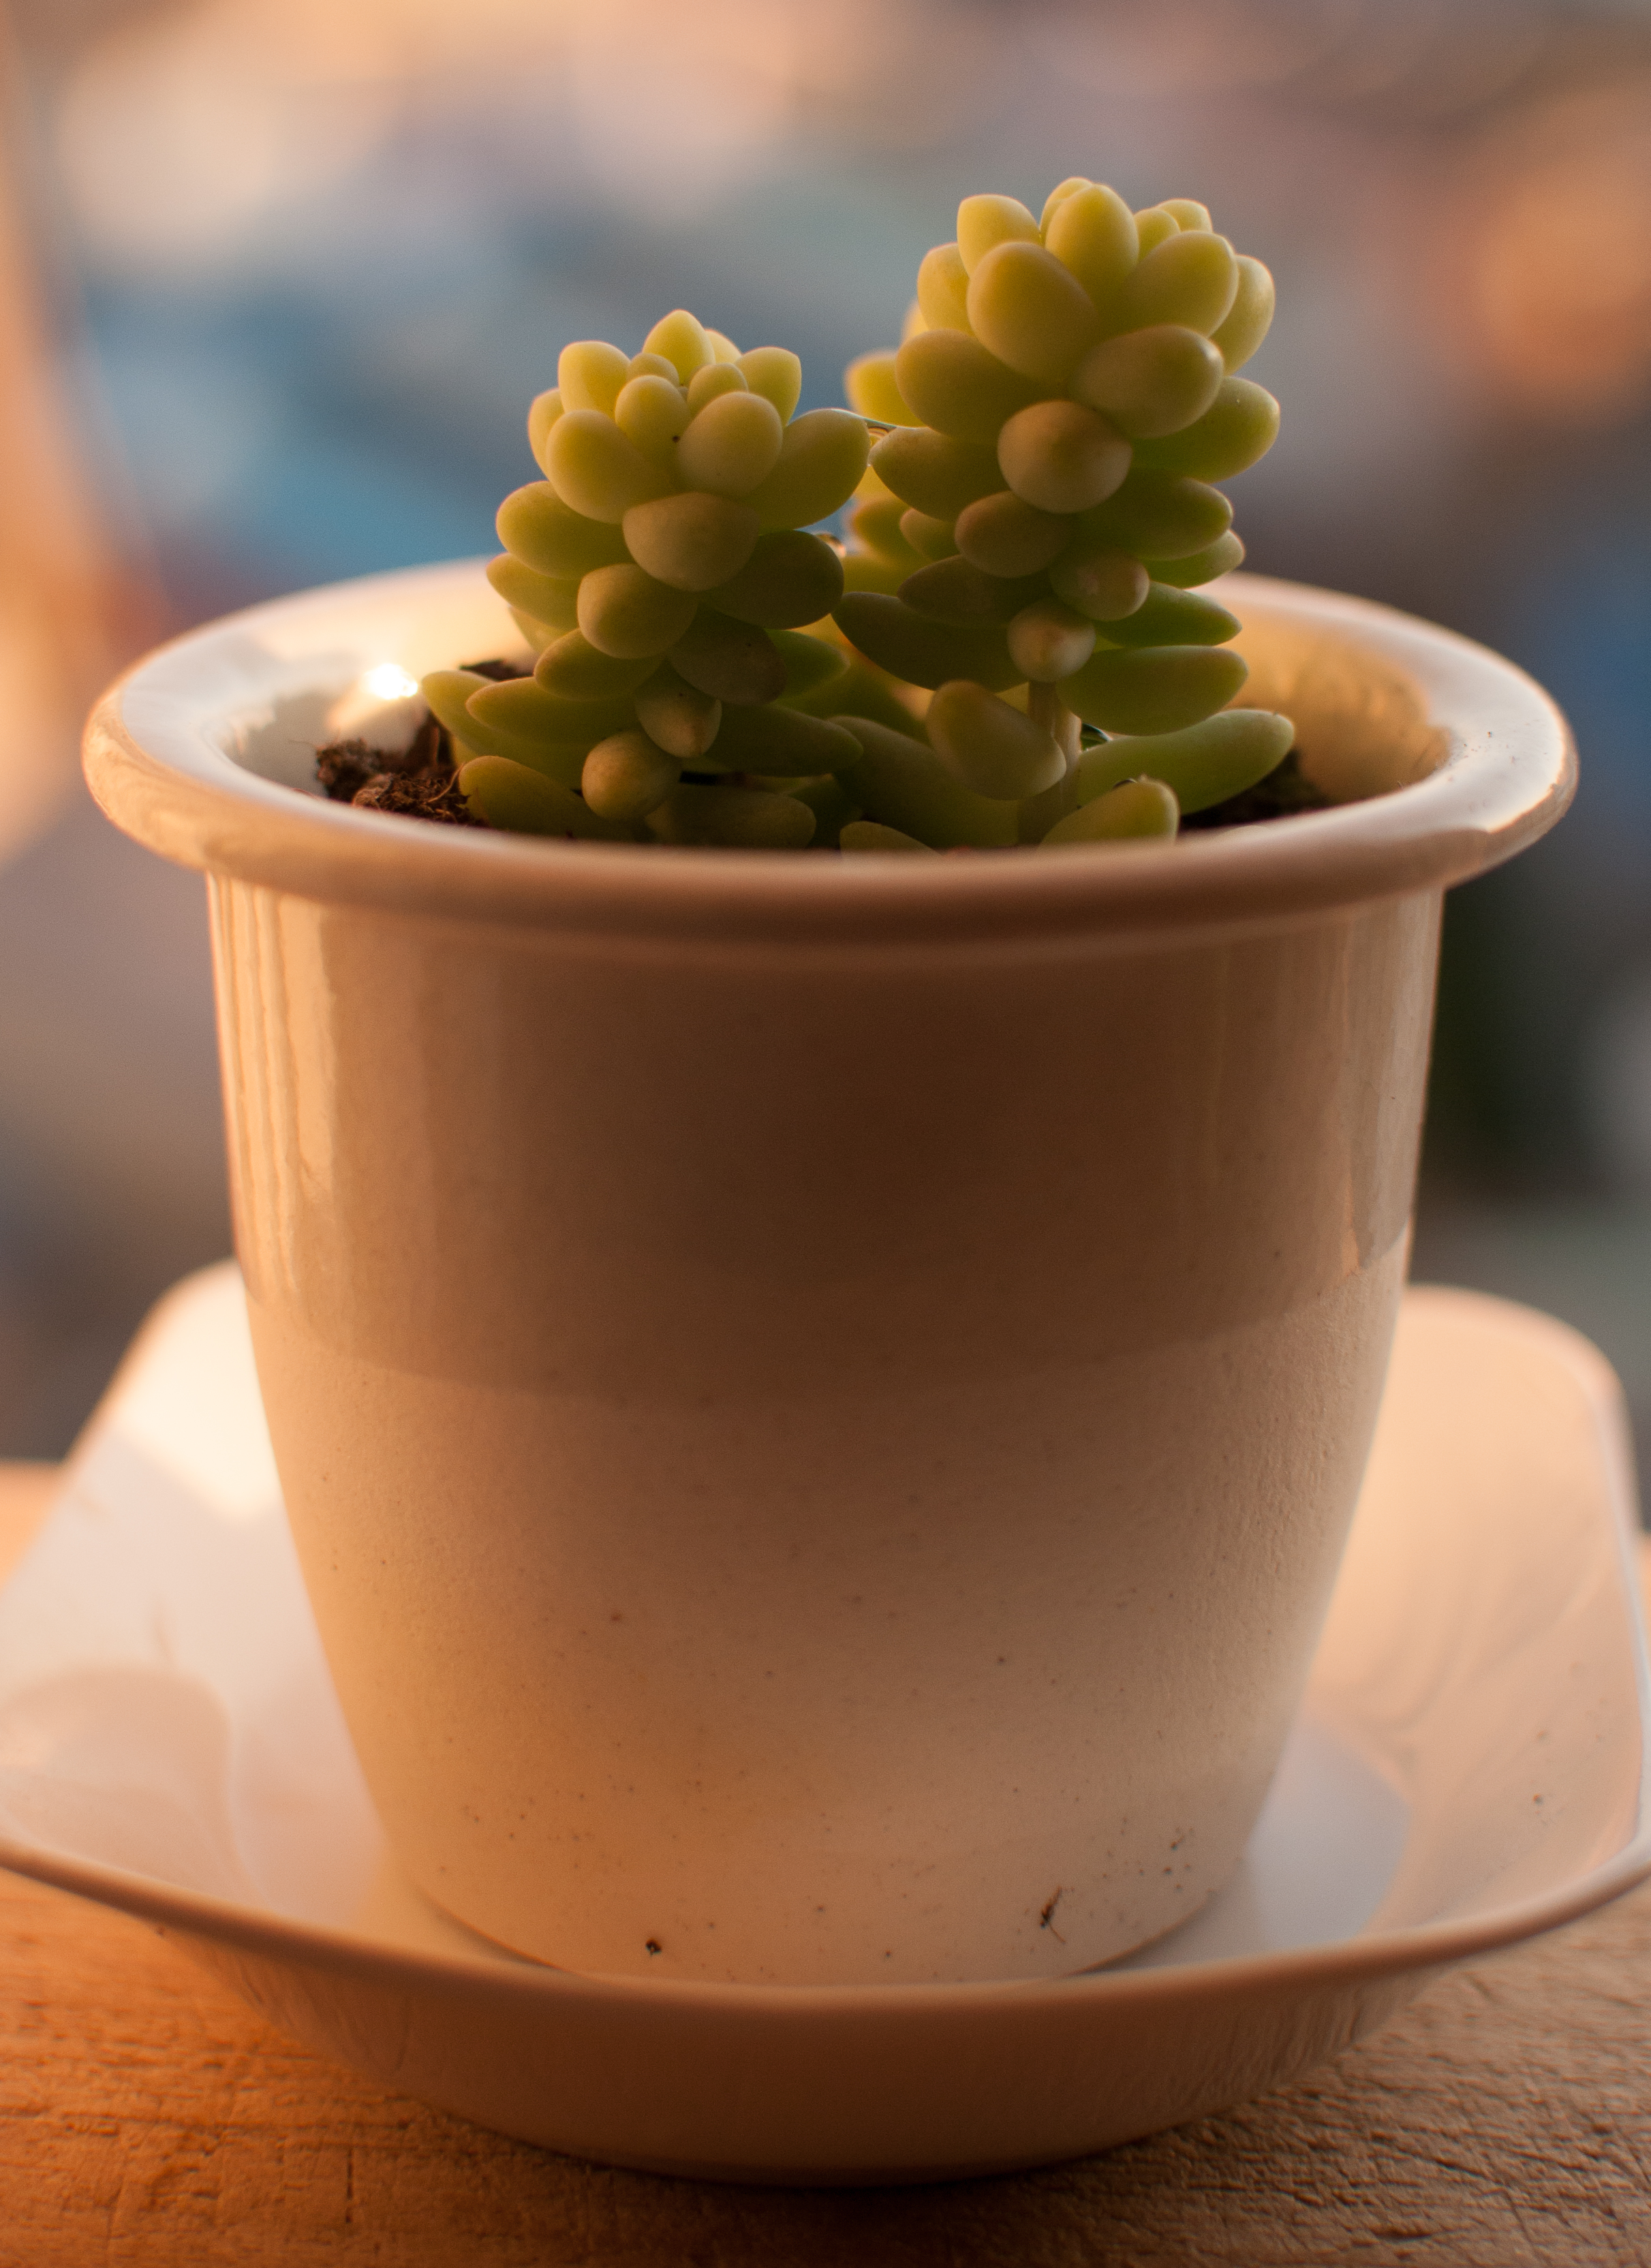
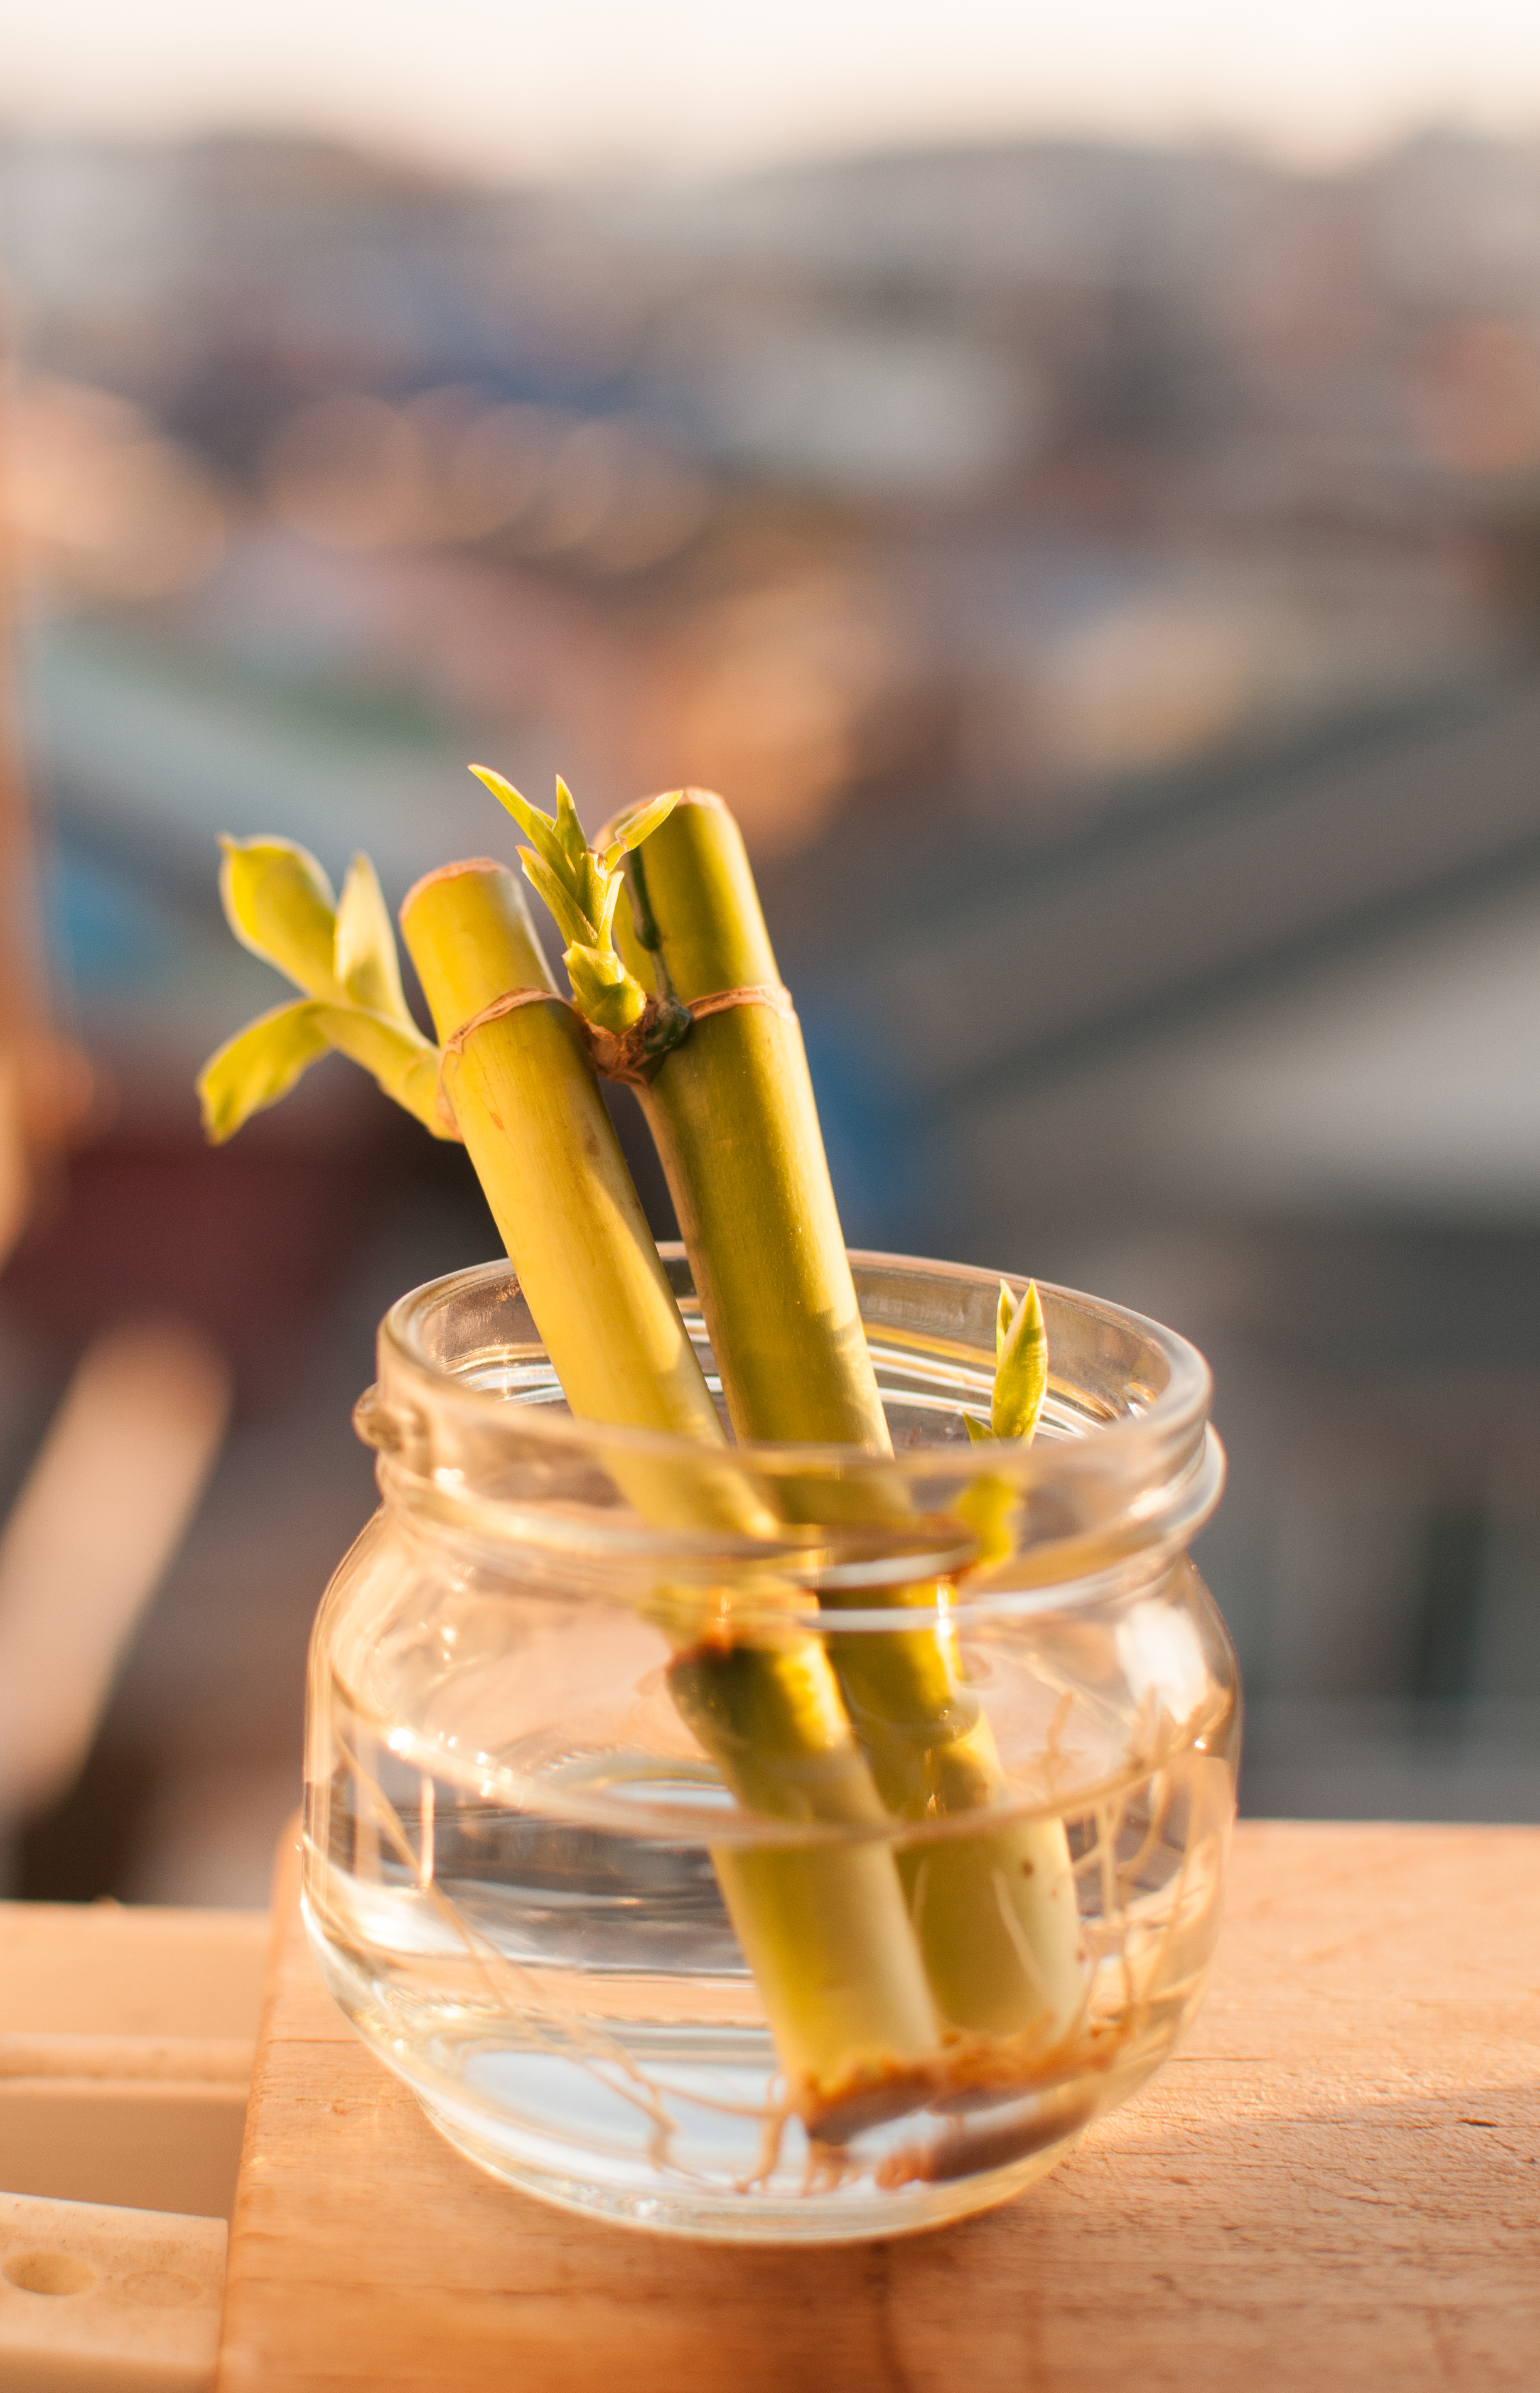
The theme for this months photo styling challenge was Light. I had grand ideas of building a studio, light painting the beautiful cherry blossoms happening here in Korea right now, fairy lights and mason jars but the last few weeks have run away with me and I used what I had at my disposal this morning. This included a new mint green succulent I found at a strawberry festival yesterday, my windowsill, pretty early morning light and a few bamboo shoots.

This is my sixth submission for Redesigned by M's Photography Styling Challenge which she started in June last year. You can see the previous photographs here: Morning, Bedroom, OrderPatterns and Fashion. In this challenge the photographs cannot be edited, and only a maximum of five images may be posted. This is always difficult for me as I tend to take so many photographs and I always struggle to choose JUST five. Each one appeals to me in a different way. But, in essence this is exactly the point of the challenge...to better yourself as a photographer and stylist. 

I chose to use the literal interpretation of light, and catch the early morning rays that come into my little kitchen window. I also wanted to photograph my new 'green' collection of bamboo and succulents, and then thought to myself...plants need light more than anything else to survive. They are the perfect encapsulation of the theme, but also, aren't they pretty!

I used the following settings on my NIkon d300s & 35mm 1.8 lens:

-ISO 250

-Aperture variation of 2.8

-Shutter-speed 500

-I had my white balance on indoor

And for the first time I played around with my exposure (I've never really known exactly what to do with it) and got a glimpse as to how it can lighten certain elements of a photograph. That's the thing with photography, there is always new things to learn, and it's always a fun journey.

Enjoy! x

As always I'd love to hear your thoughts.

Make sure to pop on over to the other participants and see how they interpreted this theme:

Redesigned By MAt The Corner Of Happy And HarriedMy Food TapestryInge Kathleen PhotographyA Woven LifeThe Delicious World Of Chefette SpicyA Tree Grows in the BayouI Live Under A RockHooked On HomesSamta PhotographyMiss Wang Photography

And a warm welcome  to our newest participant: SimplyVegetarian 777

Spring Blooms in Korea

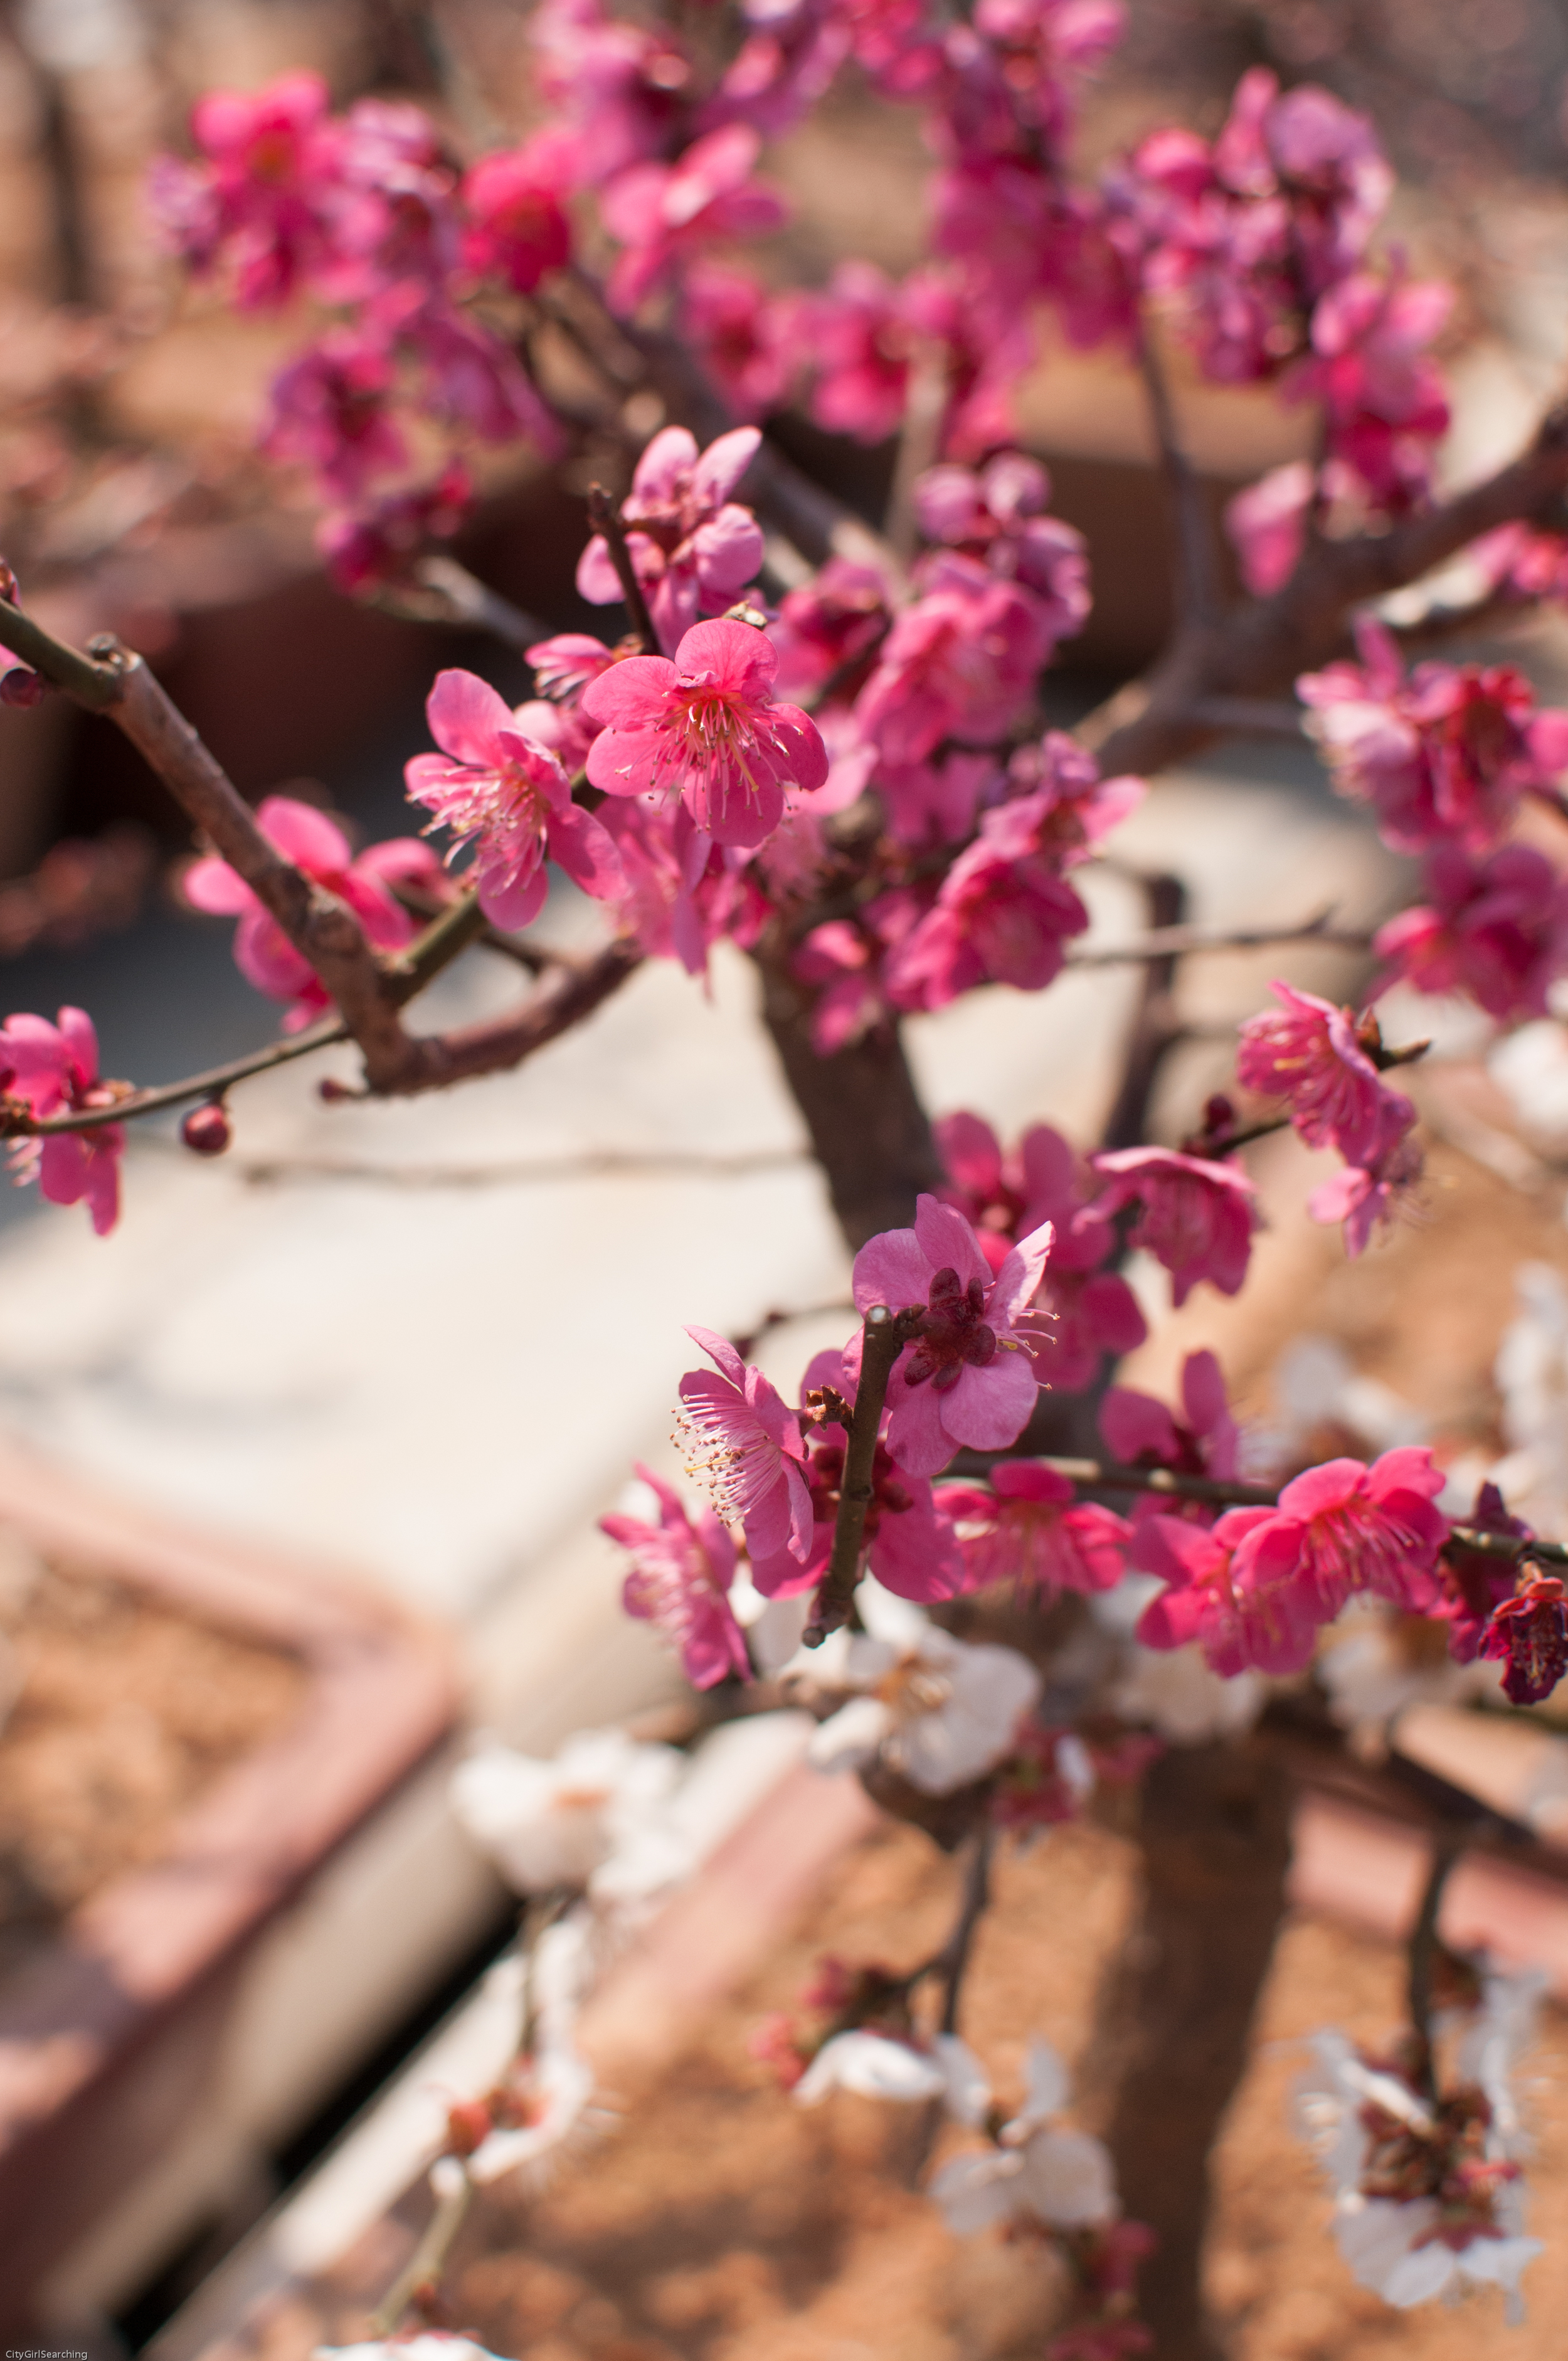
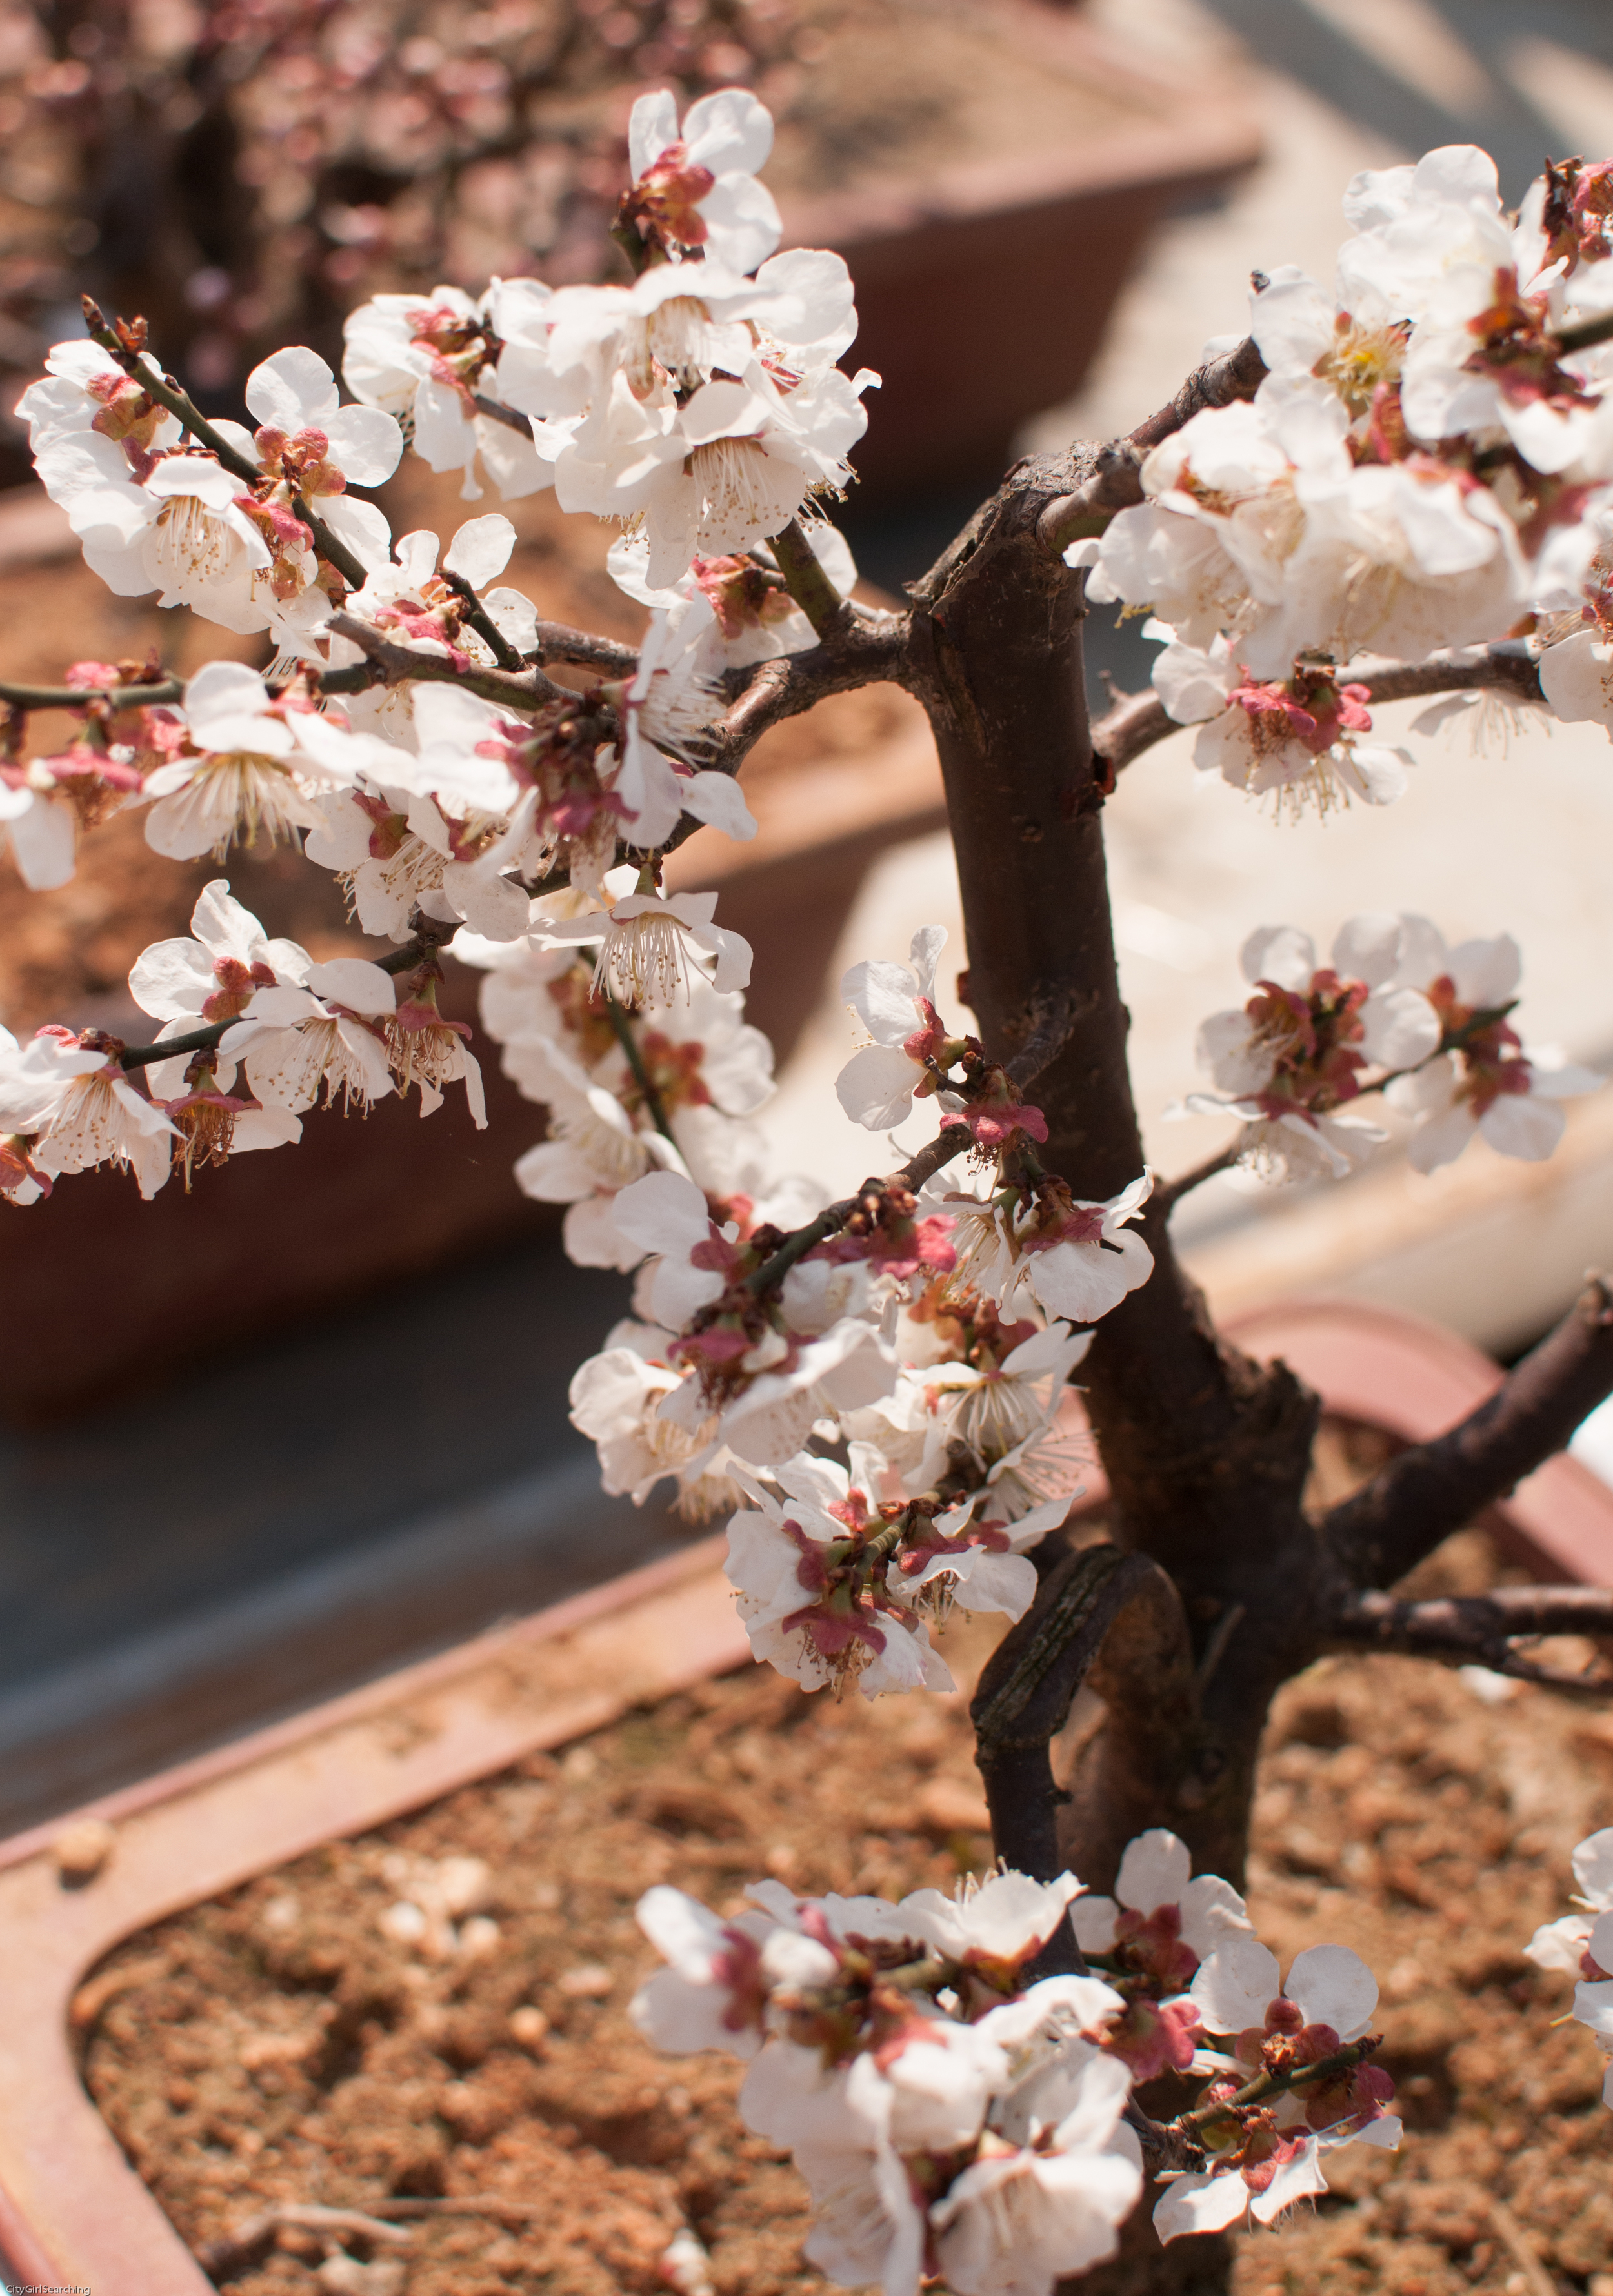
Todays post is a little Instagram round up of all the pretty Spring blossoms and blooms I've seen so far here in South Korea. I'm not sure if I've ever seen such pretty flowers, or whether I am appreciating spring a lot more since having just been through such a cold winter. Spring is quite possibly my favourite month of the year, there is a buzz in the air, and the world seems full of endless possibilities for dreams to come true and for adventures to be had. Wishing you all a very happy Friday and a lovely start to your weekend, wherever in the world you may be.

P.S. Today is your last chance to enter my #Motex labeler Giveaway! Click here to enter <3

photo 2 (1).JPG

Rooftop gardening in Korea

gardeninginkorea

Spring is officially here in South Korea, and to celebrate, Farmboy and I went off in search of some seeds to plant on the roof our apartment. Farmboy has been busy being, well, a farmboy, and hand made garden beds out of old palettes he found lying around in the streets. I found these, round smaller pots at our local Daiso. We also found all the seeds we were looking for at there too, as well as some gardening gloves for me (pink of course). For the soil we headed to the back of our building to dig up some topsoil and we found a large bag of nutrient rich soil at the local garden store. The basil and coriander has already started popping up in the big boxes and I can't wait to start making pesto again!

Not all of us have roof tops here in Korea, or rather not all of us have access to them (or land lords nice enough to let us use the space). If you don't, you can find little pots like these round ones all over the place and you can grow your own herbs and vegetables in your home. Your little plants just need water and sunlight to be happy. Now is the perfect time to start planting before the summer heat & humidity sets in.

Have you had any success growing your own herbs? I'd love to hear from you!

P.S Don't forget to enter my #NationalStationeryWeek Giveway where you can win a very pretty pink Motex labeler...click here to enter!

Motex giveaway in celebration of National Stationery Week!

image.jpg

I hope you are all having a wonderful weekend! Monday marks the start of National Stationery Week in the UK and to celebrate this wonderful occasion, (and because I have a love for all things stationery!) I'm going to be giving away a pretty pink Motex labeler, as well as an extra roll of lime green tape. I have loved my labeler and have gone a little crazy labeling everything I can get my hands on (all in the name if organizing...or so I tell Farmboy). If you're not sure what a Motex labeler is, it's basically a label embosser which uses a click wheel to  literally 'punch' your desired letters or symbols onto sticky backed label paper. You can click here for some pretty pictures of what people have used their labelers to decorate. They have been around for years, but have started gaining popularity again especially within the crafty, snail mail circles of people who use them to make their packages look extra special.

image.jpg
image.jpg

This pink labeler comes with 4 text disks (English uppercase, English lowercase, Korean and another one with symbols I'n not sure the origins of) as well as two rolls of sticky backed tape (one pink and one lime green). The reason for the Korean disk is that the Motex labeler is made right here in Korea.

image.jpg

If you would like to win simply use the giveaway entry system below. I'd also love to know what you plan on labeling first if you win, let me know in the comments section below.

Give me a shout if you have any problems with the entry system (it sometimes acts up in certain internet browsers). You can get multiple entries by doing different things, so just follow the instructions for more info. 

You can also gain another entry by sharing the top image on Instagram and using the following hashtag (so I can track your entry) #citygirlsearching and my username @roxyhutton.

This giveaway is open to everyone (local and international) and the winner will be drawn on Friday evening.

Good luck everyone! 

X


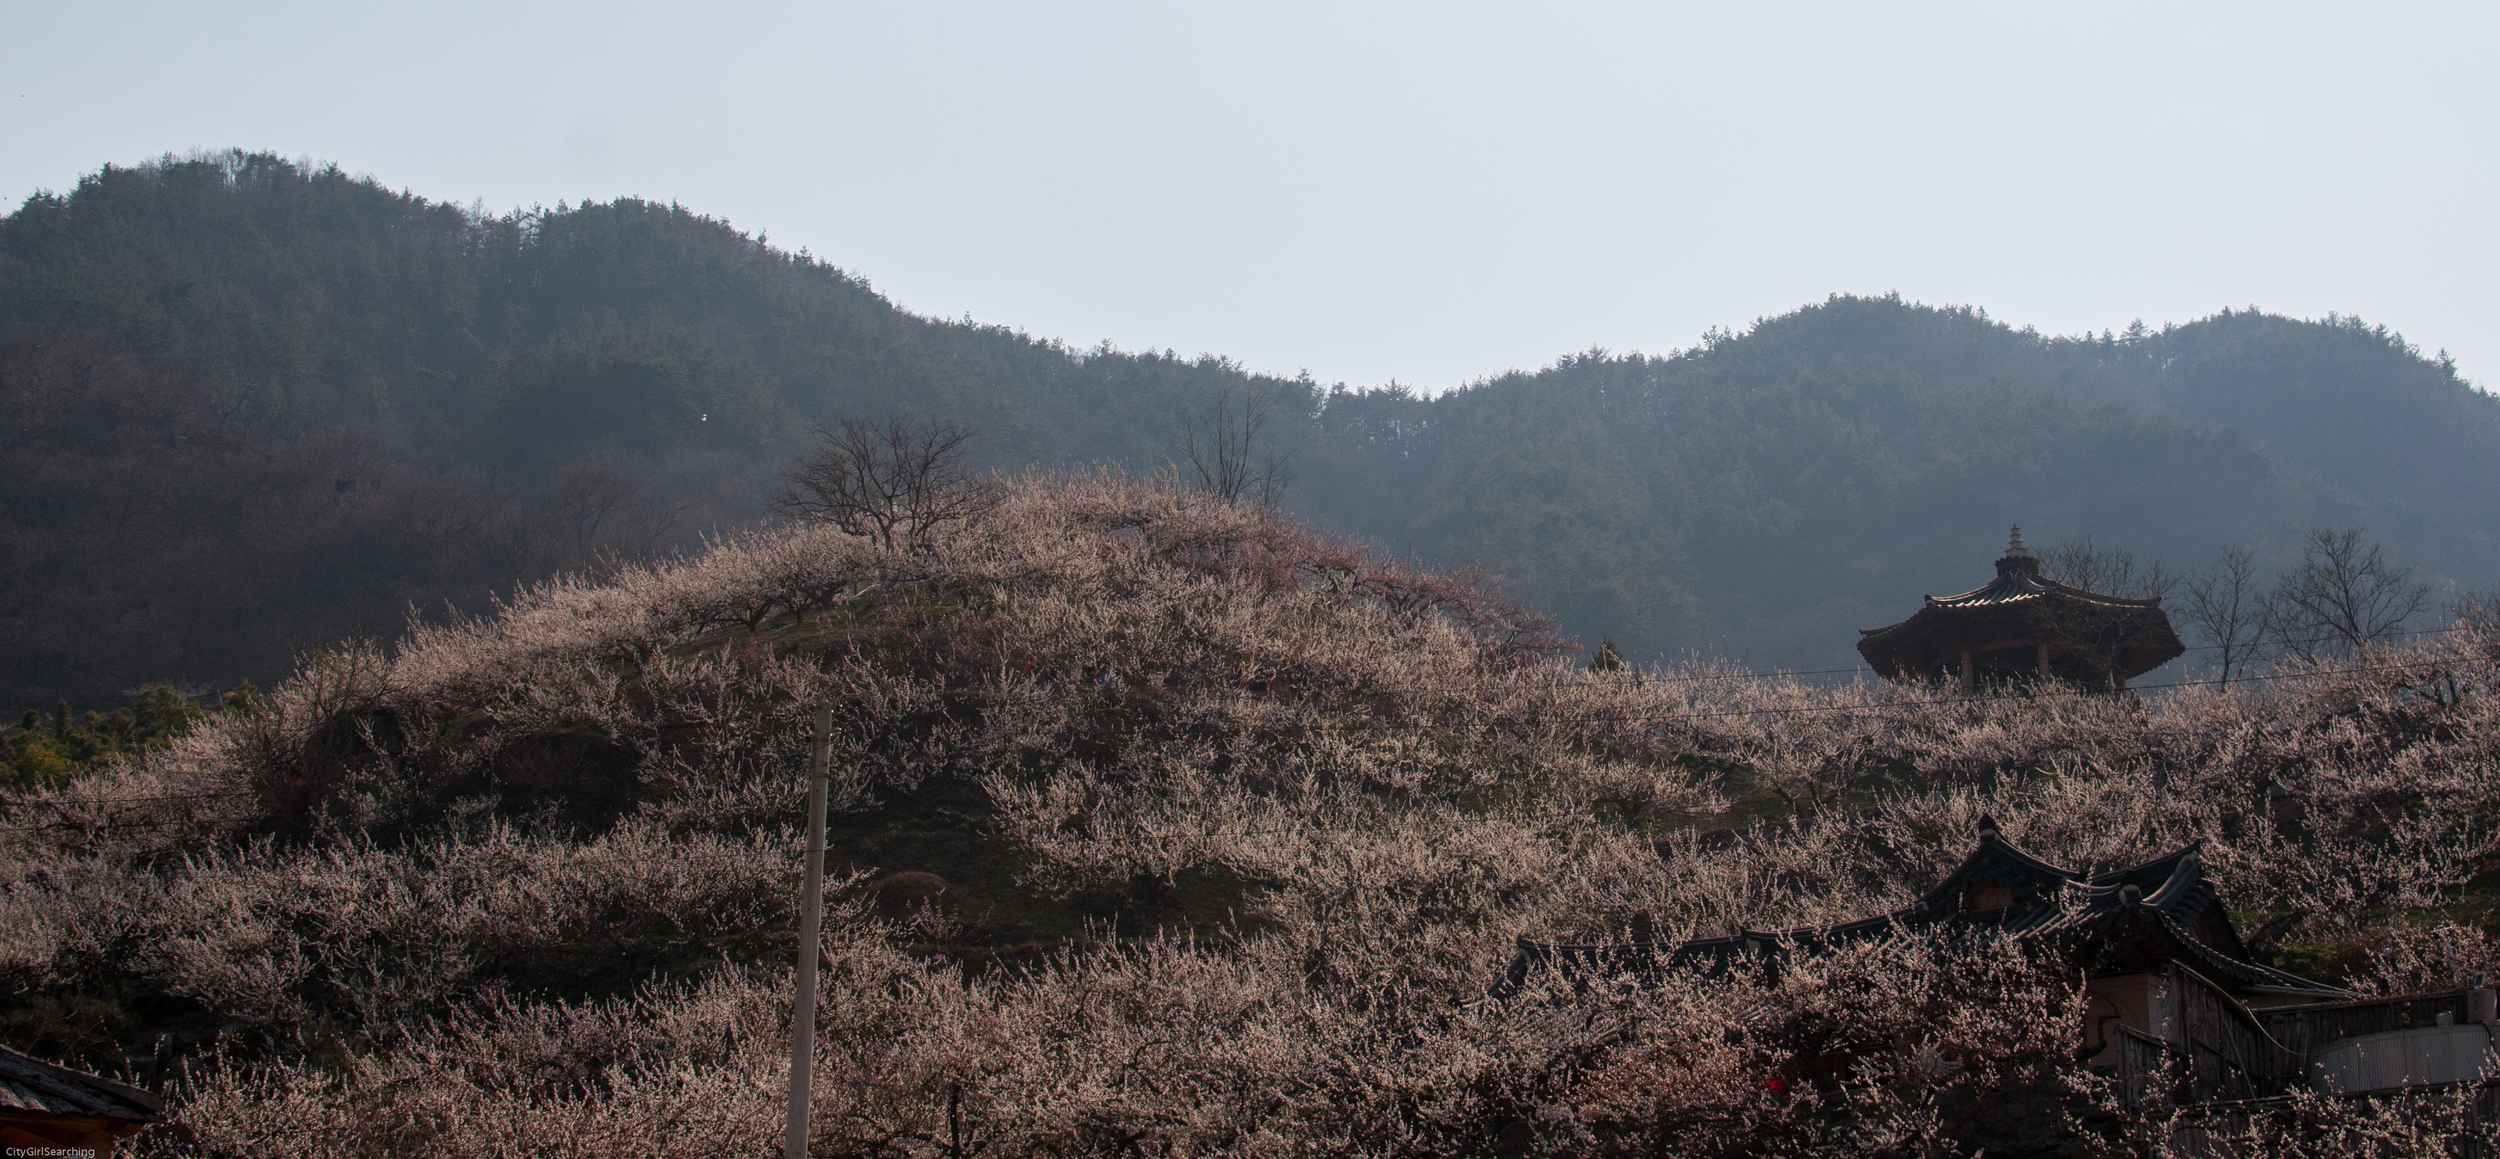
Maehwa Spring Flower Festival in Gwangyang, South Korea

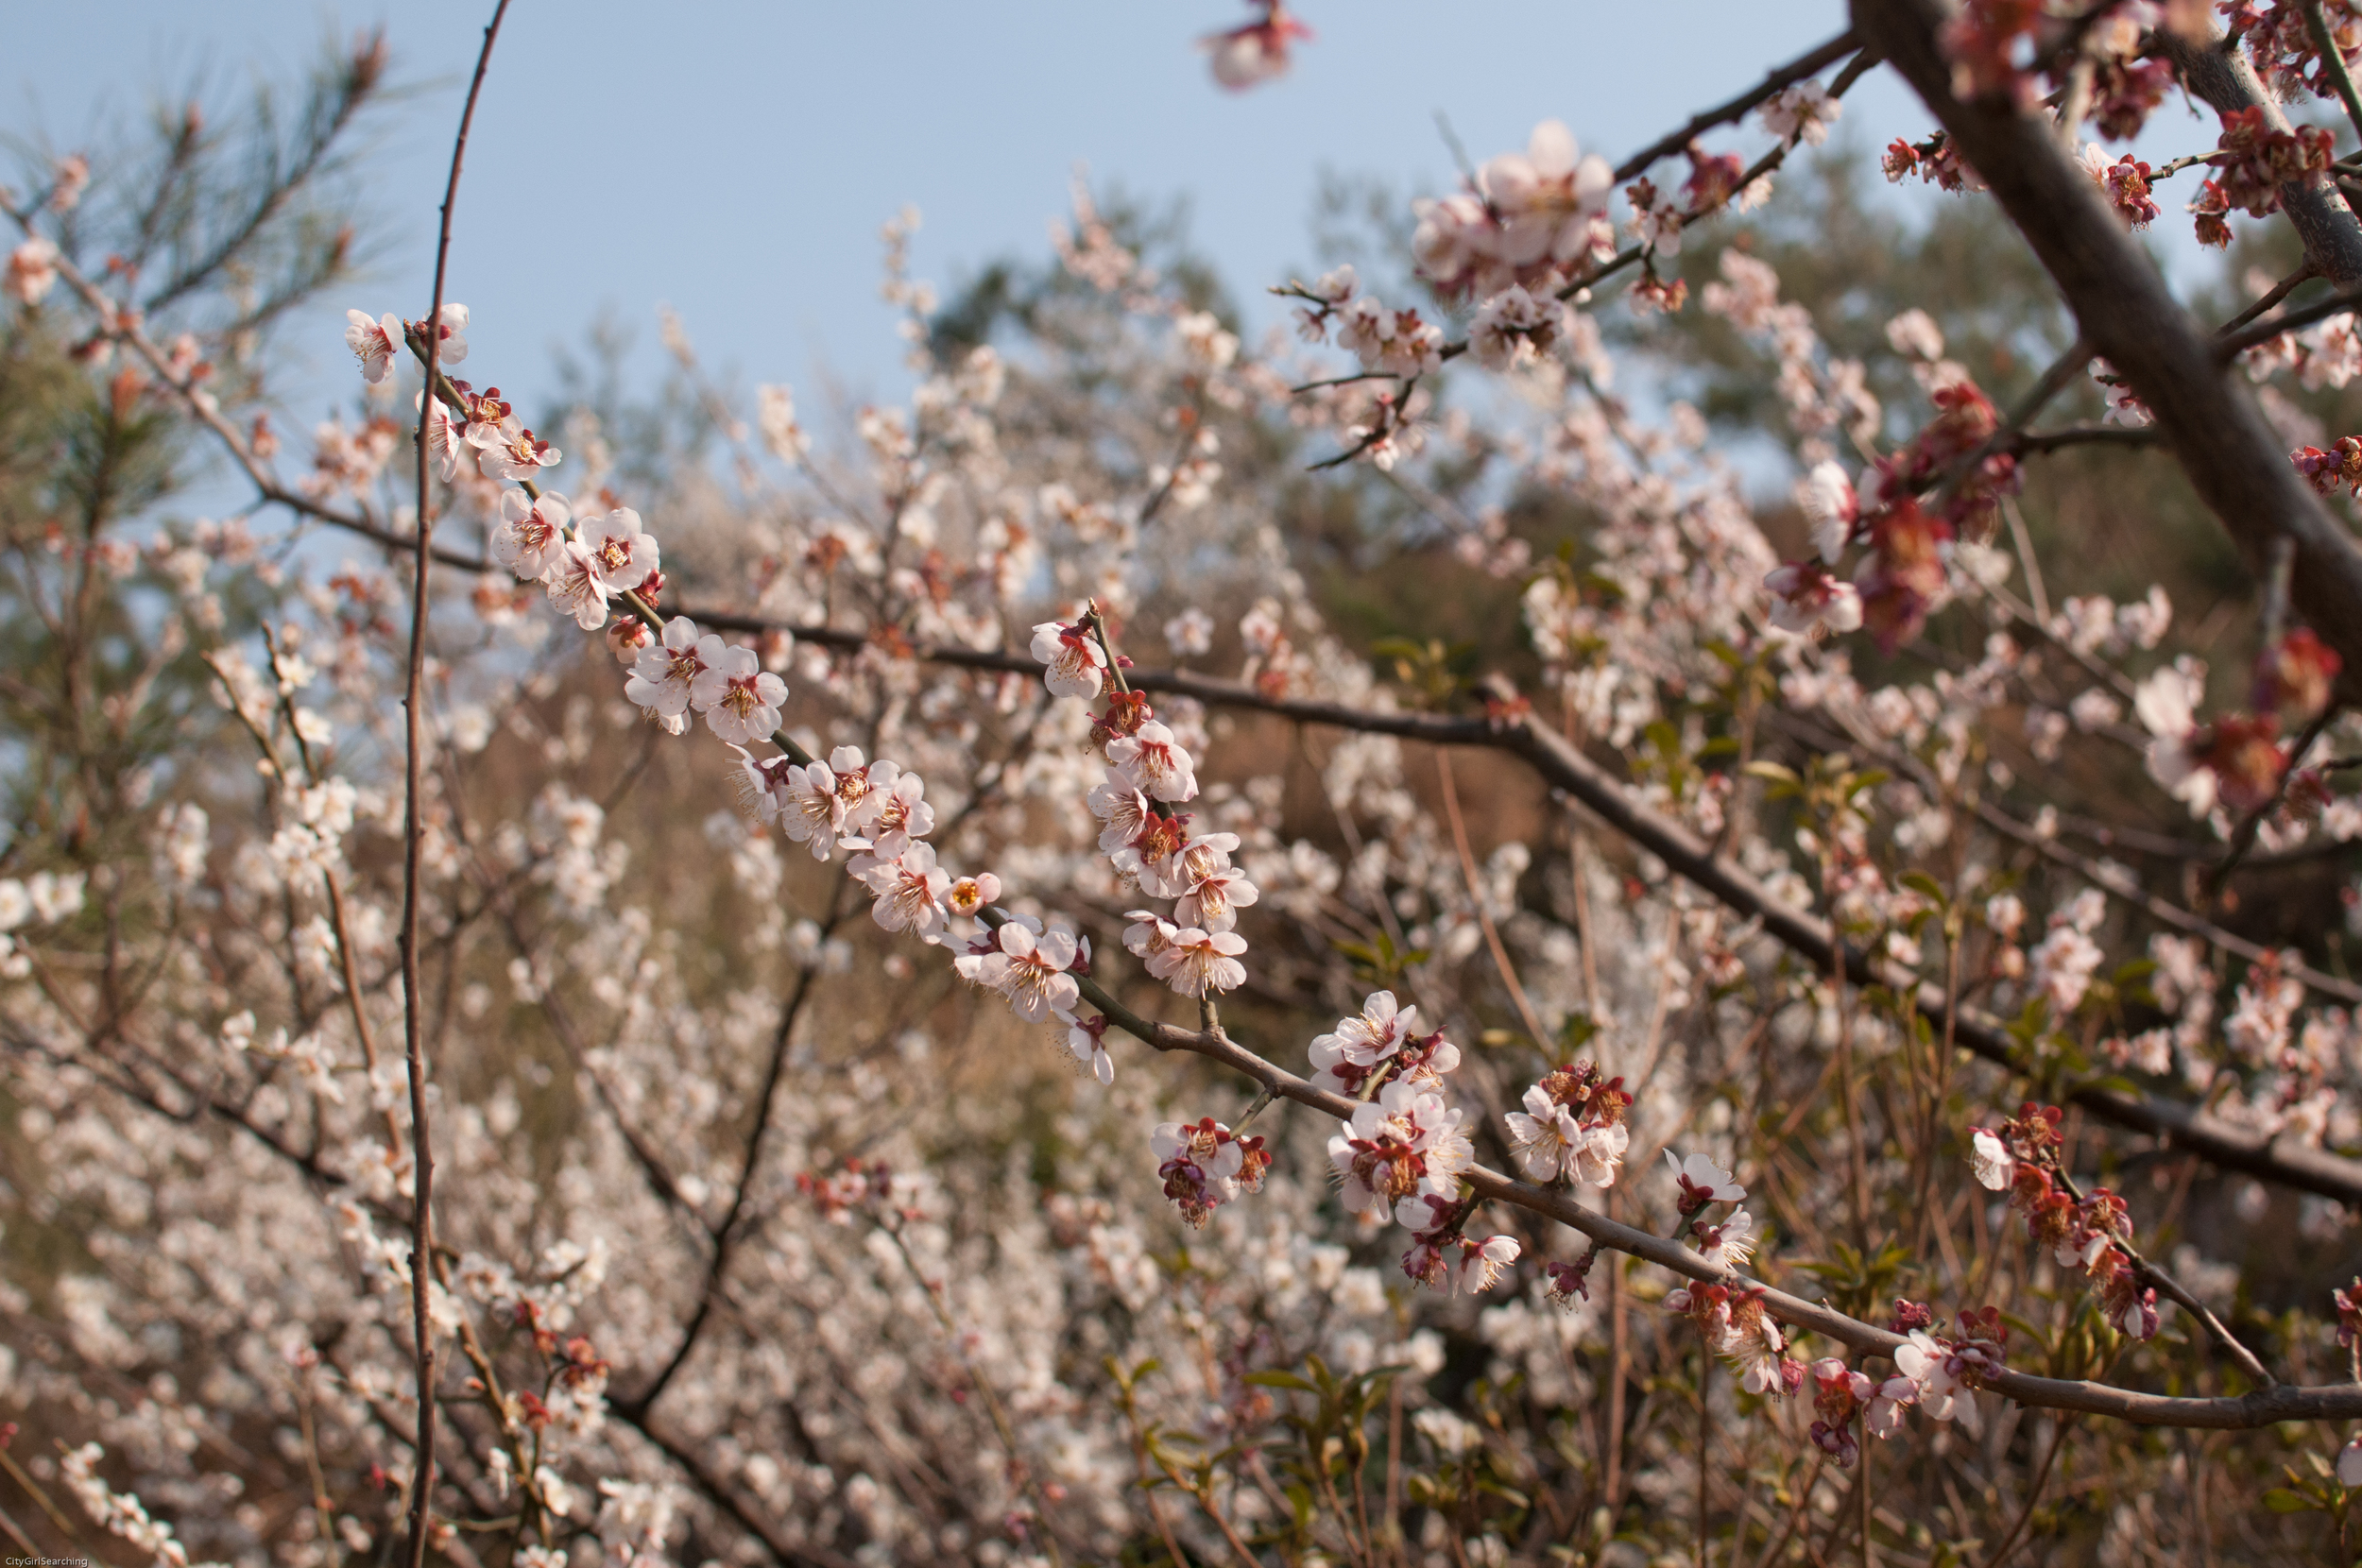
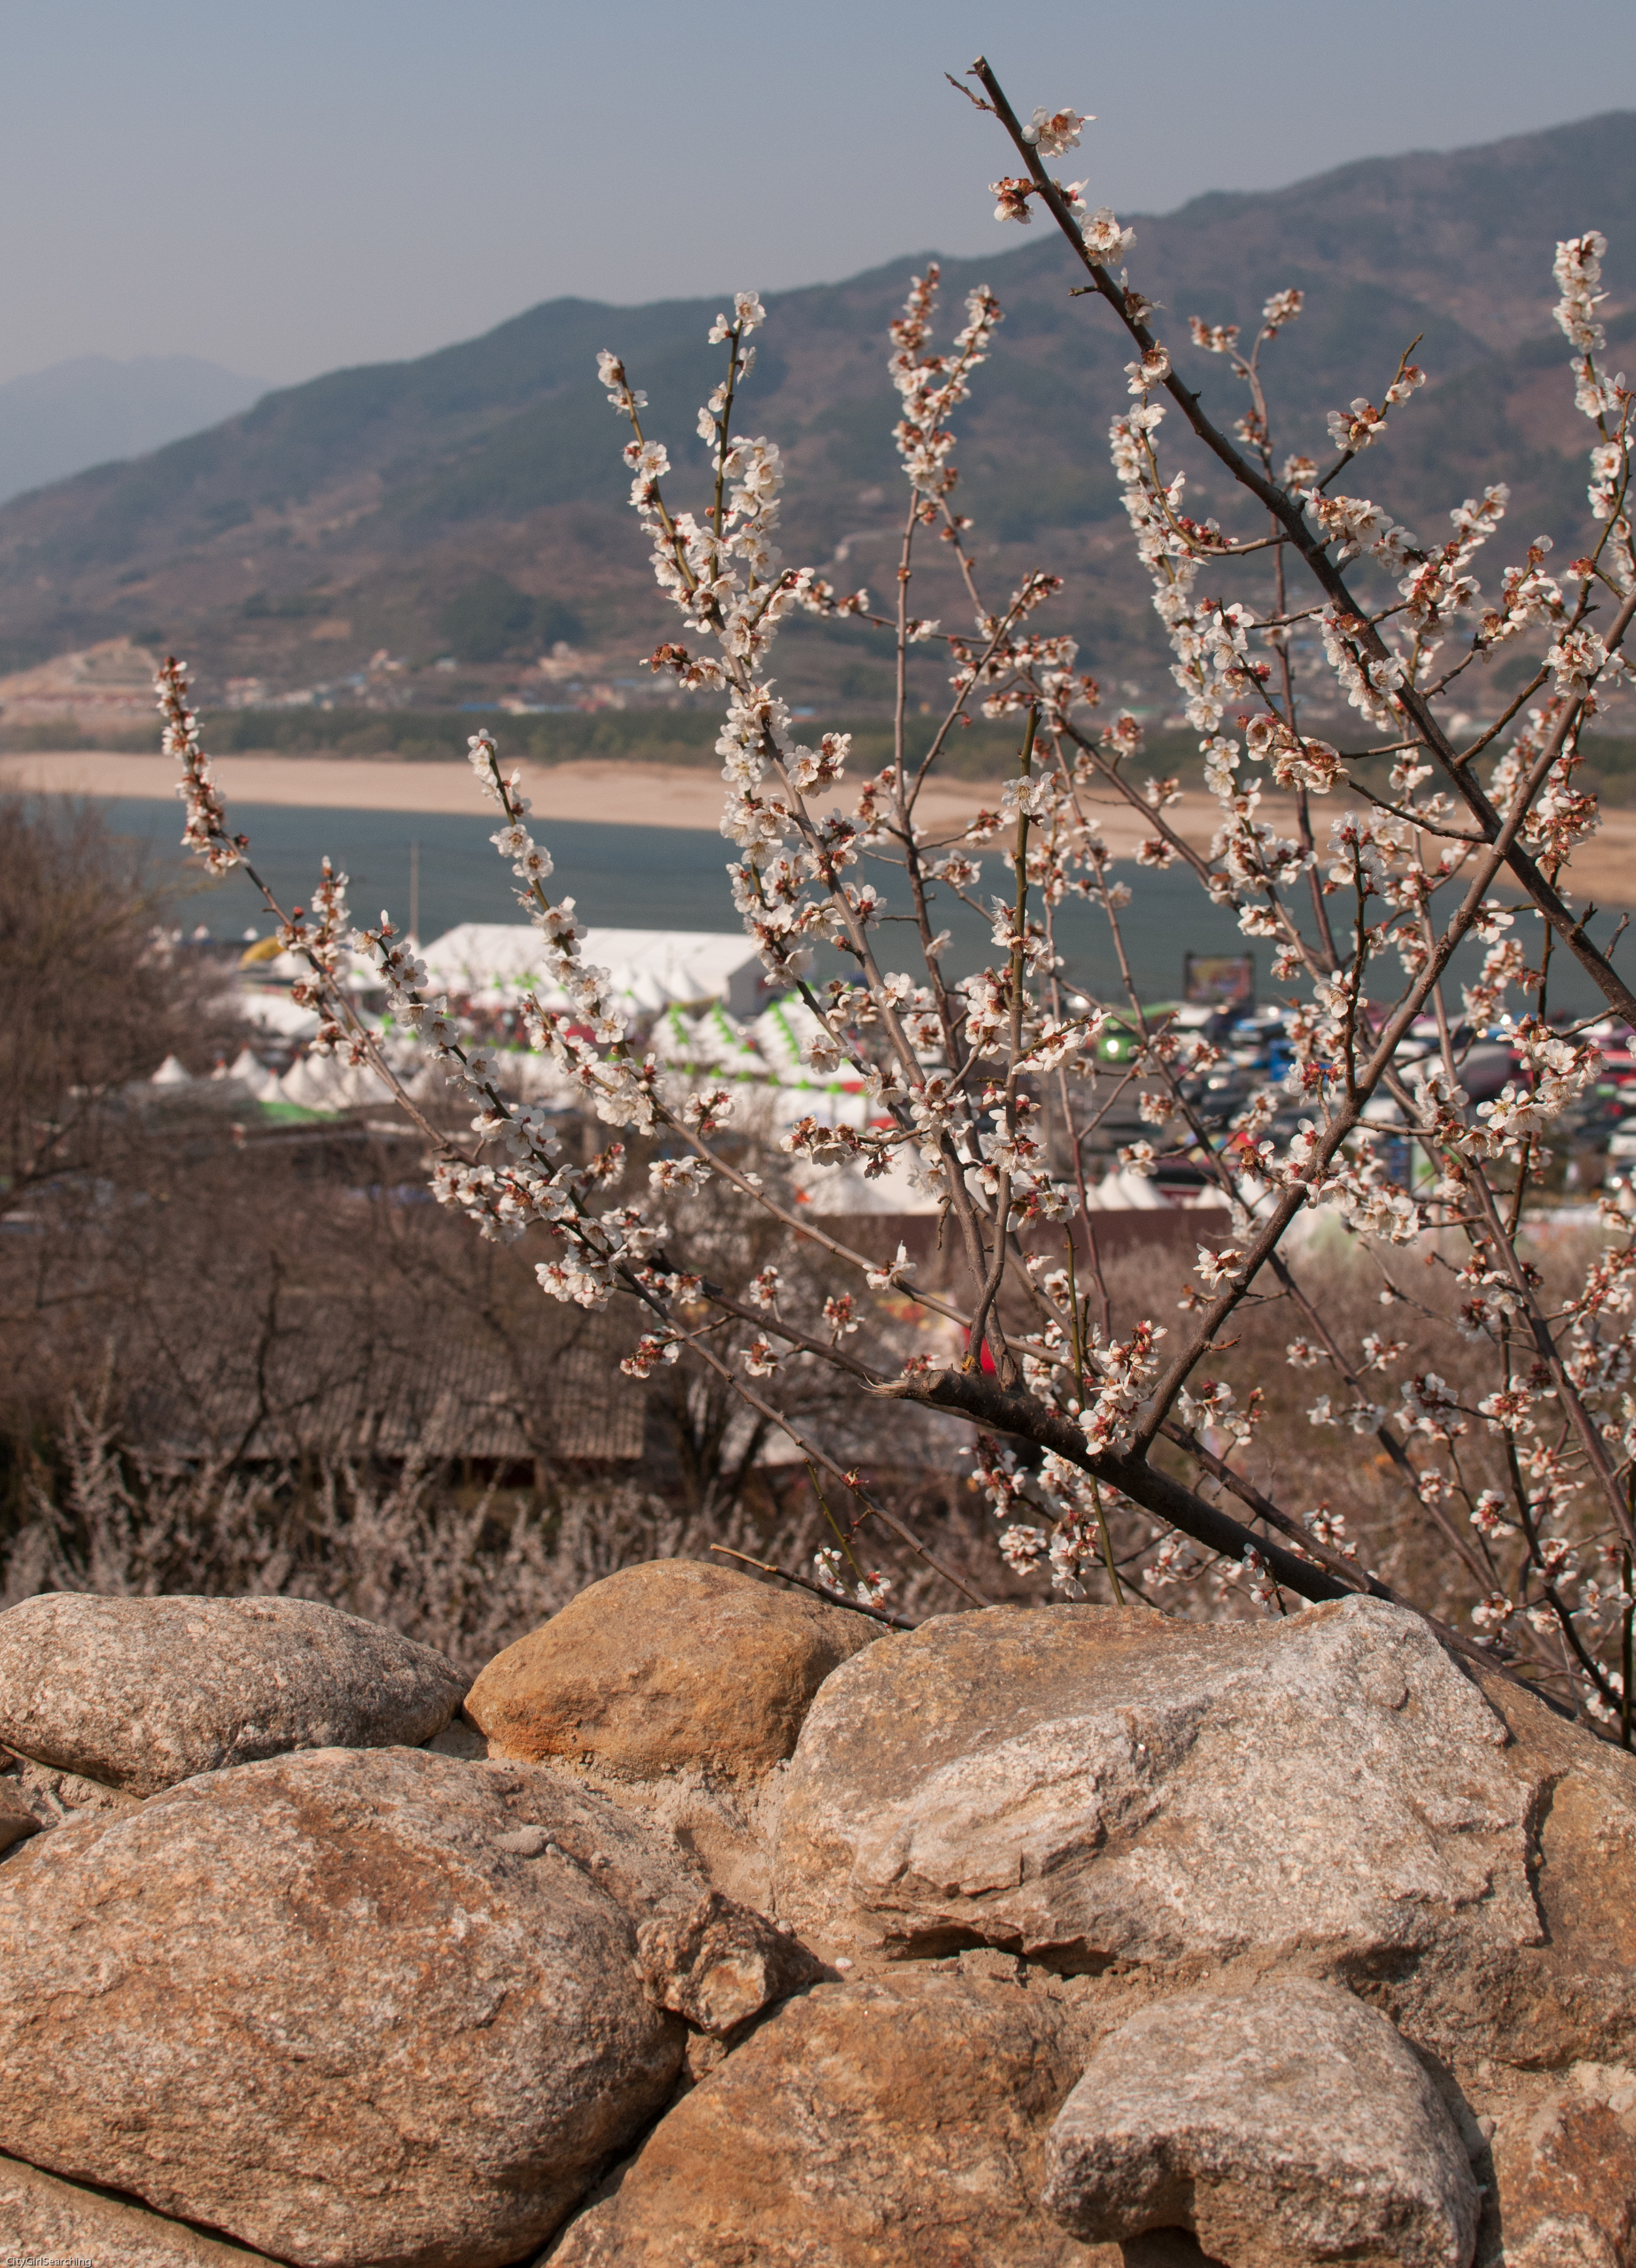
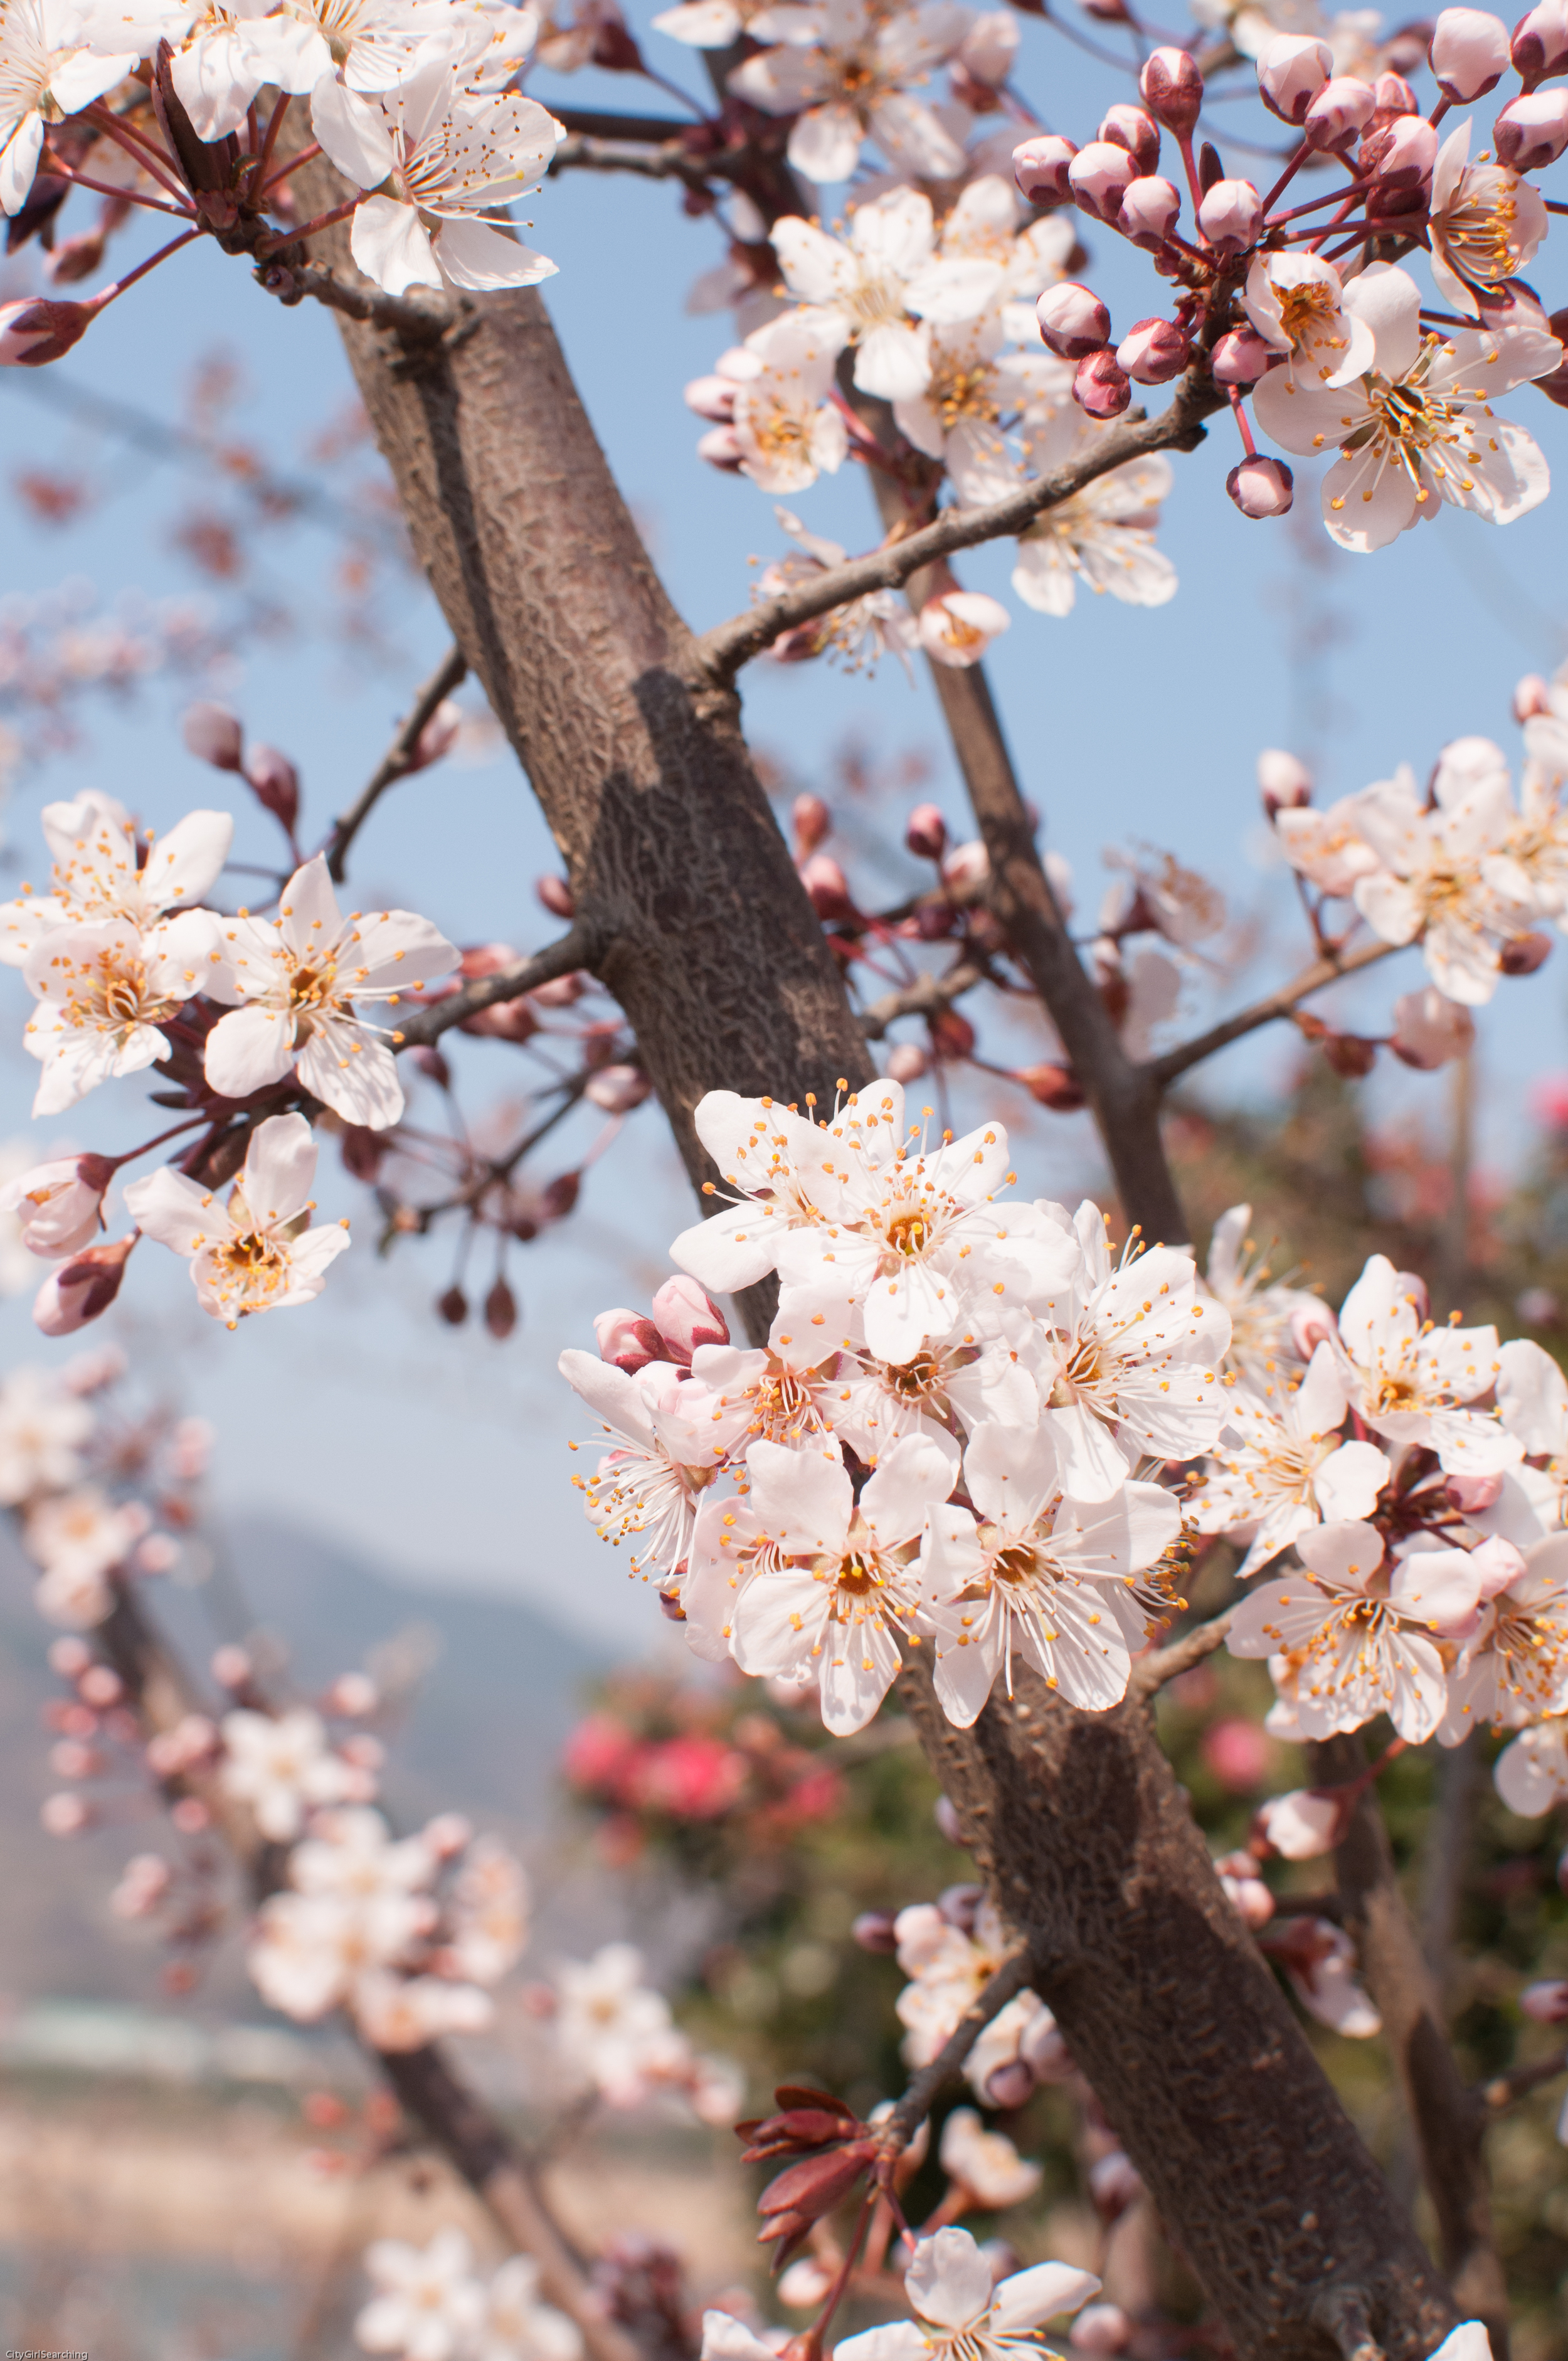
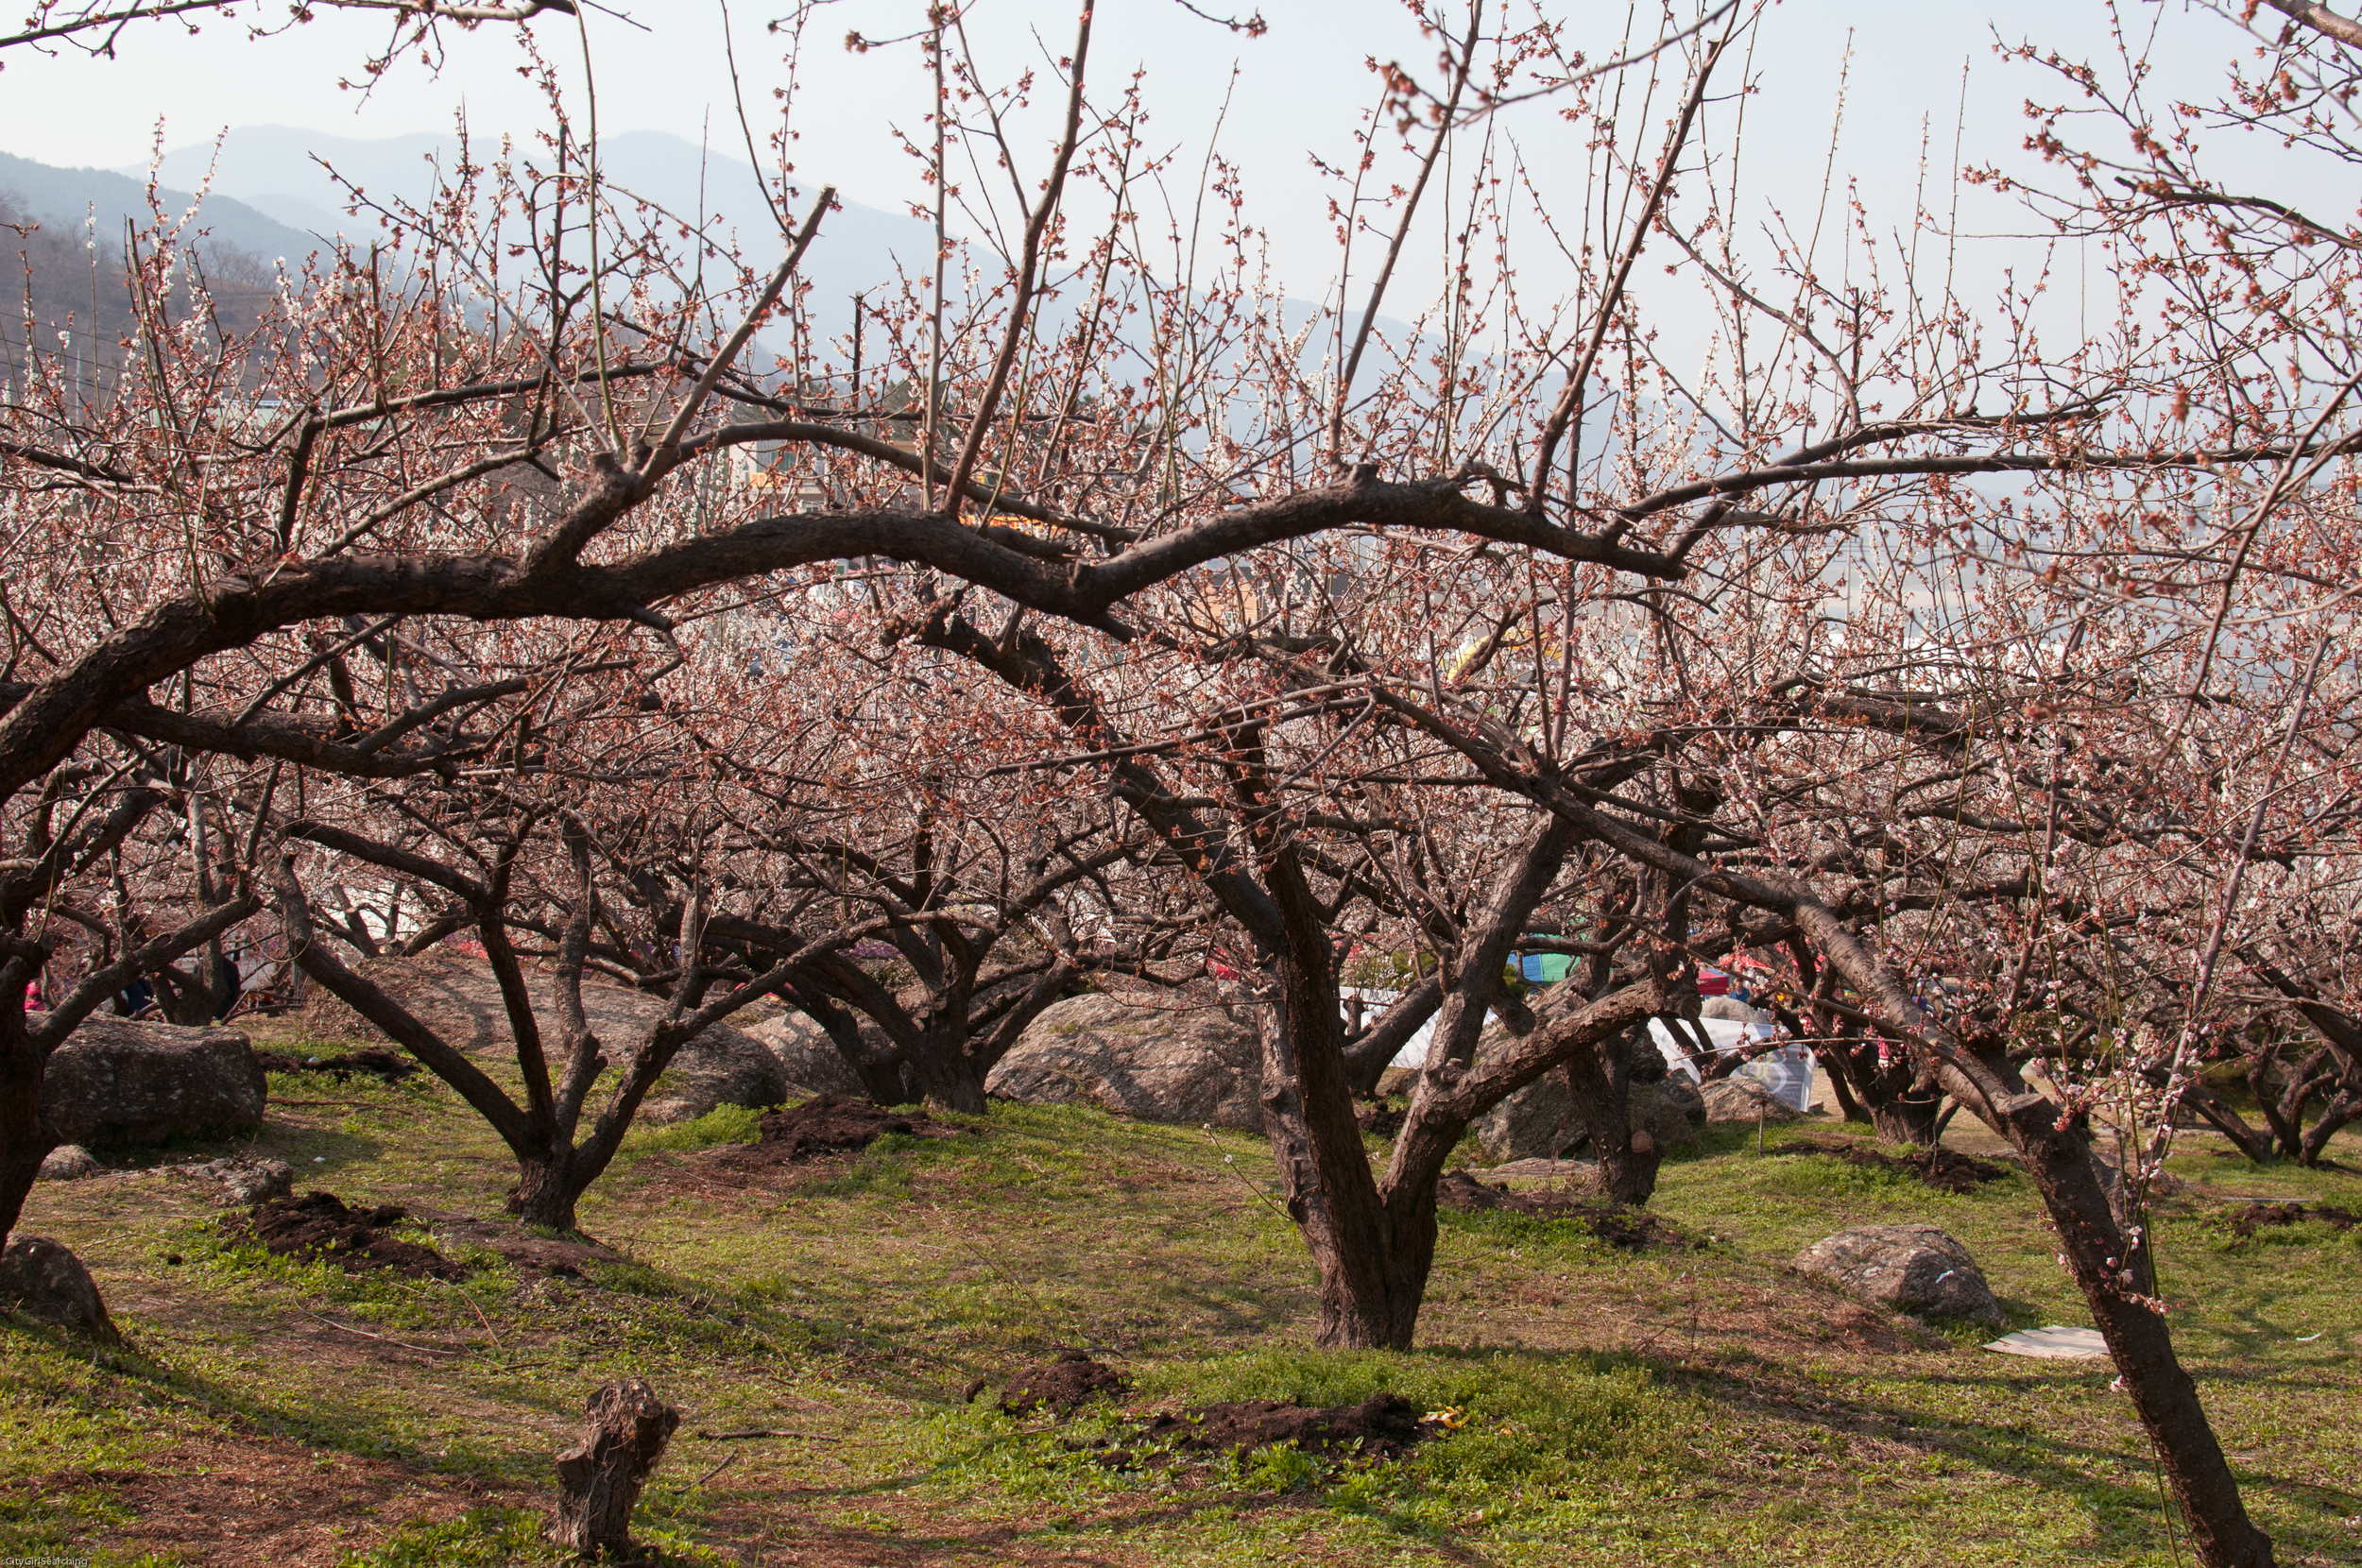
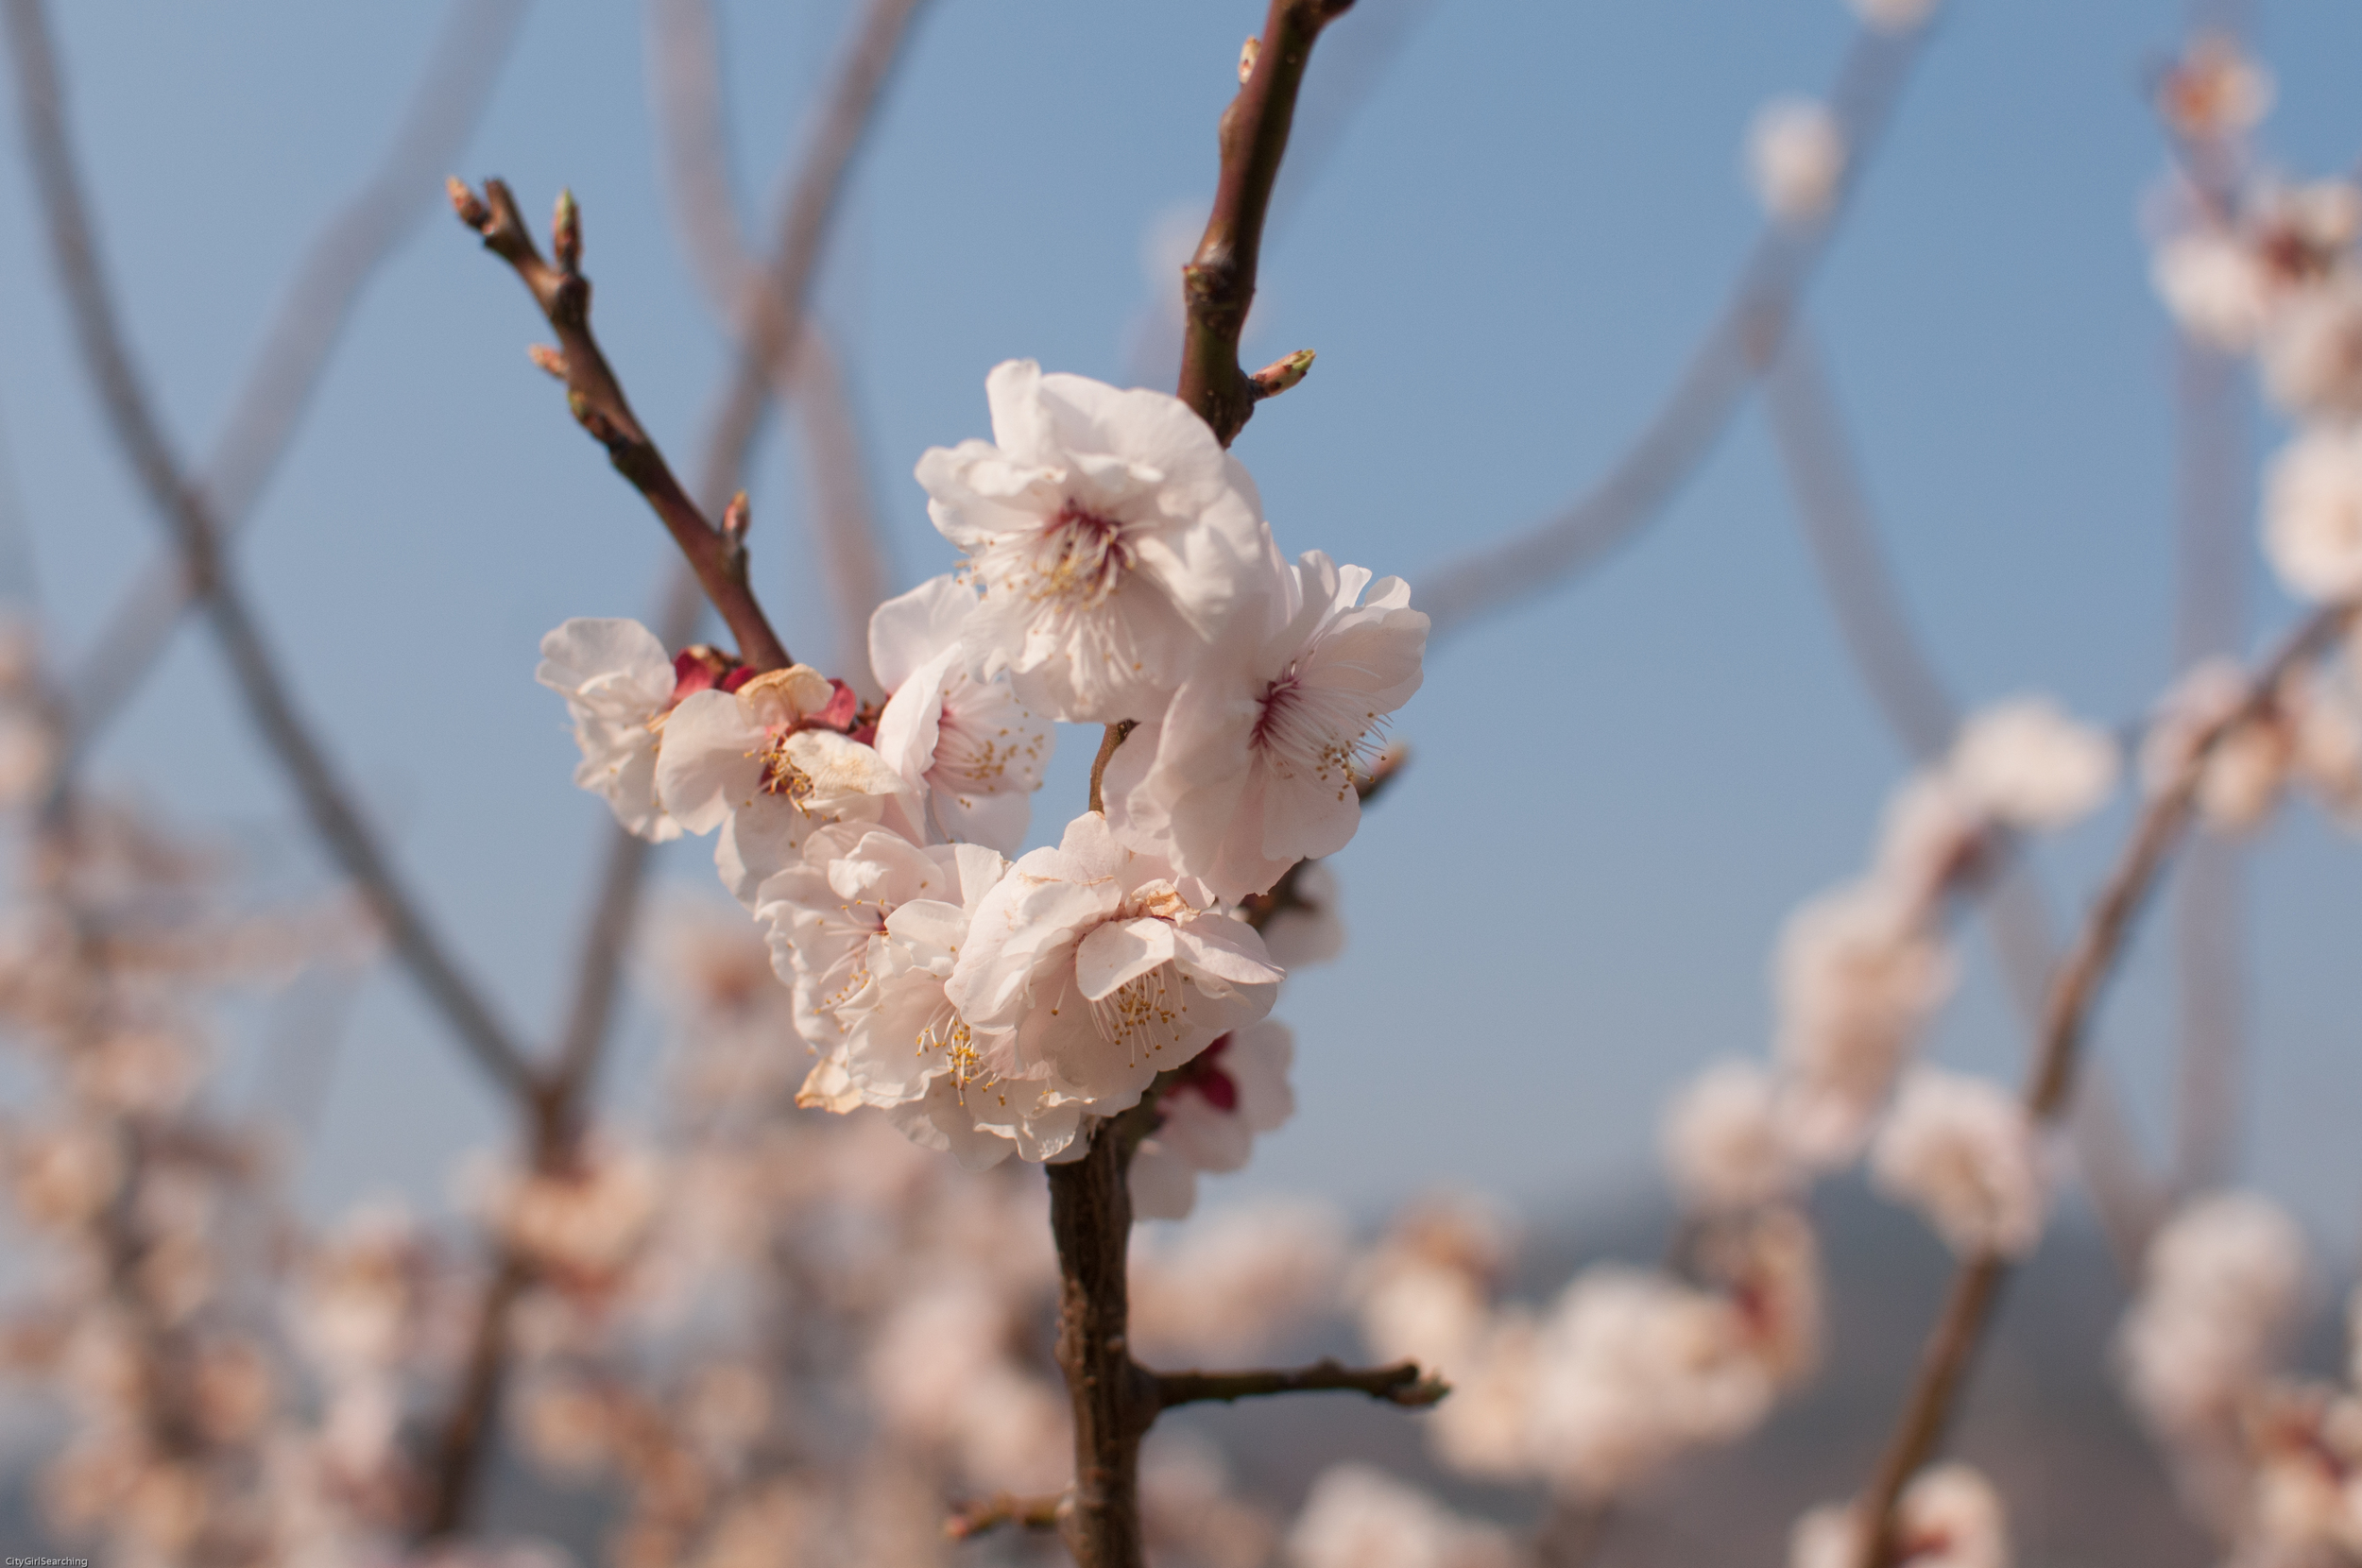
Traditionally one of Korea’s first spring flower festivals, Maehwa Village’s 83 acres of apricot trees cover the Baegunsan mountains with their white blossoms - Discover Korea

This past weekend marked the start of the spring blossoms here in South Korea. One of the first festivals is in Gwangyang (South Jeolla Province) about a 1.5 hour bus ride from Gwangju in Seomjin Village. Farmboy and I headed there last minute on Sunday to catch a glimpse of the pretty blossoms. As with most Korean festivals, we were left disappointed. Not disappointed with the actual blossoms (they were gorgeous!) but with the festival in general. There were so many people. The buses were delayed. The food on offer left a lot to be desired, and everything was over priced. I mean W3000 ($3 for a small can of Sprite?!). But, I'm glad we went along, even if just to remind ourselves of why we visit the beauty that South Korea has to offer on days before and after the designated festival dates.

It took us over 6 bus rides in total to get to Gwangyang, but that's only because we live in the sticks. From the Gwangyang Bus Terminal there is a shuttle bus to Maewwa that goes around the hour which costs W3600 a person. The timetable for the shuttle is on the hour every hour for the festival weekends, but we were able to get standing spots for the 30 minute journey at random intervals between the allocated shuttle times. From the festival grounds, we were able to buy return tickets all the way back to Gwangju. As the weather was so nice it turned out to be a great day. If you are thinking about going, make sure to pack a picnic and try to get there early, before the rest of Korea!

Address

33, Sicheong-ro, Gwangyang-si, Jeollanam-do

전라남도 광양시 다압면 지막1길 55

For more detailed info visit www.gwangyang.co.kr

Coconut oil banana & chocolate chip cookies {recipe}

image.jpg

My friend Cassandra baked these scrumptious coconut oil banana & choc chip cookies a few weeks ago. They were soft and all kinds of melt in your mouth delicious that I had to give them a try too. I decided I would try make them a little bit 'healthier' and used whole wheat flour instead of regular white flour...what a flop. Anyway, my second batch were just about perfect, having followed exactly what the recipe called for (as most people would have done from the beginning, but I like to improvise, add and supplement recipes with what I have in my cupboard at the time. This works for me more often than not, but I wouldn't recommend it unless you have a husband who will willingly eat anything you bake him).

My little oven here in Korea is a real dragon and heats up to the temperature of 10 suns in only a few minutes. So I baked these for 8 minutes at 100C (and even then I managed to nuke a few while getting distracted by something on Instagram). When you try them yourself I recommend adjusting the time according to your oven, going no more than 12 - 15 minutes before checking on them.

image.jpg

Ingredients (makes about 24 cookies)

1/2 cup coconut oil (melt if not in liquid form)

1 egg

1 ripe banana (I used 4 as I had 4 that were about to turn rather nasty so use according to your taste...the more you add the sweeter your cookies will be and of course the more banana flavour they will have)

1 cup brown sugar

1/2 cup regular sugar

1 teaspoon vanilla essence

1 tablespoon milk

2 1/2 cups flour

1 teaspoon baking powder

1 teaspoon salt

chocolate chips 

Method

1. Mash the bananas with a fork.

2. Cream the oil, egg, sugars, vanilla, milk & banana and mix until smooth.

3. Add the flour, salt and baking powder and mix gently.

5. Finally add the chocolate chips and spoon your batter onto a well greased baking tray (I use hardened coconut oil to grease my pans).

Bake in a preheated oven at 150C for 10 - 15 minutes, or until a light, golden brown.

photo (1).JPG
photo 3.JPG

Let me know if you try these super easy, and oh-so-yummy cookies...better yet, share a picture of them with us on Facebook

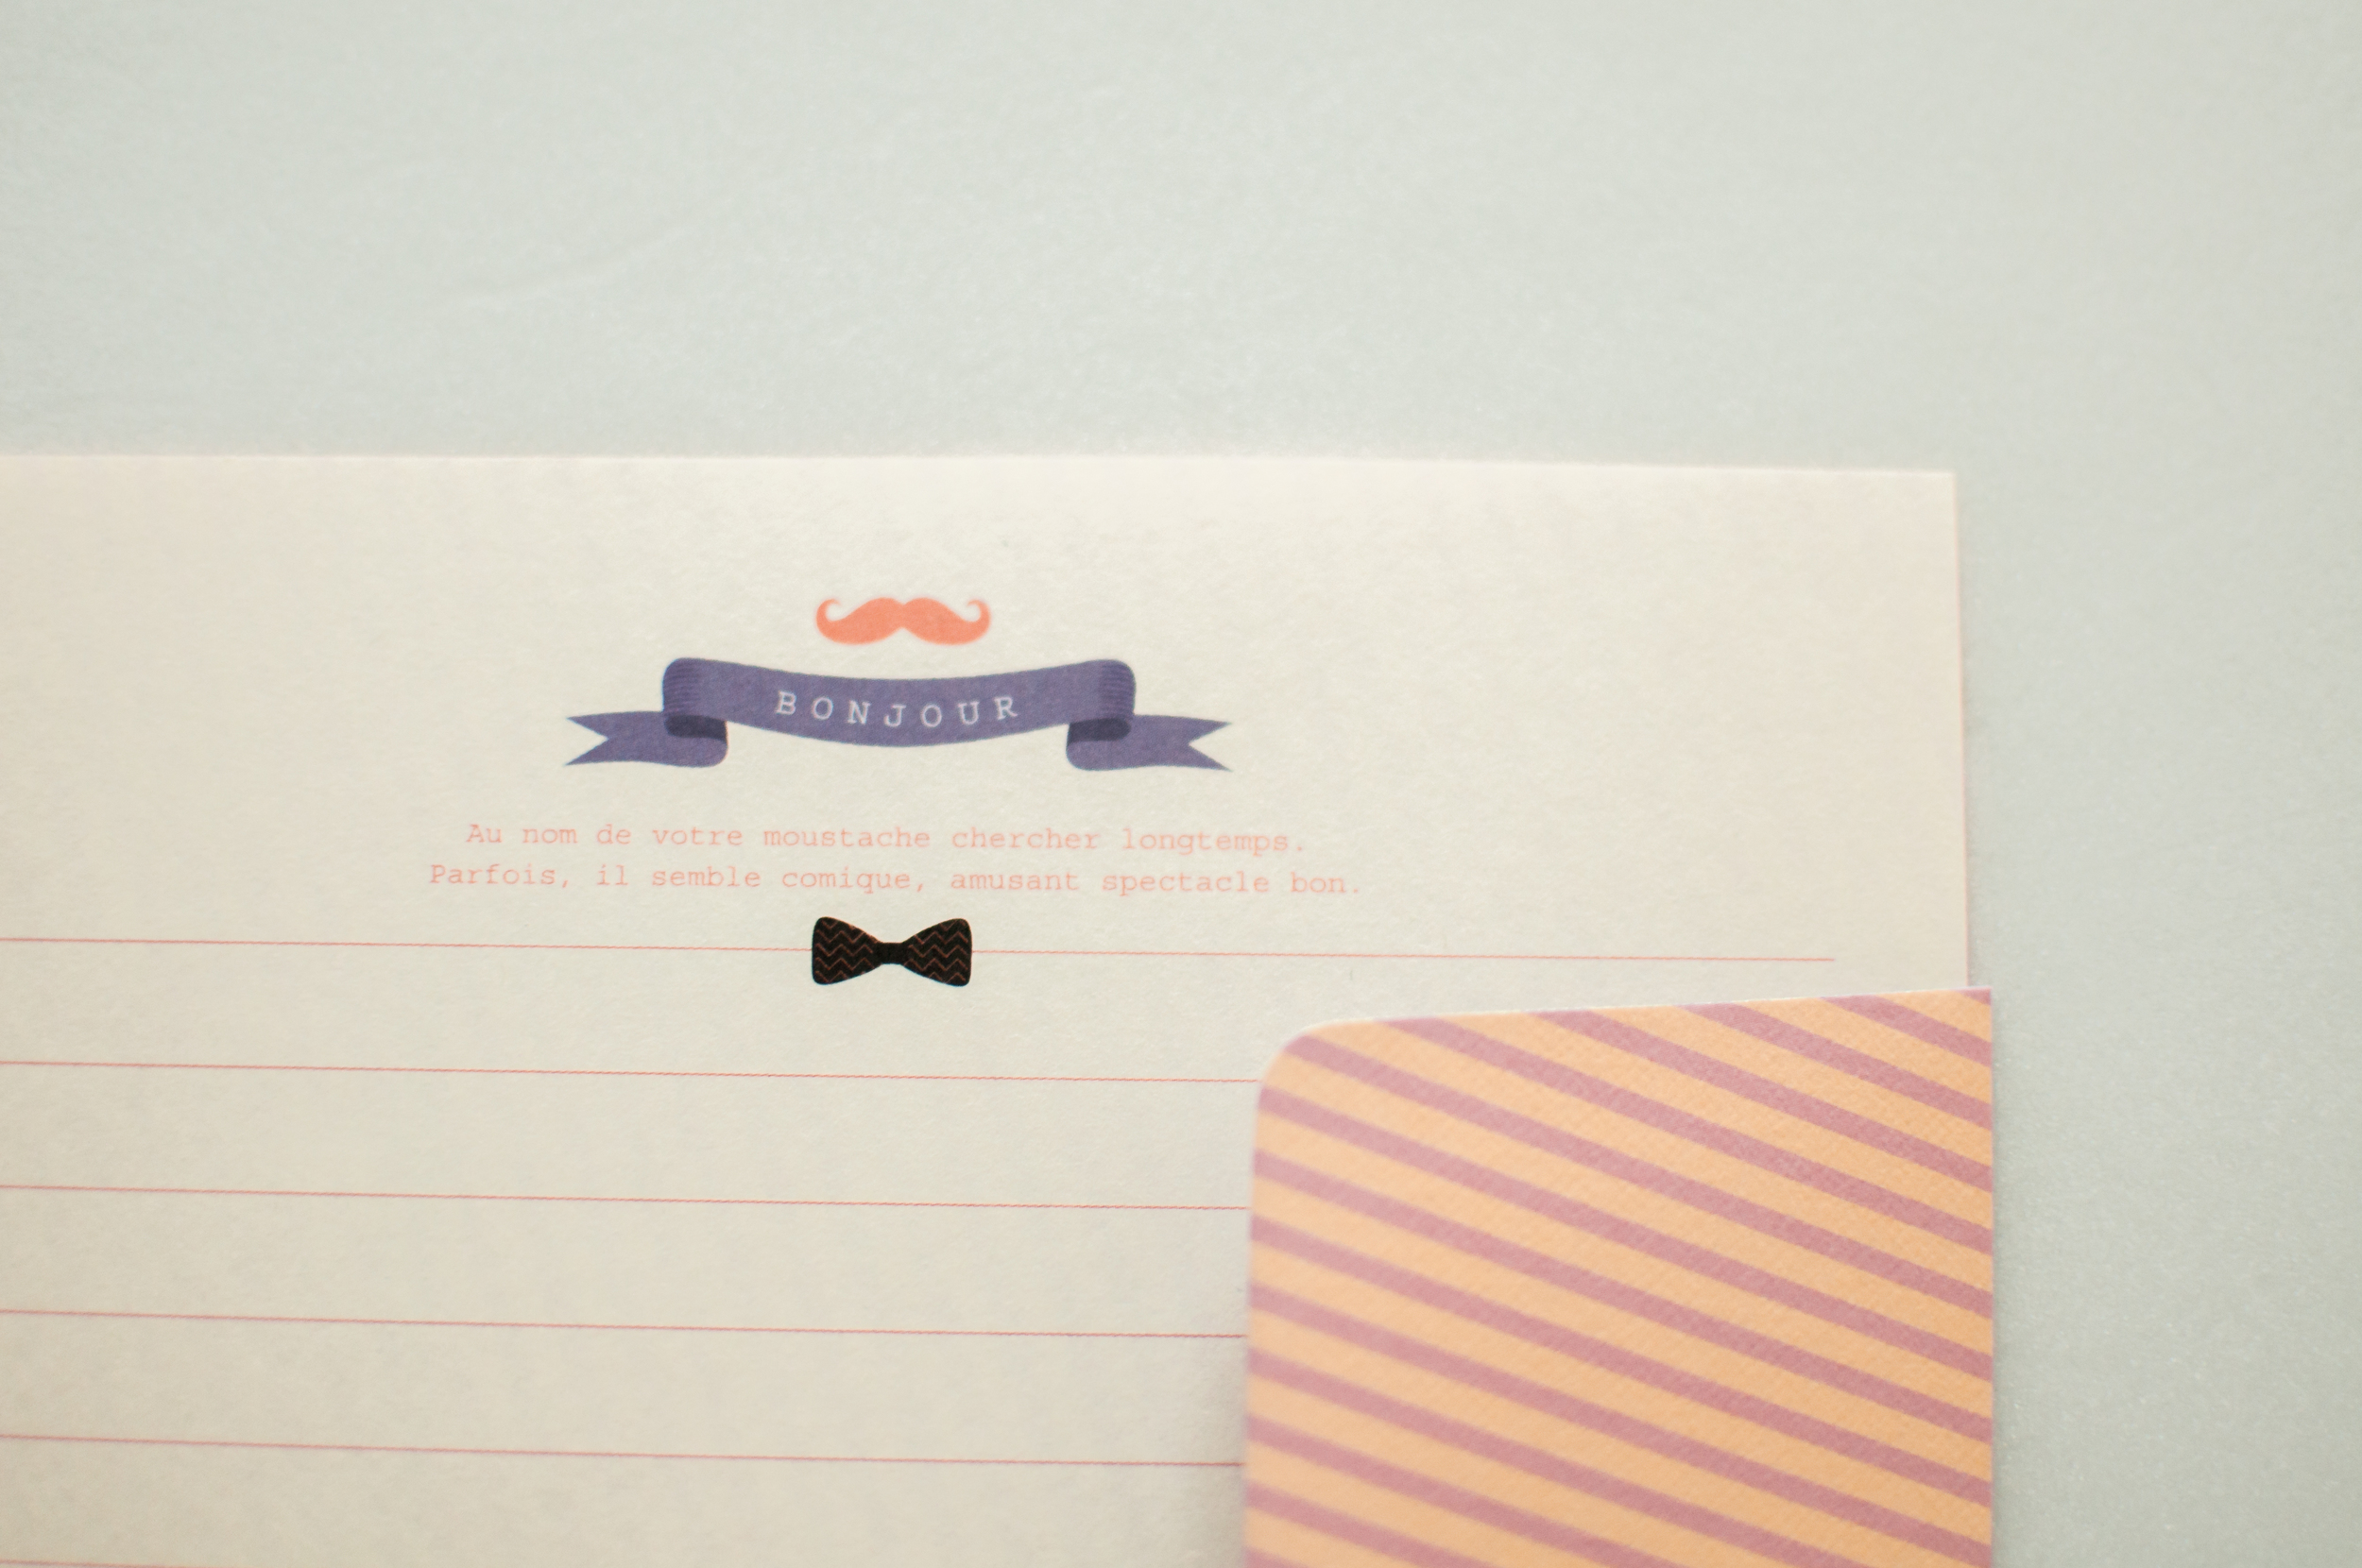
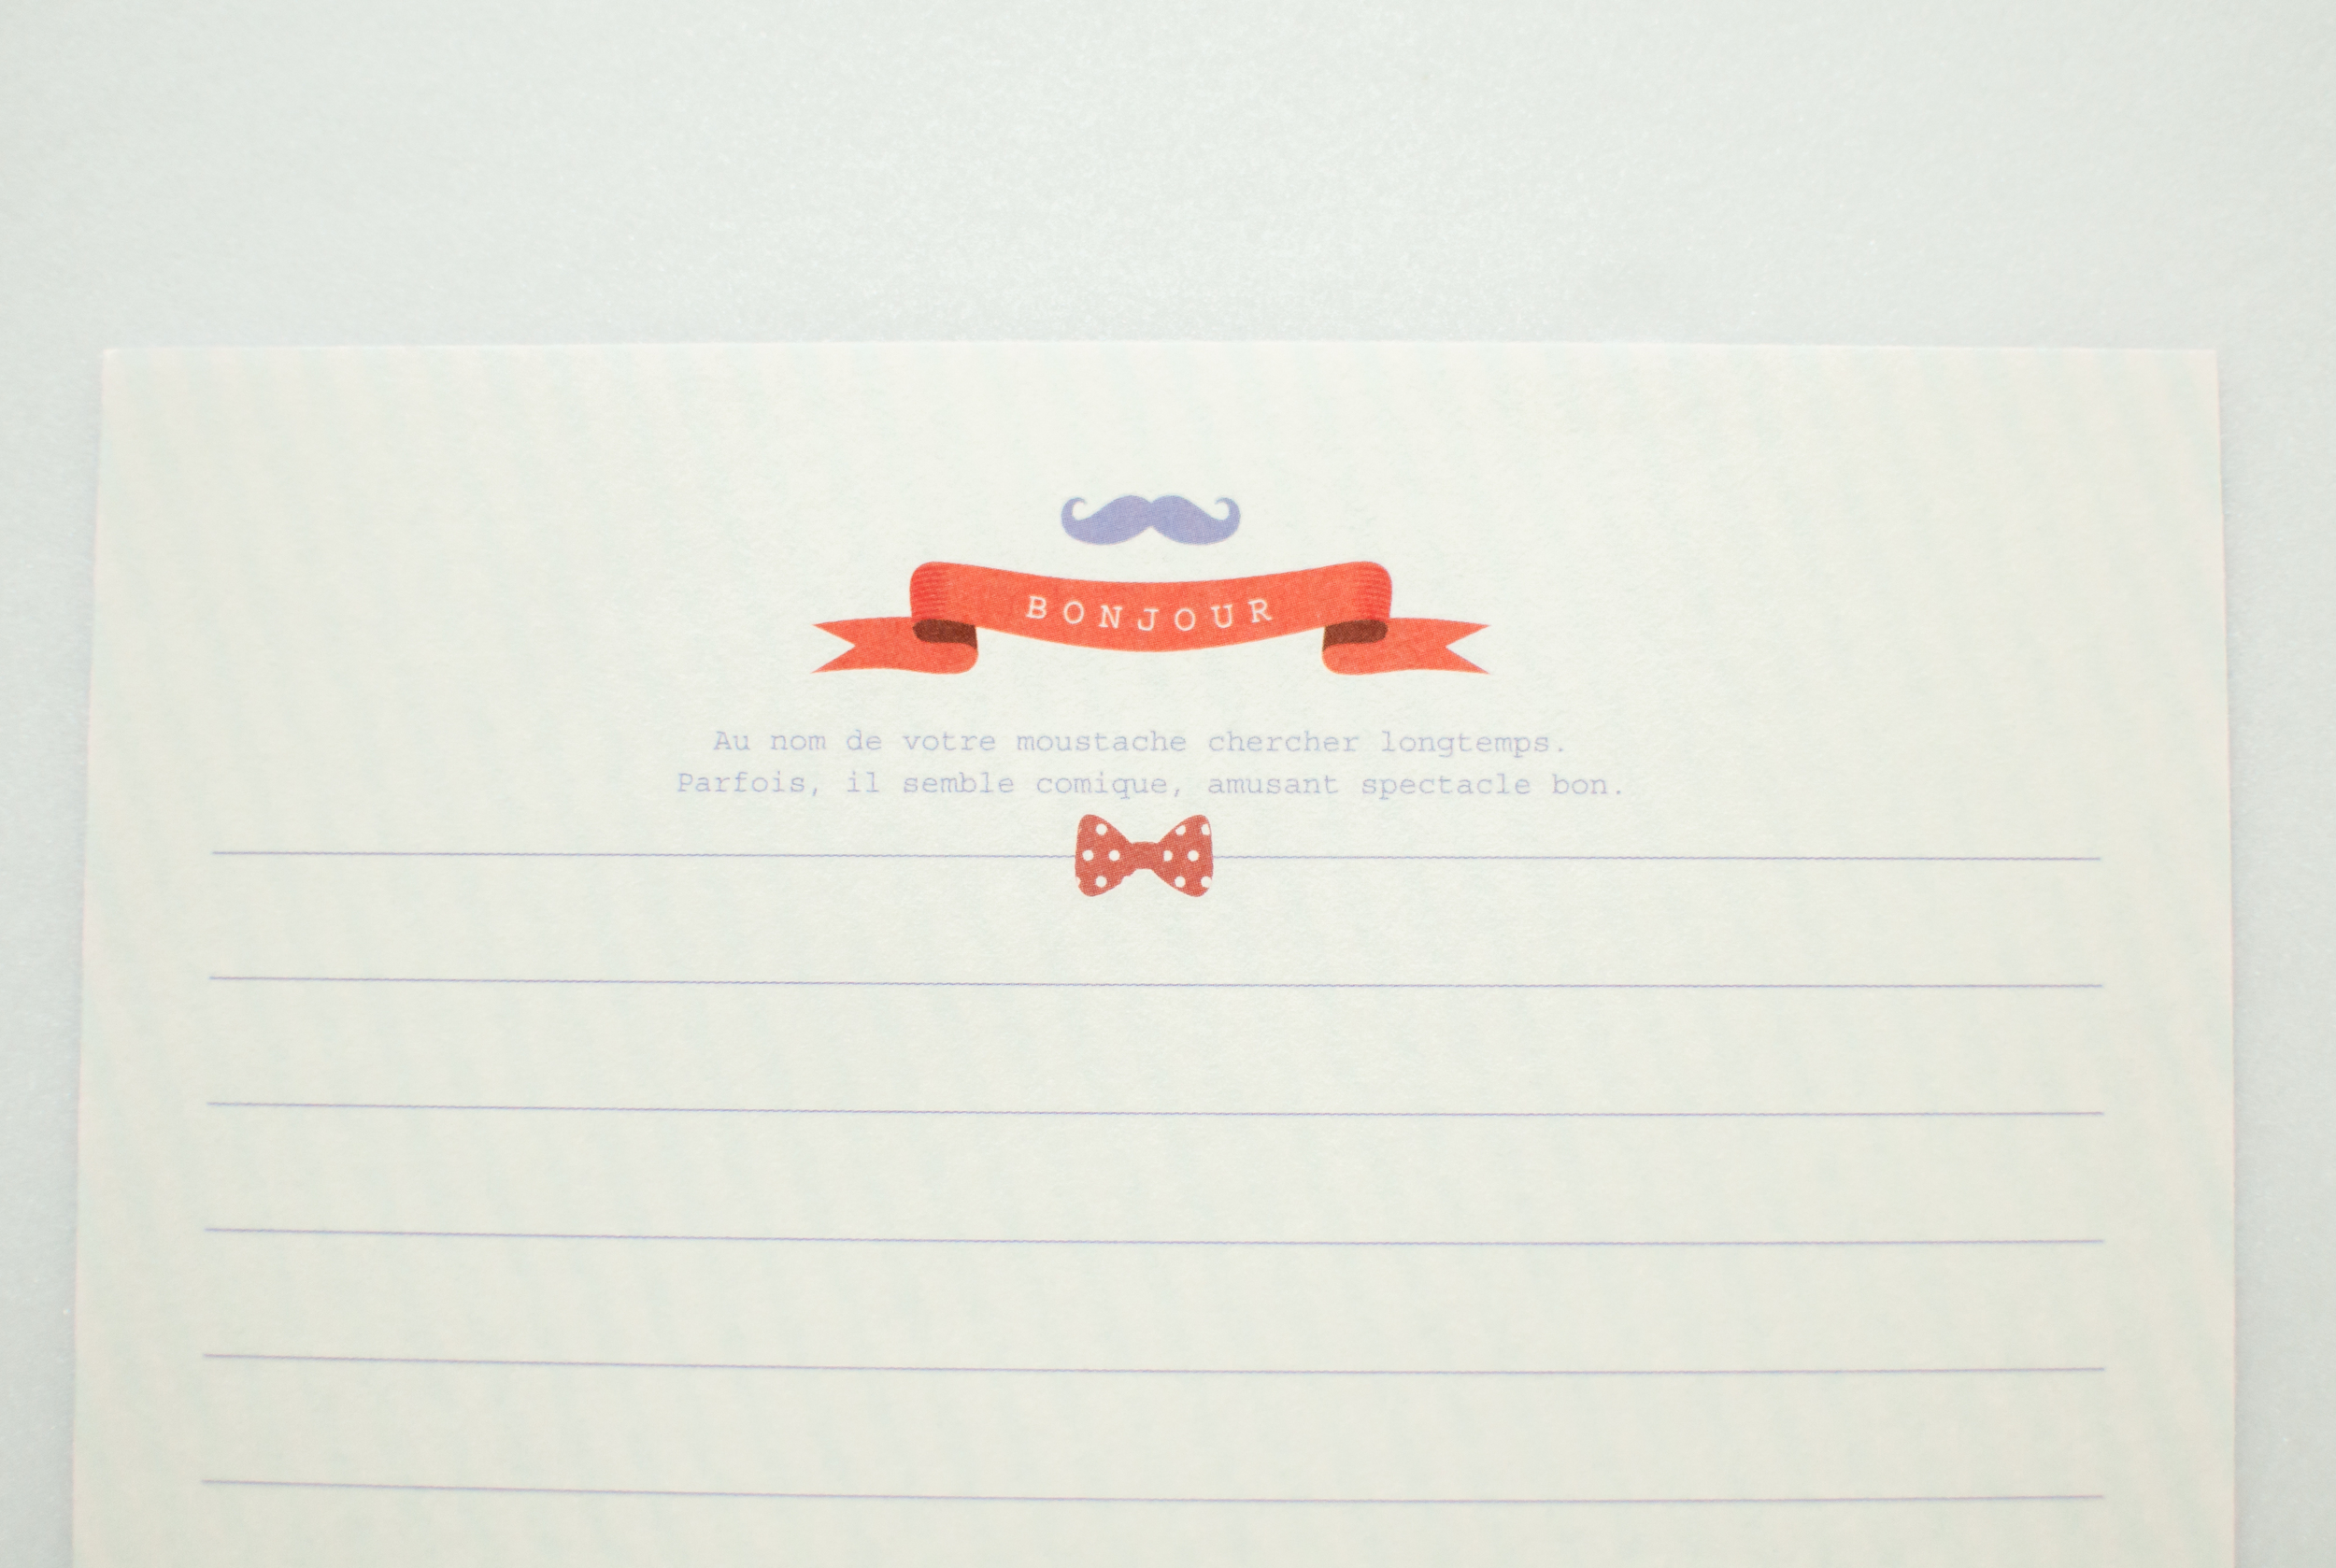
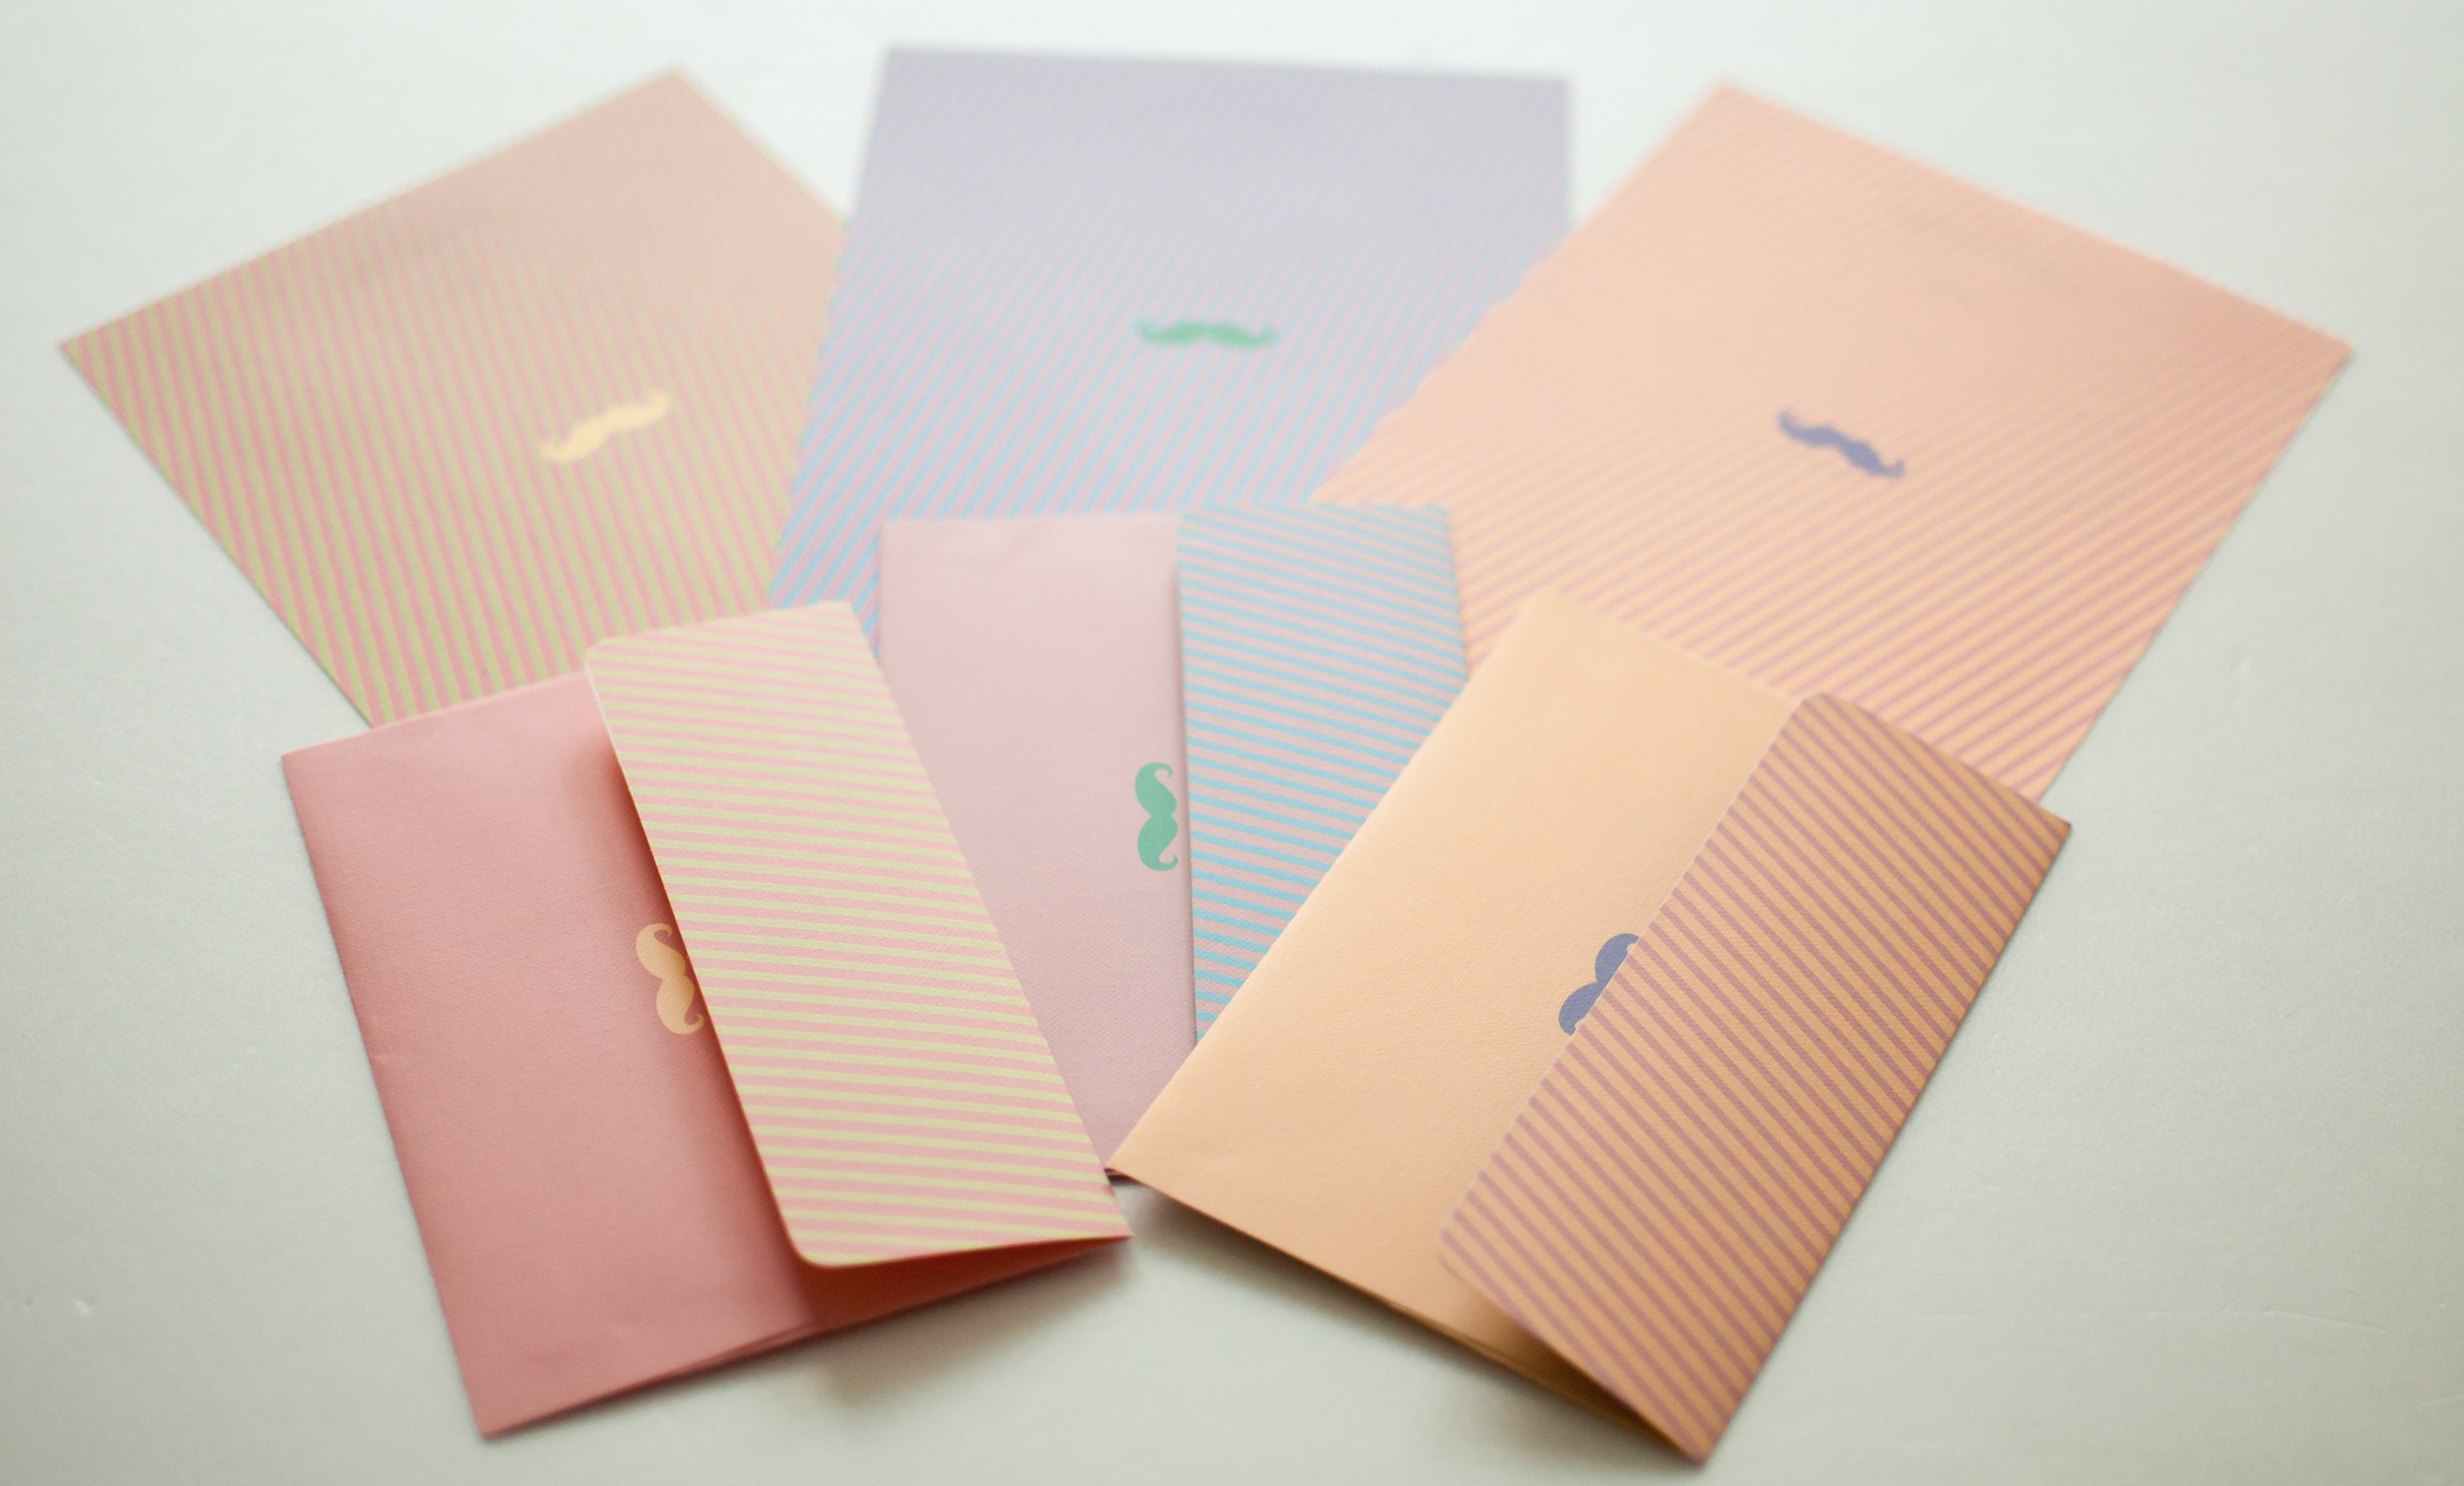
New in my Stationery Store

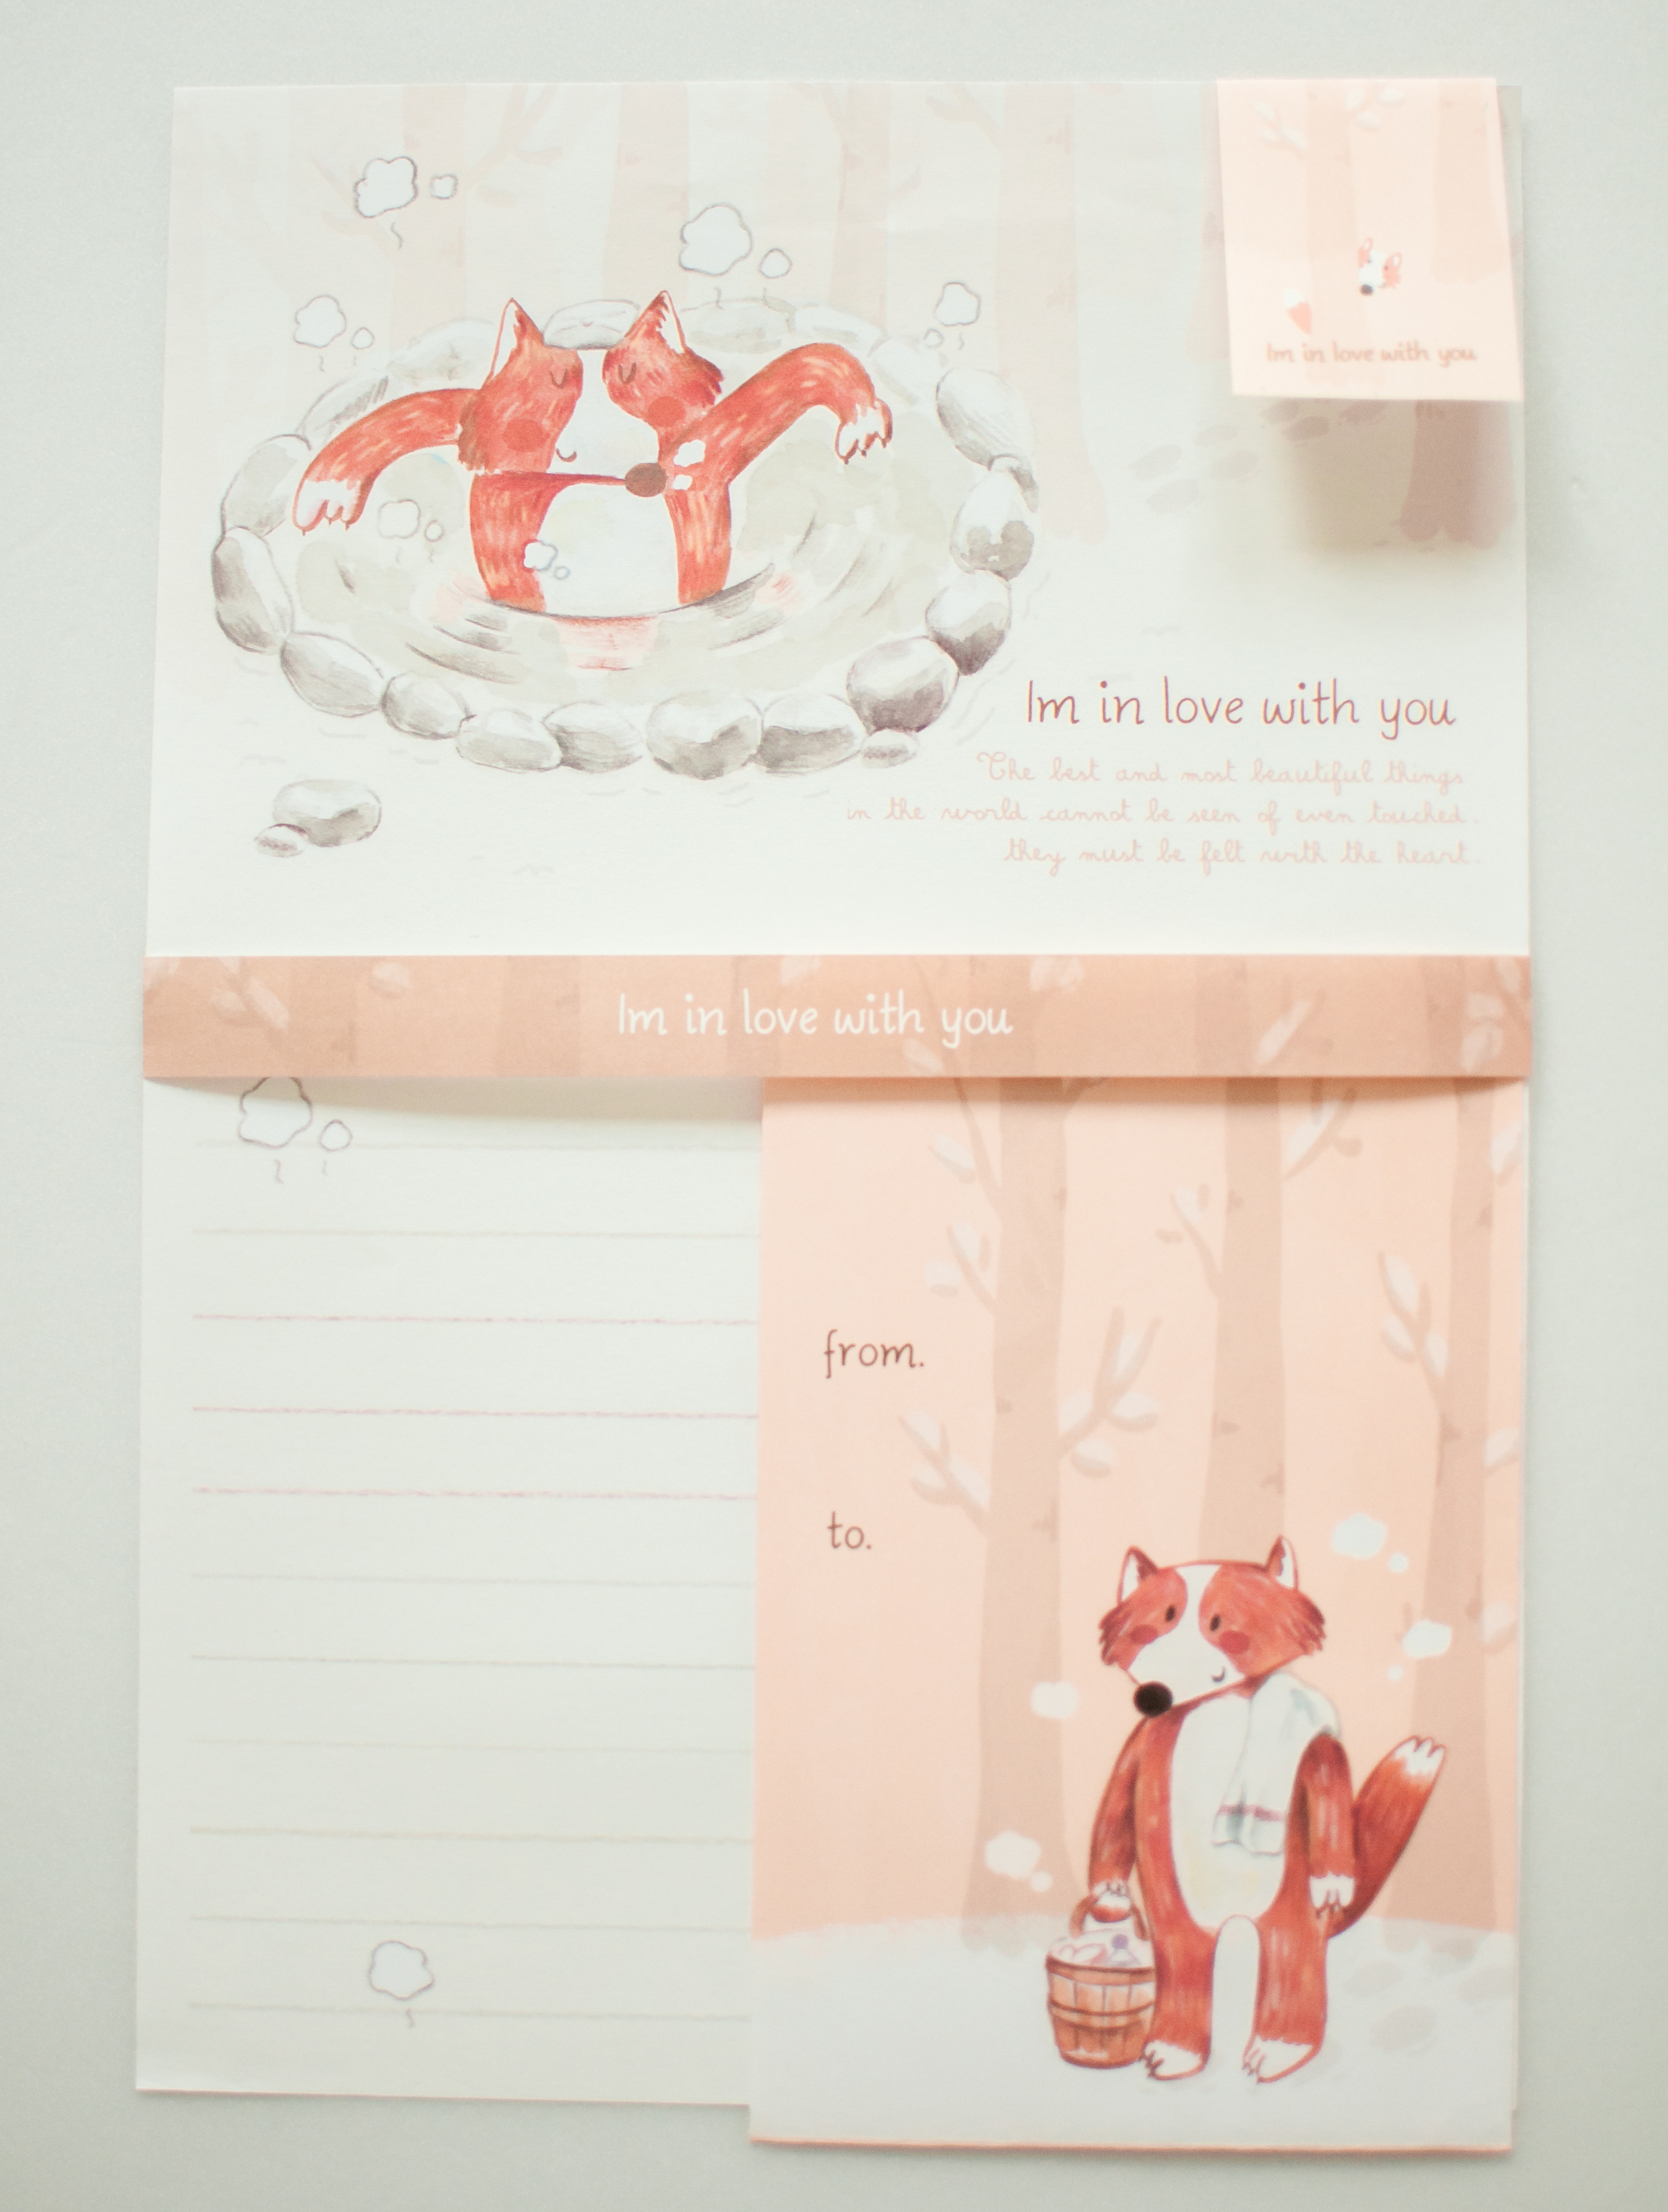
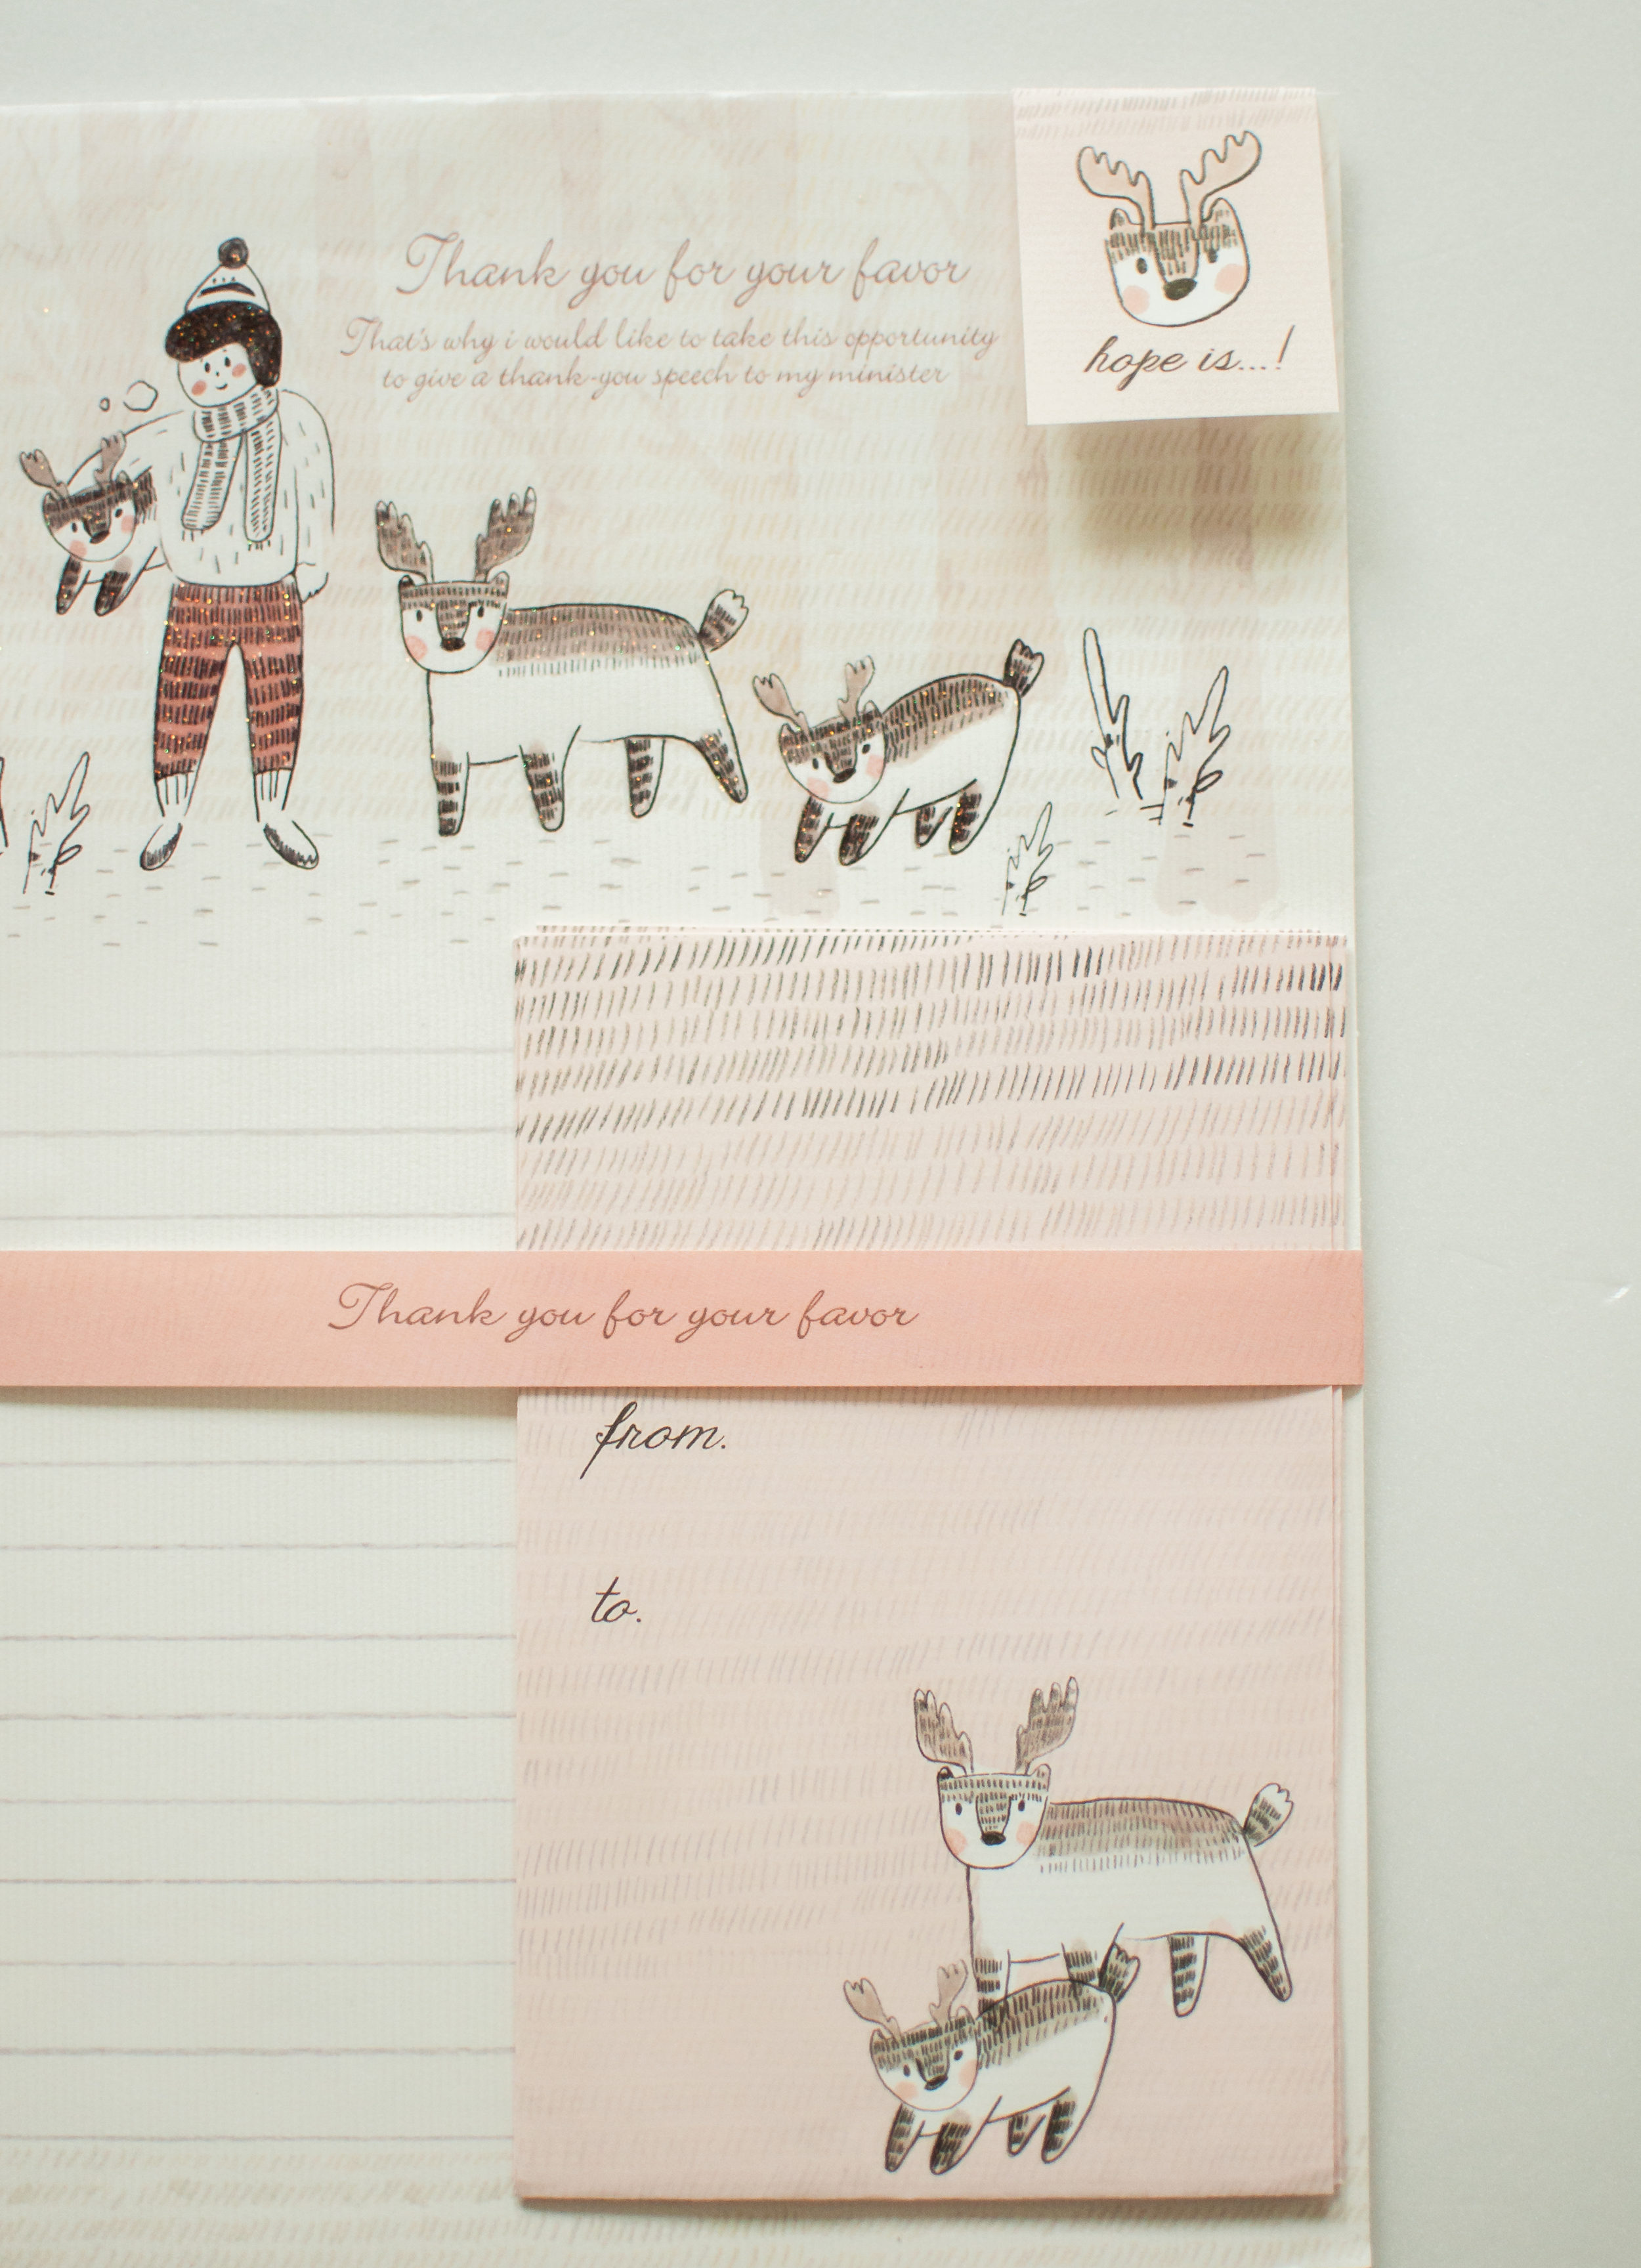
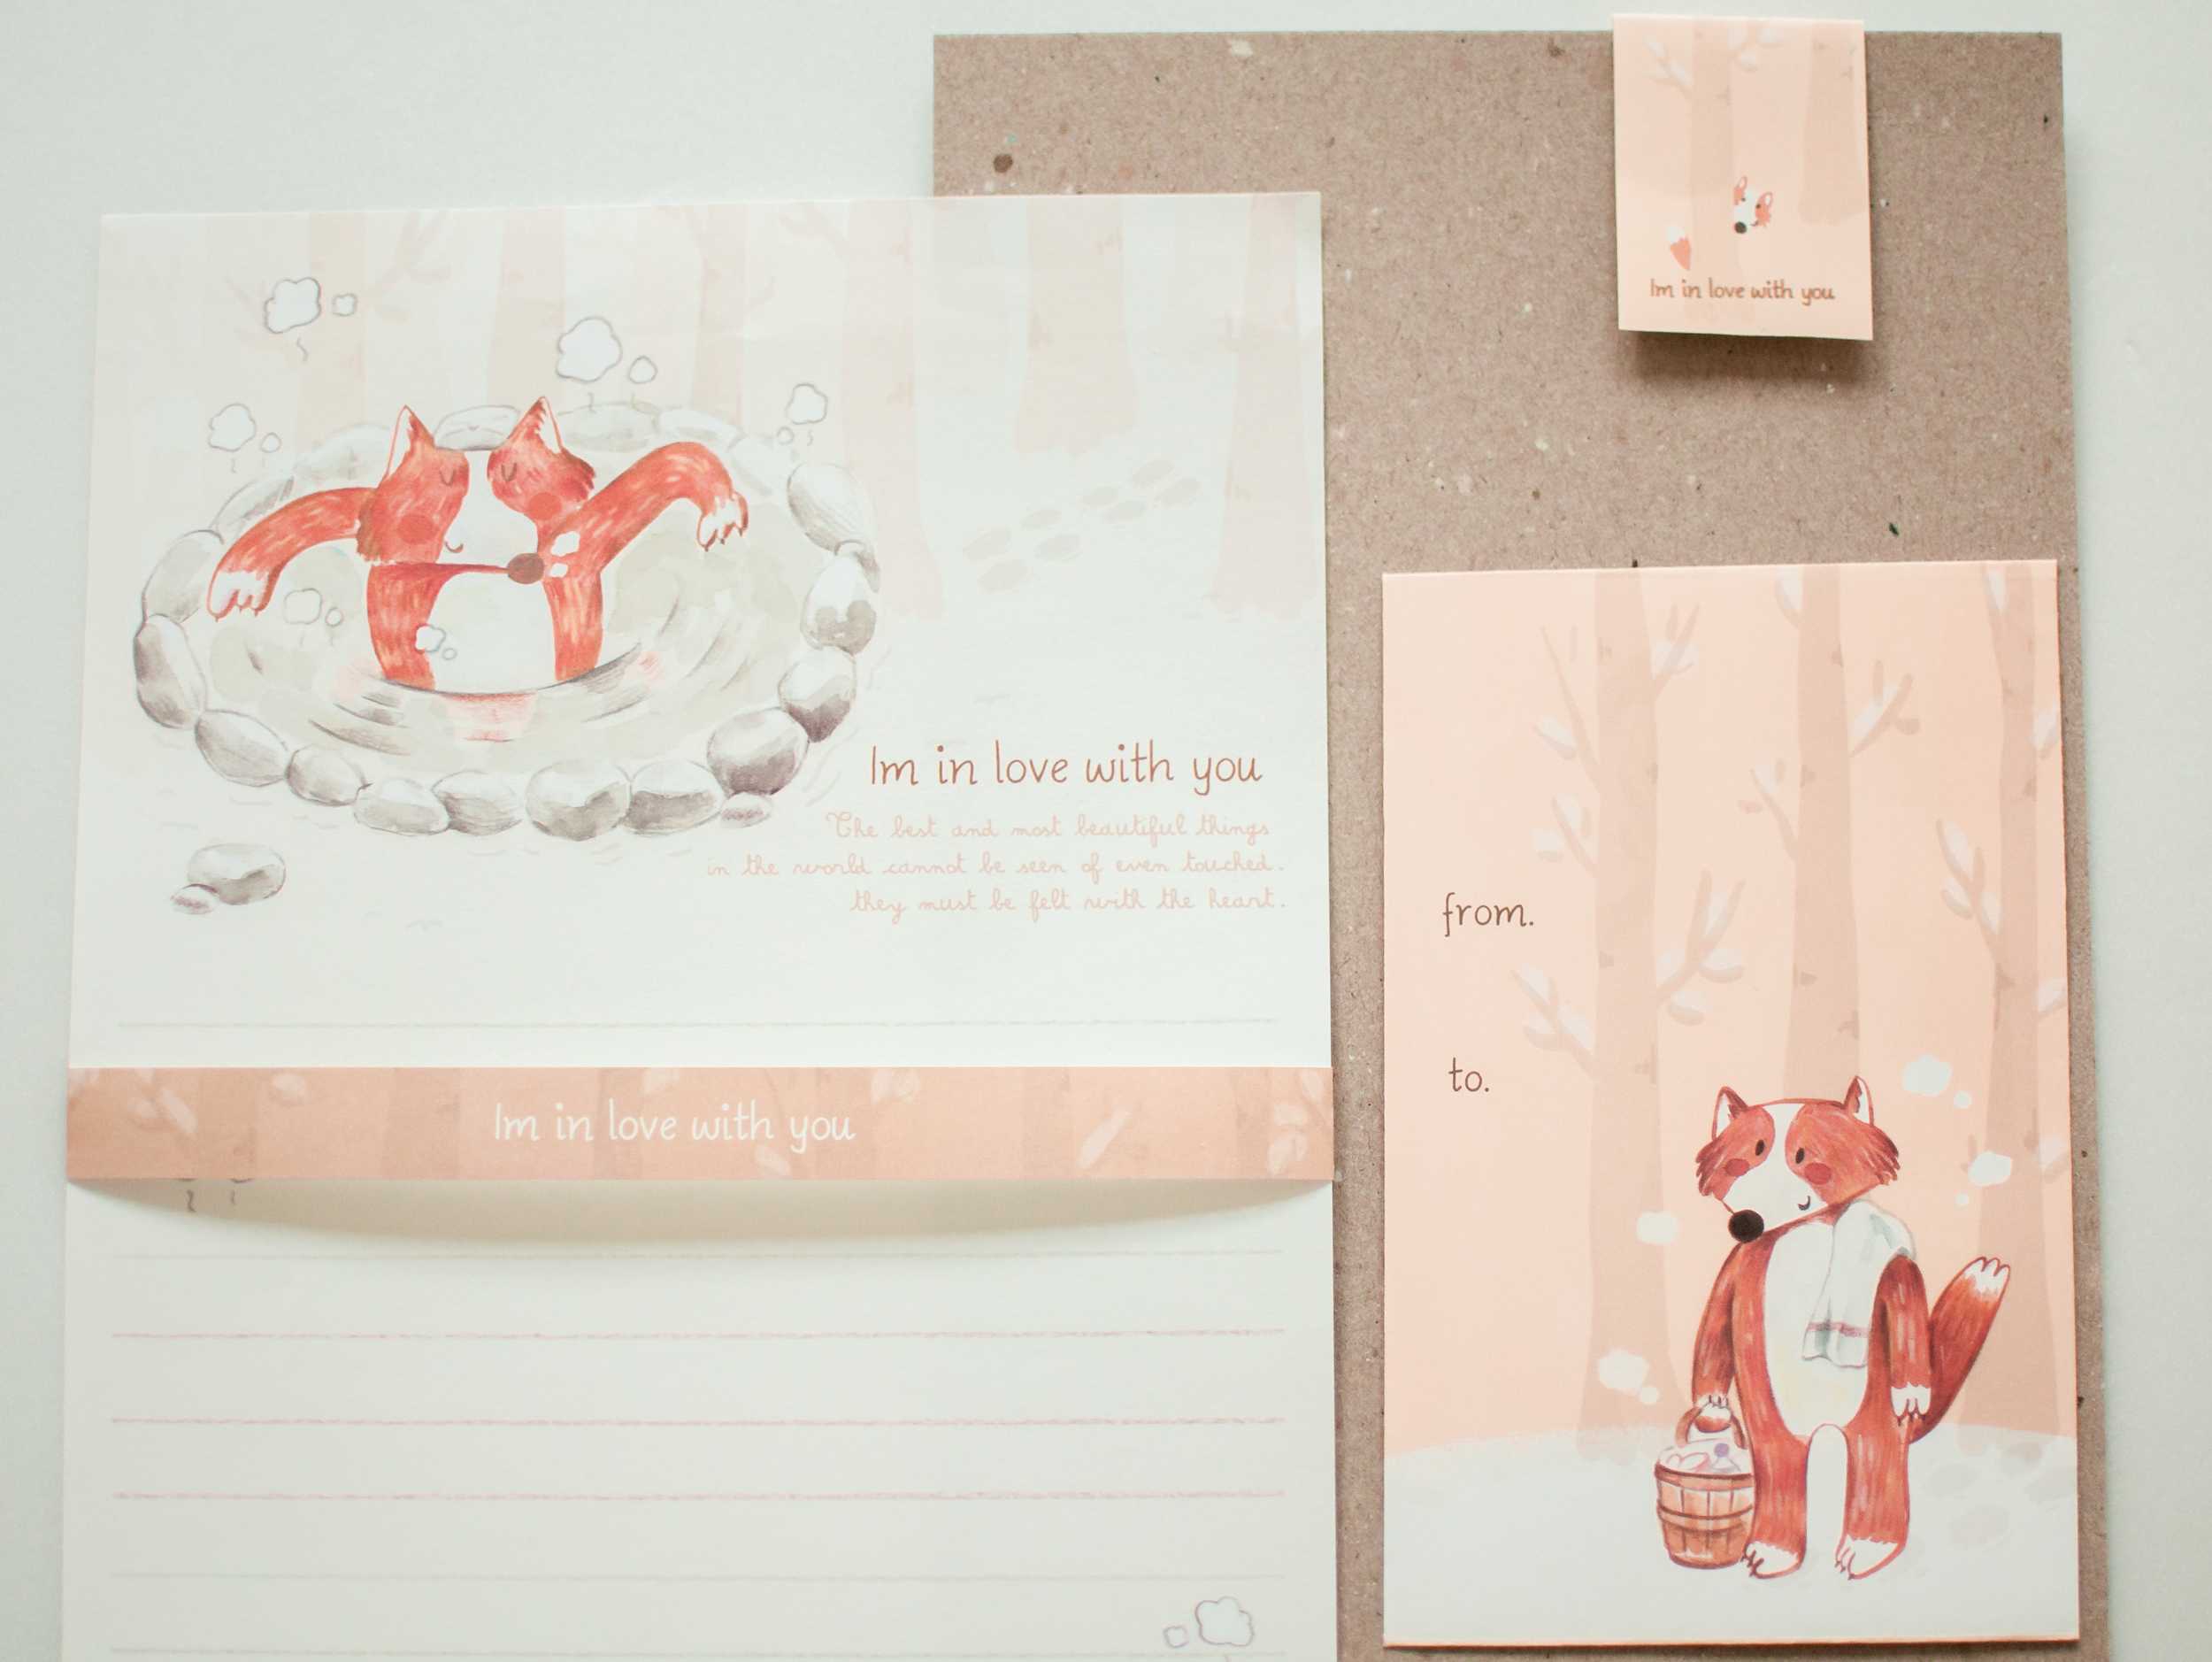
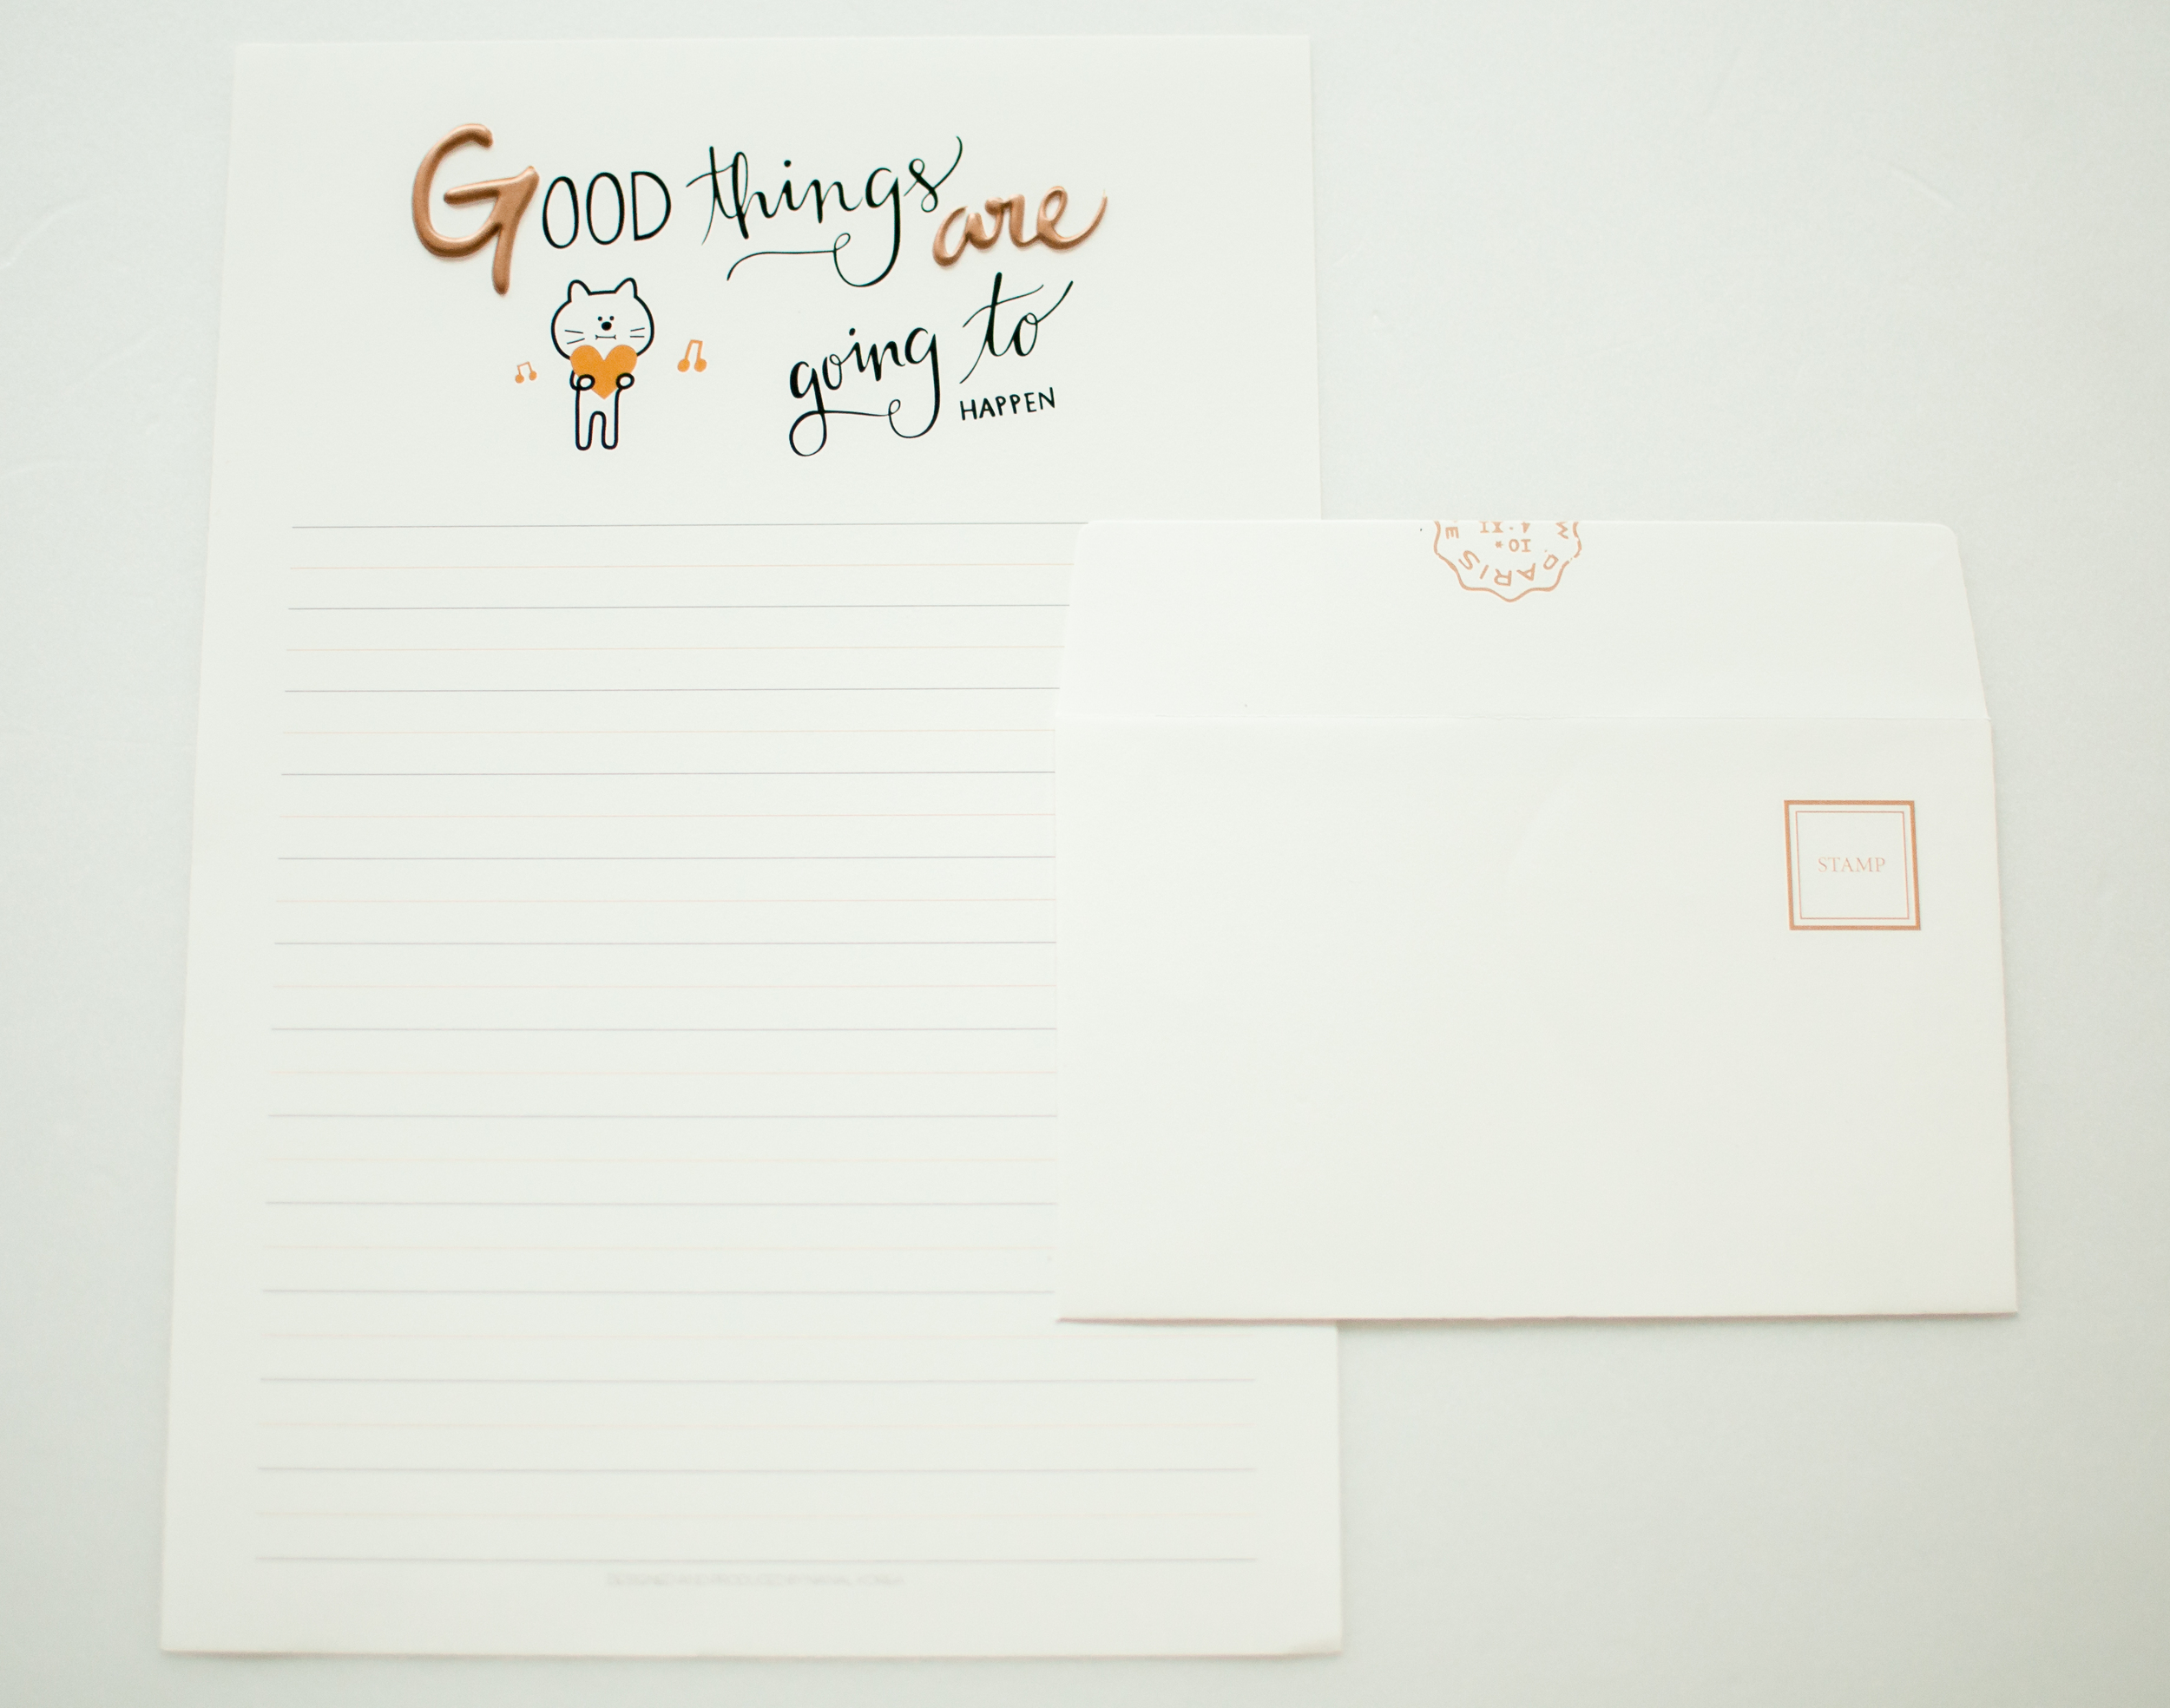
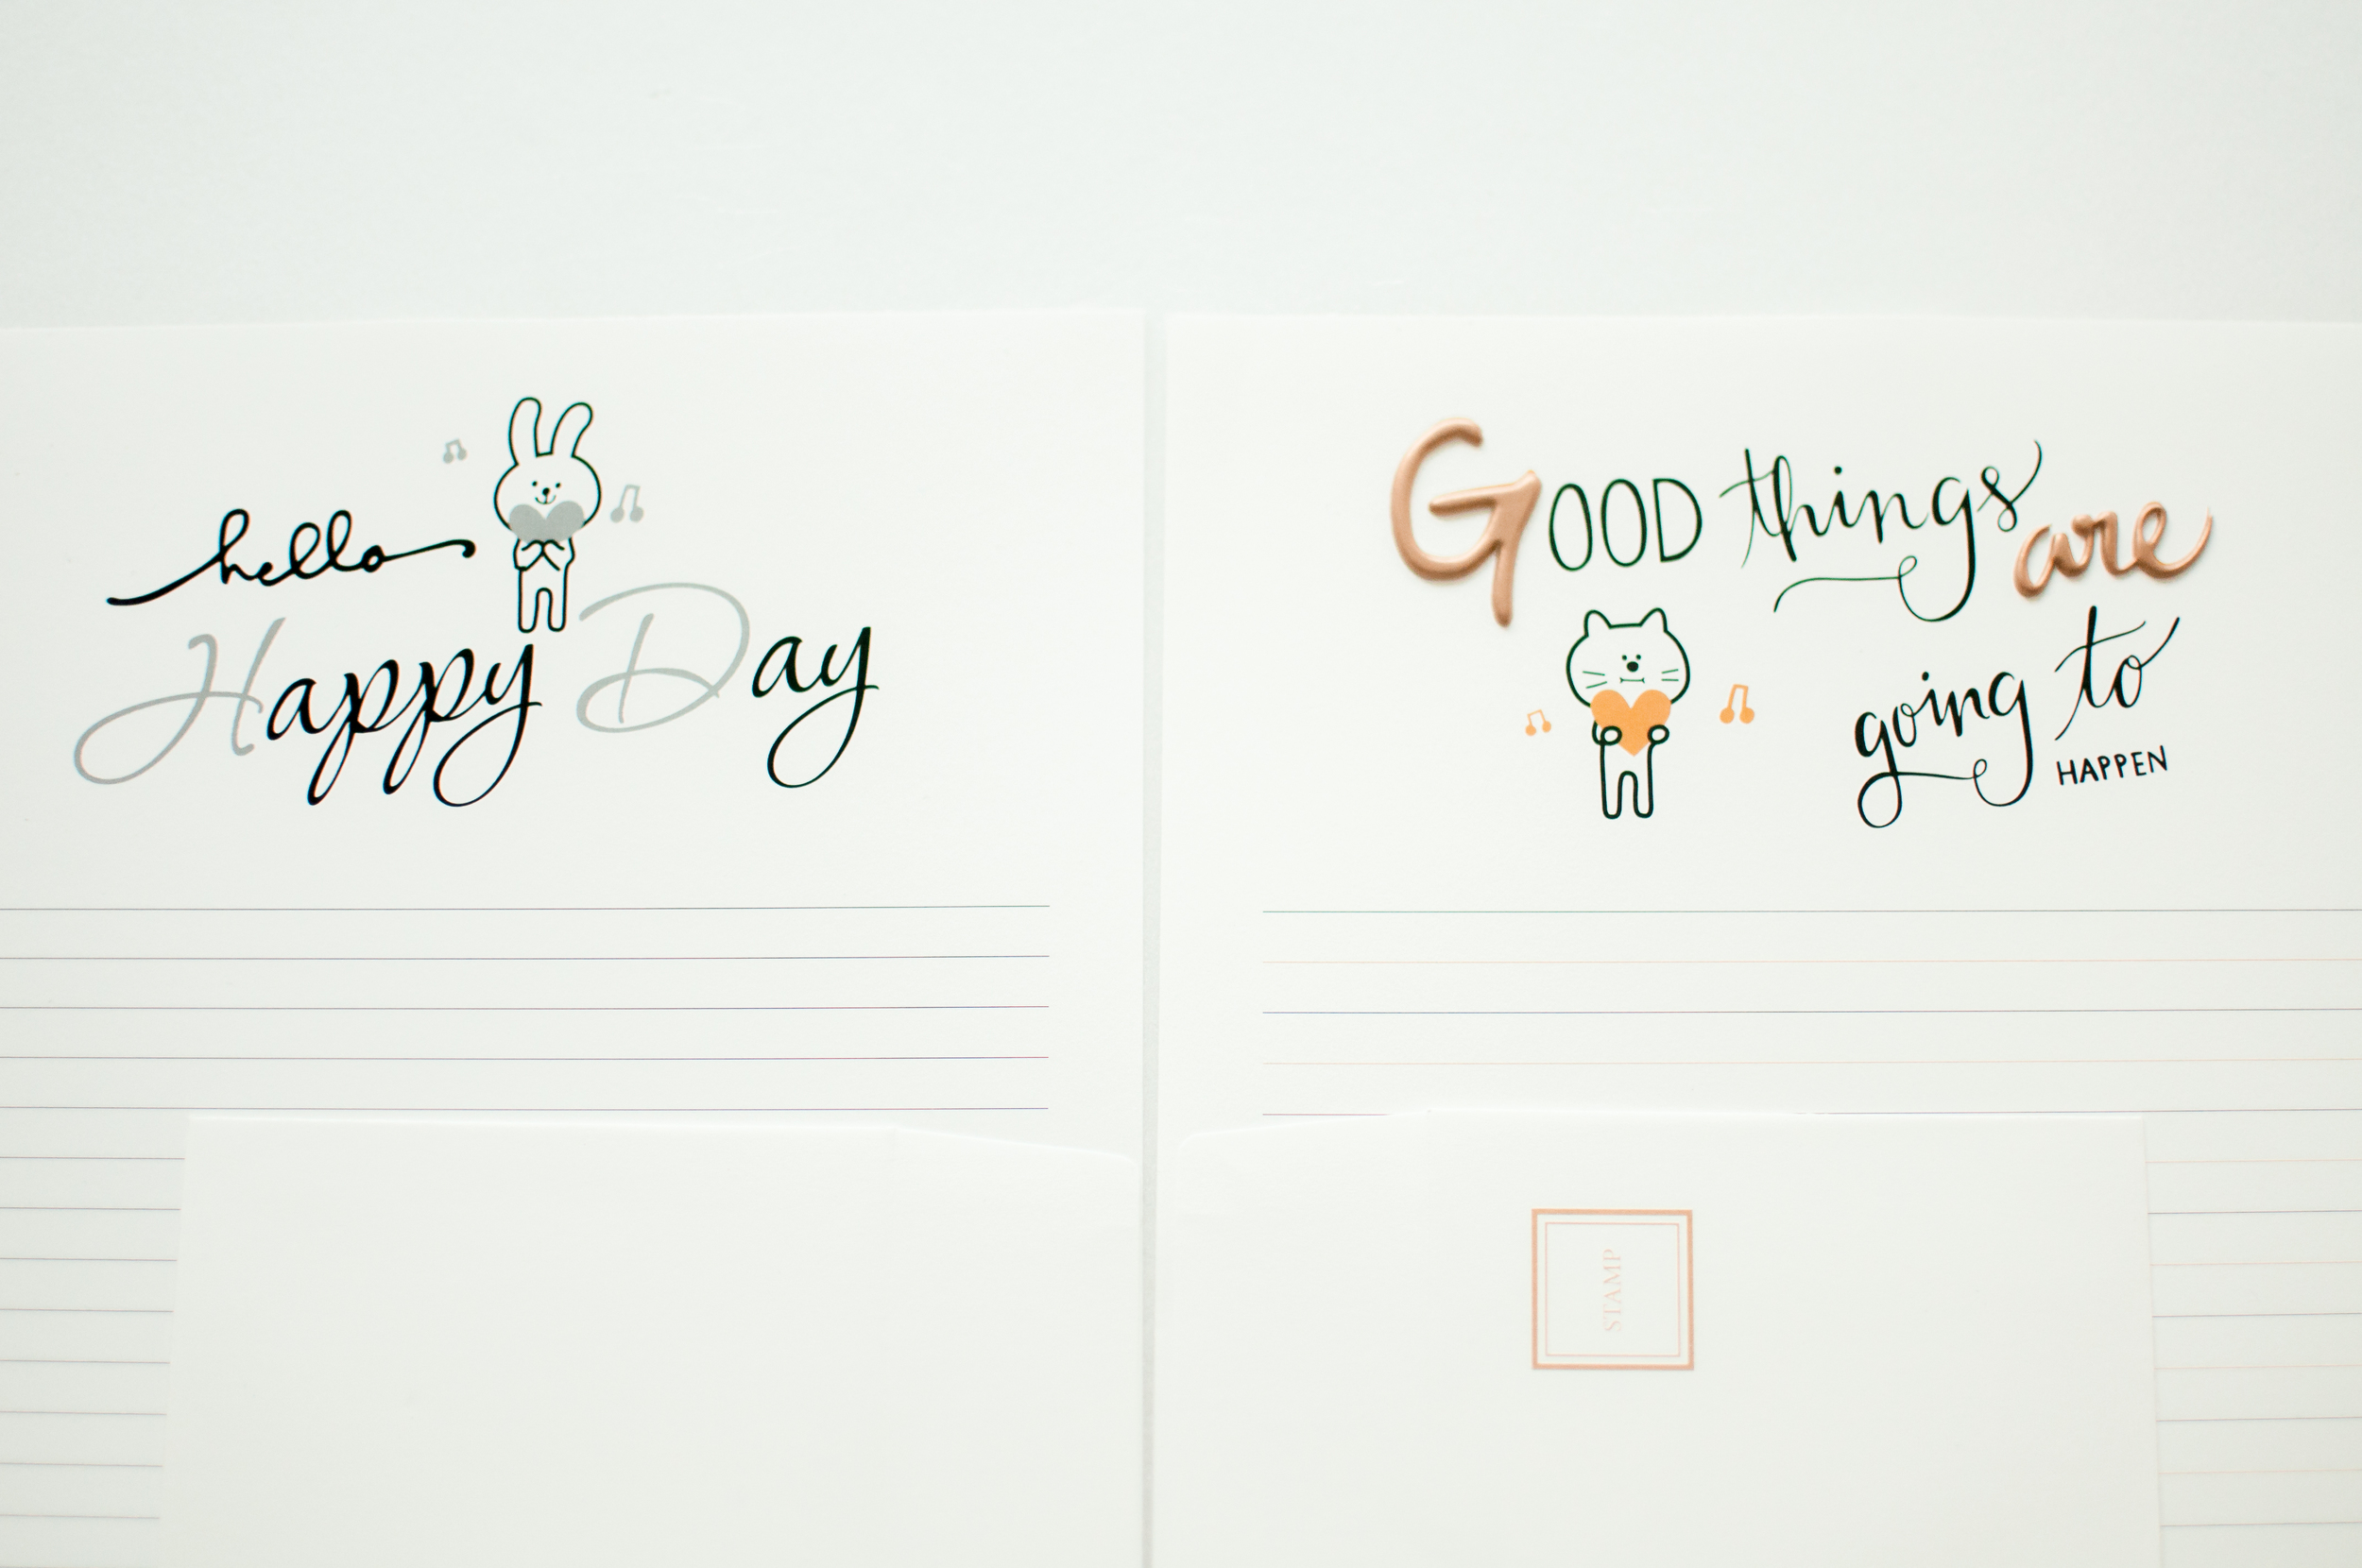
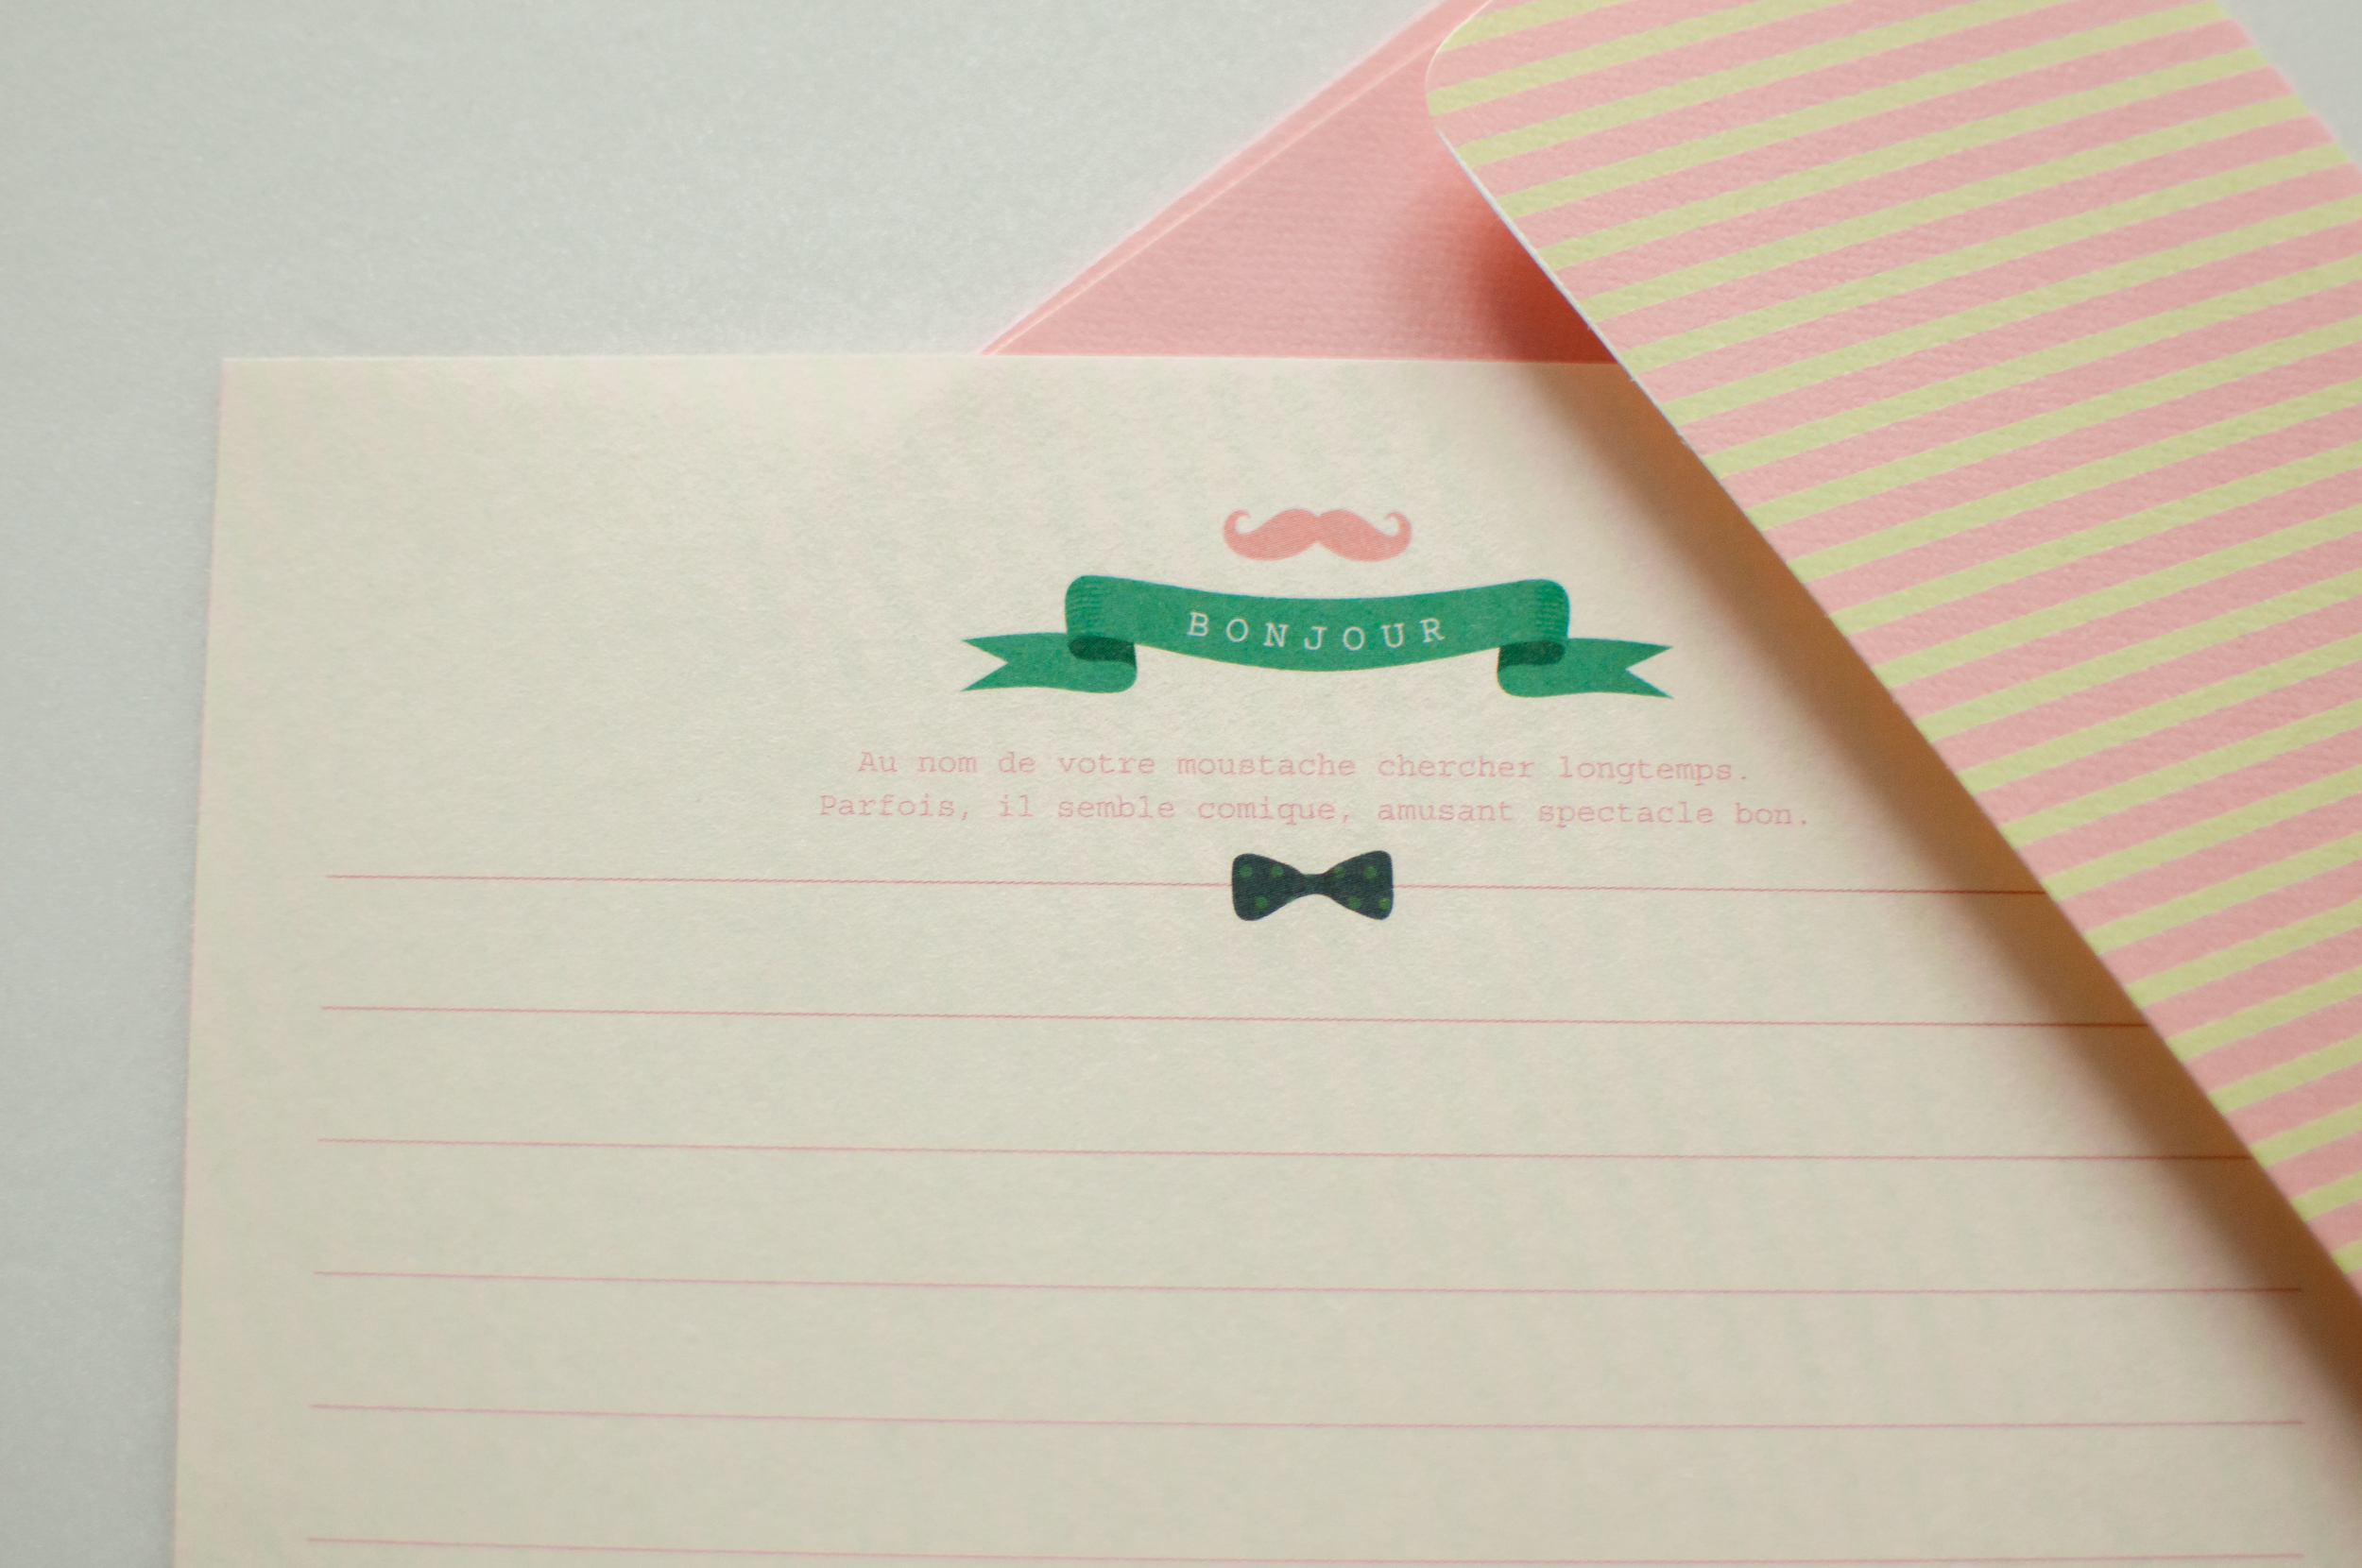
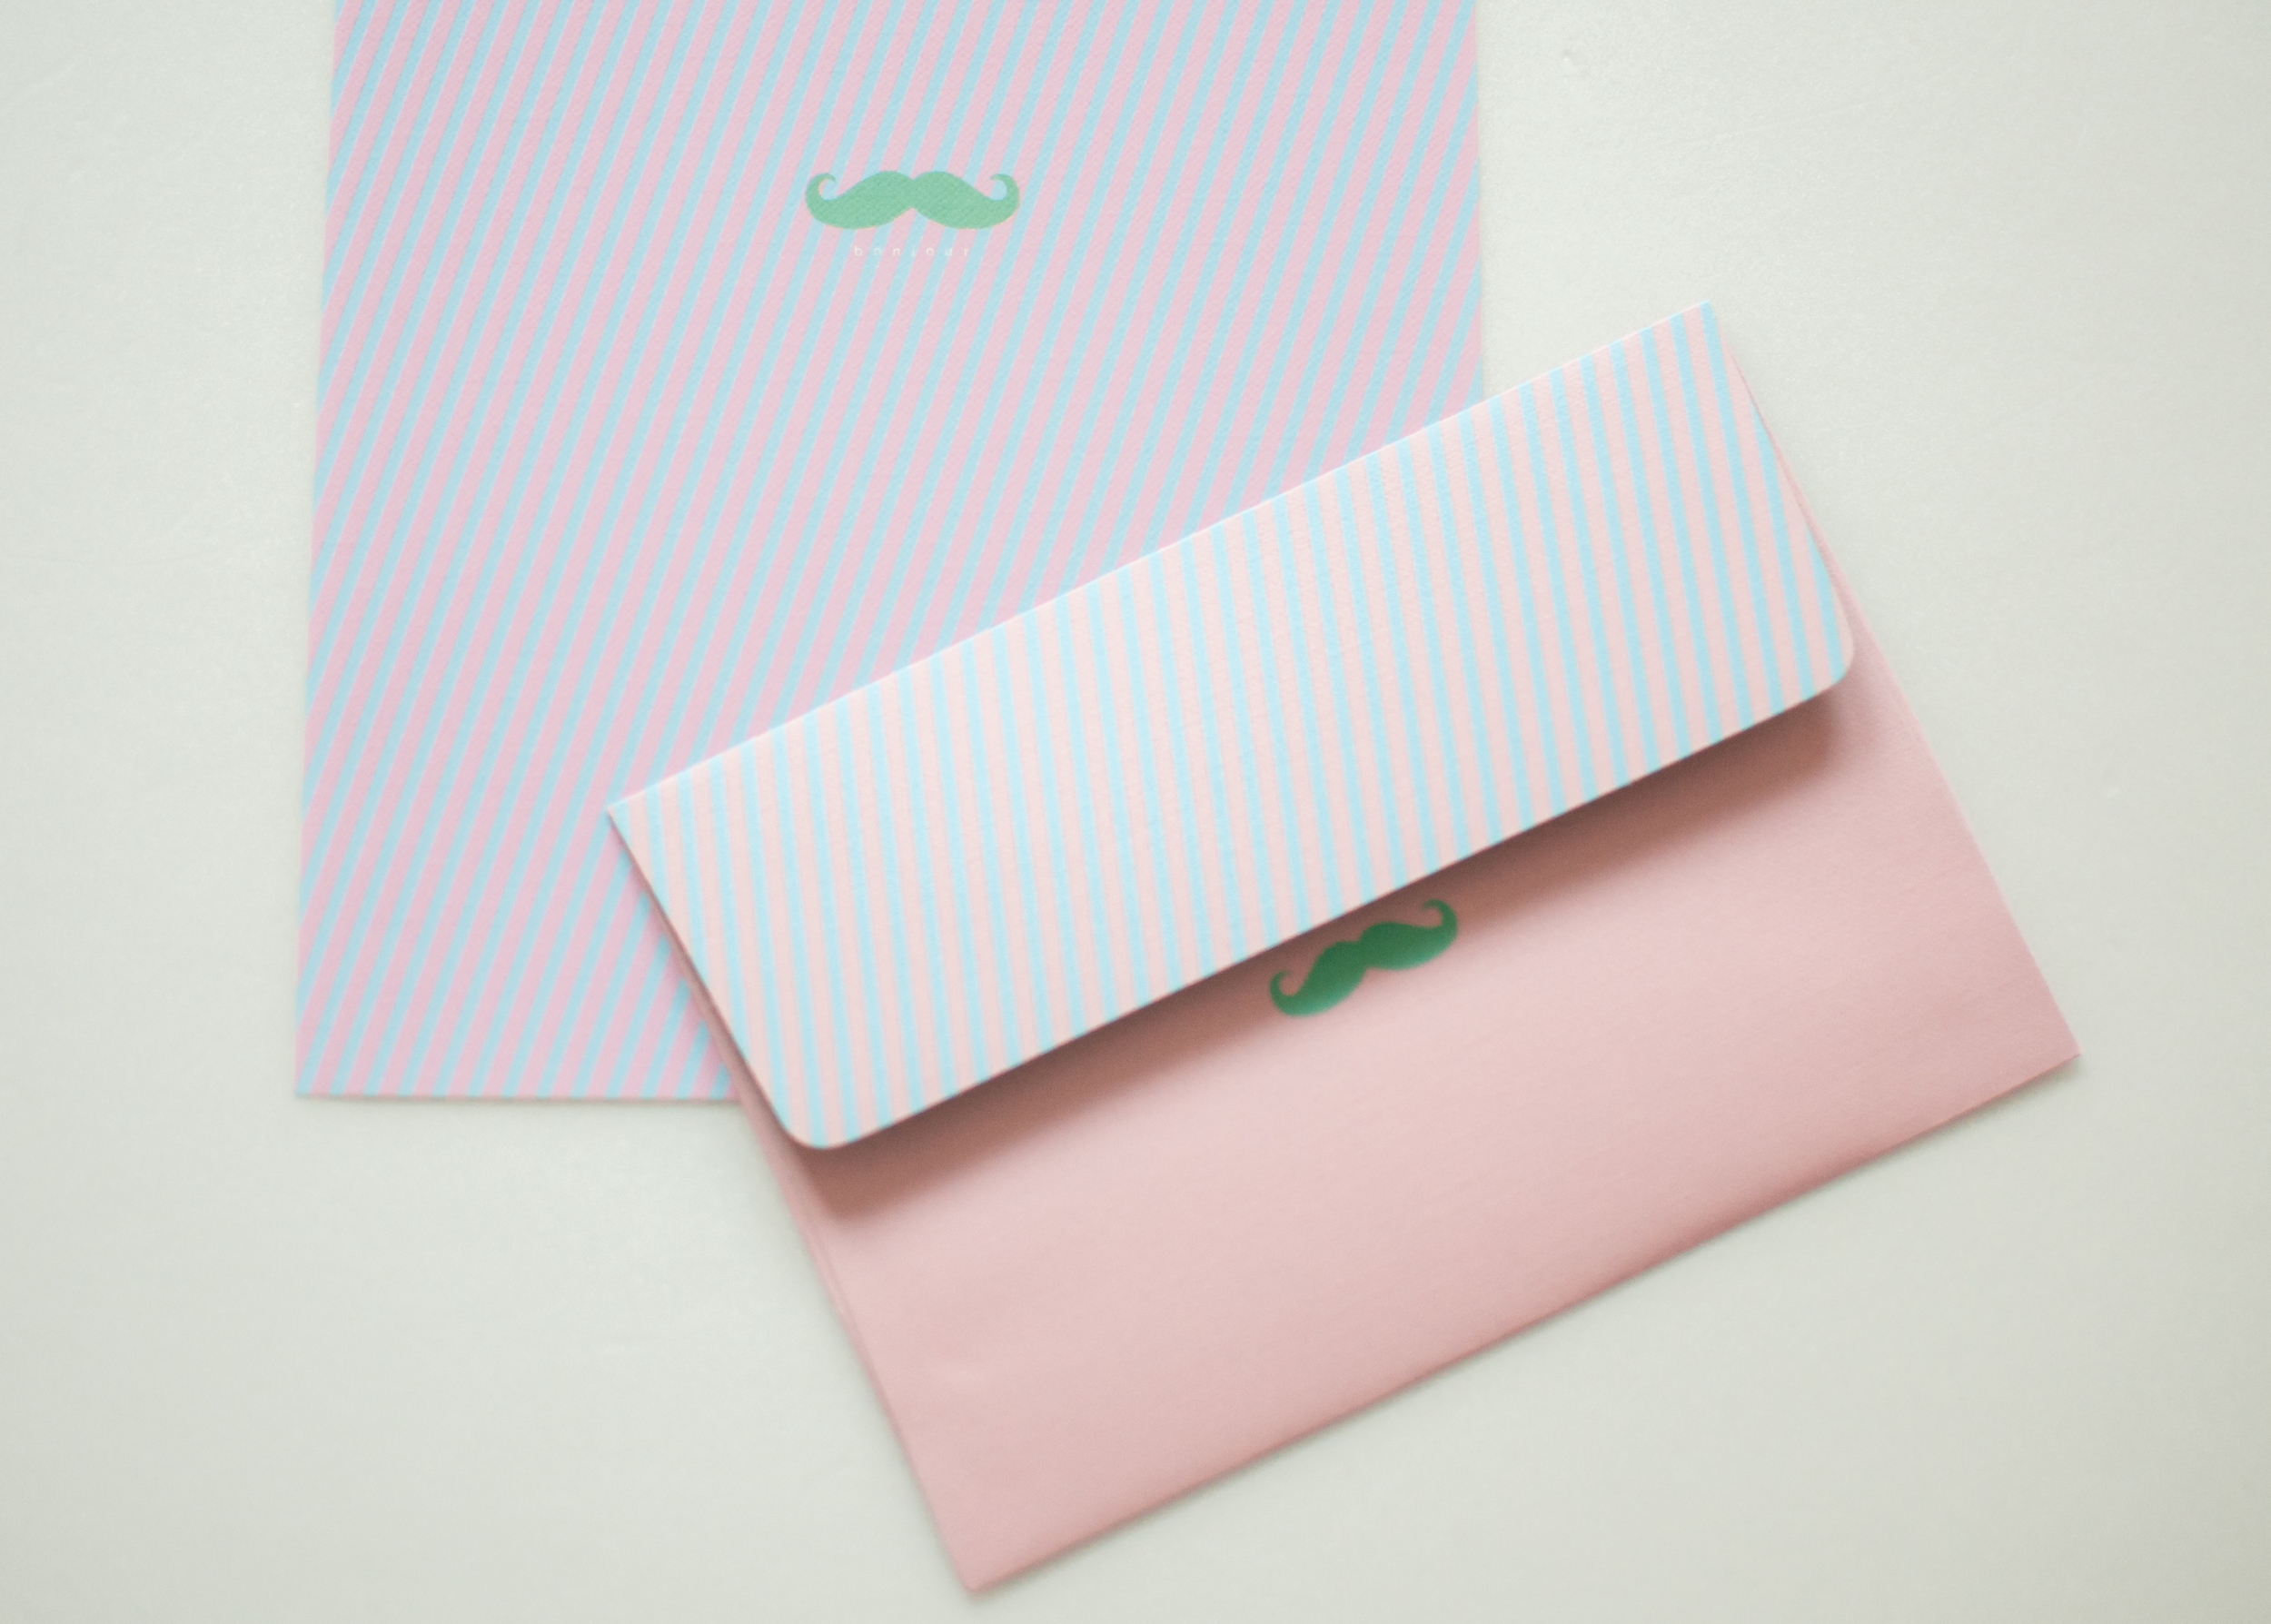
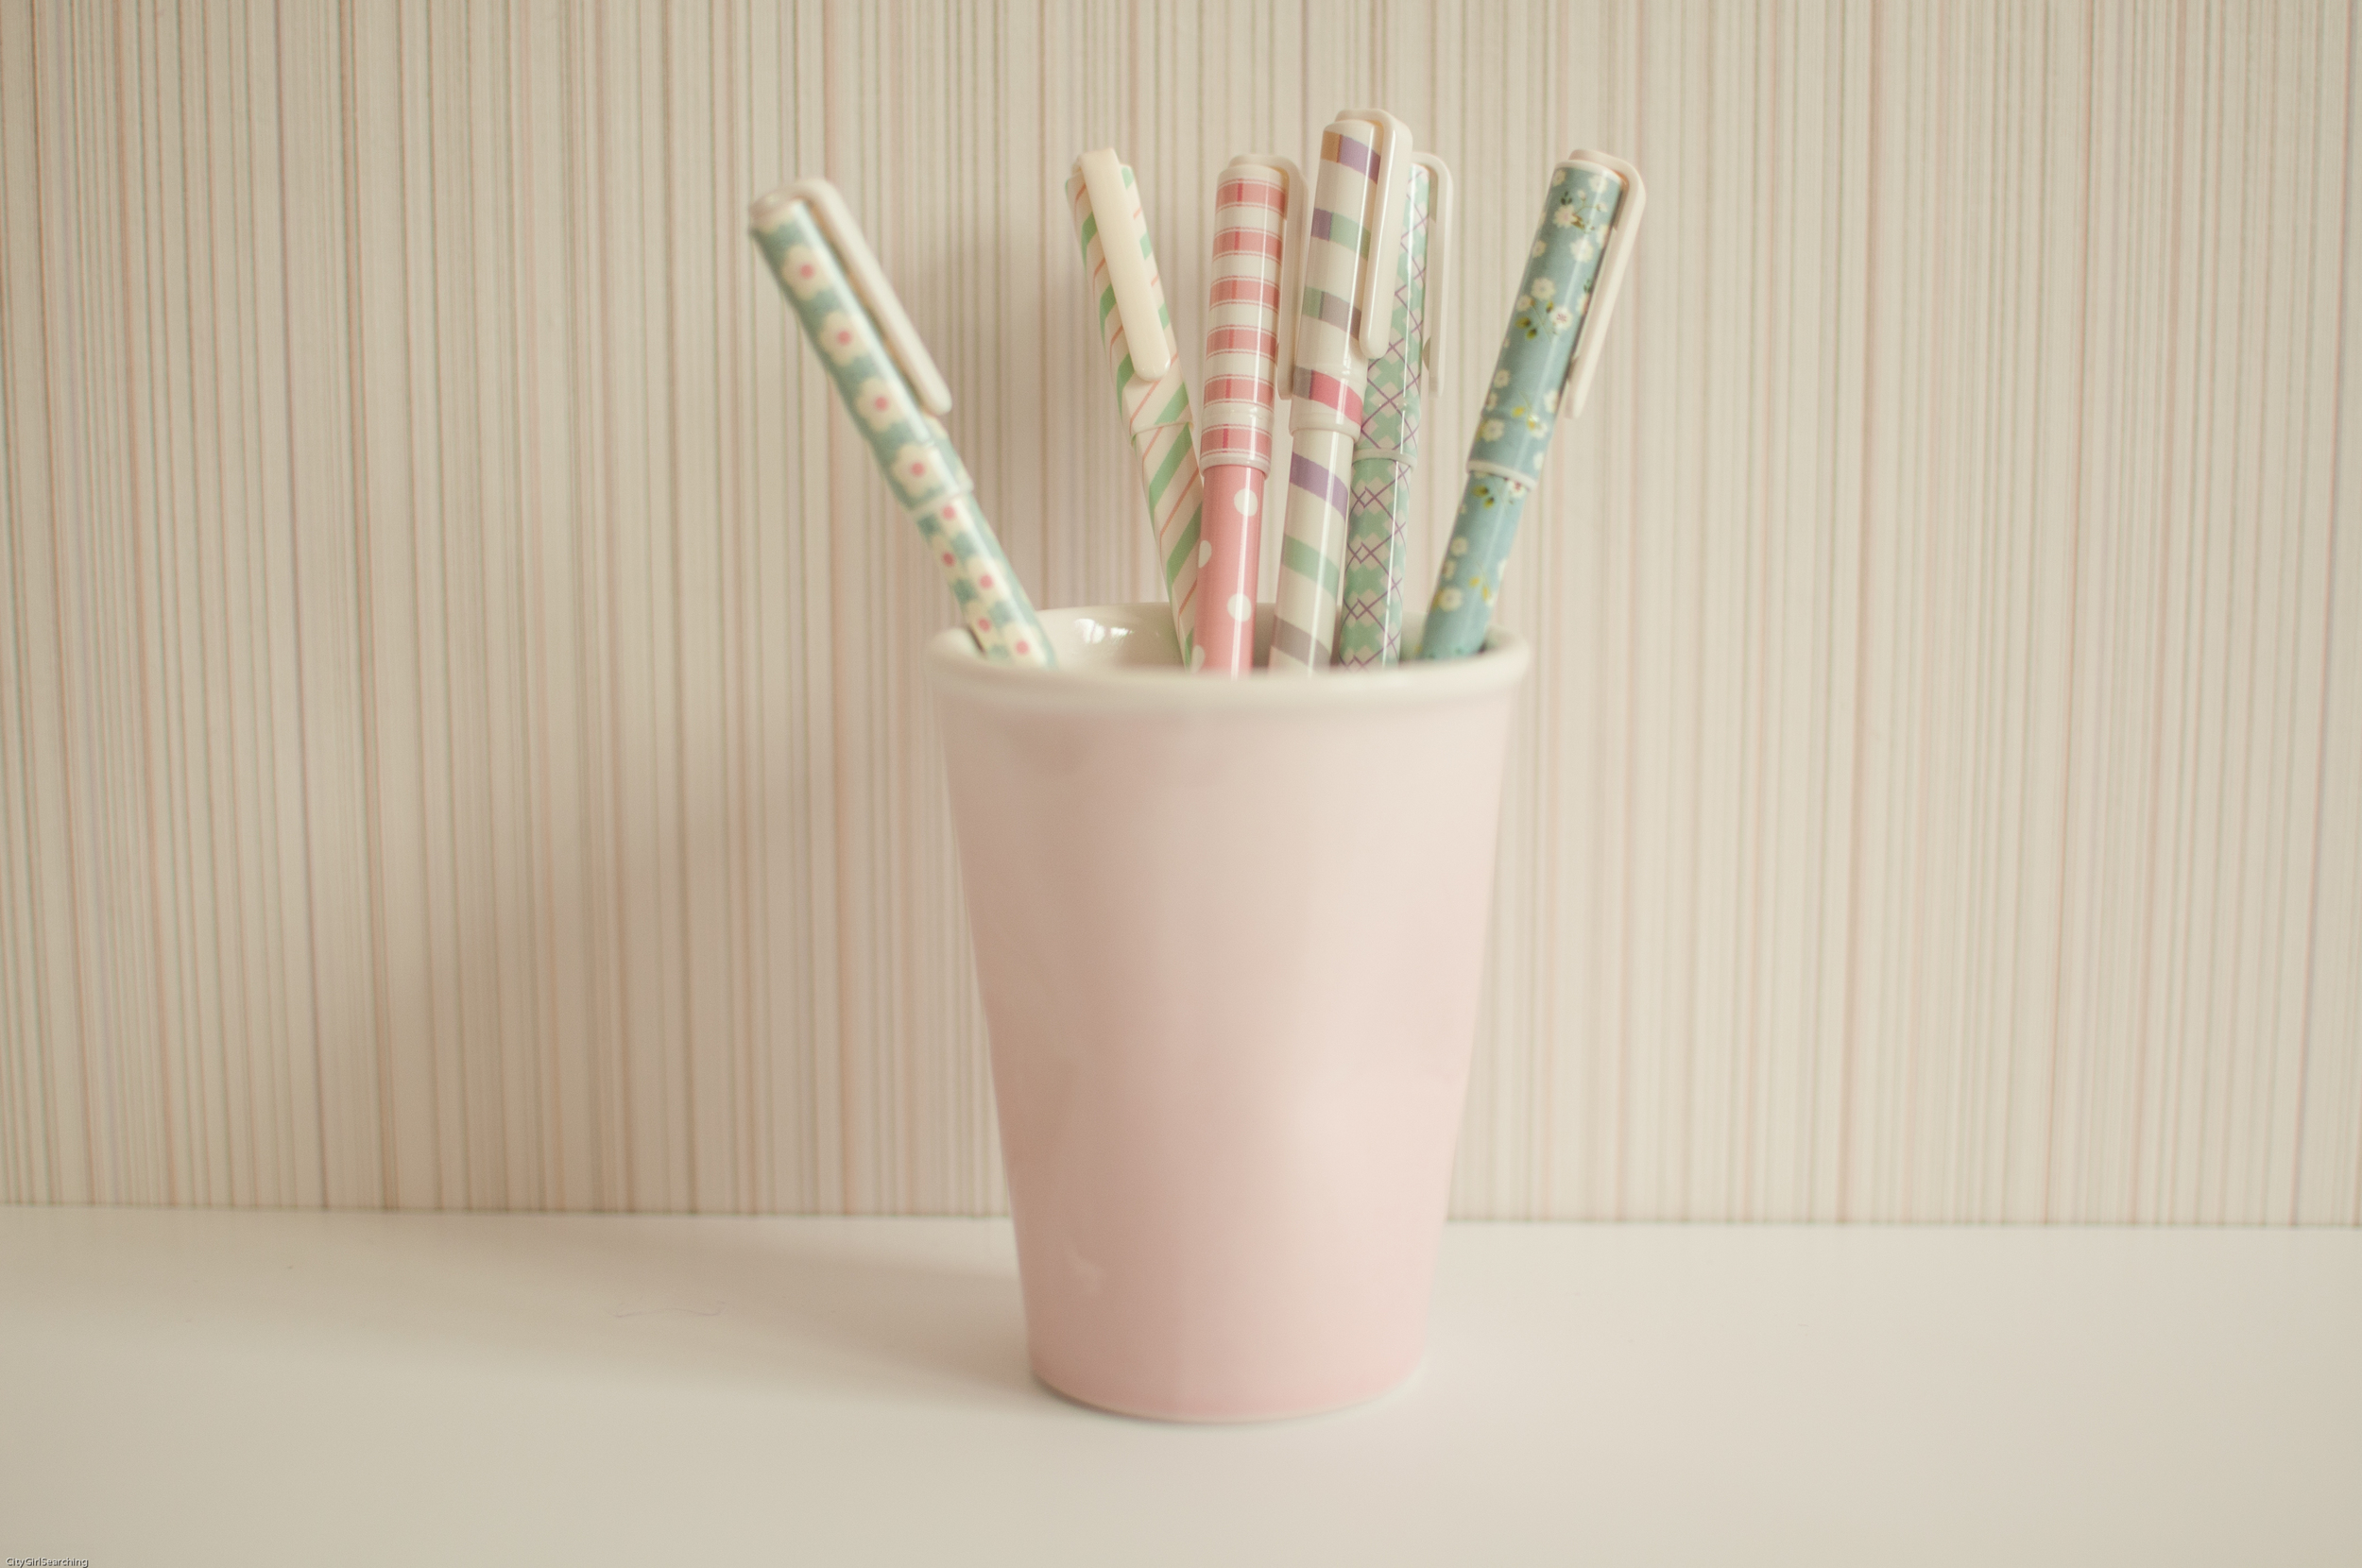
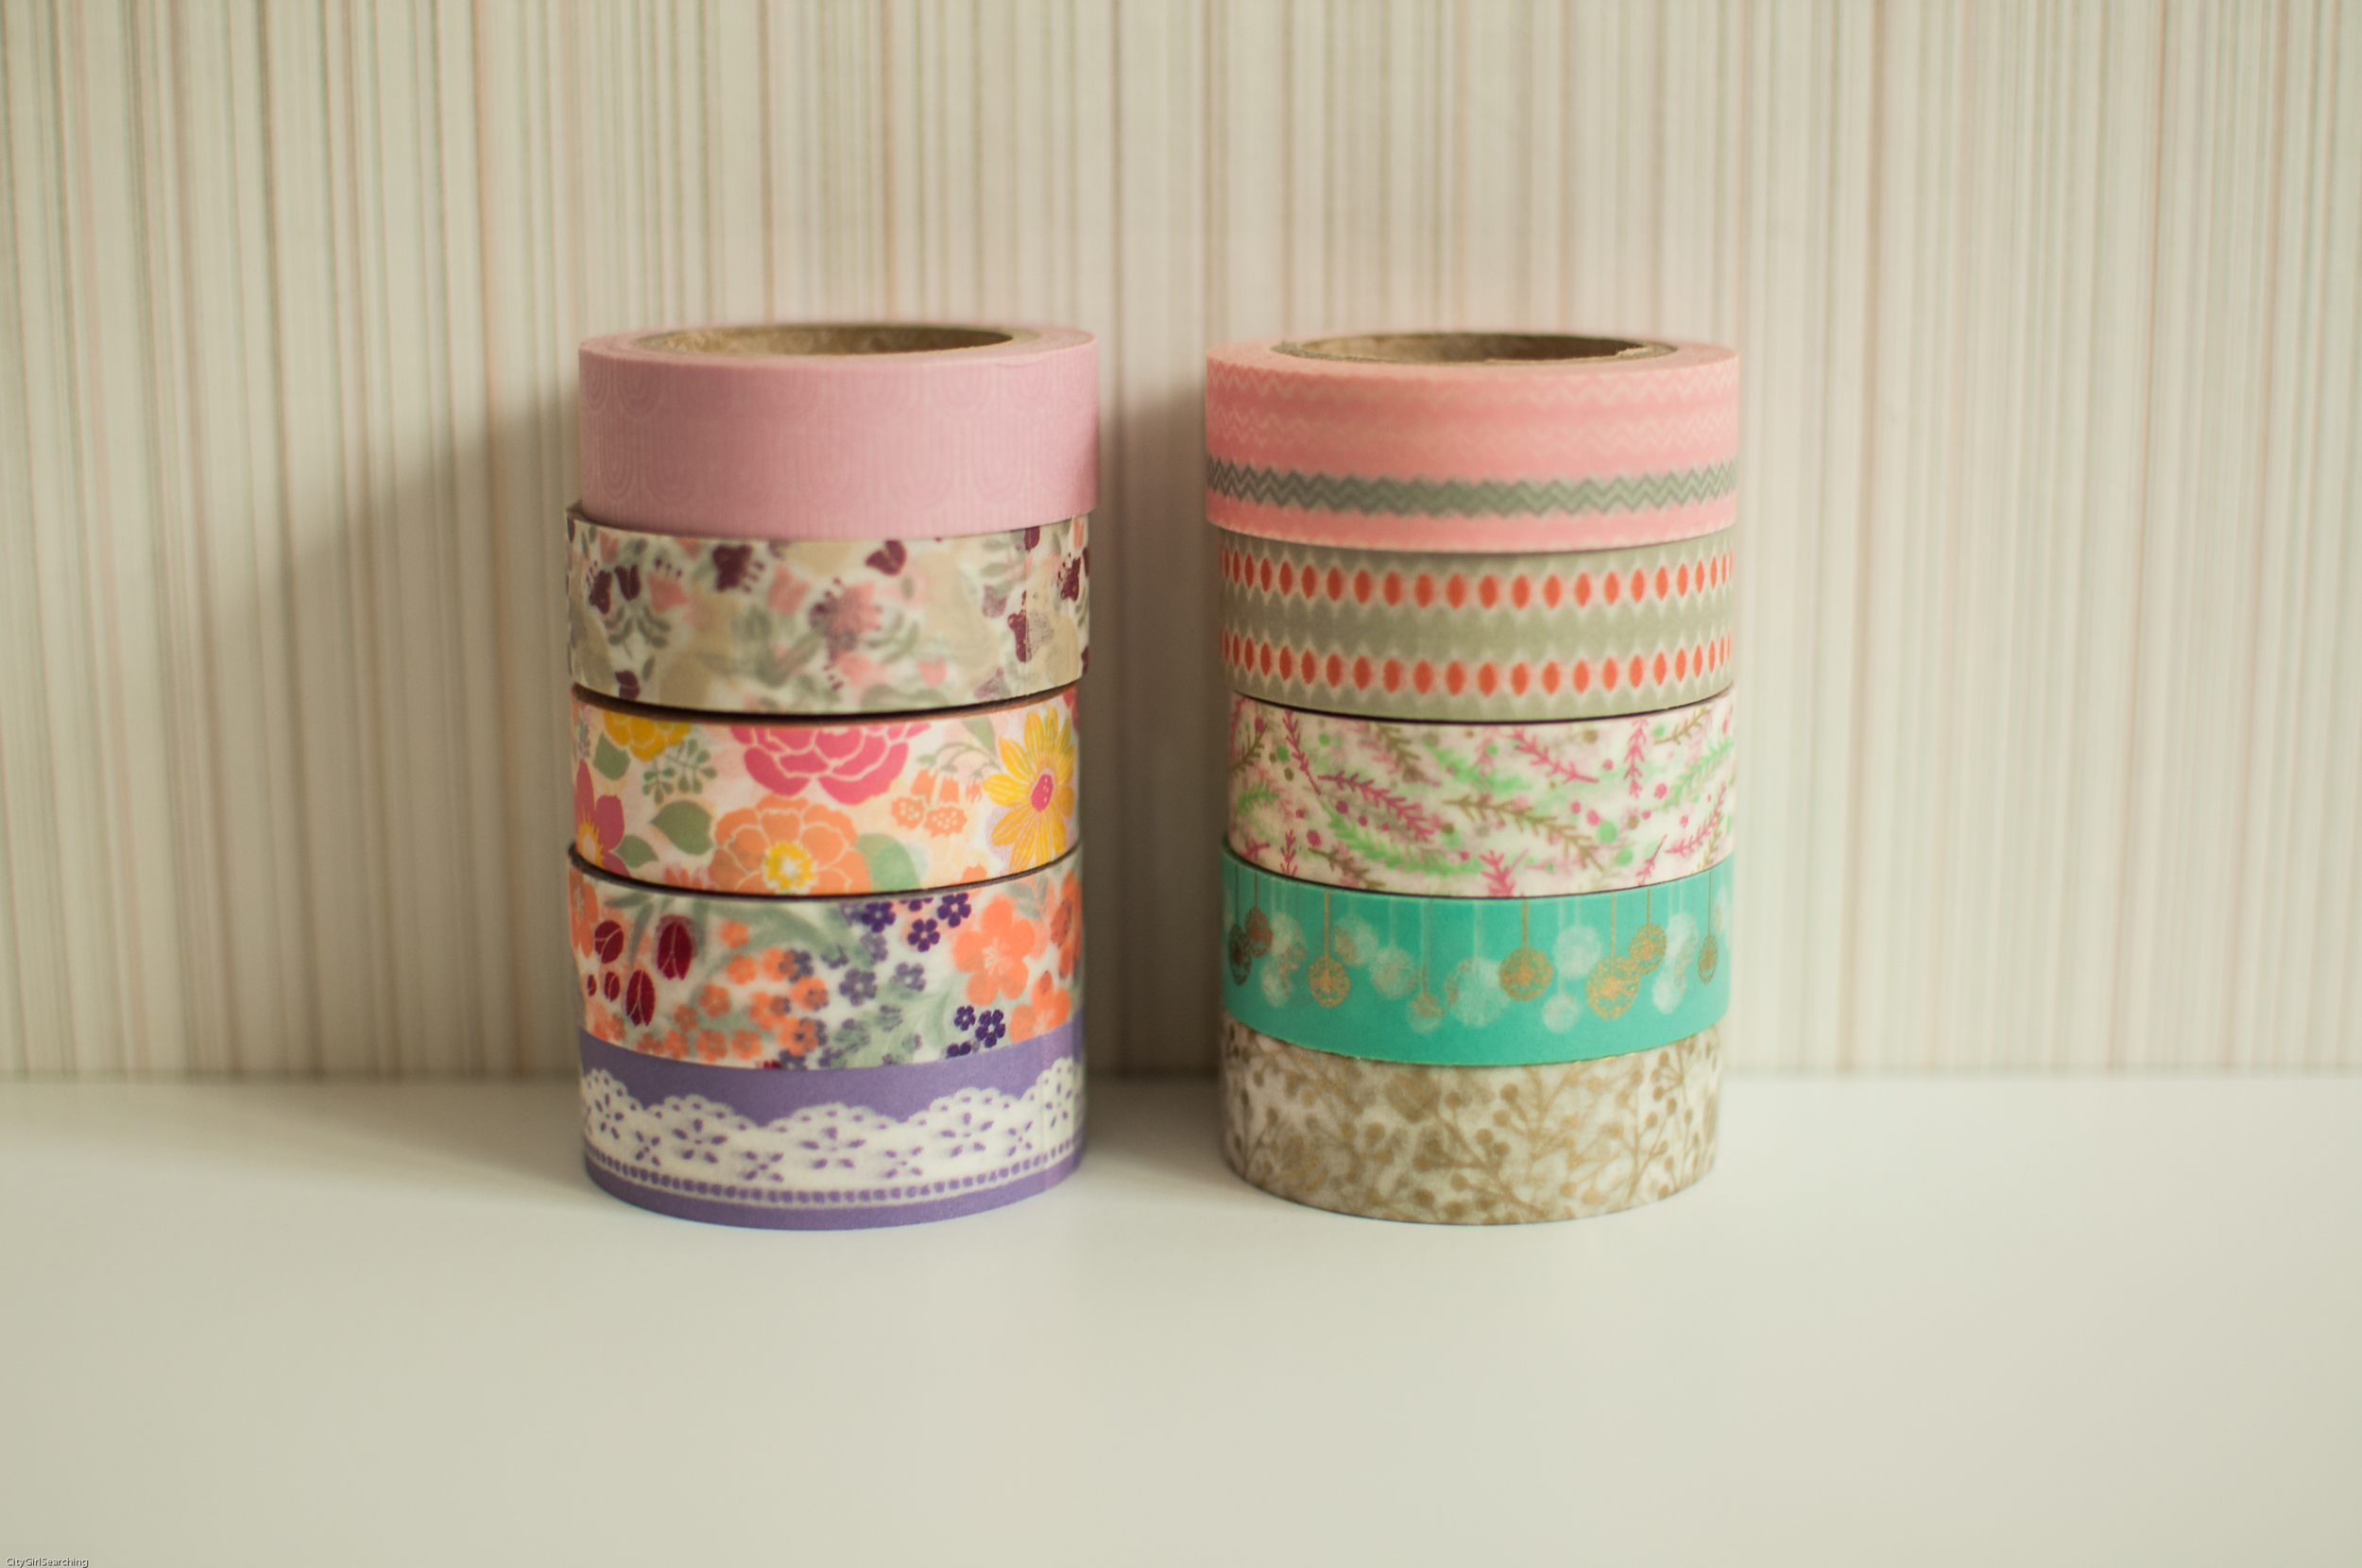
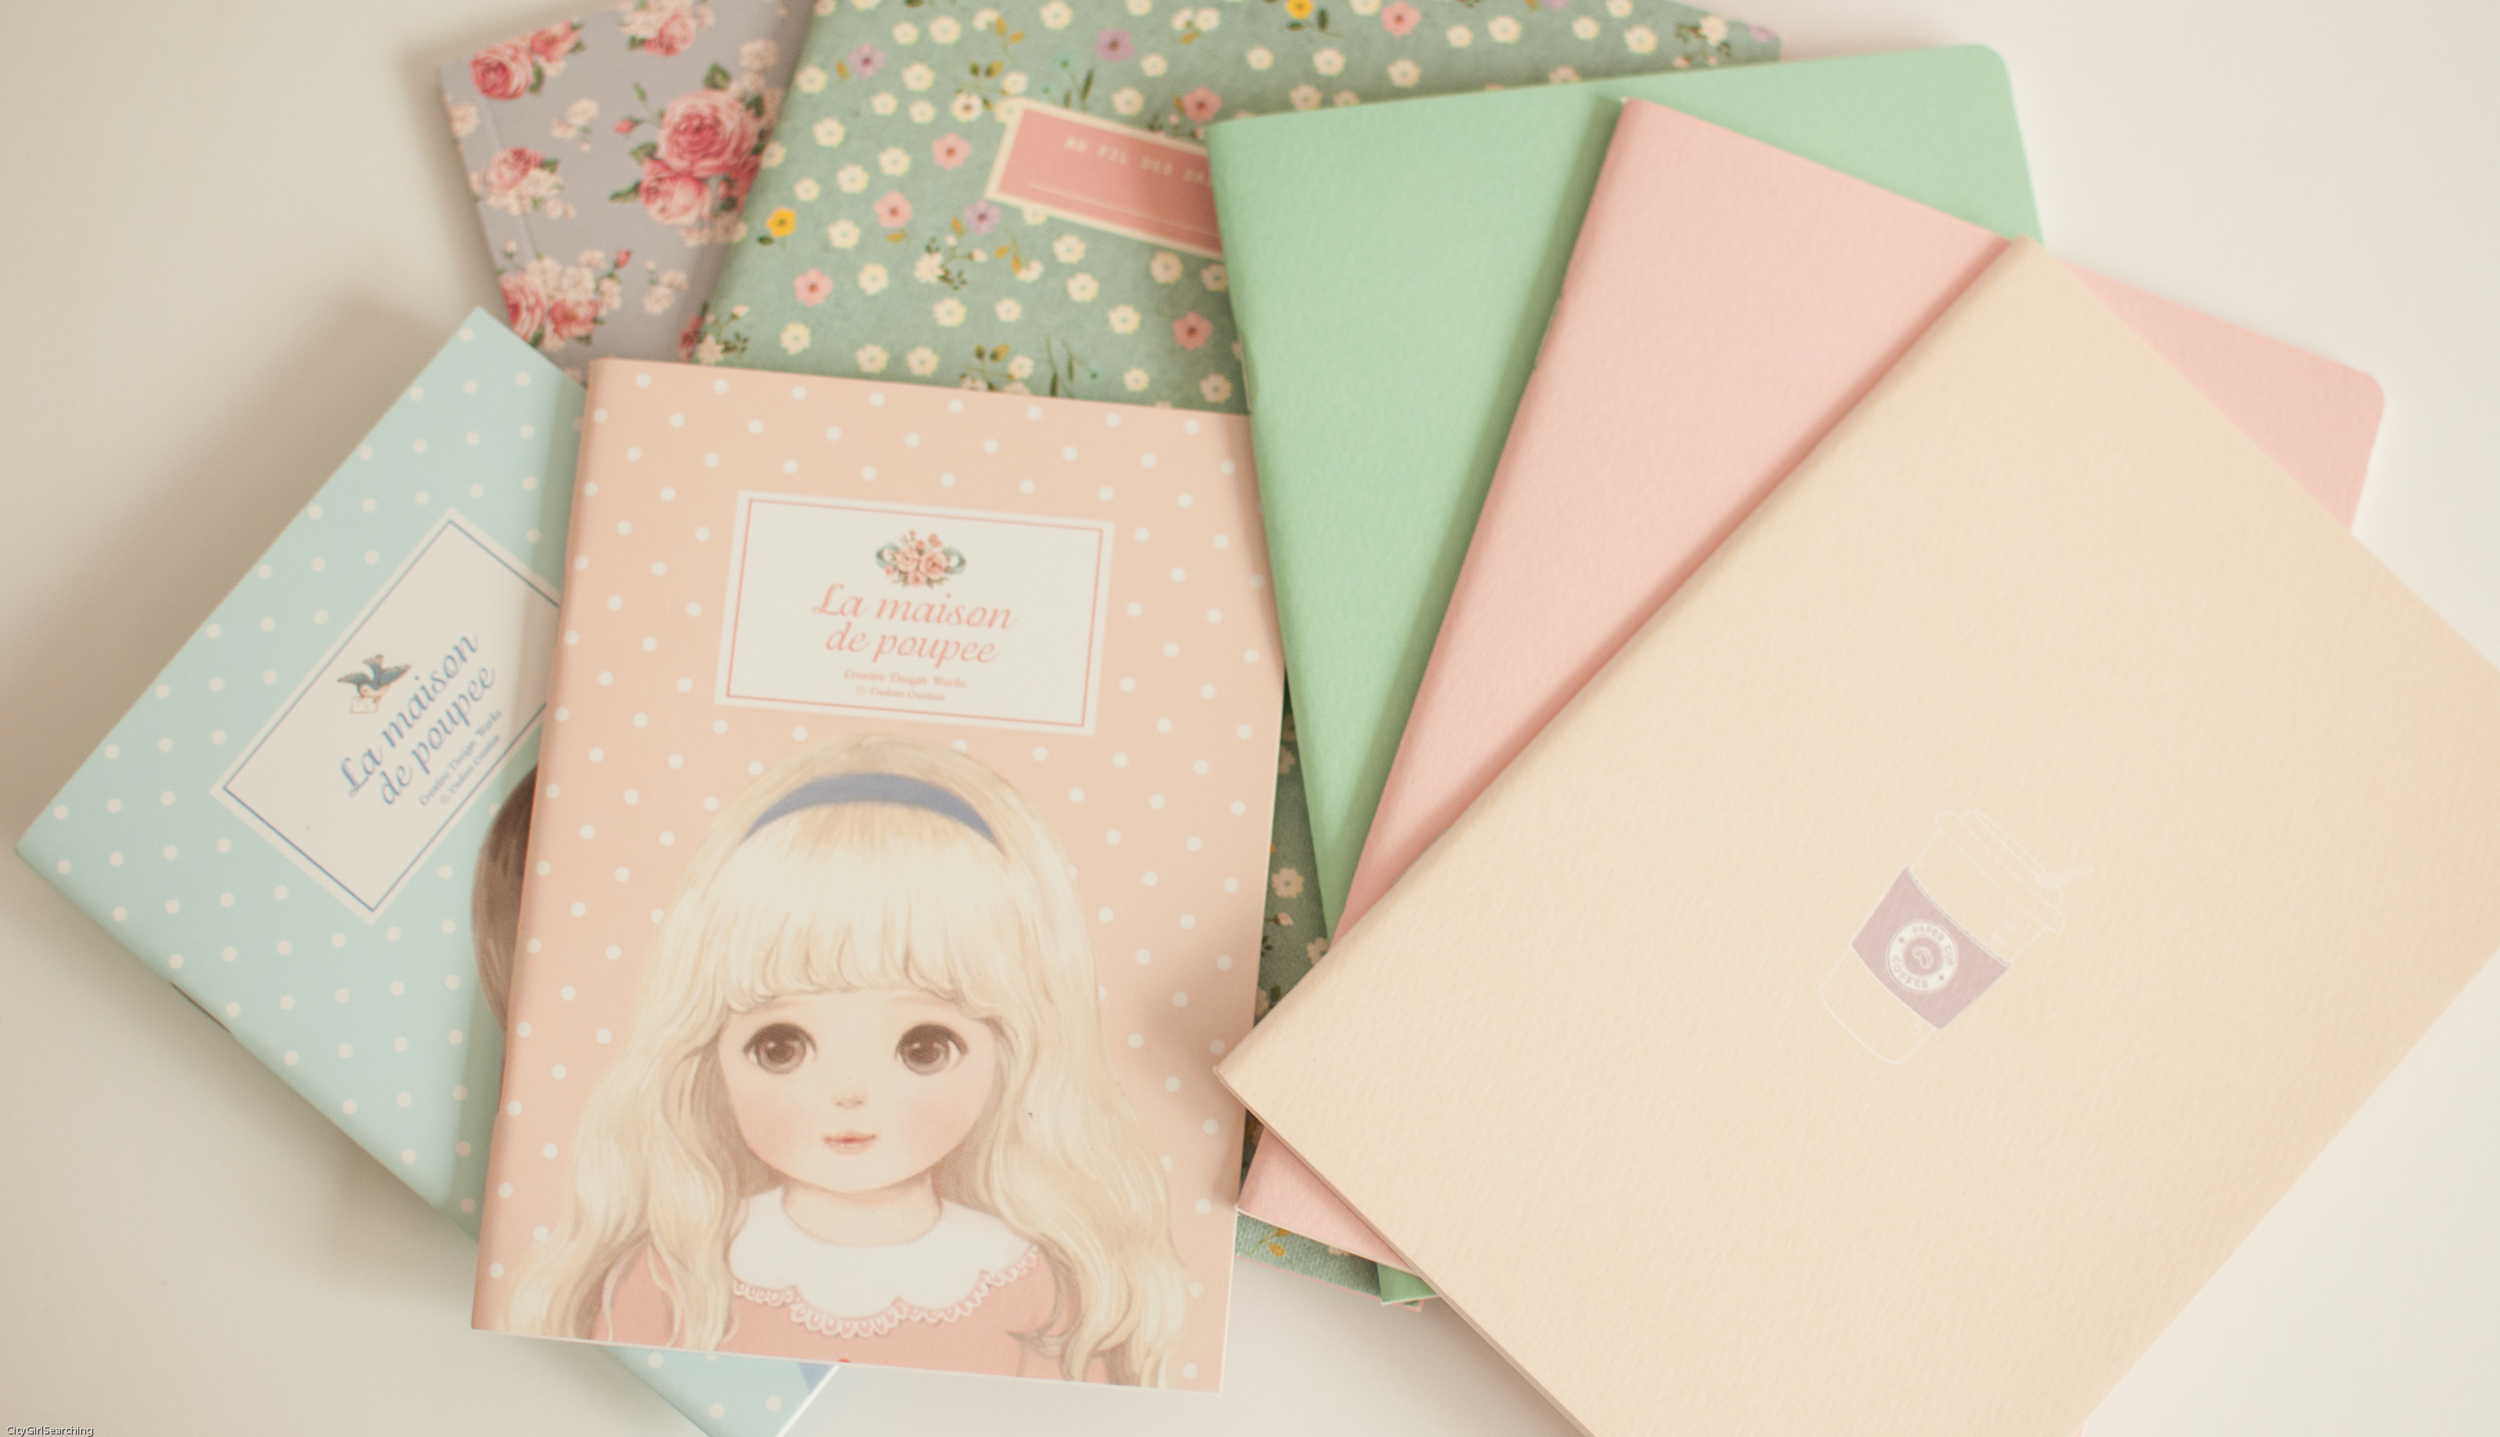
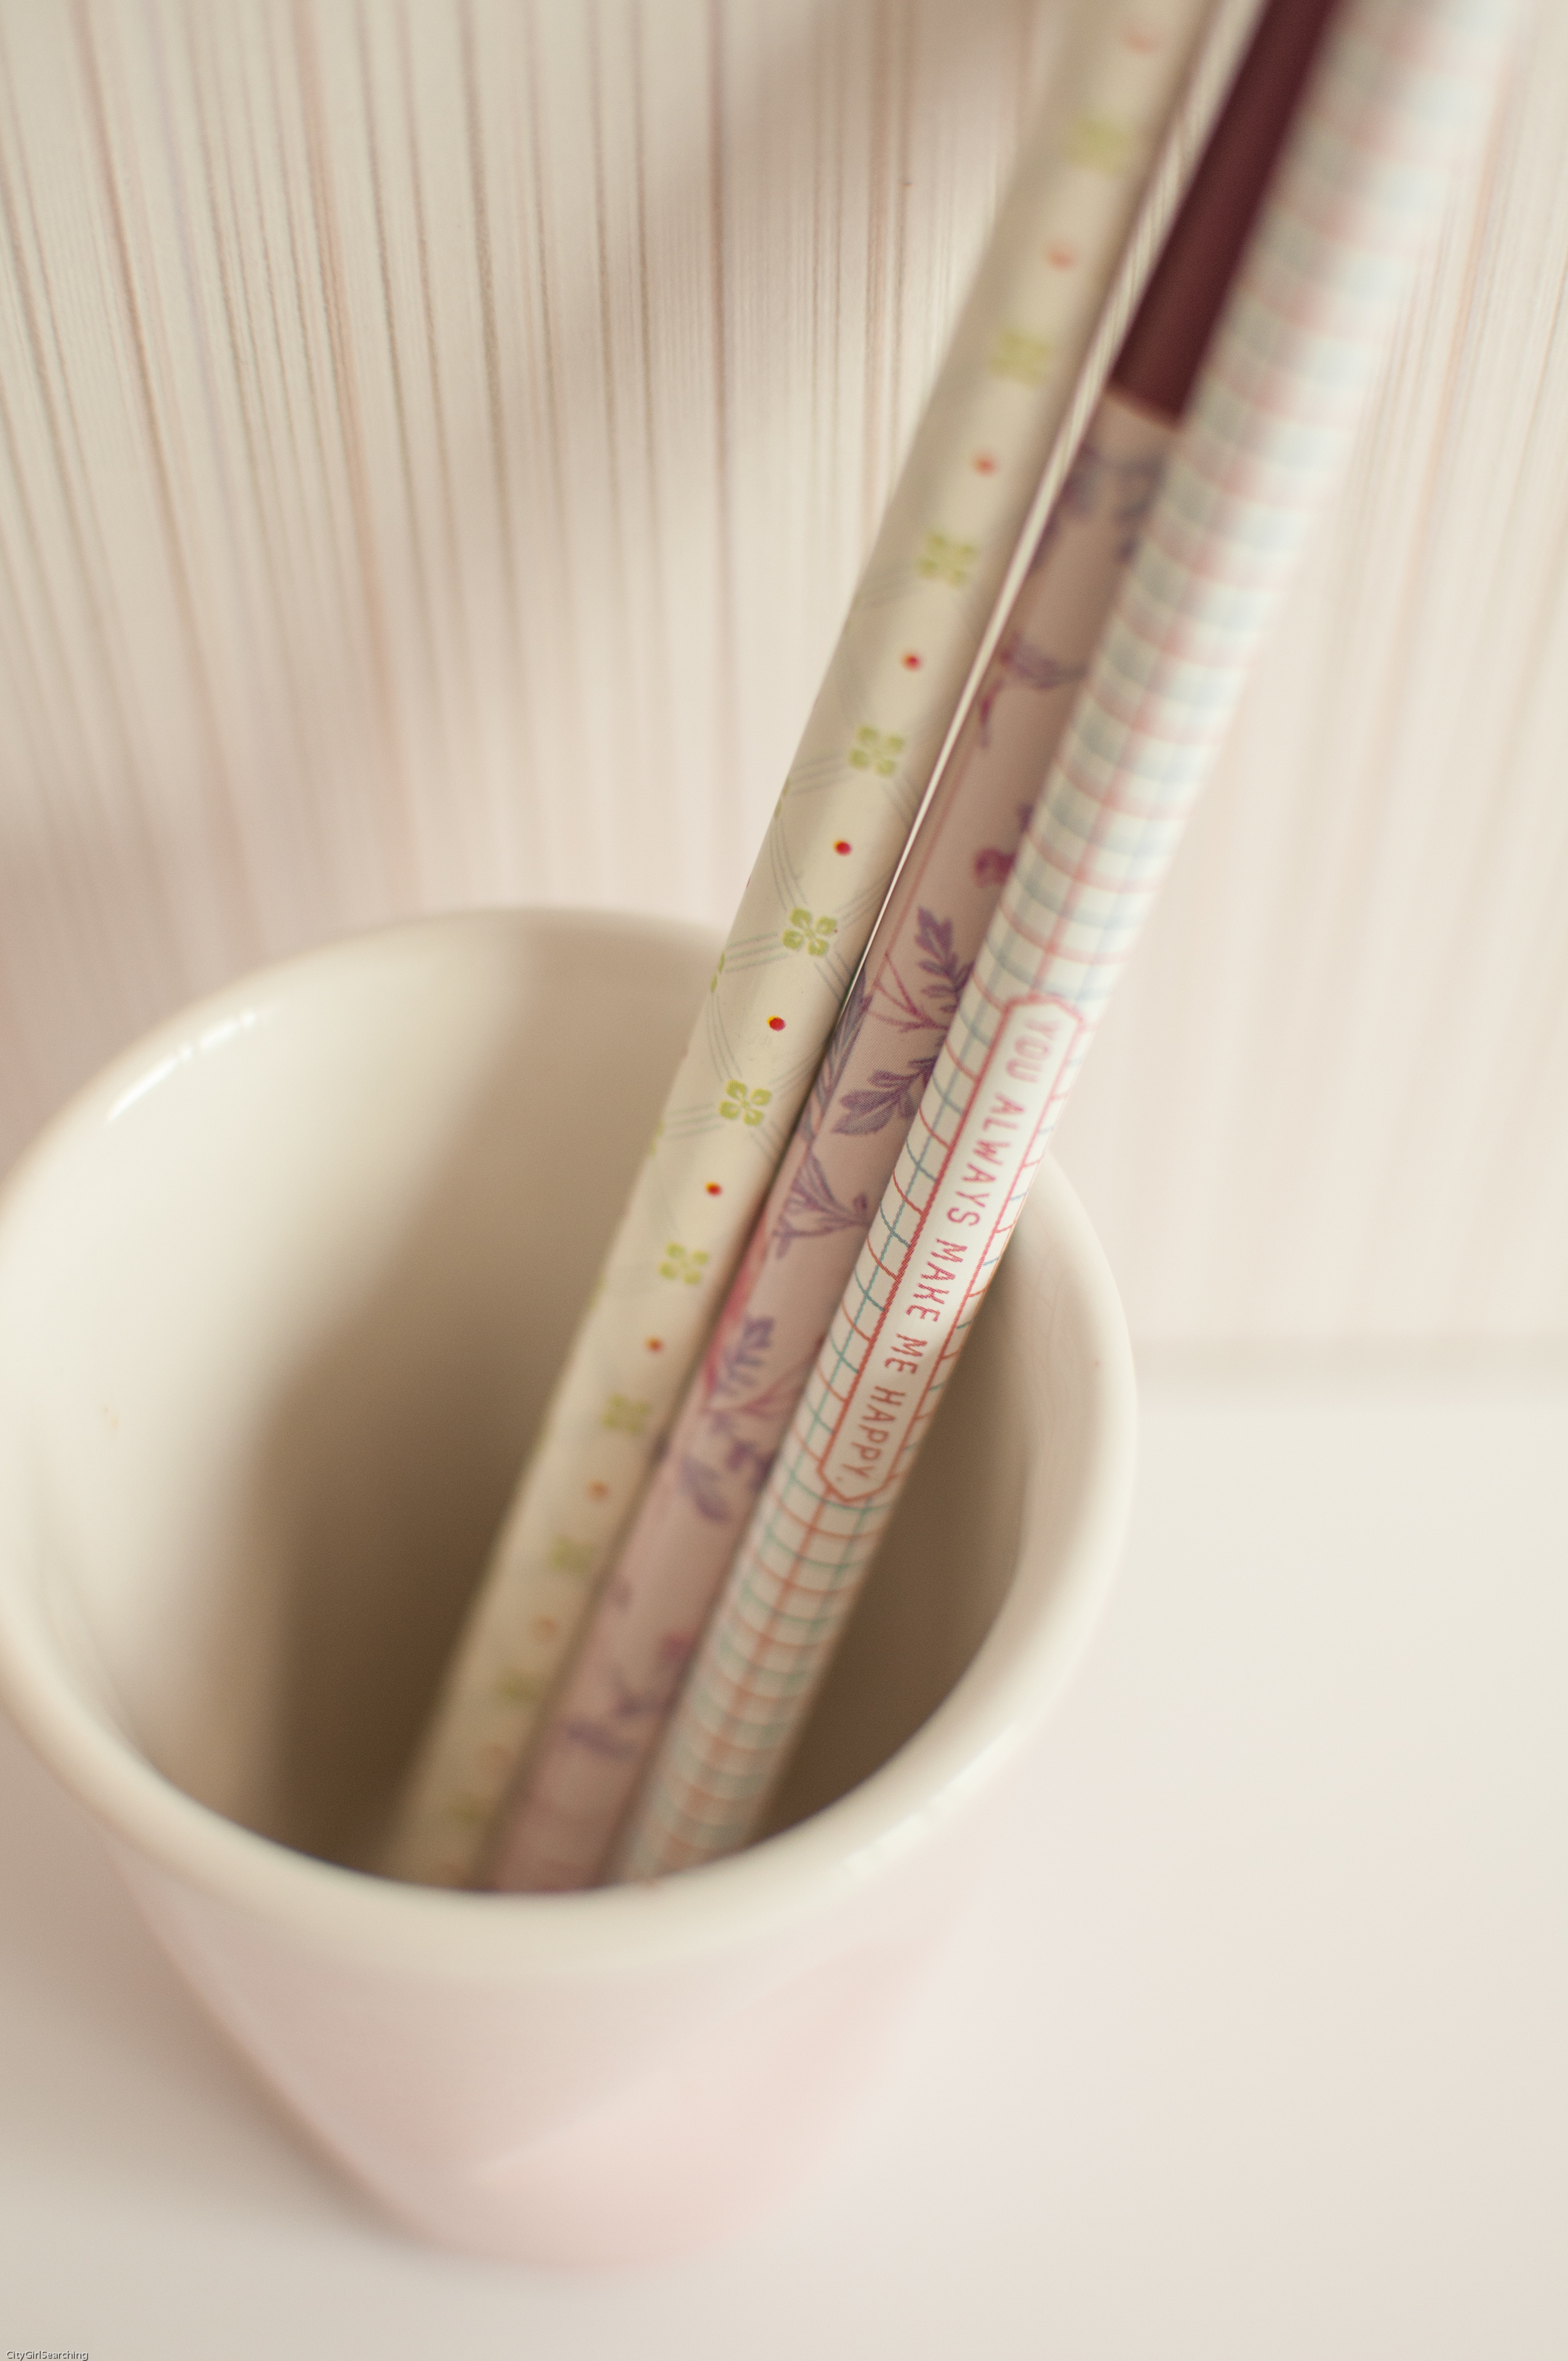
Last week I finalised the finishing touches on my brand spanking new stationery store, filling it with individual items (pens, pencils, washi tape, lace paper doilies, packaging bags & notebooks) as well as making it easier for you to find what you need. The ordering process is simple, and I am now able to accept payment by debit and credit card (through PayPal).

Prices for items are as follows:

Pencils: $2

Pens: $2.50

Notebooks: $3.50 - $6

Pretty Packages: $15 - $30

Washi Tape: $2 - $3

Lace Paper Doilies: $2.50

Happy shopping!