Gradient Nail Art Tutorial
/
My Korean friend Heejoung (who was my model for the spring flower crown photoshoot Storm and I did a few months ago, click here to see the beautiful photographs) came over for tea yesterday and ended up helping me with my first ever gradient manicure.
This is a super easy to do manicure. It can be adapted in so many ways but works best with 3 colours in varying shades. You need a dark colour, a medium shade and a light shade (but these are not rules set in stone, try mixing it up with any colour combination for a fun alternative to the original gradient nail).

You need
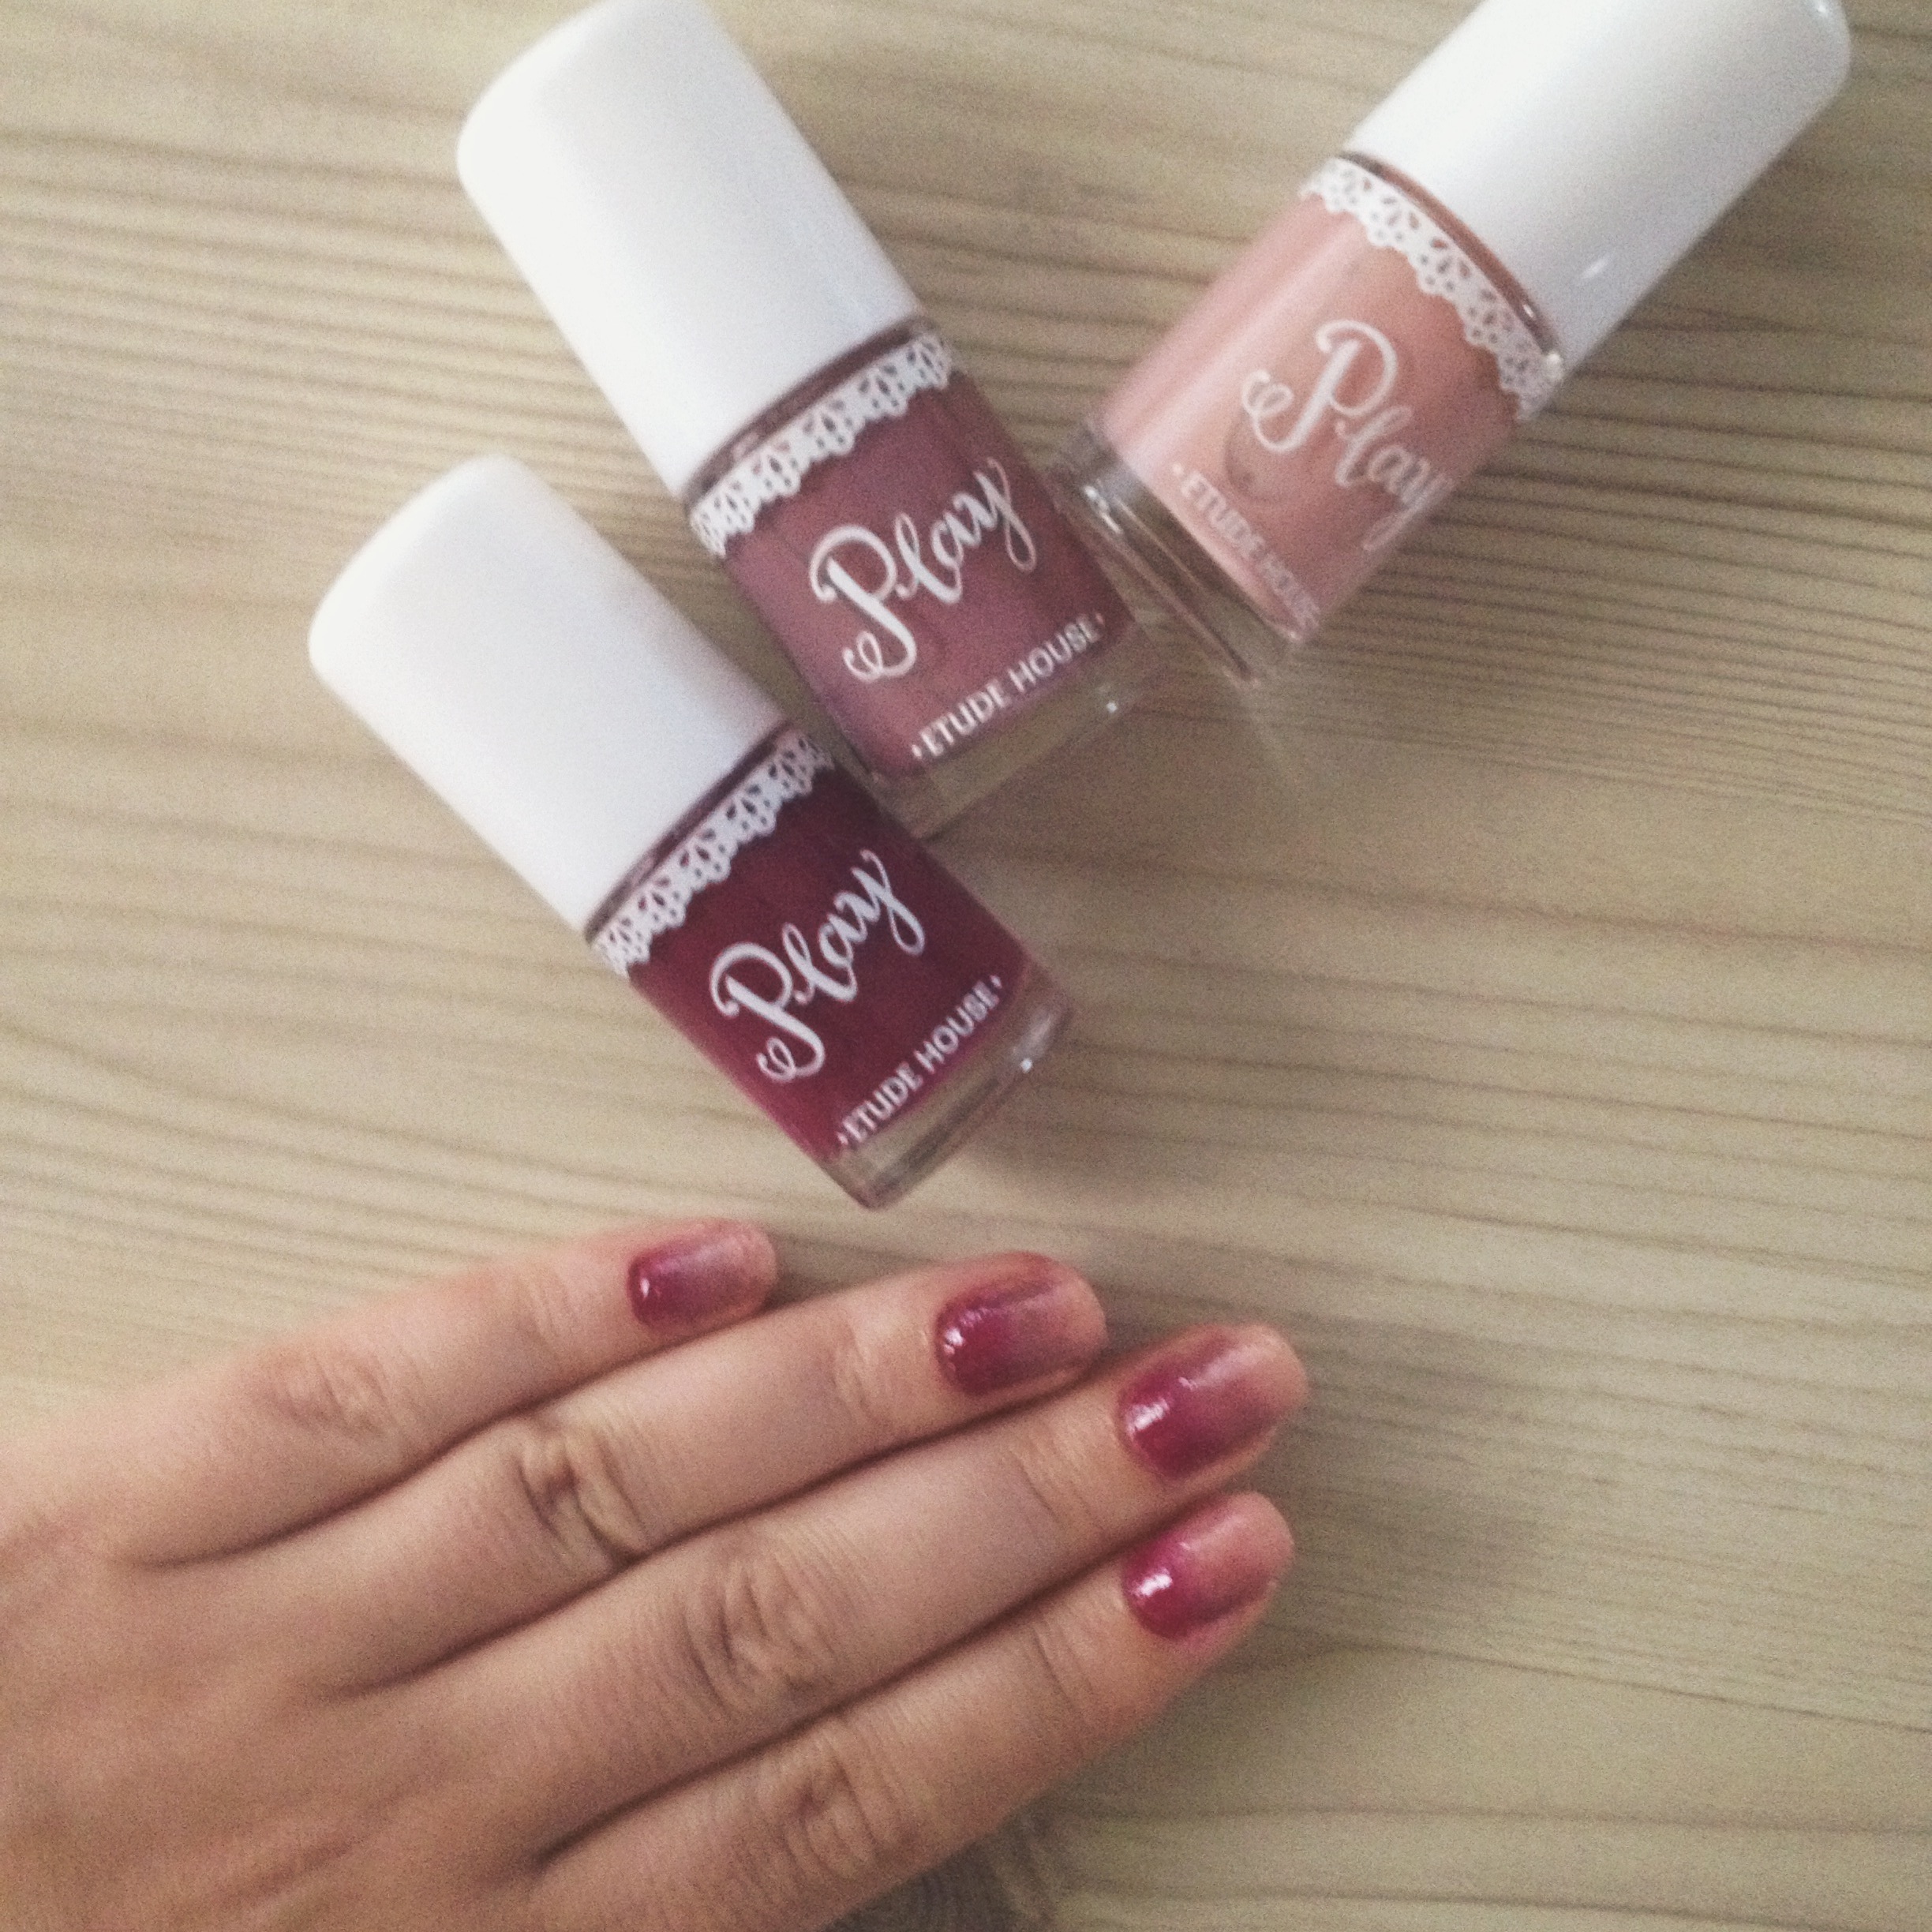
3 nail polish colours
base coat
top coat
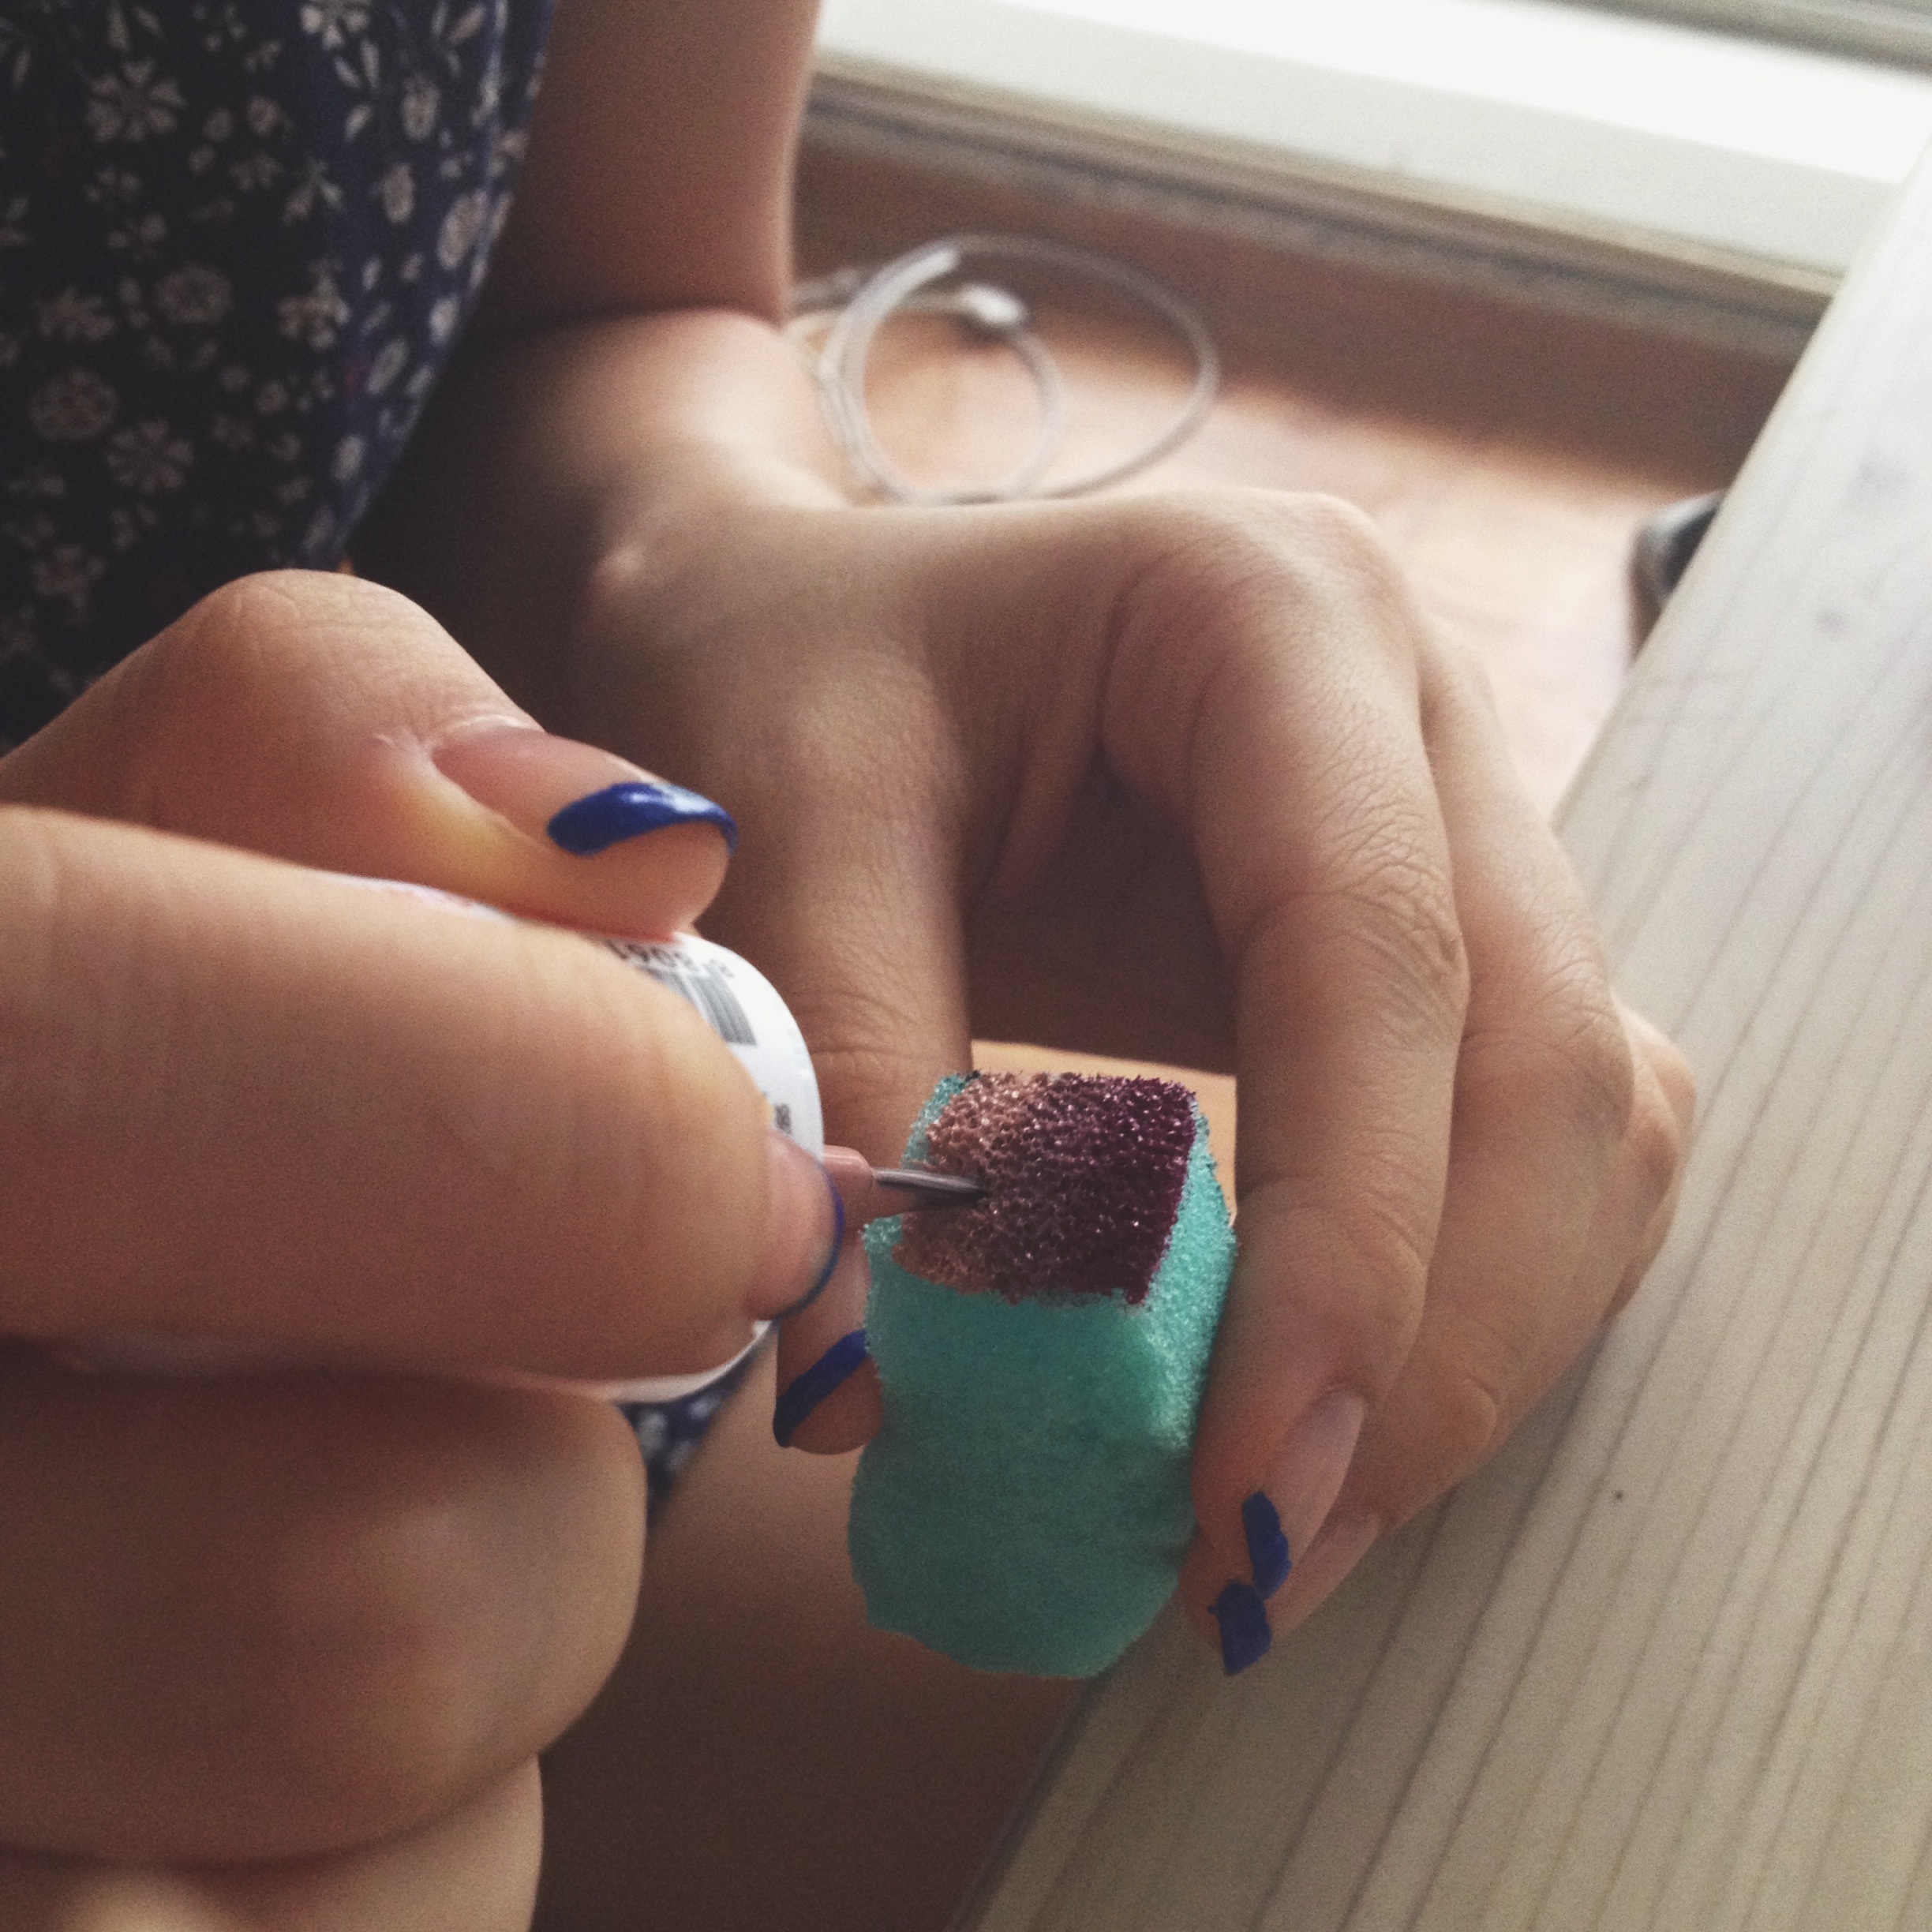
sponge (I first tried with a regular makeup sponge, wich failed miserably. So make sure to use the 'spongey spongey' kind of sponge, if that makes sense. I ended up having to cut my kitchen scourer sponge up to use the end with more 'holes').
Directions
Start with a coat or two of your favourite base coat. This protects your nails from the chemicals inside all nail polish, and prevents your nails from discolouration. I would suggest painting one coat of a white polish after your base coat as it would make a better 'base' for this kind of manicure. But it's up to you, I didn't and wish that I had done so as it would have made my colours pop a bit more, especially my lightest shade which ended up looking a little bland.
Then paint your nail polish onto the tip of your sponge. Work quickly so as not to let the polish dry too quickly on the sponge itself.
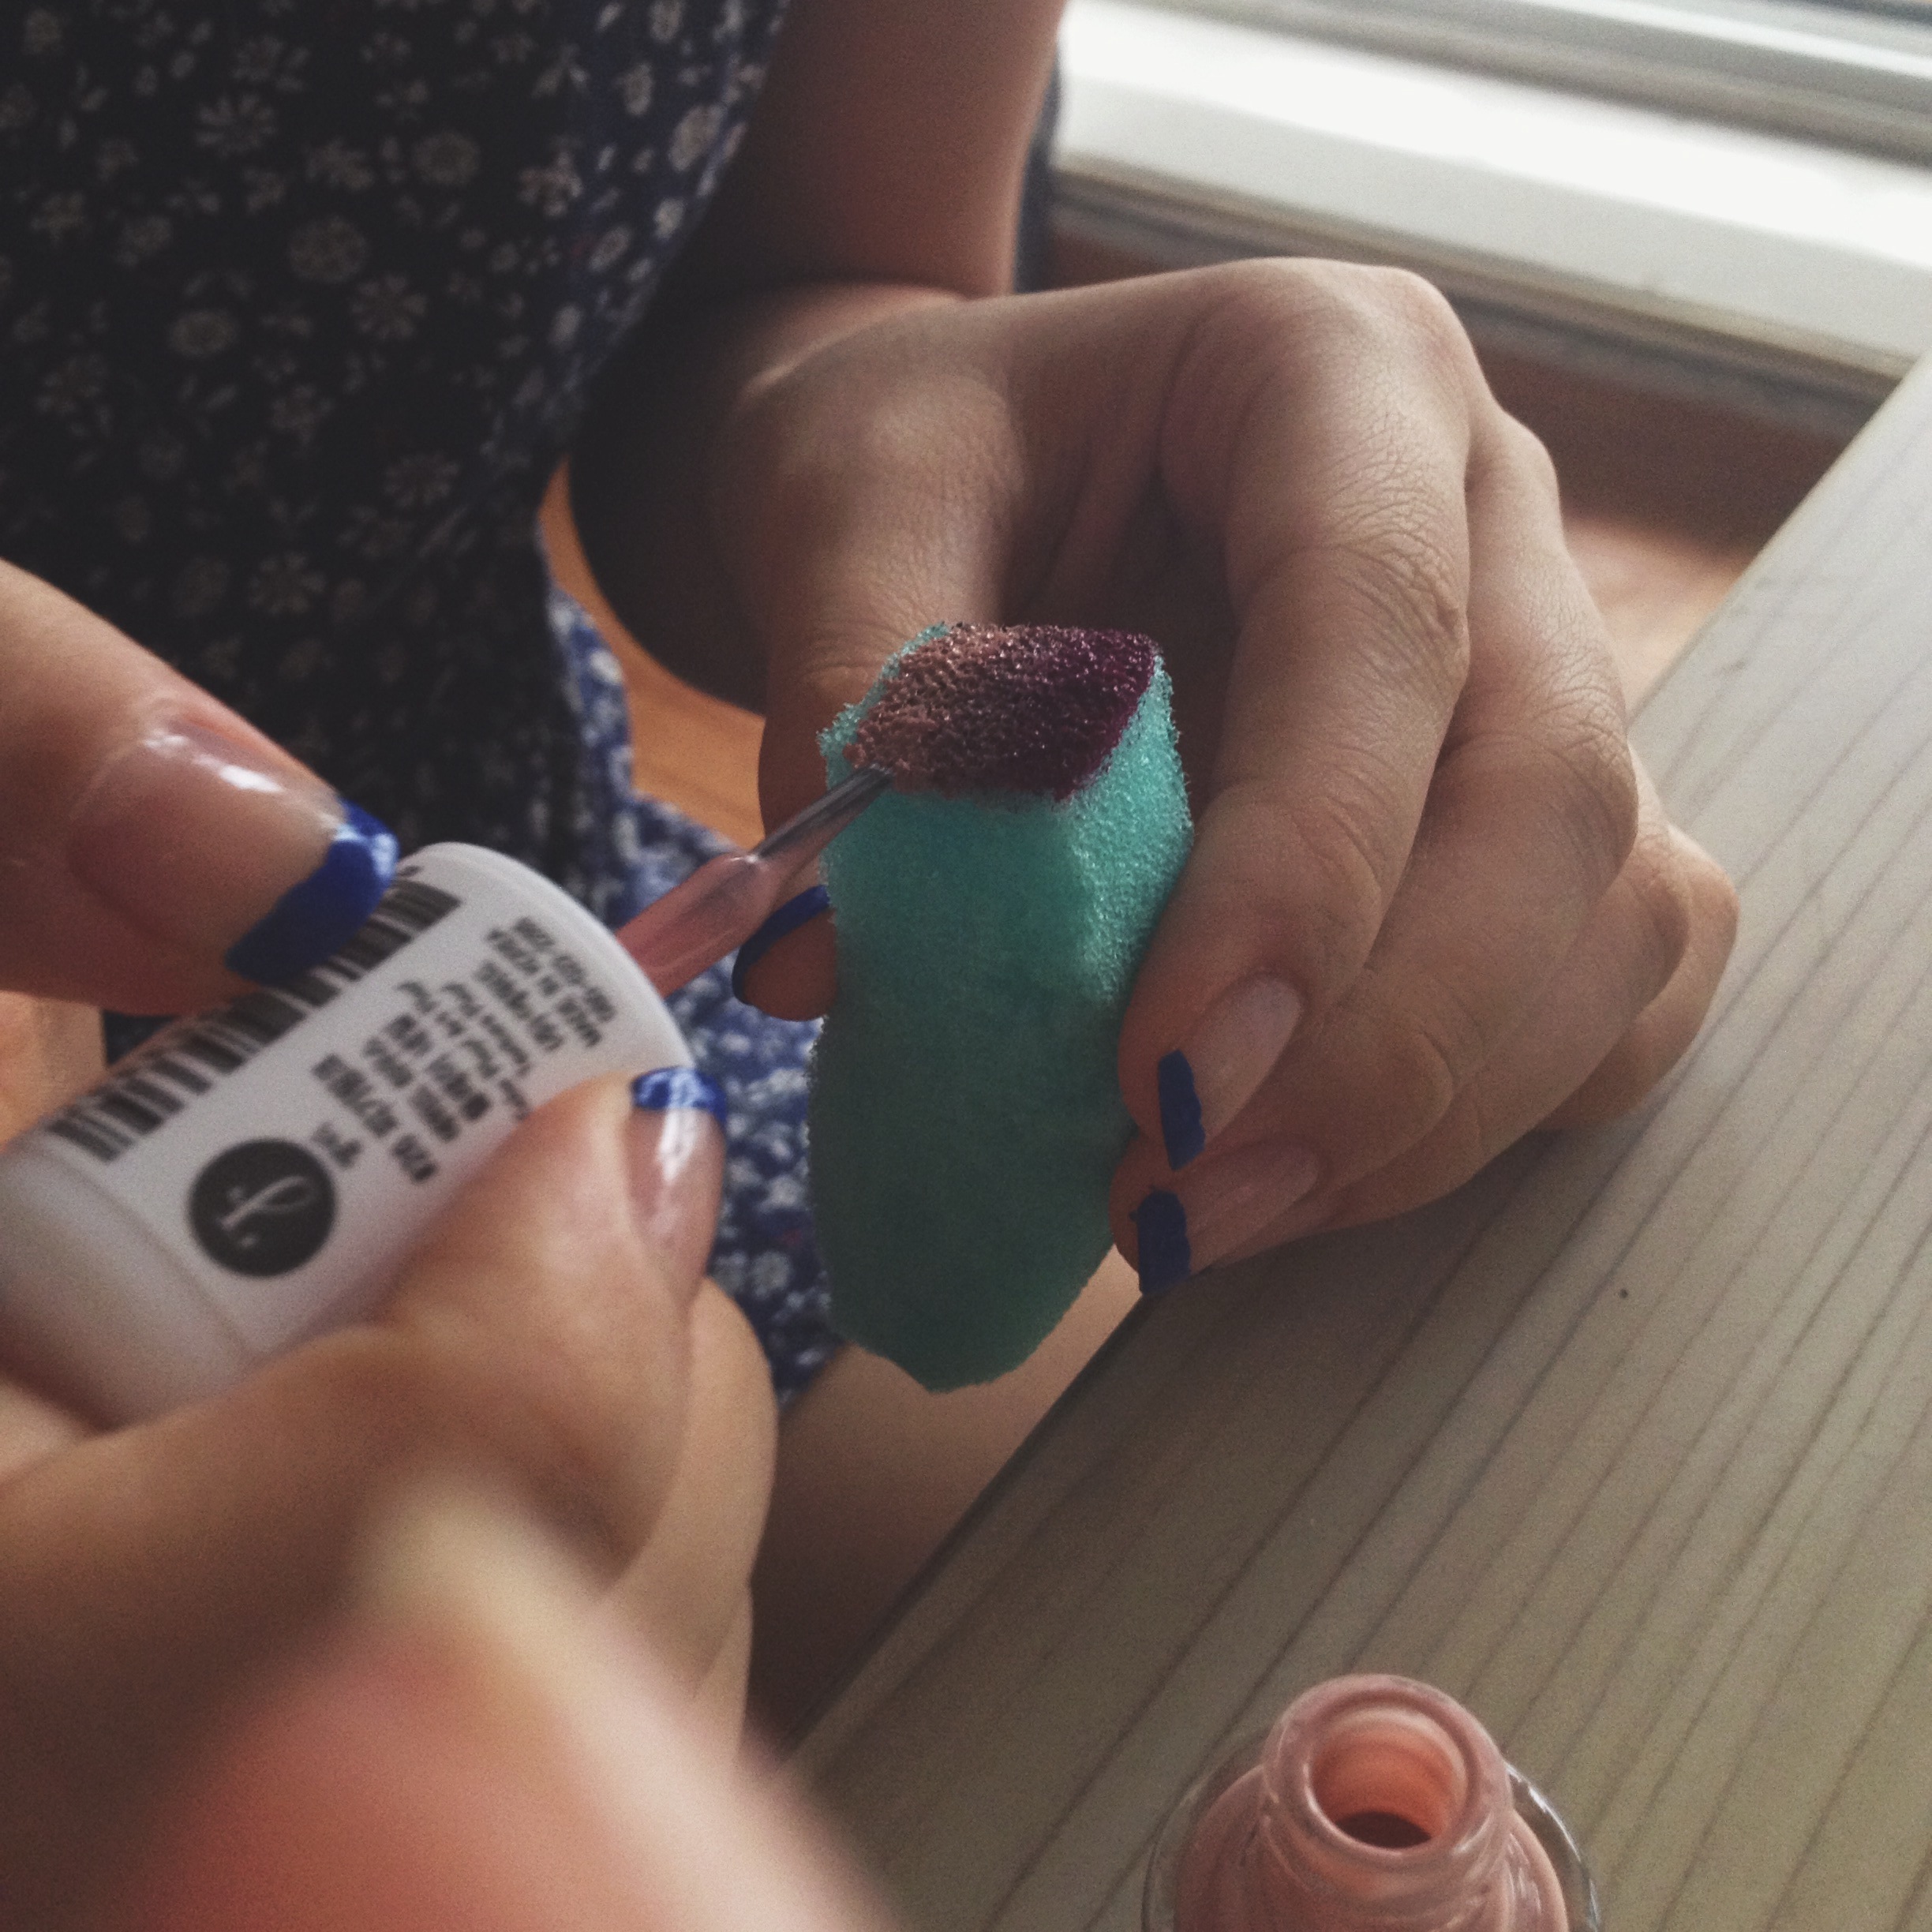

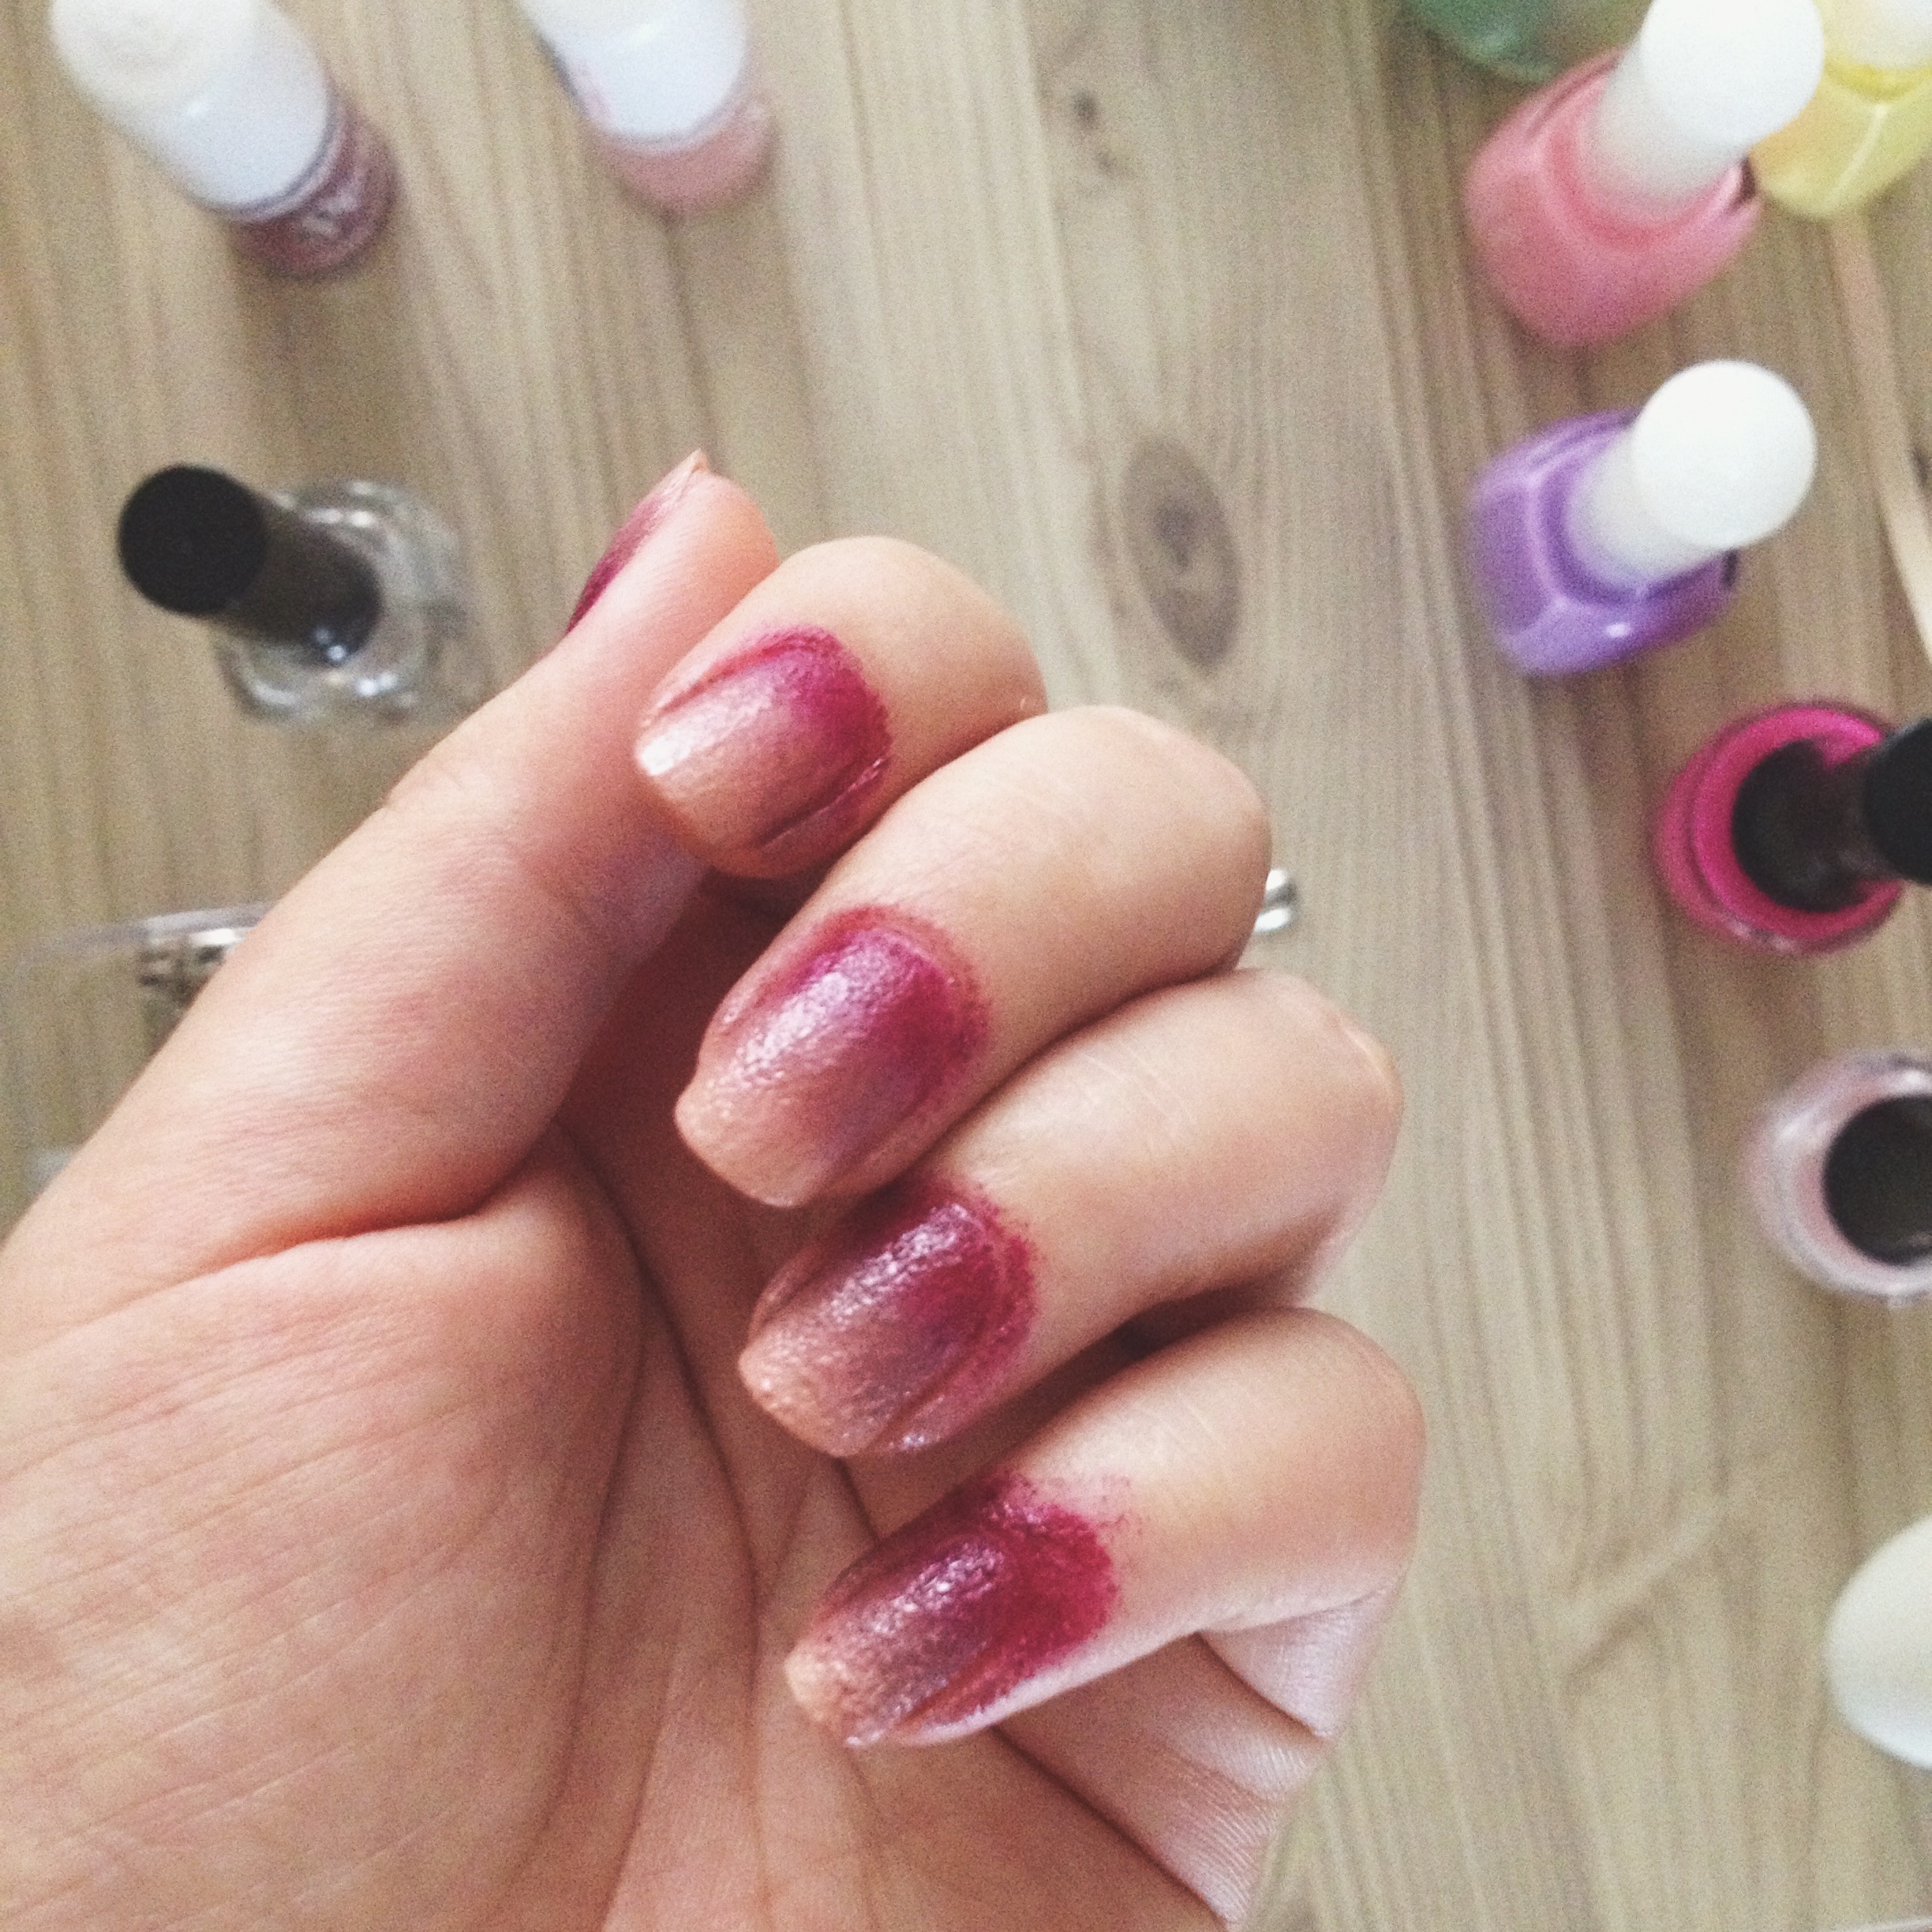
Place the sponge on your nail, first applying pressure to the top of your nail closest to your cuticle and then move the pressure to the middle and finally to the end of your nail keeping the sponge in contact with your nail the entire time. You are making a kind of backwards 'C' motion with the sponge. You can also use a side to side motion for the first coat (as pictured above). Once you have you first coat, dab the nail with the sponge to apply more colour. The more you dab, the more natural the gradient look will be. Repeat on all your nails, finishing off with a couple of coats of your top coat to seal in the polish and protect your nails from chipping
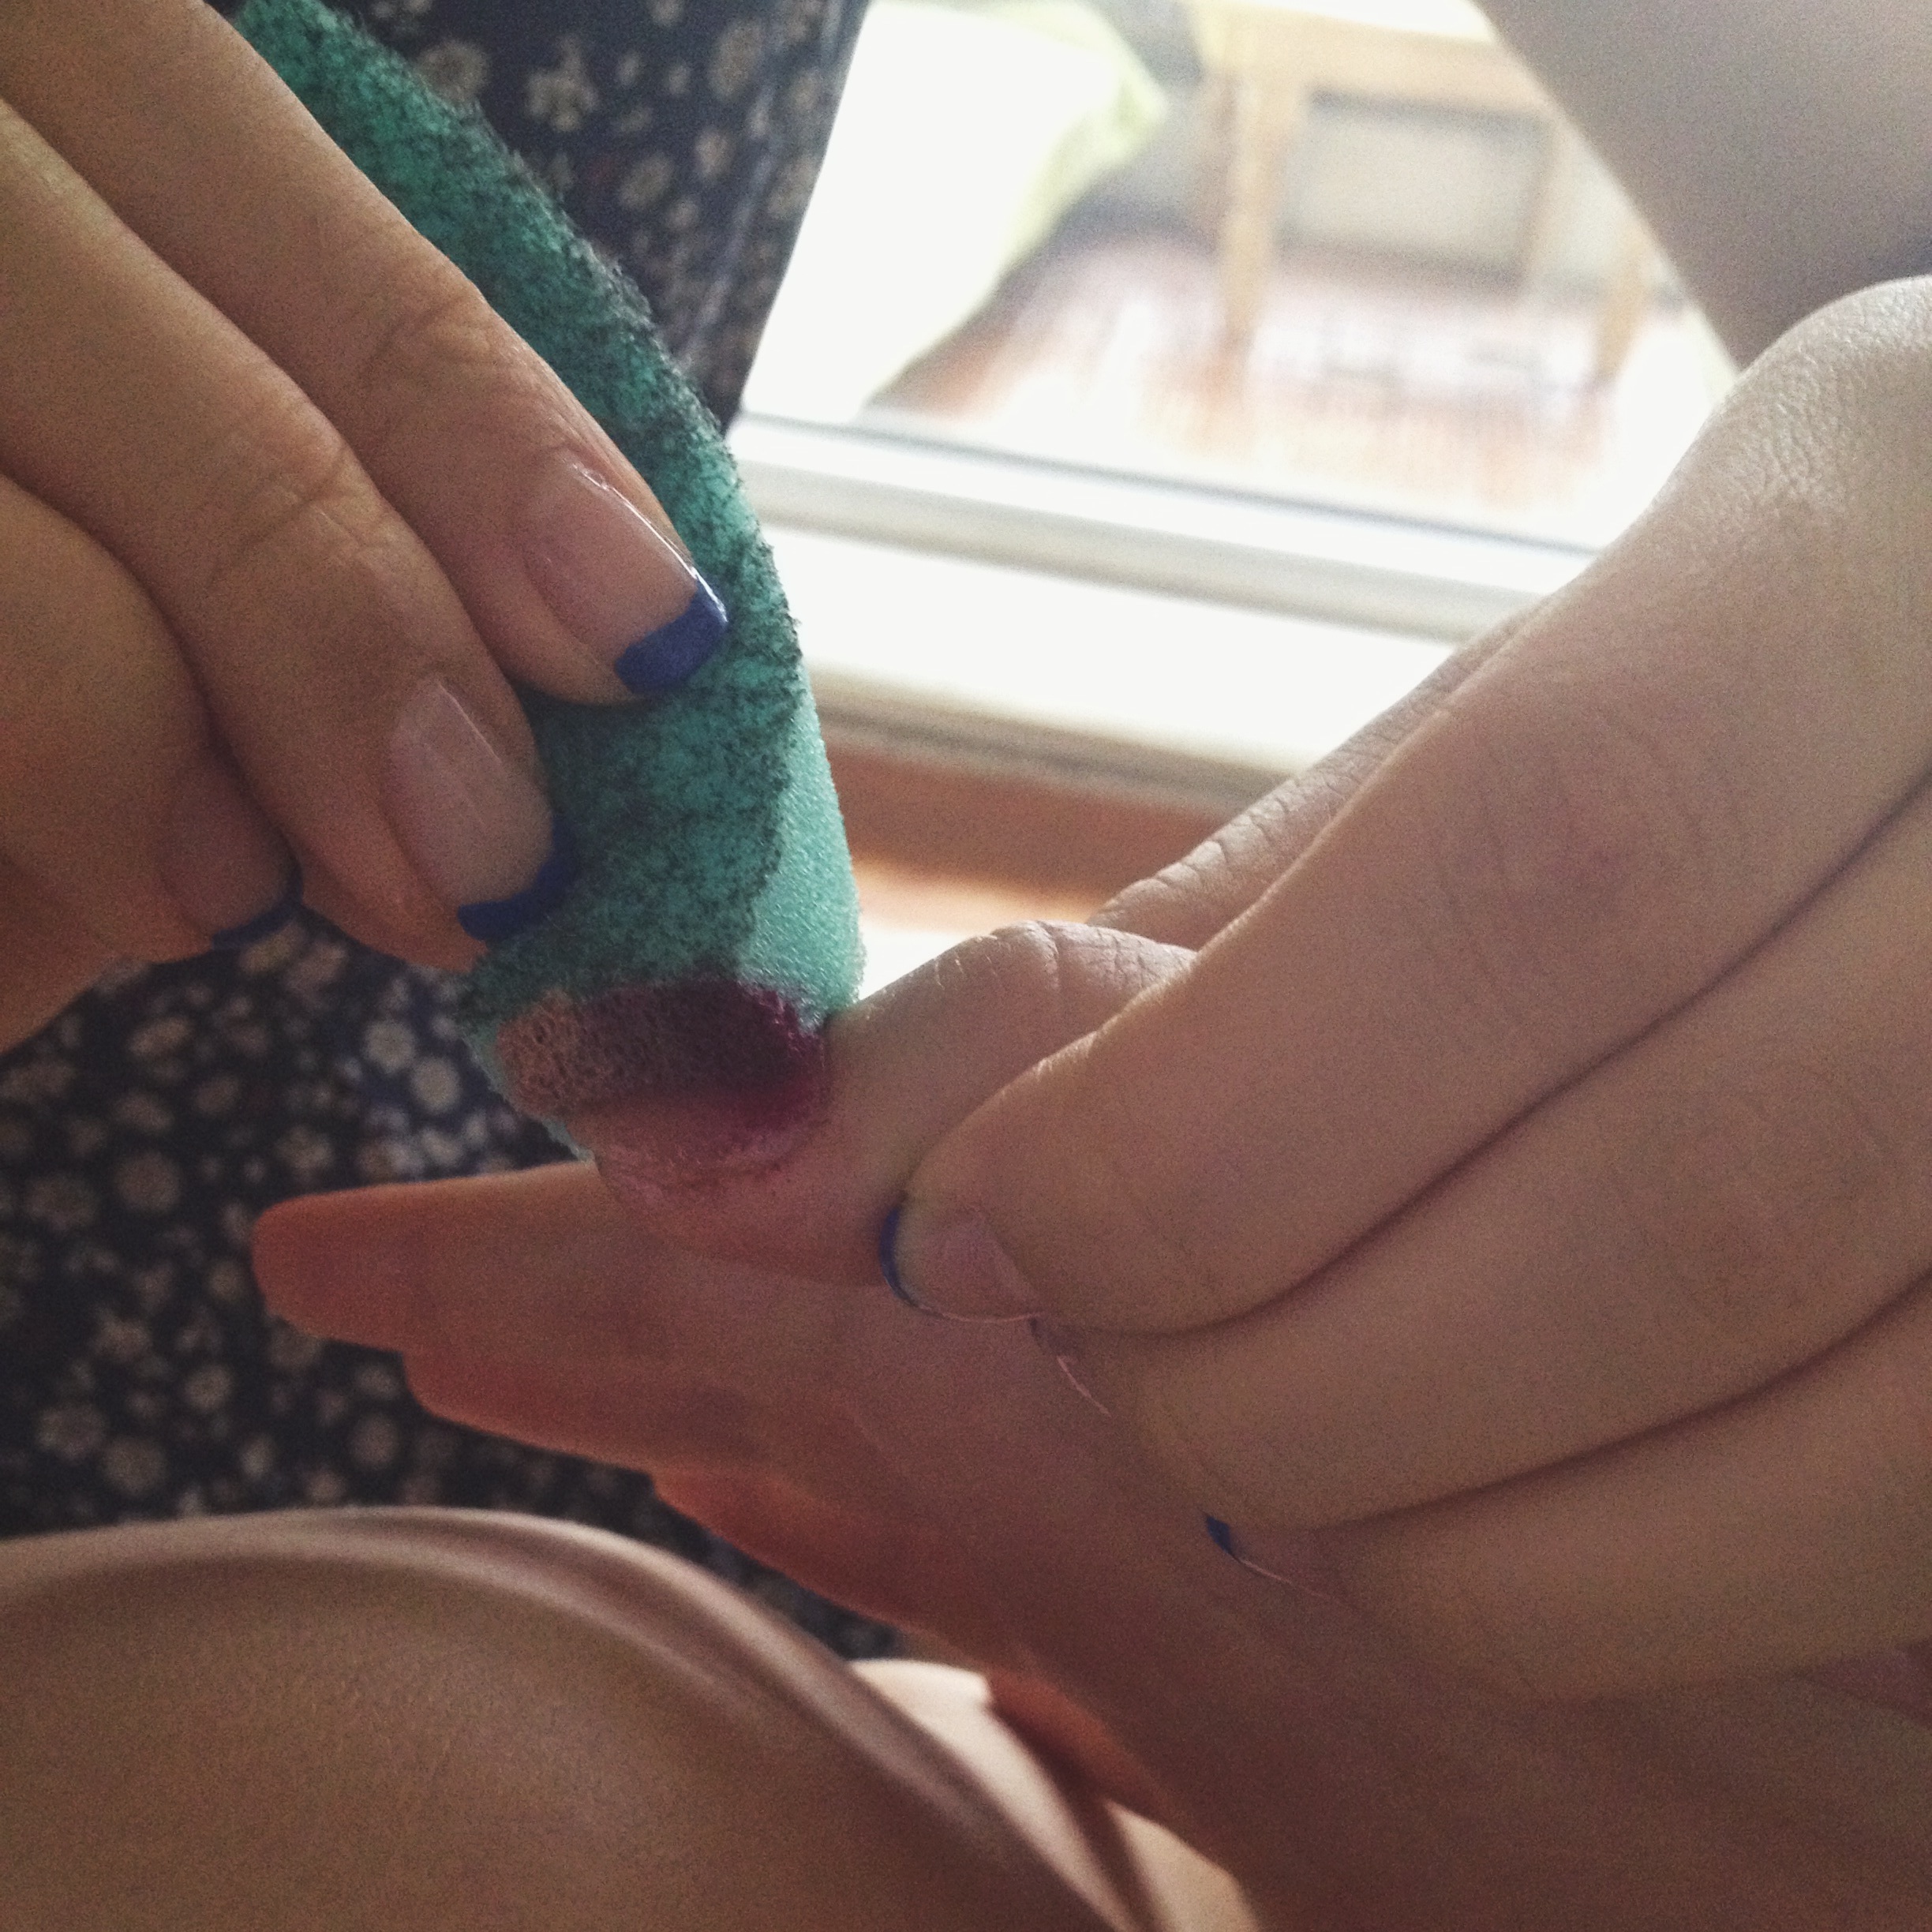
Your sponge will make the manicure look textured and not as smooth as a regular manicure. But this can be changed by using a smoother sponge.
Next you've got a bit of cleaning up to do:
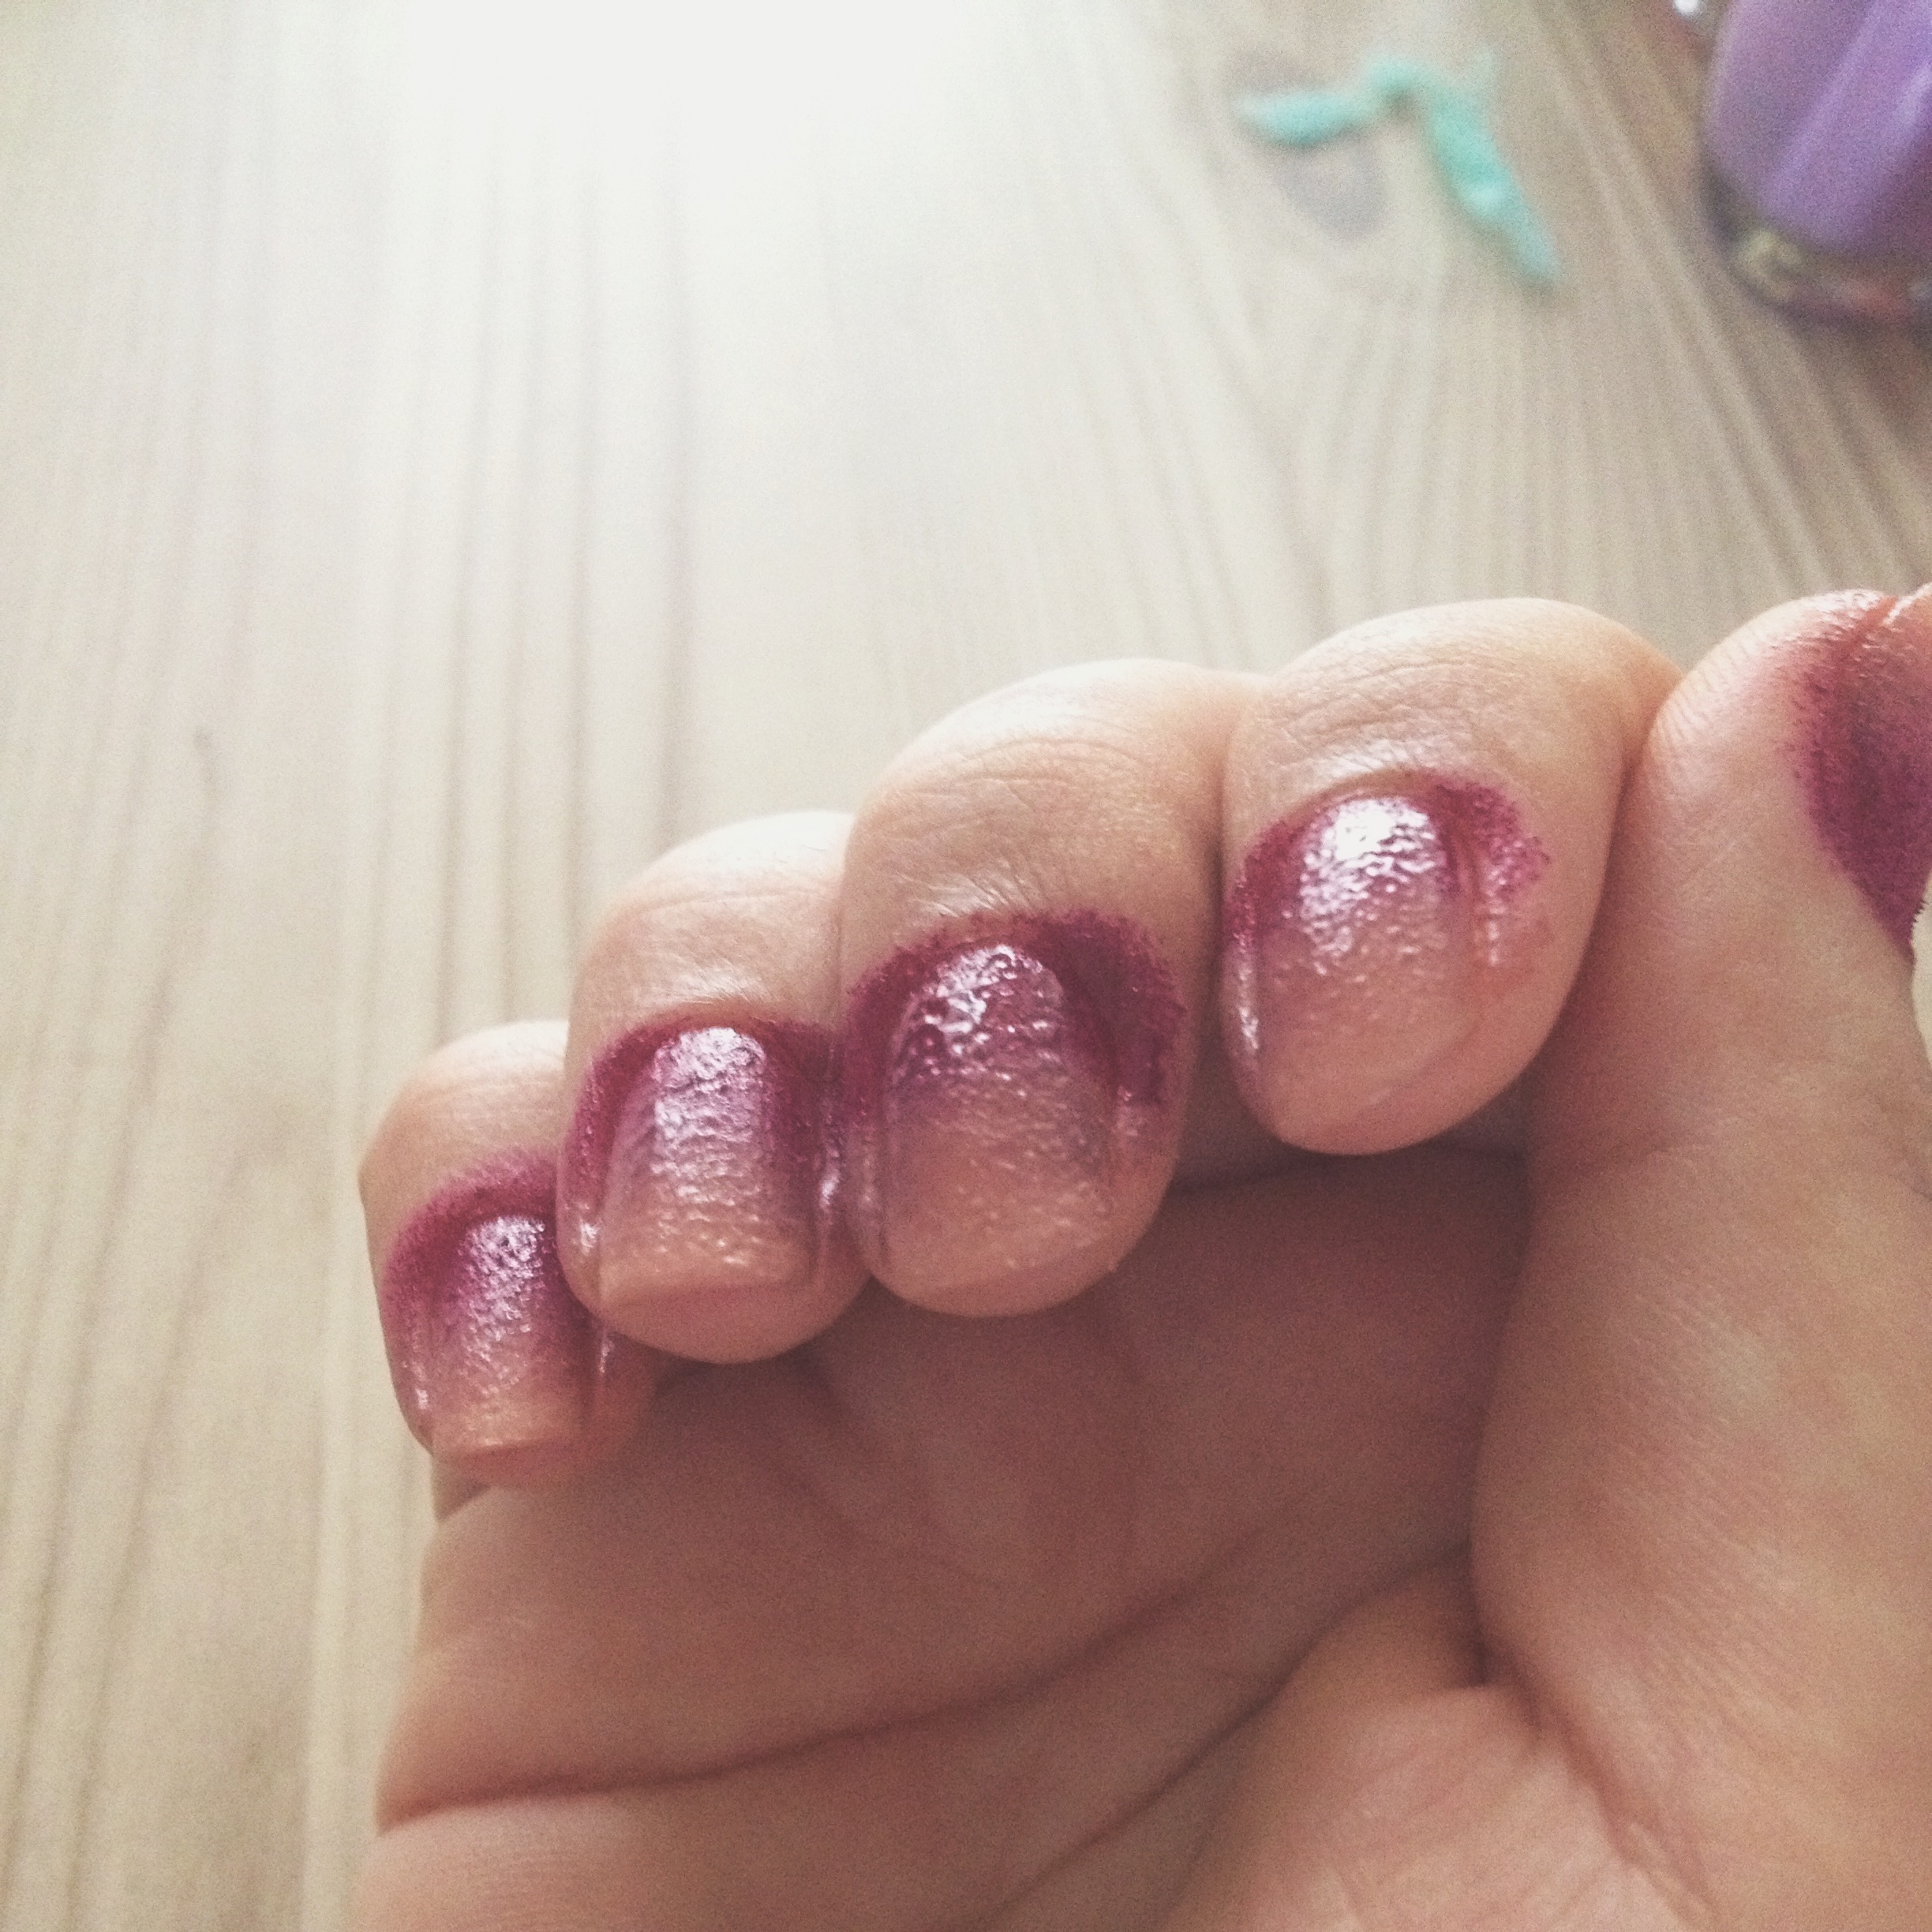
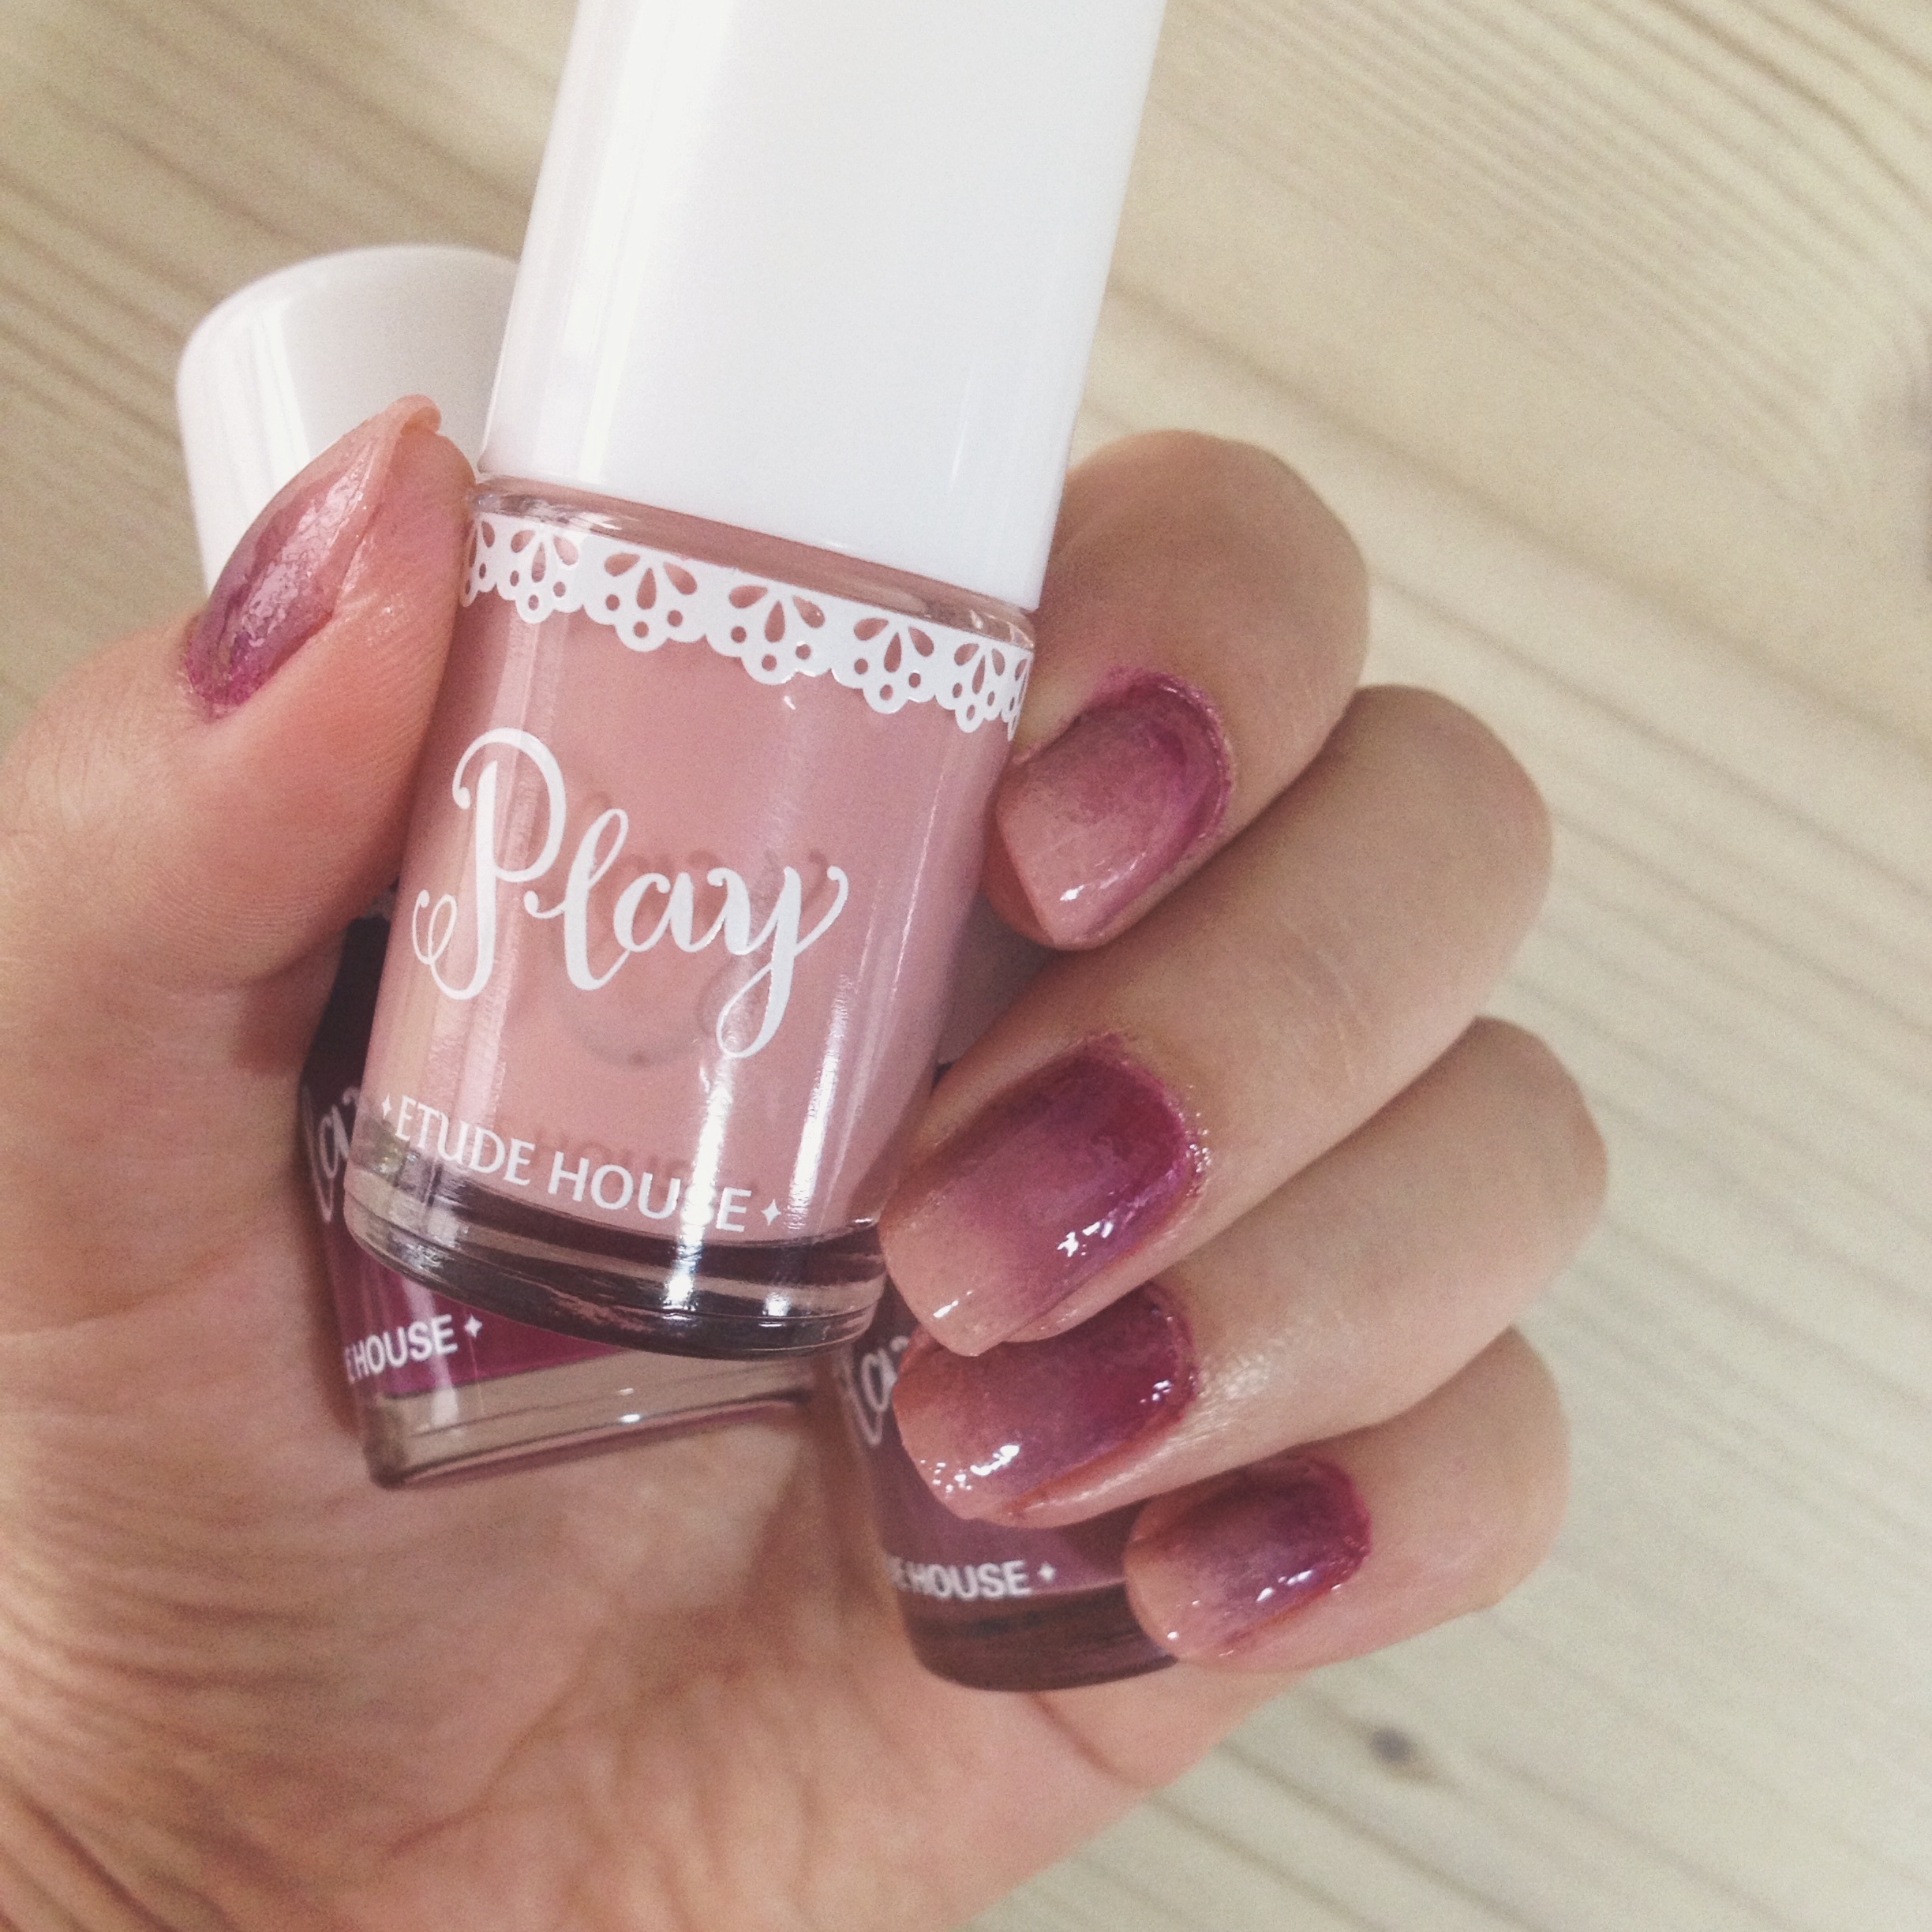
Use an earbud dipped in nail polish remover to clean up your cuticles. You can also apply a lotion or vaseline to your cuticles before painting as this makes the clean up process very easy. I forgot to do this and had quite a job removing all the edges. This is a very messy manicure and does require quite a bit of work to make it look perfect. But the hard work is definitely worth it, don't you think?
Next I'm going to try a pastel combination, what colours do you think would work best?
If you try this yourself, share your work on my Facebook page (@citygirlsearching) or on Instagram (@roxyhutton) I'd love to see what combination you choose.