Get Crafty! *Vintage MakeUp Box*
/
I've had this boring pine box/chest of drawers hanging around in my room for years. It used to be filled with my (*wait for it*), my rubber...sorry we don't use that word anymore...I mean, eraser collection, cassette tapes and other such nonsense. Farmboy suggested we do something with it. It has now become the UlTiMaTe MaKe-Up storage device!
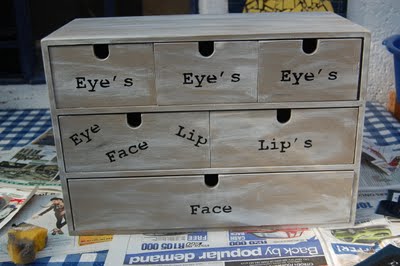 |
| please excuse the apostrophe's...as an English major I should have know better. I couldn't even blame Farmboy as I had done the stenciling! |
It was so easy to do, I think you should give it a try!
You will need...
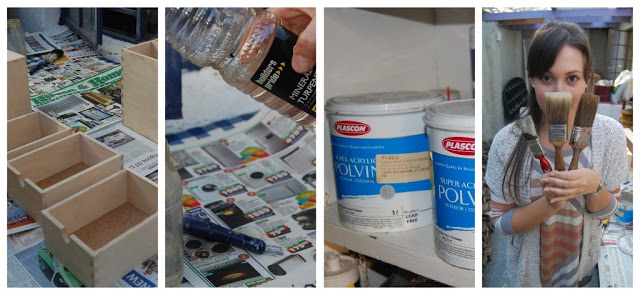
box/chest of drawer/anything needing a 'lift'
paint brushes
turpentine (to clean the brushes)
3 colours of paint (we just used what we could find in the shed...it was Plascon's Super Acrylic Polvin in "baby elephant" for the main colour, for the 'vintage' look we used Plascon Multi Surface Primer, and black for the stenciling)
lots and lots of newspaper
some sponges
stencils (we used an old x-ray that we traced and cut out on)
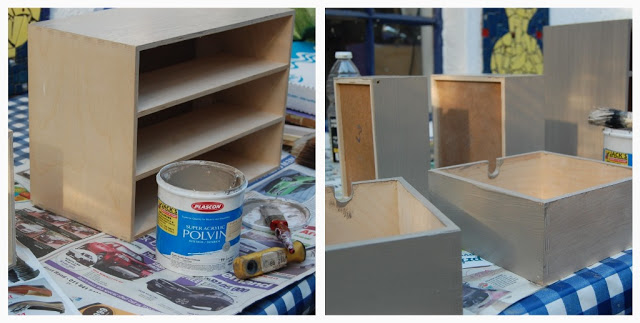
Step 1: Paint your box thingy all over with your base colour and leave to dry. Don't forget to put down lots of newspaper so as not to make a big mess
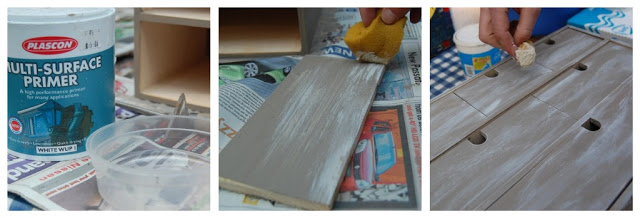
Step 2: First mix a little turpentine with your white paint to get a nice even consistency, and before you go crazy with your box, practice on a spare piece of something to get your creativity flowing. Make sure your box is completely dry and then it's bomb's away...happy spongeing! This is a bit of a process, and you will get better at it as you go along...promise!
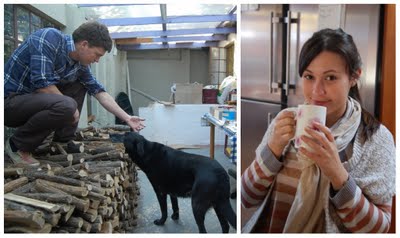
Step 3: Tea time!
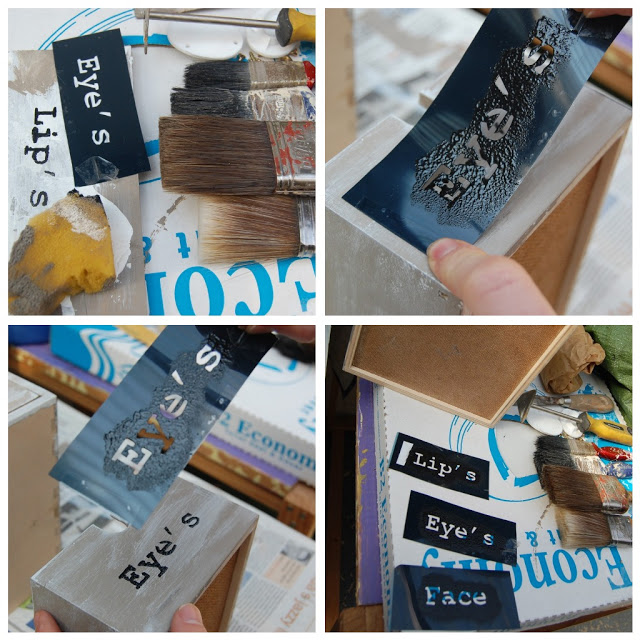
Step 4: Use your tea time to prepare your stencils. Just print out the words you want to stencil on your 'thingy', glue them onto thick card or an x-ray if you have, and then using a craft knife, cut them out...otherwise just get yourself an actual stencil to use.
Using your black paint, get to stenciling. Use a sponge to 'dab' the paint on the stencil as it creates a much nicer effect than solid painting. Leave to dry.
Step 5: Stand back and admire your work!
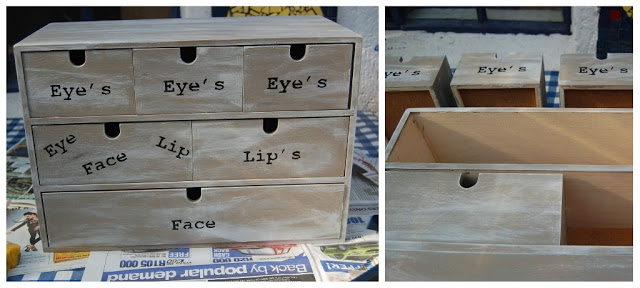
Voila! The ultimate beauty storage device!

The idea for this *make-over* came from the lovely Sacha at OnceUponATime who specialises in transforming old forgotten furniture, and does it in style...thanks so much for the inspiration Sascha!