Raw Dog Food - my journey into the world of raw/real food for my dogs
/
I have always been intrigued by the idea of raw dog food, but it hasn’t been something I have been able to properly sink my teeth into until recently. It shouldn’t surprise my readers though, as the ‘crunchy’ journey I’ve been on (cloth nappies, baby led weaning, real food like liver and eggs as first food for my babies, homesteading, and now homeschooling haha)…the signs were there! If you’ve ever thought twice about the ingredients list of your own food, I’m sure the thought has crossed your mind as to what exactly is in dog kibble. Something I do have to highlight from the get go with this though, and when diving down this rabbit hole, it’s a huge change in mindset and you do give up pretty much all the convenience you have. It’s not that simple to go away and have someone pop in and chuck a couple of scoops of food down in a bowl for your dogs anymore. It requires planning, and preparation and organising and I have had to give myself a few pep talks in the past about not getting too fixated on doing it ALL. Even adding a teeny tiny bit of meat or an egg to your dog’s meal once a week has added benefits. But, going the full hog and changing over completely has had incredible results in a very short space of time for us and I’m going to share with you what I have done and how I do it.
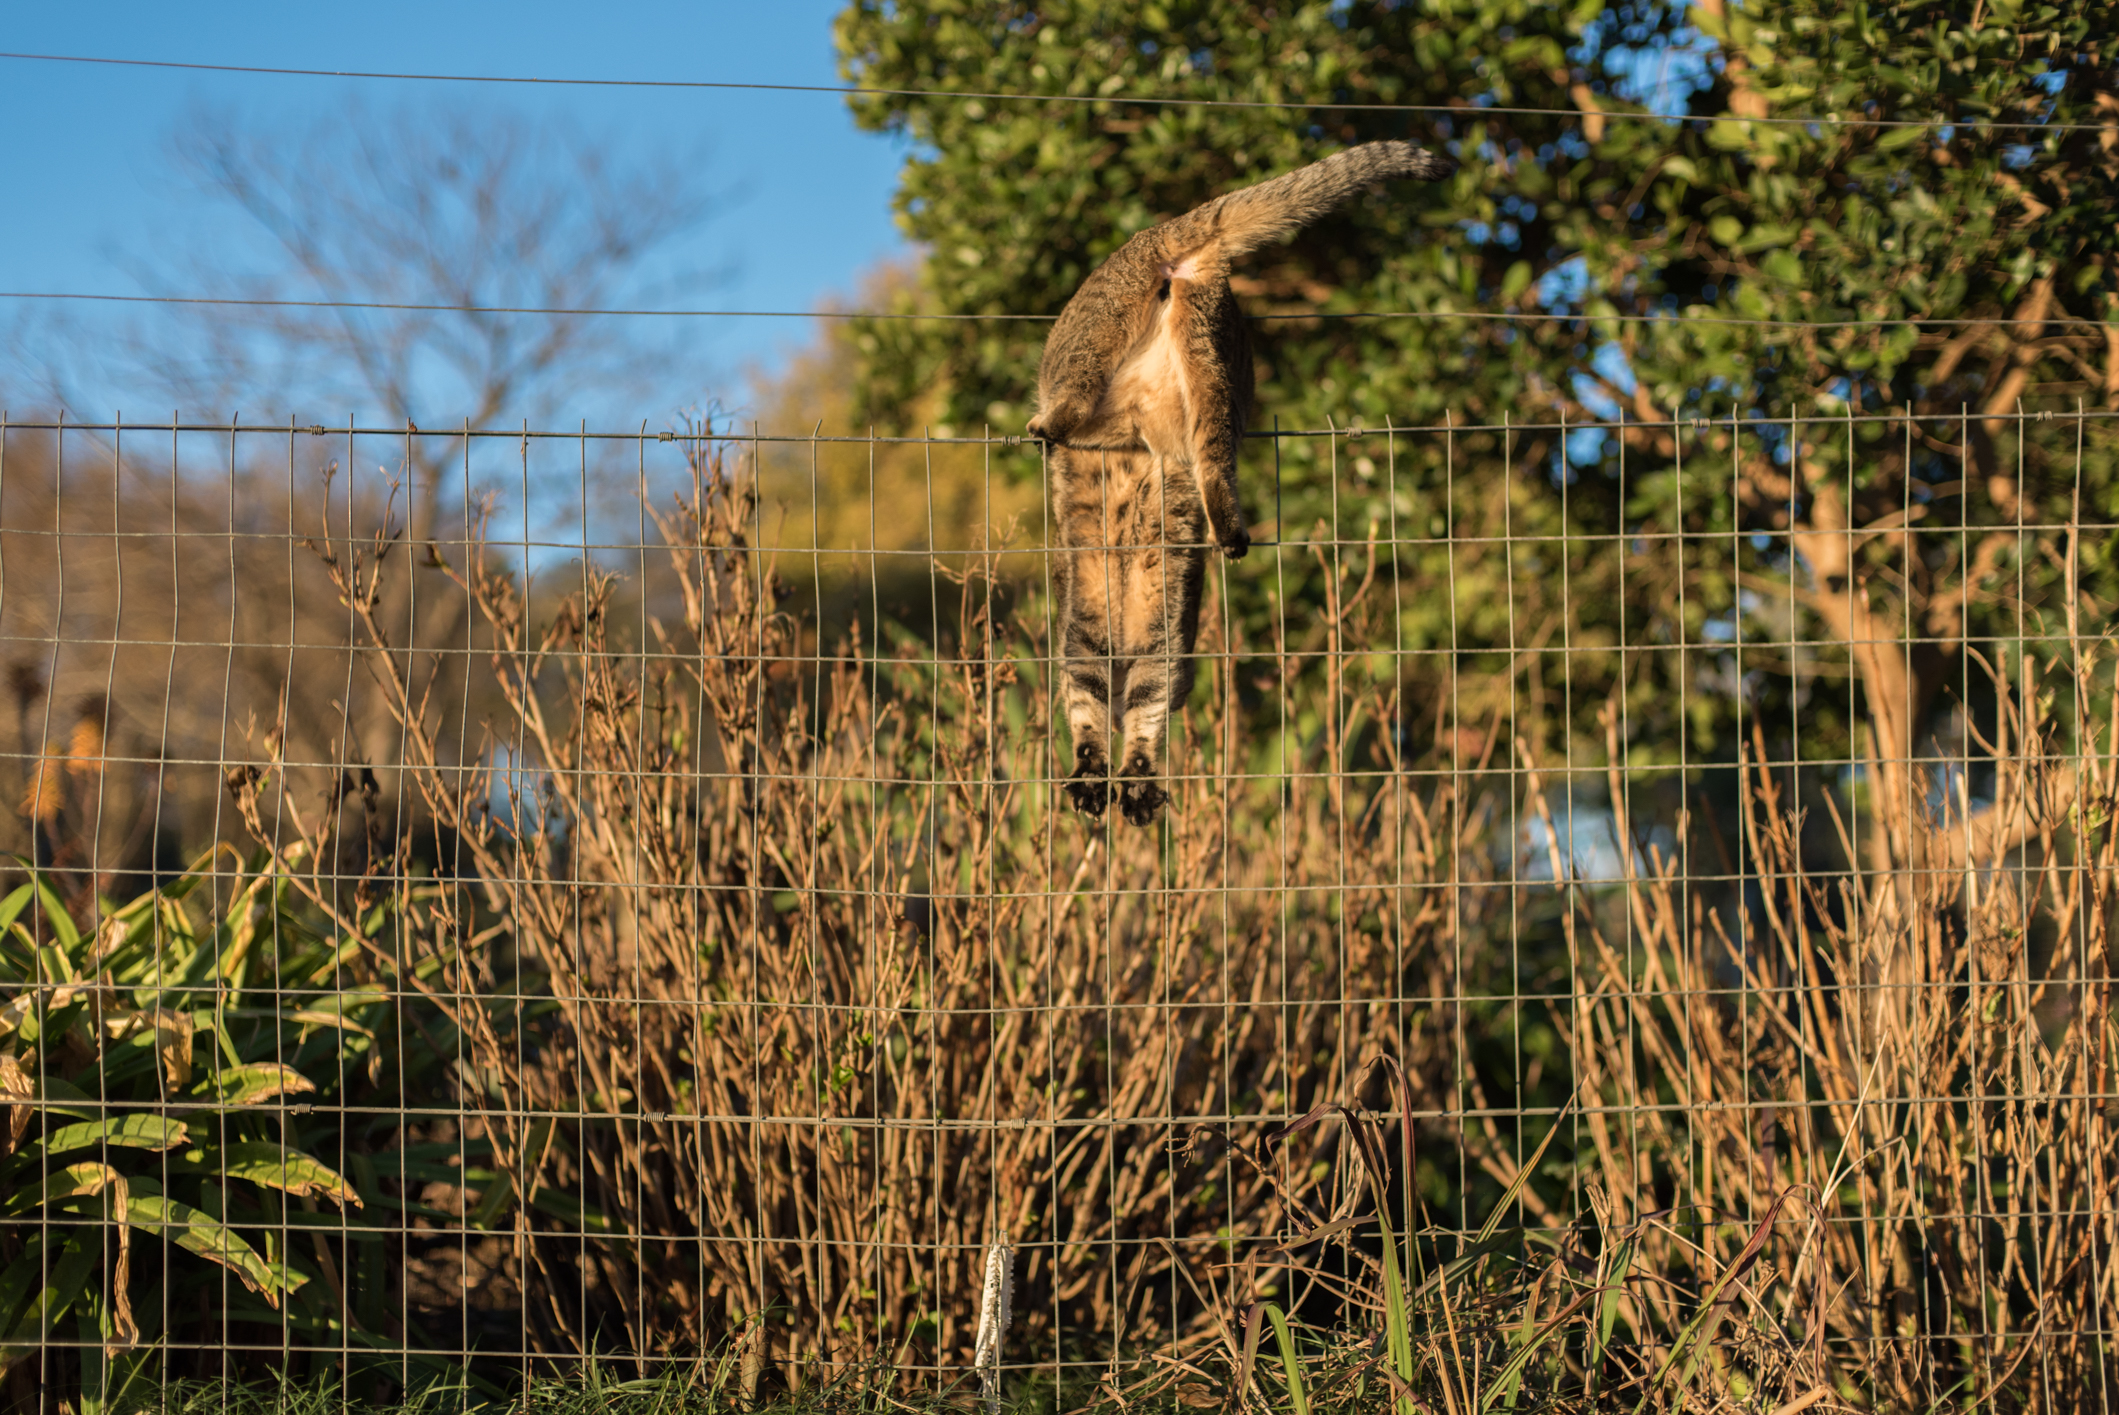
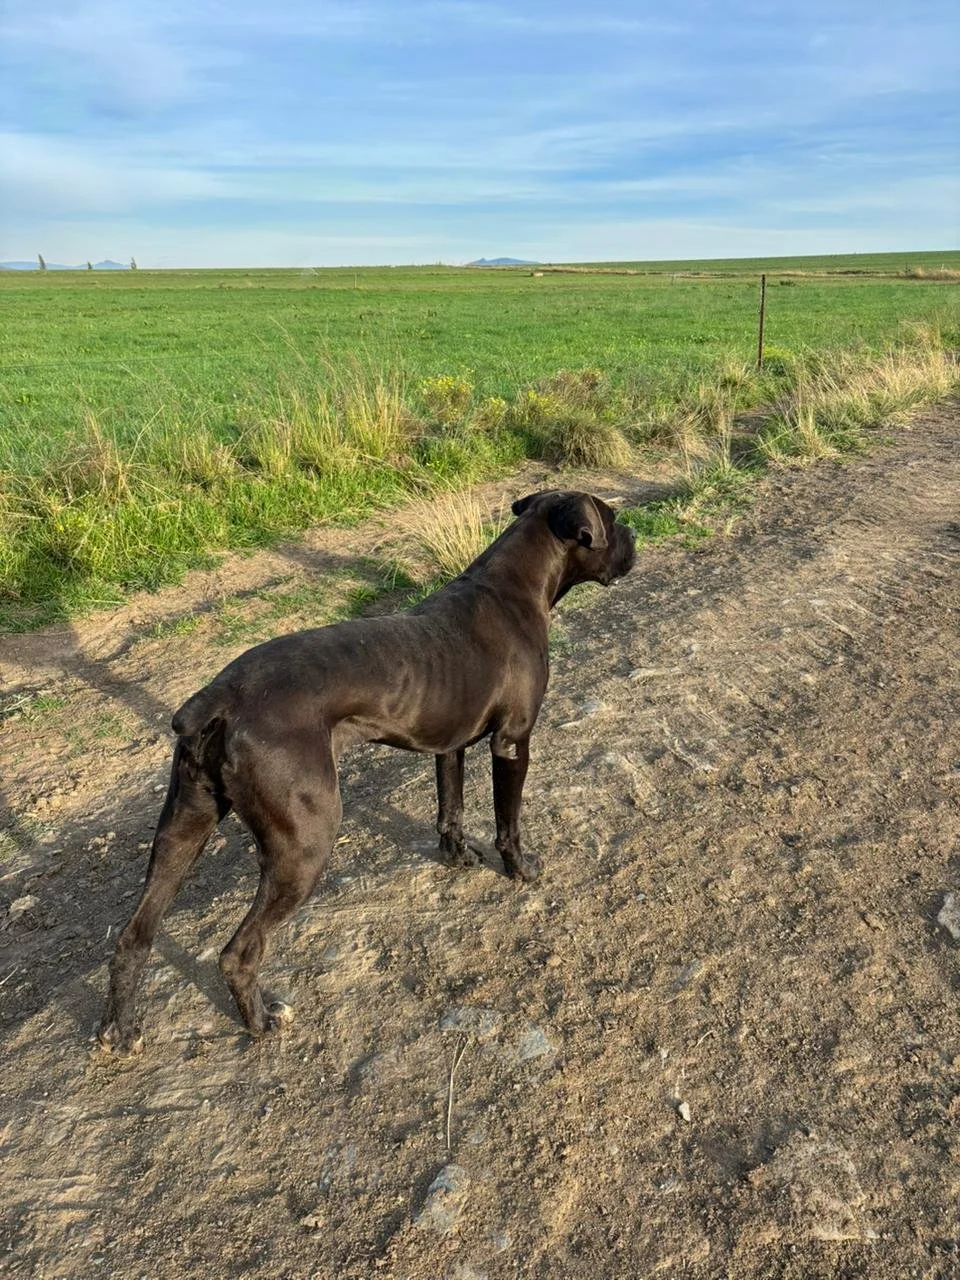
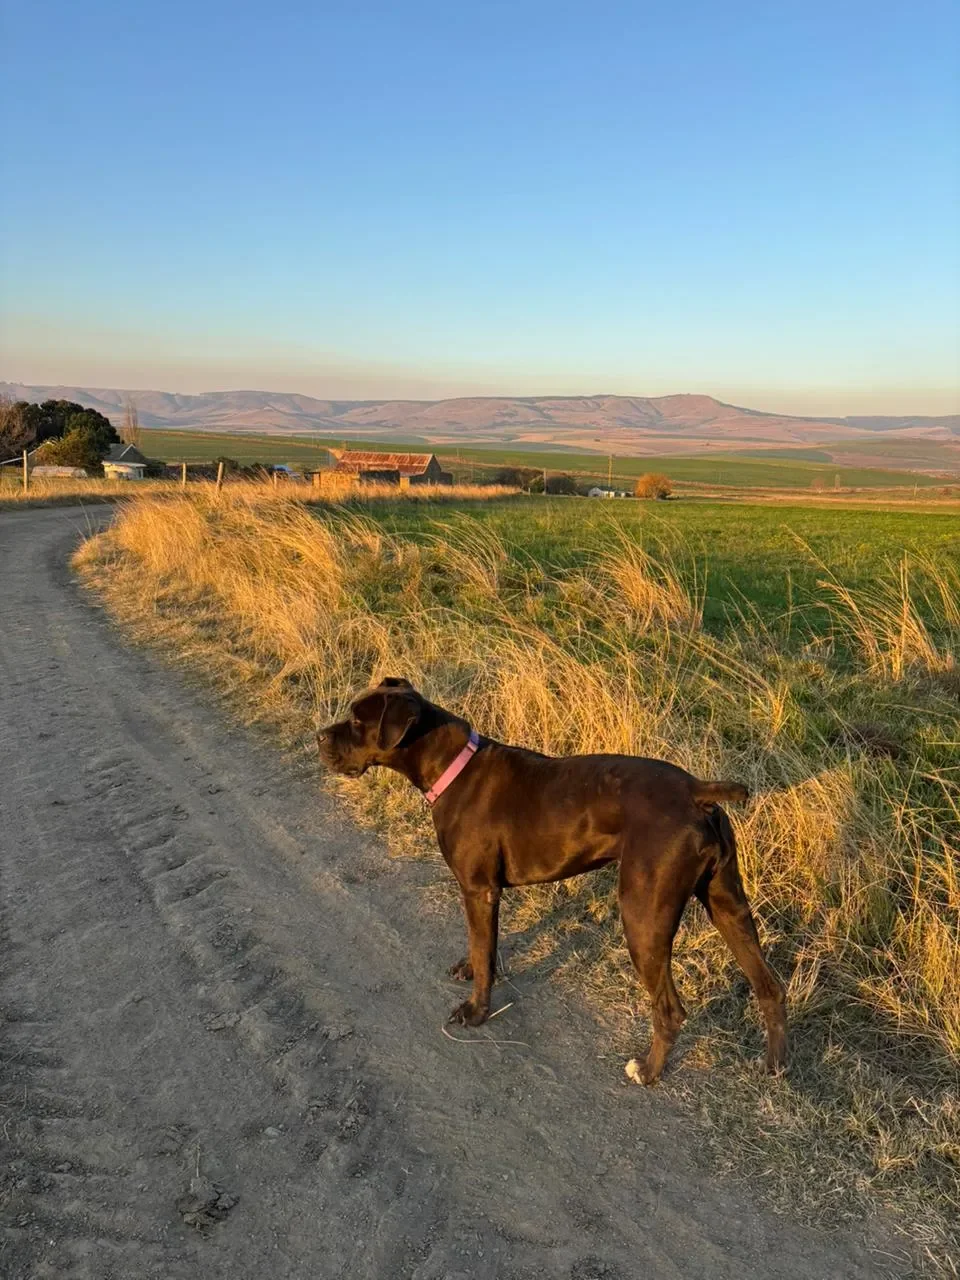
Here is a photo of my 3 (all black and white haha) dogs…who are pretty impossible to photograph together as the youngest (Maximus, the Bullmastiff far right) is usually hurtling himself all over the place, landing on top of Zara the Boerboel on the left:

First things first, there is a lot of conflicting thoughts on raw dog food, and lots of people will raise their eyebrows; either because they feel dry dog food has been specially formulated by animal dieticians (which, for the most part IS true) but I simply can’t believe that cereals & other grains, sprinkled with ADDED minerals etc & then added to what is usually a very small amount of protein; can possibly be better as a food source than actual meat. I am used to the questioning looks (as well as the fear mongering) that comes from some people when you do things that go against the grain. I remember the Google rabbit hole I went down when my daughters teeth developed a bit of a blue tinge from the huge amount of blueberries she ate when she was little. I was calling every dentist/oral hygienist I could find because I was worried I had ruined her perfect little teeth. Just a heads up, I hadn’t ruined anything haha. And don’t even get me started on the raw milk/liver/egg yolk concerns that were raised when the weaning journey started with all 3 of my kiddies. I am not discounting the very real concerns that many vets have with raw food. There is a very big difference between properly doing your research and just feeding your young pup a diet of only table scraps & some rice. I am still learning, but I have grown in confidence in seeing the outward results that have come since I started this journey in February this year (2025)…ie 4 months ago.

How I first Started
The first thing I did was decide on what blogs and articles I felt were useful and encouraging. I then spoke to a friend who was also feeding her dogs raw food (her two older golden retrievers…about 12ish years old I think…looked incredible for their age and I could tell immediately before even asking her about their diet, that they were raw fed). I chatted to a vet friend (she was a bit sceptical due to her experience with raw being done so badly) but on the whole, she was supportive. I then dived into the ingredient list of the dog food I was feeding my dogs (Optimizor Premium) and then found this fantastic article RawMeatyBones. Don’t judge the content based on the simple and outdated website. I downloaded the 2 page guide and it gave me the confidence to just dive right in. Here are some great quotes from the guide:
Dogs left to fend for themselves in a natural world have no difficulty identifying what’s good to eat. Their diet includes anything that creeps, crawls, wriggles, runs, swims and flies. I applaud you if you can find whole carcasses of other animals as food for your pet. However, in our modern world we need to look for alternatives. And in this regard a raw meaty bones and table scrap diet works wonders.
As with any new venture the better informed we are the easier the task. Also, when well informed, fears tend to fade into insignificance. FEAR, by the way, is an acronym for False Expectations Appearing Real. Fortunately, dogs seldom share our fears and wolf down the first raw meaty bone they are offered.Getting started
When getting started, keep it simple. Over time it’s a good plan to feed raw meaty bones and offal from a range of animals. But in the first couple of weeks stick with one source. Chicken is relatively cheap and readily available. Tiny dogs do well on chicken wings and thighs. Larger dogs may need a whole chicken. And for economy, chicken frames, with most of the meat removed for human consumption, are a good source of food.The first time you hand your dog a raw meaty bone can be as momentous or as mundane as you choose to make it. But it will be the start of a whole new way of life for you and your pet. So, having a camera handy could be useful, as could keeping a diary. In years to come you will be able to share evidence of your pioneering efforts with your grandchildren as you look back with pride.
This simple advice was just what I needed to actually start, as I had been going back and forth for a good few weeks. I also went to every butcher, grocery store, pet shop and bulk cash and carry store in my area in my hunt for the ‘perfect’ first meal. In the end, I bought 10 kgs of chicken carcasses from a local chicken farmer and so began their new diet.
One thing you will need to figure out is how much to feed your dog. Generally (and this will vary from dog to dog based on their age, their activity level, their weight and their lifestyle) but as a guide, healthy adult dogs require 2-3% of their body weight in food daily. A good rule of thumb for growing puppies, is 2-3% of their expected body weight when fully grown.

I have the following age & weight dogs:
Shadow (Korean Jindo Husky rescue dog) 11 years old and +- 18kgs
Zara (Boerboel) 6 years old and +- 45kgs
Maximus (Purebreed Mastiff) 8 months old and +- 40kgs (his expected adult weight is in the 50+kg range)
This is how much (again, plus minus) that I feed each dog per day:
Shadow: +- 400g (once per day)
Zara: +- 1.2 kg (once per day)
Maximus +- 1kg (he gets 400g decent quality kibble in the morning & +- 800g of meat/bones in the evening when the other dogs get their food)
Calcium And Phosphorus
Something that I was often warned about is the calcium & phosphorous balance (especially for growing puppies, and especially important for large breed dogs like my Maximus). Balancing calcium & phosphorous is fairly easy to do though. Plus, there’s a wider margin of error when feeding raw. Calcium that comes in a synthetic powder is nearly impossible for a puppy to excrete. This means an excess of calcium is more of a concern with synthetic products than with the naturally occurring calcium found in bones (great info from DogsNaturallyMagazine).
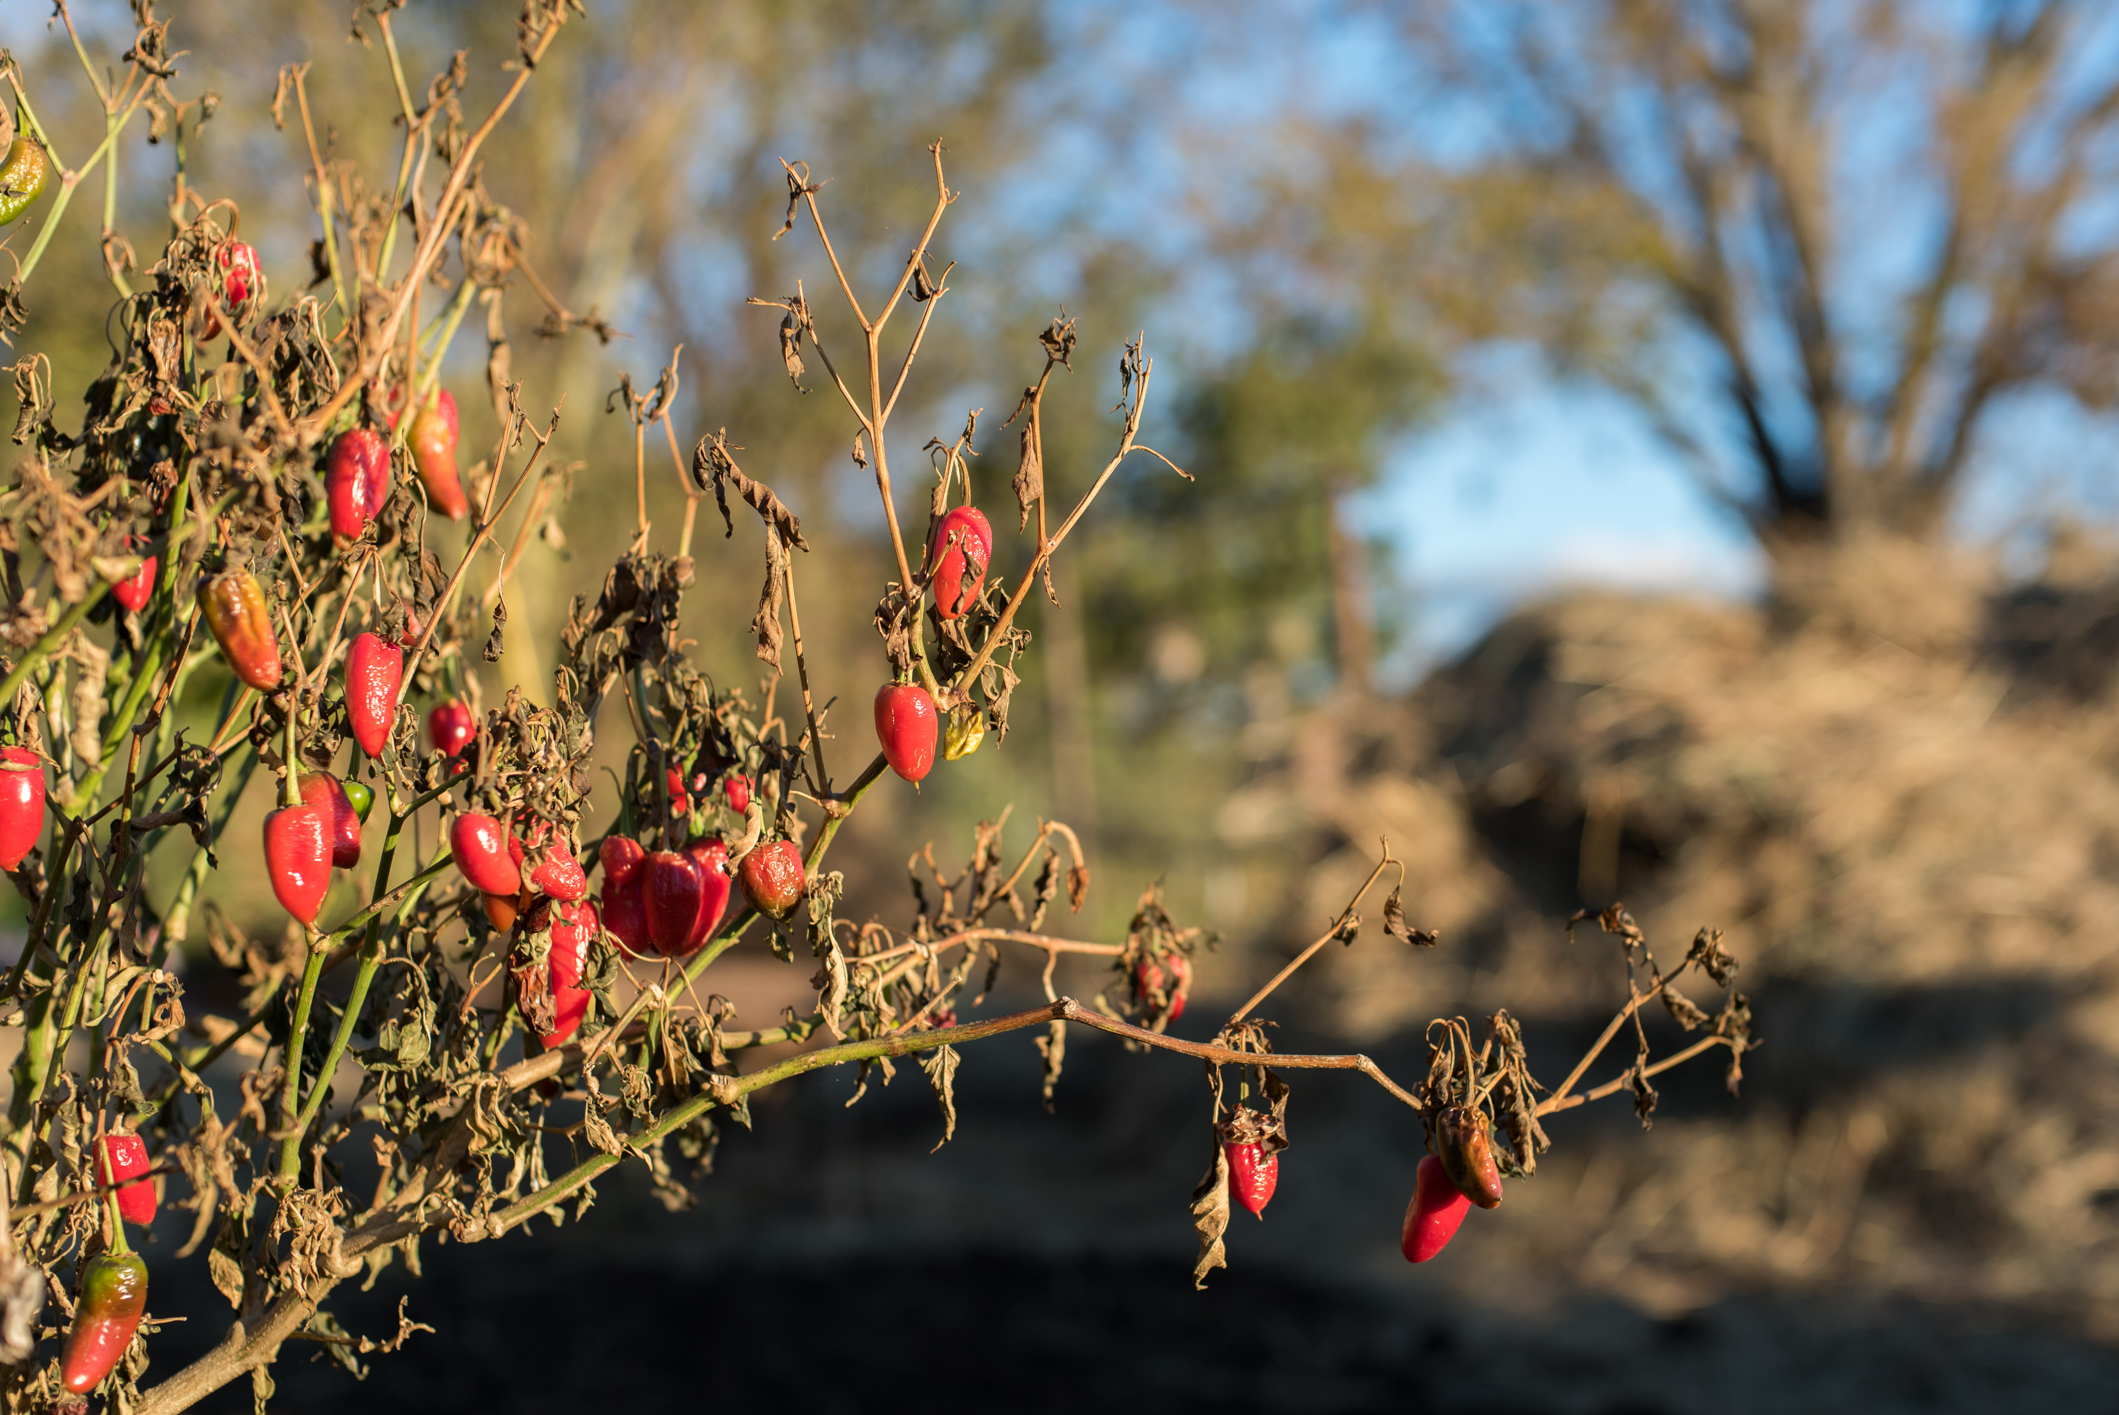
Meaty bones (50% to 65% of the diet) as recommended by DogsNaturallyMagazine:
Turkey tails and necks (I have yet to find a source for turkey here where I live)
Chicken backs and necks (I am able to find these for R37 p/kg)
Veal ribs and tails
Venison bones of any kind
Chicken feet and beef windpipes (good source of naturally occurring glucosamine and chondroitin) I can get beef windpipes for R21 p/kg
Beef neck bones (a great chew that won’t break teeth)
Balanced foods (feed these often)
Eggs with shell
Green tripe
Whole animals (rabbit, quail, etc.)
The results so far:
Zara - Boerboel
(6 years old)

Zara, my 6 year old black boerboel, has had the biggest (outward & visual) change so far. She has always been very allergic dog, will often scratch herself raw in places, getting sores on her body (and is always covered in flies during fly season because she is usually very smelly). Summertime is the worst when the grass is long and her belly and legs get itchy too. It will be interesting to see if she still gets itchy this summer, as while I’m sure her food was the main cause of her allergies, Summer has always been the worst time for her coat. She also had horrendous ears (filled with gunk) which has caused her lots of pain.

There was a time last year where no one could touch her head, let alone her ears. I took her to the vet to have them cleaned our properly, and she had to be heavily sedated because she became so aggressive. The treatment plan afterwards was a nightmare, because she would only let me go near her and I had to give her ear drops twice a day. She is a very docile dog 99% of the time (except when strangers arrive at our gate) and the final straw came when she bit (a big nip) my youngest son, Mason, on the forehead when he was riding on her back and grabbed her ears by mistake. It could have ended very badly, but it gave my the push I needed to give this way of eating a try and see if it improved things for her. I’m sure her food has been the biggest contributor to her allergies (I have tried a few different brands but settled on Optimizor Premium which had the highest protein content in the largest size bag for the best price)

I do understand that I made the choice to have large dogs (which eat a LOT!) but buying top of the range food (especially an allergy specific one) for her size would probably cost me as much as it costs to feed my family of 5. In saying this, raw meat (and bones) can also be very pricey, which is why I have had to be very organised, buy things when they are on special, and also buy in bulk. And chicken is generally the cheapest meat. I have also read that chicken can be a trigger for many dogs (not that I am running to have any allergy tests done on my dogs because #whohasthetimeforthat!) but I have to pick my battles. If you look at the ingredient list of most dry dog foods, the protein source should be the first one listed. If you can recognise the source then yay…you’ve found yourself a good food! Also bear in mind that, when reading the ingredient list, ‘chicken’ is different to ‘meat/chicken/animal derivatives’ and can’t even be compared (here is a nice article to read more about this sneaky labeling technique). Optimizor Premium, what I was feeding my dogs, has Cereals listed first (not ideal) and it’s protein source is ‘Meat & Animal Derivatives’ (also not ideal) but it was the best of the worst kind of situation.
Within 6 weeks of making the switch to raw food (I followed the RawMeatyBones guide) and gave chicken carcasses to them for the first 3 - 4 weeks, Zara’s coat had improved immensely! She stopped scratching, the sores healed and her shine started to come back in her coat.

The chicken carcasses cost me R35kg (the cost of feeding my 3 dogs was about R85 a day) and they were well and truly stripped of meat. After about 3 weeks I started to look around for pet mince to up the protein content of their food. My local butcher in Underberg sells pet mince for R30 p/kg. I fed them pure mince for the next 3-4 weeks, but I started noticing that although Zara’s coat condition had improved drastically, she was looking a little bit skinny. I do believe dogs are better off being on the slim rather than the chunky side, and it’s good to see signs of their ribs, but she was starting to look rather too lean (also look how teeny Max was!) and look how chunky Zara was!

I was also still spending R75 a day (which would work out to R2250 a month…eeek!). I have since decided to add a bulking ingredient (I used rolled oats at first which I would soak overnight before adding to their mince. A 5kg bucket of rolled oats at Dischem is R226:

I have since changed my ‘bulking’ ingredient to rice (which I soak and then cook) and add it to all of my dogs food. It’s much easier to mix mince and rice in one big bucket and decant than doing separate meals for each one. I try and soak the rice/oats the night before (and while I do cook the ricke/oats, this means technically I’m not feeding a 100% raw diet!).
Soaking rice and oats (or any nuts & seeds you consume!) before cooking can improve their digestibility and nutrient absorption by reducing phytic acid and potentially releasing other beneficial compounds. Phytic acid, found in the bran of grains, can bind to minerals like iron, zinc, and calcium, making them less available for the body to absorb. Soaking, especially in warm or acidic water, helps to neutralize the phytic acid, allowing for better nutrient uptake. Additionally, soaking can soften the grains, potentially reducing cooking time and making them easier to digest.
By the way, I even soak my nuts now too (have a look into Activated Almonds, I guarantee you’ll never look at an almond again…they are delicious when activated!!).
Zara’s ears have improved drastically (I wish I had a photo of what they looked like when we began…this is your reminder to take LOADS of photos for before and afters if you do try this way of feeding your dogs).

The one ear is completely clear, and the other is about 85% better (still a little gunky) but nothing like it was before. Anyone can touch her head now, and she is back to being her very docile self.
And on the whole, while I am not strictly doing a pure raw diet, I still believe making my own food is far more beneficial than the dry kibble I was feeding them. I often add a couple of eggs to the mix, some chia seeds/pumpkin seeds as and when I have them on hand.
Shadow - Korean Jindo/Husky rescue dog from South Korea
11 years old

The biggest change we have noticed with Shadow hasn’t been his physical appearance (he is a double coated dog and sheds 2 - 3 times a year and generally has a very beautiful coat) so it hasn’t been easy to see his coat condition change much. But, he has had the biggest behaviour change so far. He is getting on in his years, he has just turned 11 and for the past 6 months before changing to a raw diet, he would just sleep at the back of the house. He was very aloof, and spent most of his time alone (while this wasn’t terribly unusual as he grew up with us in an apartment in South Korea and was never good at being around other dogs no matter how hard we tried to socialize him), both hubby and I had been a bit worried that he was nearing the end. But, 2 months into a raw diet and he is like a puppy again. He is frisky, jumps up onto the bakkie and is always running up to greet us when we arrive home. He has become a bit of a pest at food time, and he is just lucky that Max is still a puppy and isn’t too dominating (yet) because he has become quite scrappy too. His teeth have improved slightly (the bone chewing acts as a natural toothbrush) but overall it is is behaviour that has changed the most.
Maximus - Bullmastiff
7 Months old

I am mixed feeding Max (although I am very confident now, I was a little nervous to go full raw with a young puppy). It also would be very challenging to feed him meat in the mornings when the other dogs don’t get anything. It’s quite a thing at dinner time when all 3 go bananas while they wait for me to dish up their food (I have to have a big stick nearby to keep everyone in their place…especially Max who inhales his food anyway). I feed him a cup of kibble in the morning; he is on Locuno Large Breed Puppy food which, after extensive research, is one of the most affordable (first source protein mentioned!) foods I could find. I also like that it is a South African brand, although relatively new on the market, but the fact that they list their protein source first in the ingredient list is a win for me. If I ever have to give my other two dogs kibble (this rarely happens, but when it does, they will get this kibble):

Max is a beautiful big and strong boy who is developing beautifully. He is a pure breed (black) Bullmastiff and came from a reputable breeder with registered parents (unlike Zara who has crooked teeth and an underbite and all her allergies haha), so it’s hard to know if he would look this good on a regular kibble diet, but I know this is a far superior diet for his developing years.


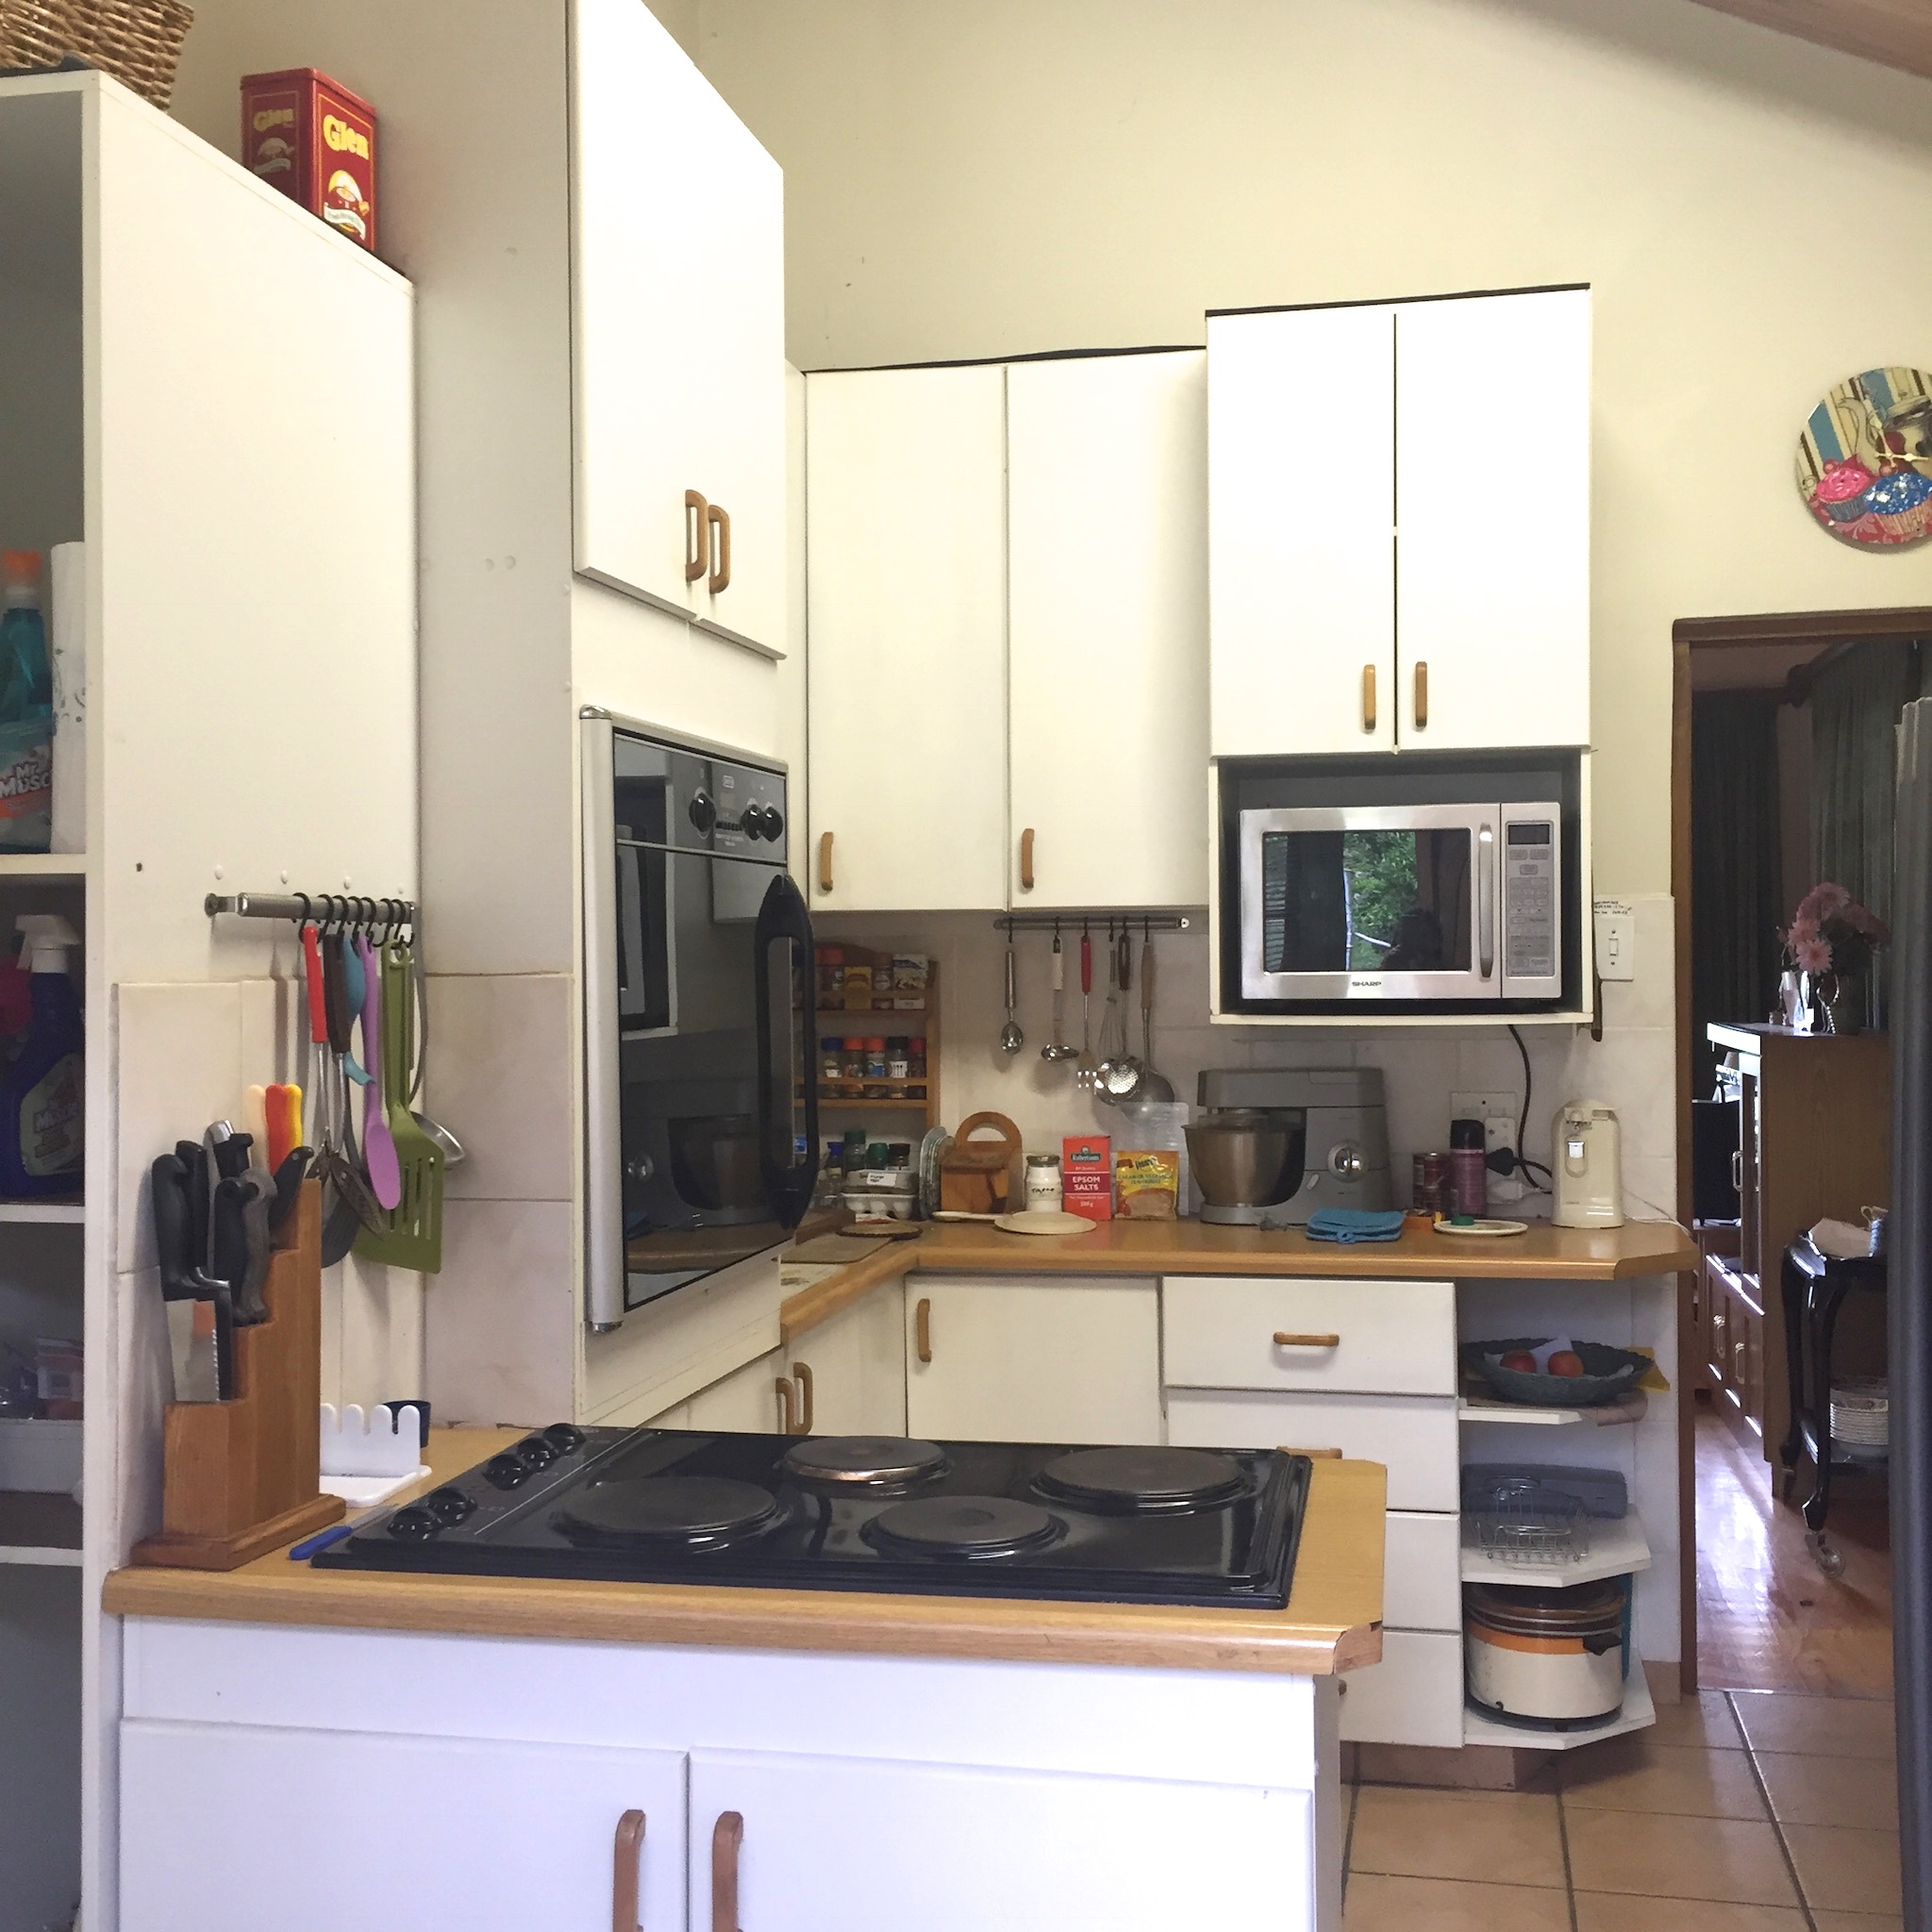
What I currently Feed my dogs
I alternate pet mince & rice with raw meaty bones/carcasses. I mix up pet mince with 2 cups of cooked rice (and usually add a couple of eggs, some coconut oil and seeds I have on hand). The pet mince is made up of organ meats and off cuts of (usually chicken) that the butcher makes up. I have even given them cooked quinoa and cooked sweet potato in place of rice when I have extra. Then the next day I give them meaty bones, usually chicken (backs, necks and or feet) or ox lungs (when I can find these locally) and I also give them chicken/ox liver/other organs depending on what I have found on special. I’m usually able to buy chicken carcasses/pieces/backs for R30 - R38 p/kg.
I have tried (thank you to my Mom for bringing these for me all the way from Joburg!) raw premade patties from a lovely company called DoggyChef in Johannesburg. These worked out at R50 p/kg, more expensive that my mince mix and even the chicken bones, but definitely a convenient way to just defrost and feed straight. They came in 100g patties, which would be great for a small dog, but feeding 12 to one dog at a time was quite a thing. 500g portions would have been ideal for my large dogs.


There are loads and loads of recipe ideas for raw food on the interwebs, and while I used them for inspiration at first, I had to take into account my current life stage (homeschooling mom of 3 young children) and it’s hard enough to get an exciting meal on the table for all of us, never mind trying to whip up a gourmet meal for my pups. They seem VERY happy with their mince and rice, bones and the odd organ thrown into the mix.
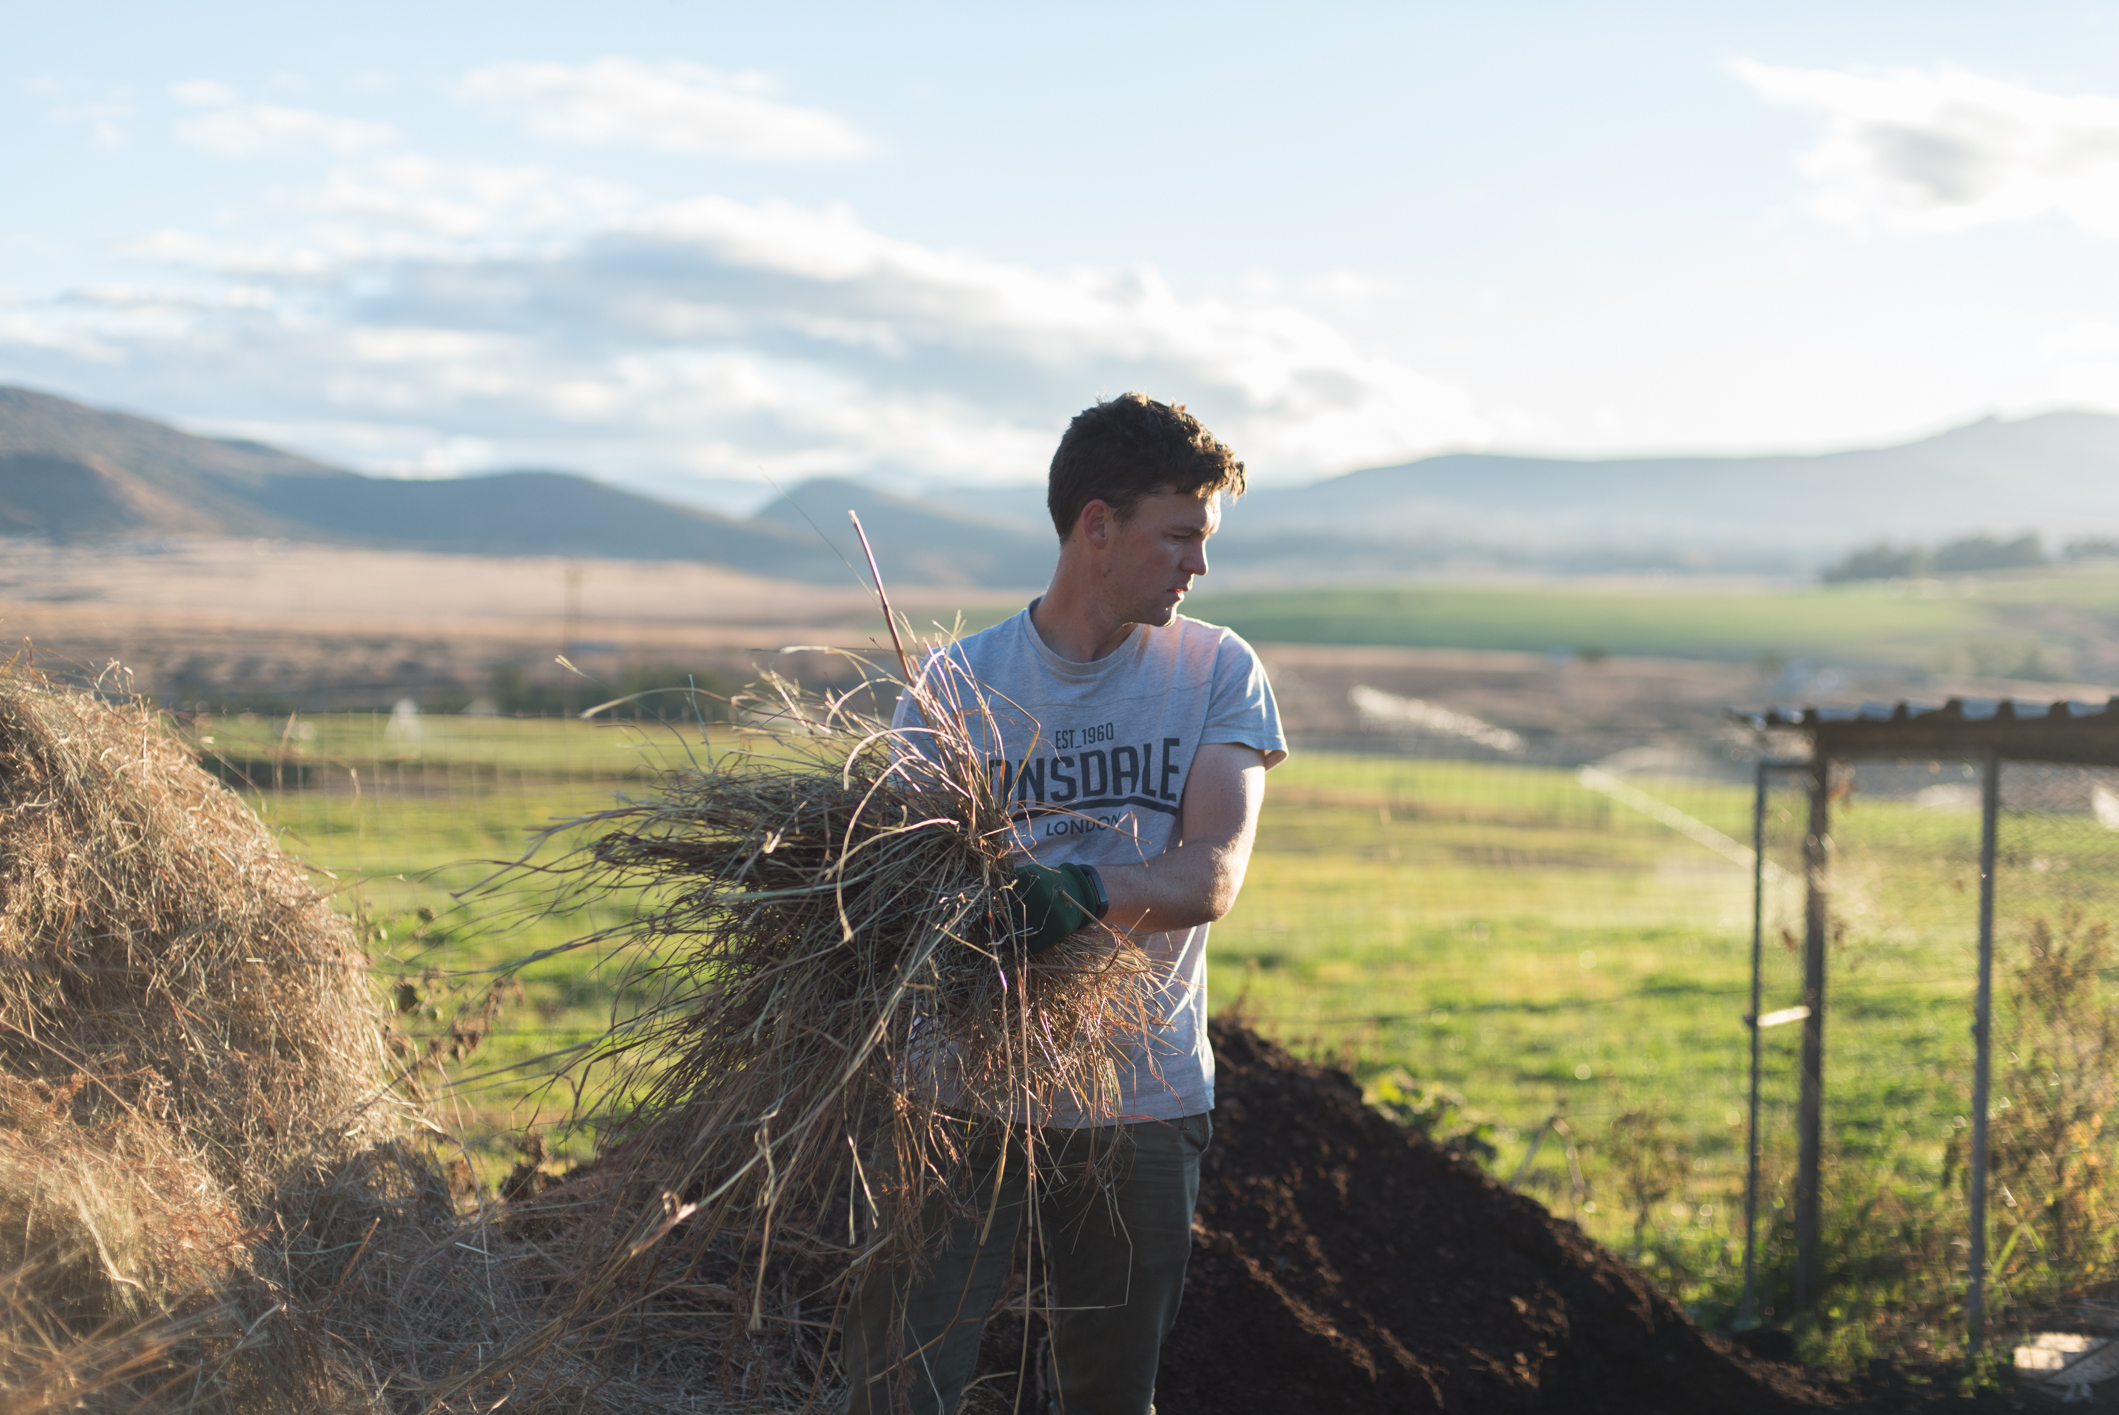
My next project (as I live on a farm) is to look into processing our own meat from the cull cows from our herd. We are dairy farmers, and while I don’t love the idea, it would a very sustainable (and budget friendly!) source of meat that is right on my door step. I didn’t ever think I’d be handing out chicken carcasses and ox lungs to my dogs, and yet here we are. If I do ever get the ball rolling with making my own pet mince, I will let you know 😉.
Let me know if you have any questions or comments about our raw food journey! I’d love to hear from you.