Tired of boring old restaurant bought pizza's? Why not try making your own?
Not only are home made pizza's more fun to make, they are a whole lot healthier! And if your really keen, why not go the extra mile and buy or make yourself your very own pizza oven!!
Click here for more details on building your own oven..alternatively, Builders Warehouse sells them in certain branches *Balito being one of them!*
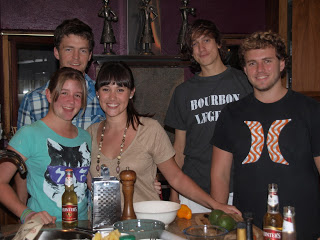
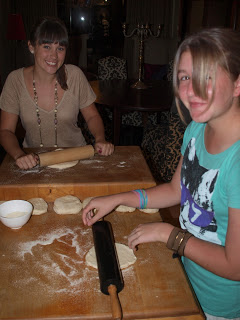
Step 1: Get together a bunch of crazy cooks *family and friends work nicely*
Step 2: Home Pizza Oven Preparation
1. Keep the chimney closed while not in use to prevent water getting into the oven and wetting the base. Steamed pizzas are a disaster.
2. Light the fire 1 1/2 hours before you intend to cook the pizzas to heat the base to ensure crispy bottoms. The best wood is a blue gum or wattle to get nice smoky flavour, but any wood which is used for braaing will do.
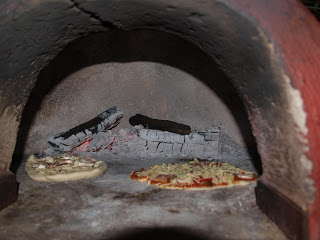
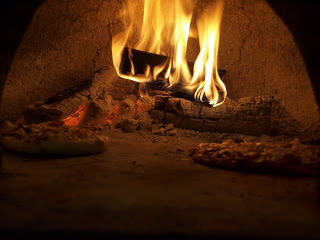
3. Pizza’s cook from the top and bottom. To ensure pizza’s cook from the top a flame needs to be present. Have some small logs handy which will catch alight easily. Otherwise keep the fire fed but not over hot or pizzas can burn.
4. Before cooking pizzas move the burning logs towards the back of oven. Use blow pipe to clear ash from cooking area. If pipe has been mislaid, use a piece of wet newspaper which has been slightly dampened and held by tongs to wipe ash away.
5. Pizzas need to be shifted around to ensure they do not burn on the side nearest flame.
6. Hot coals spread over the spillage from pizza’s in progress is a useful way of cleaning up the oven base.
7. Before using your oven next time make sure the ash has been cleared out and the base cleaned.
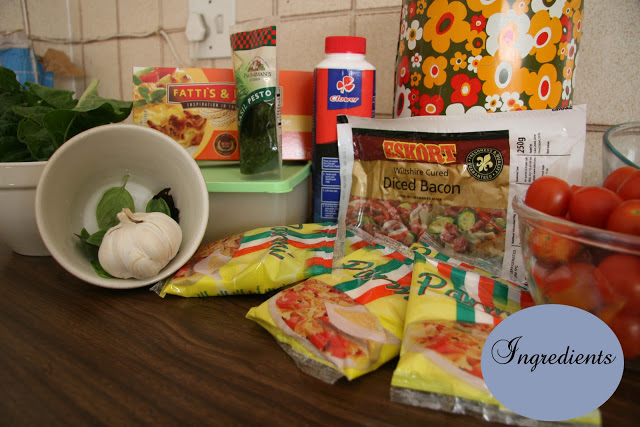
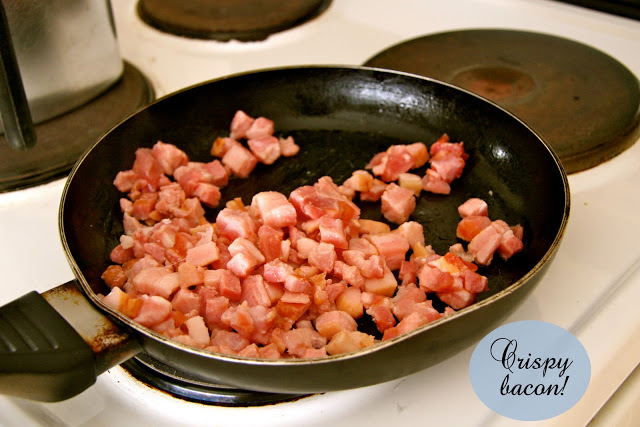
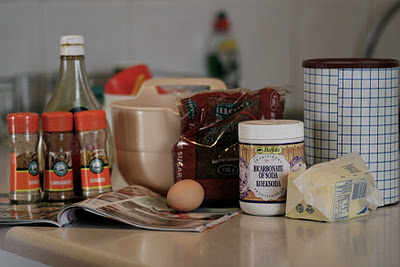
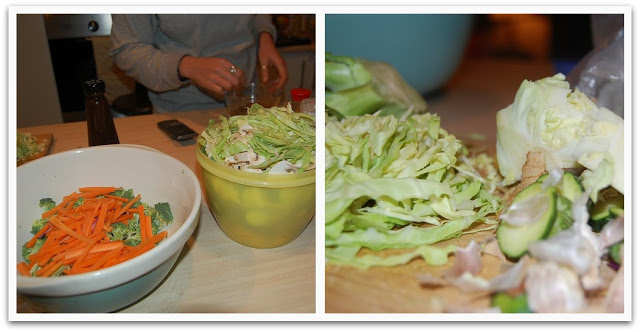
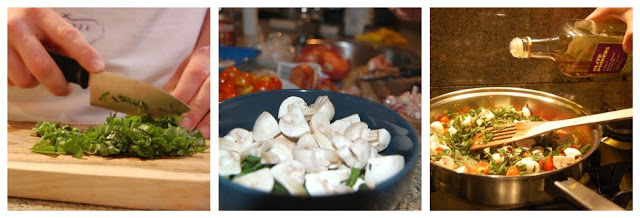
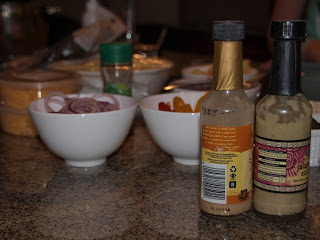
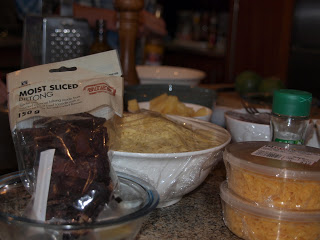
Step 3: Get your ingredients ready
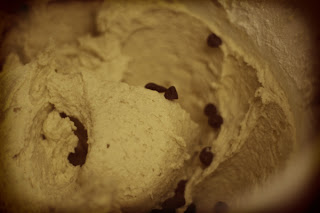
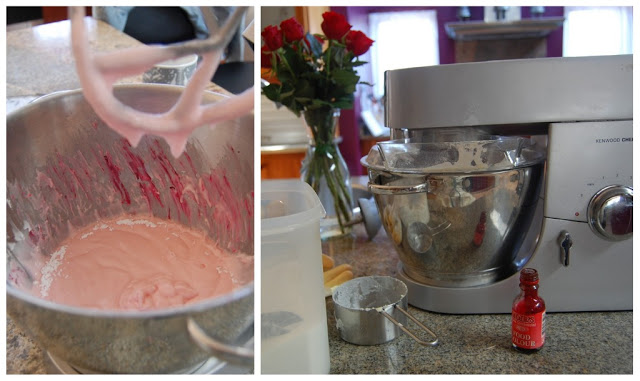
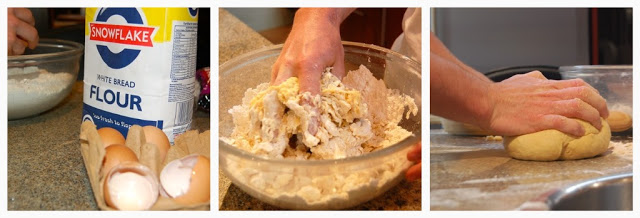
Dough (Makes 8 medium pizza’s)
Ingredients: 800 g Bread flour, 200 g semolina flour, 1 tsp salt, 1 heaped tsp sugar, 1 tbsp olive oil, 1 packet yeast, 650 ml lukewarm water.
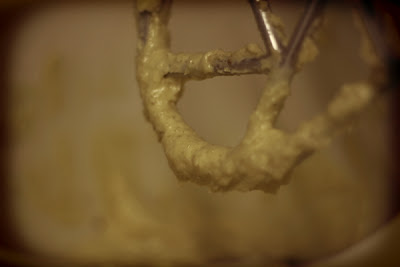
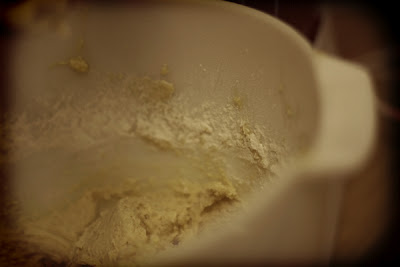
1. Mix dry ingredients and oil in Kenwood using dough hook. Gradually add water until dough forms into a ball rolling around the edge of mixer bowl. All this can be done by hand but it involves 10 to 15 minutes of kneading.
2. Put into bowl to rise. Cover with cling film with a little oil to prevent dough from cracking and drying out. Takes +- 90 minutes.
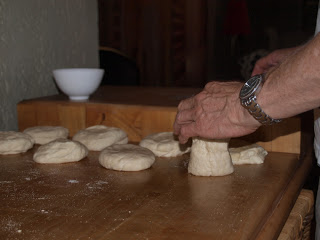
3. It is best to separate dough before rolling Individual pizza’a. Roll out dough by hand into one long roll (like French baguette). Cut into 8 portions and round them into balls. Flatten by hand and spread out. Roll the balls into round shapes using semolina or flour to prevent sticking. It is a good idea to use cutting mats so pizzas can be carried from one table to another. Once rolled out ensure there is a good spreading of semolina or flour underneath the pizza base so it does not stick to the mat. This is probably one of the most important tips as a stuck pizza is a nightmare for the person doing the baking in the oven.
Tomato base mix.
Ingredients. Depends on number, but should be sufficient for 15 pizzas.
2 tins tomatoes;
2 tins tomato puree;
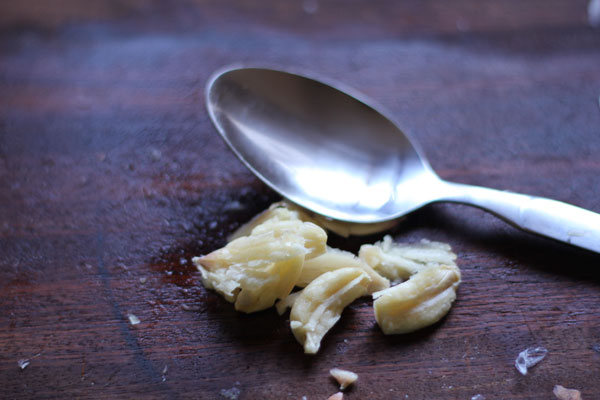
2 garlic cloves,
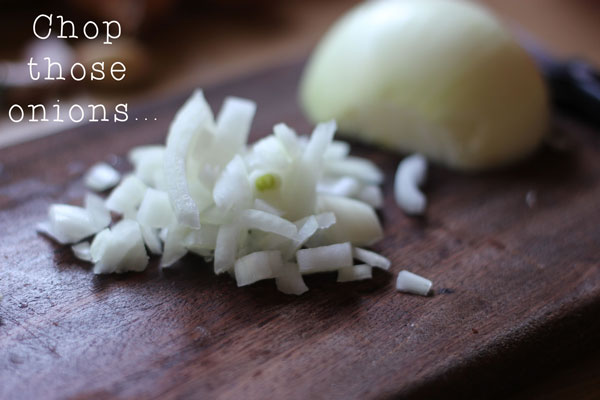
2 onions,
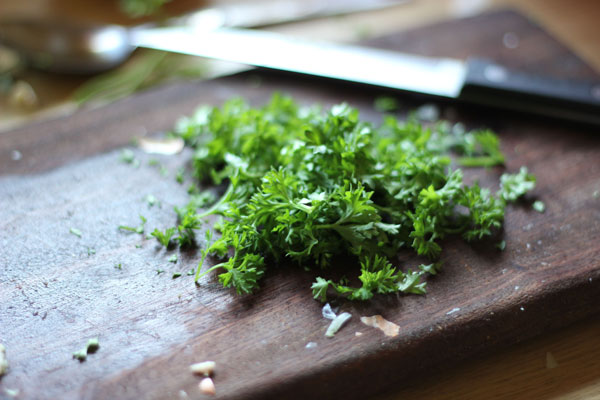
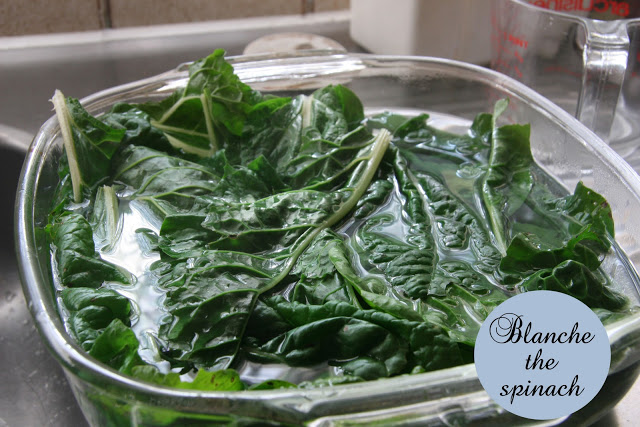
Herbs (origanum, bay leaf or two)
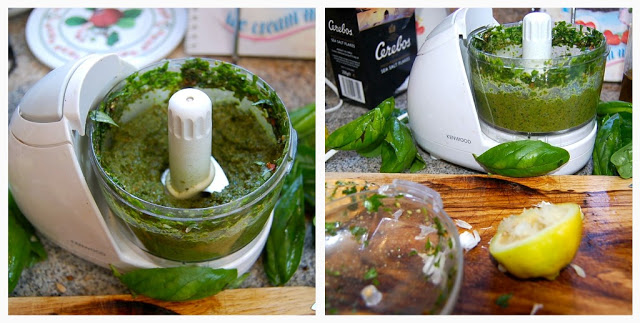
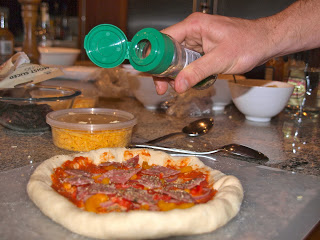
Fry chopped onions and crushed garlic in a little oil. Once onions translucent add other ingredients and let cook under low heat for +- 60 to 90 minutes to get rid of some of liquid. Chilli’s can be added. The tomato base can be pureed in a liquidizer, but this is not essential. Spread tomato base thinly keeping a small outer rim clear of tomato.
Step 4: Make sure to have a good glass (*or 2) of wine handy for quenching thirst
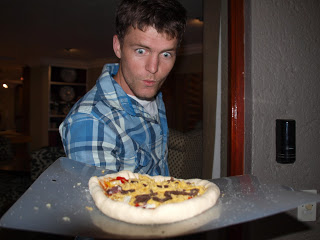
Step 5: Compare Pizza making skills
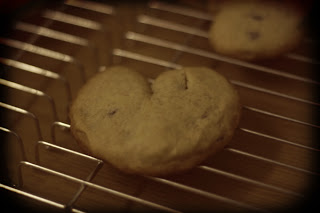
Step 6: Put pizza in oven
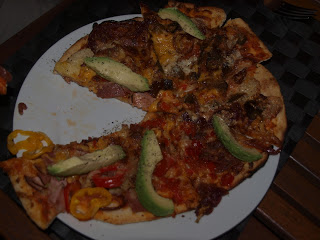
Step 7: Enjoy your hard work!